Hi Y’all!
First project progress post for me. Those of us in the Stitchdown Discord have seen me bumble through these so far, and have been incredibly helpful.
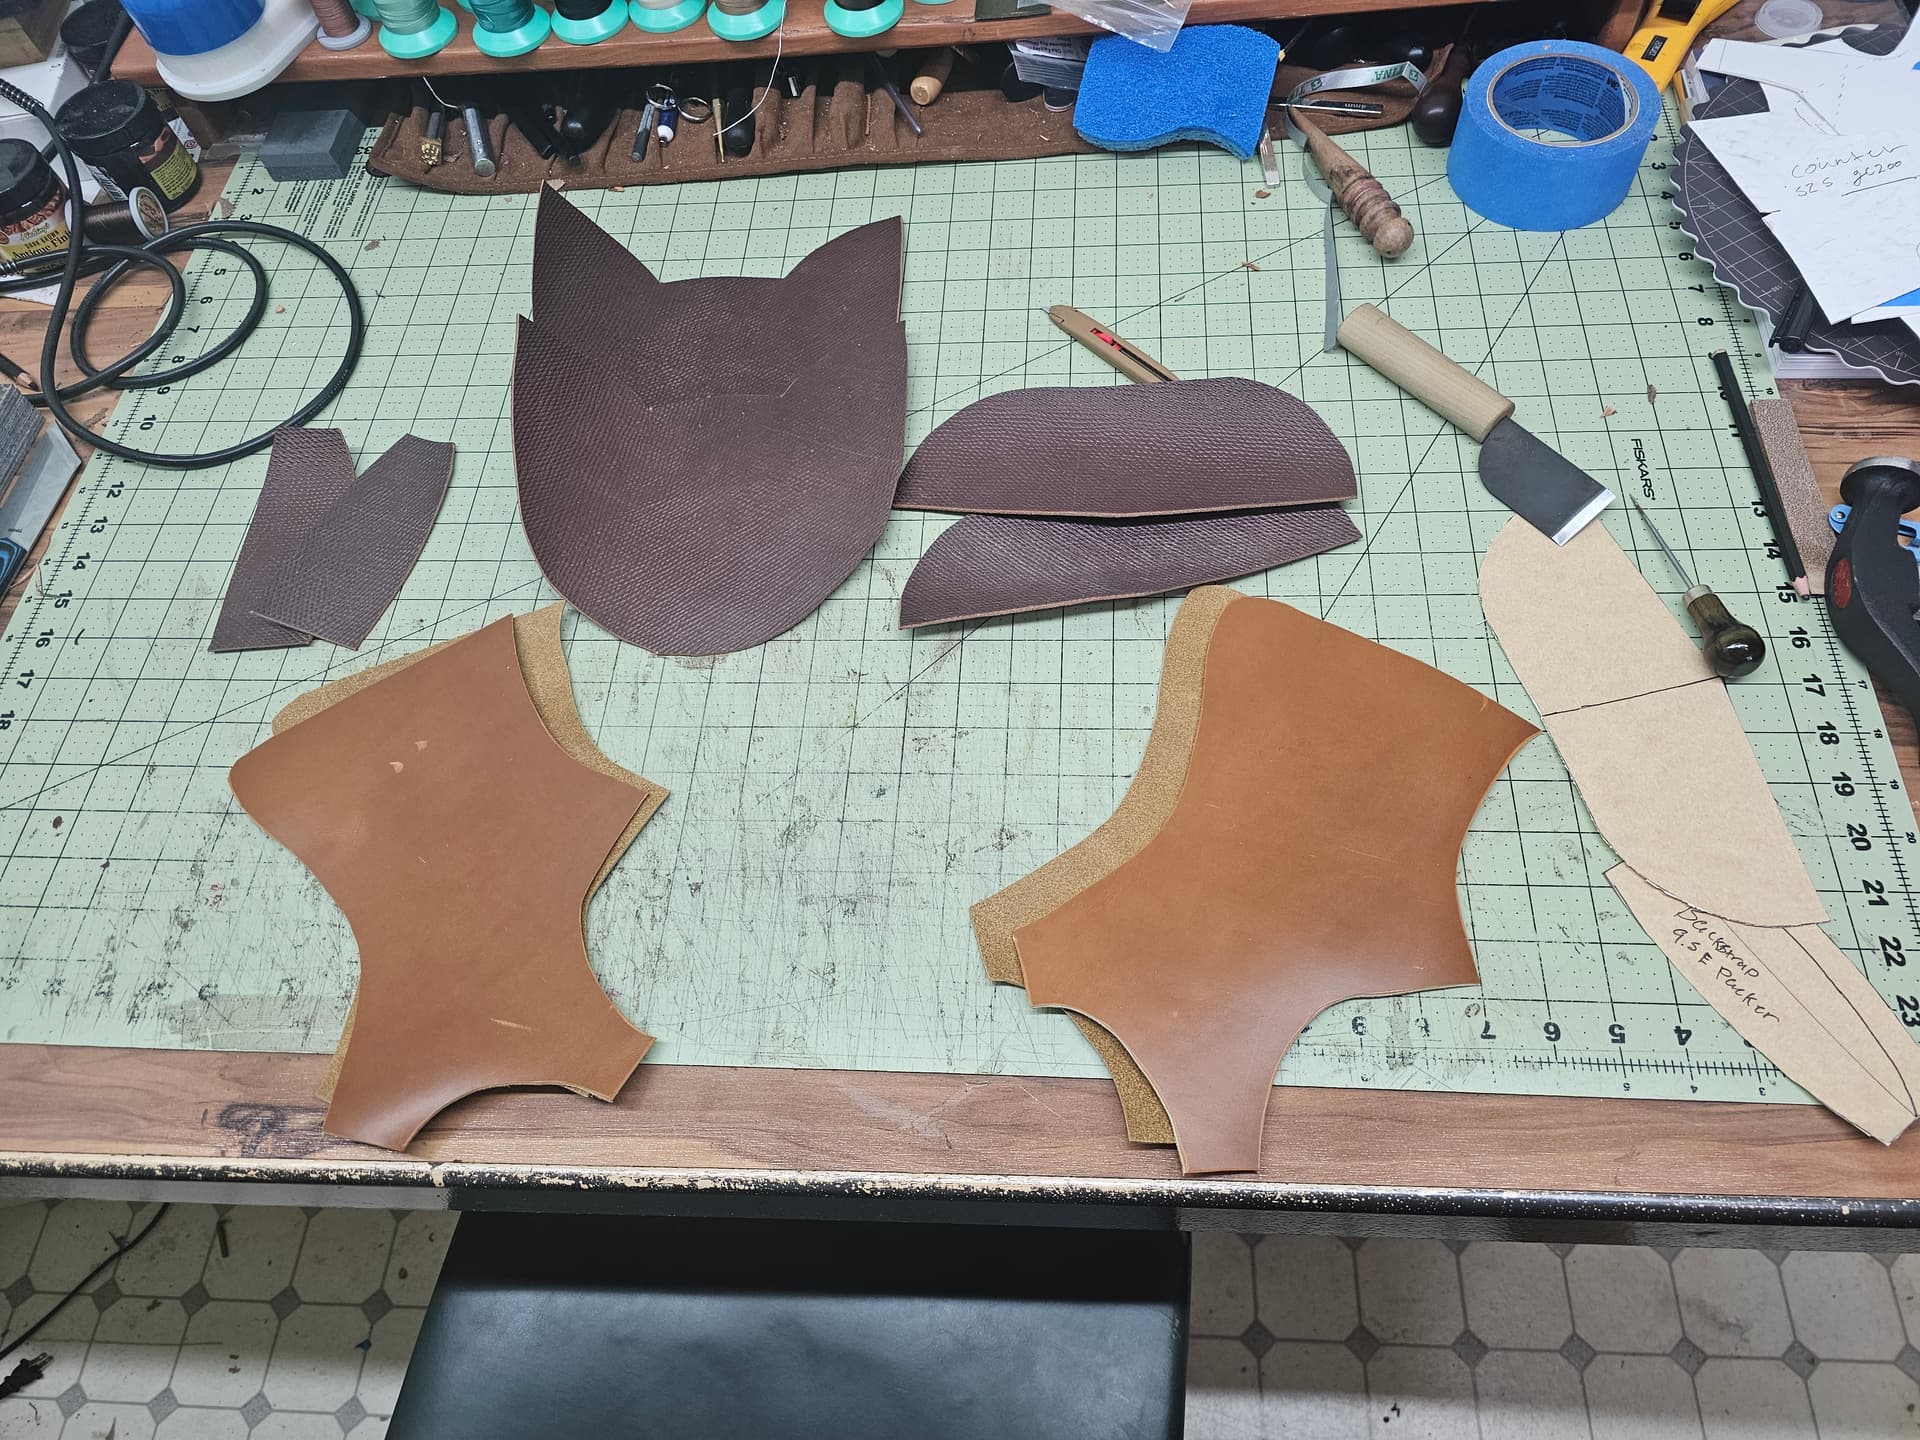
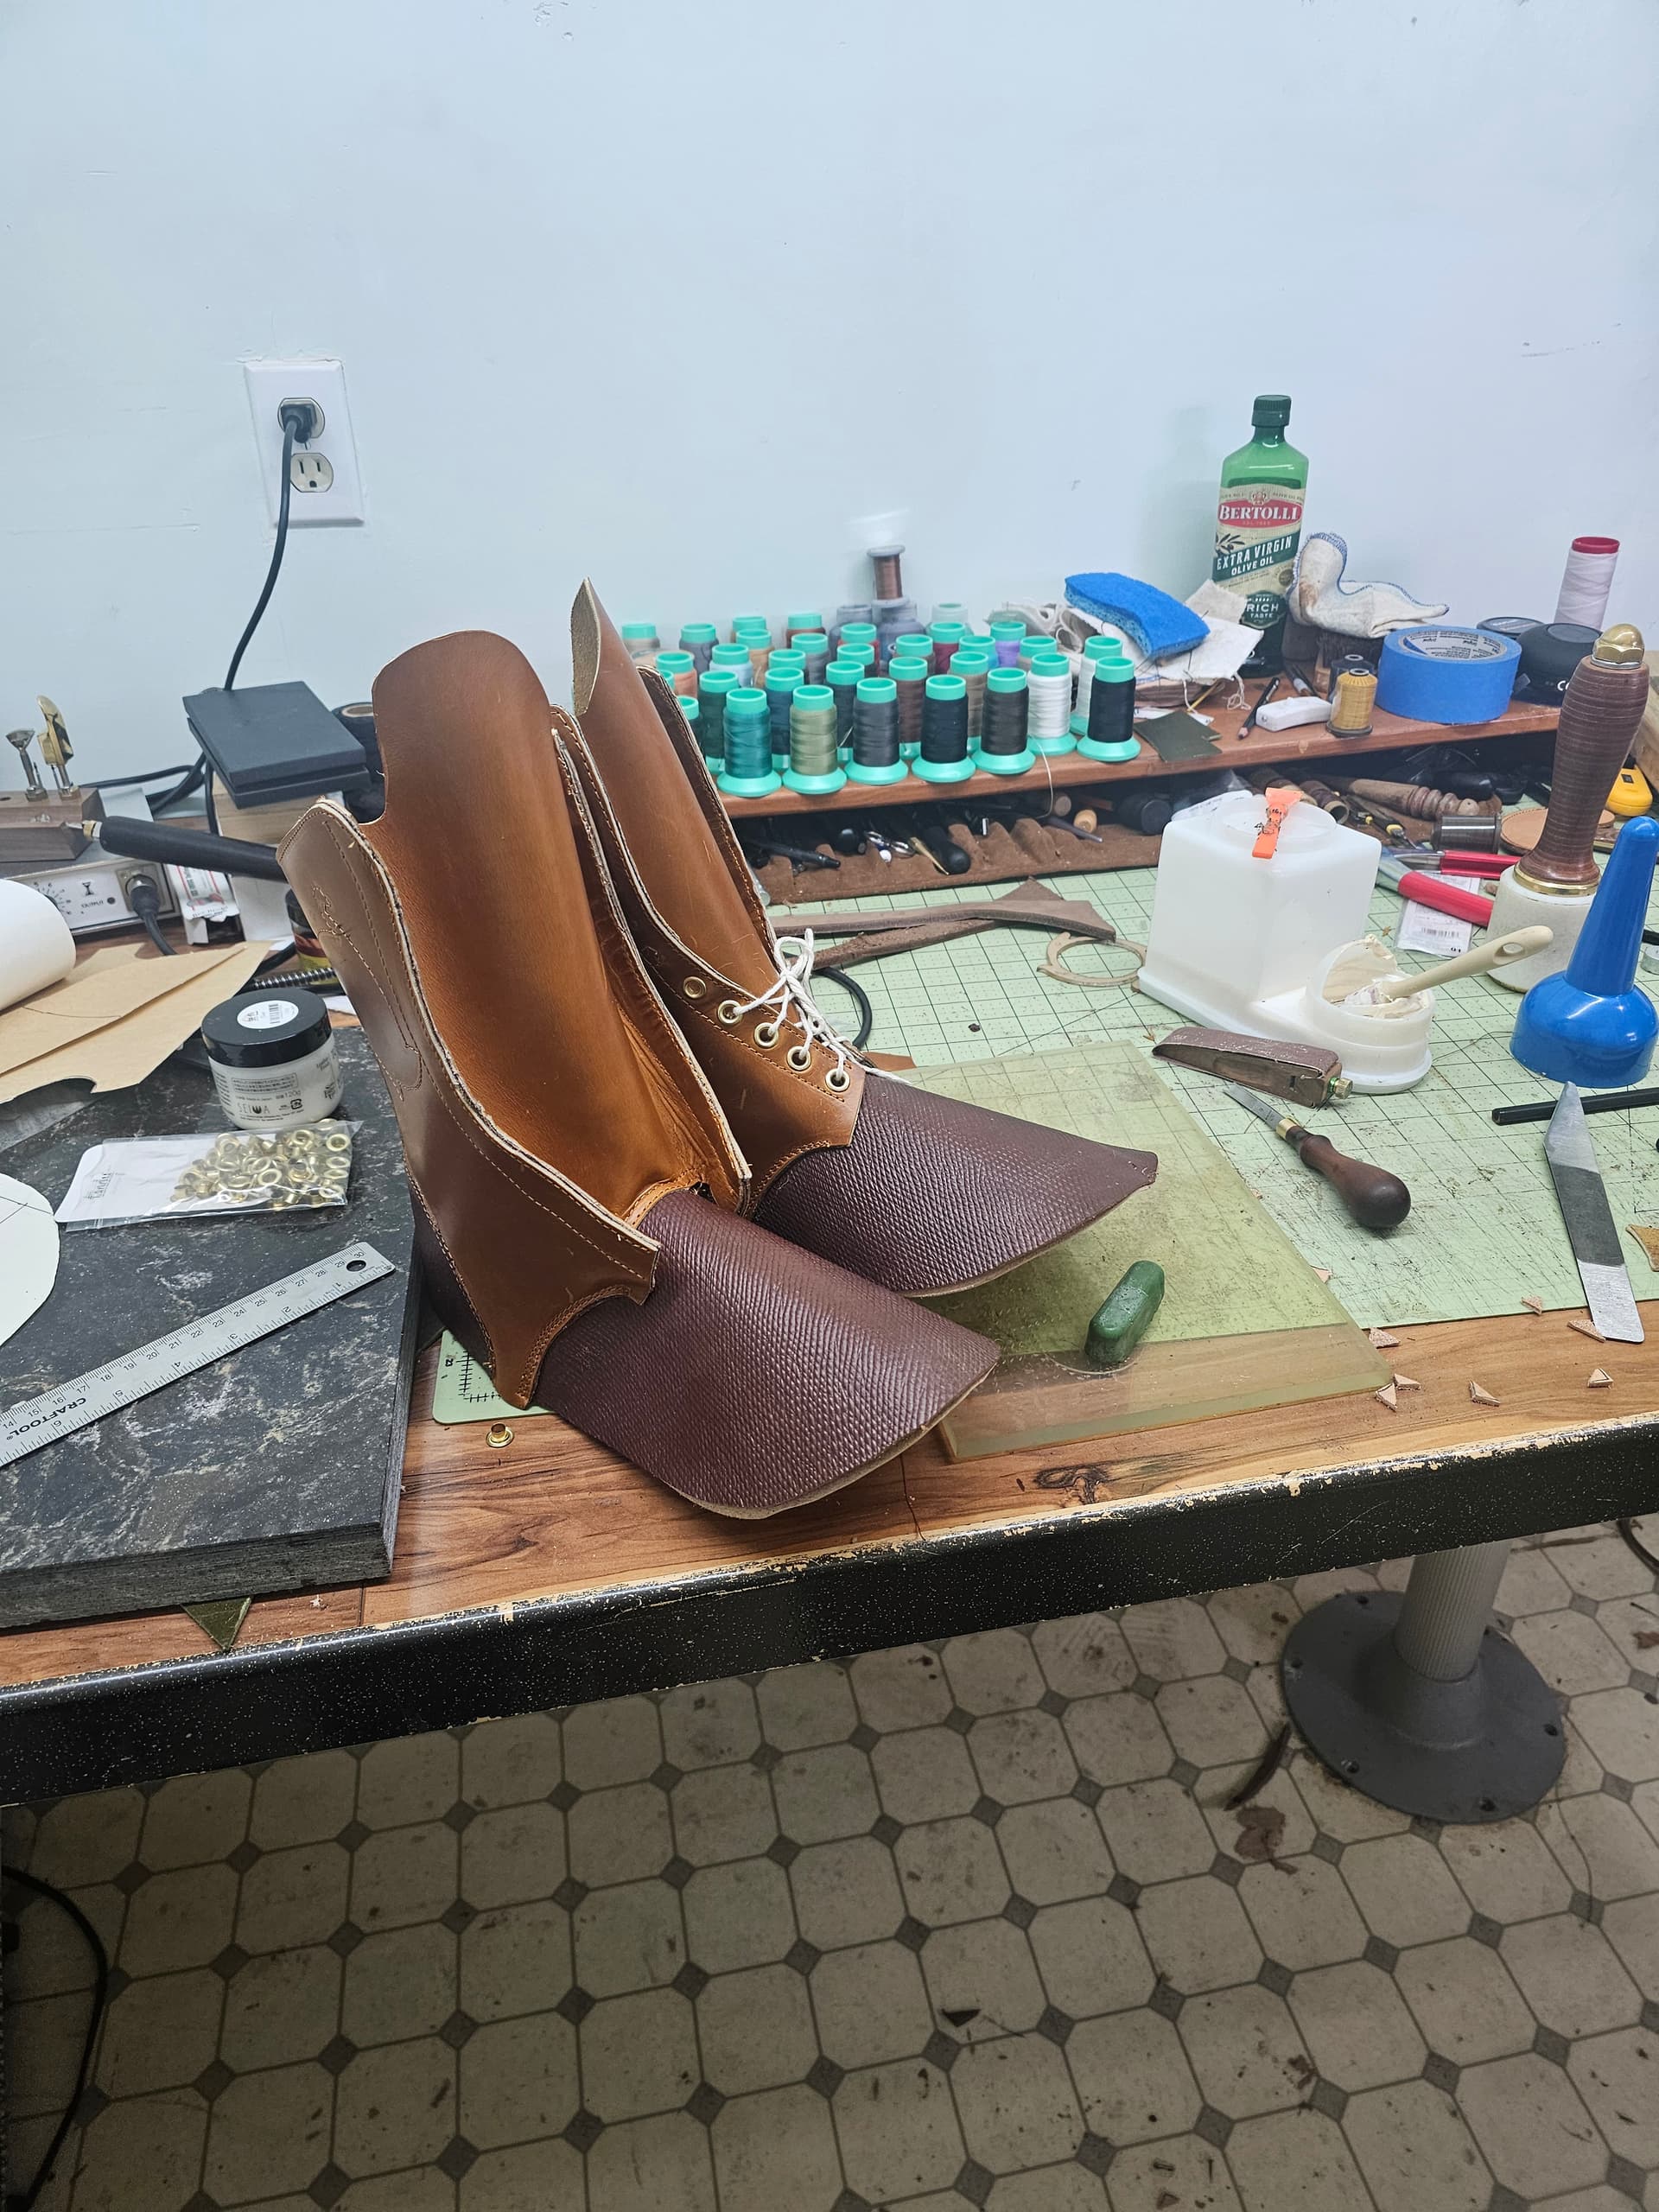
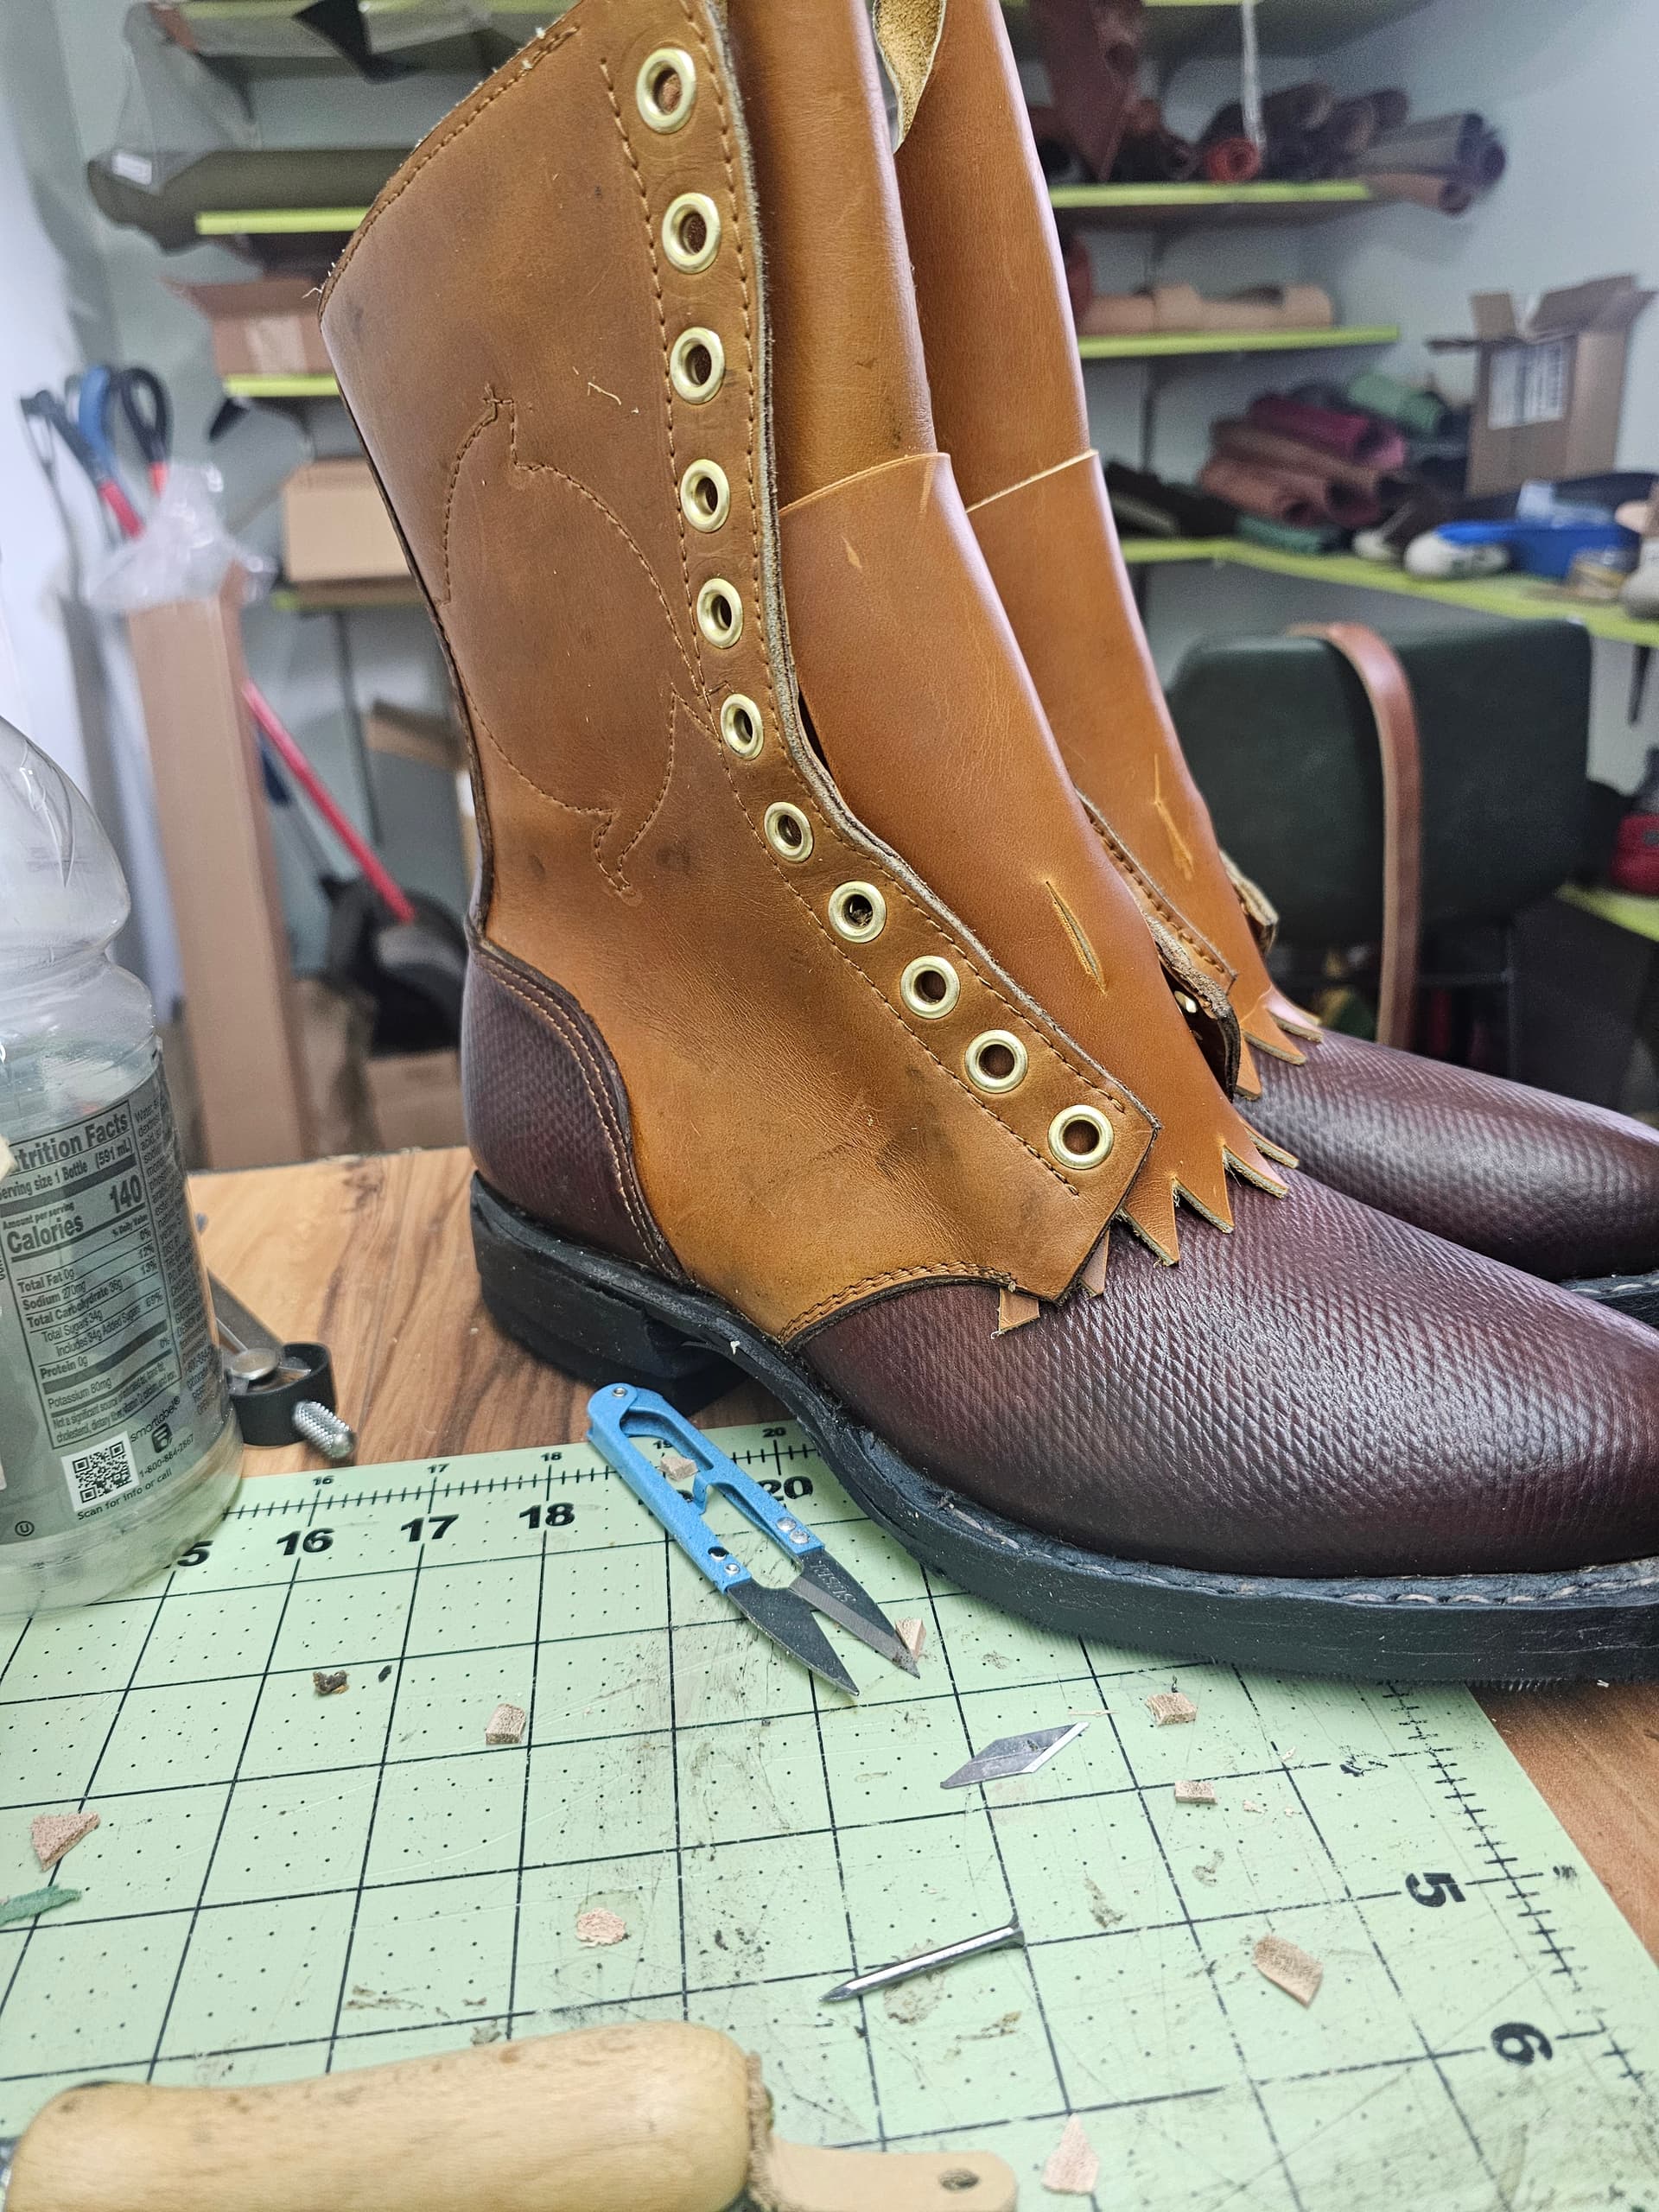
#2 Russian Calf and Sunflower CXL with a mystery degermann liner
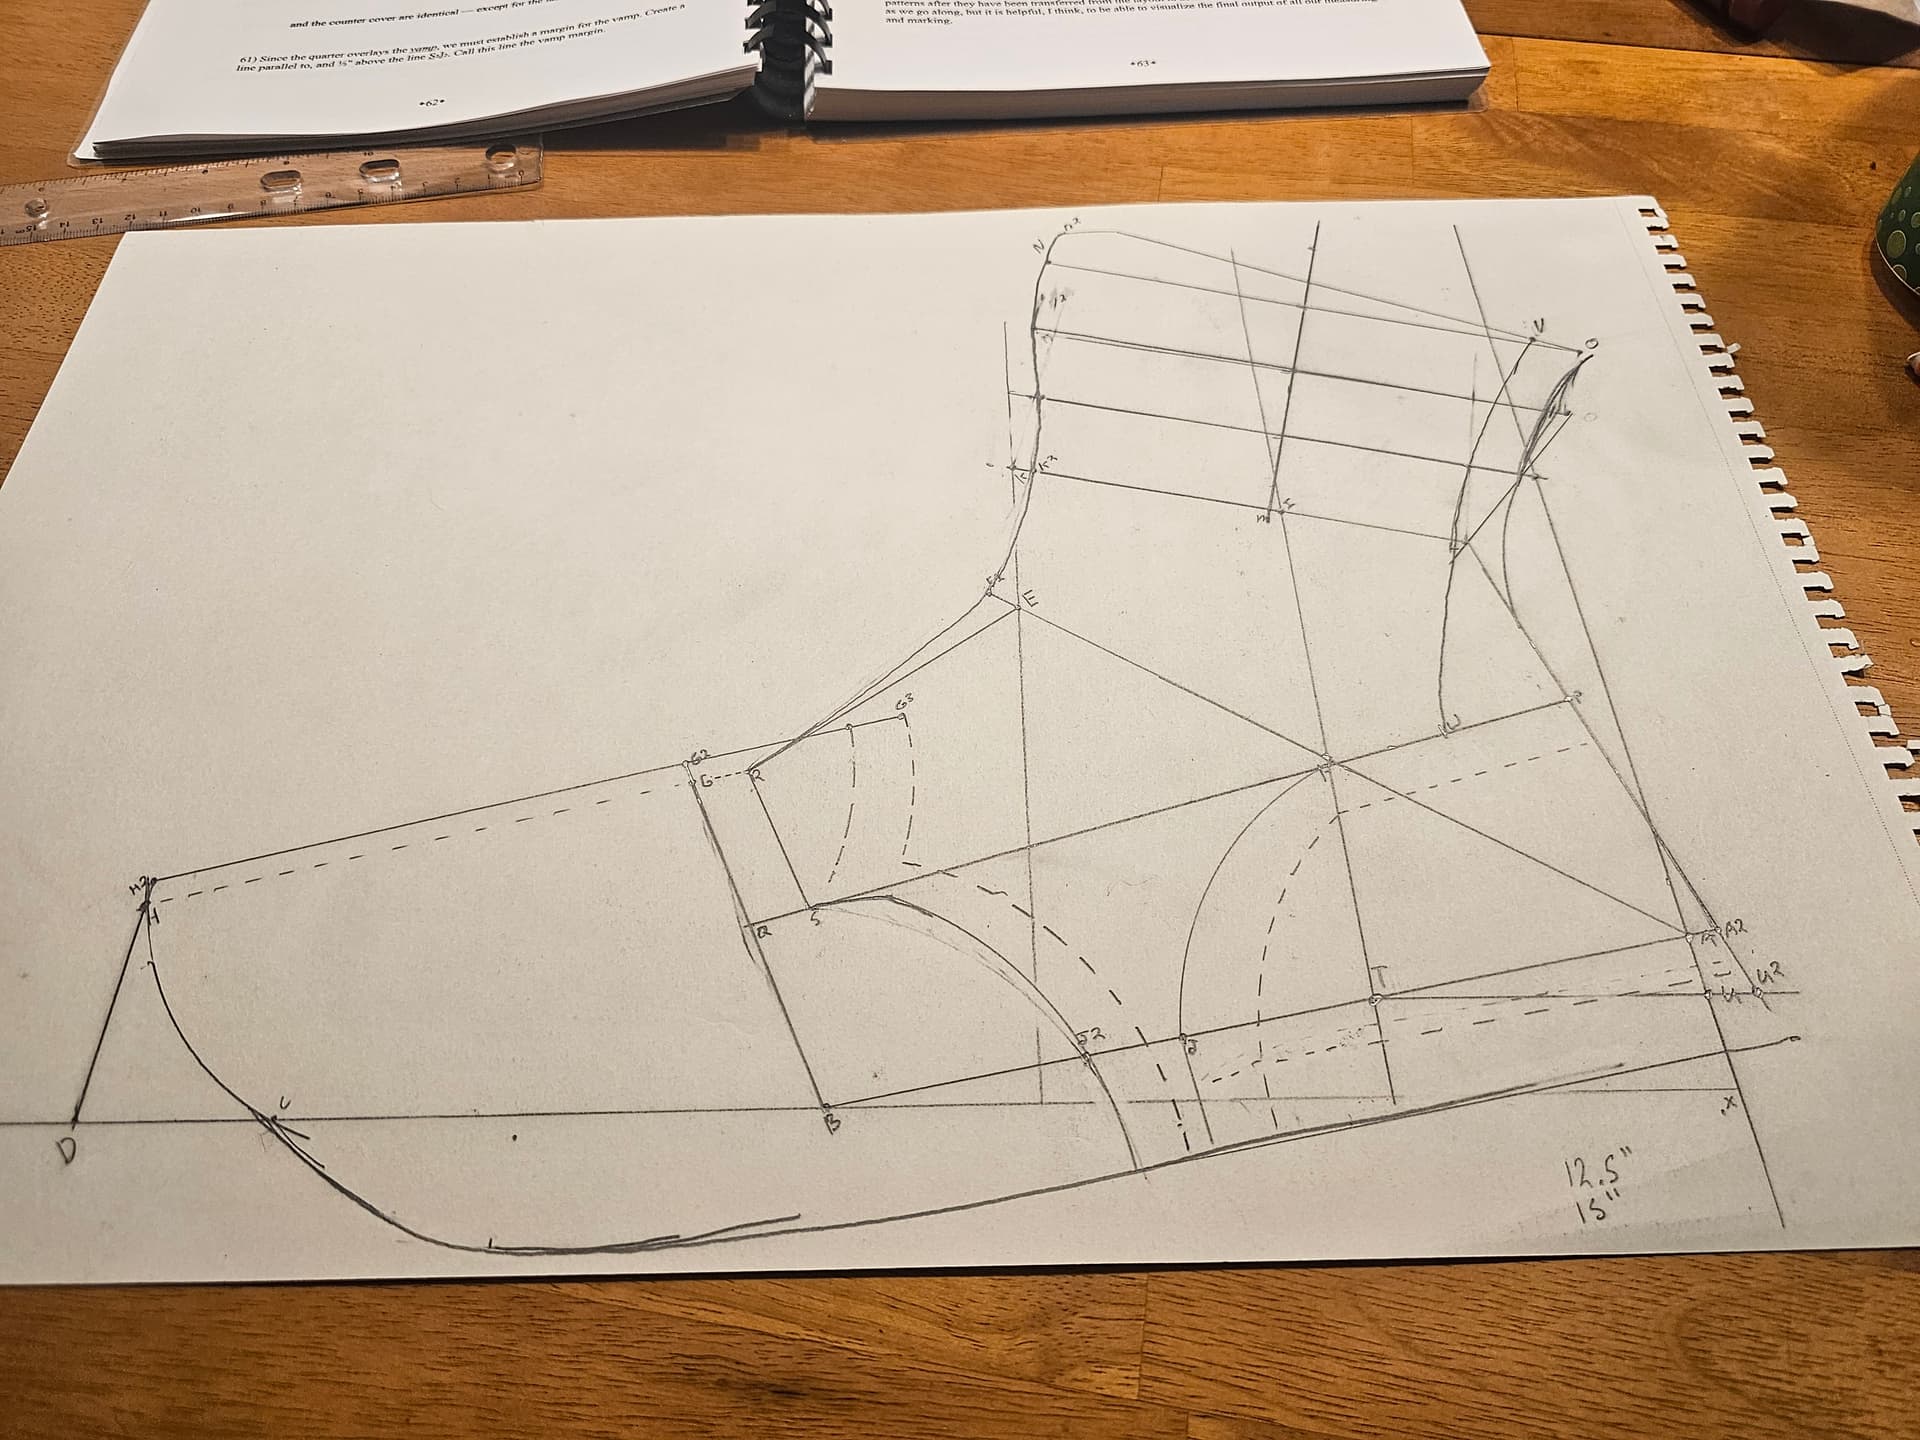
After buying a pattern, and assembling an entirely unwearable engineer boot, i picked up a copy of DW Frommer II’s Western Packer book, and got to work.
Ive been super fortunate to have incredible amounts of advice and help from the bootmaking community as I stumble down the rabbit hole. In Hindsight; it probably would have been a good choice to start with something like a simple service boot, but im kinda a glutton for punishment.
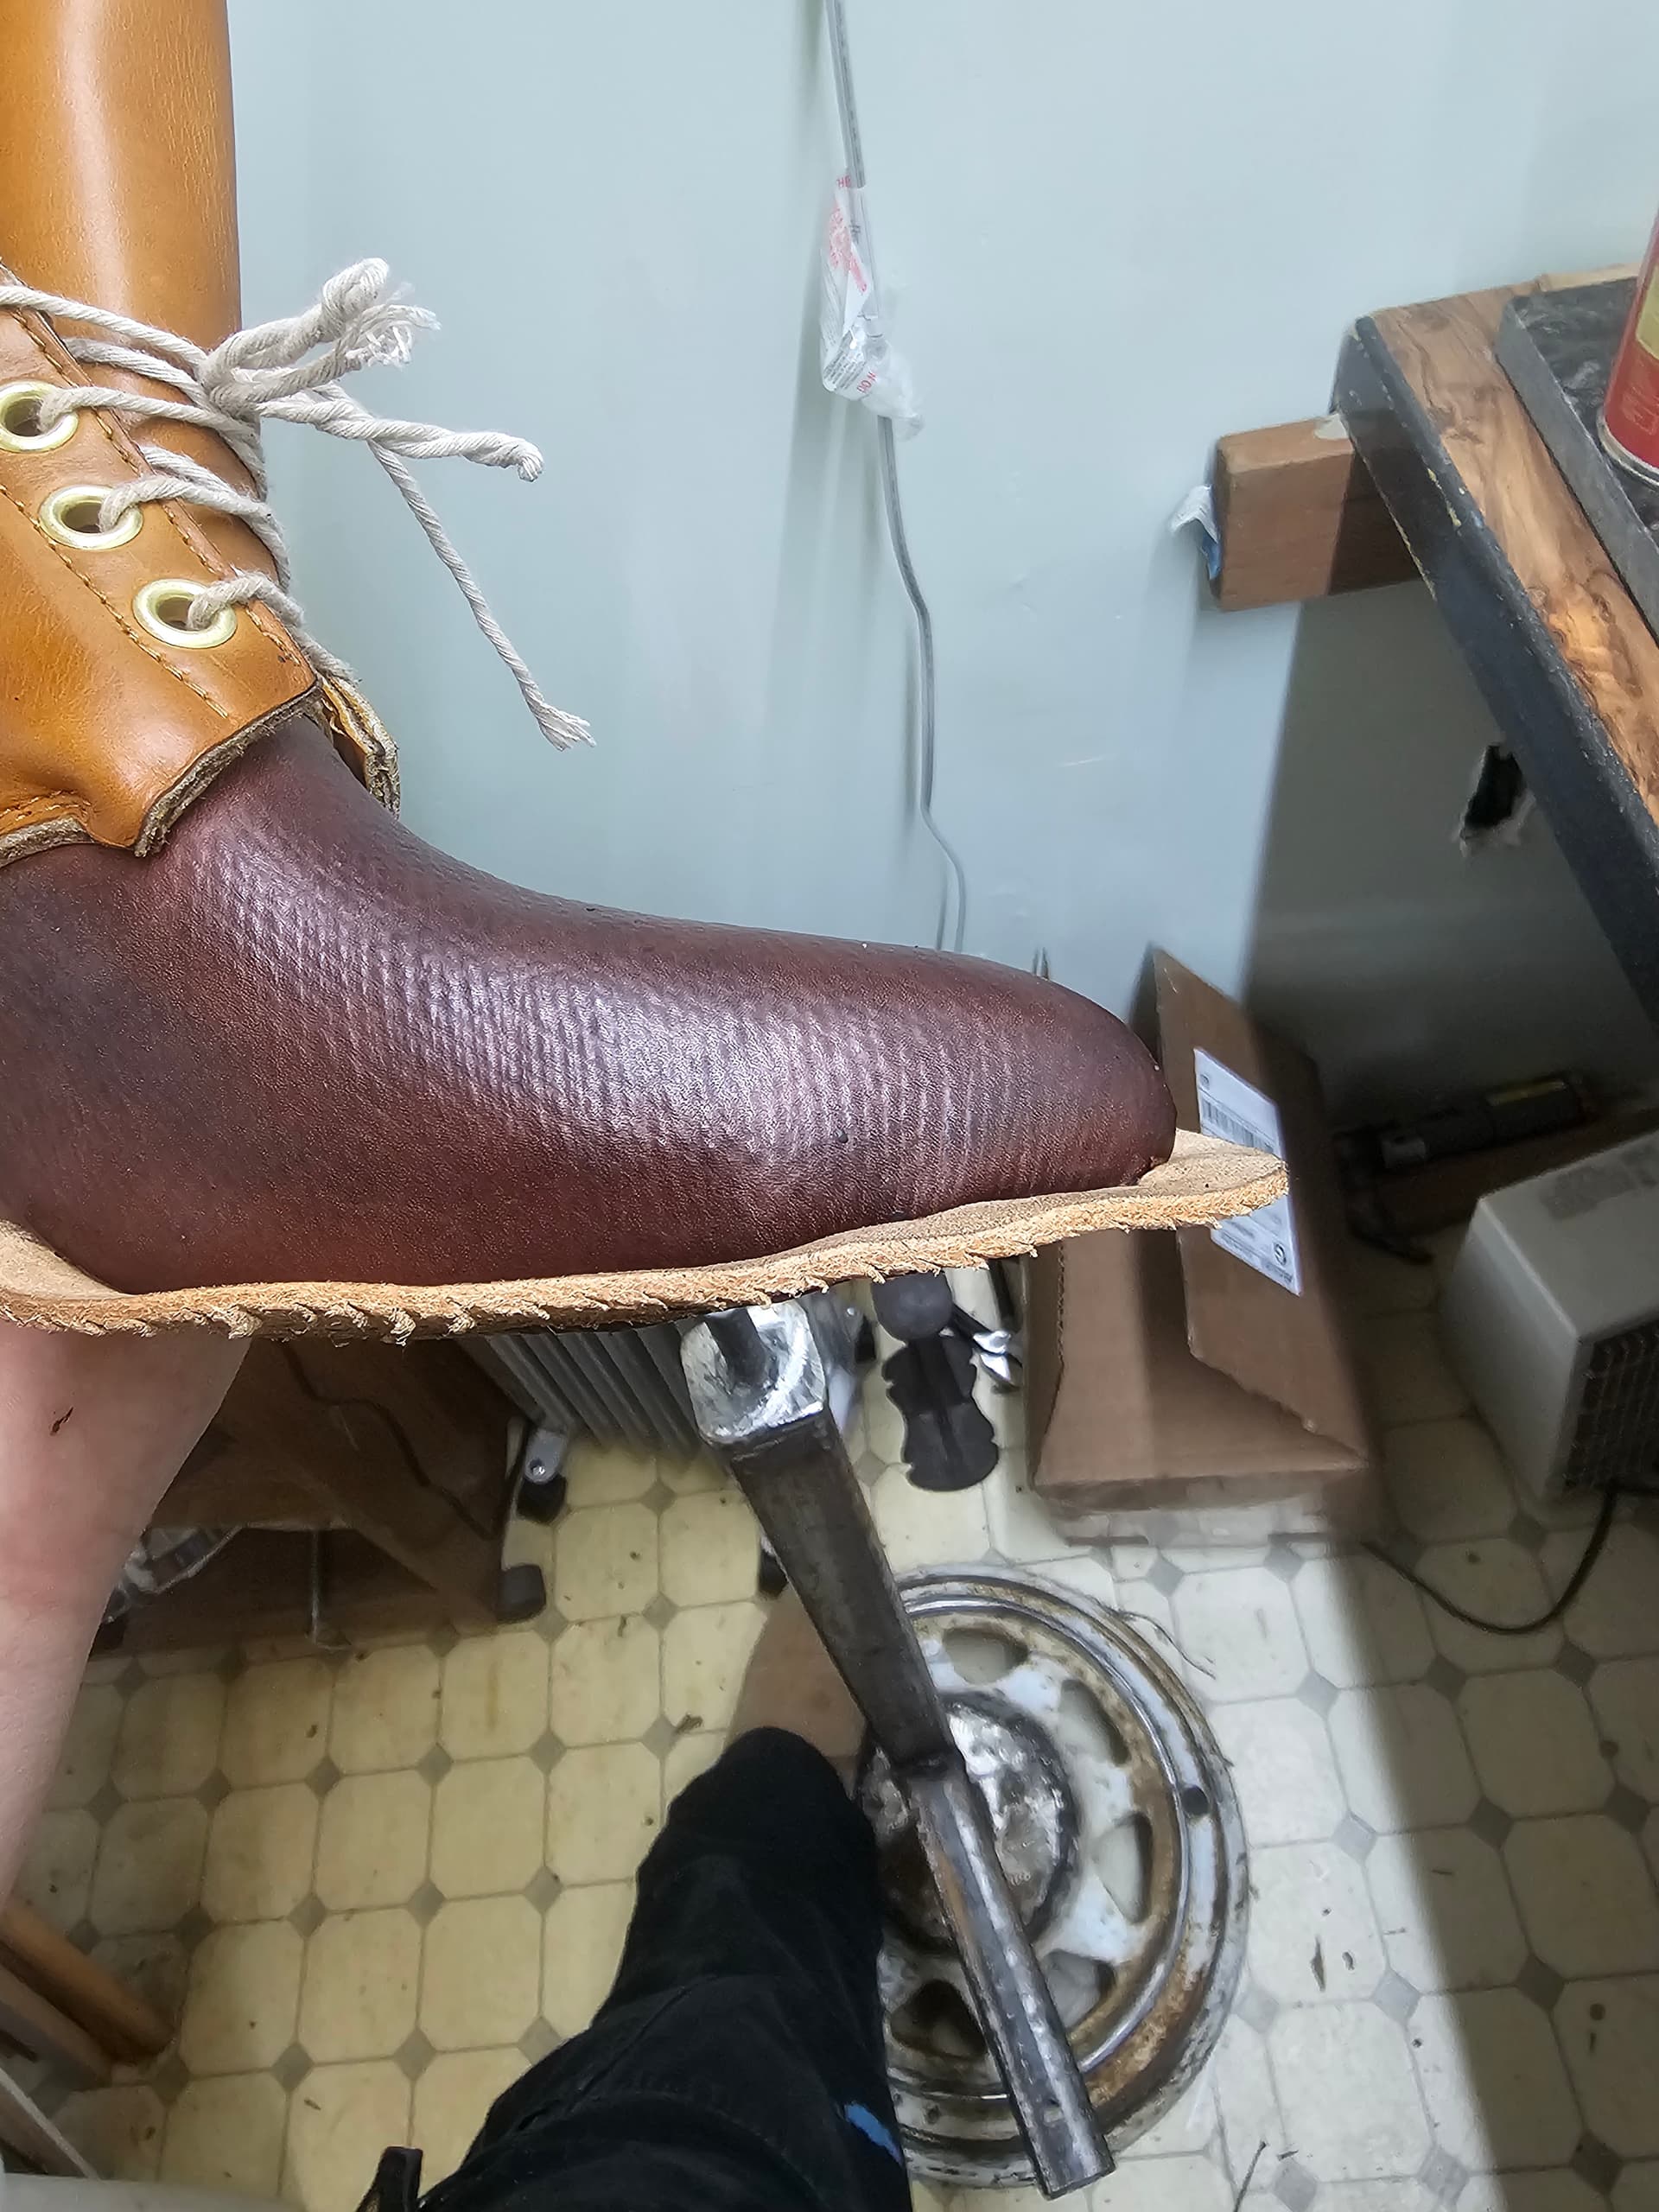
So far, everything has gone mostly according to plan, aside from not starting my welts far enough behind the ball, and some some issues with the grain splitting over the toe when lasting.
Getting ready to start building heels, and its been a lesson in ventilation, Renia’s CDC is not friendly in a poorly ventilated shop space.
Thanks for looking y’all, and i appreciate any and all advice you can share.
1 Like
Great photos! Nice to see all these in one place.
For a while I was trying to split my space in two: repair shop out in the garage, making inside. I still have my cobbler’s anvils and \welting post out in the garage. But I’ve slipped into keeping the contact cement indoors, and I find myself leaving the lasts inside until the very end, rather than delasting ASAP and doing bottoming like a repairman.
Part of it’s that I’m spoiled with a fume hood in my place. Even a little one helps a lot with the fume smell. But I think it would make sense keep separate toolboxes and workstations. Zero time in enclosed space with solvents would be another benefit.
1 Like
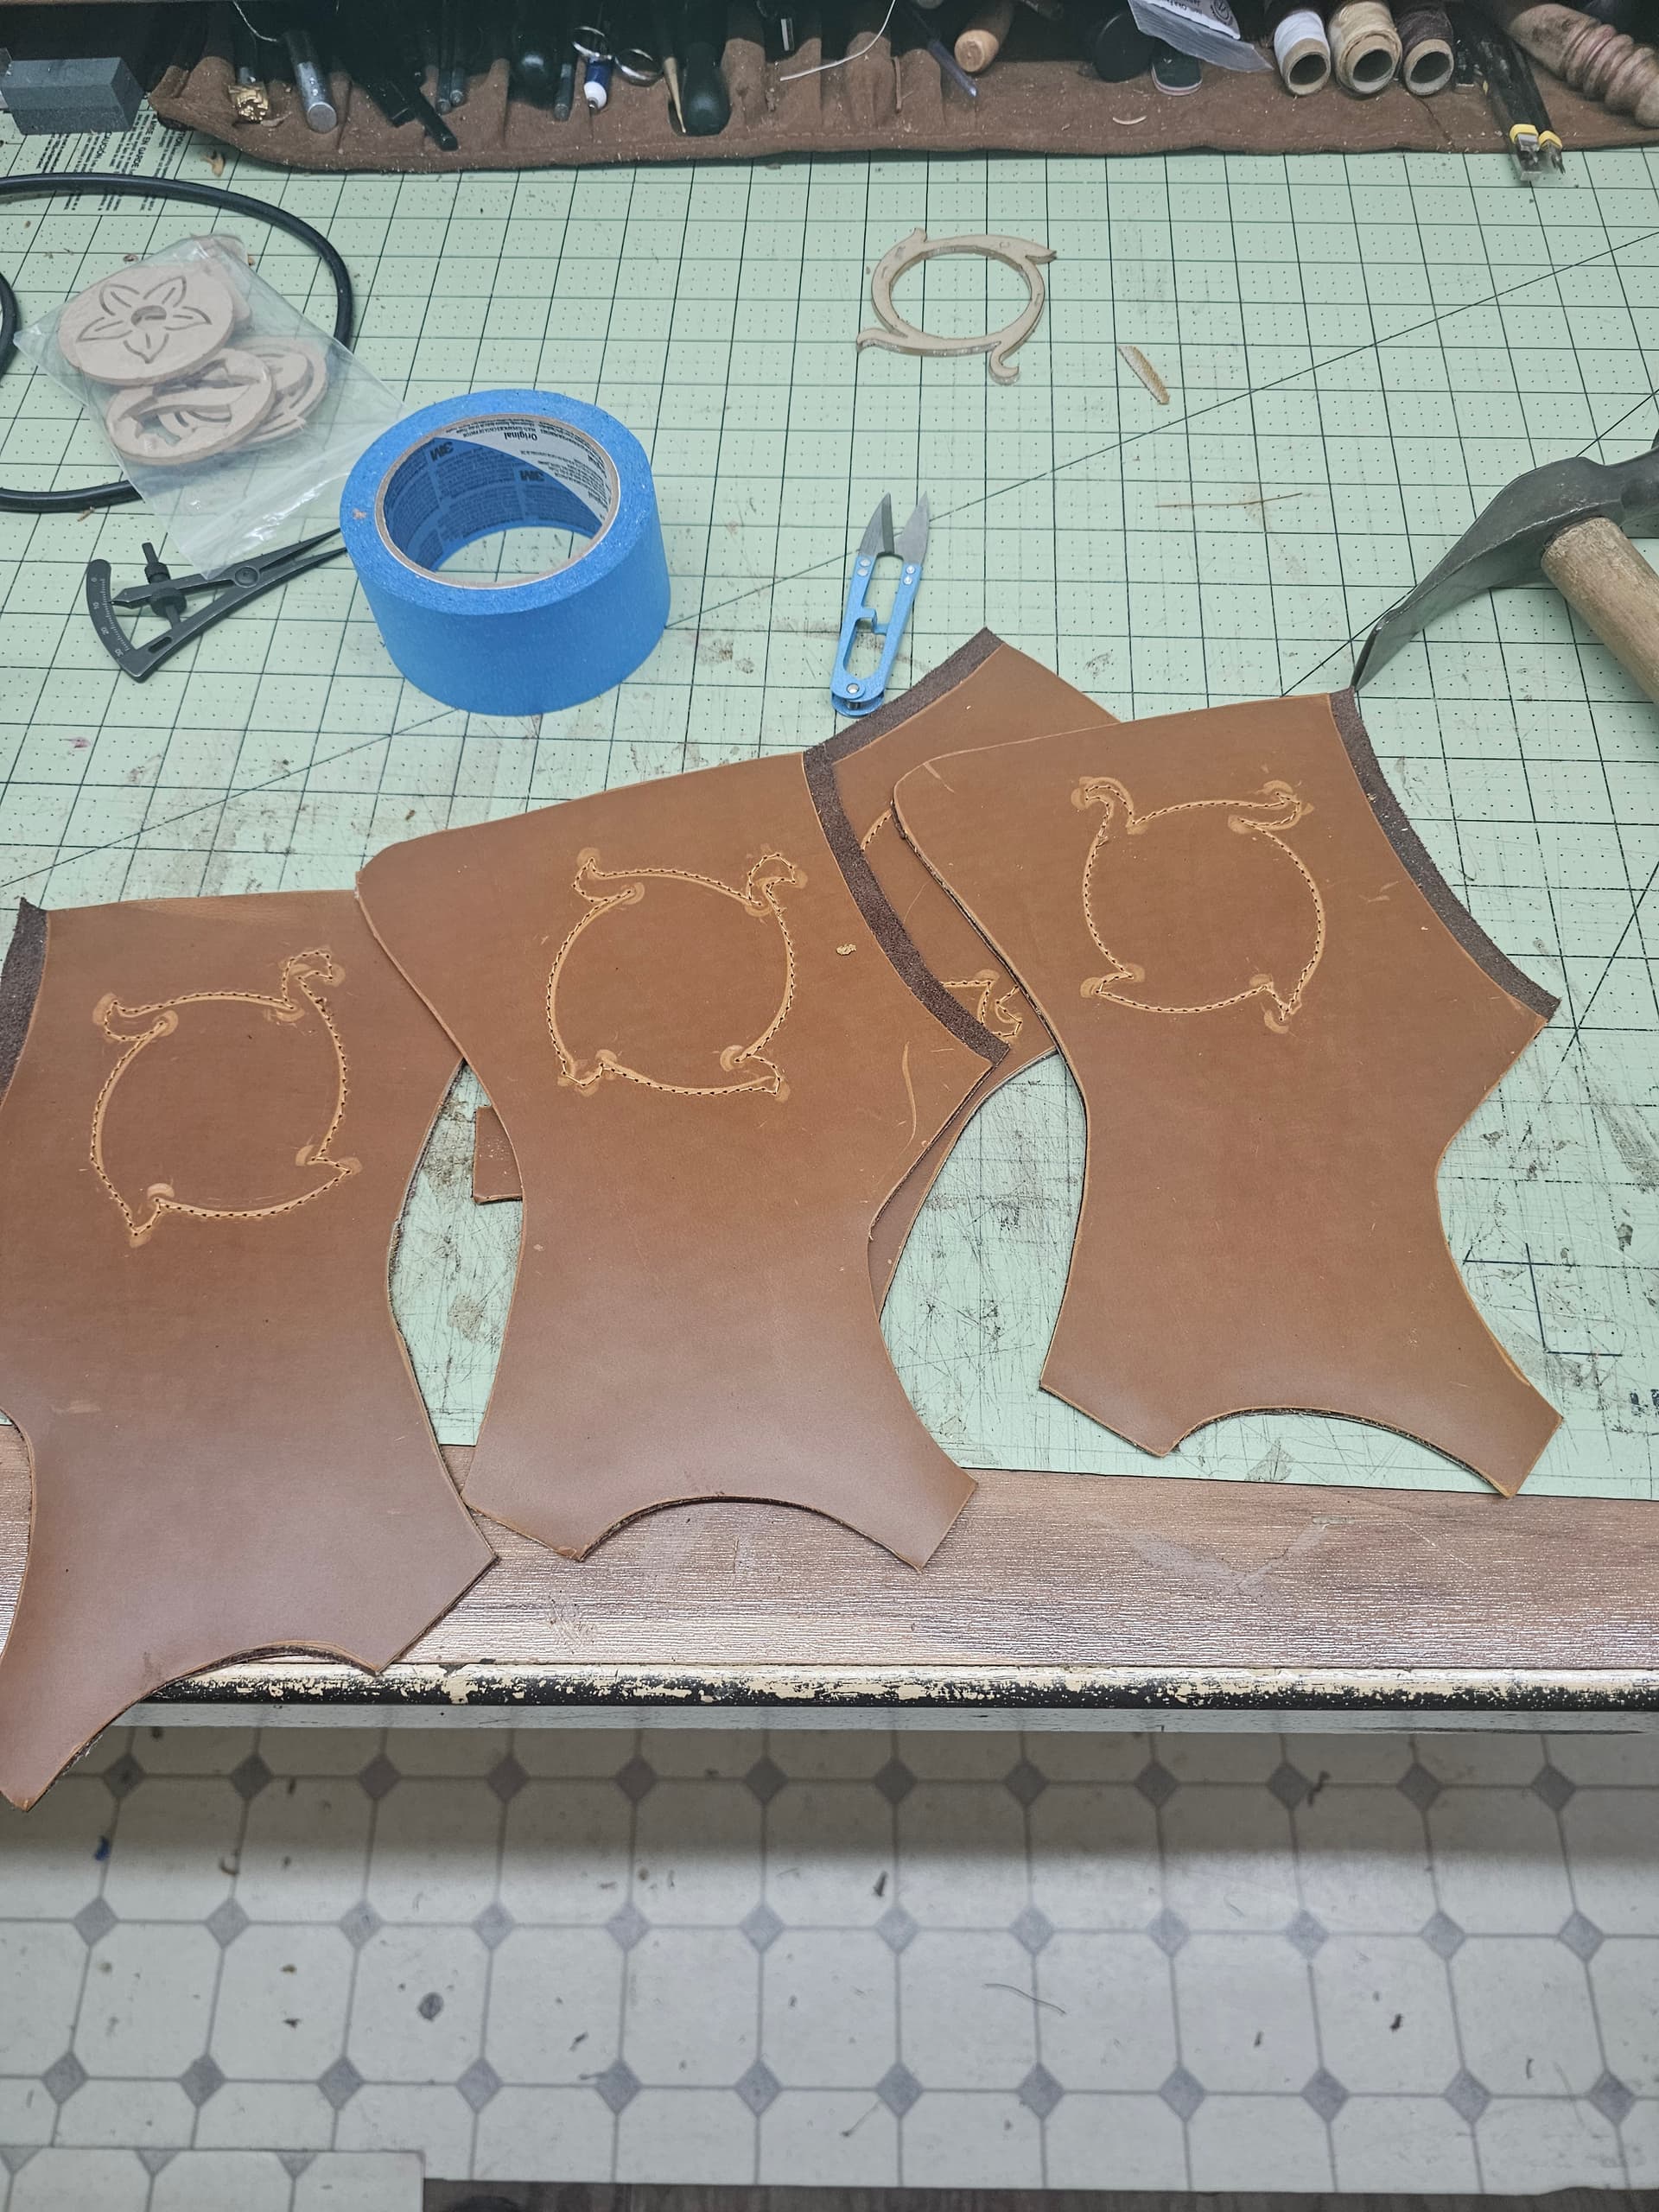
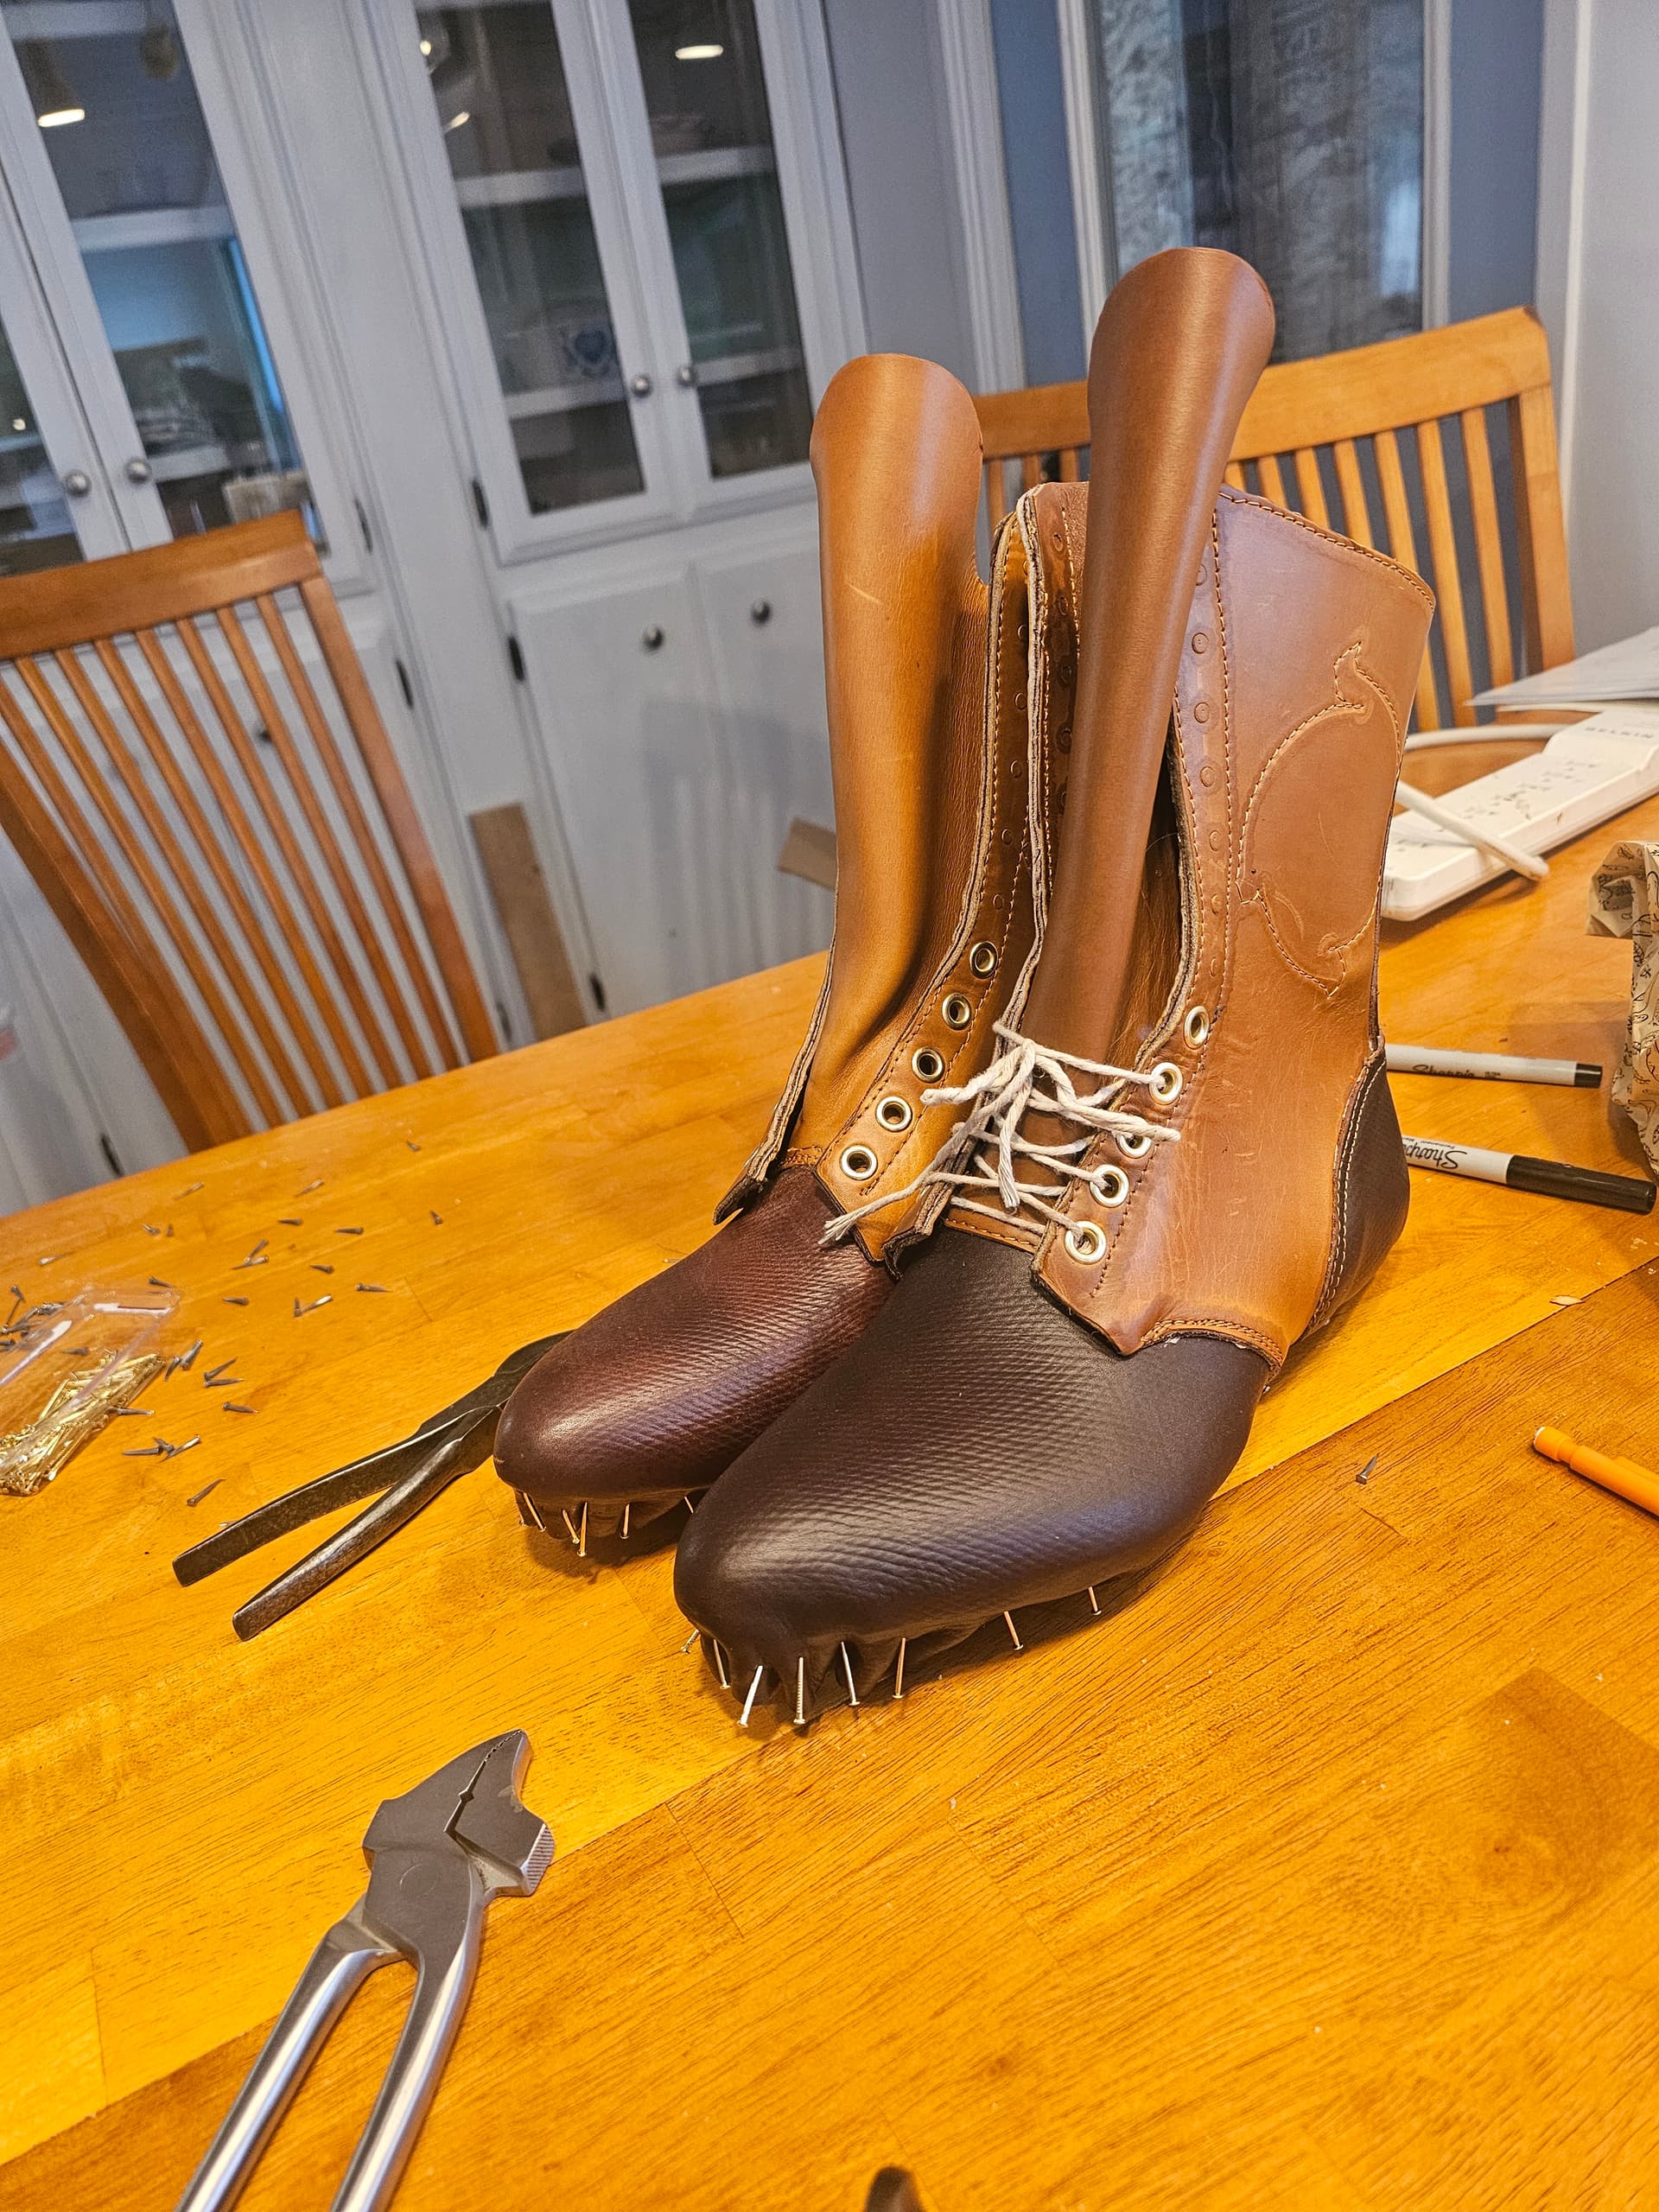
Hey, @KBayCustomLeather: What’s the story behind the design on the quarters?
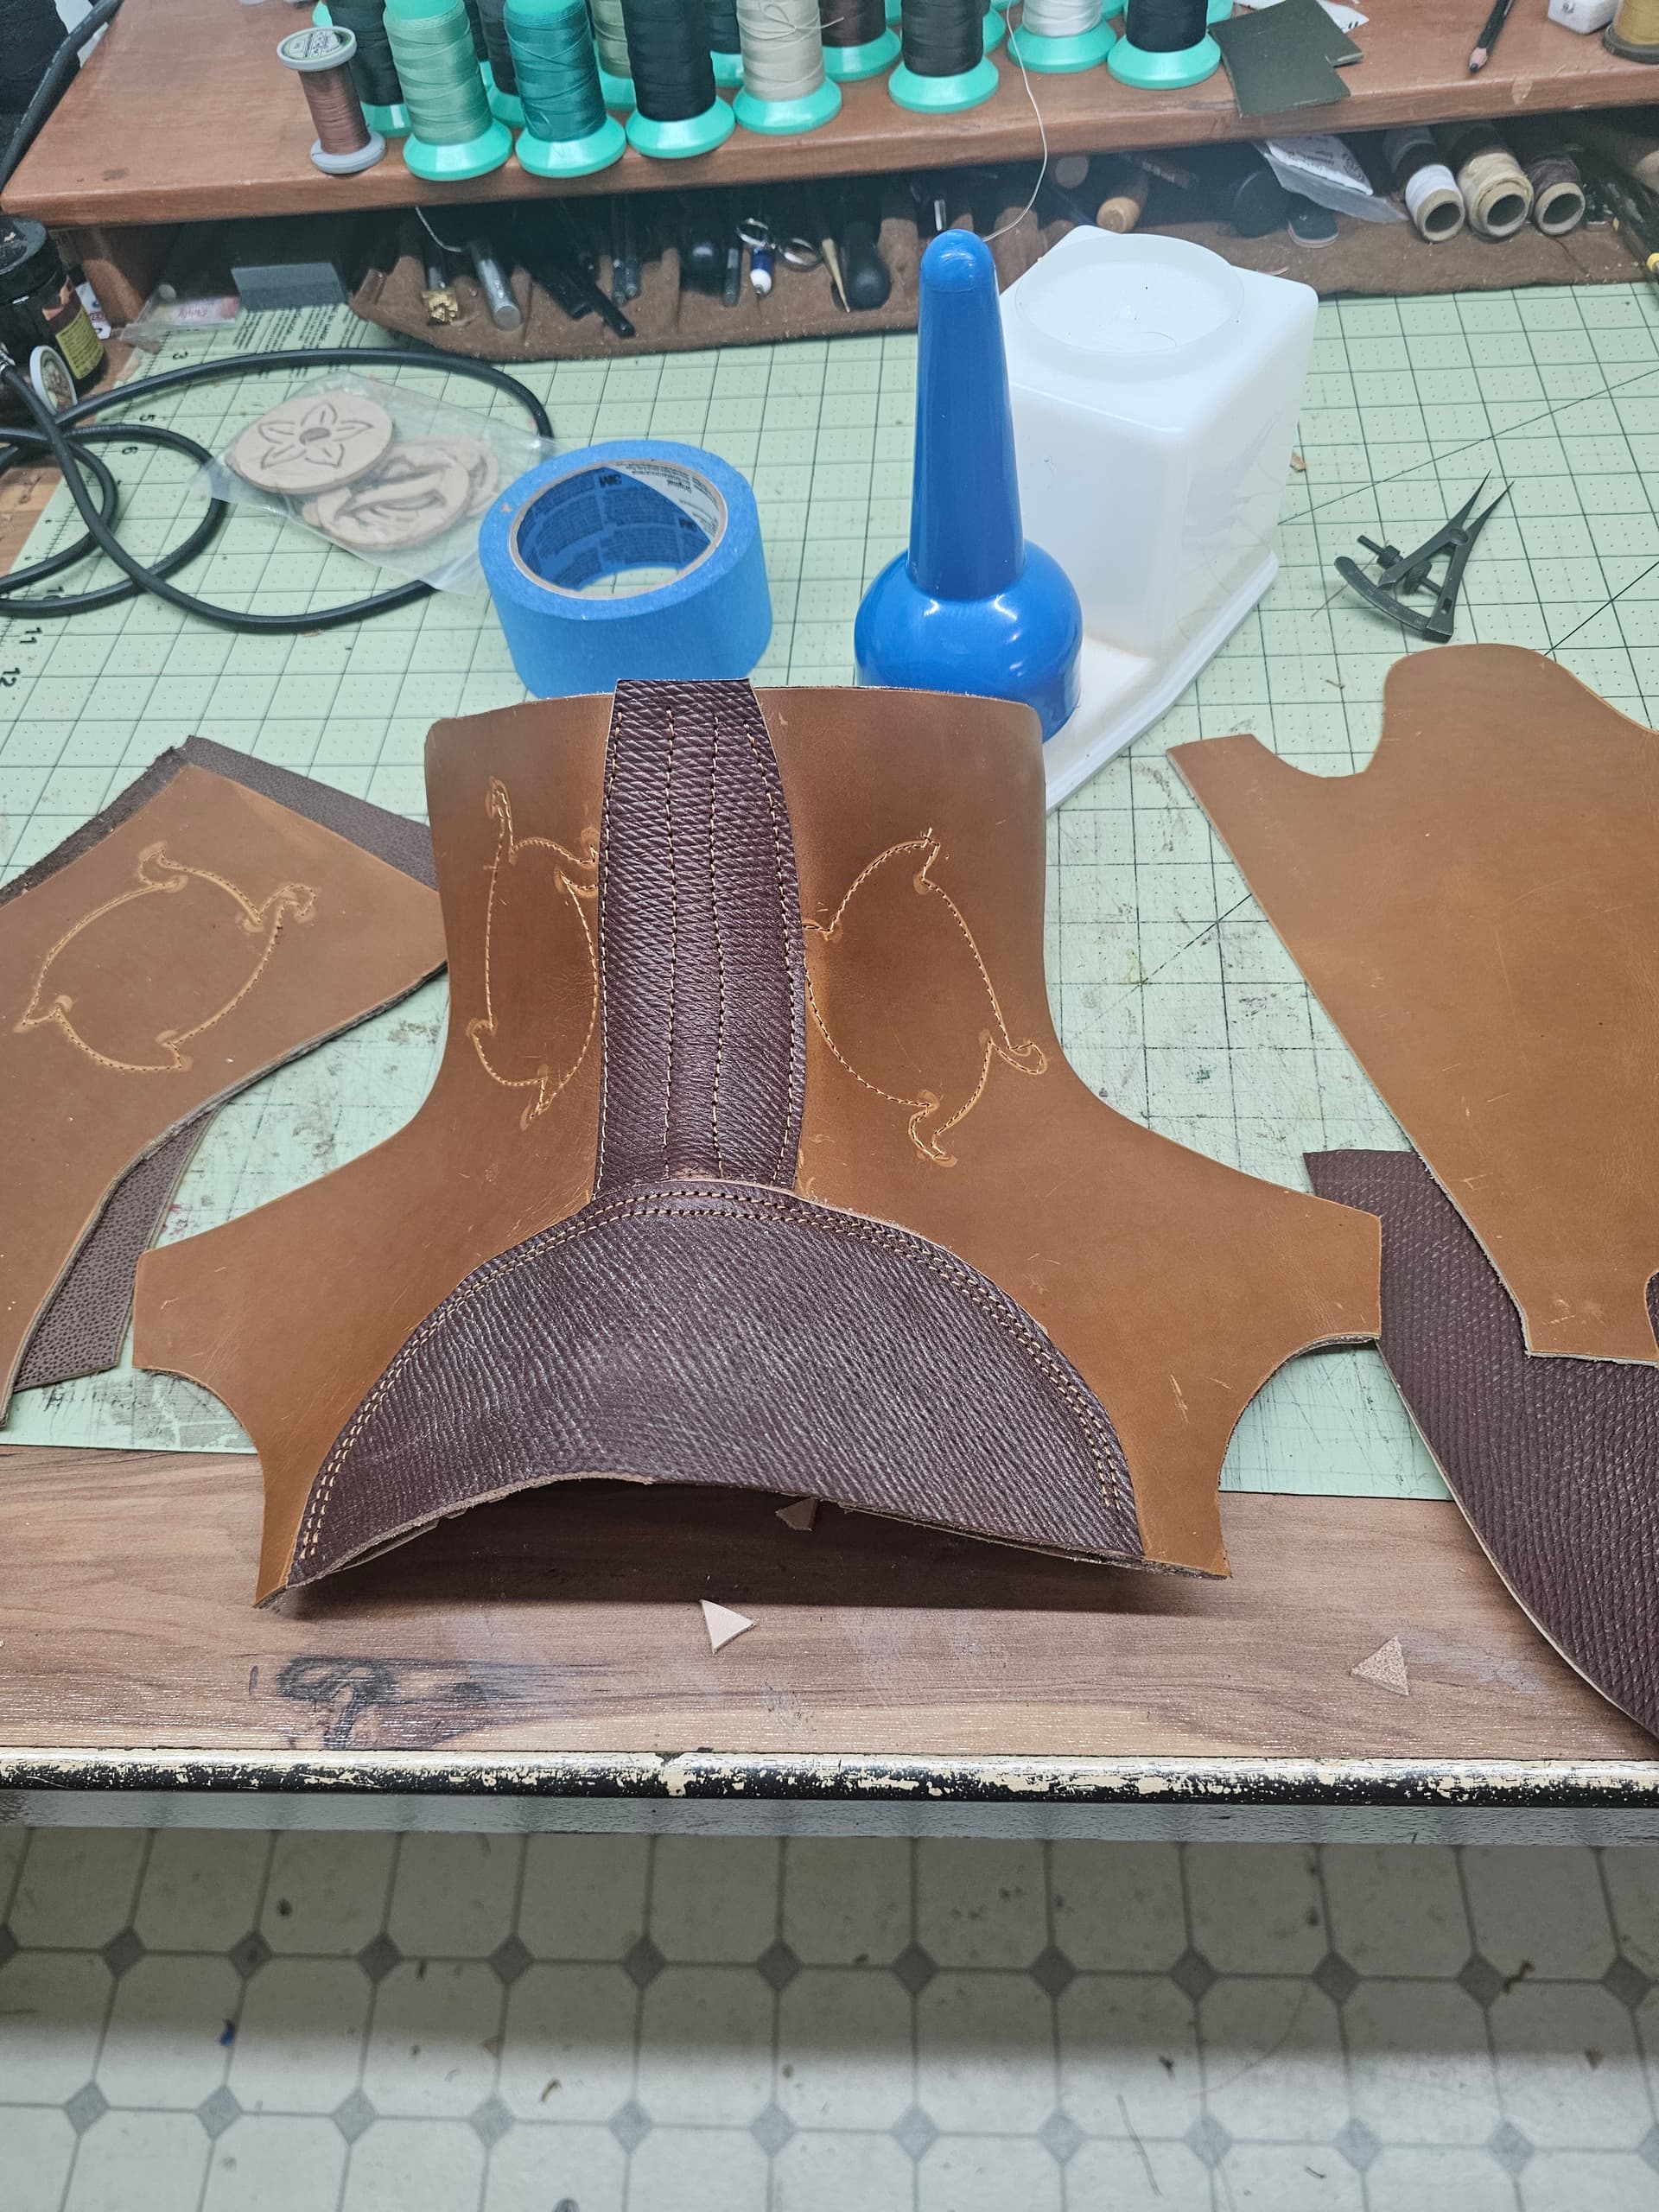
I needed some decorative stitching to help anchor the lining to the quarters, and had a floral vinework drawing template that i just traced off instead of using it to do a full floral design. Felt lazy, but it doesnt look terrible. Lol
1 Like
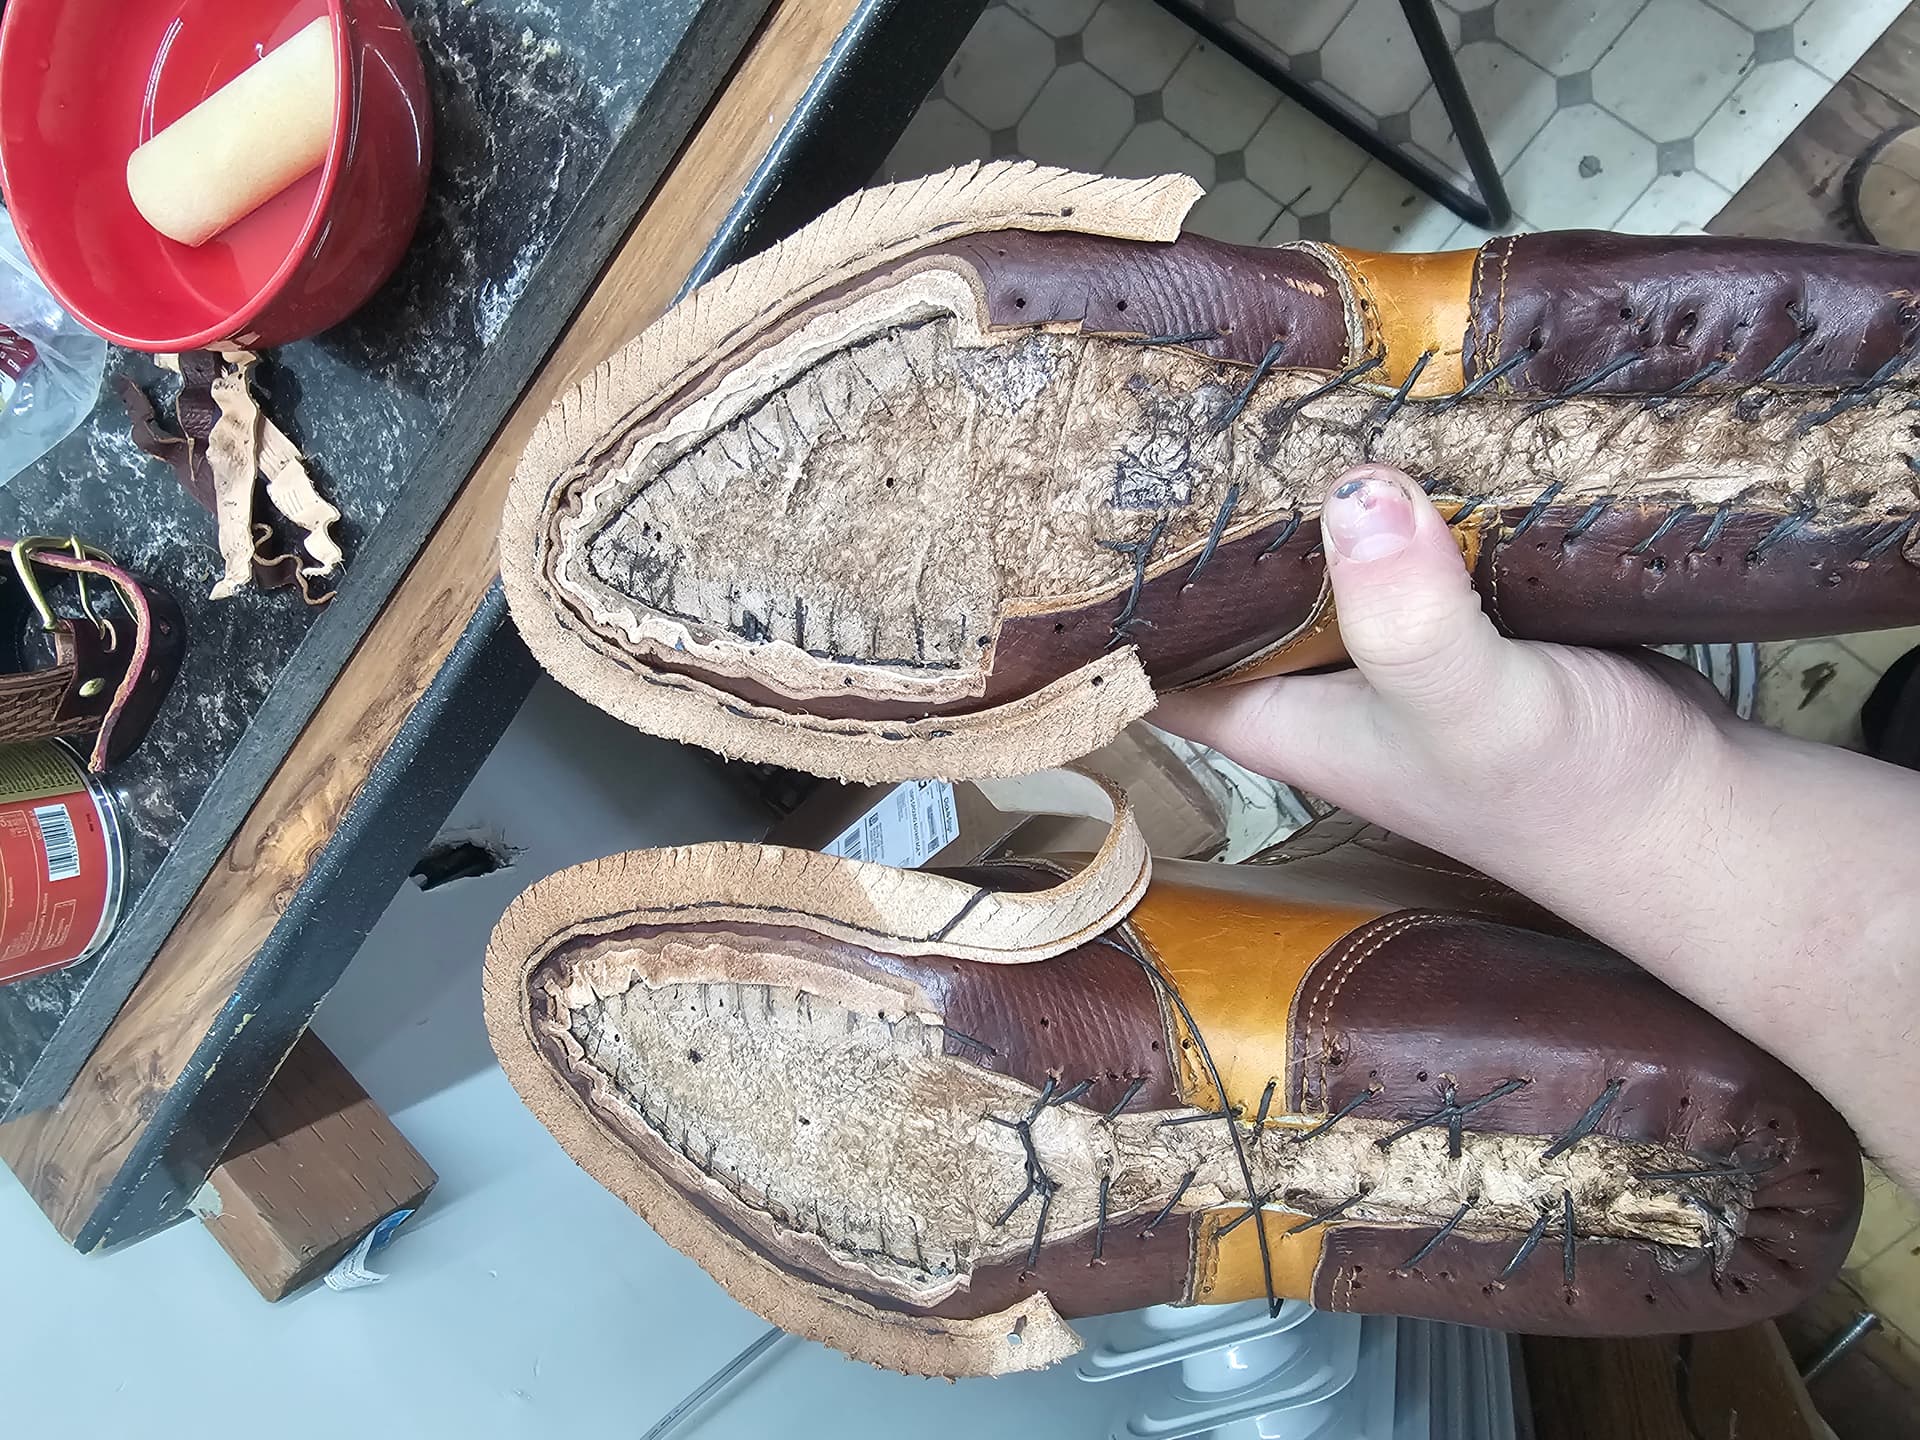
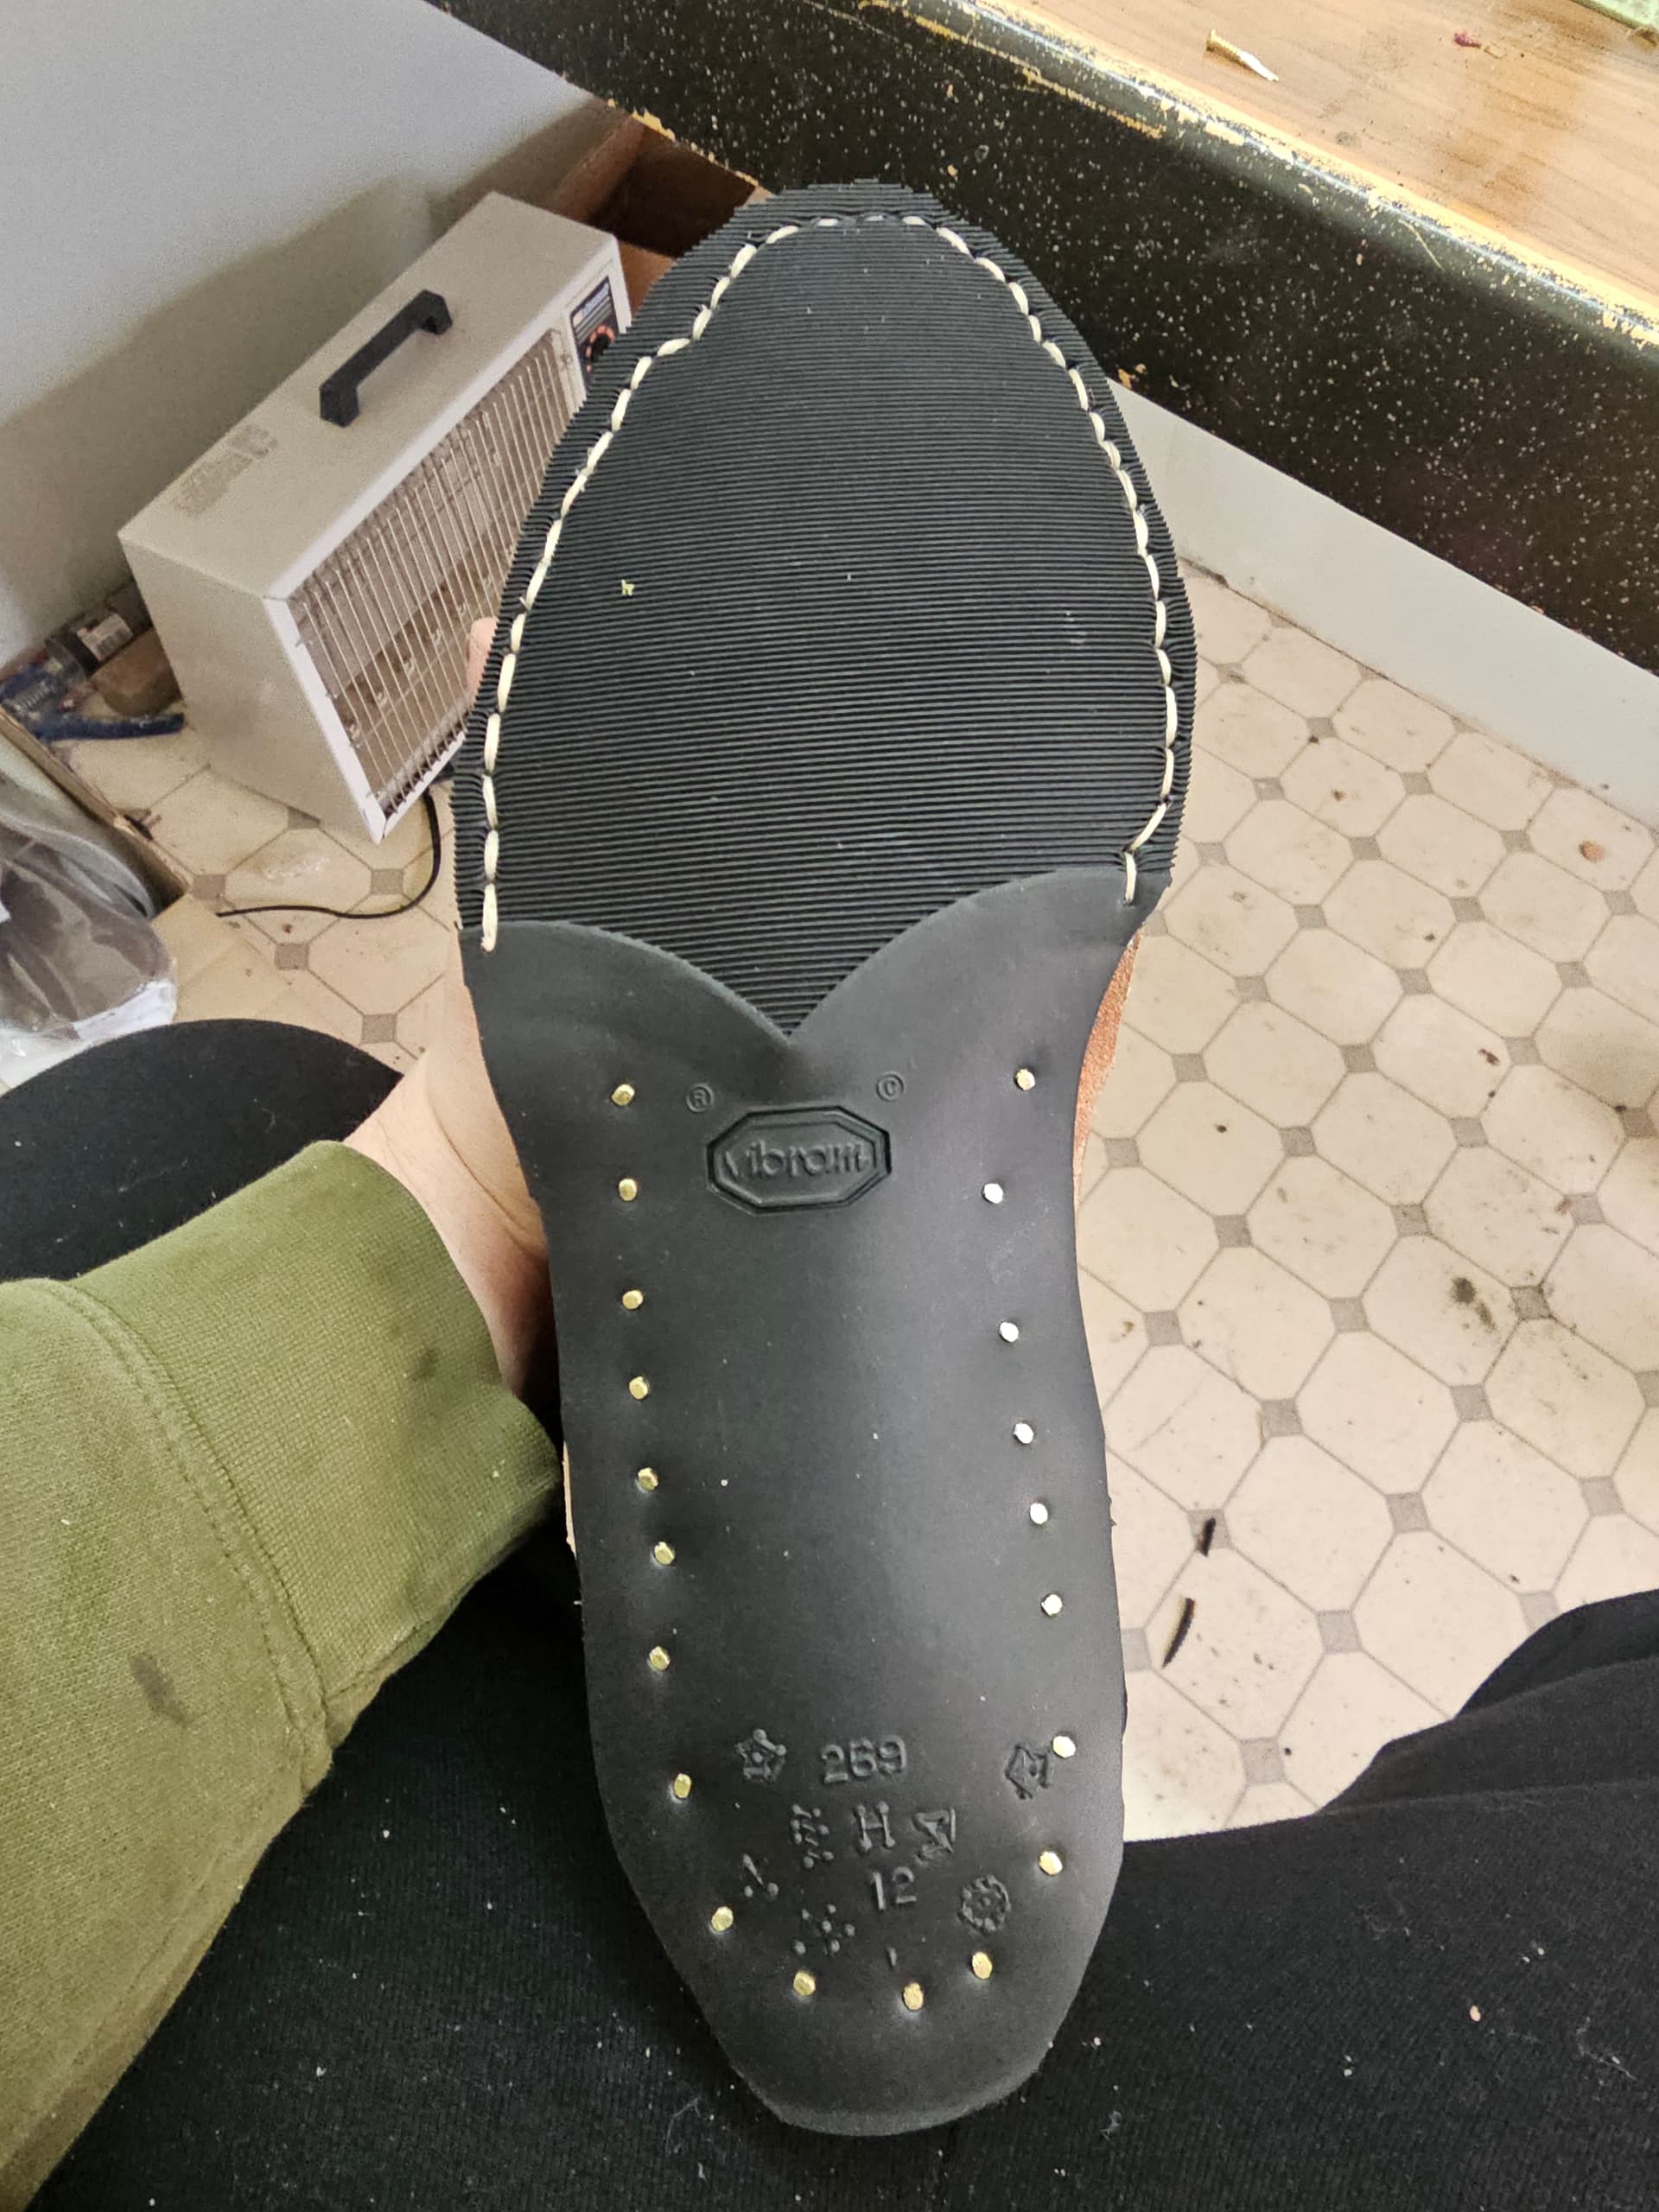
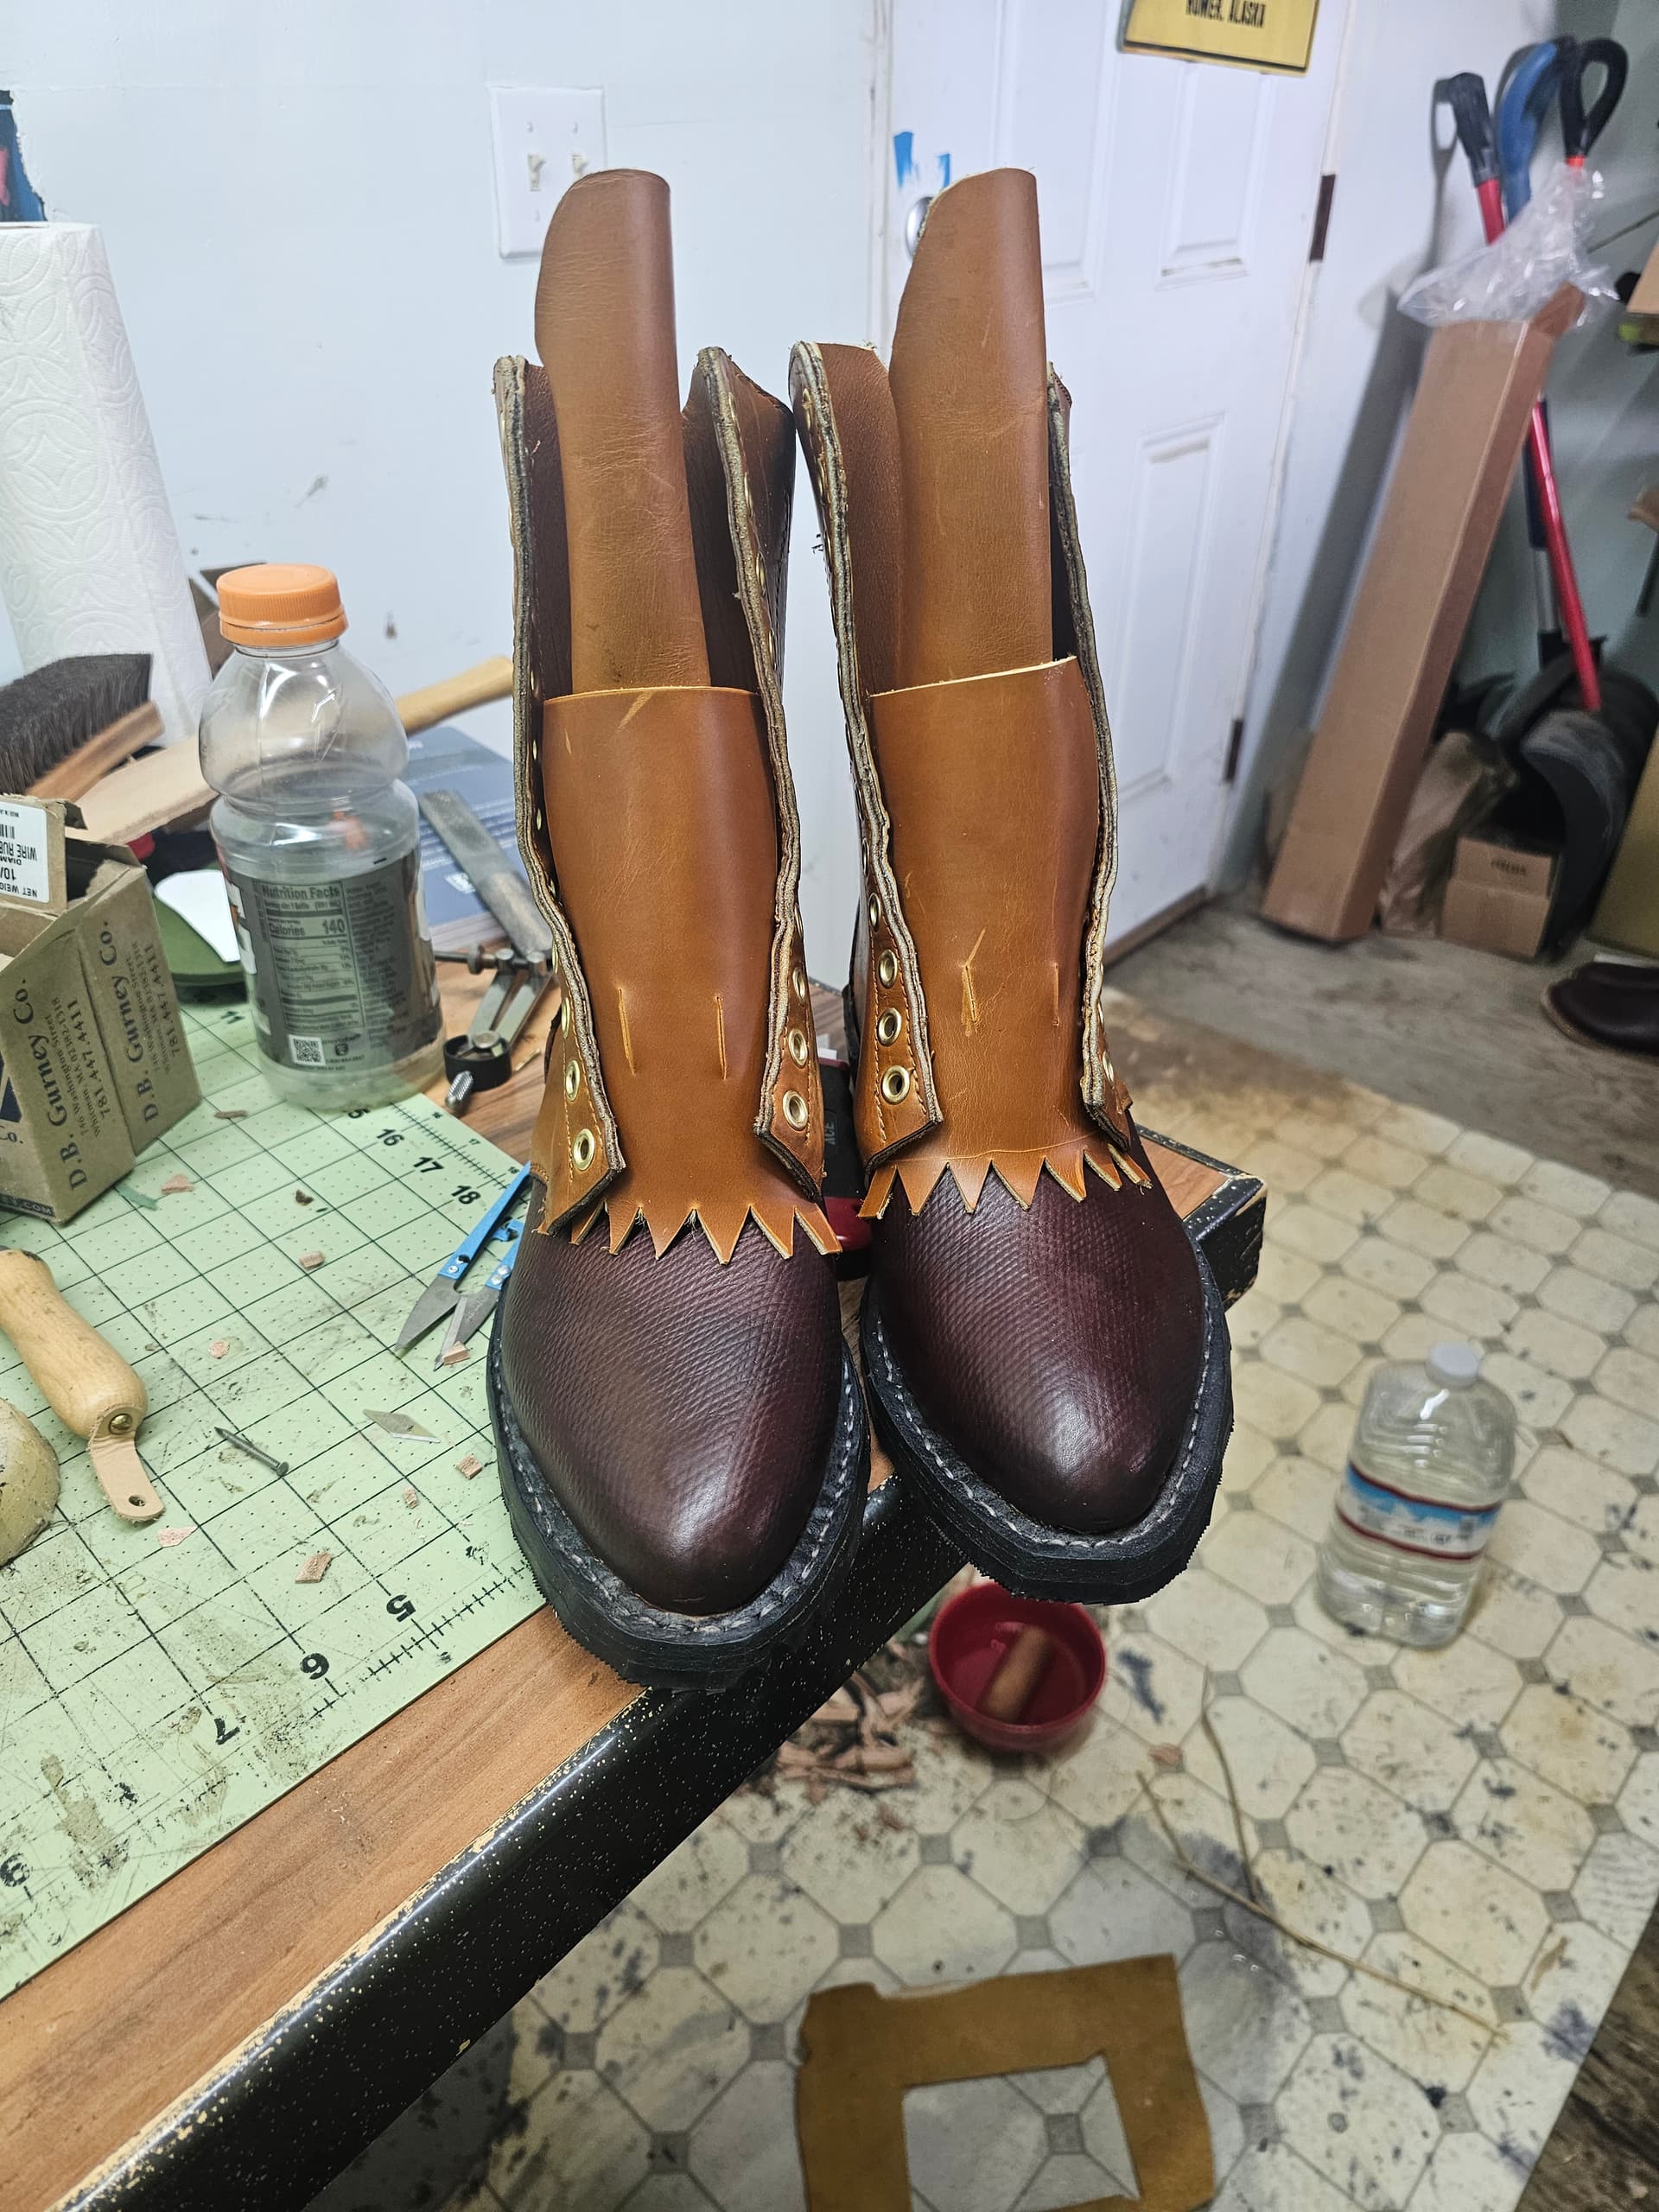
Probably the final update on my first “Real” pair of boots.
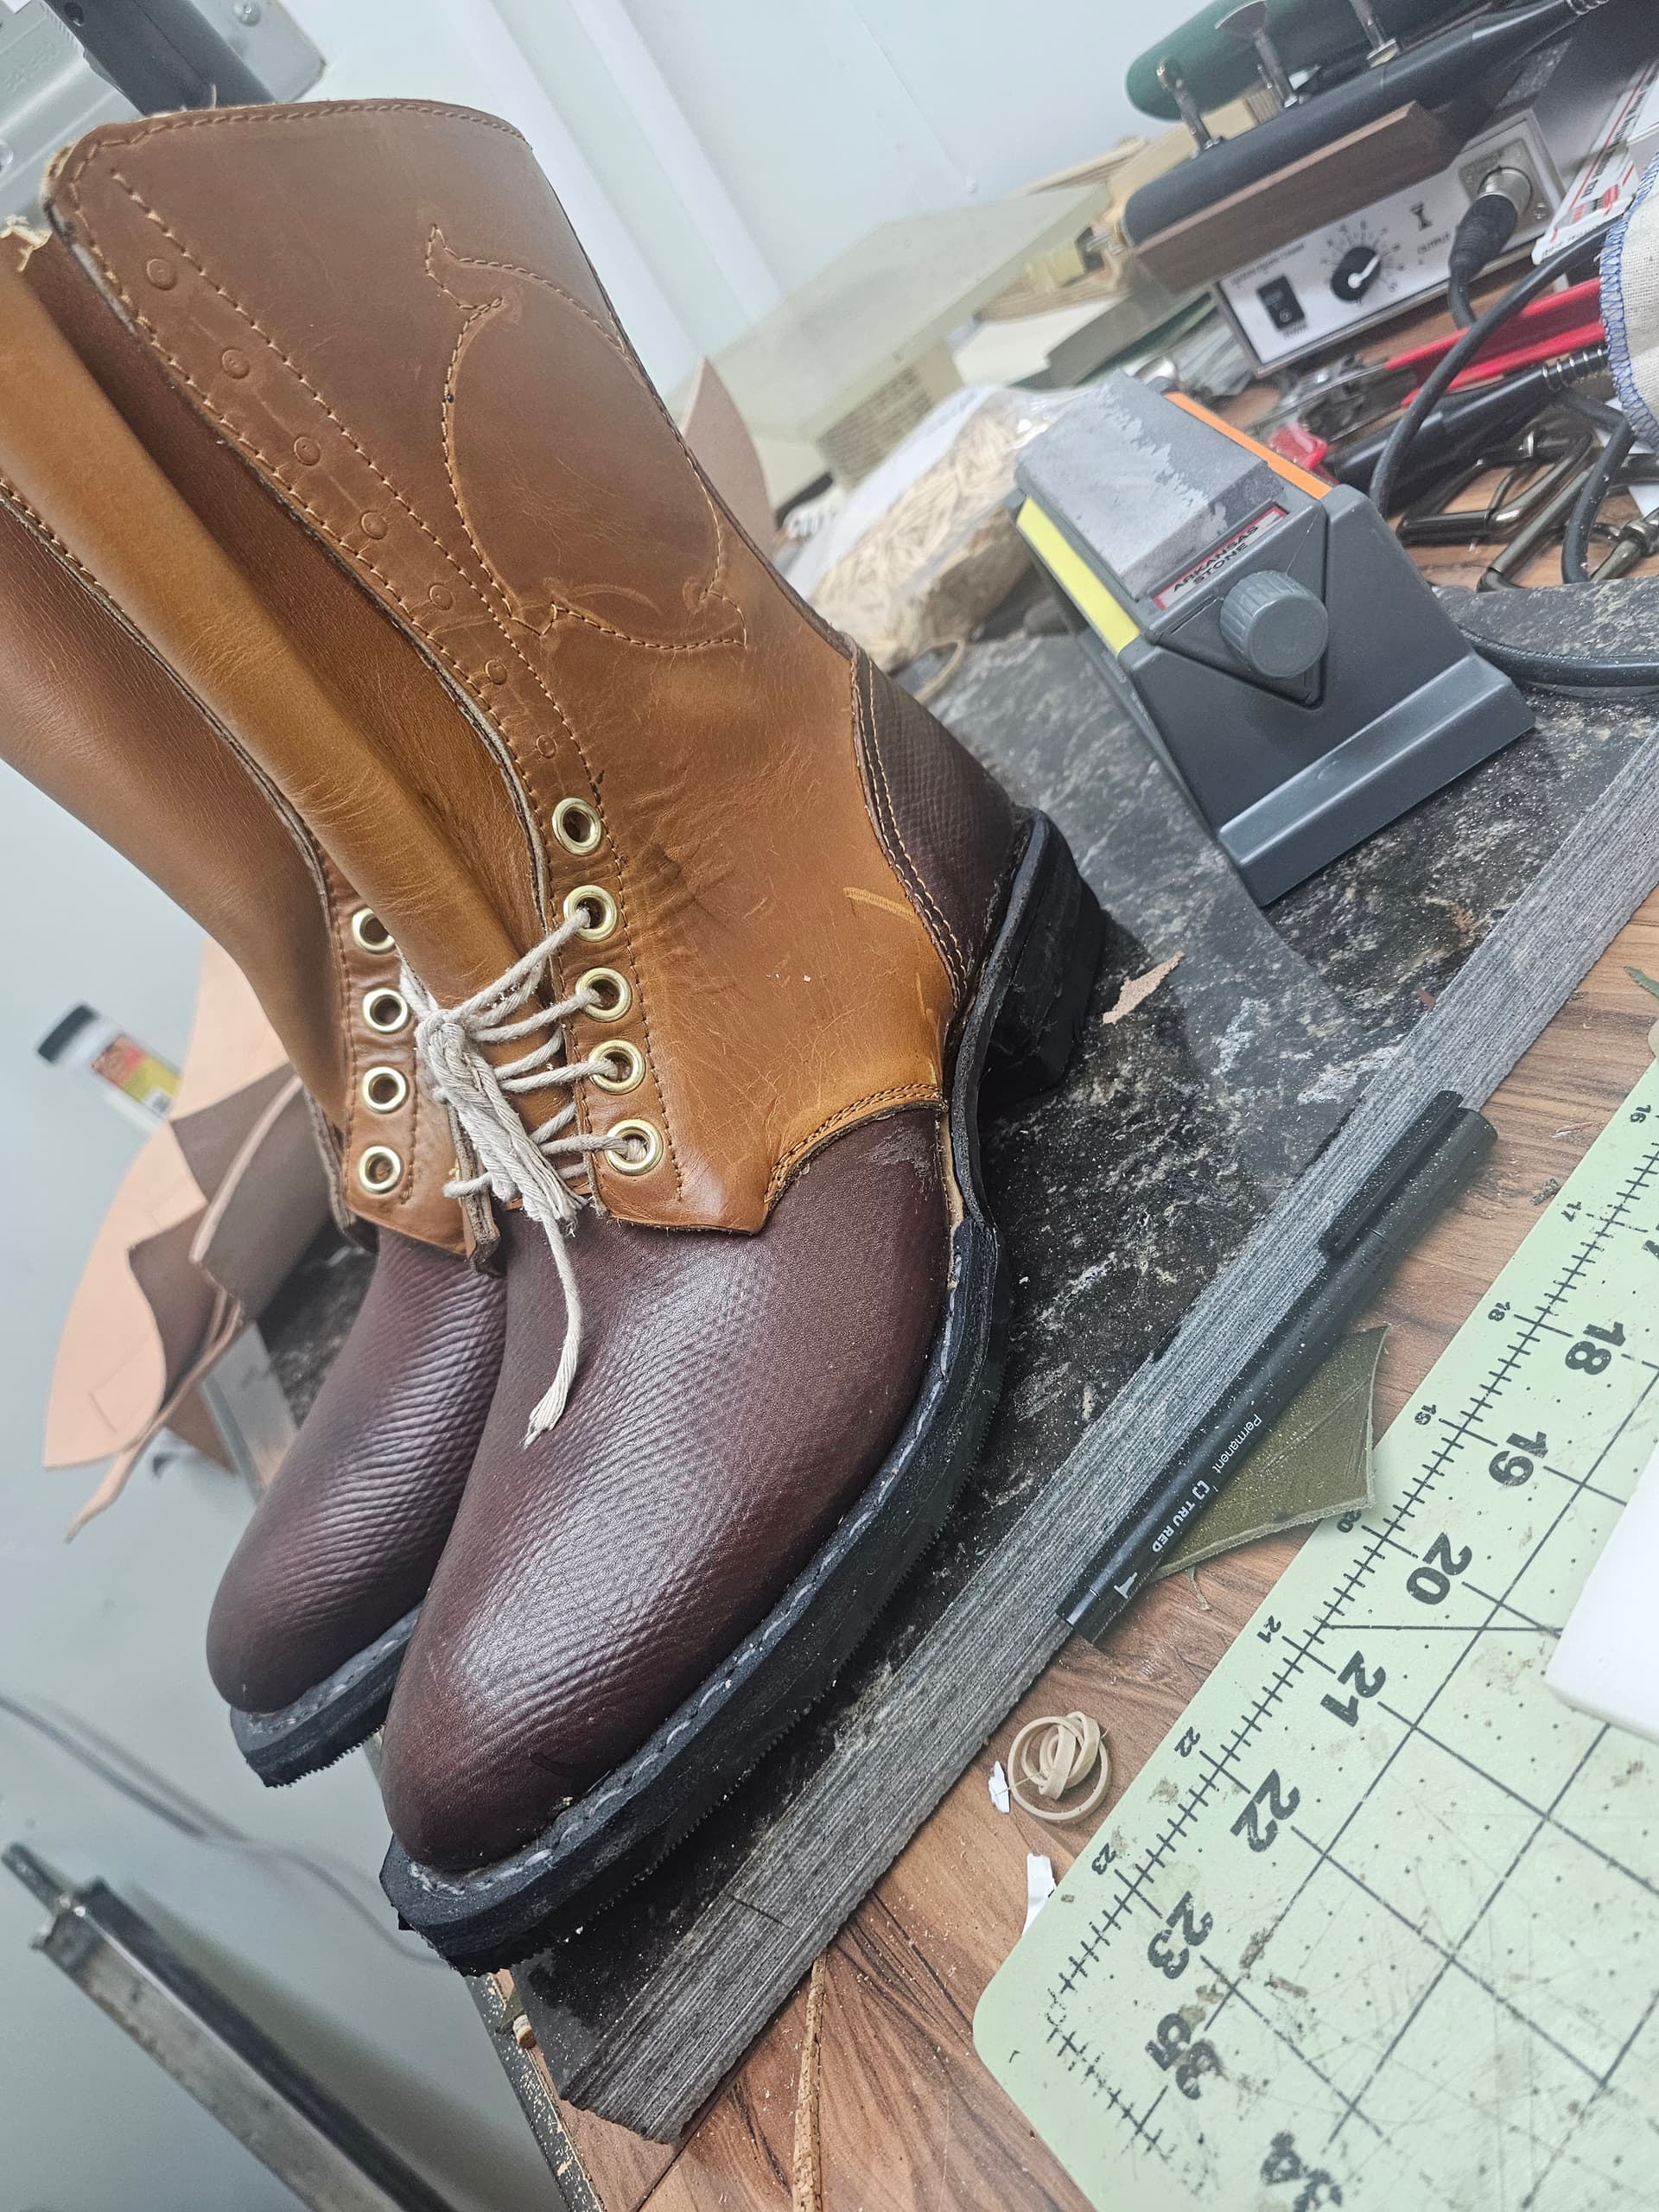
Got the heels built and shaped, all the eyelets set, kilties cut, and edges dyed and waxed.
Hand shaping and sanding heels felt like an excercise in carpal tunnel flareups, but provided a valuable learning experience in getting the correct shape, and also convinced me to go out and immediately acquire a belt sander.
The fit is fantastic; after my first mis-step in sizing lasts, it certainly feels like an accomplishment to put a badly tied bow on this pair.
I tend to have a particularly hypercritical eye of my own work, but in wearing them, im attempting to have a little grace for myself.
Thanks for looking; and for all the advice ive bothered out of everyone  !
!
1 Like
Congrats! Especially on the fit. If that’s your first pair on lasts meant just for you, well, it can definitely be addictive.
I haven’t bought a sander yet, and am holding out so far. But I definitely get the frustration, especially if you’re managing prior injuries. I suppose whether you mechanize or not, it really pays to cut as much as you can, as exactly as you can.
These are great! But I literally cannot imagine anyone hand-sanding soling leather? like 11 iron veg tan?? Take care of your joints! I had to spend quite a while healing my blacksmithing elbow before I could work on shoes for 4 hours at a time without it screaming at me to stop, and having the right tools on the right stand and using an ergonomic stance will both help you prevent injury and have better control, I’m worried about you @kemitchell!
Can you say more about how you waxed the edges @KBayCustomLeather? I just got a little edge iron and redid the soles on the first pair I ever made (post incoming) and it was pretty alright but I was not sure I was doing it right!
1 Like
Thanks!
Im nothing if not a glutton for punishment apparently, but i ran out and picked up a belt sander IMMEDIATELY after i shaped those heels with 80grit and a rasp. XD
On waxing, i just used the wax spatula attachment on my electric creaser i picked up for small goods, its vaguely shaped like a heel iron, and turned the heat really high. I didnt get a super lustery shine using just beeswax, but it set the edges fairly nicely, after dying, i just went over all of it twice with a thin layer, and cooked it in.
1 Like
Edges really haven’t hurt me so far. I’m no expert, especially on dress edge finishing, but for shape the trick has just been to really plan ahead, whittle very carefully, and get the right knife suitably sharp. For heels, that means drawing a little diagram of the intended profile, measuring the thickness of my lifts, and creating a quick paper tempate for each layer.
I have managed to screw up my right elbow, or something in that area. But that was outseaming with a square awl. And I just got in a new tool from Dick Anderson that I think is going to ease that work a ton.