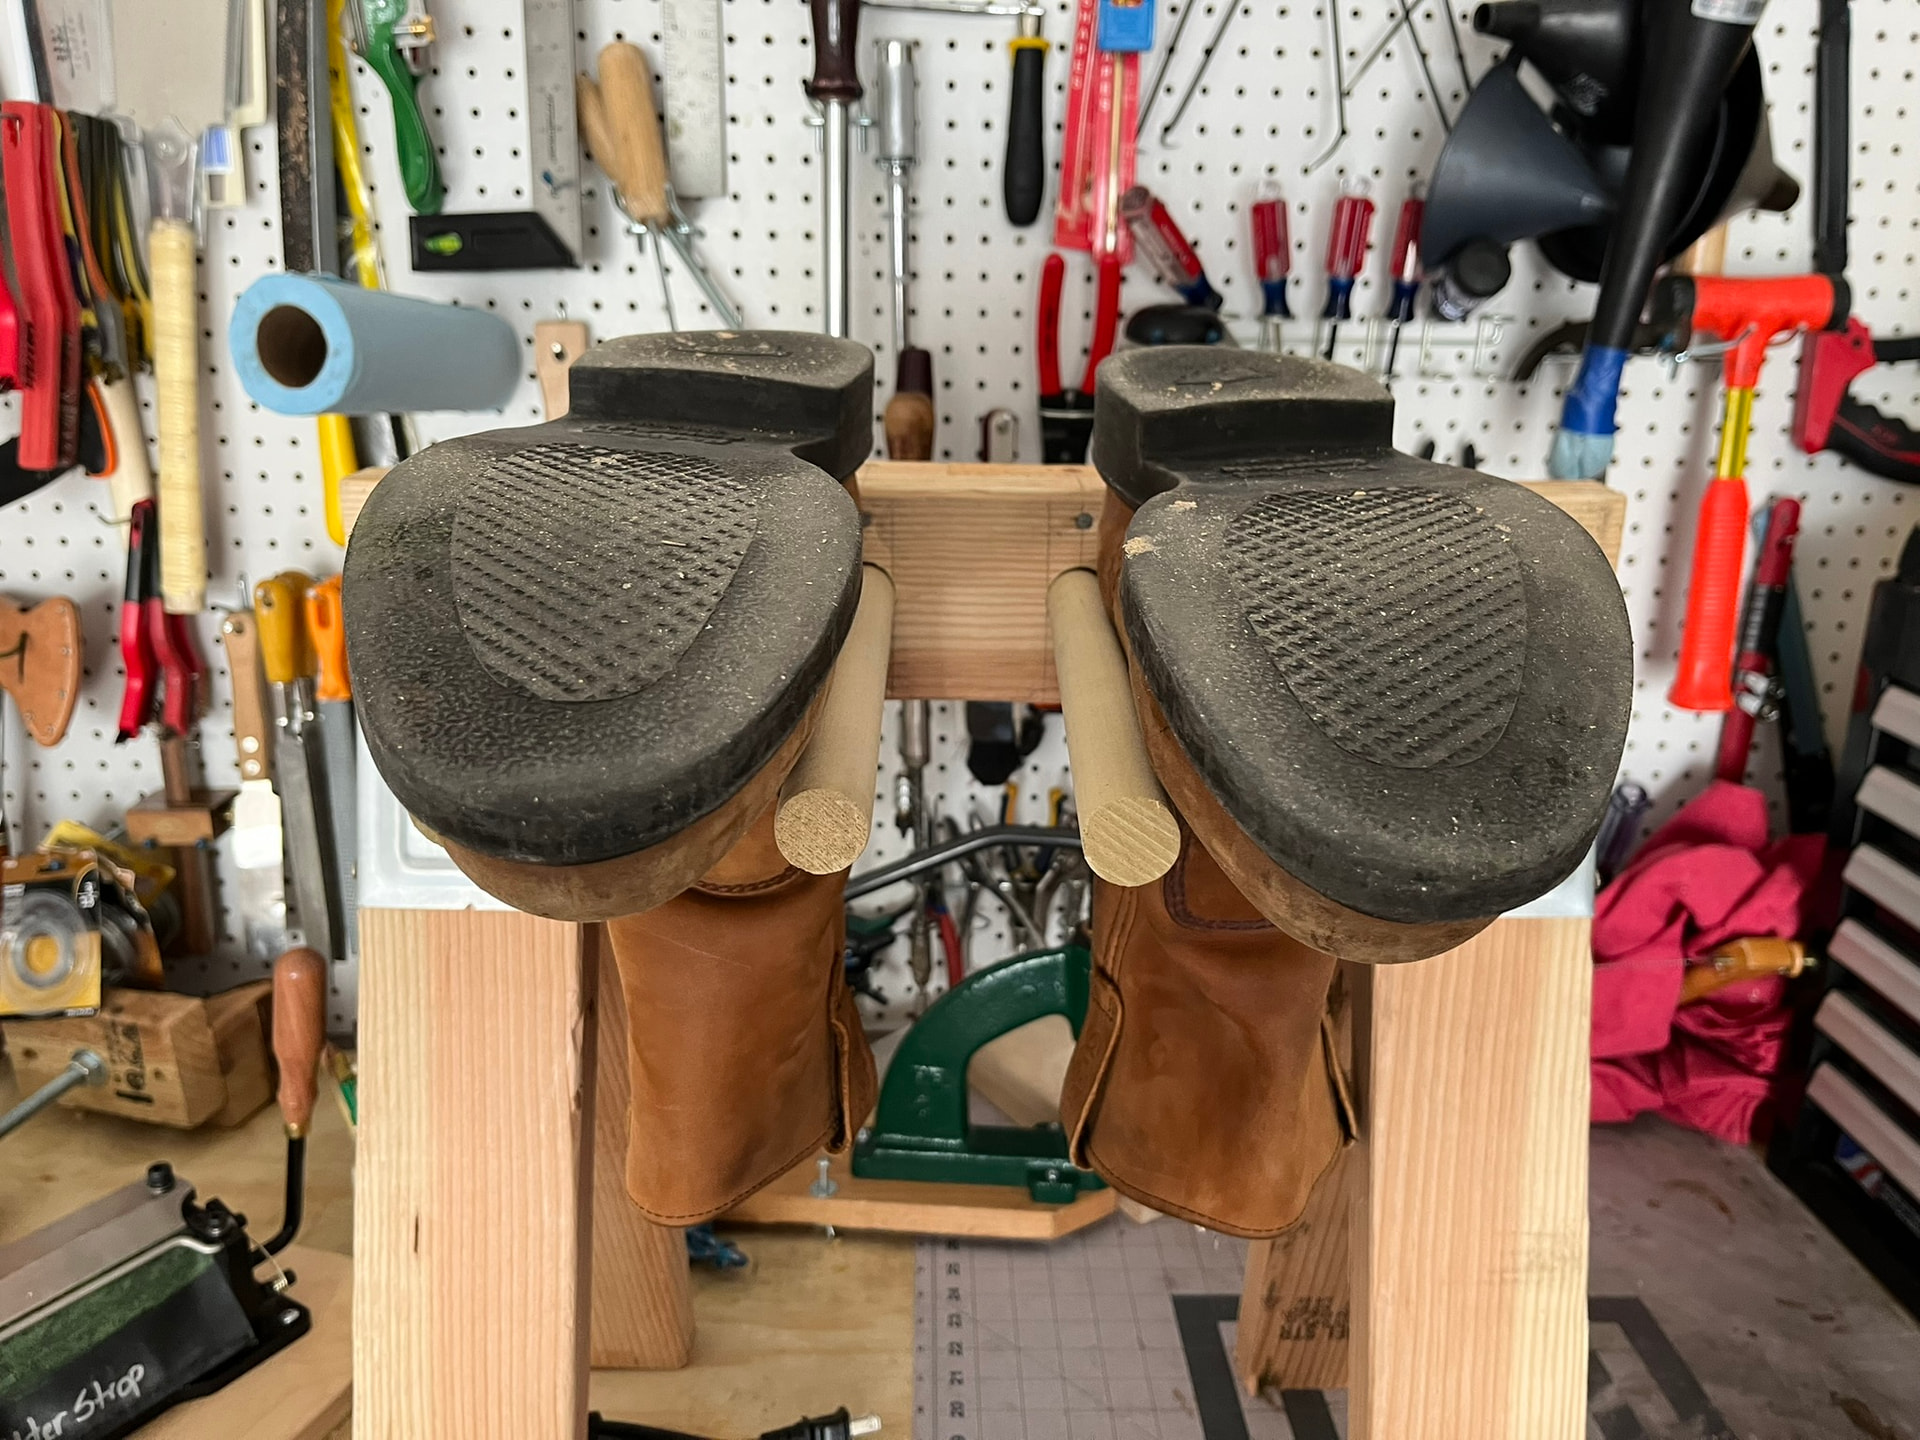
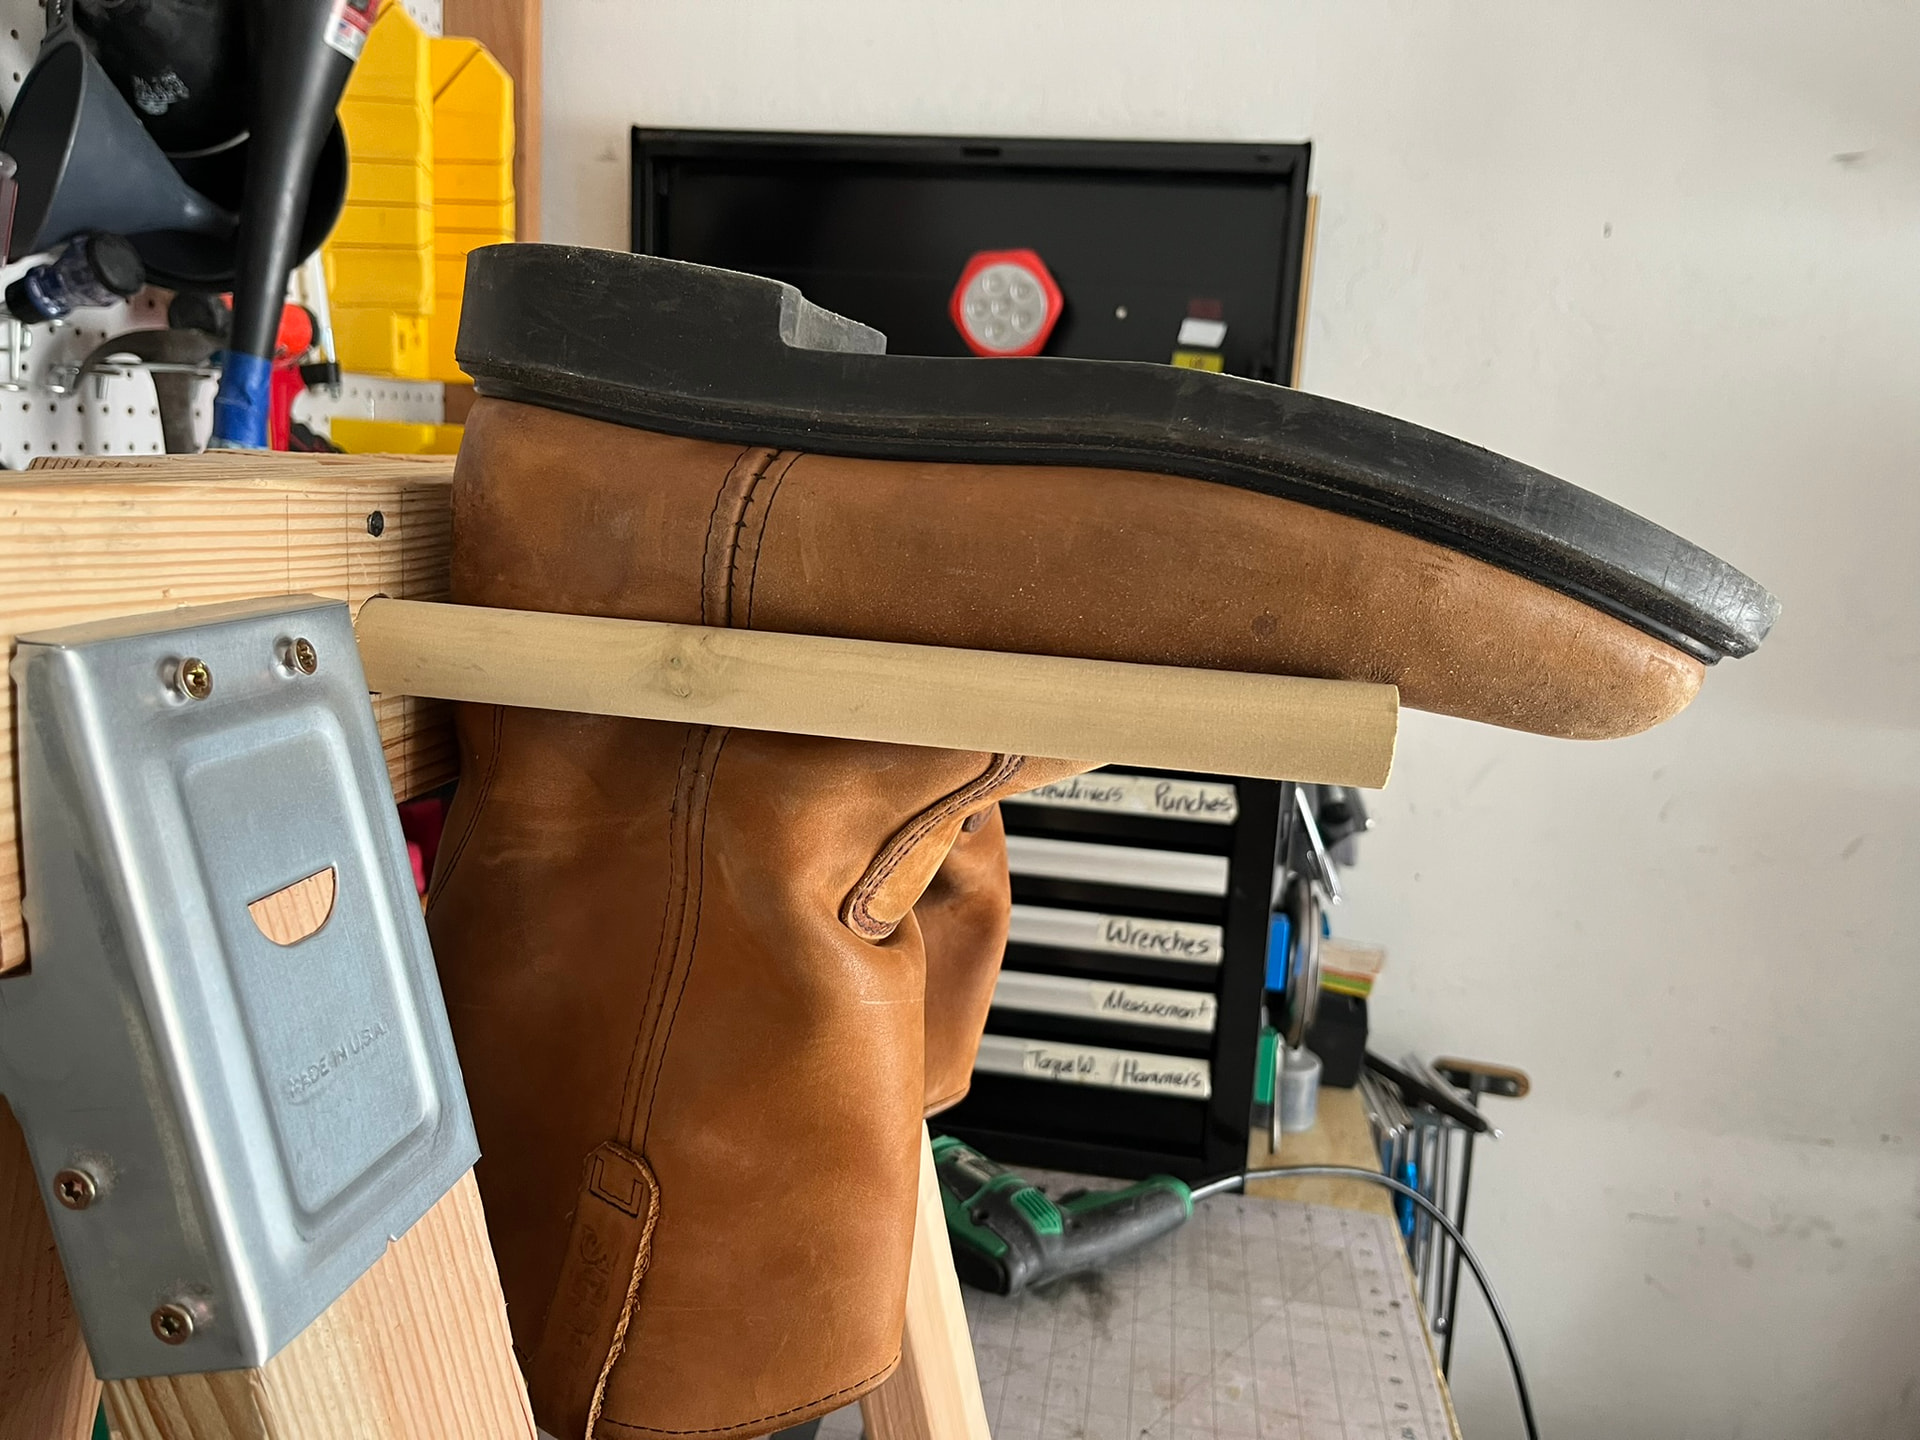
I recently had a bit of damage on a pair from setting it down while working and having it fall down and hit the ground. I’ve mostly just been keeping projects on plastic lunch trays laid on shelves so far, so this was a good prompt to finally figure out a better storage solution for shoes and boots in progress.
Most of the racks I’ve seen in factory and shop photos are true “pin racks”, basically shelves with rows of thick bars or dowels between which you can hang shoes upside down. There are also some domestic products built like this, often marketed for mudrooms, hanging gaiters, and the like:
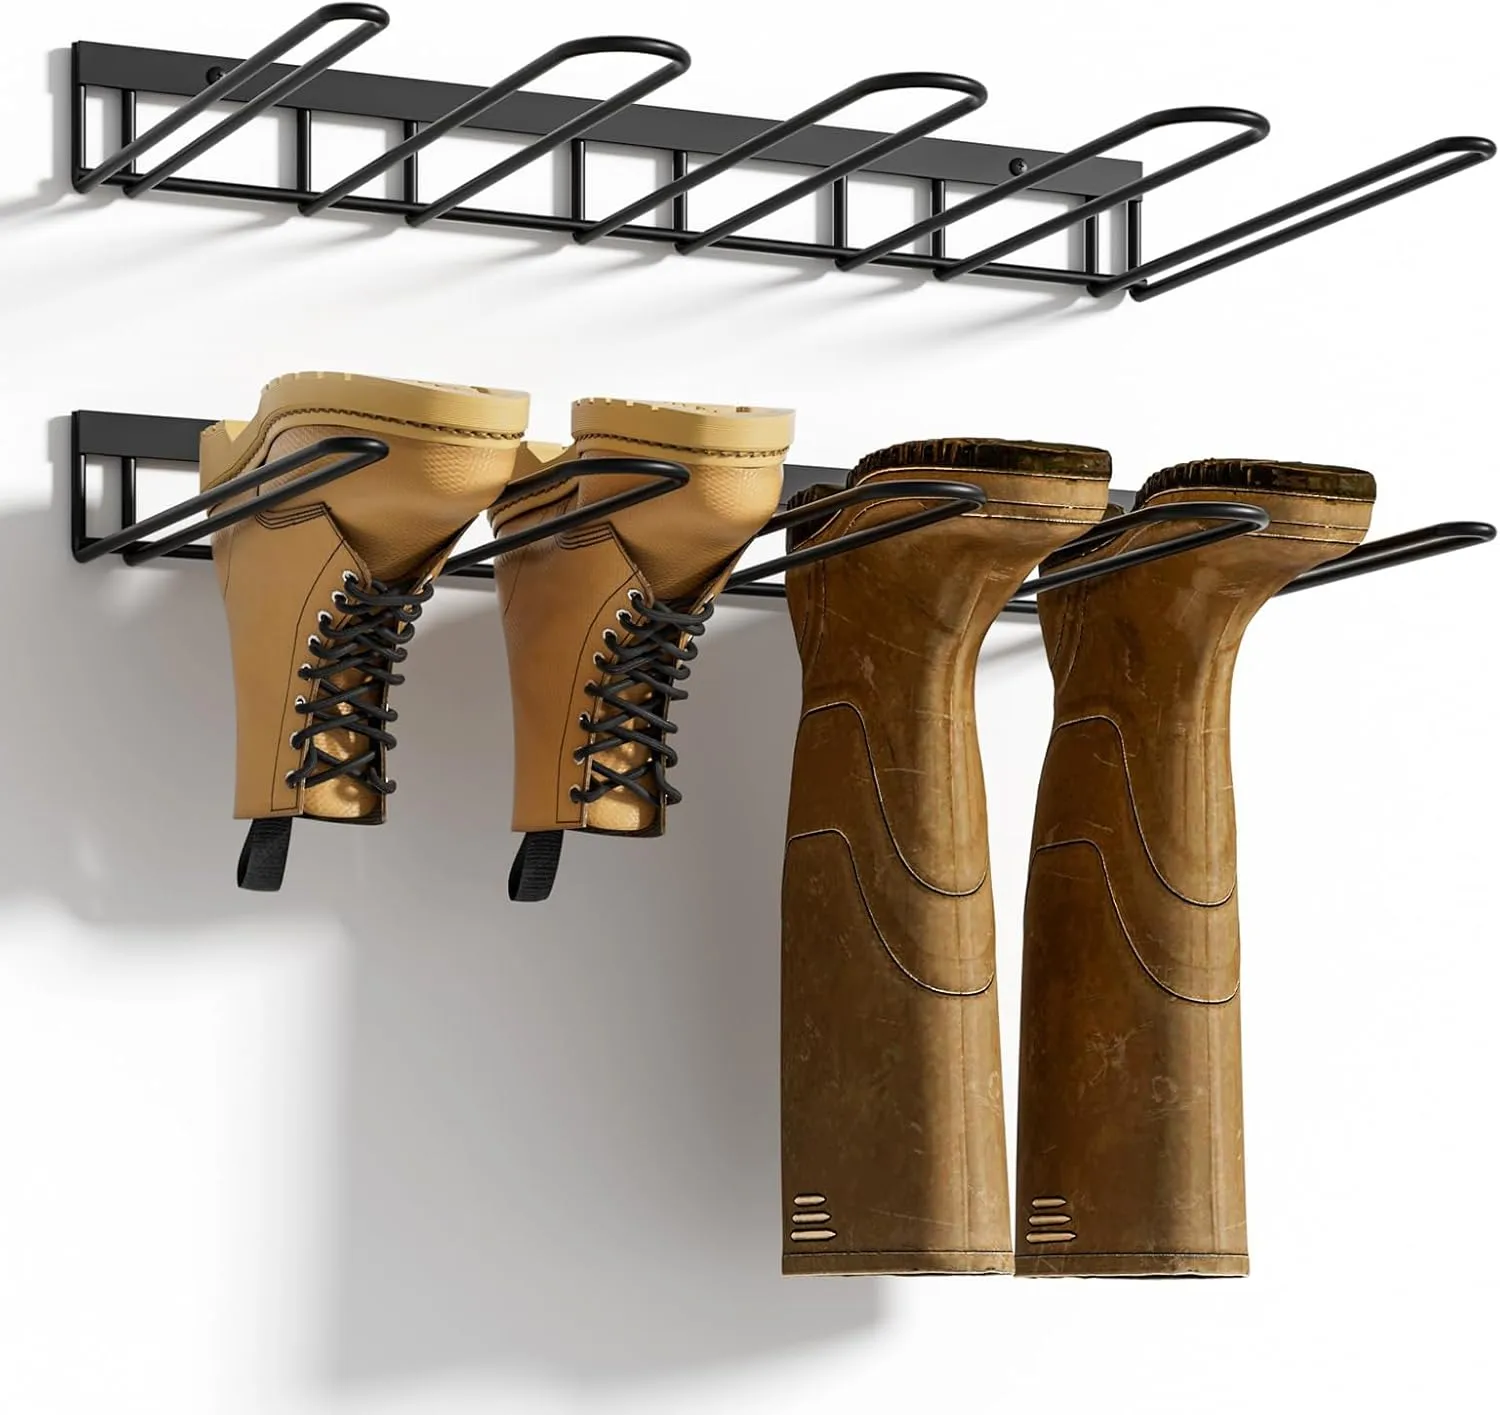
Using this photo and the measure tool in GIMP, I estimated these dimensions:
- Space Between Slots: 1½″
- Slot Width: 2½;″
- Total Width: 16″
- Fork Depth: 10″
DW Frommer II’s Wester Packers describes these, too. And I began sketching some hasty designs using 1-inch dowel rod for the pins. But DW actually gives diagrams for an alternative design with cutouts from a flat board.
I was thinking the true pin board with dowel rod was looking a lot simpler to make. Even a small 2-by-4 sawhorse could have holes for dowels drilled through the top. But I found a deal on an exposed-pine IKEA shoe rack from the “as is” section, and decided to give that a go instead.
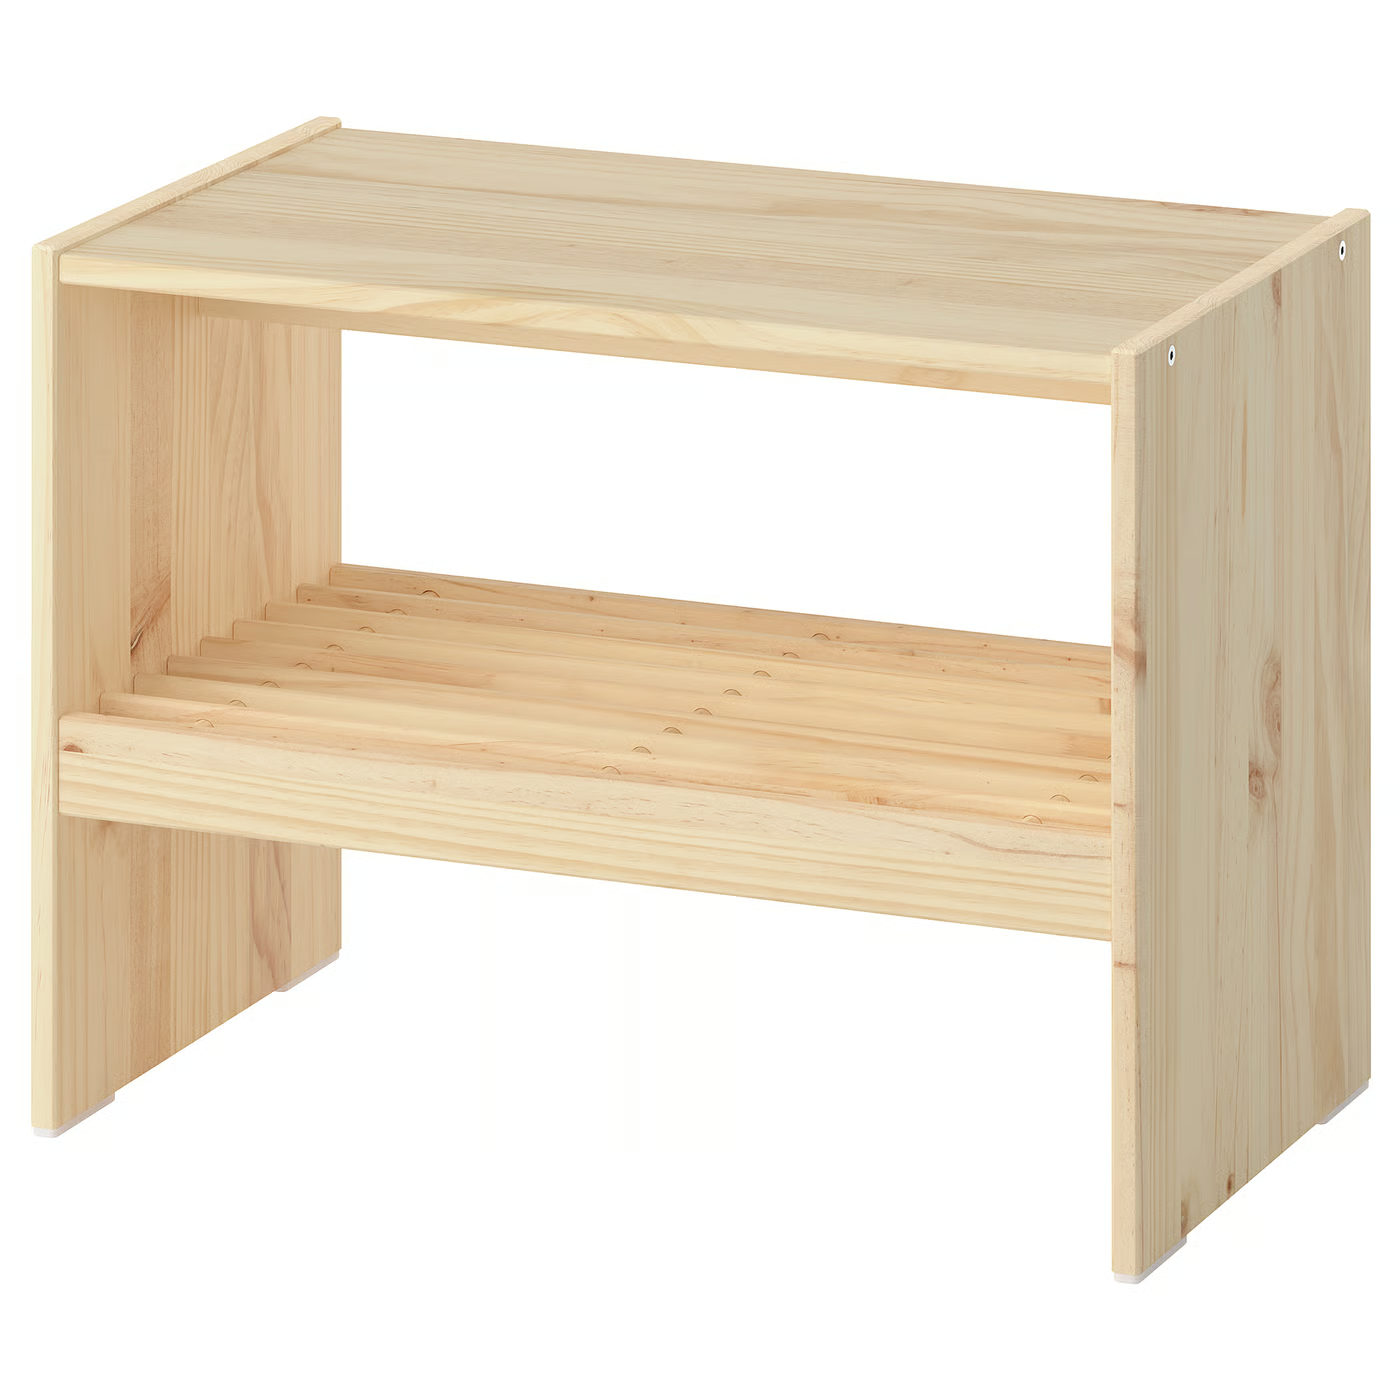
https://www.ikea.com/us/en/p/raggberg-bench-with-shoe-storage-pine-50611159/
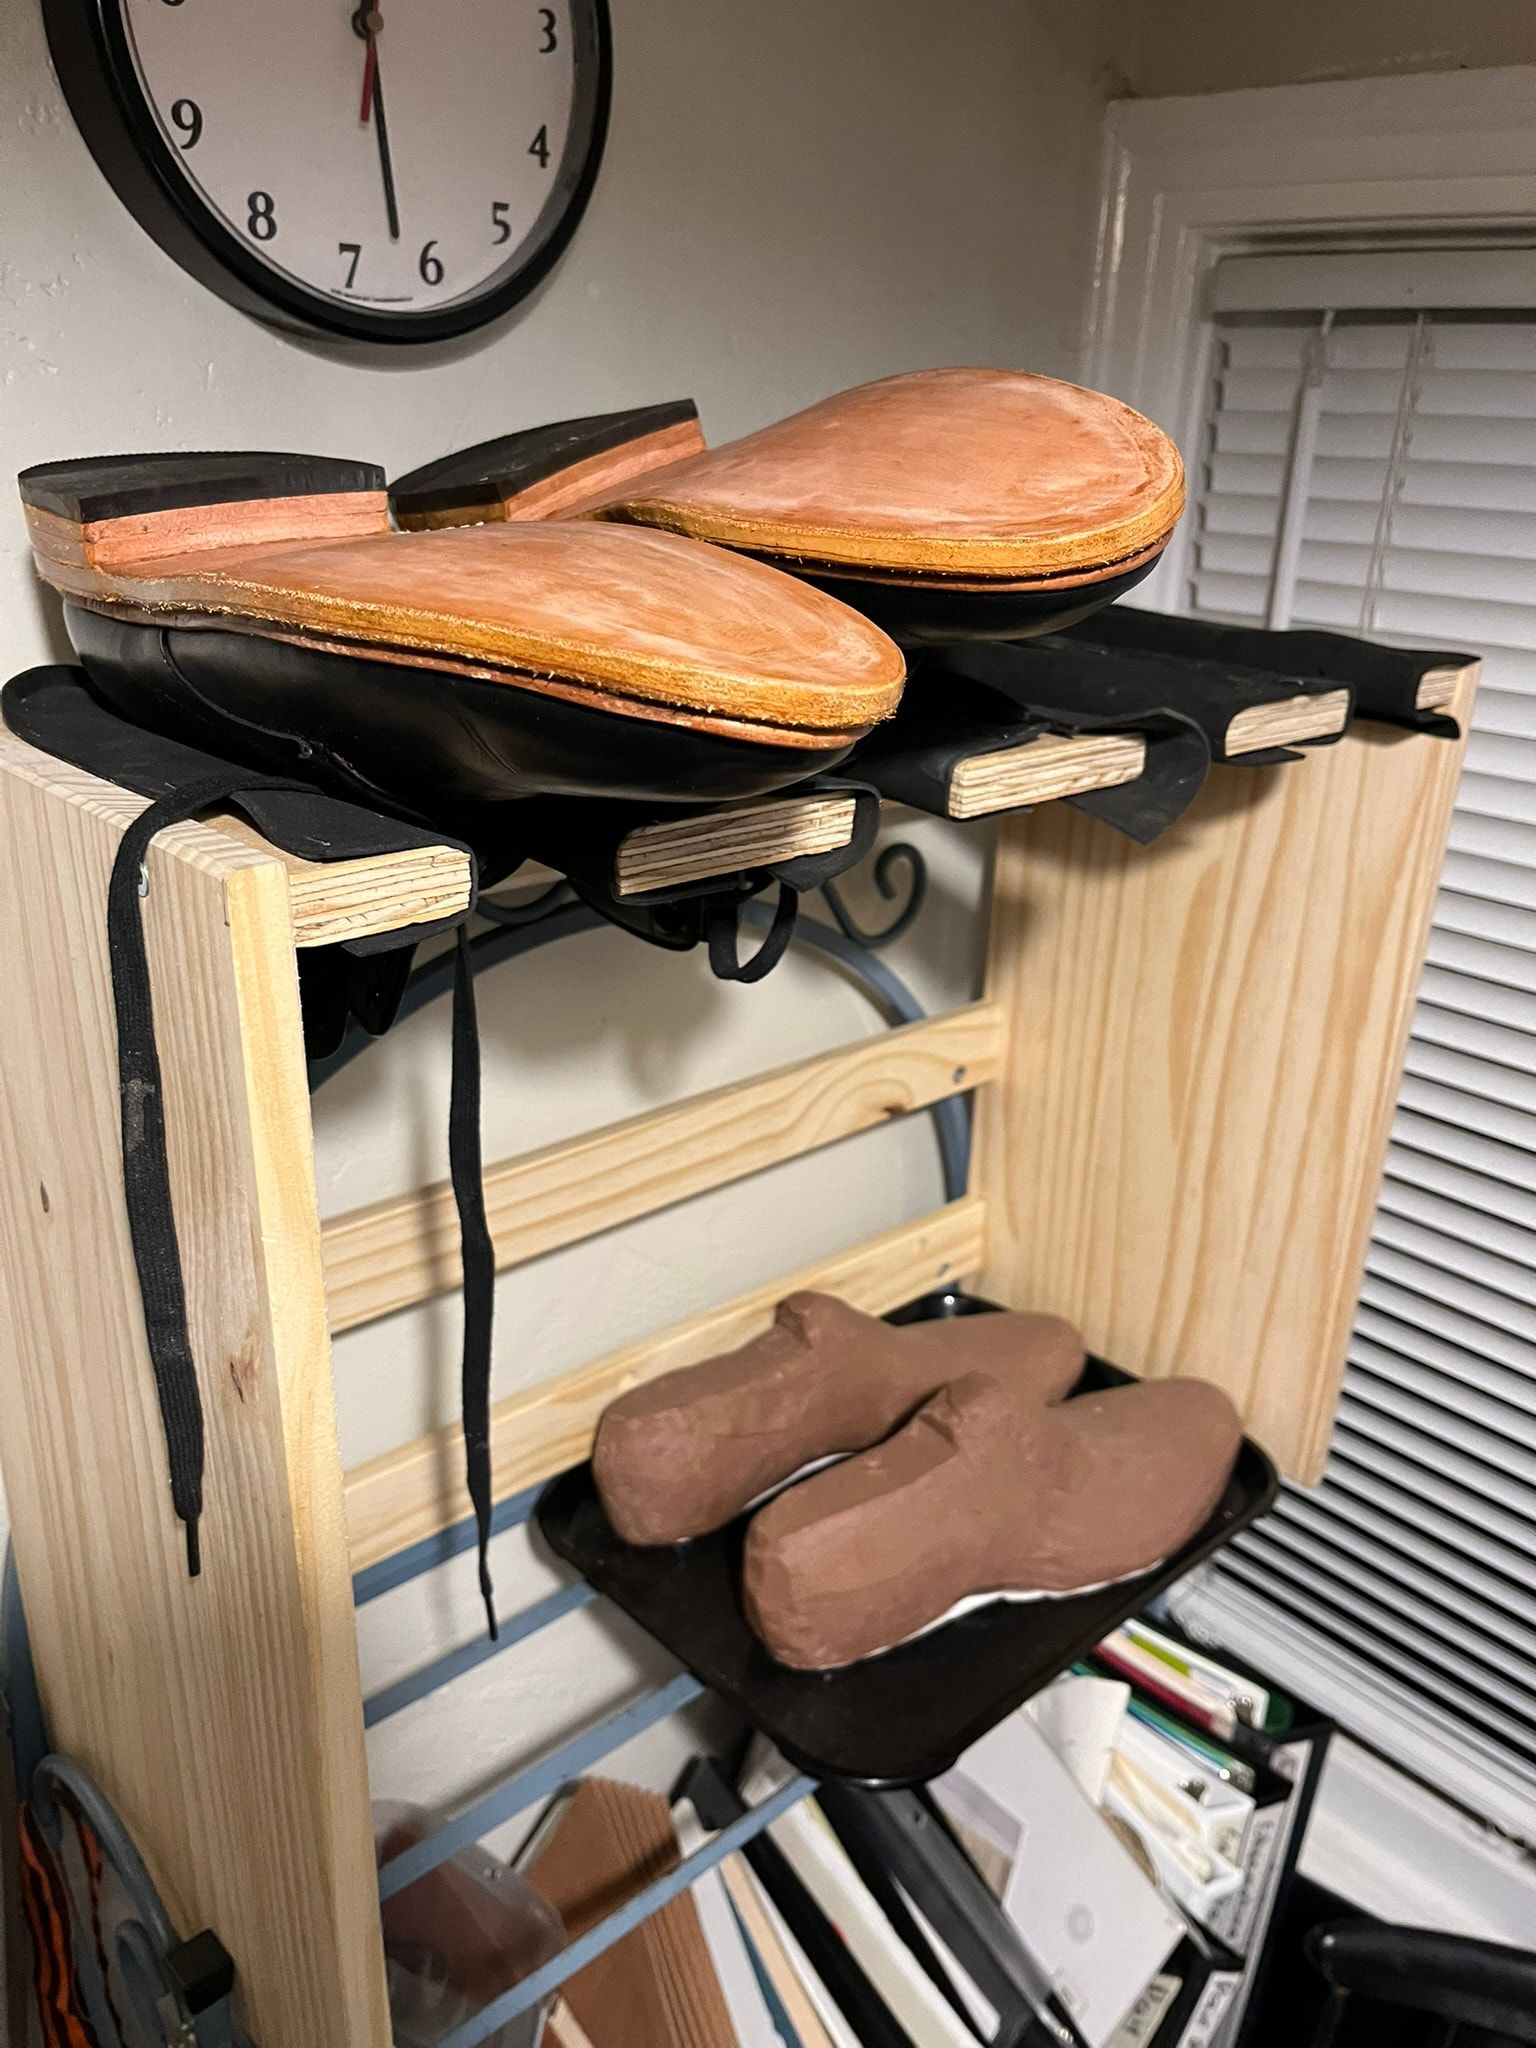
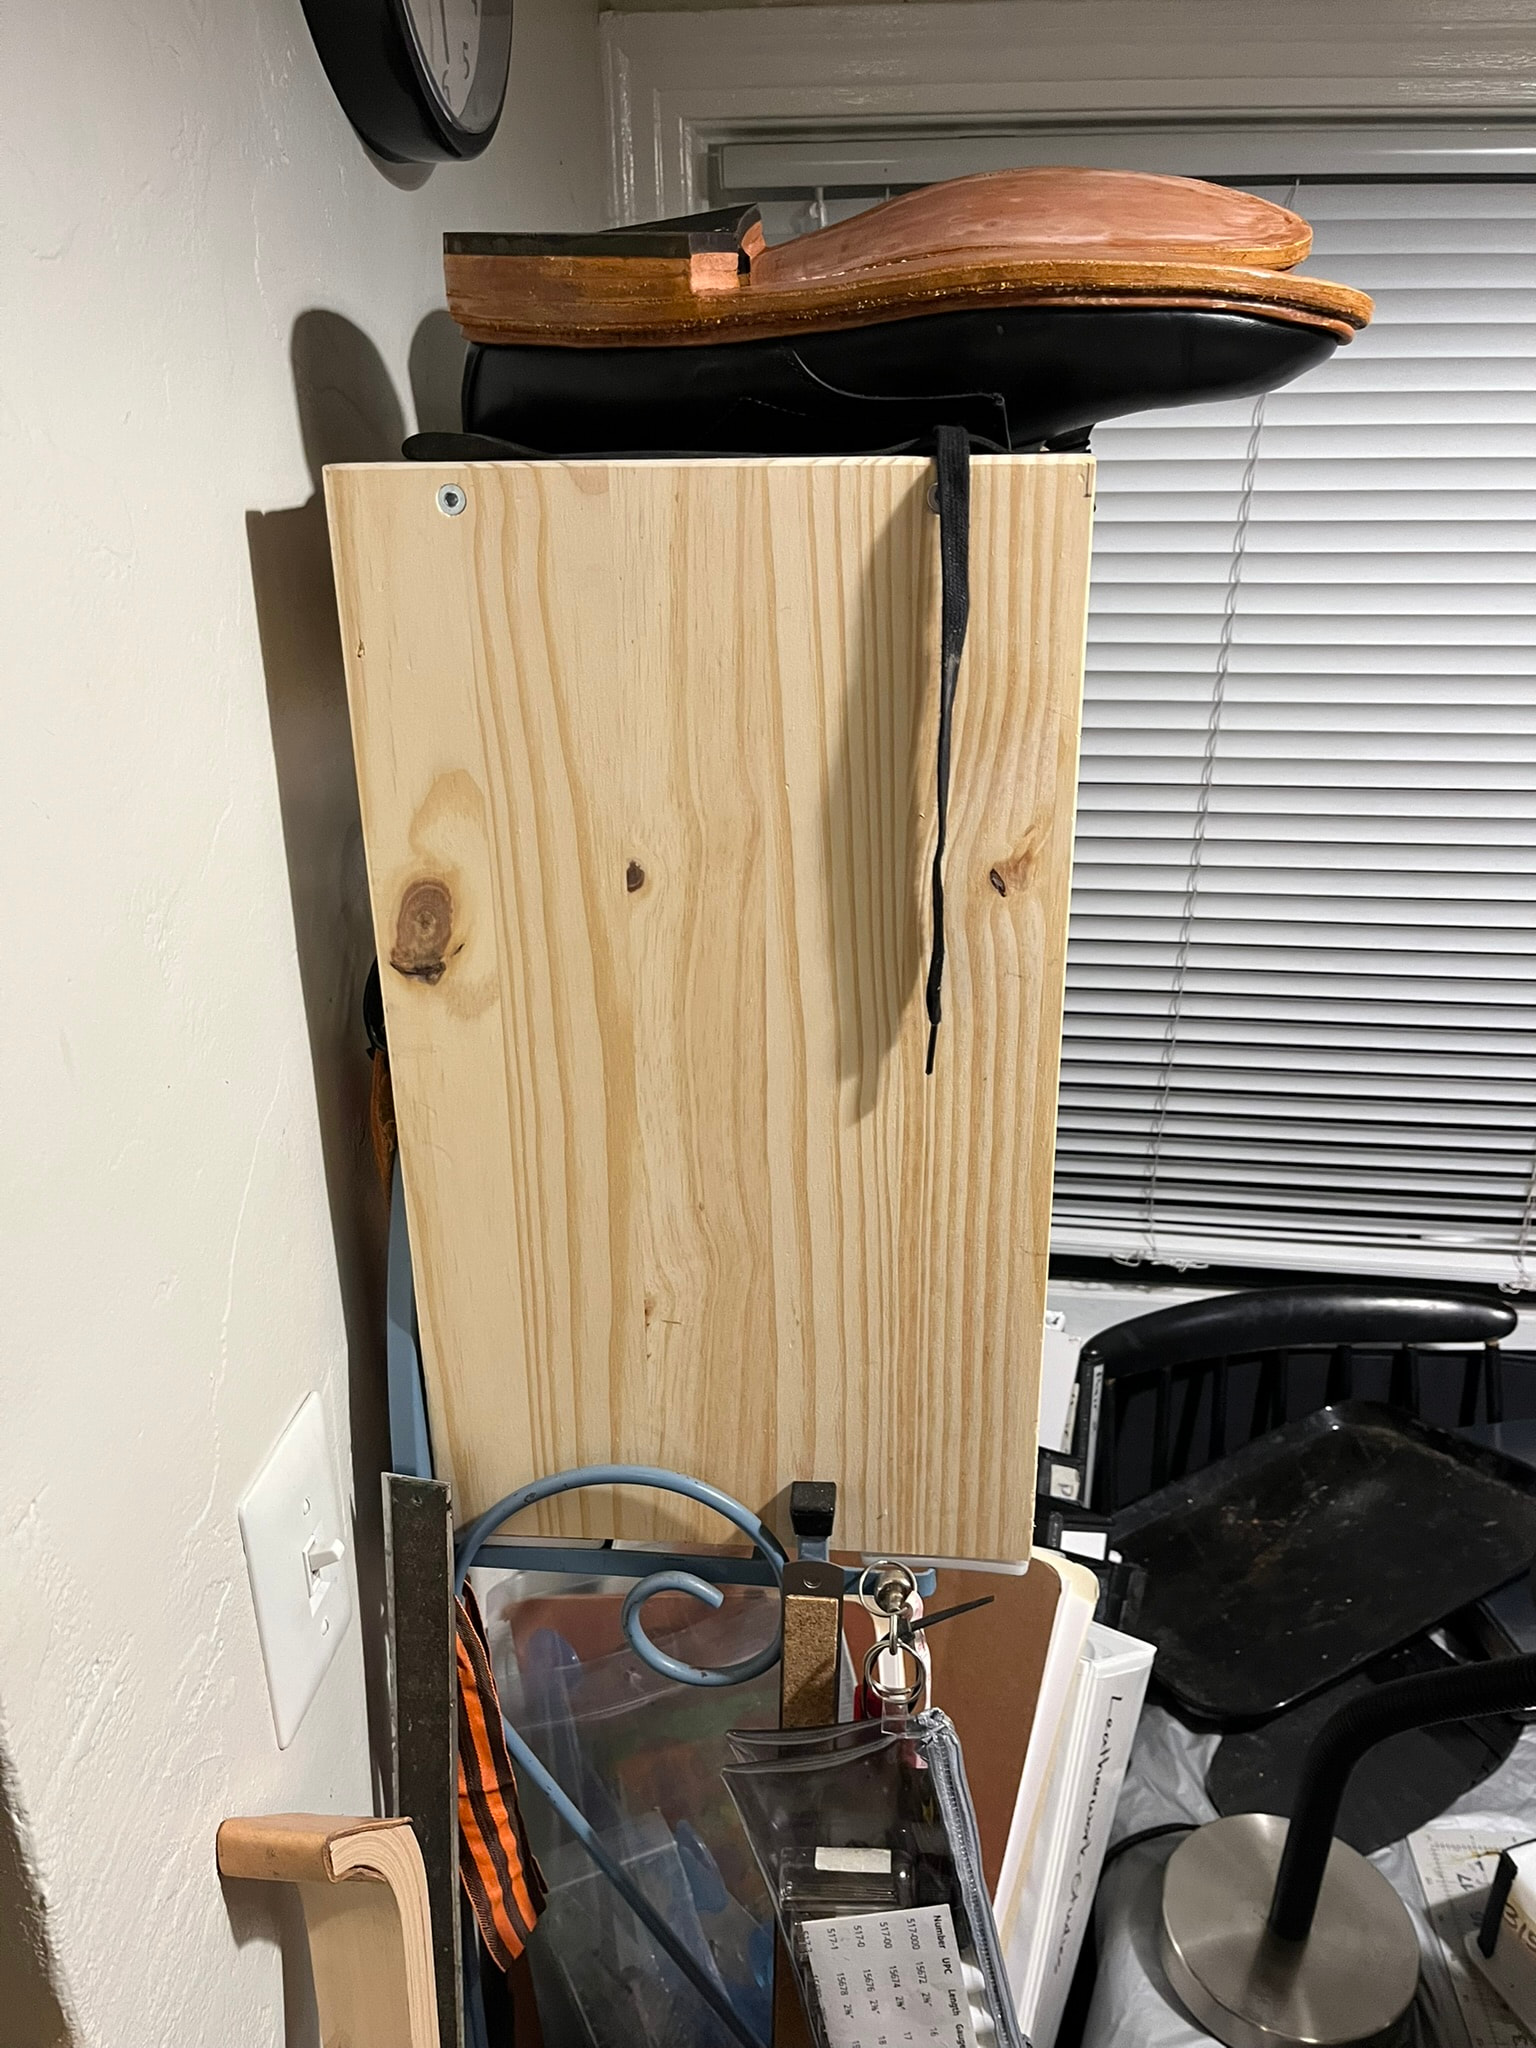
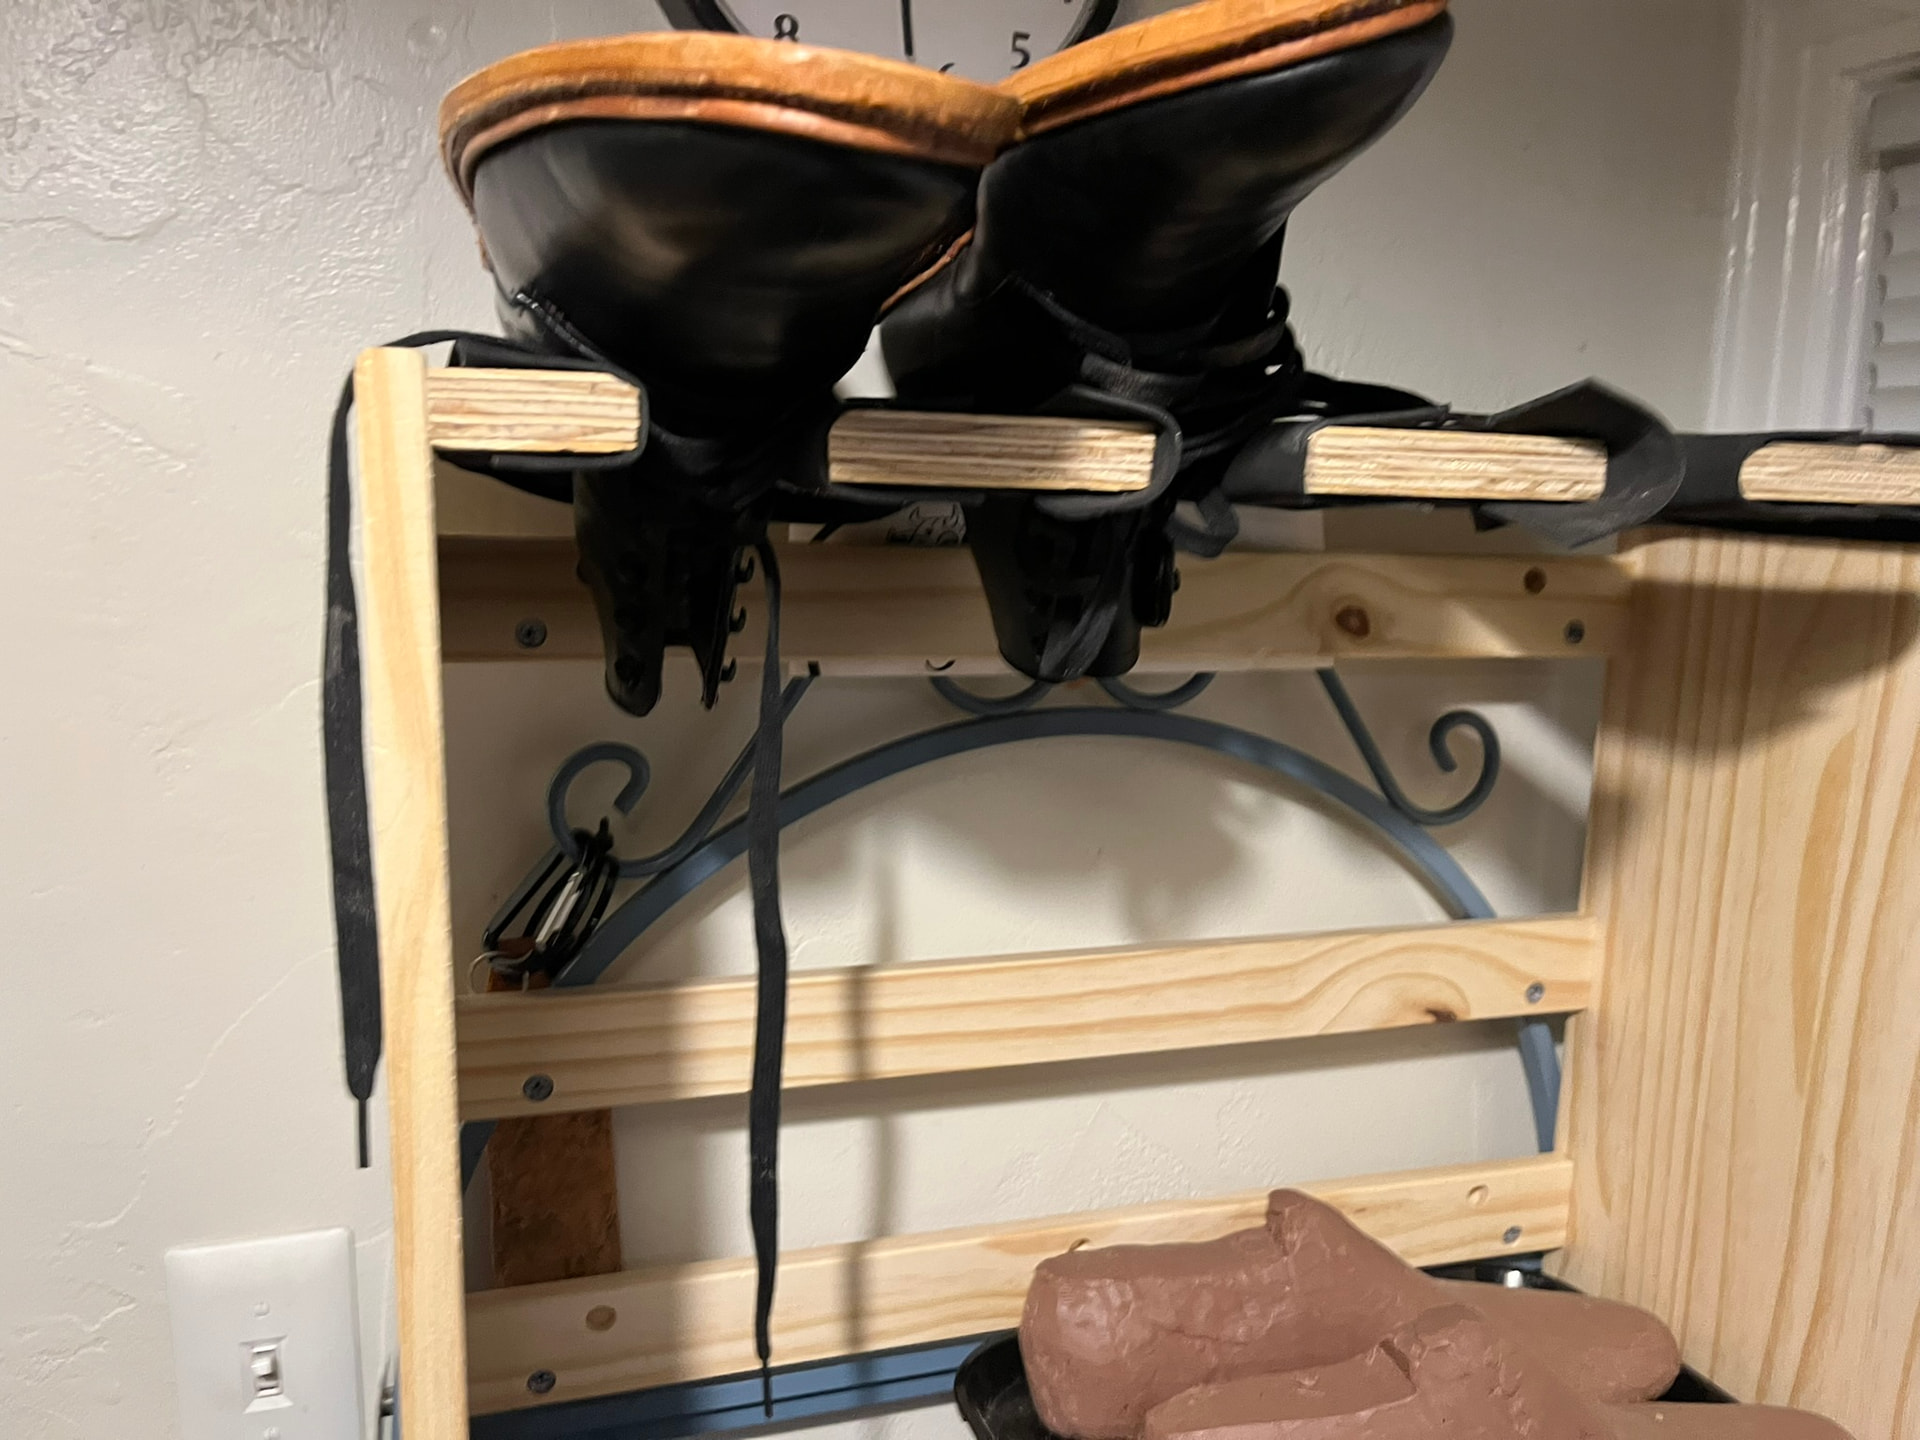
For $15, I went ahead and bought this, took it home, sawed the top and side panels down to 10 inches deep, and repositioned two of the crossbars to the back. Basically, I kit-bashed the top of a seated shoemaker’s bench out of it, about half the width of the bench DW diagrammed in his book.
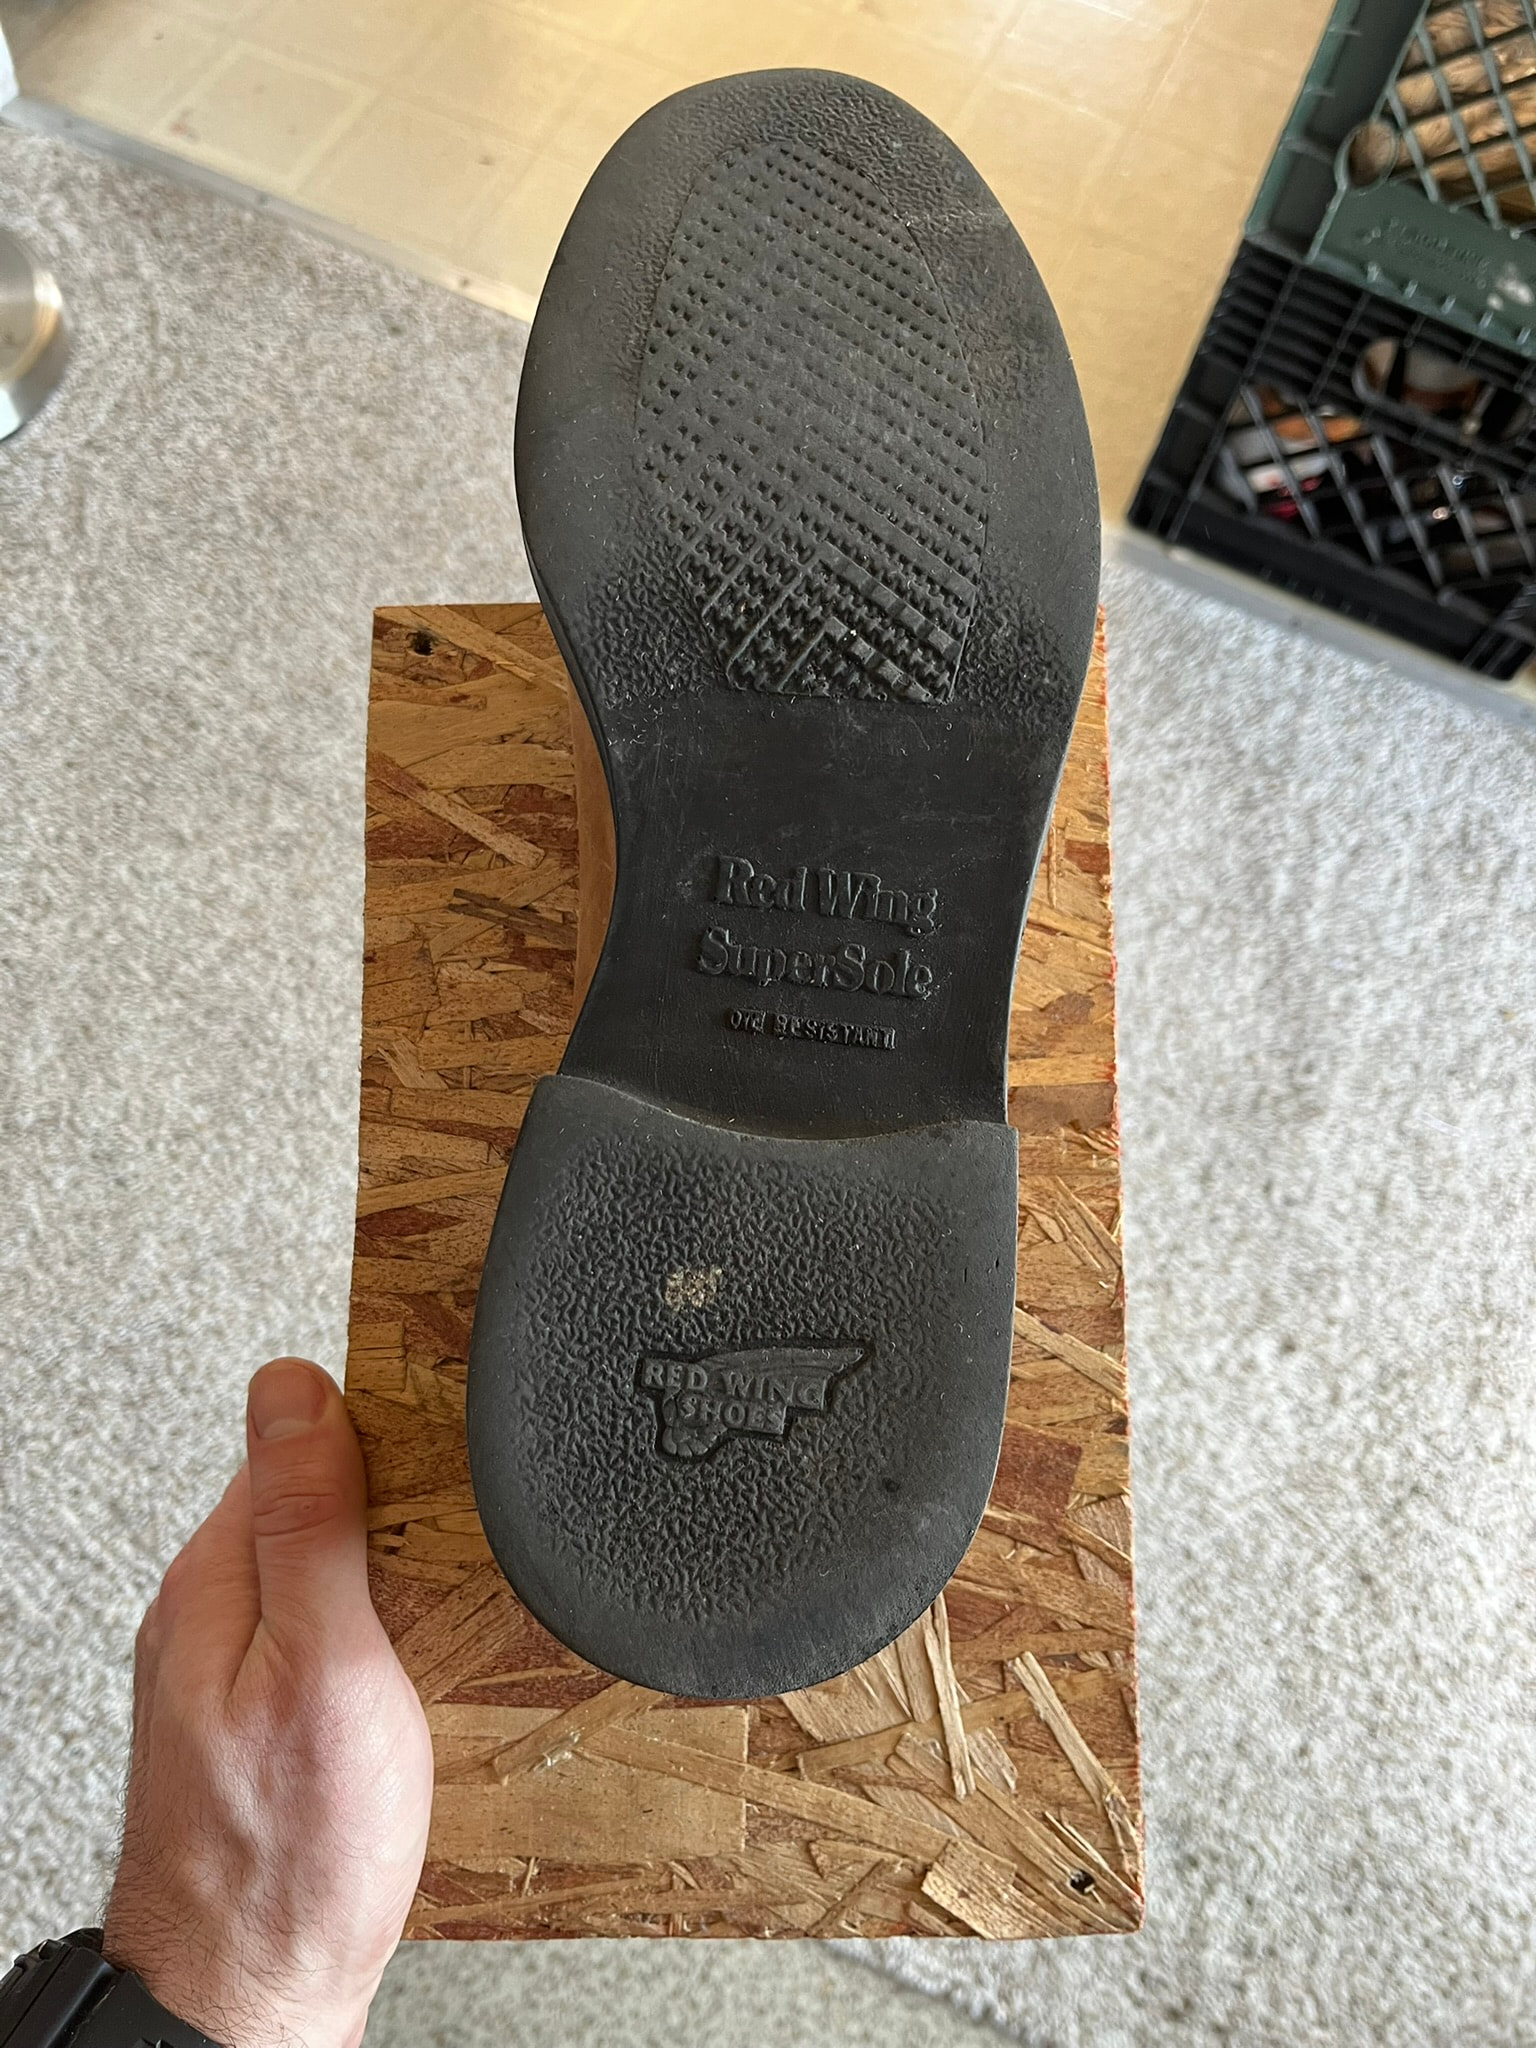
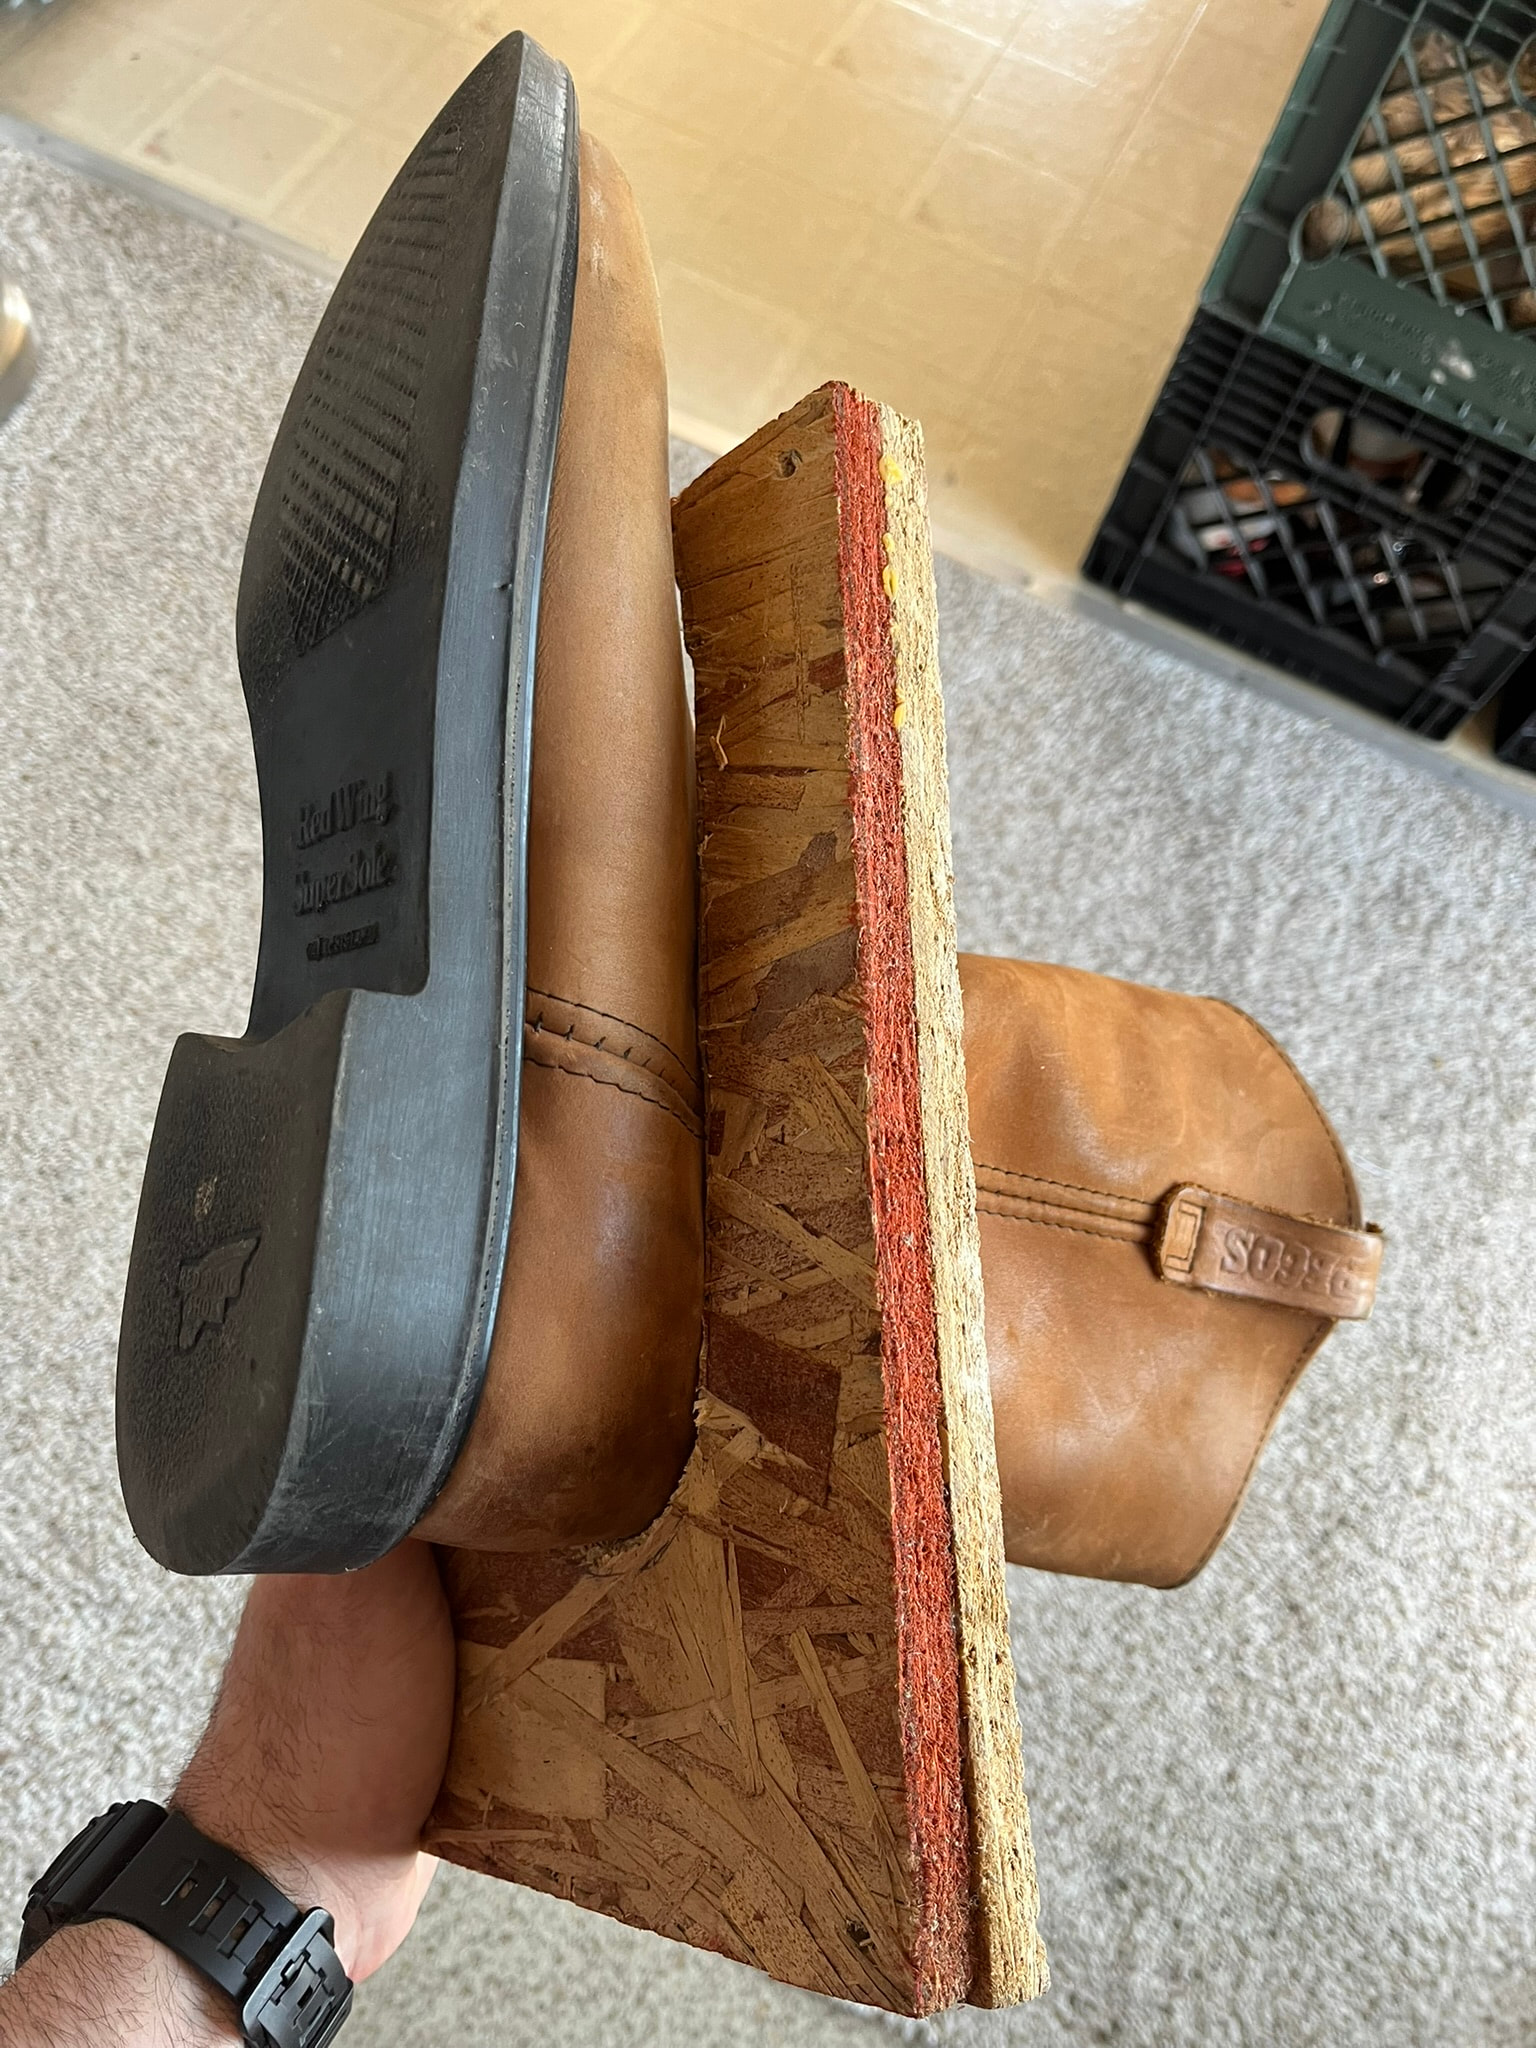
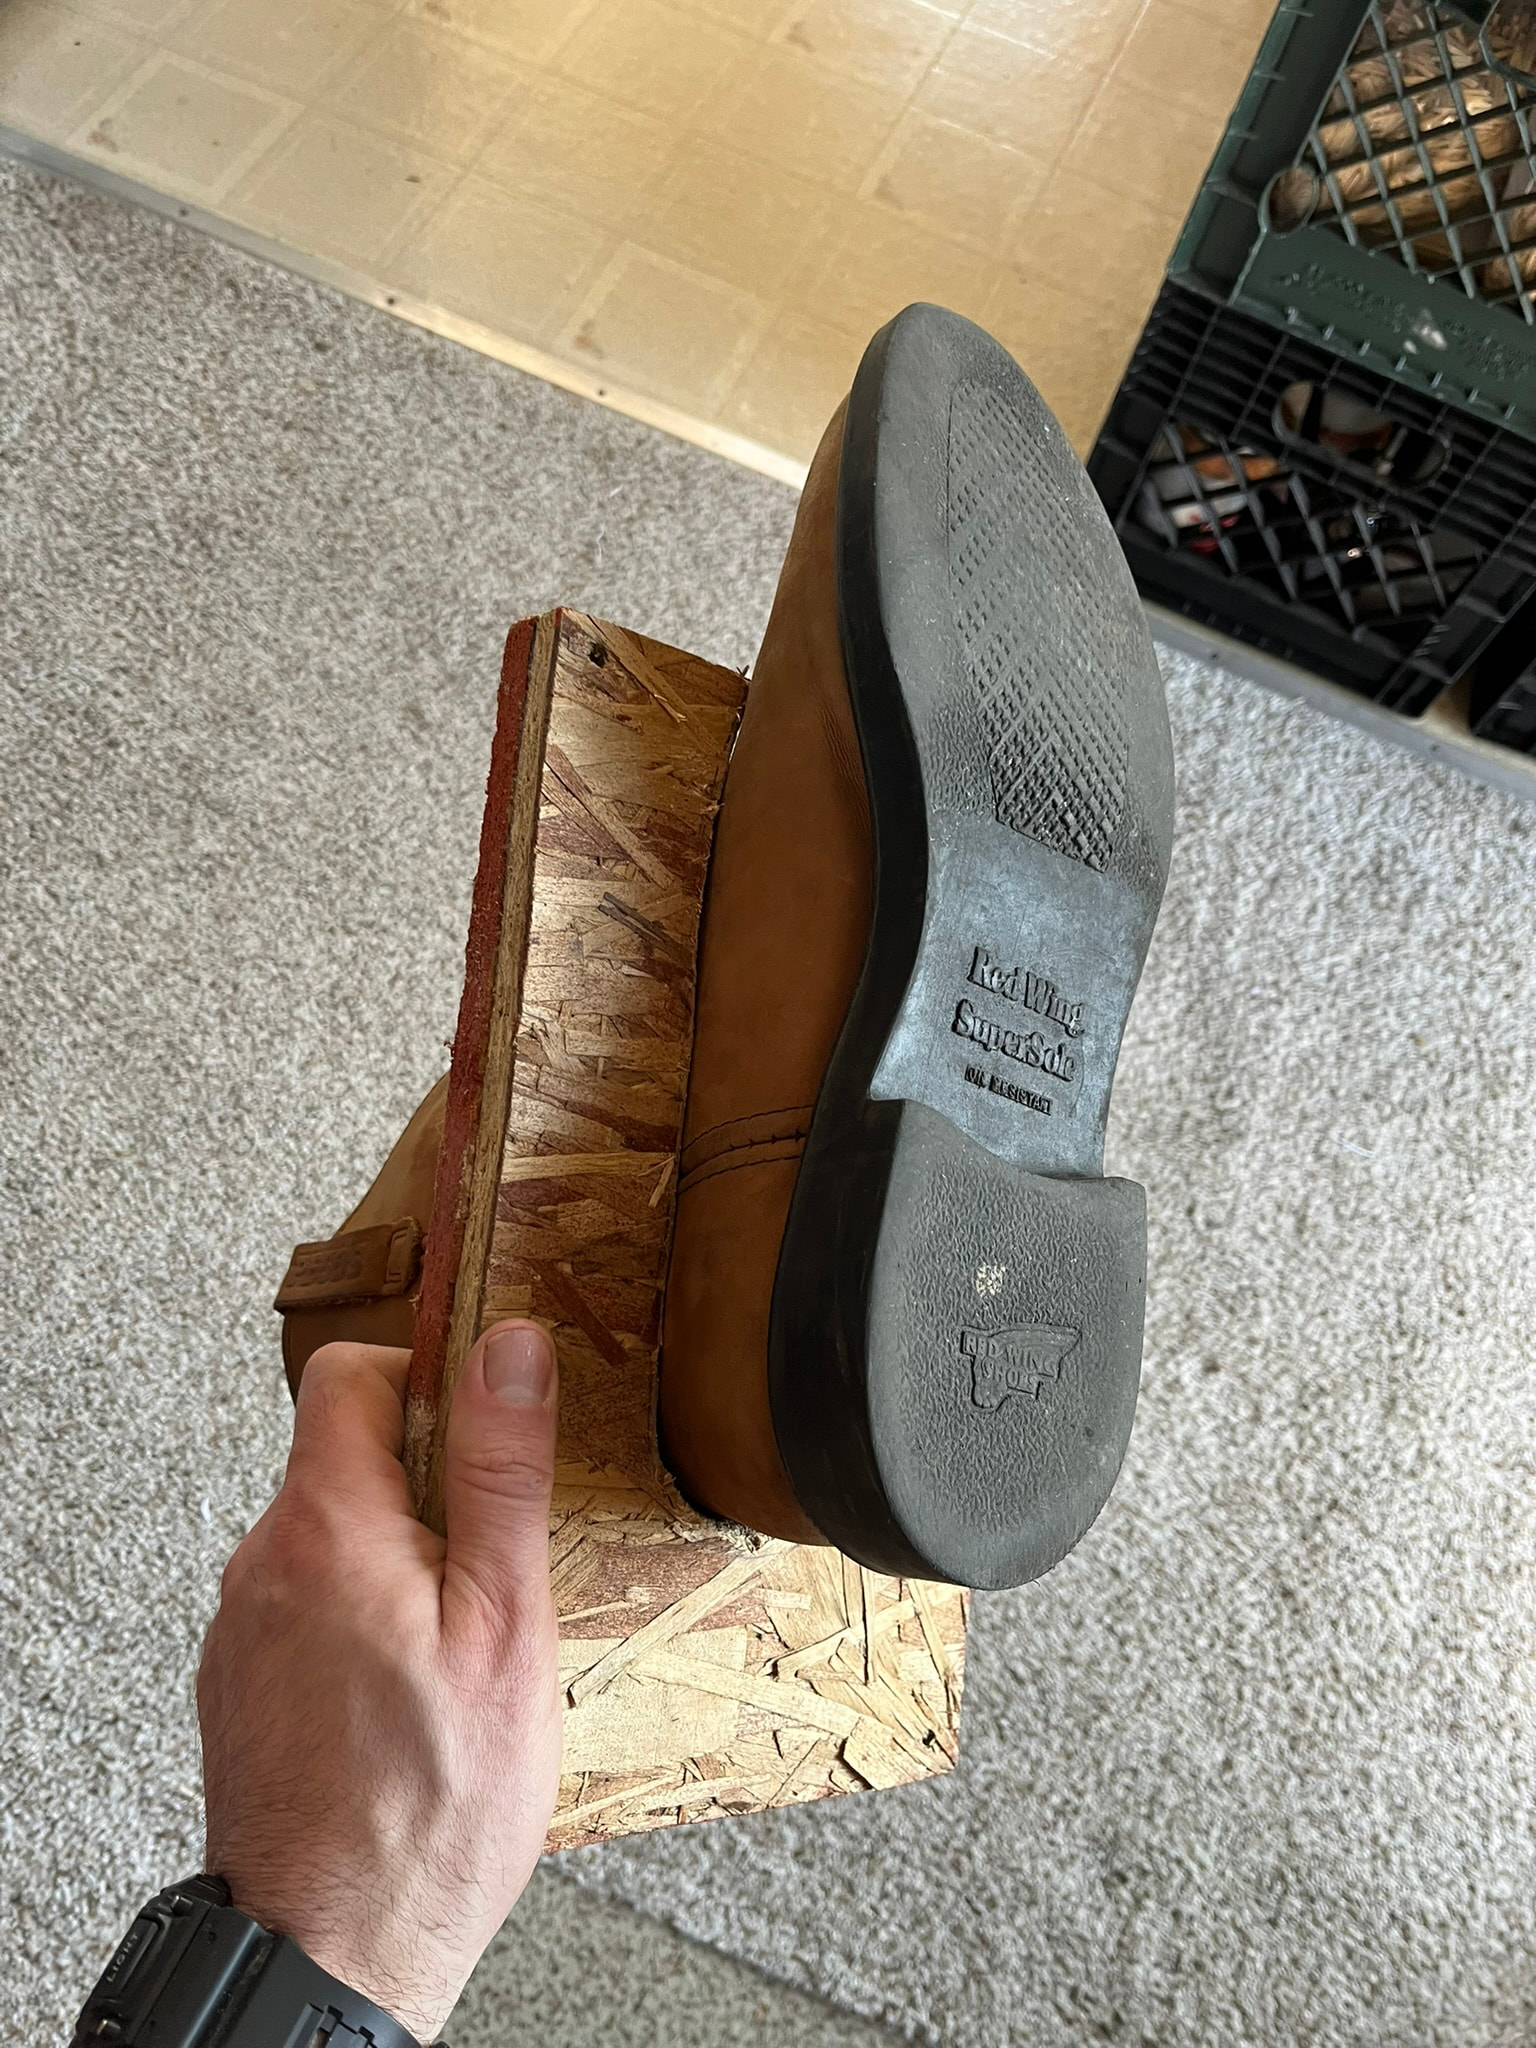
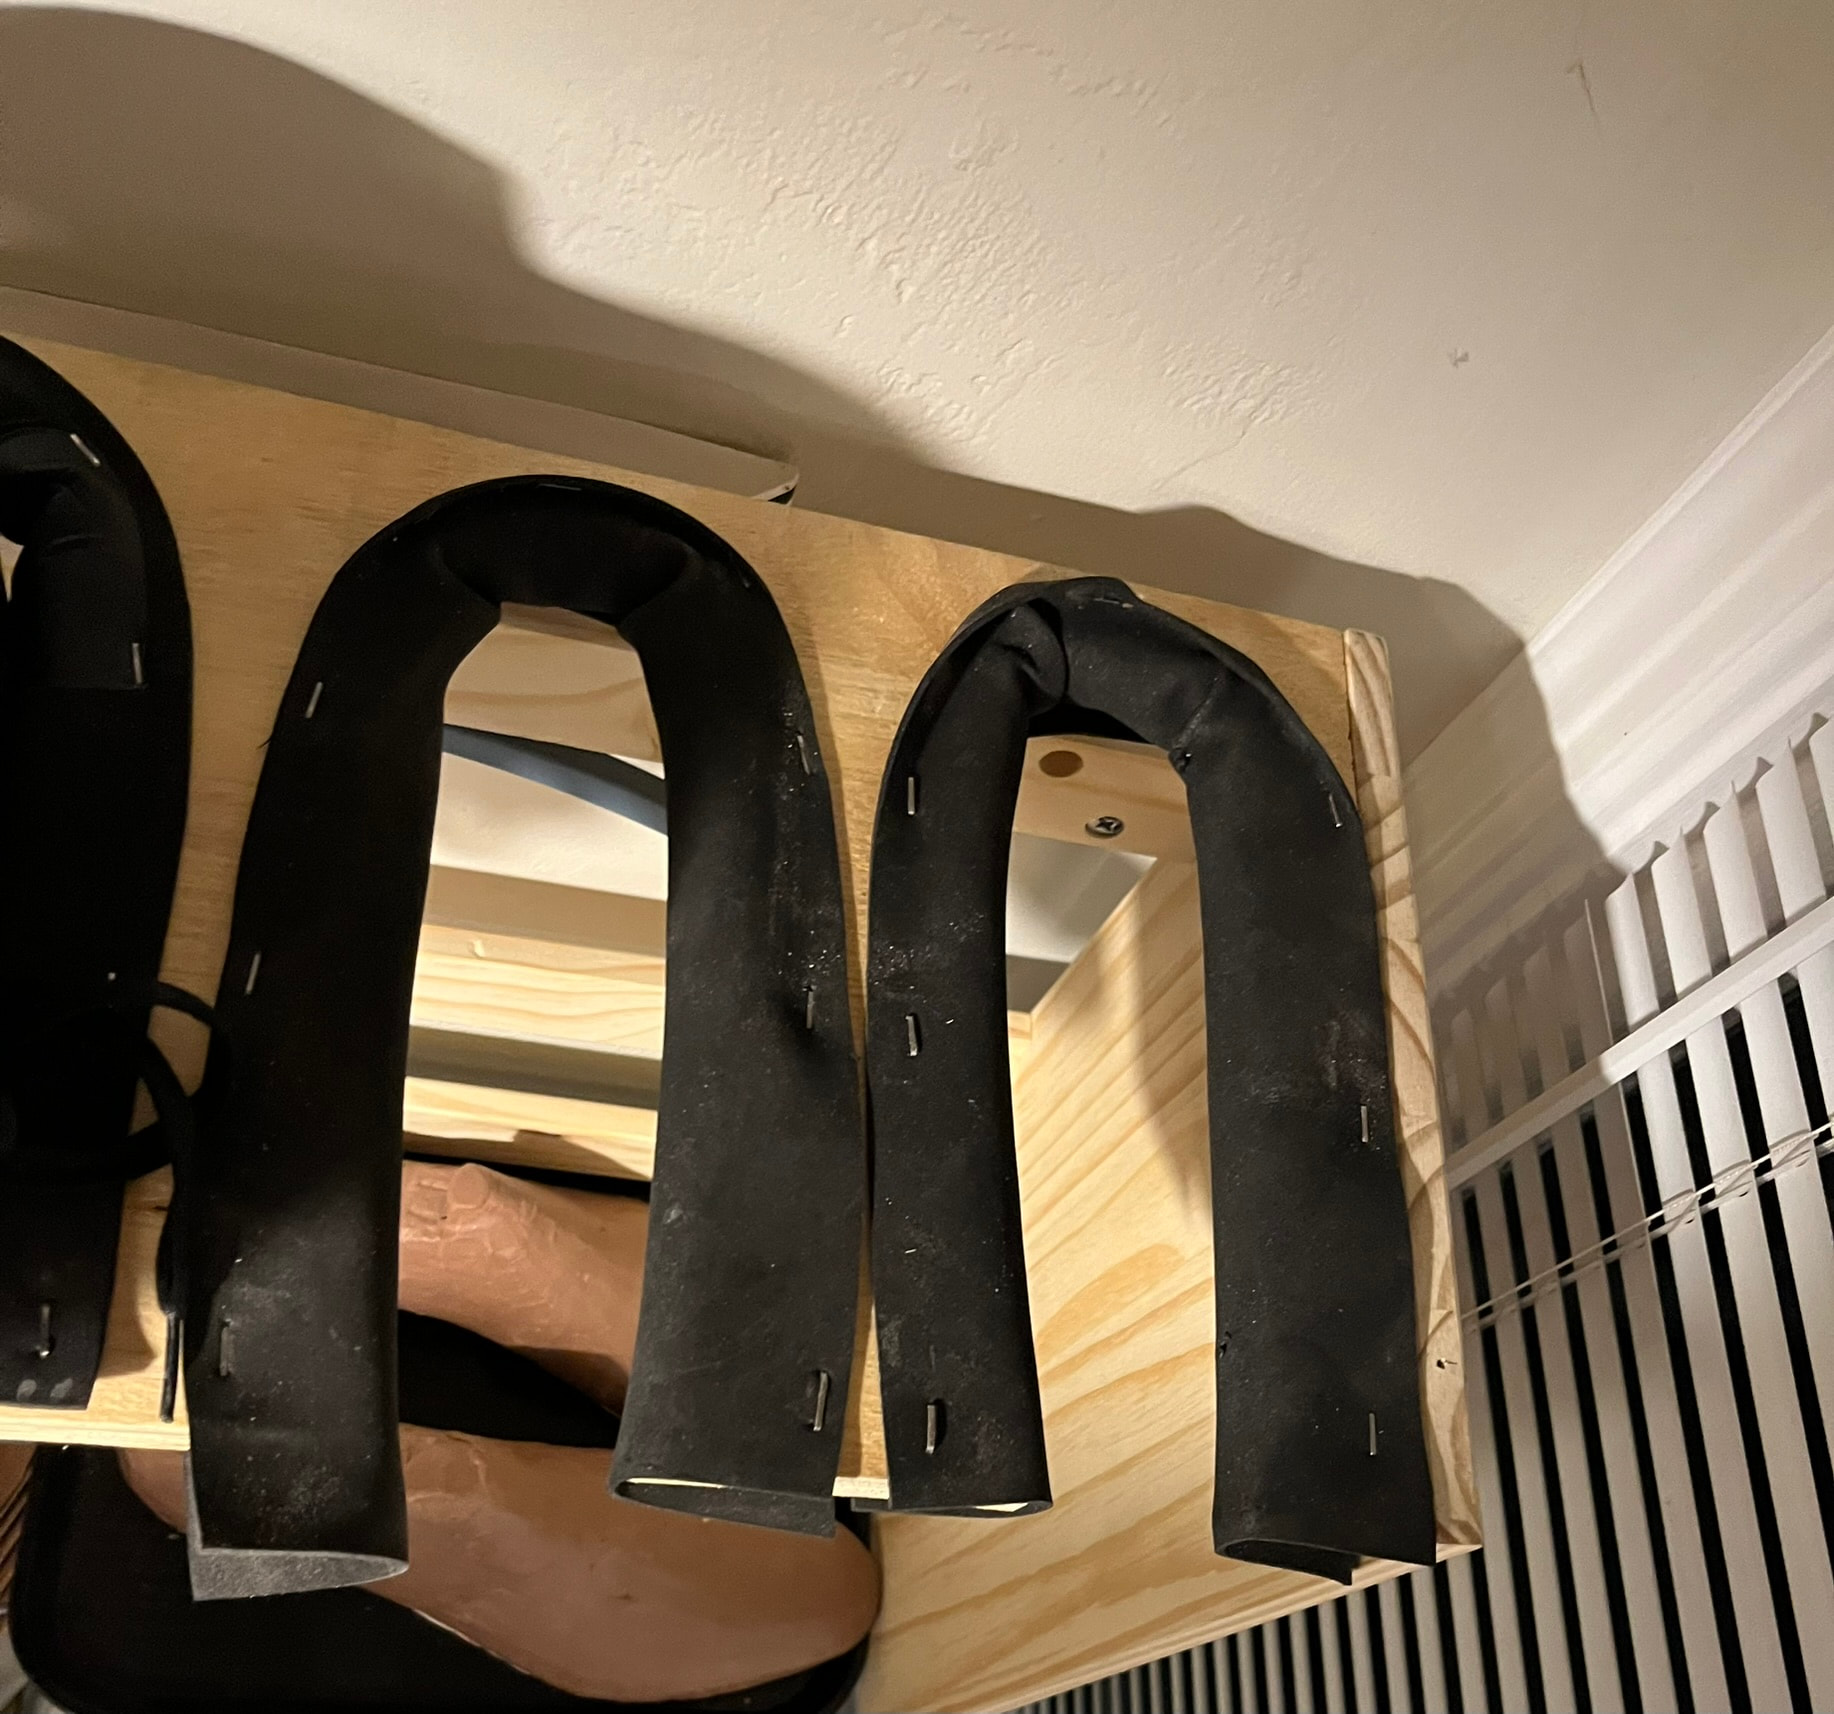
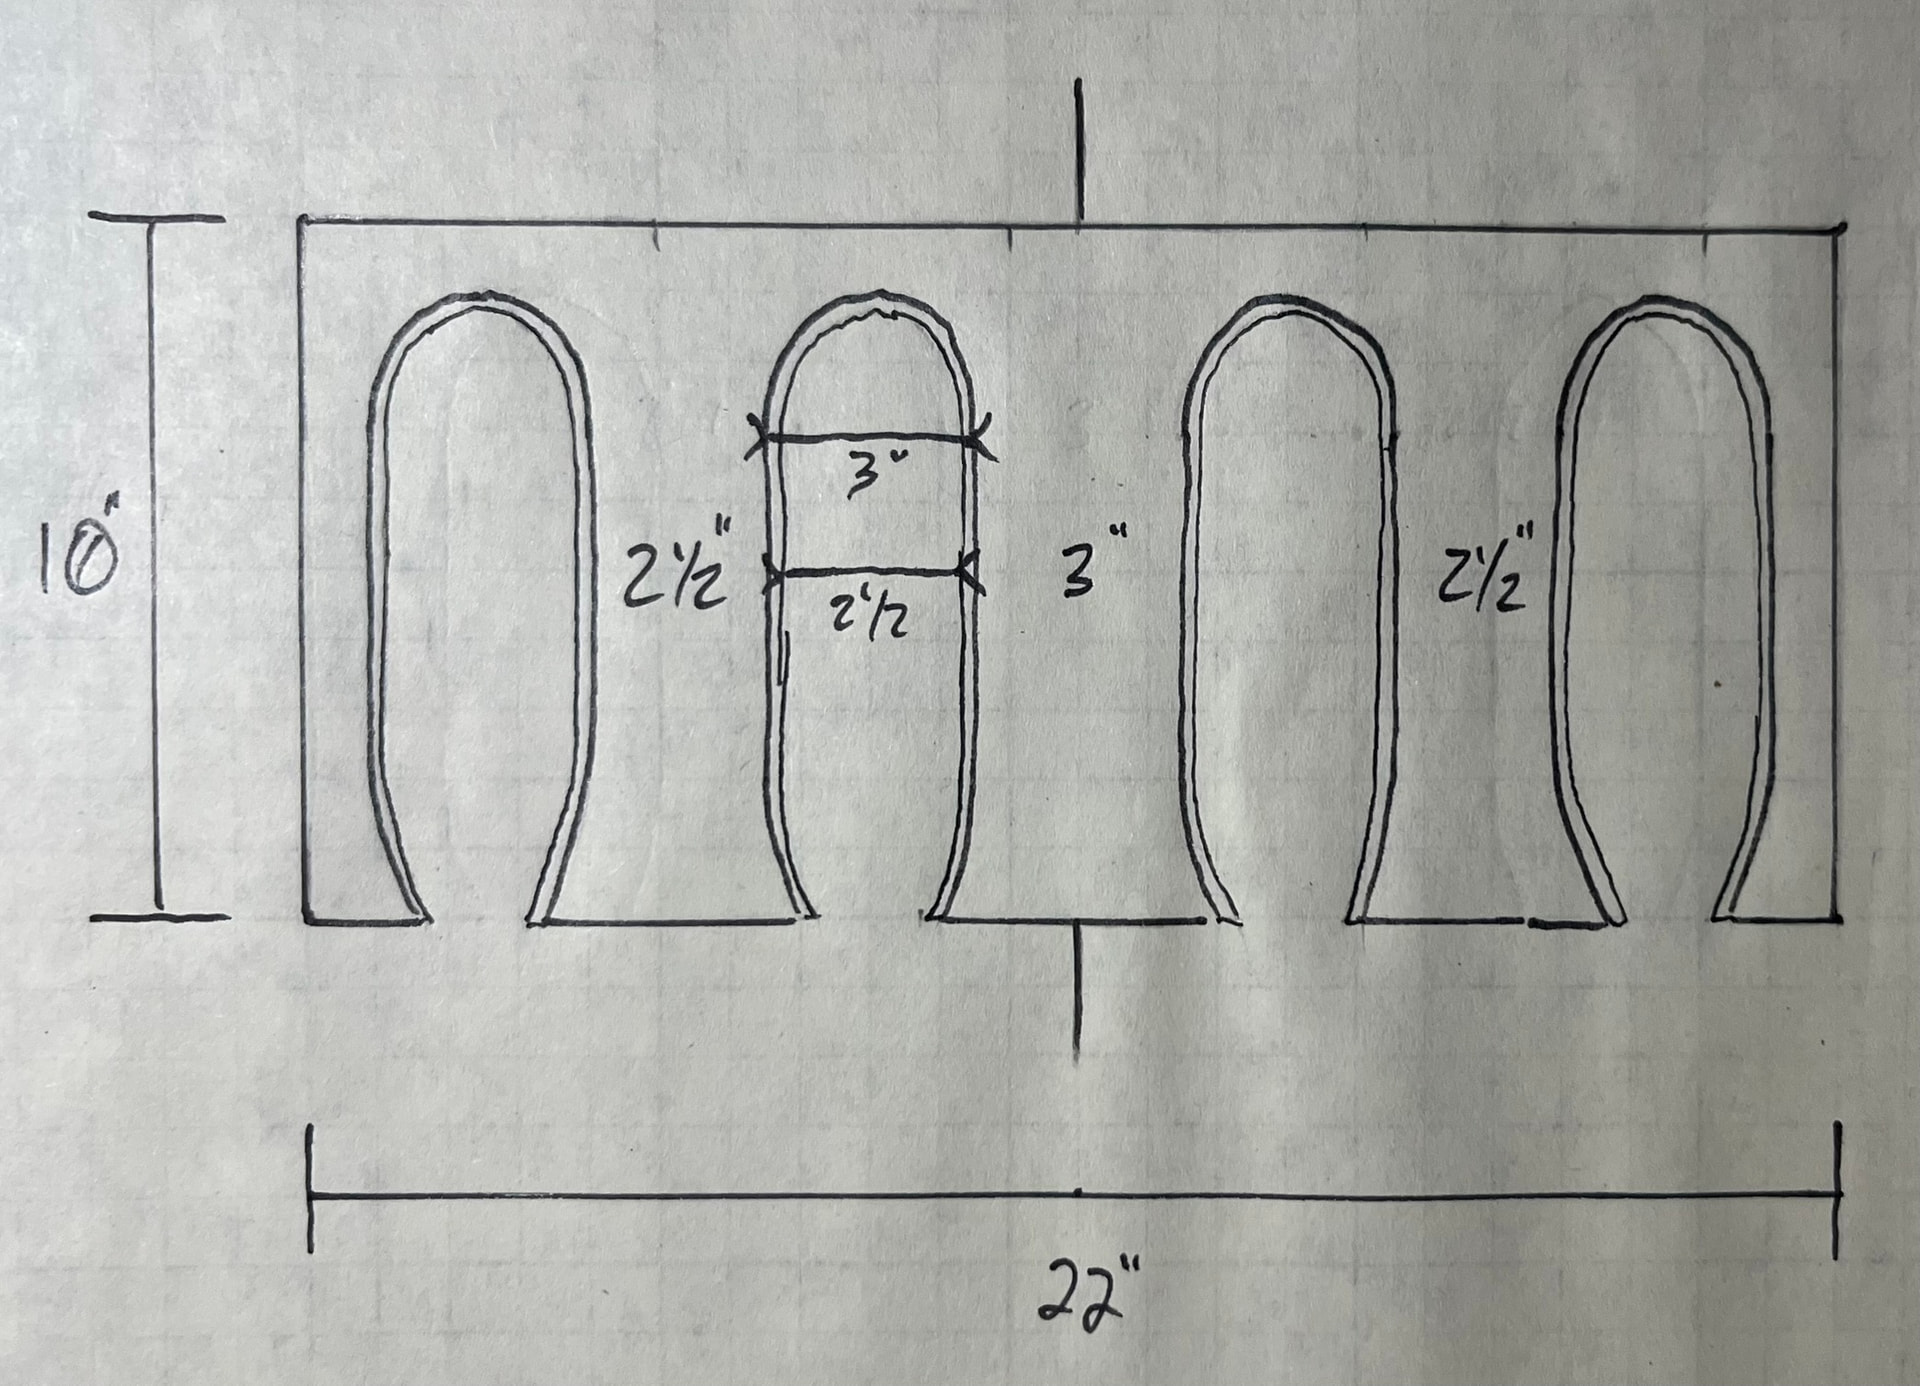
Based on his diagrams and description, I gathered slots should be about 10 inches deep, about 2 and a half inches wide at the bottom, and bevel out to about 3 inches wide at the top. From diagram, the front parts are cemicircular or at least round, while the fronts taper in slightly.
Here is my rough plan for the top board of the little stand:
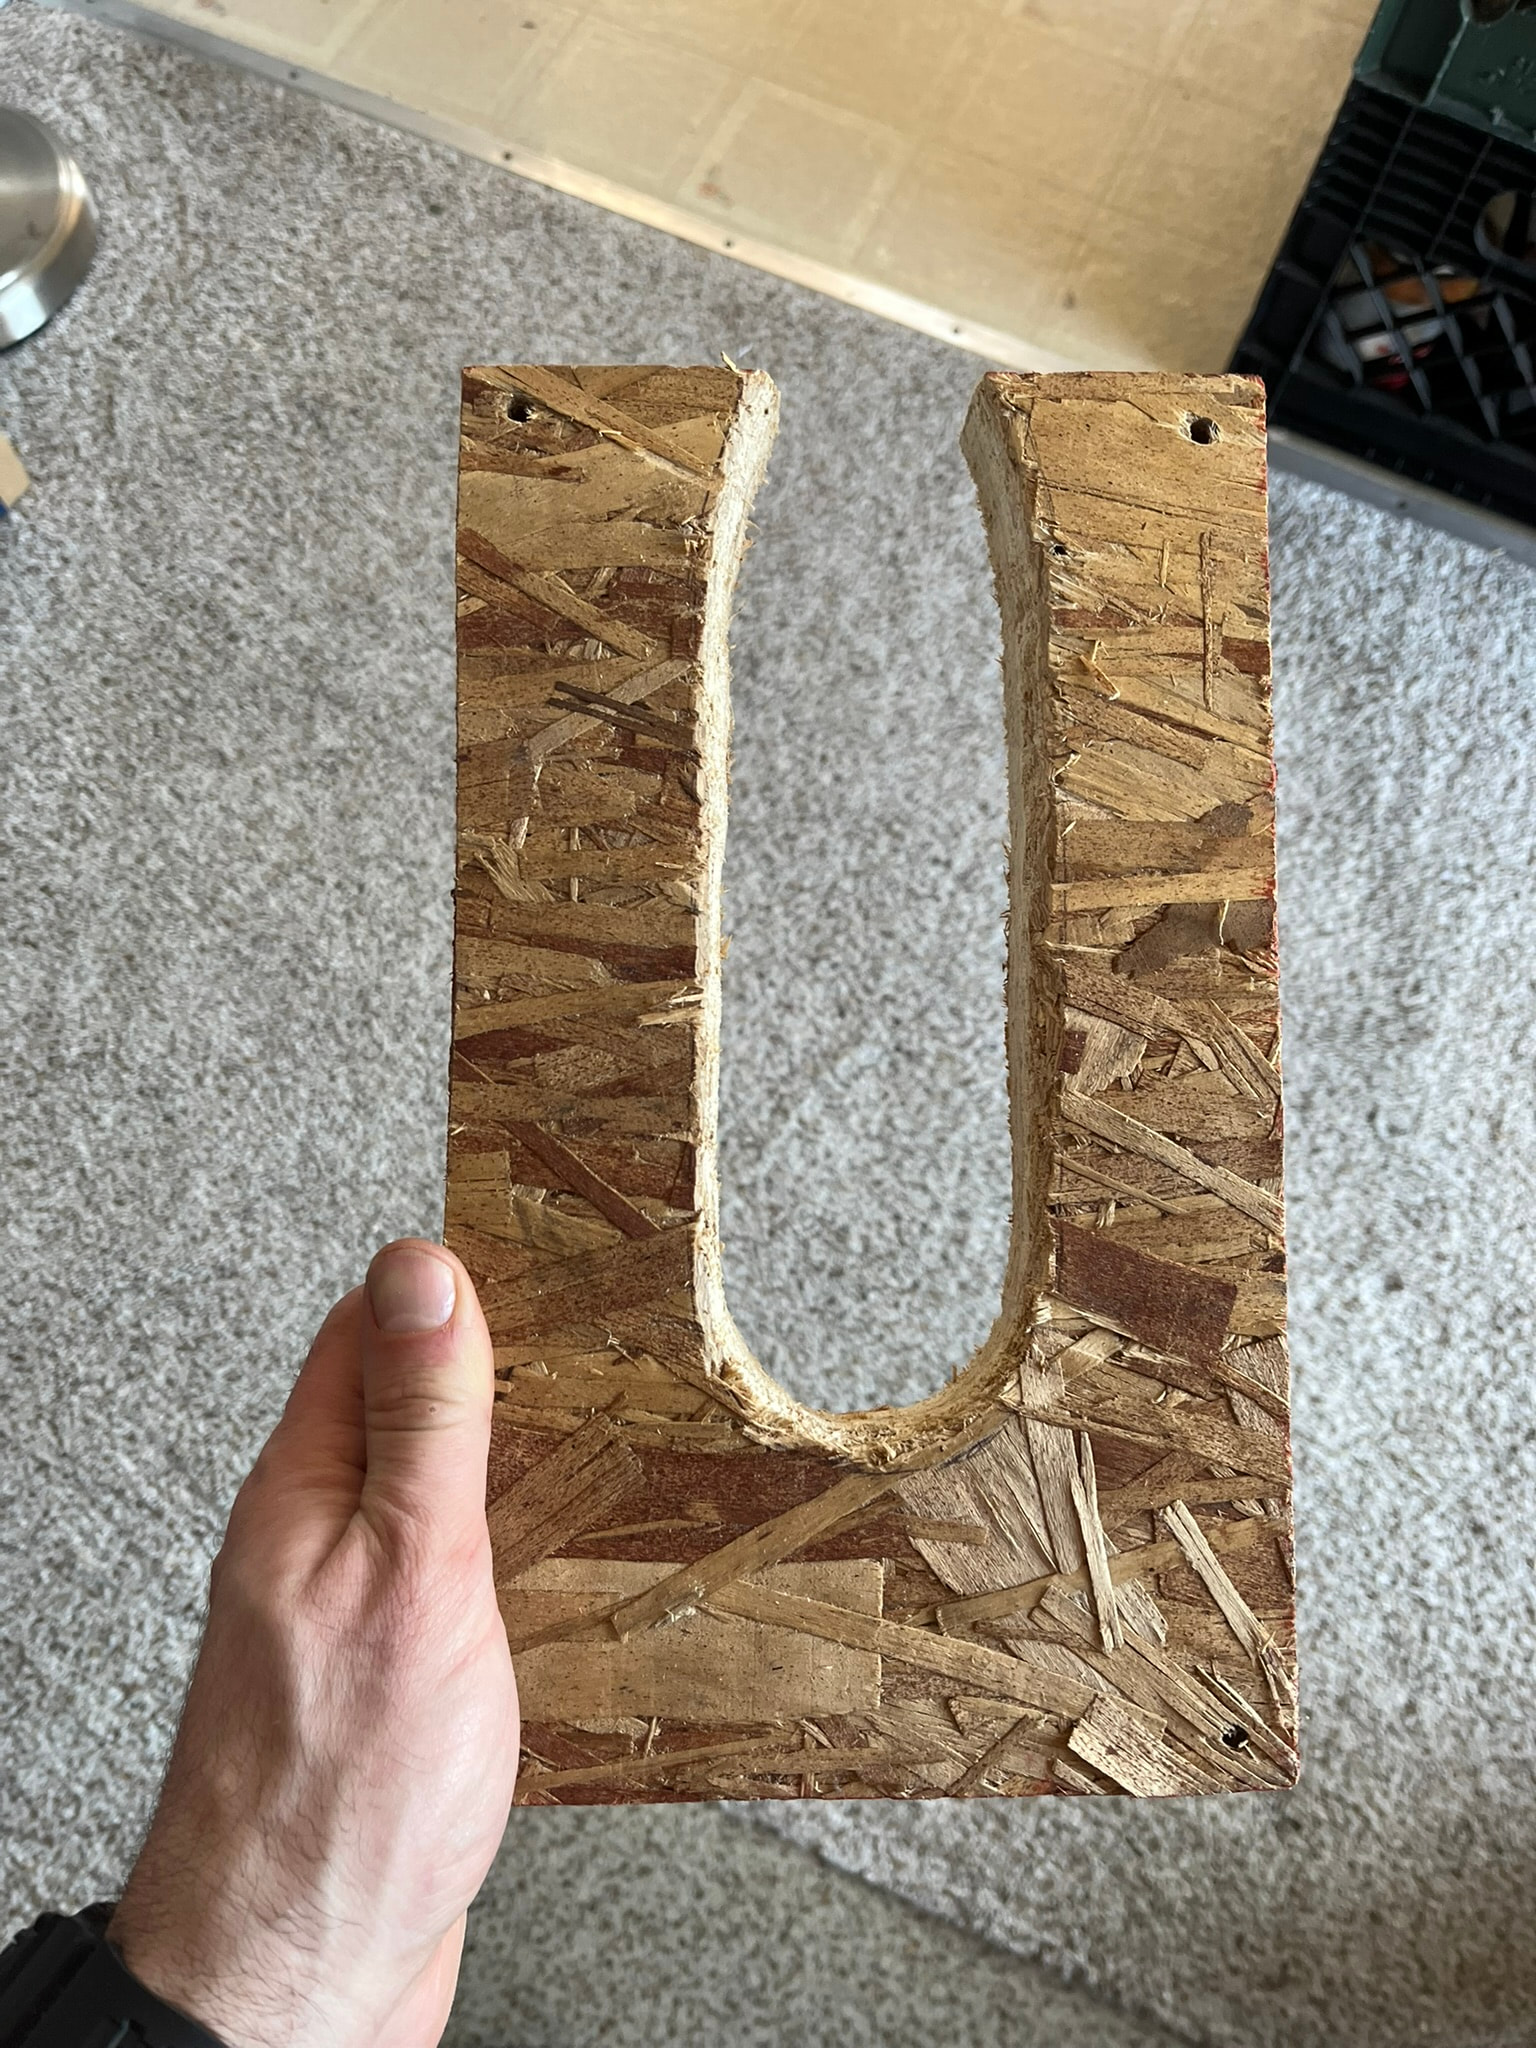
And here is my tracing pattern for the cutouts. I’ll start by sawing out the lower, narrower opening shape, then widen them out toward the top to create bevels.
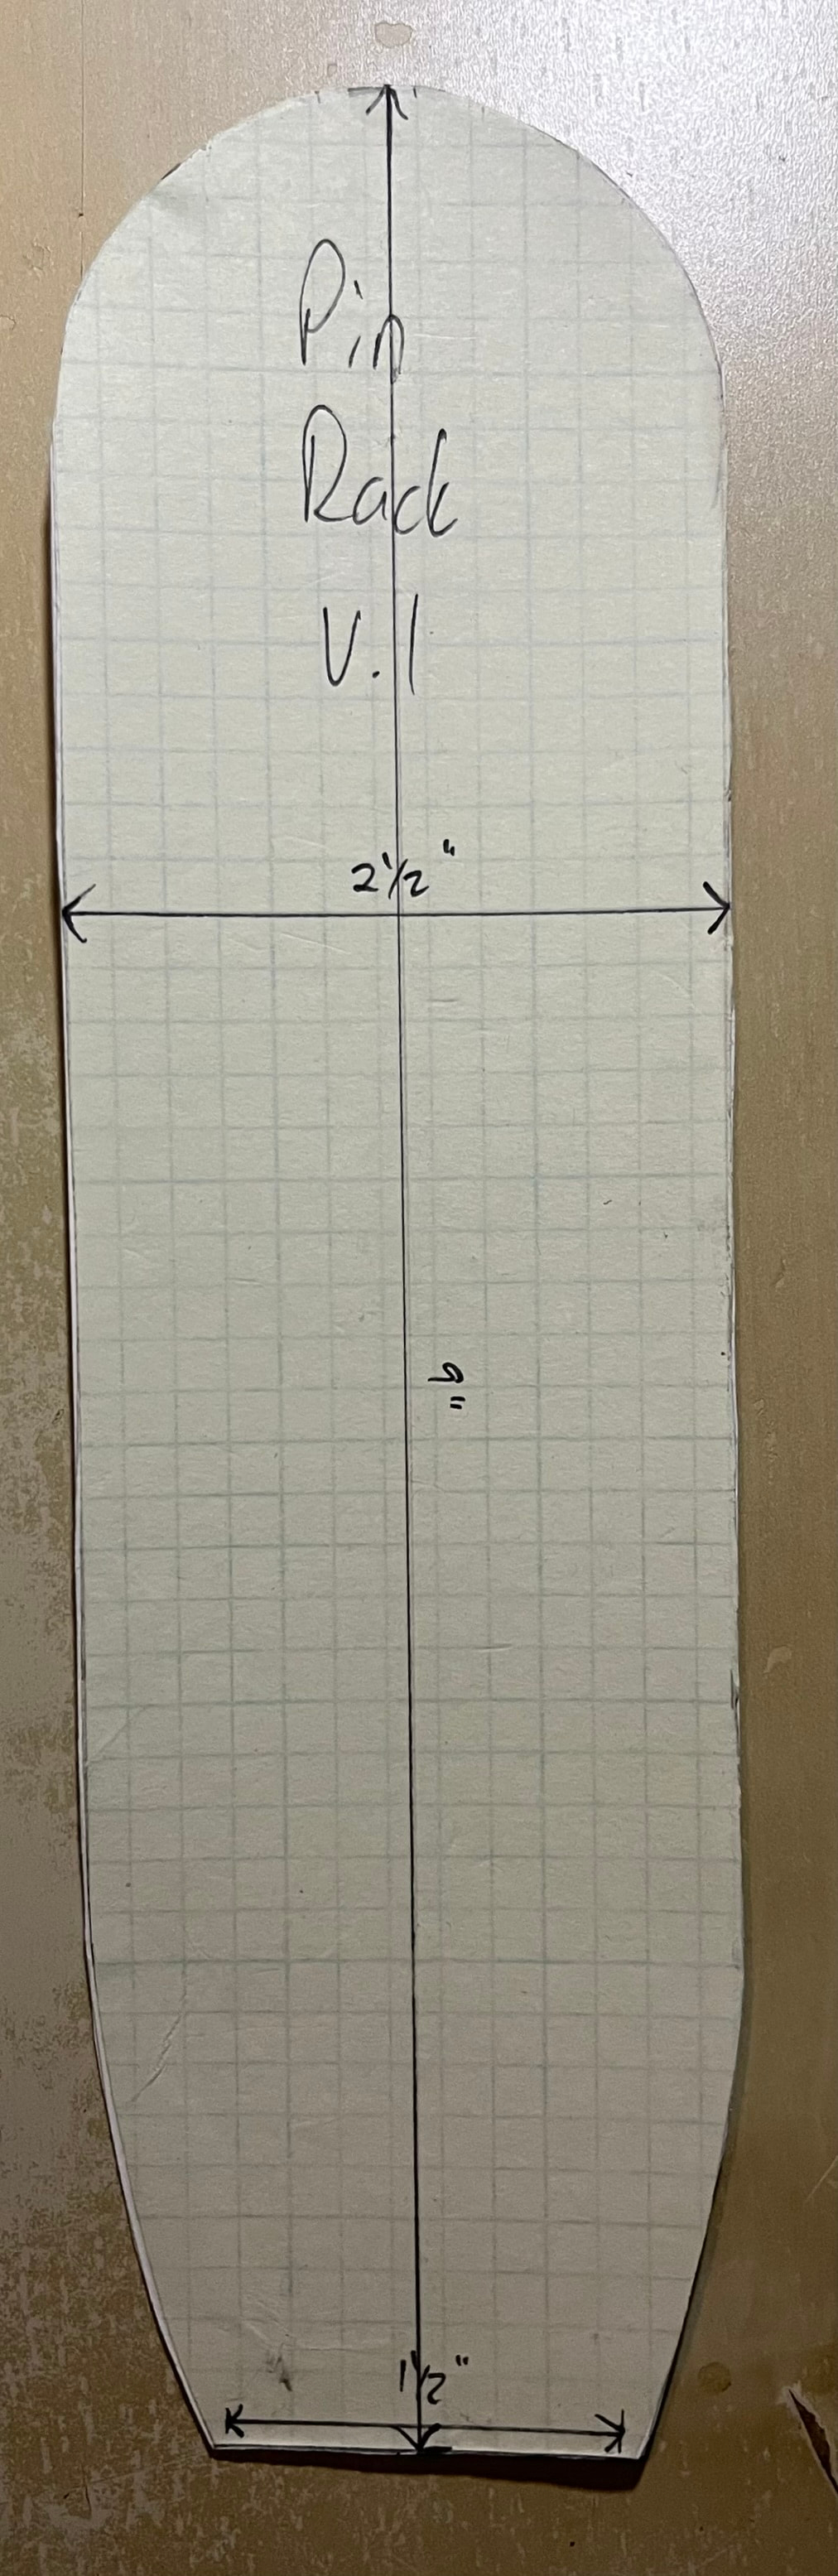
I plan to try this opening shape on a scrap of MDF before cutting the pine. That way I can try it with a few boots before committing.