Continuing the discussion from First Chelsea Boots:
Does anyone have a good sense of how the front curves of crimping boards for boots ought to be designed?
I’ve noticed that some boards offered for sale are basically just squarish 90-degree bends, while others look more like side profiles of lasts. Some are even curved less than 90 degrees.
My immediate need is to save something up for my first Chelsea boots. I am planning to use 3/4-inch hardwood and tacks, rather than screws, to start. Would the ideal be to simply project a side profile of the last onto a flat plane and cut that curve into the board?
I recently saw a recommendation to base it off your mean forme
1 Like
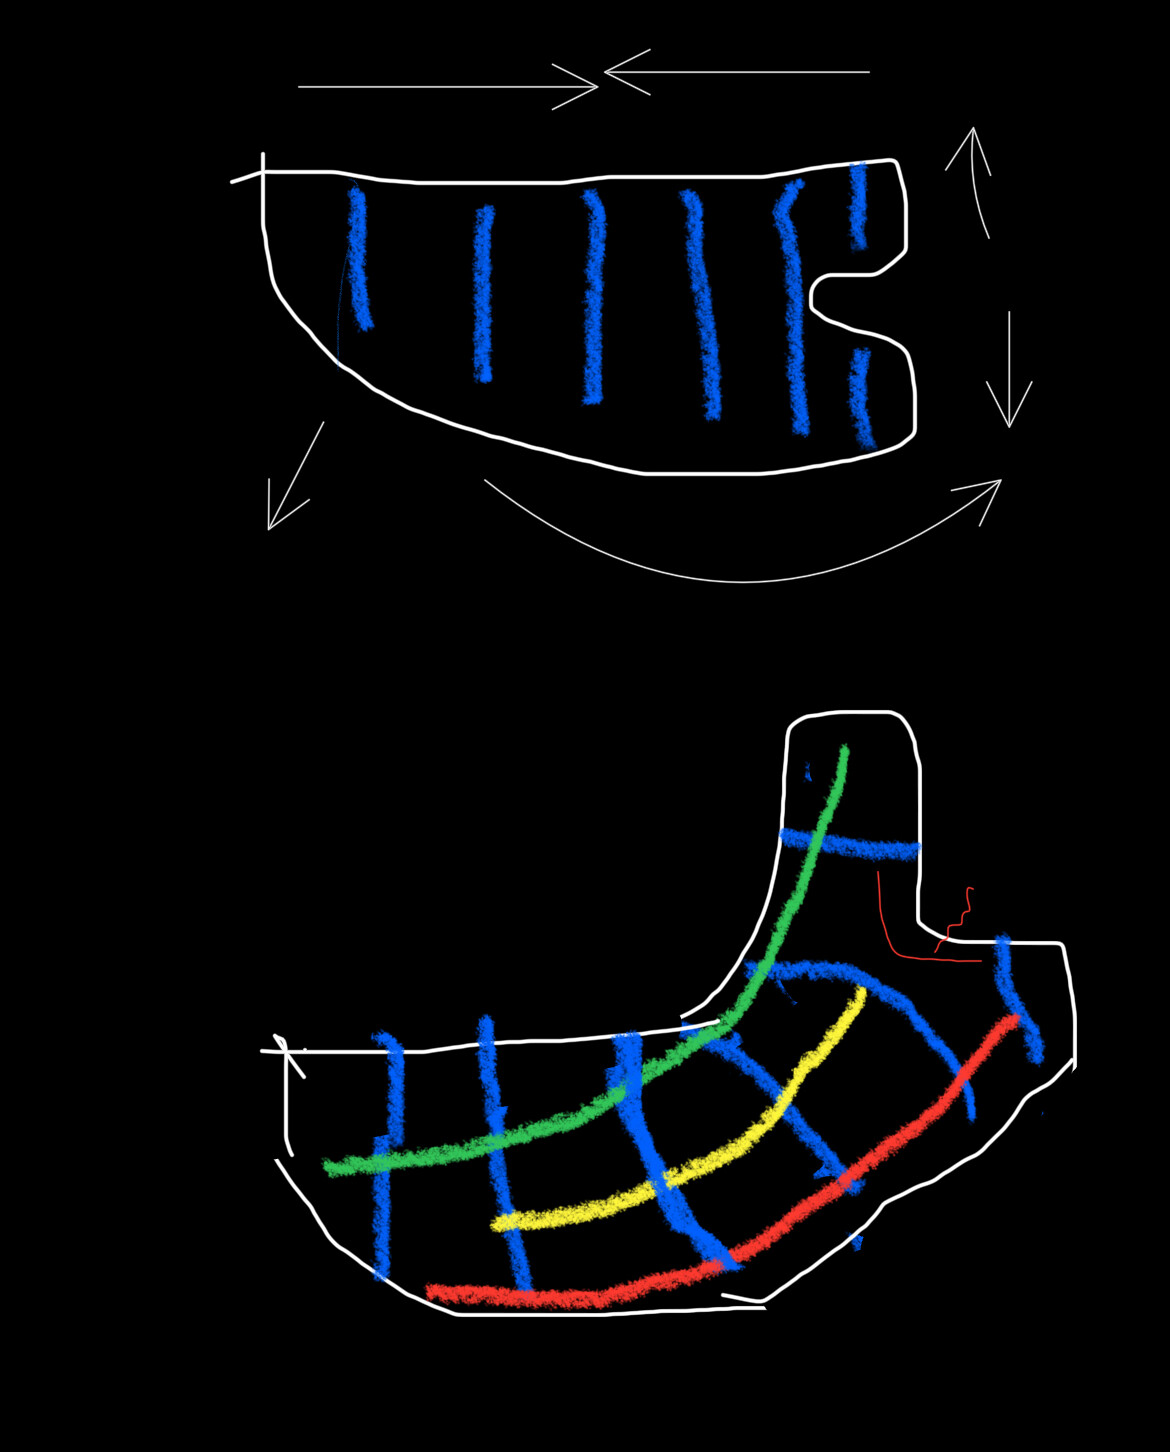
Doesn’t matter it’s not really the toe that needs help. It’s getting longitudinal stretch along the feather in the waist and smooth compression of the instep you’re really worried about. The toe is just an anchor point
1 Like
Bad illustration but the green is going to get slight compression, the yellow moderate stretch, and the red heavy stretch. At the crotch of the tongue is where you often get tears because it’s a stress concentrator but also getting pulled in three directions. All that really happens at the toe is some lateral stretch but you don’t even really have to do that, just create an anchor point for the other pulling. The goal of making a blocker is just to get curved stock you can cut your pattern from. I use the half-vamp pattern to re-cut after blocking, and would use that to shape the middle of the board (or even exaggerate that saddle) with the ends of the board just heading off toward infinity, just long enough to ensure I don’t run out of board
3 Likes
Thanks so much for taking time to sketch that out!
I just rewatched @Customboots’ old video, as well.
It’s looking like I’m going need bigger boards than I thought. The most accessible solid material seems to be HDPE cutting board. Perhaps 12 by 18 inches would do it.
1 Like
Baschdln was just making one out of wood counter offcuts from a store
Also koleff has a diagram for making blockers if you’ve not seen that
1 Like
I am really leaning toward wood myself. But I did a little research on HDPE first. I’ll share a few tentative takeaways, in case I or others return to this line:
My best lead for an online source of cut-to-measure HDPE slabs here in the US market was:
My search criteria were basically:
- HDPE
- 1 inch thick
- smooth surface
- don’t care about color
The combination of thickness and smooth surface cut down options consderably. For example, I found local companies here in the Bay Area that apparently do lots of business making cutting boards for commercial kitchens to measure. But one of those only had textured HDPE and the other only had smooth up to three quarters of an inch thick. I had it on my list to call them and see about inch-thick smooth, but shifted focus to wood before getting there.
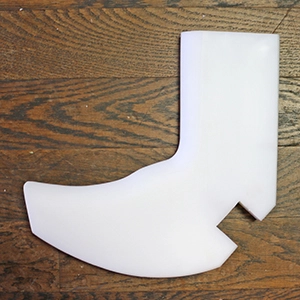
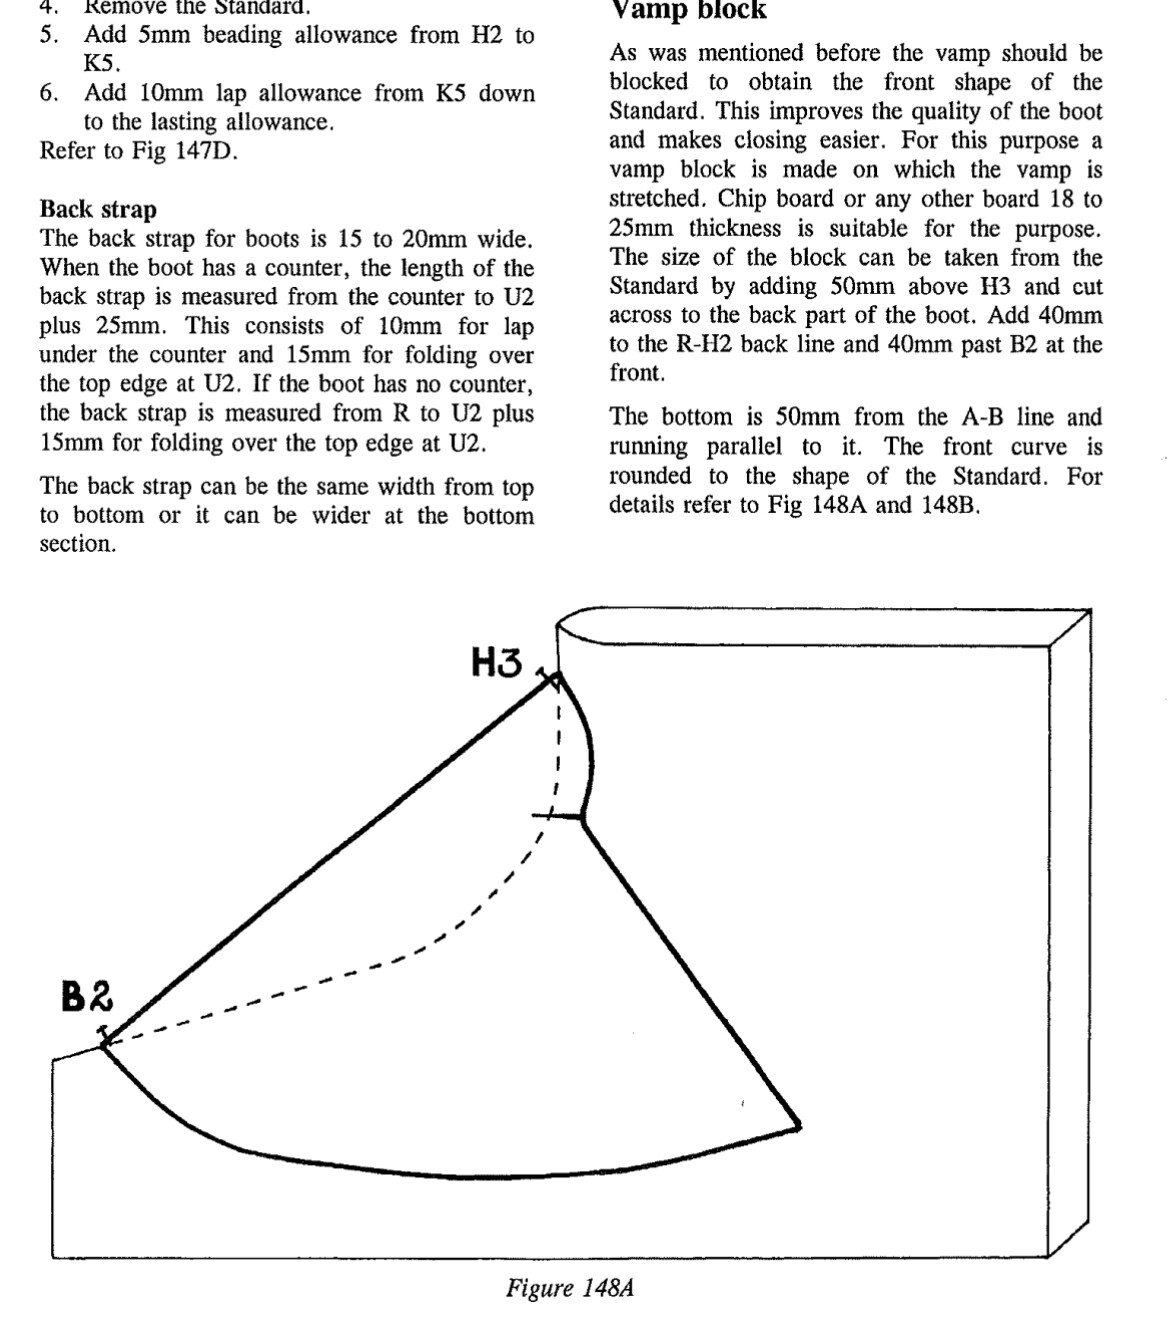
Here’s a scalable tracing of a board, possibly one of Dick Anderson’s.
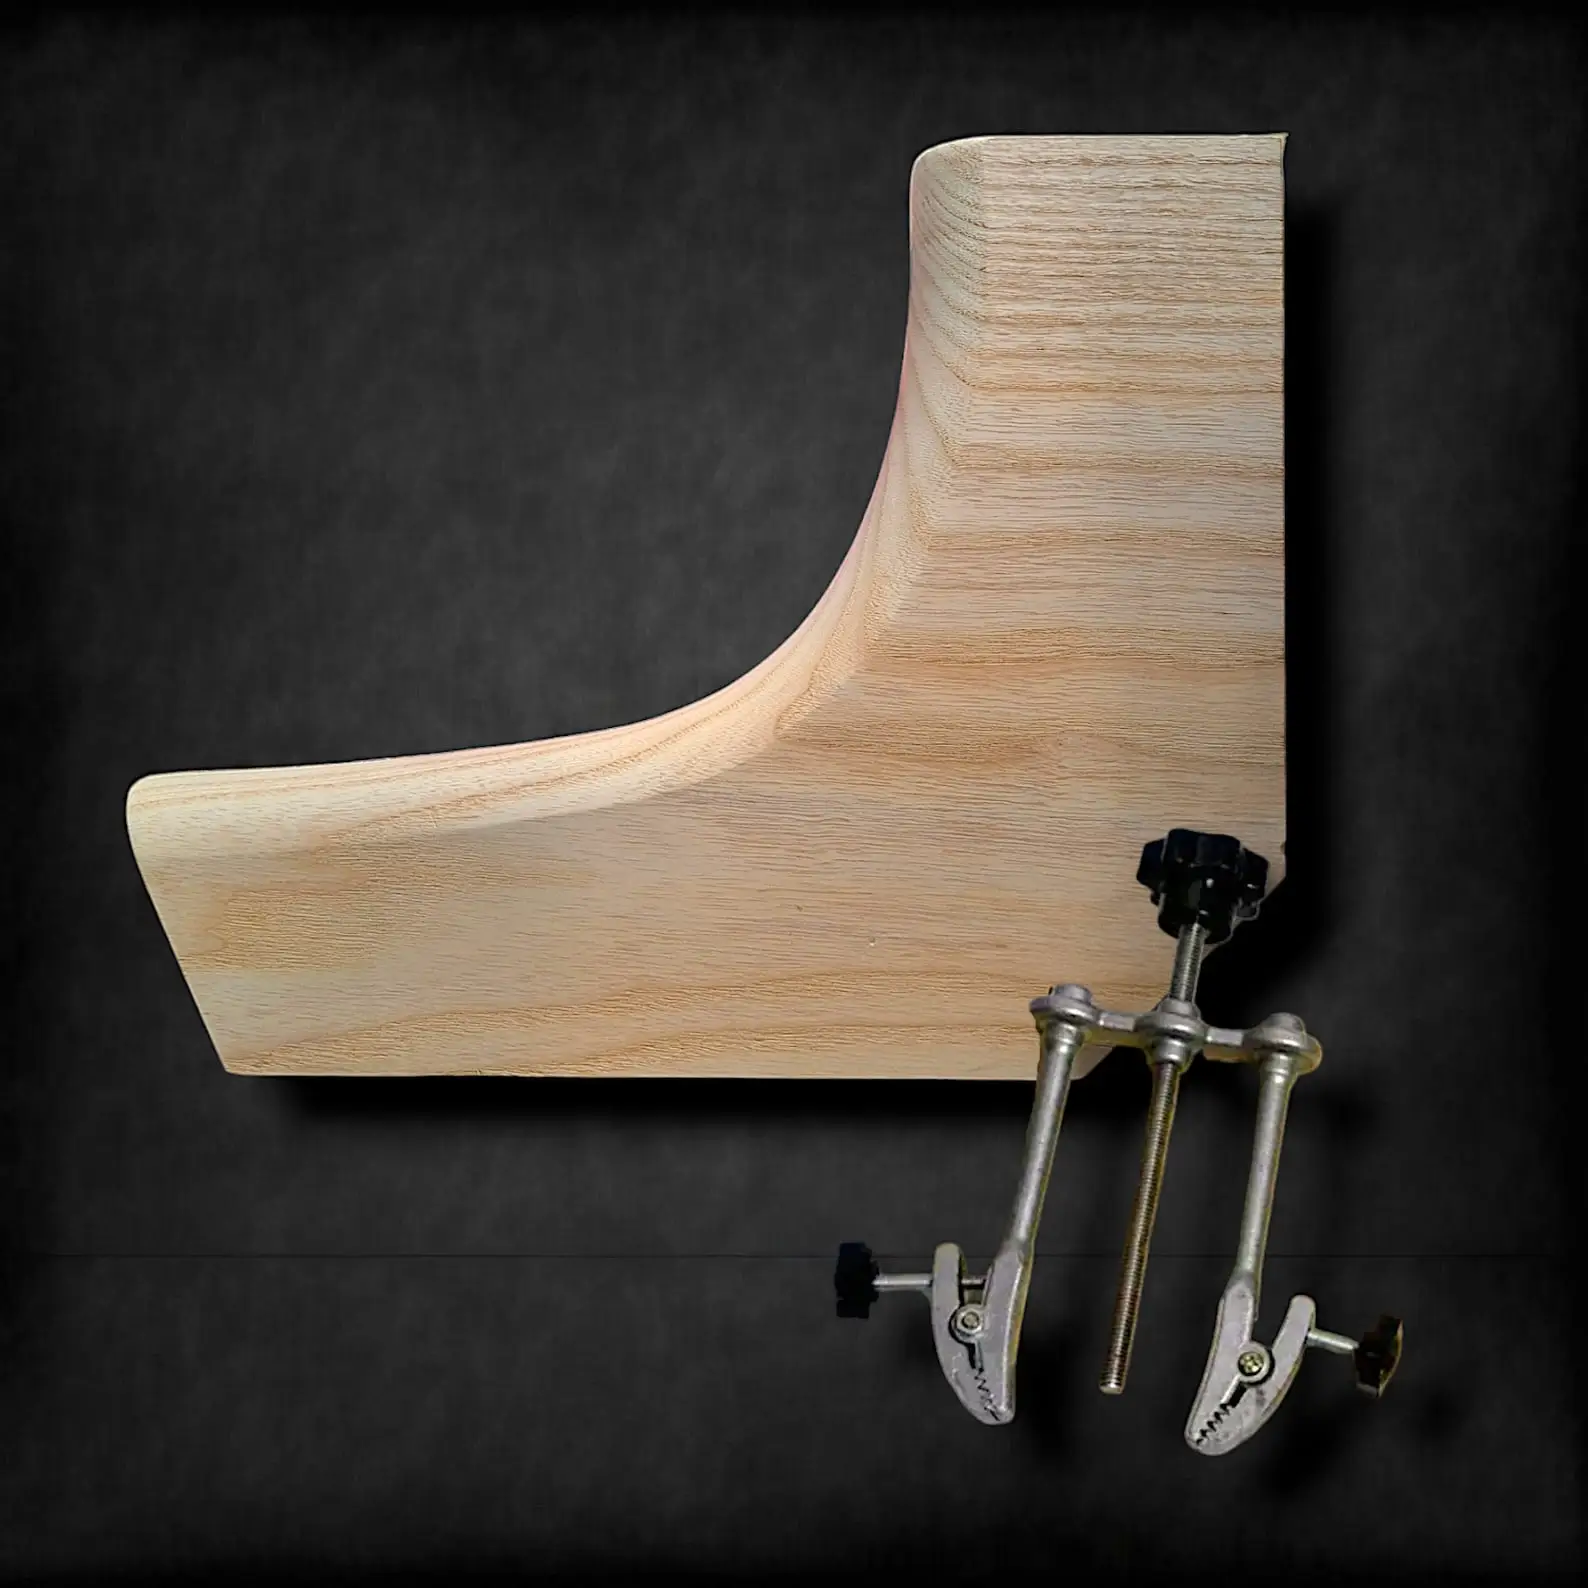
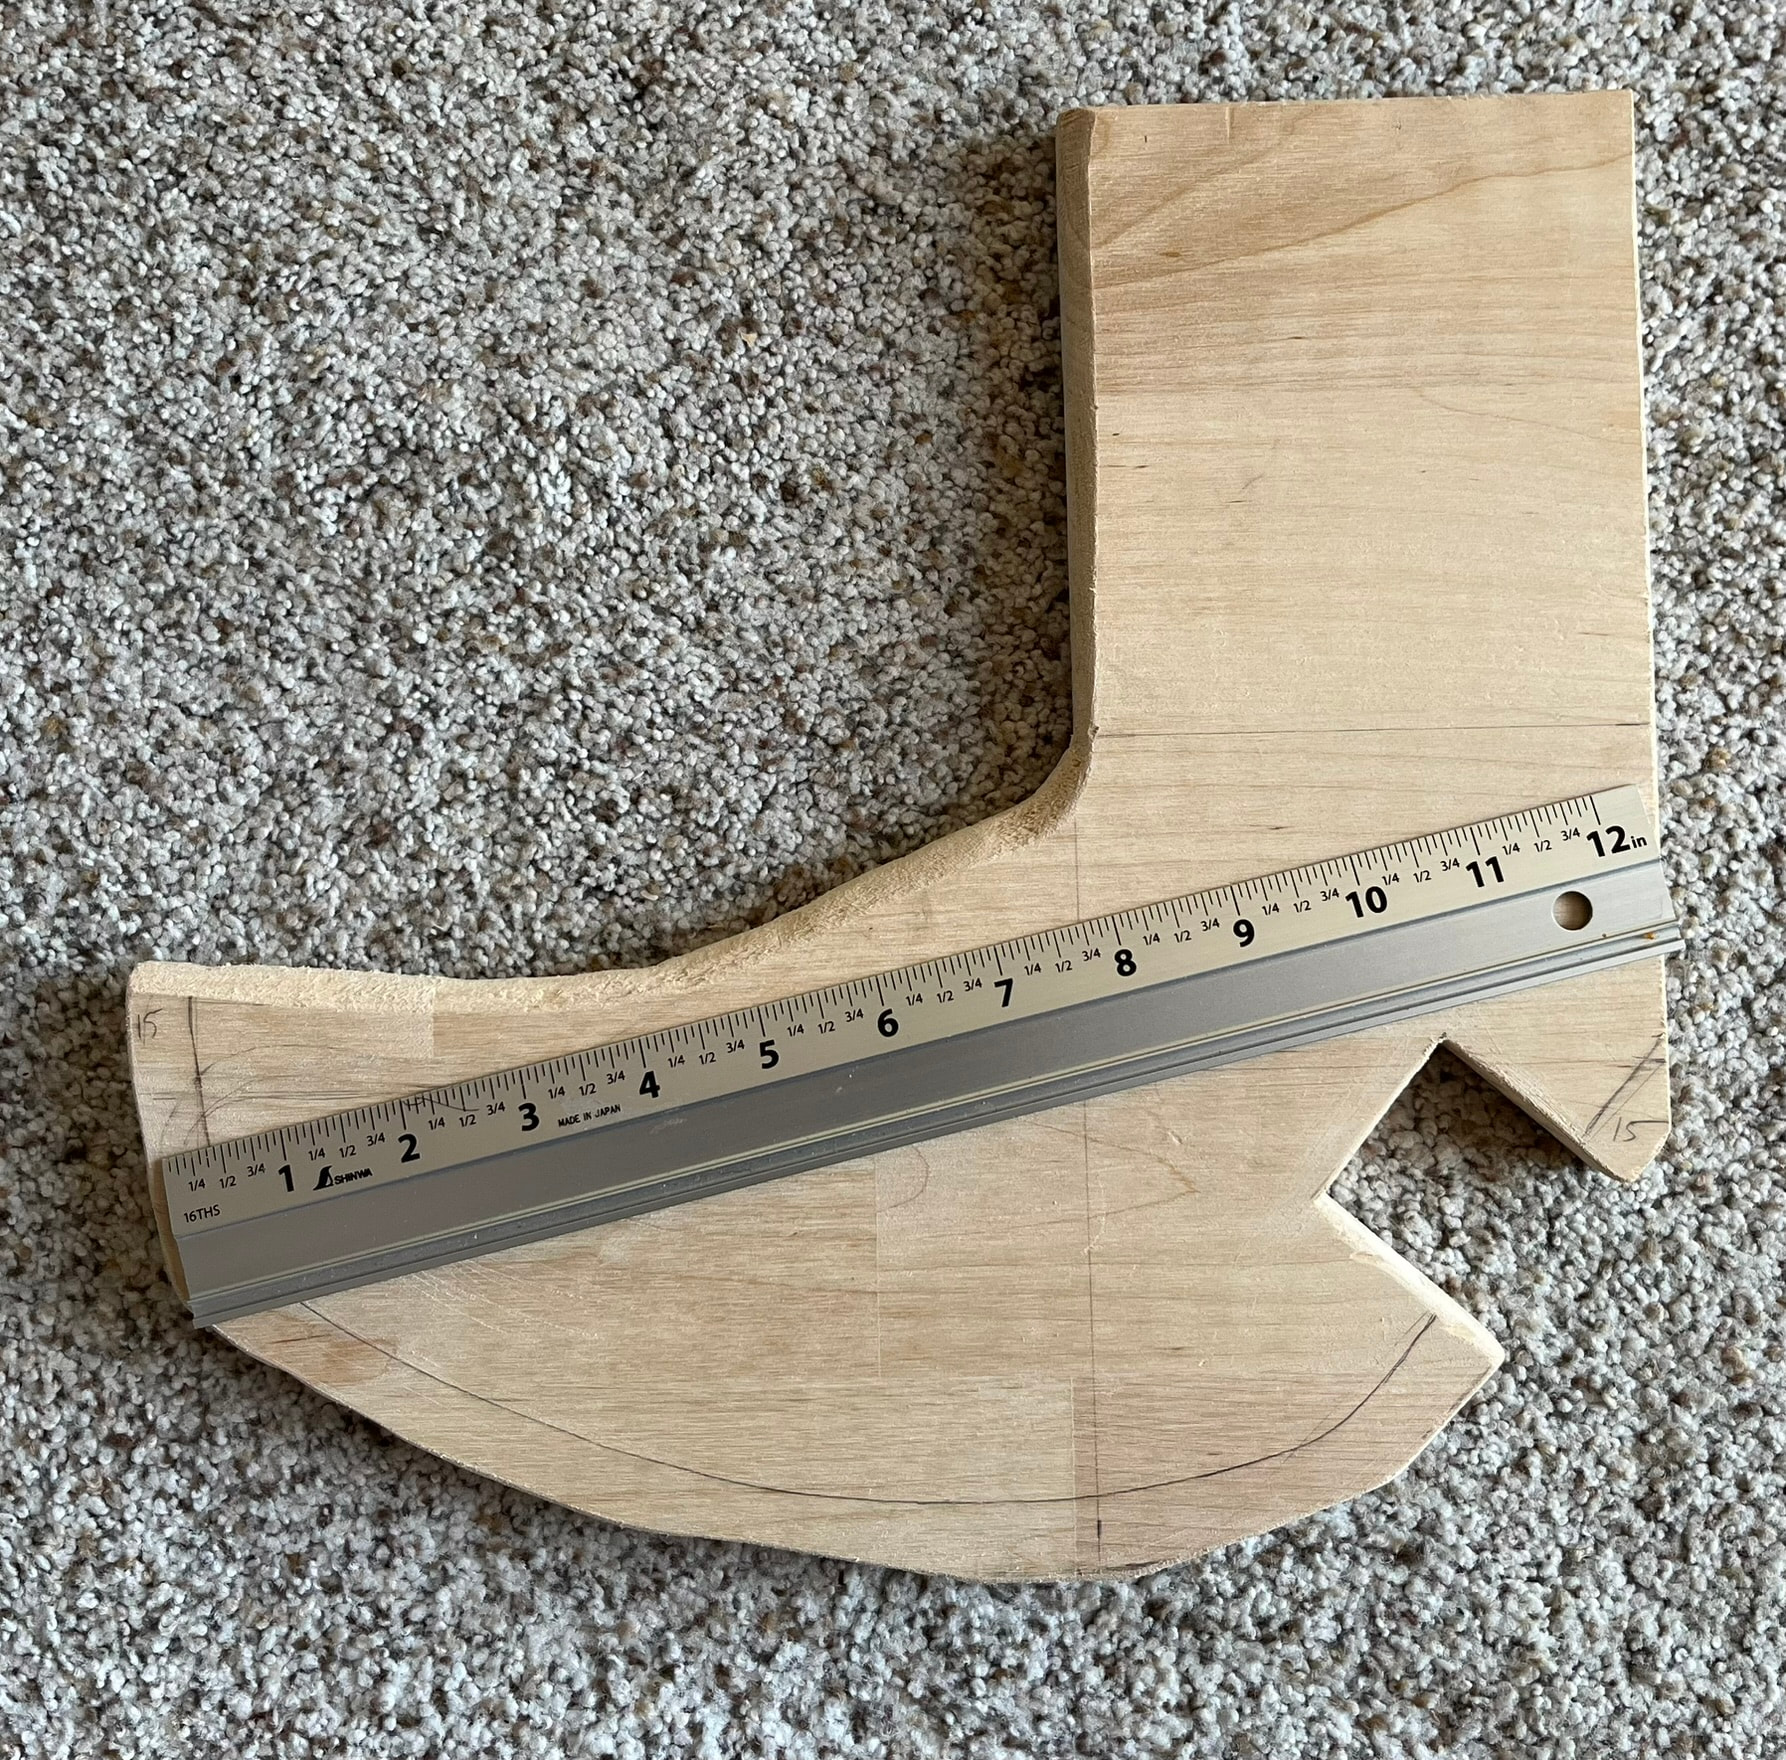
Here’s a board I made on a slightly modified version of this pattern:
I ended up using one of these $15 factory-glued hardwood panels from Home Depot:
https://www.homedepot.com/p/ProWood-1-in-x-12-in-x-16-in-Edge-Glued-Hardwood-420535/313763554
Note that these are 1 inch thick nominal. Actual thickness is less, roughly 3/4 inch.