I’ve been revisiting a bunch of pattern reading and notes as I gear up to make my first pairs of the derby “service boots” that are all so hot right now. One of the things falling out of that is just how little consistency there is across sources, even when it comes to seemingly basic reference points that every how-to seems to use.
Various Methods
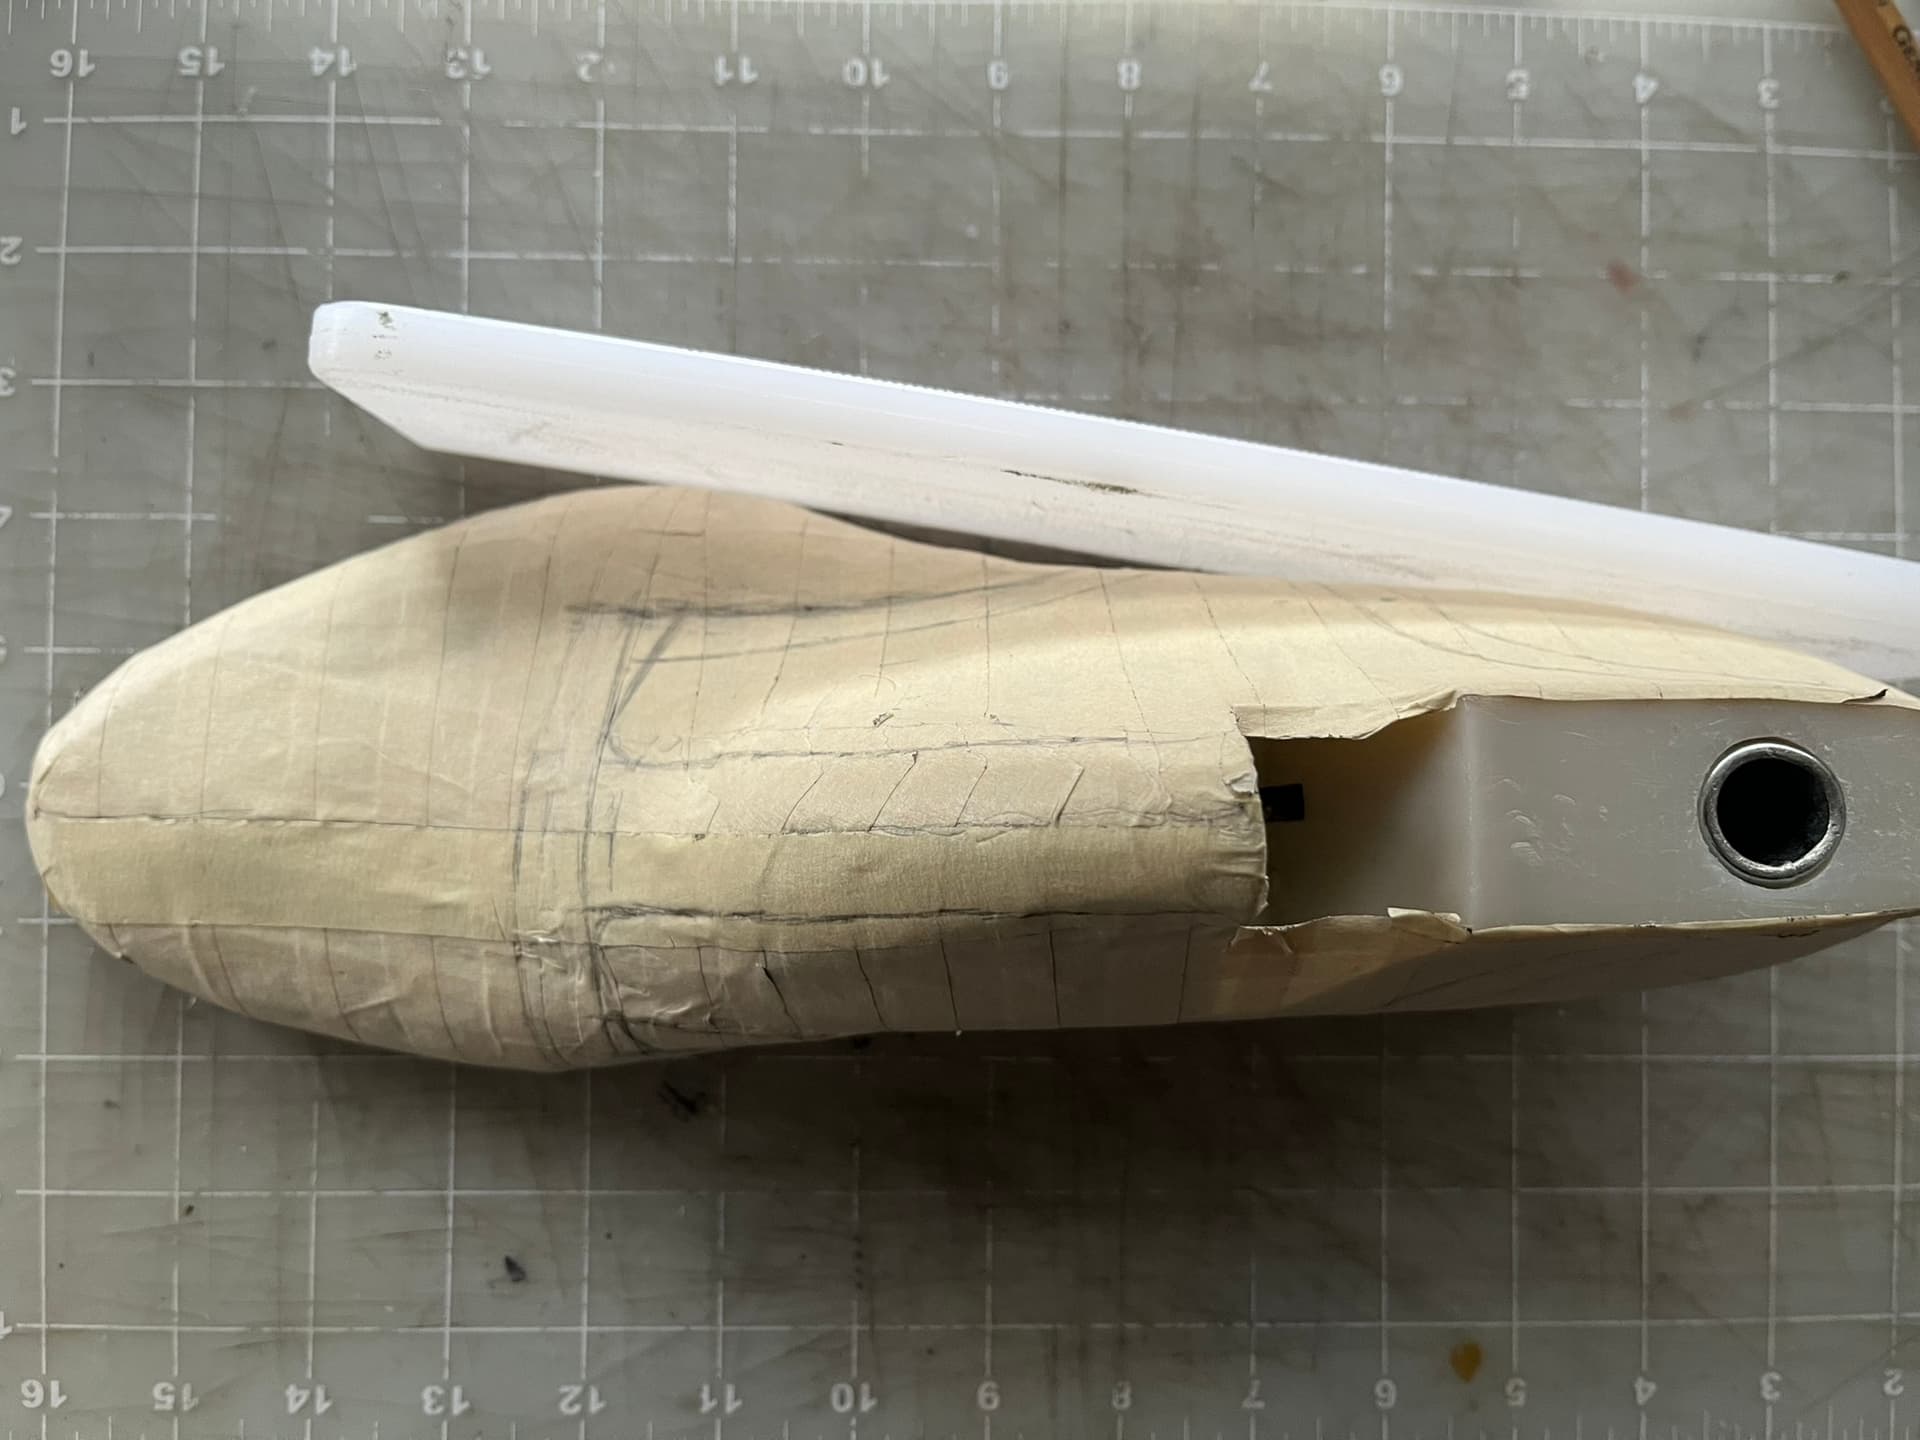
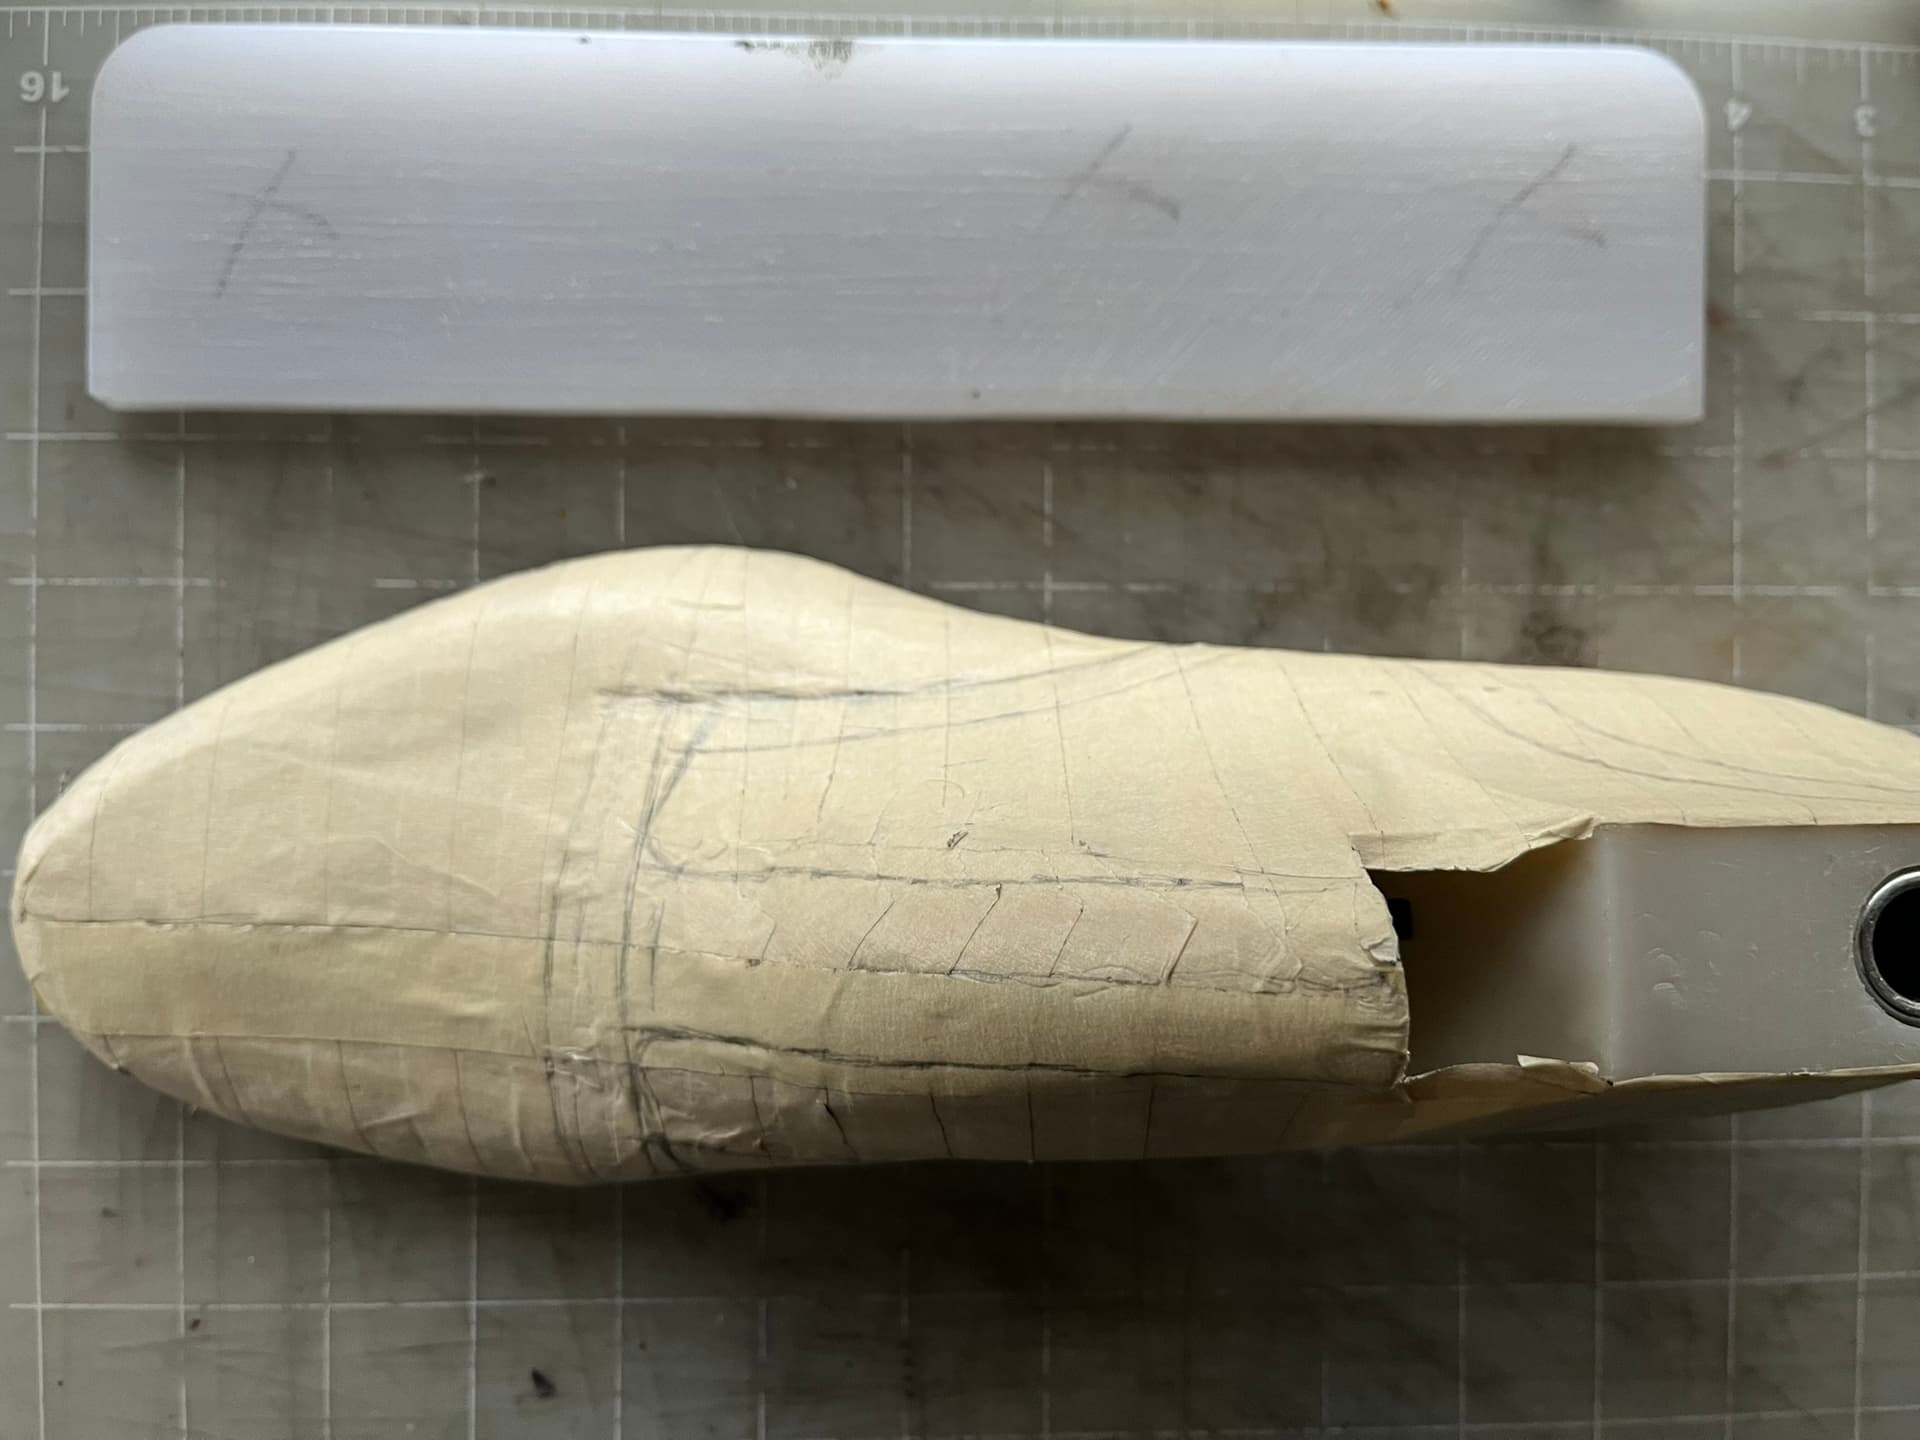
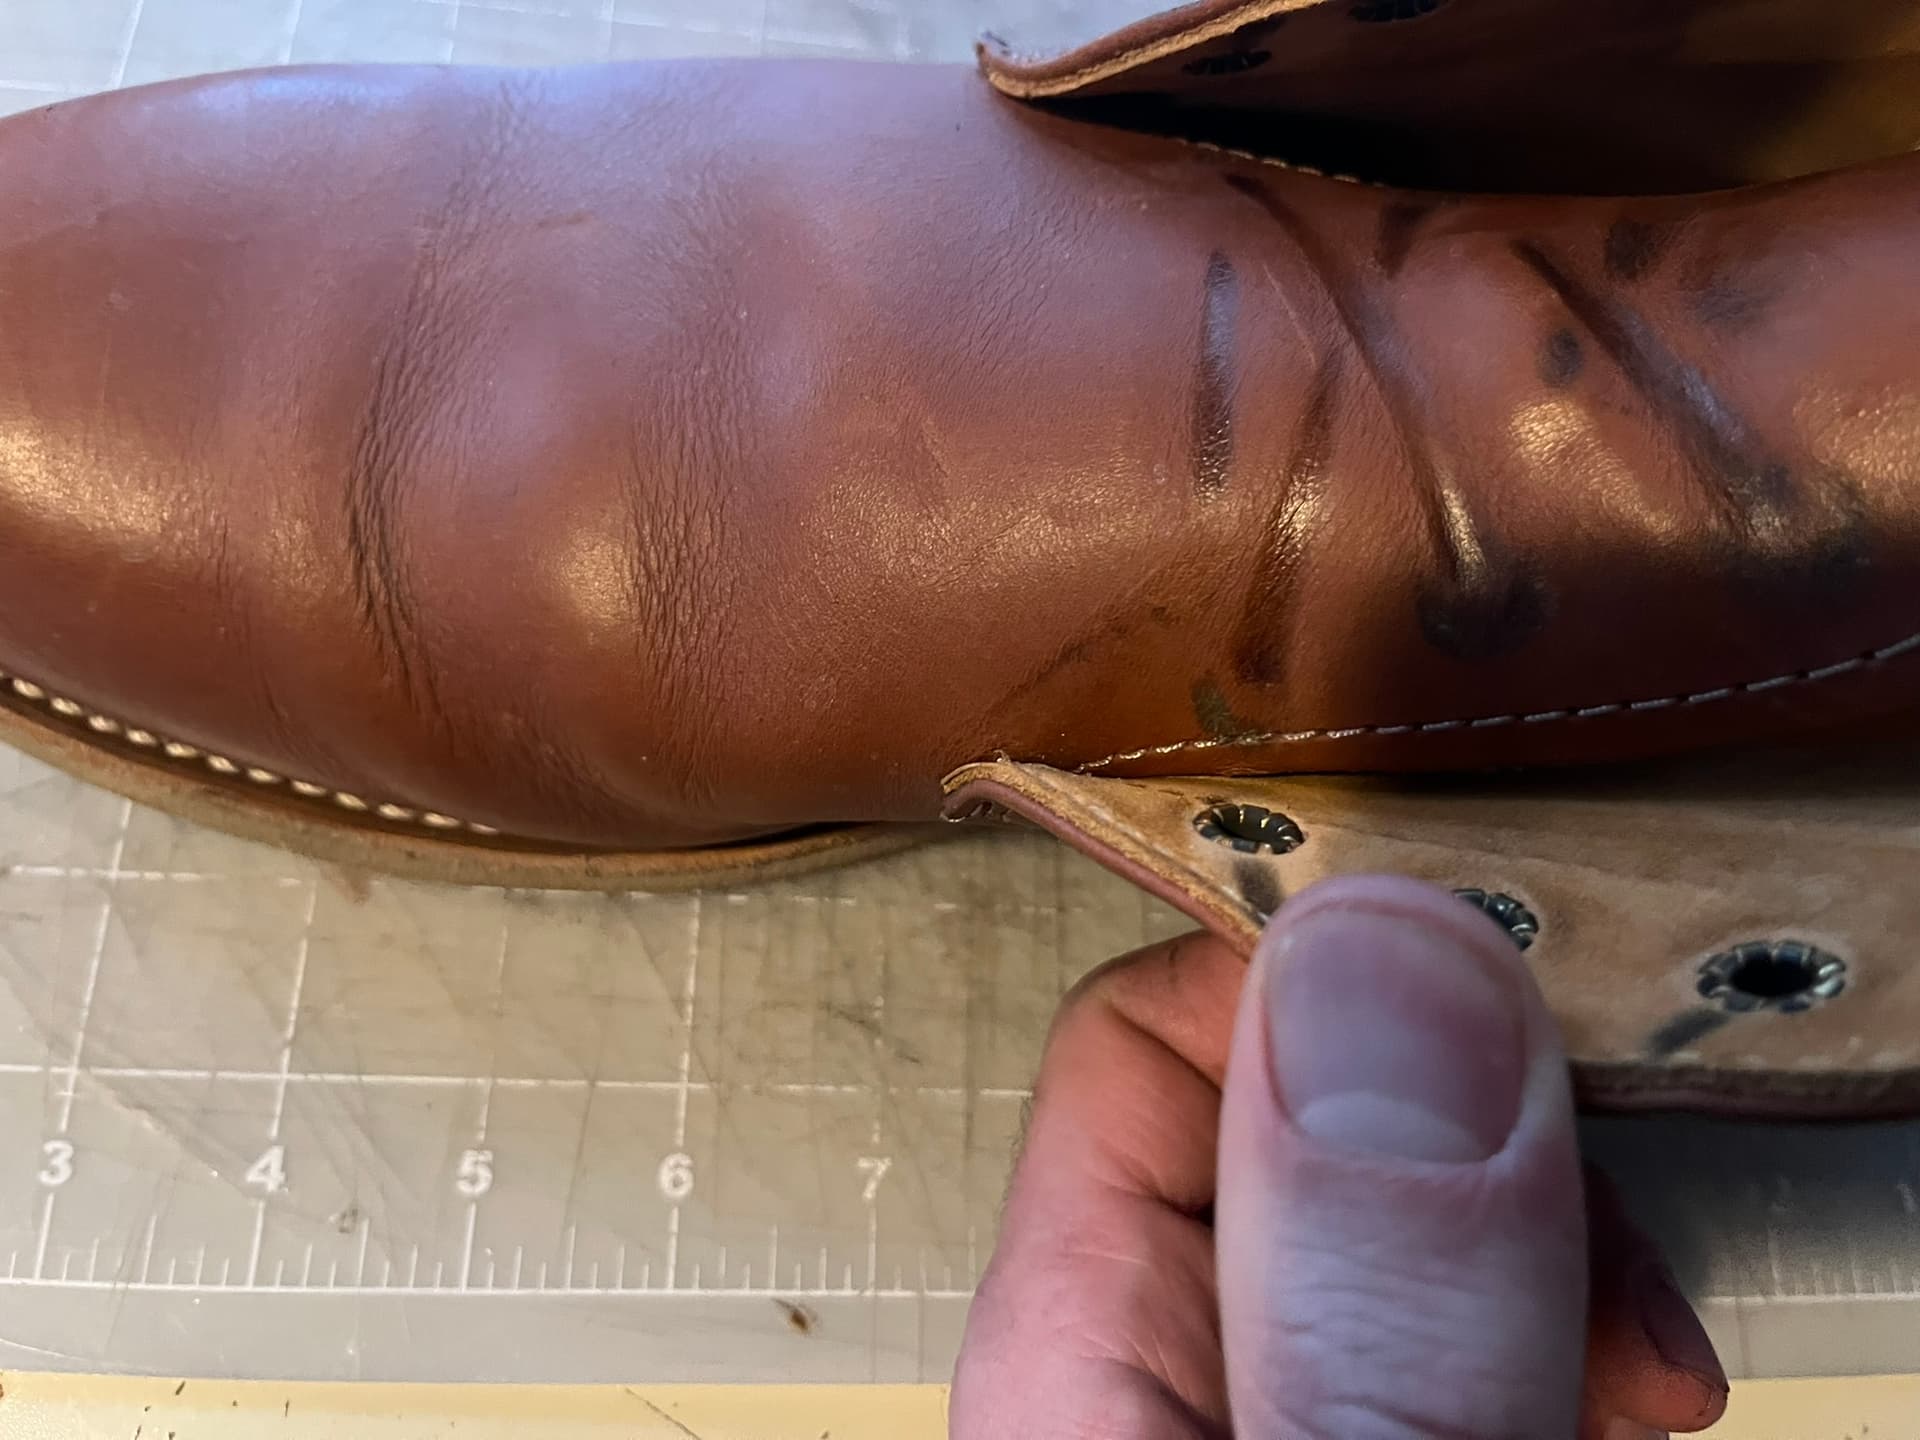
In videos, I often see people laying the side of the last against a stiff straight edge, such as a ruler, cutting board or bench top, then marking where the forepart touches that edge. Repeat on inside and outside, then connect the lines with a tape. An example:

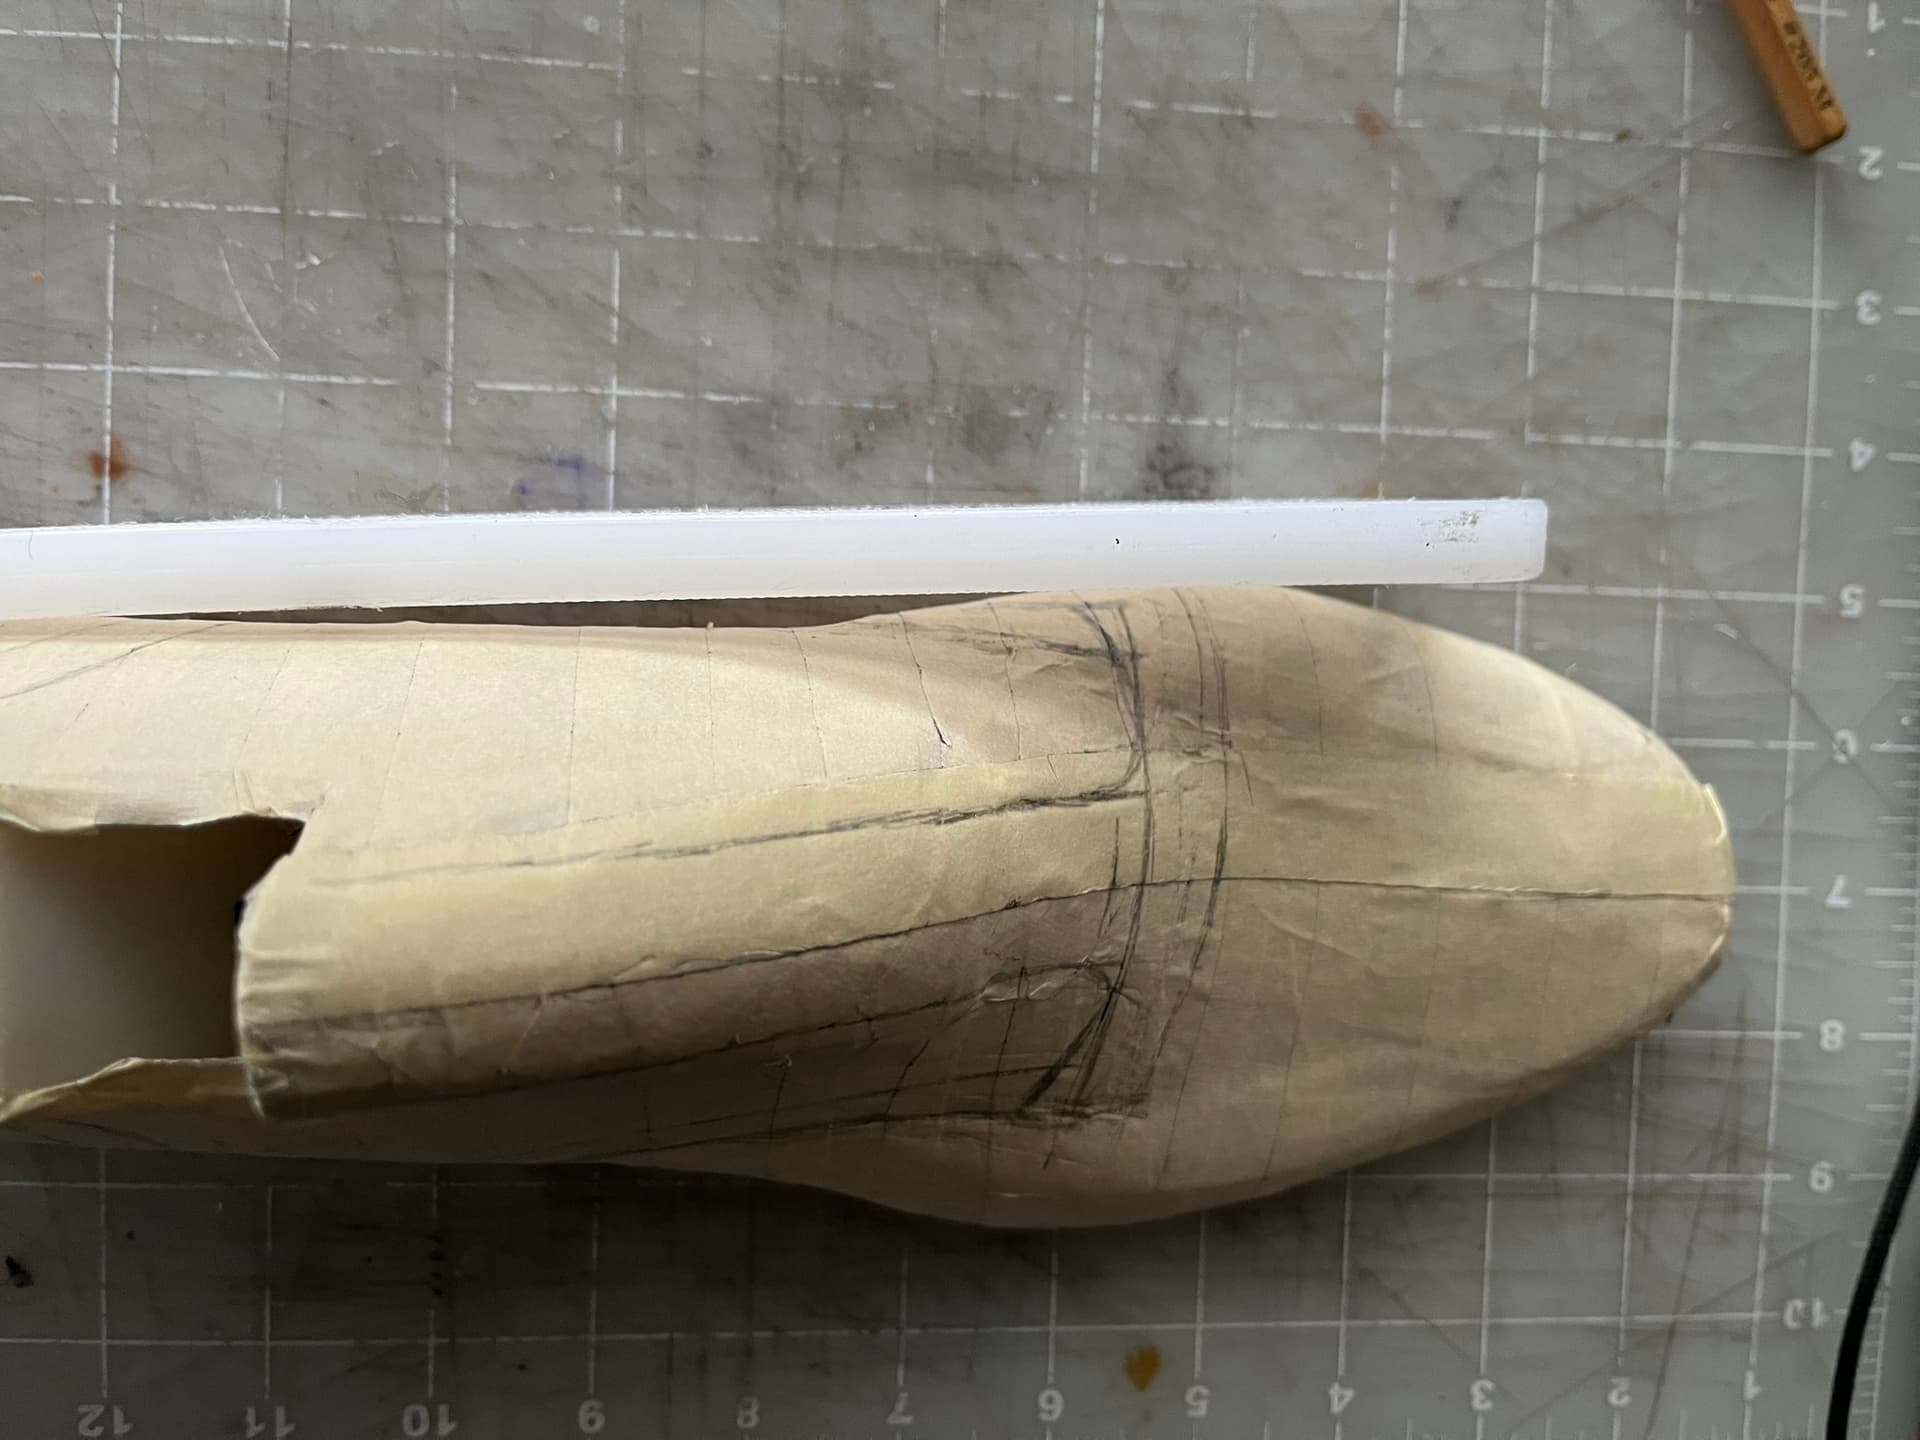
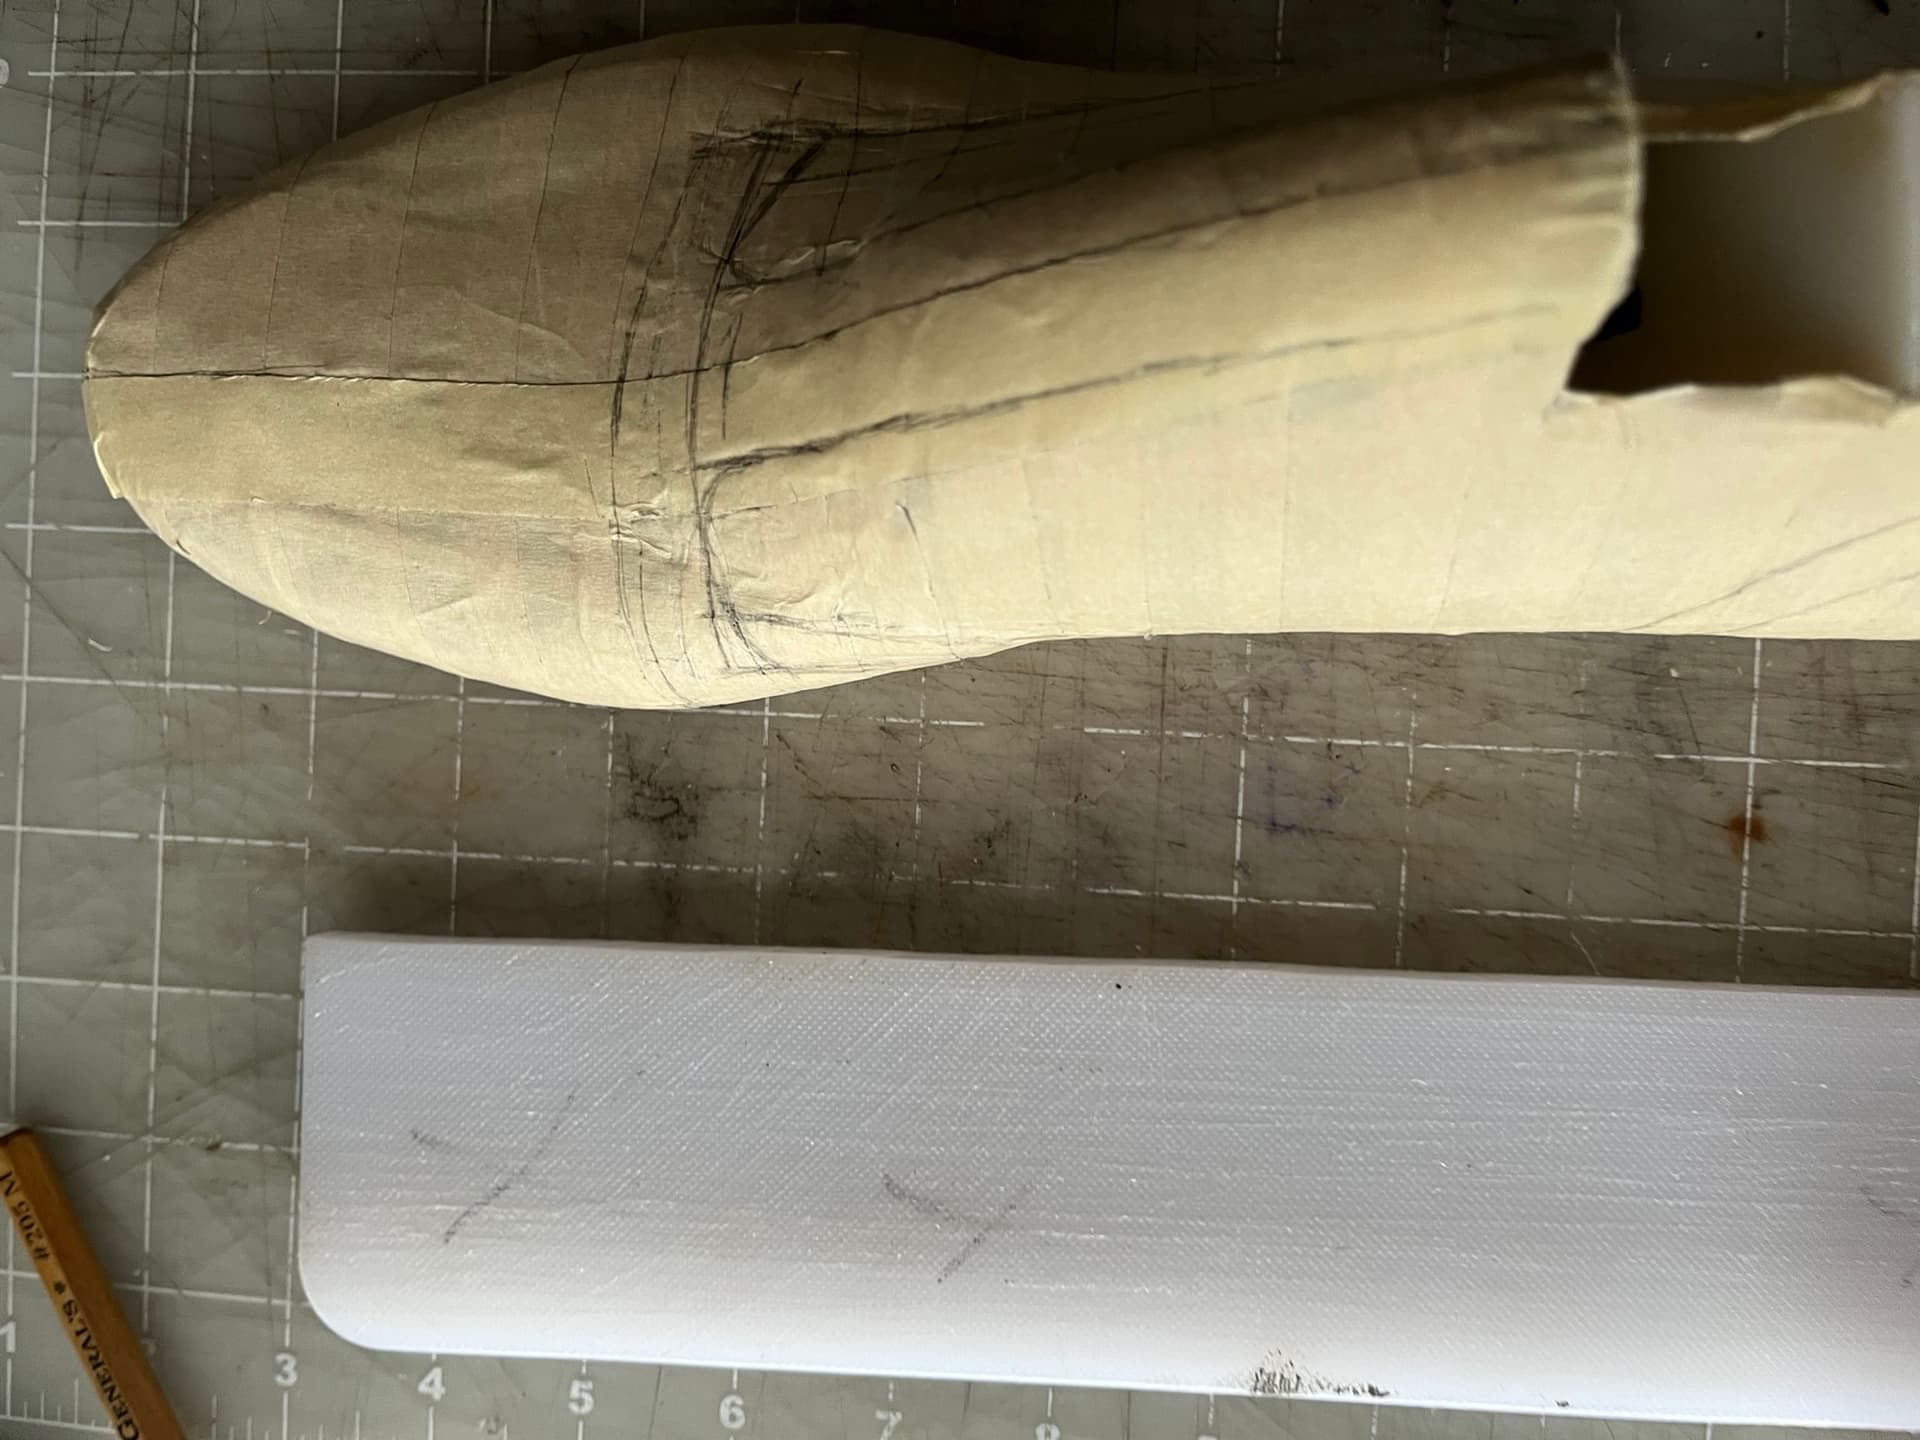
However, I find that this consistently locates the joints behind the widest points of the inside and outside of the forepart, judged by distance from the center line or main axis. The result is a patterning line that falls somewhat further back than the crease line. If you measure angled ball girth there, you get a narrower reading.
There are also differences in how written sources instruct to find the vamp point. Even within single sources, it varies. For example, Jones’ Pattern Cutting Step-by-Step instructs to find the point by running a tape along the side of the last from the counter point to the center line on the forepart, but sometimes for 3/4 of standard last length, and other times for 7/10 of it. Gibson shoes and Derby boots get 7/10. Why?
For this style, 7⁄10 of S.L.L. gives a more suitable front length.
That’s it.
Meanwhile, Patrick’s Modern Pattern Cutting and Design uses a point “B”, denoting “Front Height”, in much the way others use vamp point. It serves the same role in patterning. But nowhere does Patrick explain how to find point B. It’s apparently assumed to be marked on the last, or evident from it.
All Hows. No Whys.
All the varying methods seem capable of yielding differences that could matter. A lot of key patterning lines for Oxfords, Derbies, and derivatives get derived off the vamp point.
This has me going back to the recurring question of what reference points and lines like this are meant to achieve. Many sources don’t say why they mark particular points, just how to mark them.
Working Theory
My understanding of “vamp point” so far is that it’s fundamentally about the girth around the ball joints and whether the foot or a last can get in and out. It’s most important for styles with relatively little fastening adjustment range, particularly loafers and Oxfords.
Behind the vamp point, we need the flexibility of facings and laces or some other kind of fastening, like elastic or a strap, that can open wide when unfastened to allow the ball through. There’s some leeway in the stretch of the upper material and a tolerable amount of ball-smooshing the ball of the foot can take on its way in for a good fit. But depending on too much shoe stretch and foot crunch can make a shoe unwearable. It can also make it hard or impossible to get a last out without damage.
Derbies as a rule can adjust somewhat narrower, limited by the width of the facing gap, until the vamp starts scrunching. They can also adjust much wider, up to the limit of the length of the laces and of simply looking ridiculous. So the “vamp point” for purposes of placing the fronts of the tabs and the tongue attachment point becomes more of a free design choice.
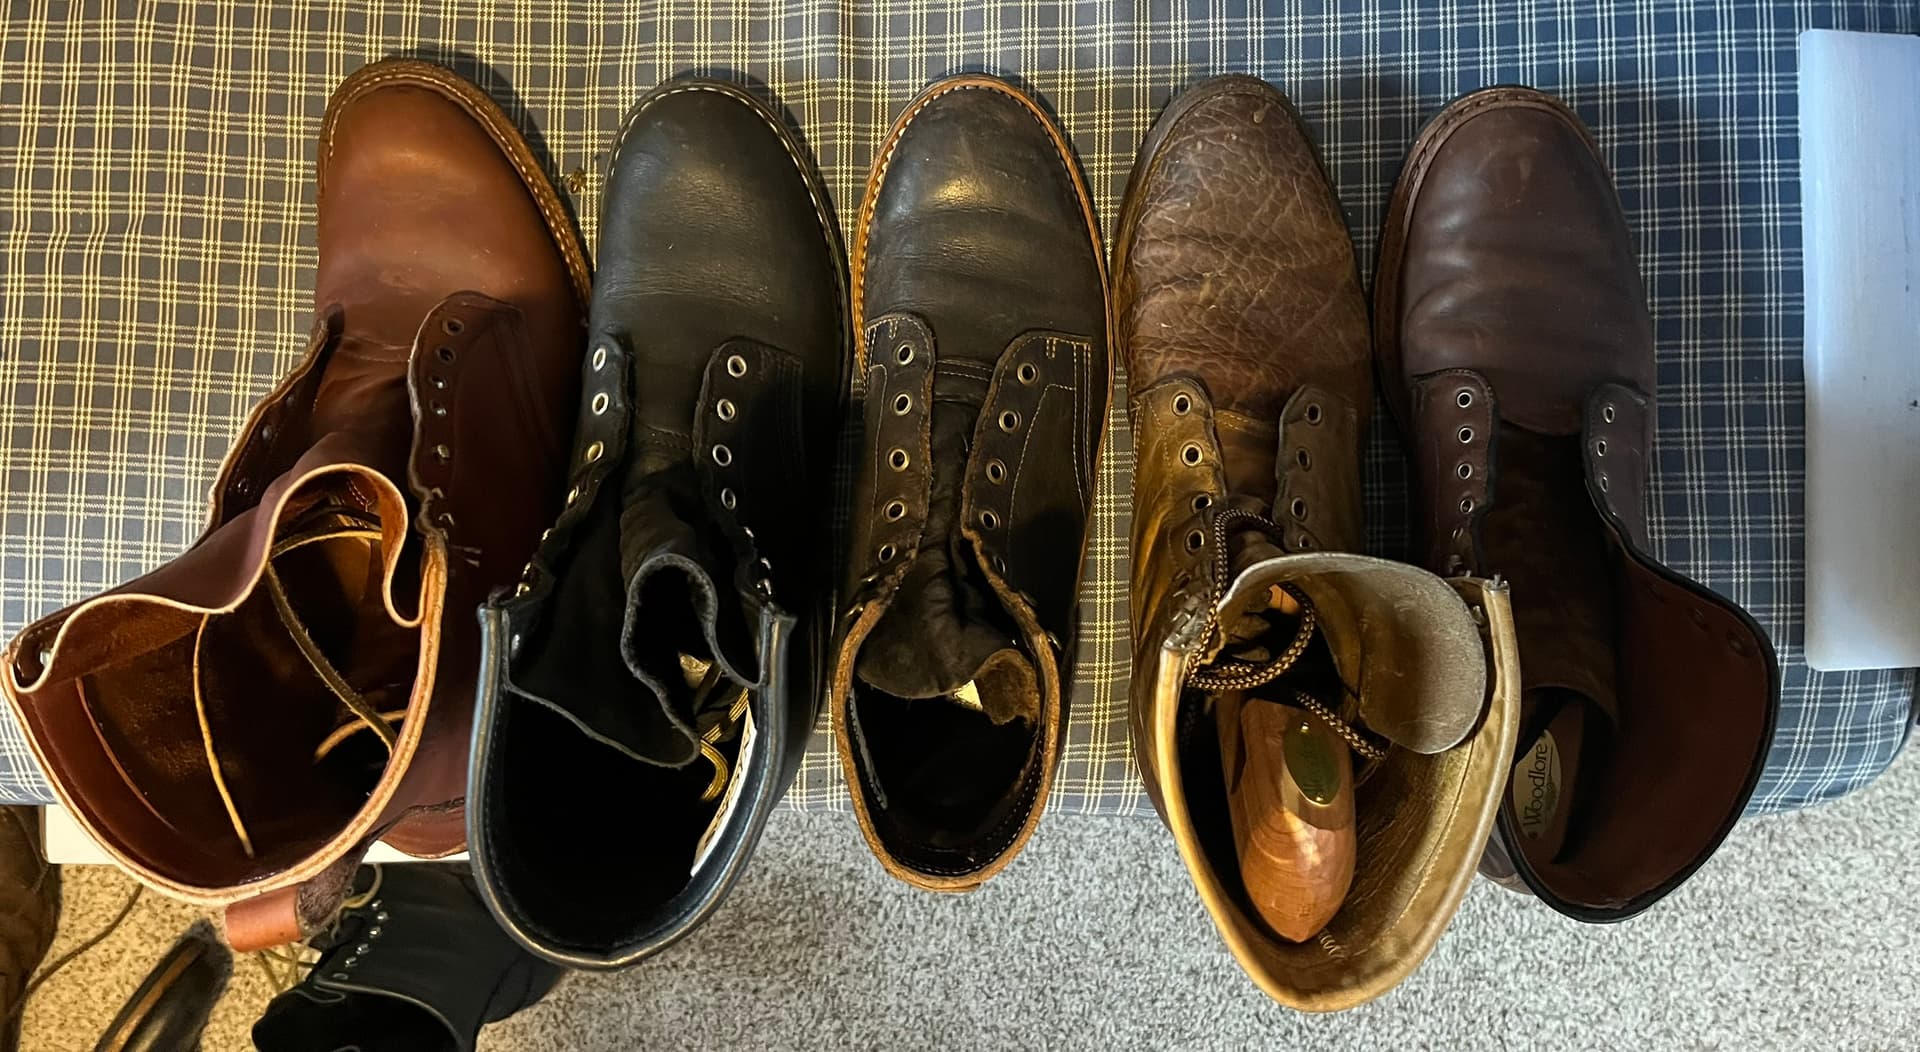
All those boots are of similar size, with their heels backed up in a straight line. Notice how the tabs of the quarters end different distances back from the joints. The White’s Packer on the far left is something of an outlier, with a higher heel. From there it’s Nicks Officer, Truman on the 79, Justin lace-up ropers, and Allen Edmonds Higgins Mill.
In the forward direction, there are “lace to toe” Oxfords, too. The Adidas Samba soccer shoes I wore for decades are an example.

But these are Oxfords with very wide designed facing gaps, intended to make a flat striking surface for soccer/football. Lace bars that wide would look chunky even on a heavy leather logging boot! Lace-to-toe Derbies can also go nearly to the toe, as on Monkey Boots. As a rule, their tongues attach just behind the tabs, like more traditional Derbies. The tongues may also pleat even as low as in front of the ball, affording a wide entry when unfolded.
Moving the start of Derby quarters way back and up is also clearly possible. The two-eyelet John Lobb “Luffield” two-eyelet derbies from the James Bond films. Higher-set chukka boots like Clarks Desert Boots.
But all of these designs have quarters angled down and splayed out toward the toe, reaching much further forward than the first eyelets. This lets them widen their tongues, as well as start them not far behind the balls. The contrast stitching on my Red Wing 595s shows it nicely:
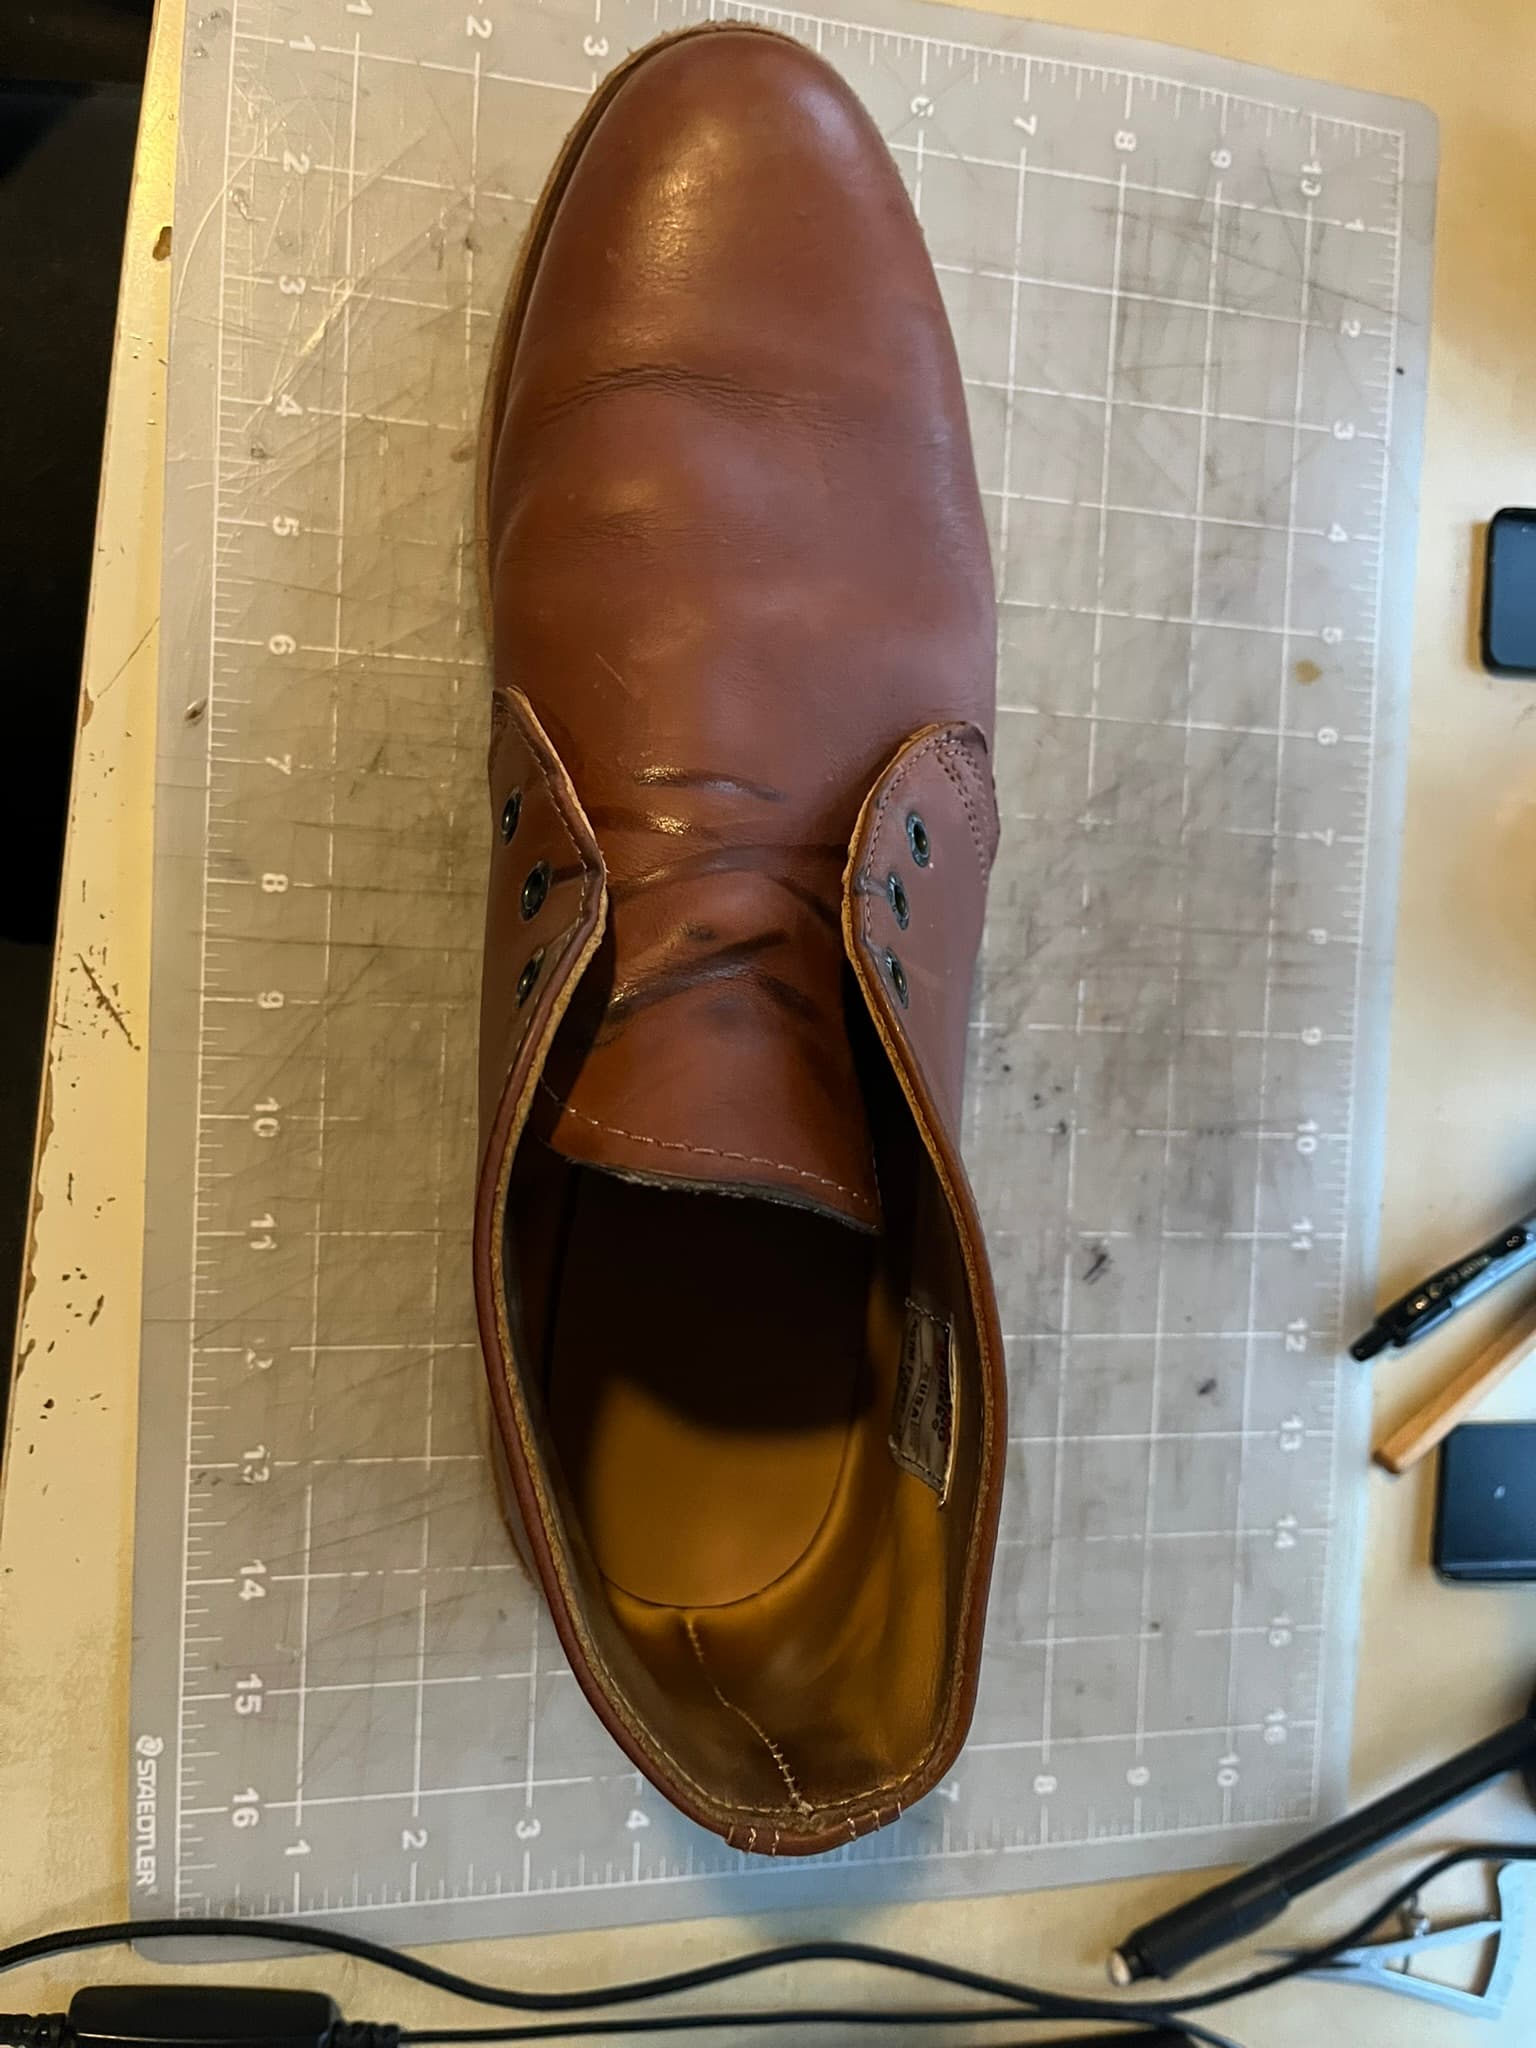
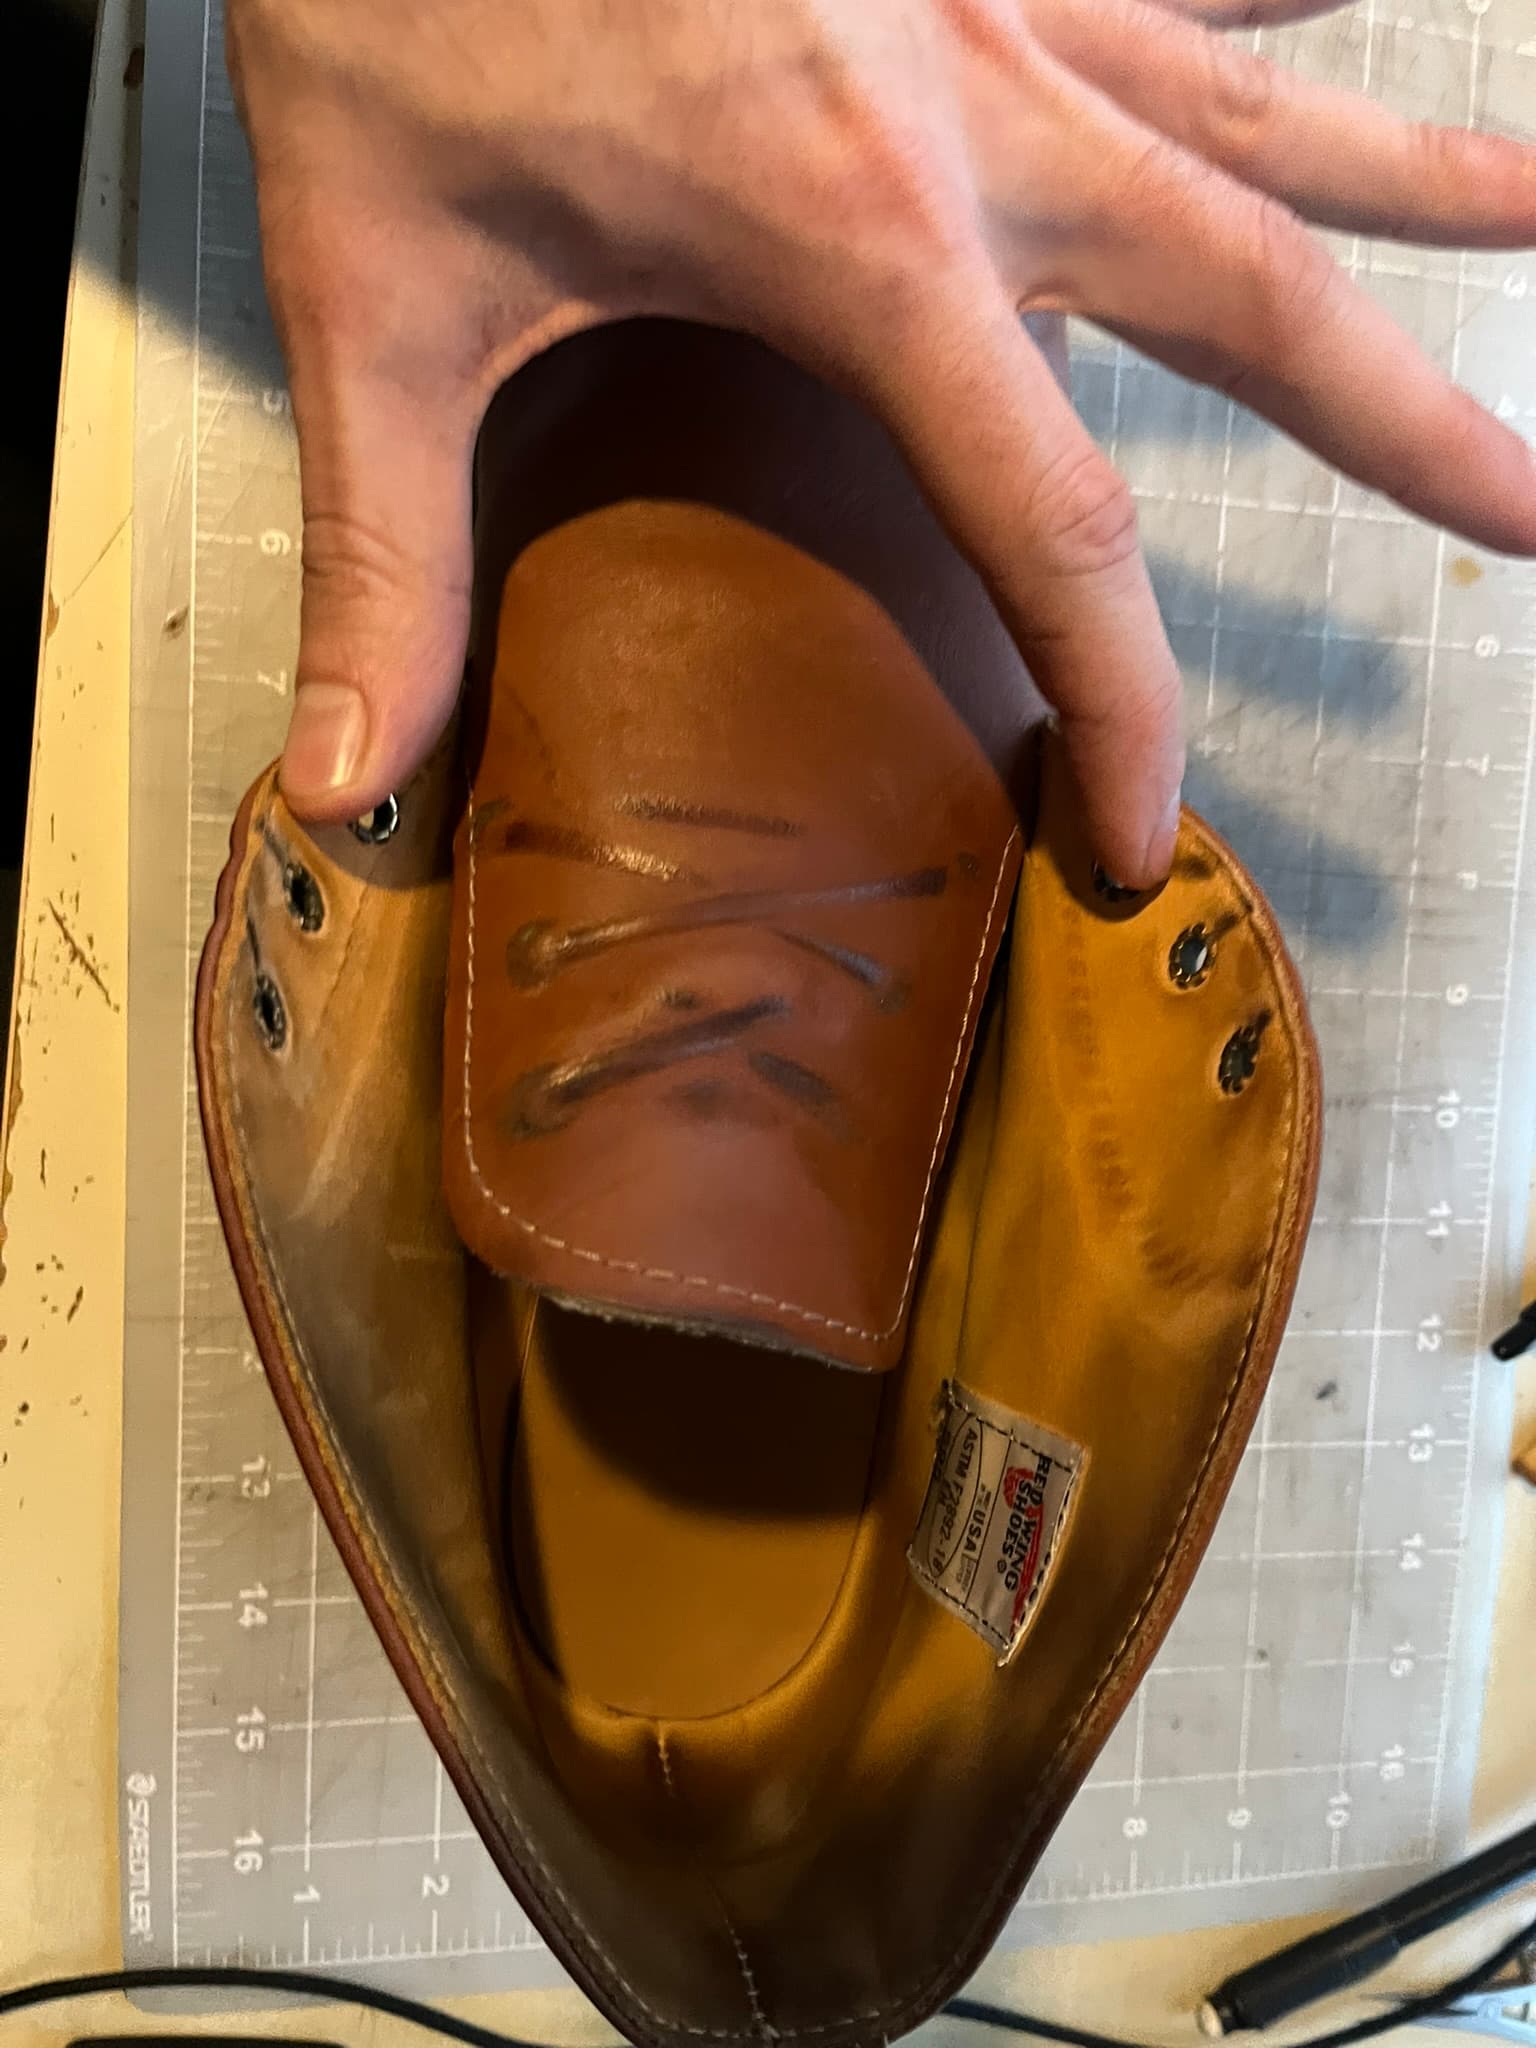
Chukka tongues are often wider than they would be with more typical- squared off facings. The patternmakers didn’t just draw a regular, square-tabbed Derby, drop the first eyelets, and draw curves through where the holes used to be.
In the end, what I’m gathering is that the concept of a single point on the center line for how wide the entry has to be is really only a peculiar side effect of the specific Oxford design. When teaching and learning, it’s convenient to reuse geometry for locating vamp points for other designs, like Derbies. But the fundamental constraint is that every part of the waist be able to expand to pass the girth of the foot’s ball. Choice of fastening, facing gap, tongue width, and how far forward the tongue starts all contribute. With open lacing, the variables affecting passing room aren’t all naturally derived from a single point on a notional center line. There are more layers to the design than “v-cut over a tongue”.
Back to Methods
The “Where does it touch?” method for marking ball positions has some good sense behind it. It’s hard to get two people to measure angled ball girth of a last exactly the same. Not all lasts have raised measuring points, and not all last companies mark them the same in the first place. In custom work, the ball is often built up or taken down, anyway. While backpart widths vary, affecting how far back along the curves around the joints they’ll be marked, that doesn’t move the marked ball point very much, even for long last lengths. It’s nice to have certainty, to be able to make a mark mechanically and move on.
For my own patterning work, however, I’d rather keep reference points grounded in anatomy, or at least cartoon foot mechanics. I’d rather start from a line intended to mark the crease or “break of ball”, and think explicitly about offsets forward or back from there. That way I can at least start to think systematically, and numerically, about other design dimensions and how they affect expansion through the waist.