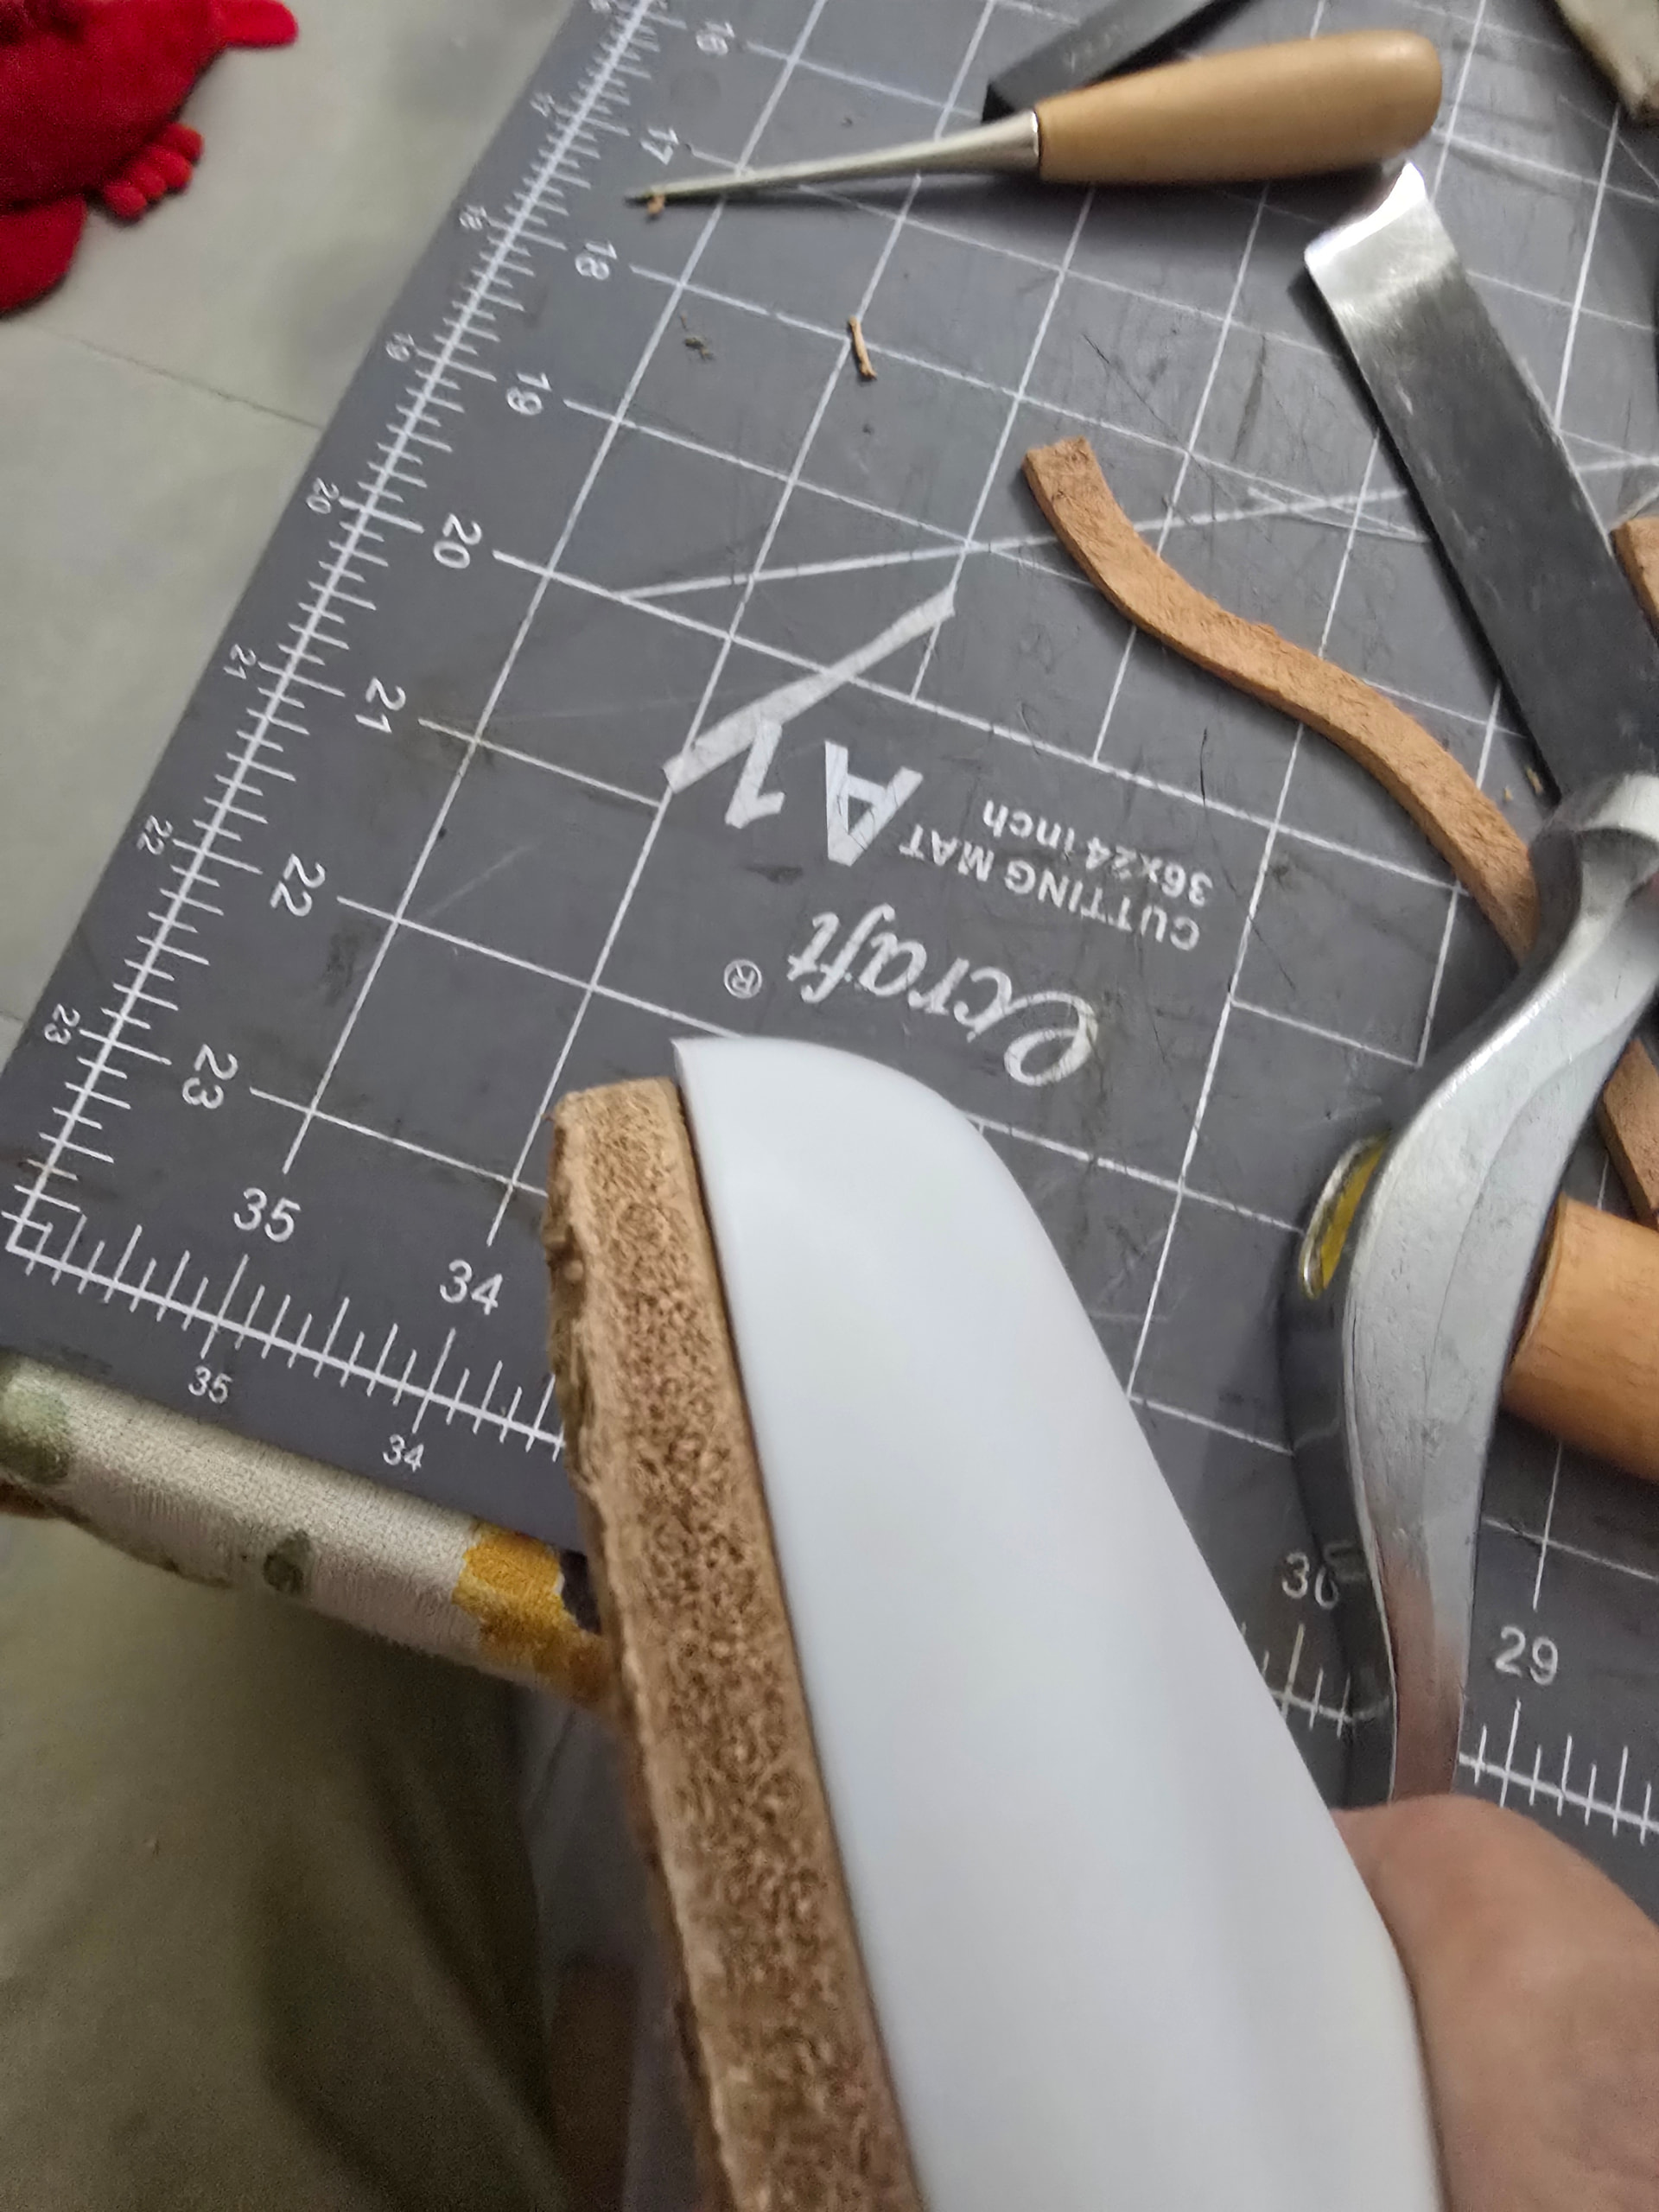
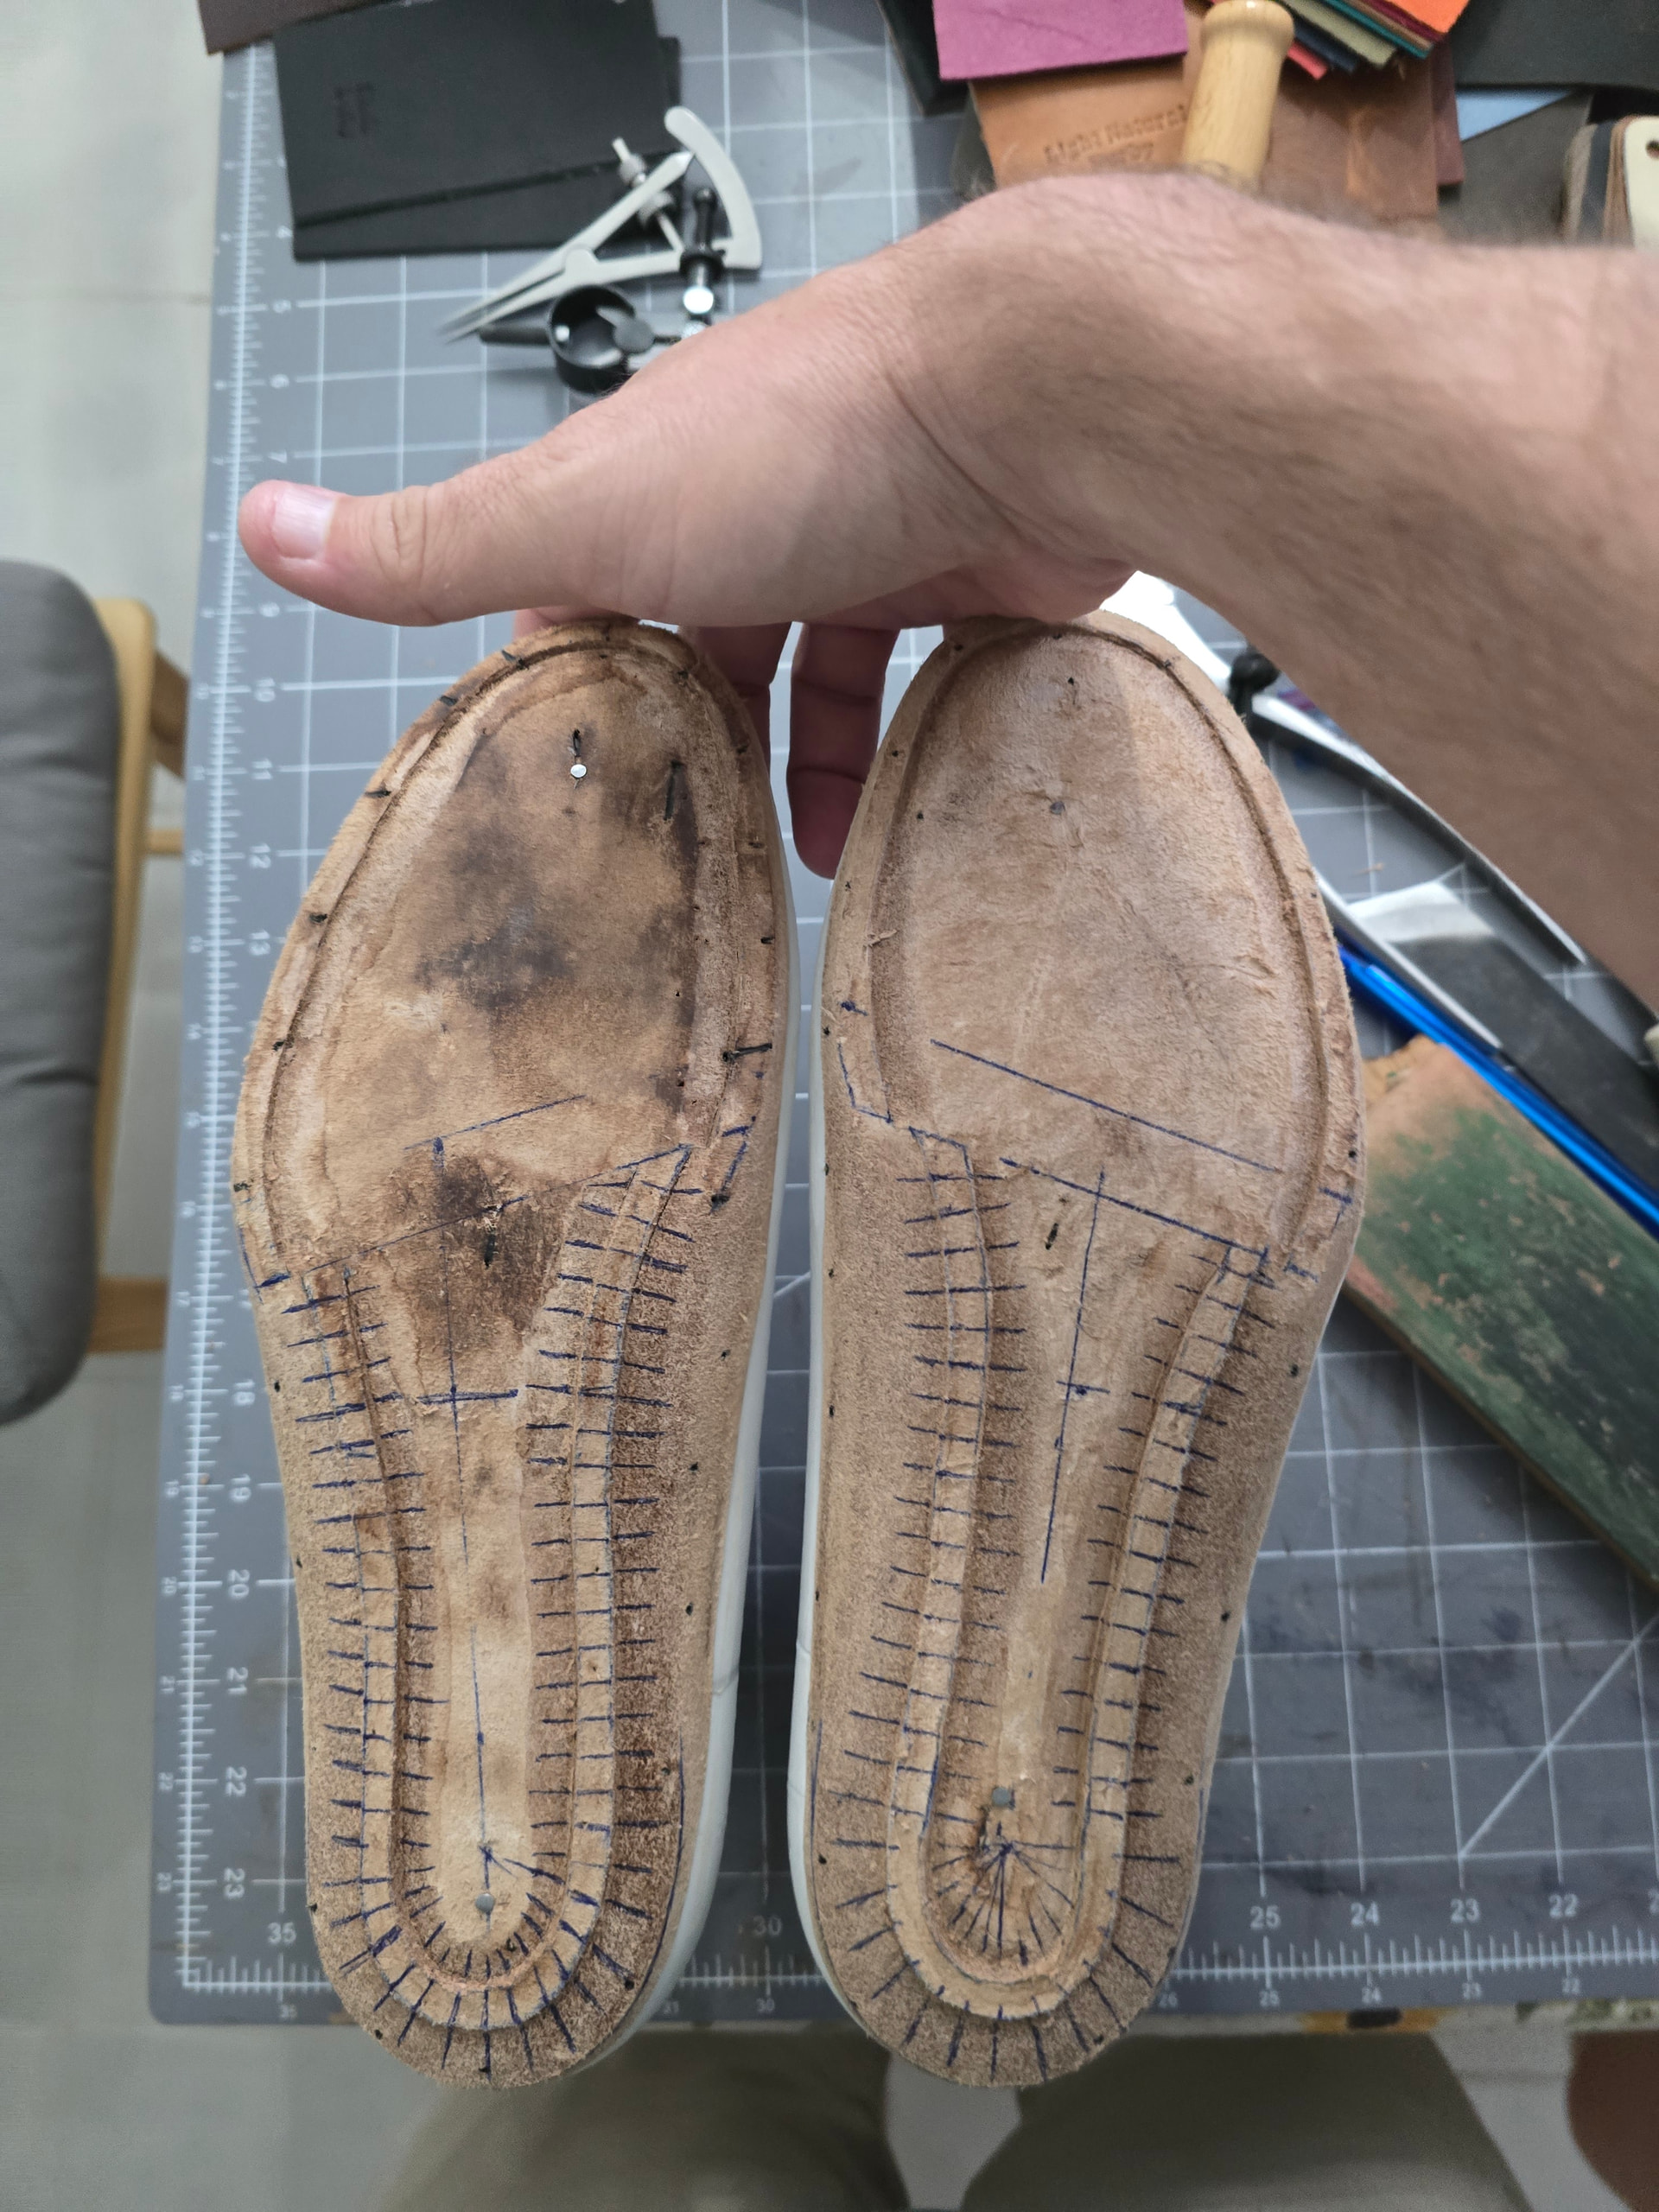
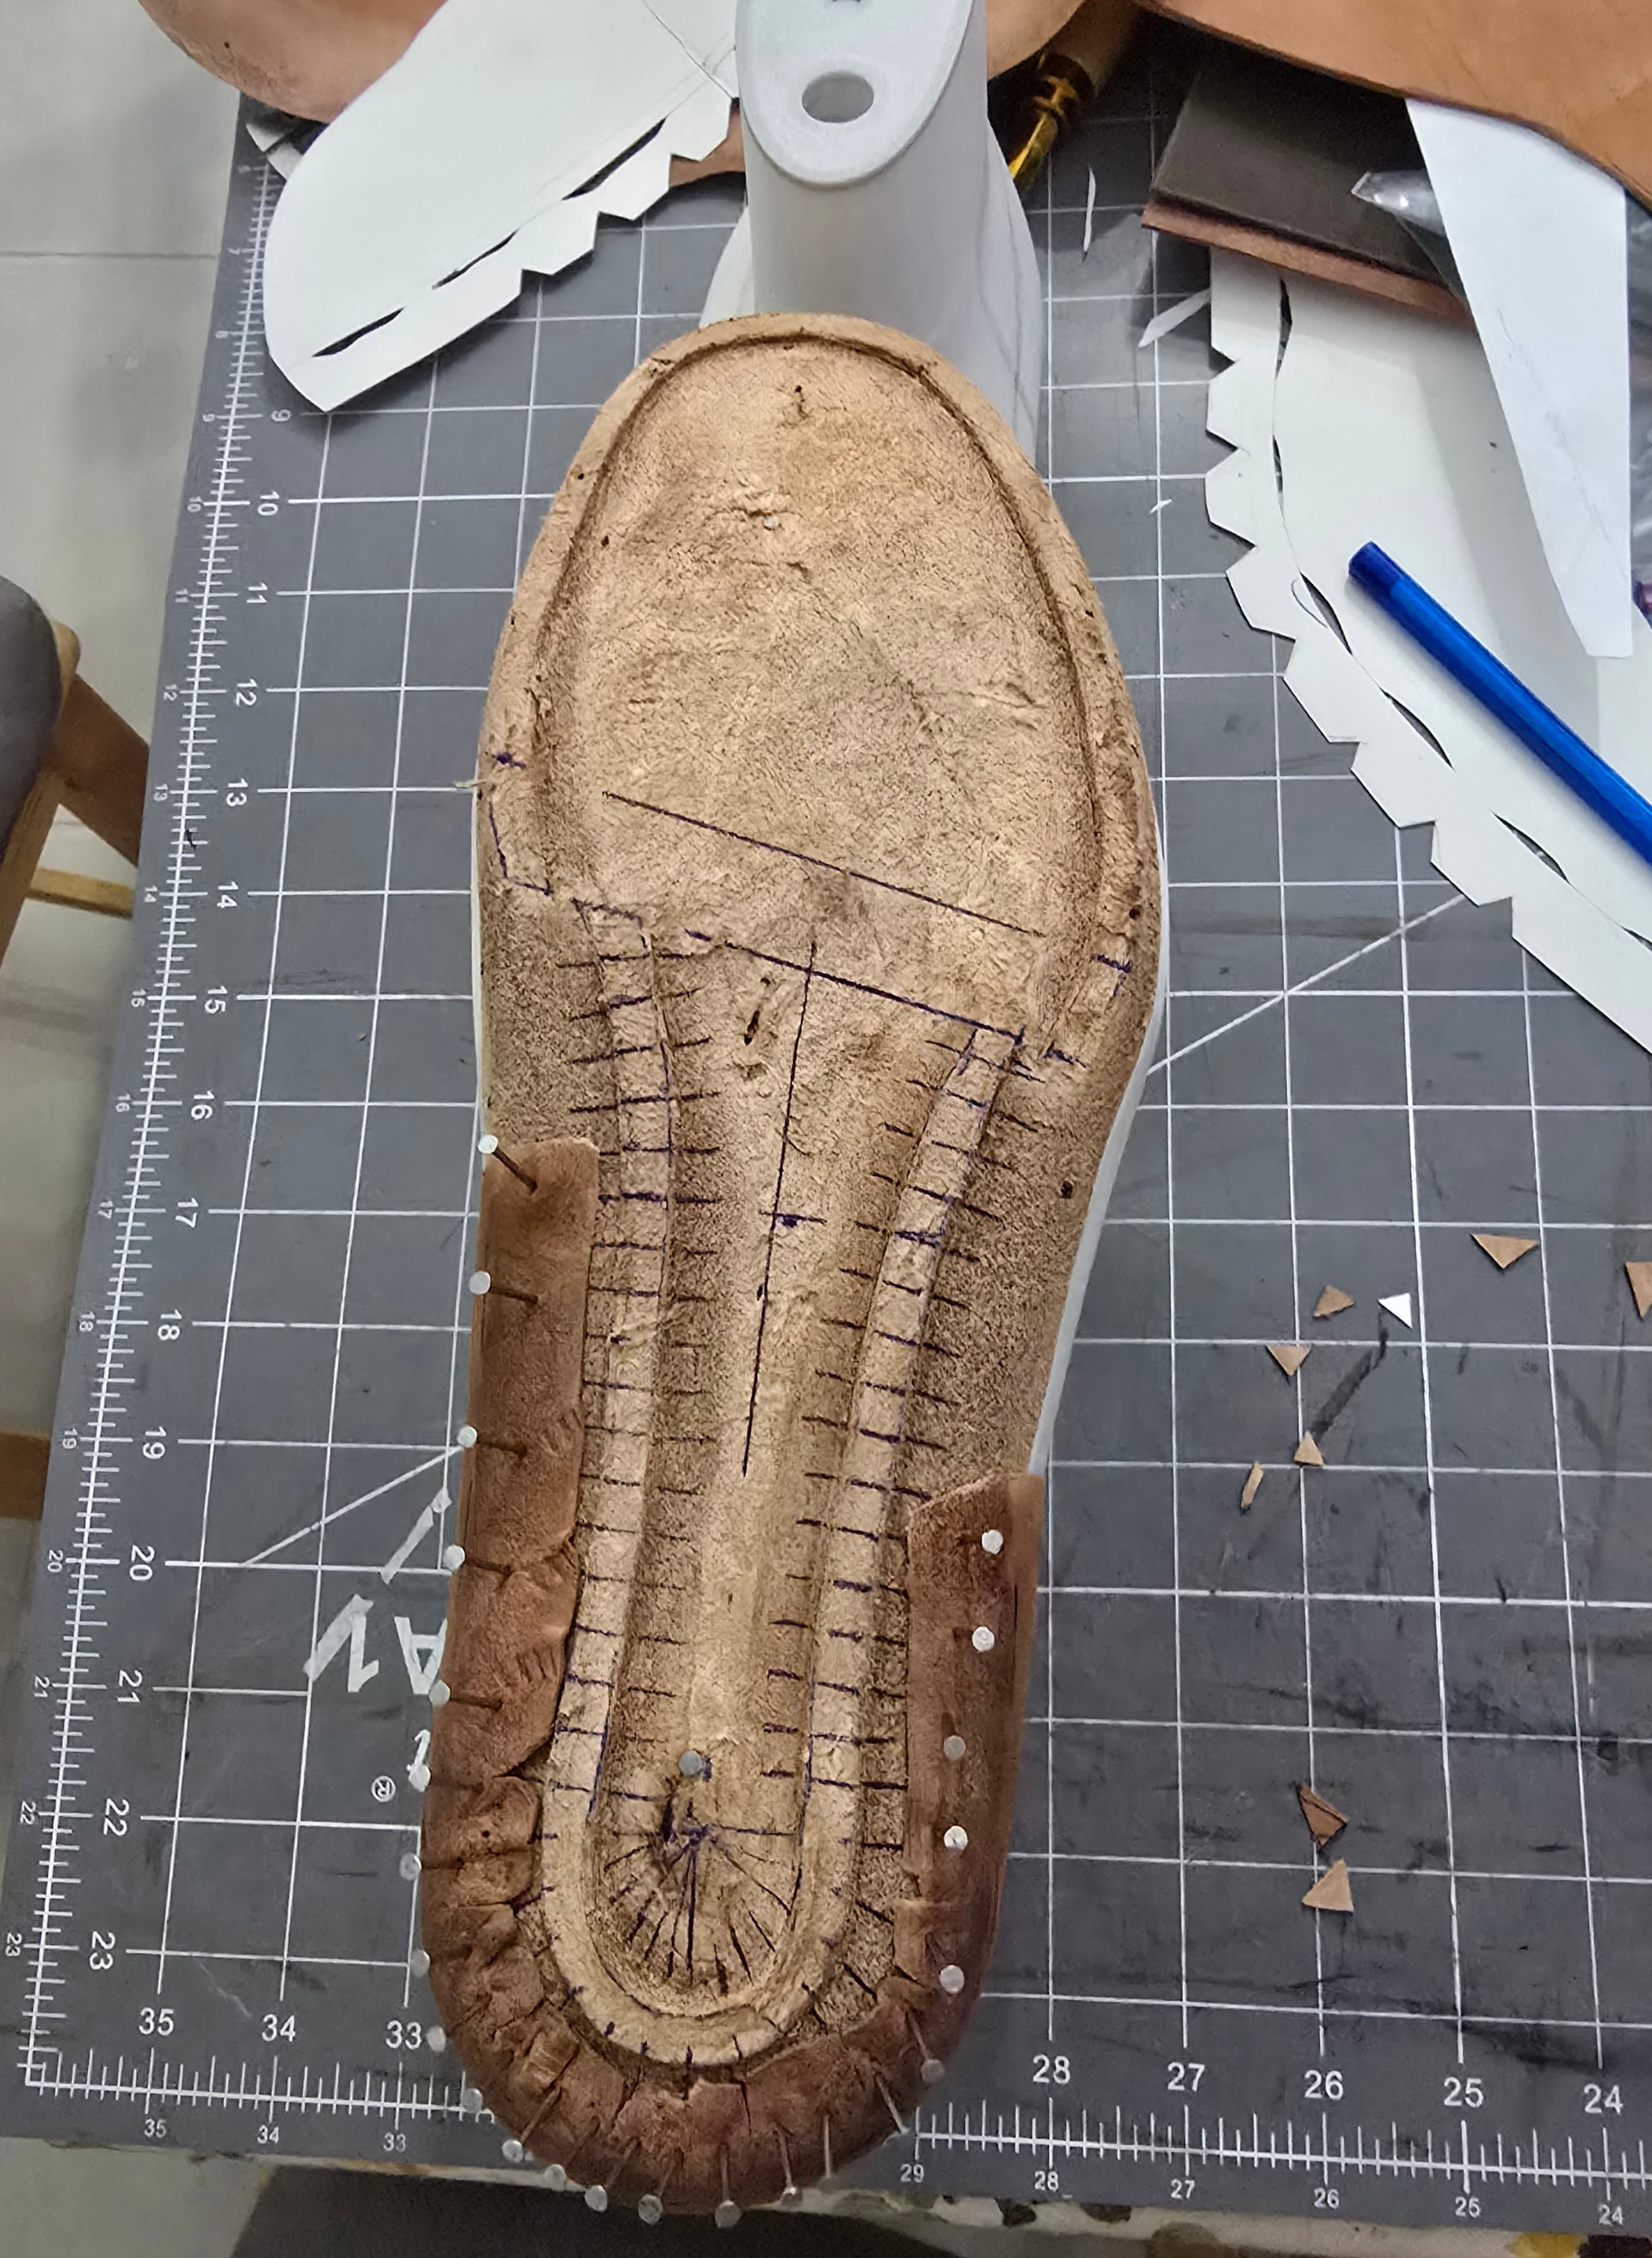
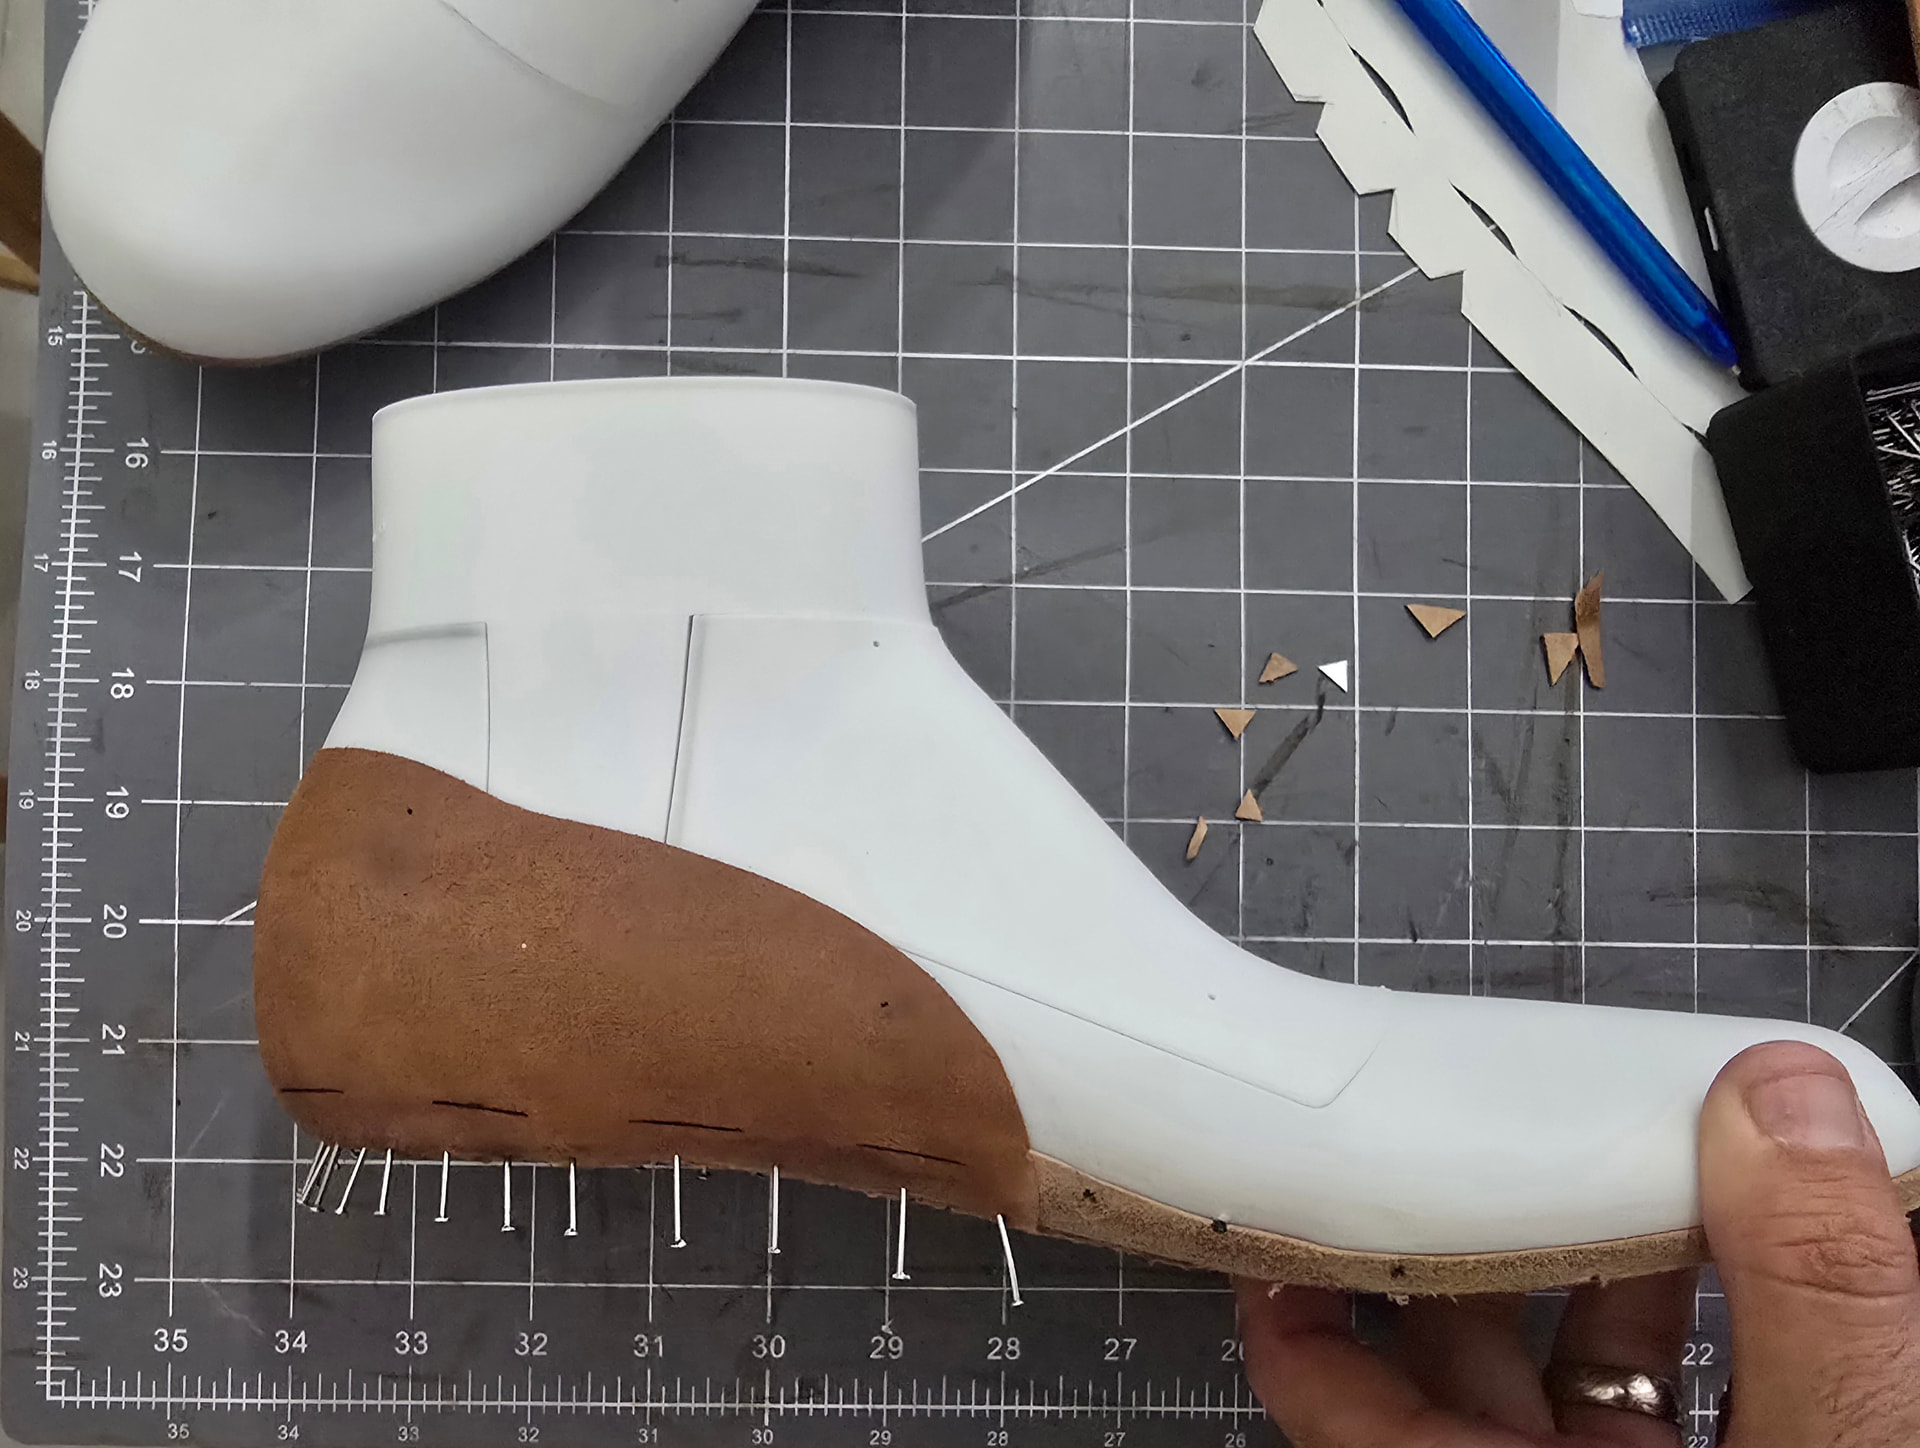
Cloe insoles strike again.
One would think that letting them dry for 3 days before trimming would be sufficient dry time, but no. Still got a ton of shrinkage after trimming.
Have some trusty Baker insoles blocked up now. I will give them a week to dry.
1 Like
Oh, that’s a bummer. Sorry that happened to you.
Not a criticism, but just as an idea: Did you dry them wrapped up for blocking, or uncovered in open air?
Either way, I’d expect three days to do it. Depending on humidity where you are, of course. Maybe not in a swamp.
I left it wrapped overnight, then unwrapped and left for a couple days.
I am in Florida, so humidity is a factor, but it hasn’t been too bad yet and they’re in my air conditioned house.
They really may just be that thick
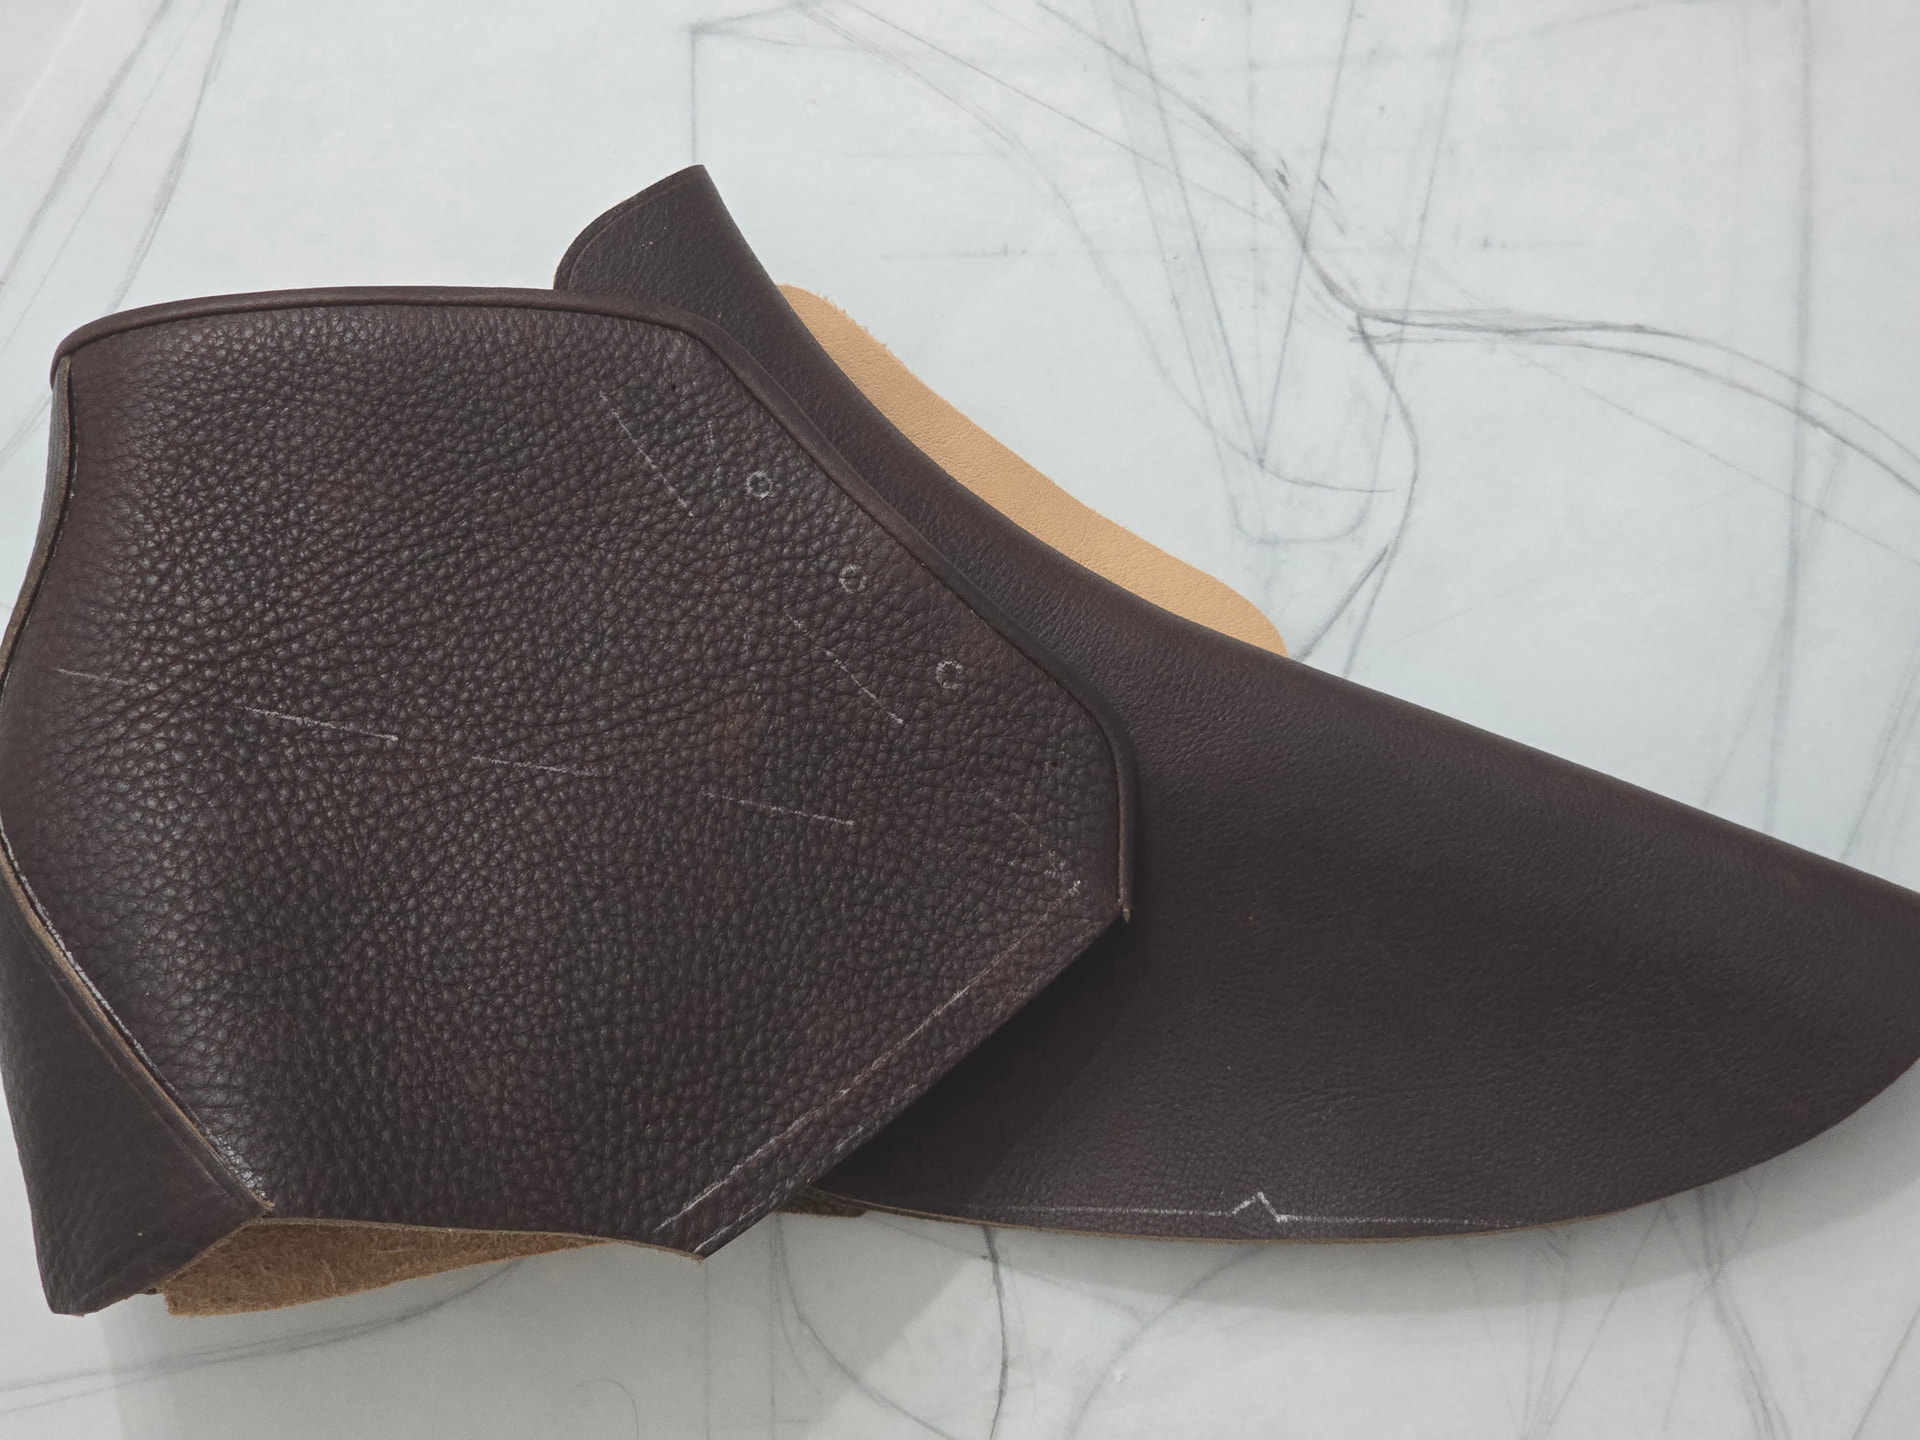
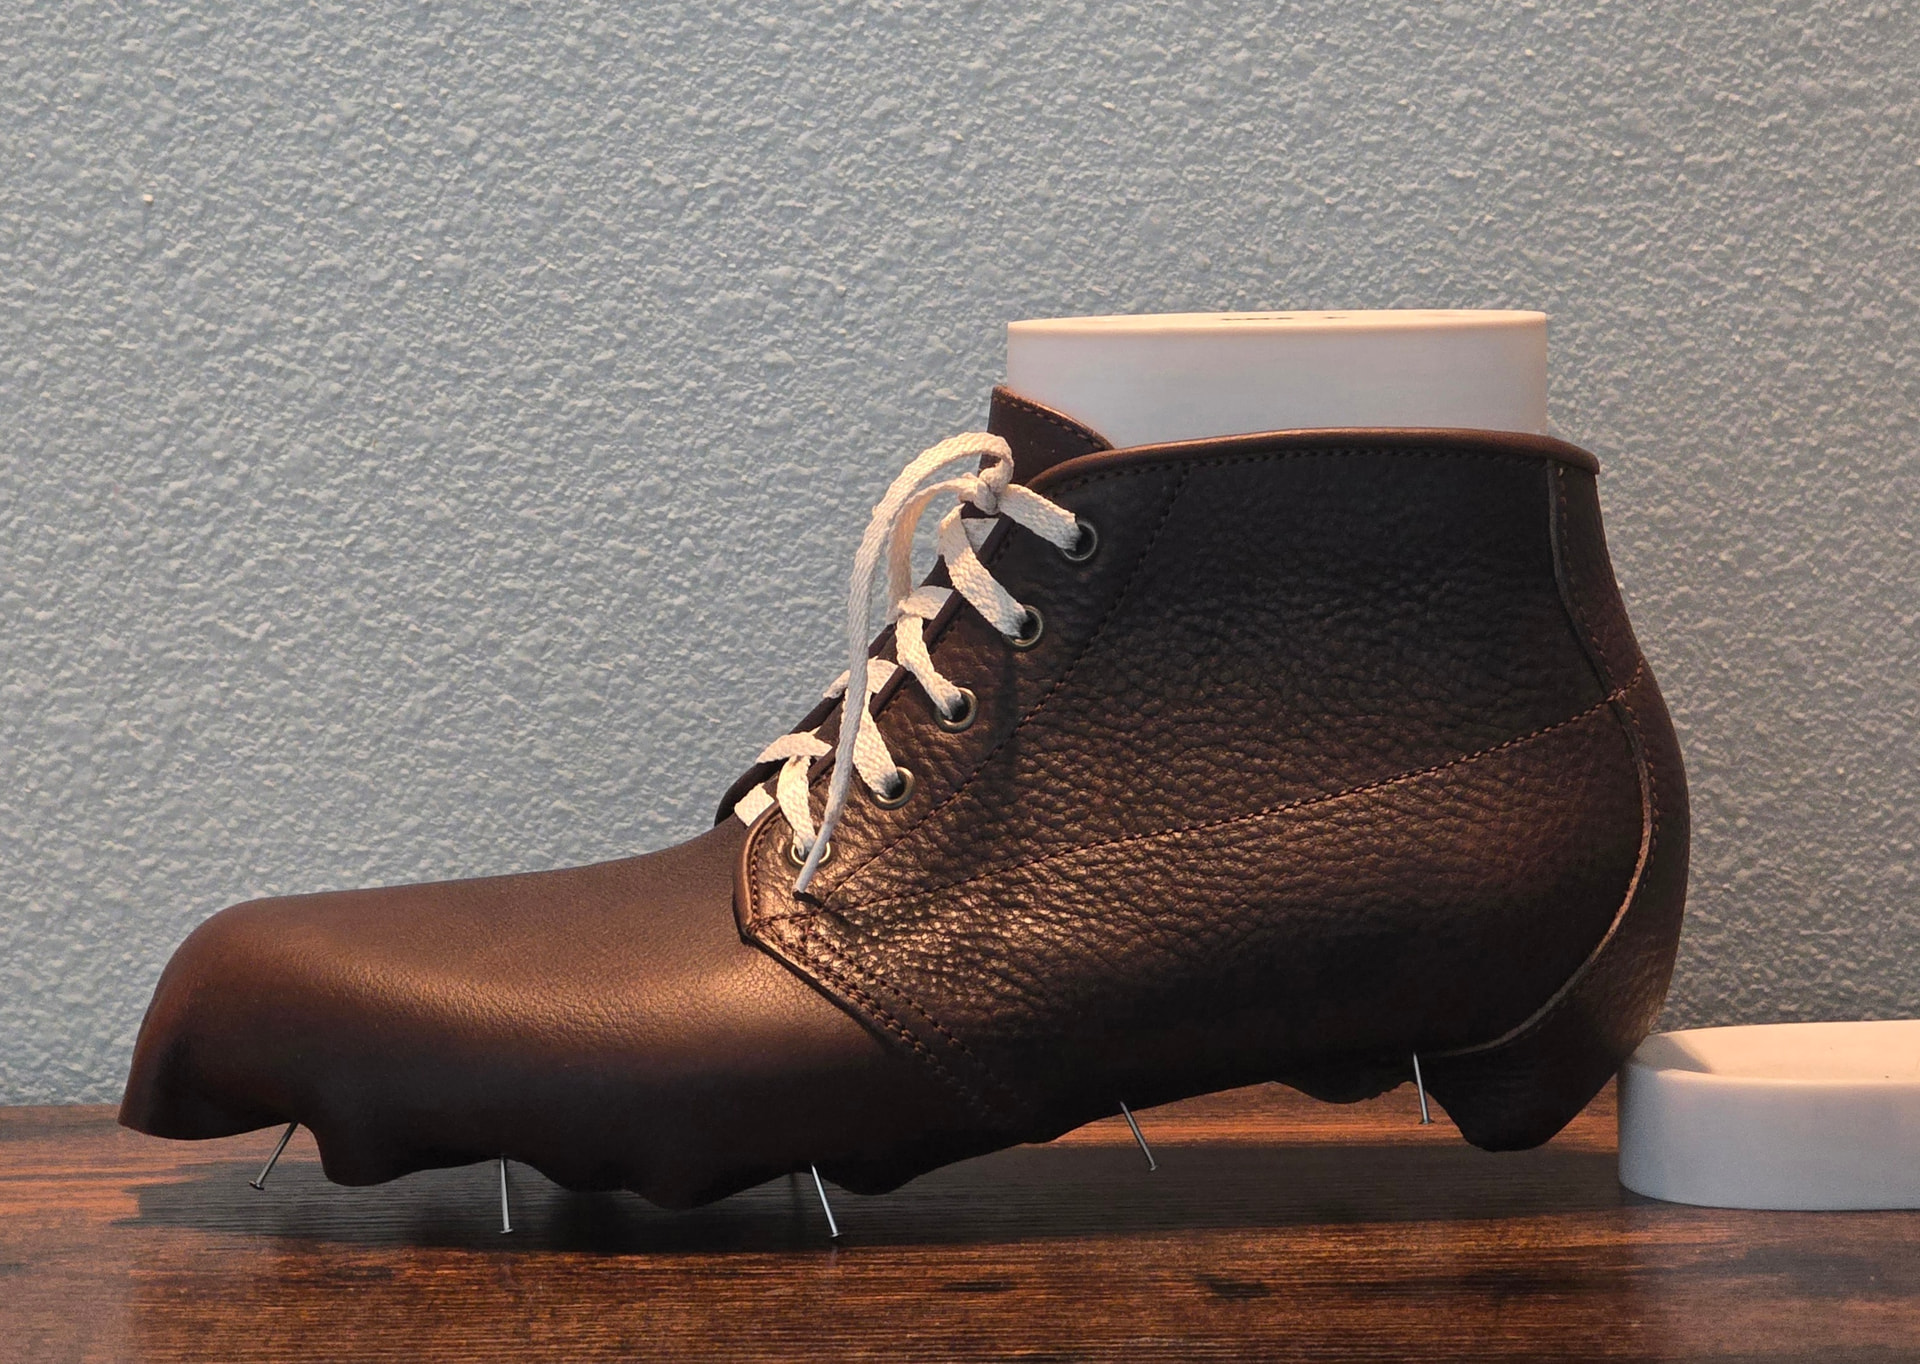
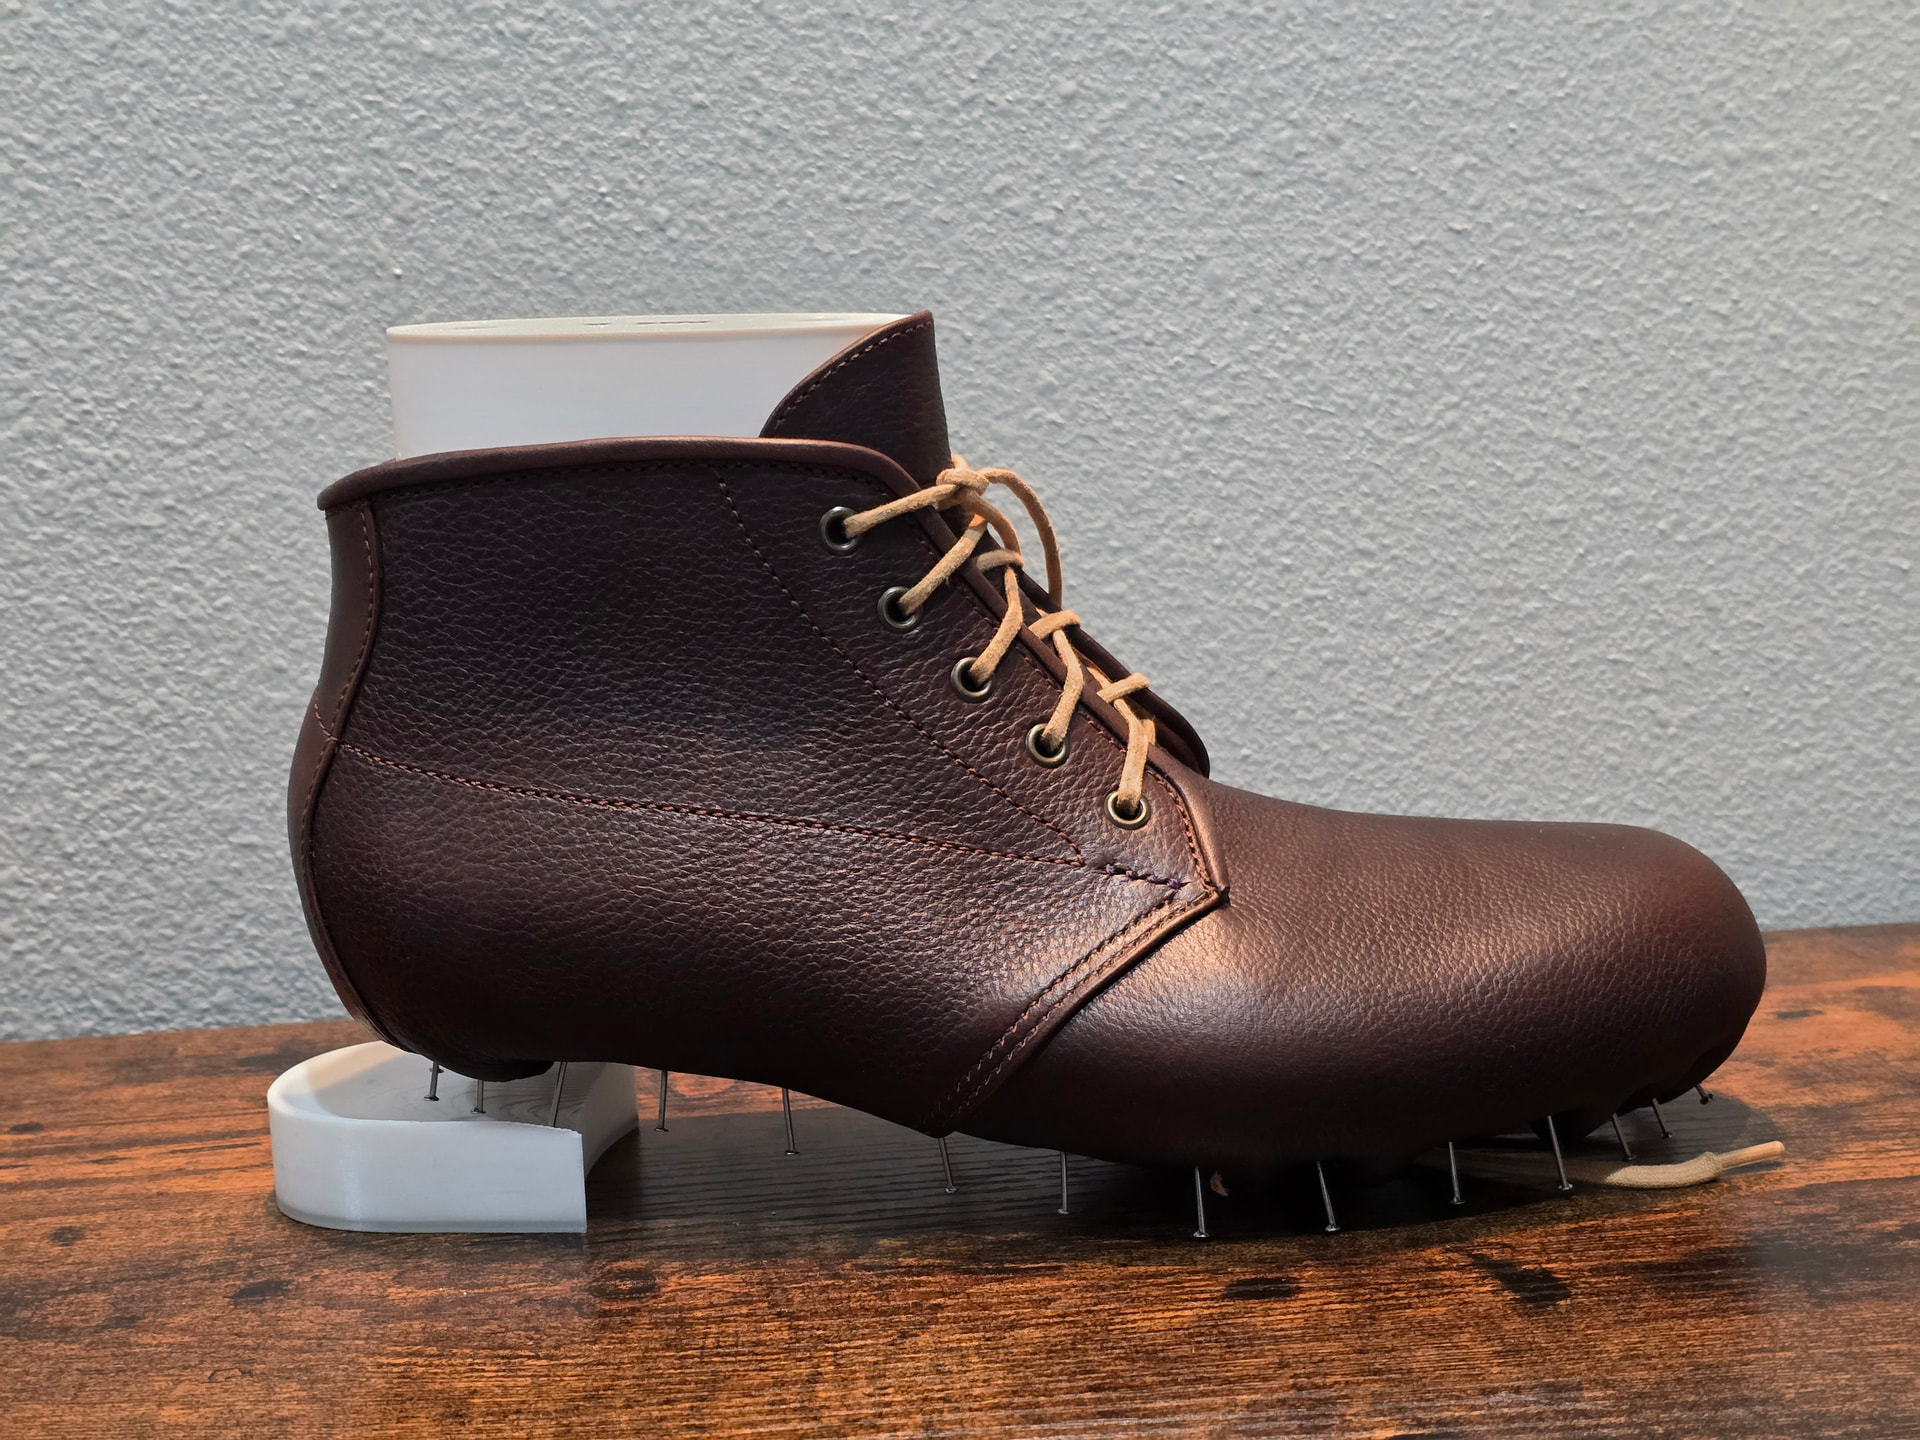
Edge binding in place on the quarters. Looking sharp. Now I get to patiently wait for an order of thread from Japan to continue on
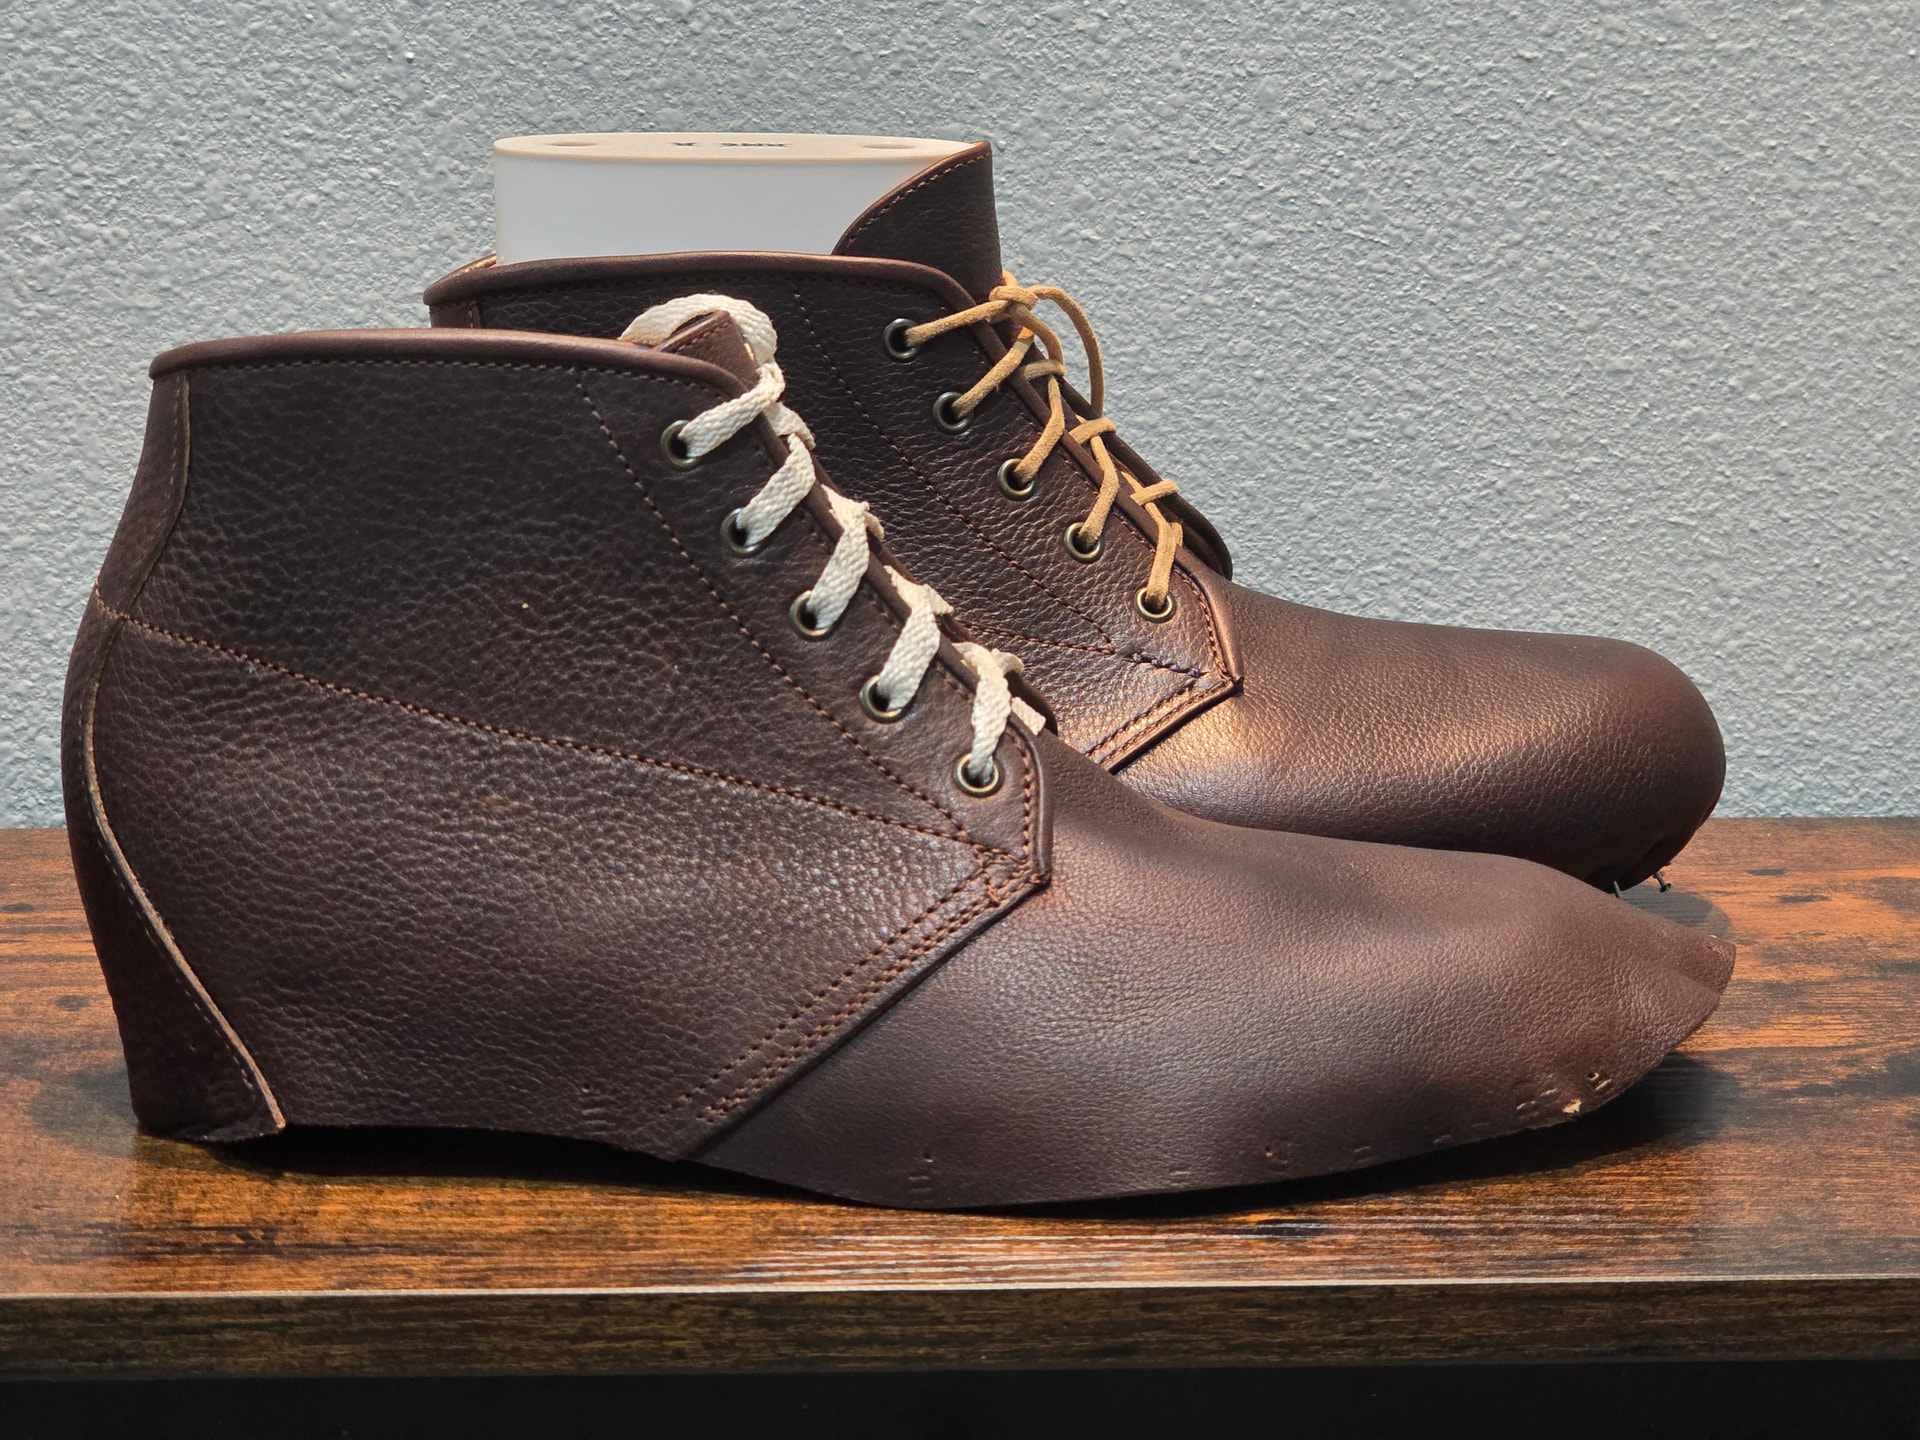
Almost done closing. Really liking this horween aspen horsefront for the lining. Between it and the washed chromexcel, there is an impressive amount of “squish” to the upper leather. These ought to be super comfortable.
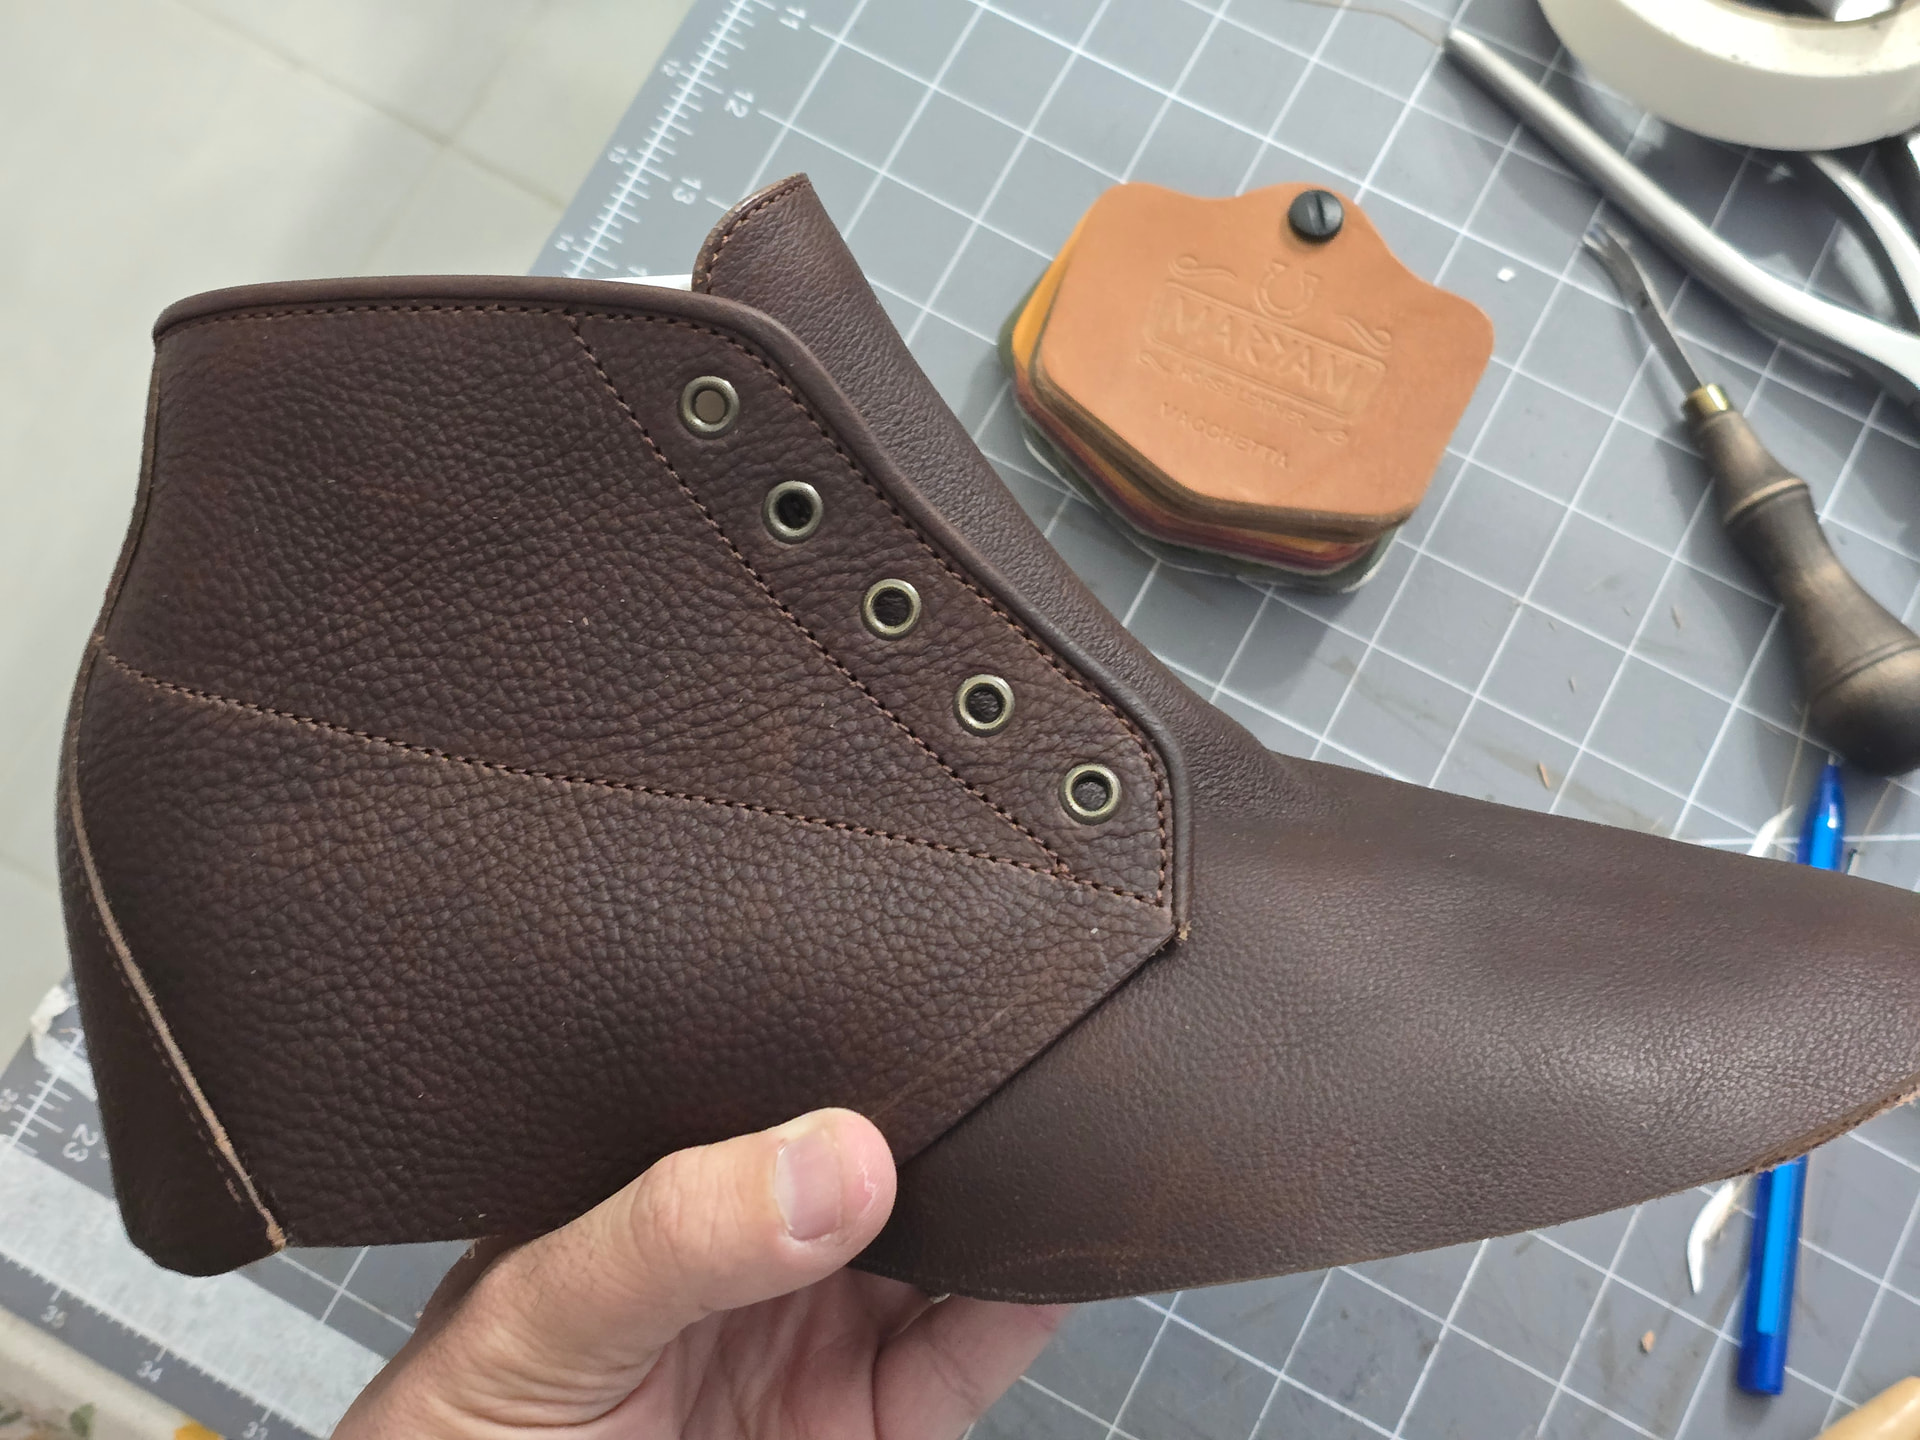
Looks good, but I dont think I did my crimp pattern correctly for the one piece vamp. It doesnt want to sit right on the last. Seems like the quarter line on the vamp relative to the instep ended up wrong. May be starting over.
I’m no crimping master, but I wouldn’t expect shape off the crimp board to jive with shape on the last. Did you try wetting the upper, partially lasting, and letting it sit to conform?
Shape over instep and across vamp is one area where I definitely learned that pair-at-a-time makers have more leeway than production makers. The factories can optimize so everything sits right pretty much immediately, for speed. But there is a lot of room to negotiate with most leathers if you’re welling to get them wet and wait a bit.
It felt more like I messed up my placement of my pattern for cutting after crimping so that the quarter lines were too close to the center line, not so much that the crimp didn’t conform perfectly to the last. After pre-lasting, that part solved itself.
In the end, the part I really screwed up was not leaving enough lasting allowance around the toe, so I am remaking the uppers after some pattern updates. There are some stitching details I wasn’t happy with how they turned out, so going to correct that as well.
1 Like
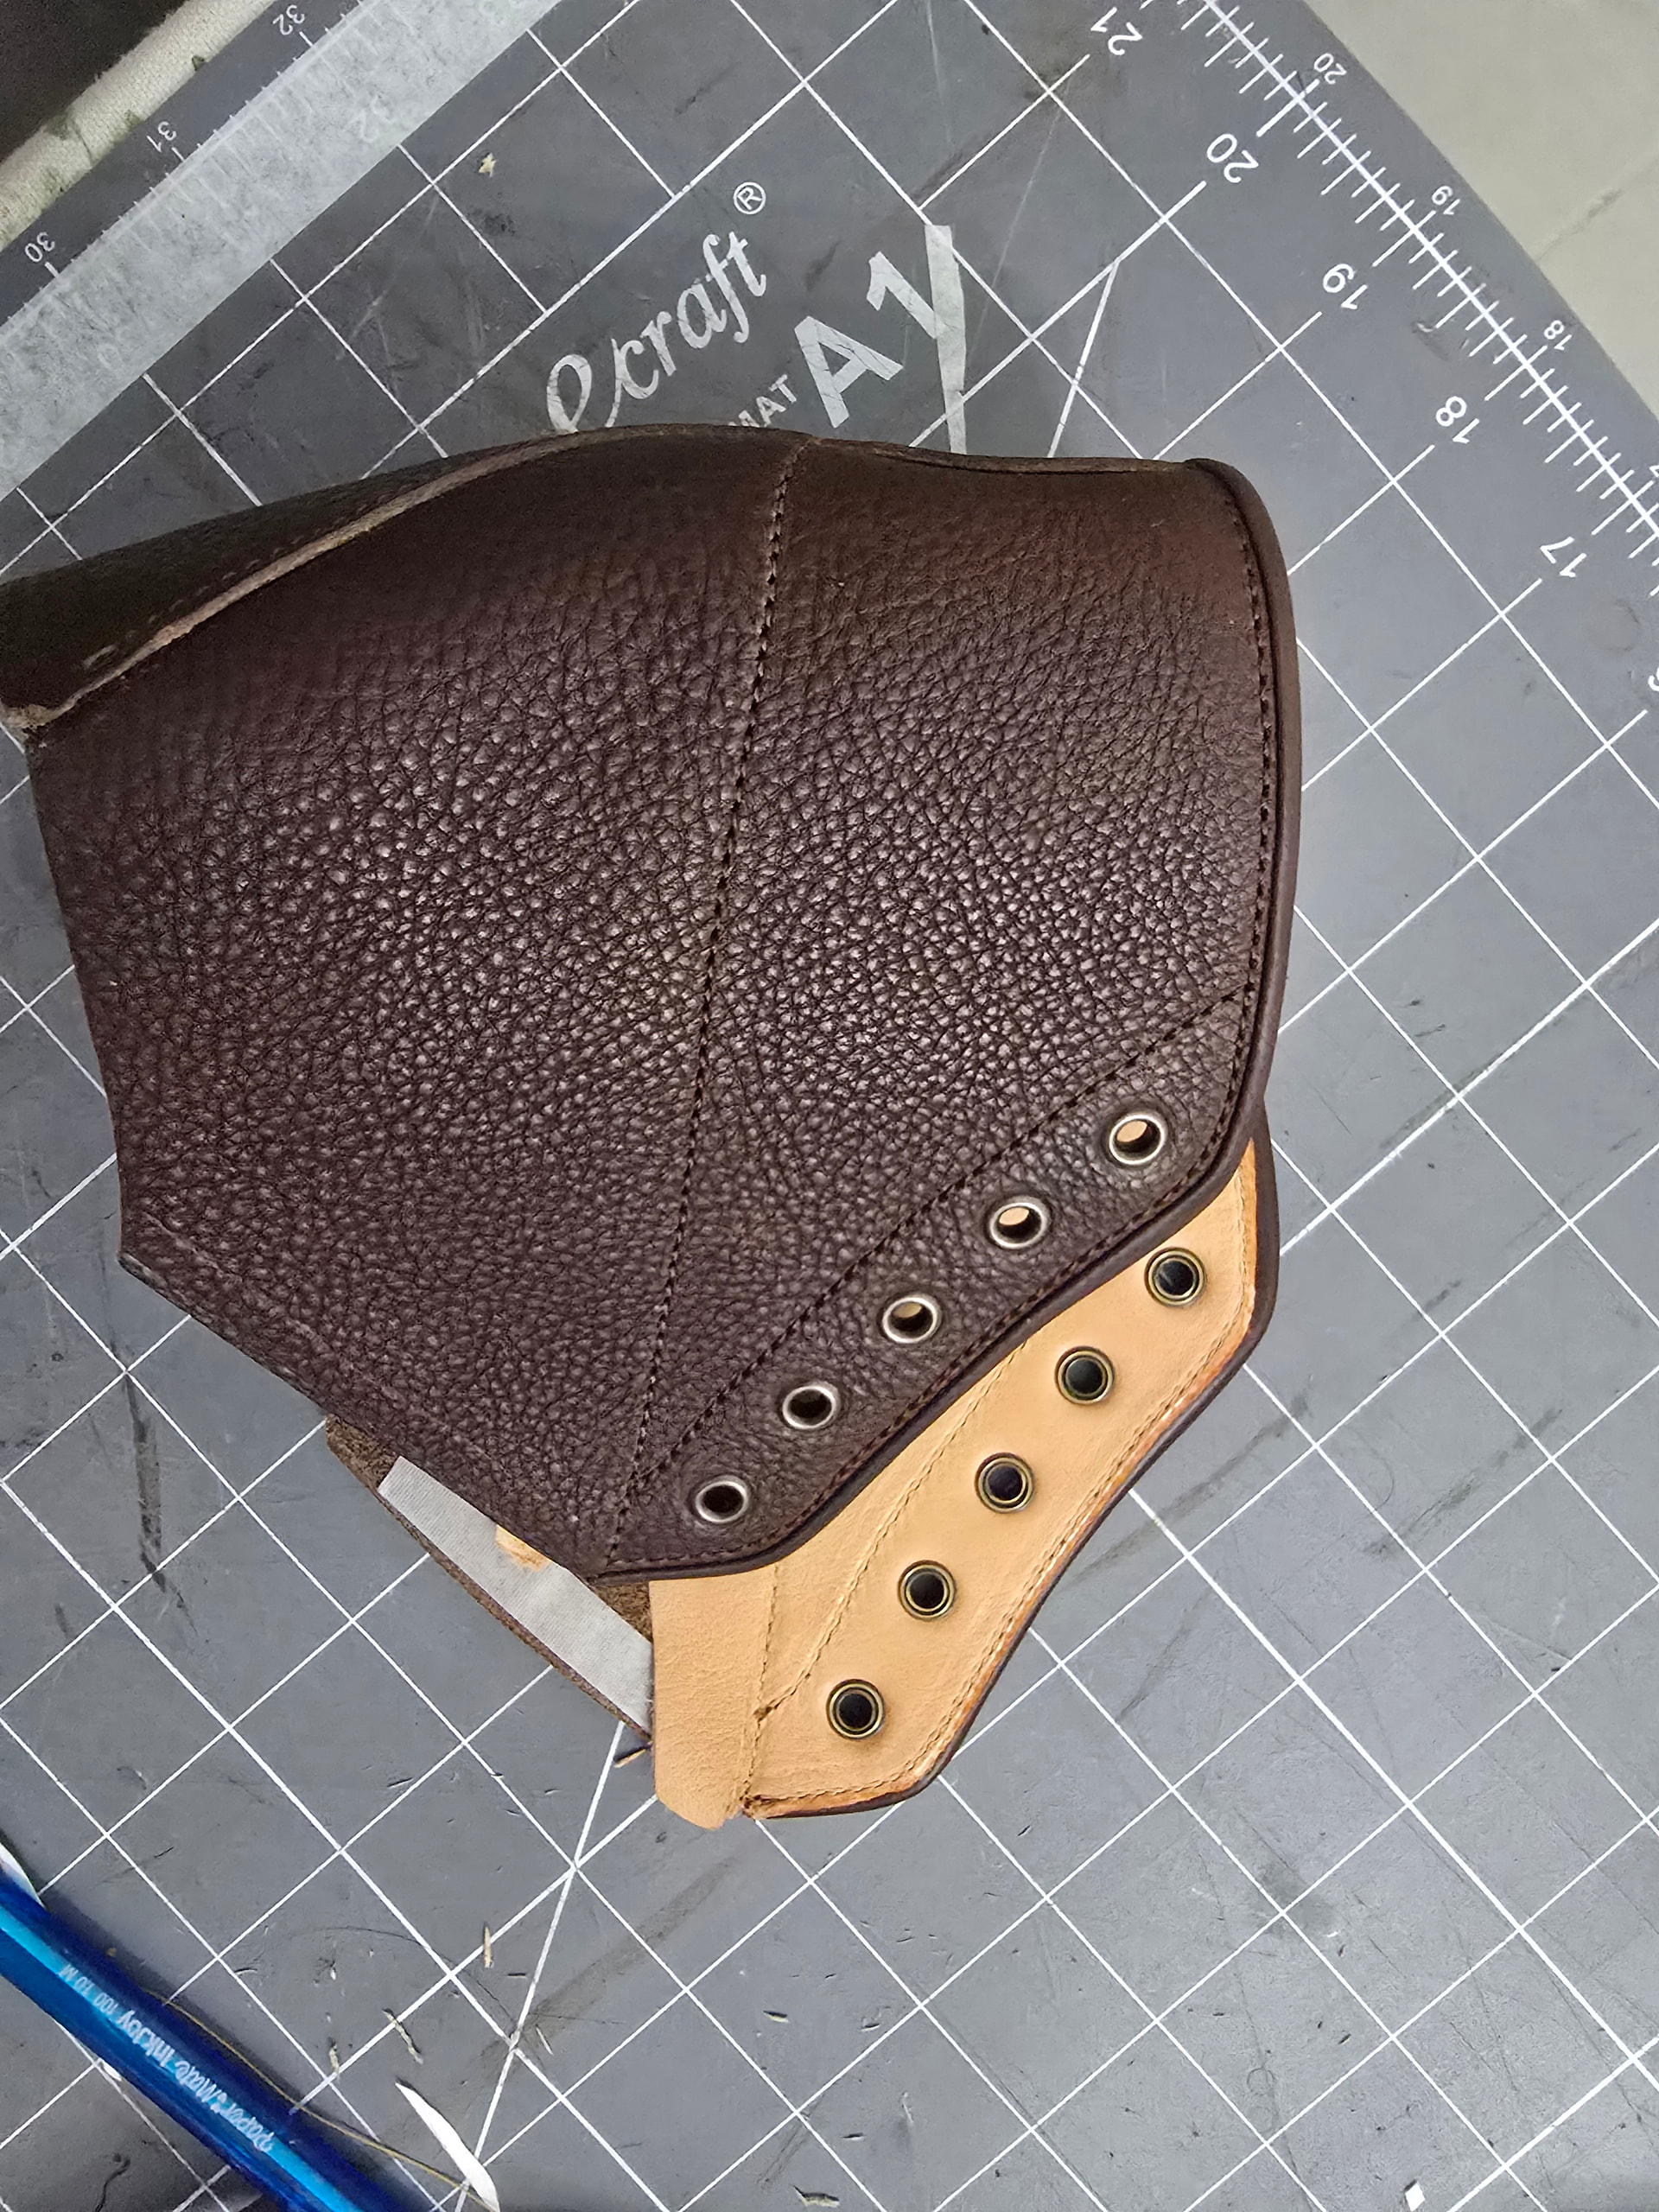
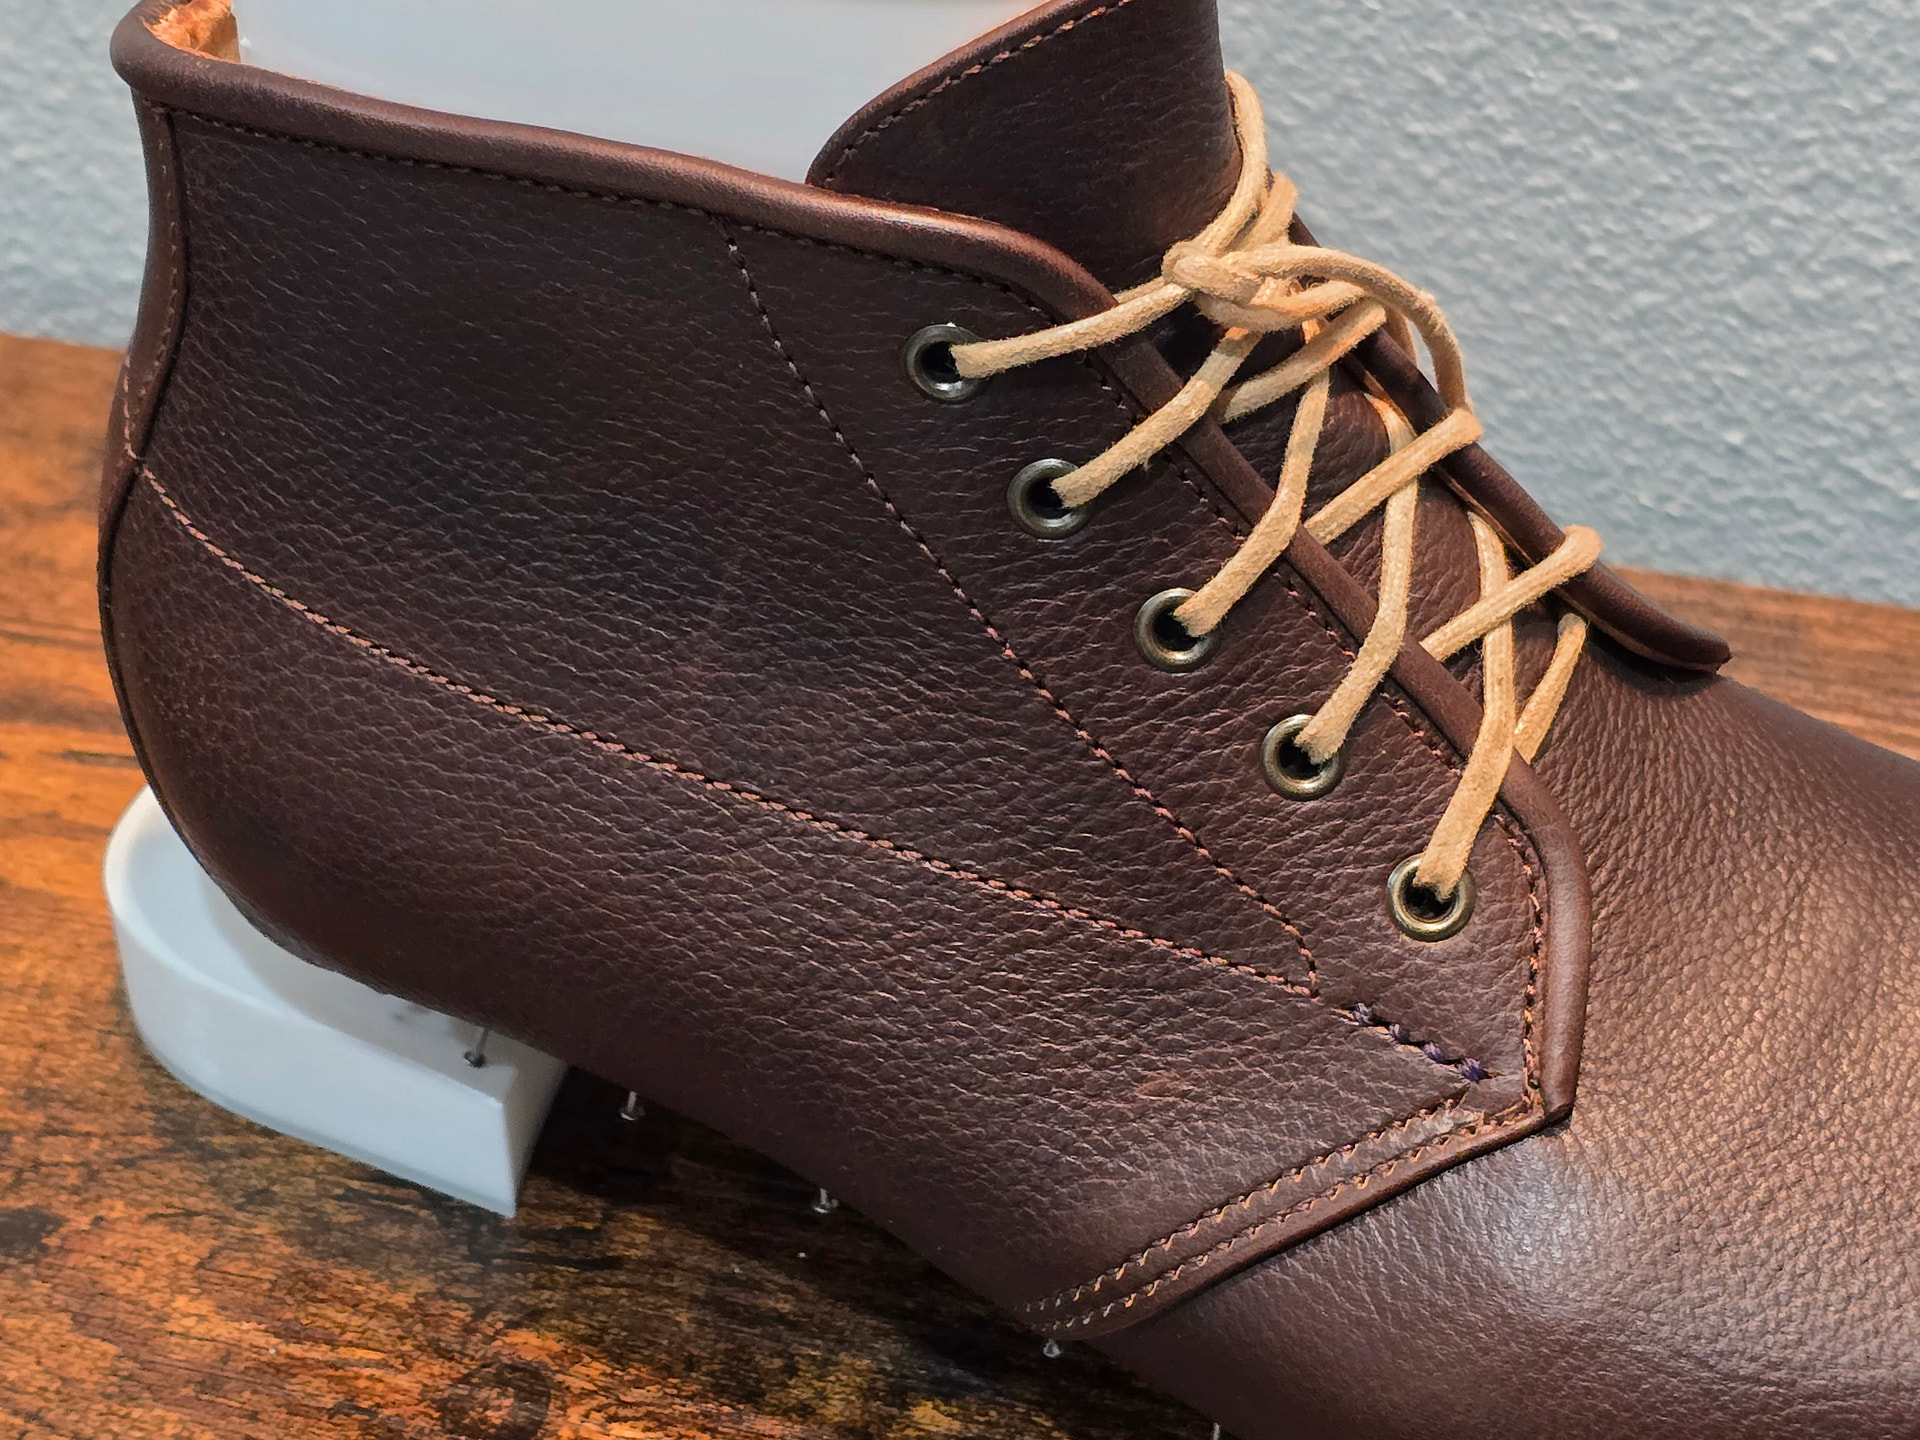
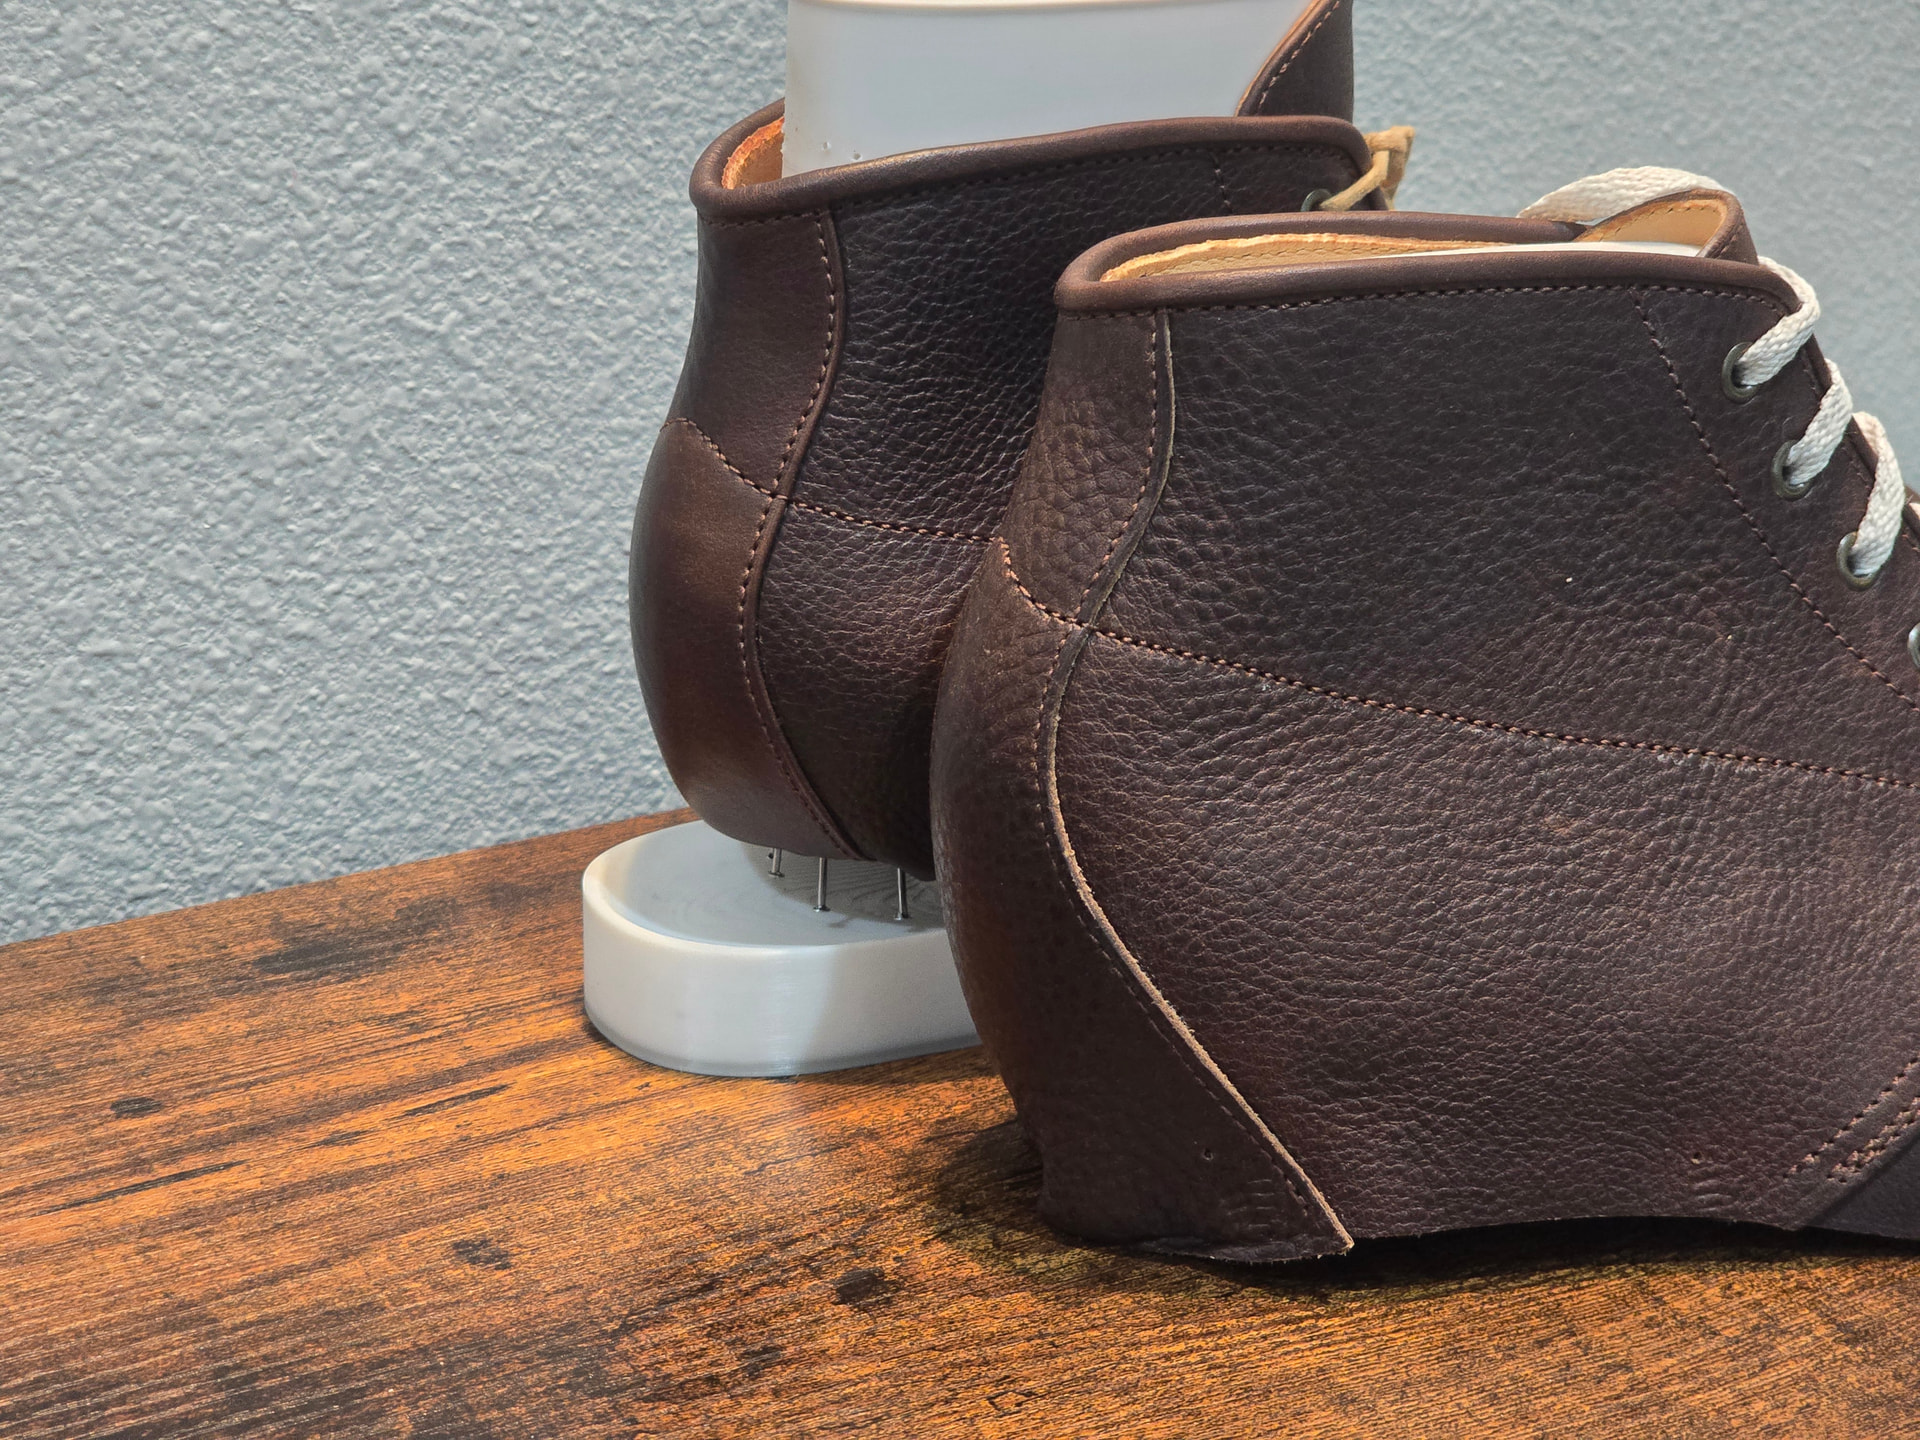
I ended up starting fresh with the uppers with some minor pattern tweaks, primarily in the stitching layout.
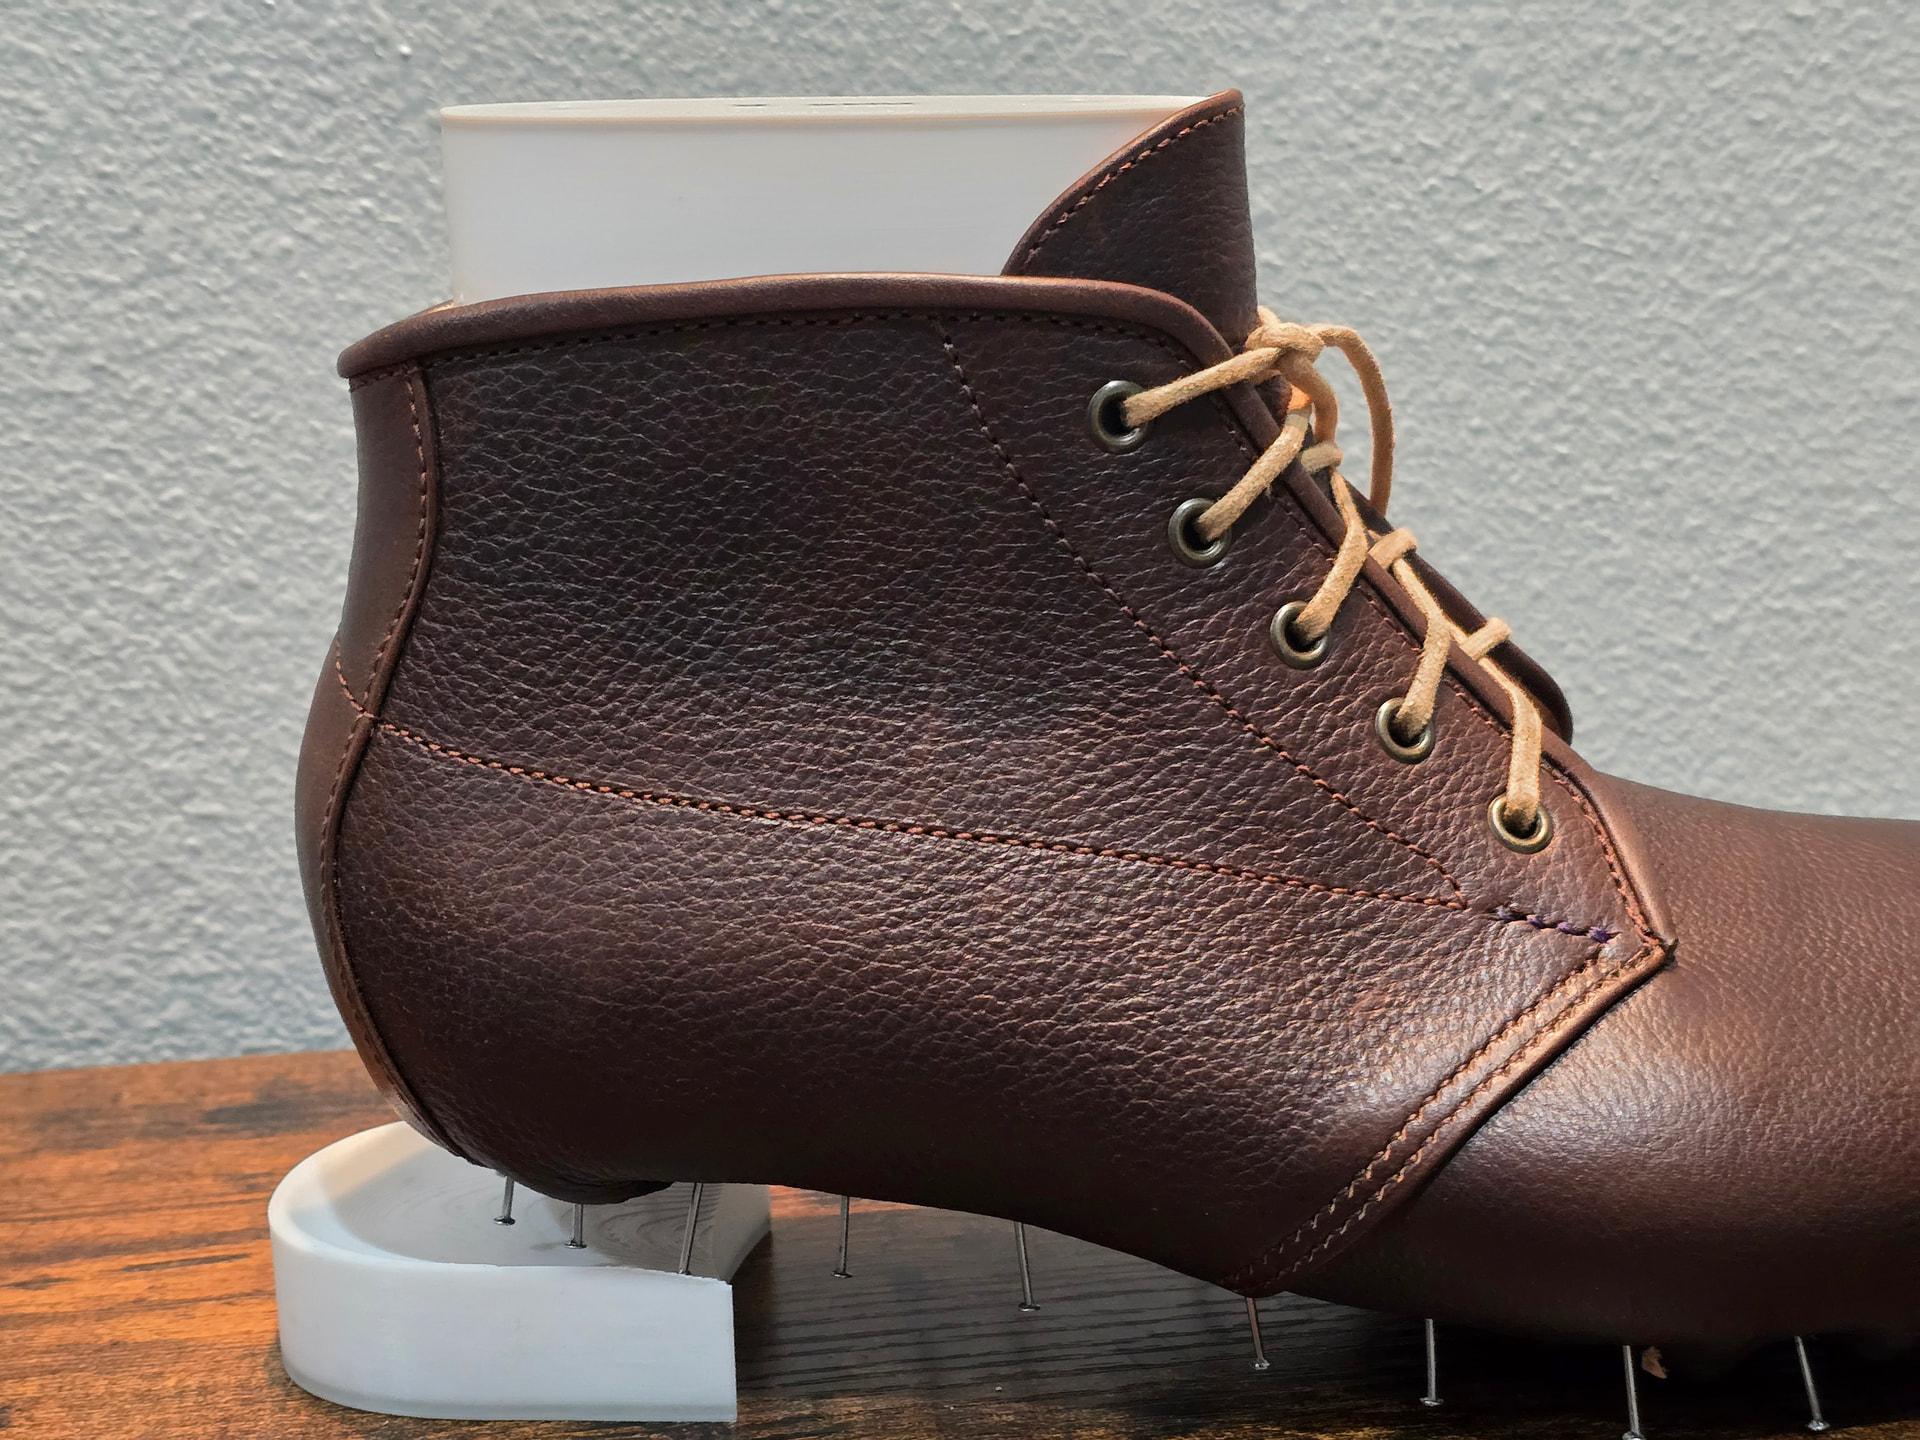
I have been struggling with getting my post bed to cooperate where the leather stacks up really thick, primarily at the top of the quarter/vamp line (where one might see a rivet. I am not using particularly thin leather here for the lining or the outer leather and the lining has to get folded out of the way, so the presser wheel ends up trying to roll up over something like 5 layers of leather. Just wasn’t cooperating, so when I tweaked the pattern, I decided to hand stitch the final closing stitches and to add in a thicker reinforcing stitch. These will eventually get a dark purple norvegese chain stitch, so matched the little hand sewn reinforcement.
All in all, much, much happier with how the stitching turned out.
1 Like
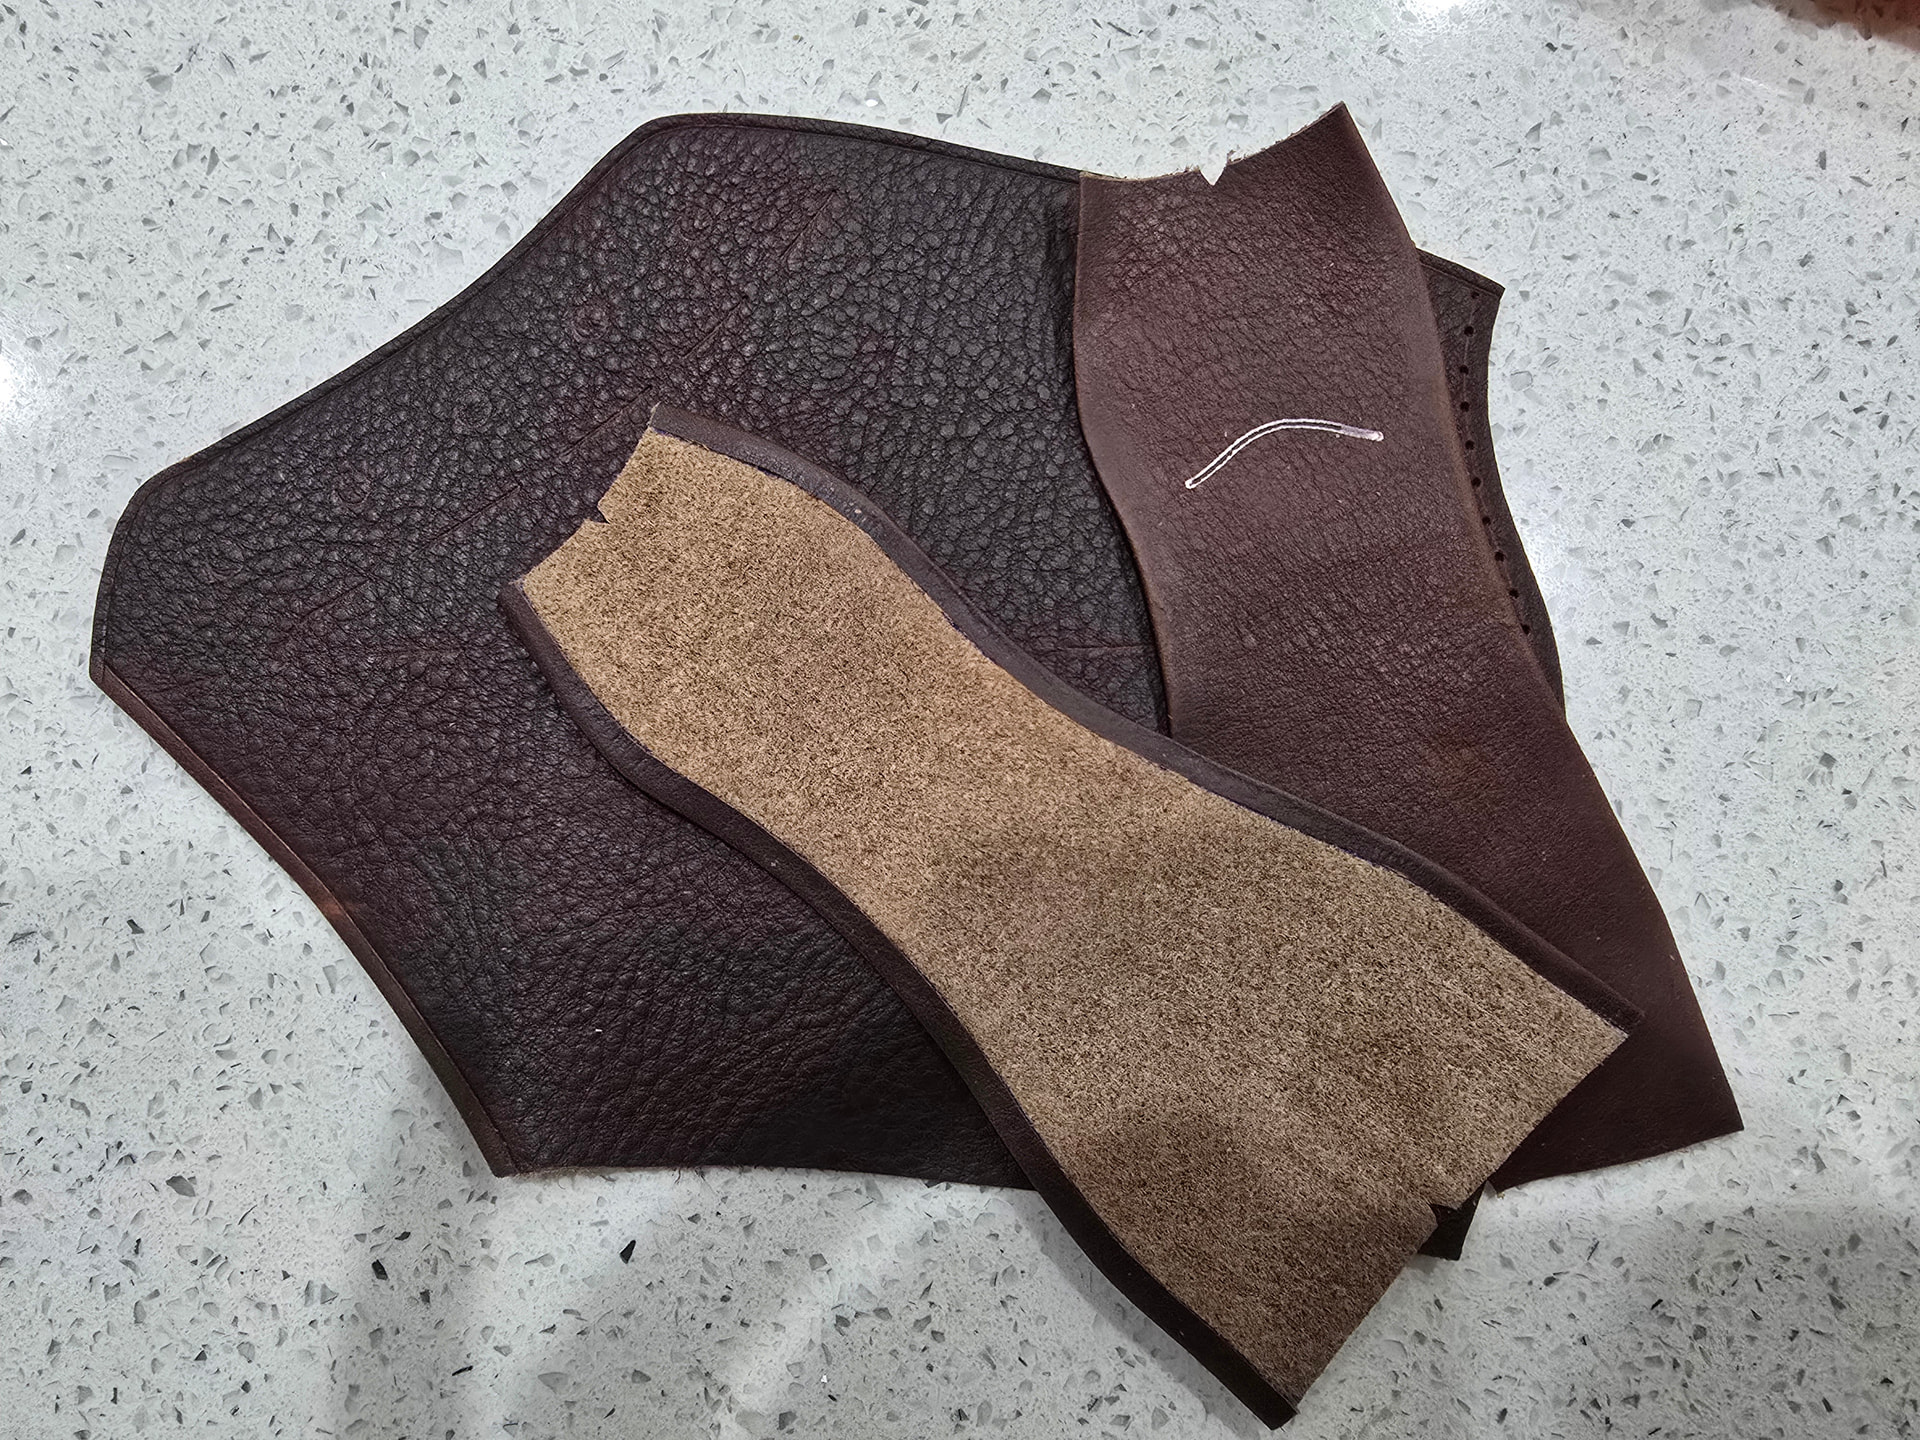
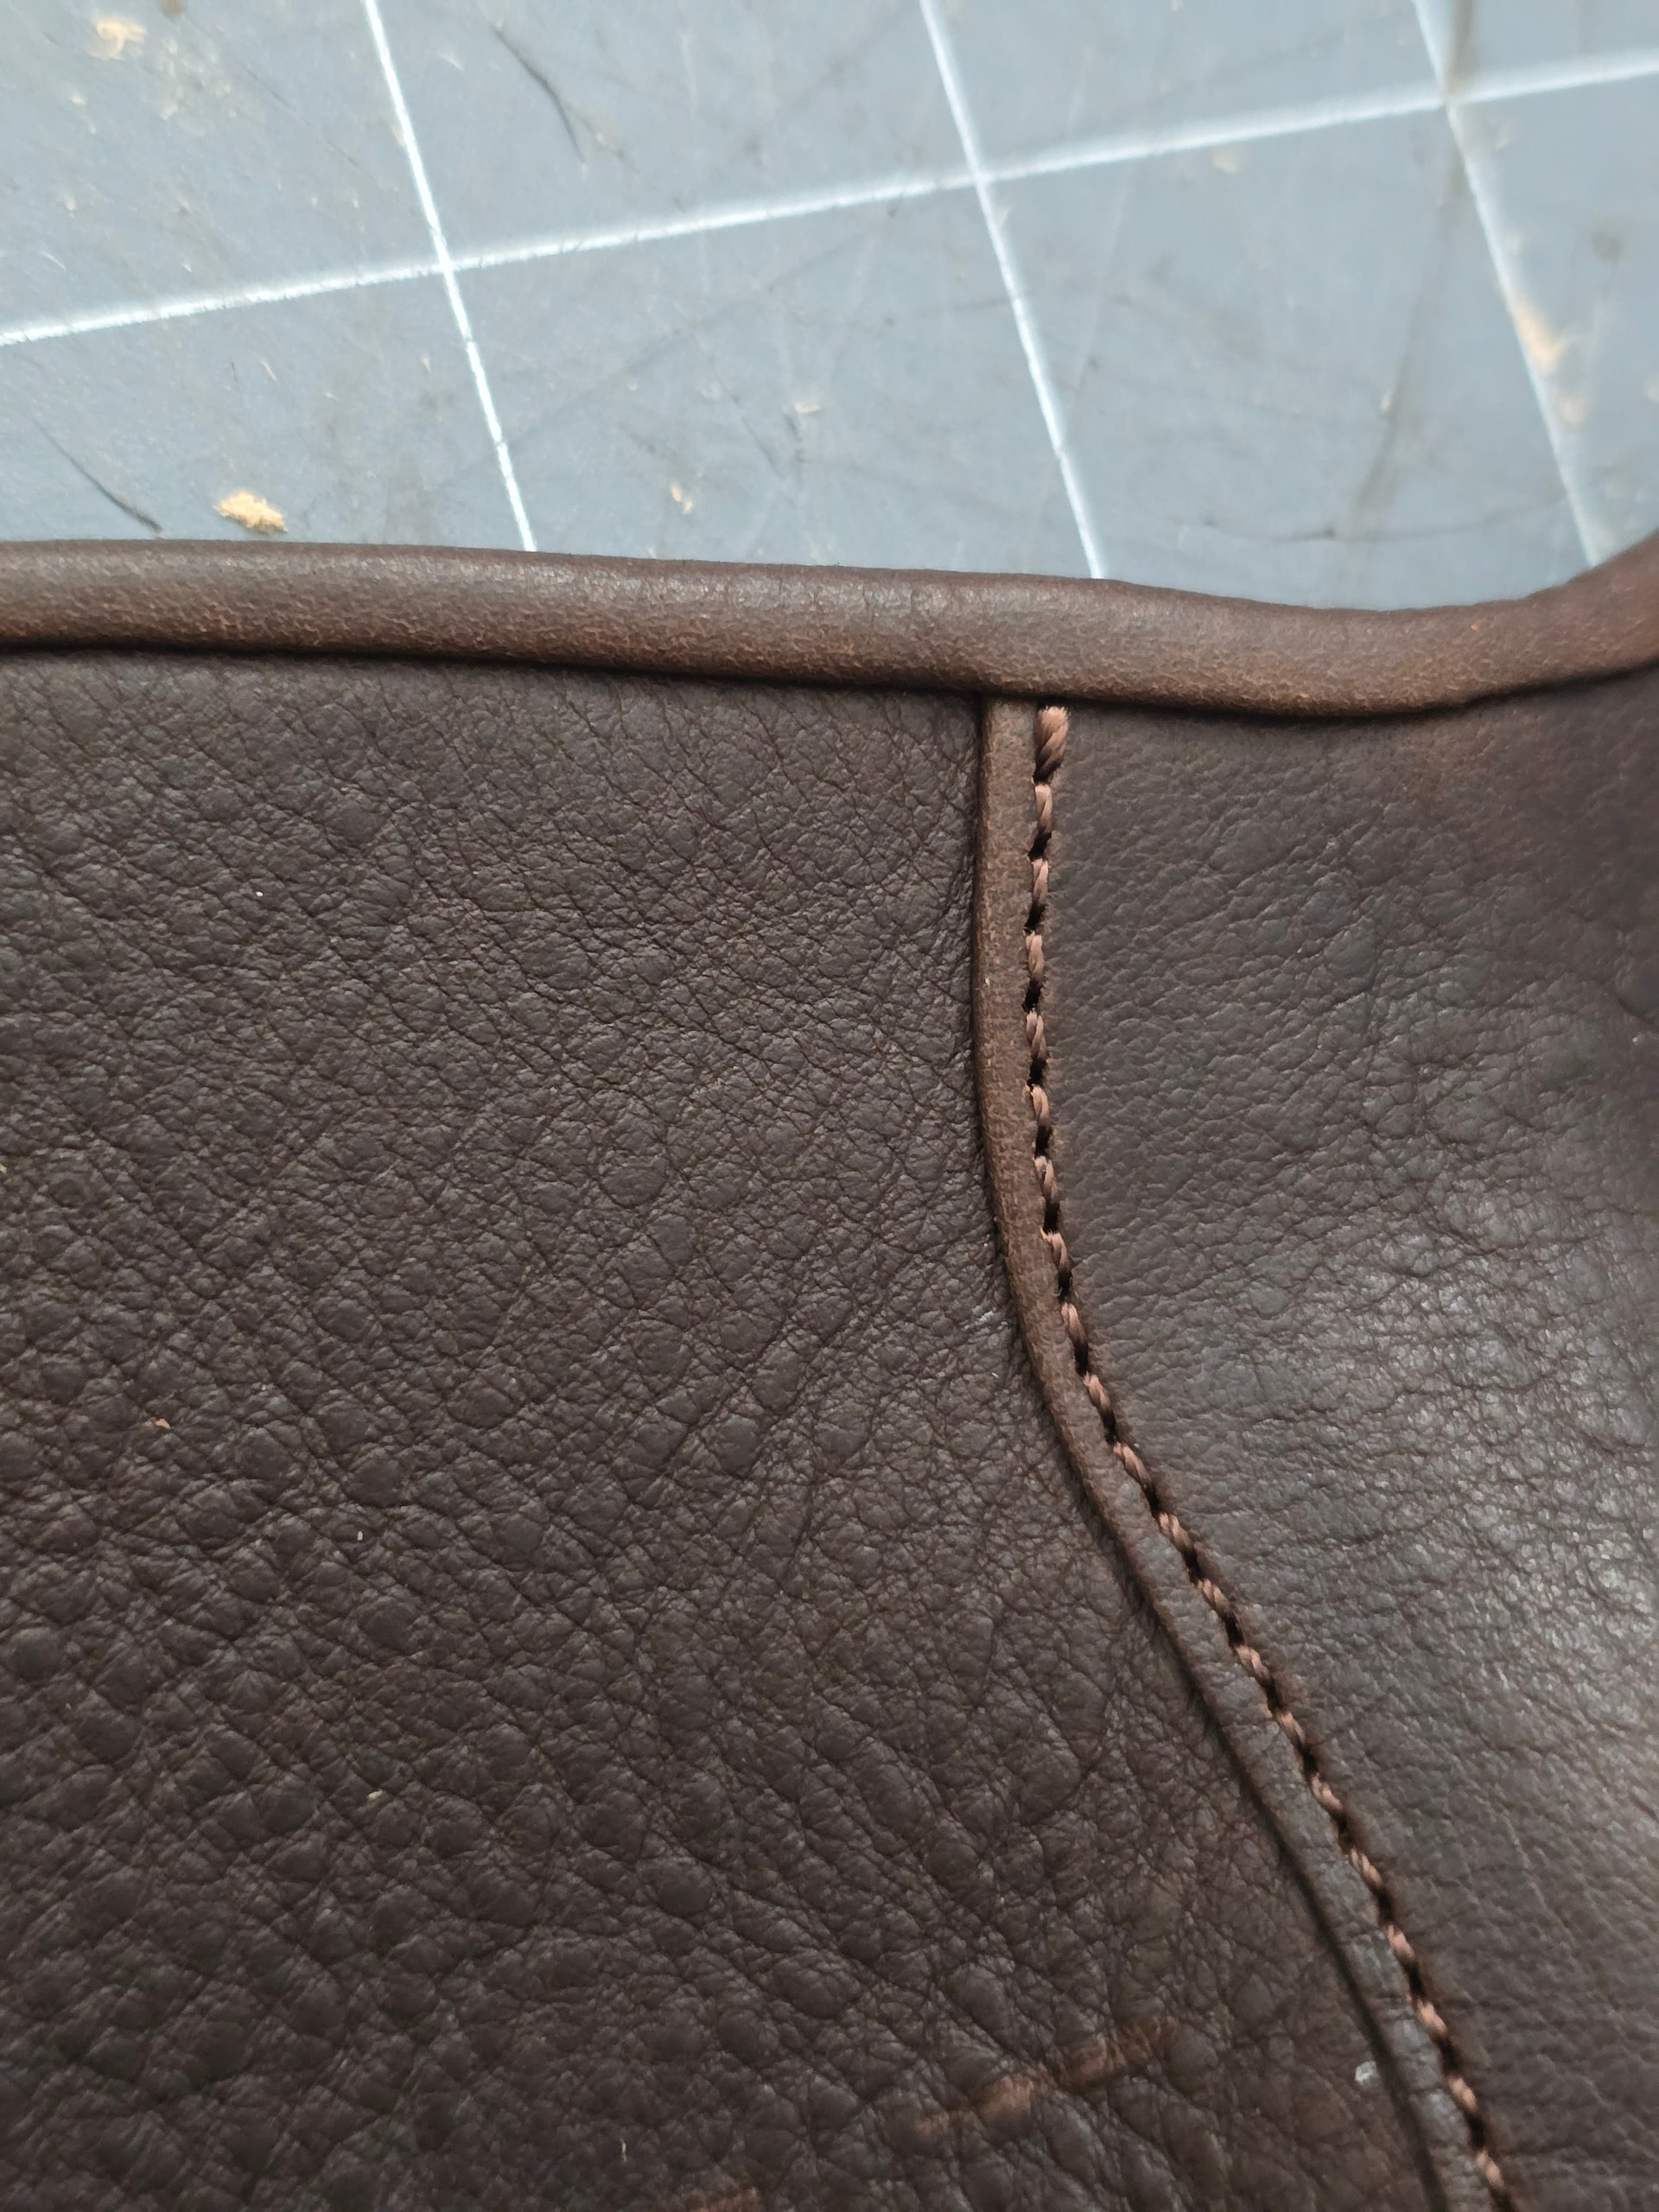
I also decided to hand split the backstay to get it down around 1mm then folded the exposed edges instead of burnishing. Cleaned things up nicely.
1 Like
Looks great! What sewing machine thread are you using? roughly what spi?
1 Like
The brown stitching is all vinymo mbt size #8 at about 3mm spacing. The machine sewn parts are done with a size 18 LR needle; the hand stitched with french chisels.
The purple detail stitching is done with #0 vinymo double waxed at 4mm spacing.
2 Likes
Got this far on the boots and the guy I am making them for called to say he had a podiatry appointment yesterday and they want to do new orthotics for him. So on hold until we are how much what they recommend jives with the last design. I think I factored in everything they’re going to recommend already, but better to pause to make sure.
1 Like