Inspired by @Mllcb42, I think it’s time we kicked off a discussion on taking photos of shoes and boots. I’m sure there’s no need to explain why this has become so important!
I personally see basically three styles of this going on:
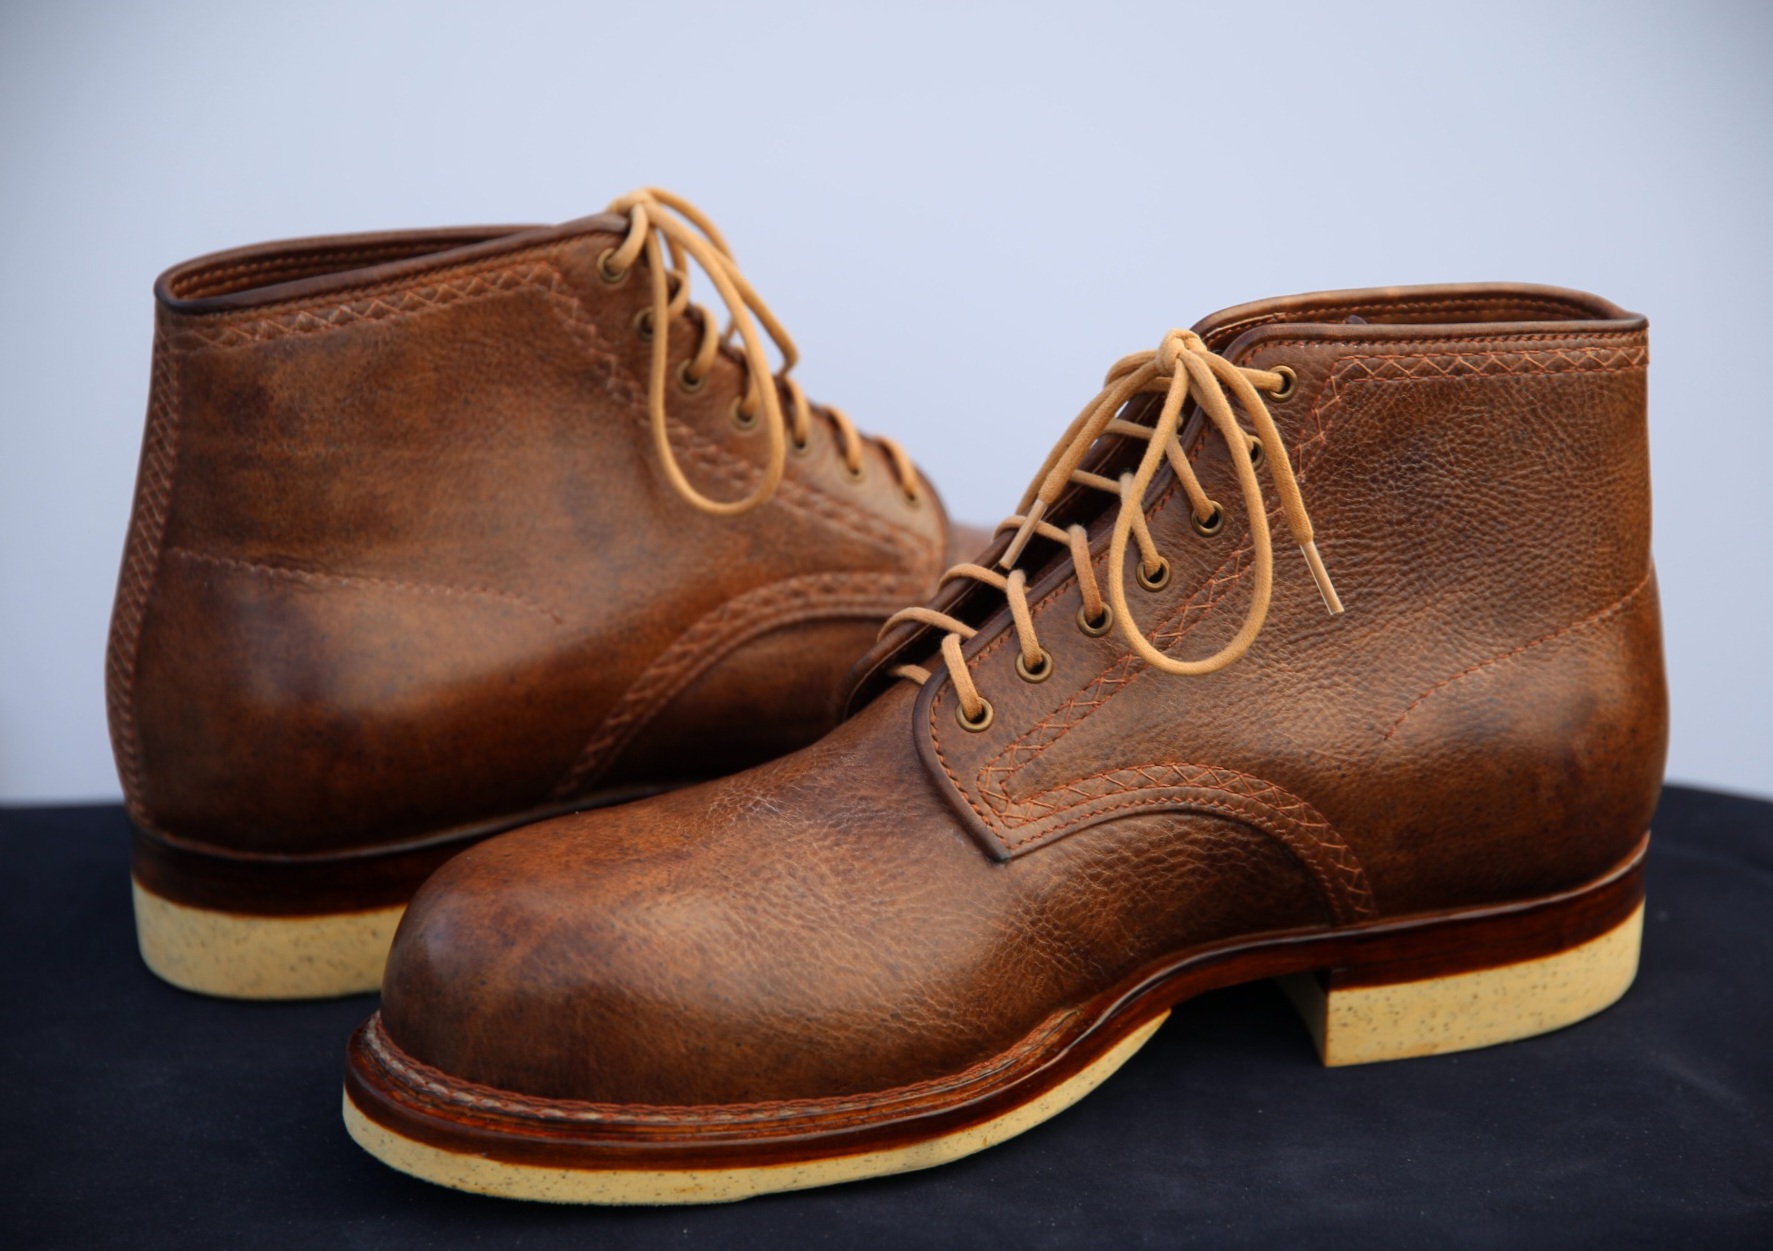
evenly lit shots on plain backgrounds, usually from fairly standard angles
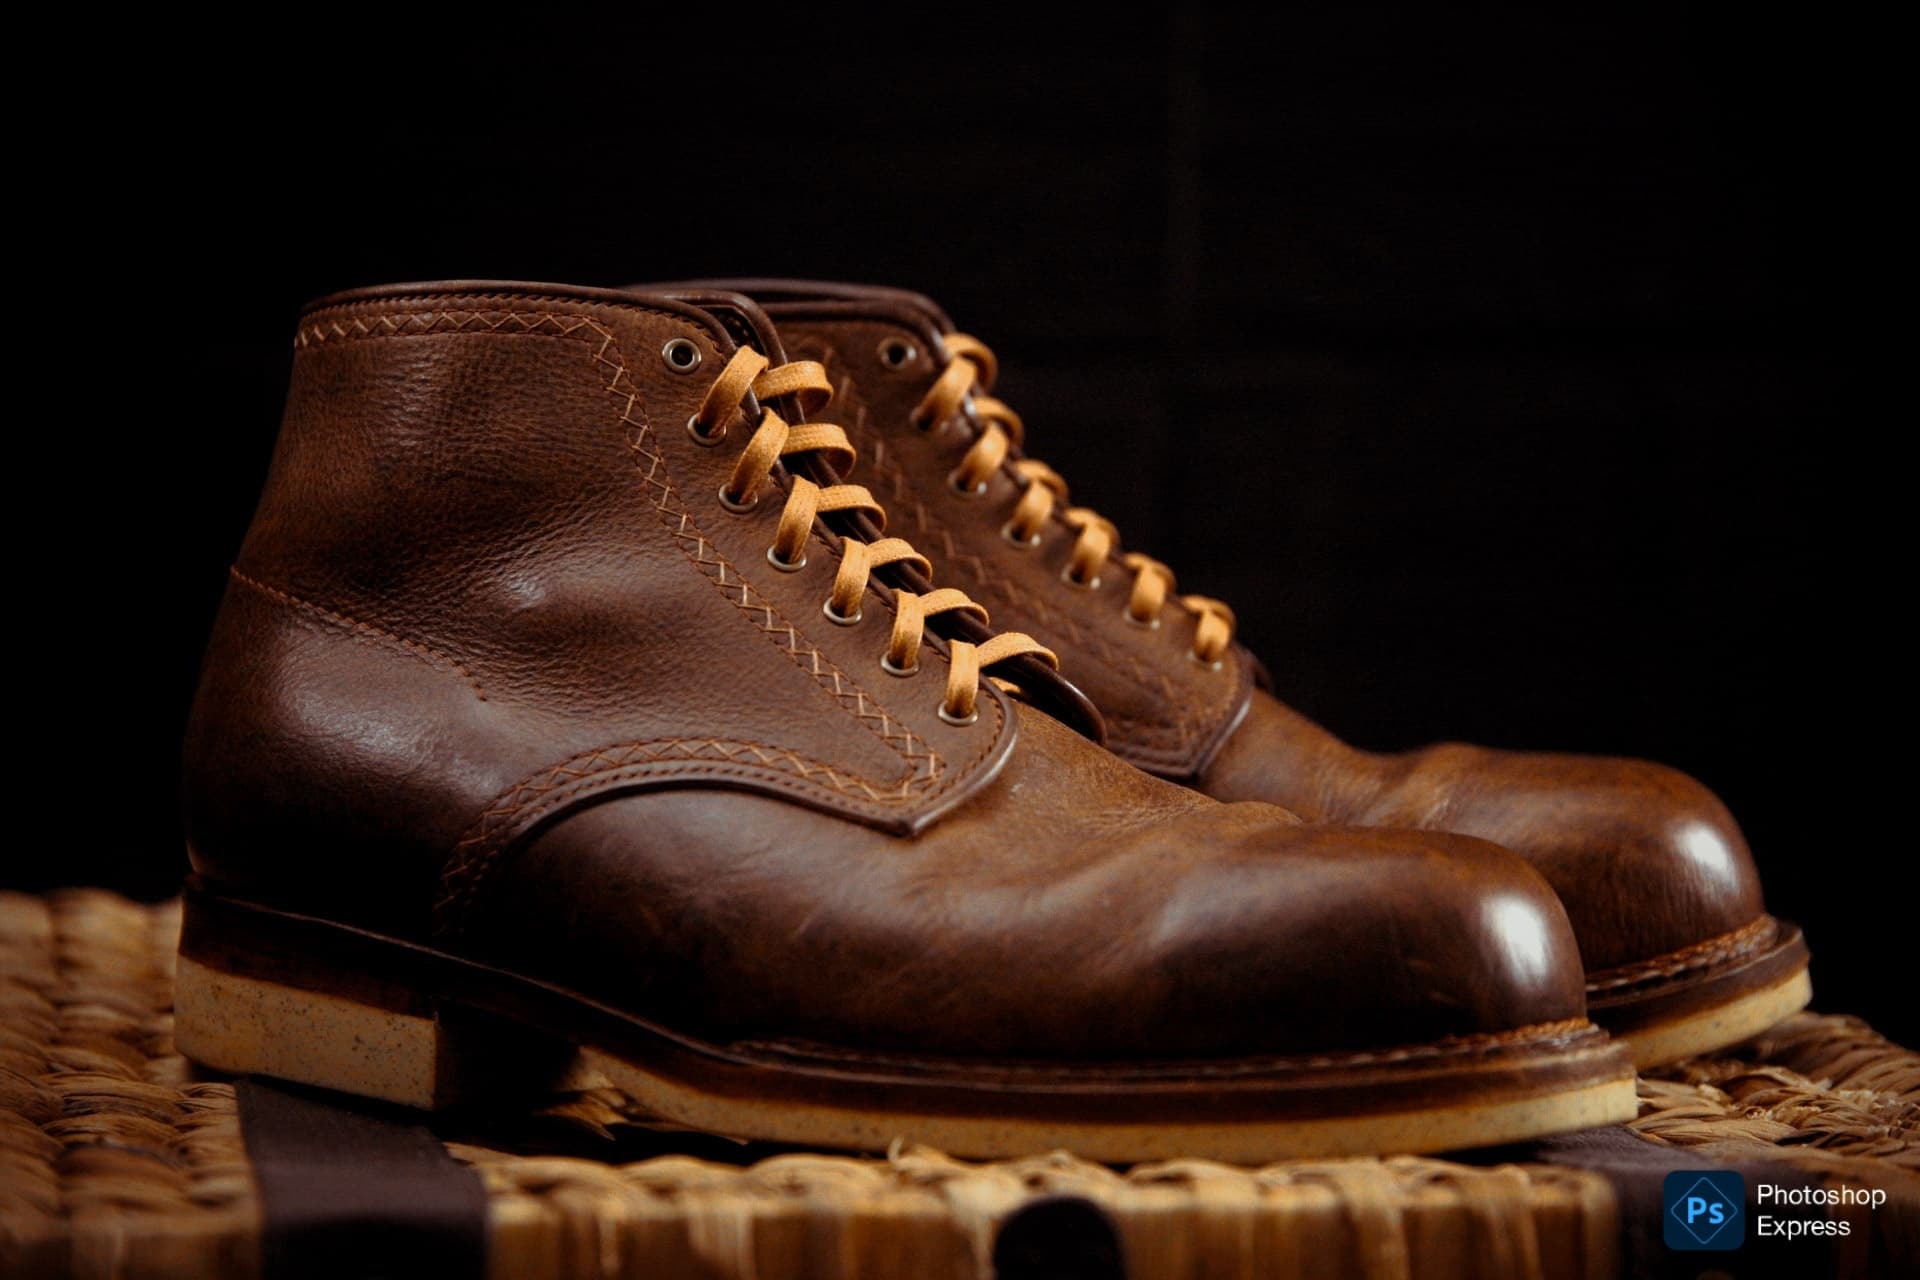
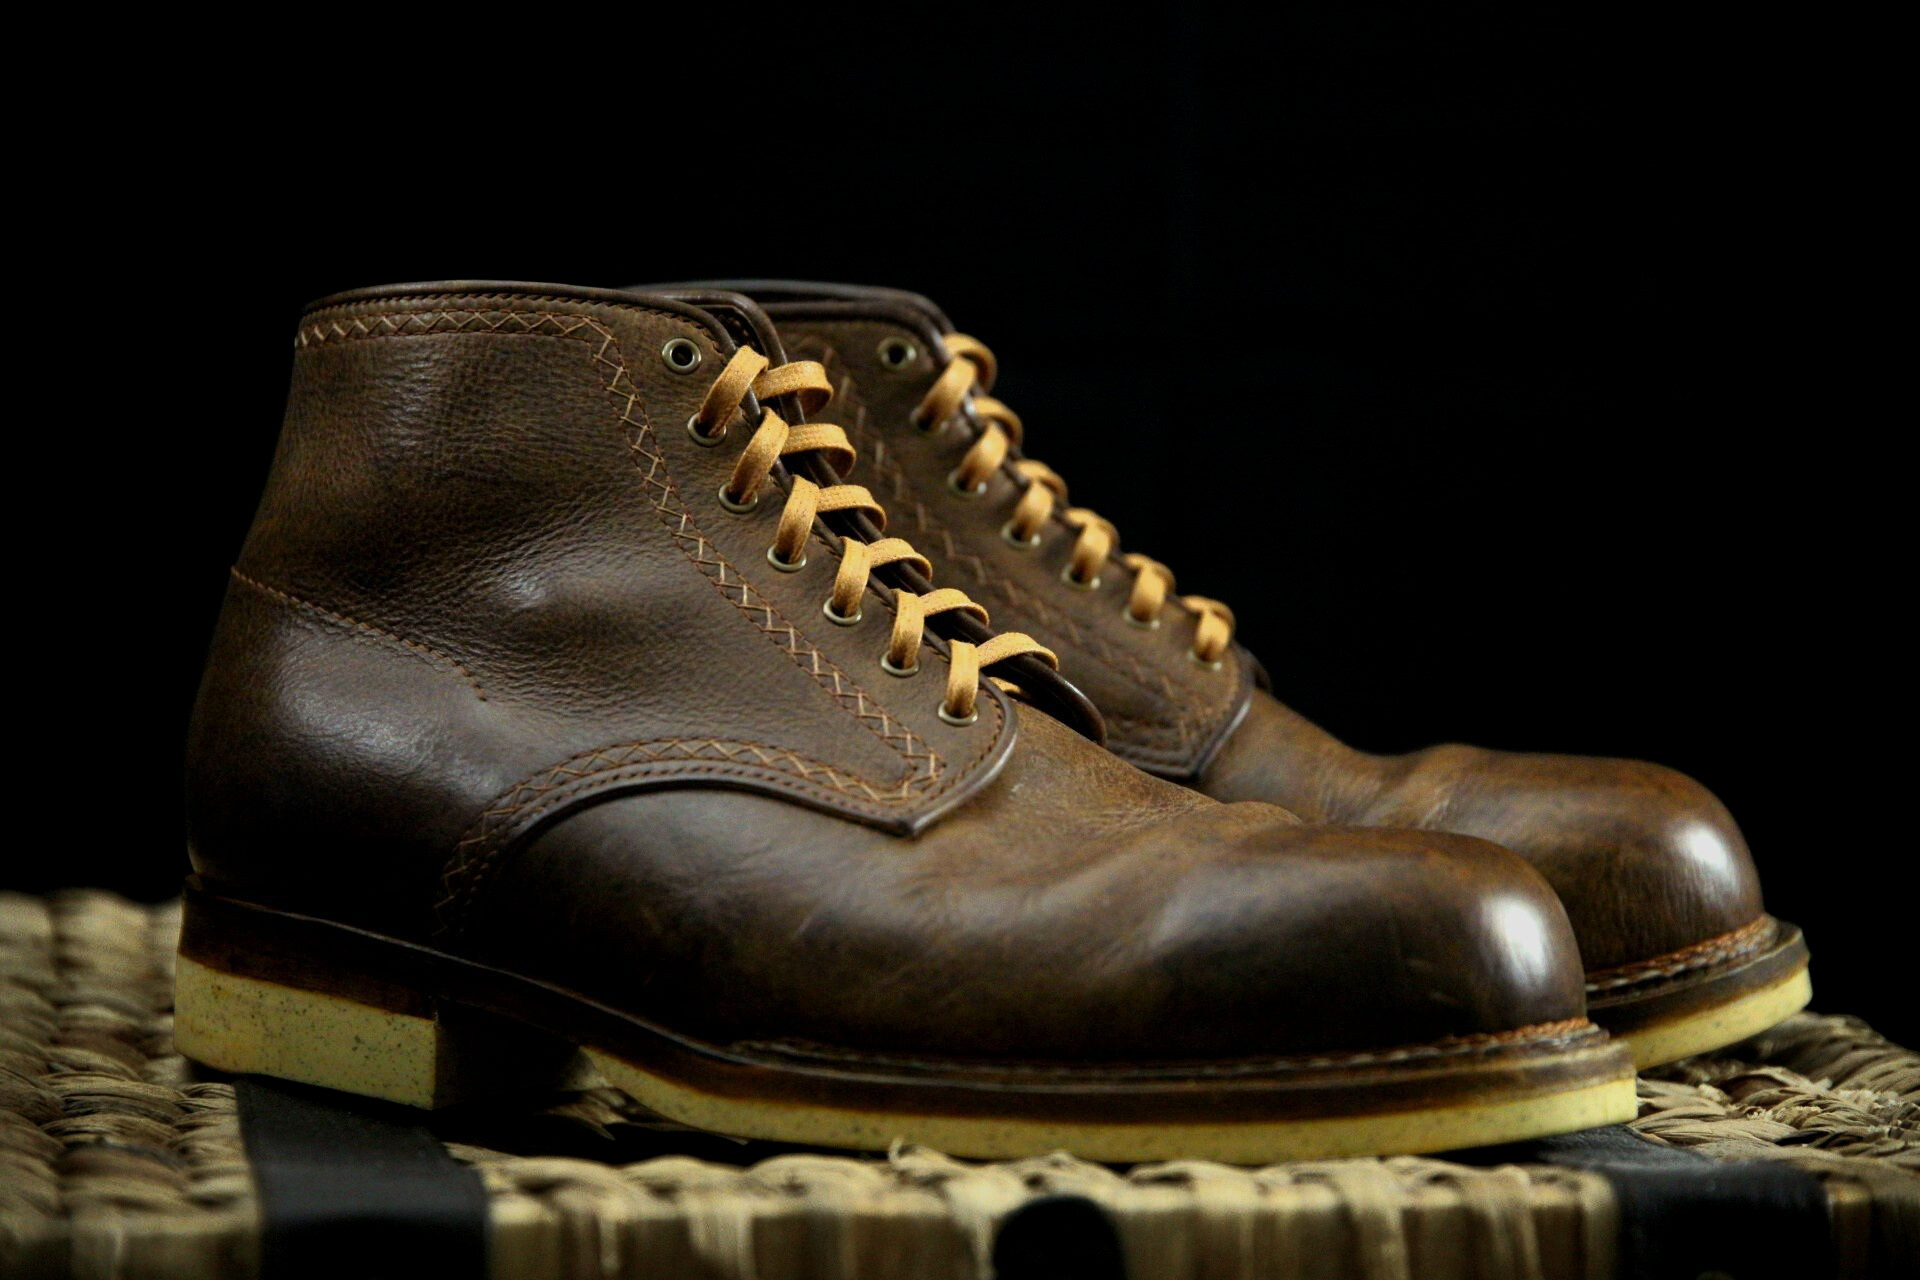
more dramatic shots with natural or composed light, surrounded by evocative objects or in outdoor locations, often at odd angles, or with shoes of a pair arranged differently
shots of boots or shoes on models
I don’t know what the trade names for these styles are, or even whether photos and marketers break it down just this way. But I’ve noticed that the first photos on a catalog page for a shoe model are usually style #1, often with one or two #2 shots thrown in. #3 shots are more common in the splashy intro pages to catalog sections, or in broader fashion advertising online. More fashion-forward shoe companies tend to publish more model shots, while more shoes-just-shoes companies tend to publish more #2 shots, often lots of evocative props.
I gather shoe photography really took a jolt from recent social media trends, especially the rise of Instagram, where Truman Boot Company in particular made a name for itself, and later with the Stitchdown Patina Thunderdome, a beauty contest for used boots that’s all online, not in person, so really driven by photography.
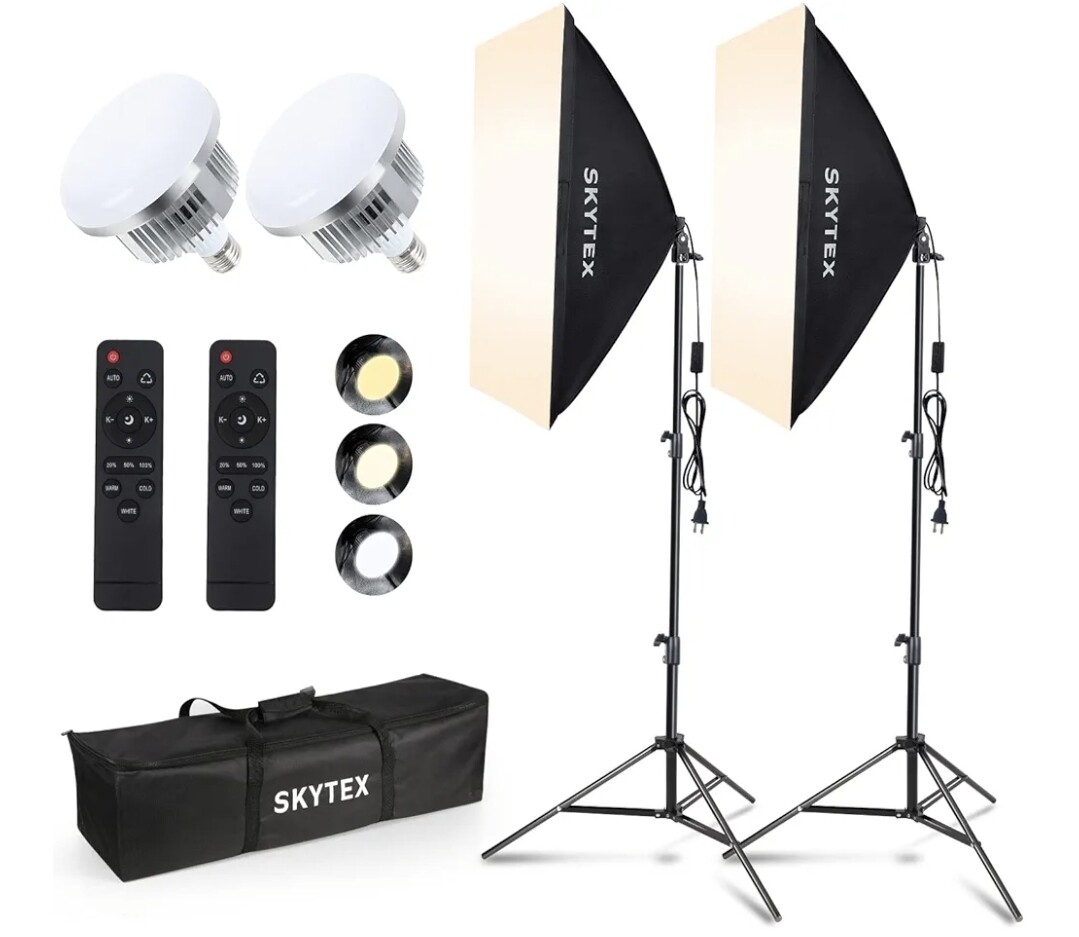
Speaking just for myself, I am very much a beginner. Partly for shoes, partly for other things, partly just because I caught a price drop, I did recently buy an Amazon Basics photo light box, which I hope will help me get clearer, better lit, “just the facts” photos of my work as well as tools and techniques.
So note to self, use a better software for any color corrections. I jave just been doing quick corrections on my phone apps, but it seems to always want to pull the images towards the green side. I loaded up photoshop express on my phone and desaturated the green tones. Things are looking much, much better.
Very nice! Since the dome is half beauty pageant, half photography contest, this is a timely topicl. Are you following the photography channel too? My other other hobby that took up most of my time and energy before the boot bug bit me was photography, some digital but mostly analog, large format, and wet plate. The principles of lighting are all similar though, except with wet plate you need an ocean of light that leaves you blinded for a wild 15 seconds
Quick things for ML Leddy there - a polarizer will only help with polarized light source which pretty mich means the sun, so it wont help with the glare. The best thing you can do for that is diffuse the light source more with a larger scrim; a specular reflection is basically a picture of the light source - if you had a light that was a 5-point star your glare would have a similar shape, albeit distorted. So diffusing the light more diffuses the focused glare. The other way to make your light appear bigger is to move it closer to the subject. I usually have my light nearly in the frame or even have to edit out the corner of an umbrella. This increases the diffuse nature of the key while keeping the drama by creating more fall off. But it is a somewhat different look and haveto decide if you like it. Also since the light source will appear brighter, you can either take the increase in contrast vs the fill side, or increase the fill to keep up with the key and keep the ratio the same, or add a fill-side reflector to bounce some of the key back, or decrease the key brightness, or a mix. Lighting is fun! But one thing to try if you like is get that key light right up in the boot’s face and see what jt does to the final.
If you have a camera with HDR you can also try maxing that sucker out and see if itll help with glare without losing all of your contrast or looking weird. If you are good with photoshop you can take two identical pictures and one is at a very low exposure enough to get some detail back into the glarey areas and then just feather in those parts and play with transparency to add some detail back in. Manual HDR.
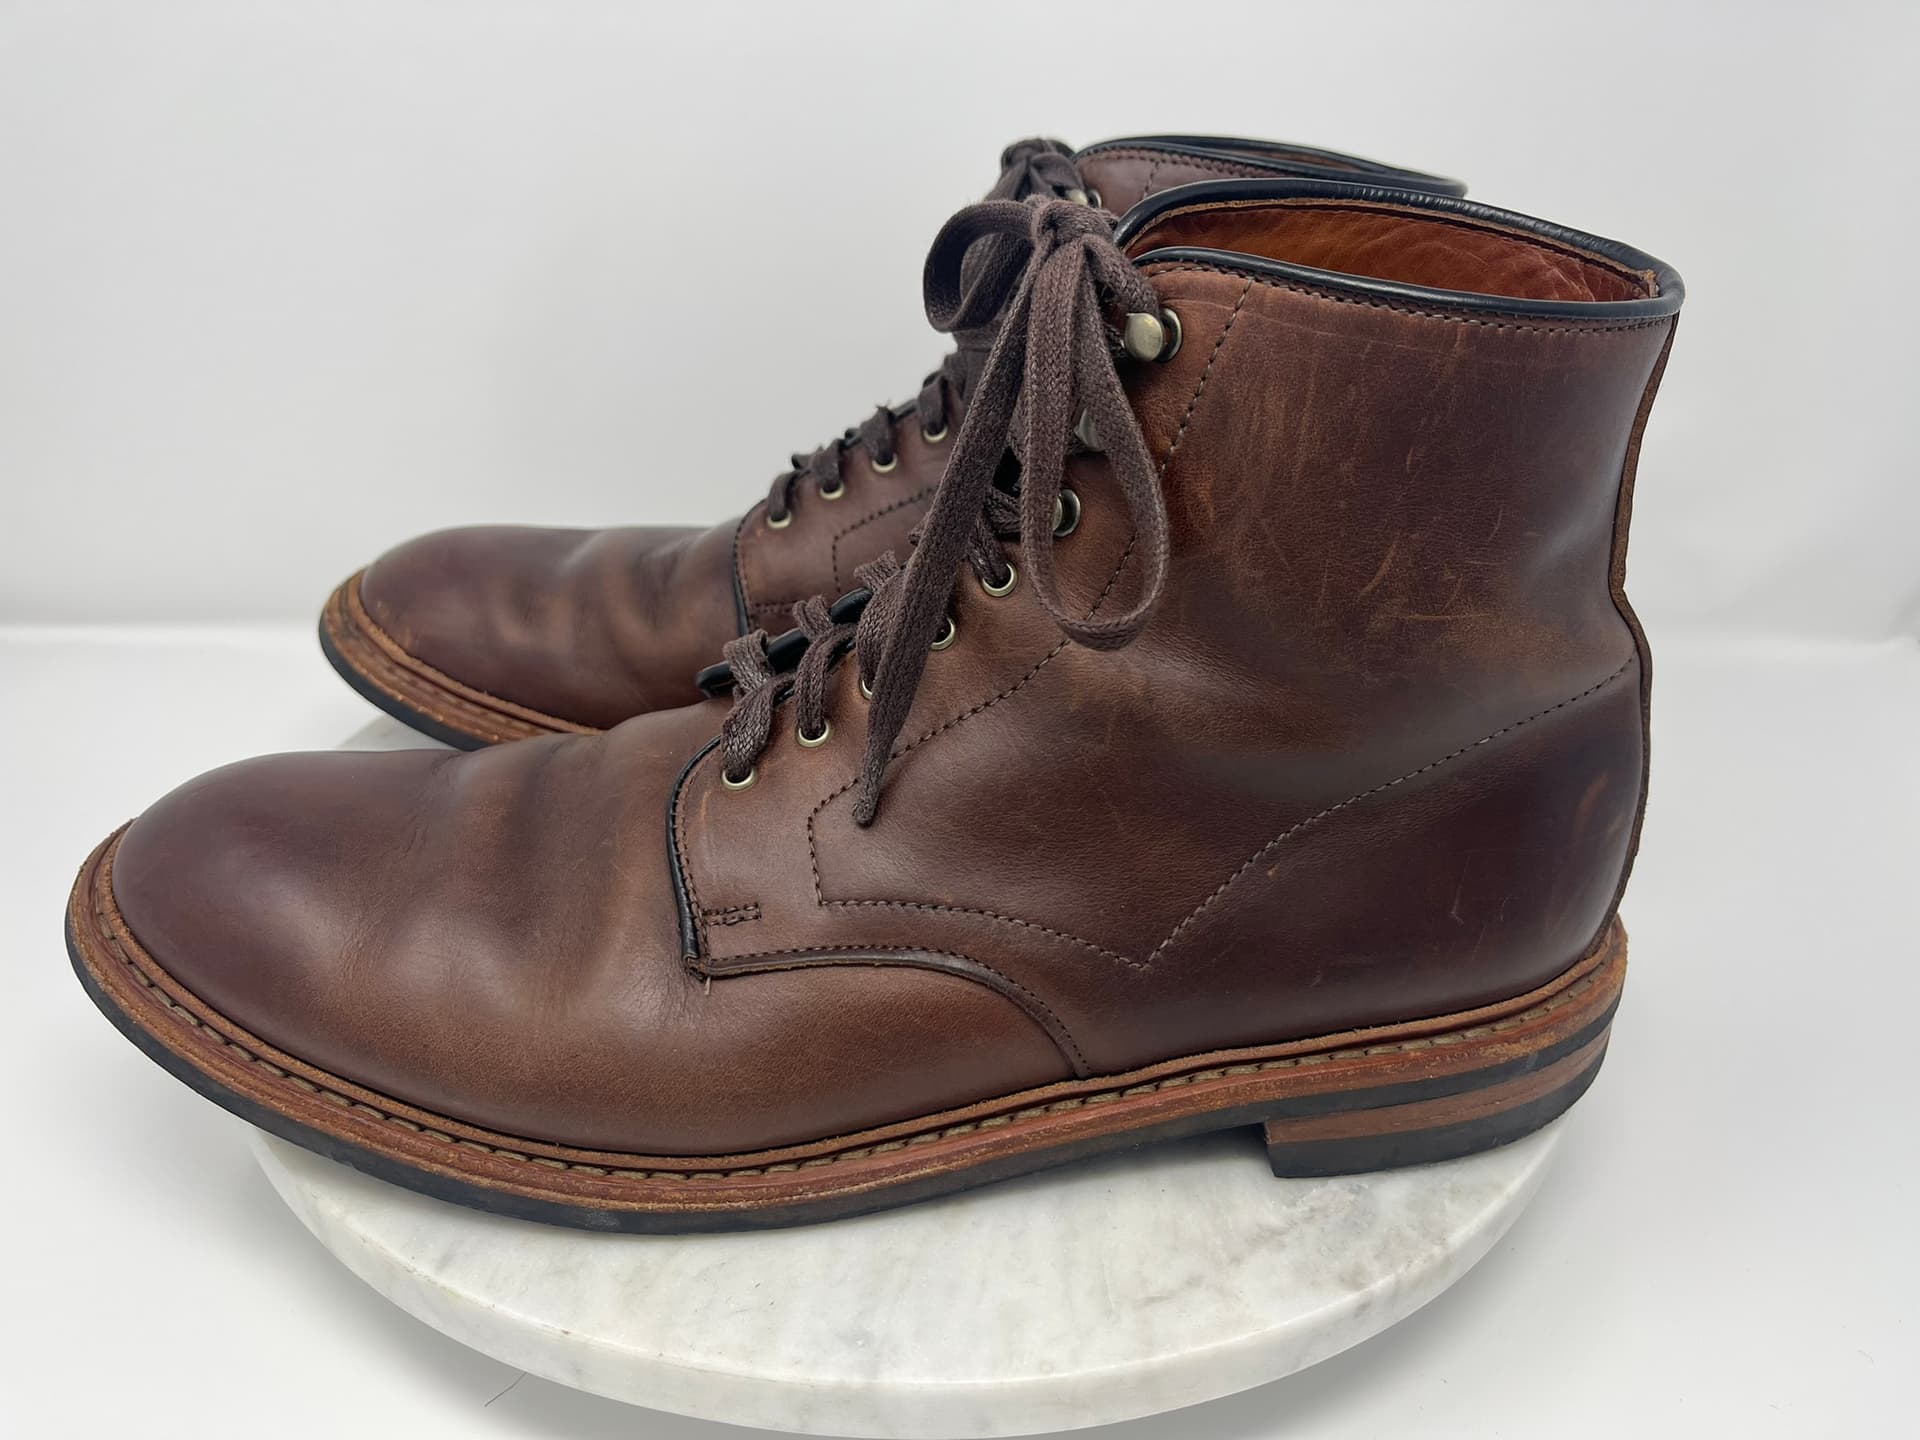
For color balance i think you nailed it. The most helpful thing to me is shooting raw and not letting the camera try to white balance on the fly. I really like Lightroom for this on the iphone - you can shoot raw and also copy/paste color and light settings across photos. I throw a sheet of printer paper on the boot for one or two shots then whe you are playing with color balance in post you can see the white balance easier for the paer shots and apply the same changes to you actual shots.
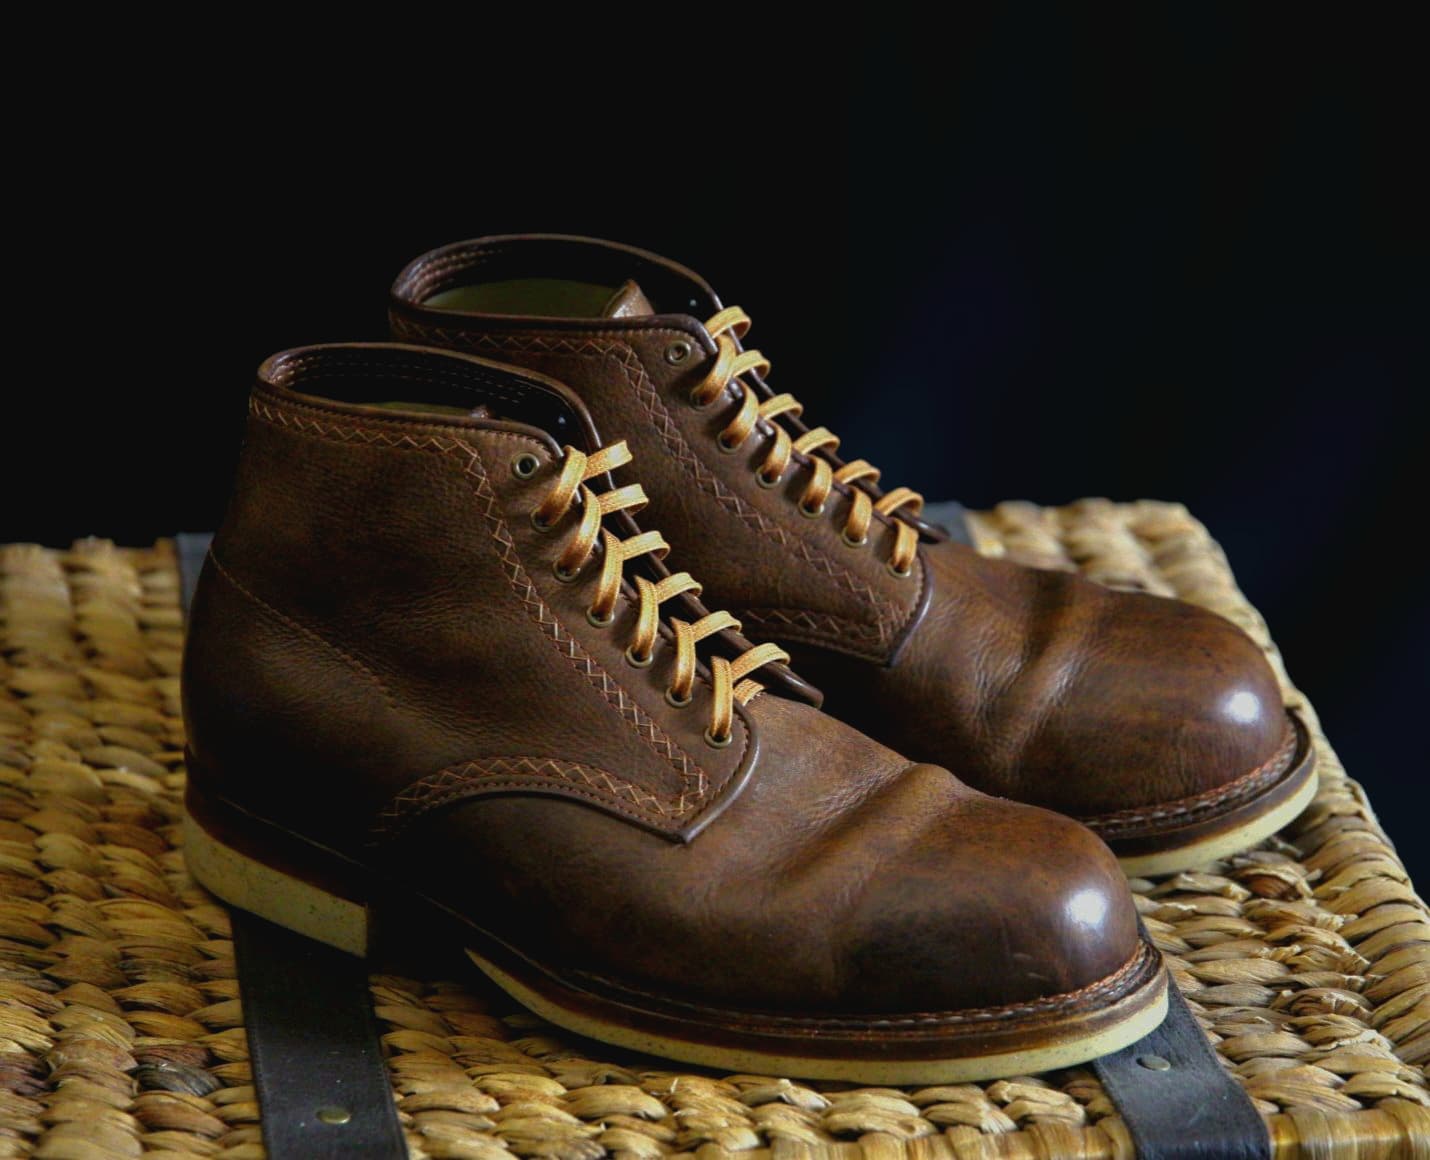
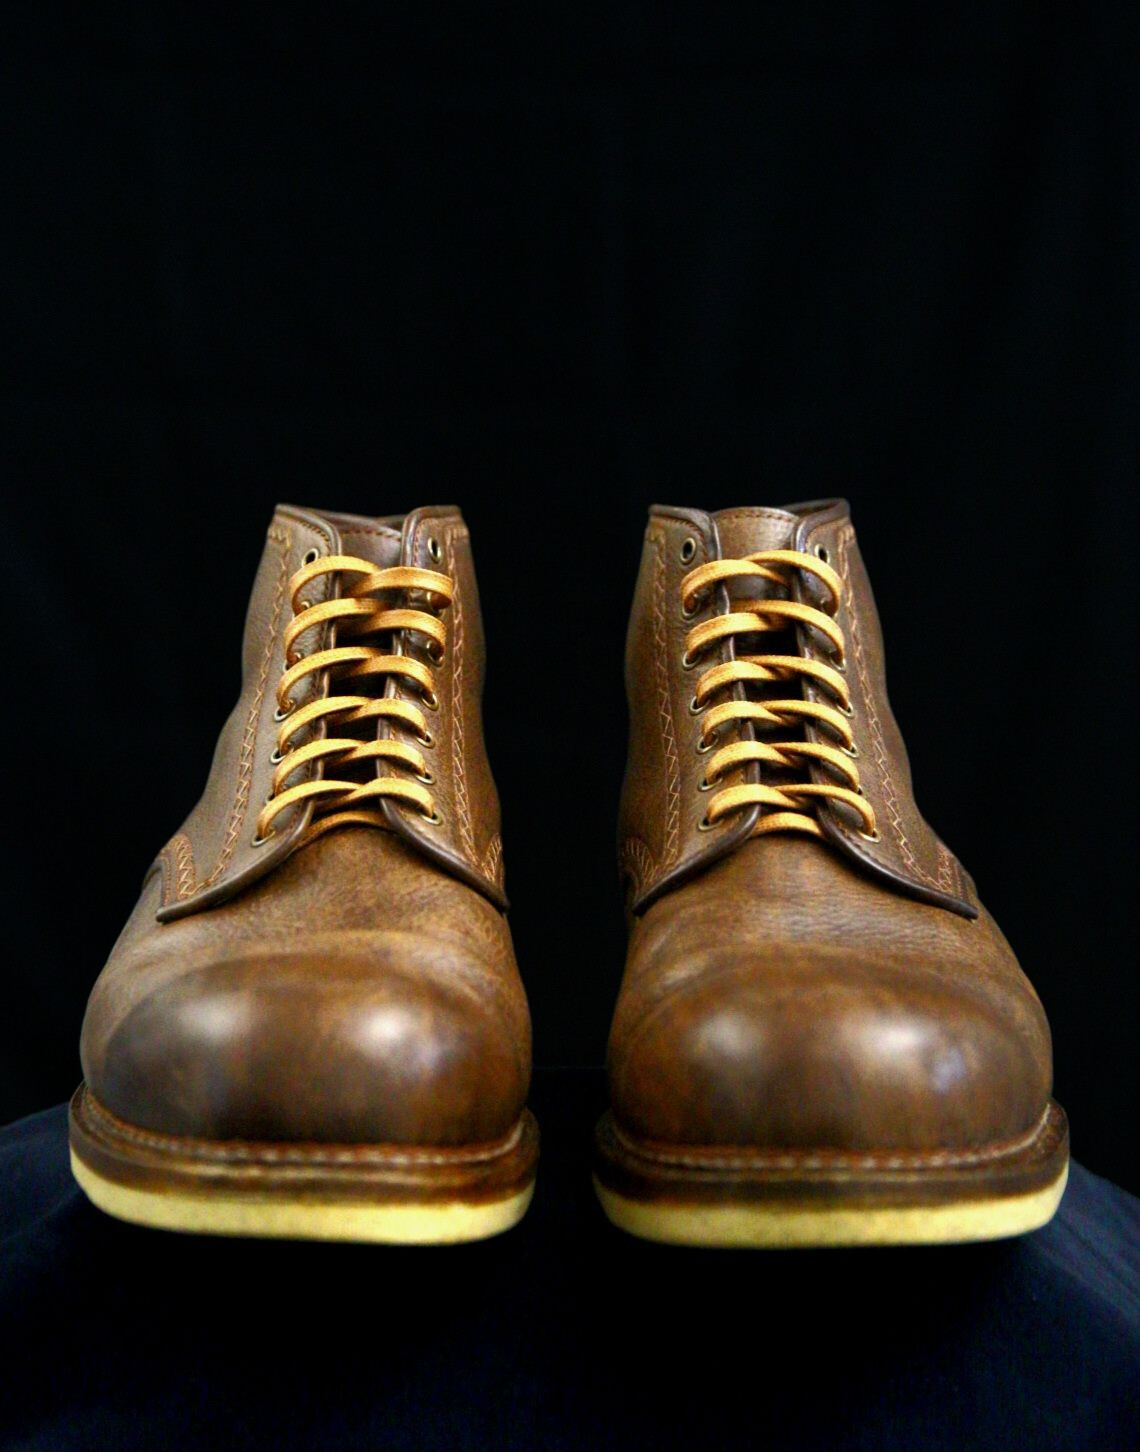
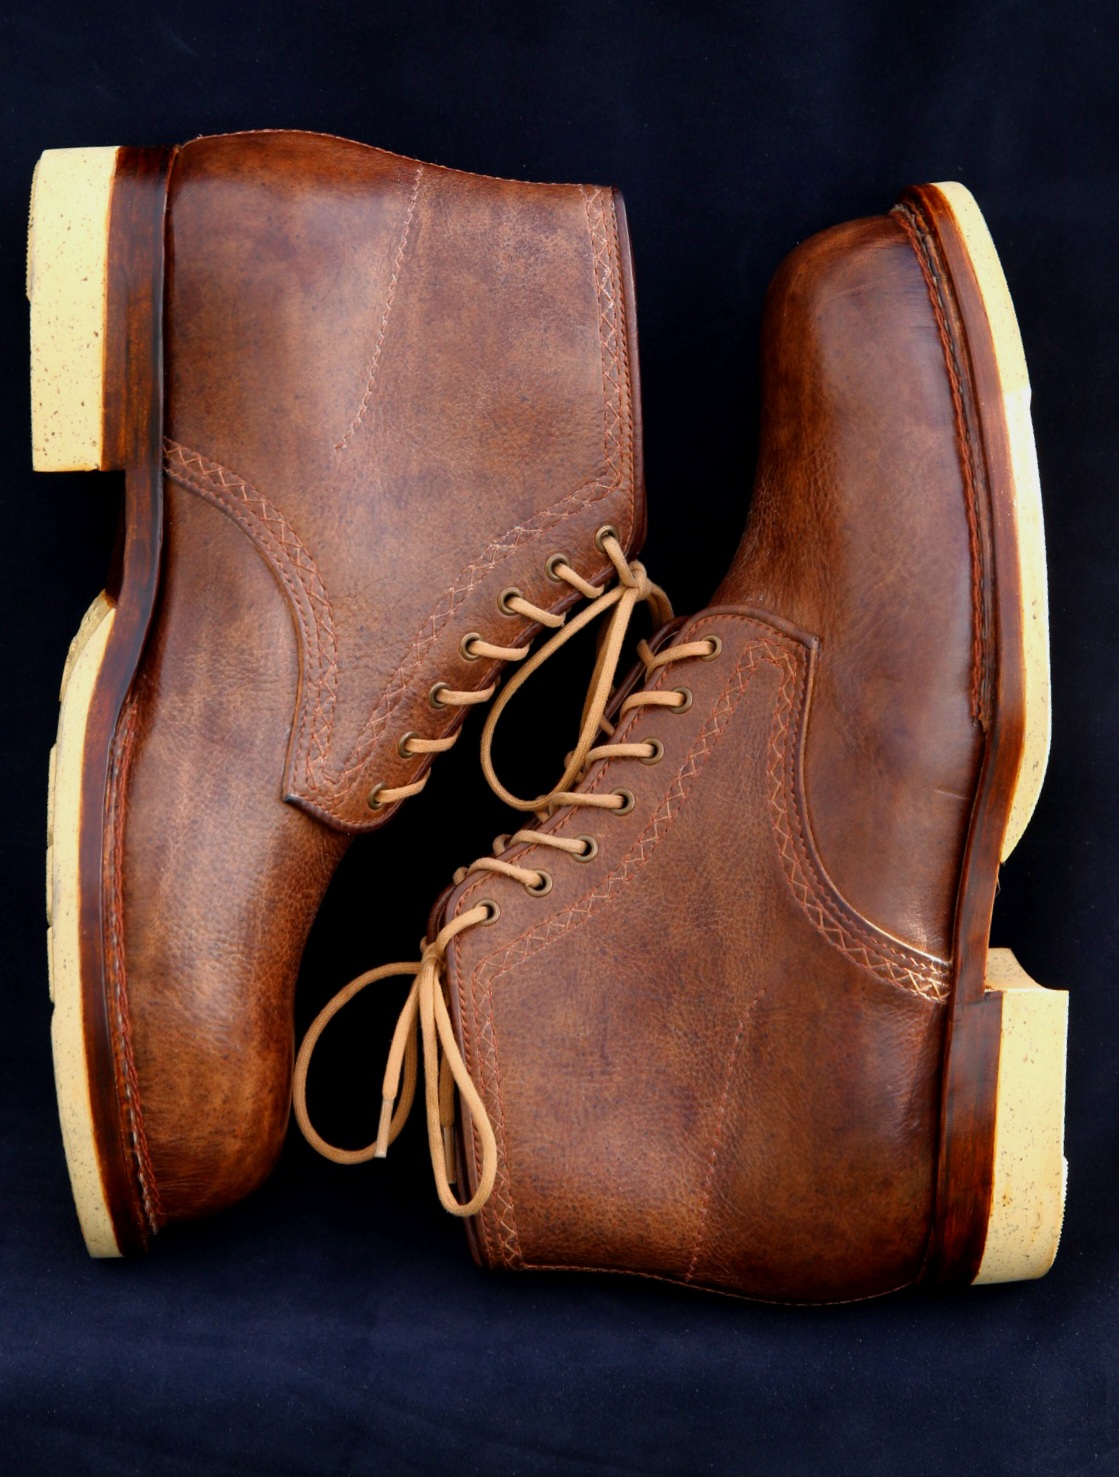
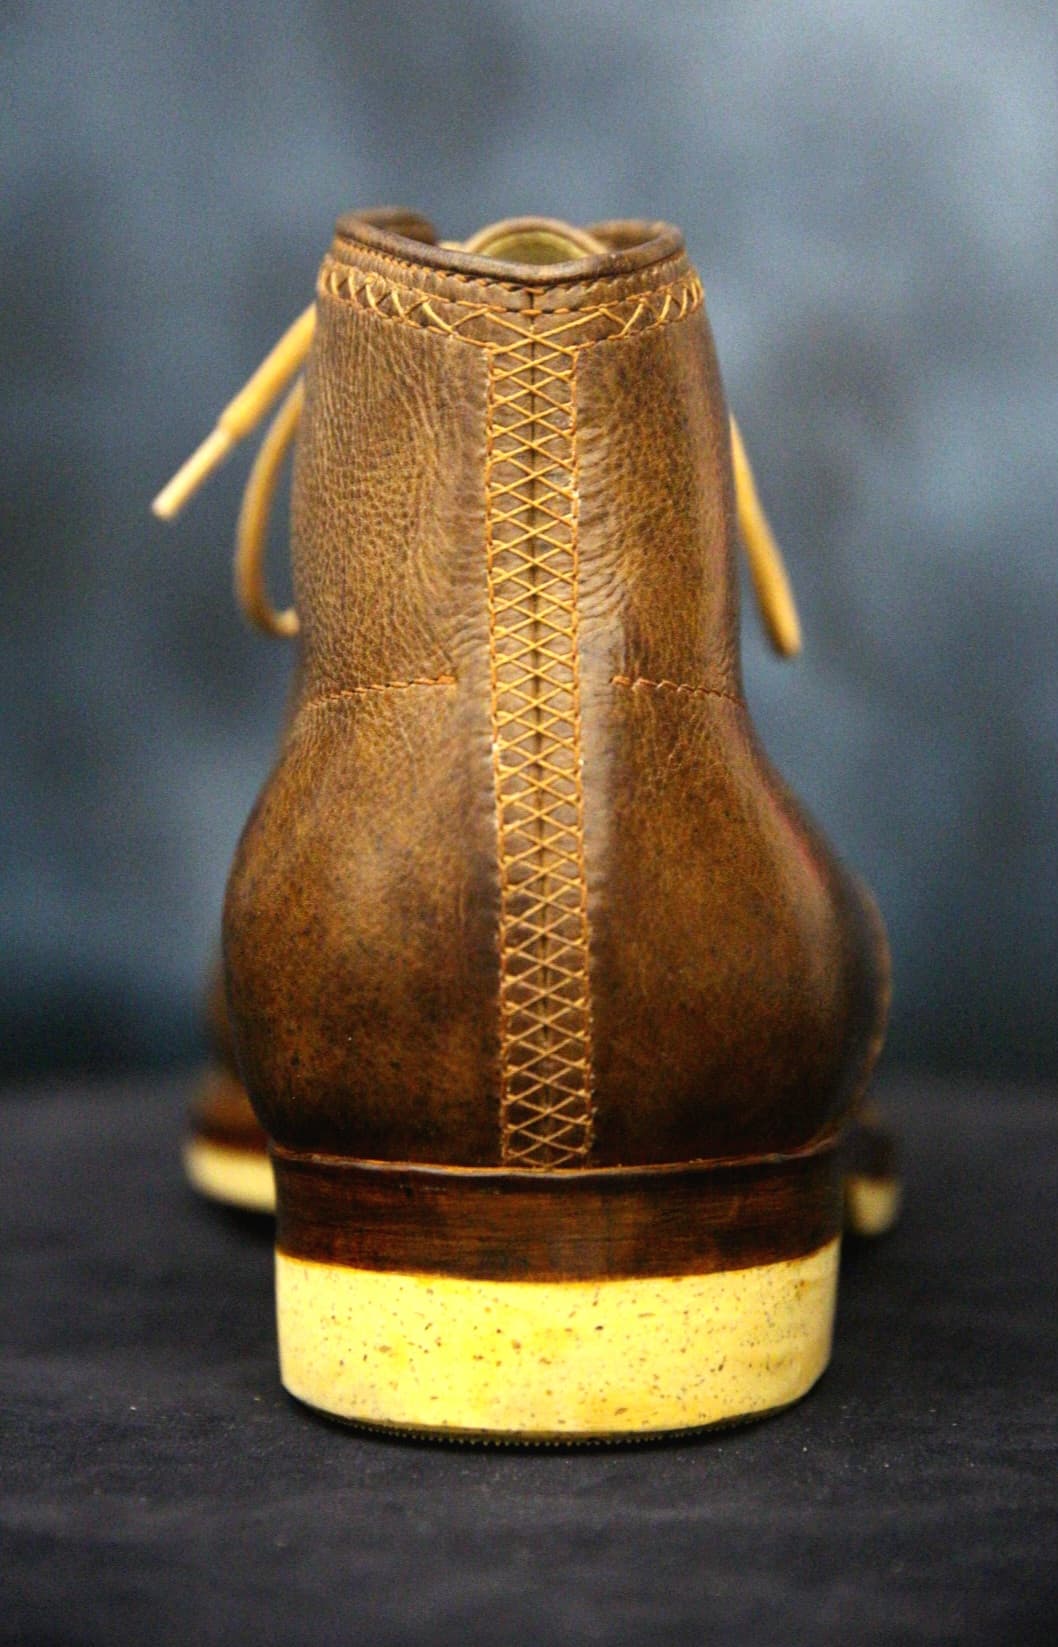
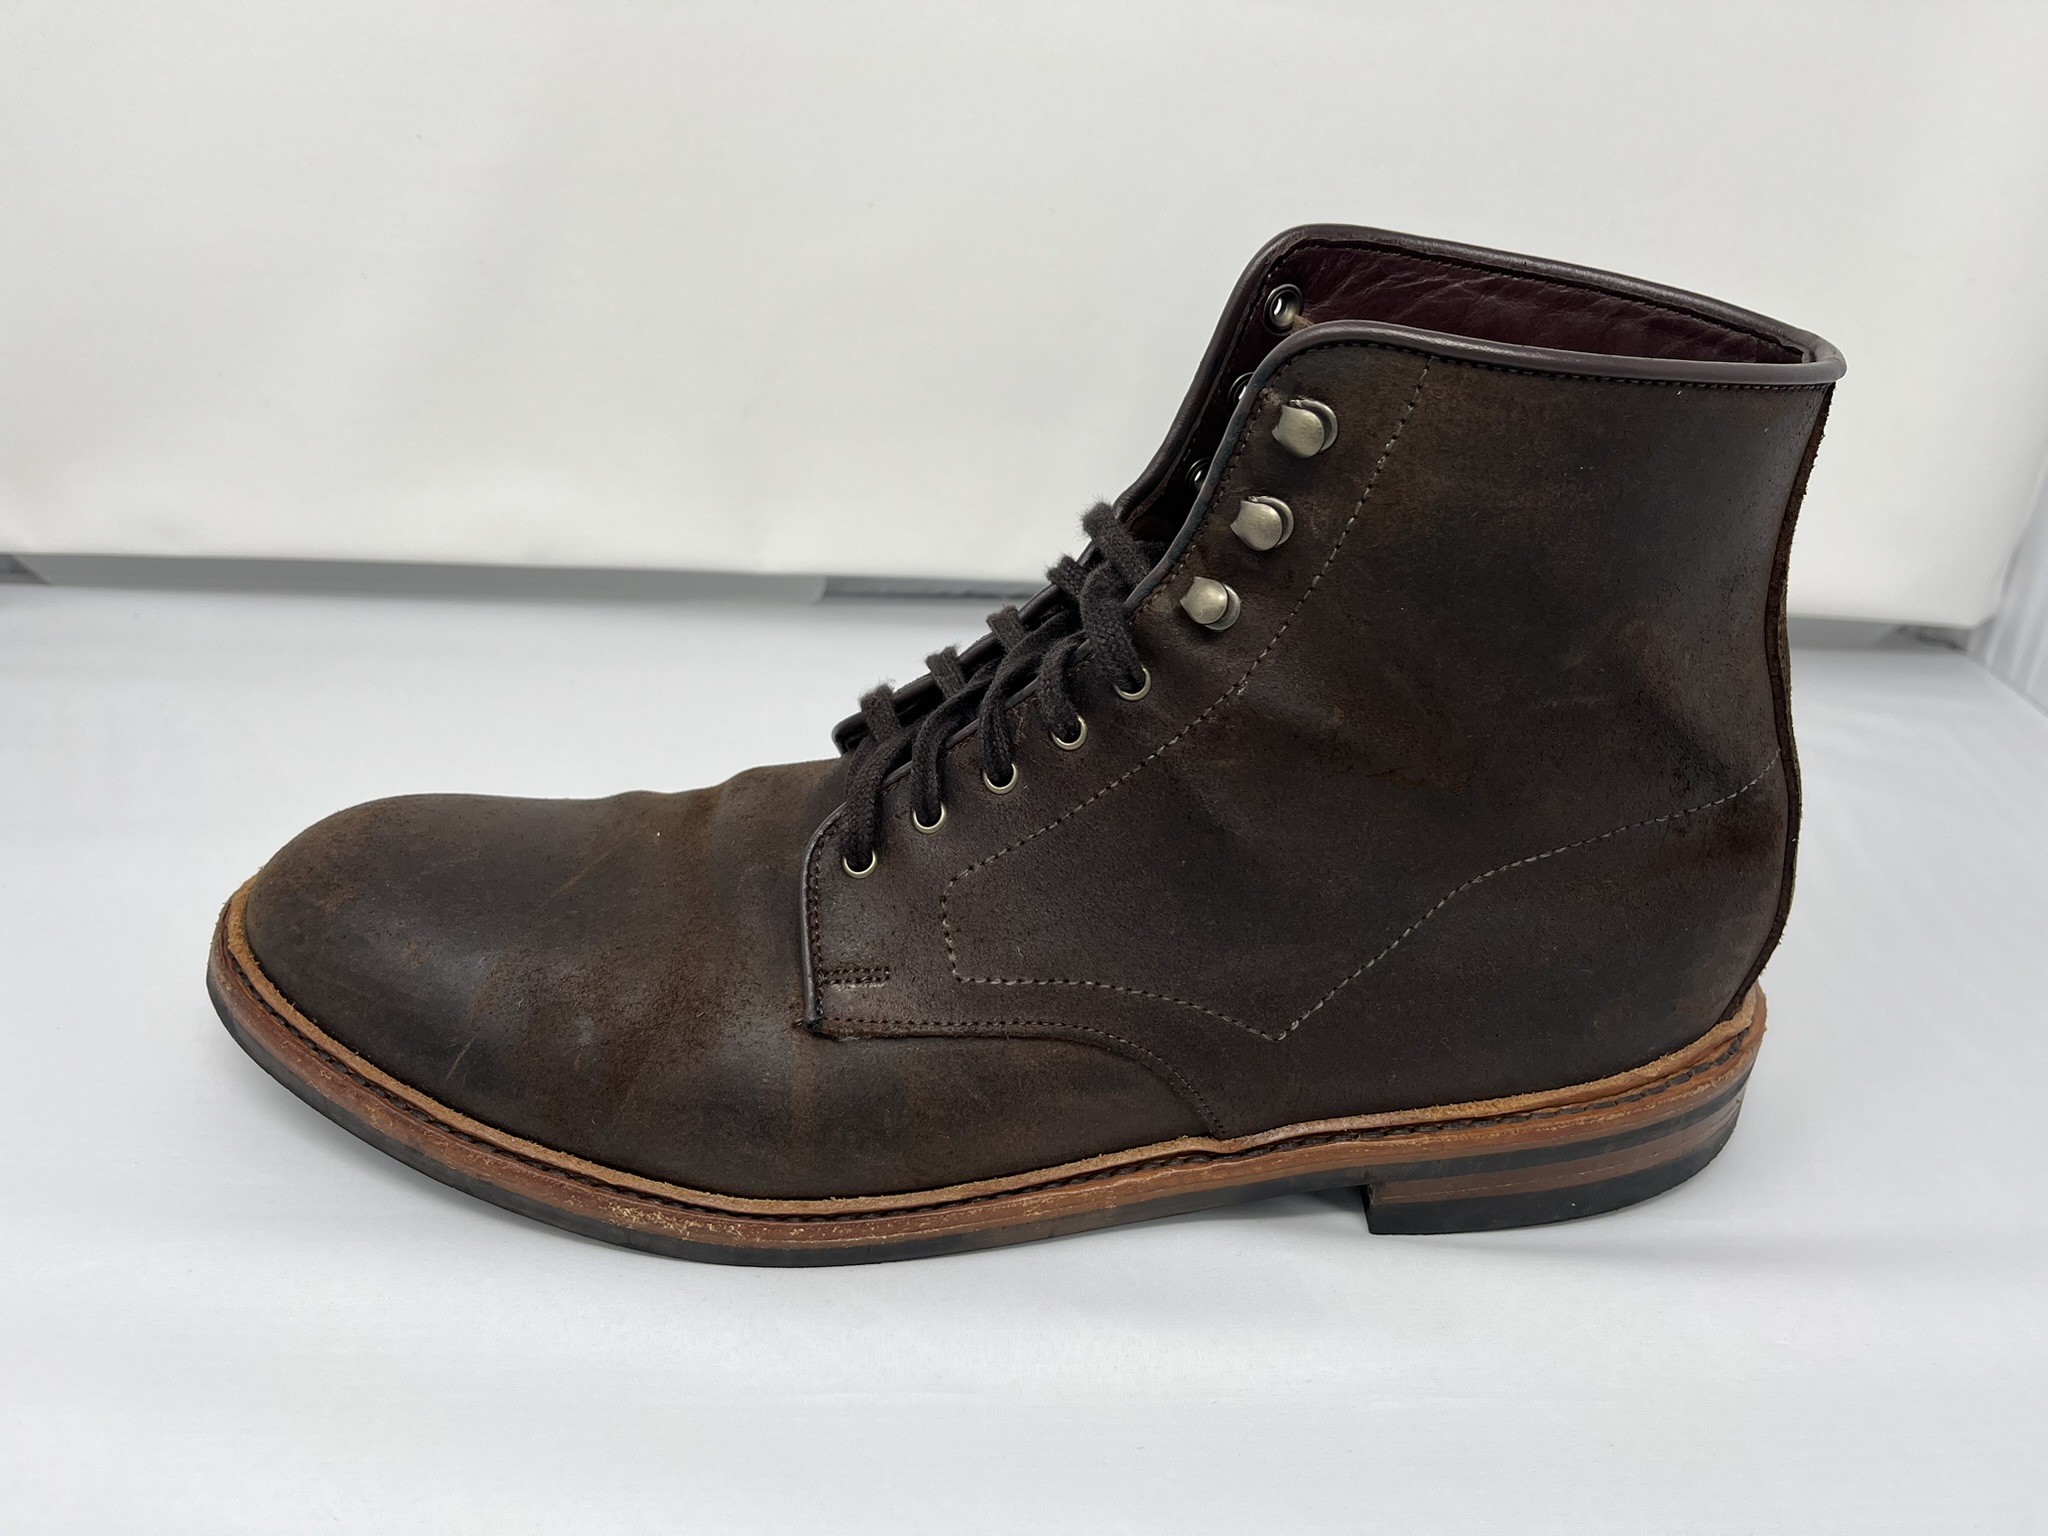
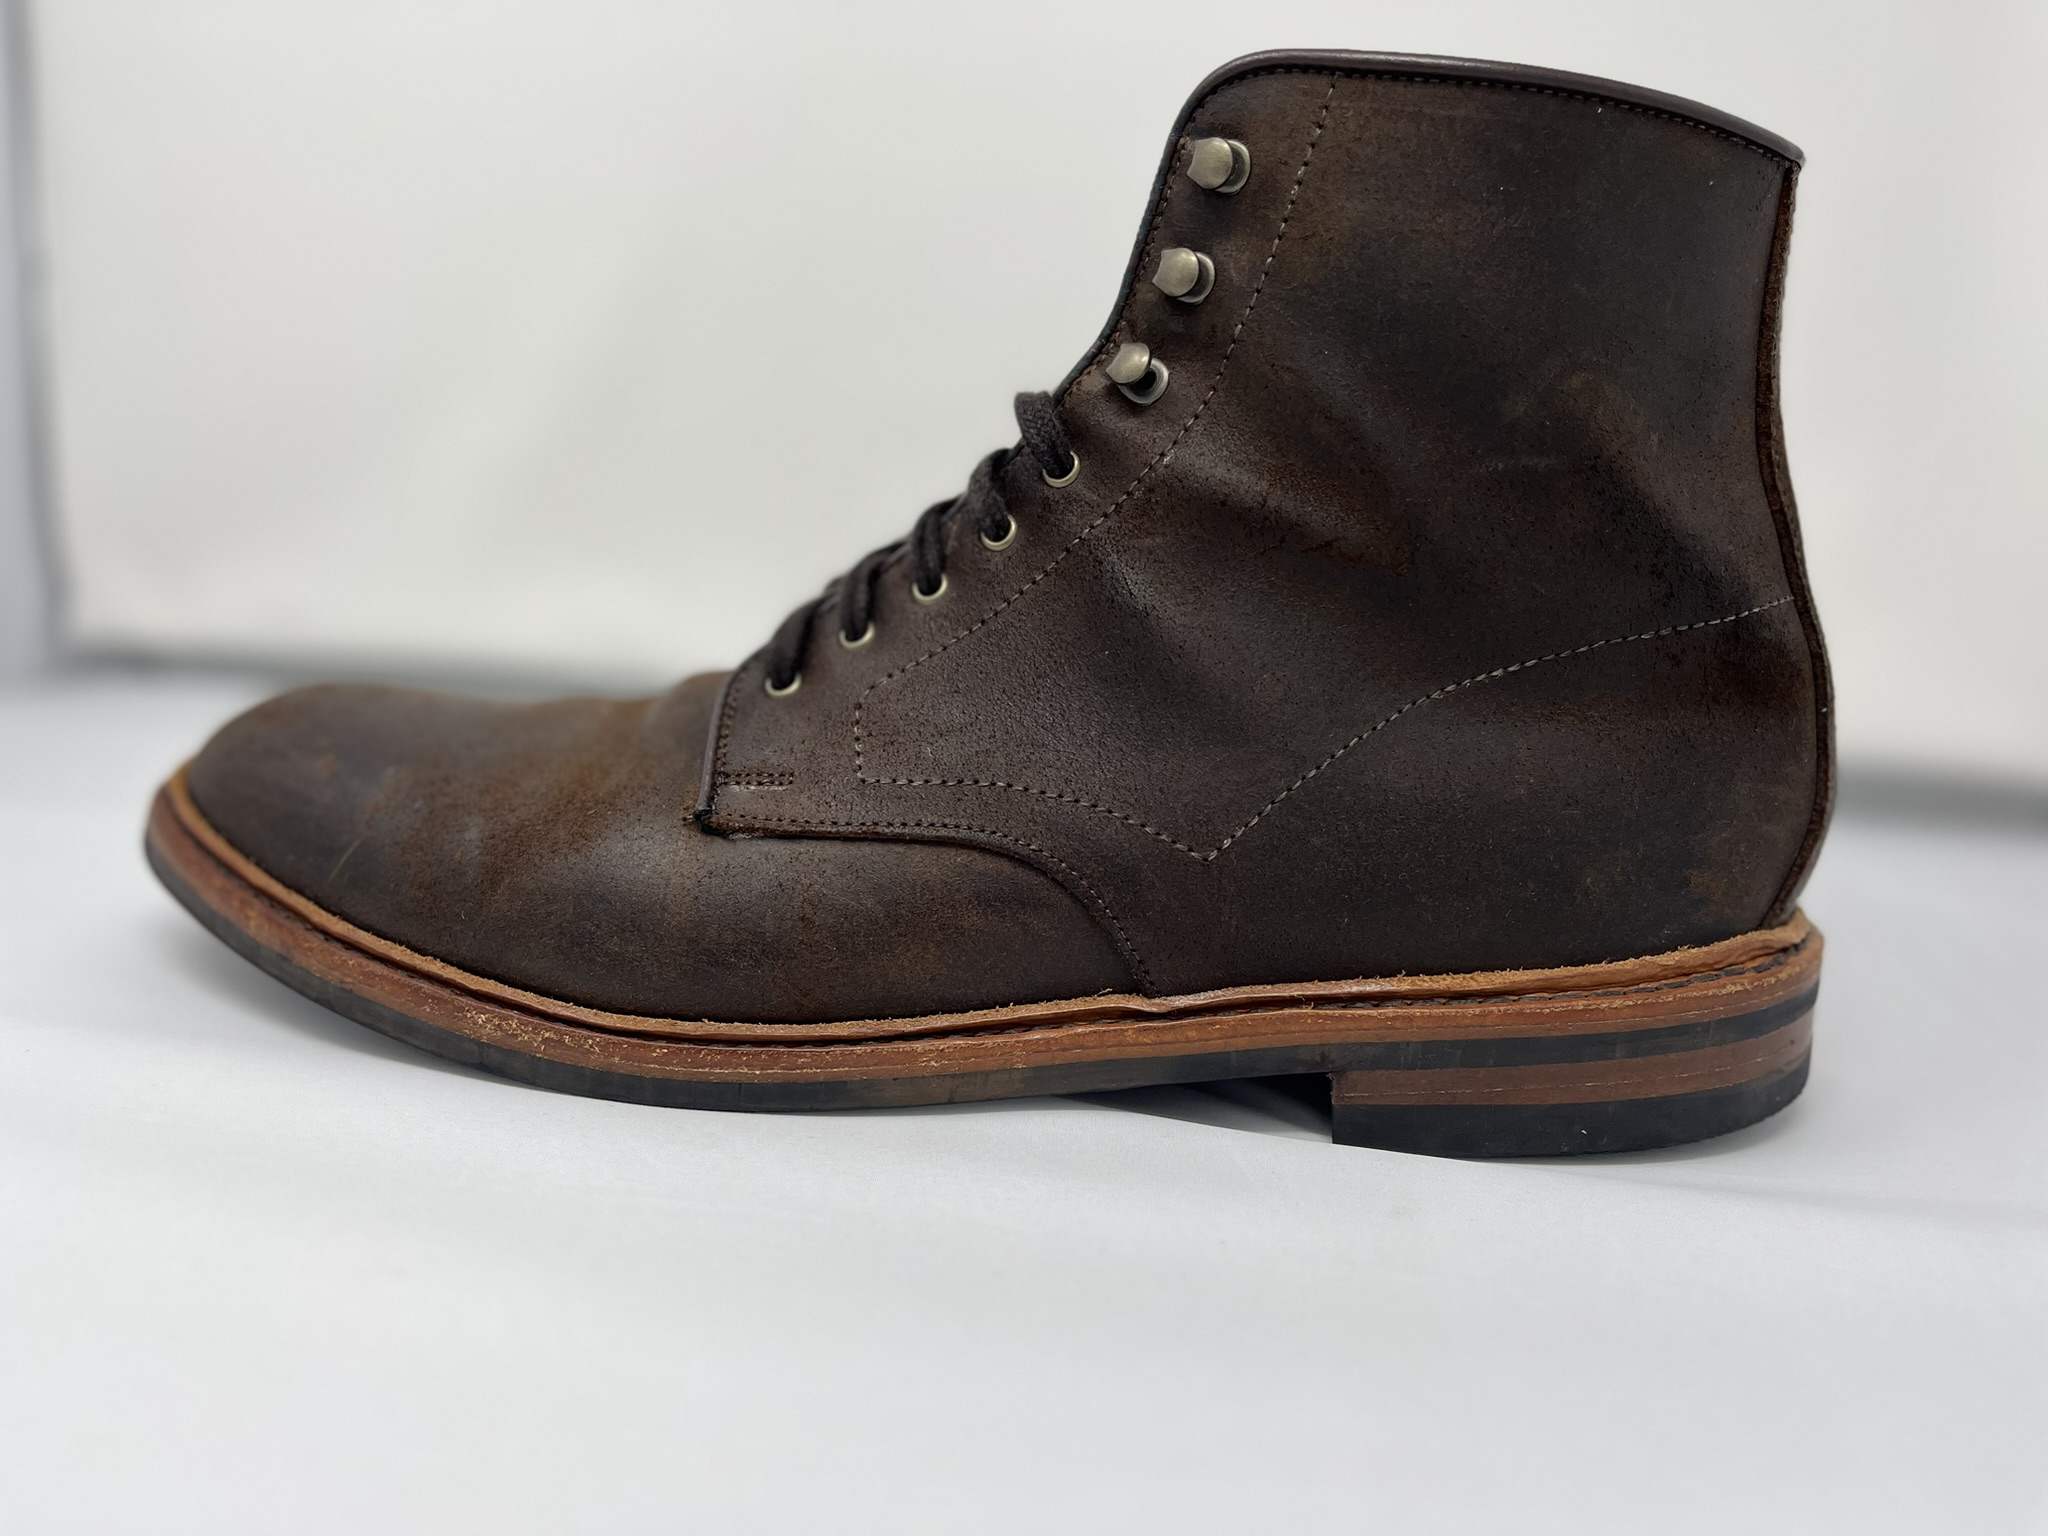
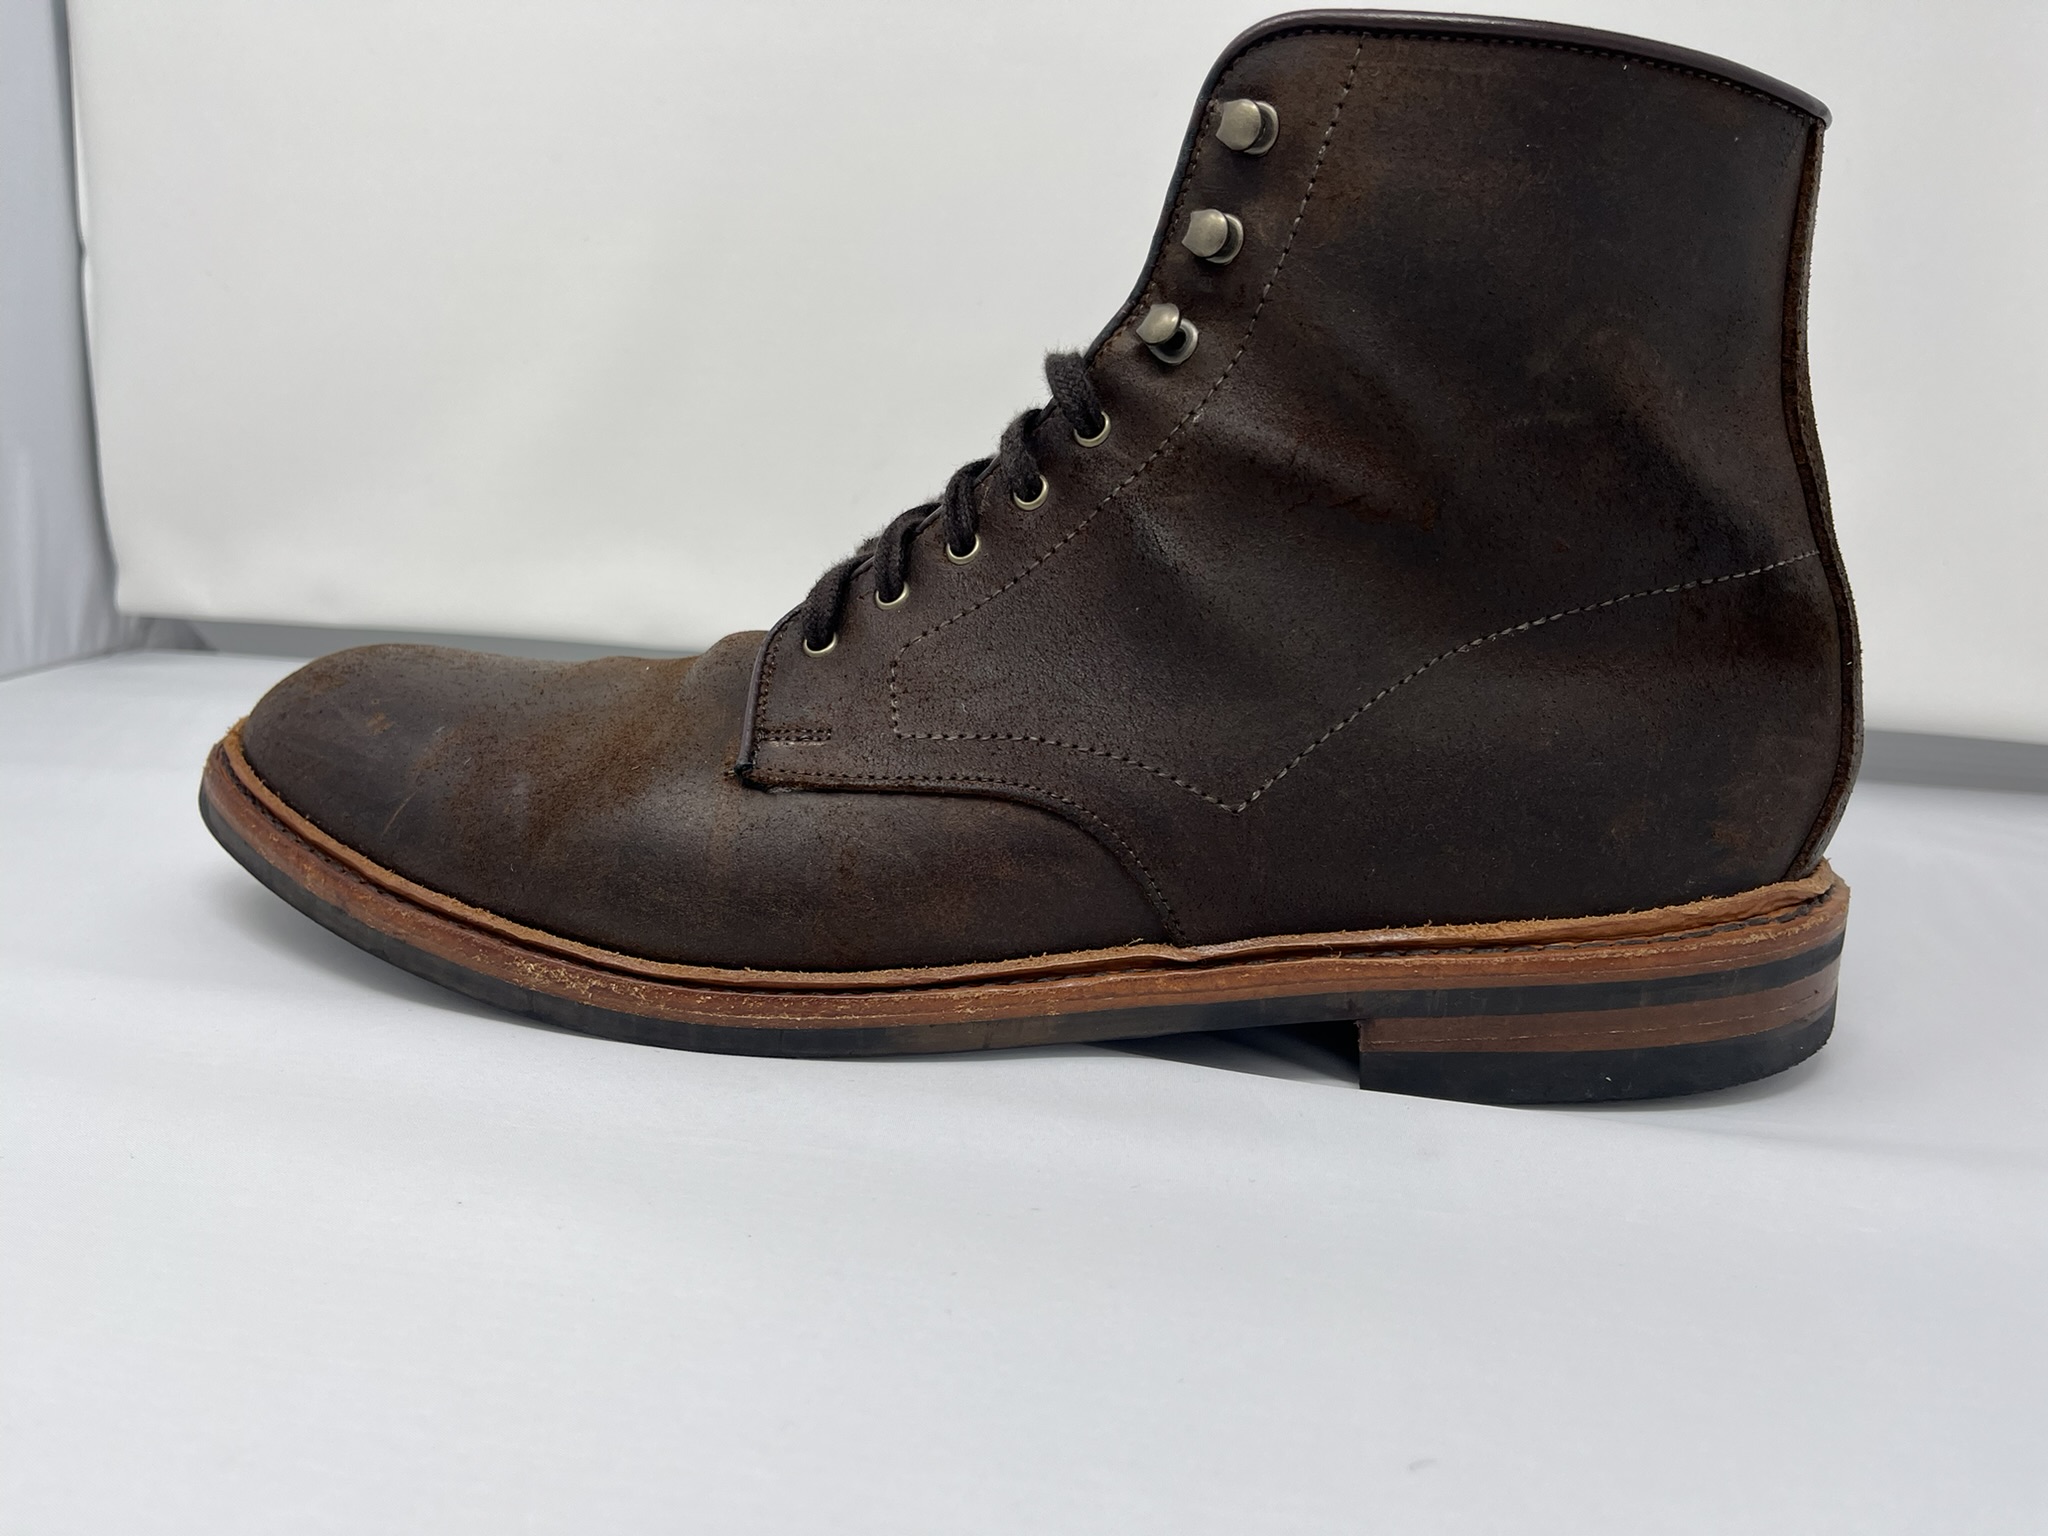
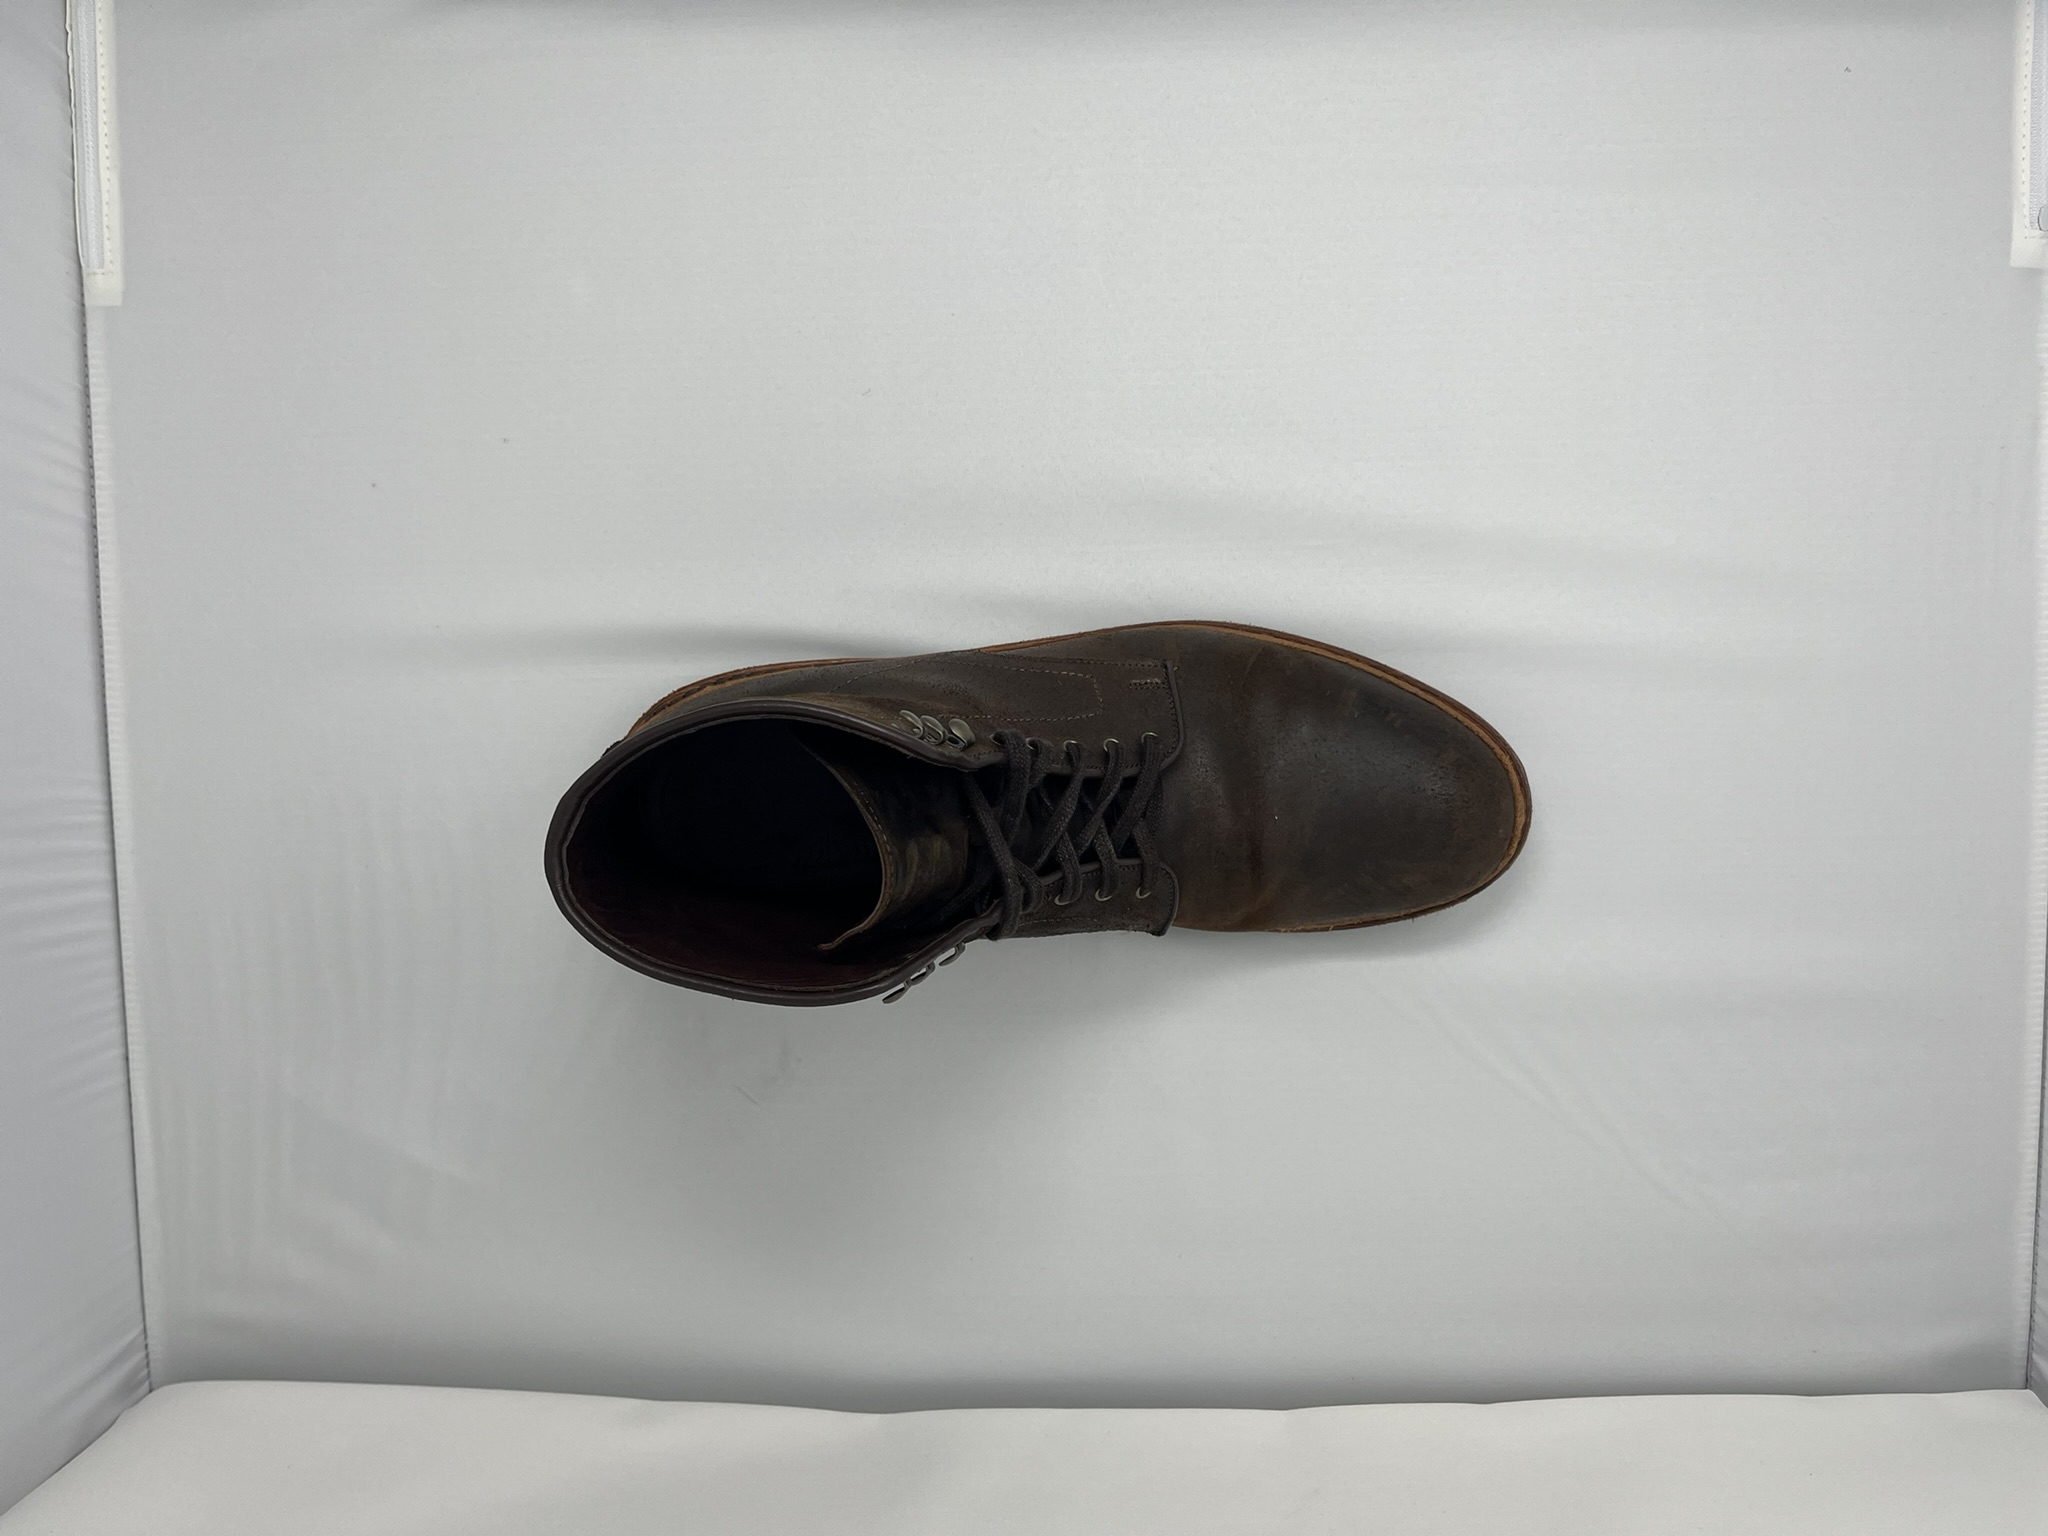
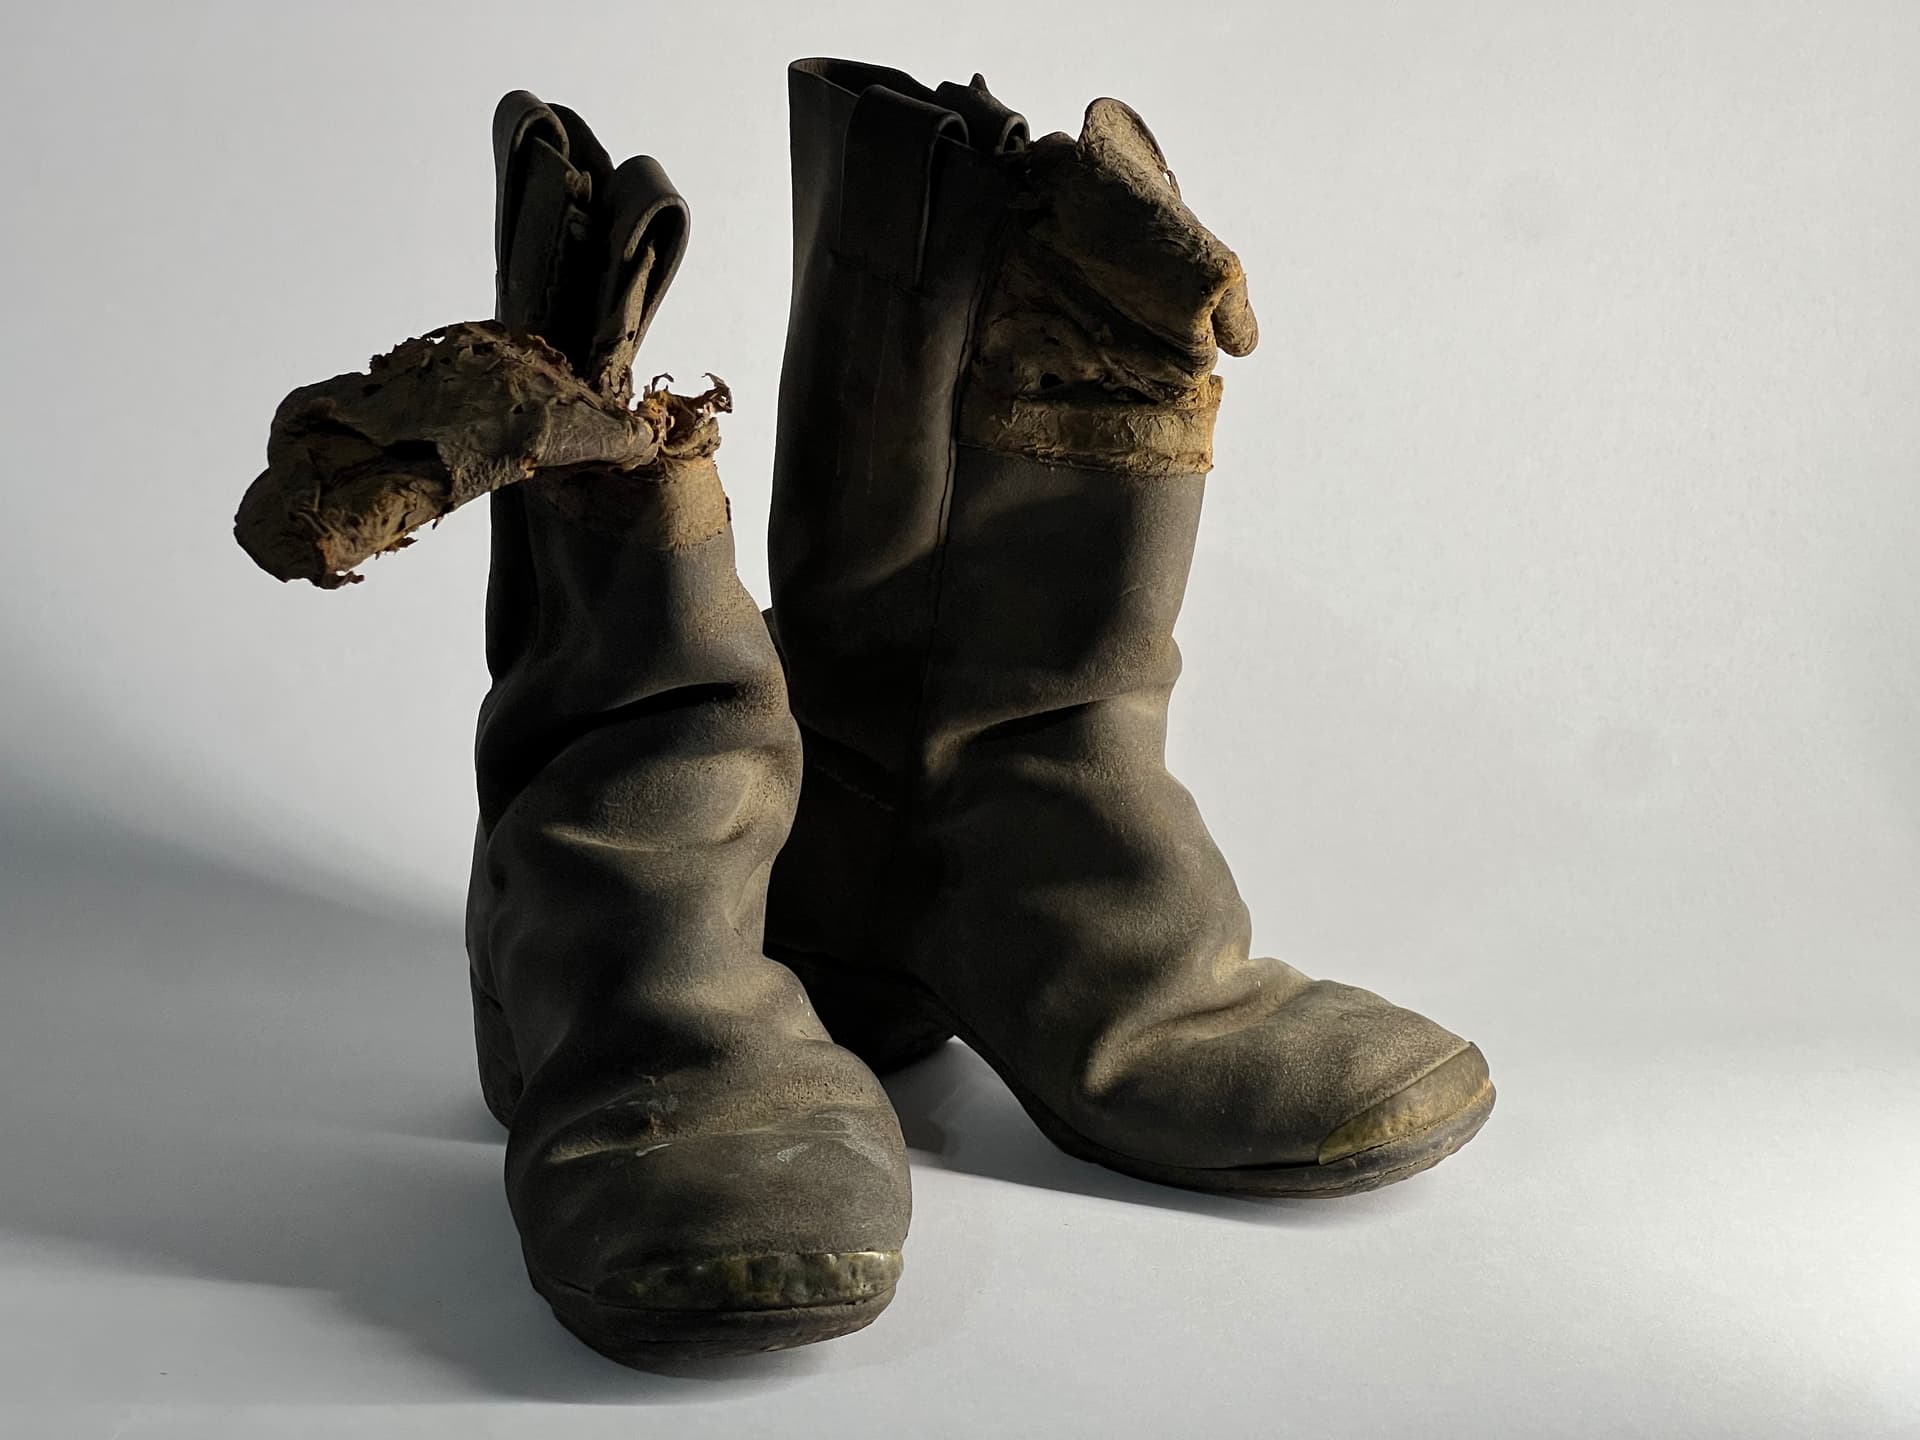
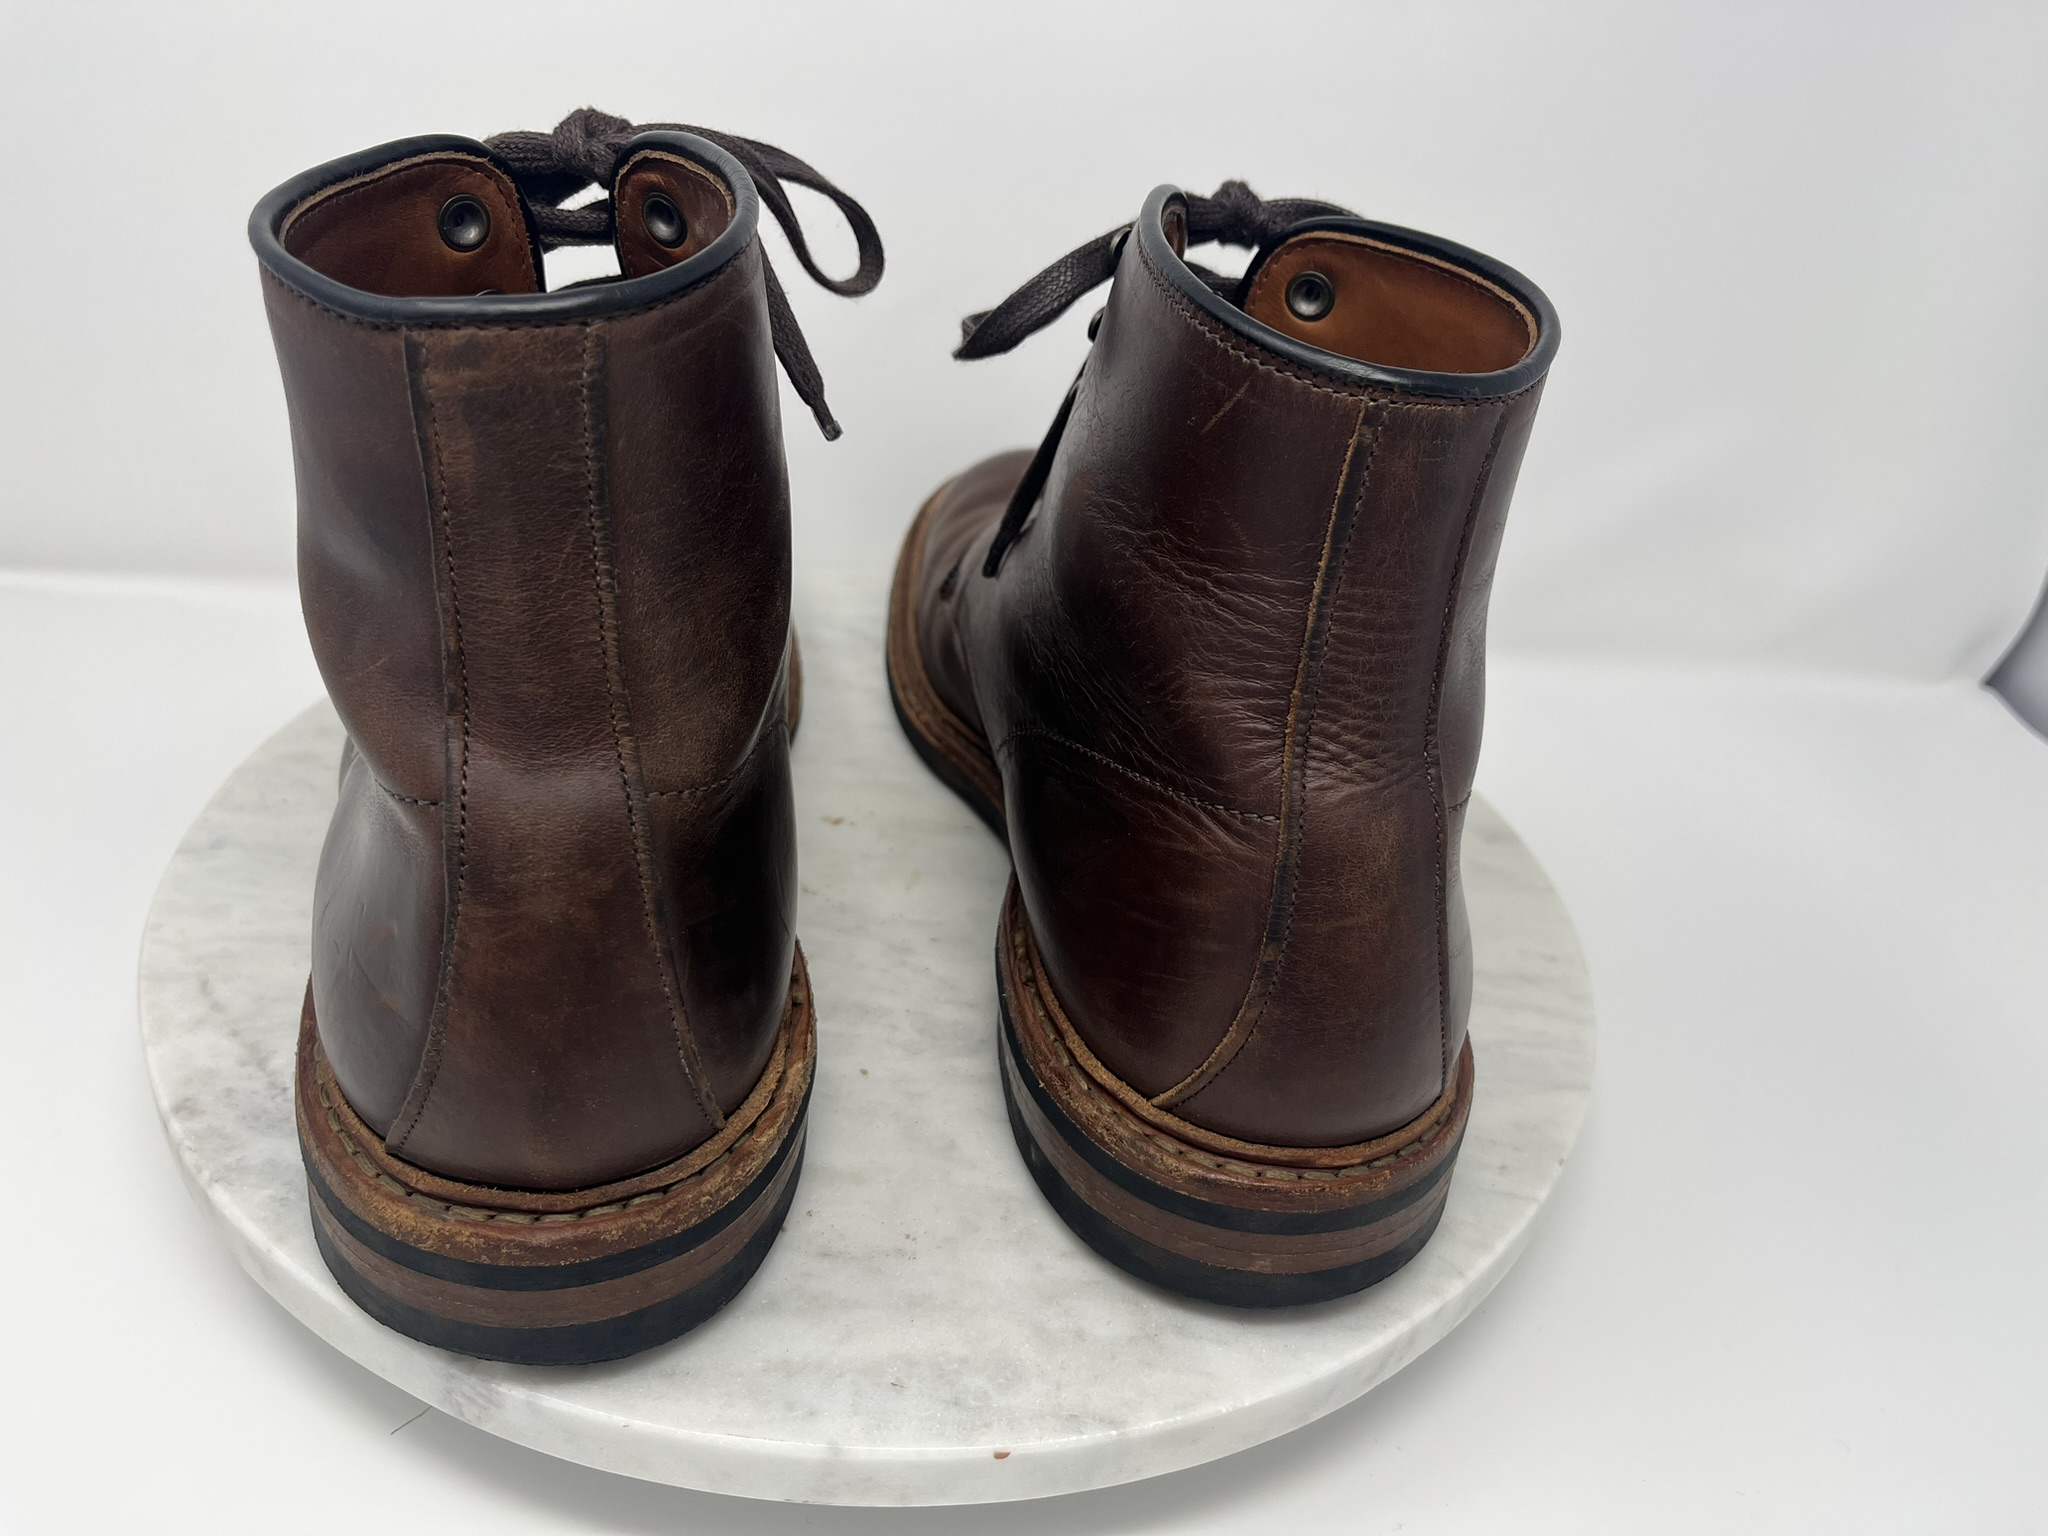
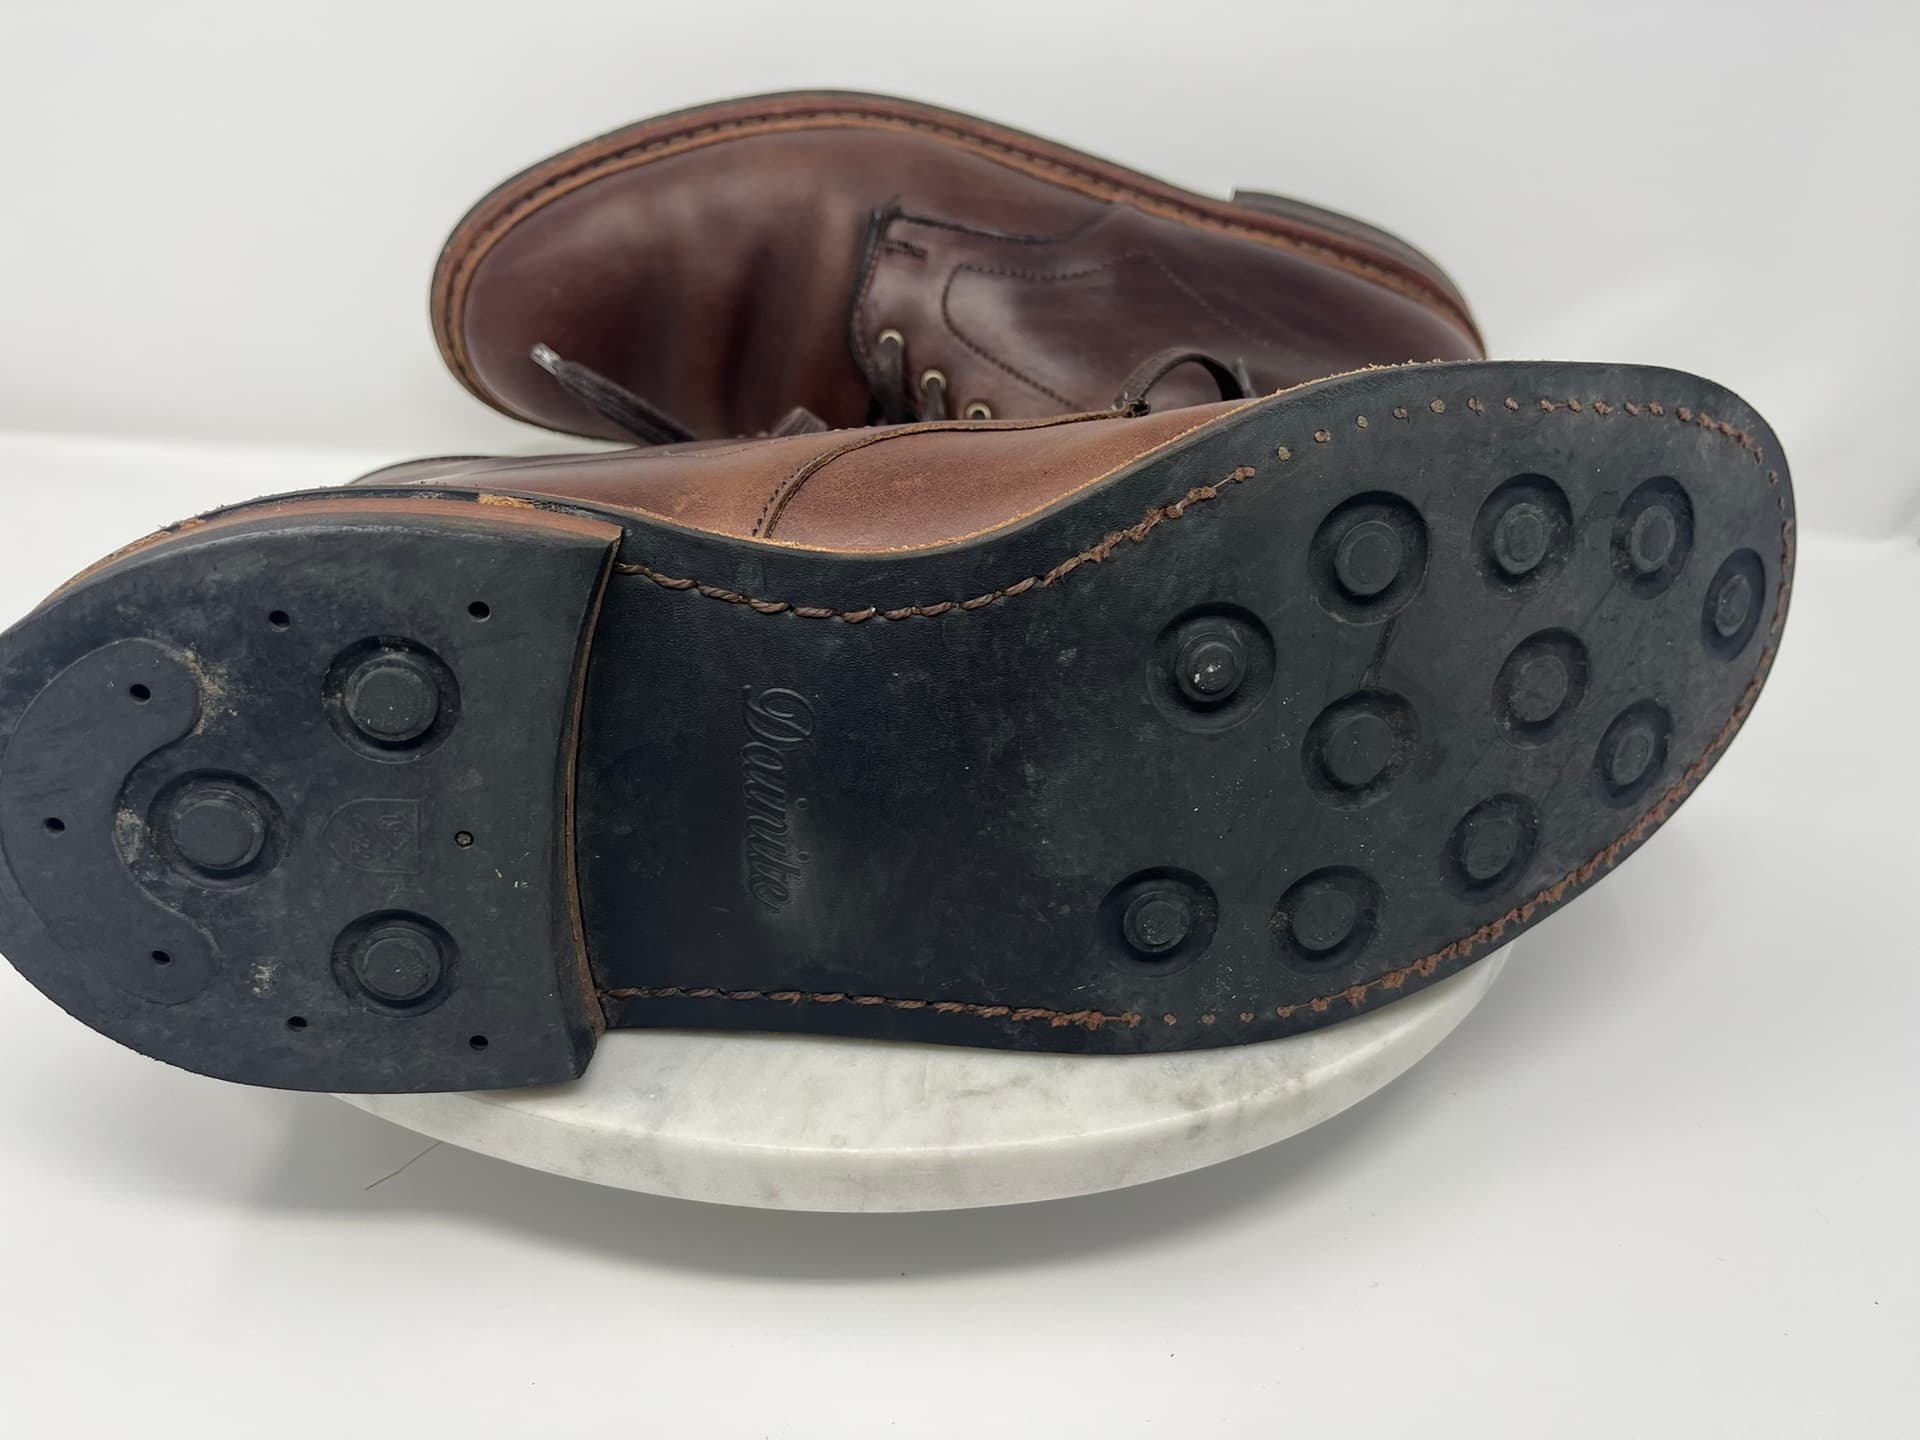
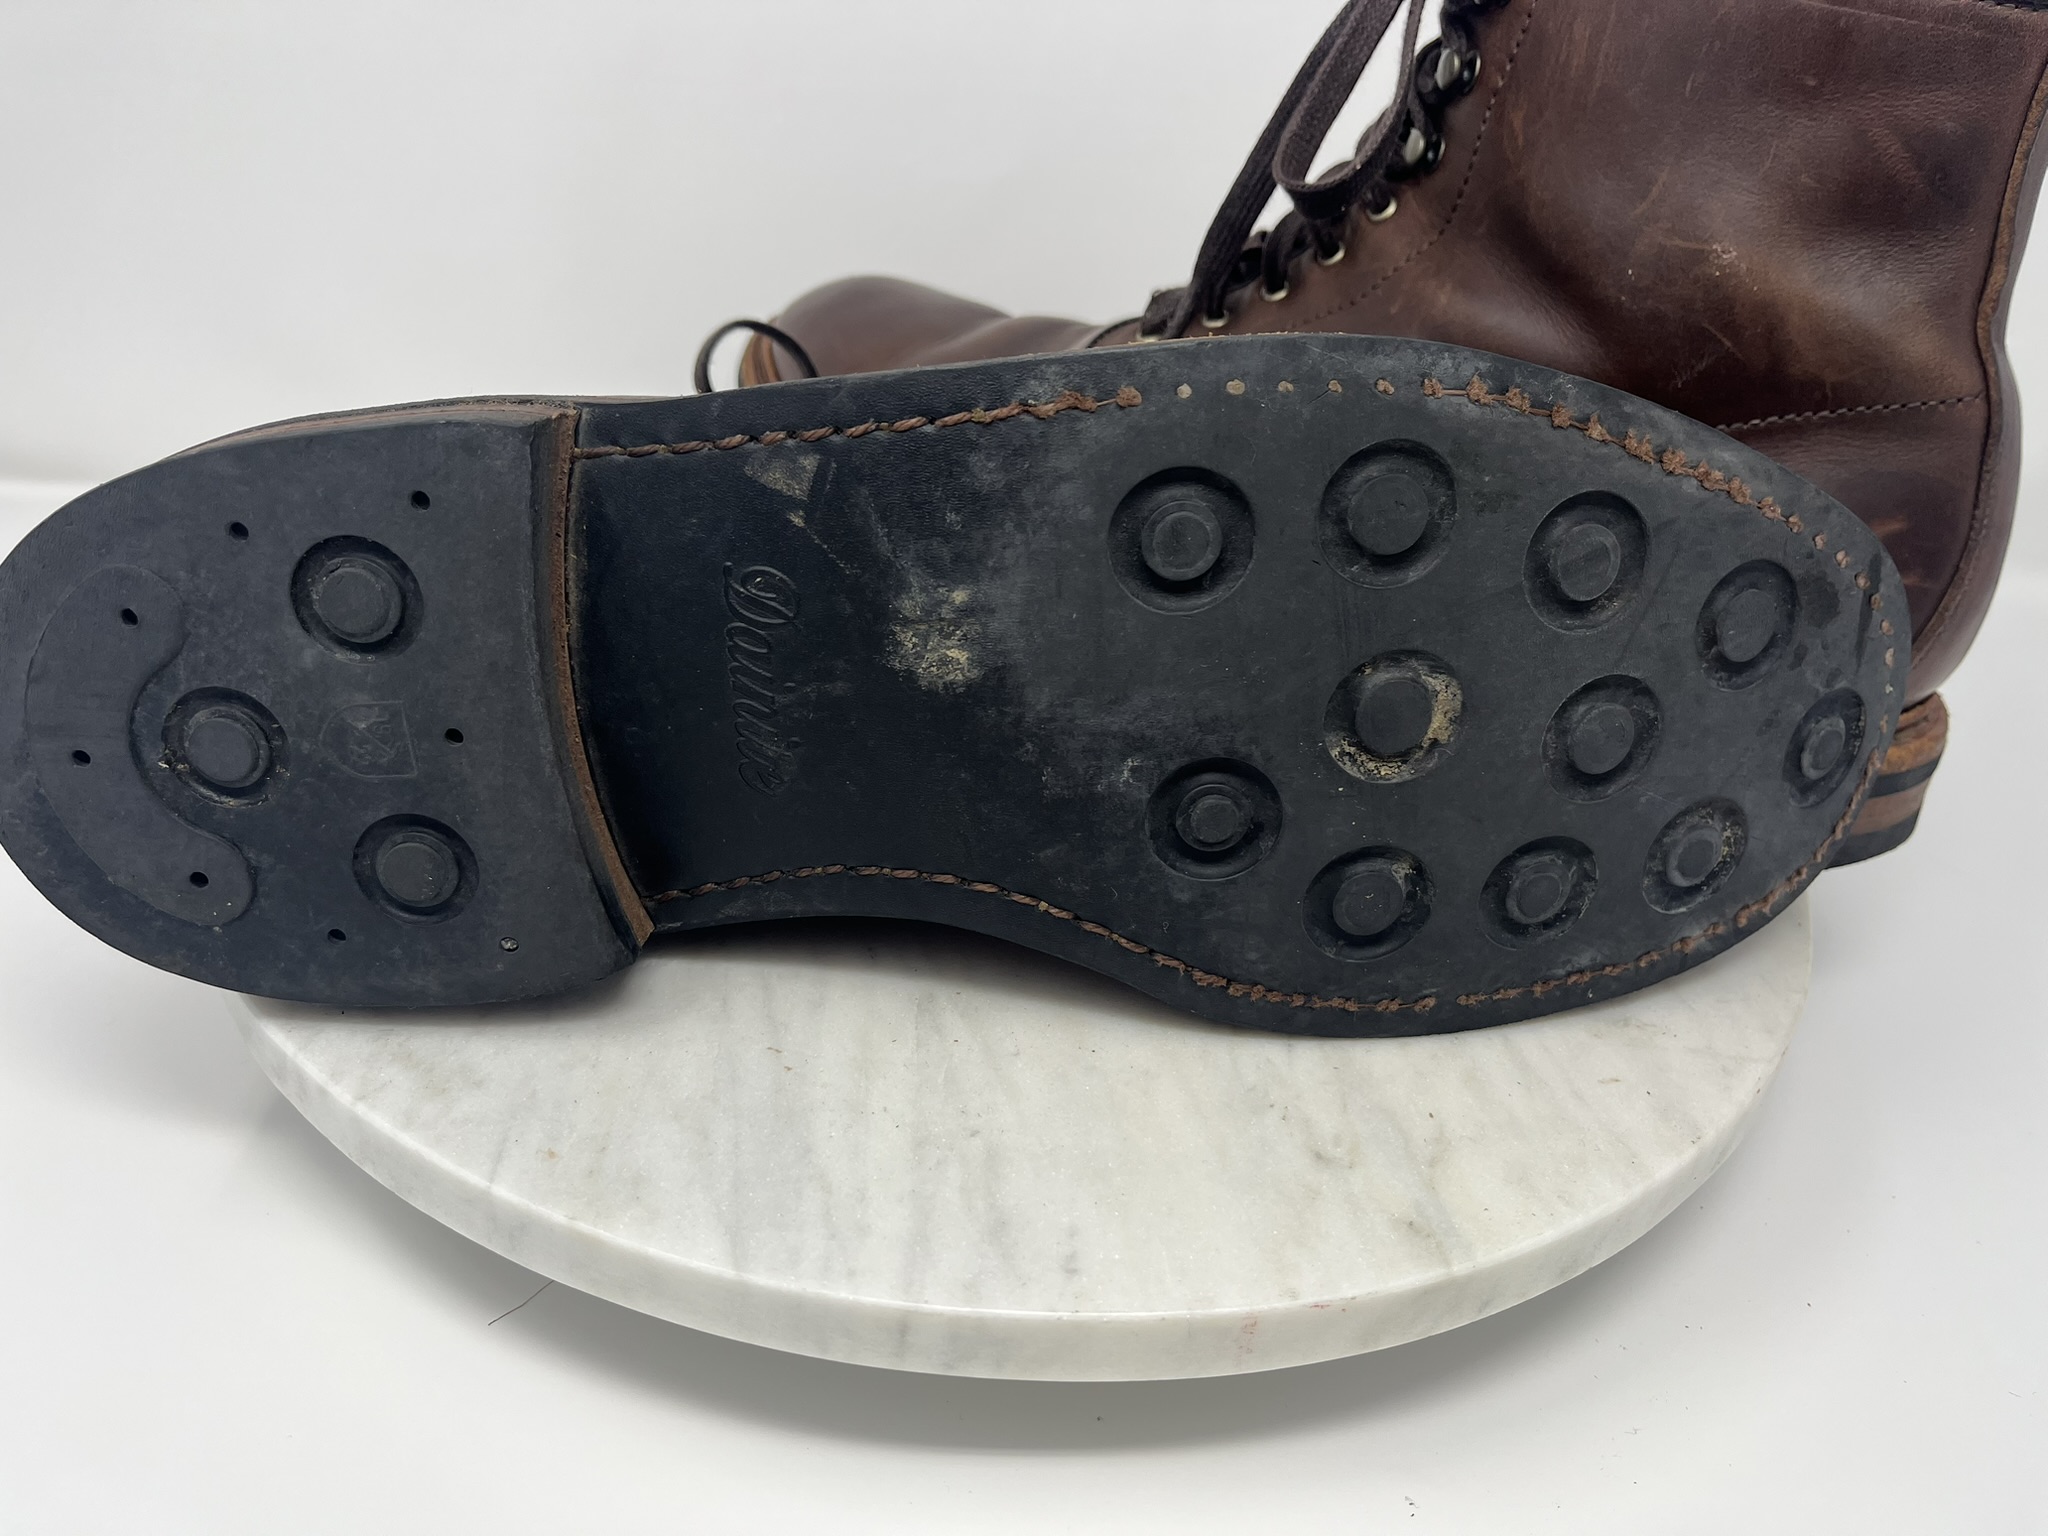
Here’s what I got by throwing a used boot into a new Amazon light box with zero preparation or futzing and taking a shot through each porthole with an iPhone 13 Mini:
The boot happens to be an Allen Edmonds Higgins Mill US size 13 B. Some kind of waxed suede, if I recall correctly.
This is quite literally my first experience with the light box, so I realy don’t have too much to say. For as much as a first impression can be worth, it is remarkably quick and easy to set up and fold down. Even when flattened it’s the size of a rather large art portfolio, but it slides nicely into a closet.
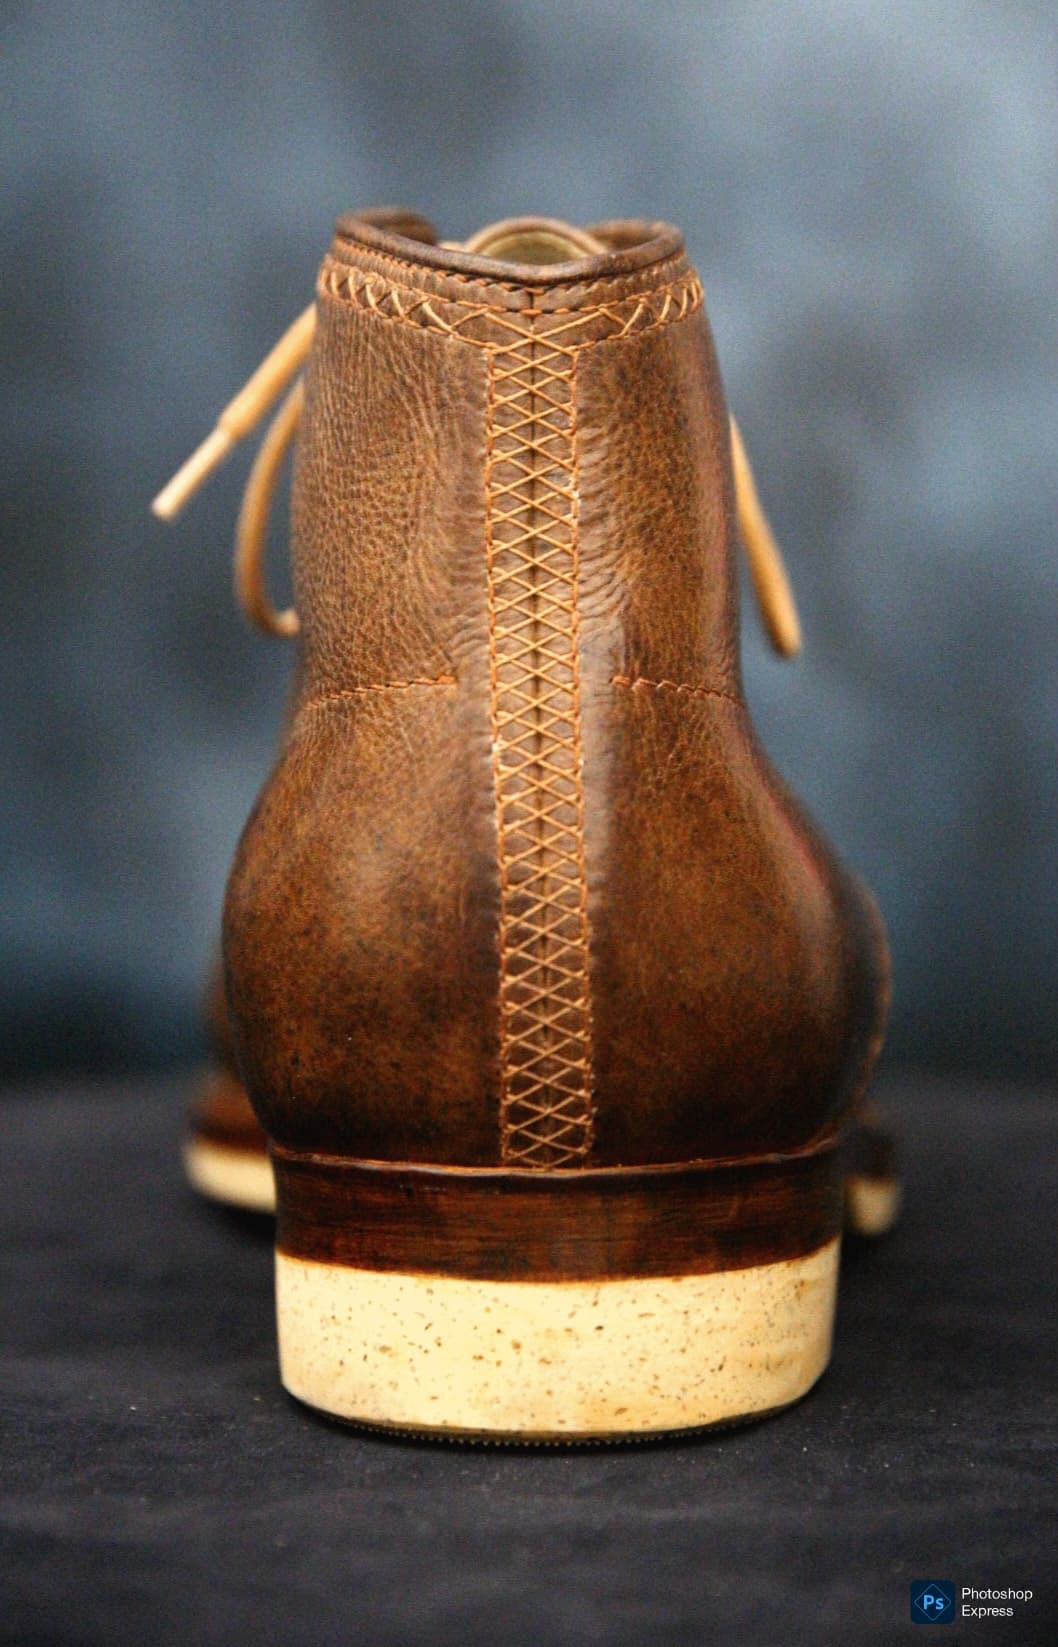
Is there any way to drape a cover or something over that back seam where the rear panel meets the floor? Sometimes they have the big curved panel that wrap from the floor up the back wall, etc
I don’t think the backdrop extends further down than the floor of the box. However, the box is all of 25" tall. I bet I could have placed the boot on a box or stand within the lightbox and got shots without the visible backdrop seam.
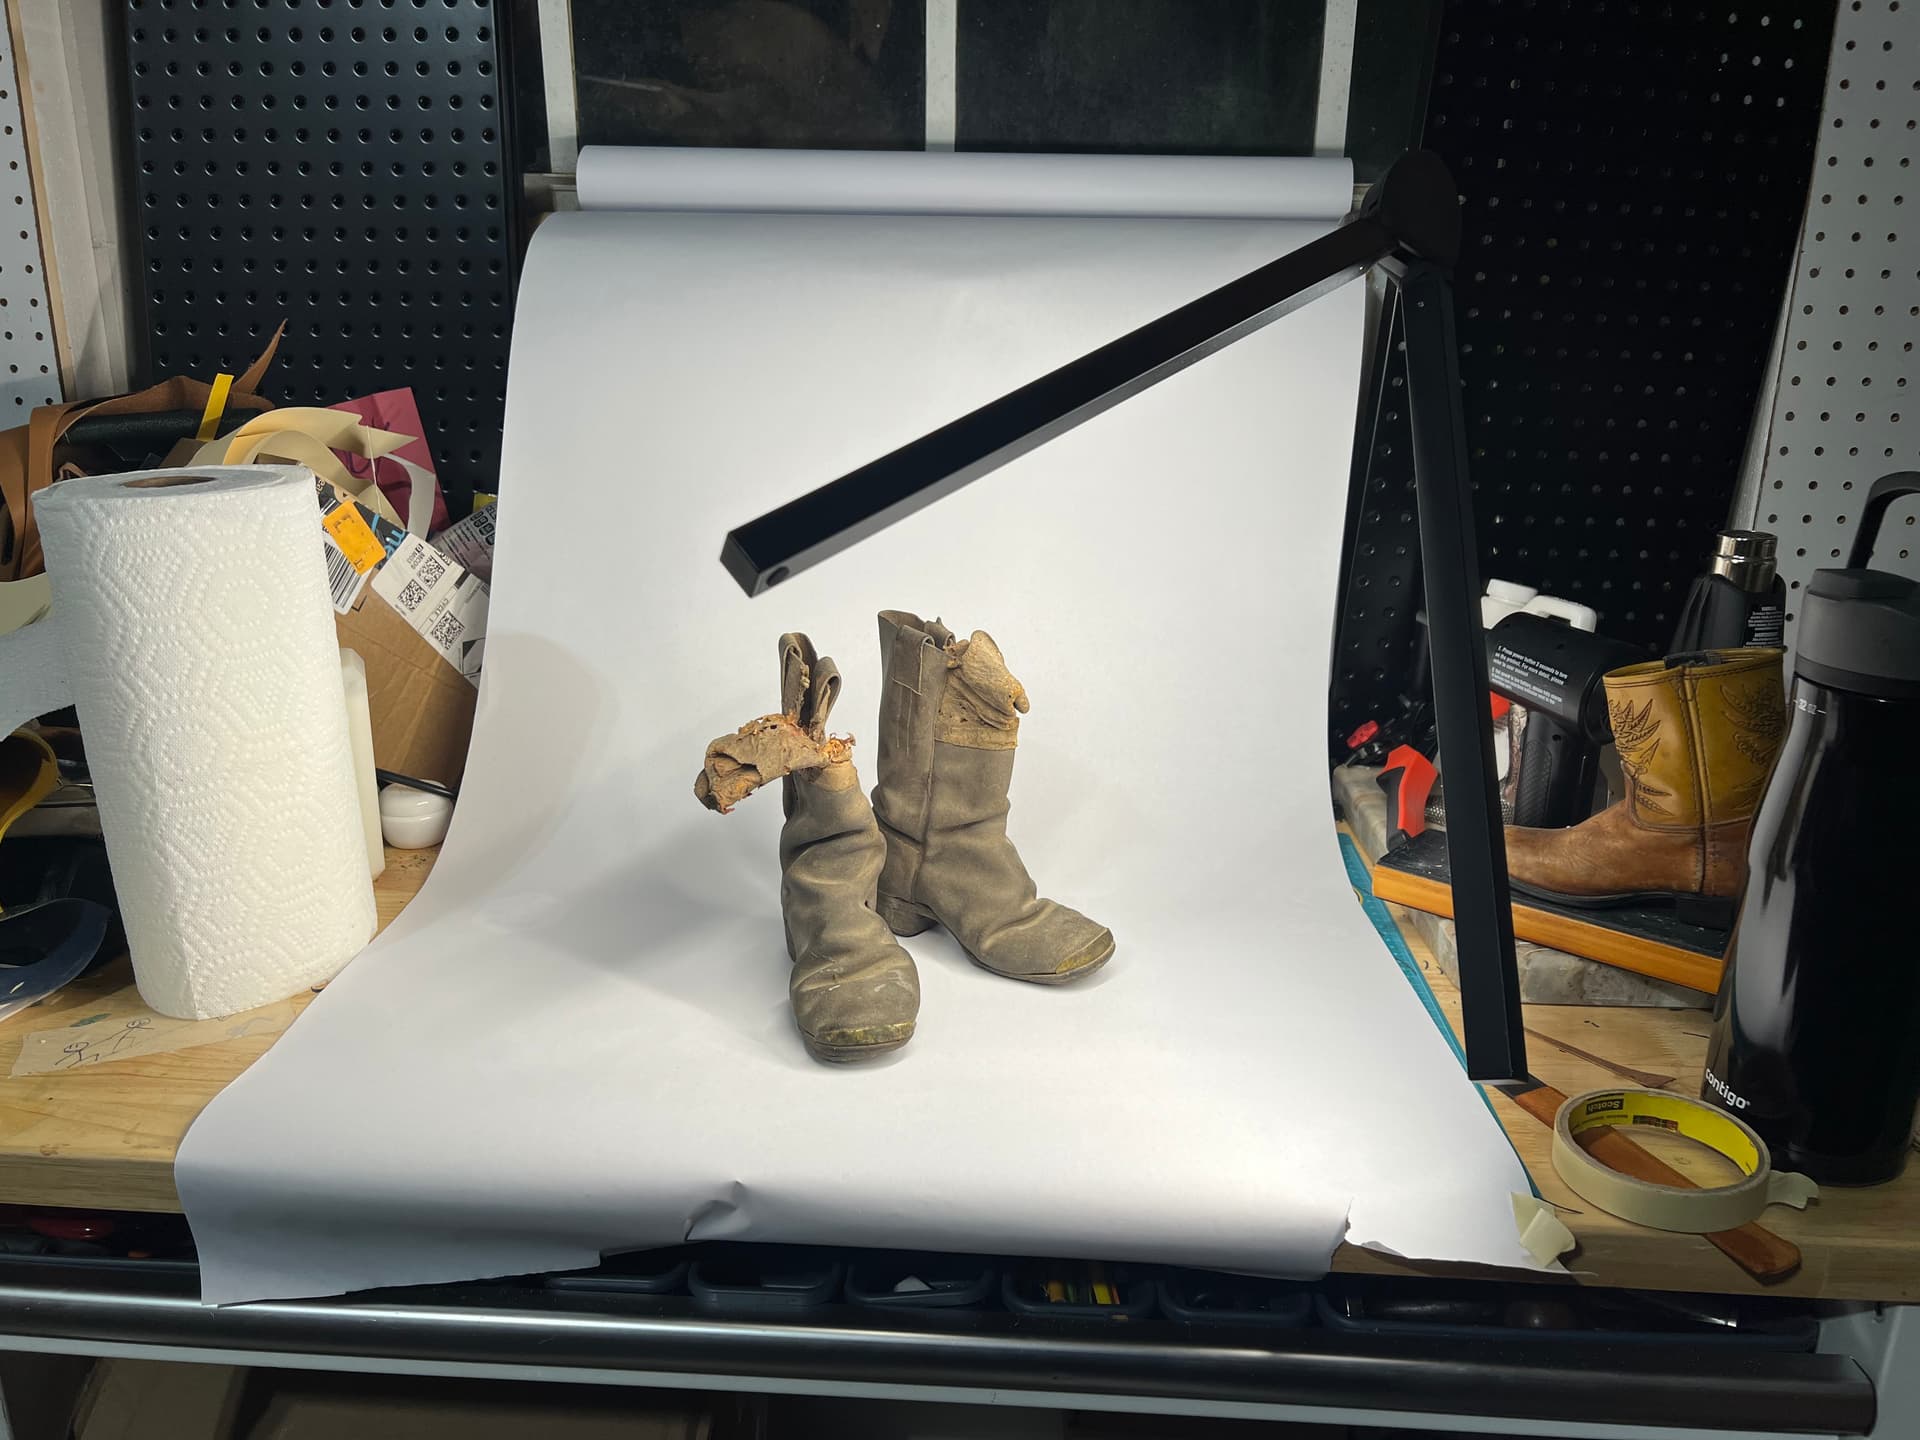
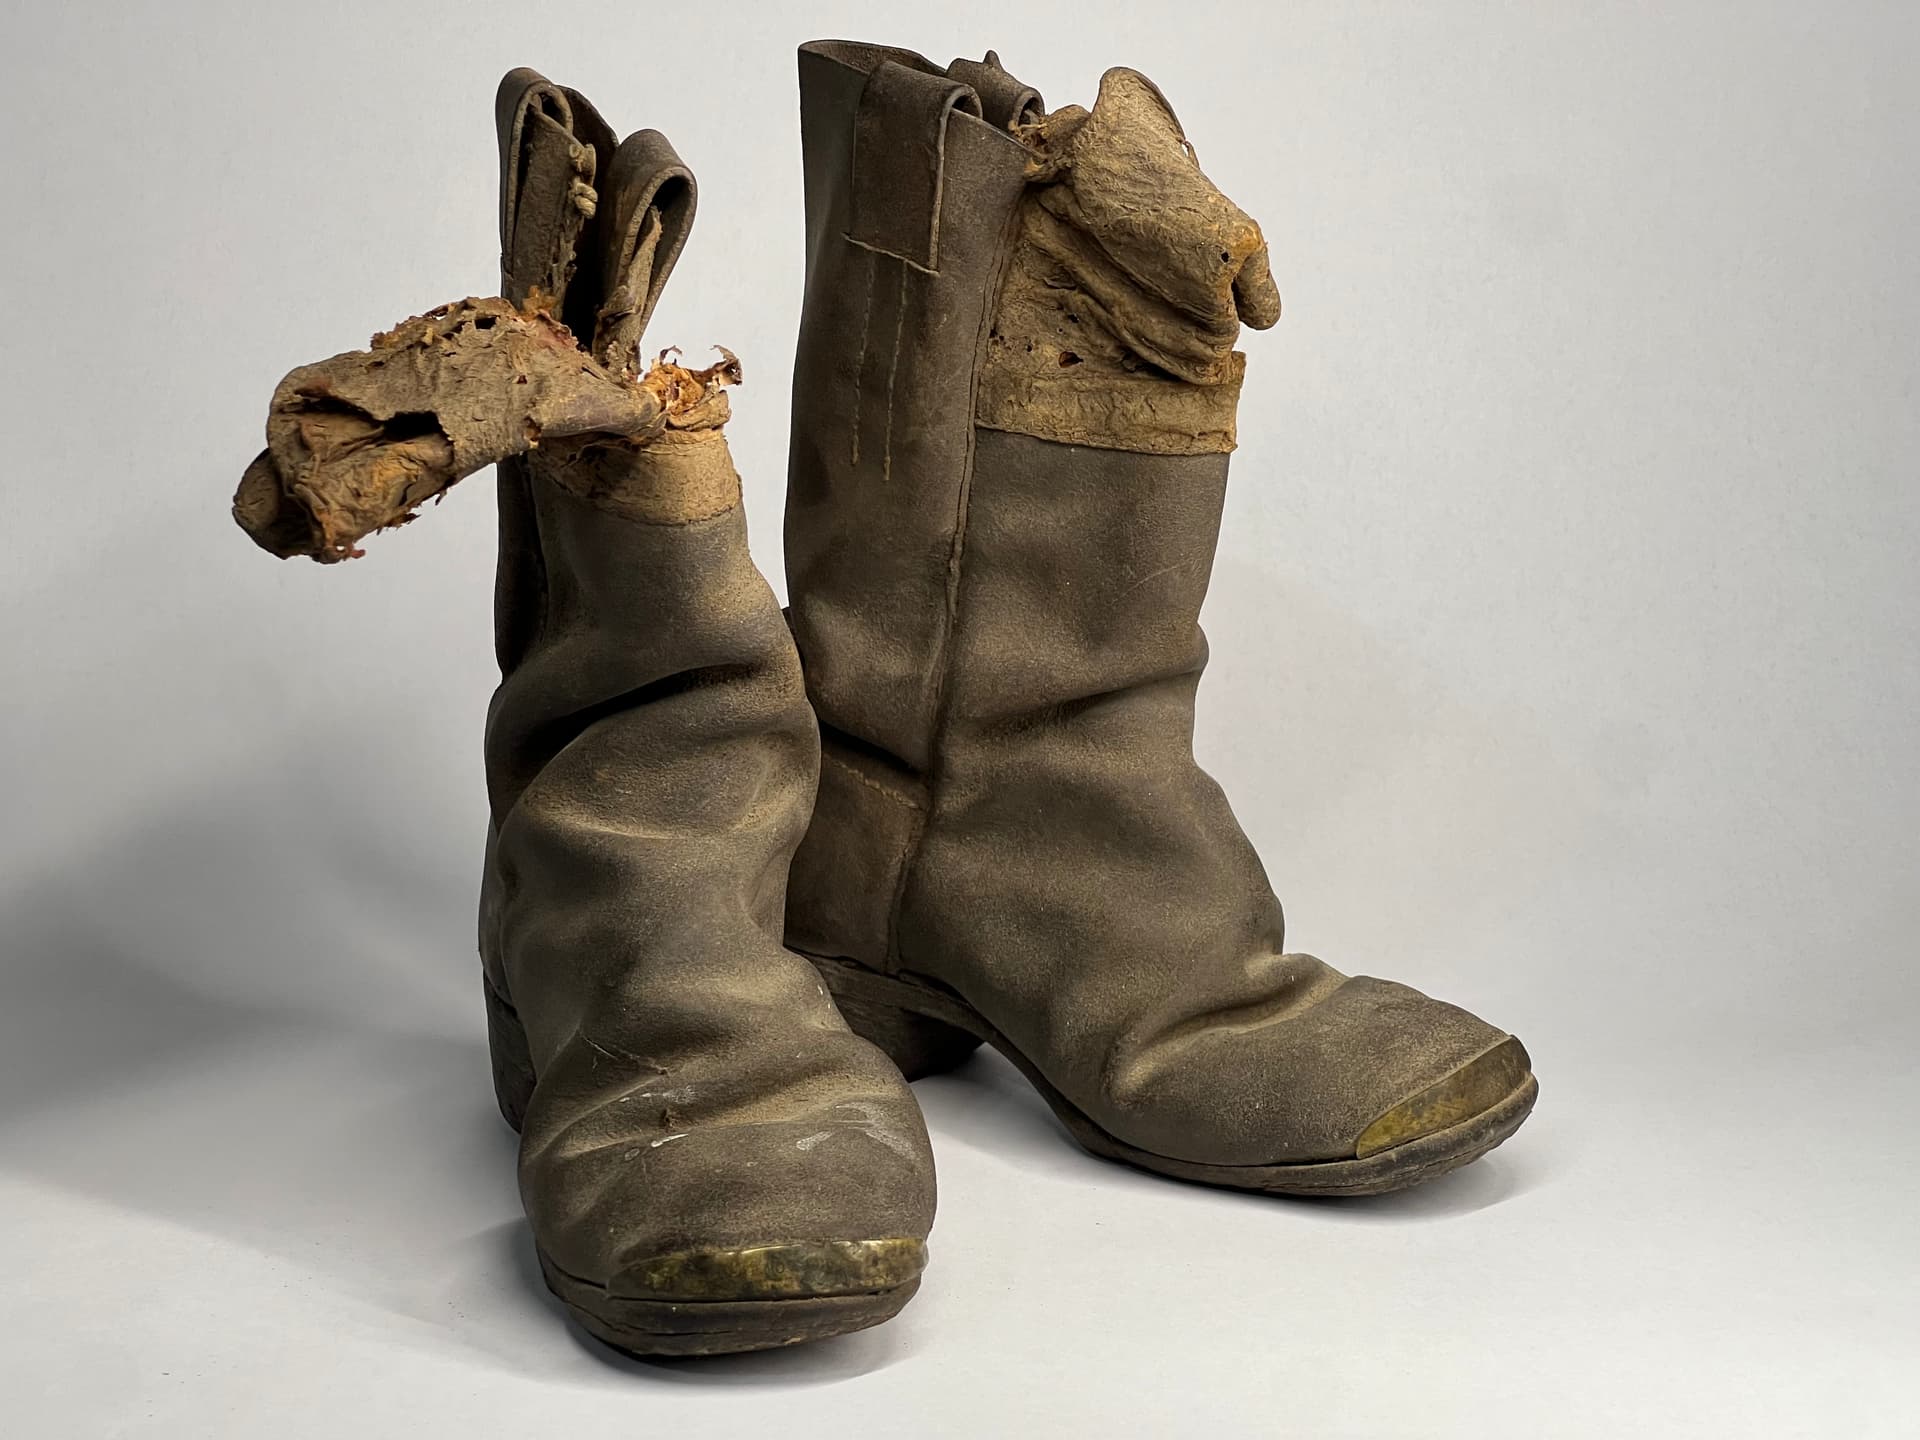
Start with a simple roll of white craft paper and drape it from the top of the back of the light box, and let it roll across the “floor” towards to camera and out of the frame. This will eliminate the back seam, make the background more featureless to enhance the isolation of the subject, and also give you a clean surface since every time you go to shoot a new pair of boots the floor will slowly get dirtier.
The other thing to help flatten the subject and increase separation is to back up and crop. And if you block one side of the box you can get more directional lighting
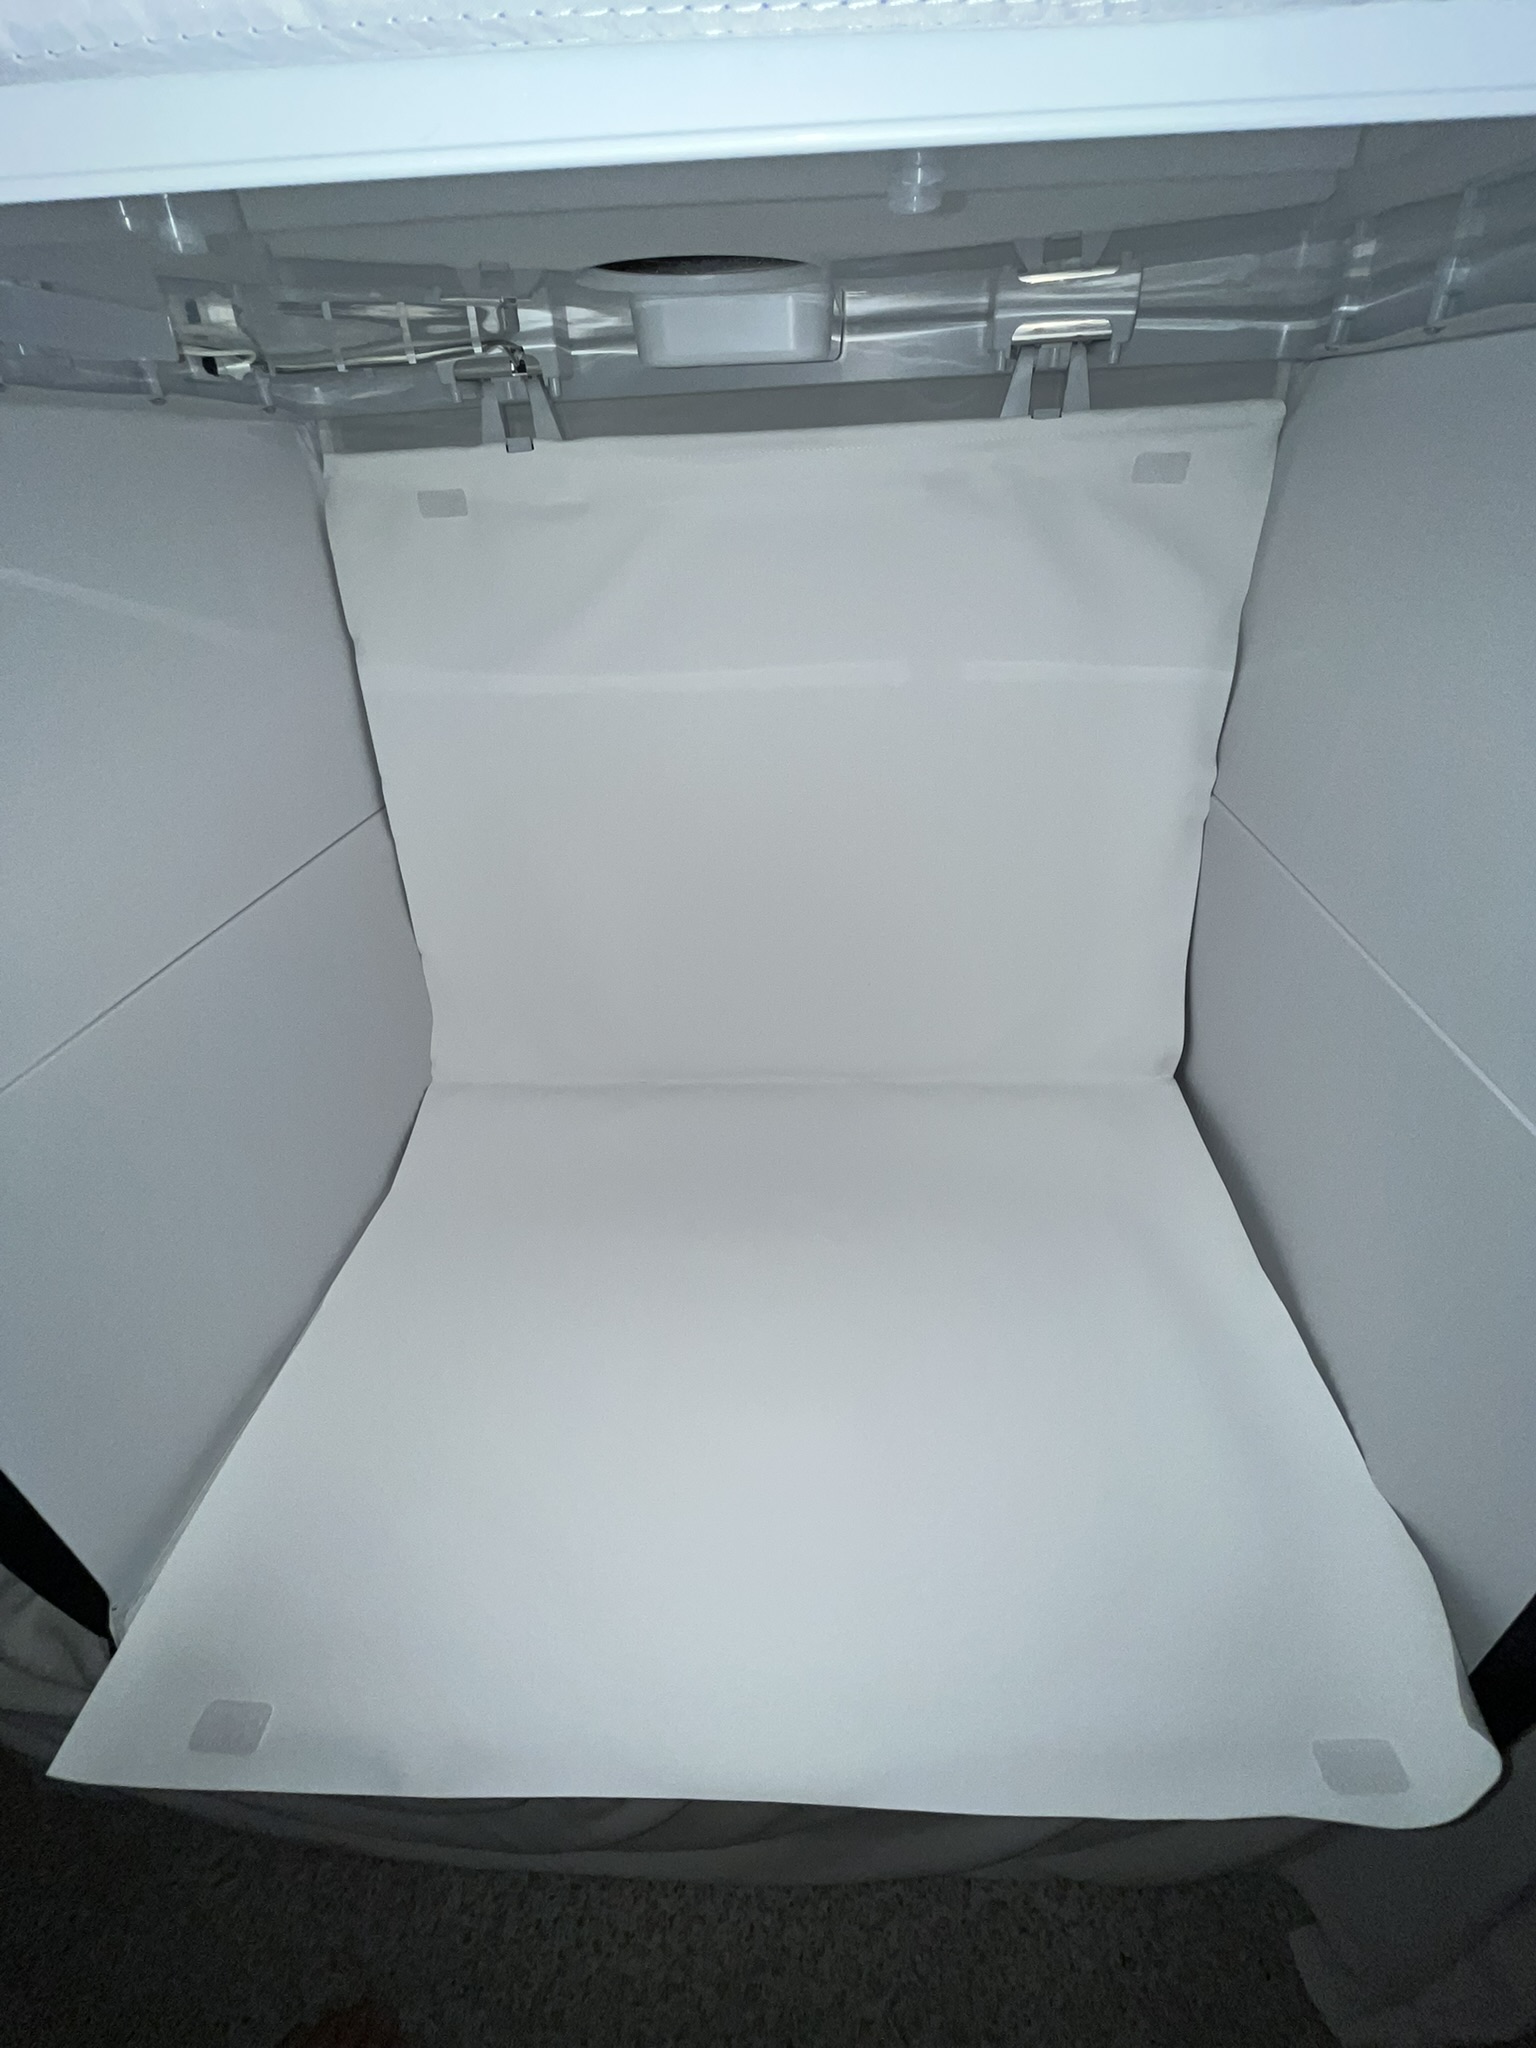
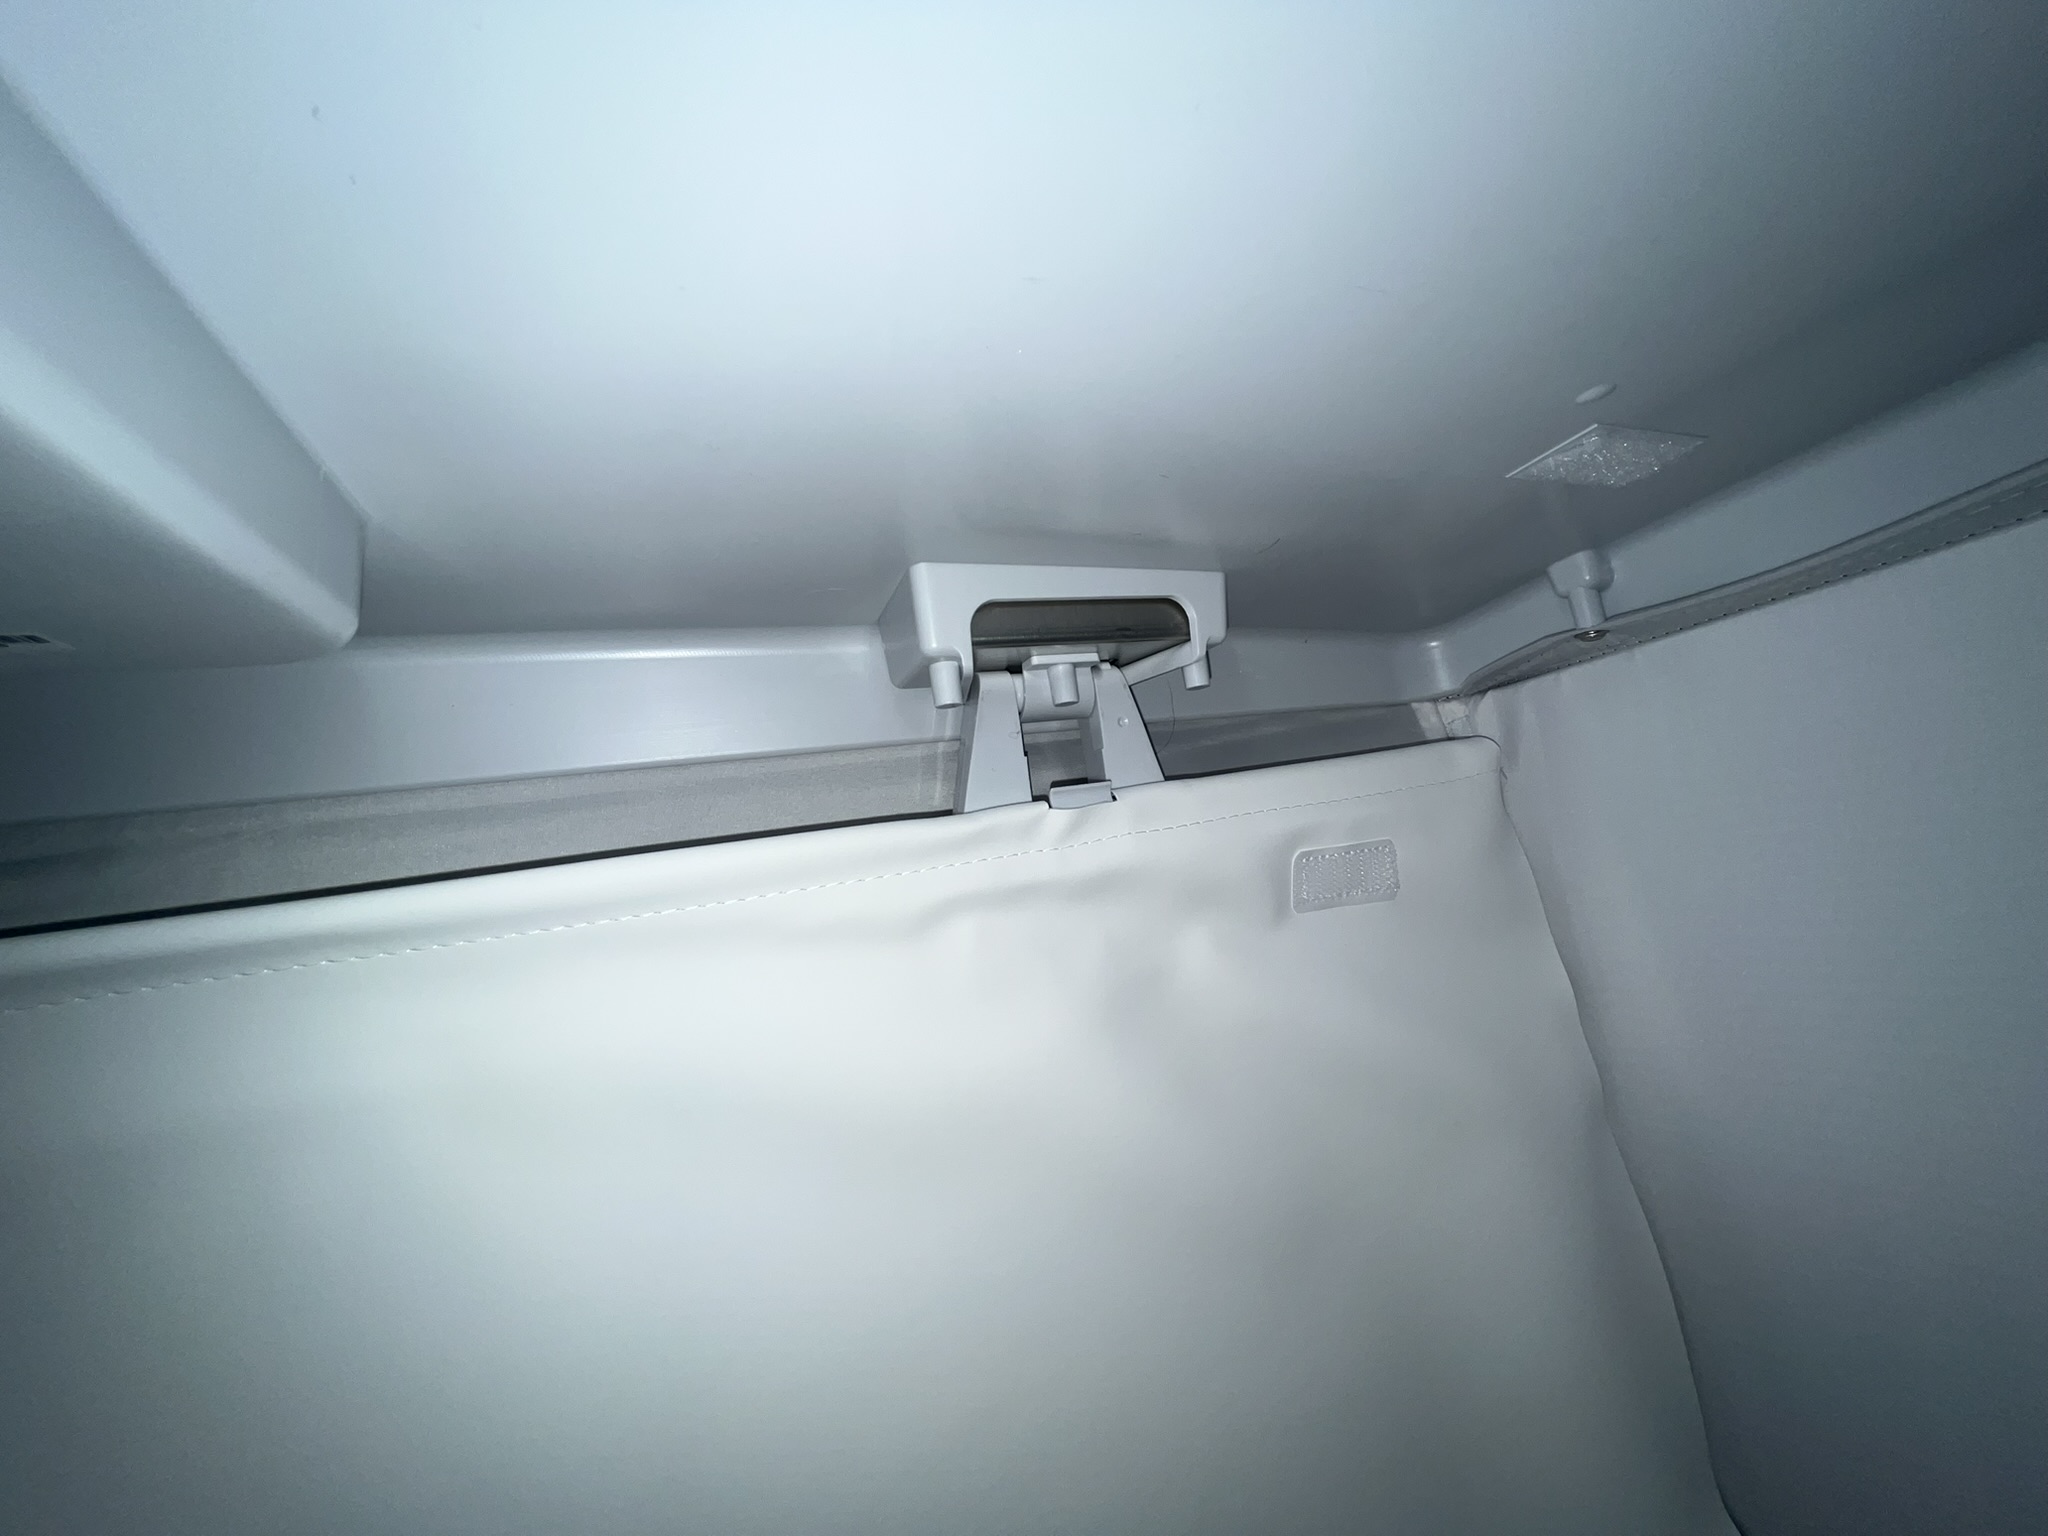
It turns out the Amazon special photo box does have a lay-out backdrop. It’s actually doubled over and held with hook and loop patches. On the other hand, because it’s folded in half, there’s a visible almost-crease in the backdrop where it store folded.
It’s also folded over and sewn around a thin rod, from which it hangs by a couple brackets at the top, like a tiny curtain rod. Shouldn’t be hard to replace if it gets soiled.
Despite what feels like a pretty large size, I’m learning that it’s not hard to include corners and edges of the cube in photos when shooting large shoes lengthwise. The porthole on the top face of the cube, for photographing top-down, is also set rather close to the front of the cube. To get proper top-down shots, I do find myself repositioning items further forward. That puts them too close to the fold-open holes in the front face of the cube for shooting side-on.
Here’s me trying out a cheap Lazy Susan for rotation: