I did a bit more organizing work on my box of shoemaking index card notes today, and also found myself mentioning it in an e-mail. Why not share about it here? Maybe some other beginners have had similar ideas, or could use inspiration. And it gives me someplace on the Web to link to about it.
If I had to reduce all this down, I would say:
Learning to make shoes, setting up a way to send myself reminders about each step in the process, as well as habits of checking those messages, has paid off many times over.
I am very much a computer person, but the way that ended up working for me was index cards and dividers in a wooden box.
The Box
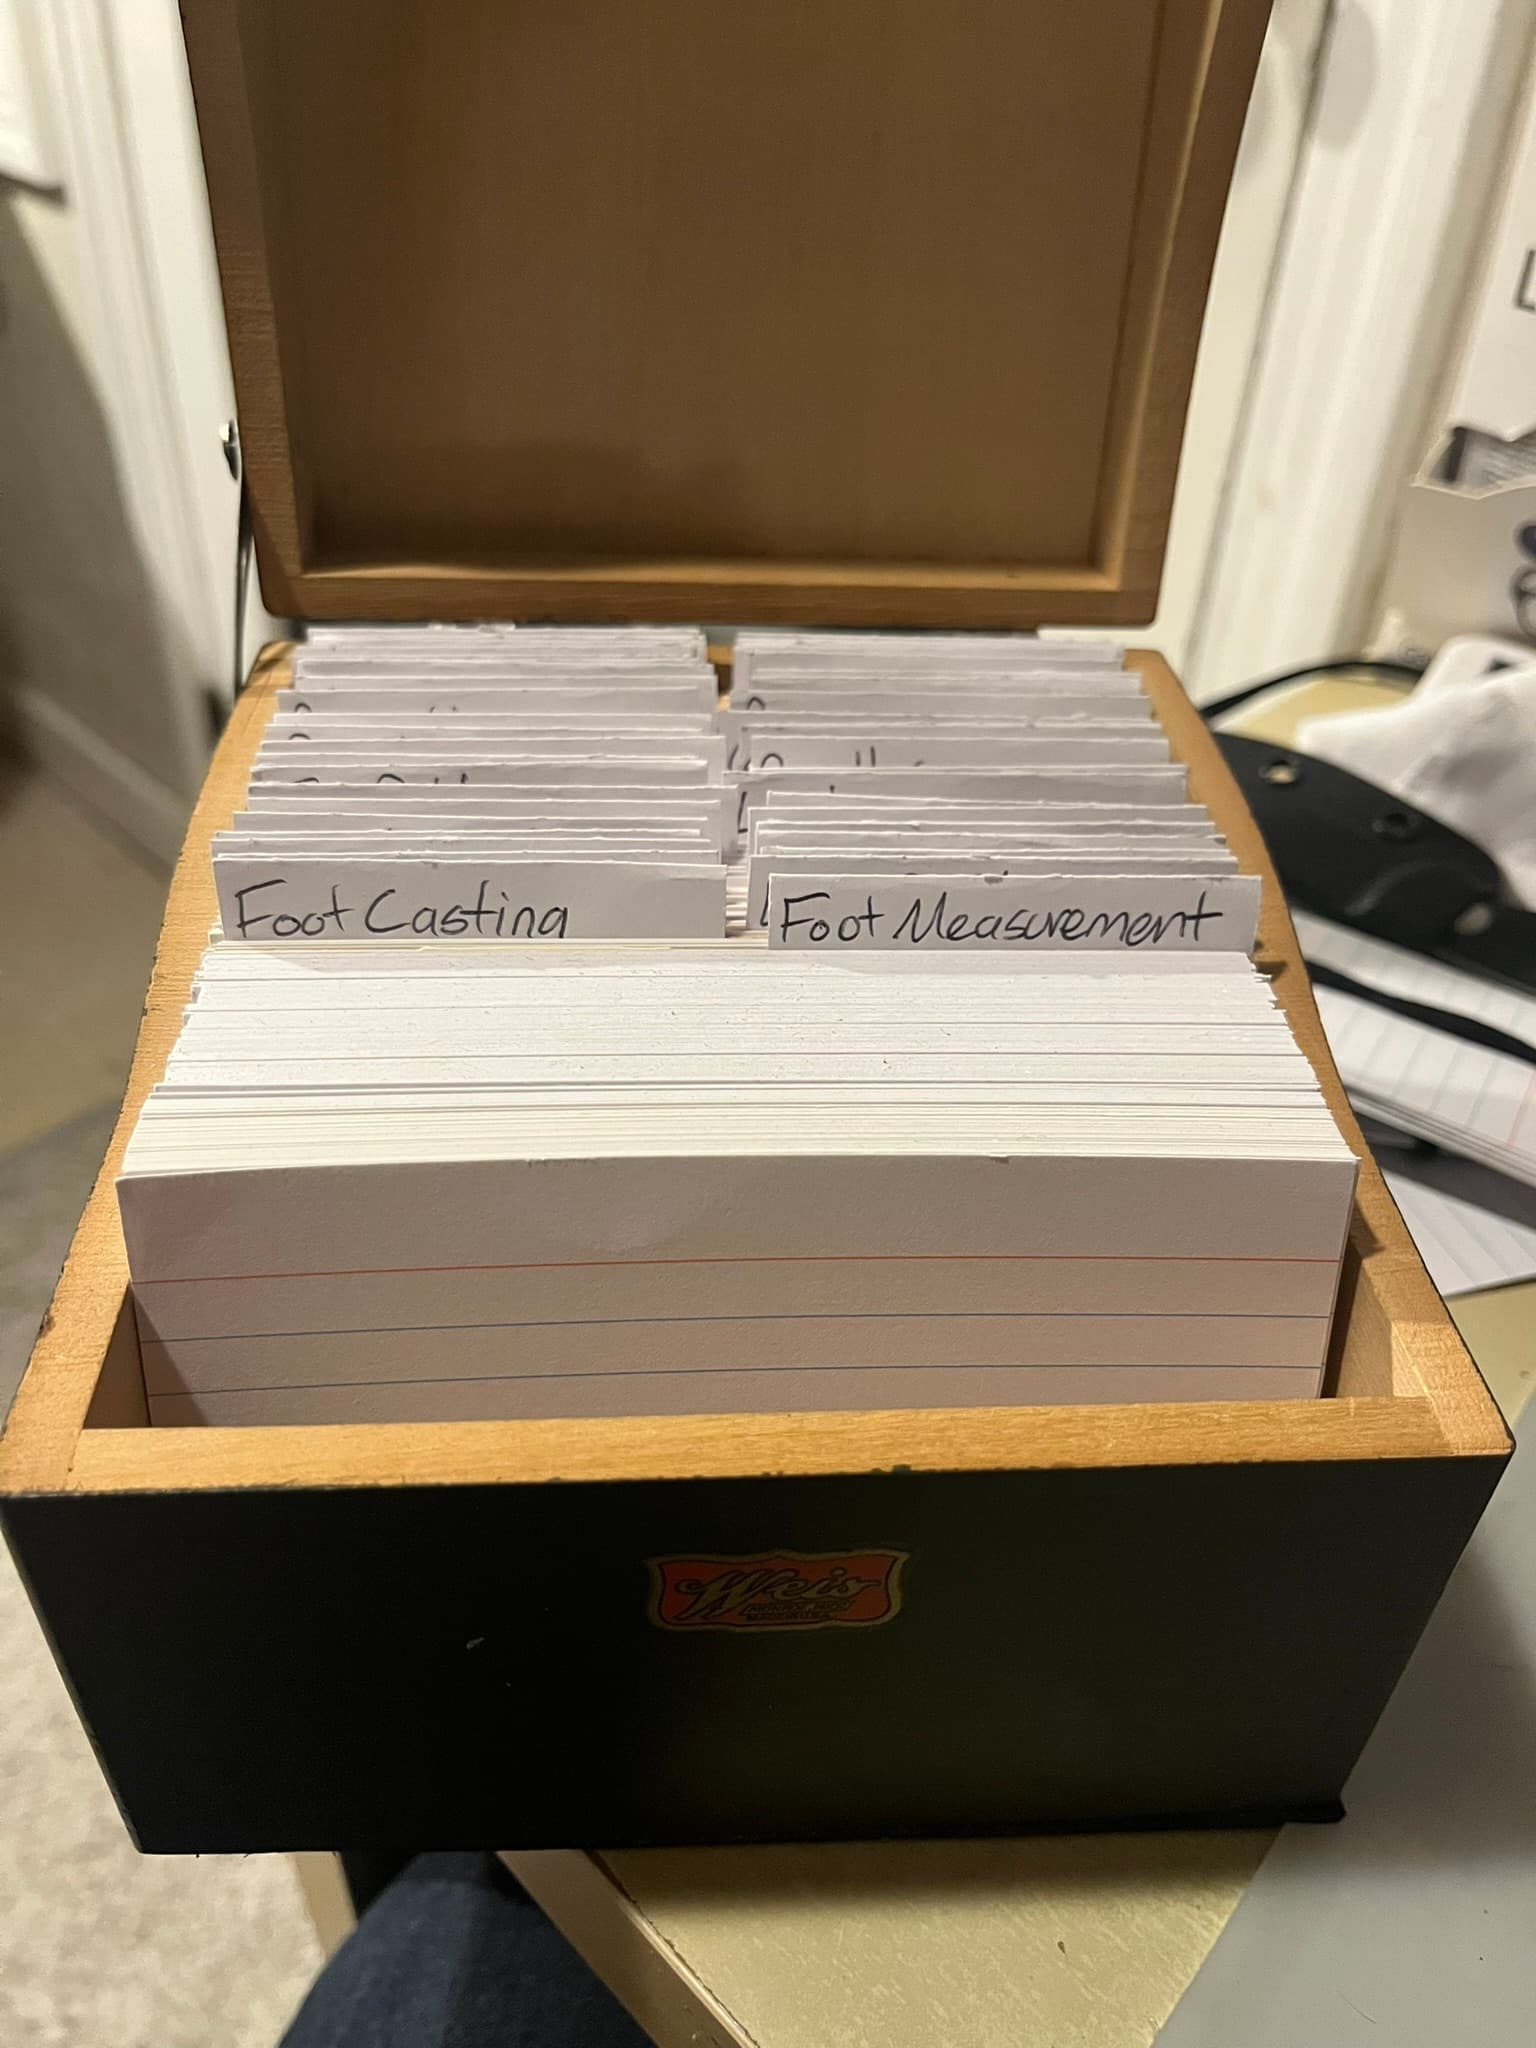
The box is an old Weis index card file, but any box that fits cards well and has enough room would do. It doesn’t even have to have a lid.
The only change I made to my little box as I found it was to move the slide that stops the lid from falling open—visible in the left side of the photo, near the hinge—so that it sits on the outside of the box, instead of the inside. When it’s inside, it can interfere with cards in the very back of the box. Honestly, I could probably just remove the lid, use the bottom as a tray, and be better off.
Blanks
Blank index cards go up front, so they’re easy to grab. The best I know of here in the USA are the “Caliber” brand ones from CVS drugstores, but only the ones sold in boxes. The smaller shrink-wrapped packs are vastly inferior. If you look at the side of the index cards still in their package, and they make a smooth block, and not jagged edges, that’s the good stuff.
Dividers
After the blank cards come the tabbed dividers. Each tab is a step in the shoemaking process or a category of notes I refer to. My online notes have a long, evolving outline of shoemaking processes, but I find myself using fewer, broader categories, adding only as I need them.
For example, a few tabs I currently have, pulled at random:
- Foot Casting
- Hides (notes on the hides of leather I’ve bought, their weights, vendors, delivery dates, tannages, and so on)
- Insole Blocking
- Toe Puffs
- Bristles
- Welt Making
- Breasting
- Decorative Stitches
I cut 3-by-5-inch dividers out of cardstock, then glue on little paper labeling tabs that stick up about one centimeter and run a little bit less than half the width of the cards.
You can find premade 3x5-size dividers for sale, but with five or more tabs across. I prefer ones that only go halfway because I can write the same text on both sides of the label, then flip them around so the tabs alternate left-right-left-right when I add or reorganize sections.
Order
I rearrange the sections into rough order from front to back. So “Foot Measurement” is currently first, while “Sock Liners” is toward the back. “Welt Making” comes before “Inseaming”.
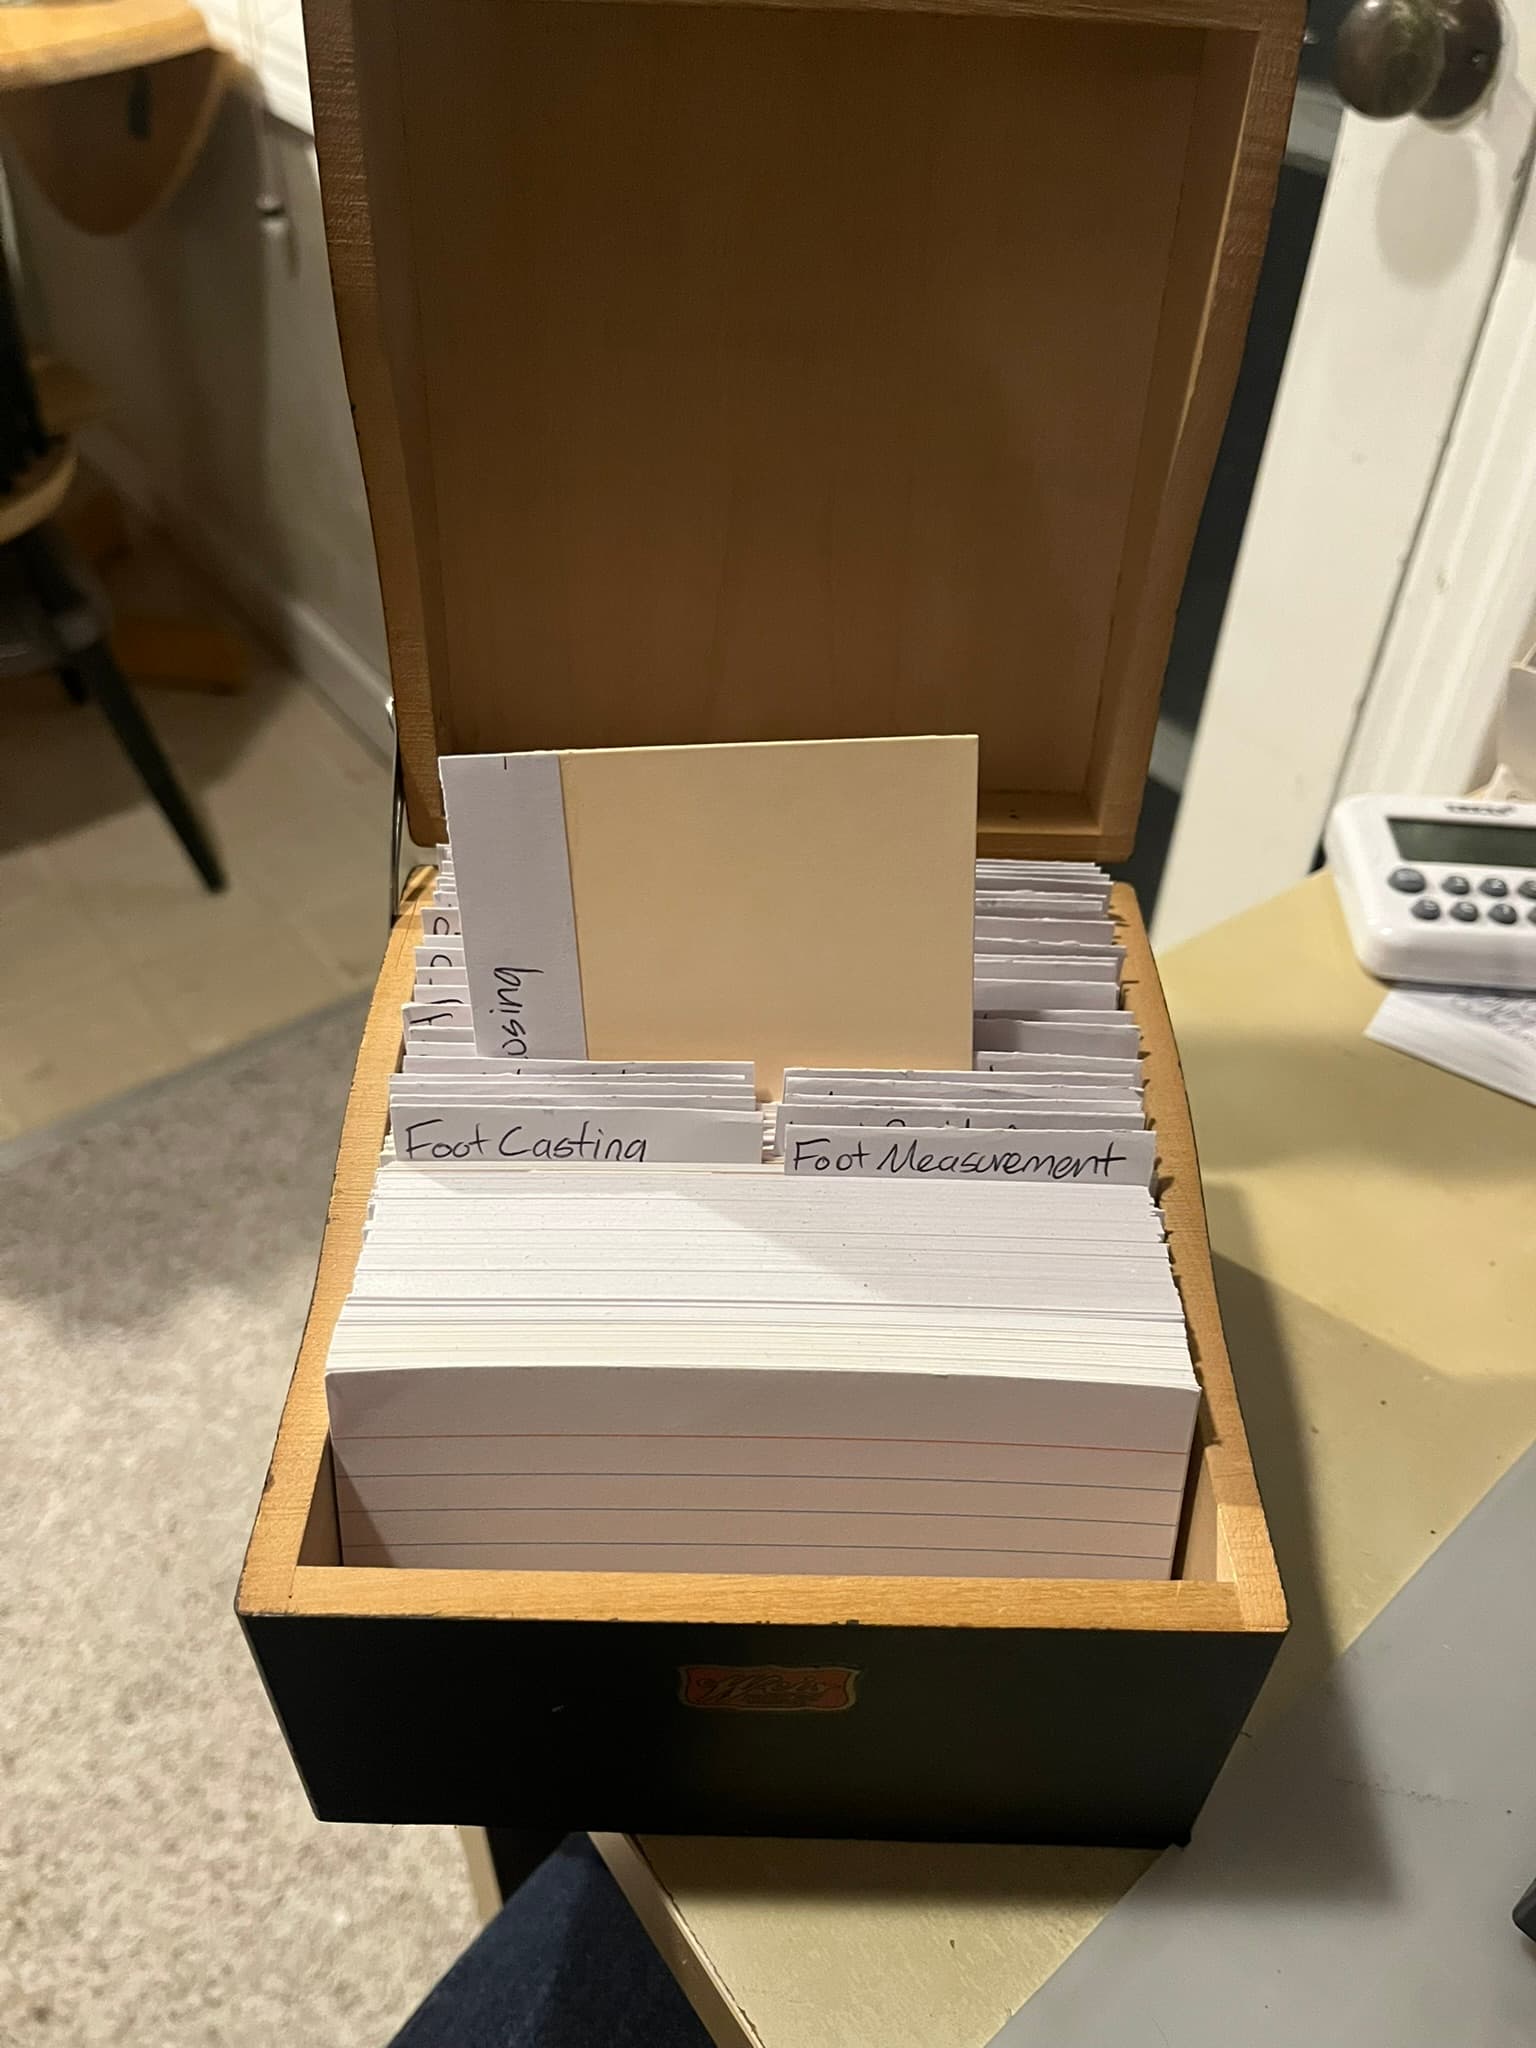
Putting things in rough chronological order lets me set a colored piece of paper into the last section I checked as a kind of bookmark. When I reach the next step, I know where to start looking for the next set of cards to review. Gradually, the bookmark moves toward the back of the box. When I start a new pair, it goes to the front of the box again.
The habit I try to stick to is finding the tab and reading all the cards for each major step of the process before I start work on it. That way, the index cards become a way for me to remind myself of things in the moment, the next time I come around to that operation.
When I pull a section of cards out of the box, I turn the divider sideways to mark the place, so it’s easy to put the cards back again:
The Cards
A lot of my cards memorialize mistakes. For example, here’s a card in the “Closing” section:
Closing
Trim excess lining with a guarded blade.
Mistake on Pair 2
I put the section of each card at the top, above the red line. That way I know which section it goes in if I drop it.
I try to put the source of each card on the bottom line. With mistakes it’s which I pair I bungled. With tips I find in books or videos, or get from kind shoemakers in person or by e-mail, it’s who I have to thank:
Heel Stiffeners
Skive the top edge on the flesh side and the bottom edge (lasting allowance) on the grain/hair side.
Bill Bird, Stiffener Videos, Part 3
Just today I added:
Outseaming
Angle the stitches inward so the channel on the bottom of the outsole falls closer to the center than the welt stitches on top.
Jeff Mandel
Other cards are just checklists to help save me time by not forgetting things. For example:
Saddle Stitching / Tools and Materials
Harness Needles
Thread
BeeswaxDividers
OverstitcherPony
Good LightAwl
Cork
Finger StallsThread Snips
Bone Folder
Smooth HammerSmall Sharpening Stone
I don’t give step-by-step instructions for every step. I don’t want cards in there that I don’t actually need to read. That would only make the stack bigger, and probably discourage me from keeping my habit of reviewing every card.
Maybe in the future, I’ll start a new box of “retired” cards that I needed at one point, but no longer need to be reminded of. But I feel that’s a long way off.
The Very Back
After the tabs for different making steps come the general reference sections, like the section I have called “Tools”, with cards about things like the dimensions of various Osborne harness needles and the bevel angles on my skiving knife from @customboots.
I keep dividers that haven’t been used and labeled yet at the very end.
Inspiration
I don’t want to even try to pretend that a system like this was all my brilliant idea. I think this is just me learning something that’s really basic to the craft, in my own peculiar way.
Earlier this week, I found this post very poignant:
https://www.instagram.com/p/DC8DrUlMx3p/
Josef Selfway:
I like the cyclical nature of shoemaking, you are never doing the same thing everyday, instead it goes around in a wide loop: Last making, pattern making, trial shoes, fittings, upper making, final making etc. For the next day or two i’ll be finishing which means its time to get the irons and fudge wheels nice and hot :).
A good while back, I also found this Boulet Boots staff training video, which has a wrap-up quote that I think about a lot:

If you try to be a little better at every step of your work, the end result is gonna be a lot better. Now that is what we believe in!
I expect that could seem pretty trite and cliché, standing on its own. And it is, just so. But measuring, cutting, piercing, thwacking, and rasping my way into this craft, by hard knocks, I feel and know that it’s alluding to far more than the words alone can say.