Don’t let me make homework for you, @thenewreligion! And sorry if I wasn’t clear.
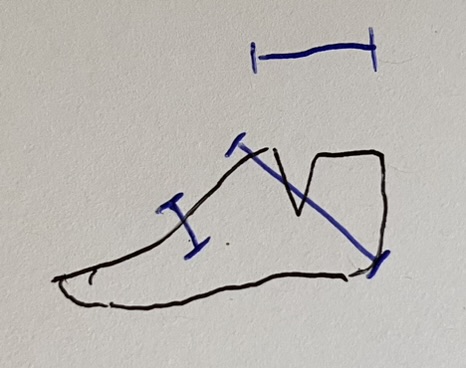
The concept I’m trying to get my head around is how to pattern lace-up boot quarters to fit around the crook at the front of the ankle, where the instep ends and the shin begins. There’s a 3D-to-2D problem there, especially when patterning from tape last forms split down the main axis. You’re patterning two quarters attached to the sides, with the idea that when folded over and laced tight, they’ll meet a straight line over the top of the foot.
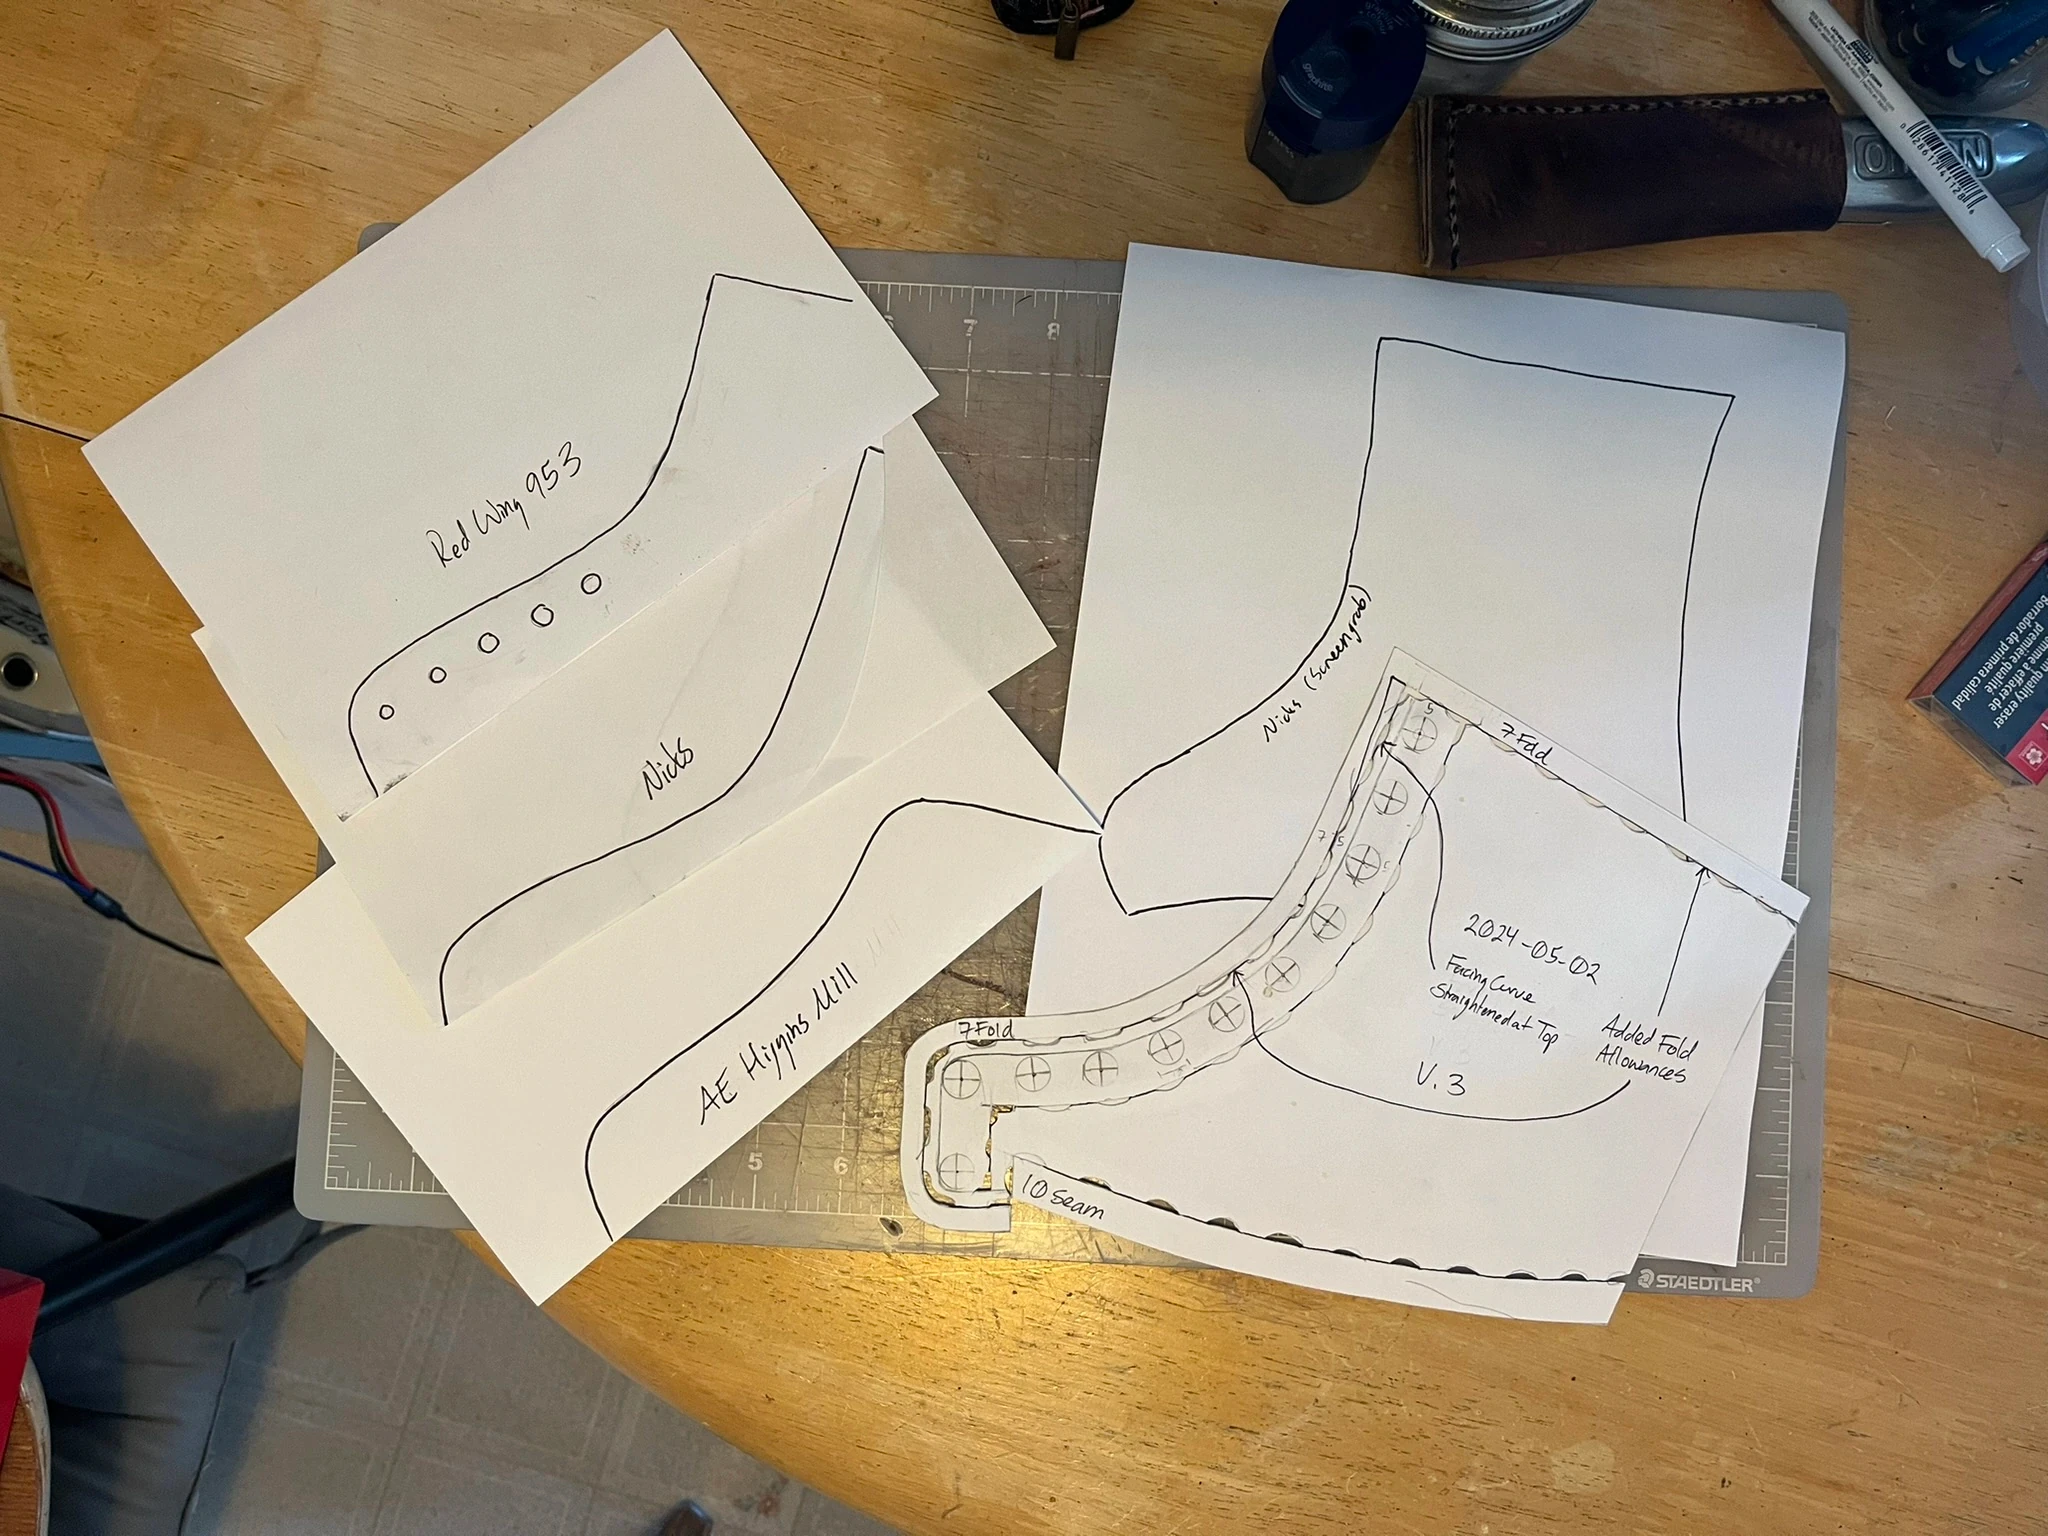
Here’s a photo from my second pair process at the point where I was feeling through this:
You can see the curve of my pattern piece on the lower right and some tracings of quarters on other pairs of boots for comparison. I literally unlaced some boots, lay their quarters over sheets of paper, and traced them, trying to get shapes I could compare. There was a lot of variation. In the end, I cut out my pattern pieces in paper and foam, basted them together, put them over my feet, glued scrap paper onto the fronts of the quarter pieces to get the right shape, and copied those additions back to my pattern.
As for doing this more systematically, there are some clear guide points.
From the vamp point up to the instep point, you can just measure the distance across the top of the last, subtract half your intended facing gap, and make sure the quarter is that tall there. This makes the straight part of the quarter pattern, down over the foot, below the ankle joint.
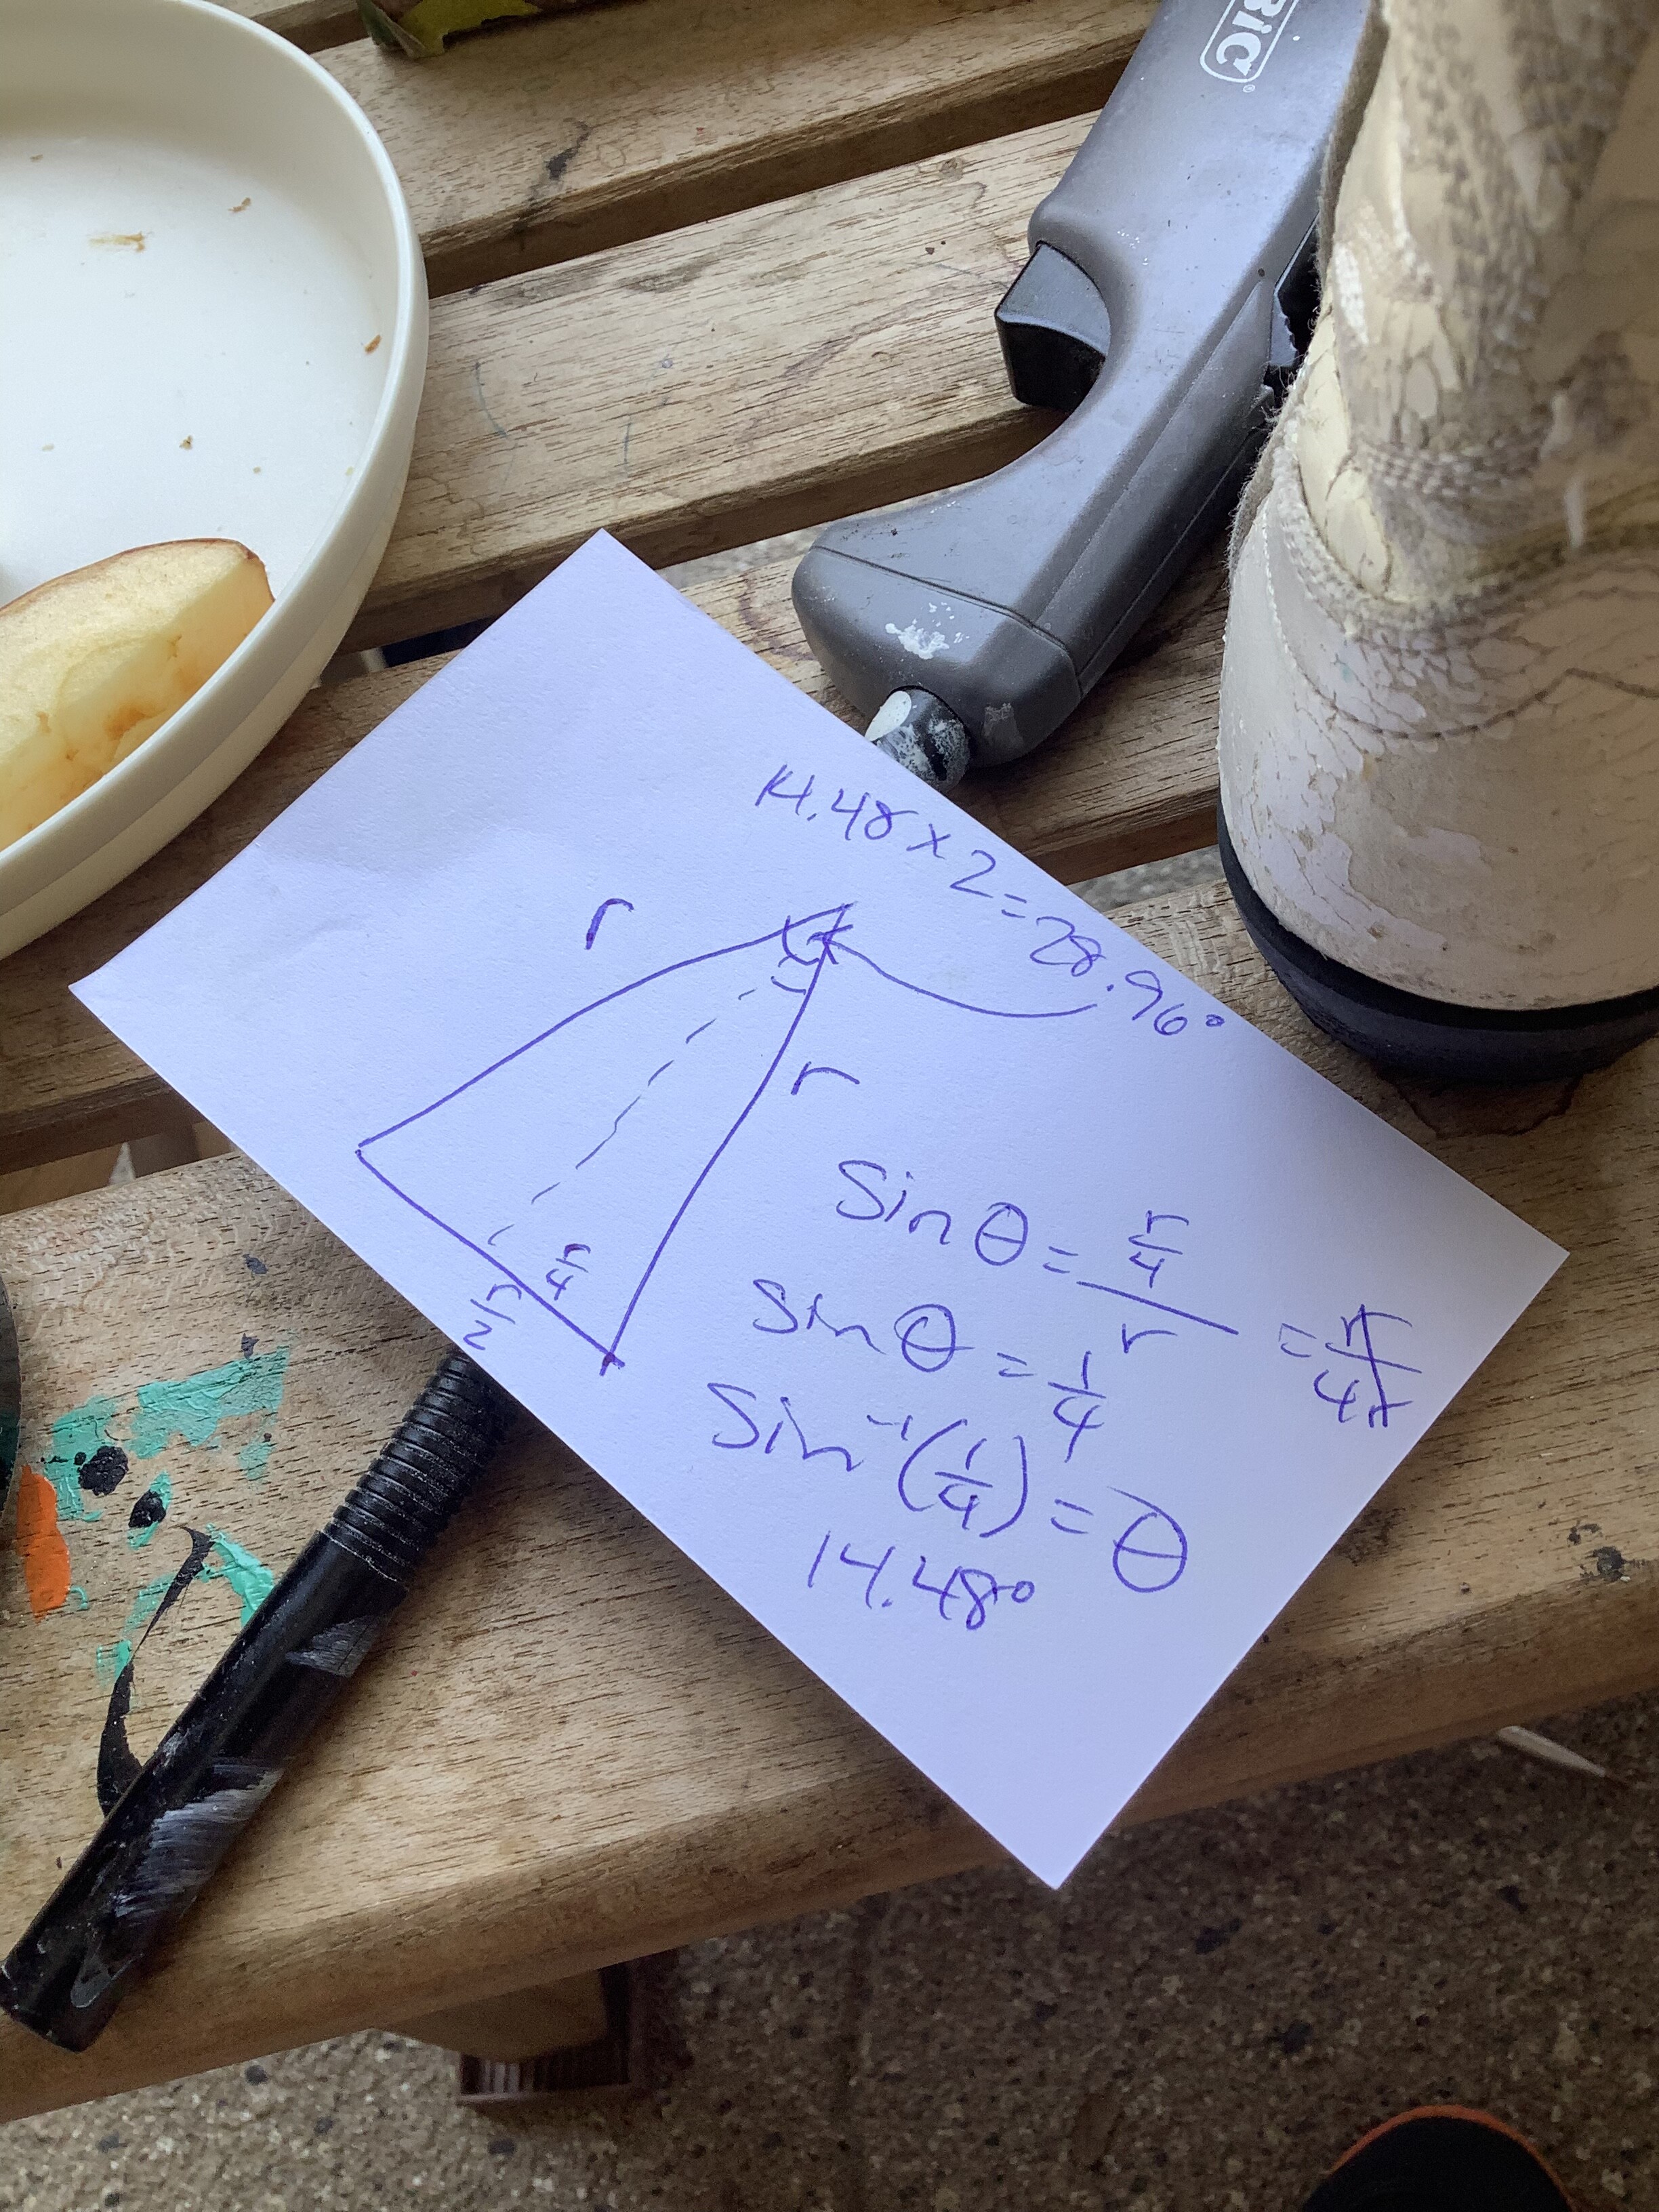
If you have a short heel measurement, that’s a checkpoint, too. The “crook” of the curve of the quarters—the point where it swoops closest to back bottom of the heel—should be:
\text{quarter depth} = \frac{\text{short heel} - \text{facing gap}}{2}
There are also clear checkpoints wherever you measure the girth of the leg. For my second pair I had the girth of my leg where I intended the tops of the quarters to end, so I made sure that
\text{width at boot height} = \frac{\text{leg girth at boot height} - \text{facing gap}}{2}
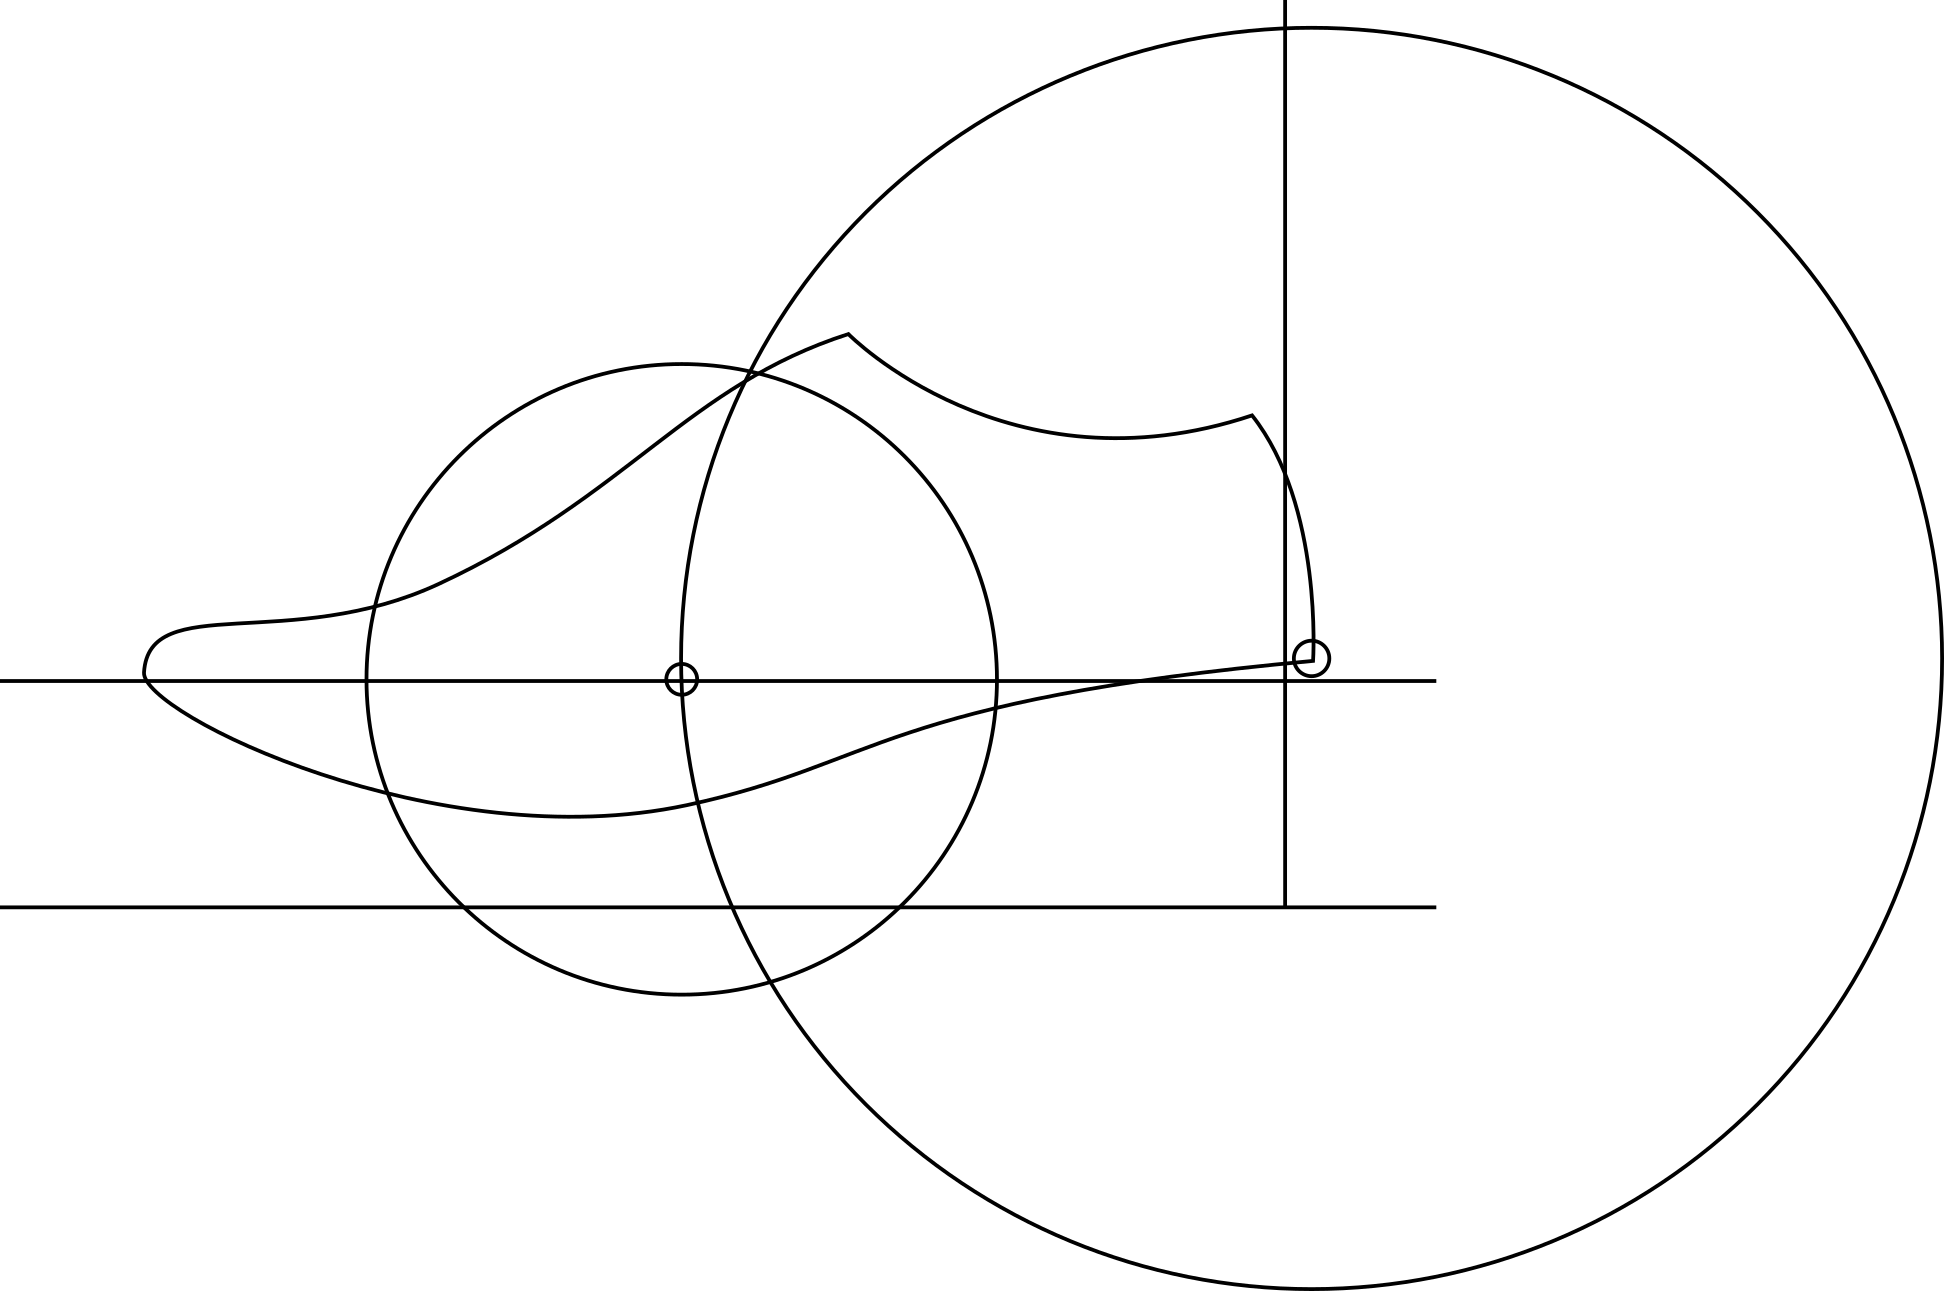
So ideally that’s three points to connect: one over the vamp points, one in the crook of the ankle from the short-heel measure, and one from your lowest leg girth measure. The gap in my knowledge is how to draw the curve connecting those points. Right now what I have is basically “do it with a French curve so at least it’s pretty, then just try it”.
I was thinking that pull-on boot process might have some good lessons here, since it’s such a critical area for fit, as you pointed out. You’ve gut to hug over the insteps to keep the feet from sliding down into the toes, but you’ve also got to have a wide enough pass so the foot can actually push through.
But I’m starting to understand, thanks to your note, that this comes in not so much at the patterning stage, but at the lastmaking and crimping stages. I’m sure there’s some fitting or calculation that goes into making sure cowboy boot vamps are the right size for the crimp board and the last in the first place. But the shape is really defined by those forming operations, not at the clicking table, as it is for lace-ups.
Really appreciate this tip. I was tempted to add a copy of the book to a Panhandle Leather order back when they carried it. If and when I really get inspired to do some pull-on cowboy boots, I’ll probably save my pennies and send for Frommer’s pull-on book instead, even if chunks of it are redundant with his packers book that I already have.