I’ll try and keep this updated as I make new batches and gain experience.
Note there’s also a list of places to buy ready-made coad here on the forum. No shame in buying some.
Ingredients
Thick Pine Par
I’ve had success with Gold Label brand “Stockholm Tar”, “Thick Formula”:
https://www.viovet.co.uk/Gold-Label-Stockholm-Tar/c11978/
It cost me nearly as much to ship this product from England as to buy the product itself, but in the end it was worth it.
I did not have nearly as good results with thinner tars, like Bickmore’s, which is far easier to get where i live. I suspect I could reduce thin tar down to make it thicker, but that’s going to be a long, drawn-out, smelly process. I also wanted to find a more consistent, ready-made product that I could measure out and note down quantities of.
Pine Rosin
I ordered a bag of flakes:
I also tried powdered rosin, but it was more expensive and actually messier to work with. I’d stick with flakes, since you’re just going to melt them down.
Equipment
Stove and Water Pot
I just reused kitchen equipment here, which I continued cooking with and eating out of after. I don’t see risk of contamination here. I didn’t get any sticky blobs of tar or rosin on my equipment, even the first time.
Water Basin
I used a large stainless mixing bowl. You could also use a bucket, tub, or a small sink with the plug in.
Kitchen Scale
For small batches, you’ll want one that measures relatively small amounts, preferably in grams. I do roughly 50 grams of rosin at a time.
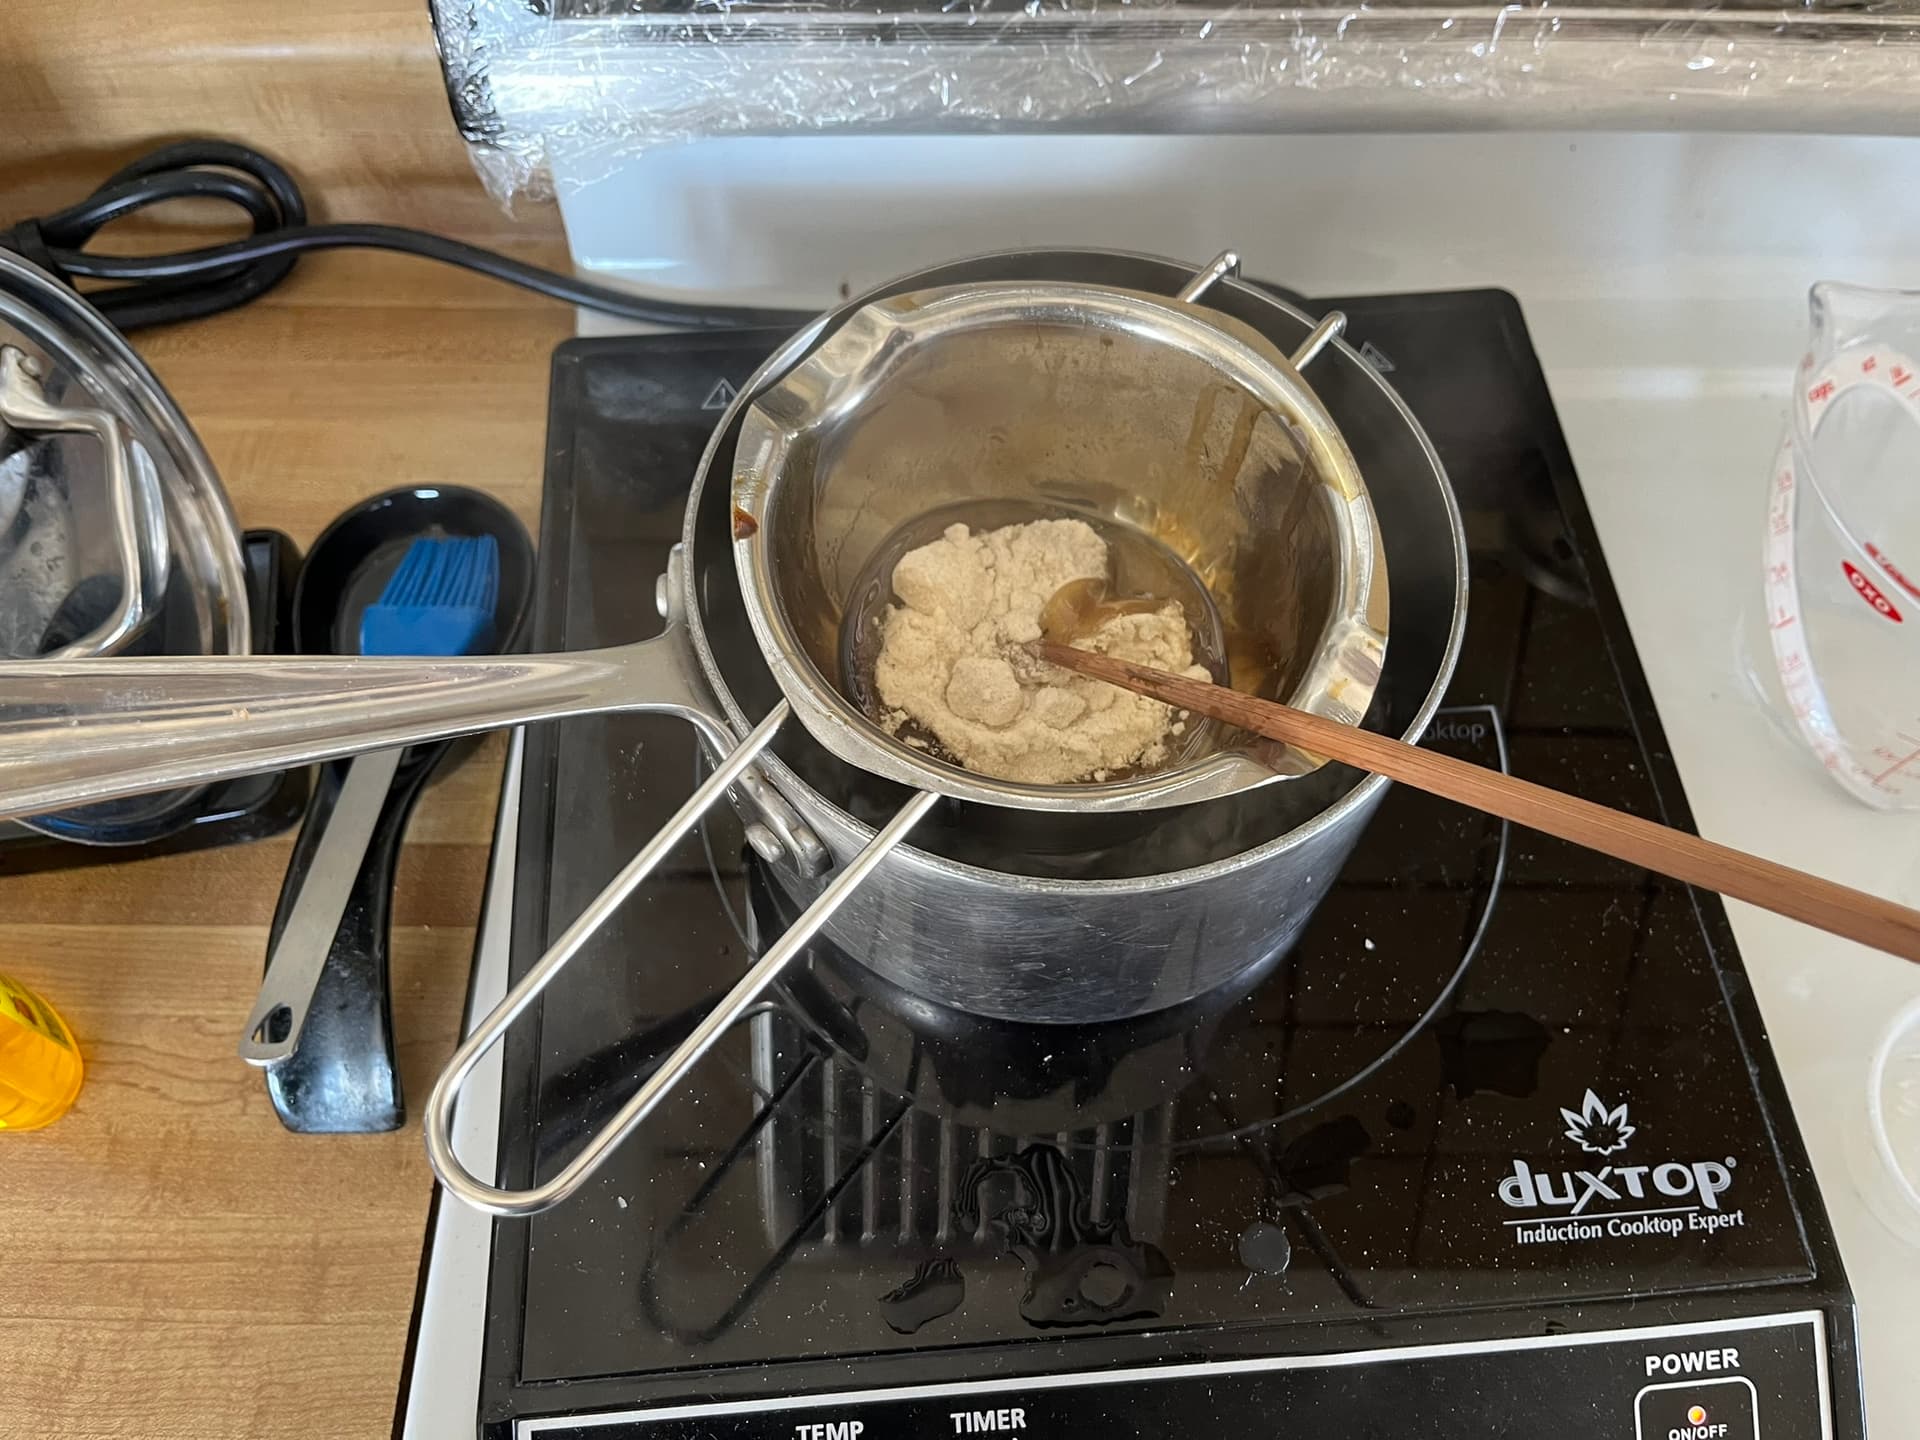
Melting Pot
I had much better luck with a double-boiler style.
The pouring spouts are very handy.
This did get hard specks of rosin and tar stuck to it. I’ve never bothered fully cleaning mine out. It’s just for coad.
Stir
I used old chopsticks.
Storage
I wrap my blobs in wax paper. That seems to work well.
Process
- Fill your basin with room temperature water.
- Fill the bottom of your pot with water and boil it.
- If you have a fume hood or exhaust fan, turn it on.
- Add 50 grams of rosin to the melting pot and set it over the water.
- Melt the rosin, stirring occasionally. It will take a while to start to melt, then come together more quickly.
- Stir in two teaspoons of tar. Mix thoroughly.
- Pour the mixture into the water basin. Knead it into a ball. The outside surface of the clumps will be cool enough to handle under the water, but be careful not to mash your finger into any gooey centers, which may be hot enough to burn.
- Remove to wax paper and allow to cool.
You will want to play with the ratio of tar to rosin. The mixtures that have worked best for me have tended to seem solid at room temperature, but actually flow very slowly over time, slumping down from round into flatter shapes in storage. Of course, the true test is whether the rosin liquefies under friction as threads are drawn through and then hardens again enough to bind stitches in place.
I’ve heard of others adding small amounts of various oils—tallow, mineral oil, etc.—with success. However, I personally haven’t needed to do so. It probably helps that I am making and using my coad indoors, with heaters and air conditioners at the ready for cold and hot months.
Thanks
I’m much indebted to DA Saguto and others still reading and responding on The Crispin Colloquy’s coad-making thread.