Making an Awl Haft

I’d been ogling inseaming and outseaming awls online when I realized I had some turning-blank-sized scraps of hard maple left over from my ongoing attempt to carve a last out of wood. If I wanted to try one of the larger hafts I’d seen, I could just make one. And that would also give me a chance to get to know how some of the woodworking tools I have behave on hard maple, which I’ve never worked before.

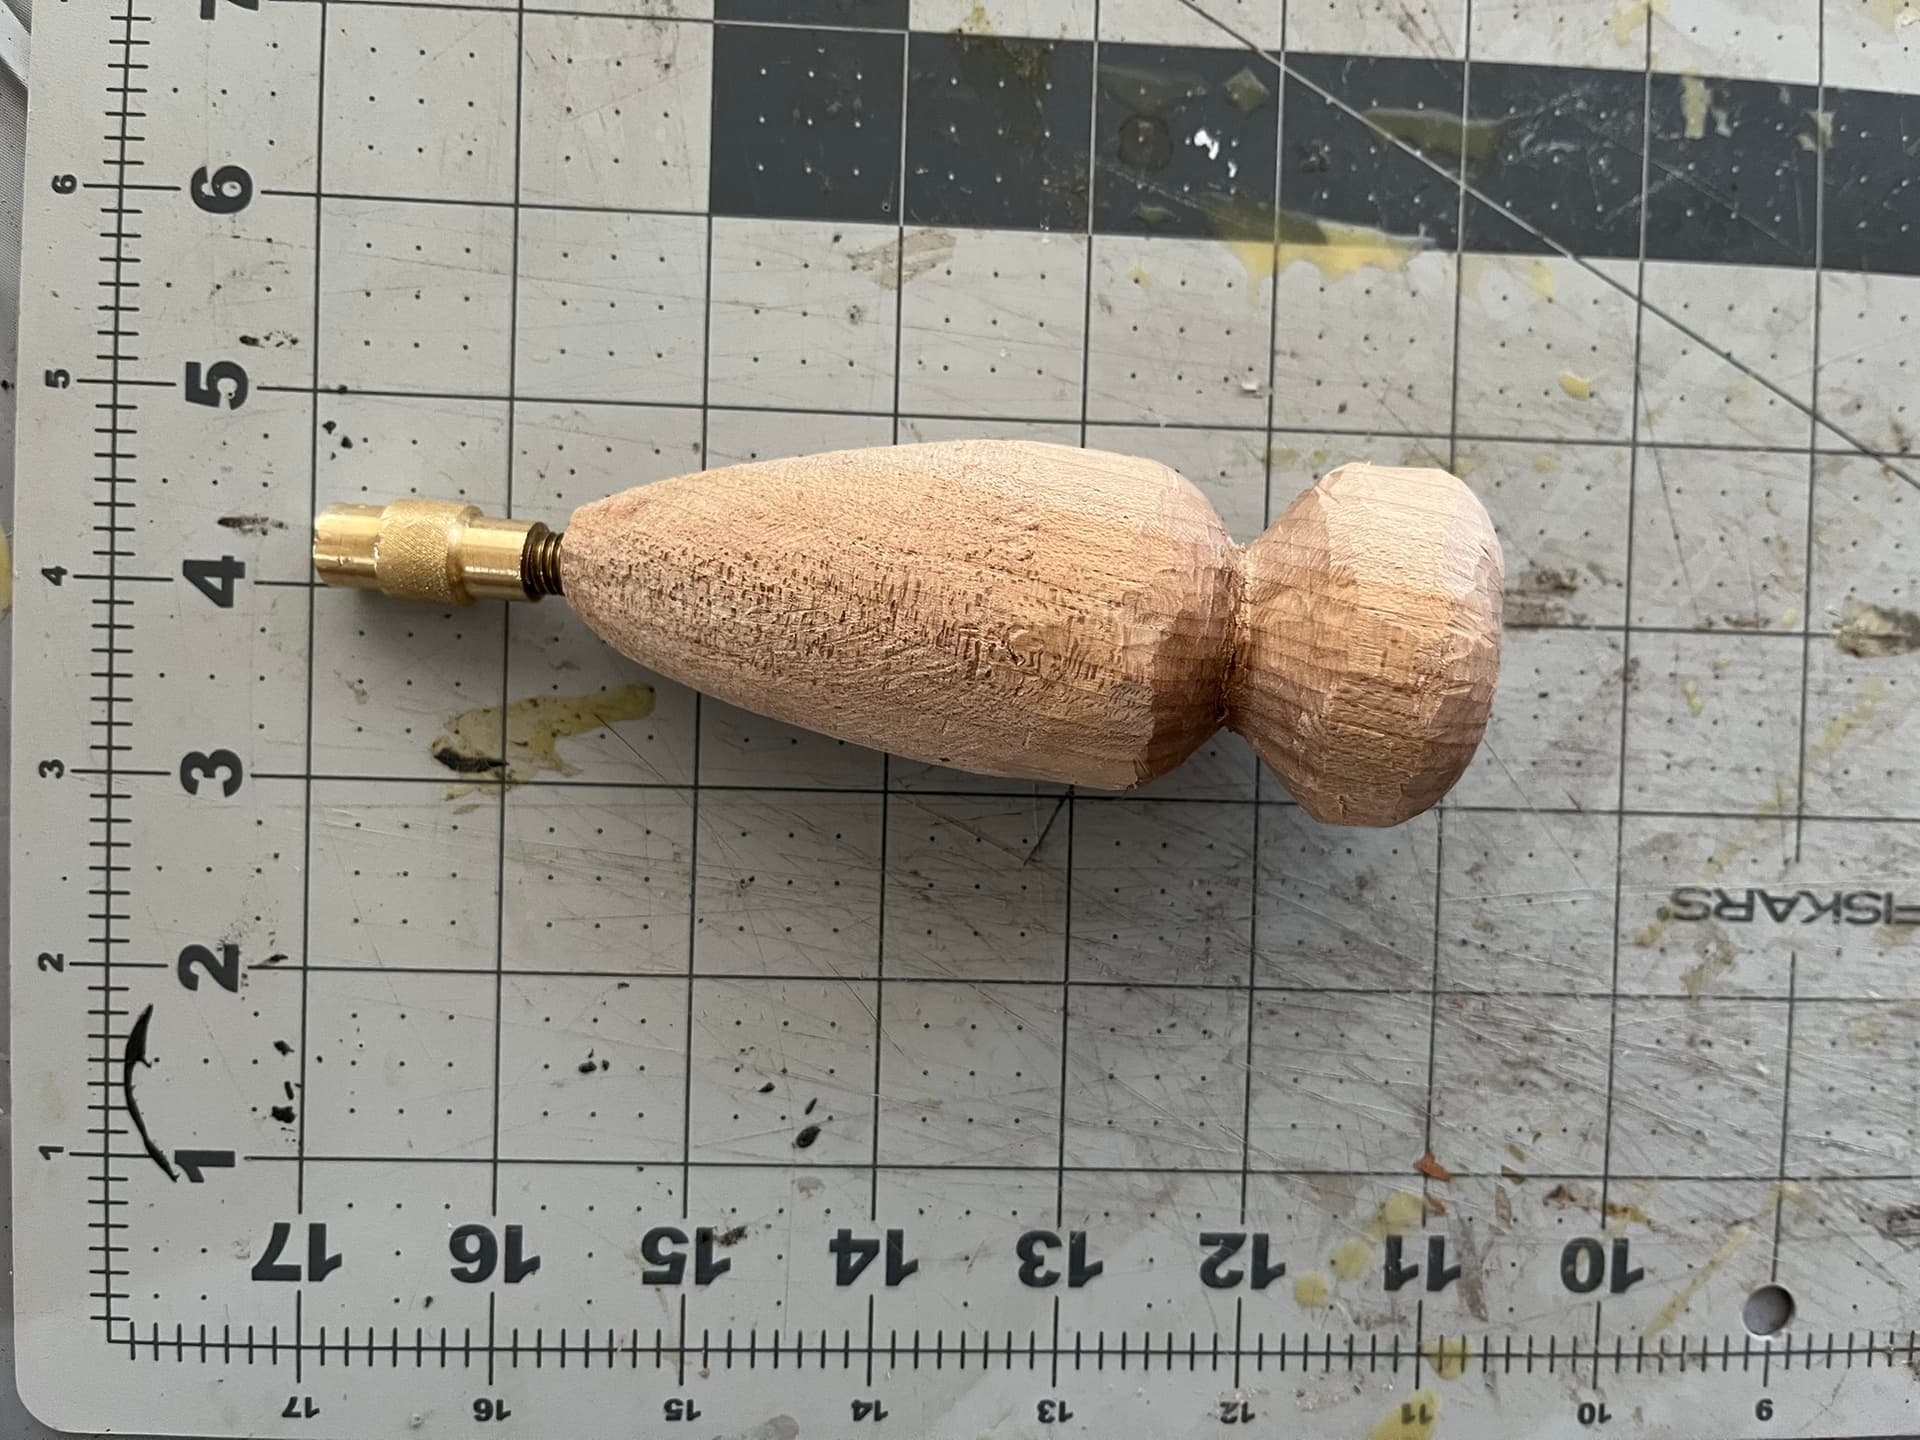
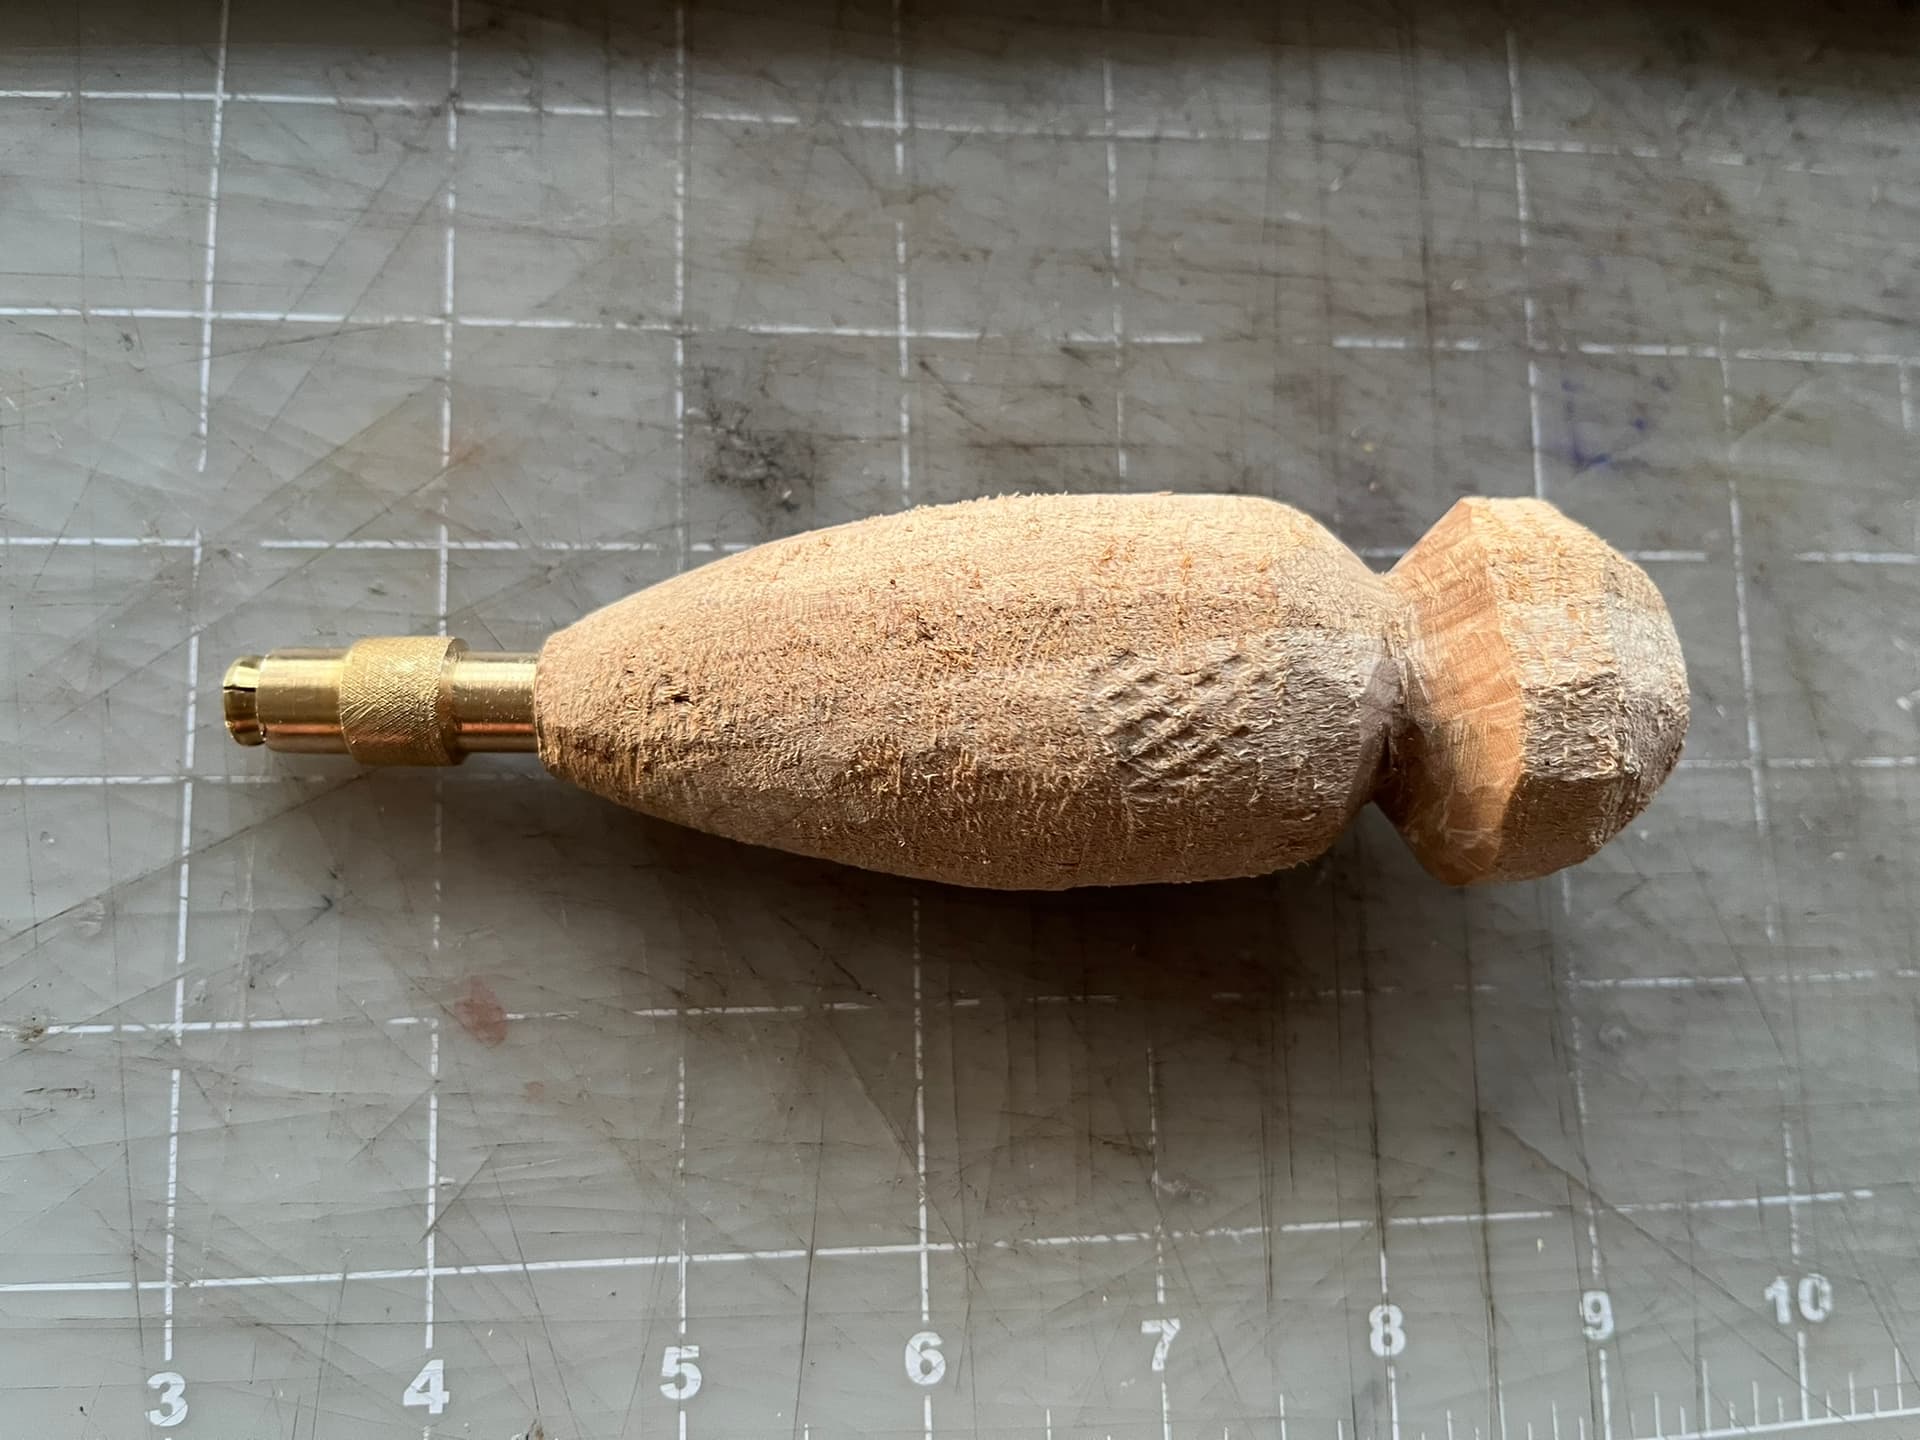
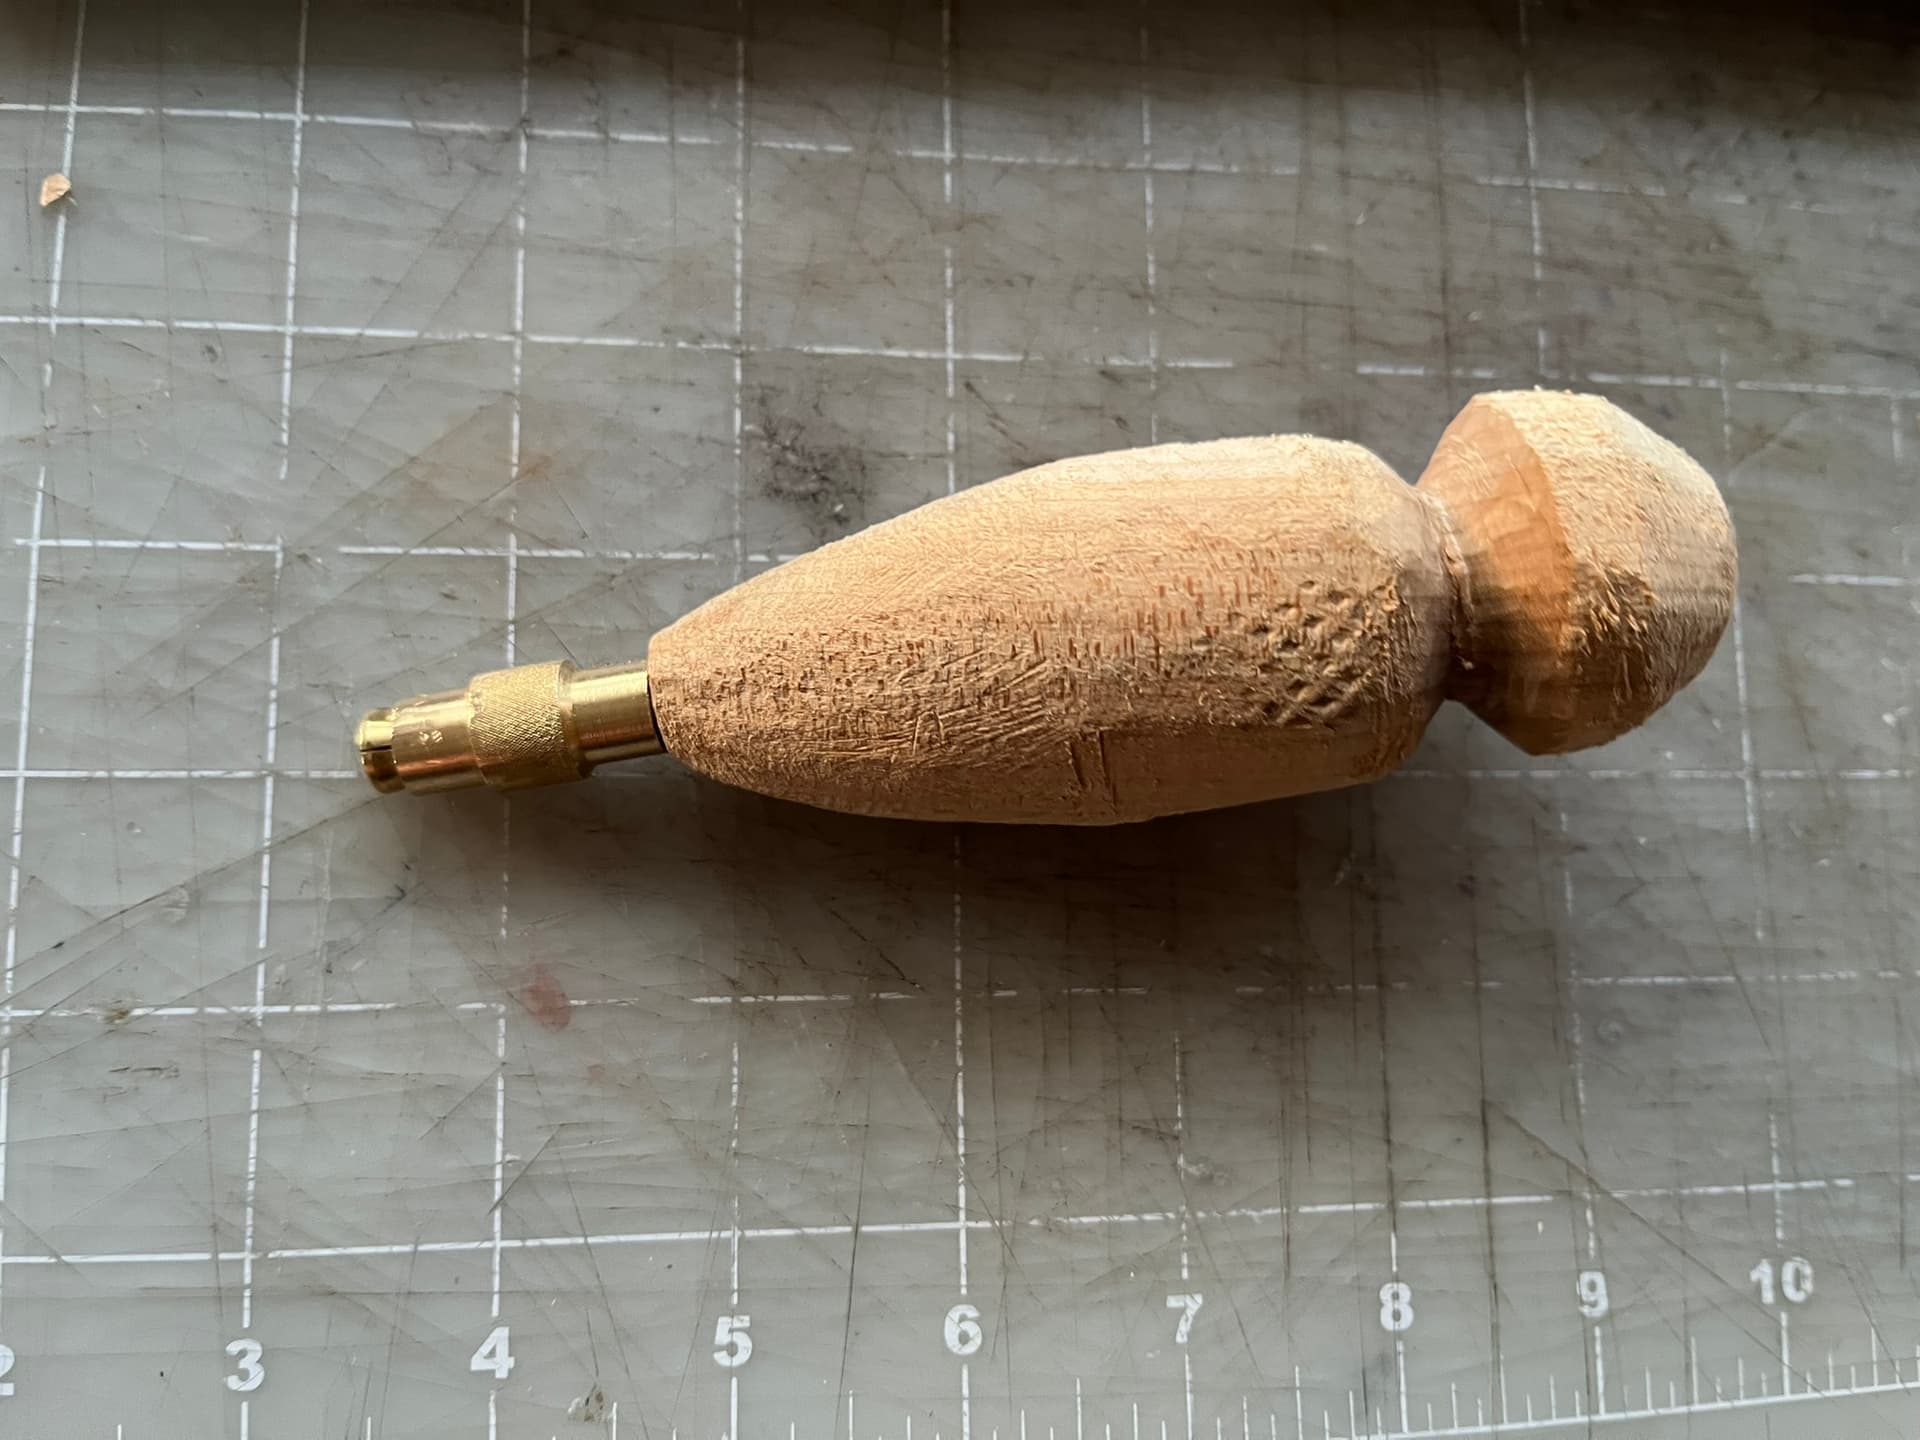
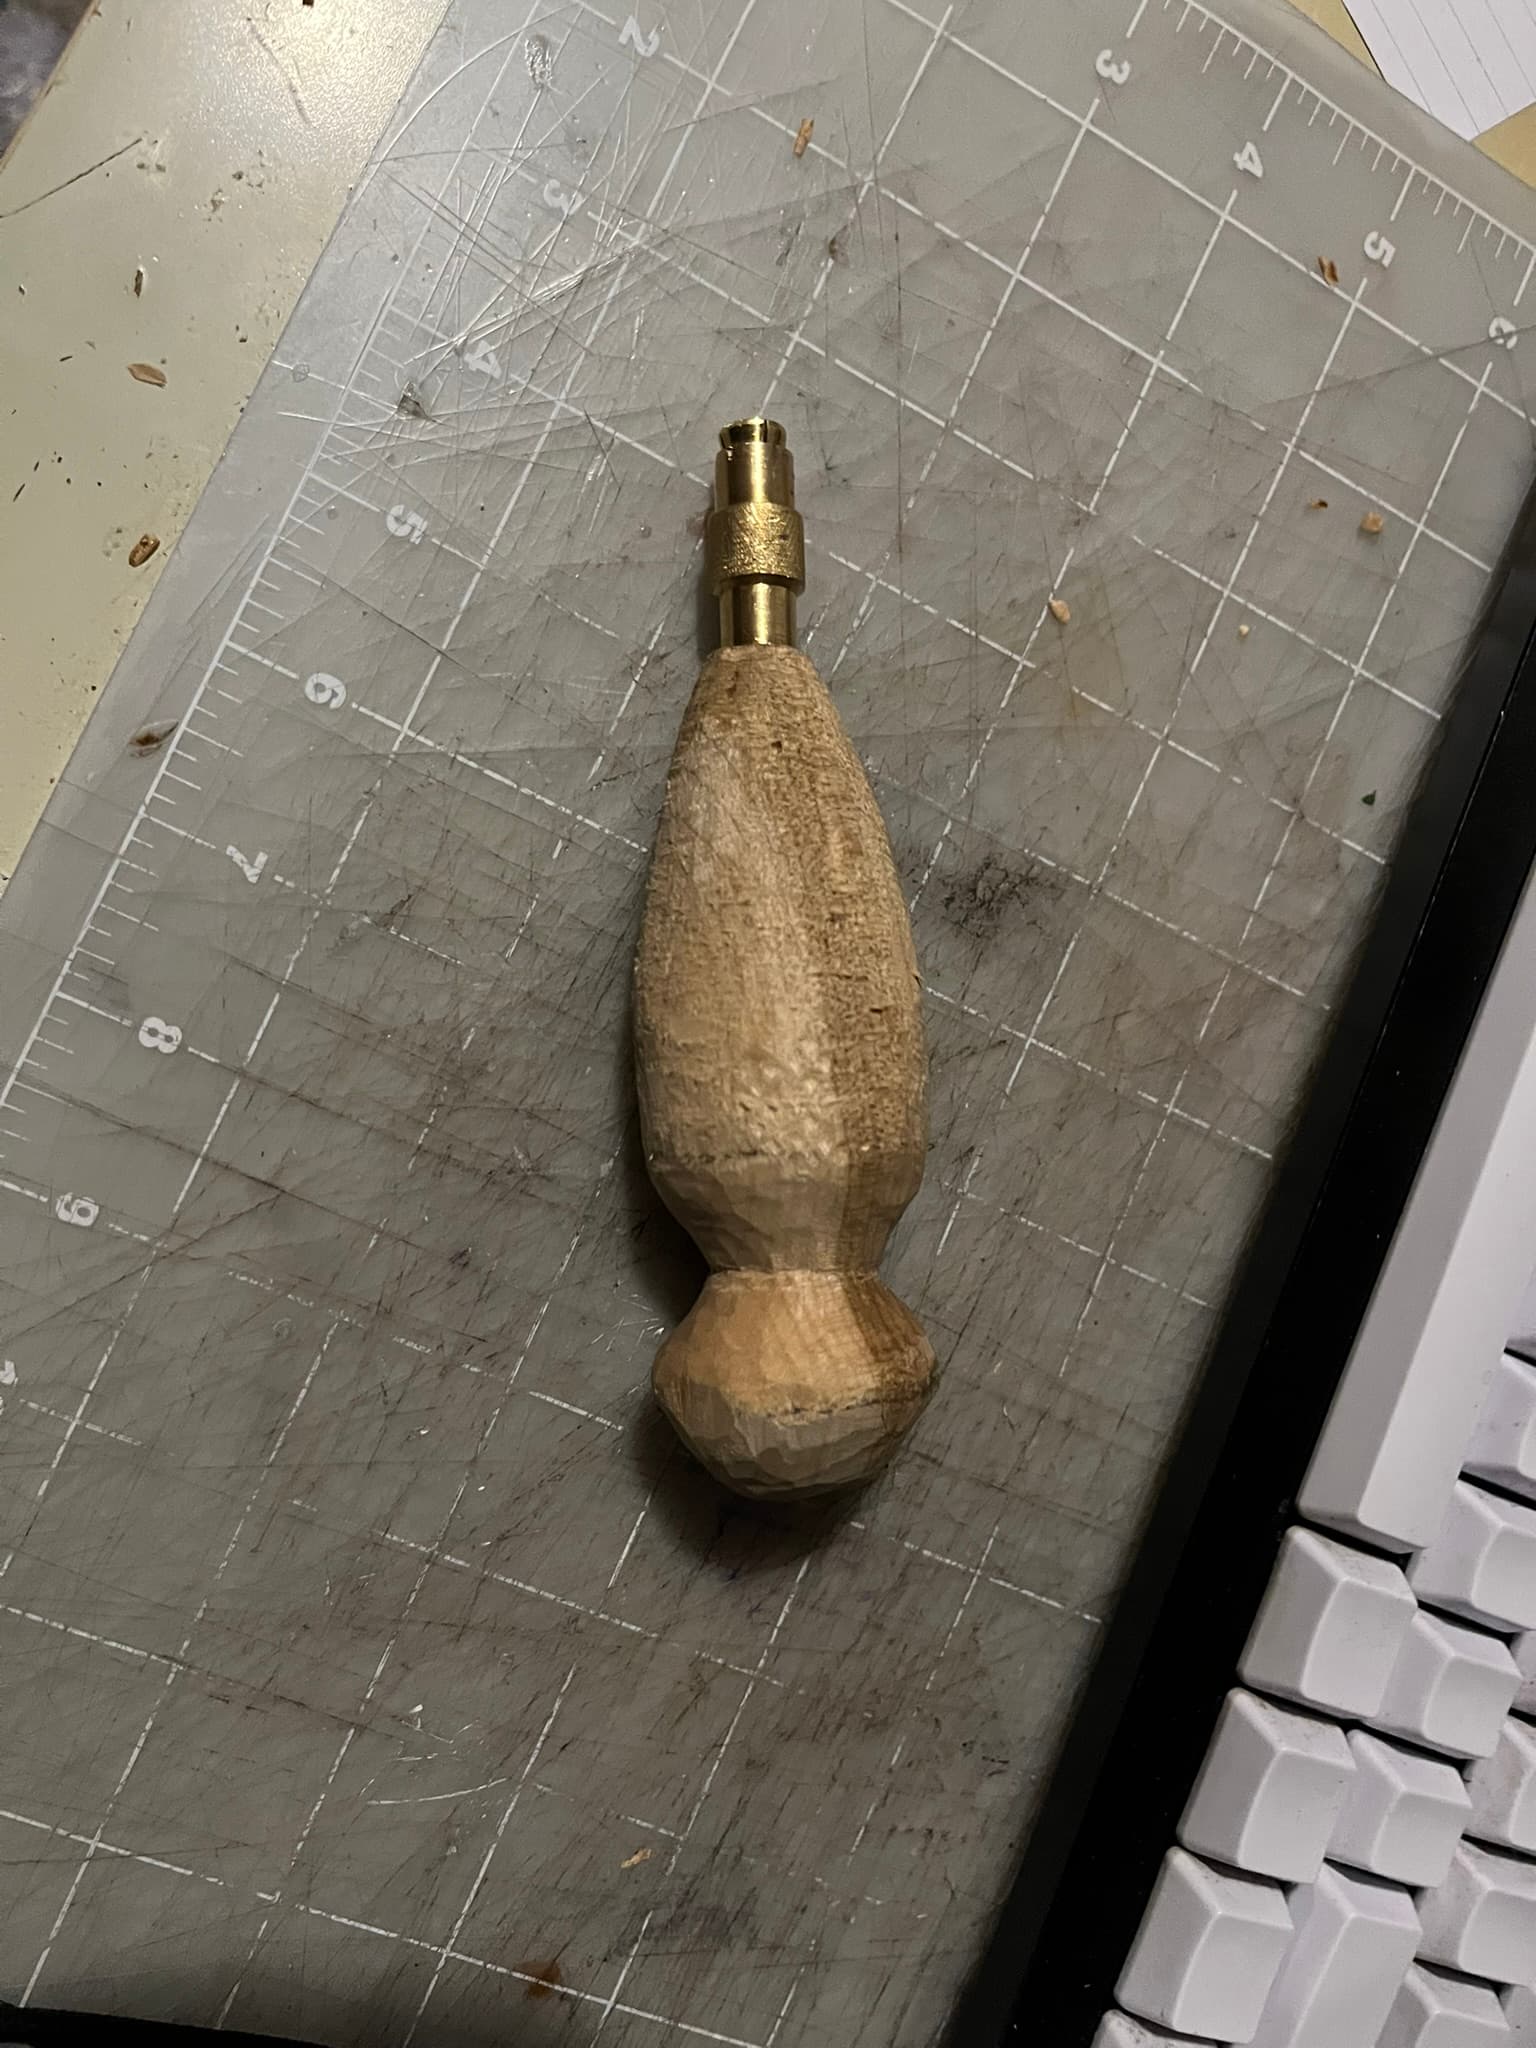
Here it was at my first stopping point. I scavenged the brass chuck out of a CS Osborne #928 sewing awl haft, drilled a hole for a tight interference fit, and whacked it in with a mallet.

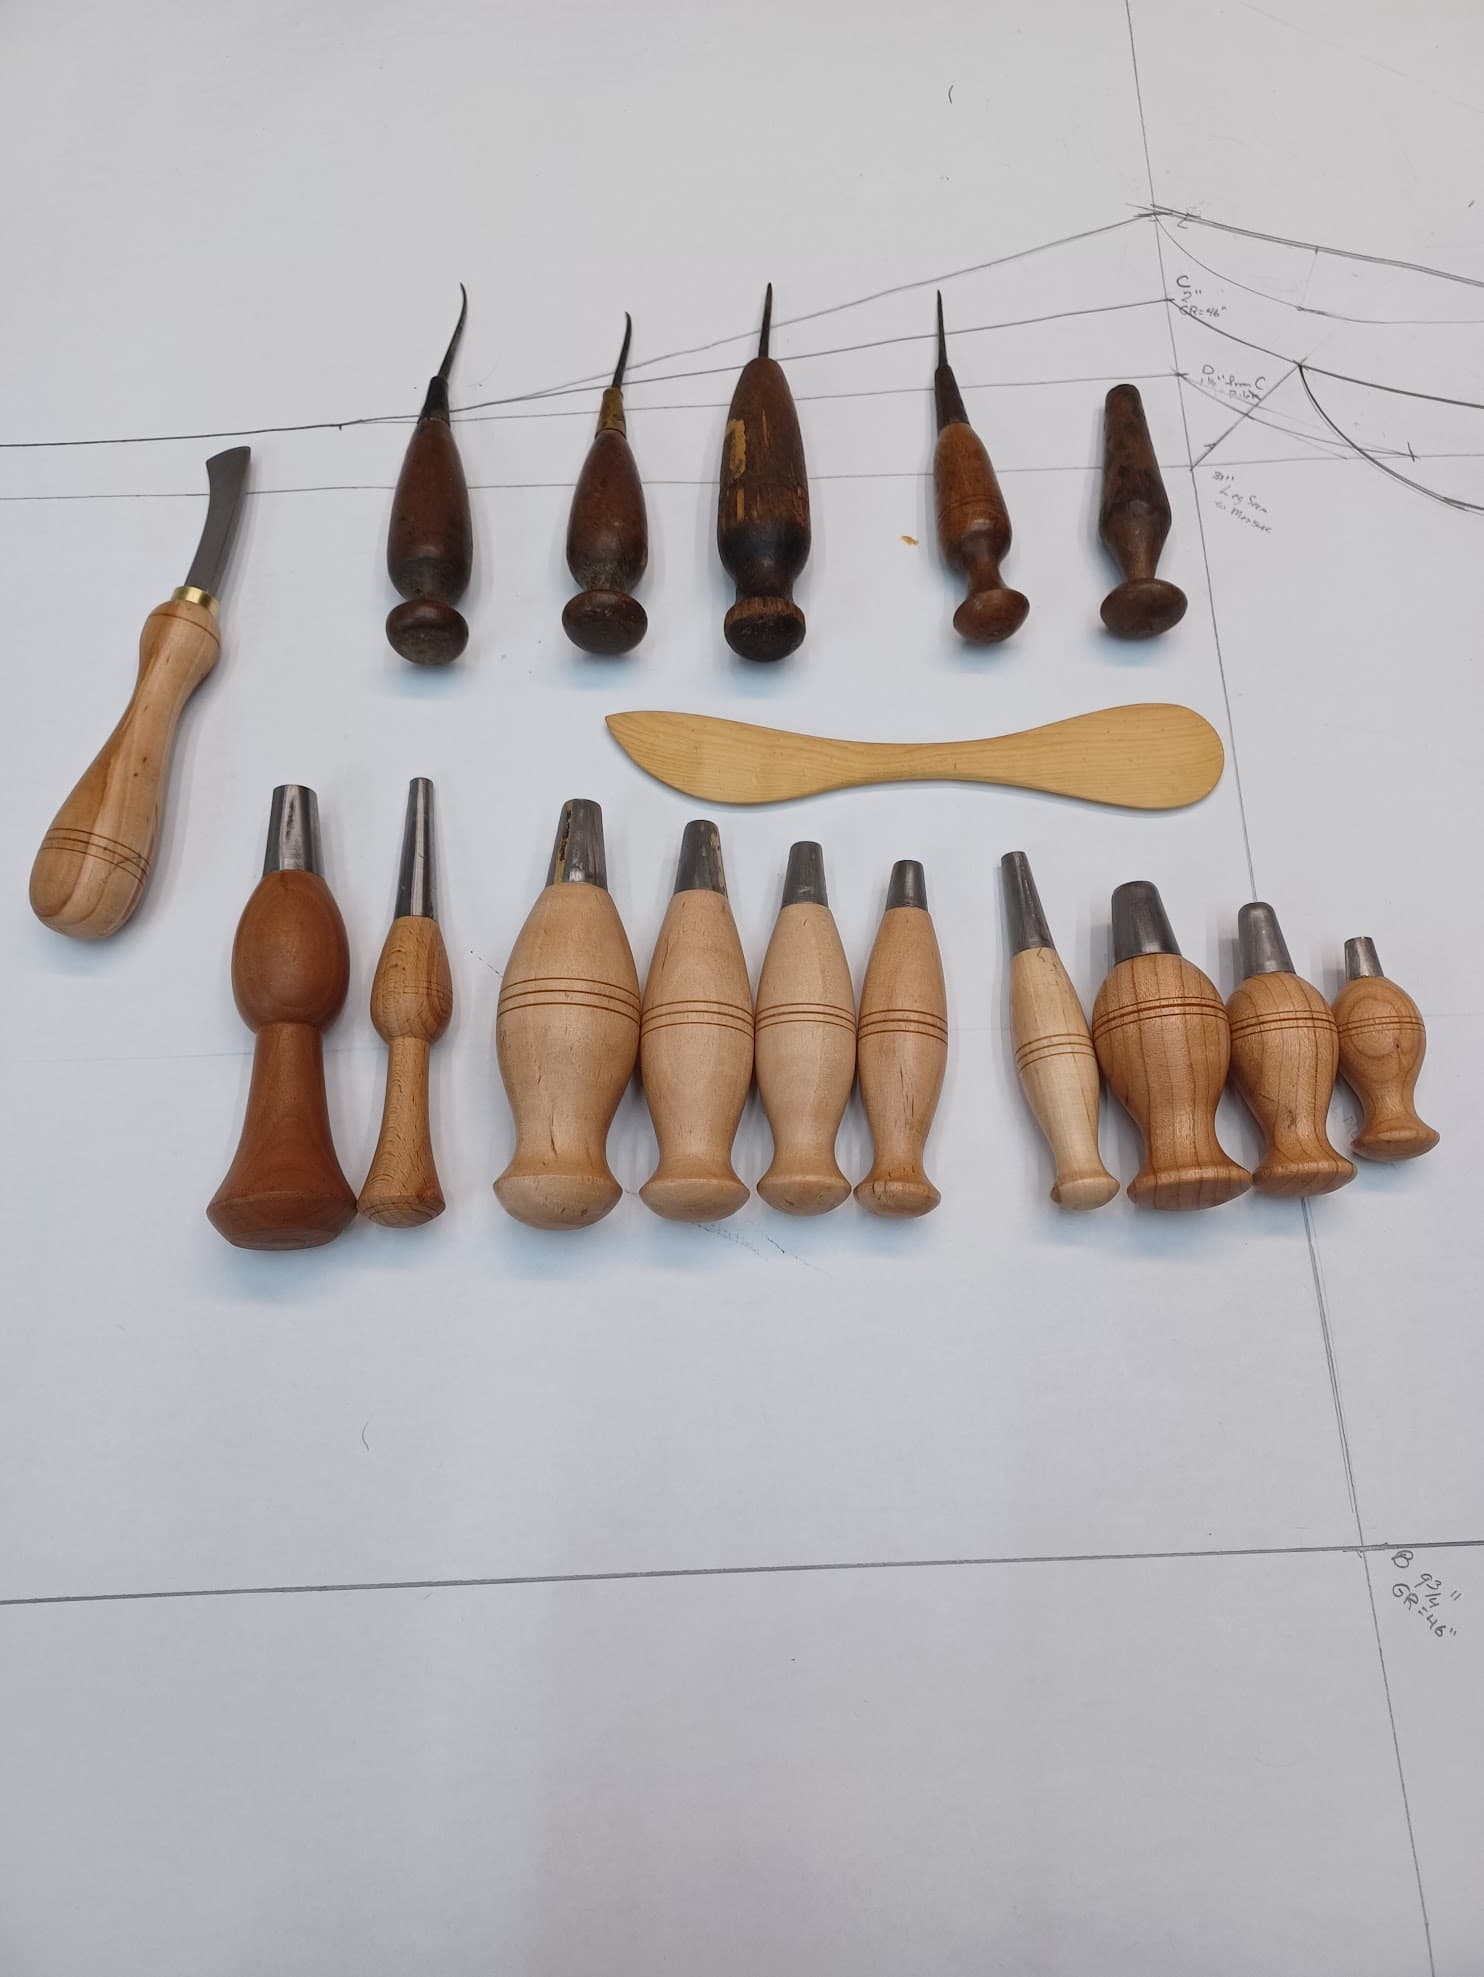
I did the shaping with basically all the tools I have, since half the point was to try them. There was also one new tool, a Shinto brand rasp made in Japan, that I can strongly recommend.

My blank wasn’t square, but if you start from a turning blank or a chair leg blank, the obvious approach would be to mark an octagon that circumscribes the diameter you want, bring the sides down, then cut the corners. I just did it by eye and by feel.


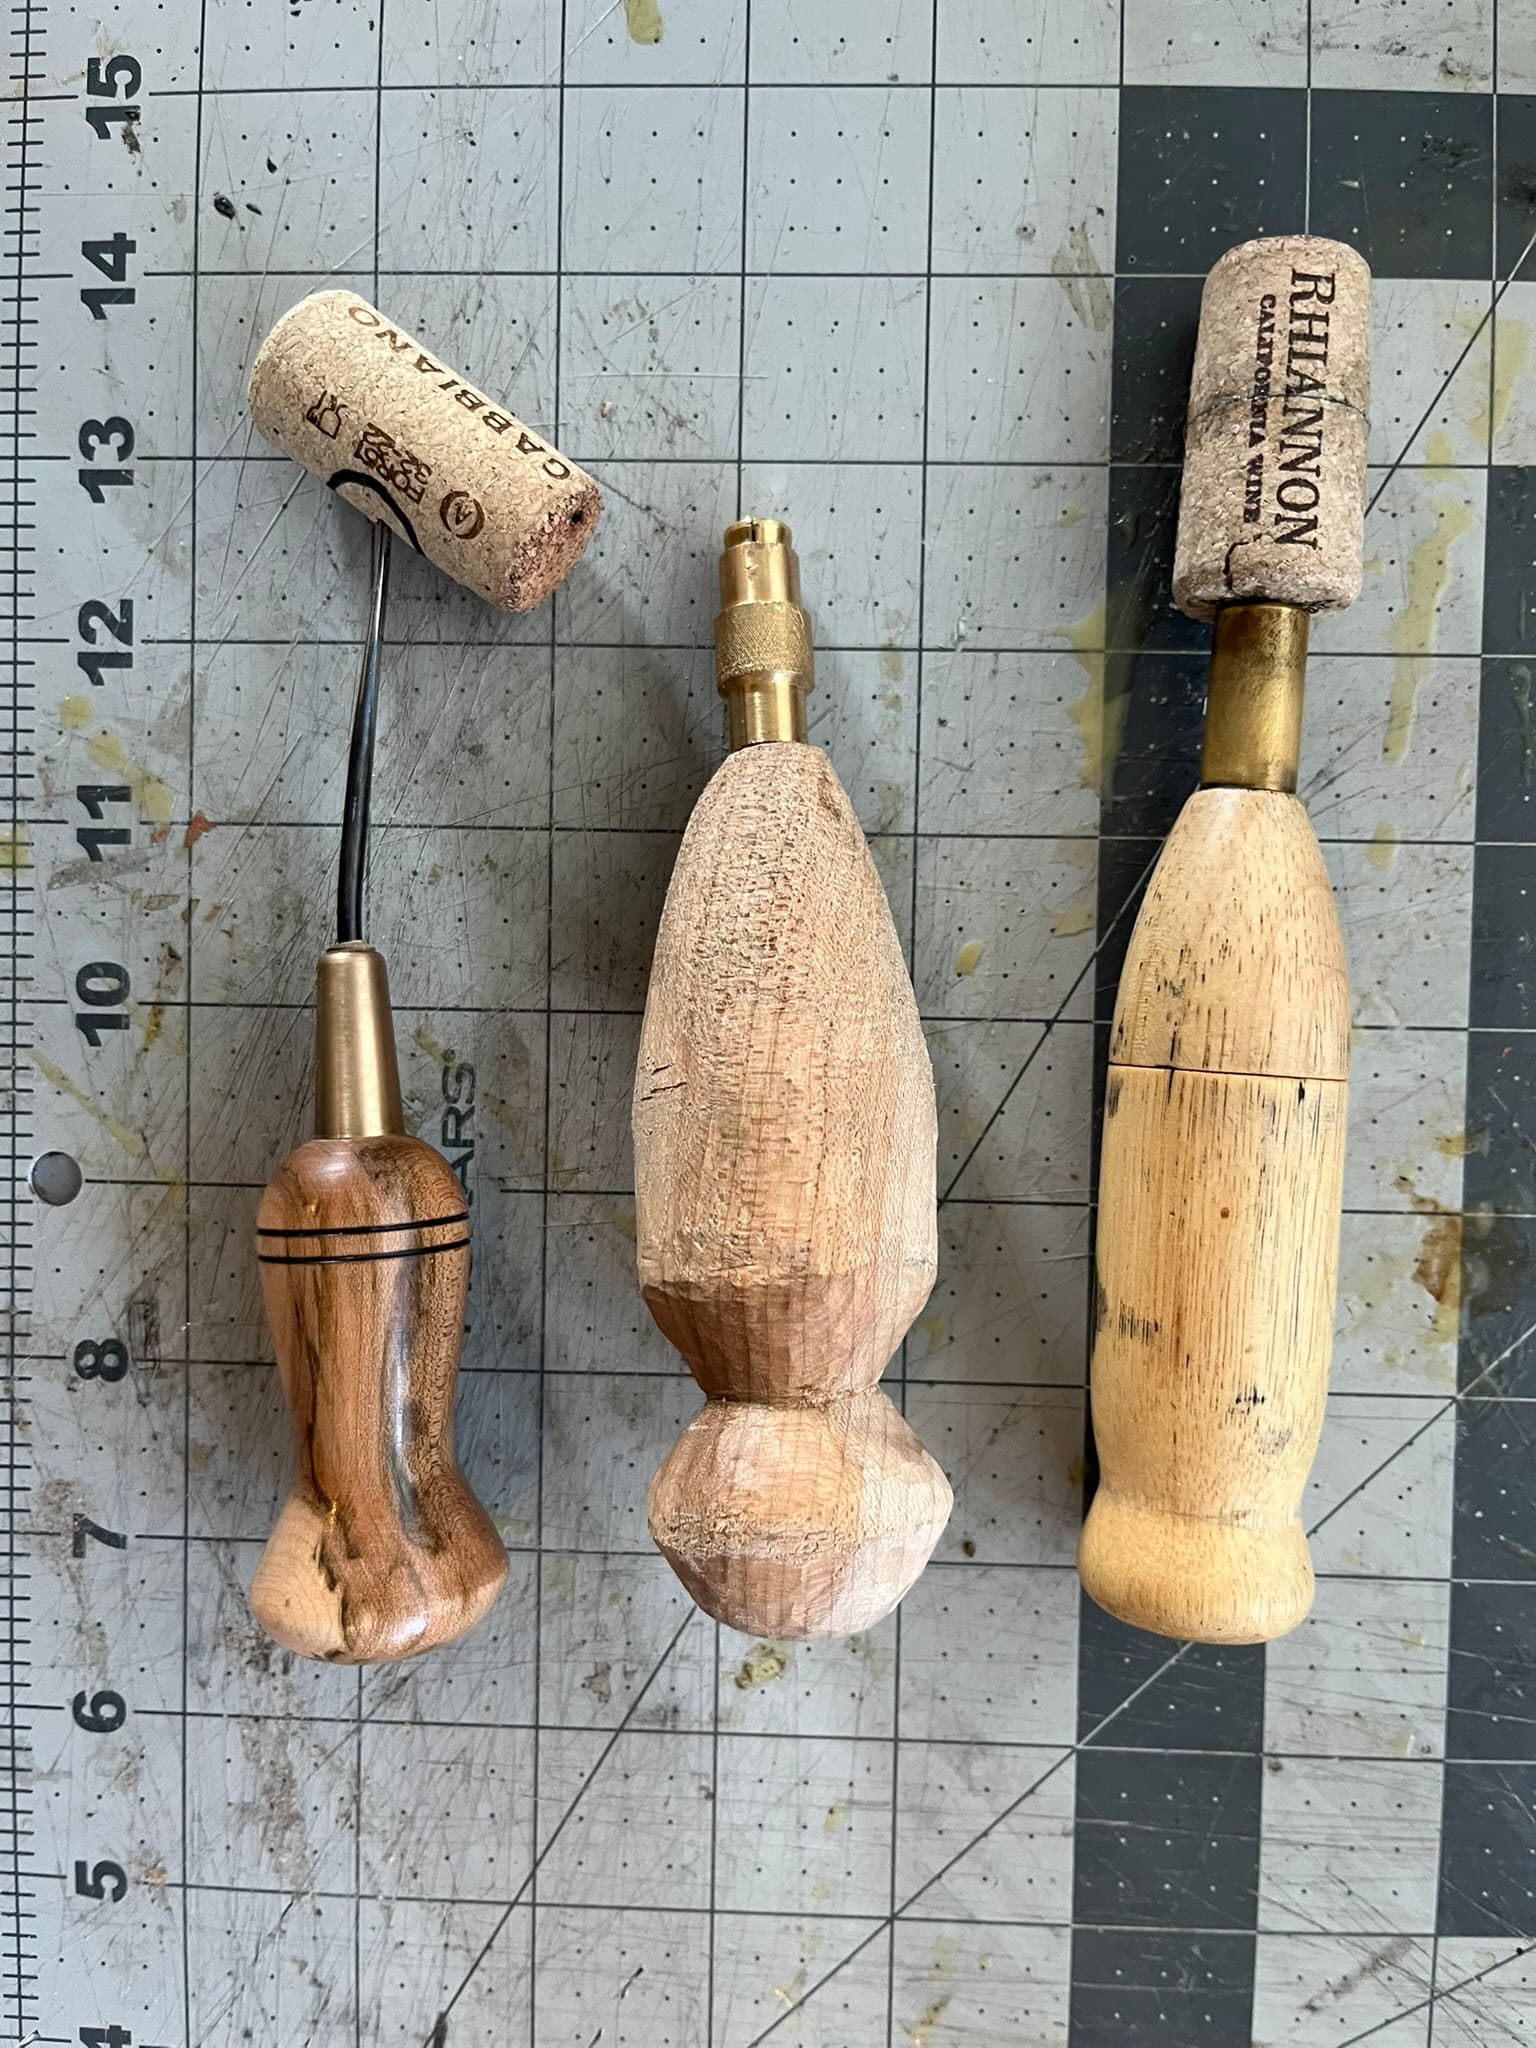
Here’s an earlier stage of it compared to a Dick Anderson size extra large and an old Tandy screw-shoulder haft.

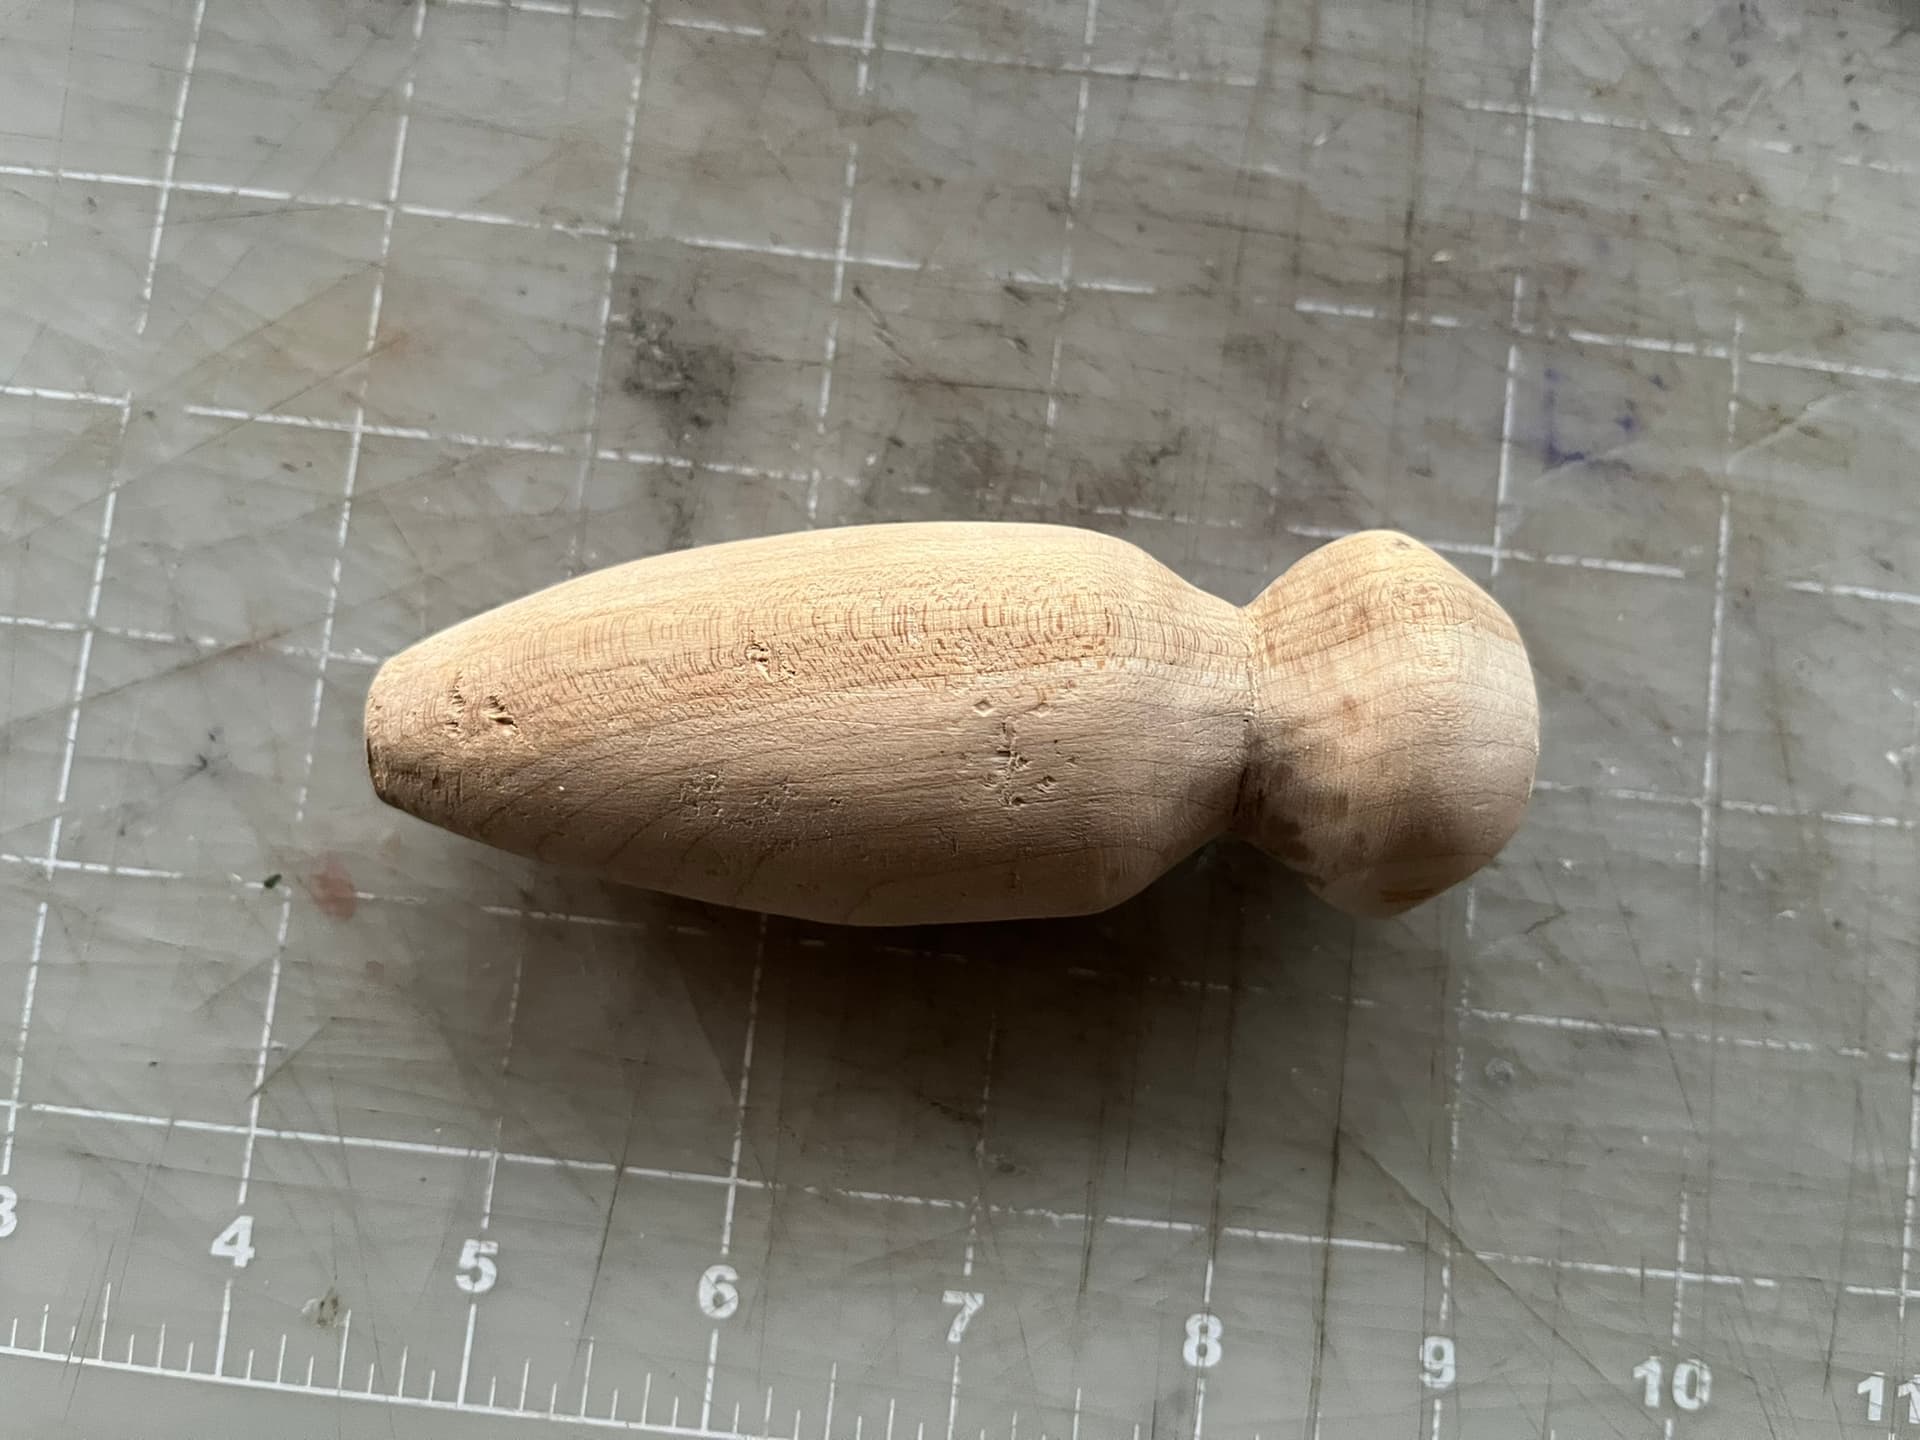
Here’s the effect of just a few minutes working with coarse emery cloth. I do recommend cloth. It seems to hold up better working curves like this.

This finish feels great for working. I mostly wanted to make sure that it wouldn’t be a terrible chore to get the appearance a bit cleaner. I could easily work this up through more grits, but for now I’d rather leave it ready for me to keep dialing in the shape.

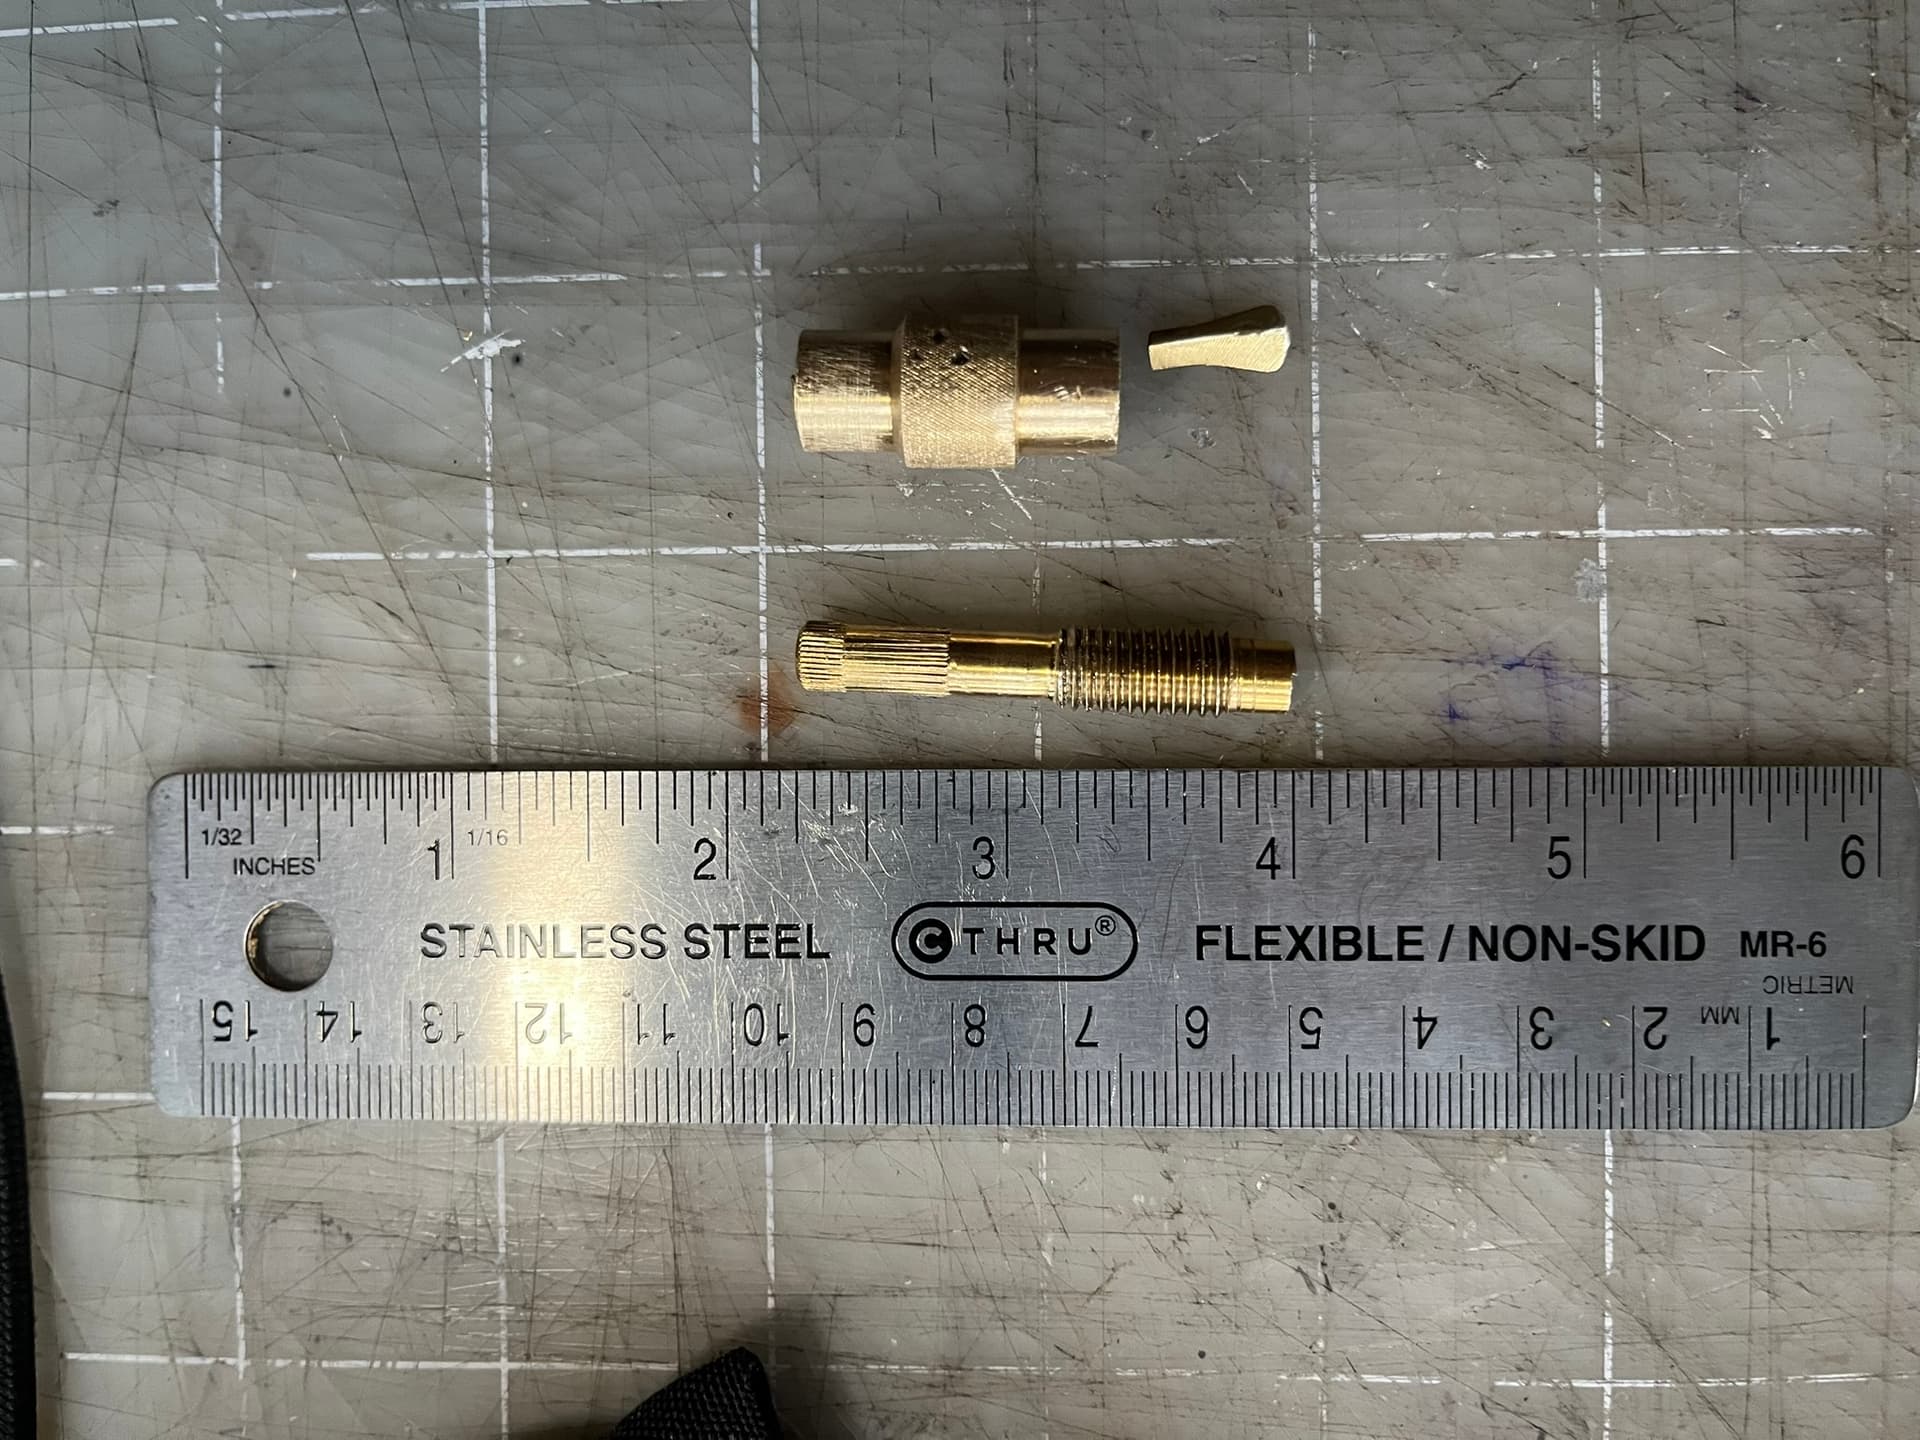
The haft is out because I broke it trying to open the jaws wide enough to chuck in an old drill bit.

In case you’d like to know what the brass chuck of an Osborne #928 looks like.

The unthreaded shank is 1/4" in diameter and 7/8" long. The threads are an American standard—I can’t remember now which one, offhand. It fit some nuts I had in my miscellaneous hardware store fasteners box.

Those came in handy getting the chuck back out: thread a nut down until it spins below the threads, thread another on to the same point, and so on, until the chuck is fully withdrawn.

The other mistake I made was probably drilling and tapping the chuck’s shank in too deep. The knurled collar needs to be able to back down far enough so the entire tapered shoulder of each jaw of the collet is fully exposed. I didn’t, and shenanigans that ensured to try to get the jaws to open wide enough bent and broke one off at its root.

For now, I think I’ll tap in a 1/4" hardwood dowel with some glue and redrill a pilot hole to friction-fit a blade.

The good news is that I’m very happy with the feel of the haft in my hand. I have relatively large but slim hands with long, spindly fingers. A bit like my feet, I suppose. So I’d never had a haft that filled my palm.

I’m also learning to appreciate the design with the rear pommel that I’ve seen so many times in photos. It nestles nicely between the two pads of the palm, near the wrist. With a quick shift in the hand, I can move it up so it’s dead-center of my palm, if I need to put a bit more pushing power in line with the blade.

2 Likes

Nice work! The little pen turning benchtop jigs on amazon might be worth a try, given how cheap they are. Then again this looks pretty good just whittled

Do you mean a benchtop mini lathe?

Yes sorry forgot the name

1 Like

I managed to find an intro lathe course at a hackerspace nearby. If I stay healthy, I can try it.

I agree a minimal pen lathe could probably do the wood part. I’m not sure about bolsters yet.

Clearly a knurled chuck takes machining. There are pin vices and Dremel chucks and the like available online, but none seems to be a good match so far.

If you get tired of dealing with the chucks, Dick just does the pressure fit thing, i think if you are able to turn your own hafts you basically have an endless supply and can commit each haft to an awl type. He demoed removing and replacing the awls at the roundup, basically just clenched the shaft of the awl in a vise and hammered on the butt of the haft to get it on, then to remove he just yanked the haft off again with the awl clamped in the vise. The little collar is superglued on and is there to prevent splitting and stretching out of the haft there. I’m guessing they can only handle a limited number of cycles, but he said if it gets loose just put a toothpick in the hole, break it off, and drive the awl alongside it.

Speaking mostly from experience in leathercraft, rather than shoemaking, I think friction fit is fine, but a good chuck is better. A good fit in the hand seems more important than either of those, but I’d like to do the best I can.

The easiest approach at the moment, assuming a lathe, seems to be to turn a flat spindle at the front of the wood body of the awl, tap on a matching length of brass tubing, and perhaps taper the tubing into a cone shape with sandpaper if it’s thick enough.

There are stacks of brass tubing in various lengths at many hardware stores where I live, often next to the balsa and basswood. I’m not sure if that supplier does multiple thicknesses for a given diameter, though.

Still, I hold out hope. It seems there are some vendors selling keyless drill chucks for Dremel rotary tools. I might give one of these a try:

The small version with the 3mm tang seems most promising to me.

I broke a Dick Anderson on a repair job late last year. I just tapped the blade out, much as you described Dick doing at his demo. He’s glad to sell separate blades.

I’ve also filled and re-drilled hafts many times. Just cut a length of hardwood dowel, drill a hole with a bit of matching size, and glue it in. Square up the awl and drill a new pilot hole for the next blade.

I’ve never used a toothpick to shim one, but don’t see any problem with it. That might work better if you’re not set up to drill, or not set up to drill accurately. That can be a trick in round awls with no opposing square surfaces to clamp. I personally just use a pin vise and take my time.

Some rough measurements of the long, tapered ferrules of a few awl hafts:

Maker Base Tip
Rocky Mountain 10mm 5mm
Anderson 12mm 8mm
Starko 12mm 6mm

12mm is a little shy of a half inch.

Another design for awls

1 Like

I’m hoping to figure out how to turn ones like this:

I suspect it can be done by turning once with the blank centered and again with the centers offset at an angle.

Nice work on the awl haft, it’s beginning to look good. I had been considering getting into making awl hafts and I was beginning to look at mini-lathes and associated cutting tools, etc. Then I started to realize with all of my other projects and “hobbies”, that starting yet another project just seemed like a stretch. LOL Then a few weekends ago, I attended an artisan show where I met a turner I had heard about, and he had some really beautiful hafts for sale. I must say, while perhaps not as satisfying as being able to say that “I made my own”, I really am quite thrilled with these! The new awl hafts are on the bottom of the picture, and there are some old vintage awls I picked up at the same show.

Those look great! They fatter ones remind me of the ones I’ve got from Dick Anderson. The three stripes are definitely traditional. I hope they work well for you!

Your note about adding yet another thing struck home with me. That’s kept me from diving too far in so far. I’m fortunate to have a local maker space that boasts both a wood shop and a metal shop. I’ve signed up for some intro lessons and safety courses there, but haven’t yet taken the plunge.

Part of what’s motivating me is that I’ve had a bit of trouble getting orders through with Dick Anderson lately. I’m not sure if it’s the winter or some private matter slowing him down. At the same time, he’s been really generous sharing tips about his process. And I’m still inspired to try an asymmetric, palm- or pistol-style awl, especially for outseaming.

https://www.instagram.com/p/B1Lg-4oCj2N/?igsh=ZDc2NGxnODVjMnMw

1 Like

Nice! I hadn’t seen such a shape before.

1 Like