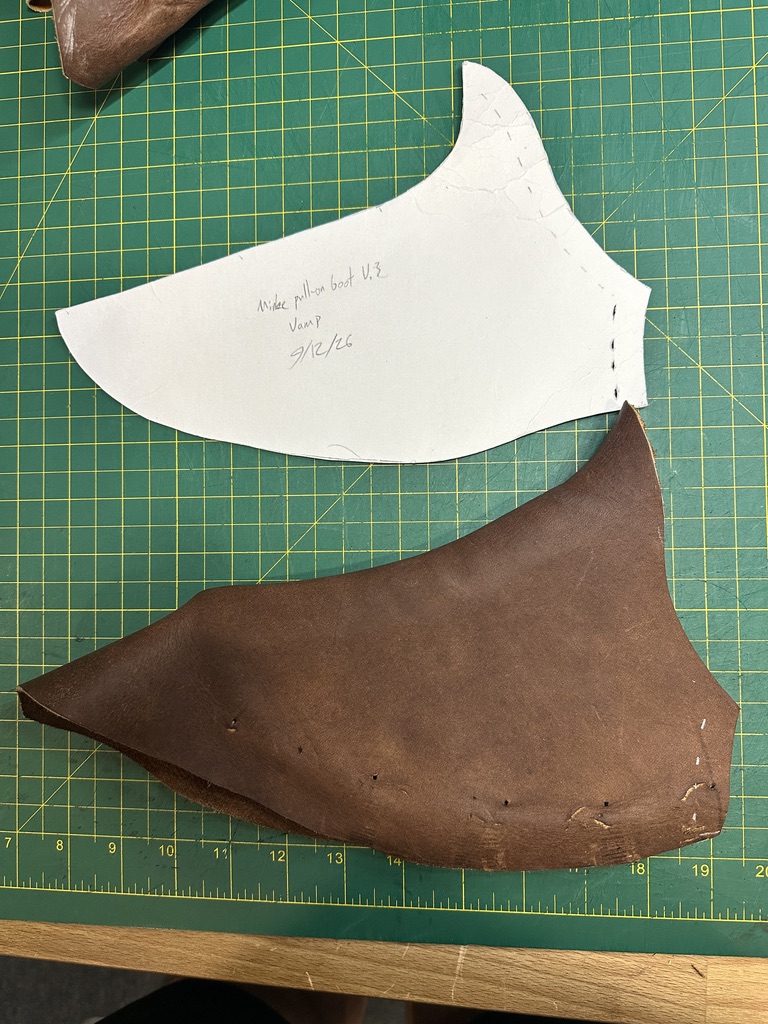
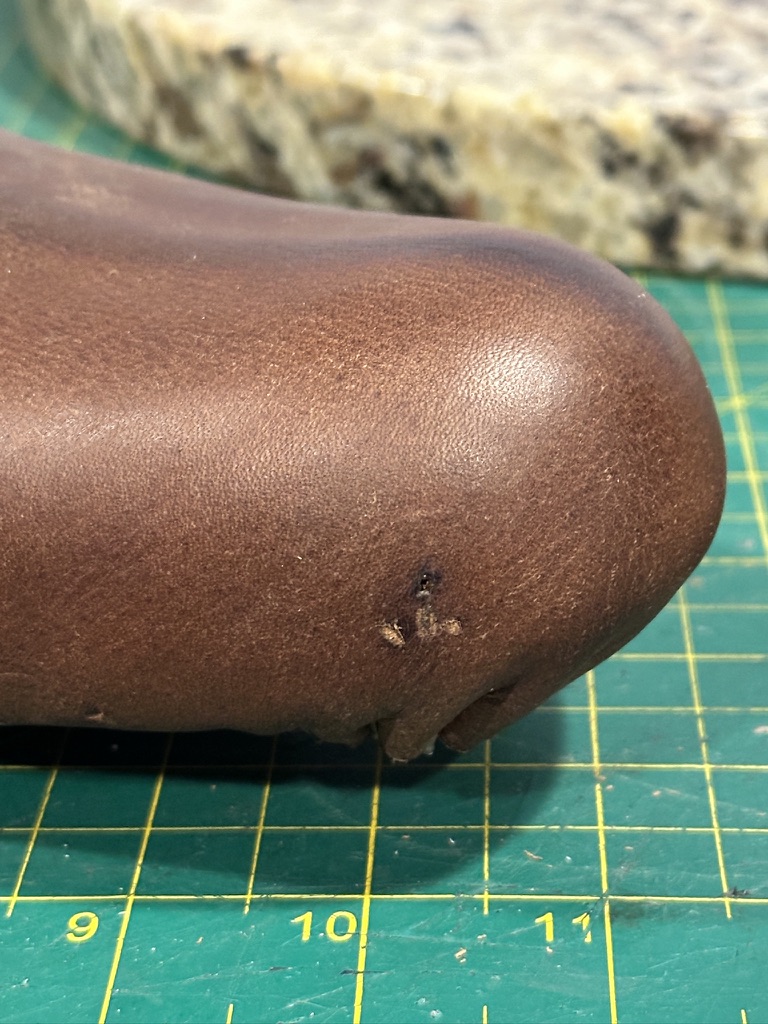
Over the past few years, I’ve used a journal app to self-evaluate my projects—noting where things have gone well or have improved, highlighting trouble spots to be mindful of in future builds, and other miscellaneous observations. However, I mostly end up writing my journal entries as post-mortems instead of in-progress memos, which means I often don’t remember the more granular stuff, and that makes it difficult when I’m trying to recall the specific hows and whys of my process. I’m going to do my best to follow others’ leads and provide some updates here as I go along on this current project.
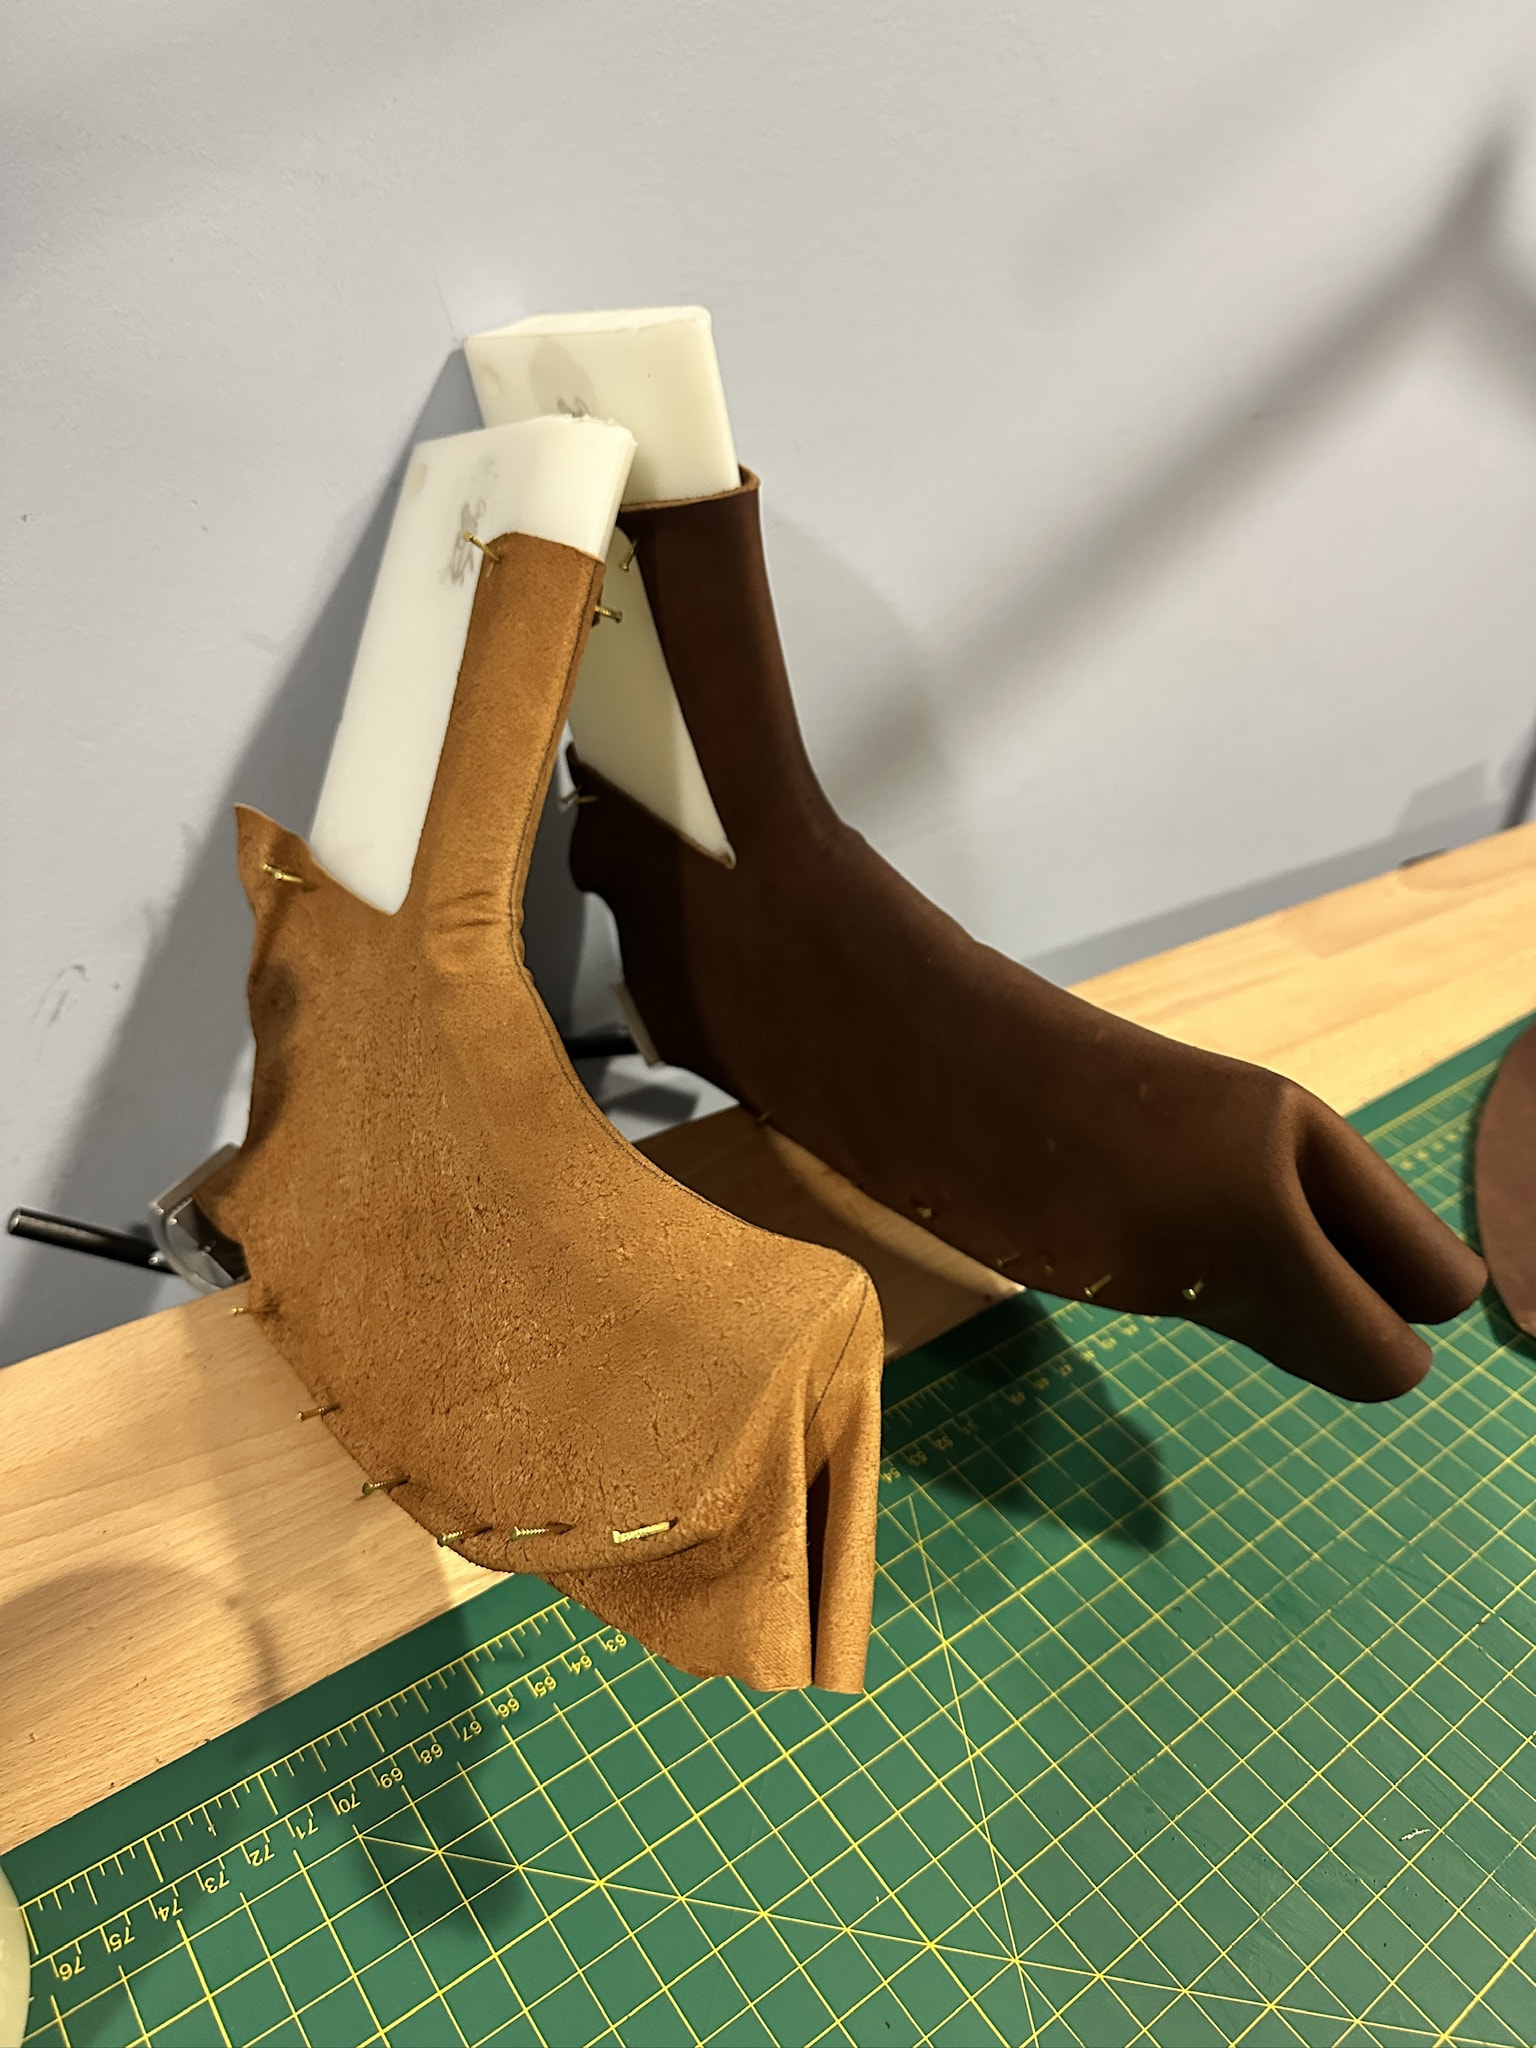
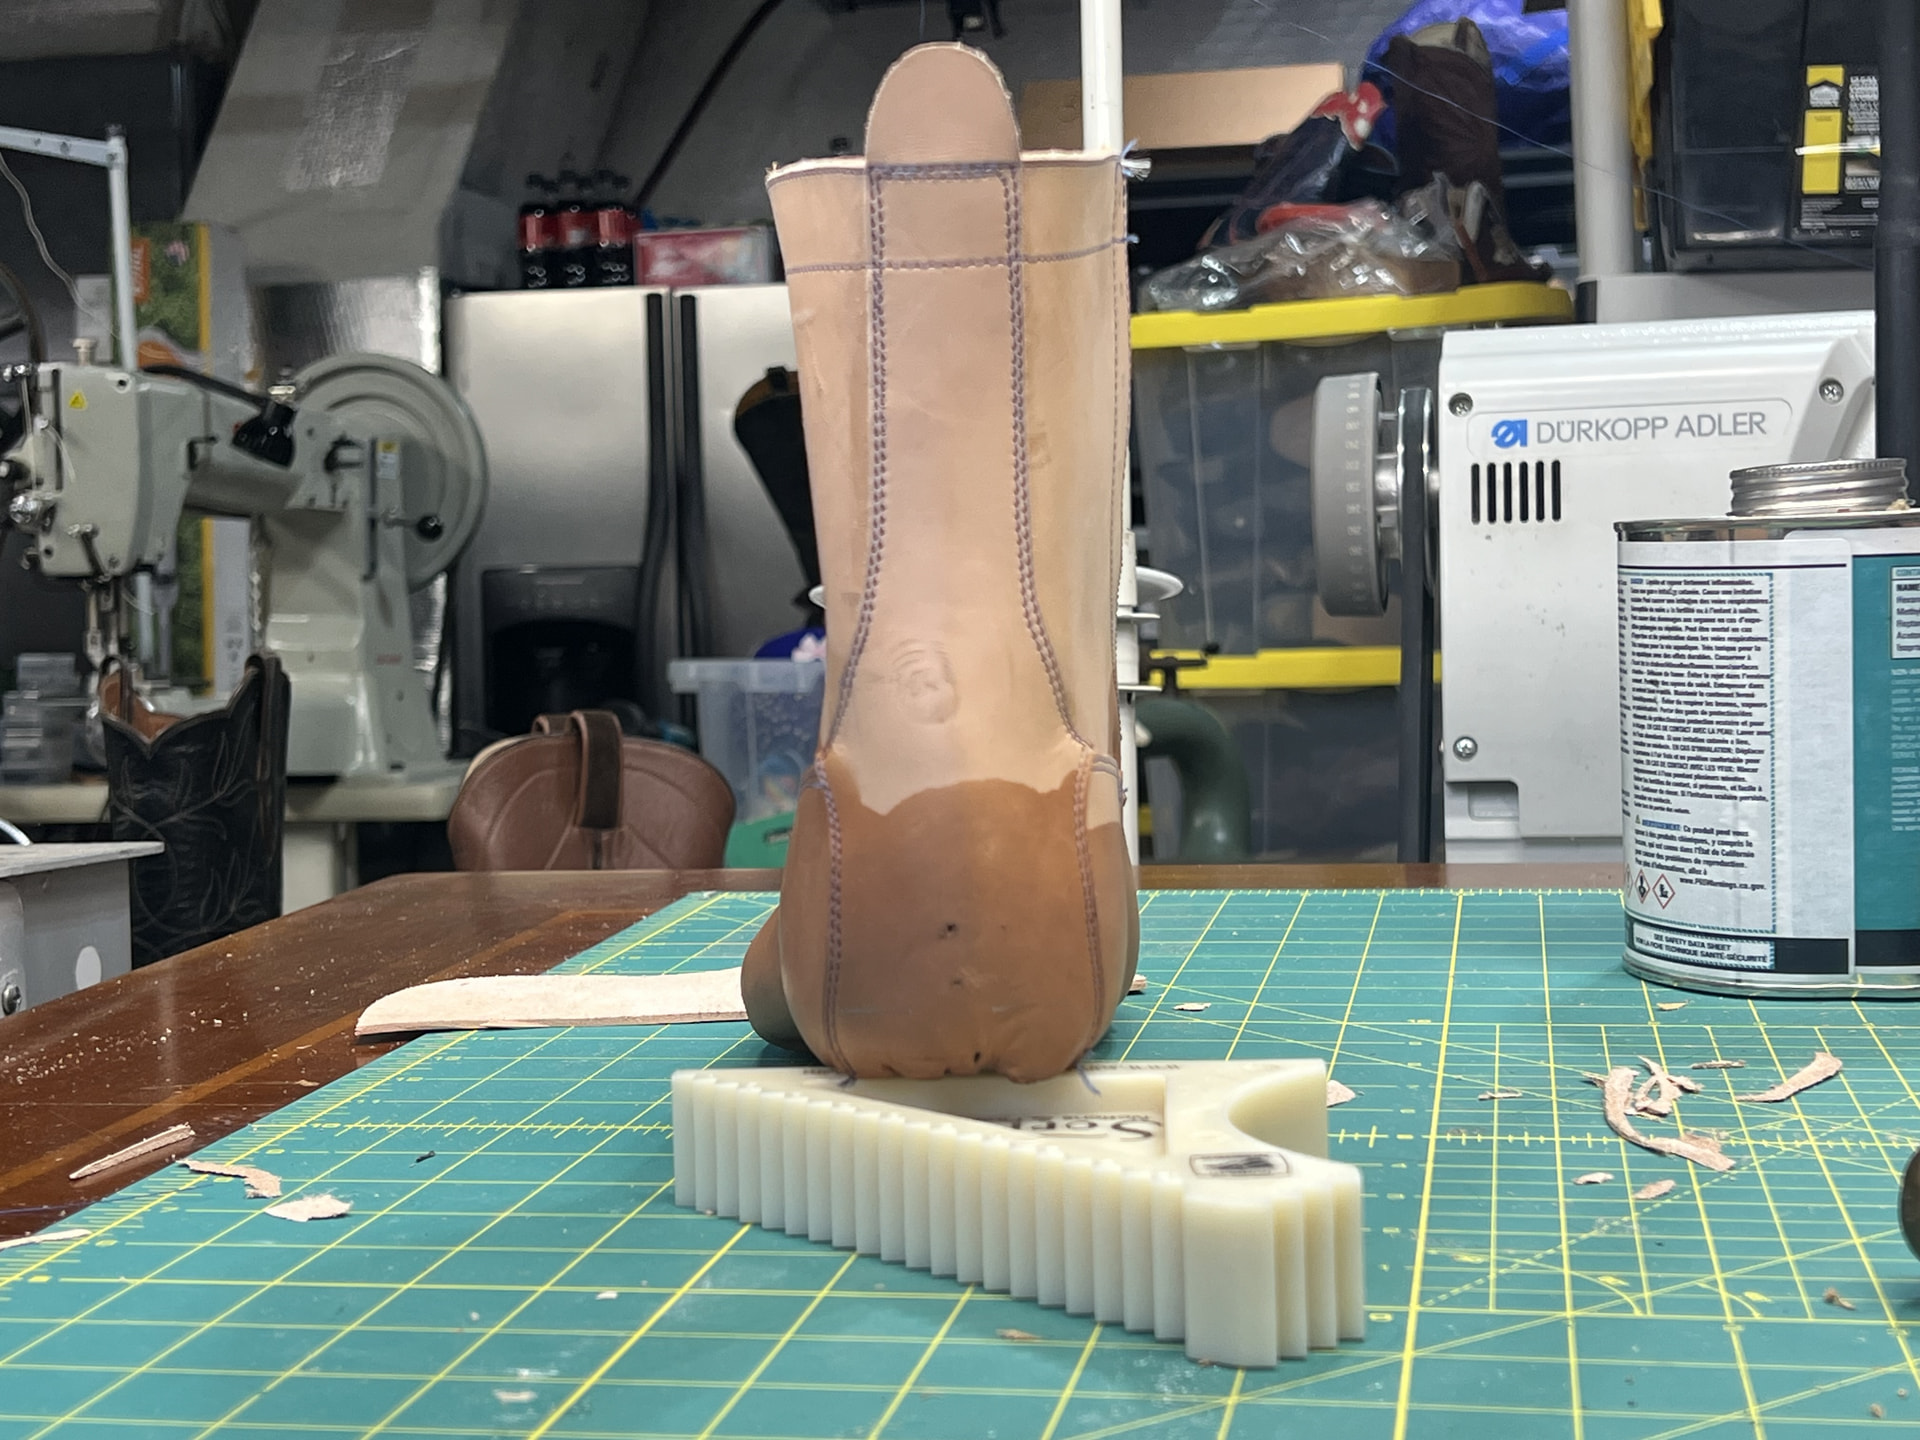
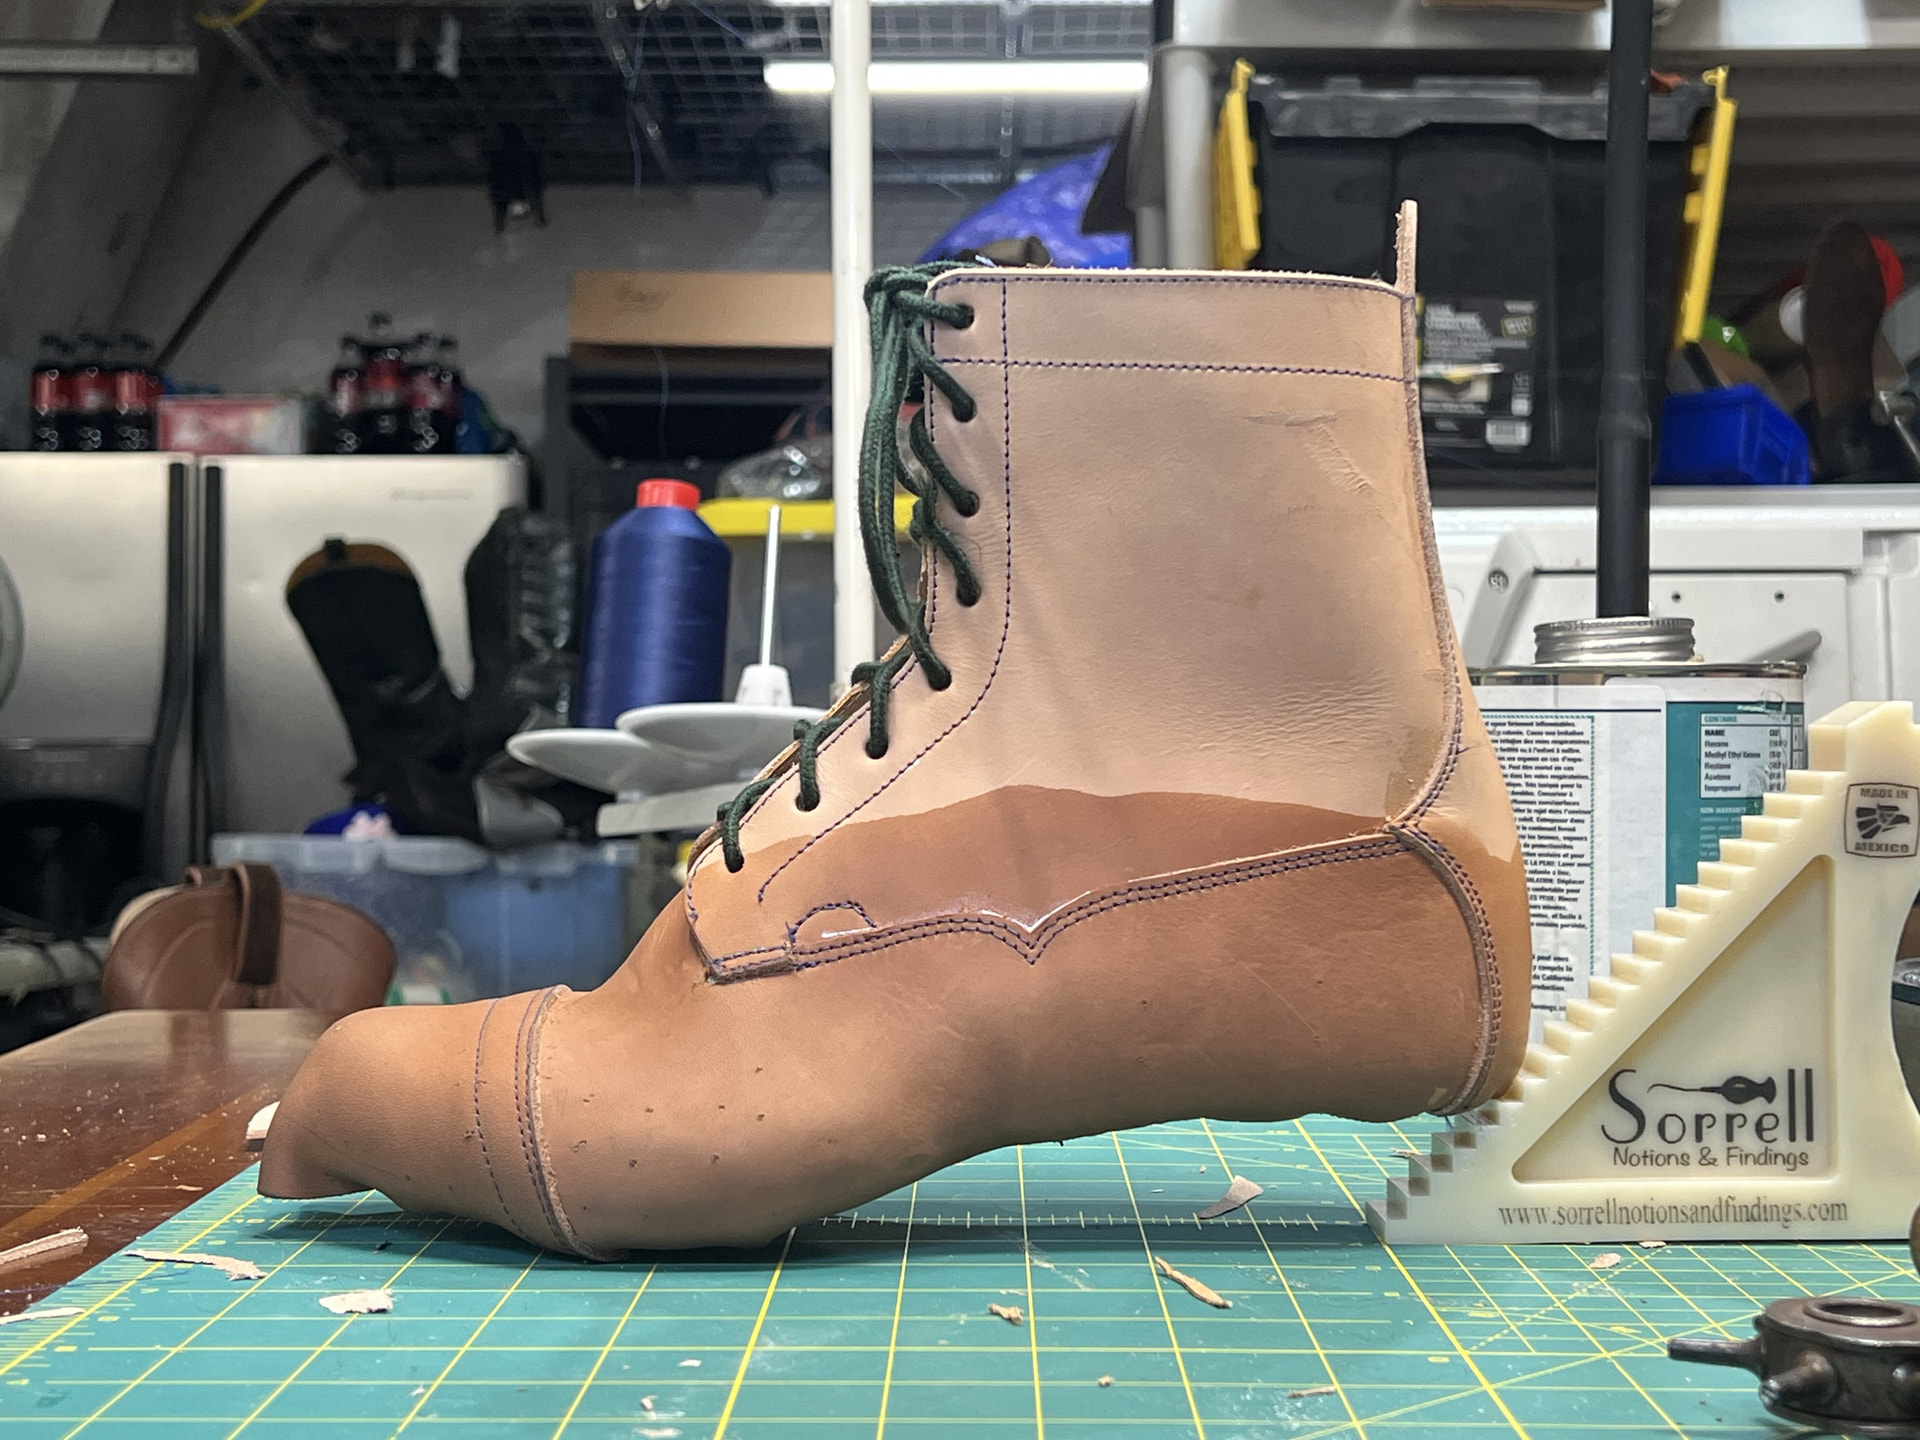
This is another attempt at creating a pull-on (roper, wellington, yada yada whatever) on a Minke 2504 last. Nathan Florsheim kindly gave me this last since he no longer had any use for it, and he thought it had a good toe shape for a pull-on. The first build on this last had all kinds of issues, and it frustrated me to the point where I needed to walk away from it for some long periods of time. I had hoped to make it a full build, but because of the problems I had with patterning and some other mistakes I made, I decided to turn the boots into essentially a fitter pair—once the uppers were done, I did a very slapdash job of bottoming the boots with some crude soles and heels. I recoil in terror every time I look at this photo, but here is the result:
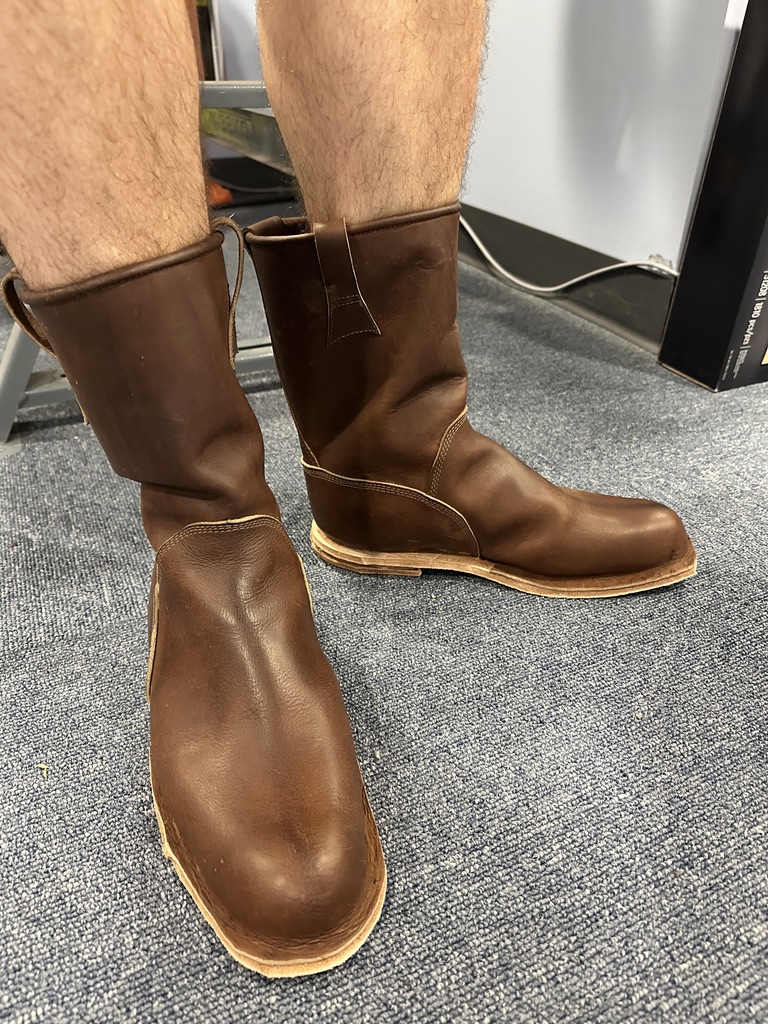
Patterning issues and overall ghastly looks aside, the boots did indeed fit. Now to take another stab at making them.
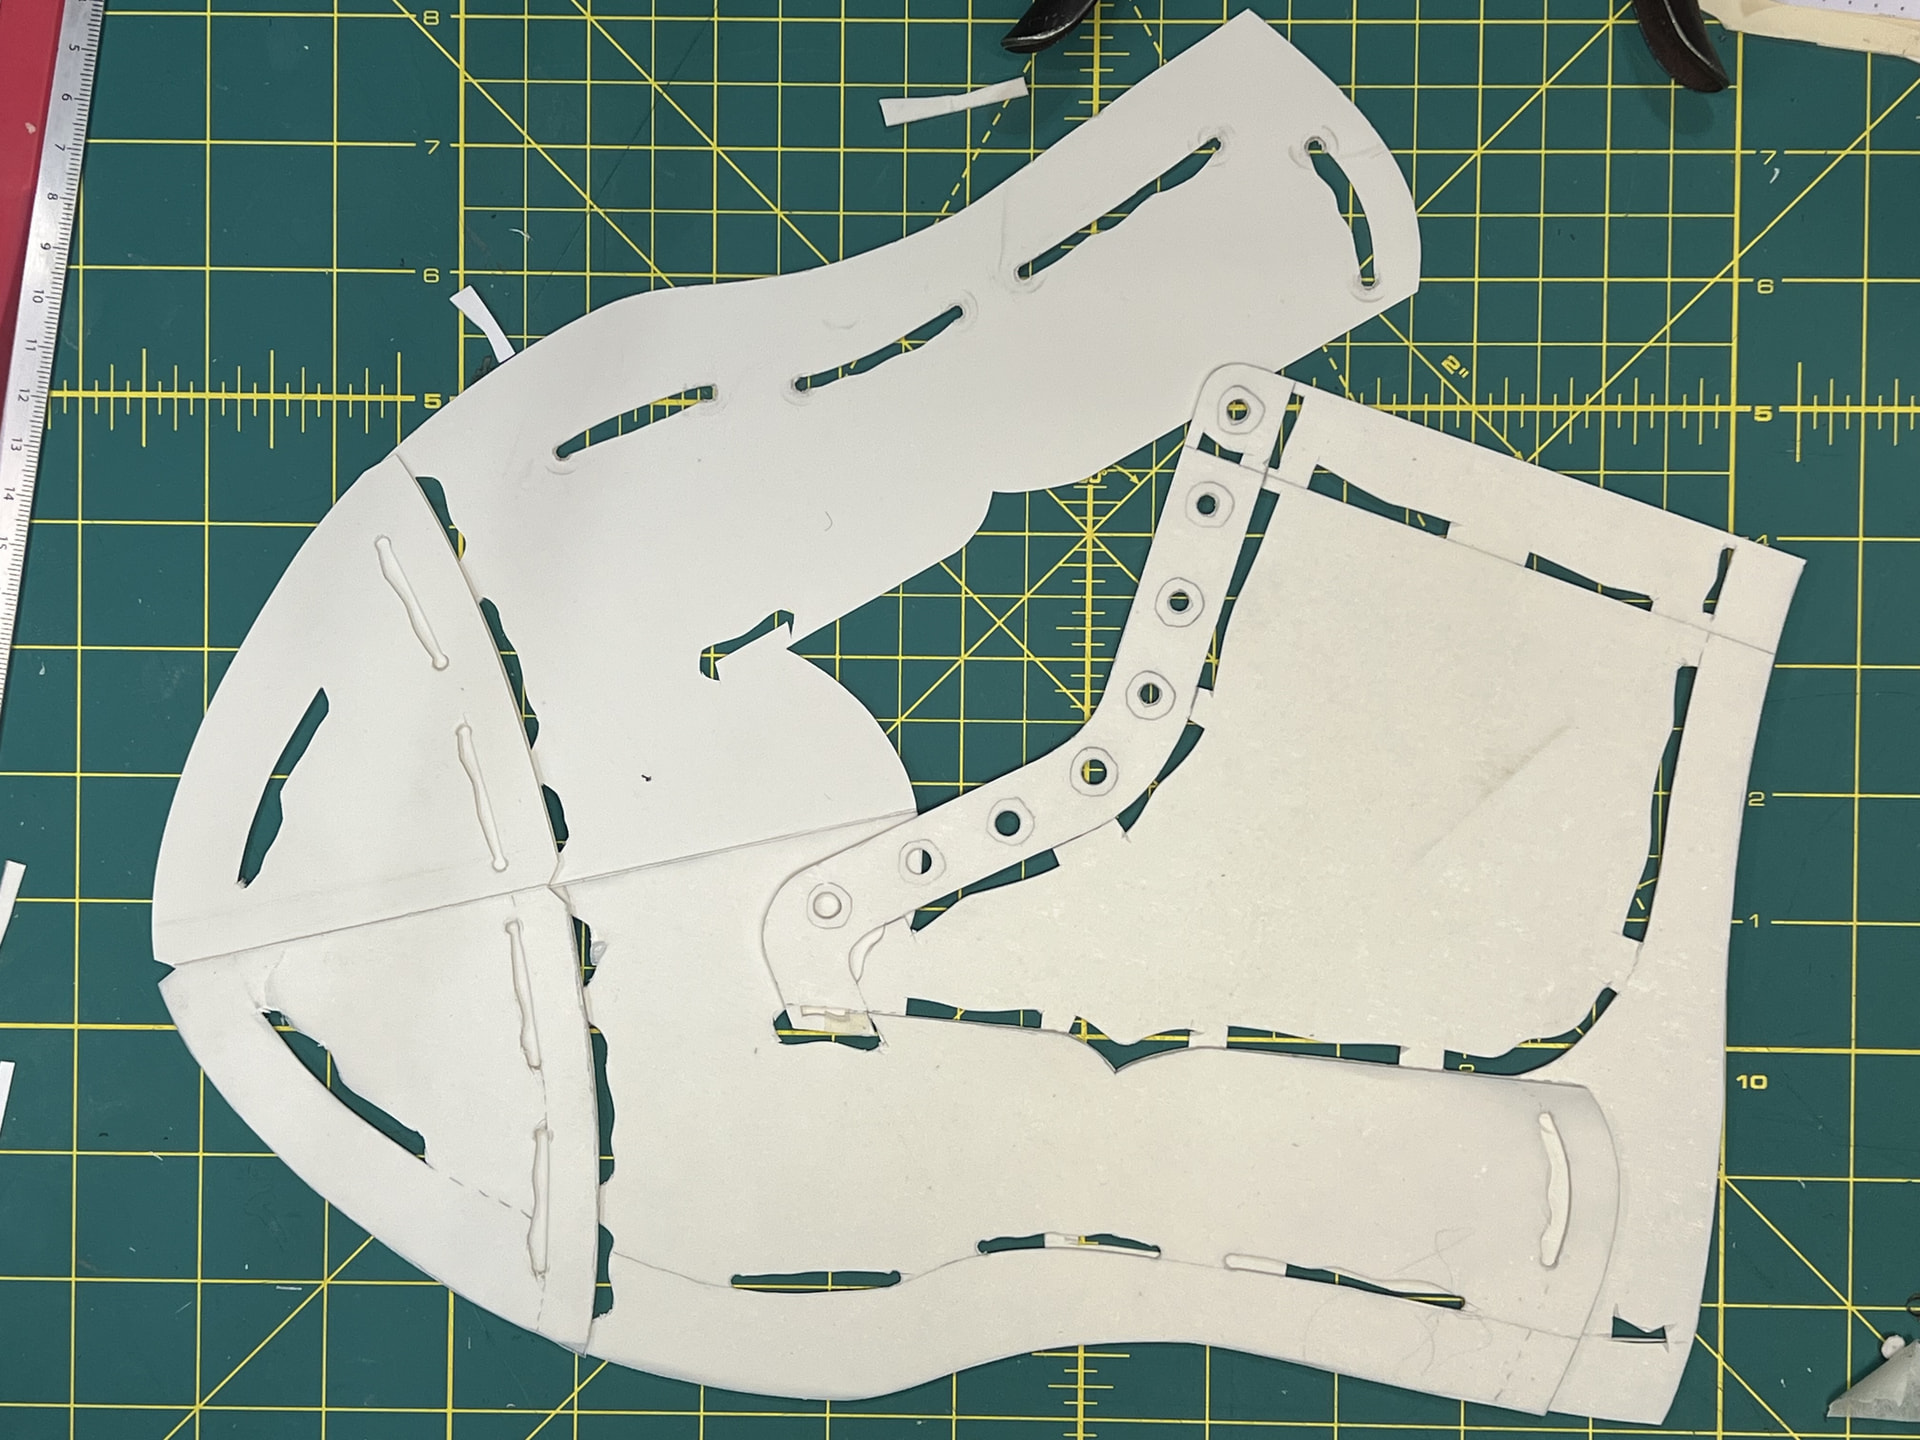
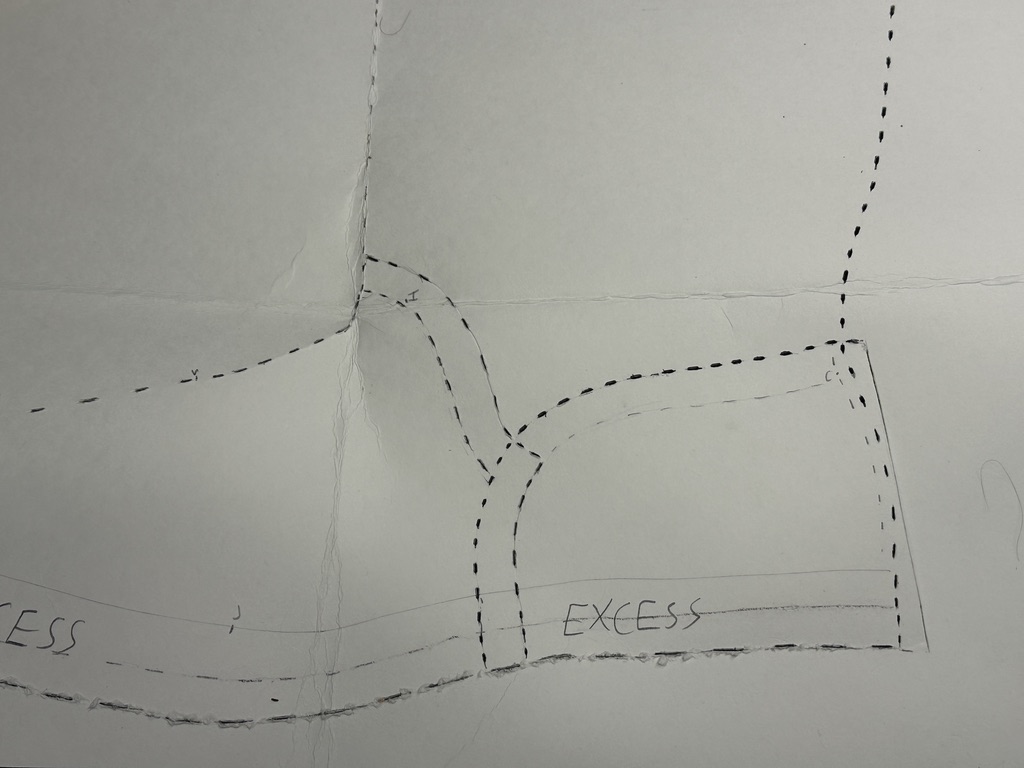
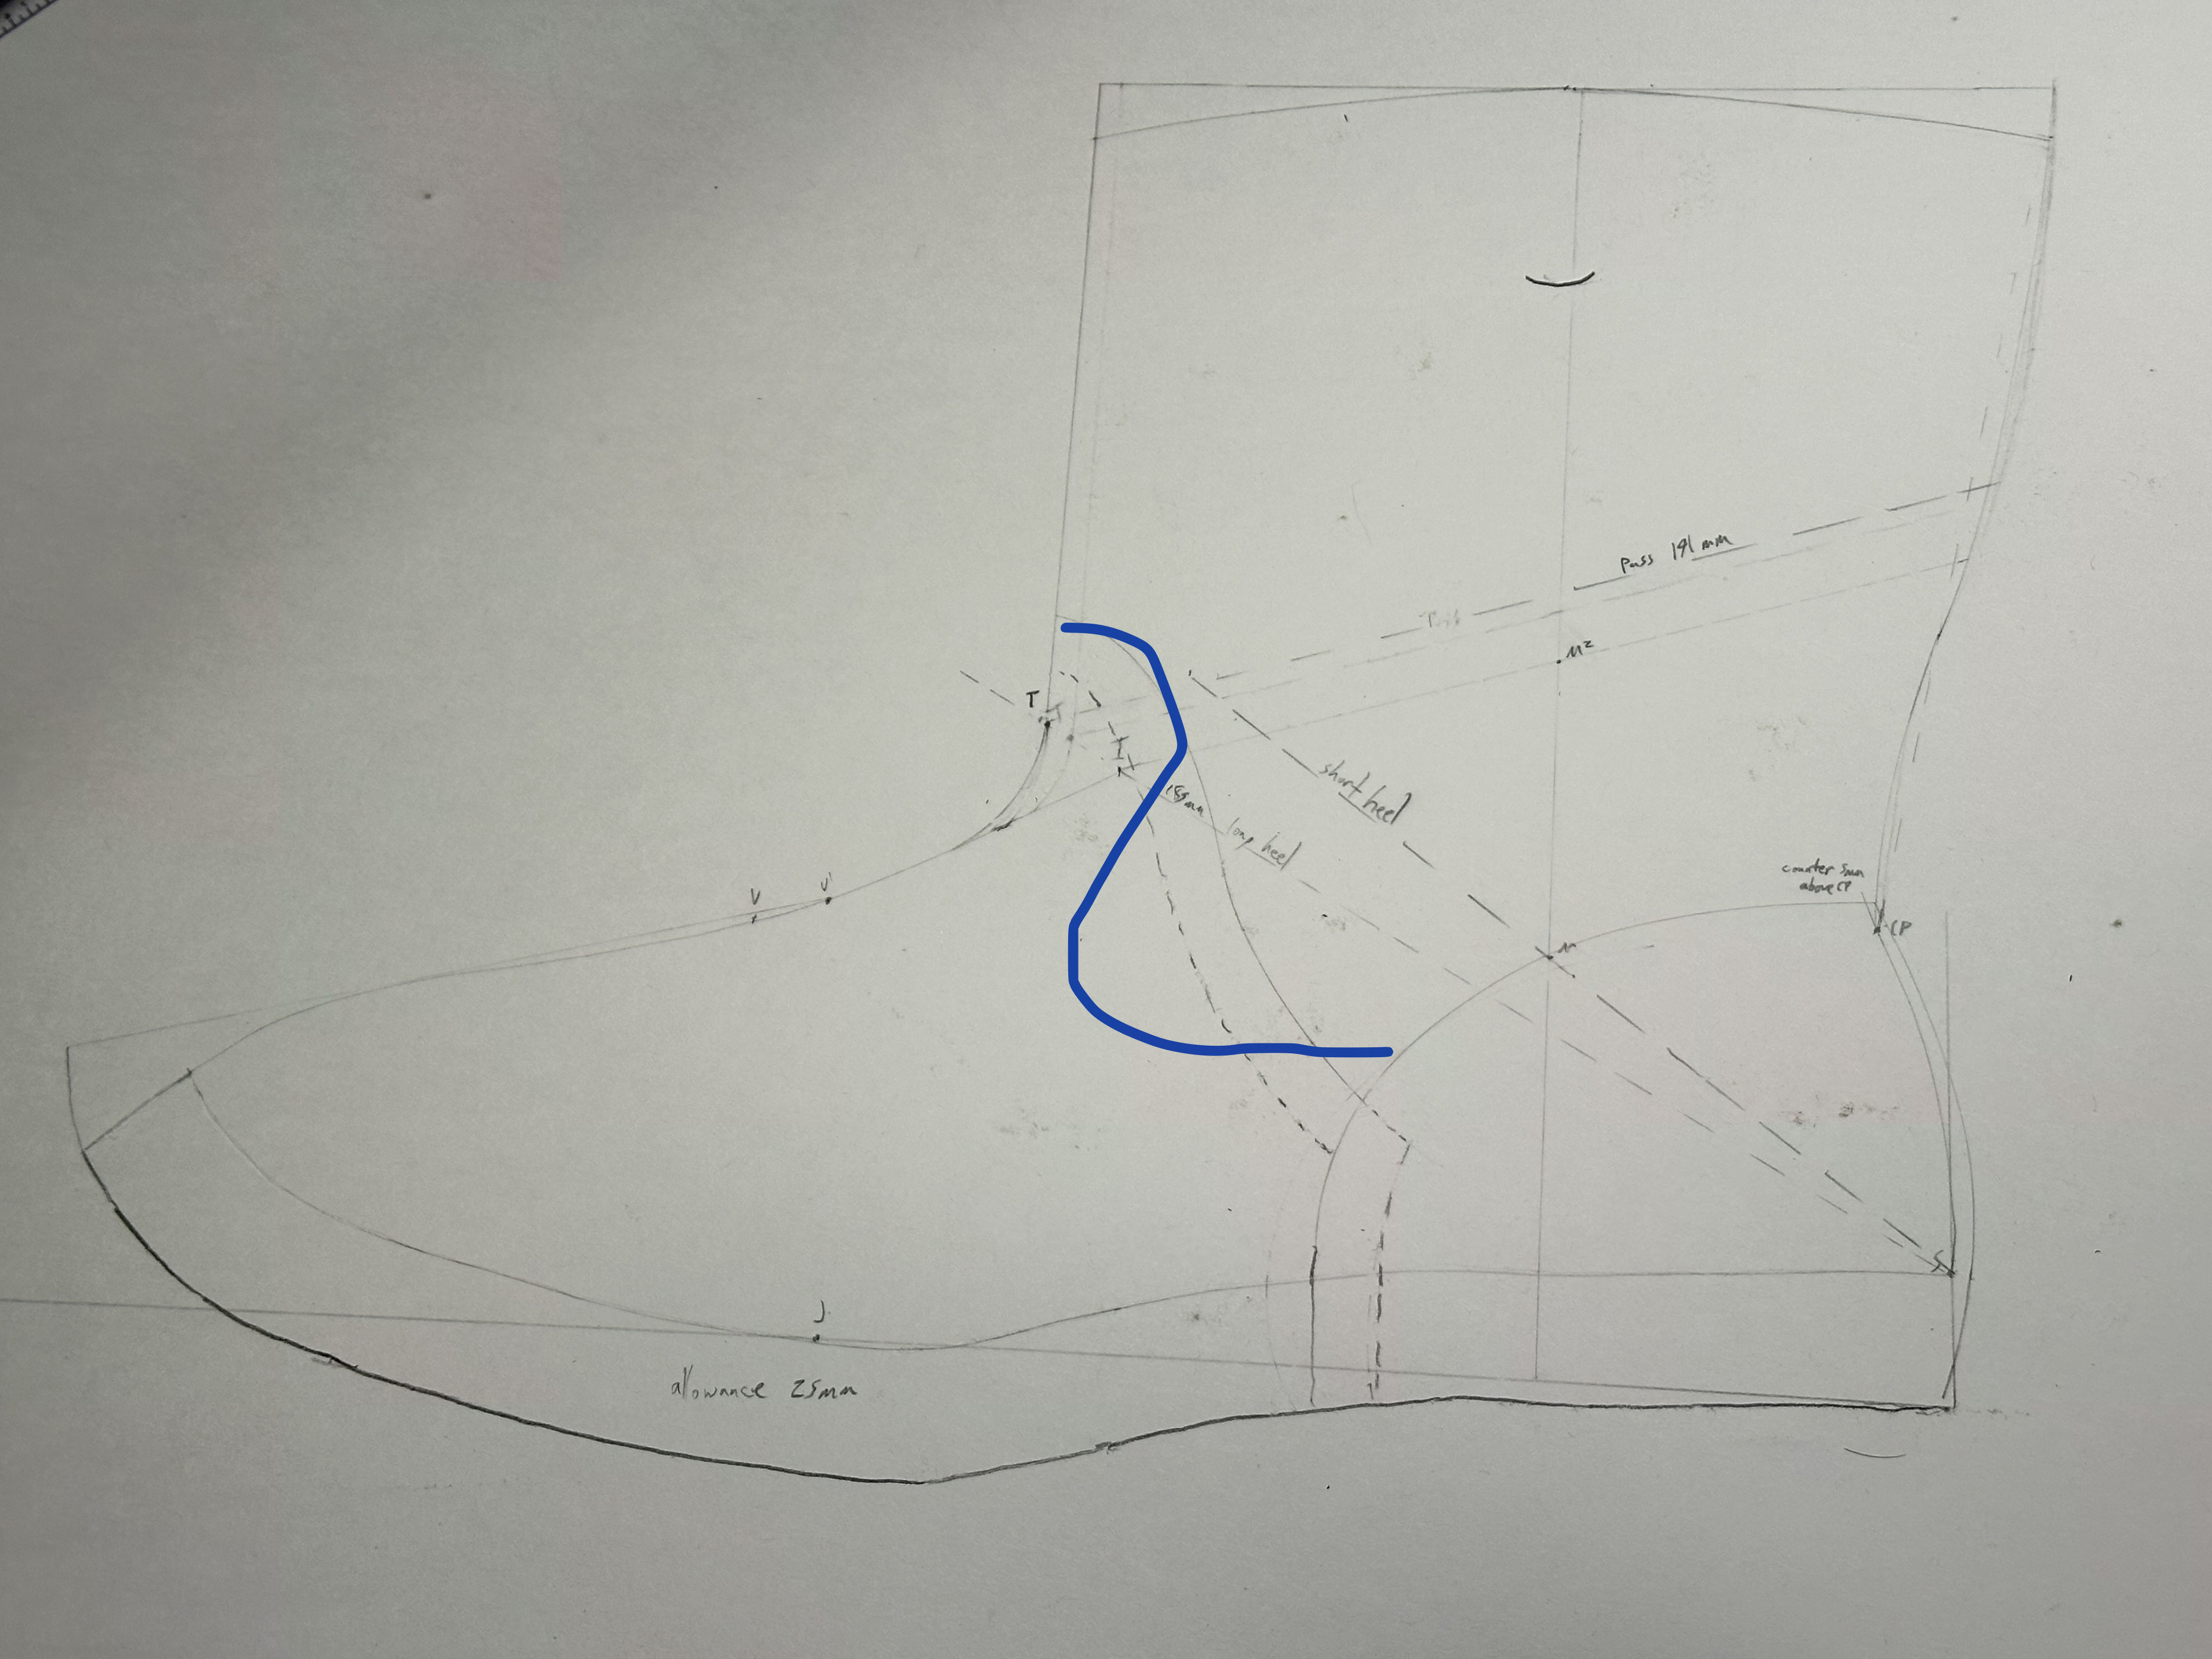
Lately, I have been using Pattern Cutting by Frank Jones as my basis for creating my patterns. He has a chapter that lays out the fundamentals of creating a standard for a tall laceless boot. There are some aspects in his approach that I’ve had to modify for my own; for example, he advises for a fairly modest lasting allowance of 14mm, whereas I find I need one closer to 25mm for my purposes. His pattern also calls for a lined quarter with a stiffener in between the layers. I am making my boots unlined, thus I need to pattern for a counter cover on the outside of the shaft. (I have made a few attempts at a stitched-in heel counter, but I have found it to be very difficult to assemble, and I have had trouble getting the counter stiffener to actually be…stiff.)
Here’s a look at the standard:
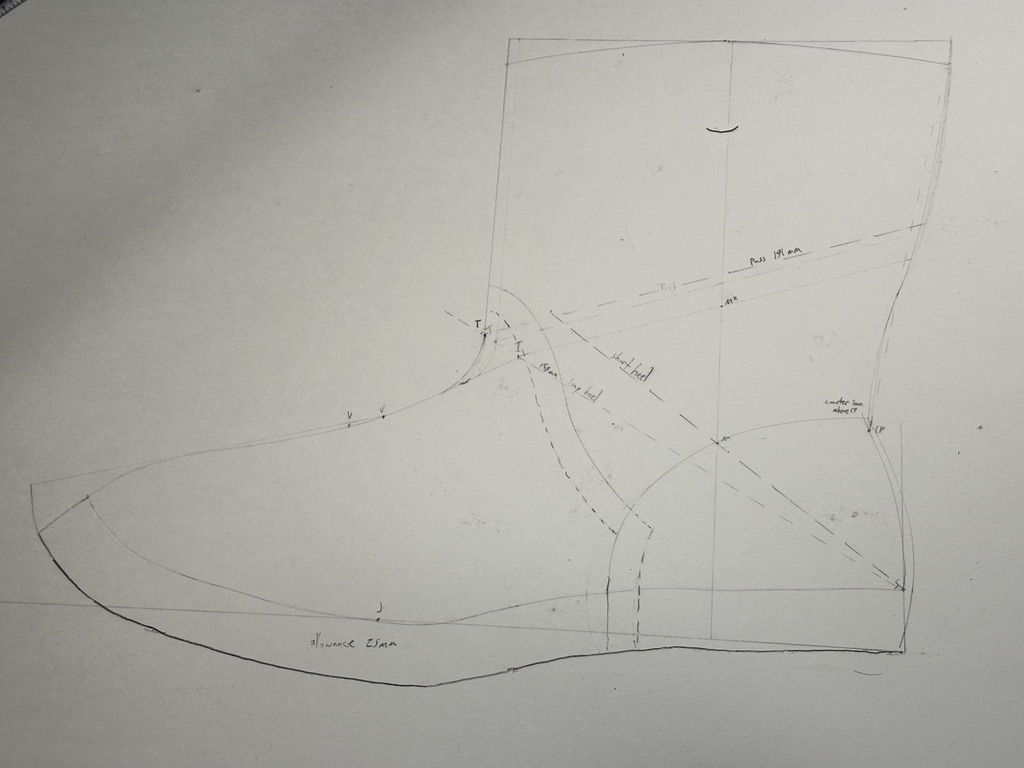
While the long heel measurement is 185mm, I extended the pass line to 191mm to allow for a slightly easier entry and exit.
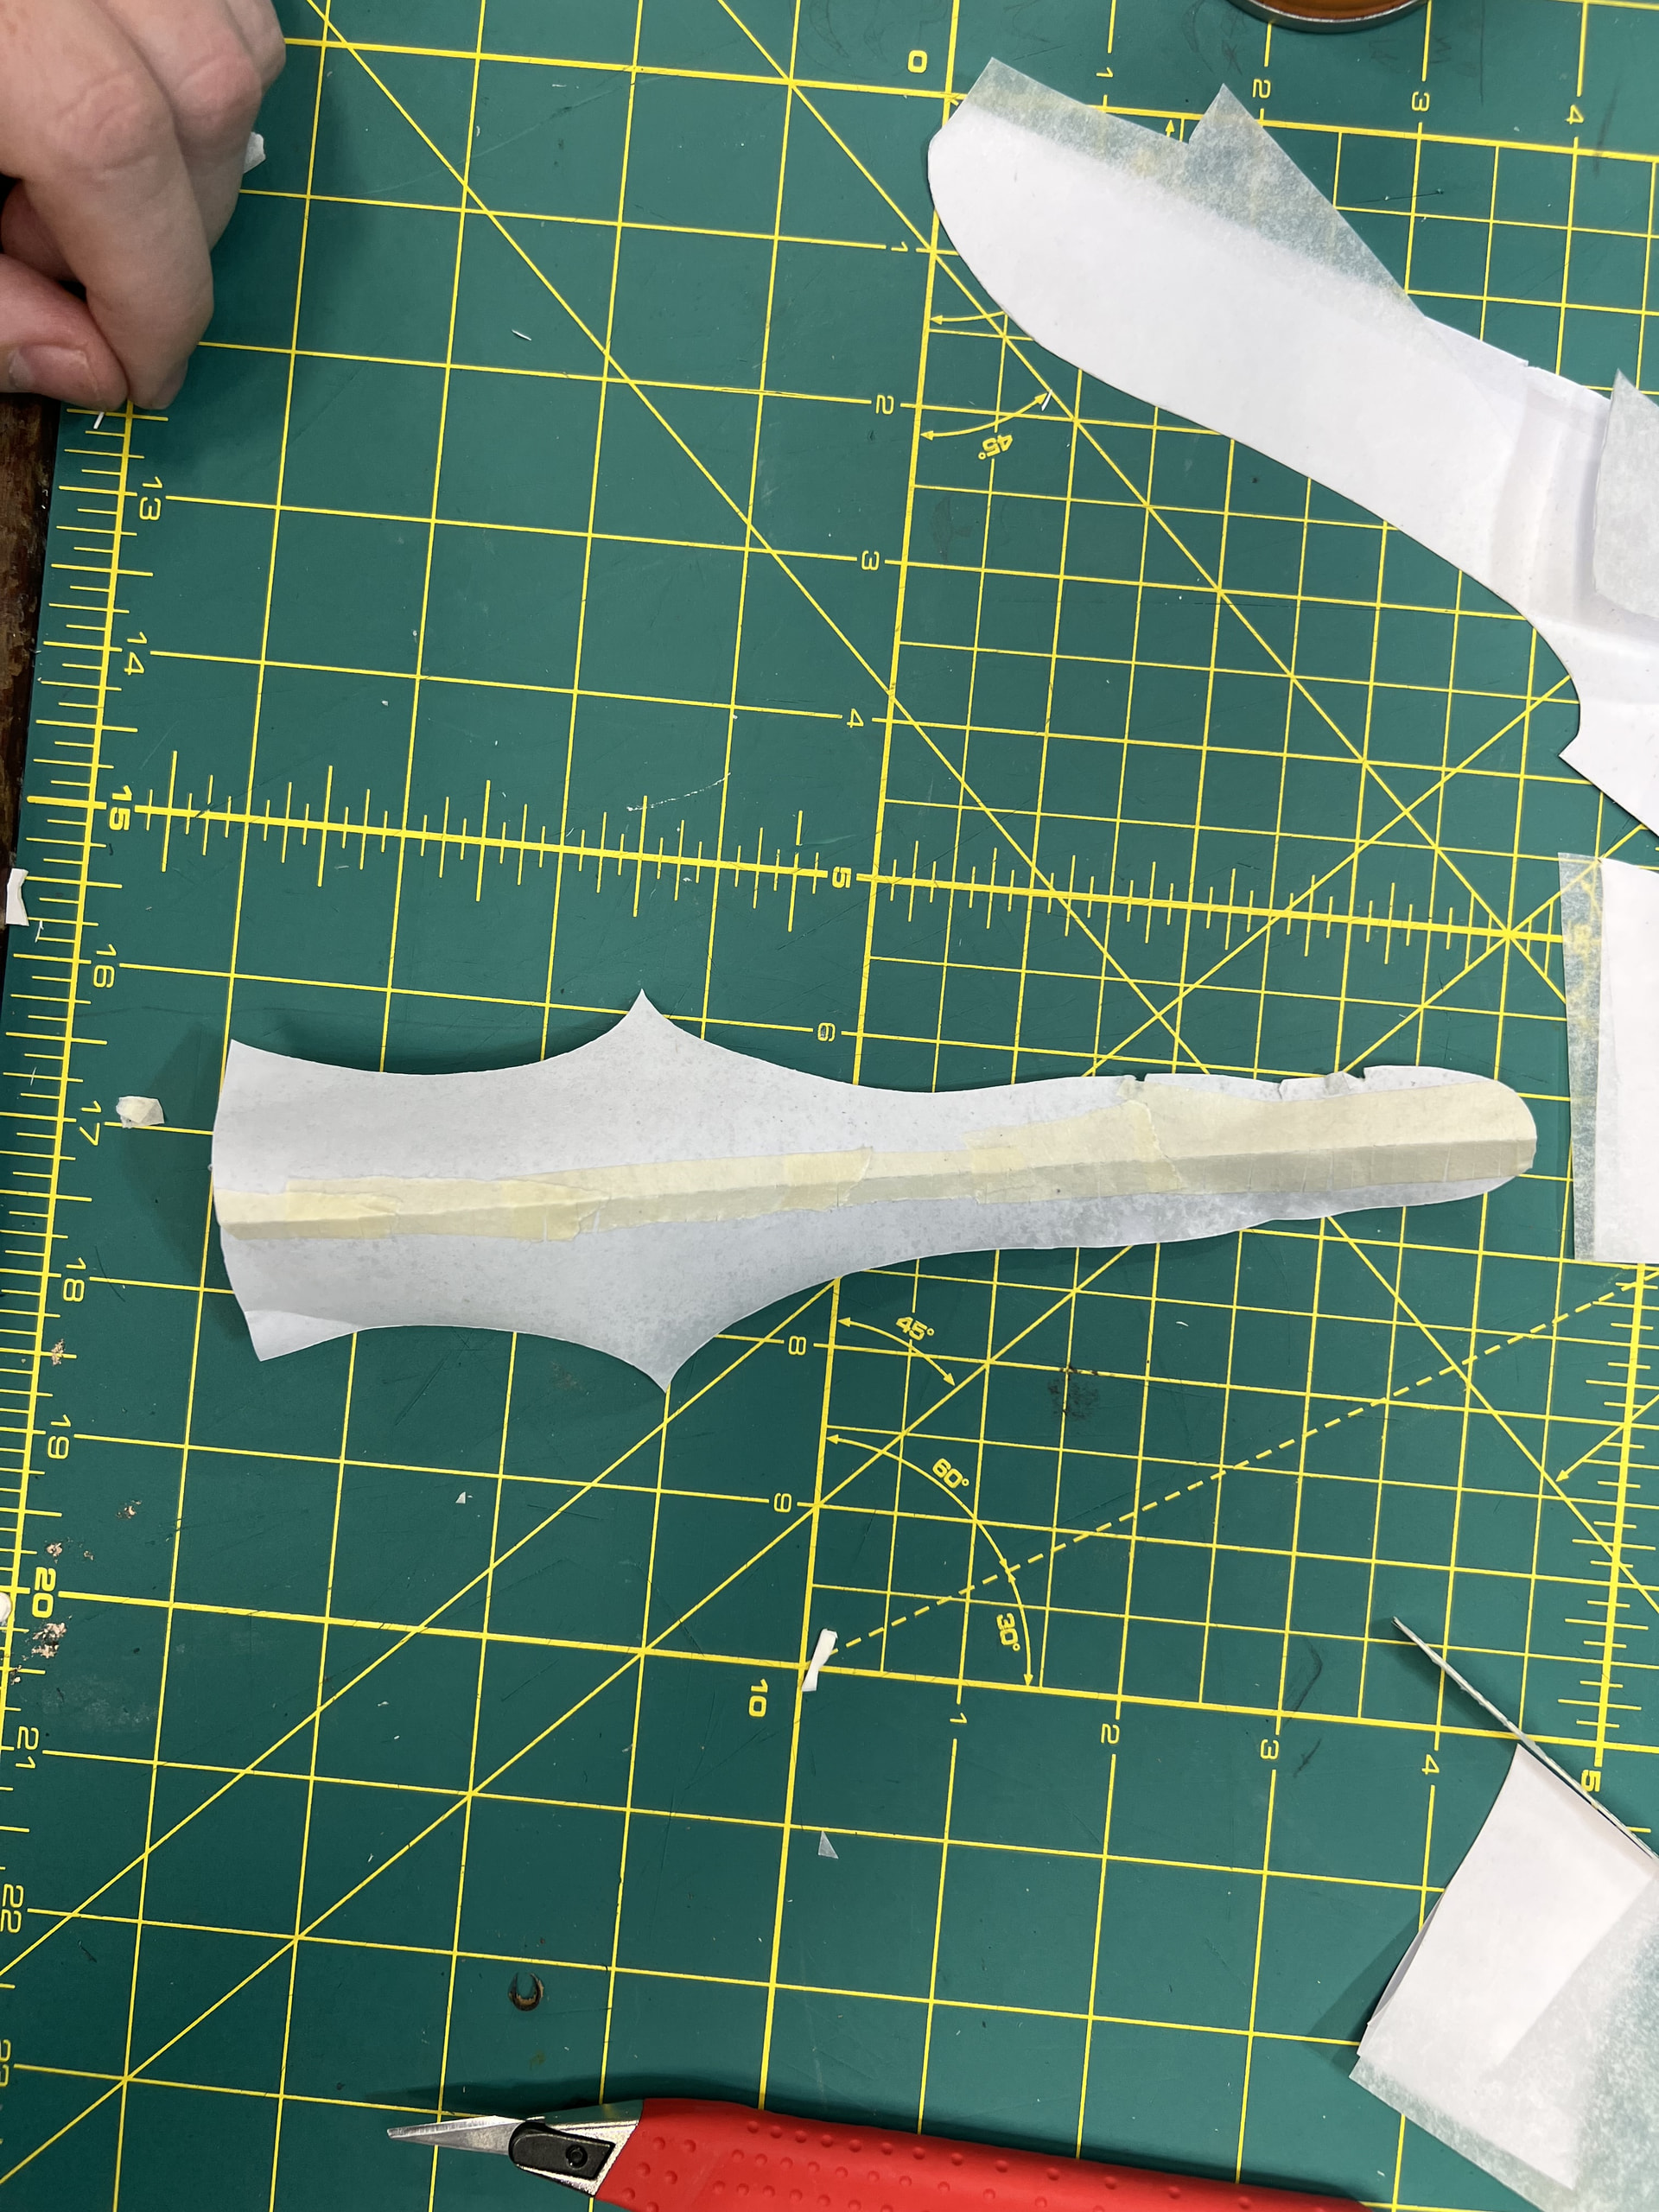
There’s very little guidance out there for how to pattern a counter cover. The most common advice I’ve heard hasn’t been advice at all; mainly just “yeah, making counter covers sucks,” lol. But I did get some good pointers from Mikhail of Arno Shoes. For drawing the counter cover on the standard, he advised that the counter cover should allow for about 3-4mm of space for the stiffener piece between the cover and the rest of the upper. He also recommended that I draw the front curve of the cover the way I wanted it to line up with the rest of the upper, but that I should also add a few millimeters on each side to account for the sandwiching of materials.
For creating the actual pattern piece for the counter cover, Mikhail directed me to this excerpt from his blog:
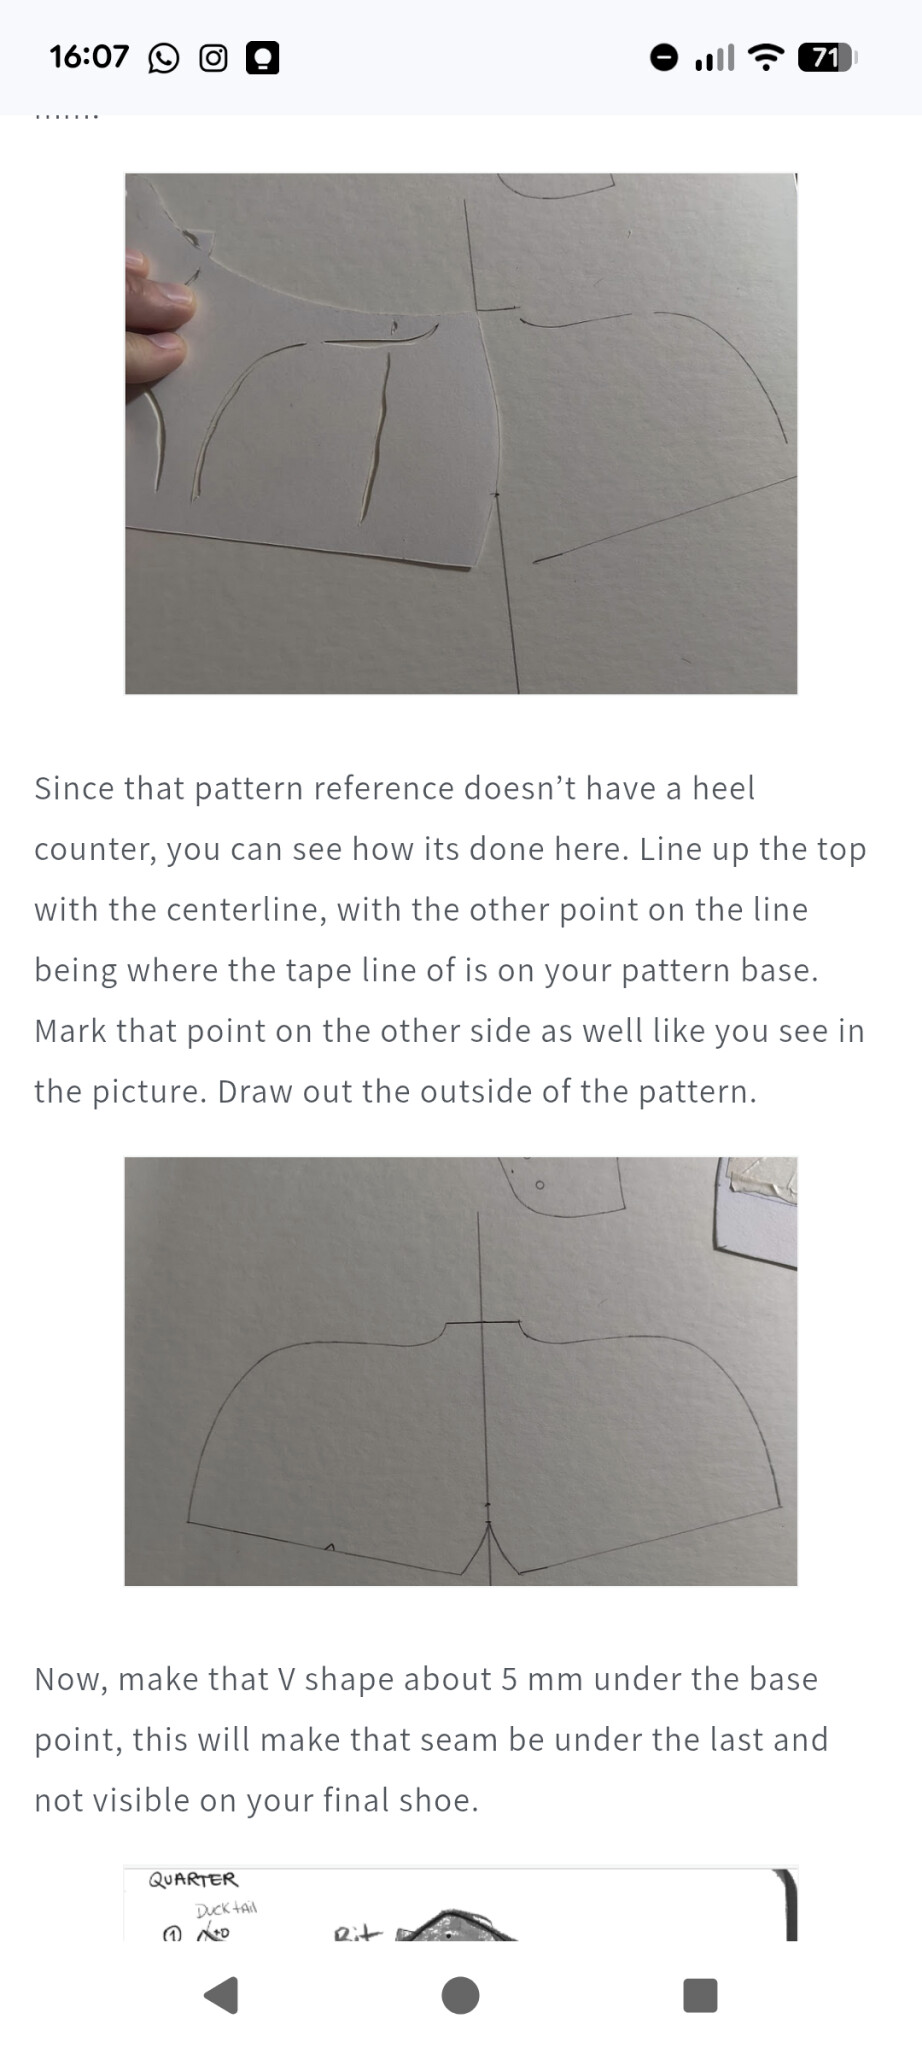
I tried following this method on the previous iteration of these boots. I think I misunderstood what Mikhail was showing here, and ultimately my counter cover ended up being ridiculously mis-sized. This time around, I think I might have figured it out…
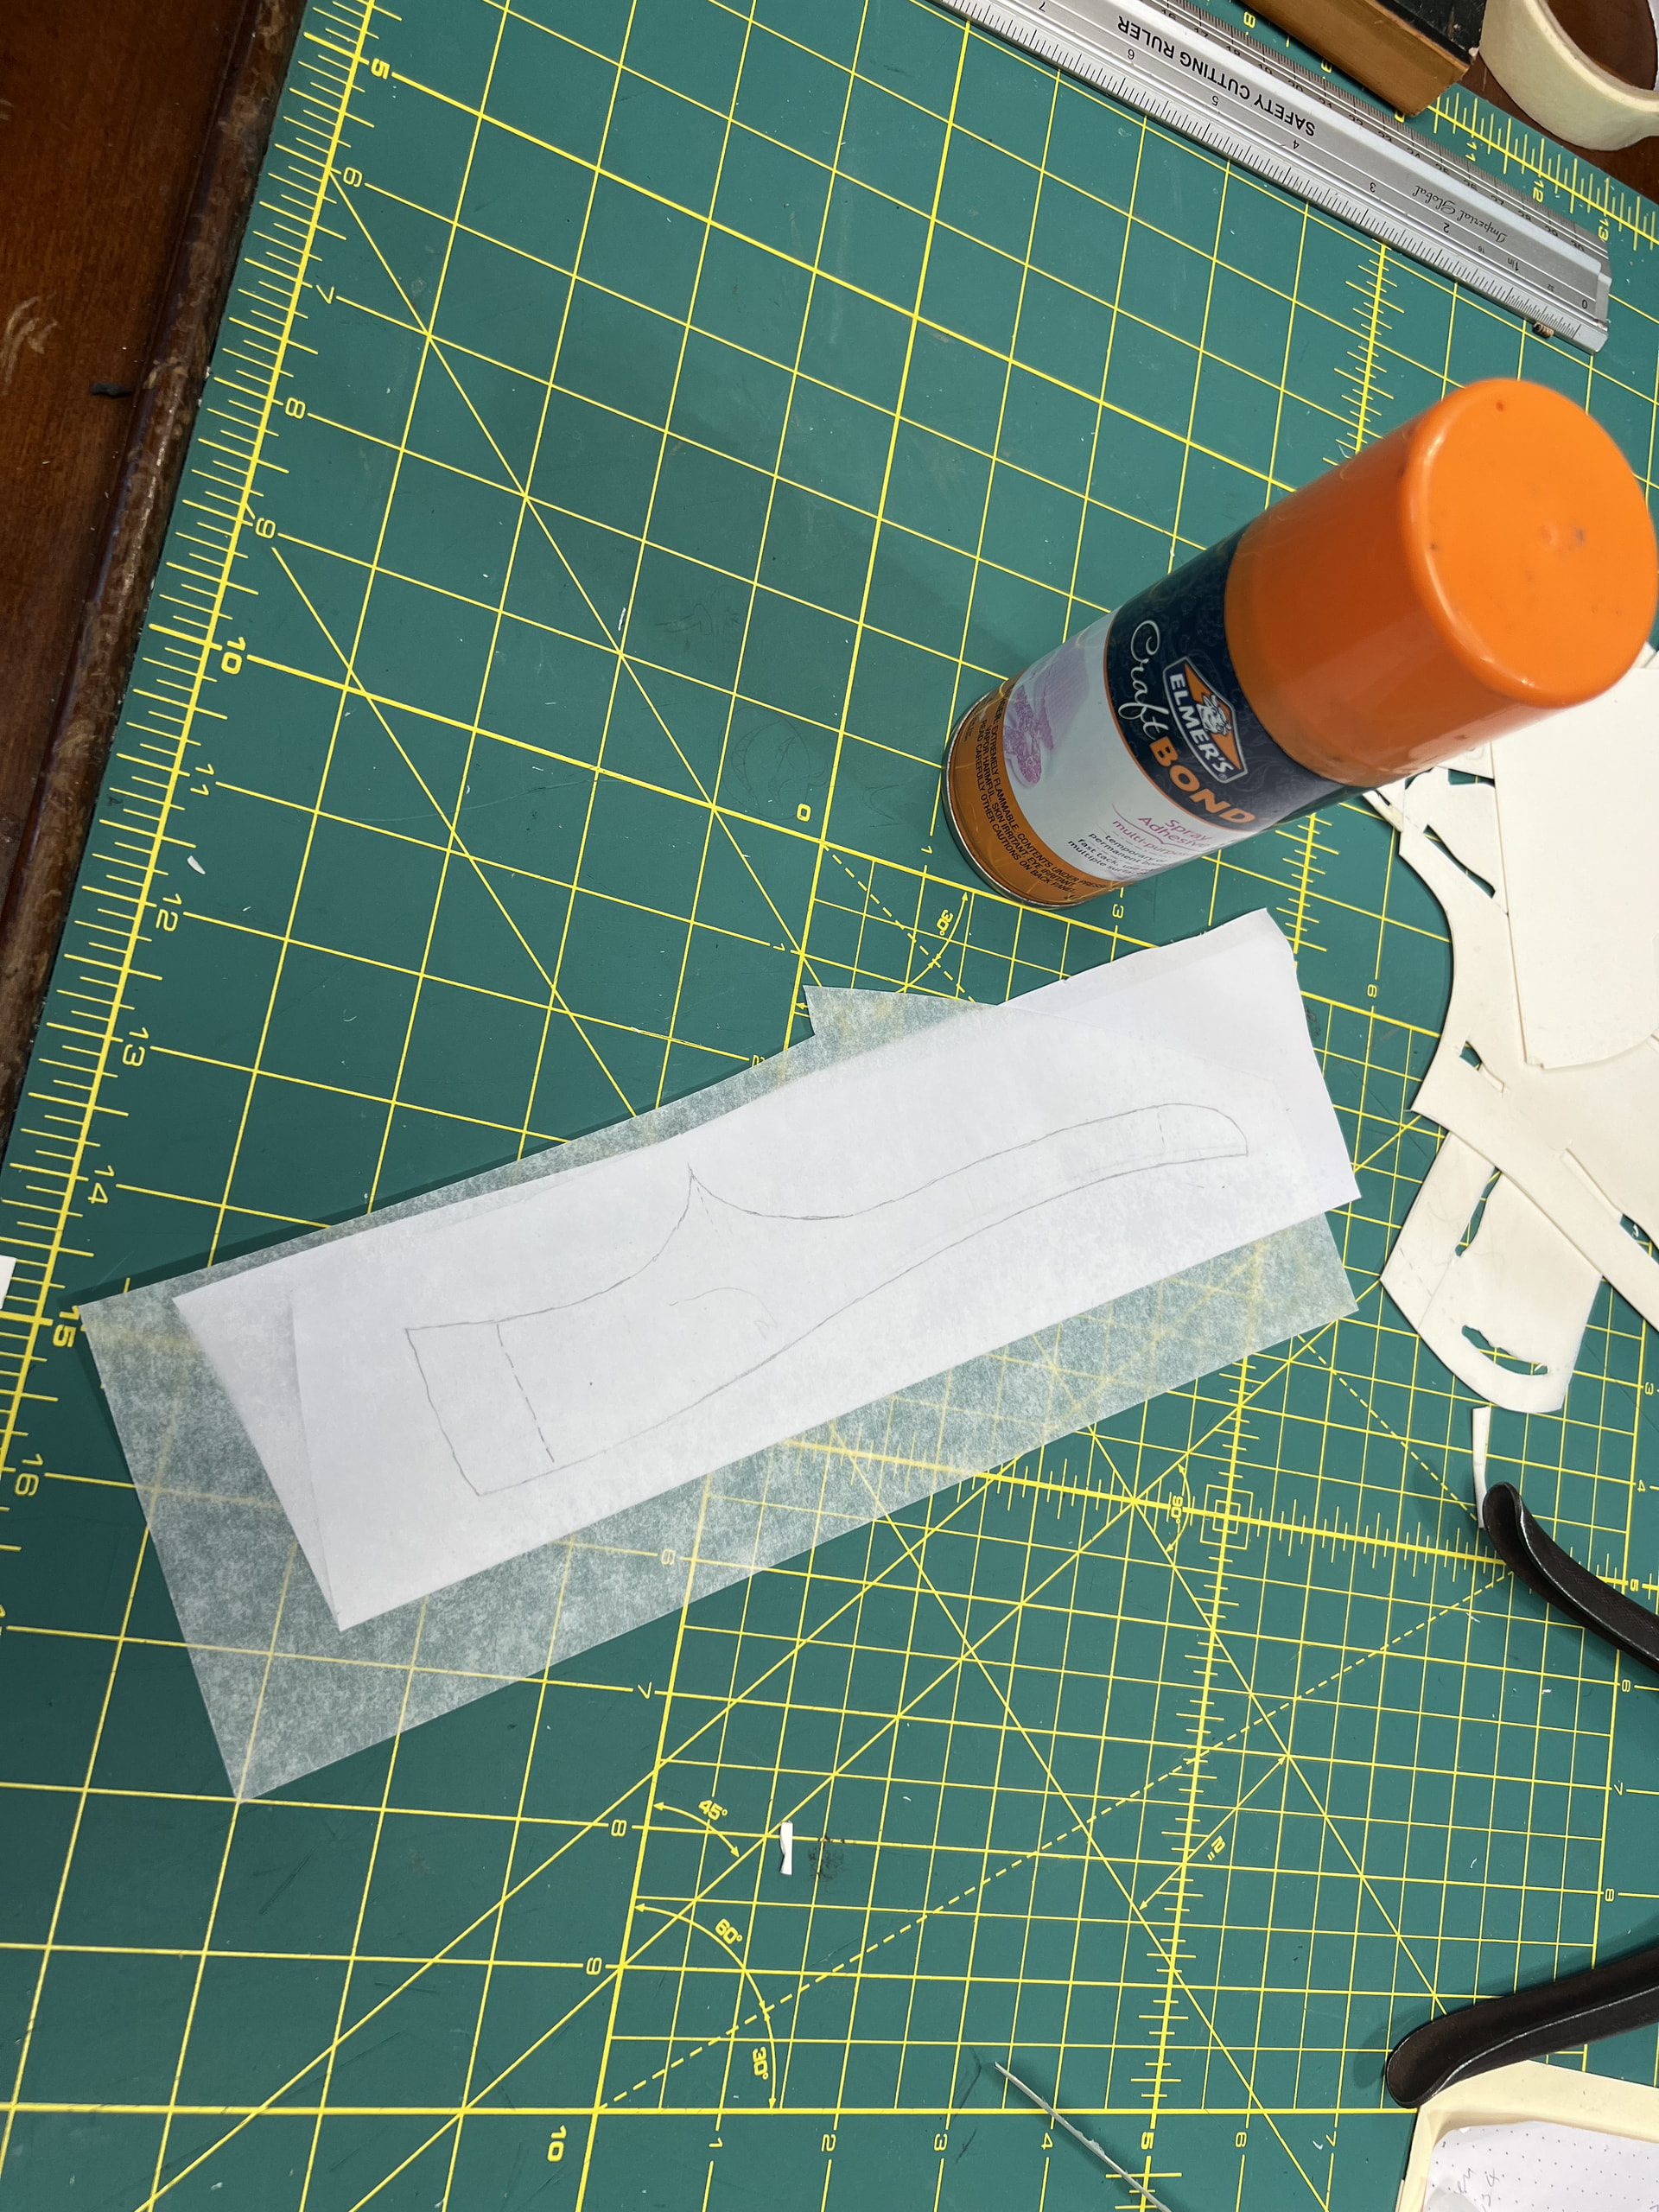
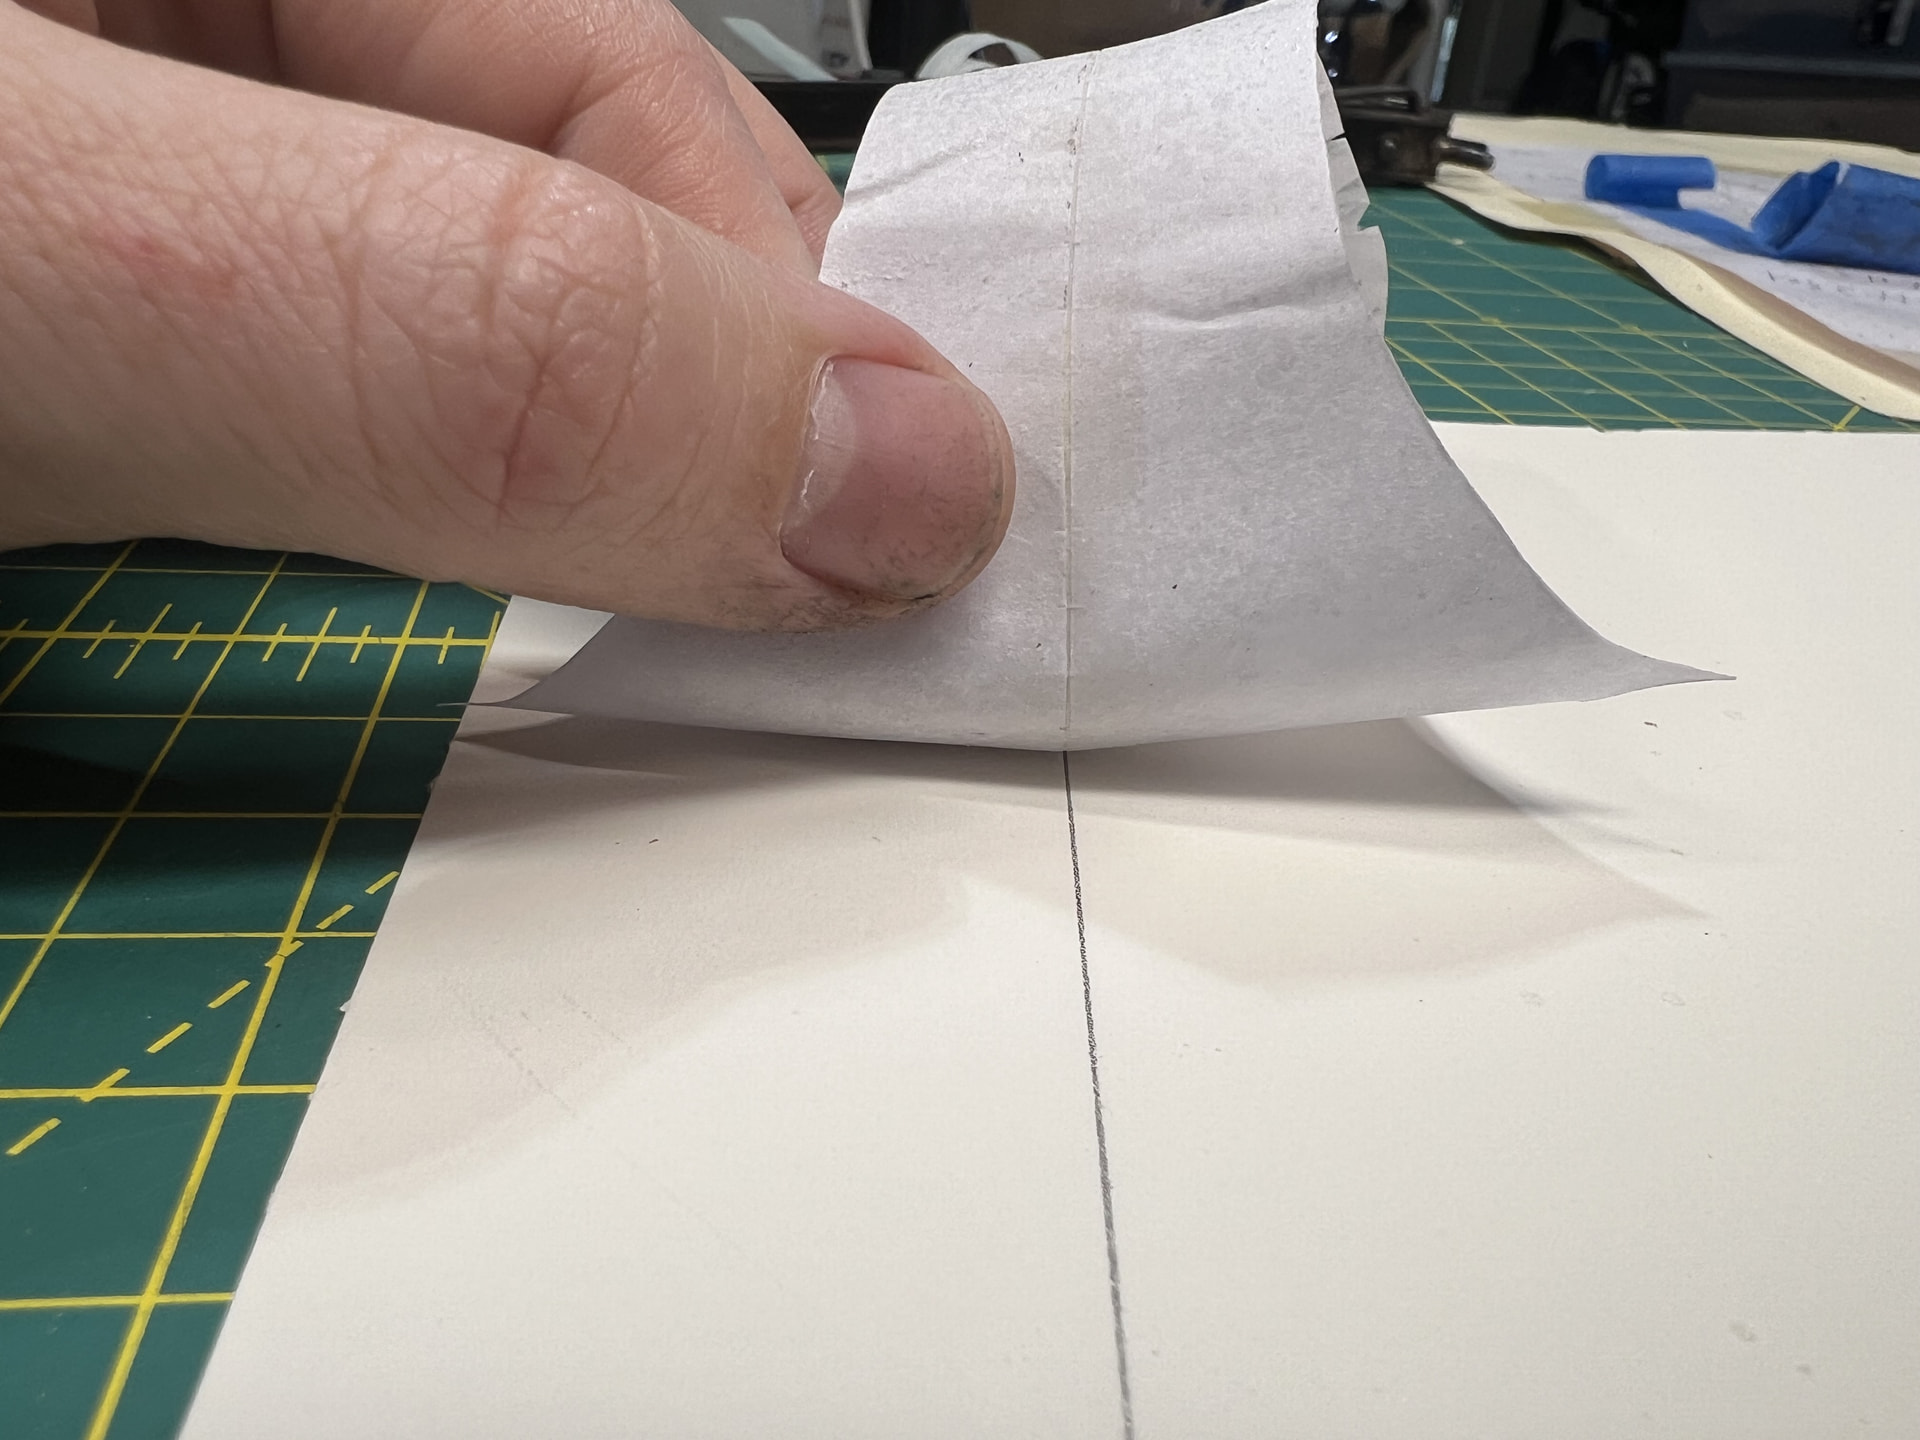
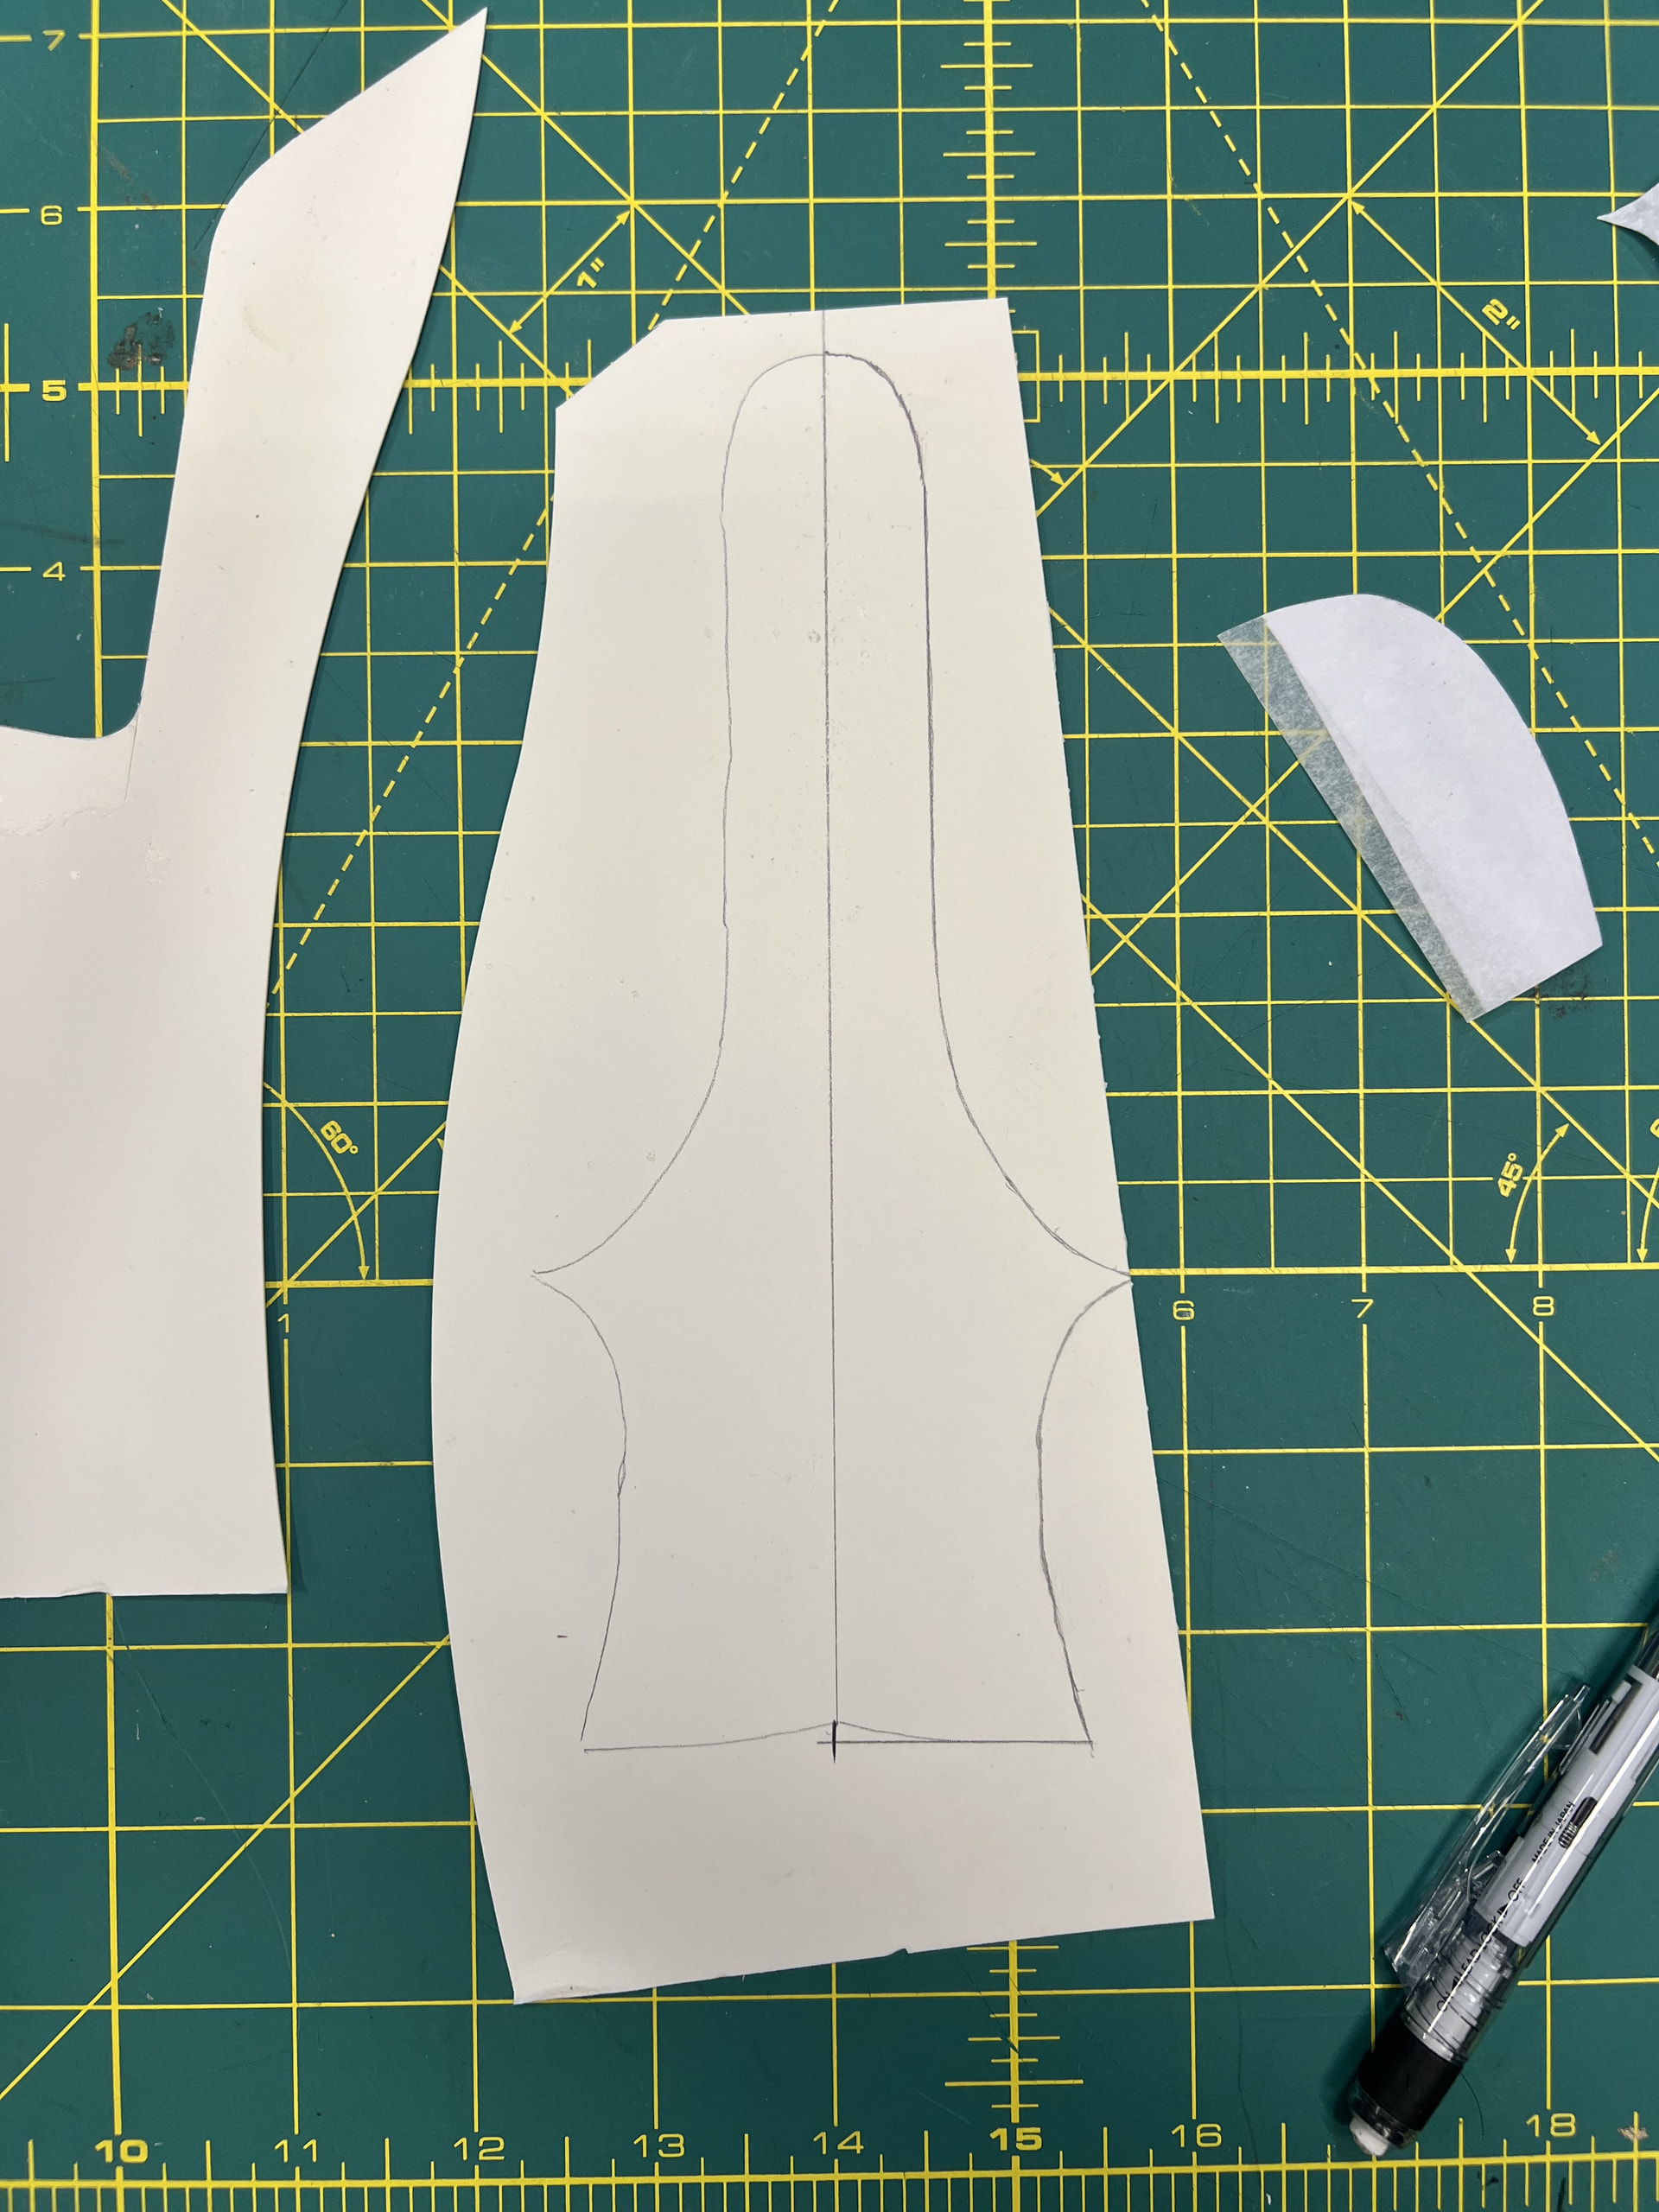
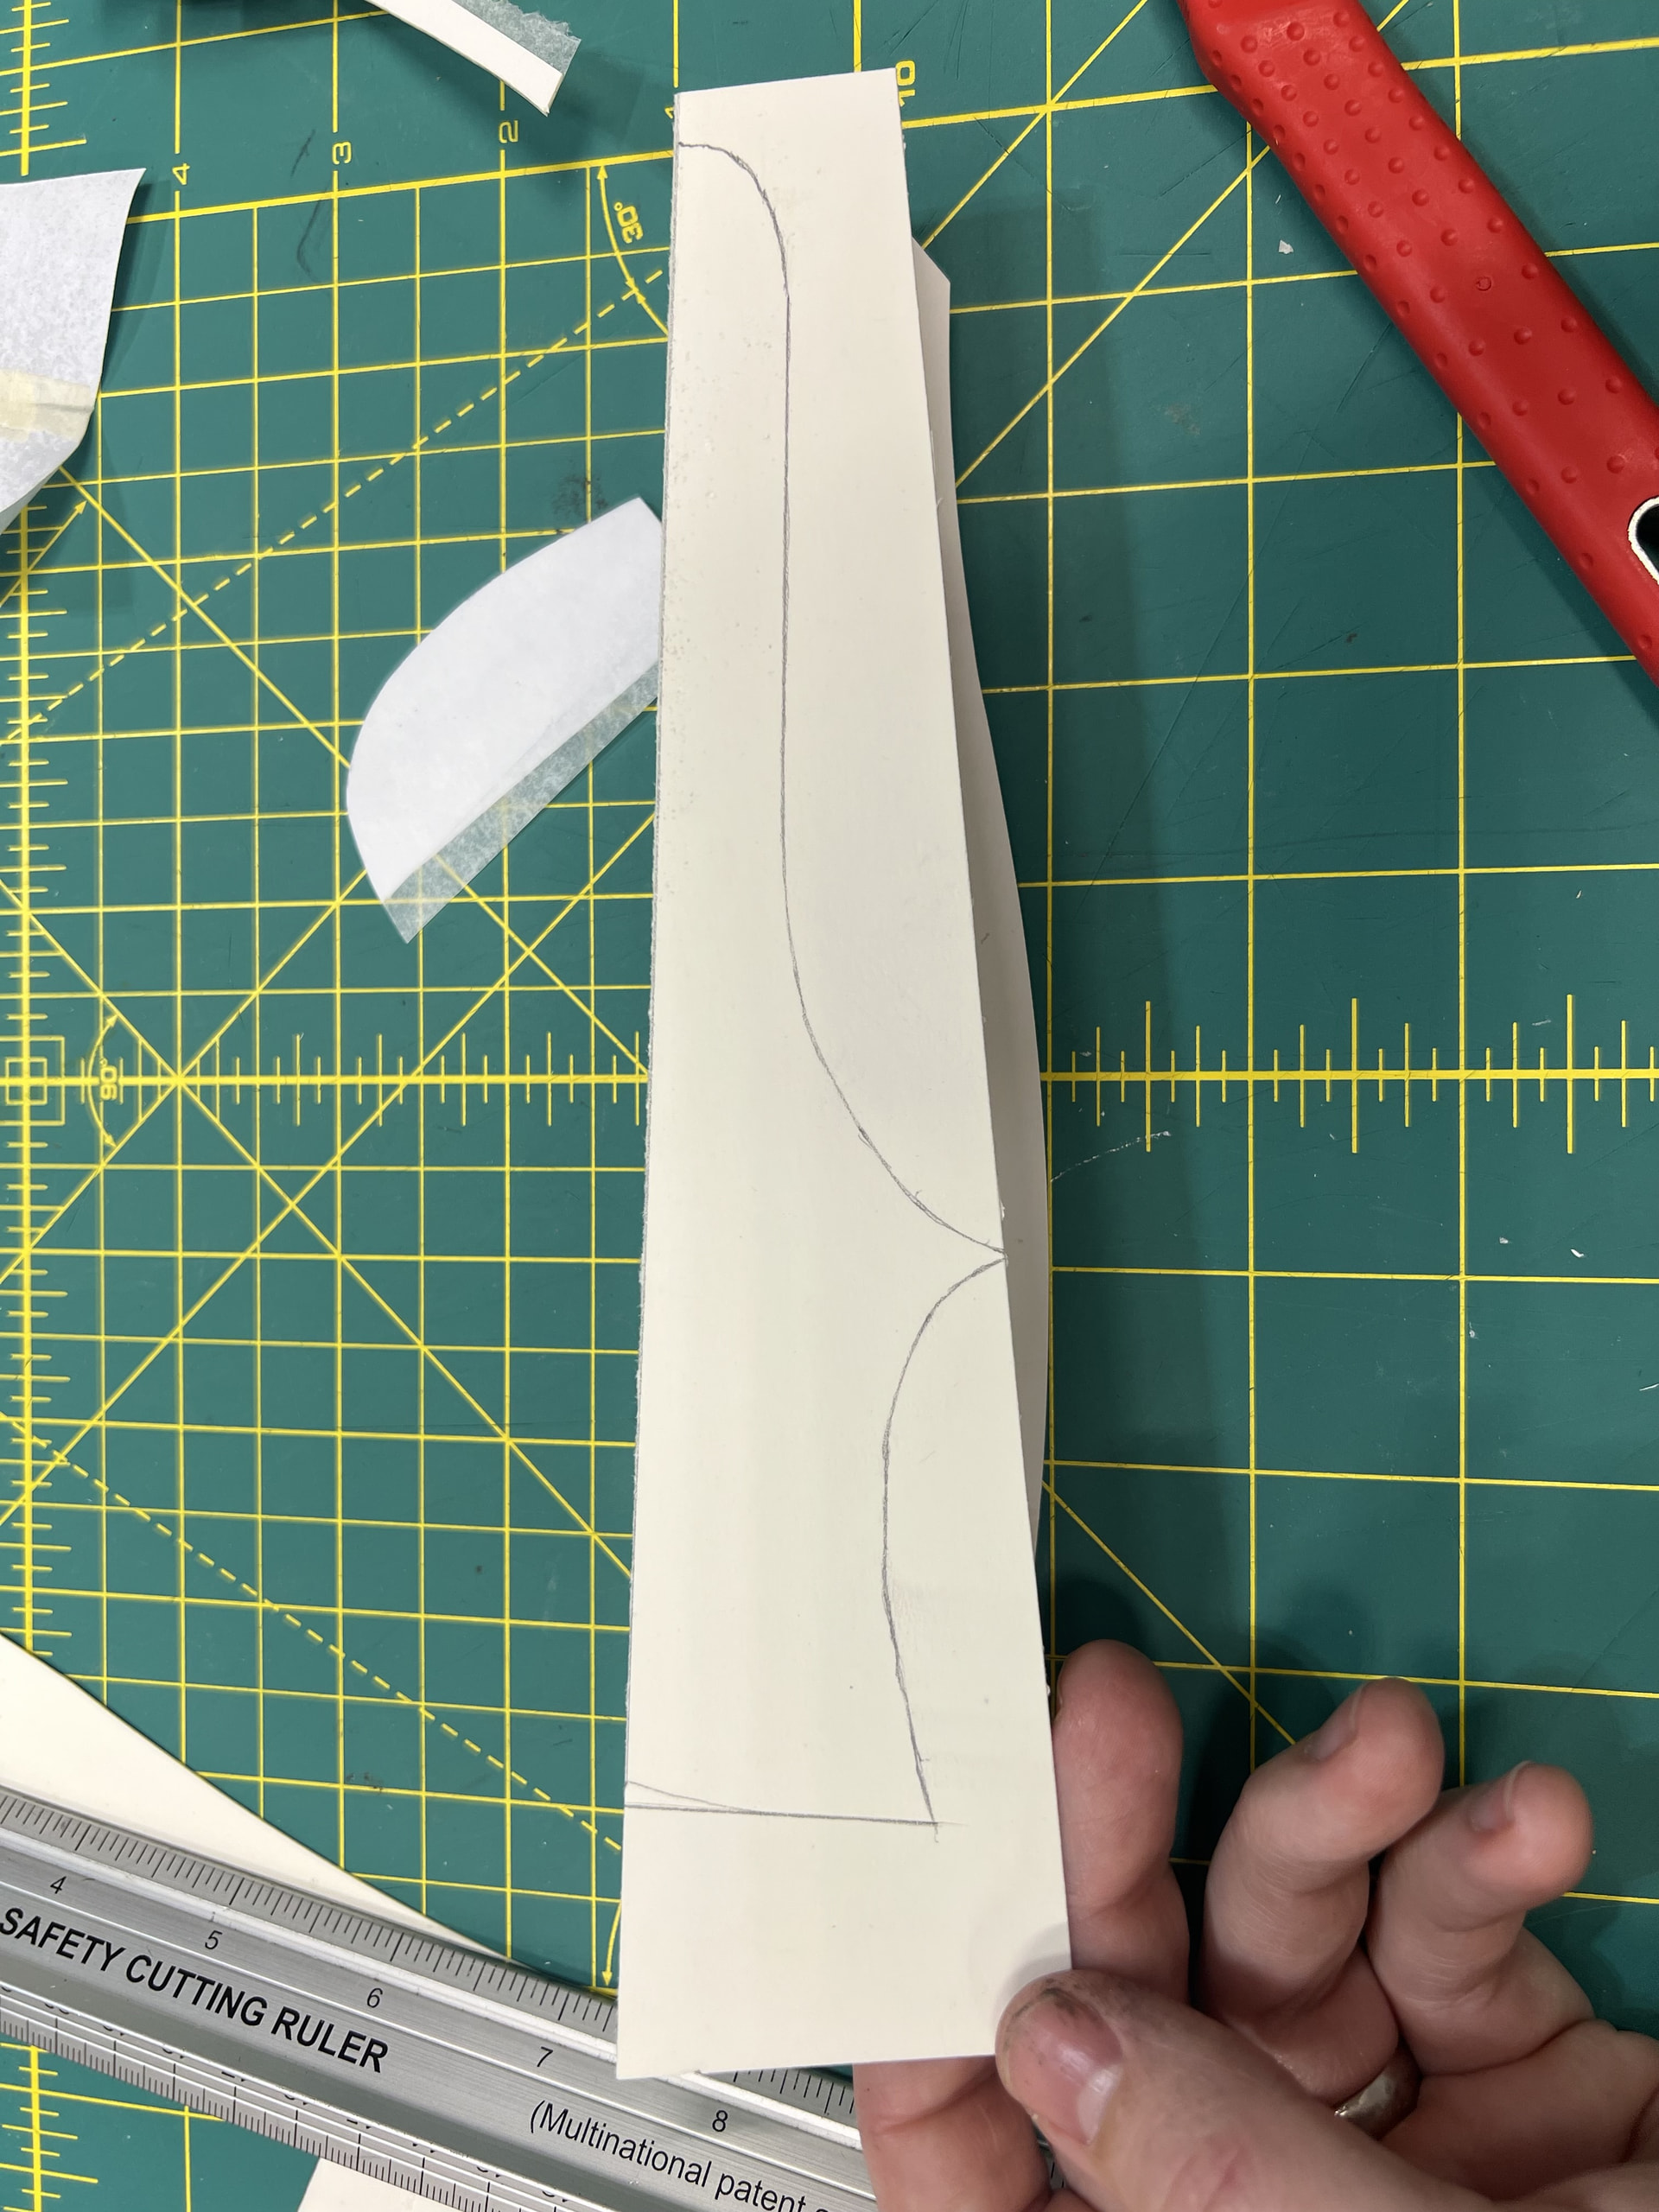
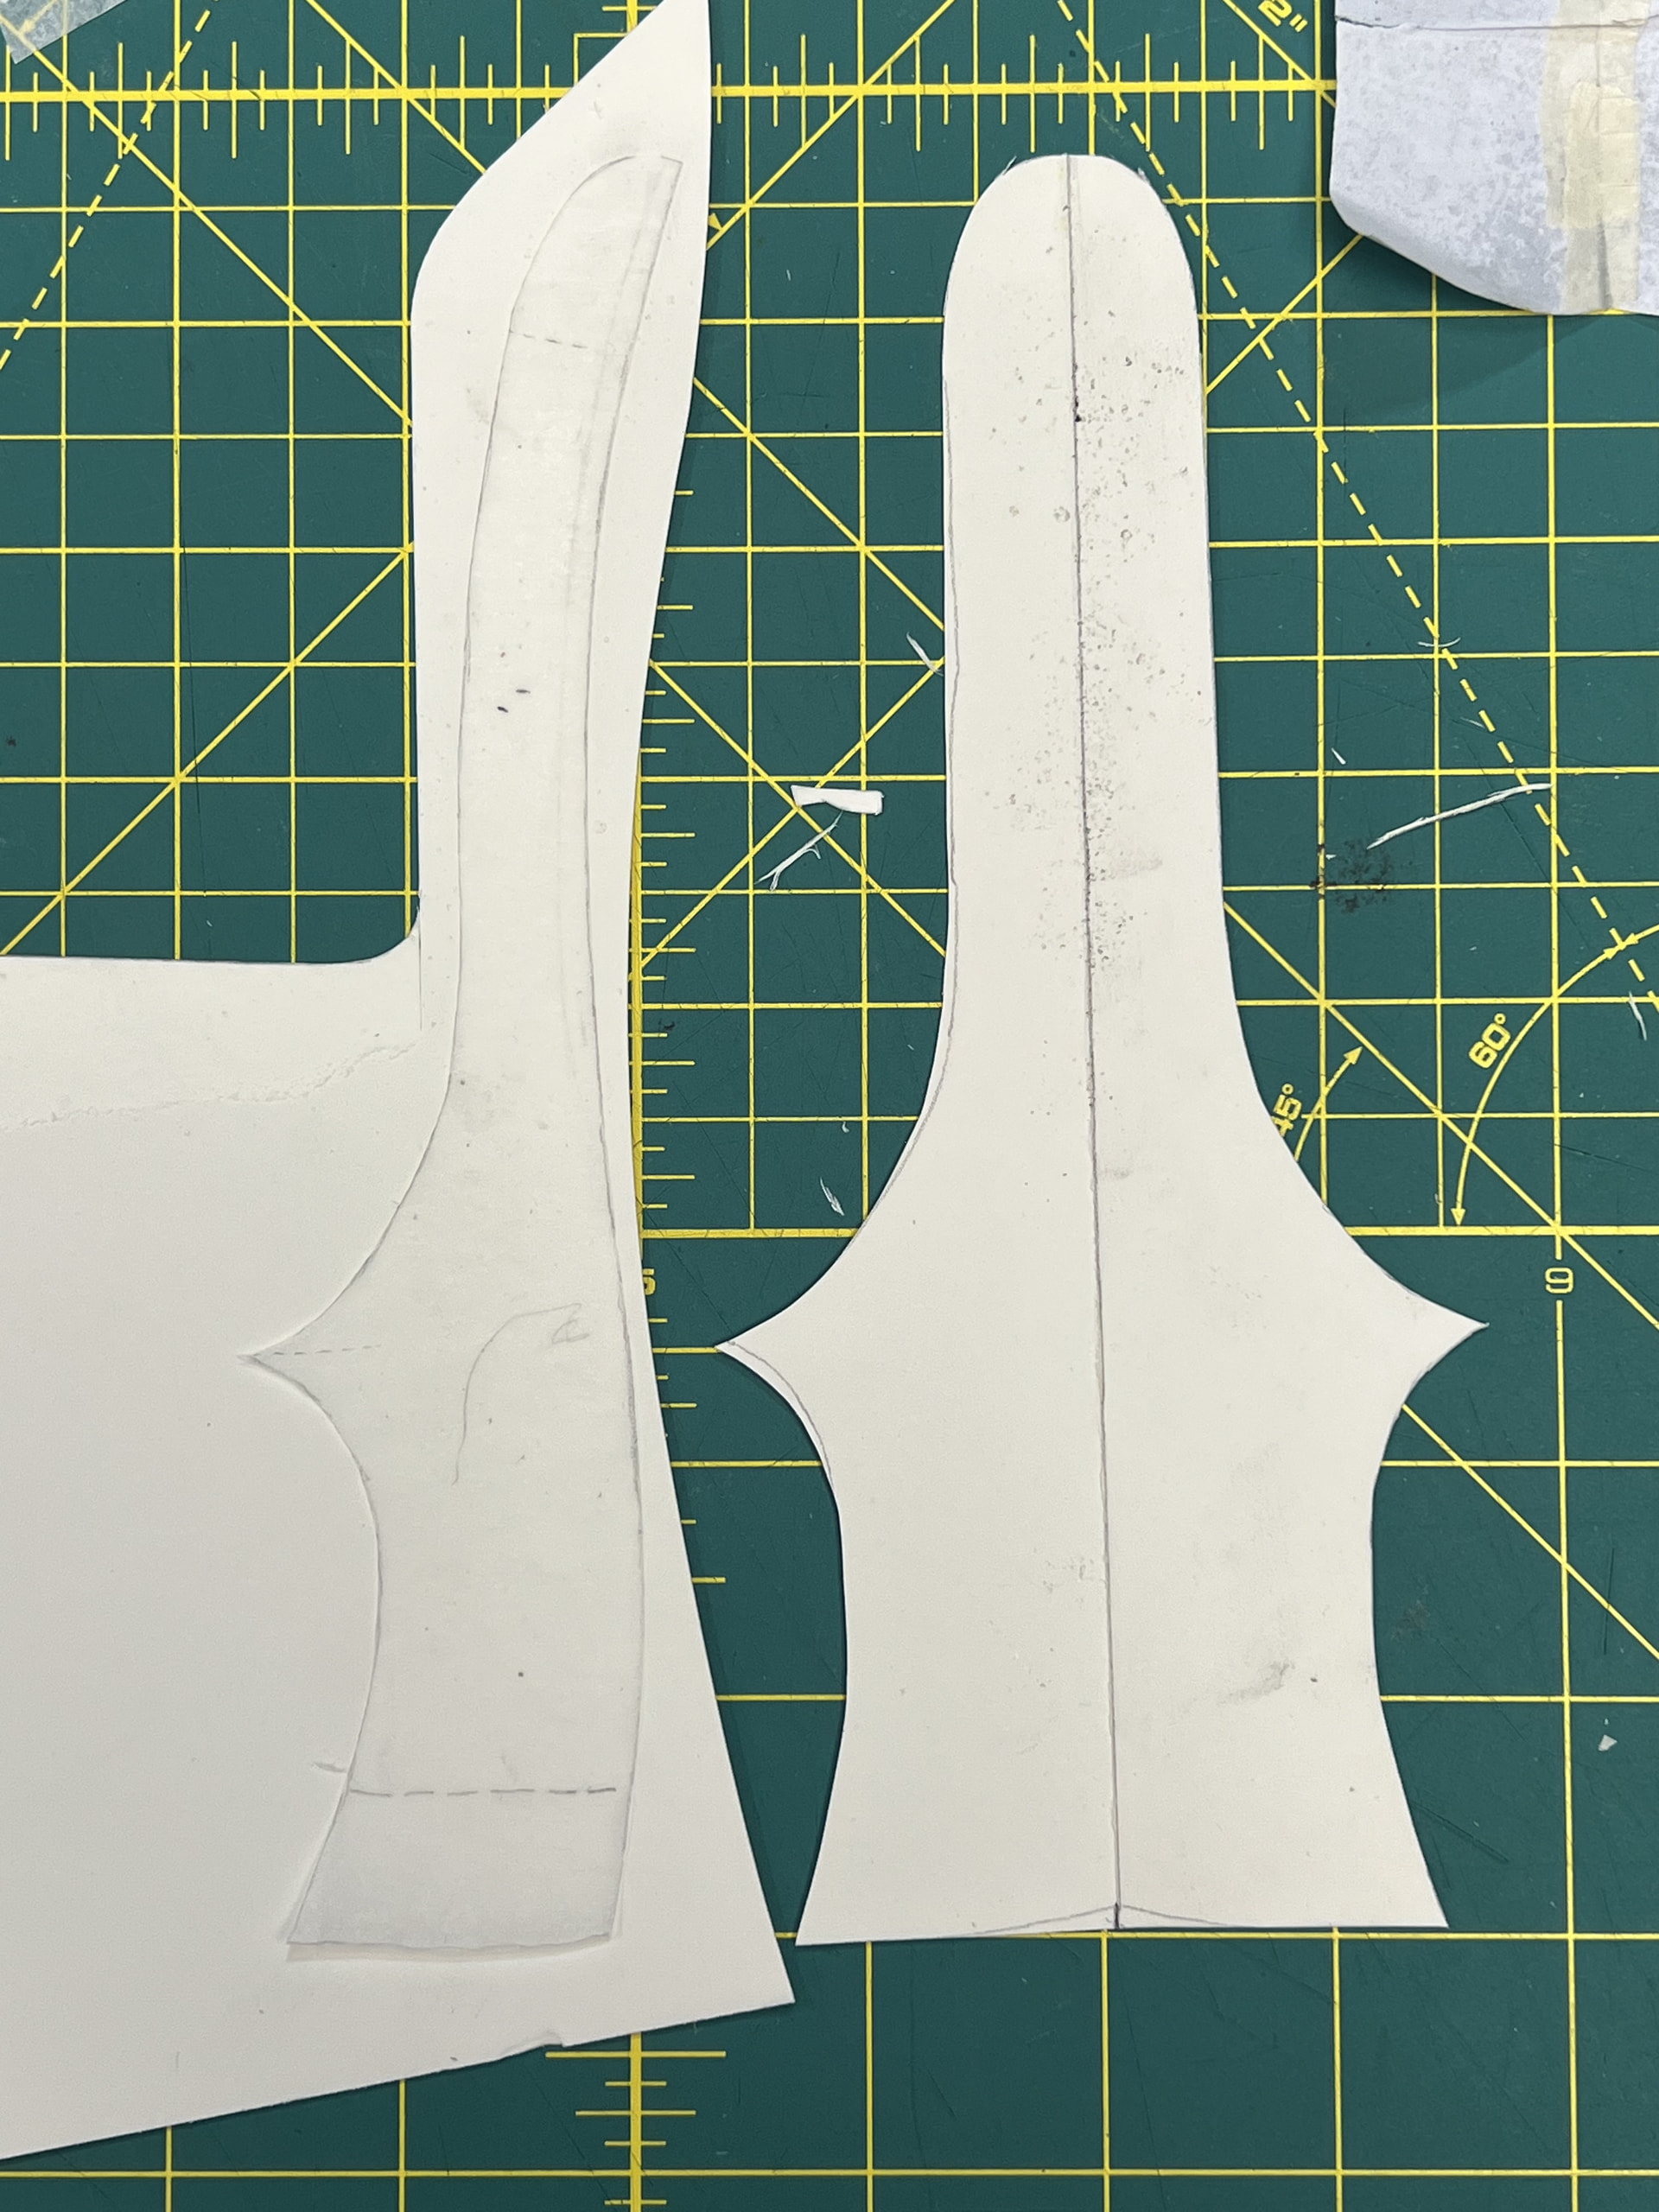
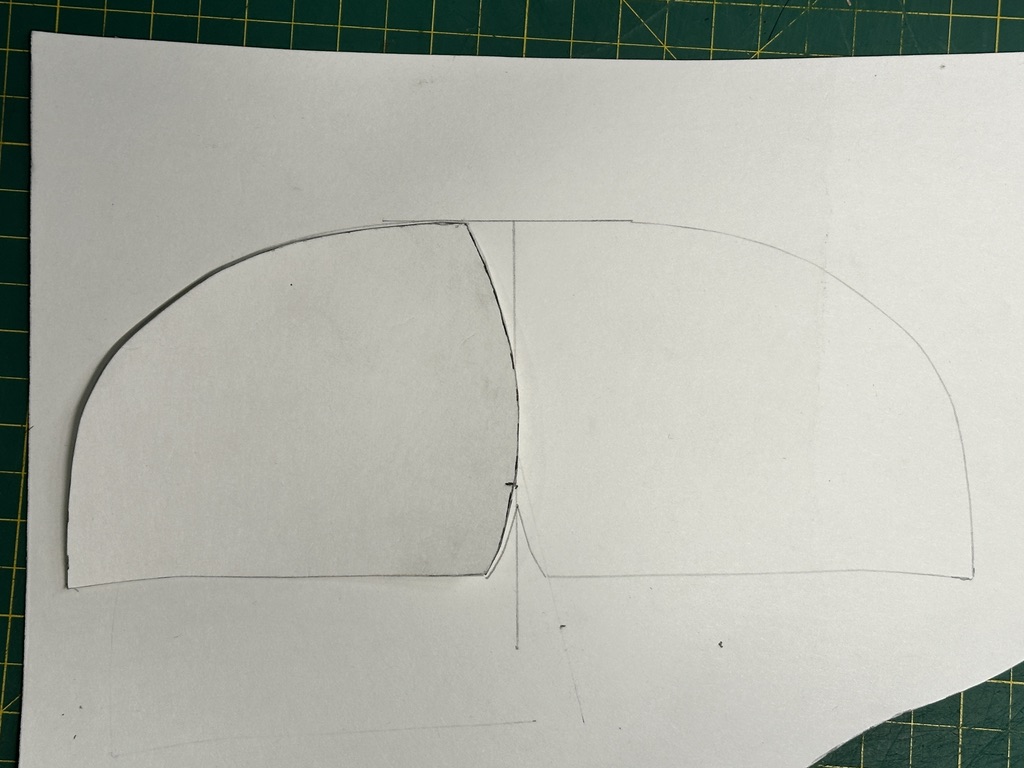
I traced the counter cover from the standard, drew a T, and then lined it up so that the top of the counter cover lined touched the X-axis, while the Y-axis touched the position of the feather line on the pattern base. I then marked a point 5mm under the feather line, made a V shape, then mirrored the pattern on the other side.
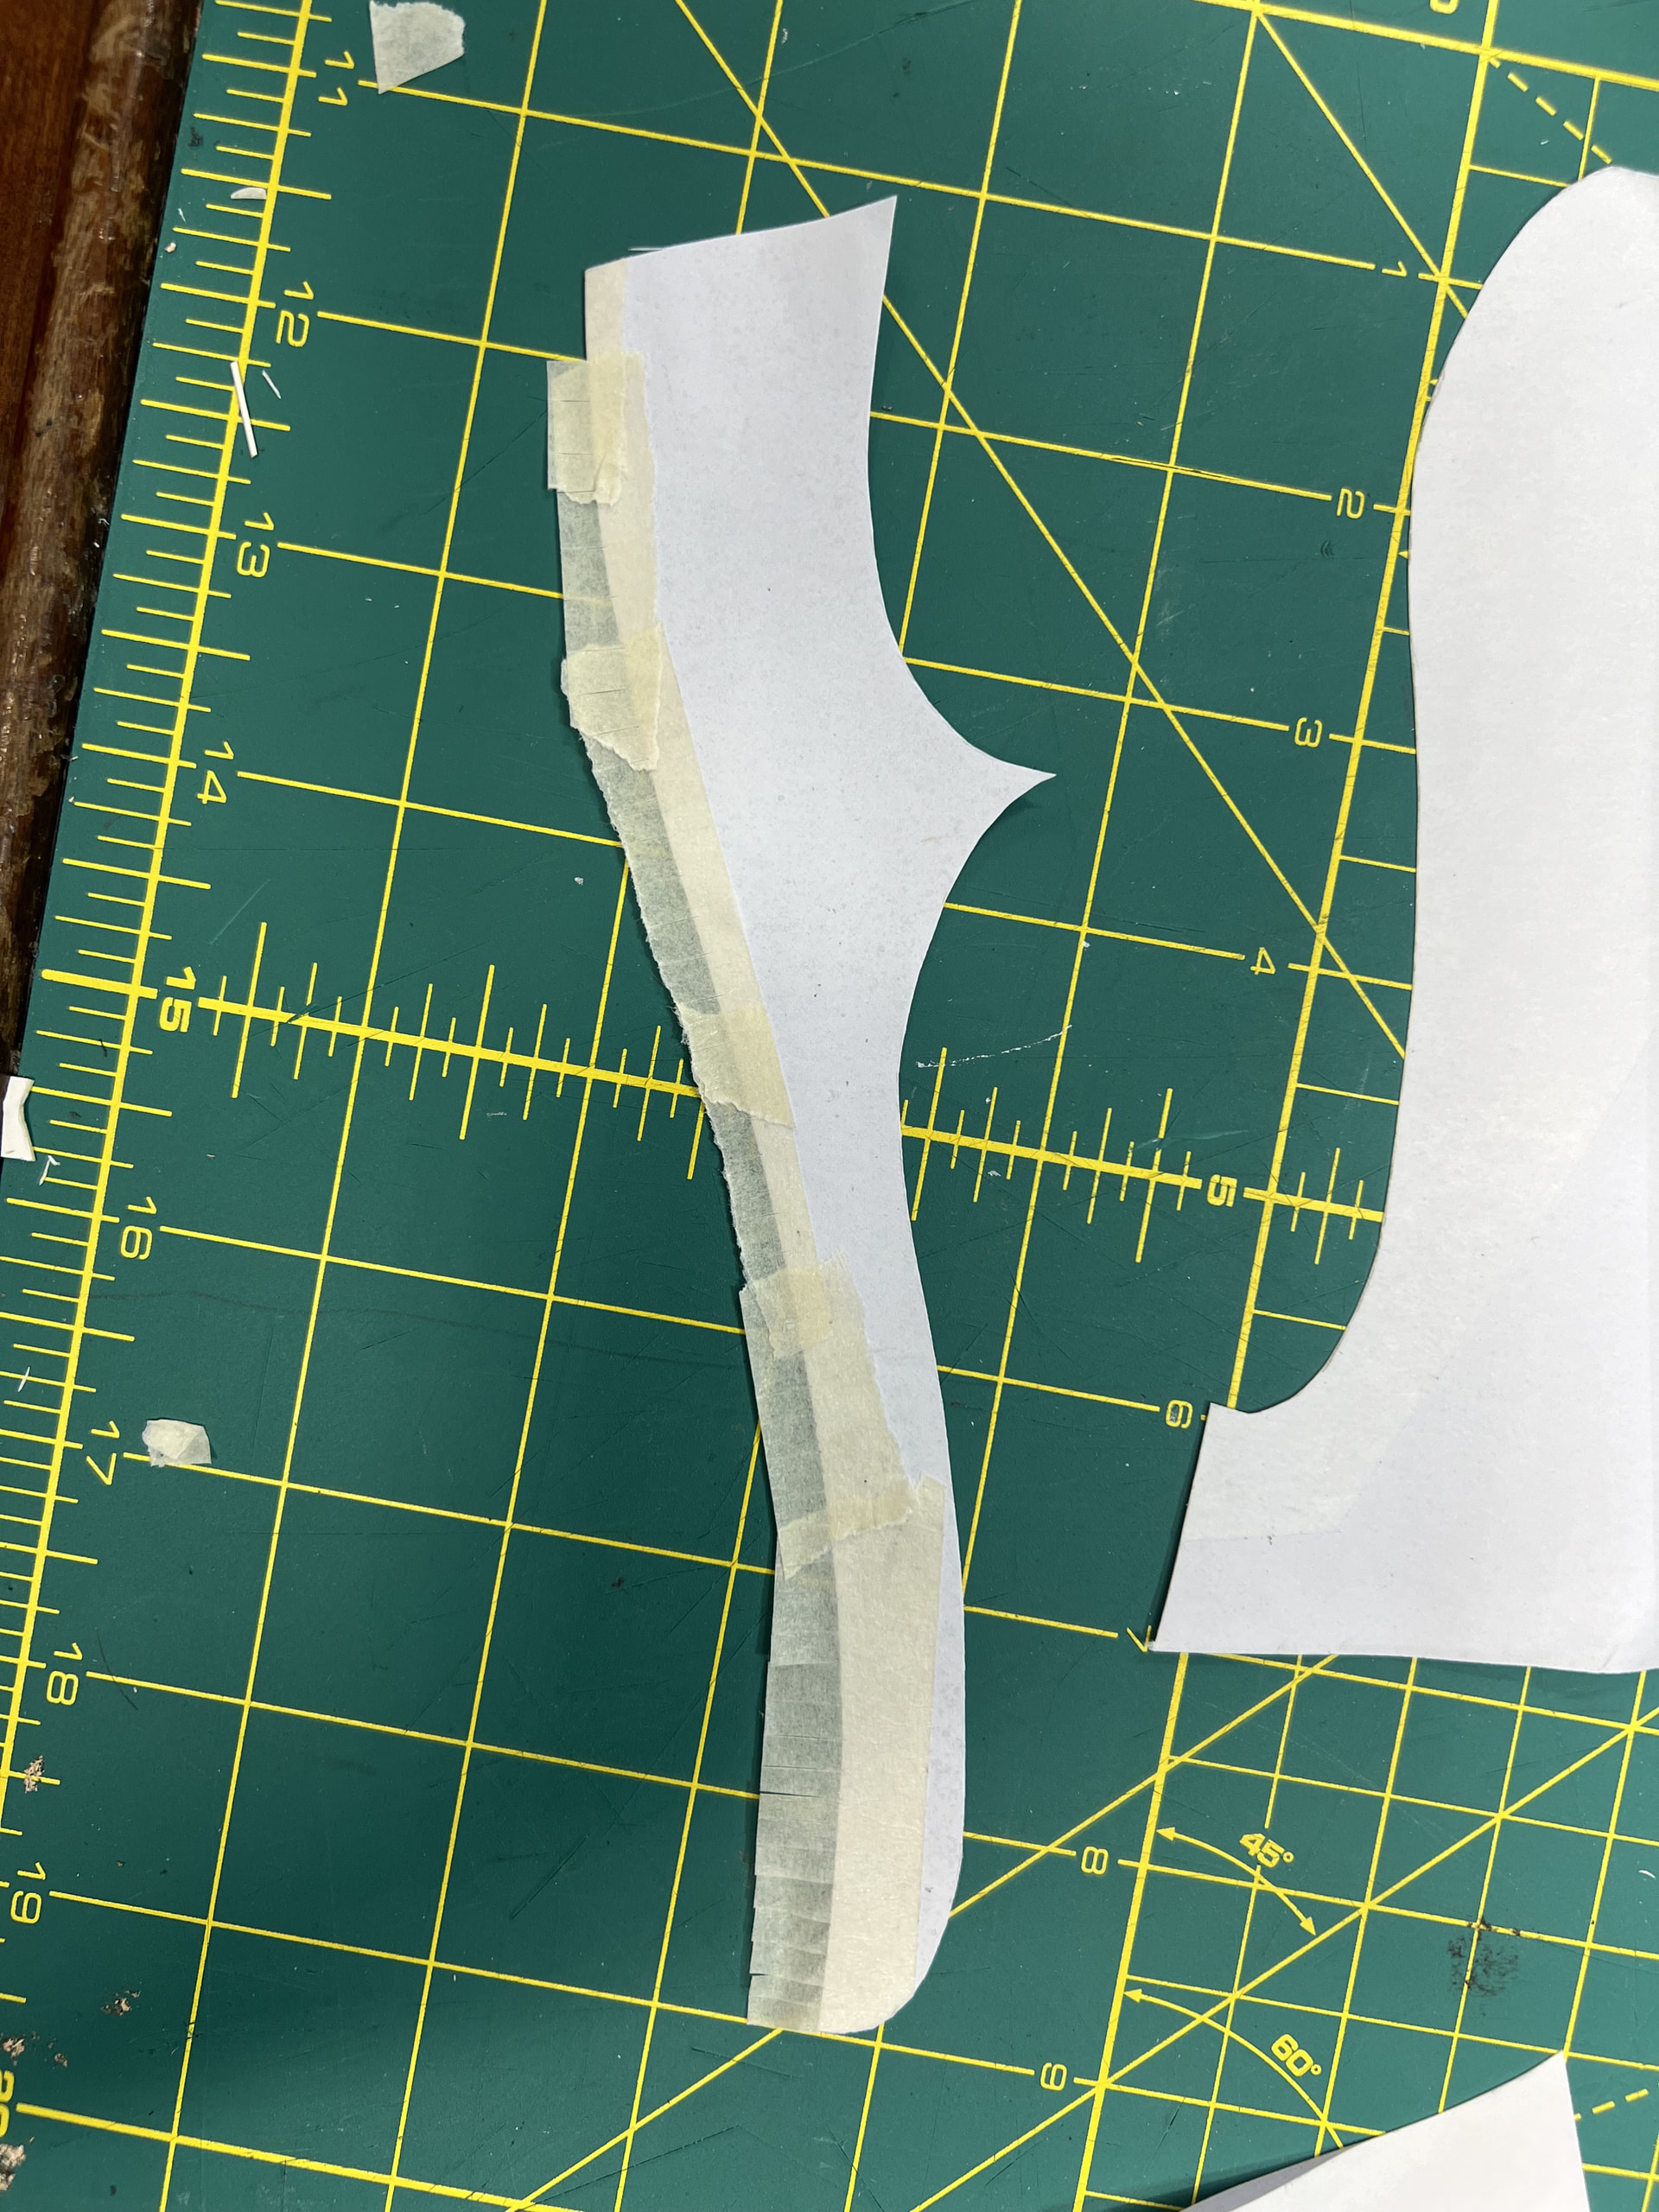
Finally, I took my wing divider and extended the counter cover 4mm up and out.
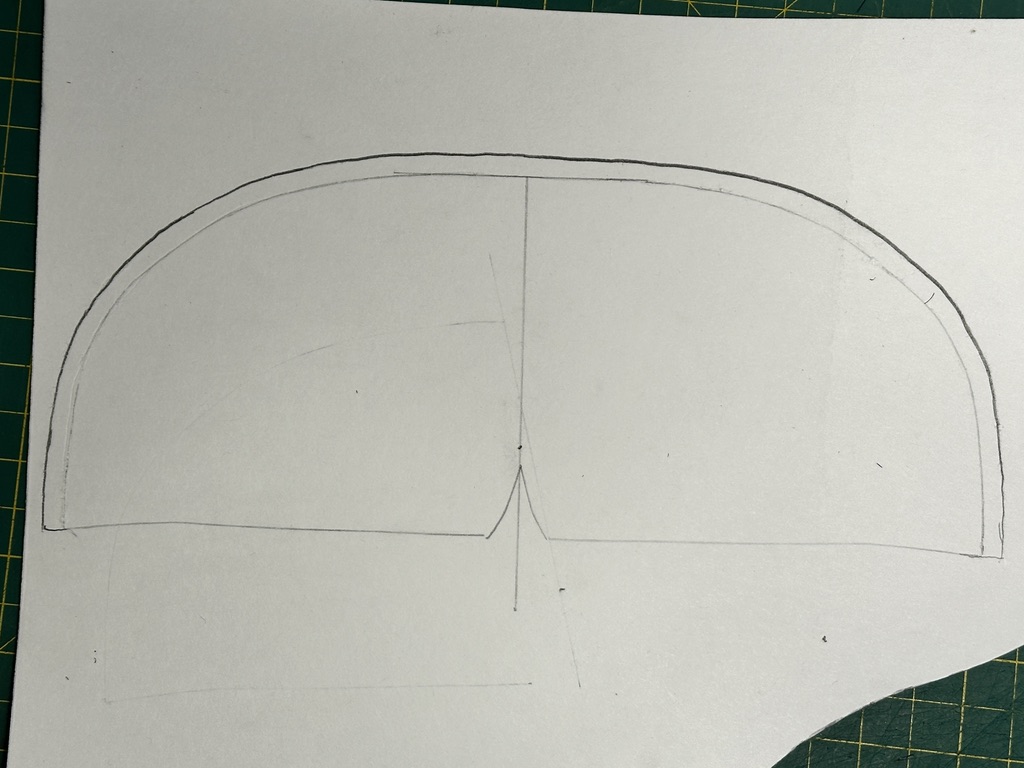
Will this work? No idea yet. We’ll find out together. In the meantime, I’ve moved on to crimping my blockers for my vamps.