Having closed my fourth pair, I’ve taken a little break to do some experiments in fine hand upper sewing. In particular, I’ve been interested in hand stitchlines finer than 8 SPI or 3 millimeters center-to-center, with threads thinner than 0.020" or 0.6 millimeters.
Sewing outseams like this strikes me as rather goofy. The idea that more SPI is more better doesn’t make any sense to me, any more than the odd Stickman lasts used for old exhibition shoes. But for whatever reason, the prospect of sewing uppers very fine appeals to me. Especially as I get the feeling some folks I plan to make for might prefer dressier, likely calfskin, shoes.
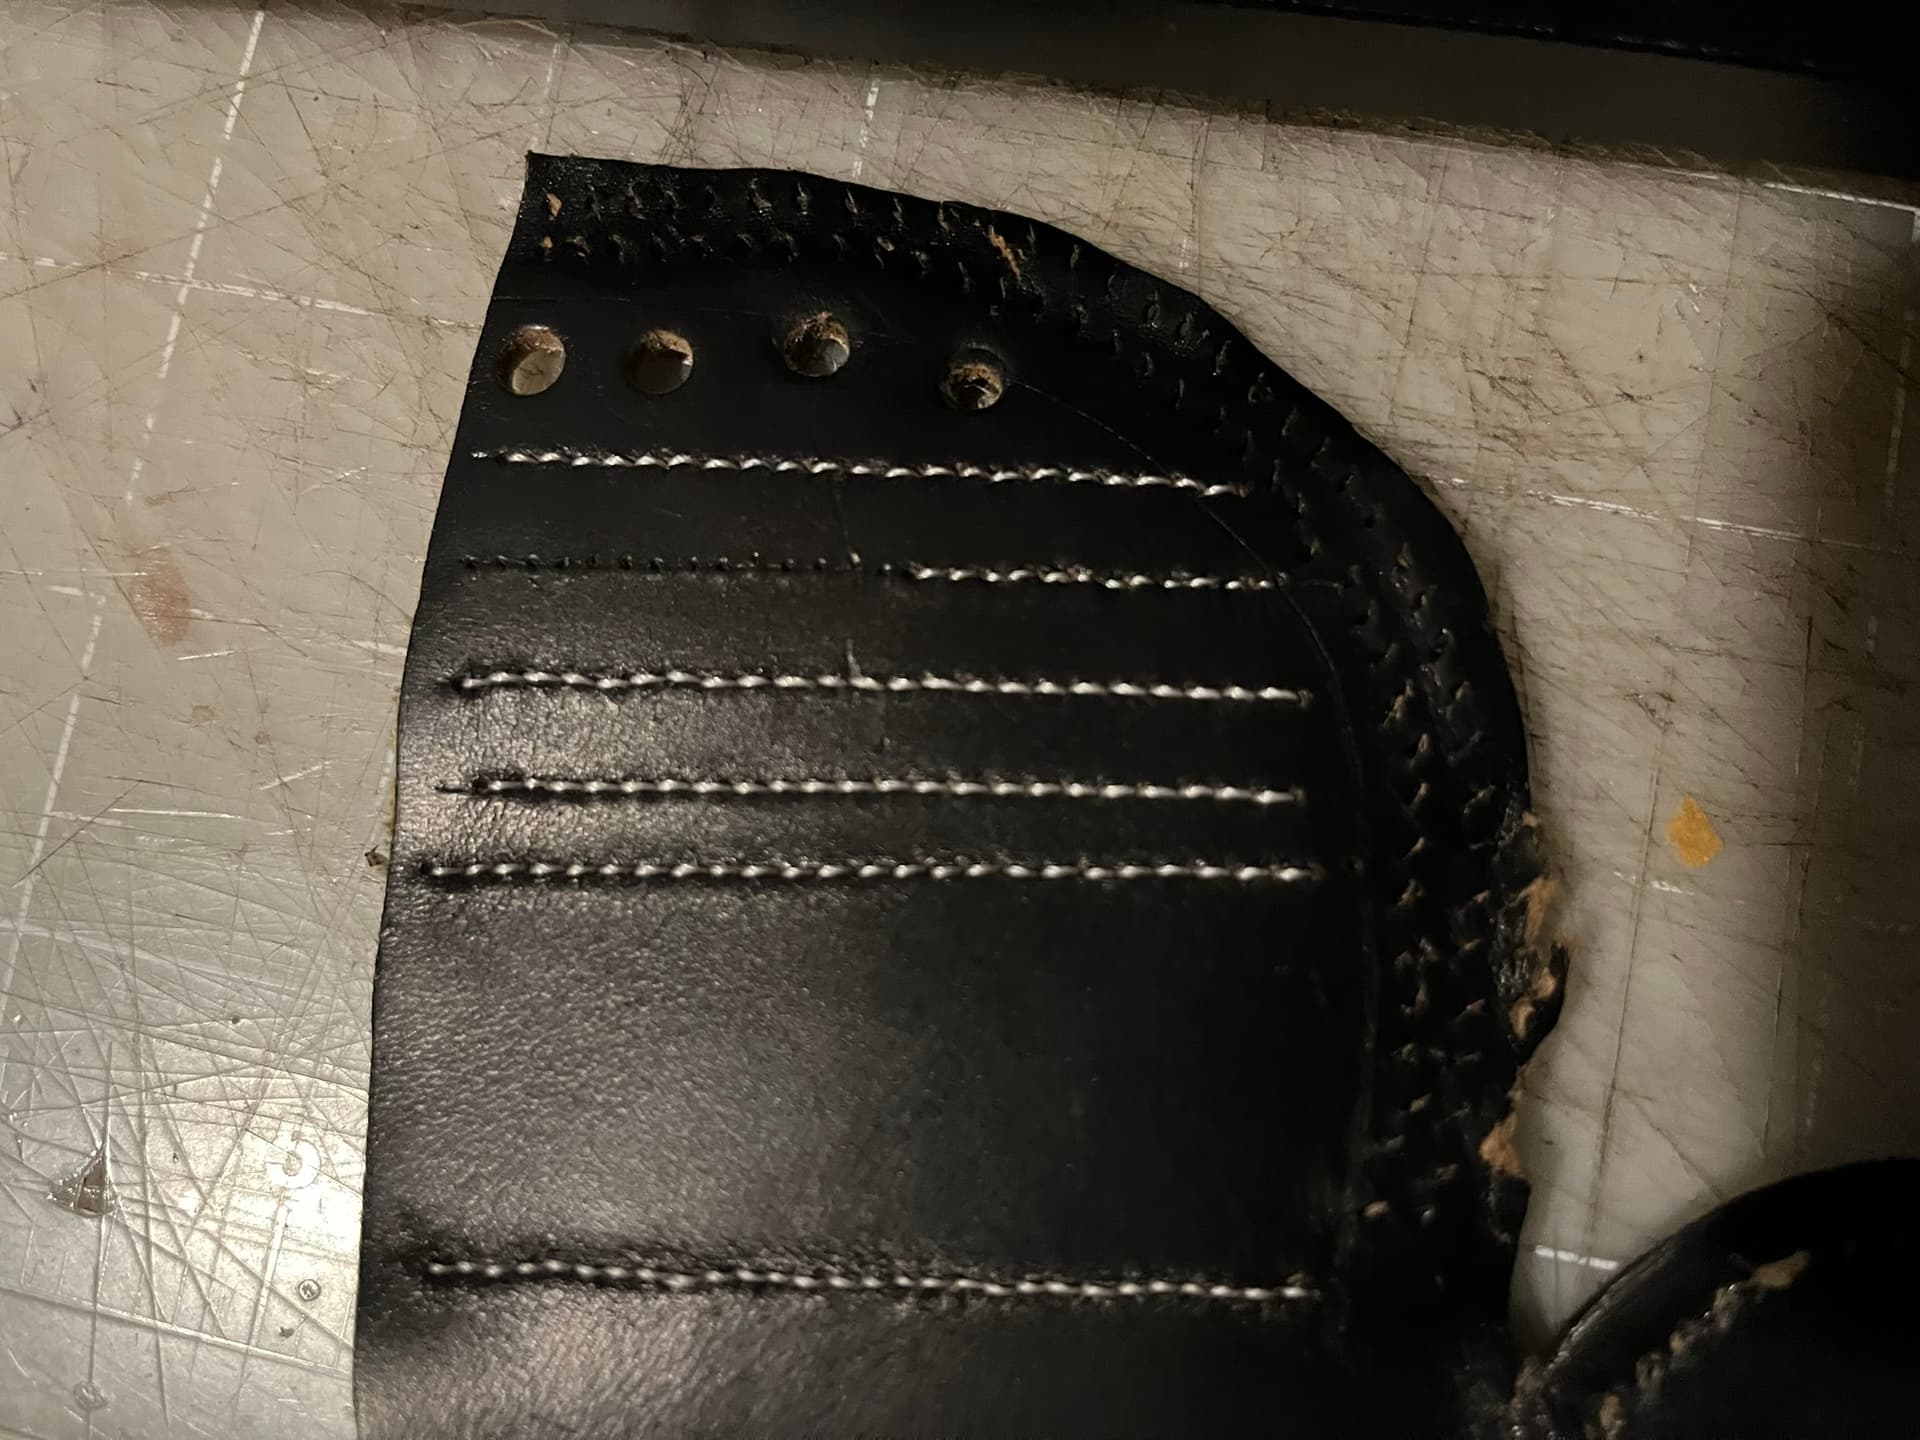

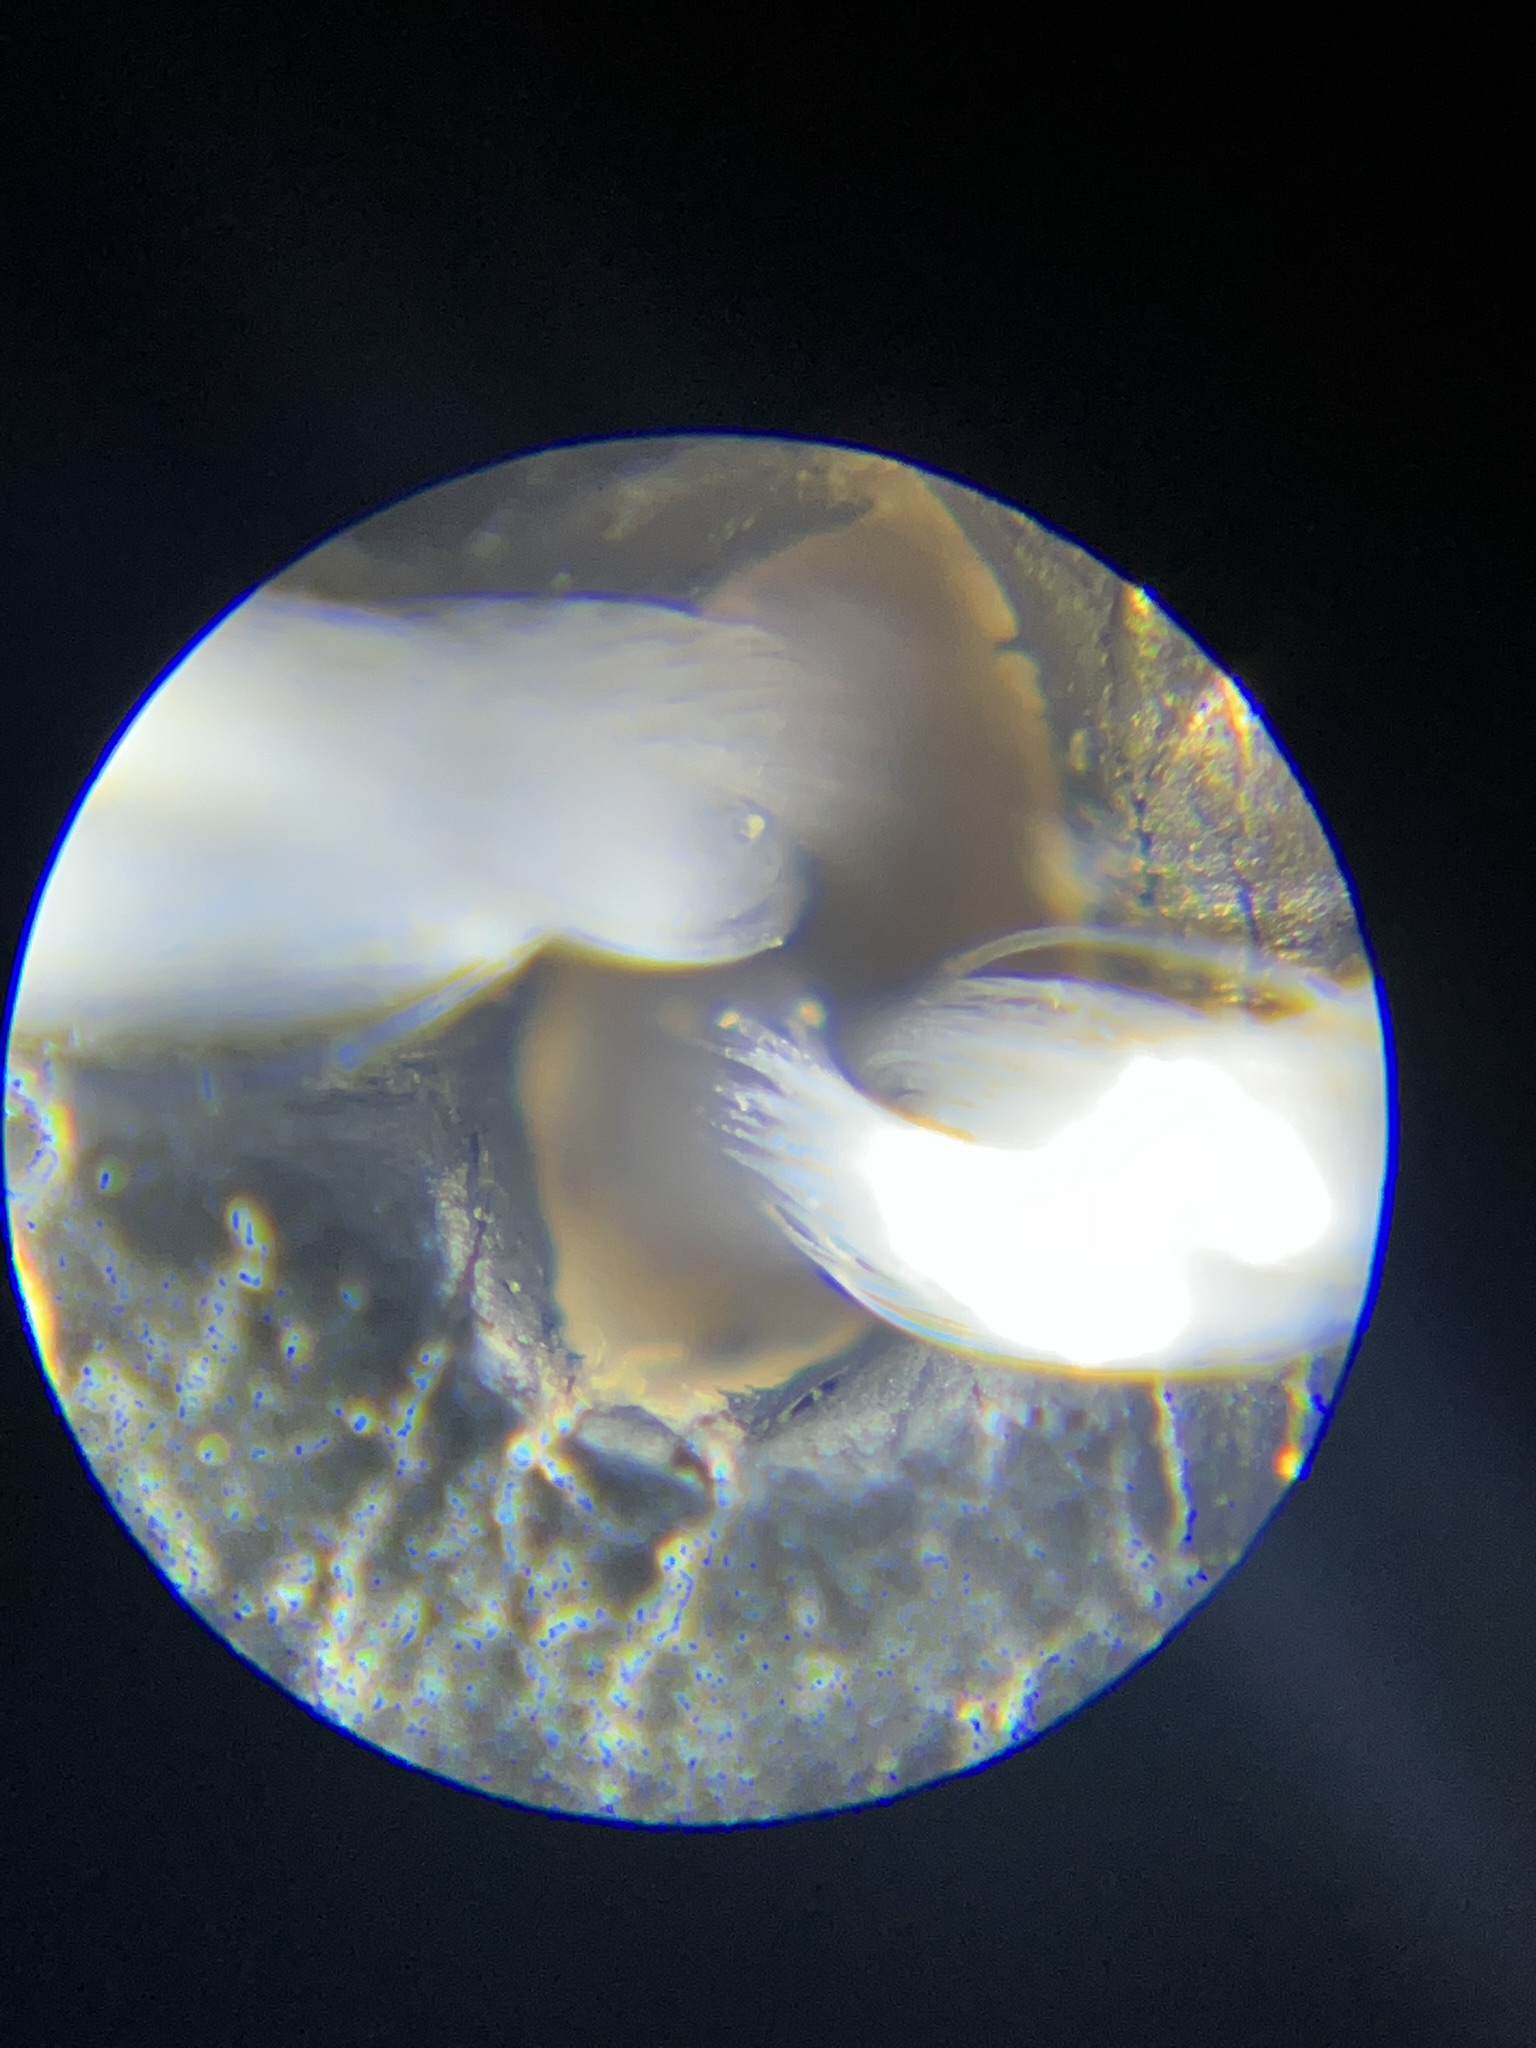
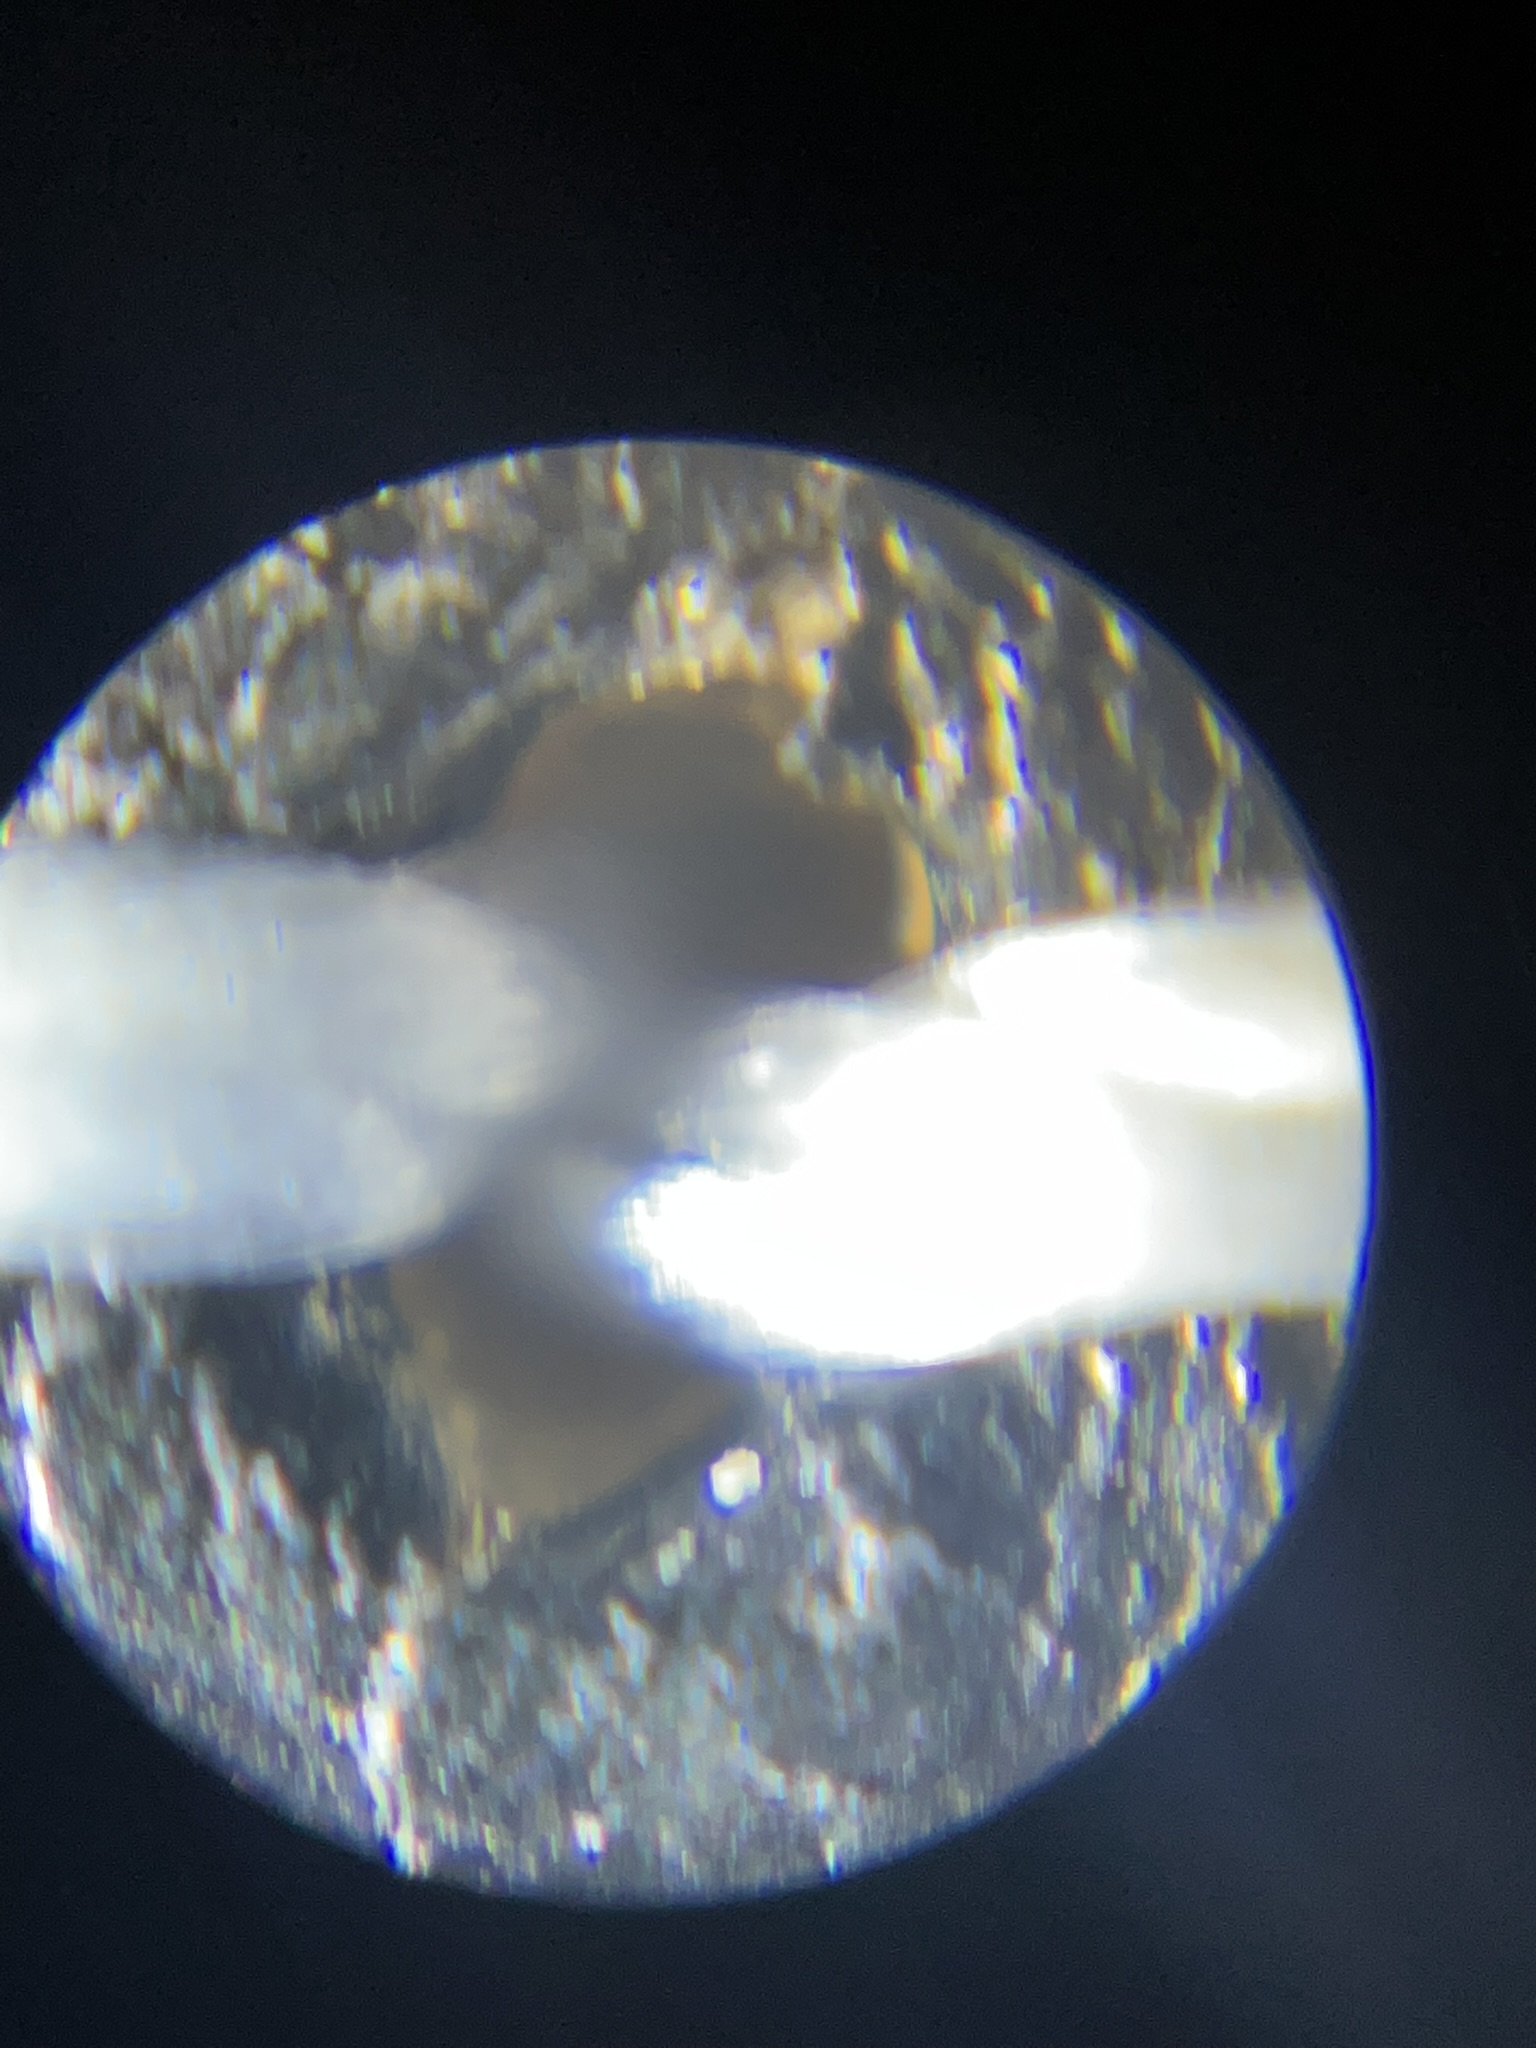
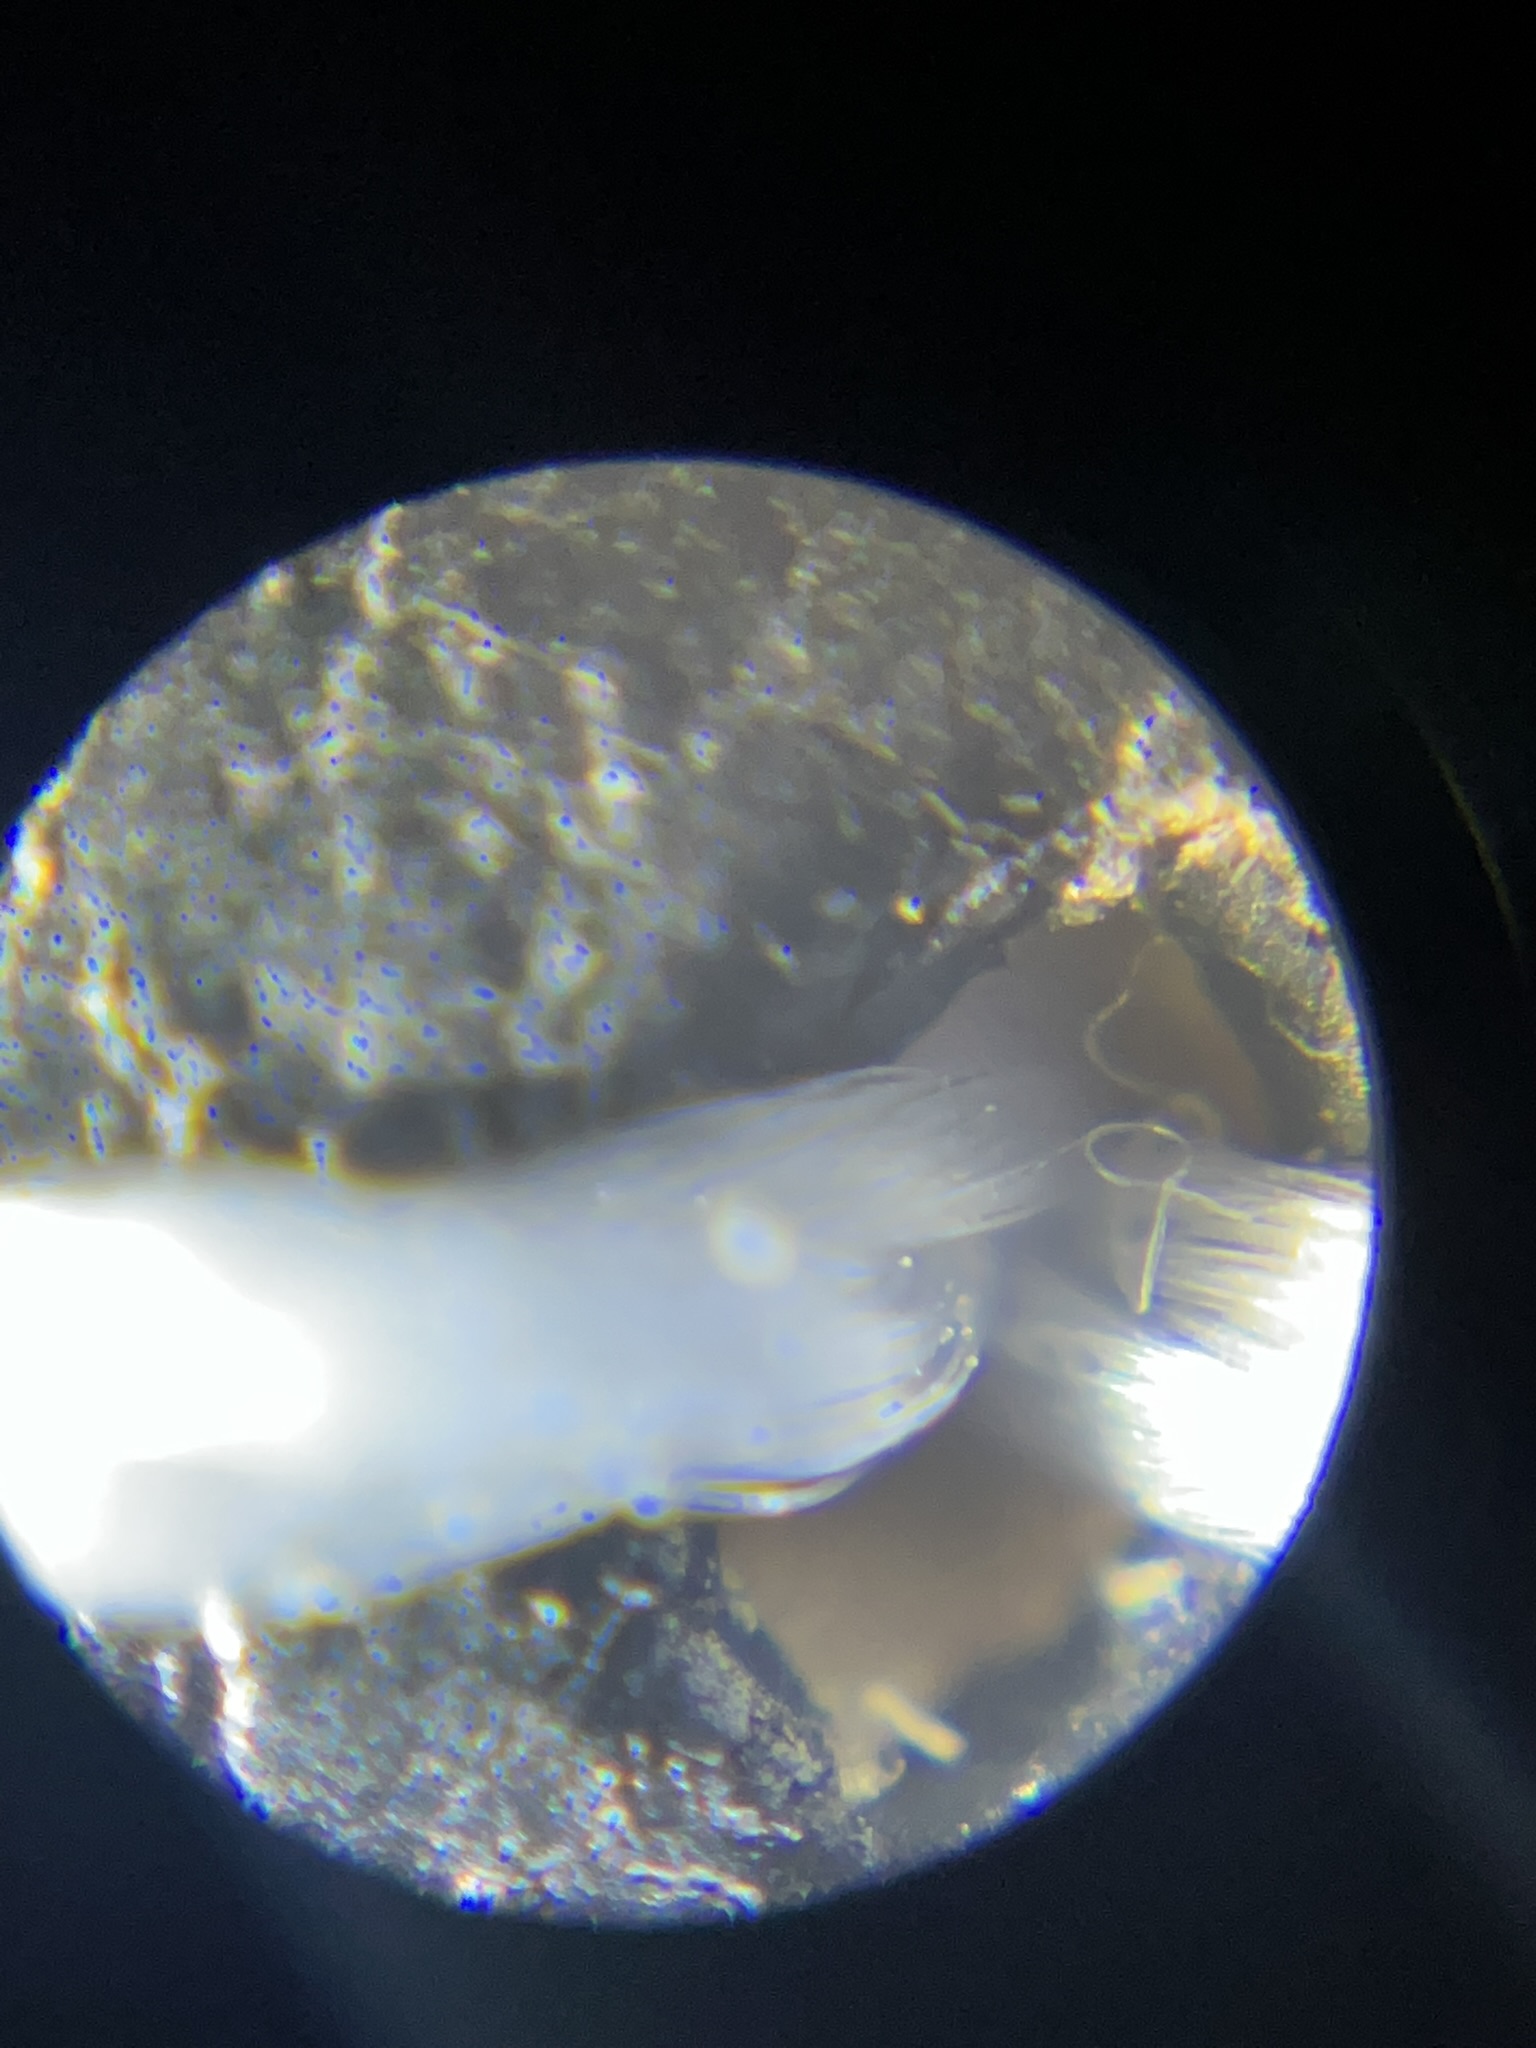
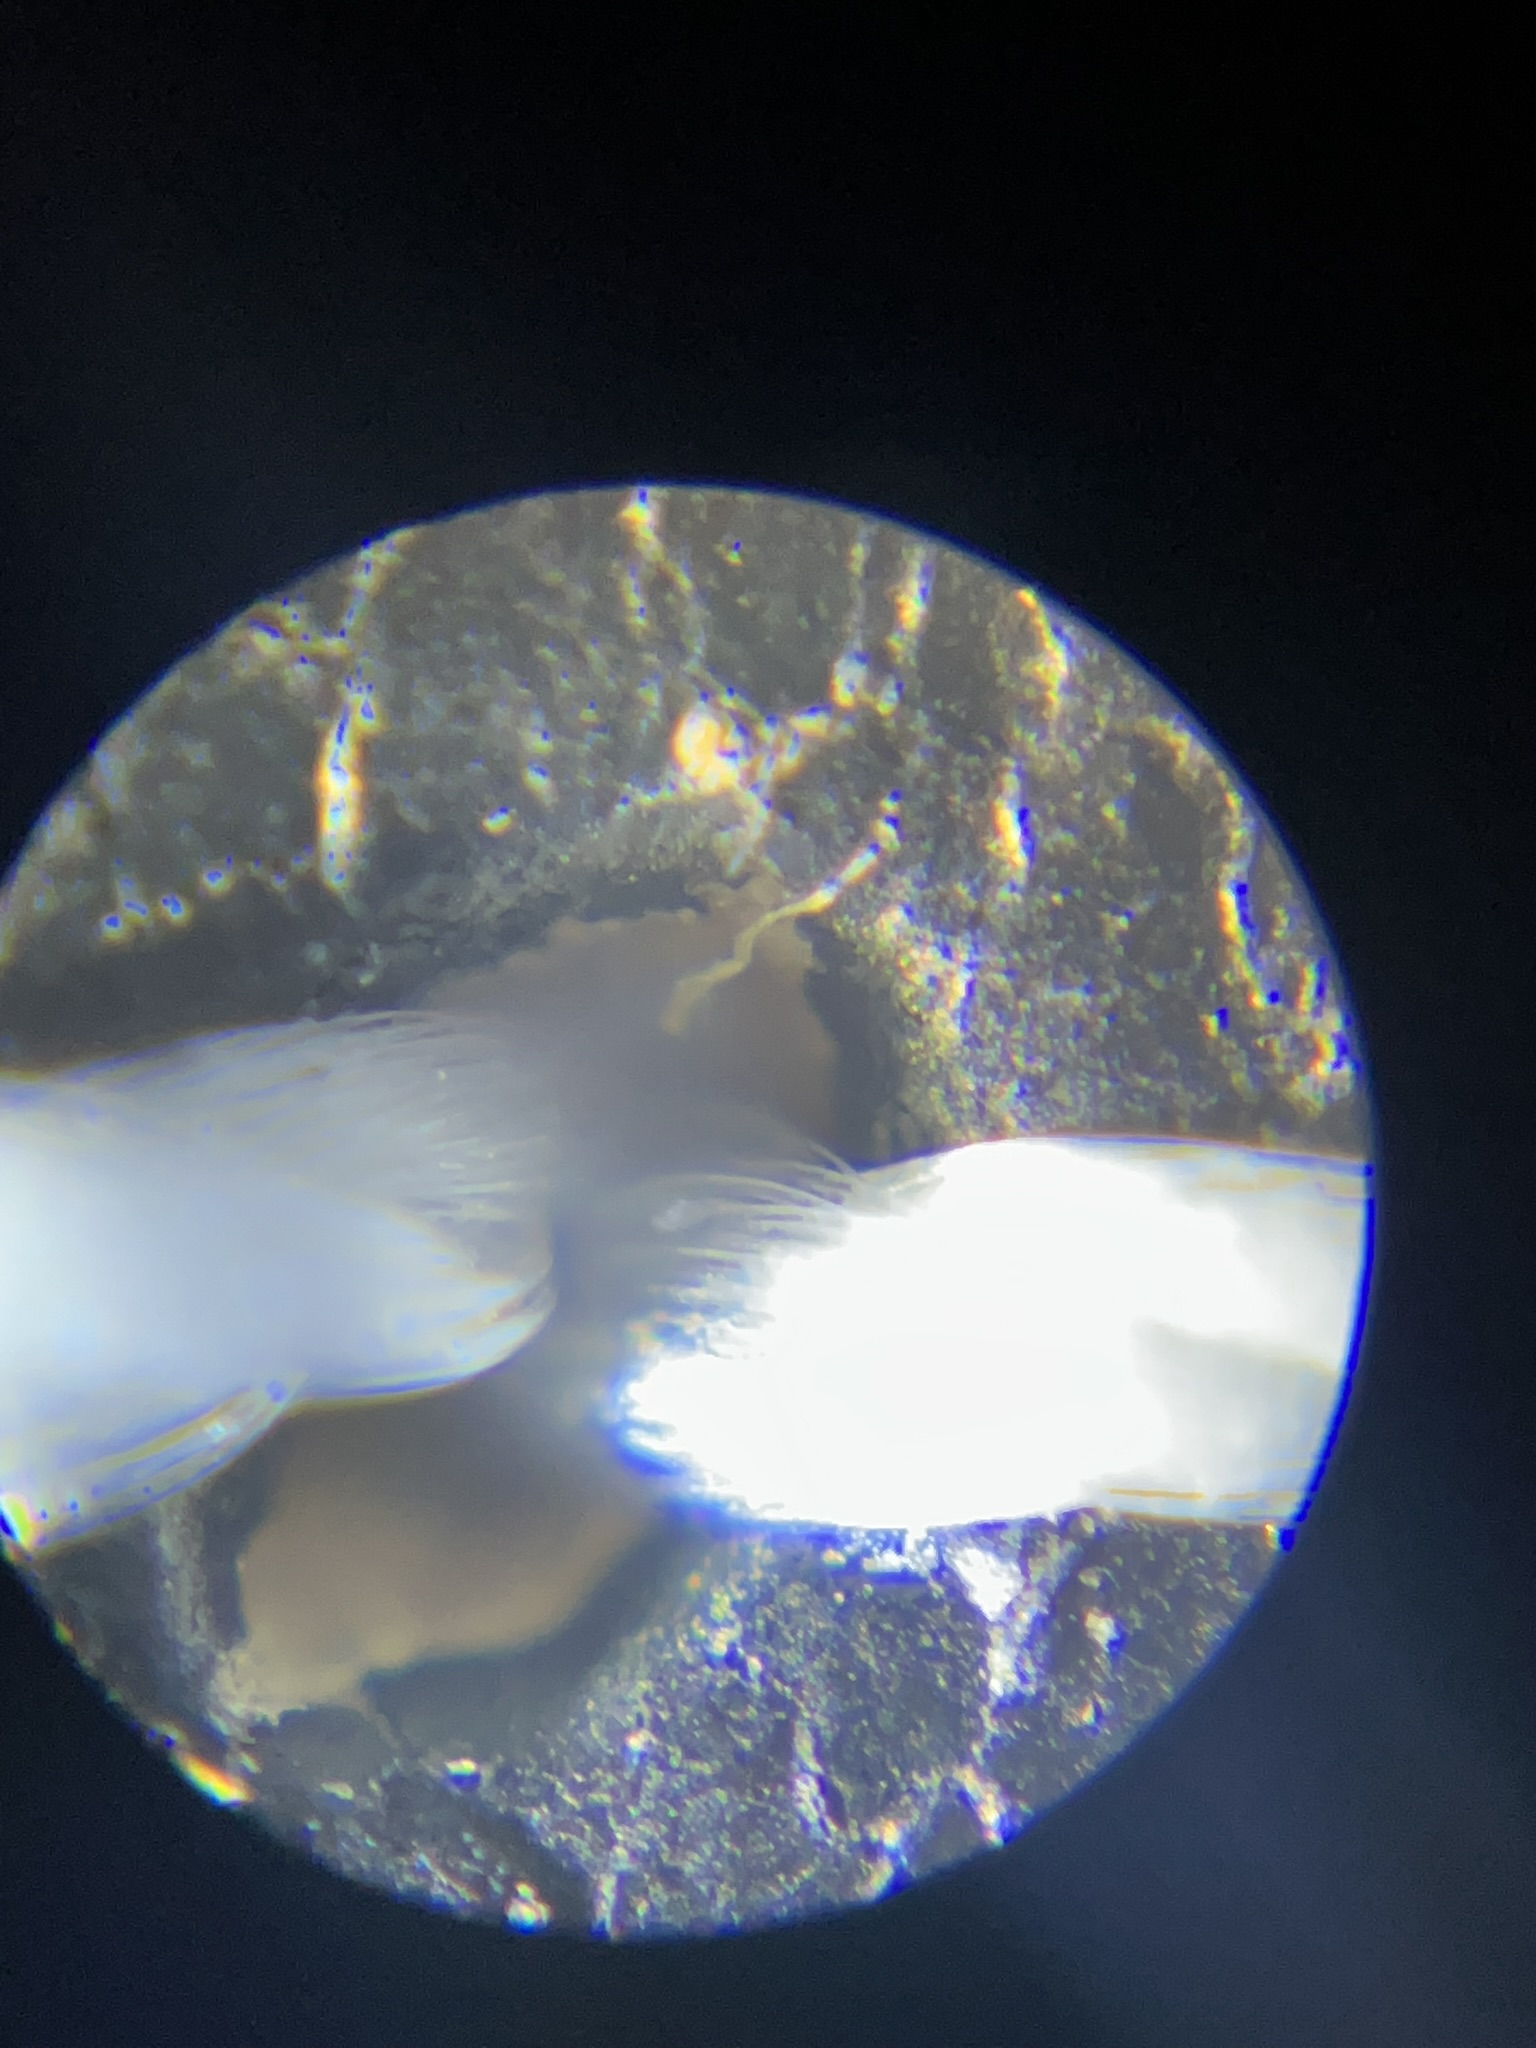
These are my very first test lines, using a vamp I screwed up for my fourth original pair: 4-5-ounce Horween Chromexcel over 2-ounch Maverick Leather “Resistance” lining.
Tools and Supplies
I tried a few different combinations here, but some of the ingredients in the mix were:
Threads
- Amann Serafil 70 tex
- Amann Serafil 90 tex
The difference in thickness is noticeable, but probably only if you look for it. I’m nearsighted, and also more than six feet tall. From eye level to foot level, I can no longer tell which weight is which, even looking at white thread over black leather, sewn aloft.
“Awls”
-
John James Glover’s Needle in a jeweler’s pen-style pin vise like this one
This worked well once I chocked the jaws way up on the needle and tightened it pretty hard. Otherwise the needle can bend under pressure or slide back into the pin vise.
-
Schmetz Leather Needles 130/705 H LL 90/14 in a mushroom-shaped jeweler’s pin vise like this one
This felt good in the hand, holding it a bit like a swivel knife. But the shape of the haft can obscure views of the work from above. It’s also completely symmetrical, so I find myself needing to check the position of the needle eye to keep track of its rotation.
-
another Schmetz leather needle in a Tamiya Pin Vise D
The quality of this pin vise is obvious, but I think it’s just too heavy for this work, rather than fine drilling. I tried taking the spare double-end collet out of the body, where it’s stored. That made it lighter, but also way too front-heavy. Not the tool for this job.
I’ve ordered a cheaper, aluminum pin vise of this style that I’m hoping does the trick.
Spacing Markers
-
C.S. Osborne Number 10 overstitch wheel
I was really pleased with the appearance of 10 SPI, but this particular tool proved a little problematic. Poking holes this fine, with points this pointy, the wider, rounder impressions left by the wheel didn’t reliably guide the needle into the right position up and down. The result was somewhat wavy stitchlines, visible in the photos.
-
C.S. Osborne Number 478 small scratch awl
The round, pointier point of this tool did a better job of guiding the needle to the right position during piercing. It also helped to score the stitch line with this awl at the start, before marking hole spacing.
The takeaway seems to be that for locating holes to be made with a fine, pointy needle, you really scribe fine, pointy lines where you’re going to stitch and fine, pointy indentations on that line where the holes will go. Blunter saddlery-style tools like overstitch wheels aren’t up to it. Pointier purpose-built pricking wheels, tracing wheels, and pounce wheels might be better.
Needles
-
C.S. Osborne 517-4
These worked. It was a bit harder getting the thread through the eyes…a bit more like threading a needle for fabric work, you might say. Still, I think I’m going to try some even finer harness needles. 517-4s are 20 British Standard Wire Gauge. Osborne does make one gauge finer, 21, in the same length. Those are numbered 517-5.
Backstitching
The bottom three stitch lines in the photos are actually backstitched. I didn’t plan to try this, but the thought struck me as I went.
It’s possible to get a neat slanted effect with backstitch if you’re careful to make sure the threads cross the same way in the holes each time. I’m tempted to find some place on the outside of an upper where I can use that. I could even do it with different thread colors, creating a candy-cane spiral effect. Black and white over brown leather might look neat.
More Slanting?
I’m looking forward to trying some larger machine needles with angled points. I have some Gröz-Beckert S-points up to size 200/25 to try. Perhaps that can give me more of the angled effect I’m use to with saddler’s awls and braided thread.
Even 2 Millimeter Spacing is Hard to Freehand
In the bottom line shown above, I scribed a line with the scratch awl, then held a rule by the line and poked freehand, aiming for every second millimeter mark. The backside, showing the backstitch loops, looks great. The face side not so much.
For 2-millimeter specifically, it might be possible to get it much neater using a twin machine needle. I’ve seen those listed in catalog with 2 mm, 2.5 mm, and 3 mm spacing, but not finer. 2 mm would be pushing 12 SPI, though!