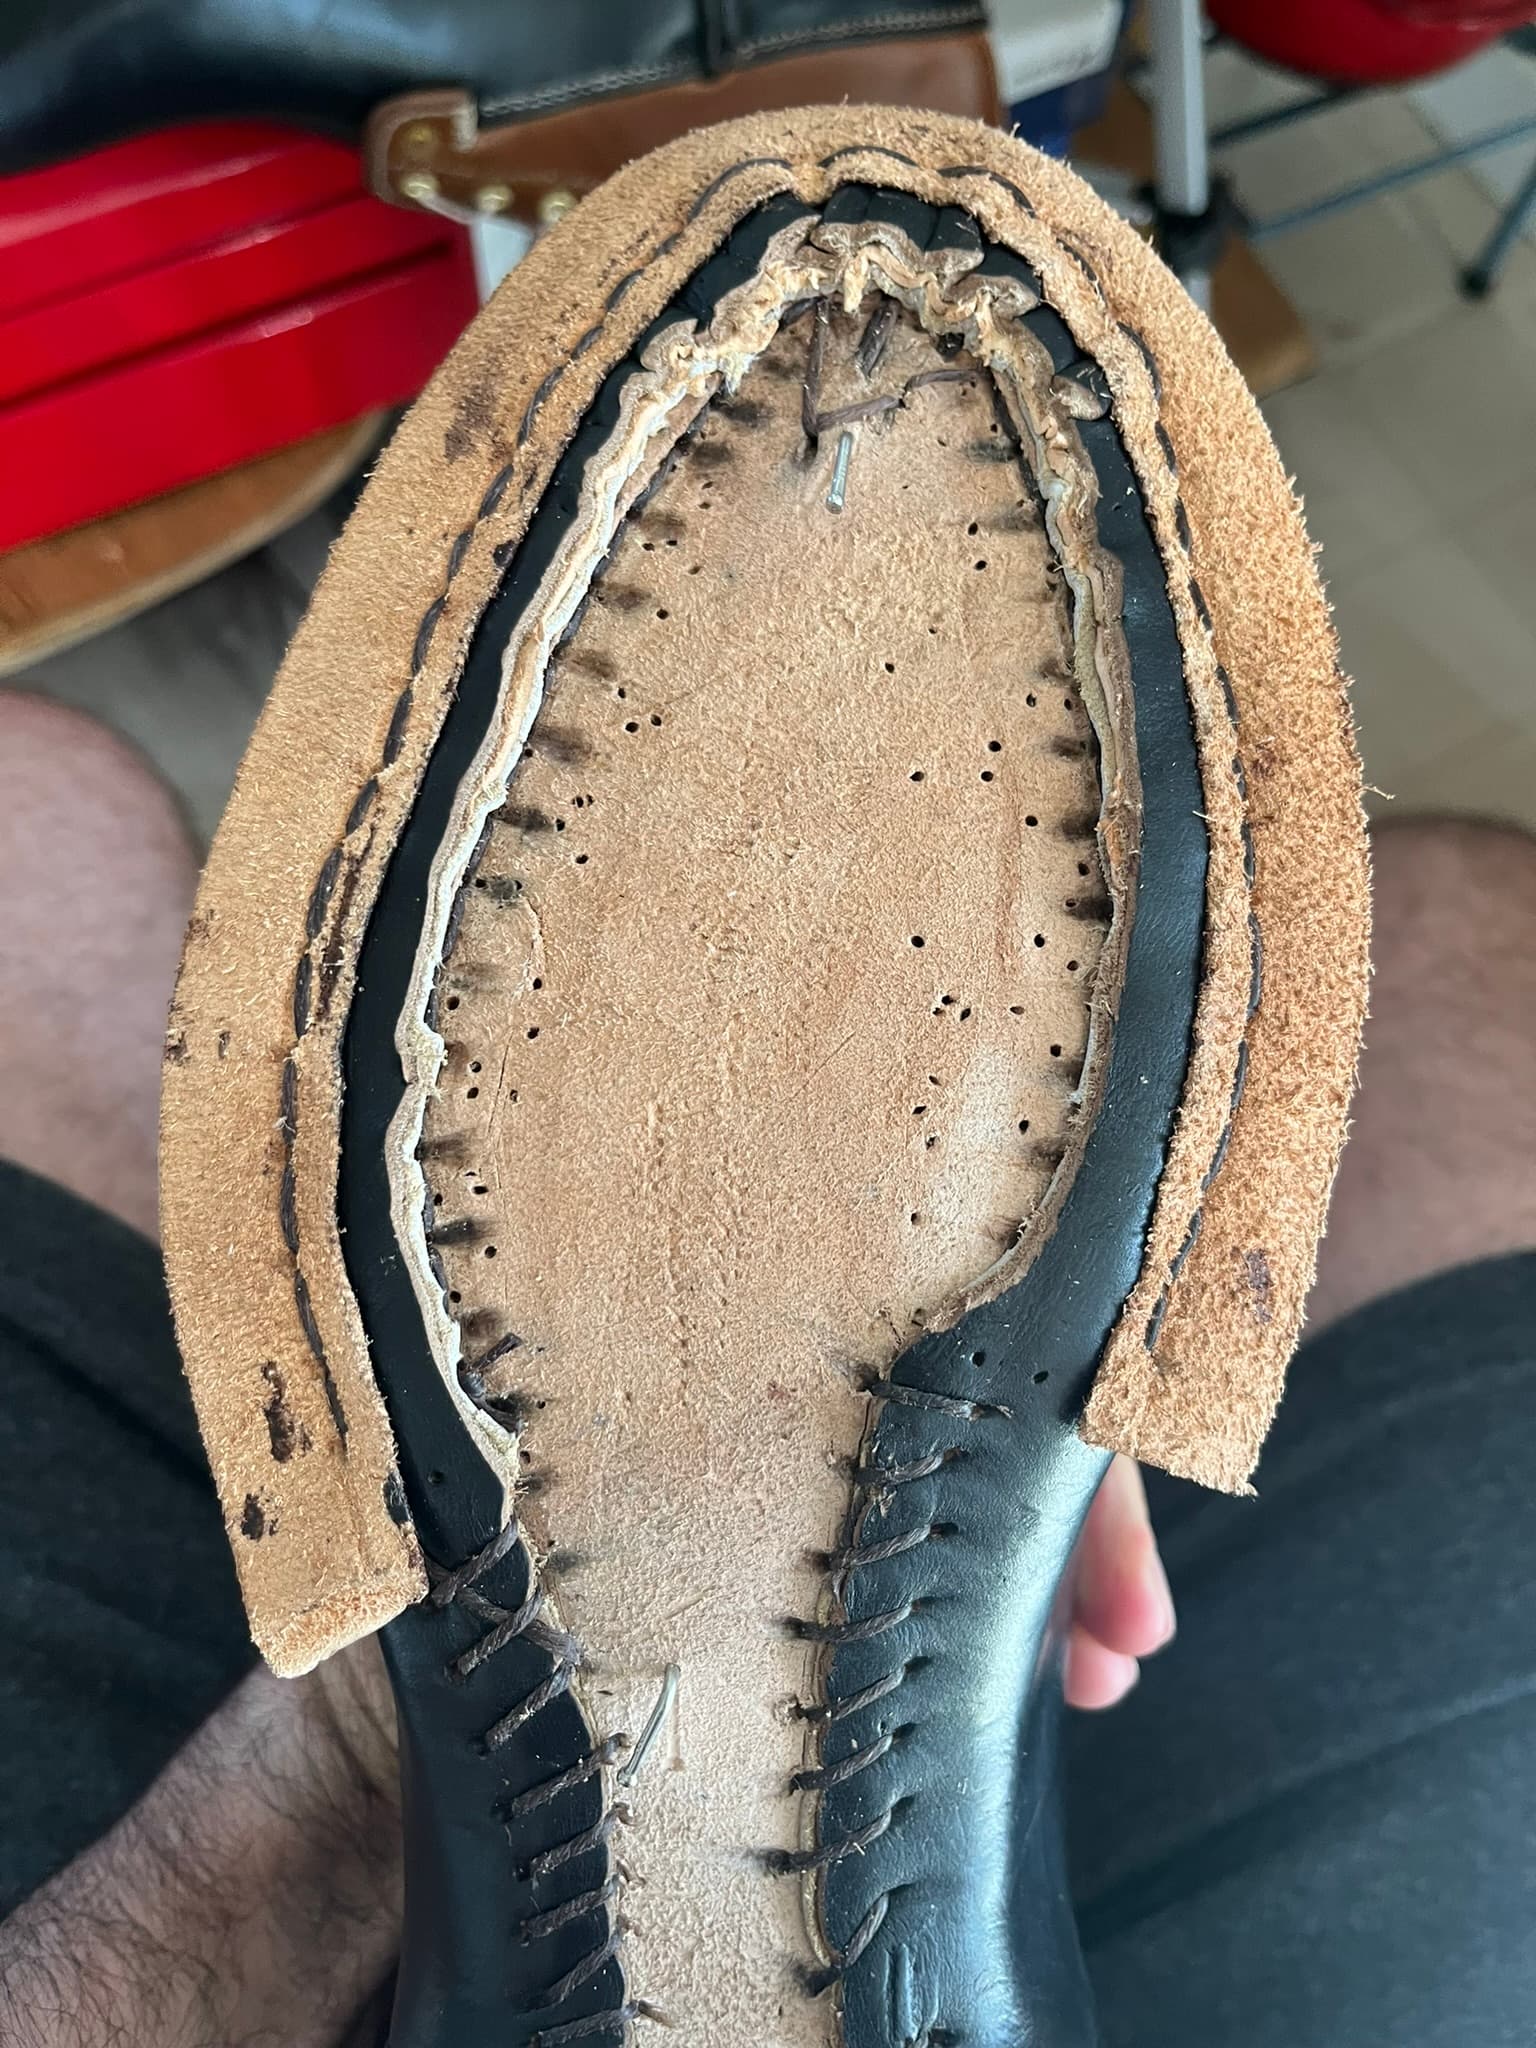
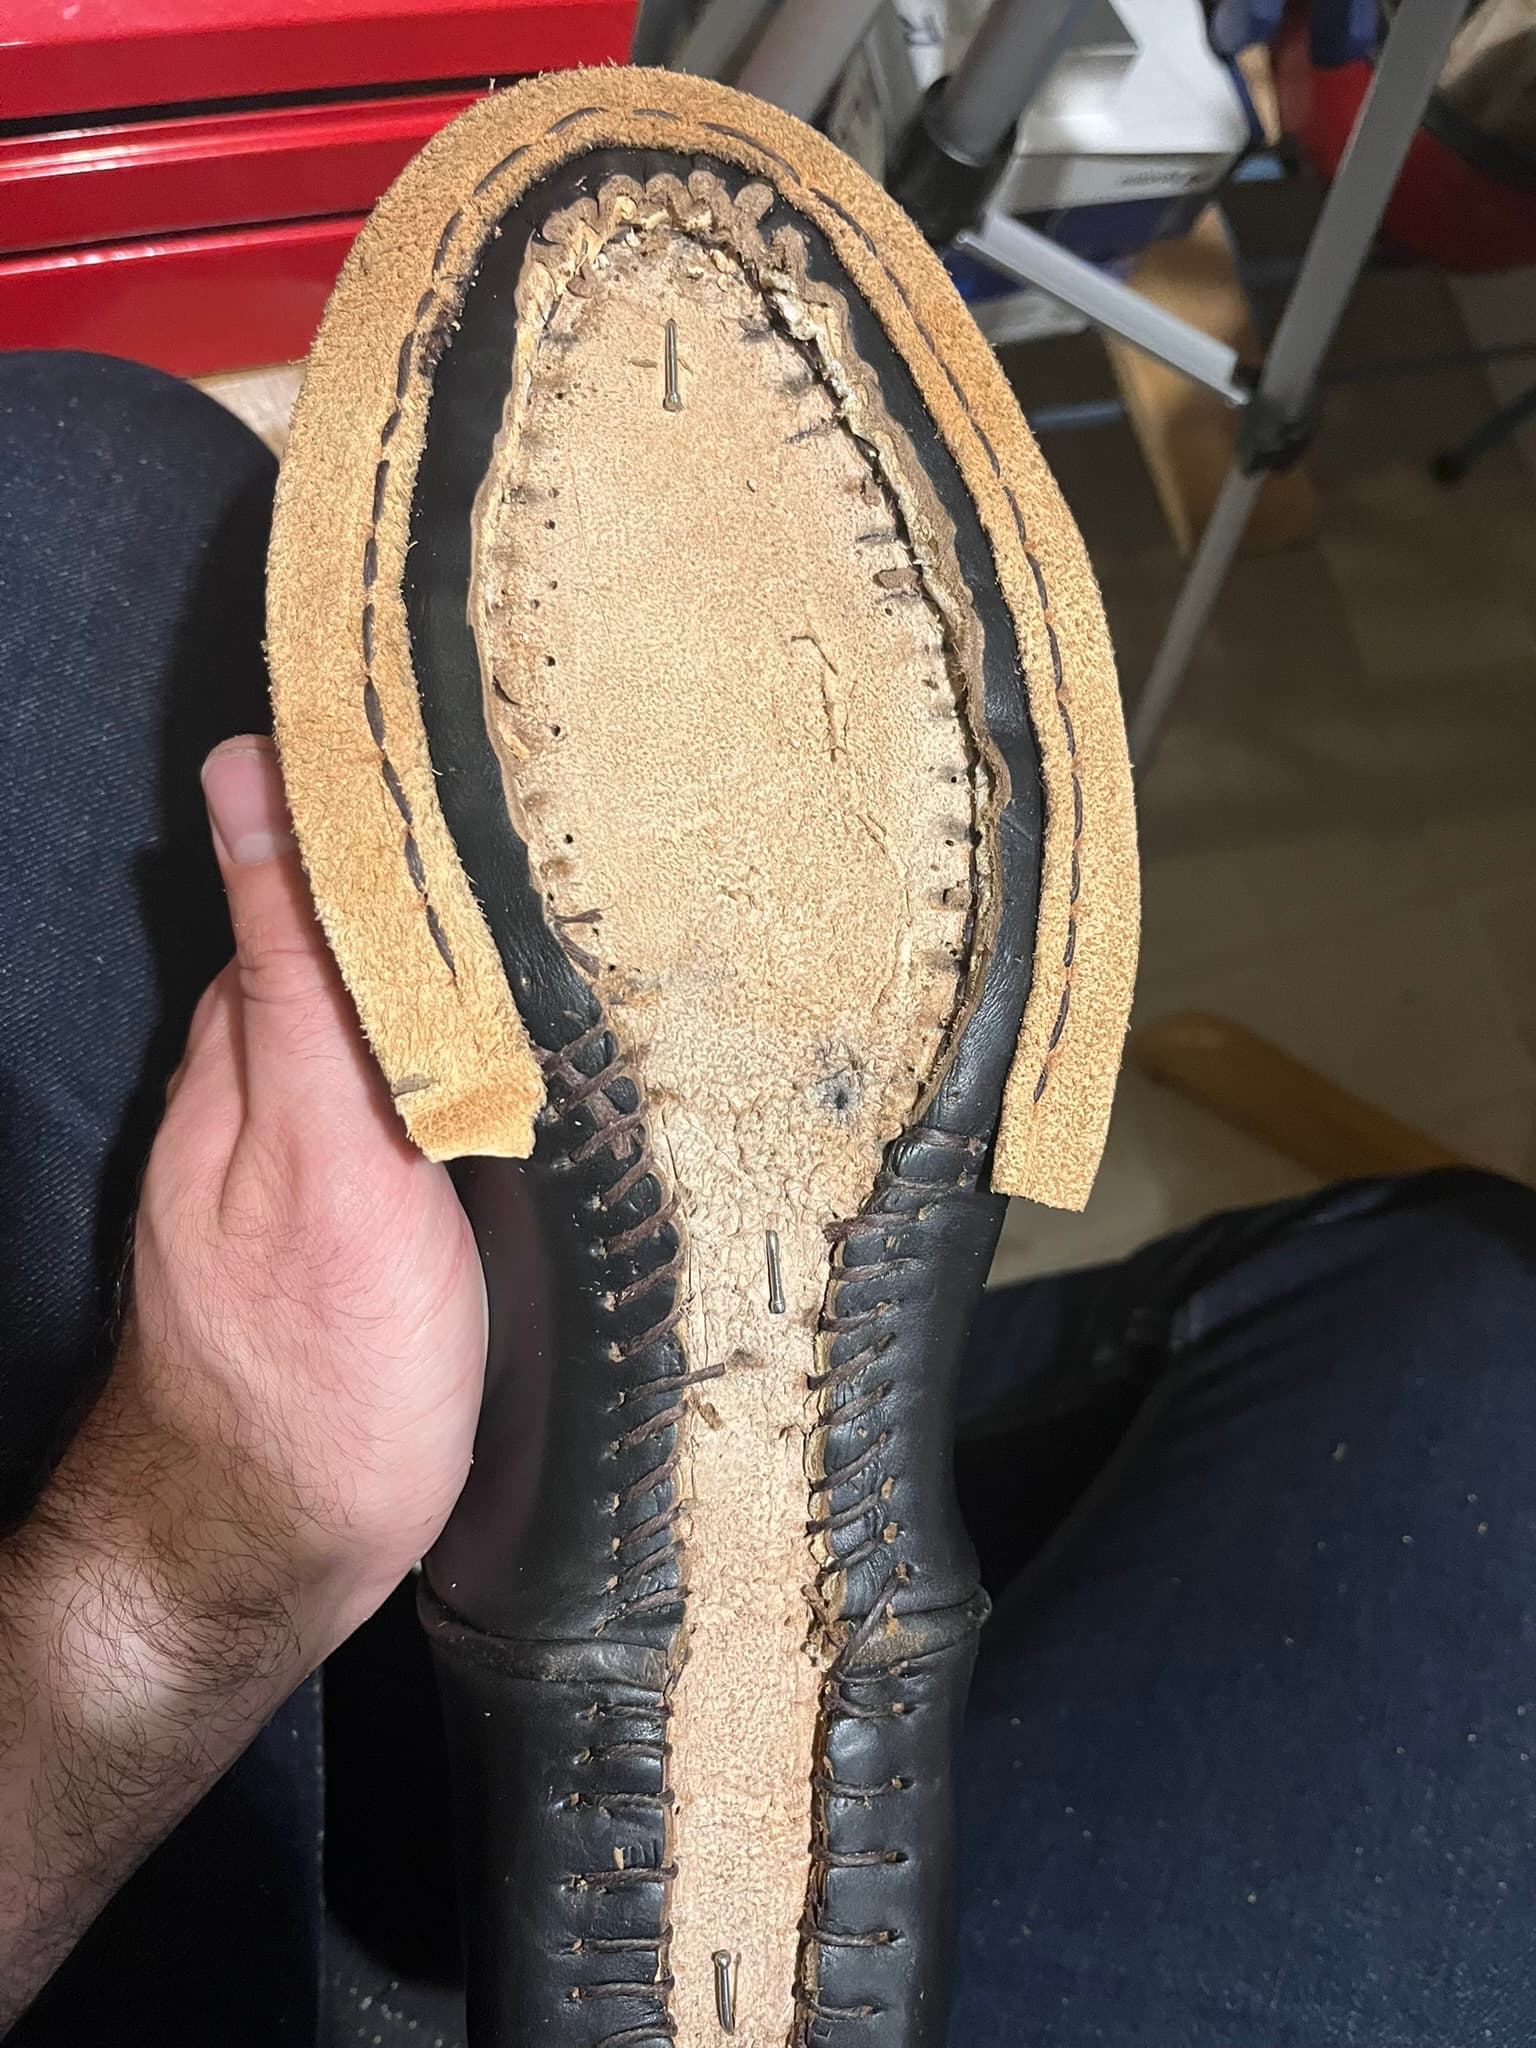
Welting
This remained a very long, hard process. But I am mostly happy with the results, especially since it’s now clear that the toes of these boots will not be wrinkly, muffin-like messes, like my first pair.
Inside out or outside in?
I tried both piercing the uppers, stiffeners, and linings from the inside out and the outside in.
Piercing from the inside out, through the pre-pierced holes in the holdfast, often required me to press the upper down against the insole with a wine cork to get the awl to pierce entirely through the upper. I suppose this could be because I still haven’t got my awl properly sharp, or just because the leather is so thick.
Piercing from the outside in, I felt I worked faster and could get cleaner results. It was easier to get the needle through from the inside out, which was always the harder direction for me, by chasing the awl blade back out. On the other hand, I sometimes misjudged where on the upper to pierce in so as to end up through the existing, pre-pierced holes in the holdfast. I could mark the inner end of each hole on the insole, but some did not go through the holdfast exactly perpendicular.
Still popping holes.
I popped a small handful of holes that I’d pre-pierced in the holdfast.
One I think was just too shallow. Its exit hole was pretty high on the holdfast.
One I think I just pulled way too tight on. I’ve generally preferred just to wrap the thread around my hands and take the callouses. Even so, it seems I managed to go too far.
One I really don’t know how it broke. It was hard to see much of anything under the upper. They sure look like fixes, but I’d rather have that buried under the insole filling than make a stitch doubly long.
A few times, I backed up further toward the midline of the insole, plunged a new hole, and used that instead of the one I’d popped.
RIP Rocky Mountain Inseaming Awl
In a fit of spendy passion, I’d ordered one of these very shapely inseaming awls from Rocky Mountain Leather. It came very pointy, with a nicely shaped haft. But I promptly snapped the tip off the blade on my very first hole.
I’ve sent them an e-mail asking about replacements. I now harbor dark suspicions about the quality of the awl blade metal. But realistically, I have to allow that I’m new at this, and it’s probably my fault.
I switched back to some King awls that I believe I got from George Barnsley. I was surprised to order what seemed like Barnsley awls, only to receive ones marked King. But they seem to be working well. Their thickness where they bend gives me some confidence to put a little leverage on them.
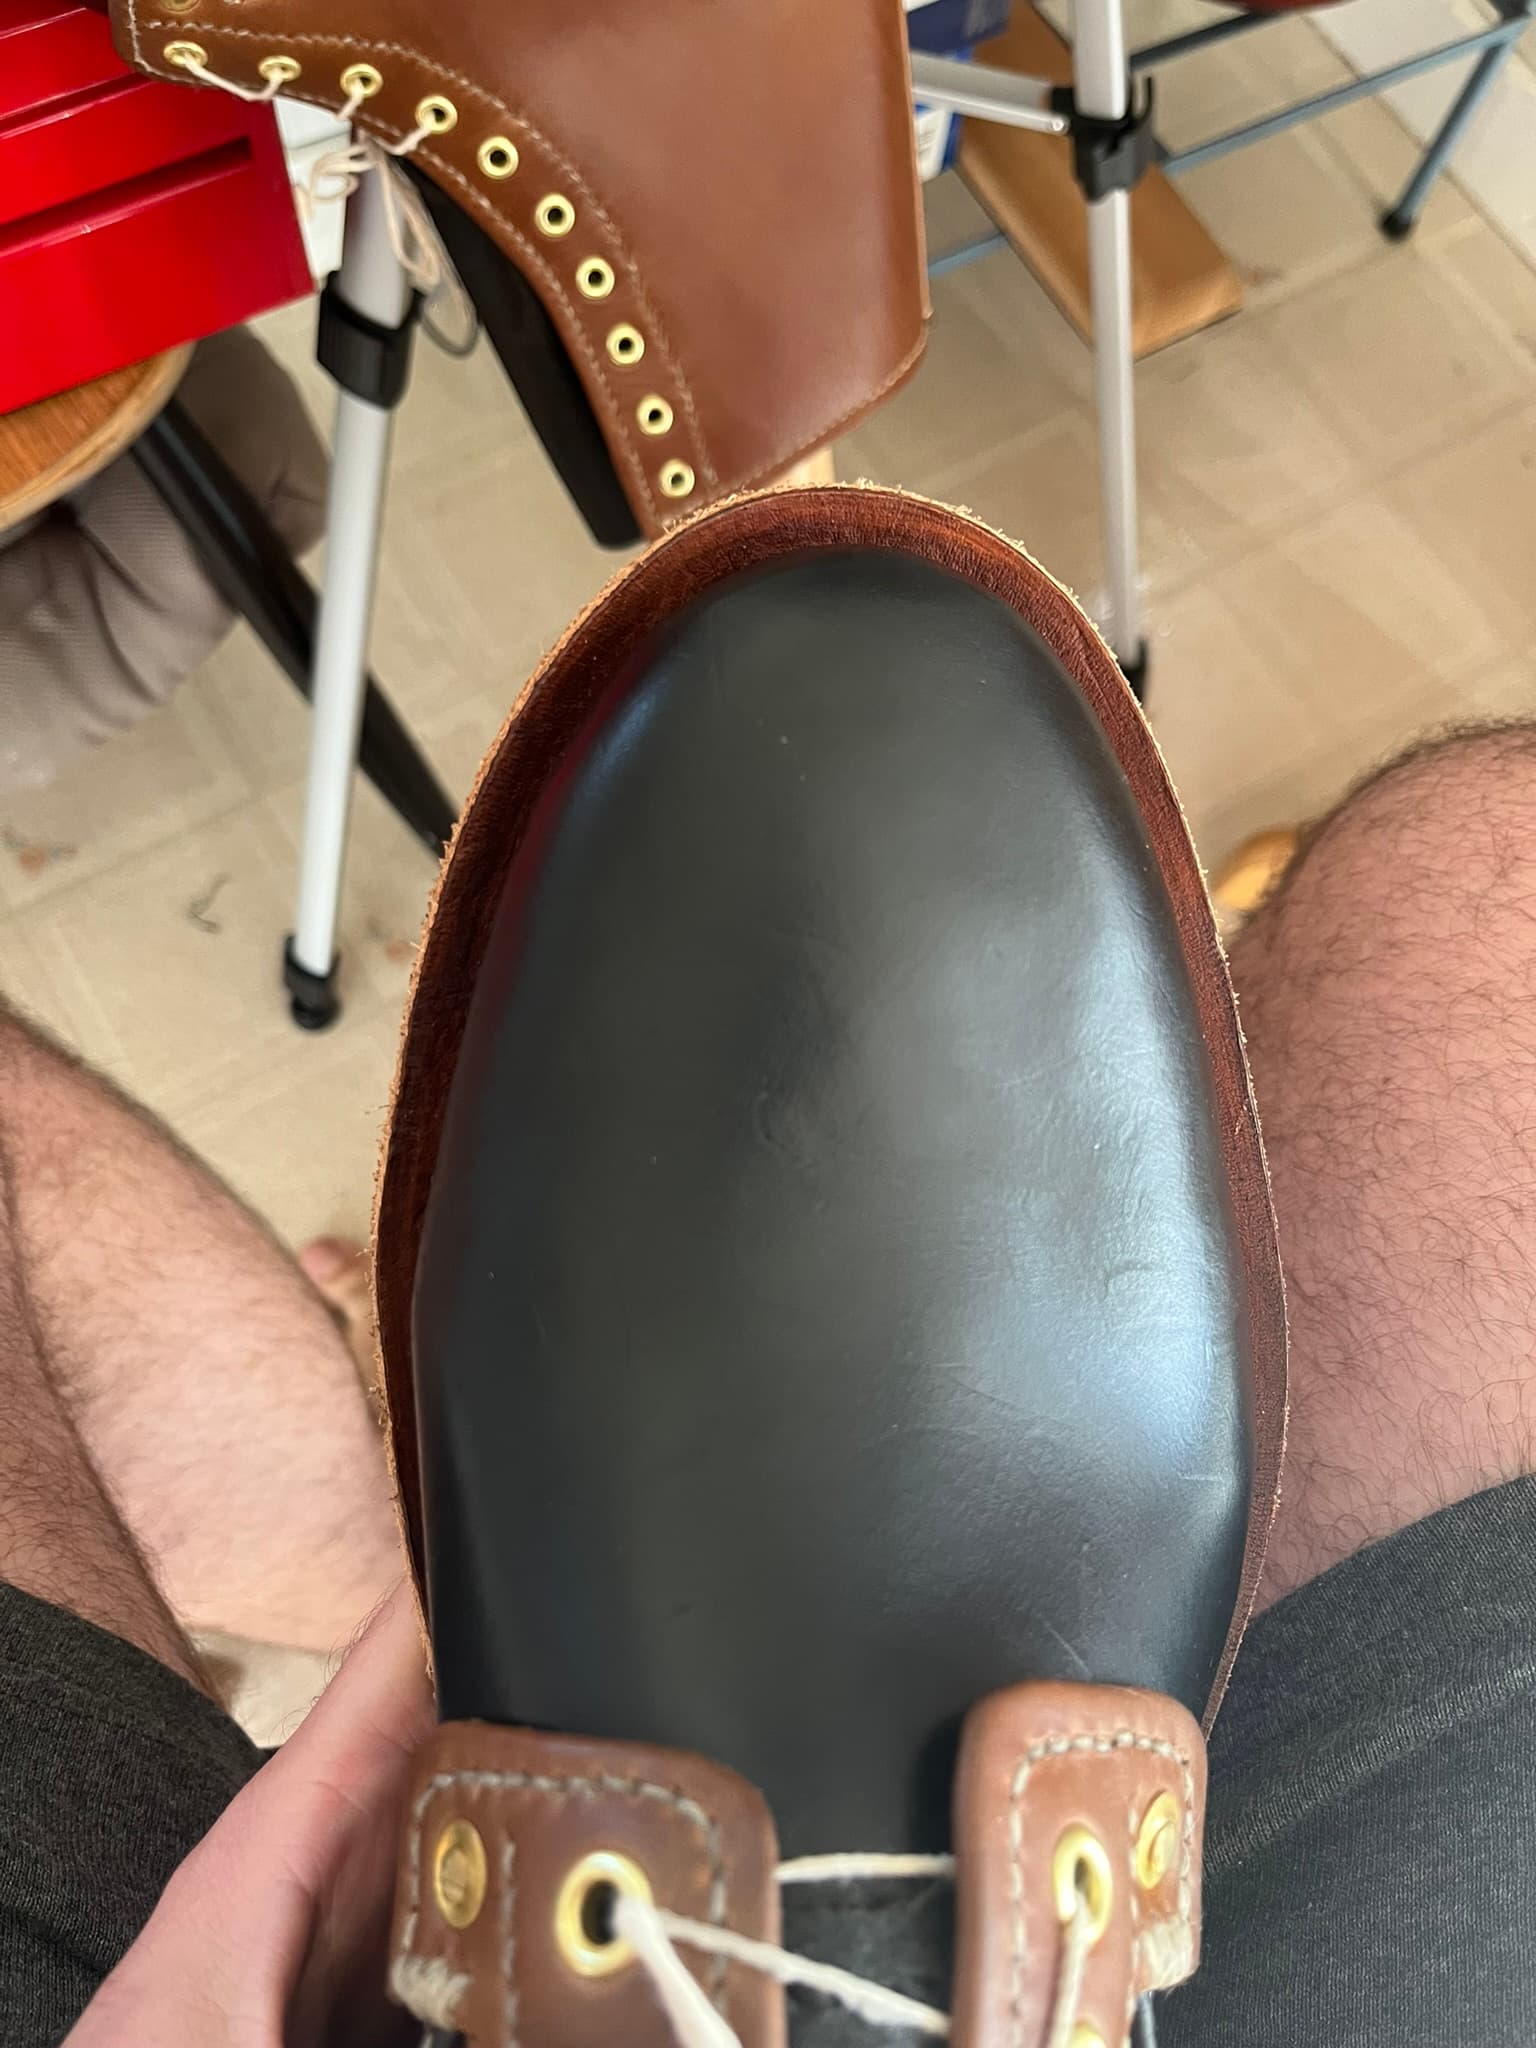
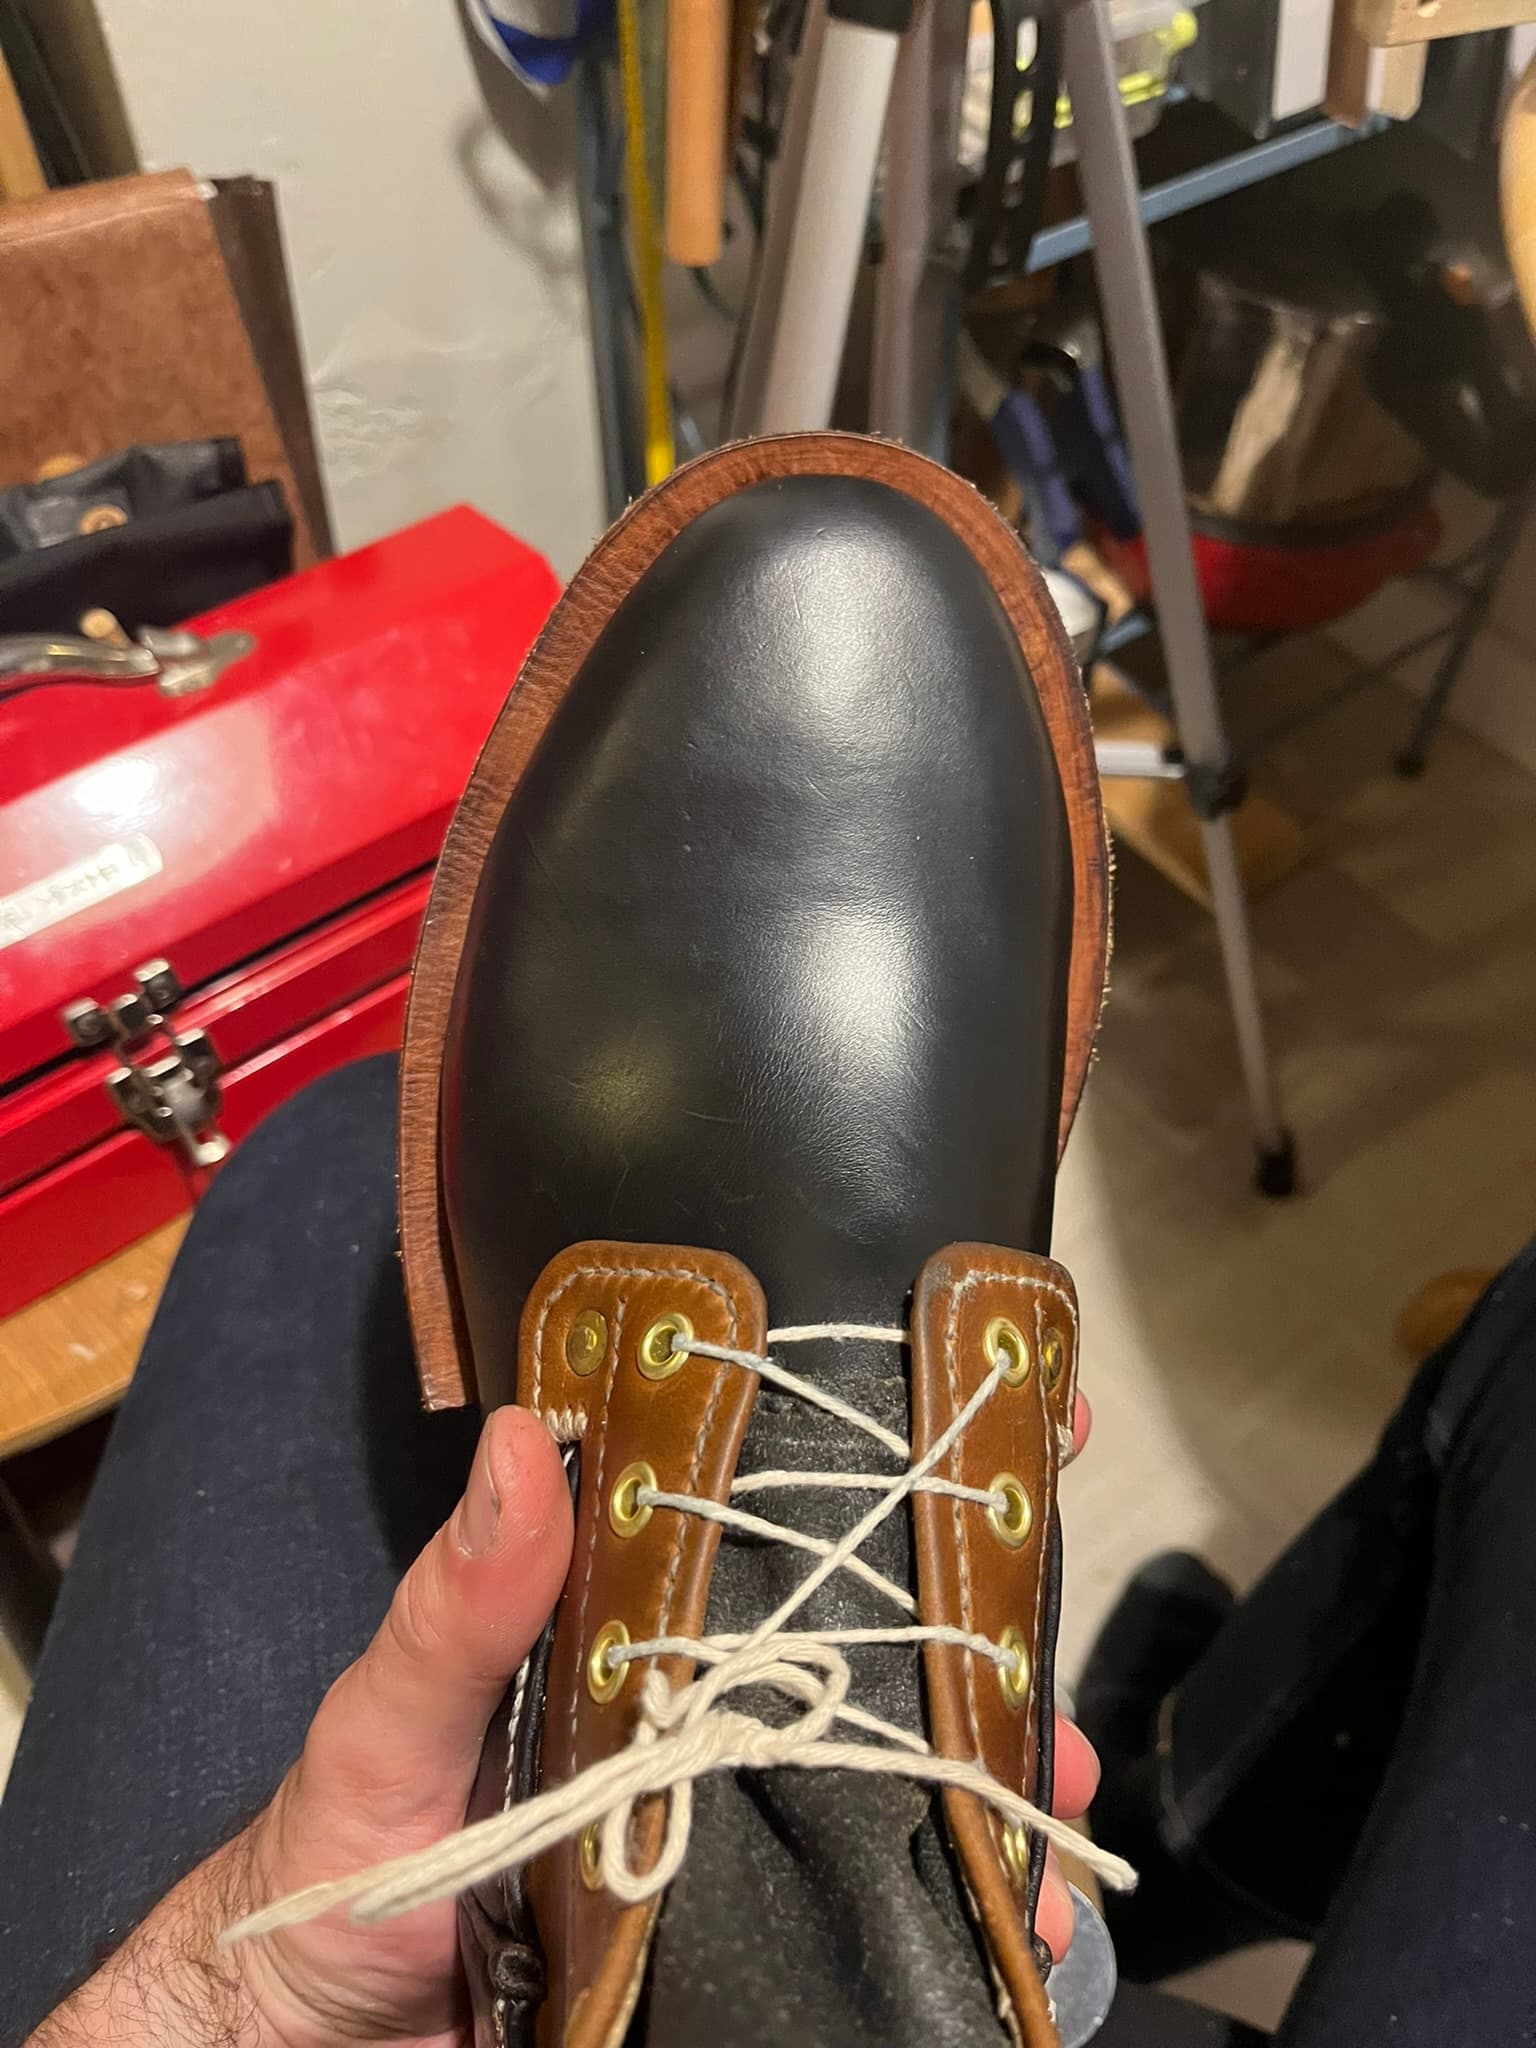
Pleated to flatten around the toe.
I tried a tip I saw in Kirby Allison’s video of Lee Miller welting: rather than slash or wet and bend the welt so as to hold it already flat while sewing around the toe, make a little pleat or pucker so the welt has enough slack to be turned up flat.
I was worried about guessing how much bend to give it so as to flatten out without going wobbly. But in practice I found that easy to figure out by guess and check, holding in place and flipping up and down before piercing.
Not sure about length
I am not yet sure whether I welted enough past the joints. Come to think of it, I think I’ve seen a fair amount of variation on this in well made boots. But I essentially made my choice intuitively, without any system or calculation. Hopefully it doesn’t look too odd.
Color Change
I originally planned to natural, un-dyed veg tan welts again, as on my first pair. But for whatever reason, I decided to go ahead and dye these brown, with a plan to use tan thread down through to the outsole. That should up the pressure to make my time and make sure I don’t stitch too far out on the welt again.