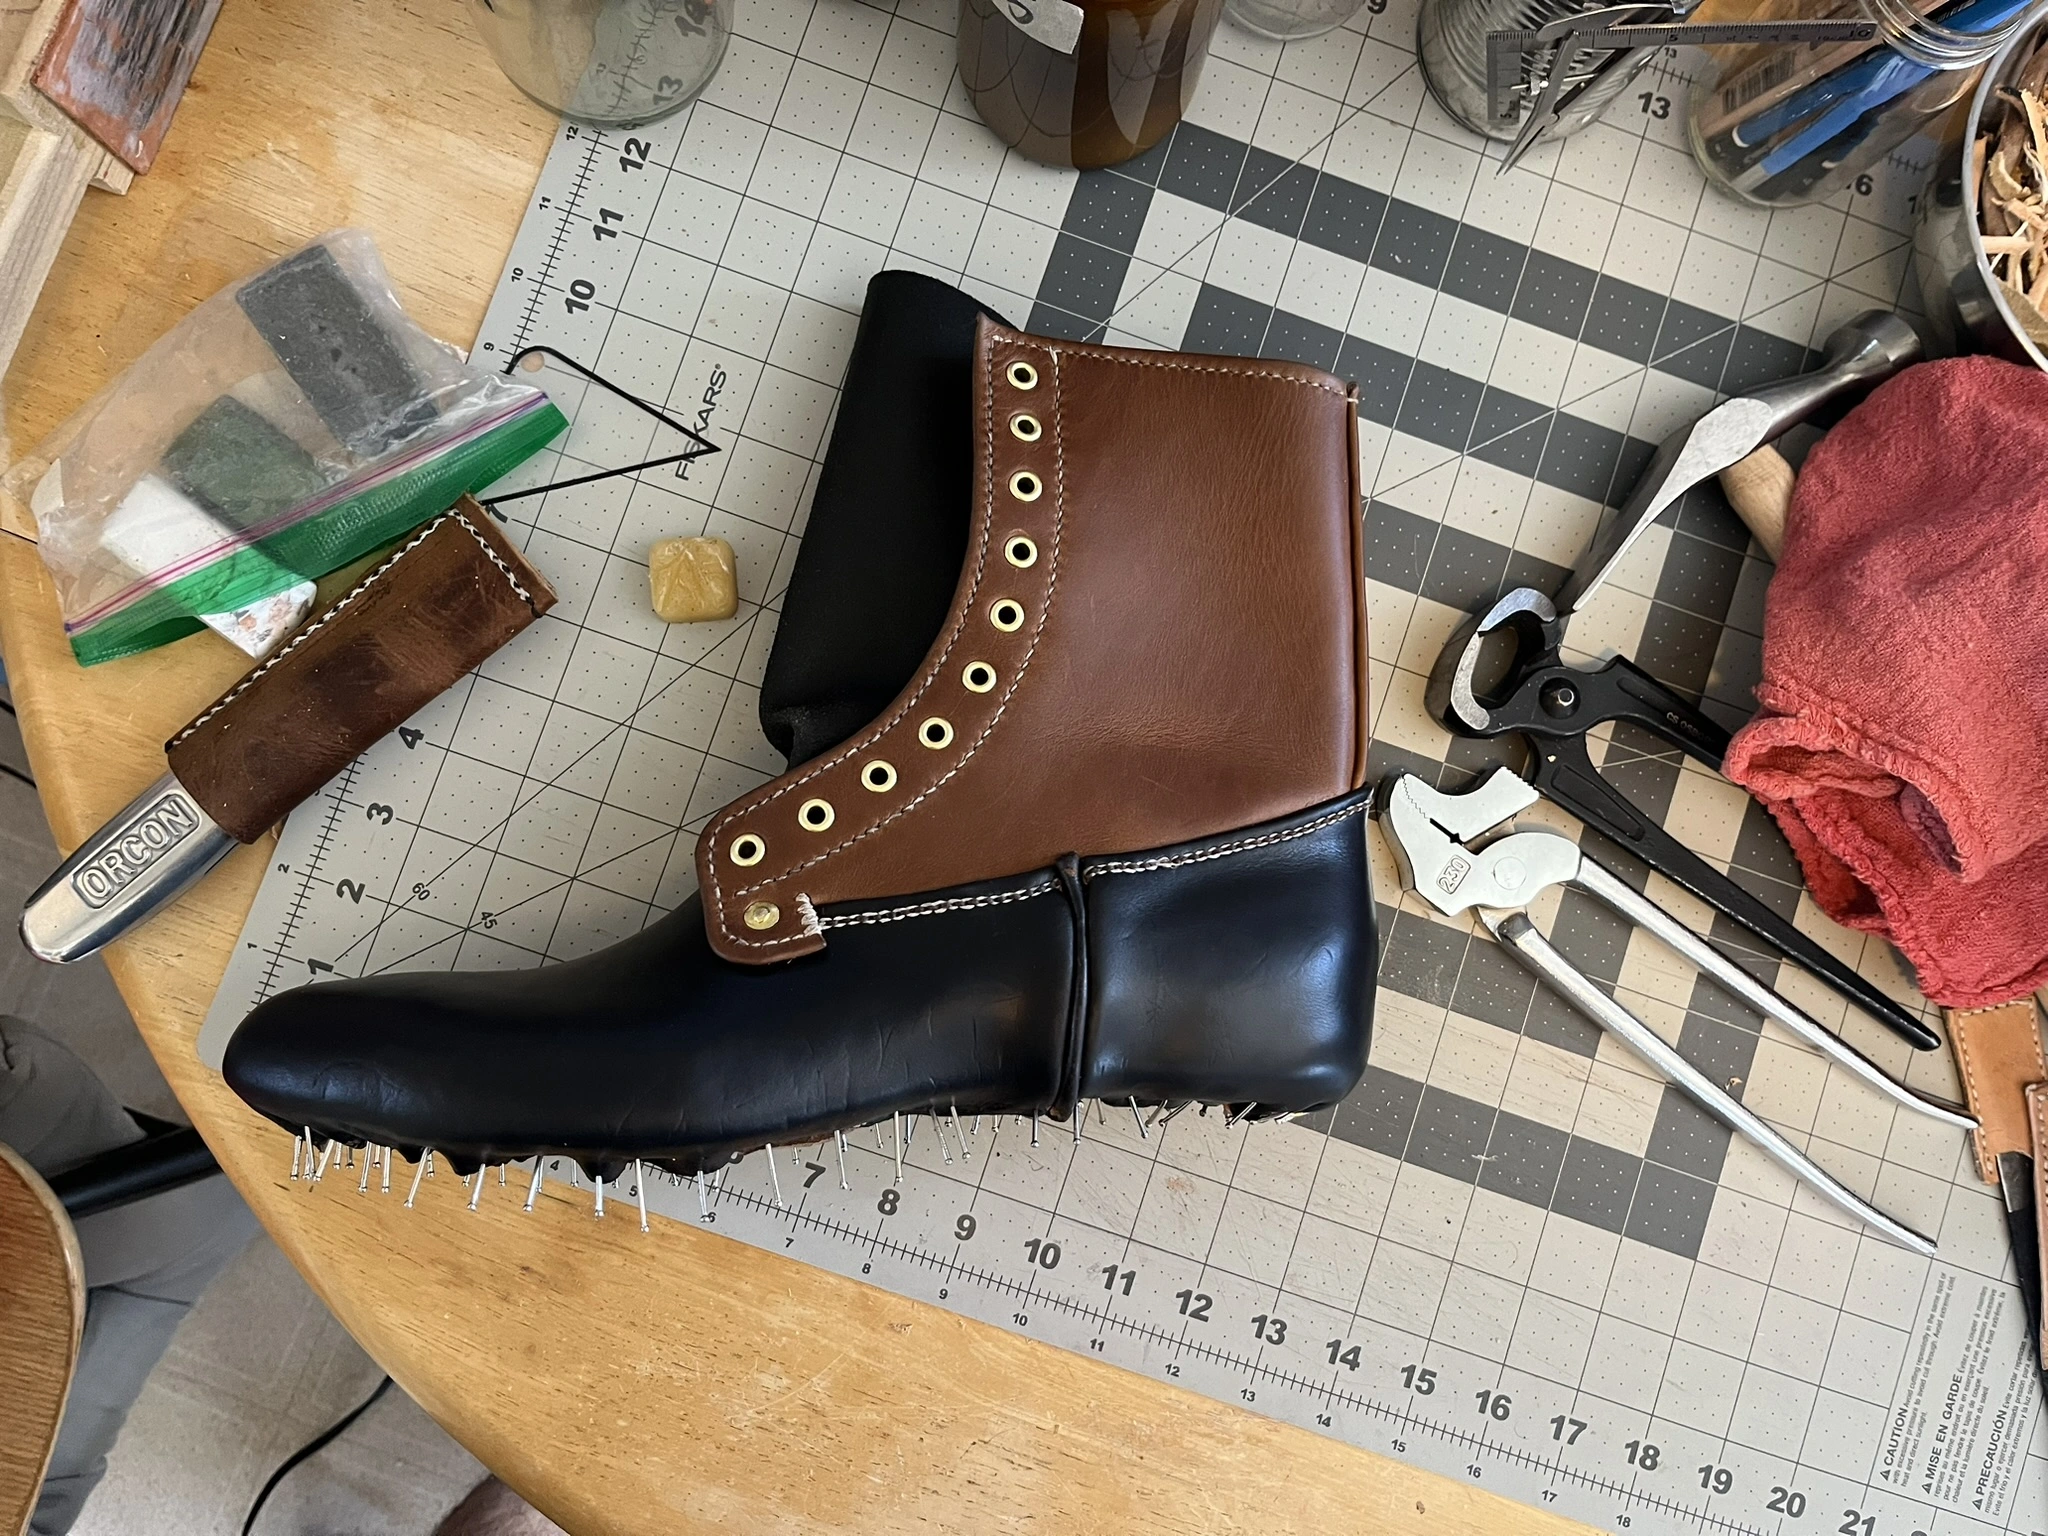
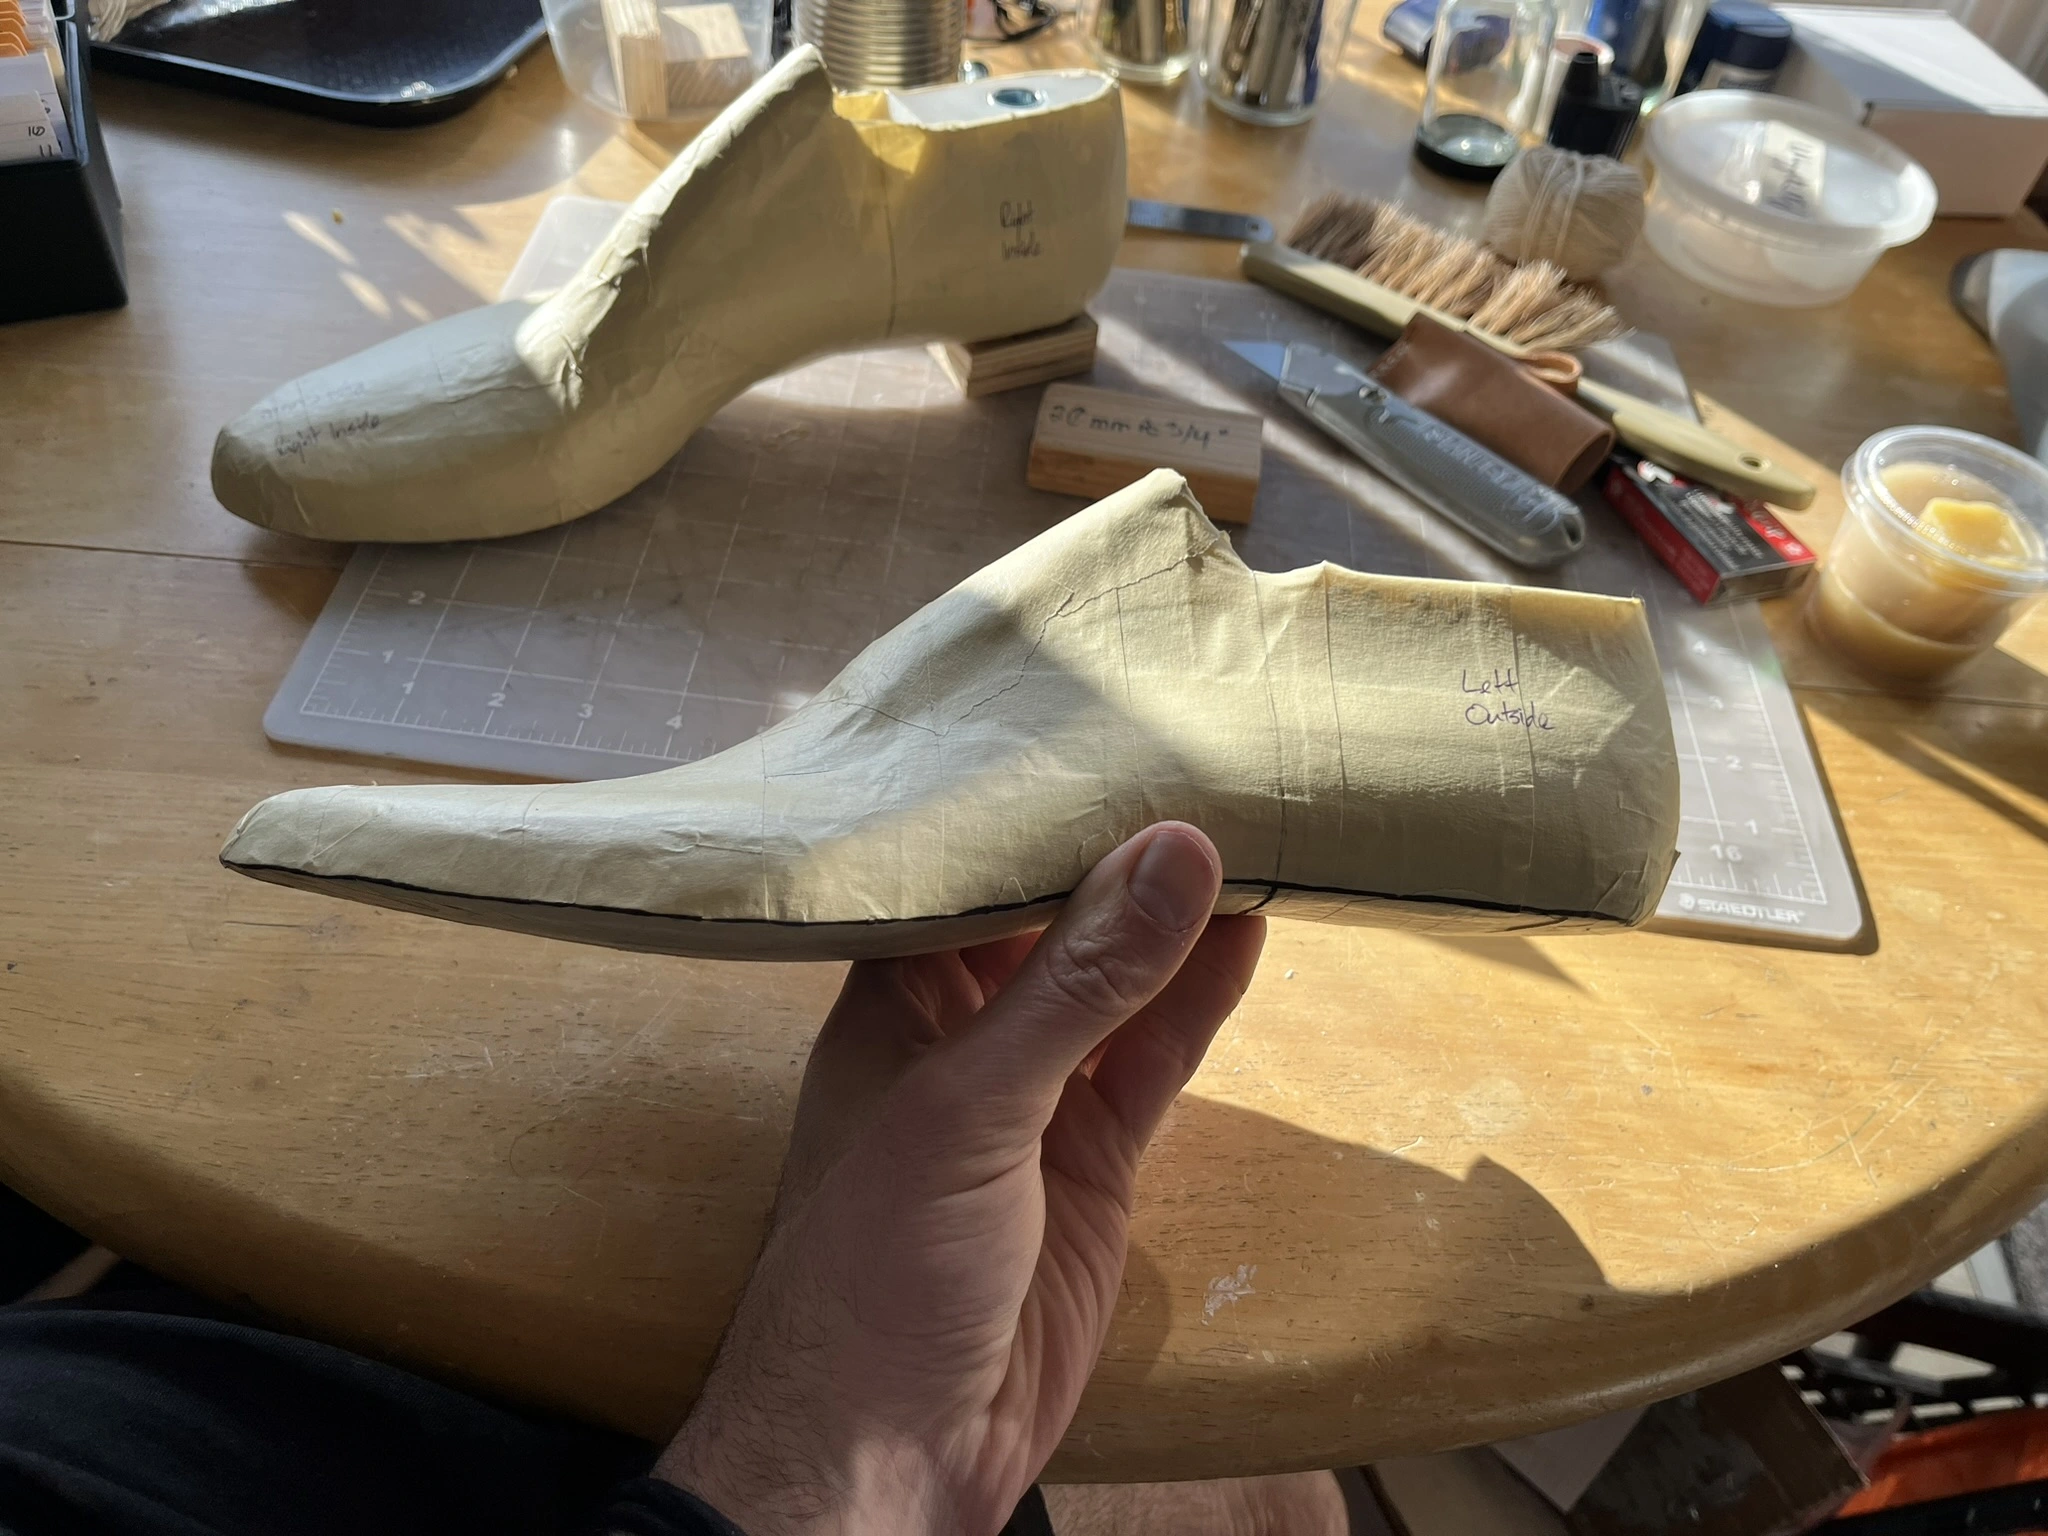
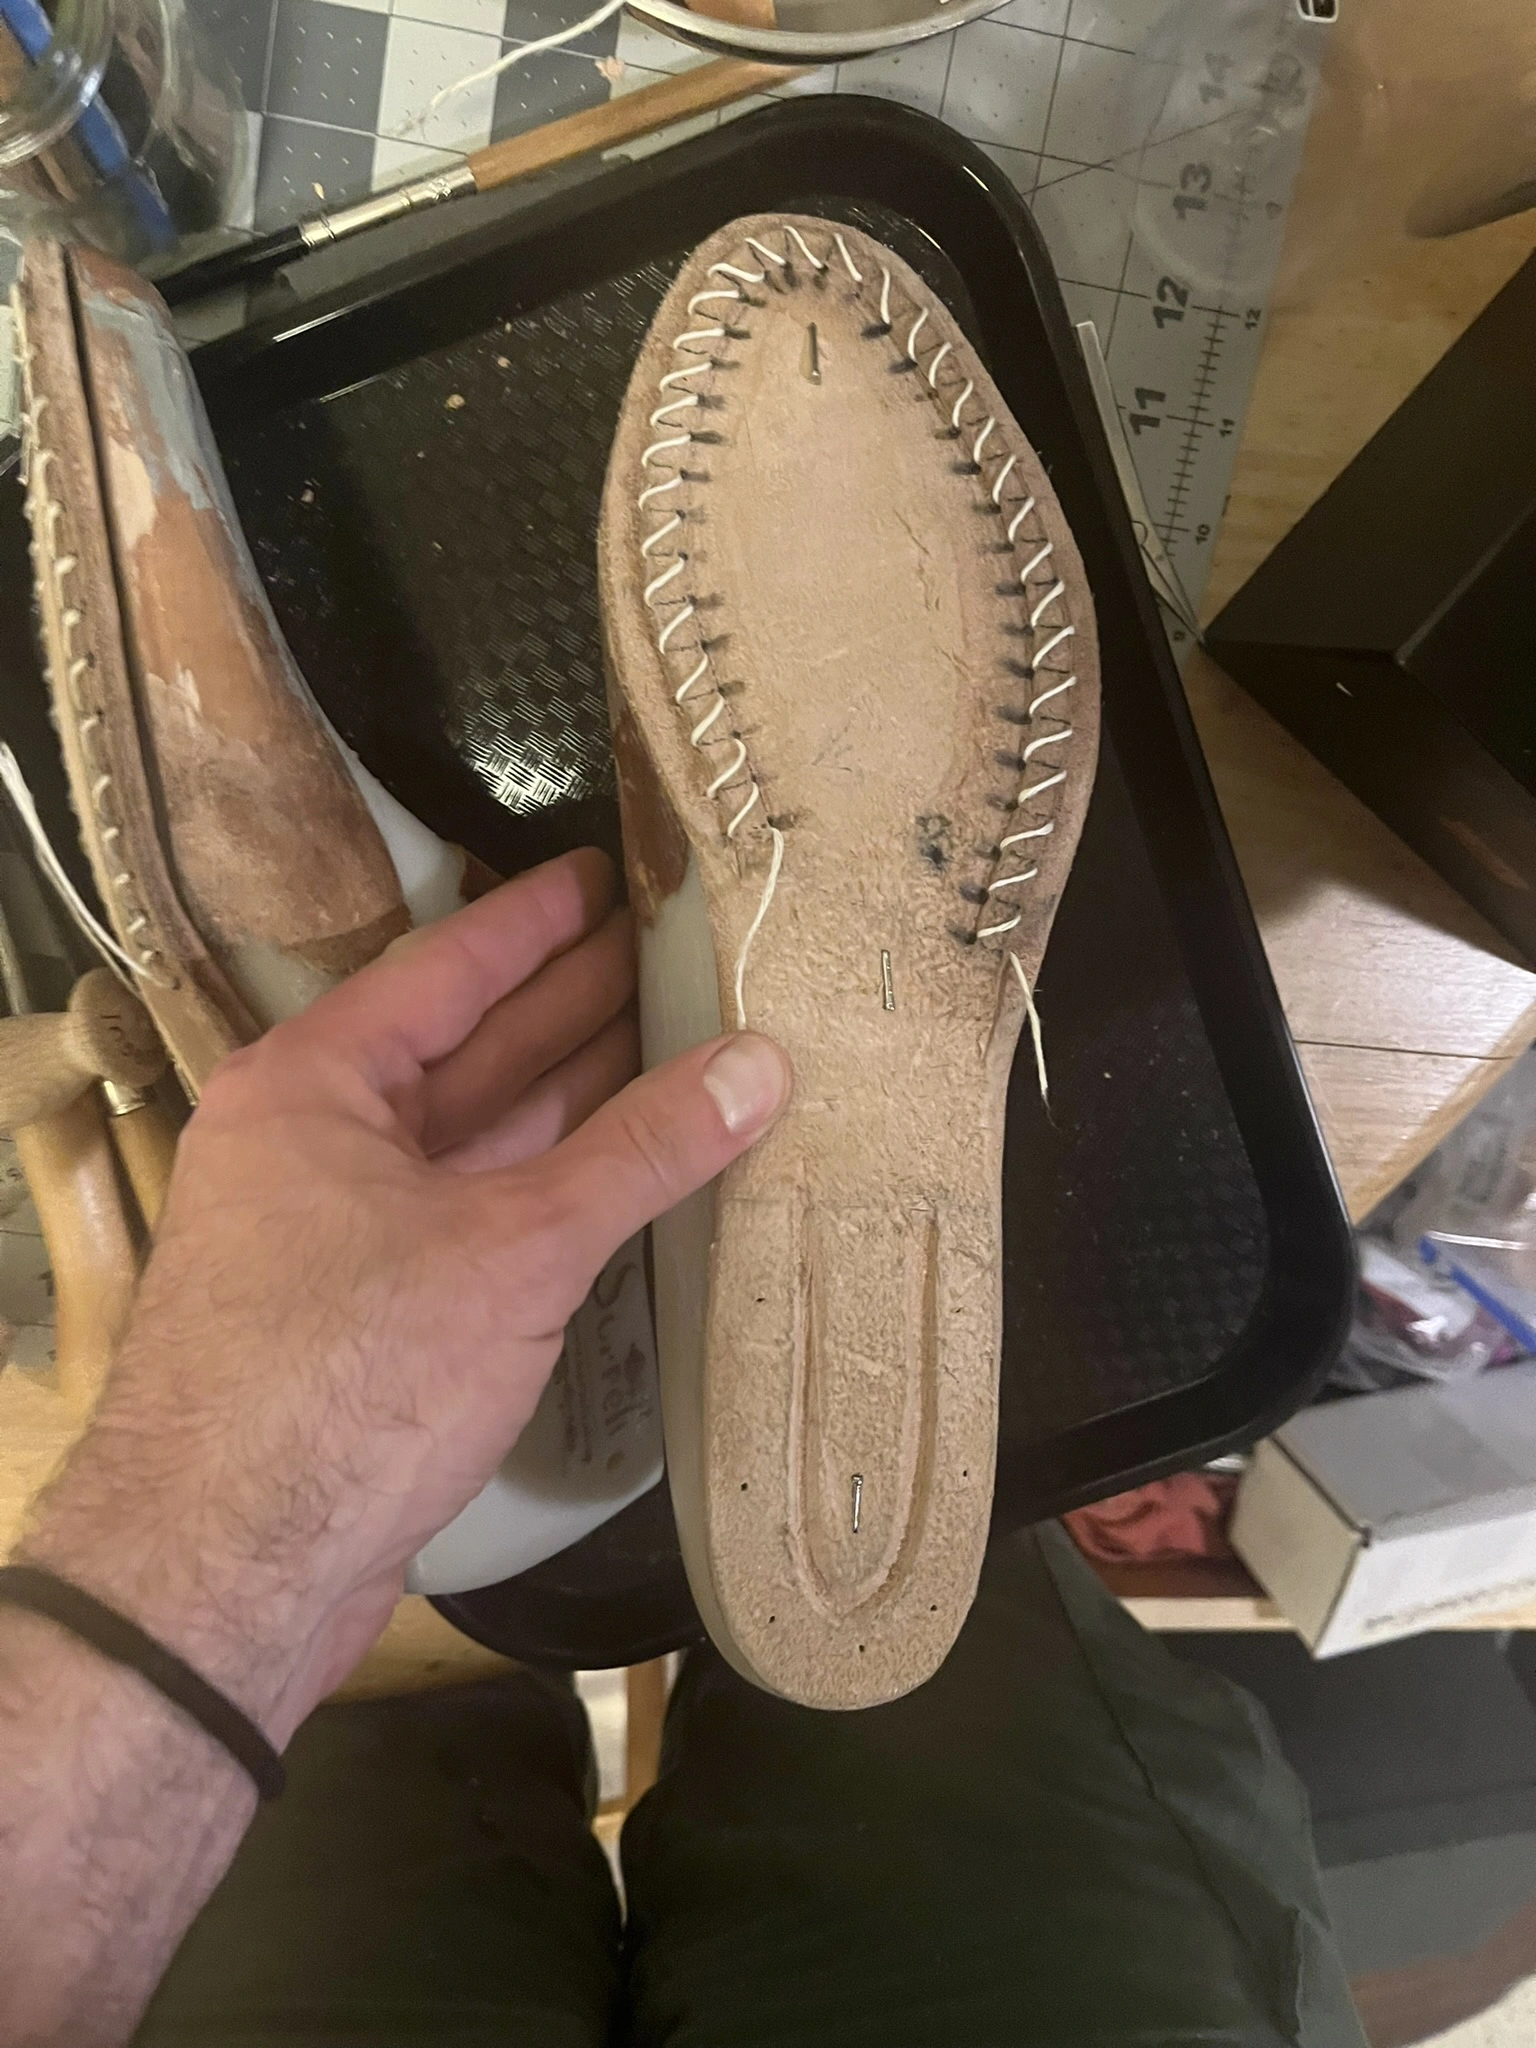
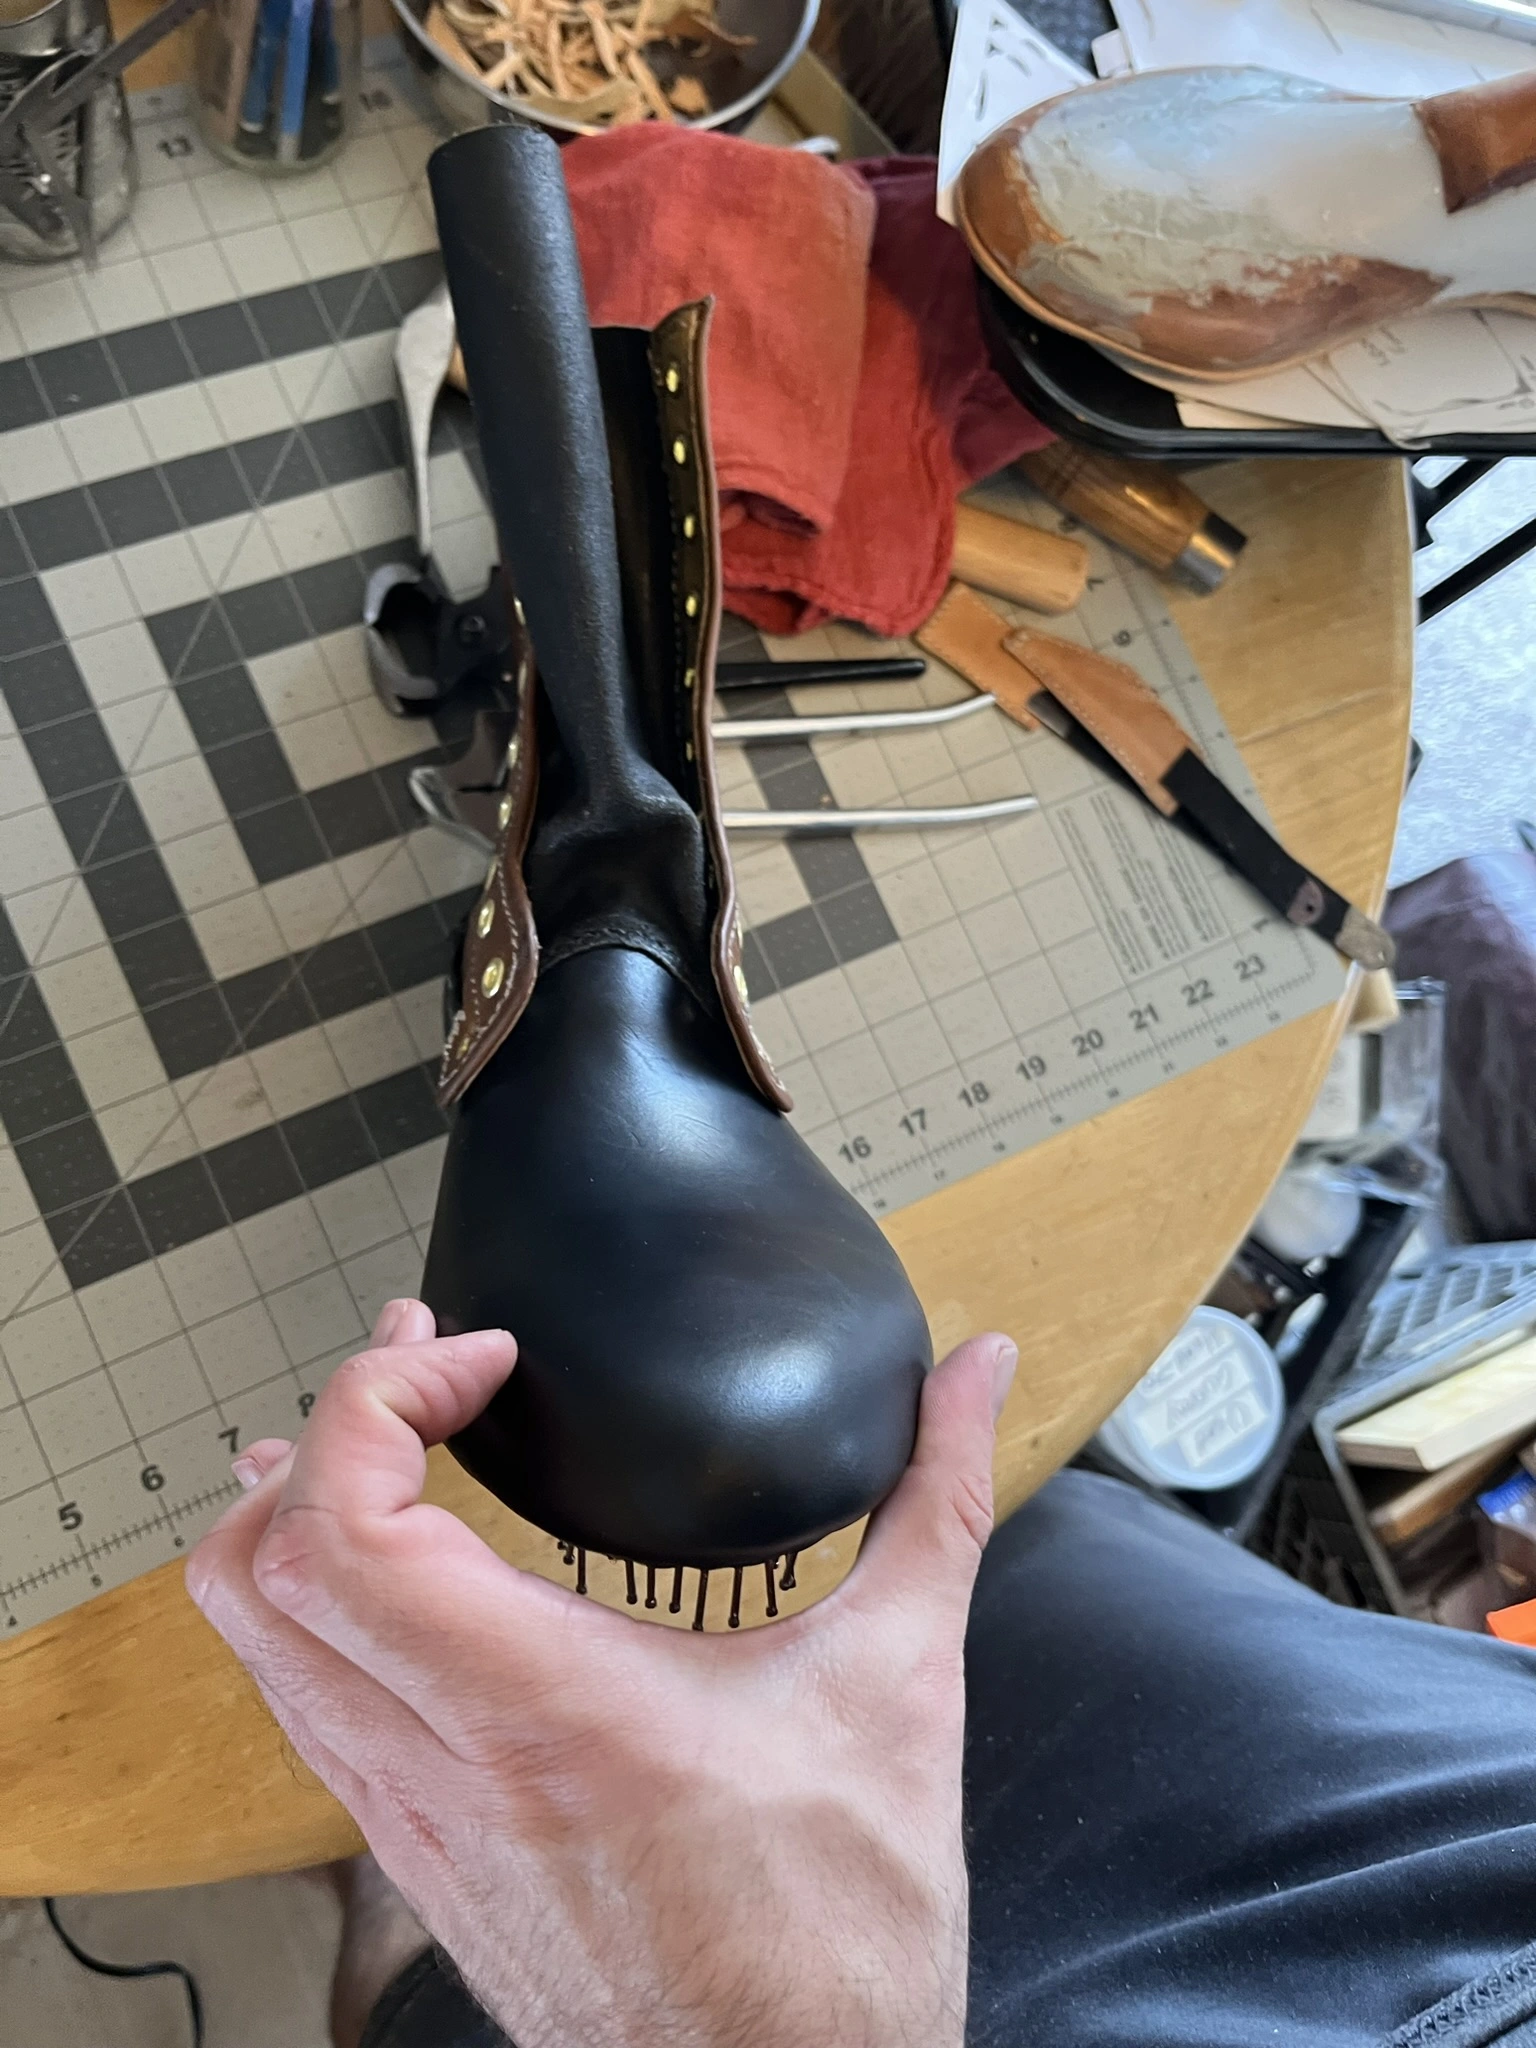
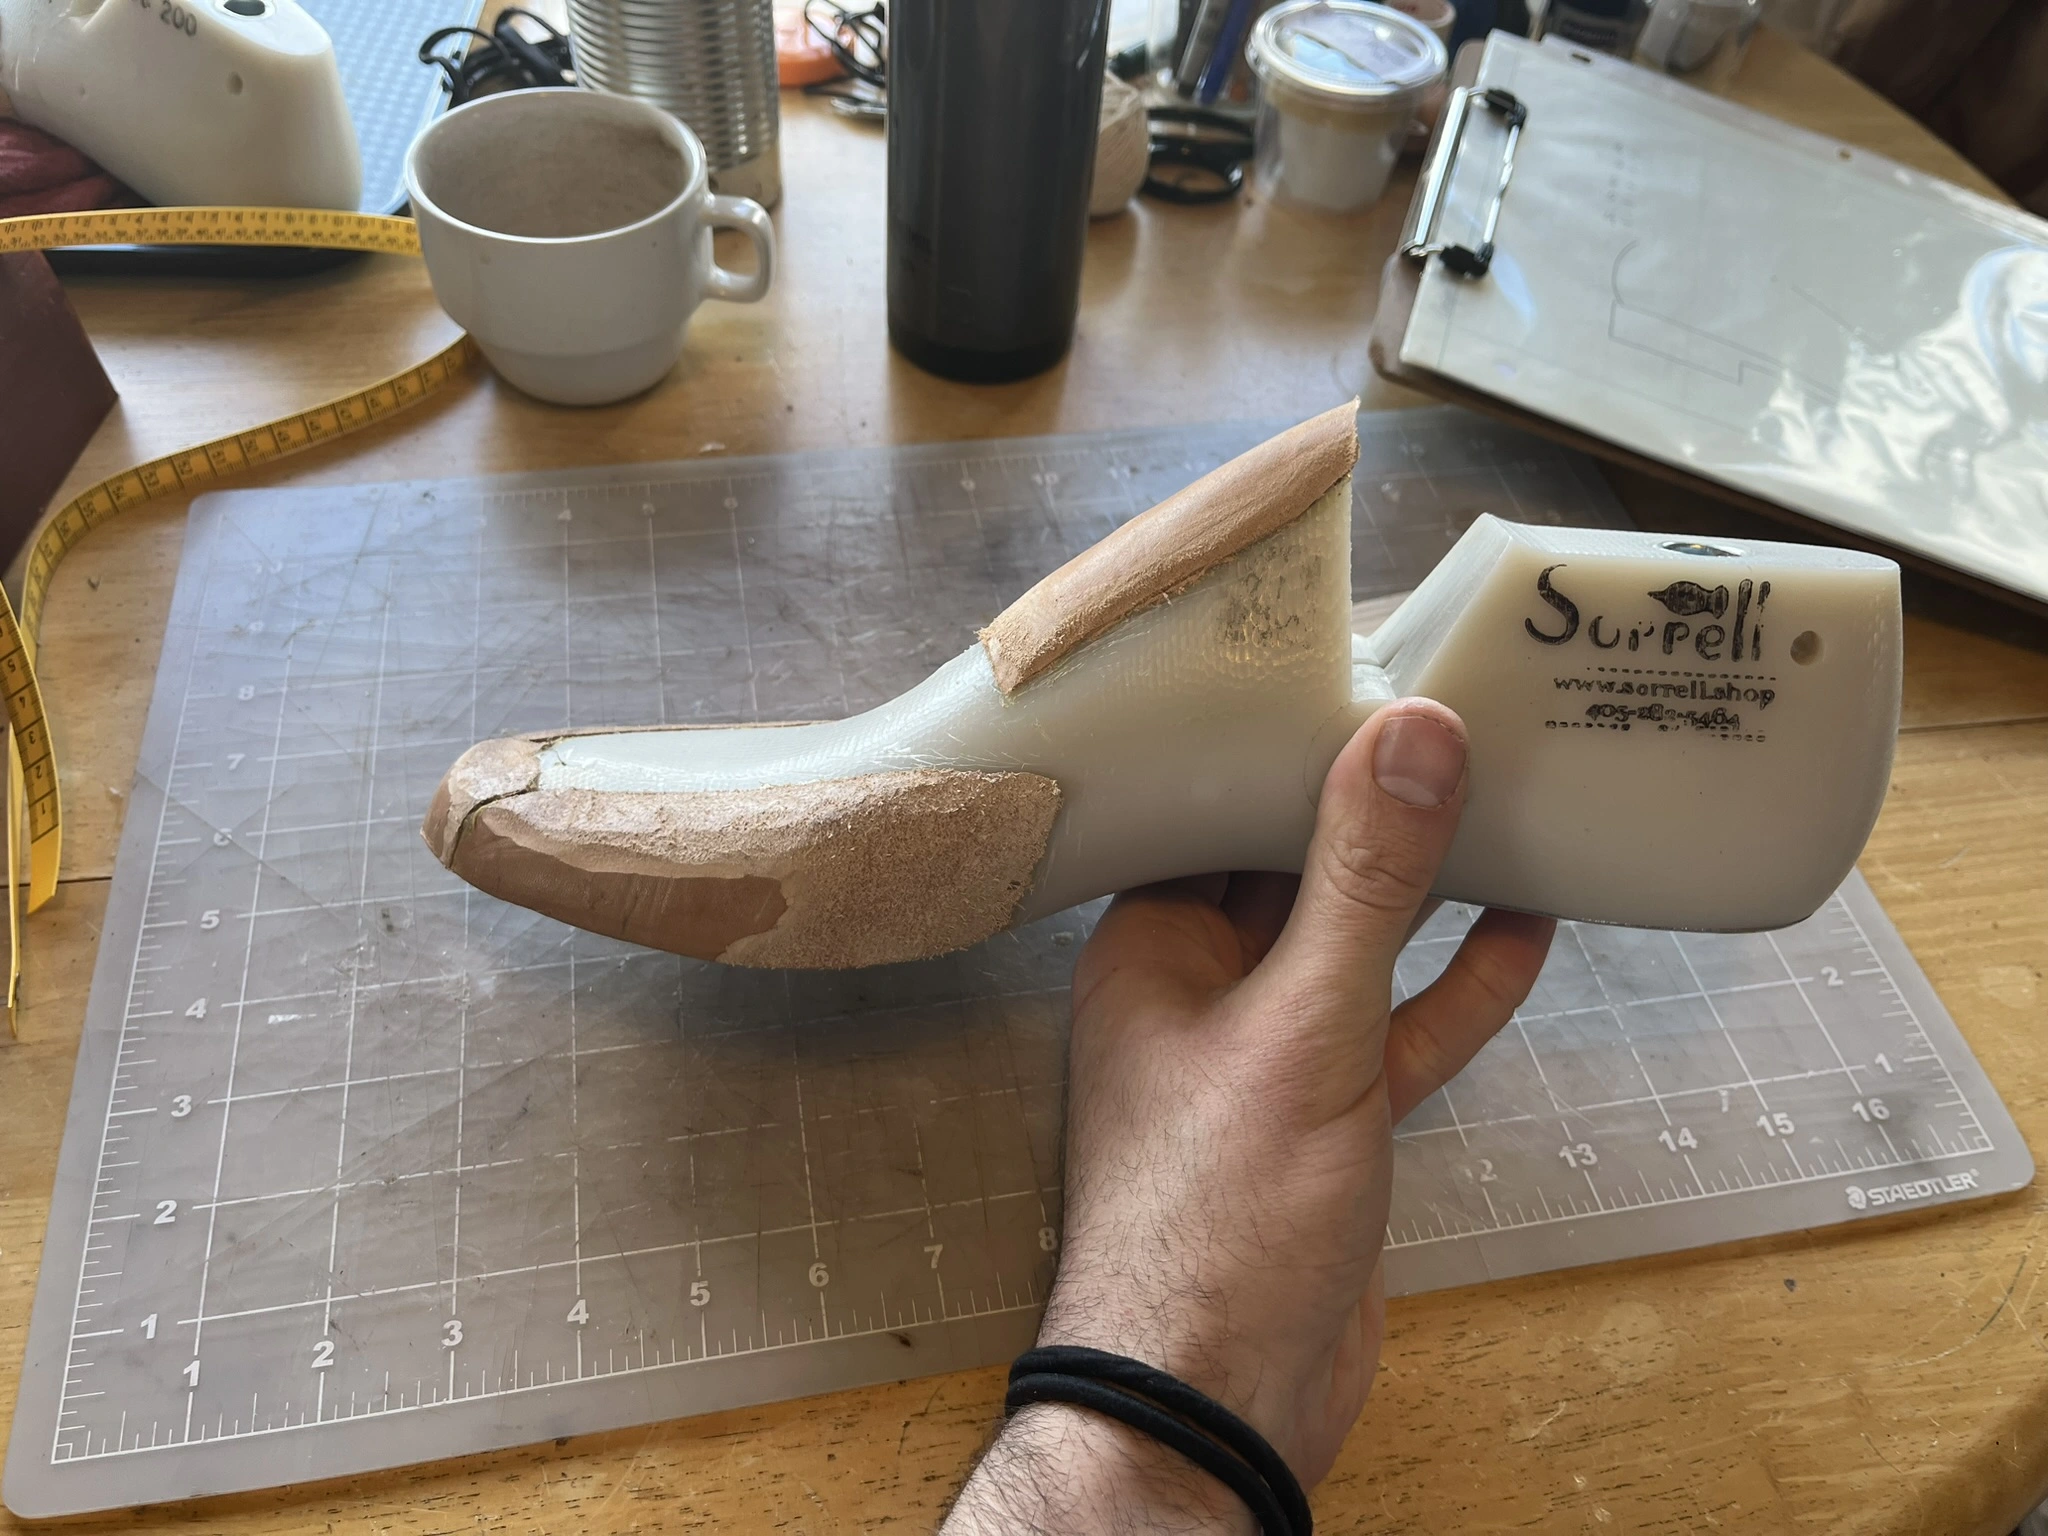
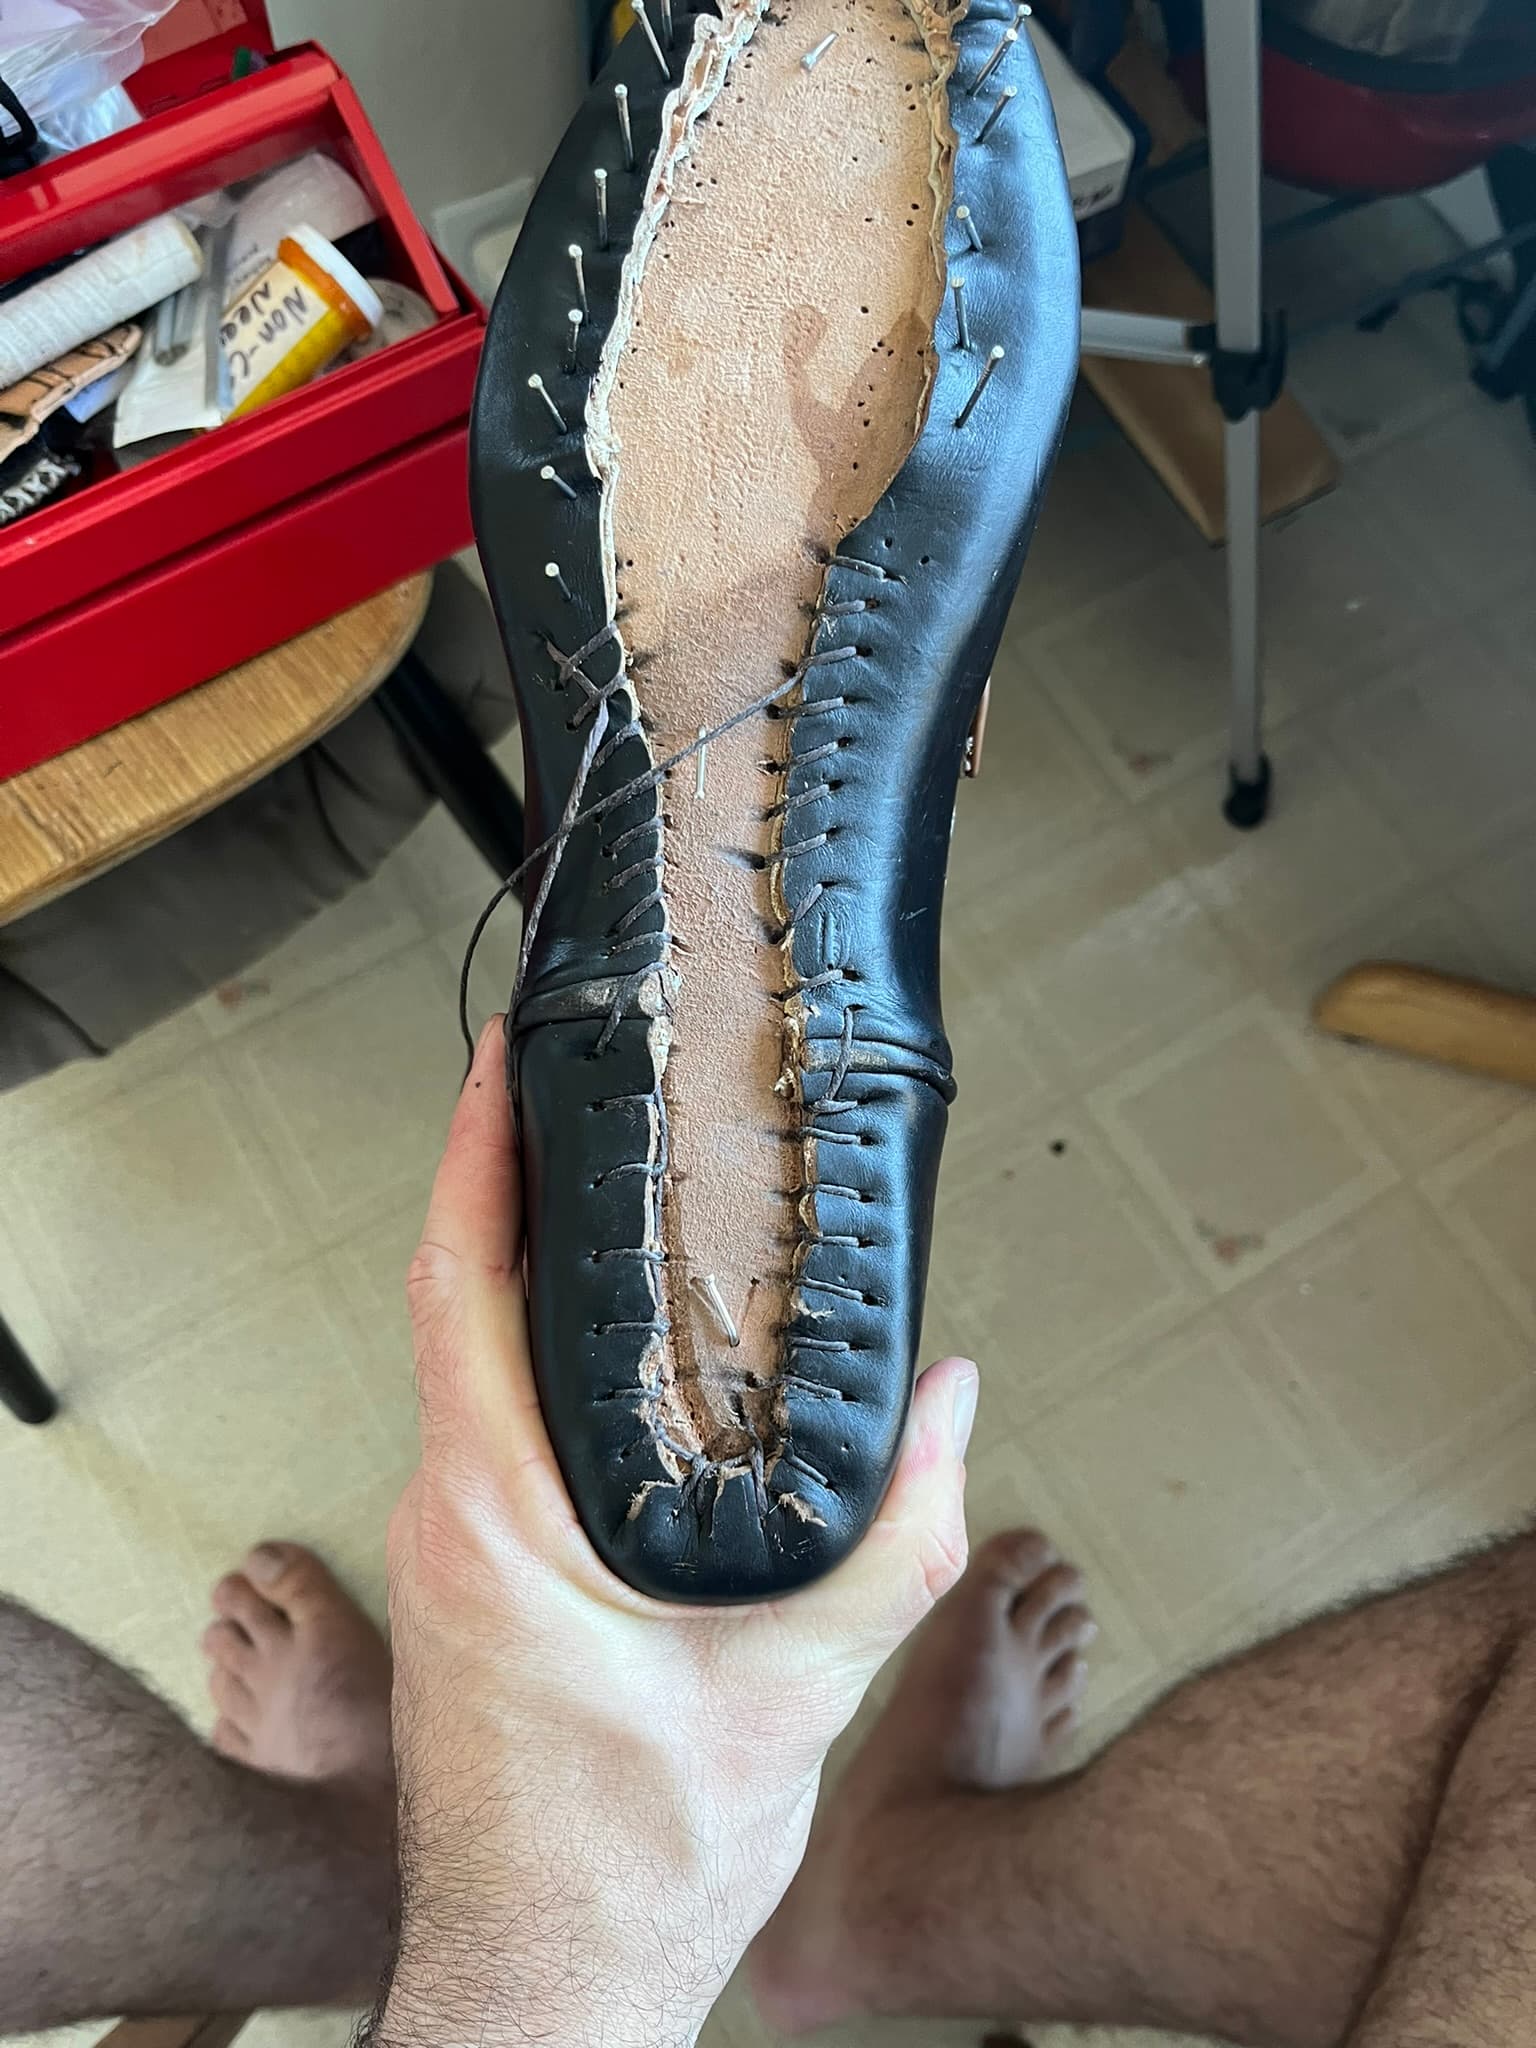
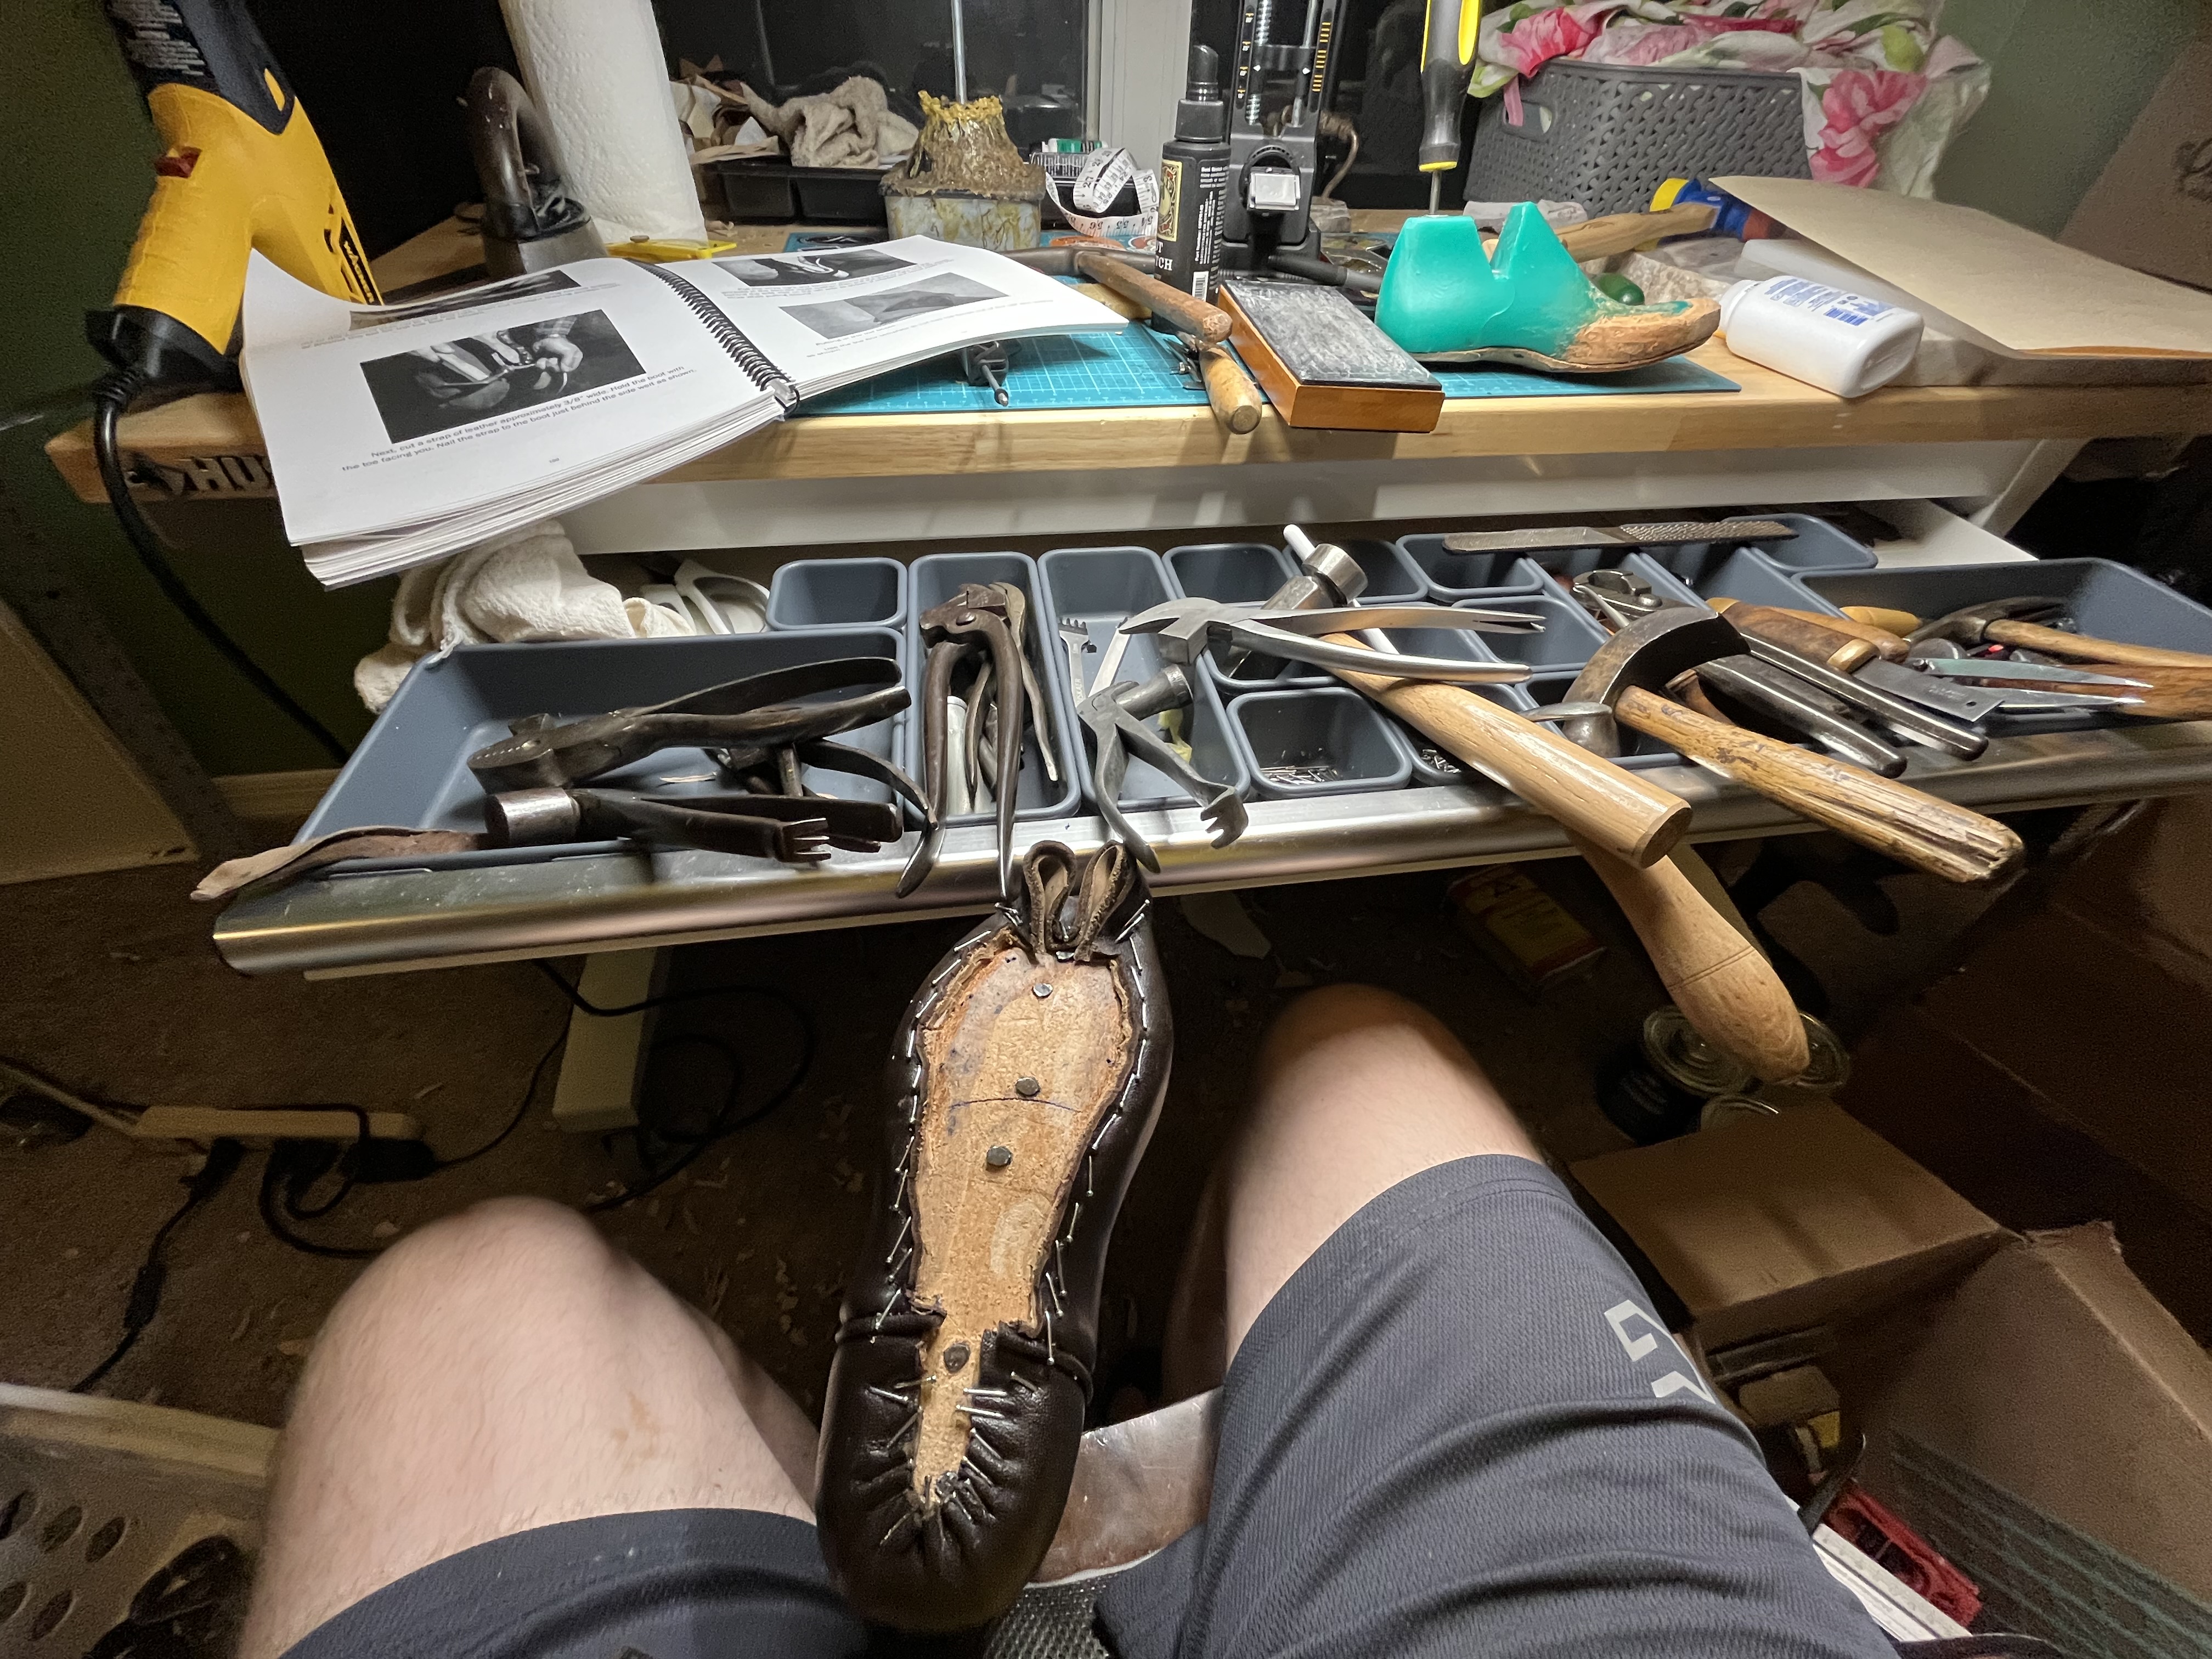
This will be me second pair, started earlier this year. As I start this topic, the left is lasted and the right is waiting to be.
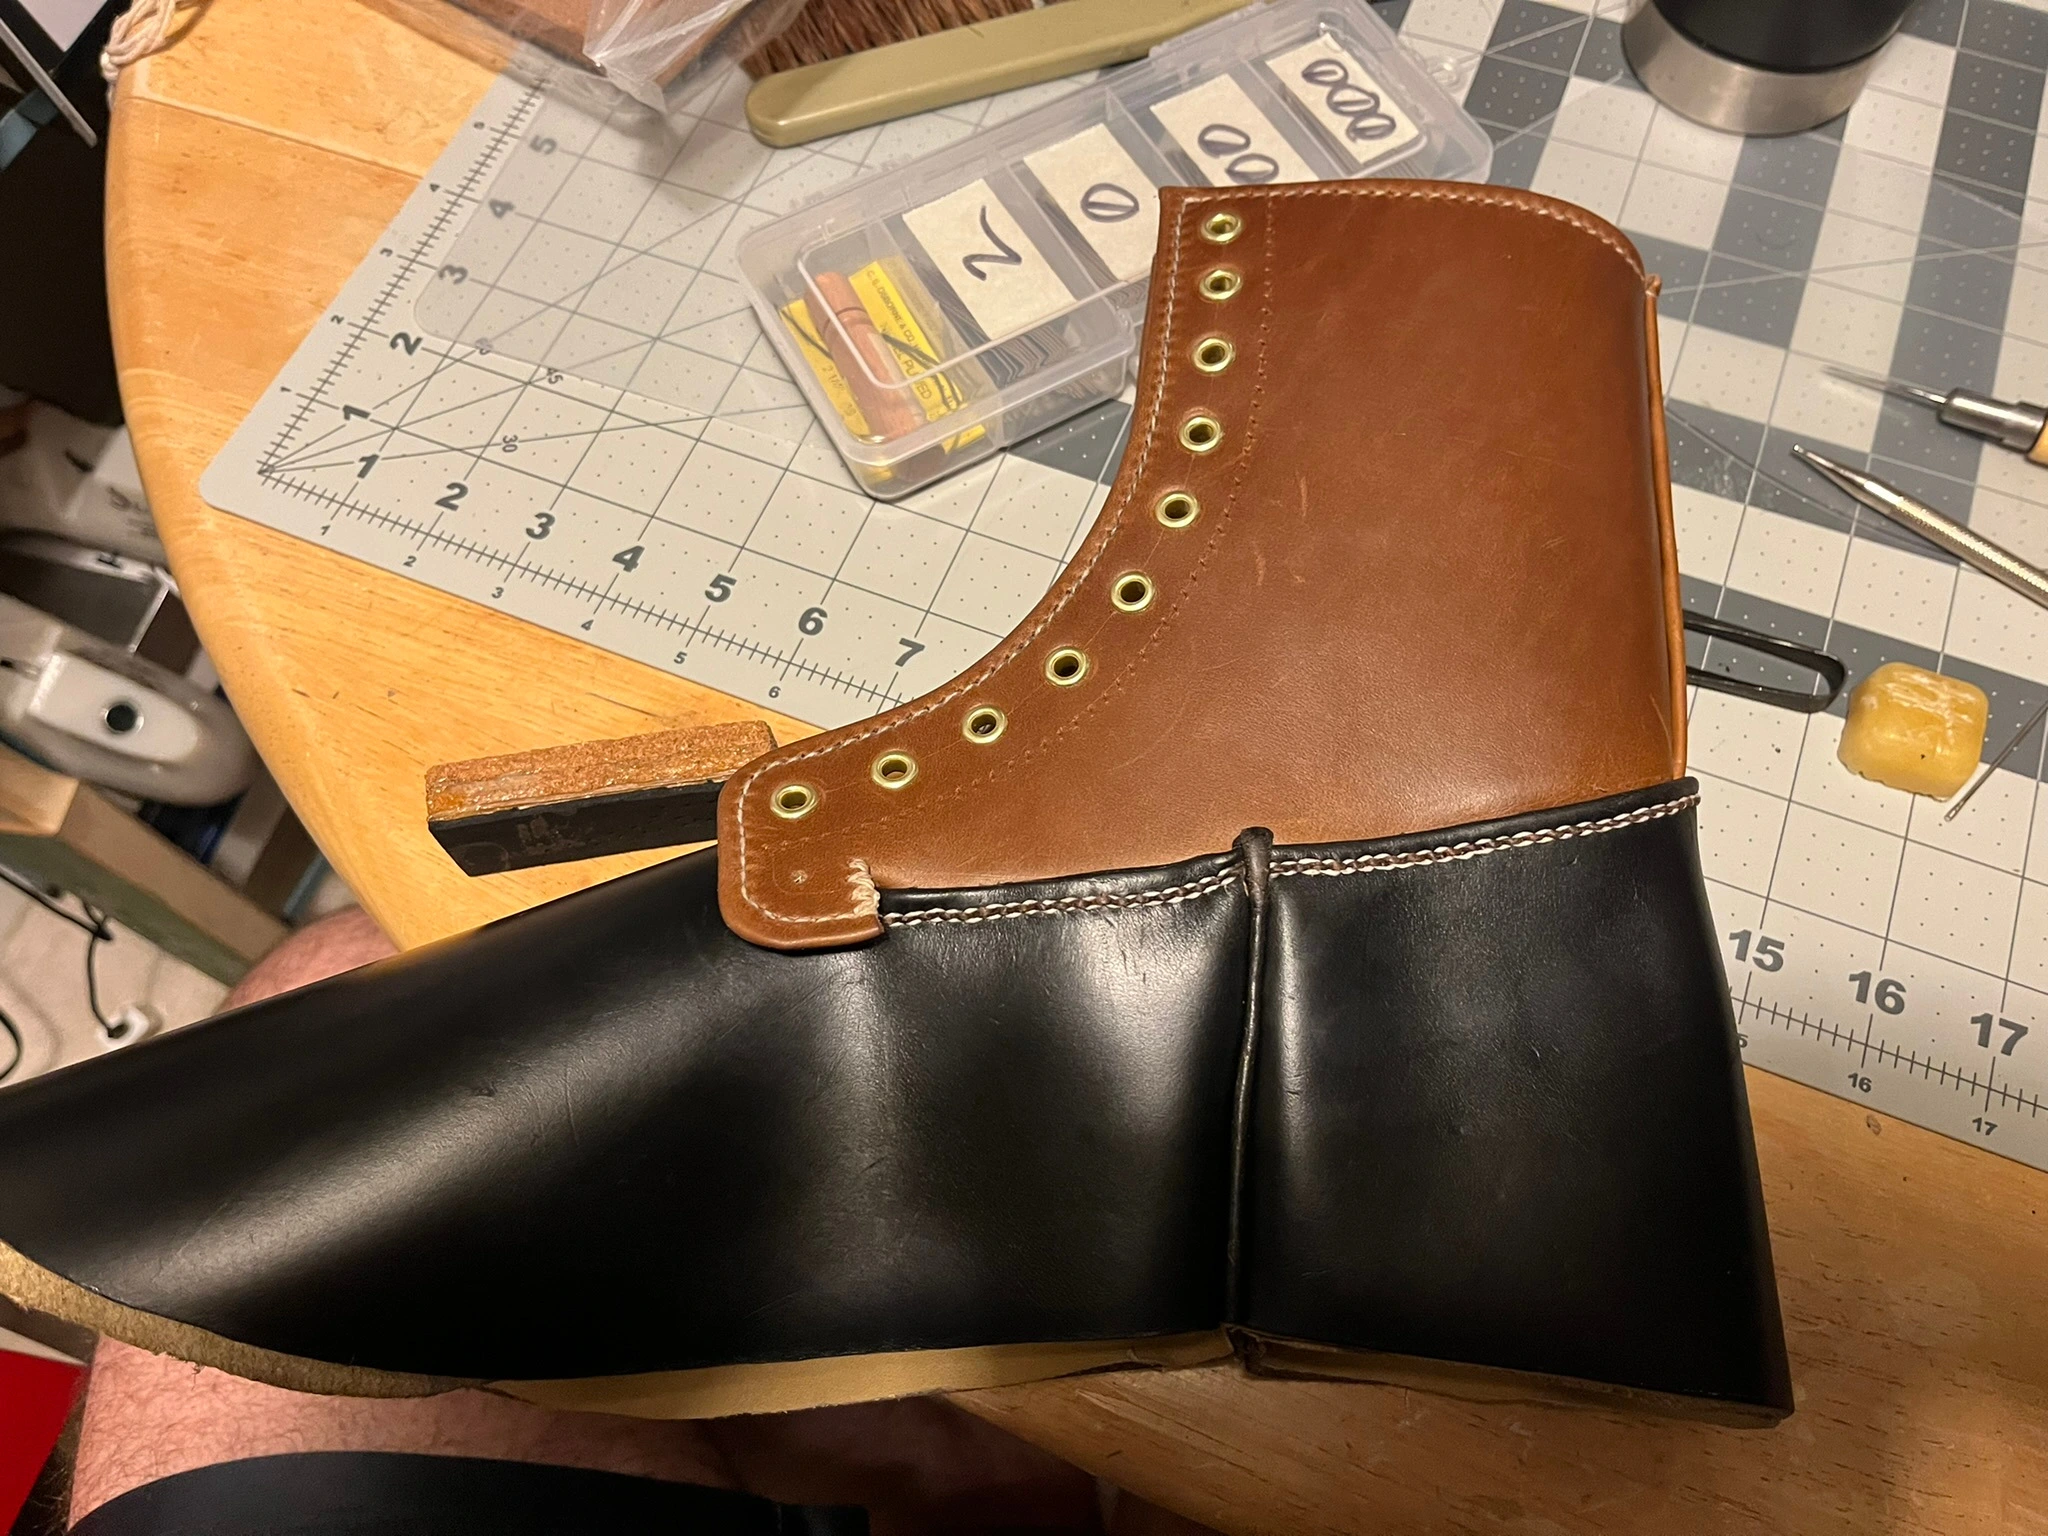
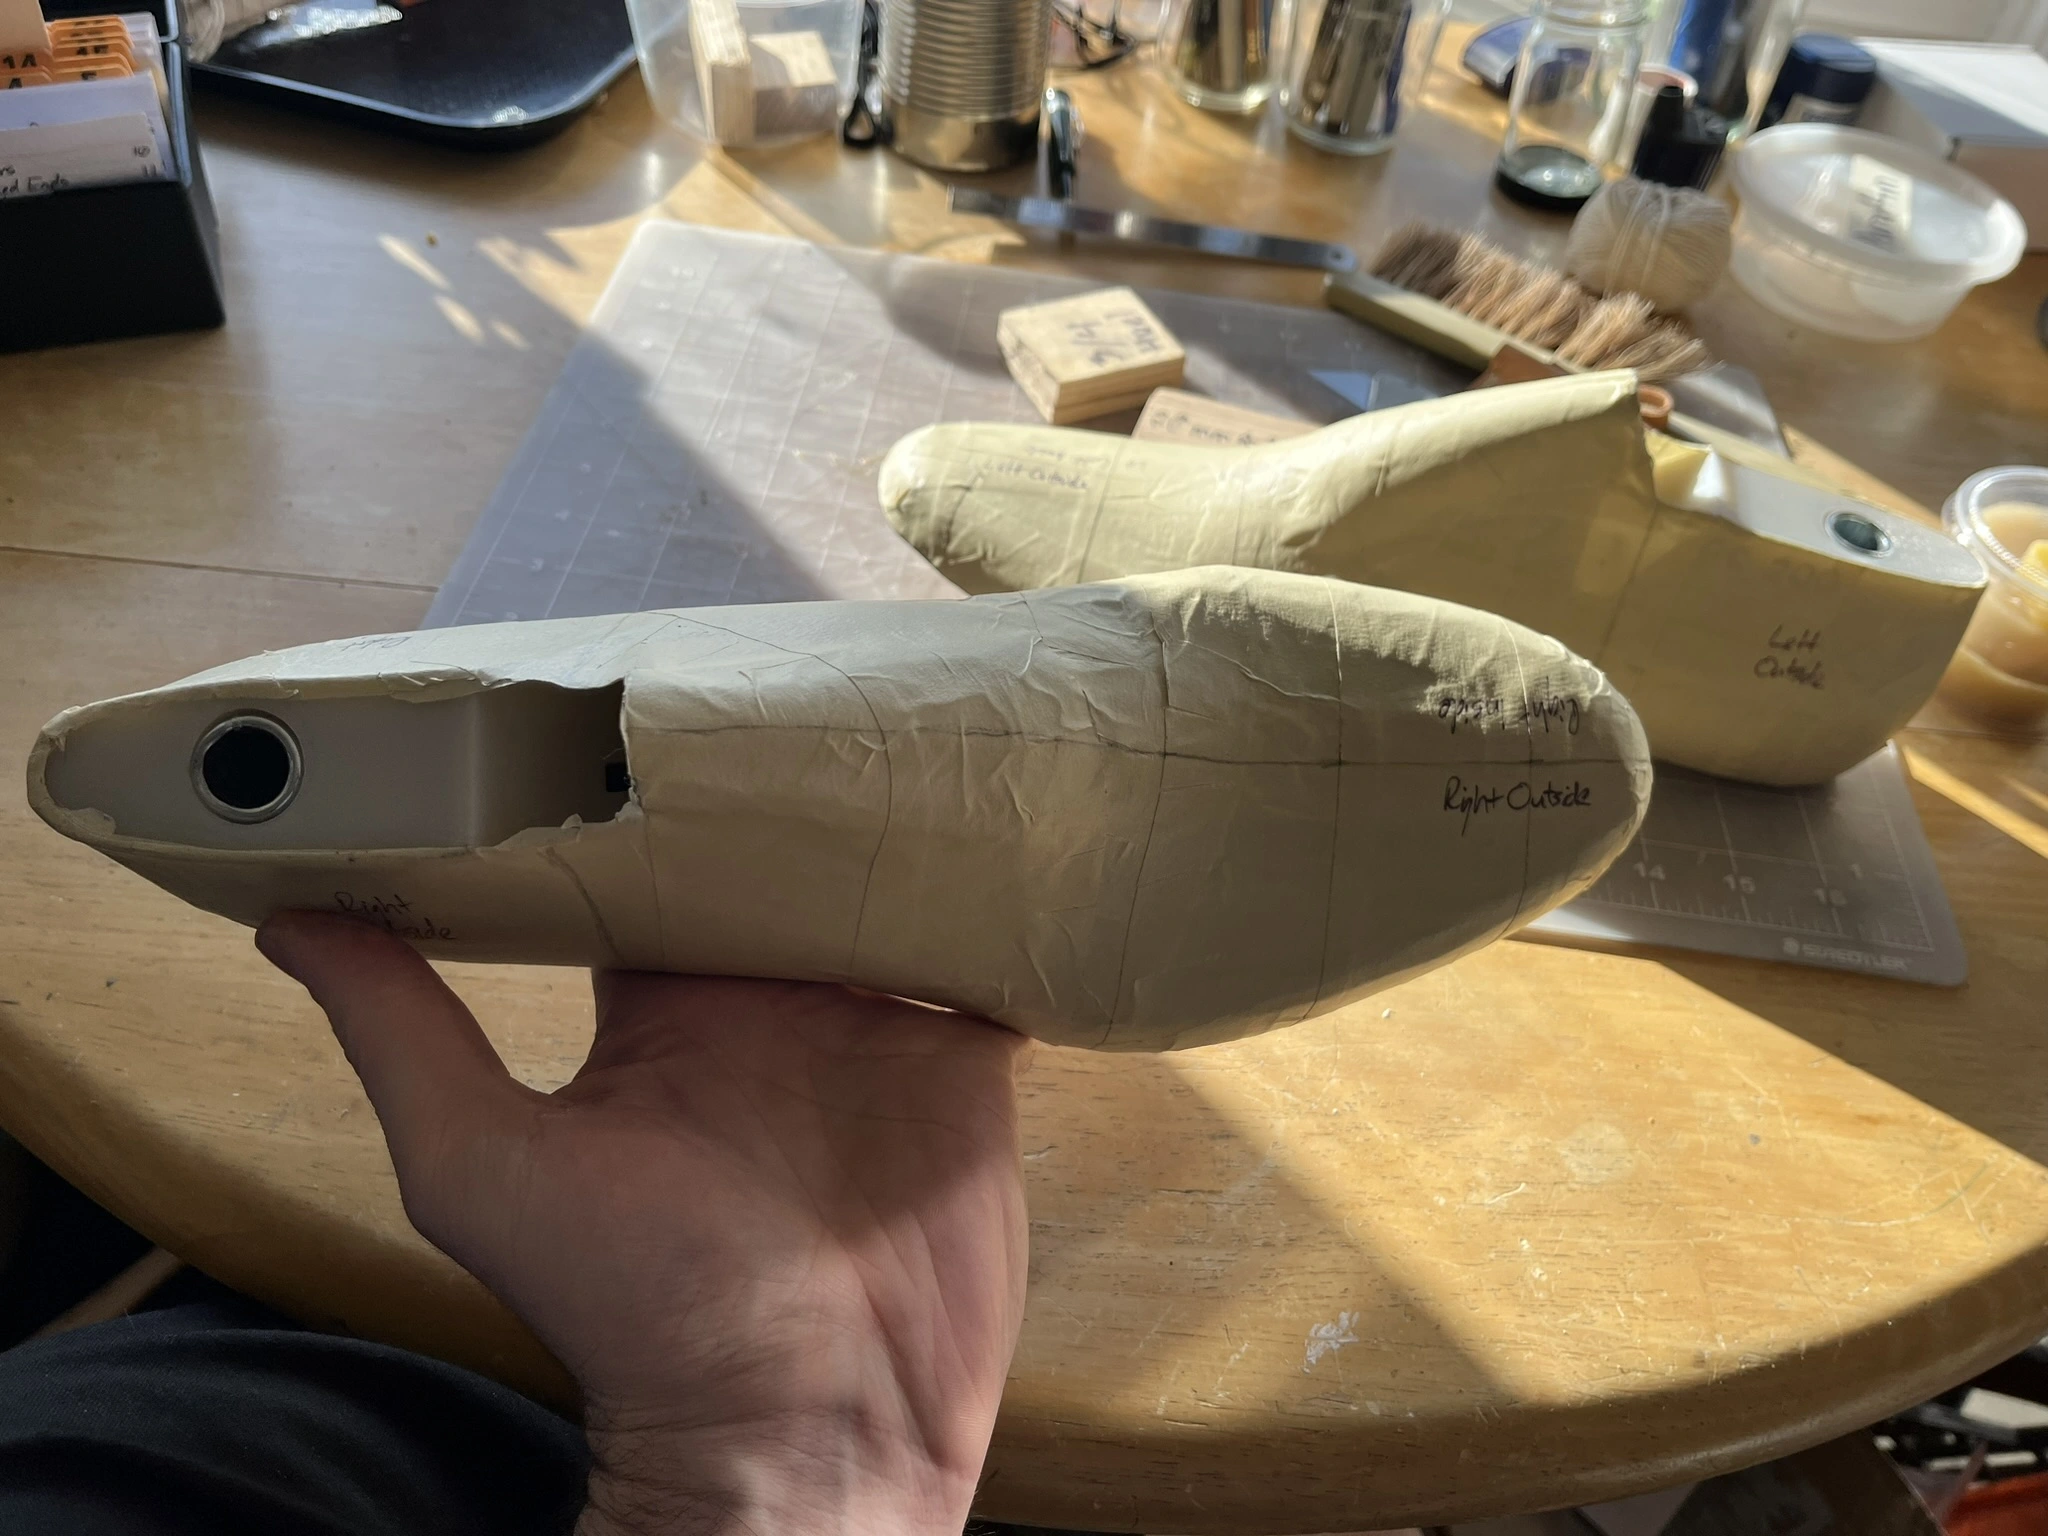
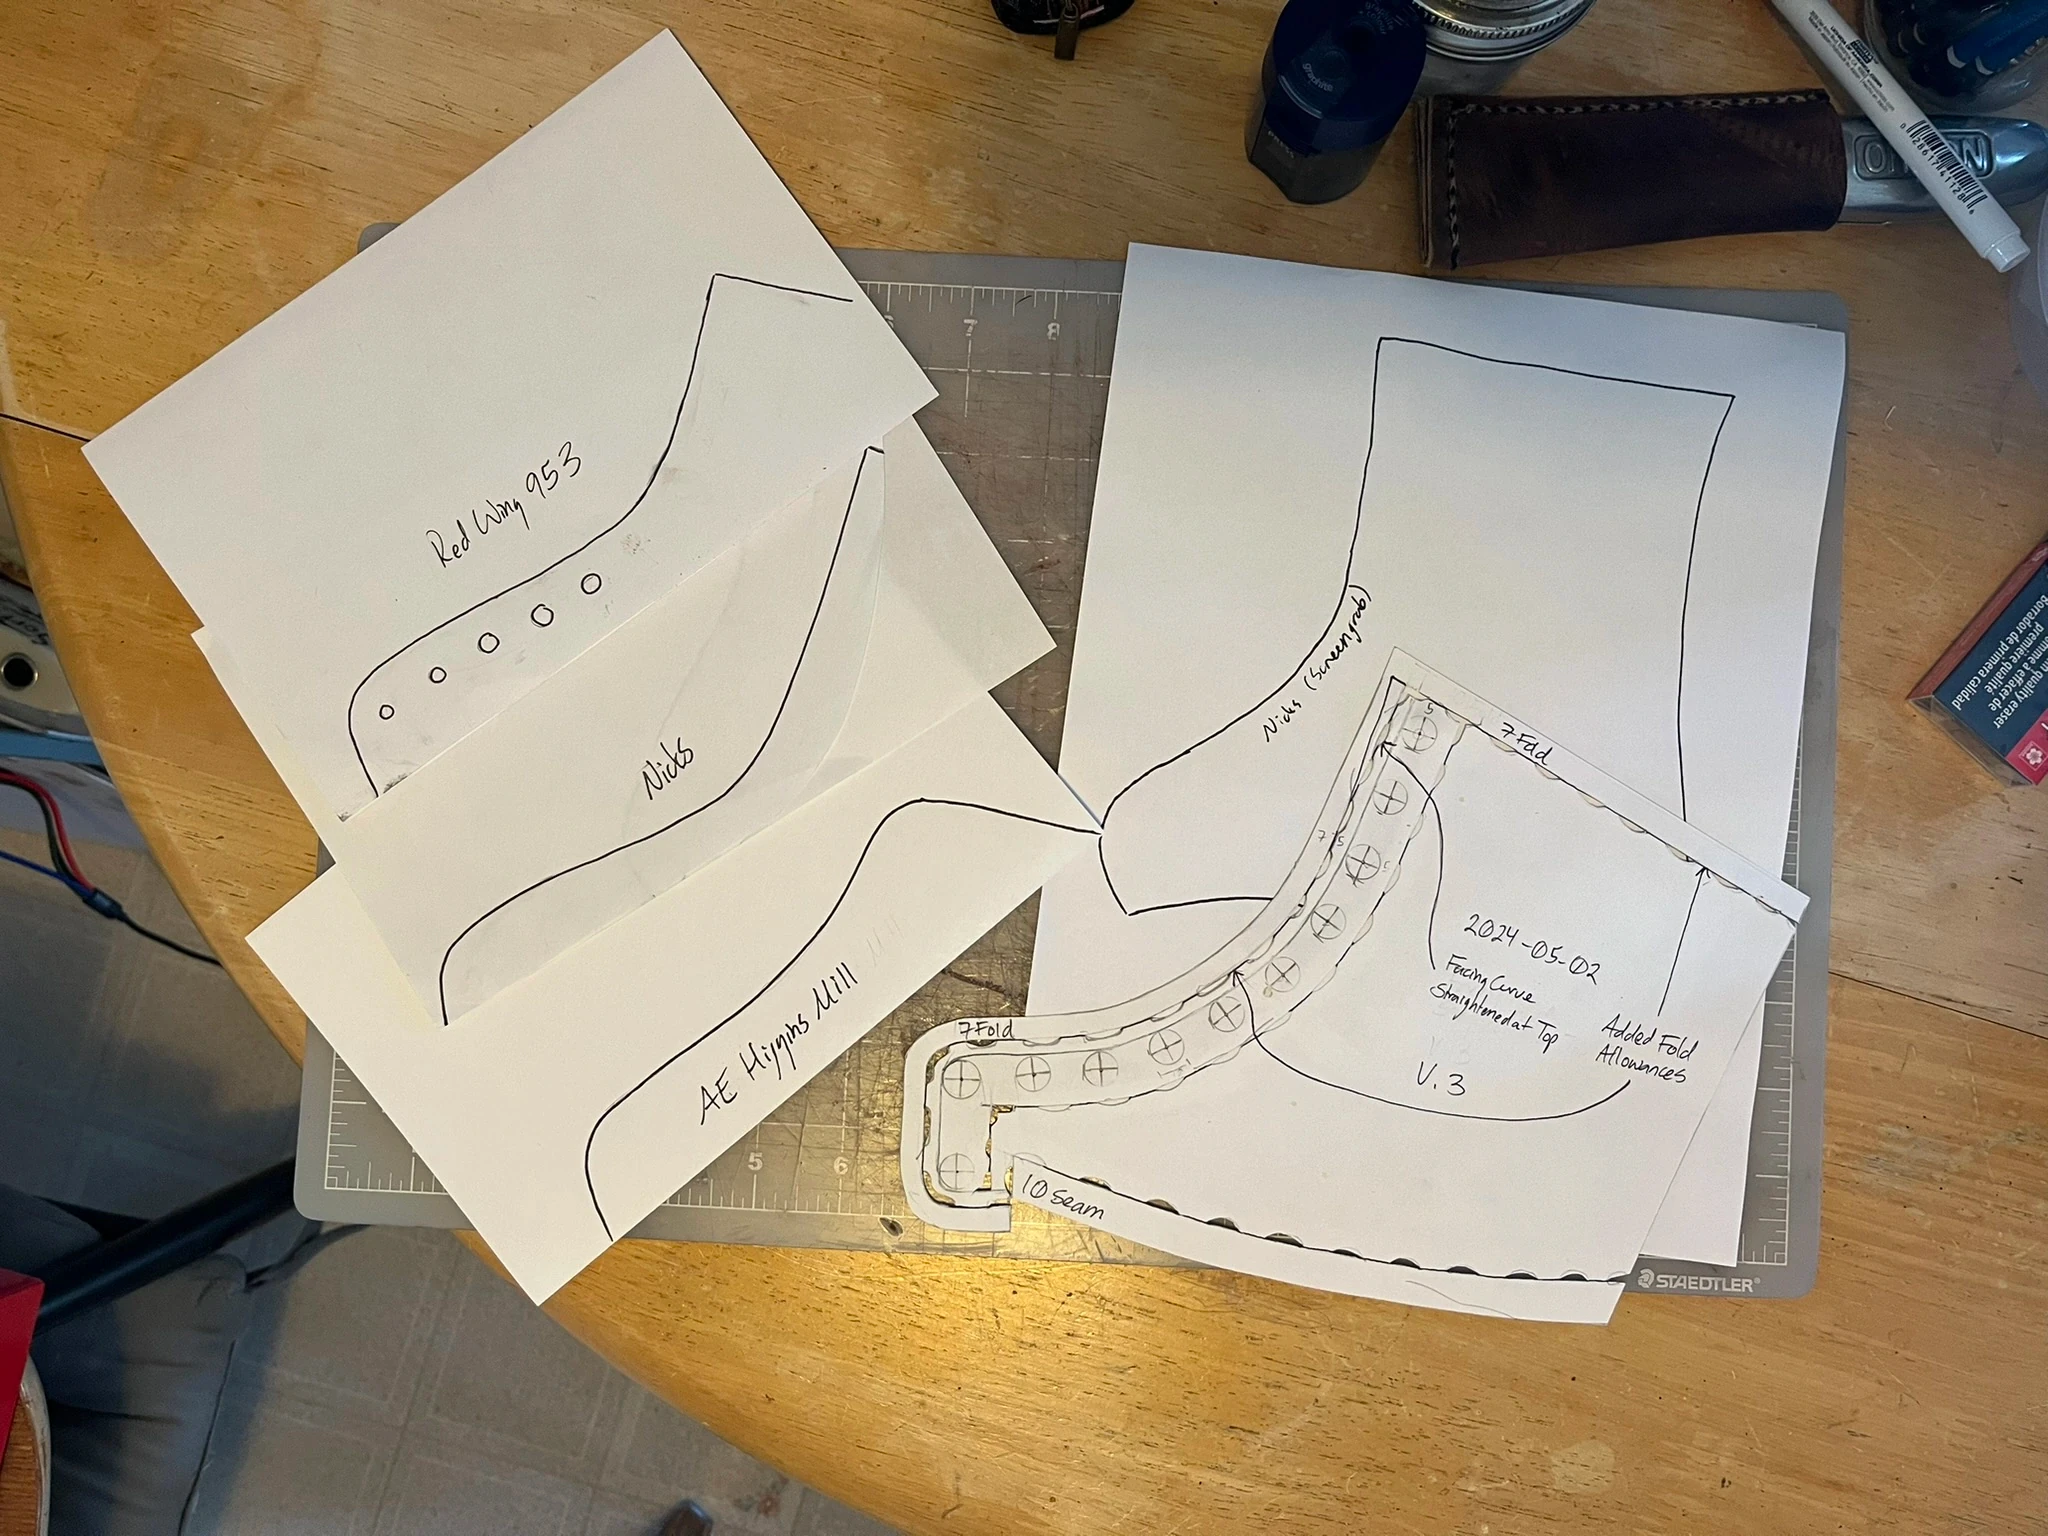
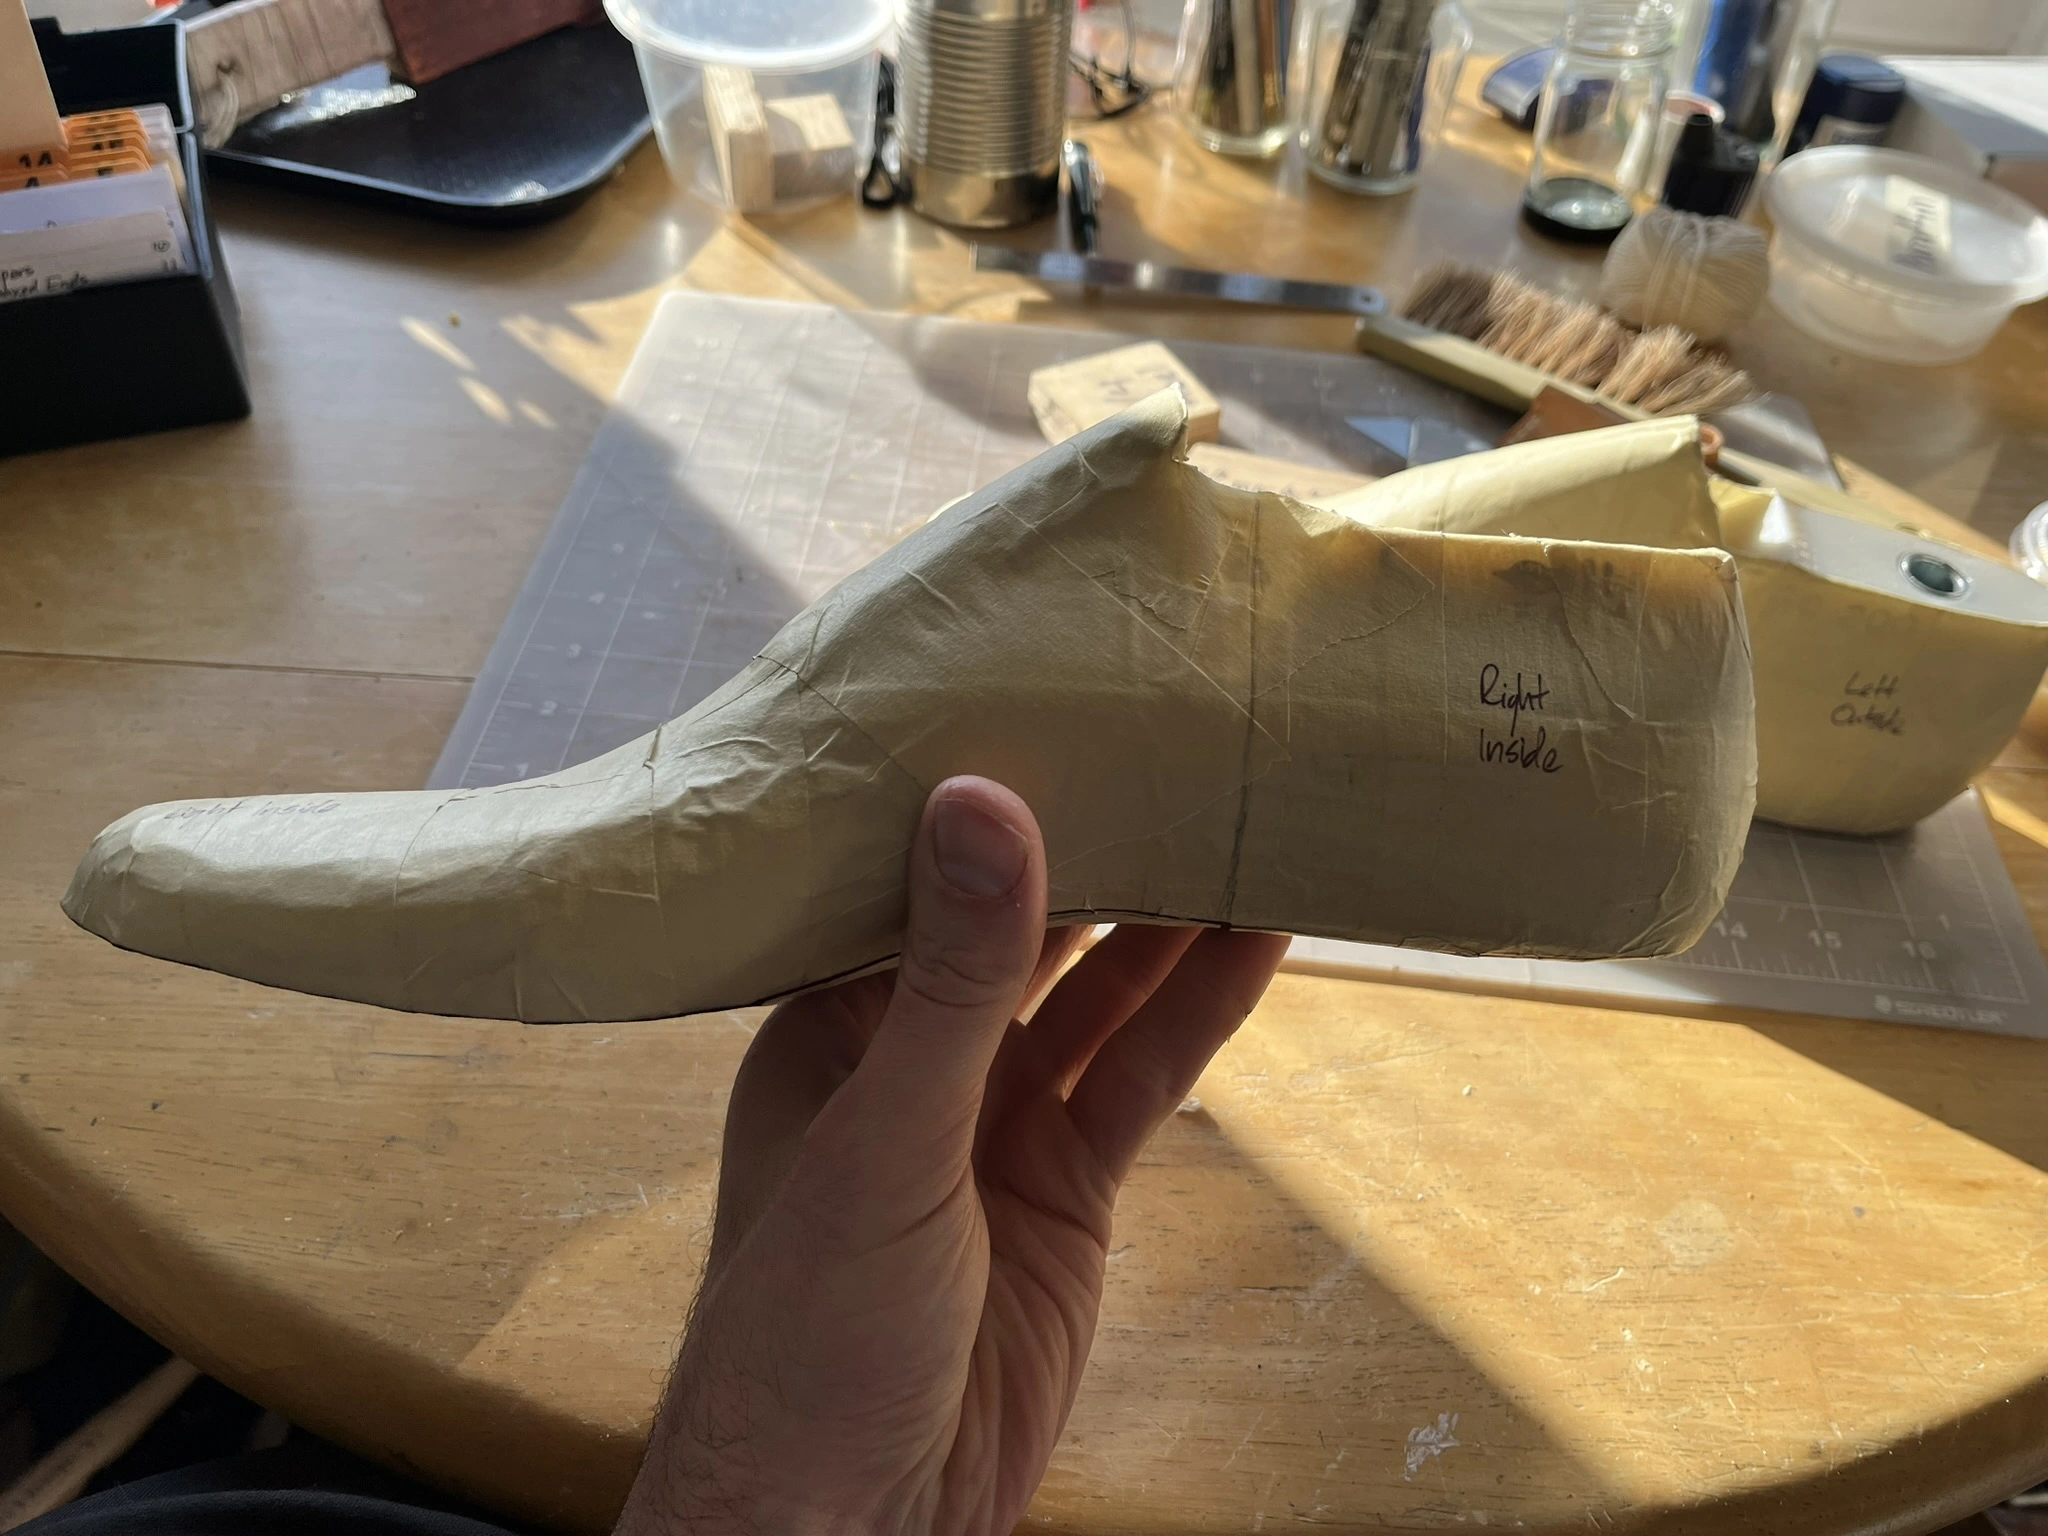
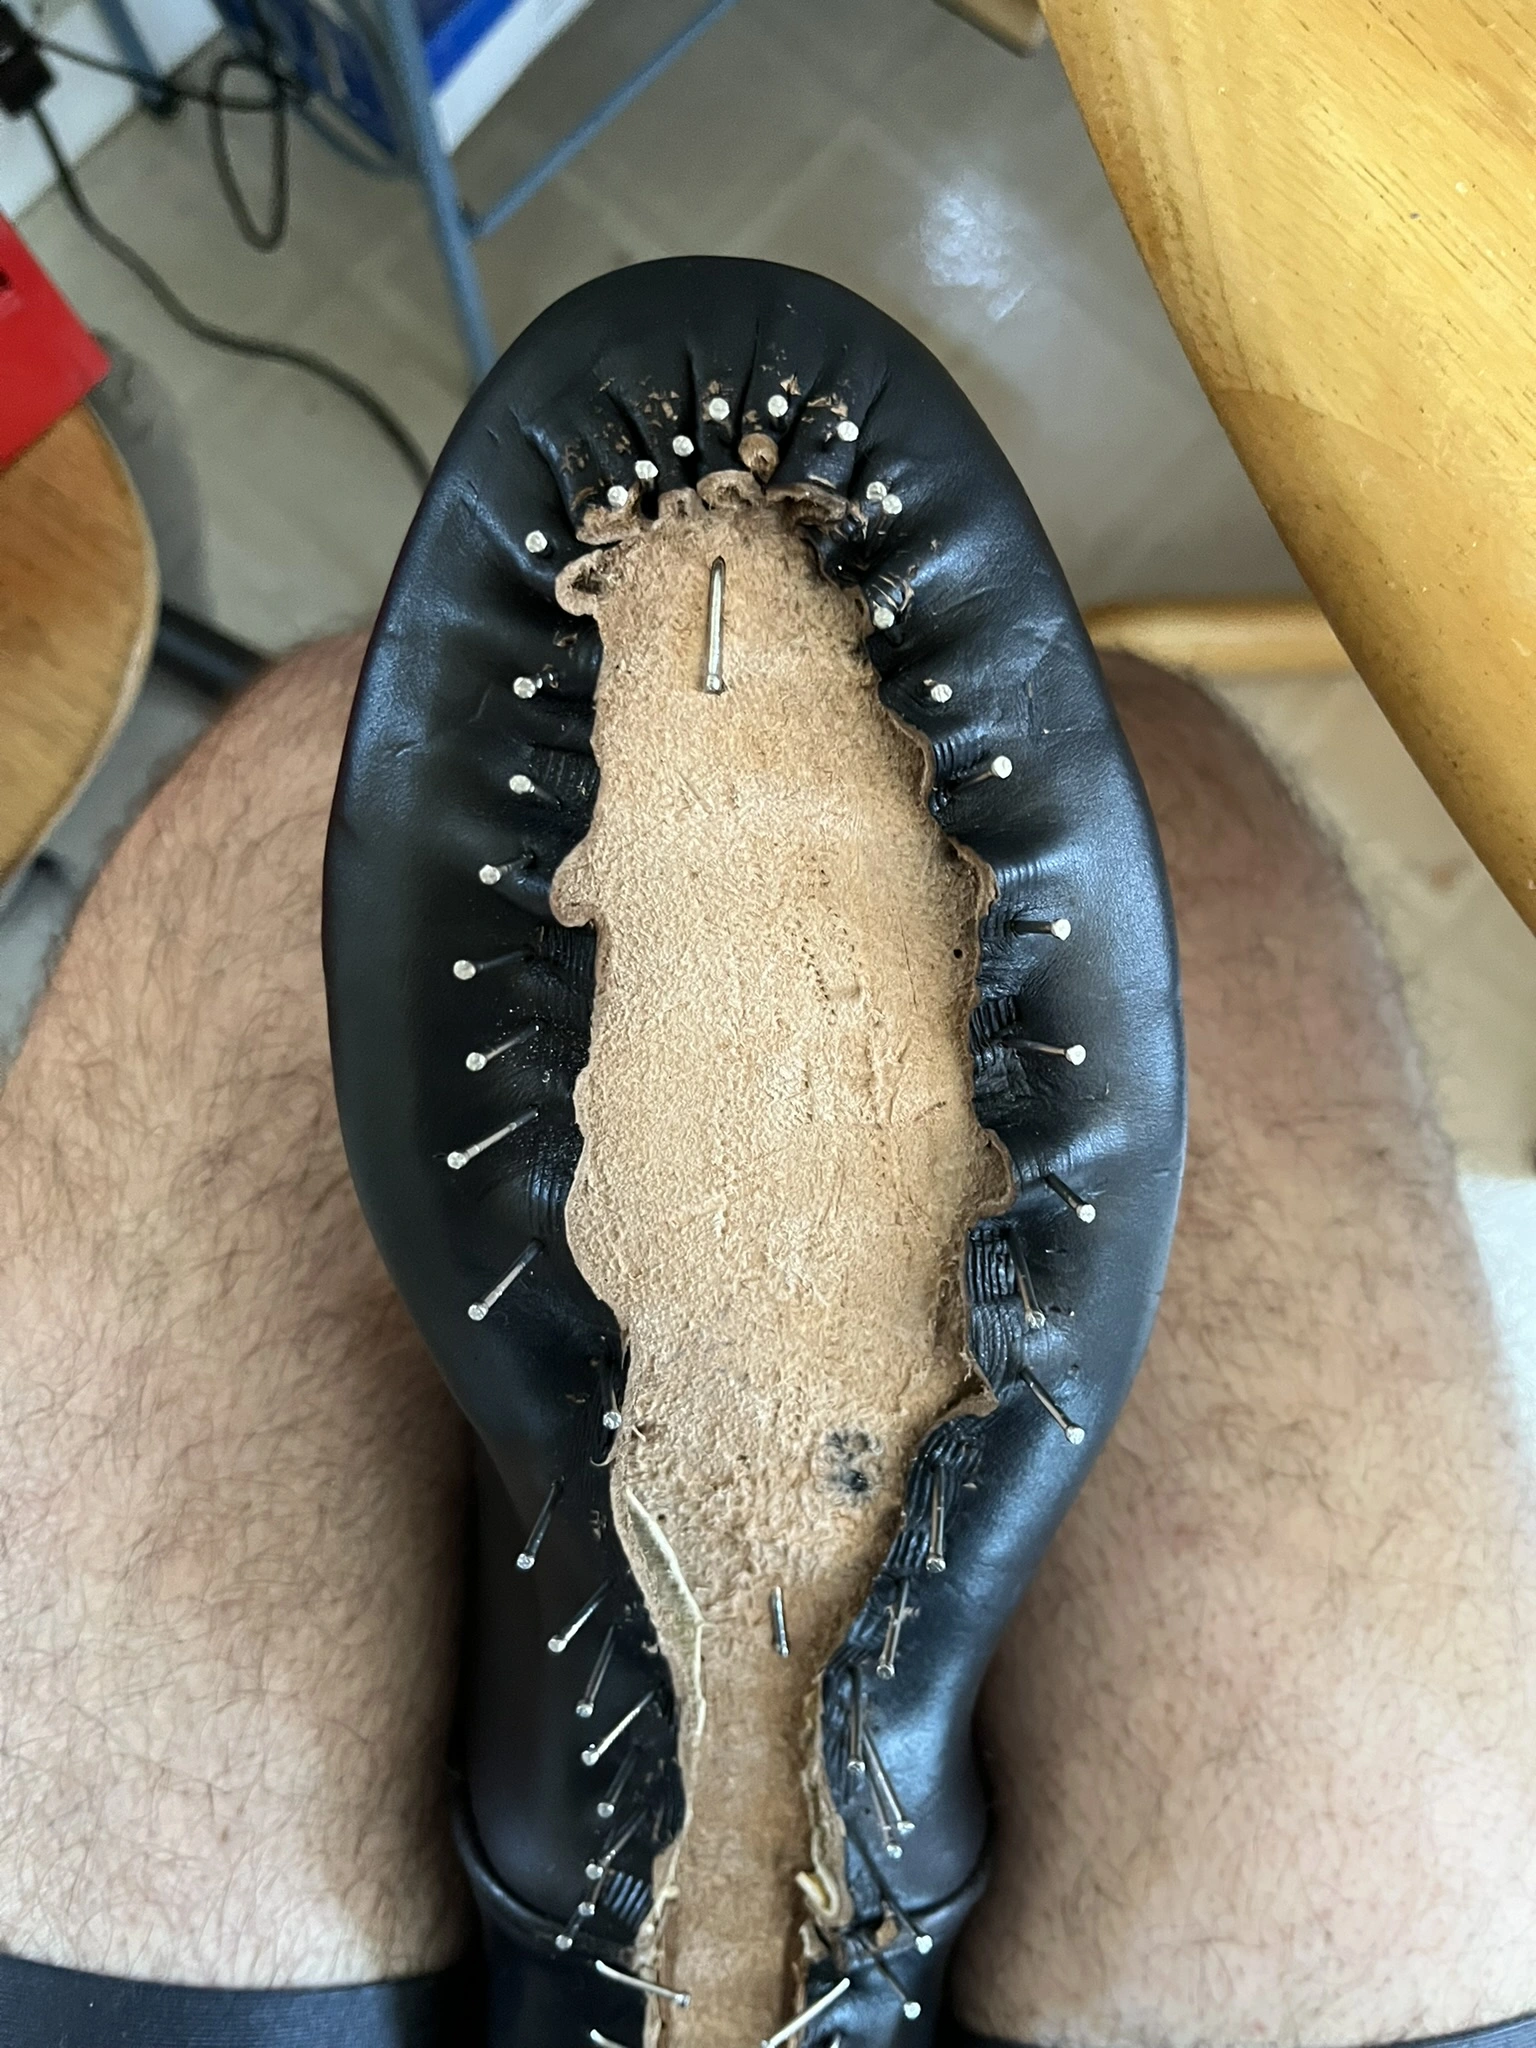
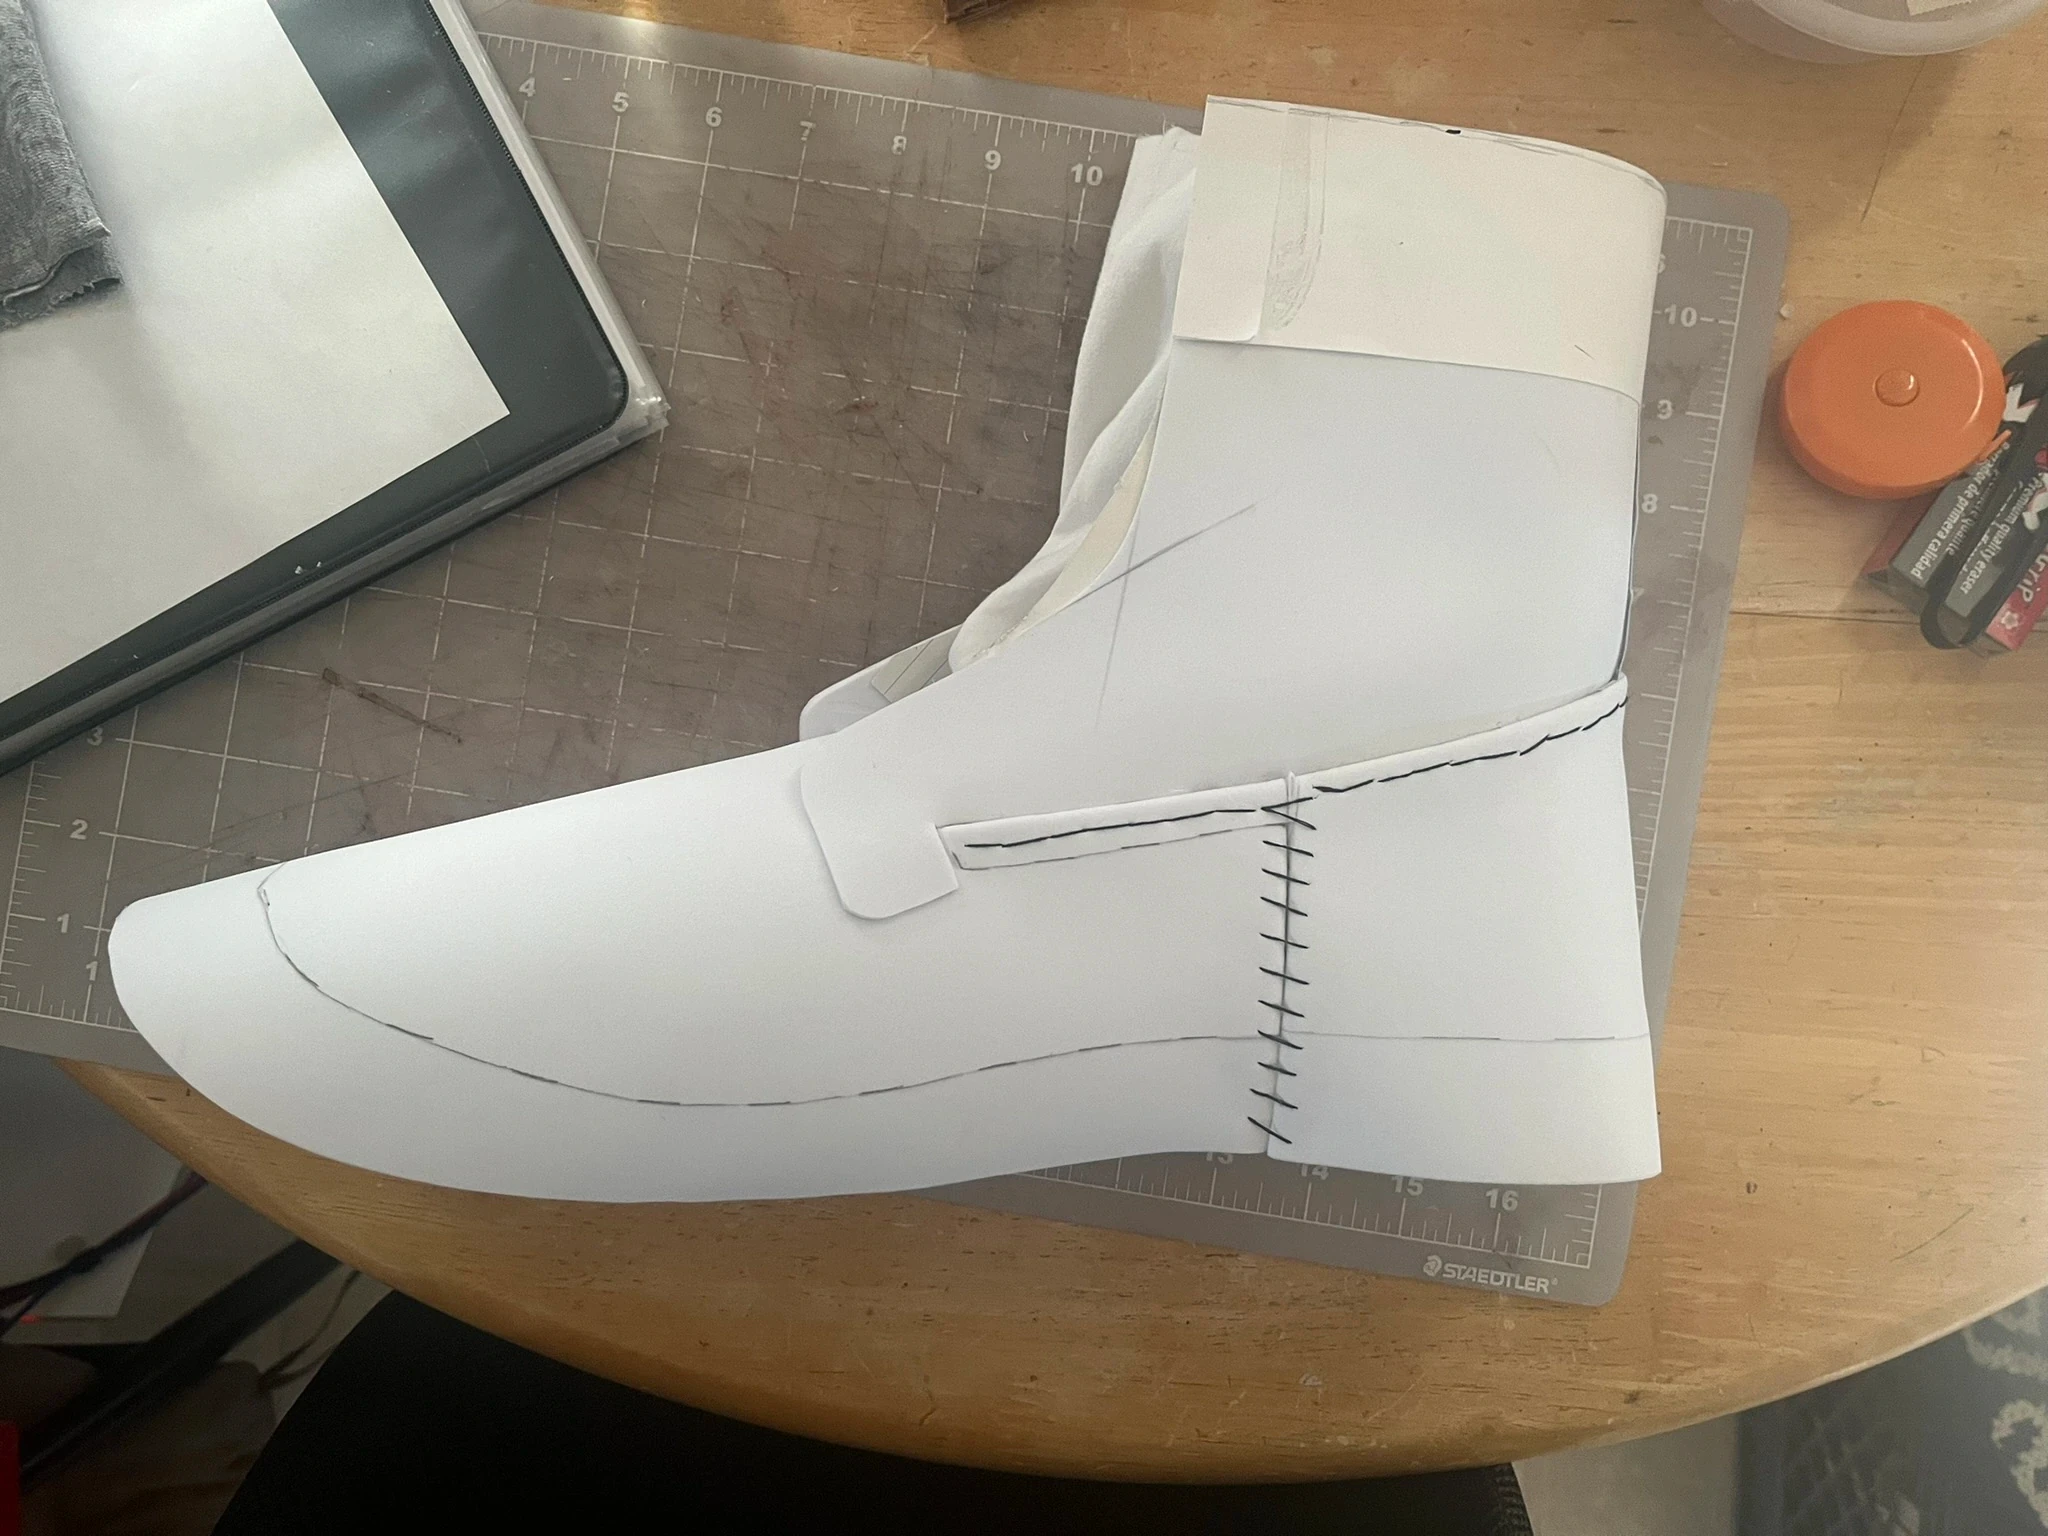
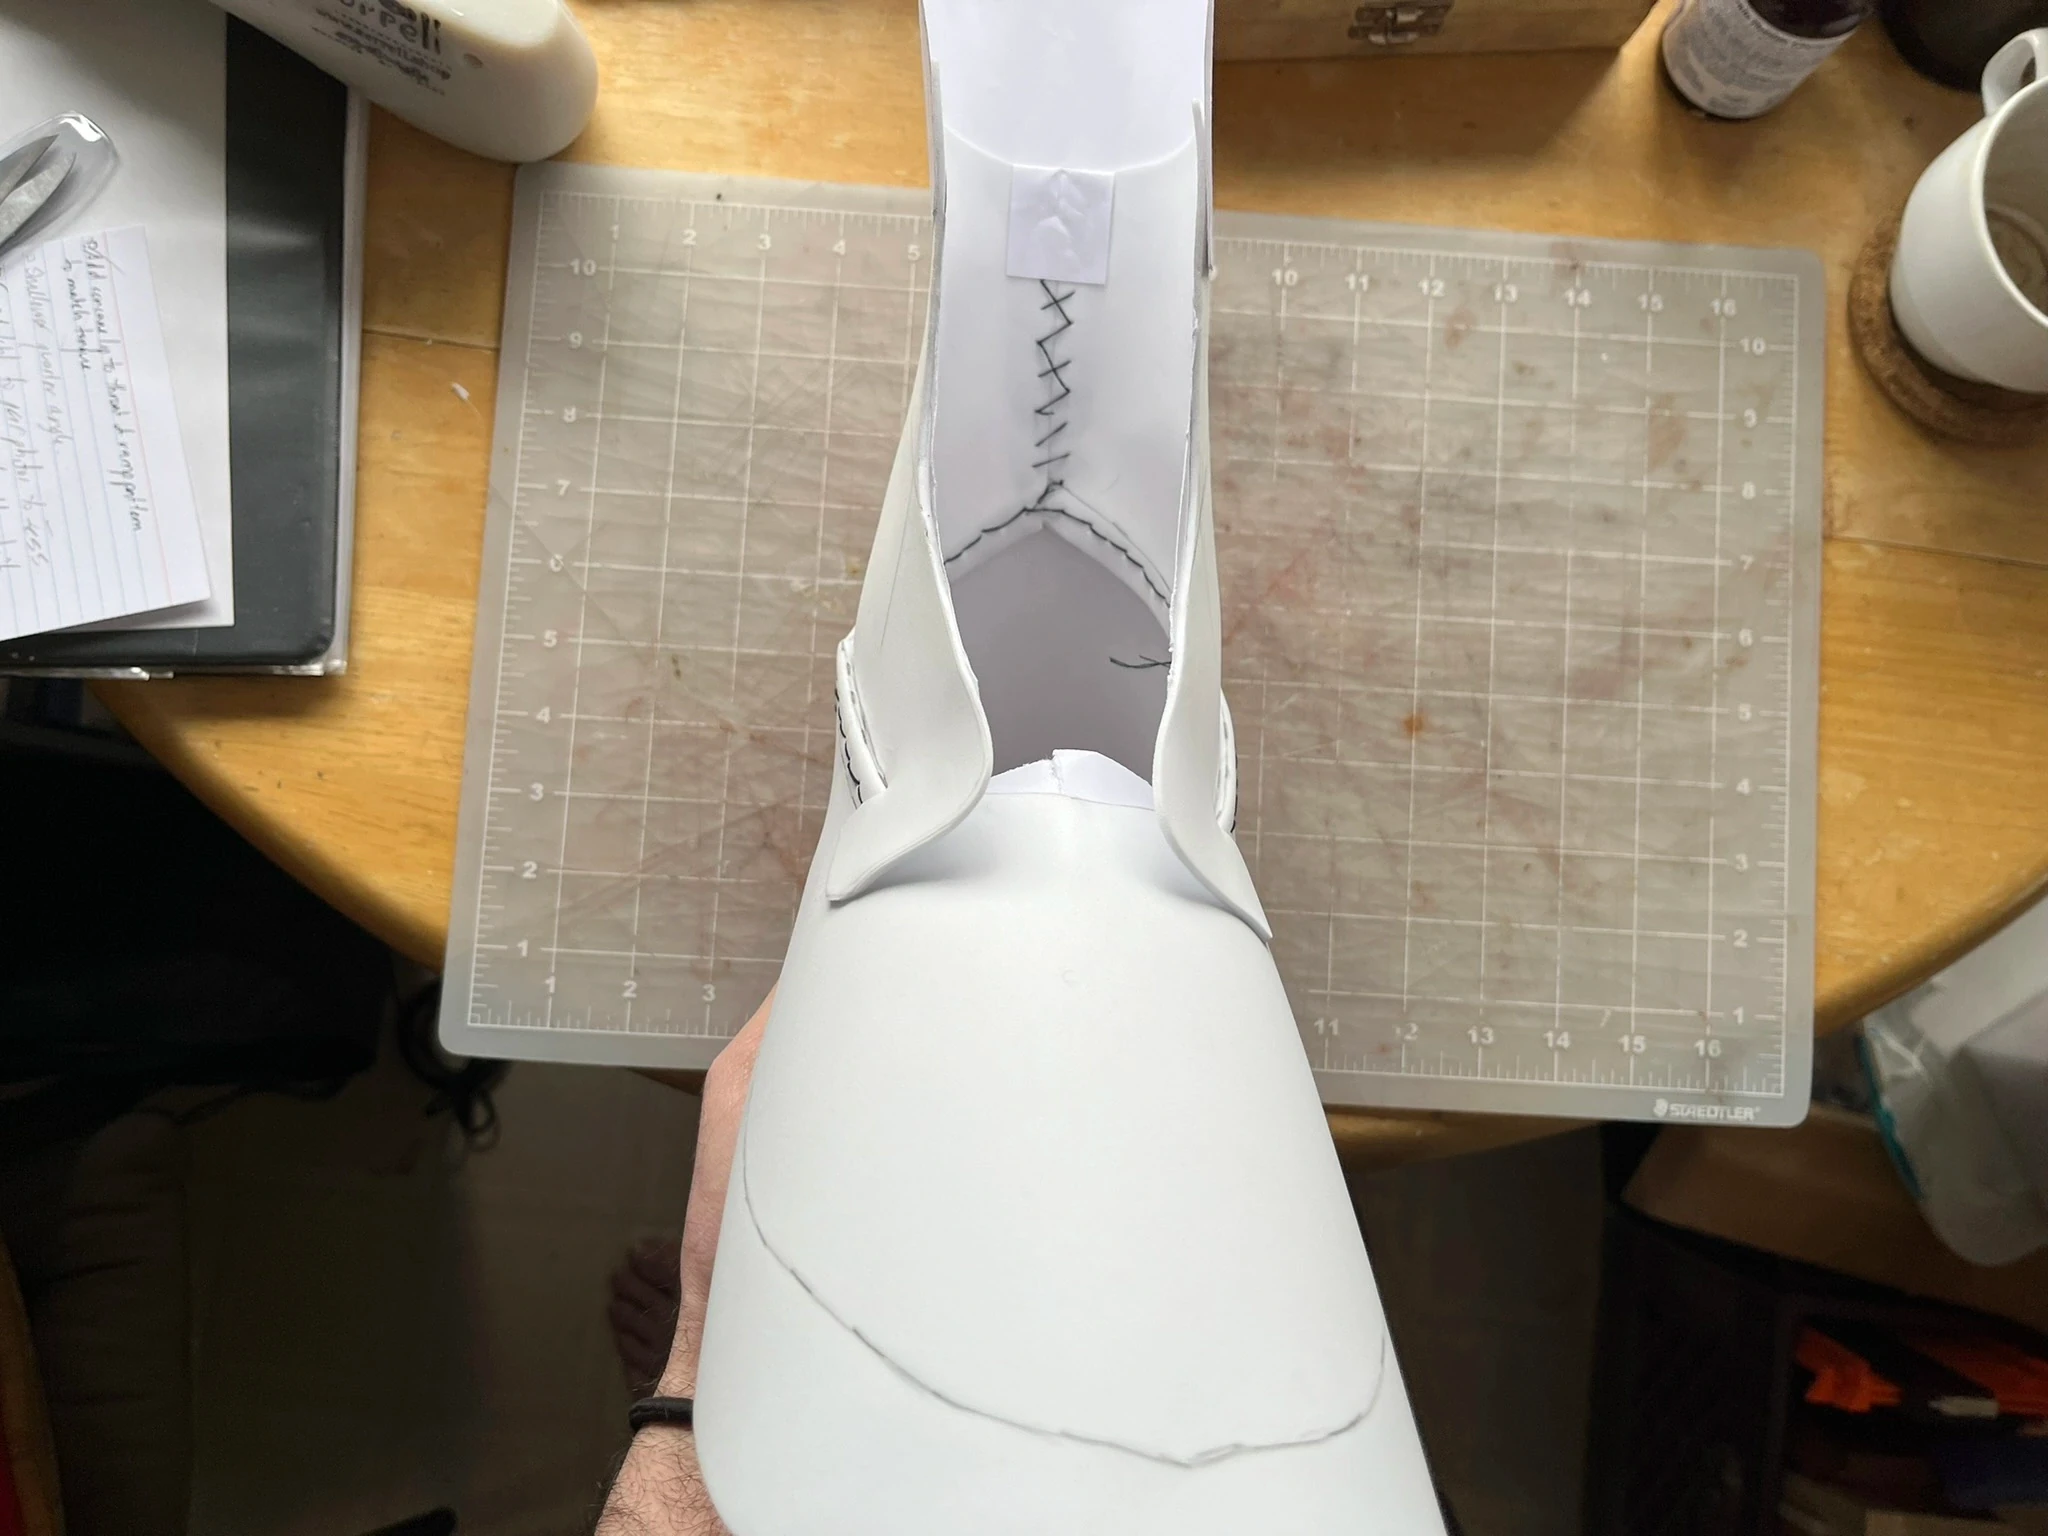
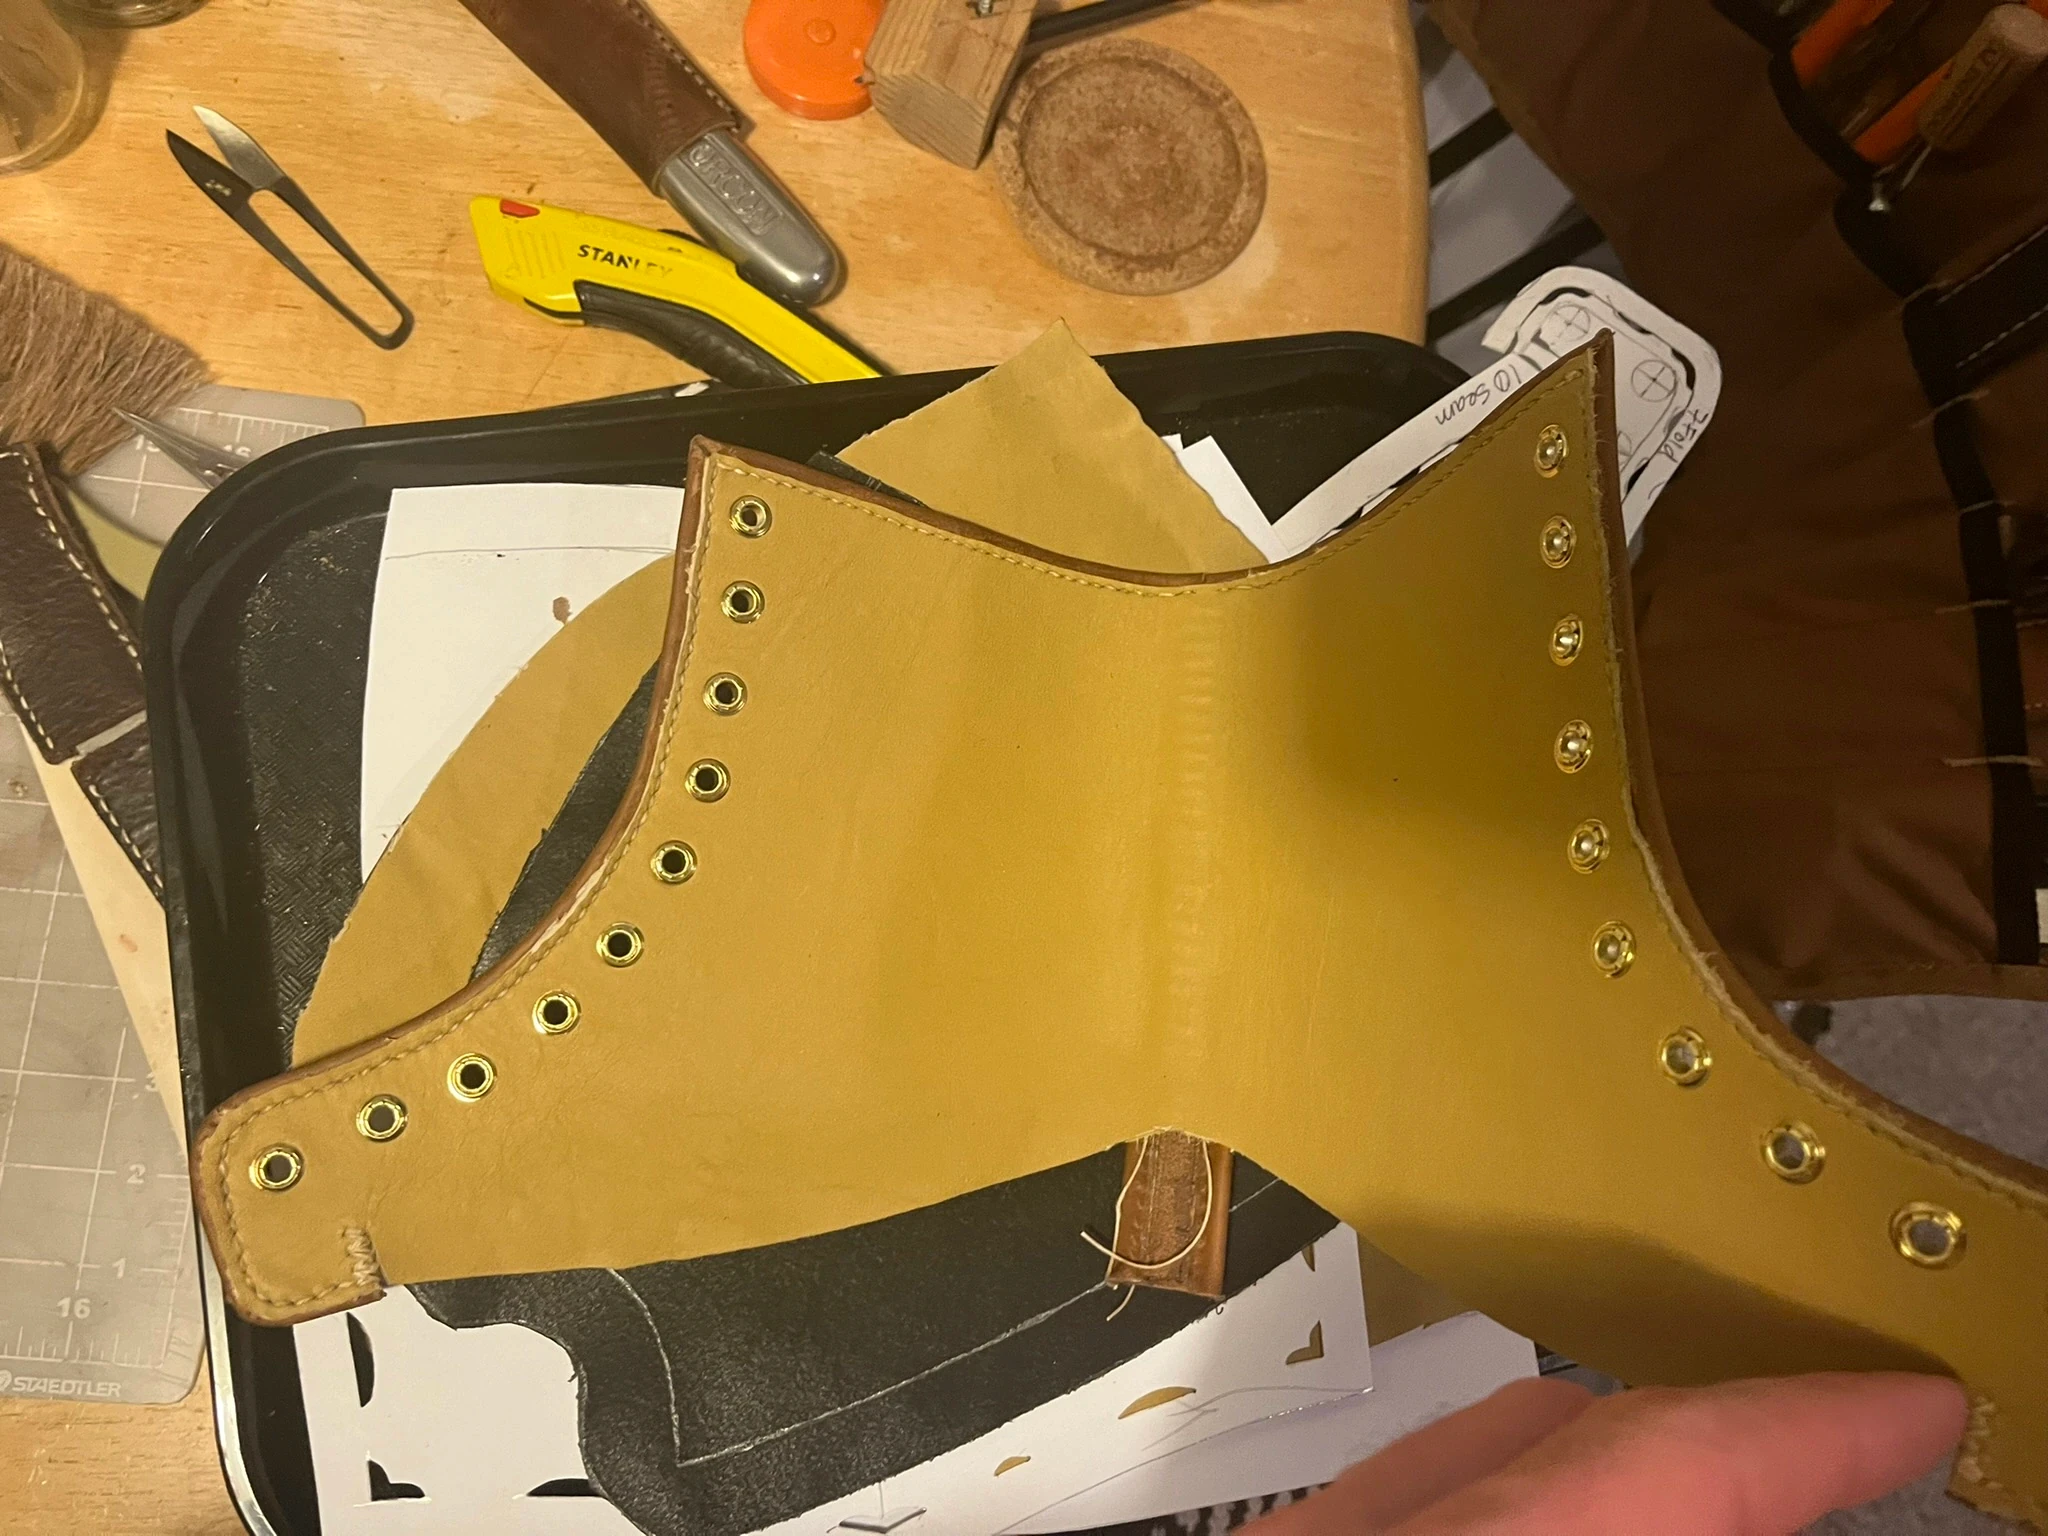
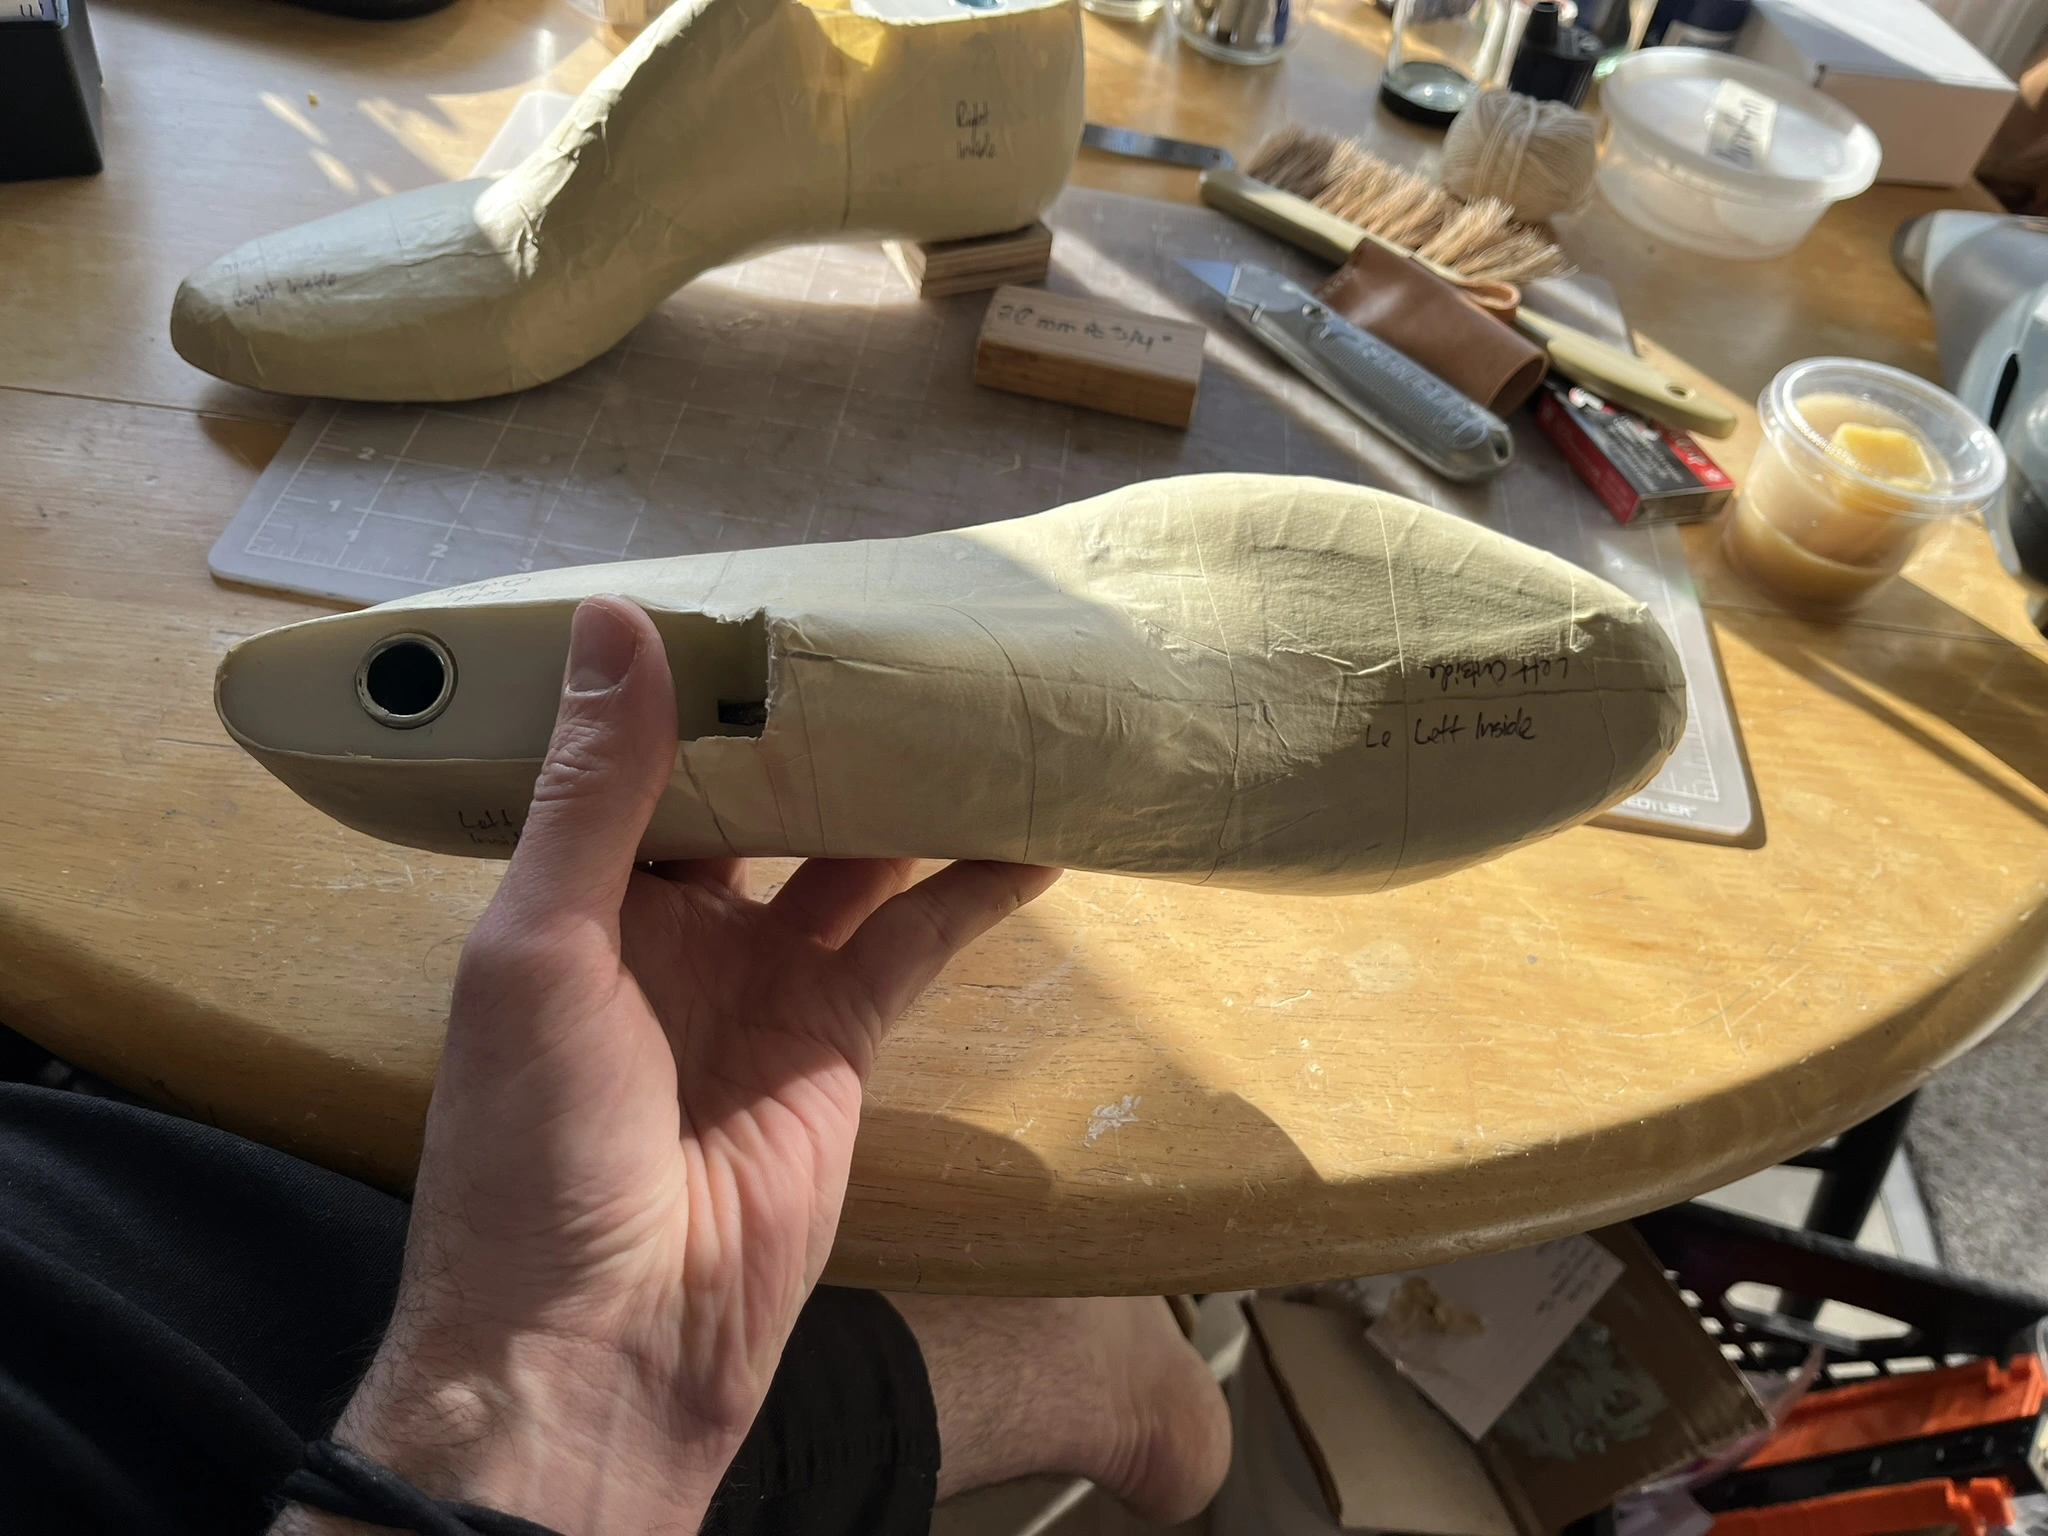
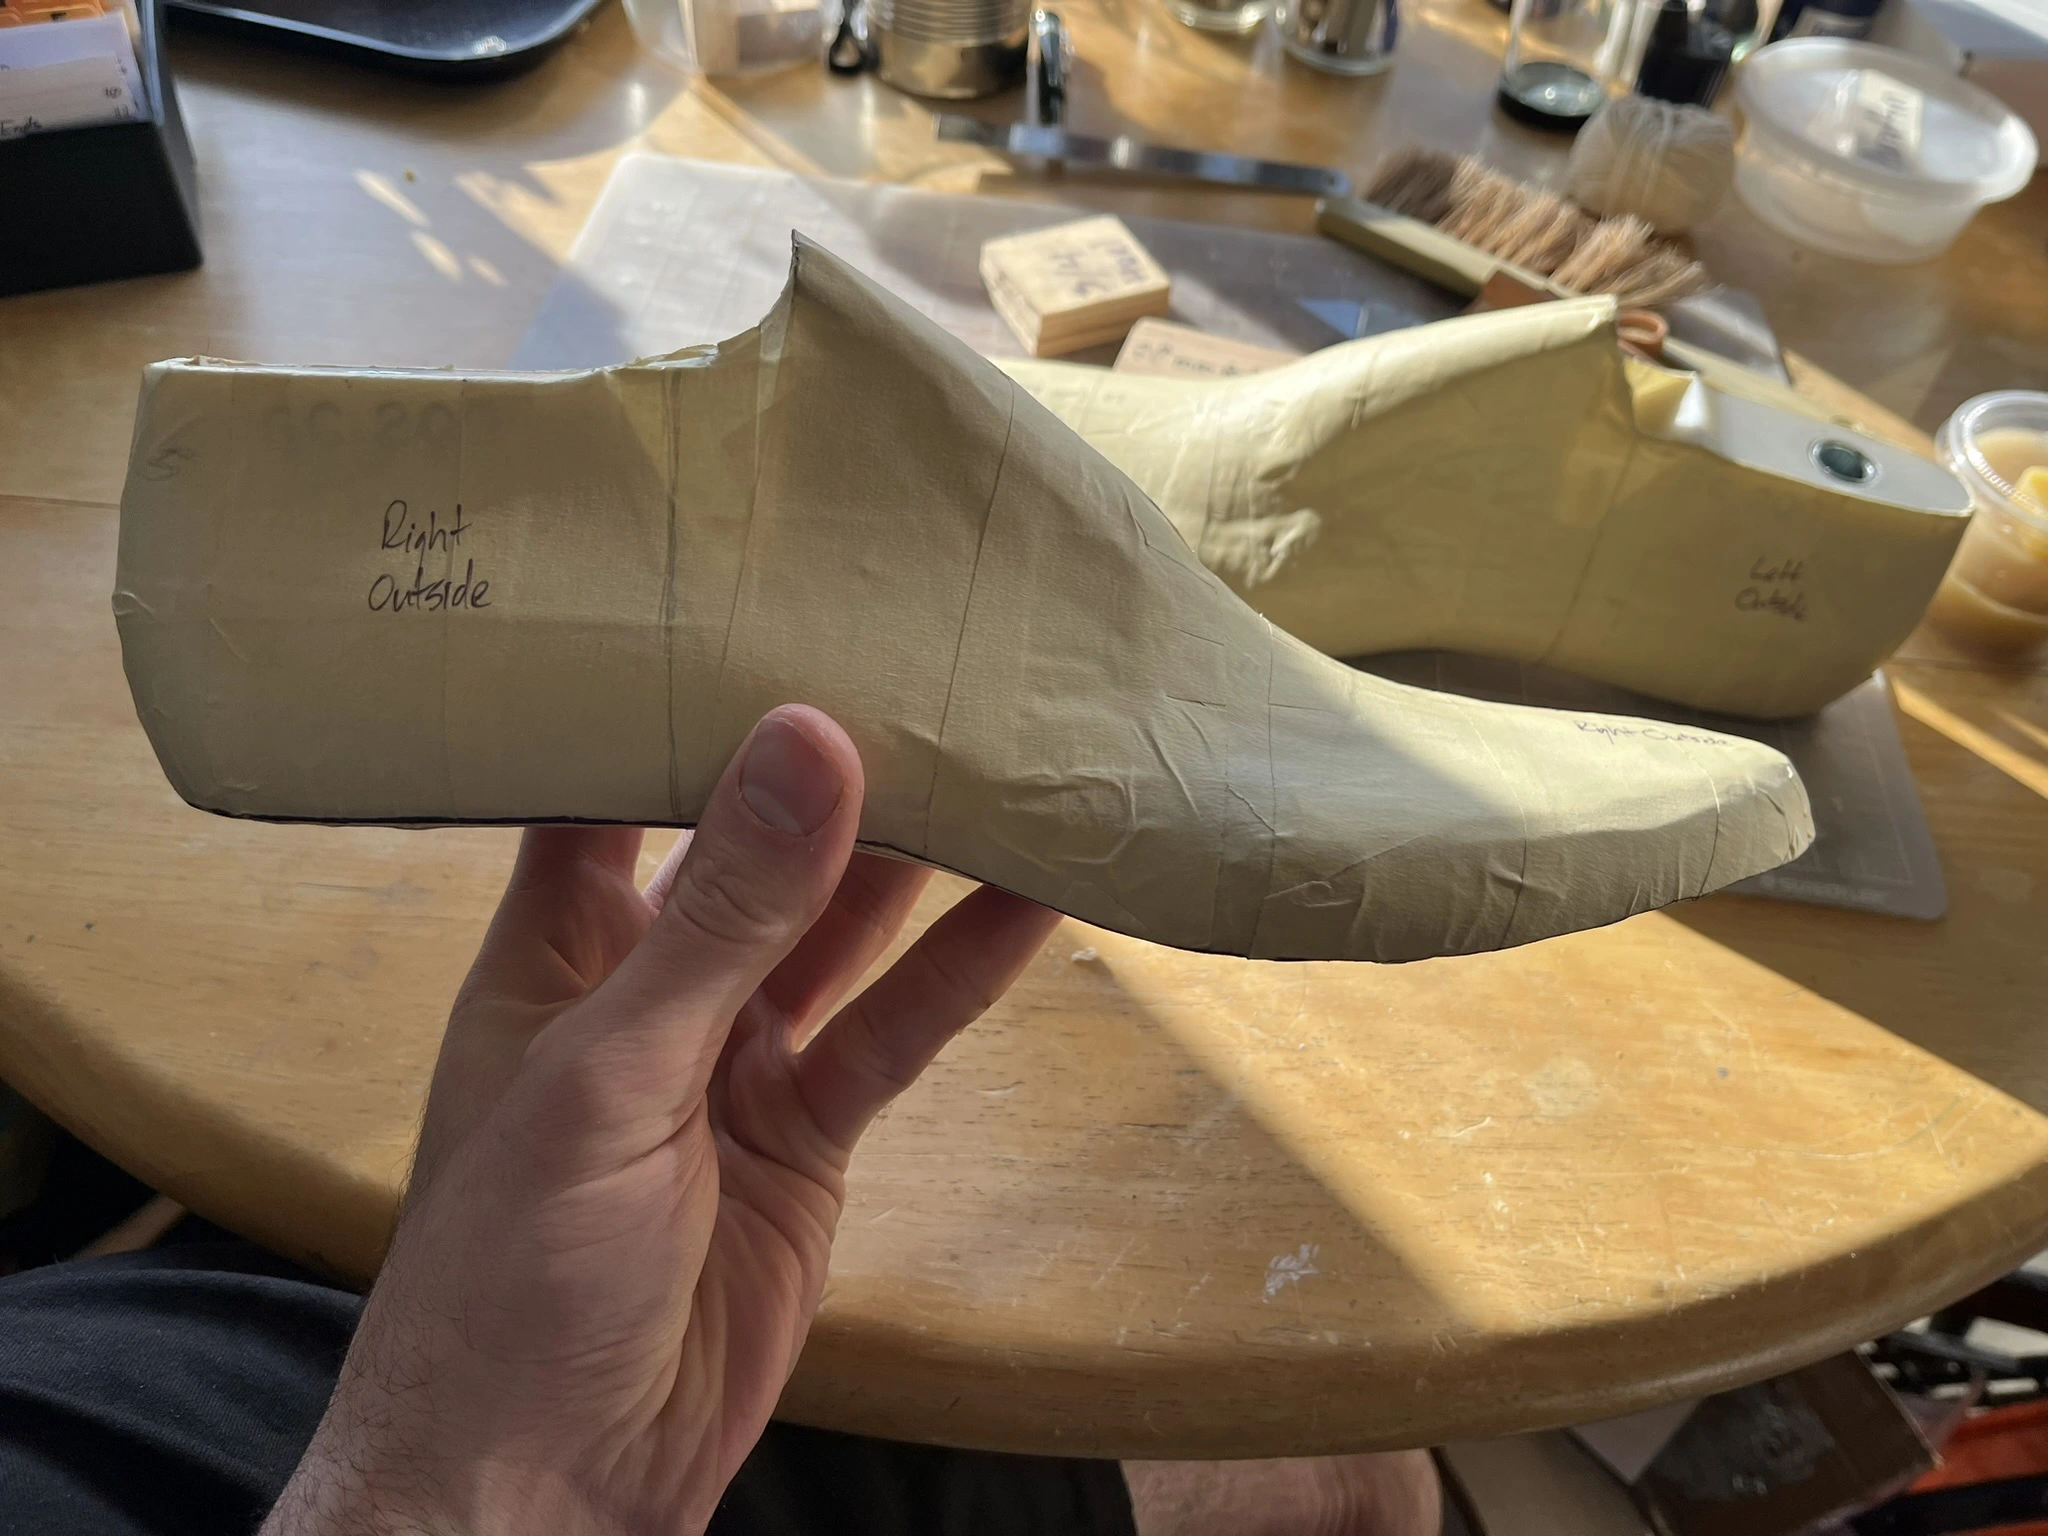
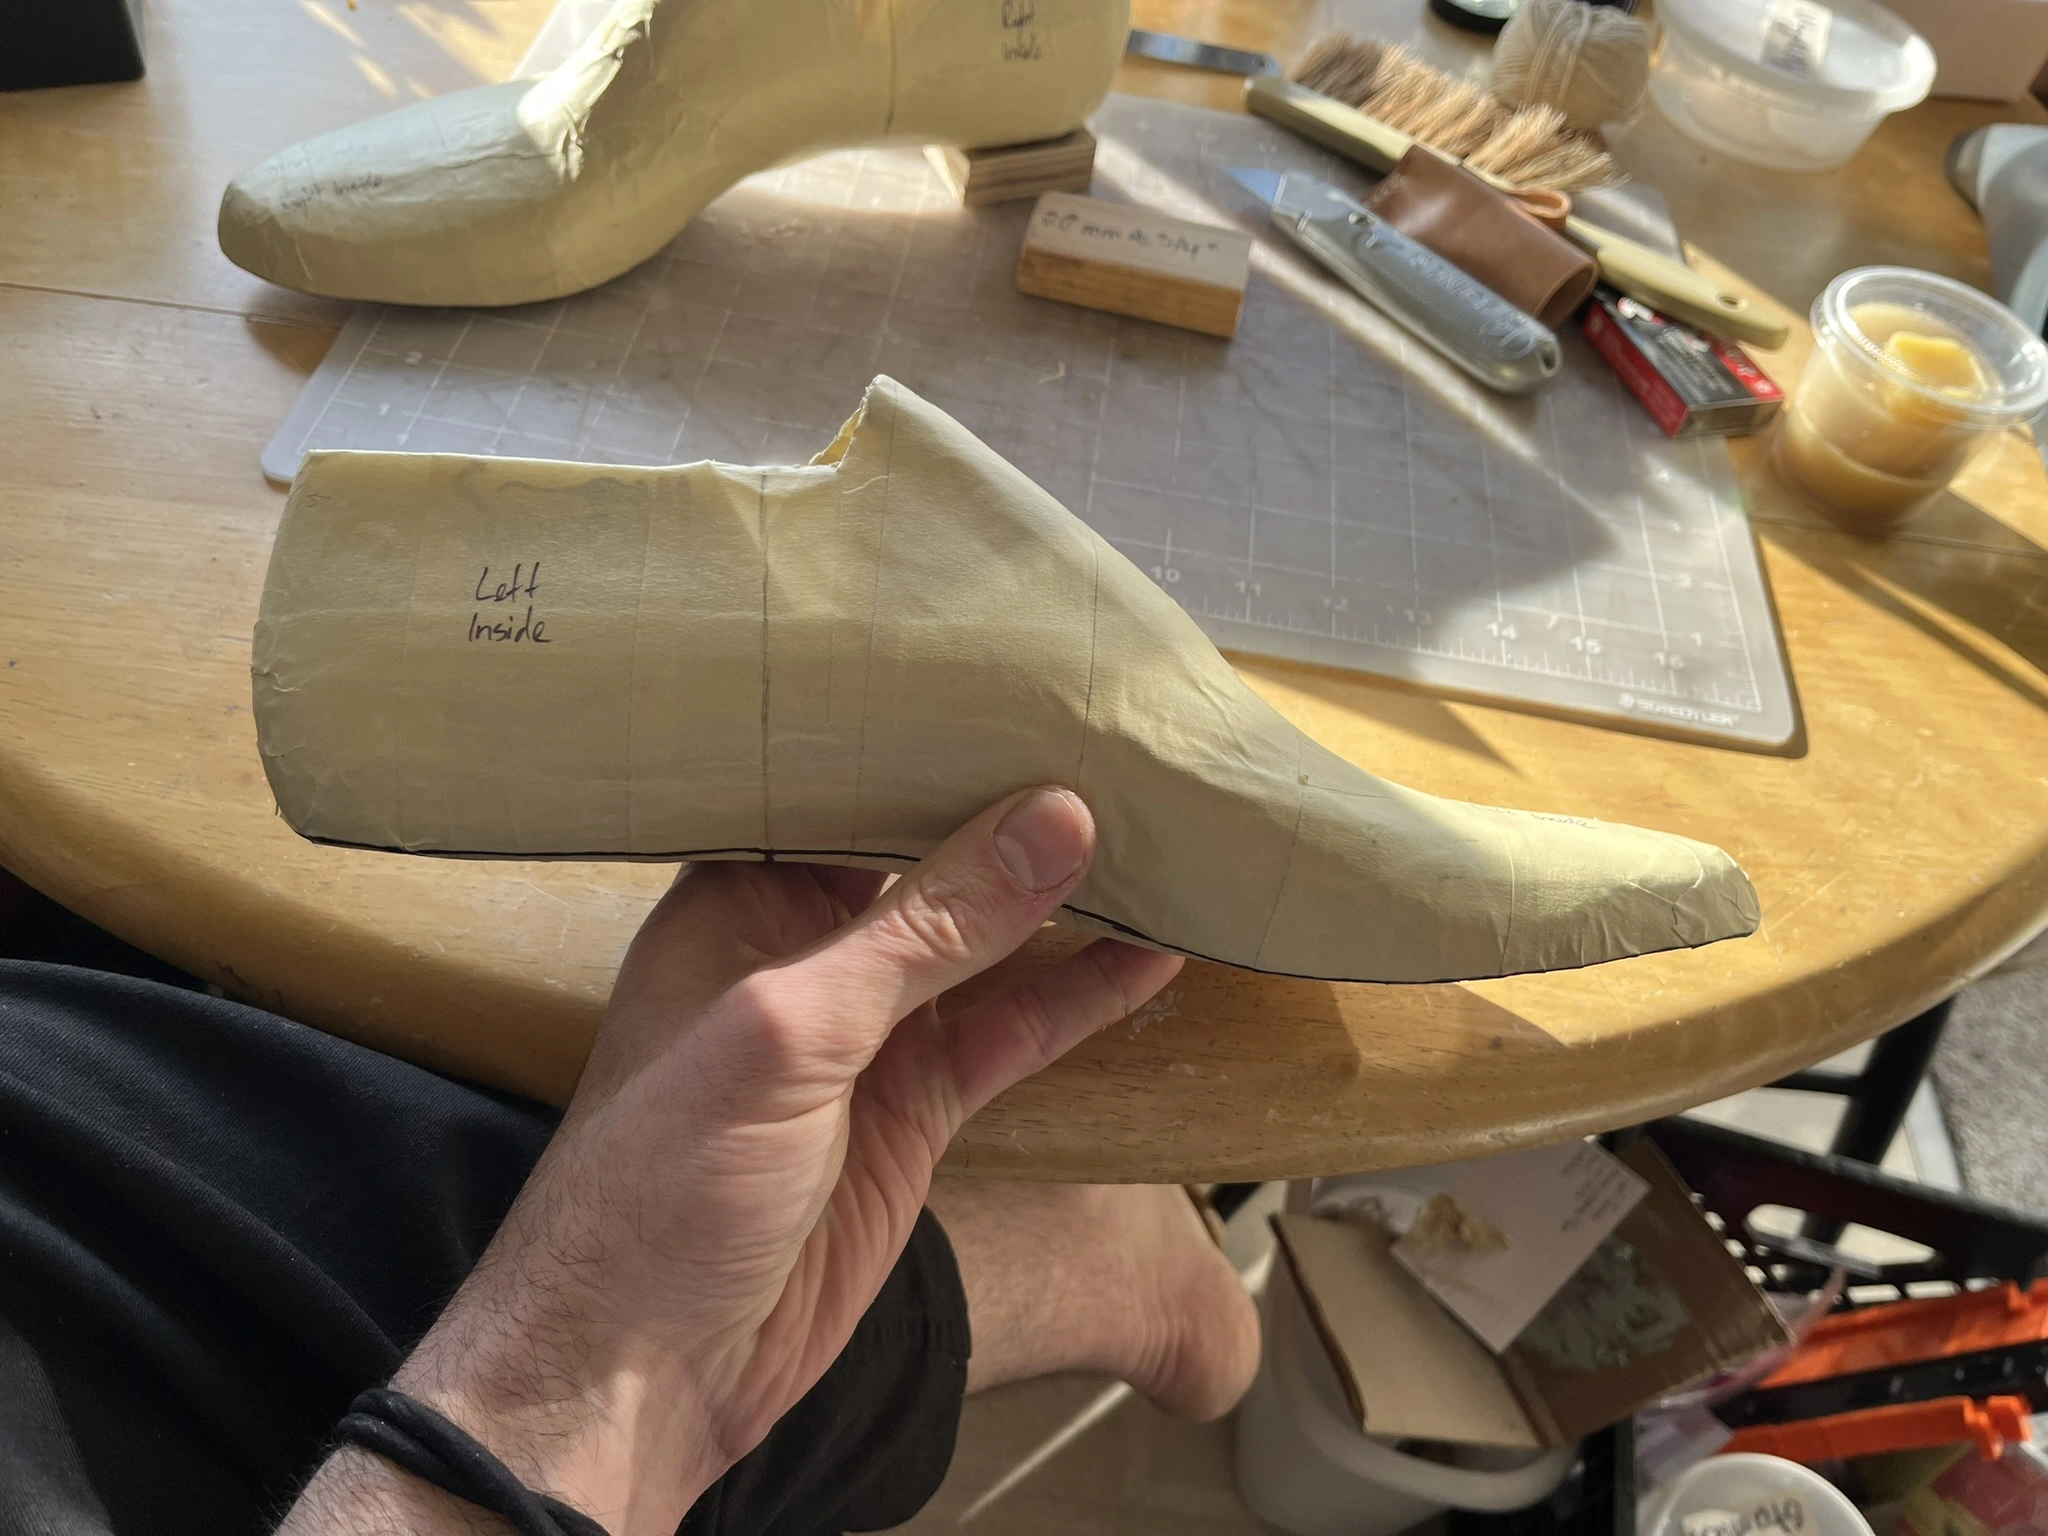
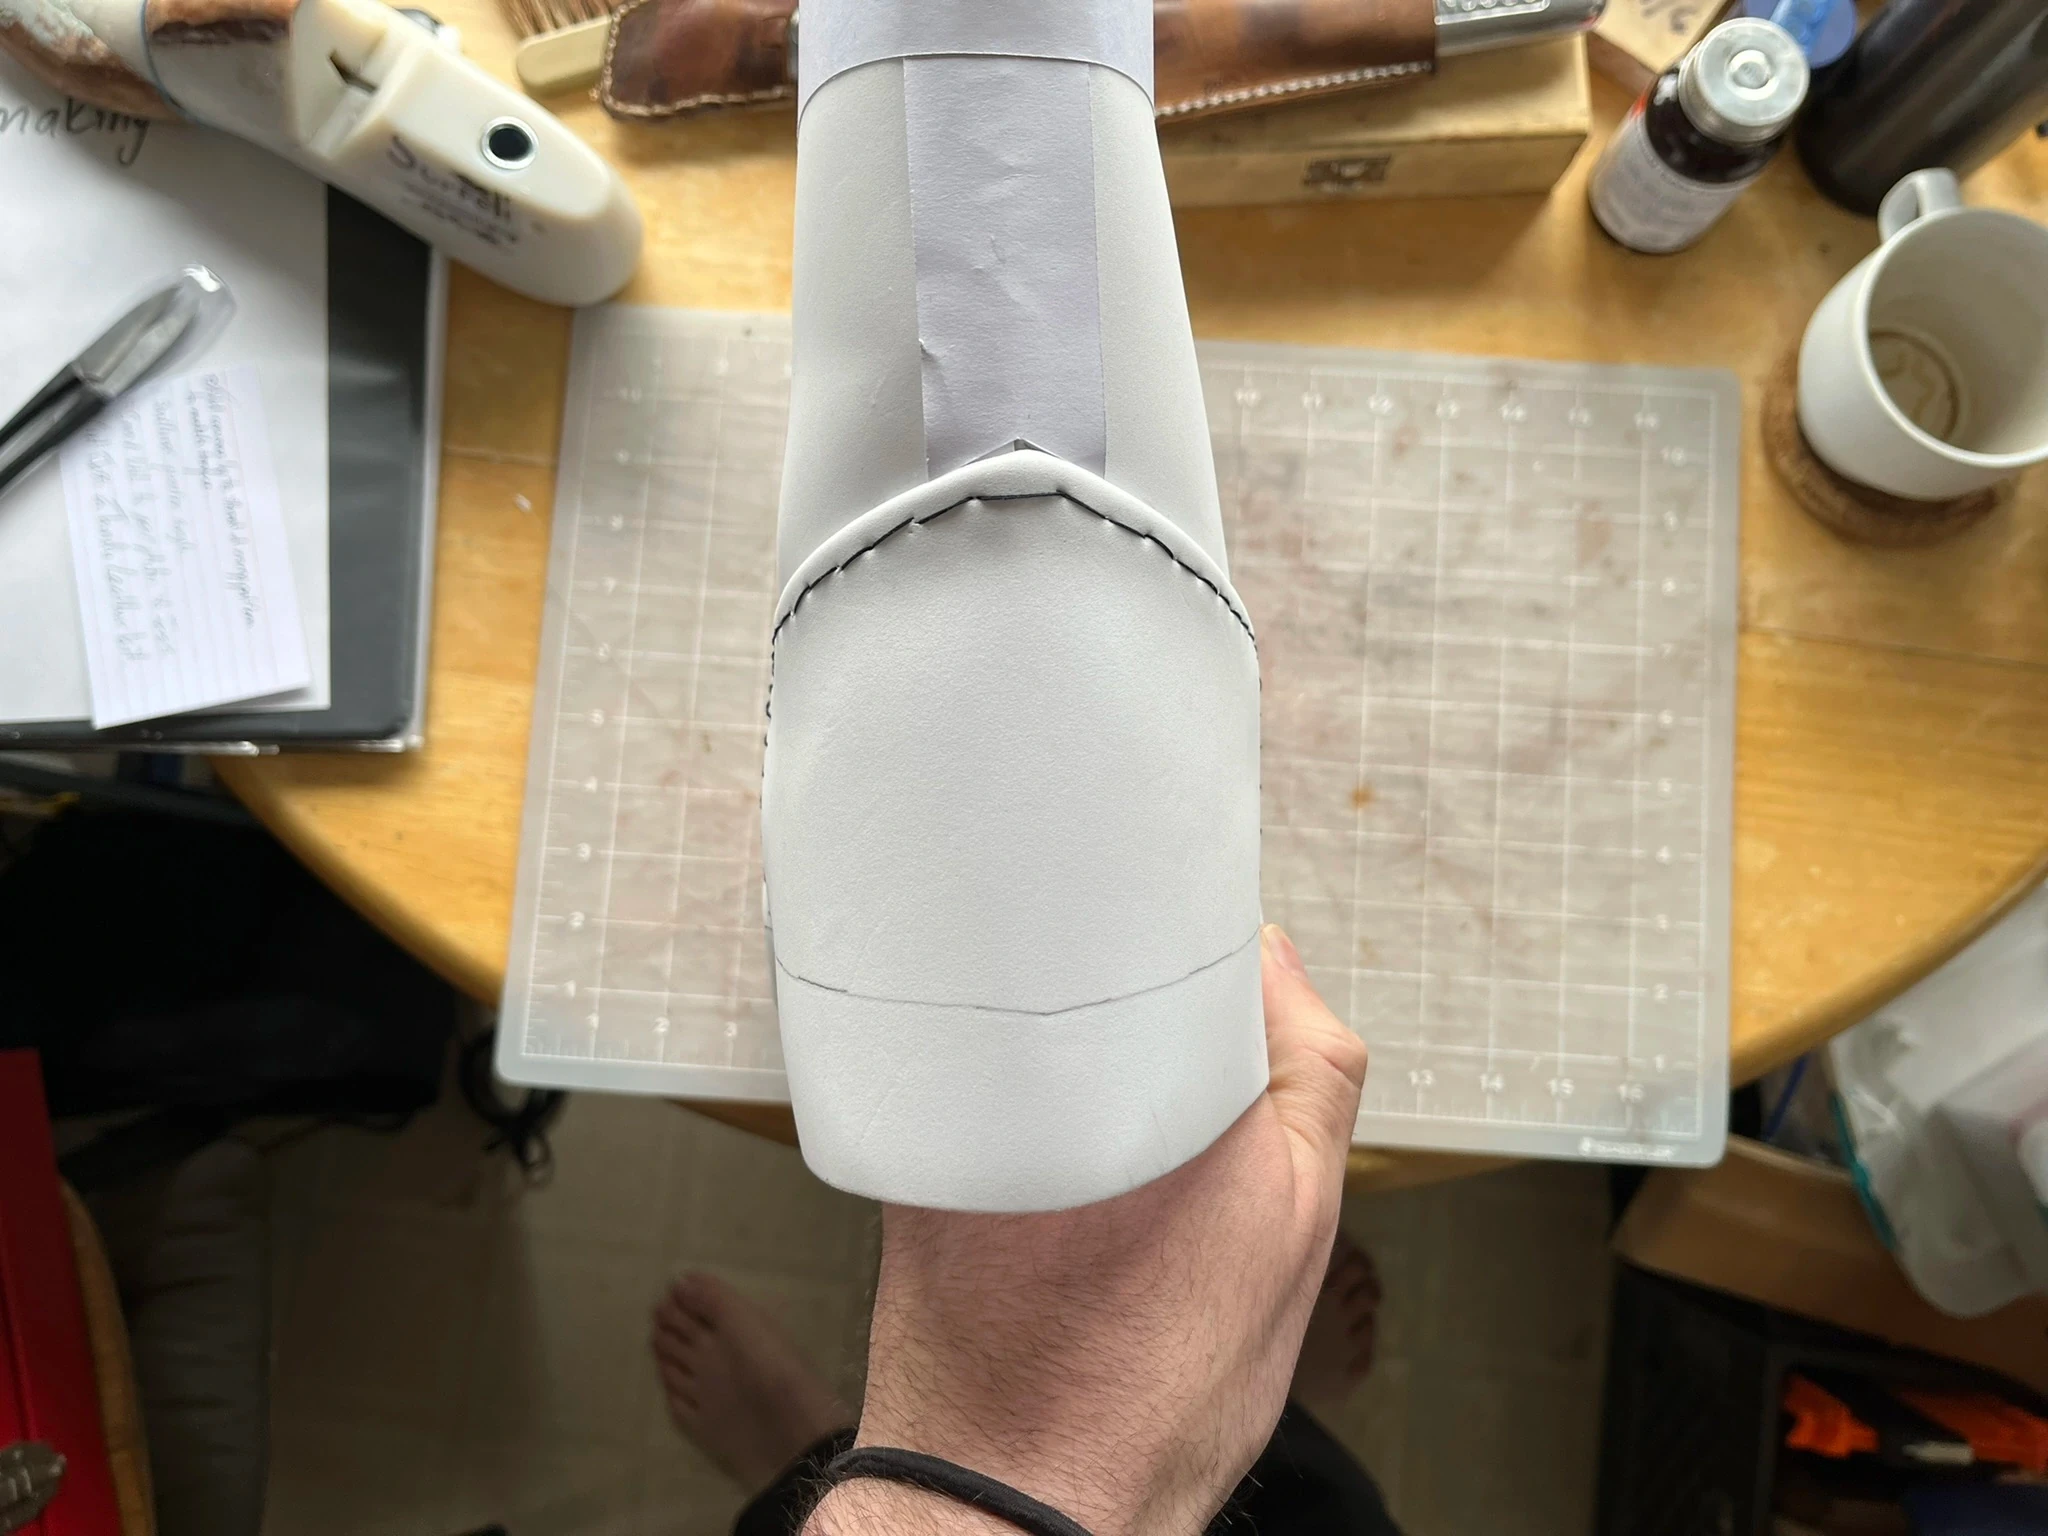
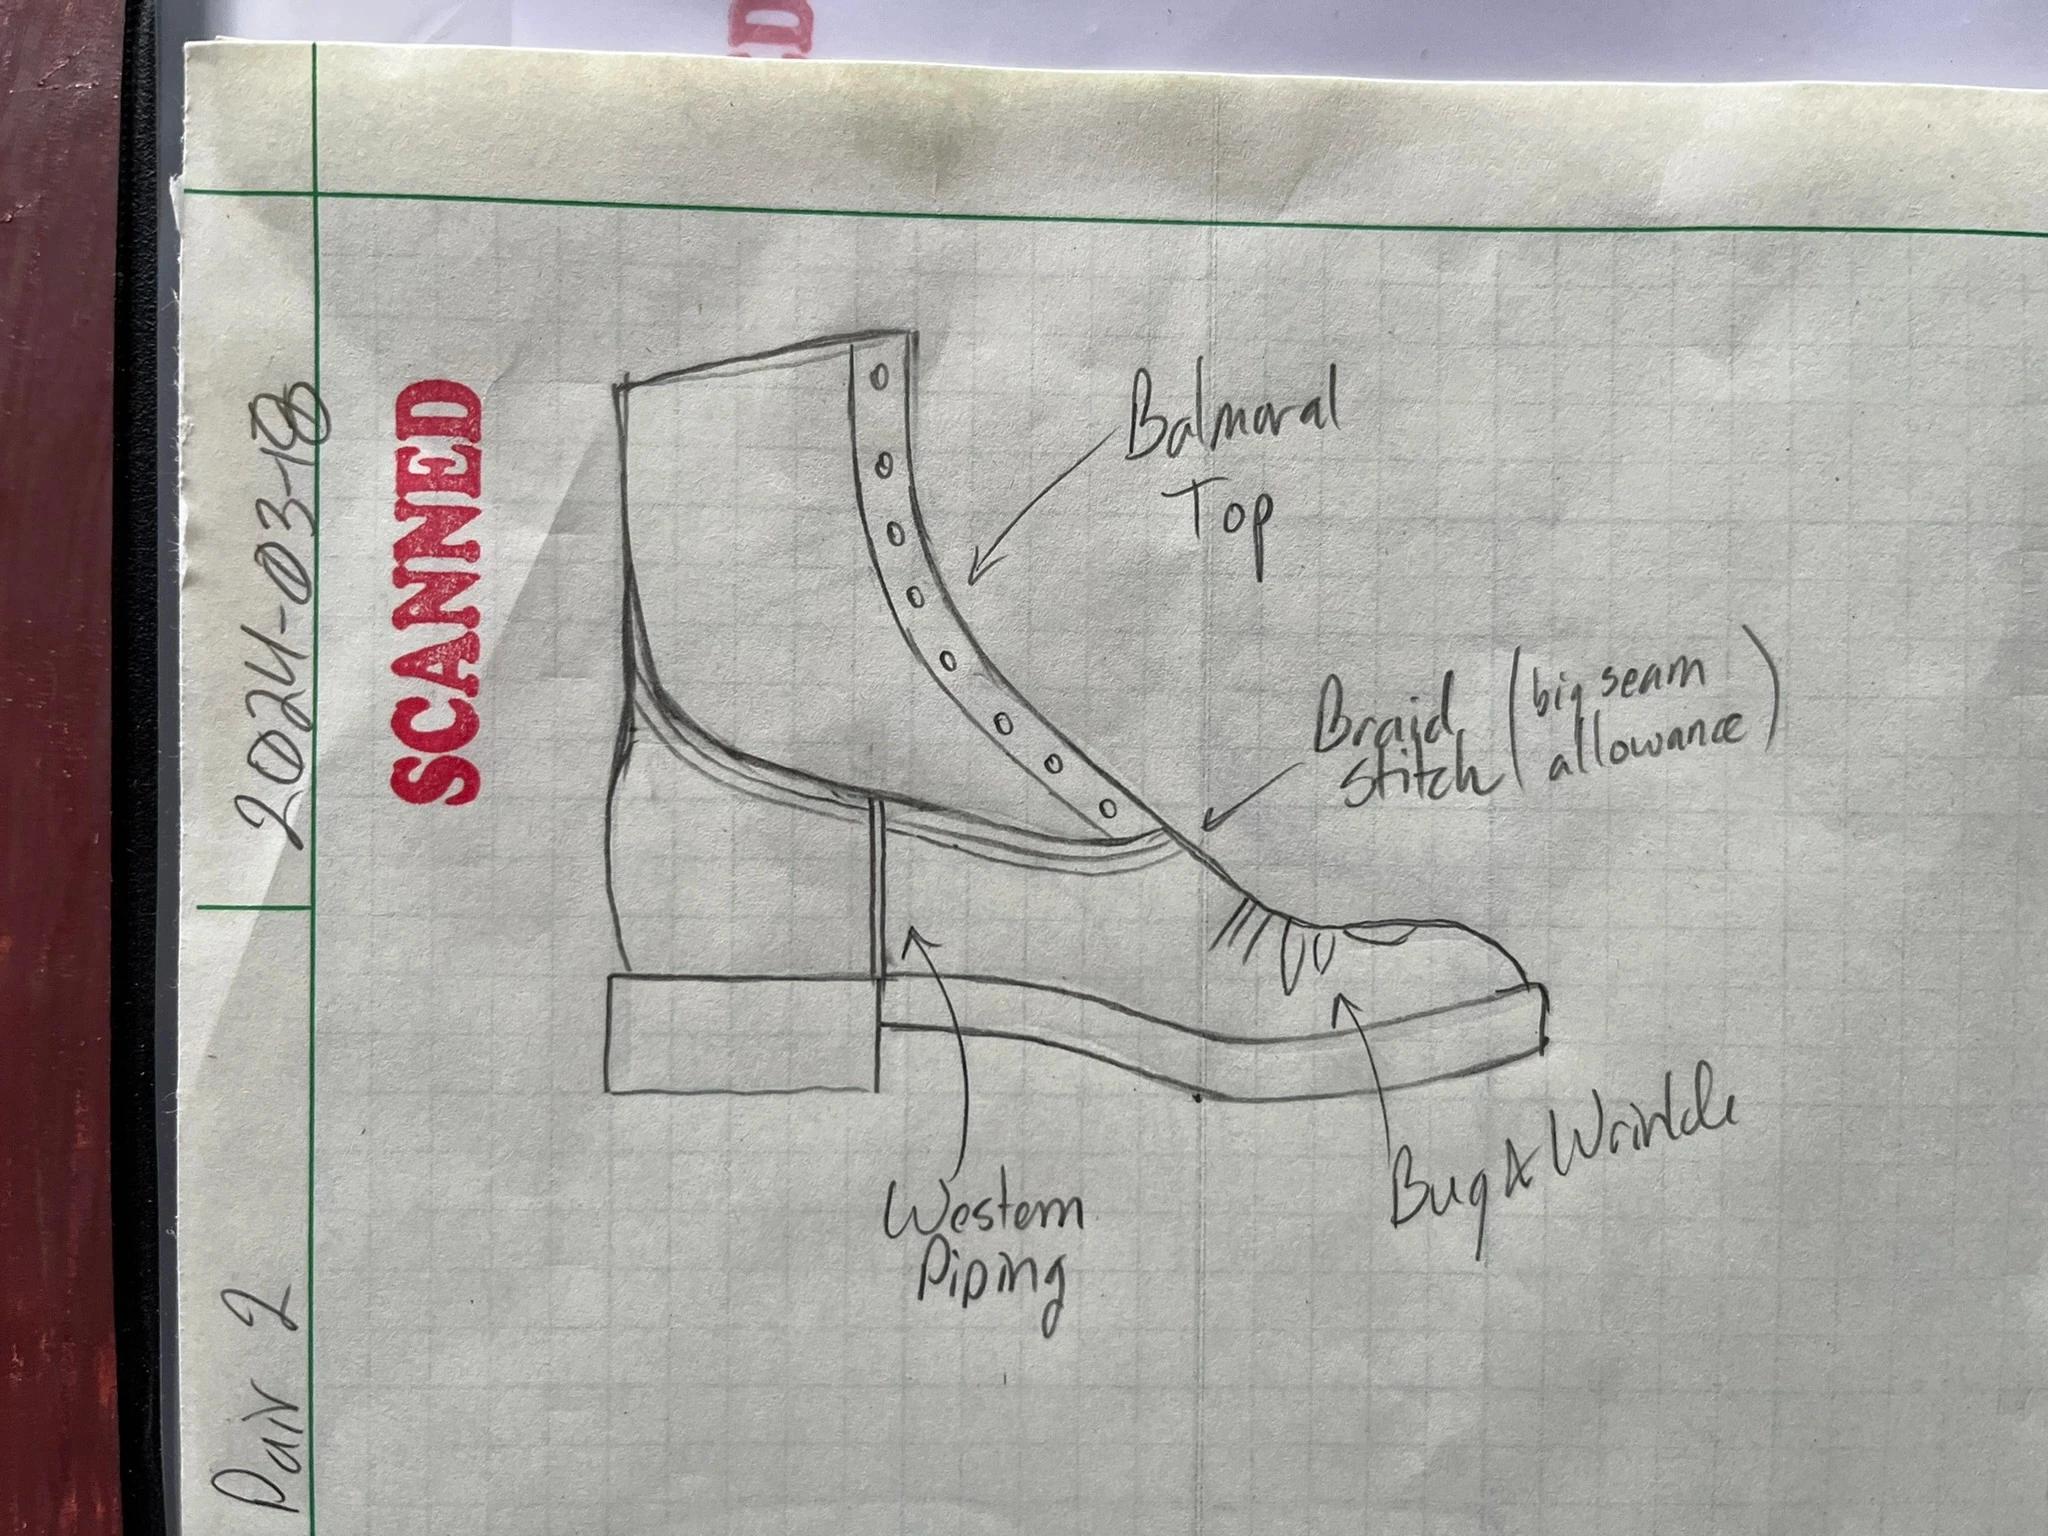
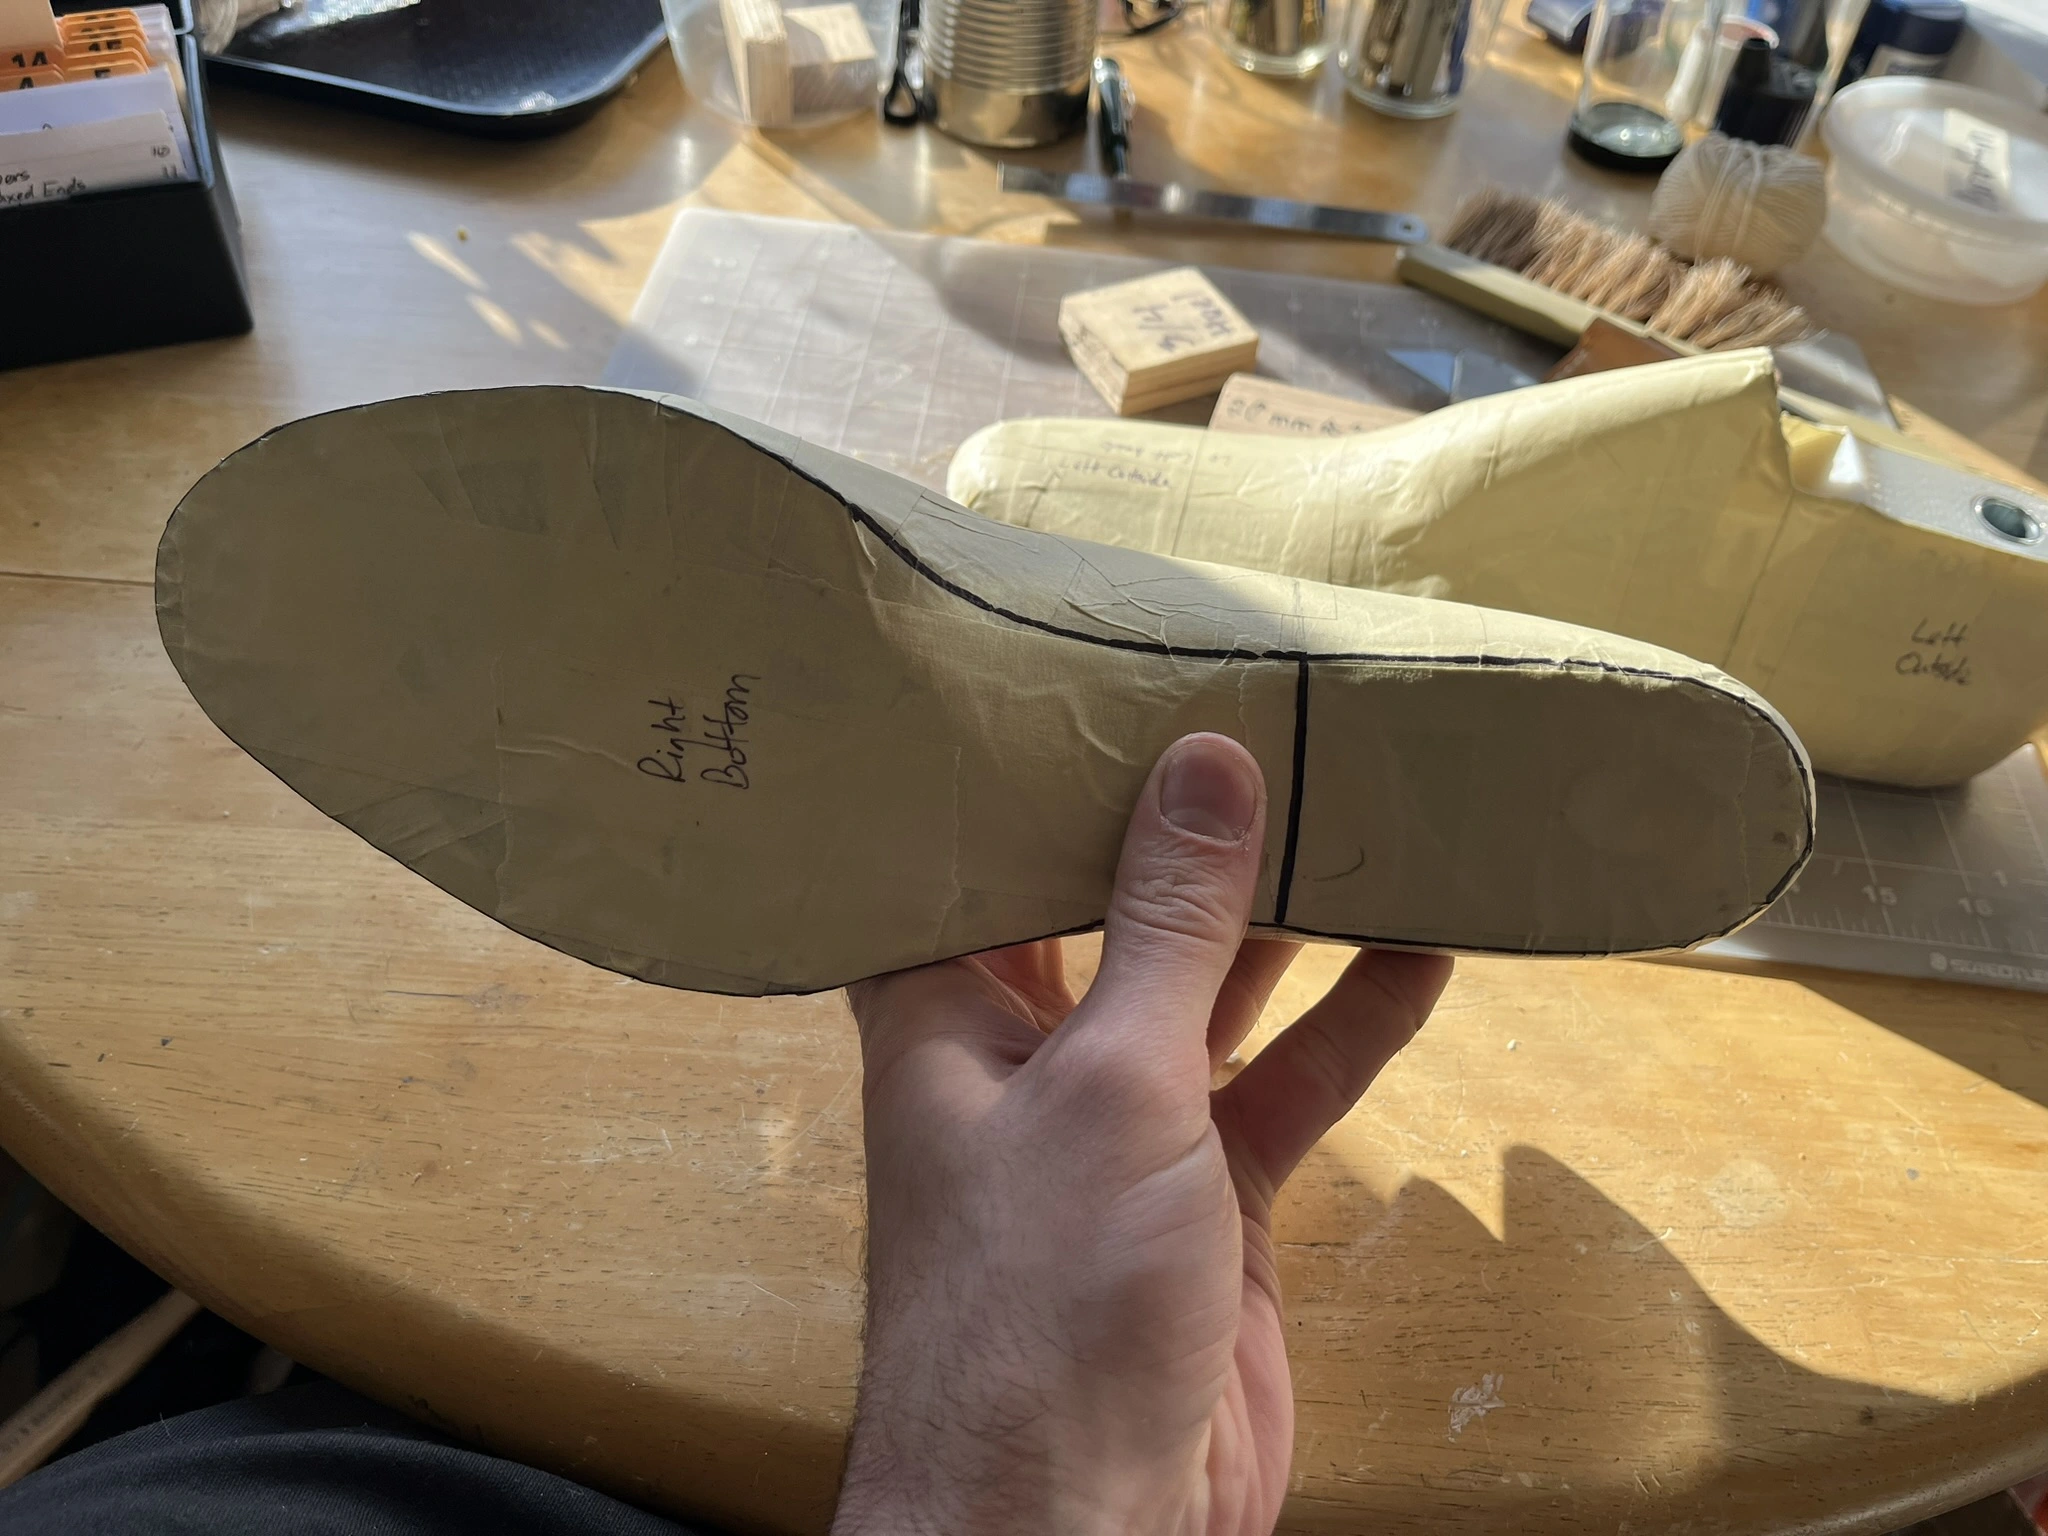
I’m doing an original pattern from tape last forms, fully symmetrical. Here’s my design sketch:

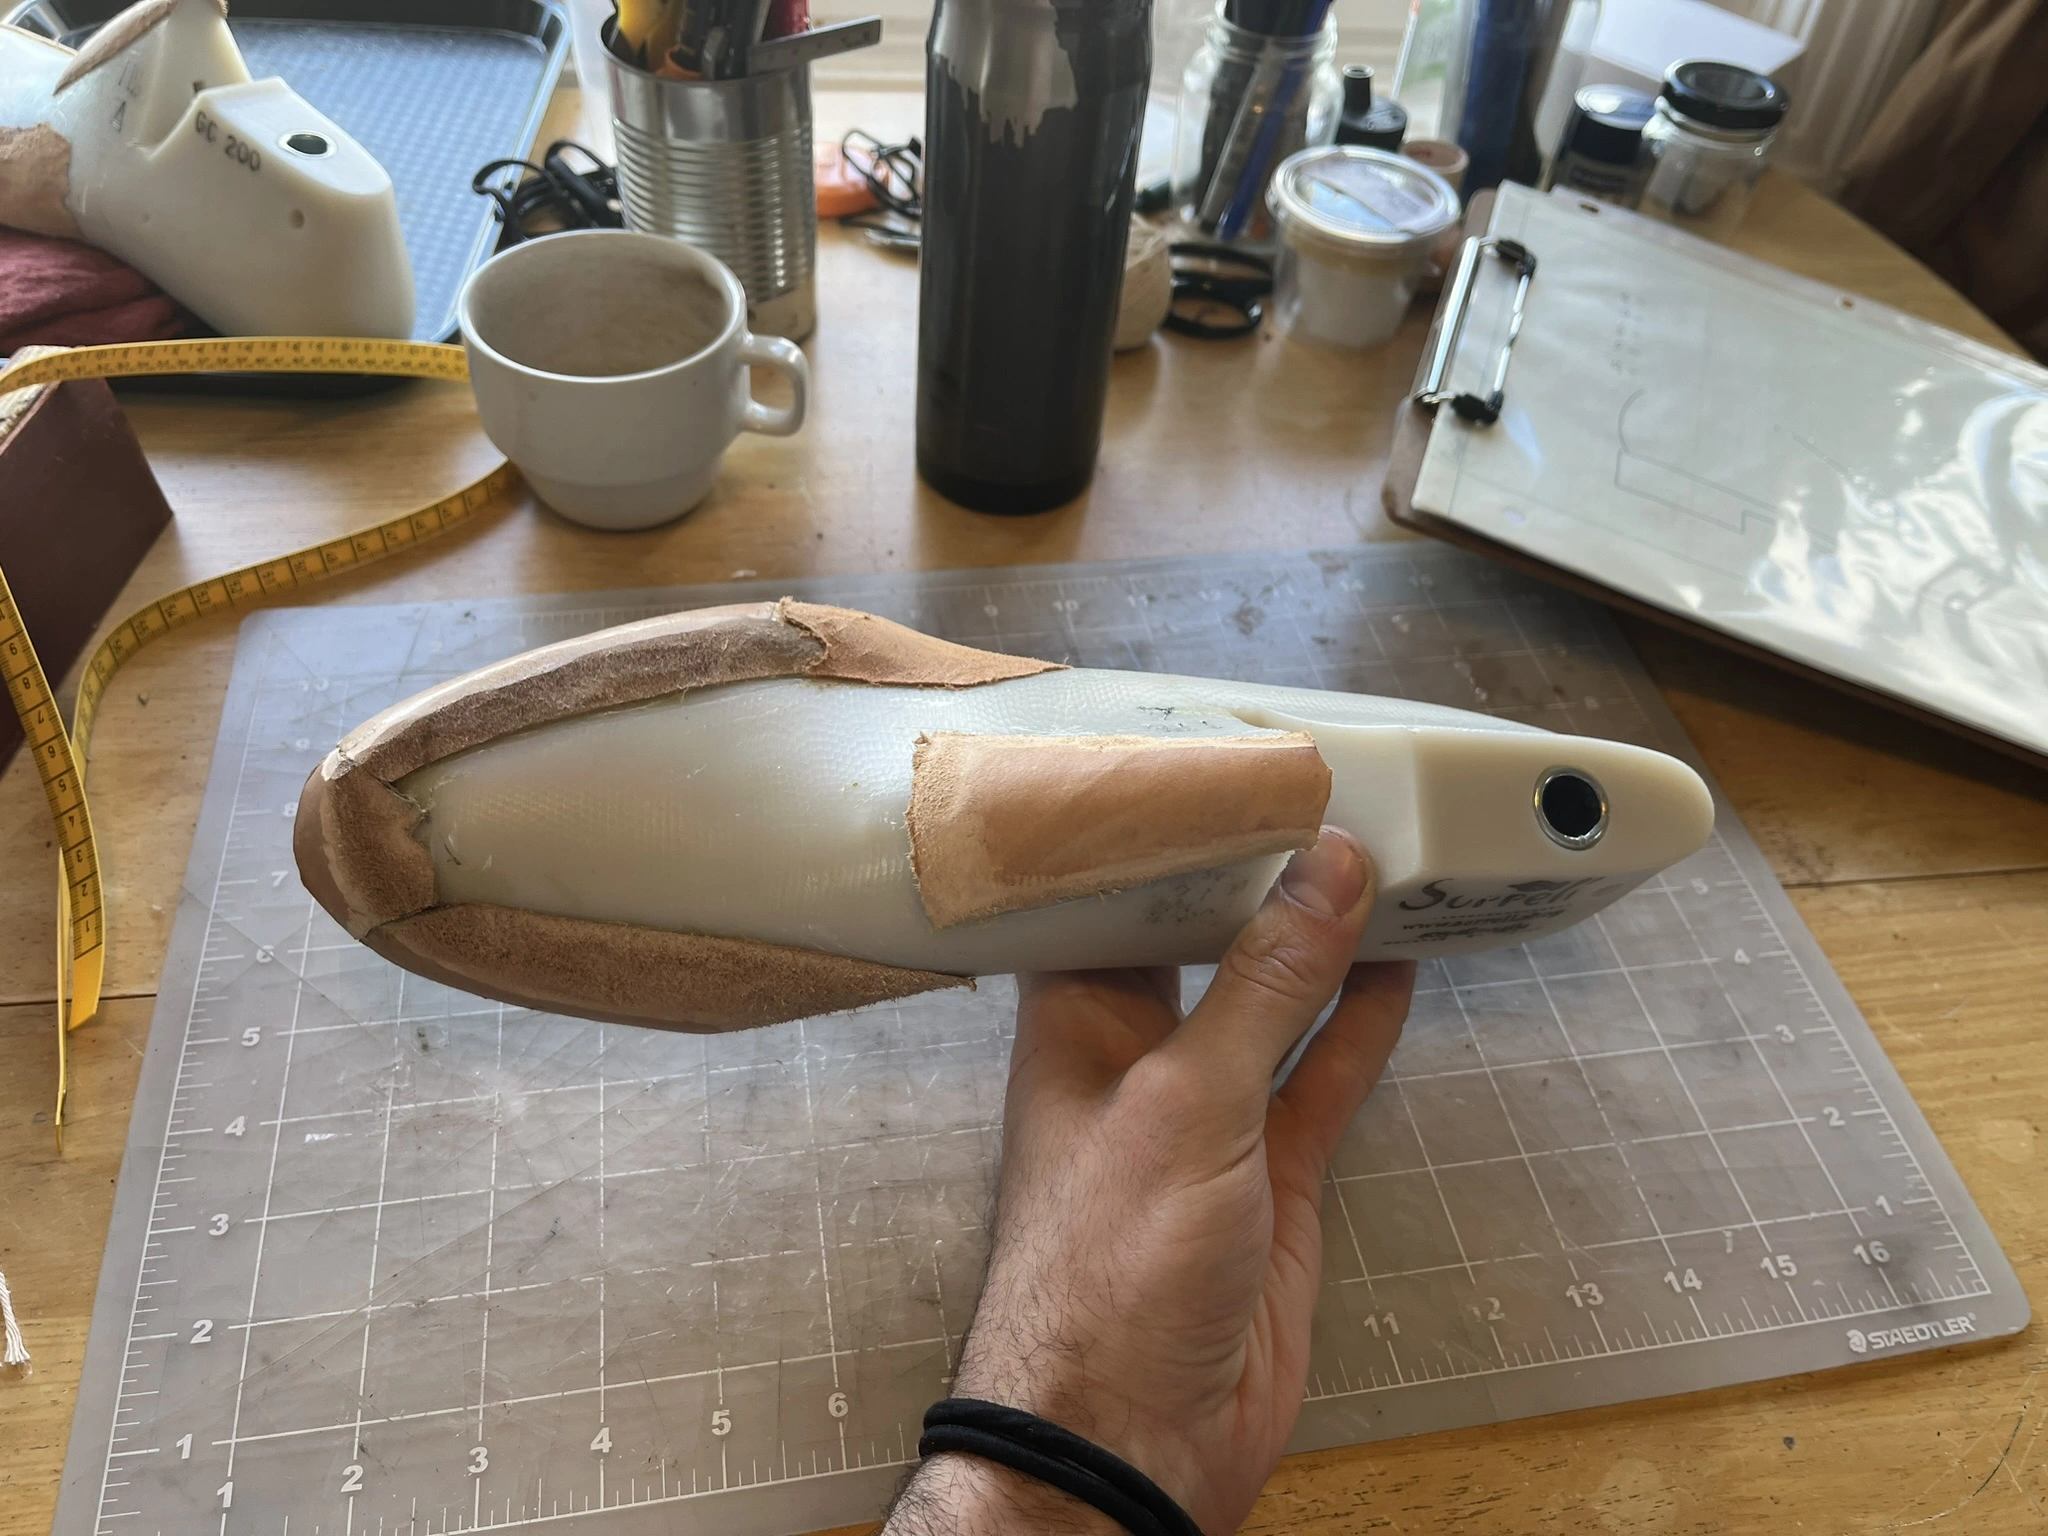
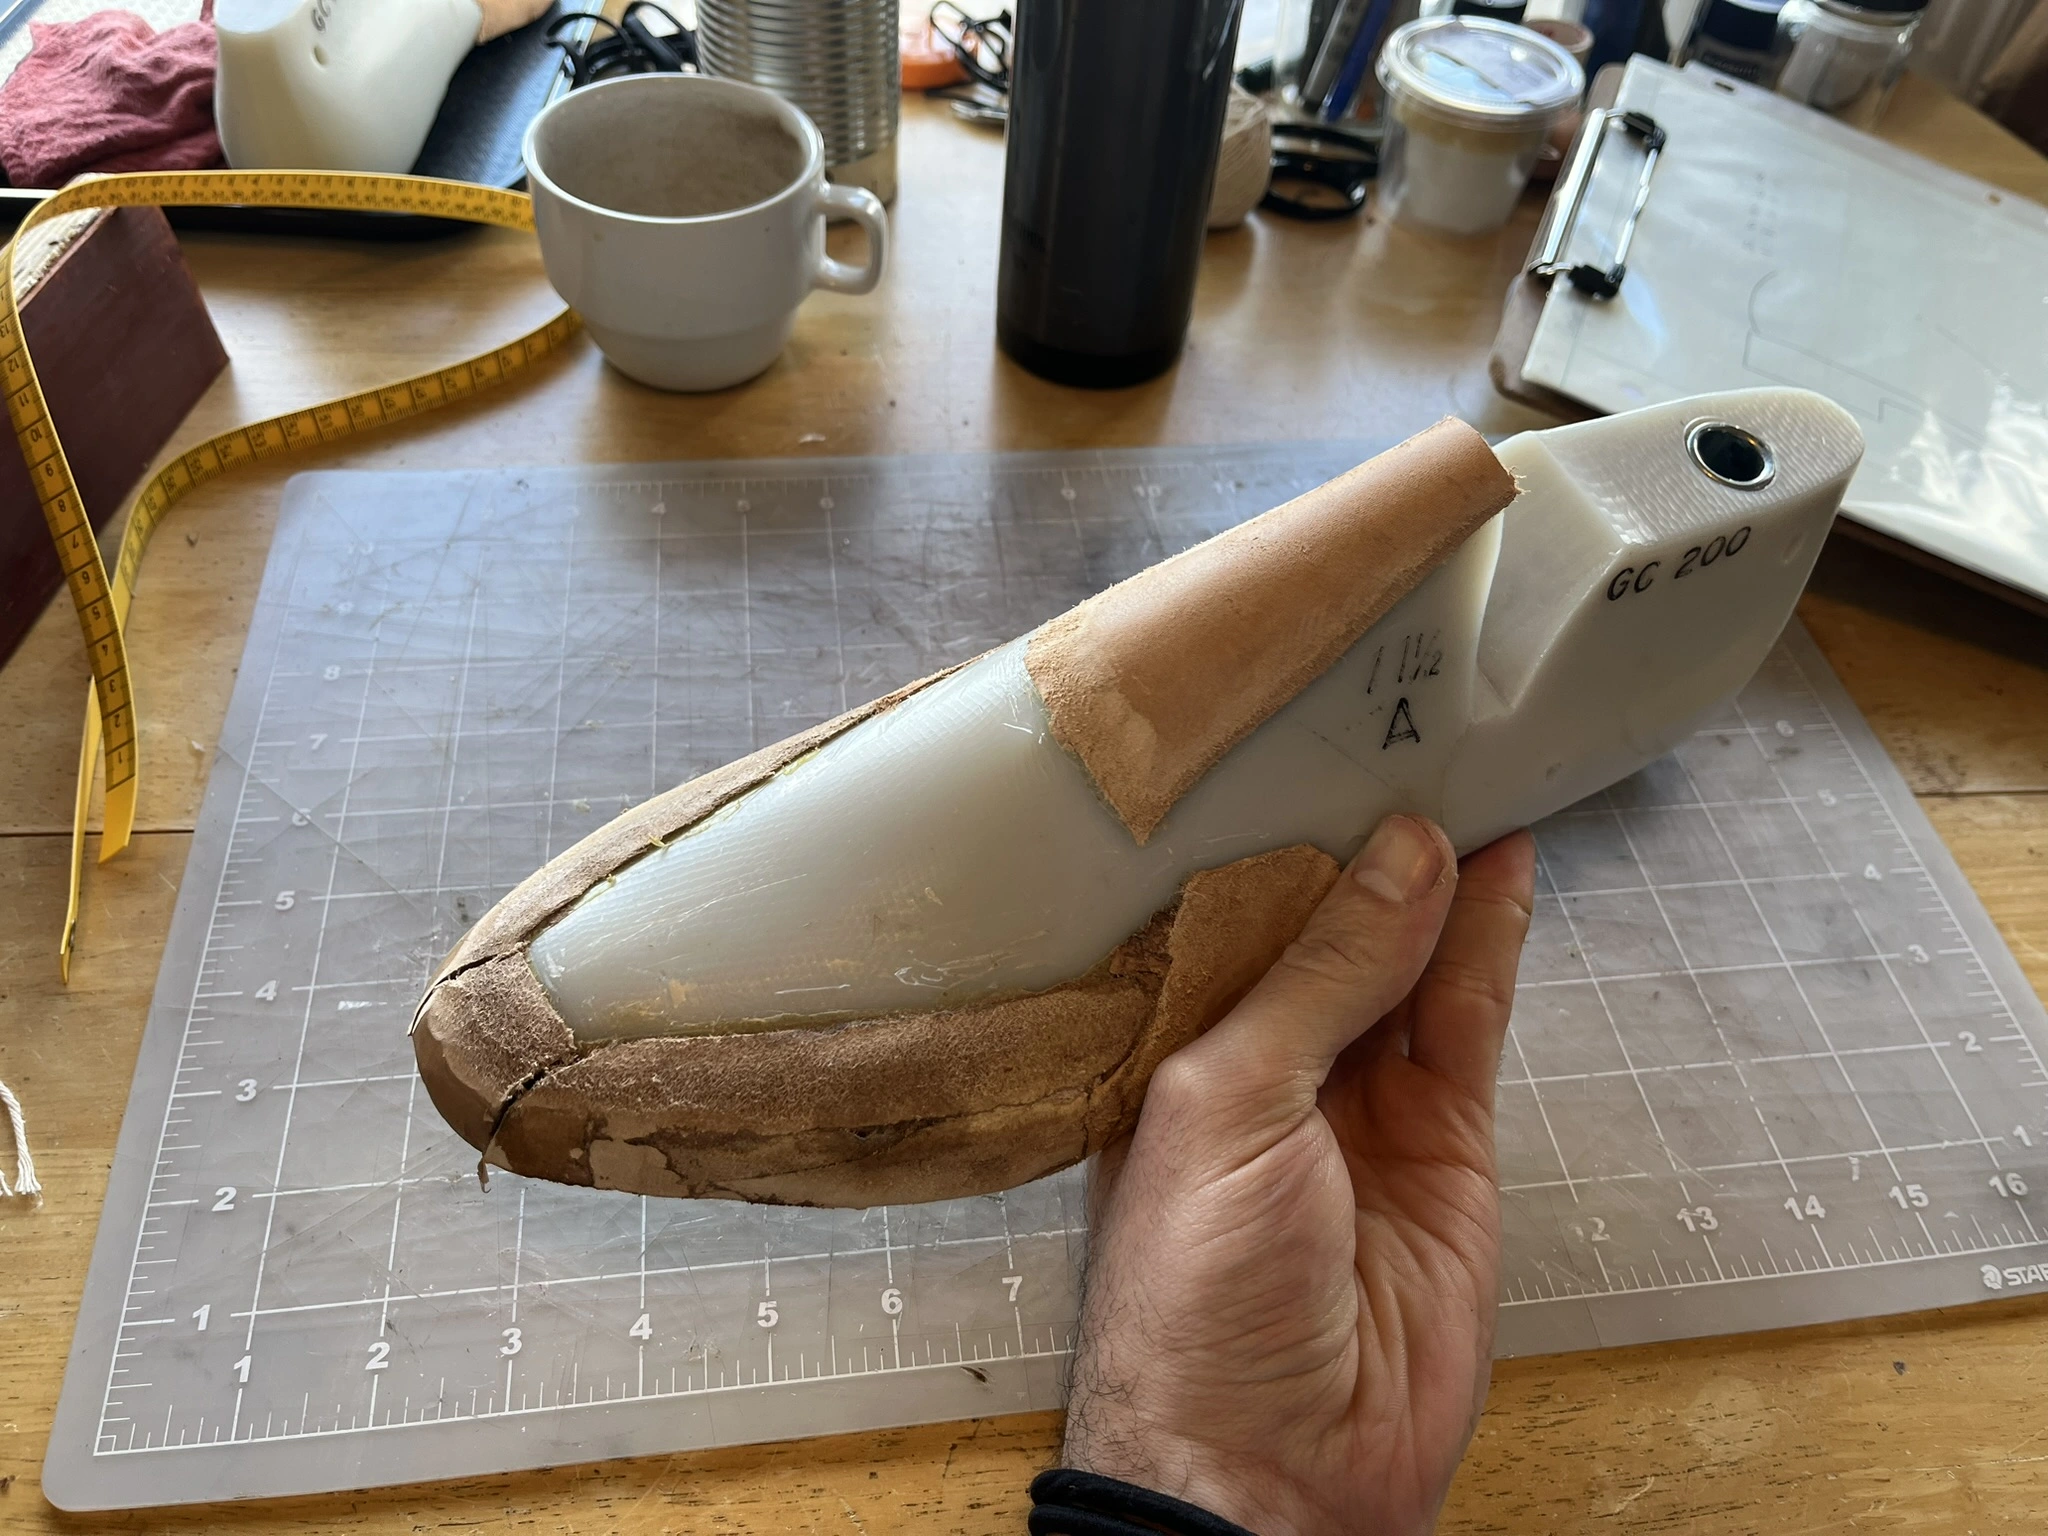
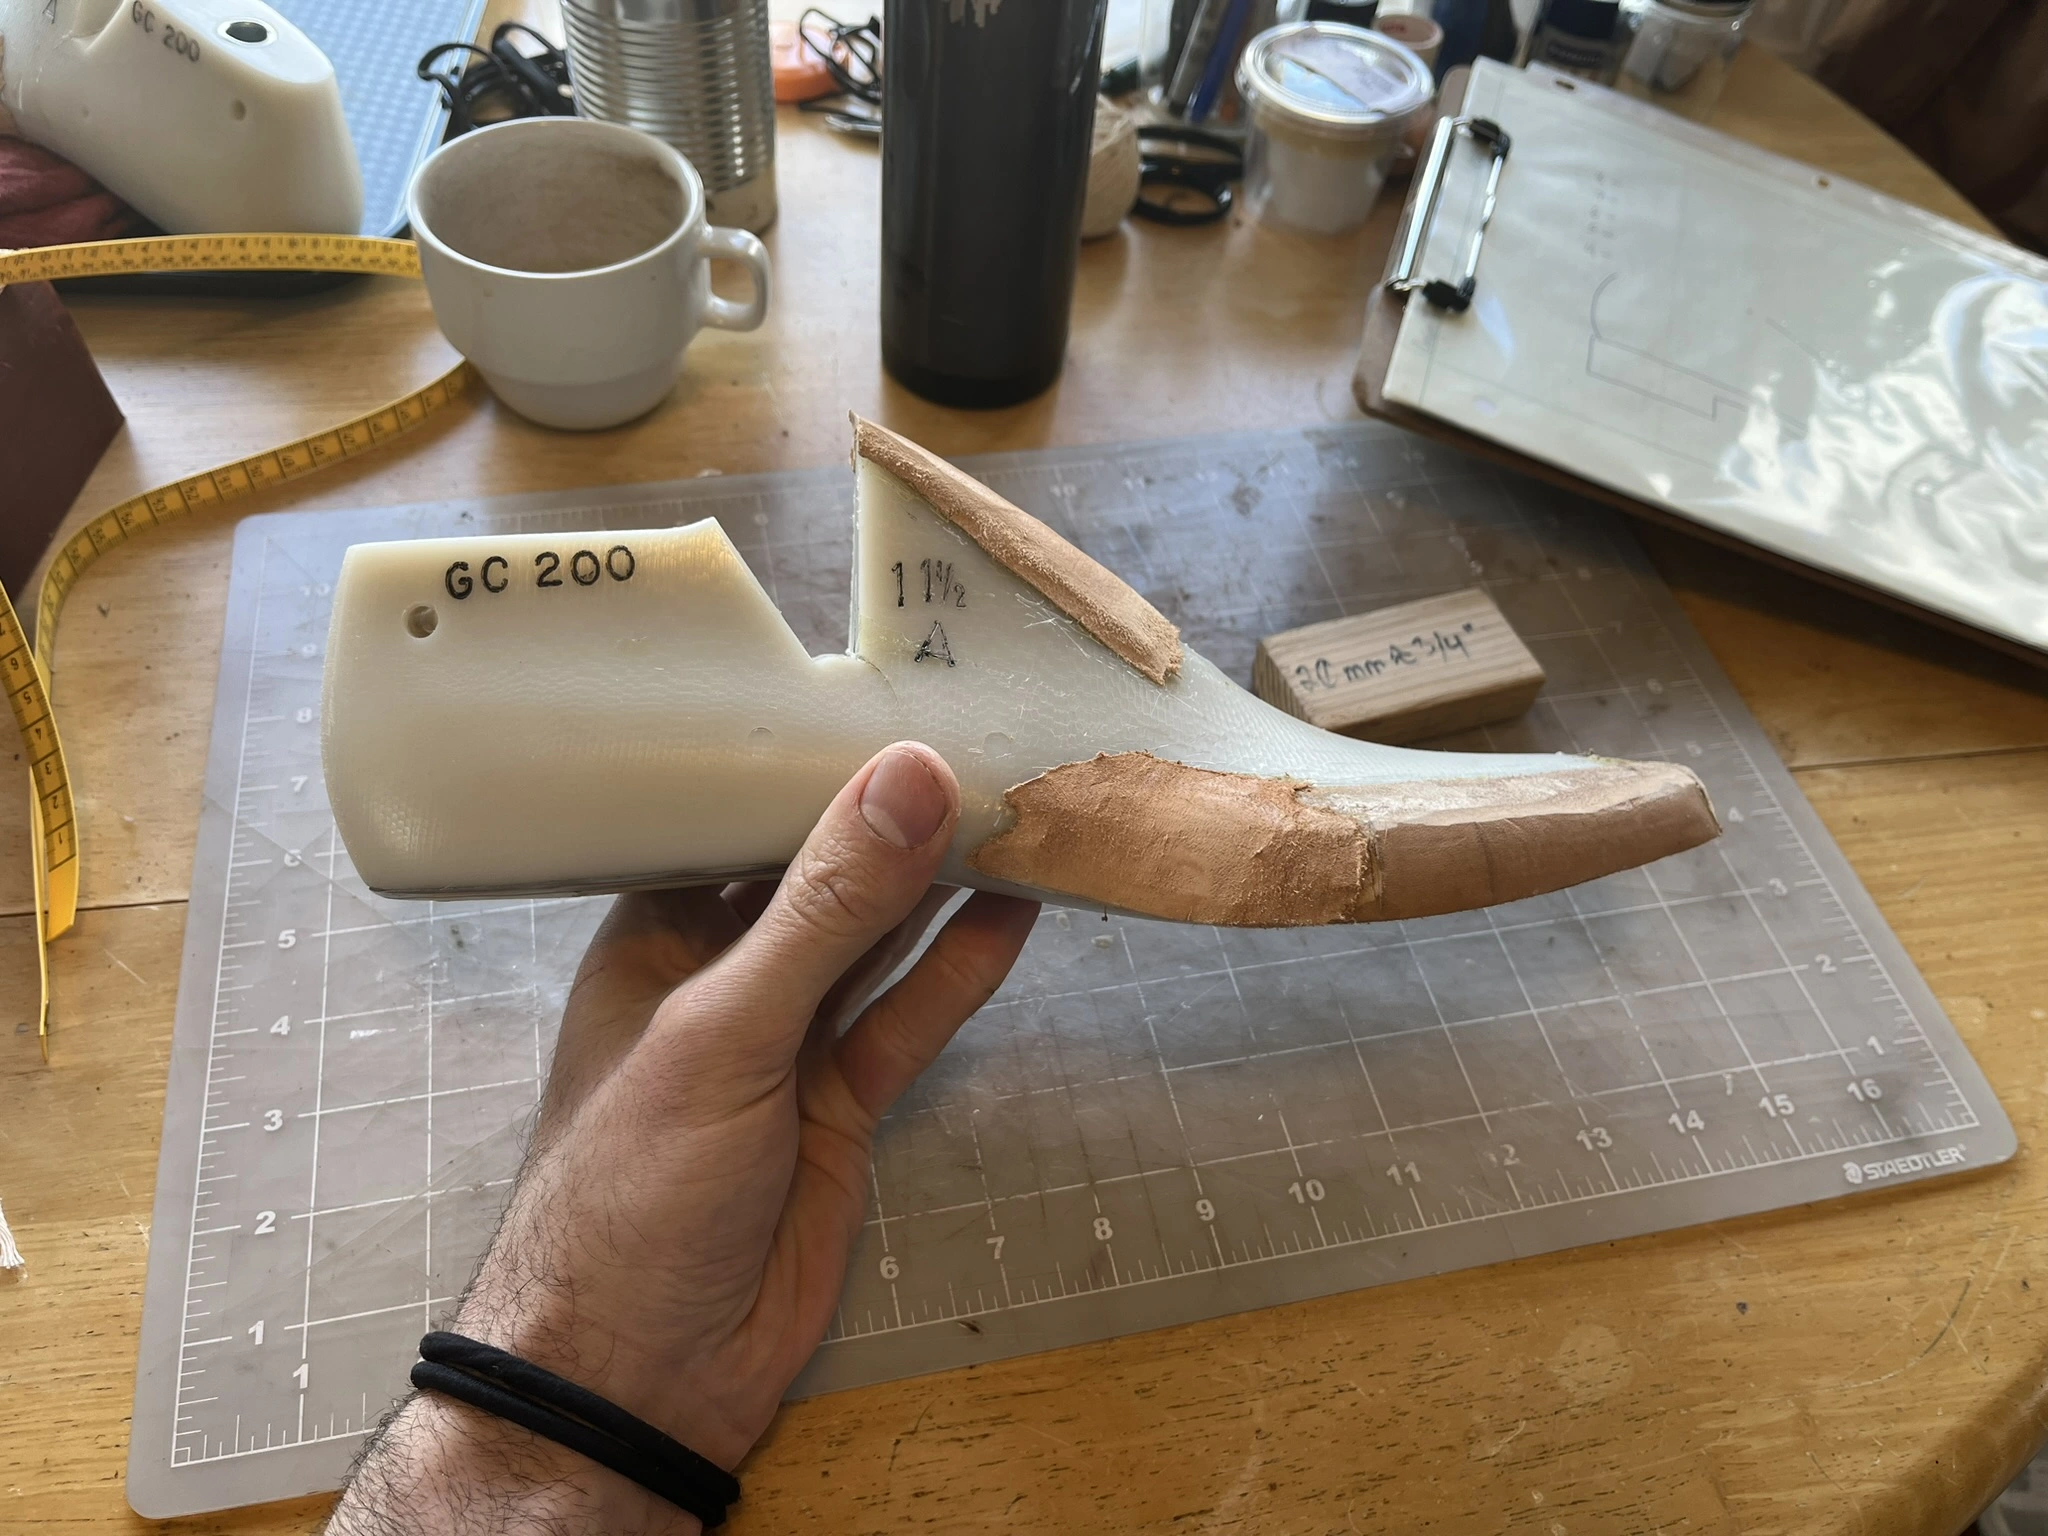
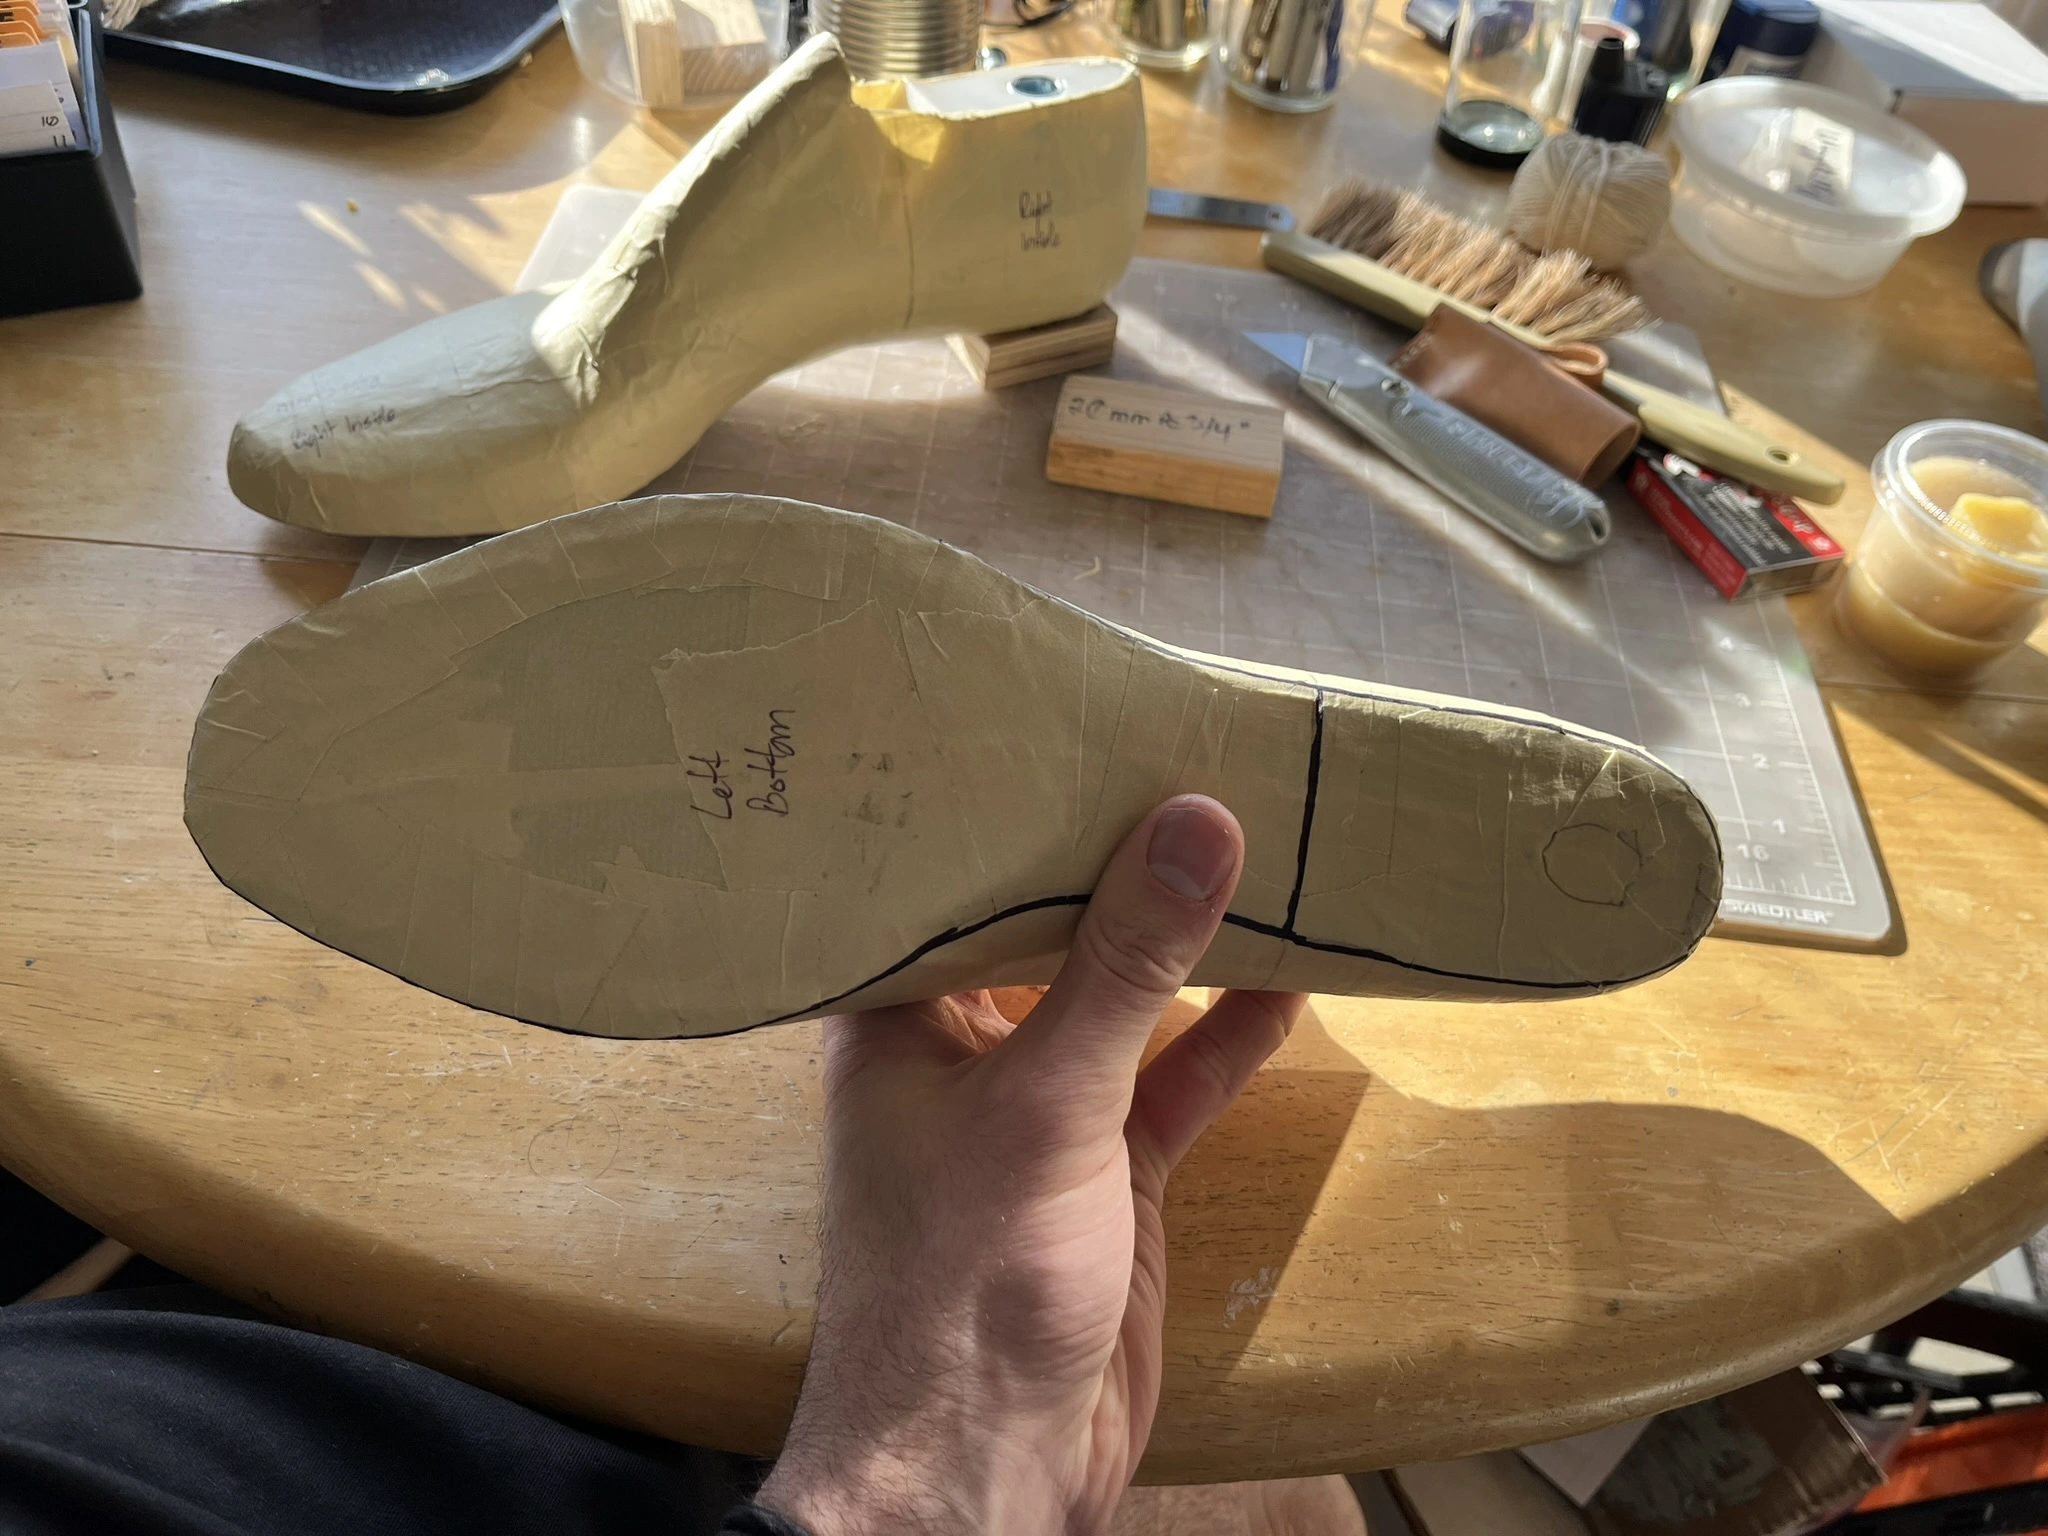
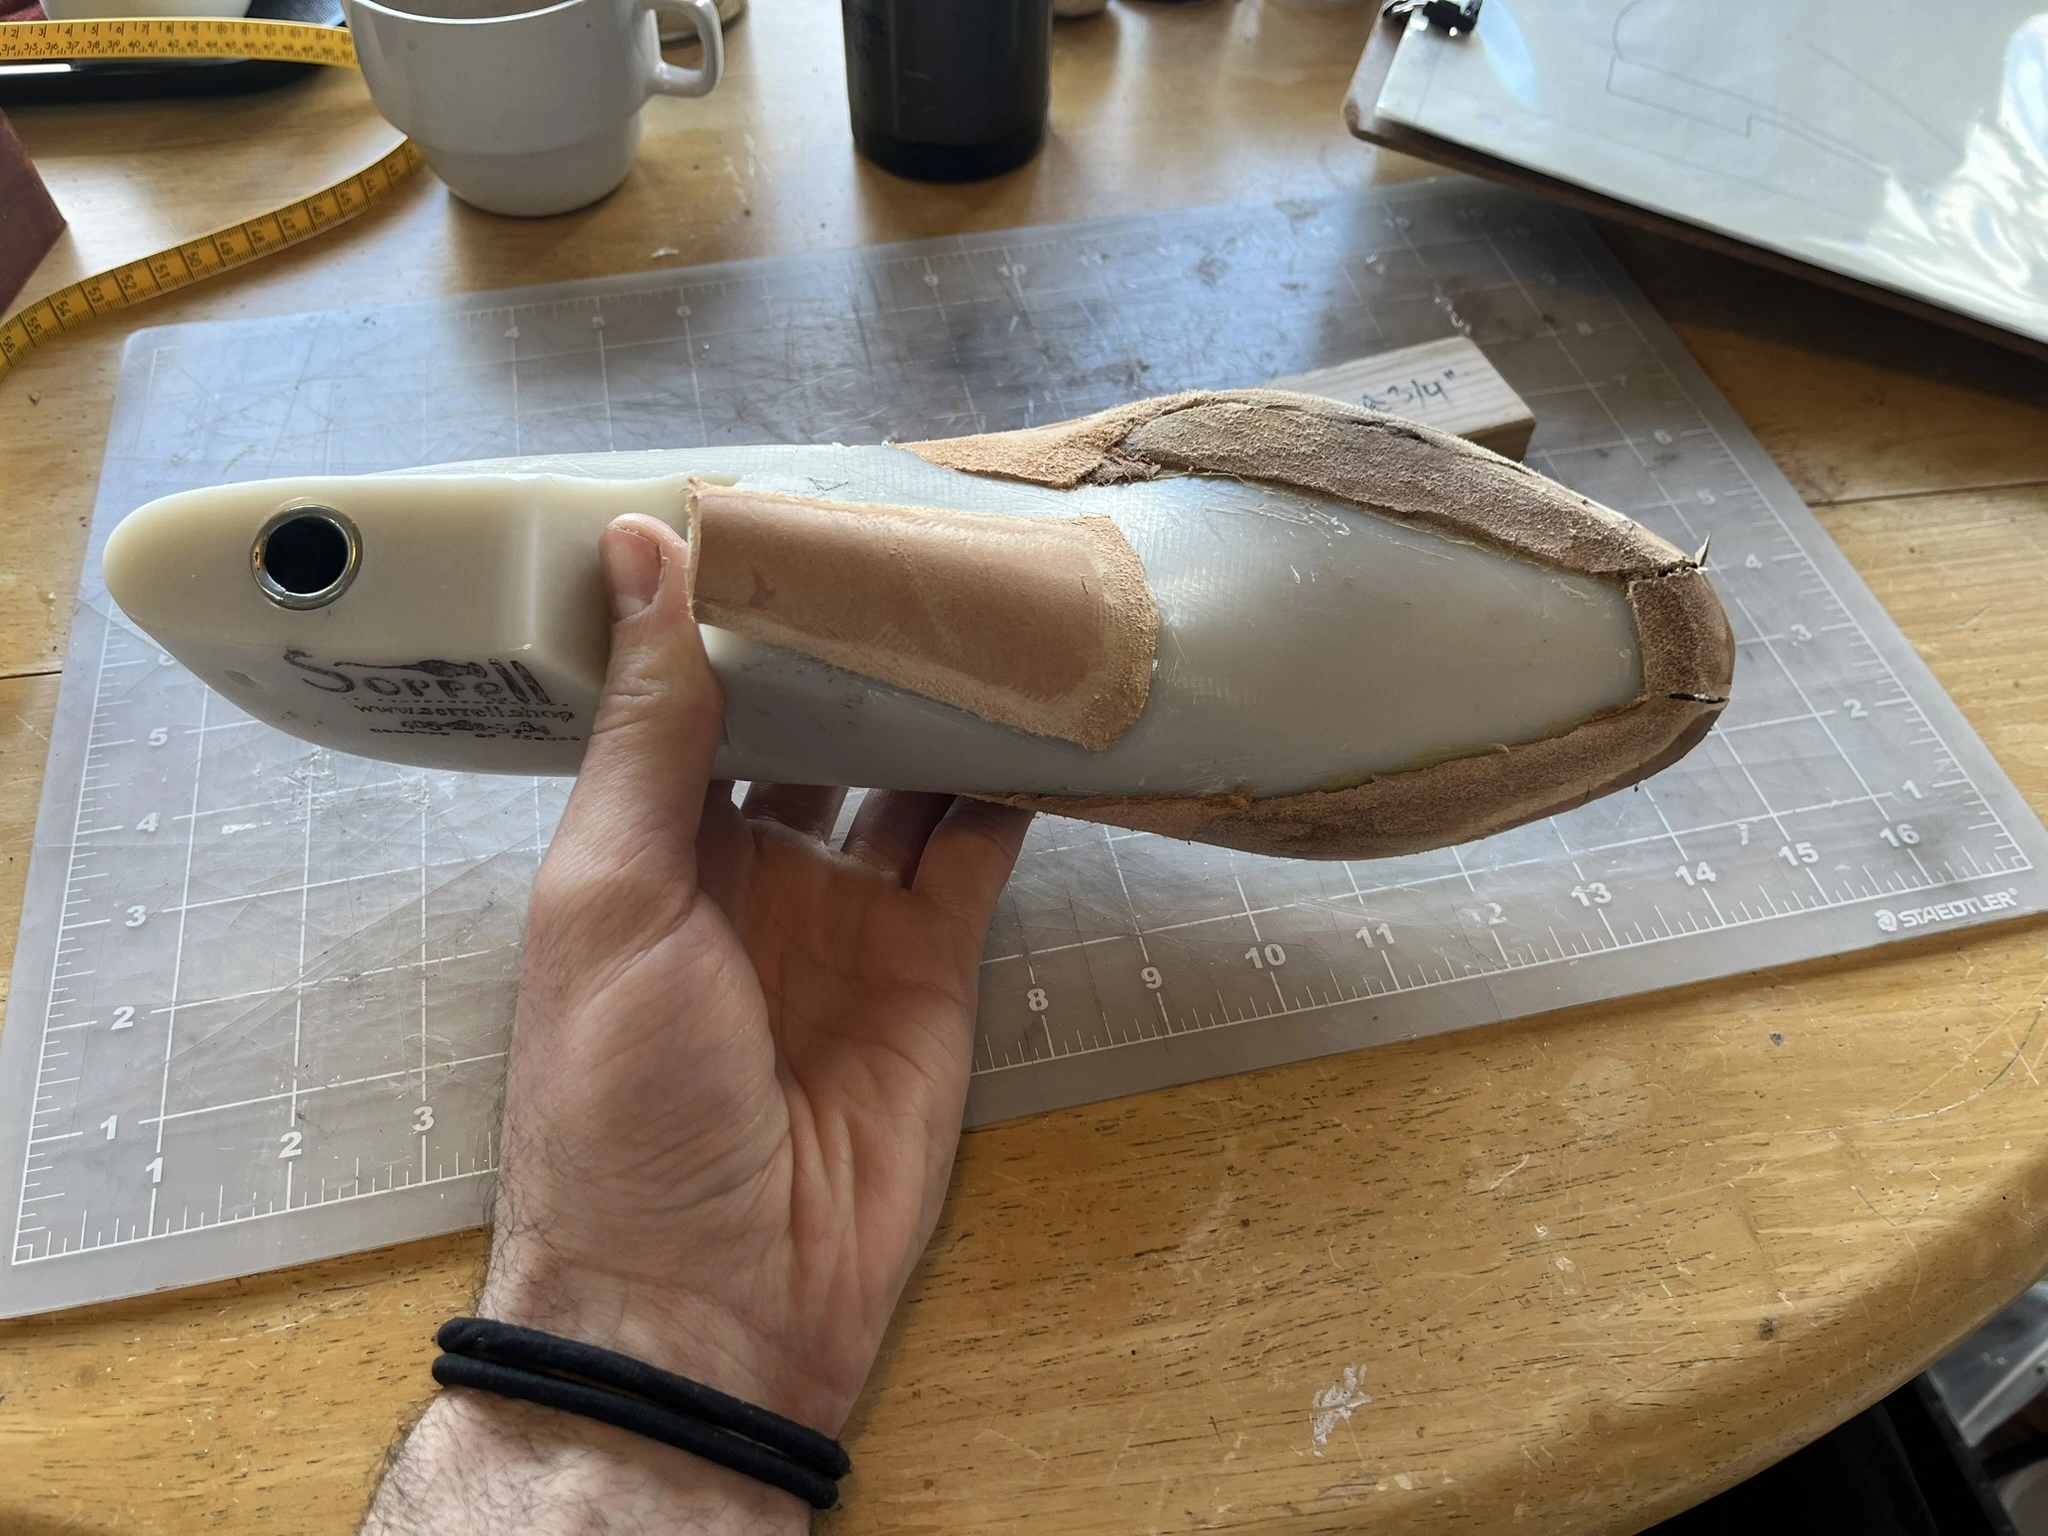
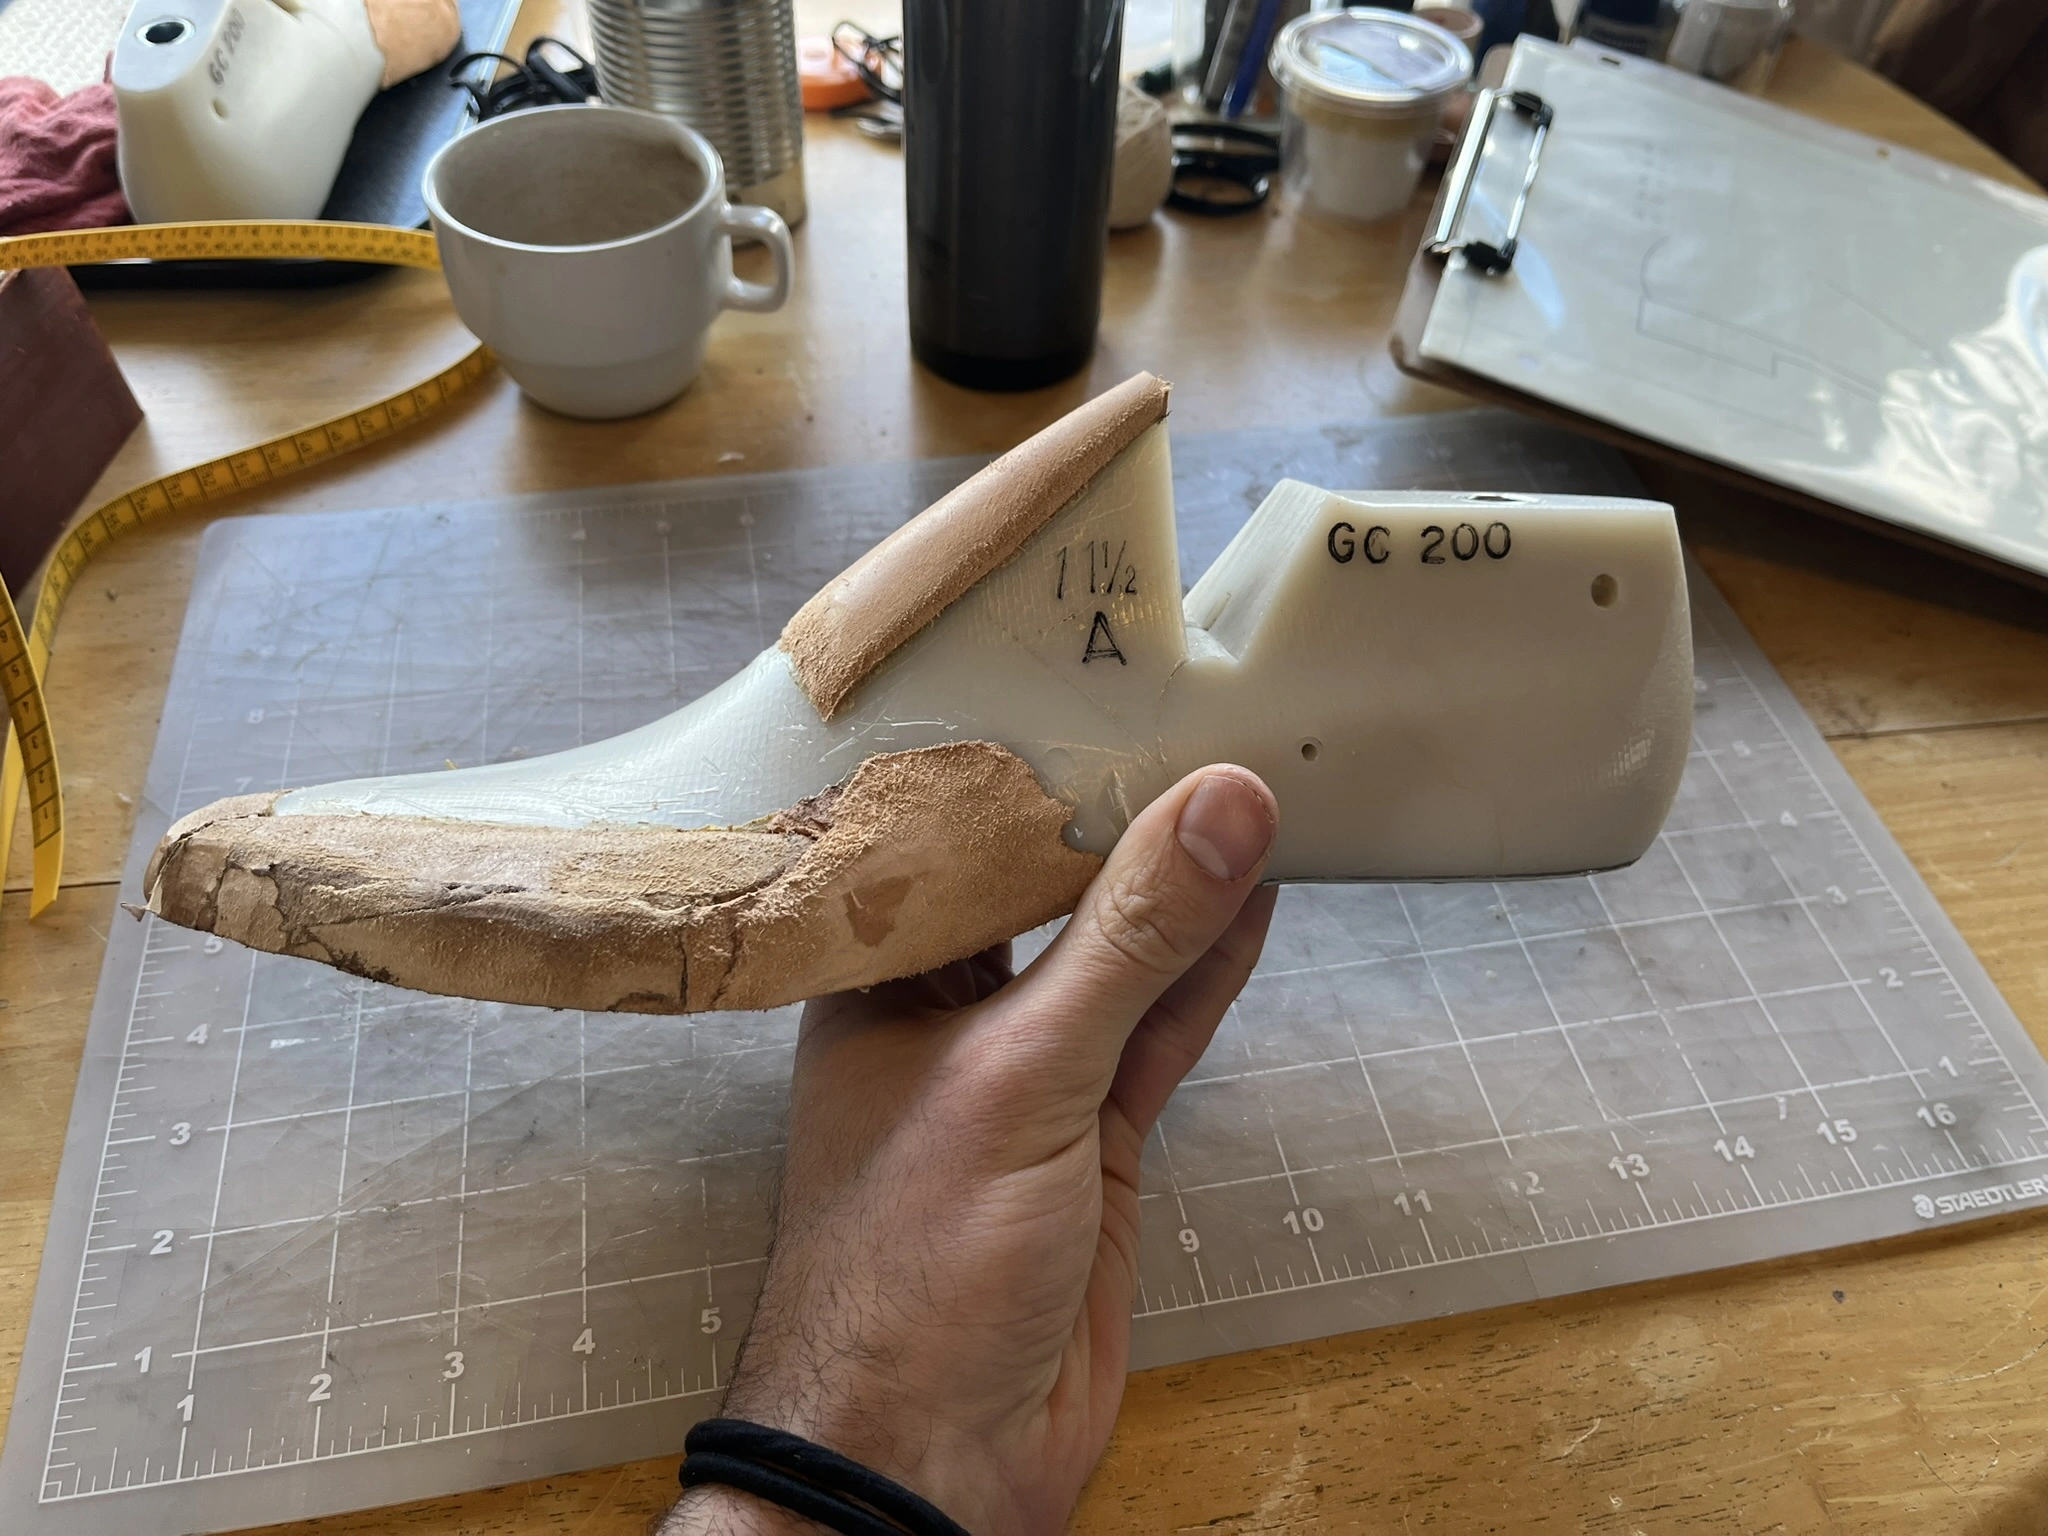
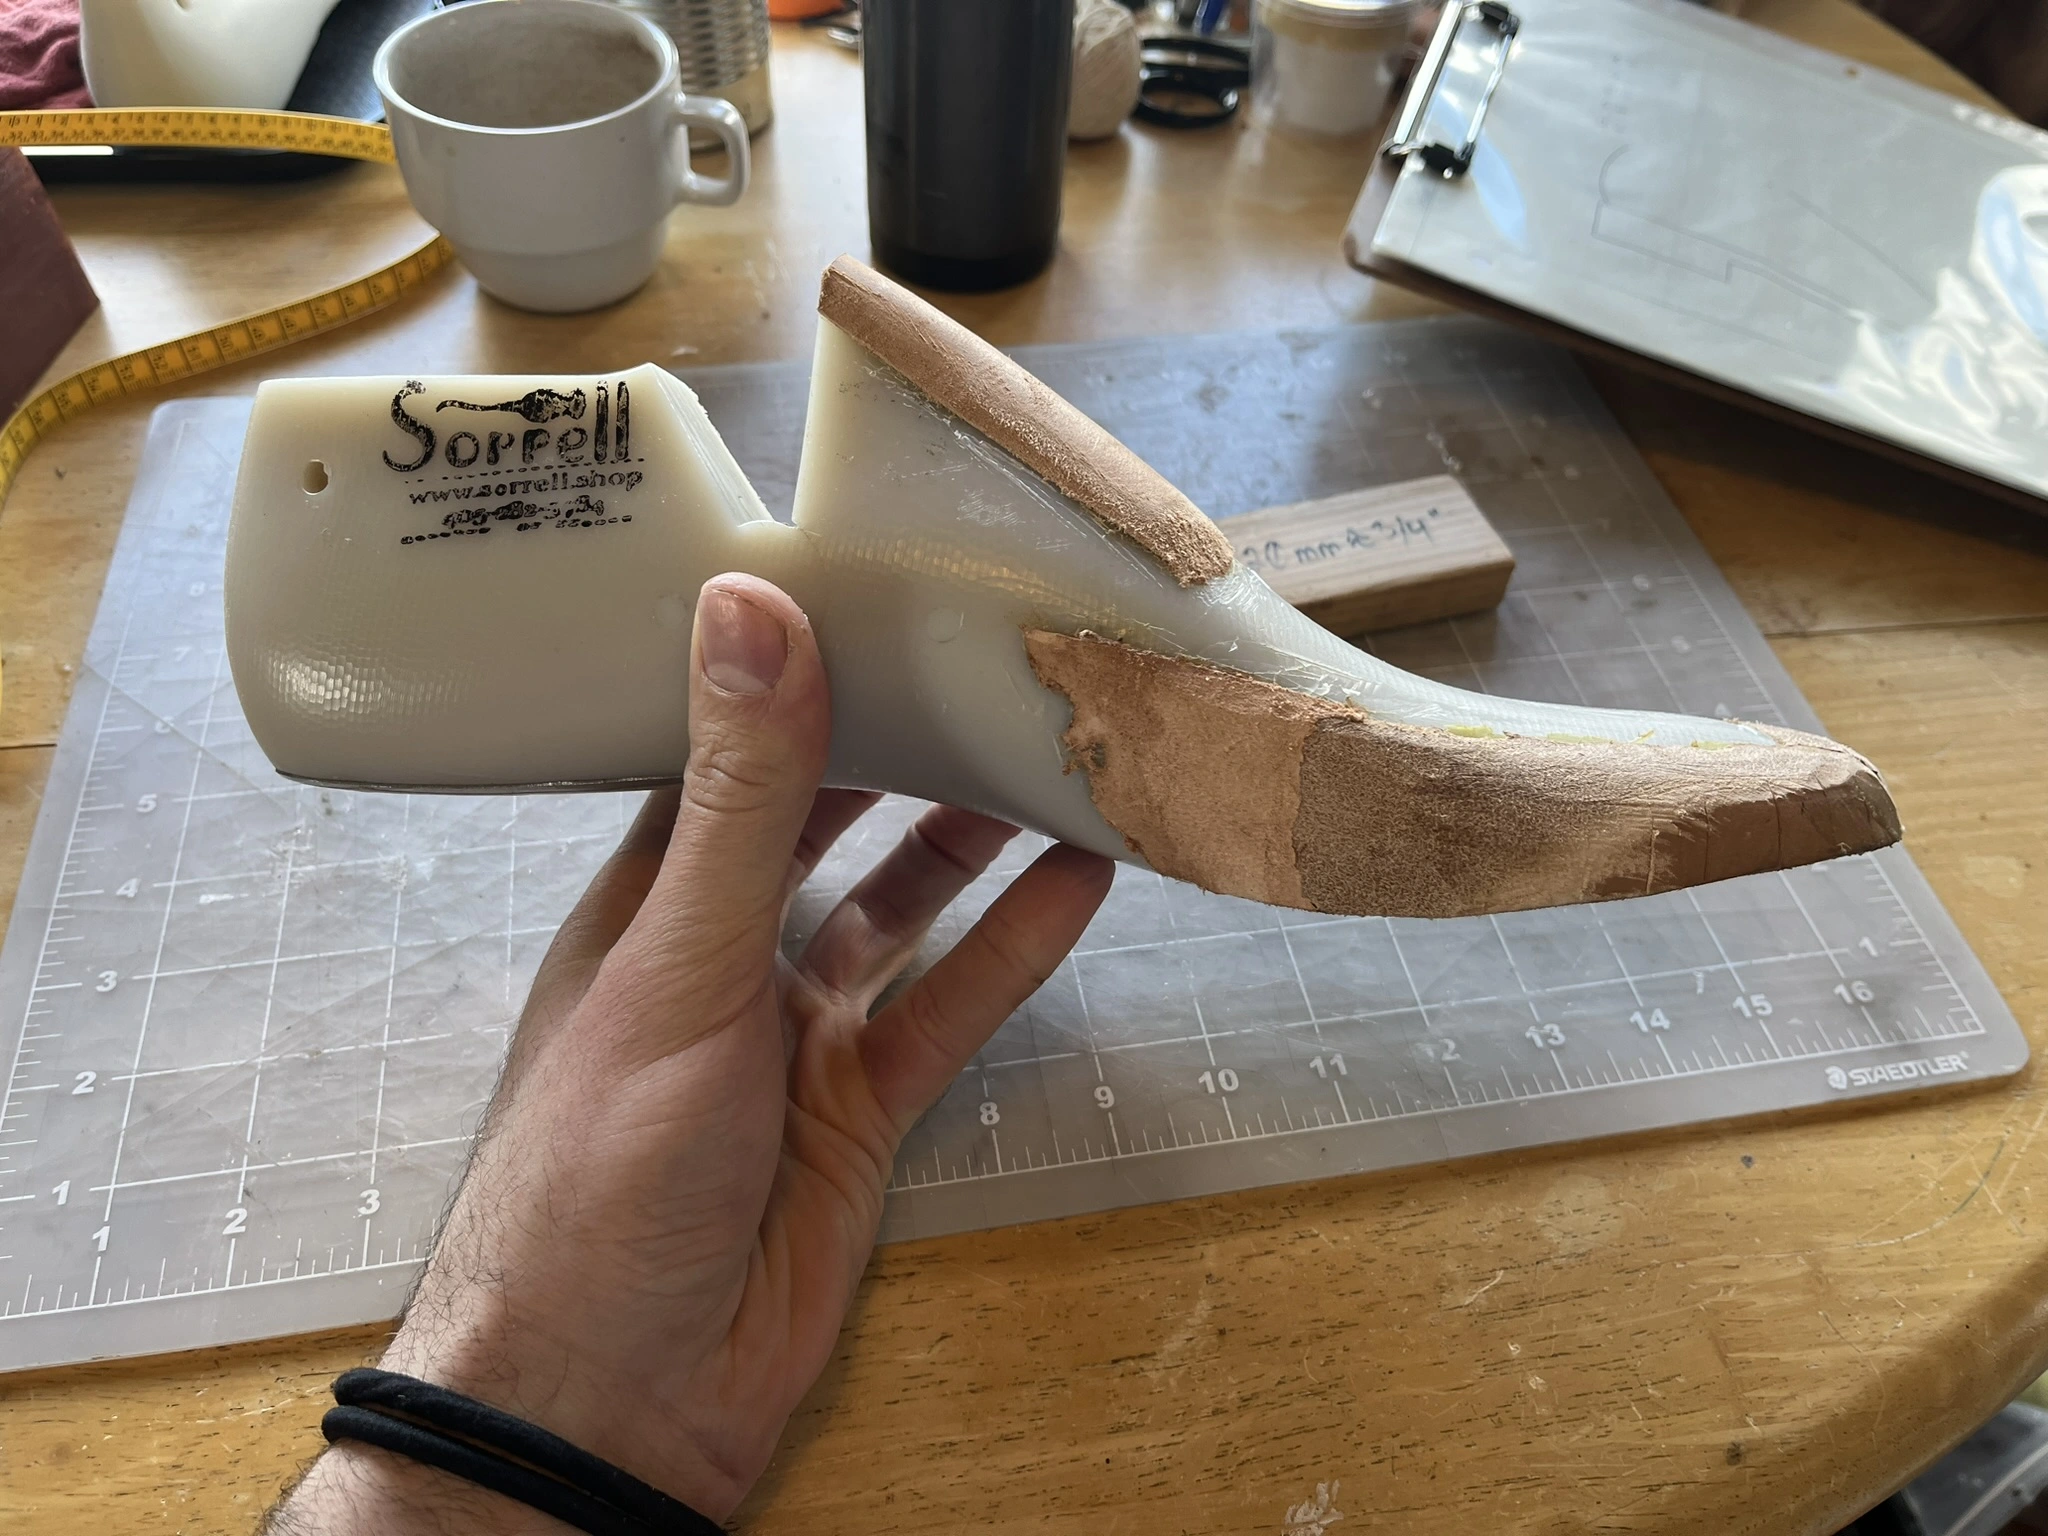
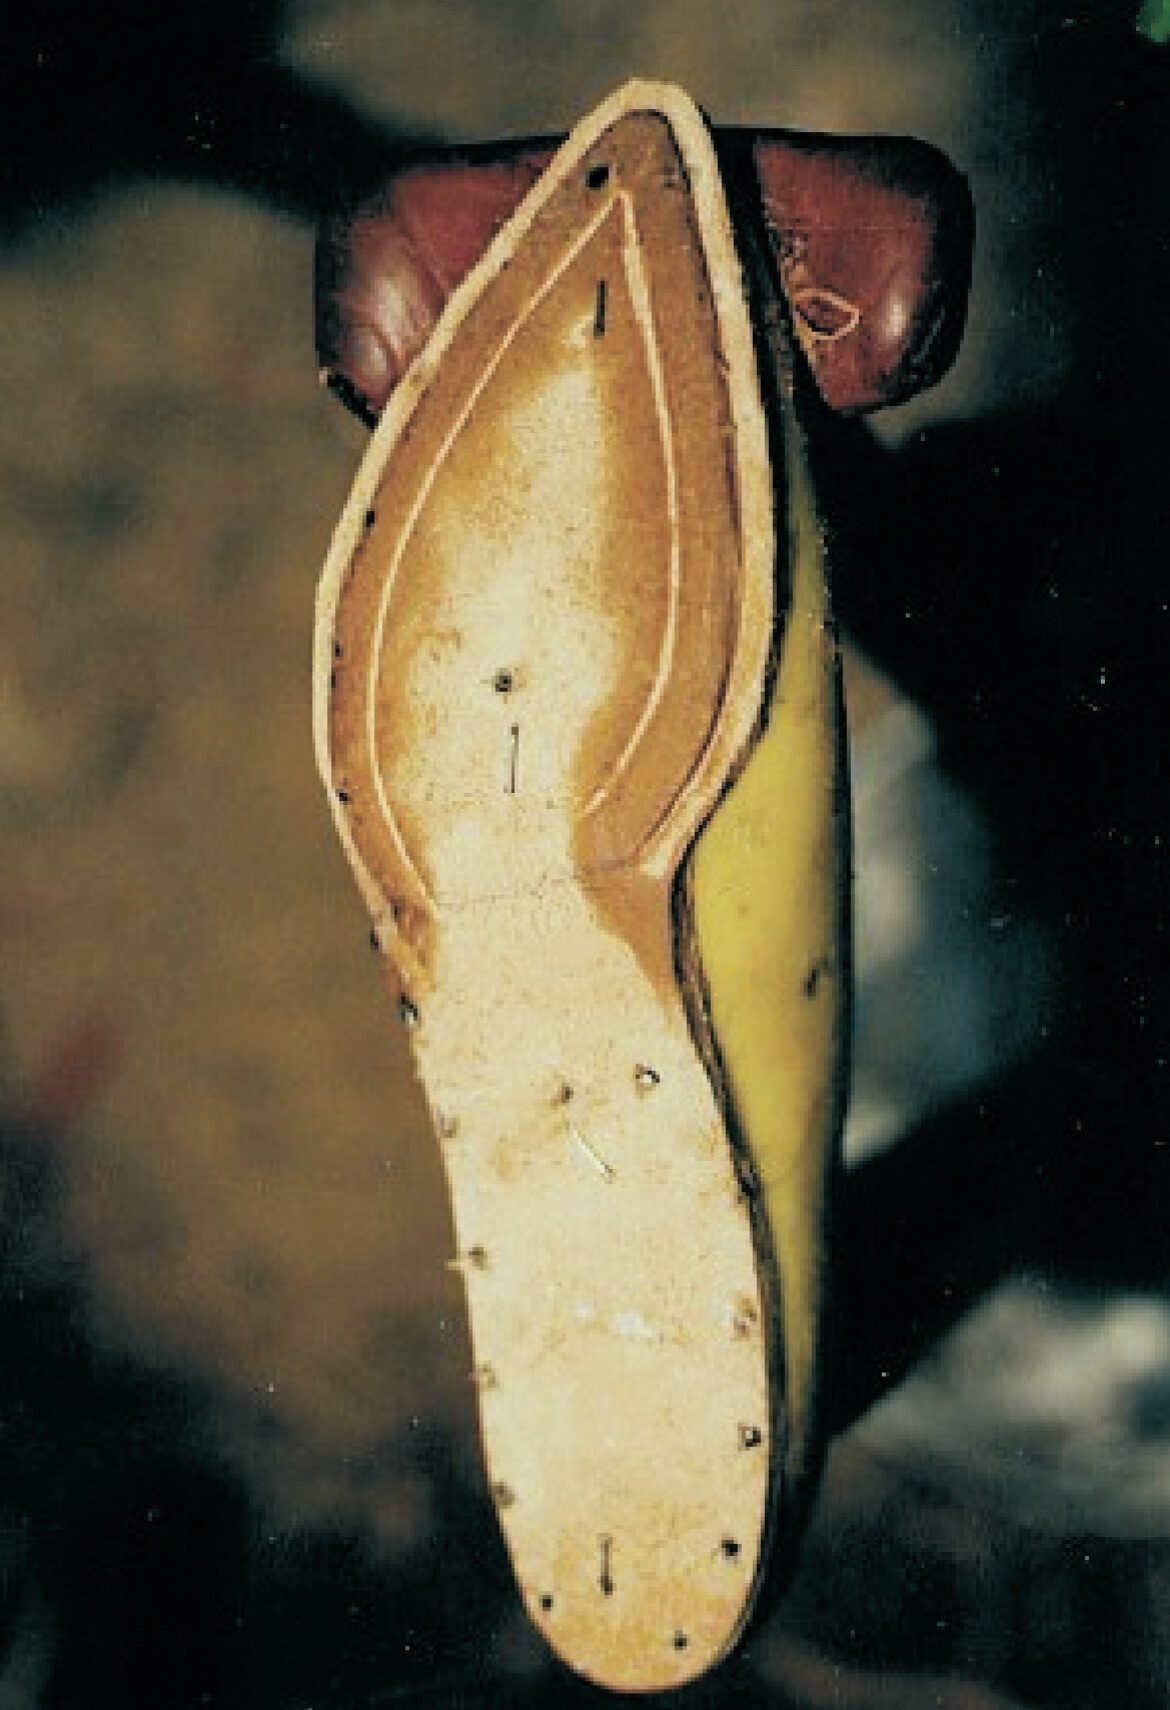
The lasts are built-up Greg Carmack GC200 11½A from Sorrell Notions and Findings.
Materials
I’ll keep updating this table as a I go.
| For | Used | Source | Notes |
|---|---|---|---|
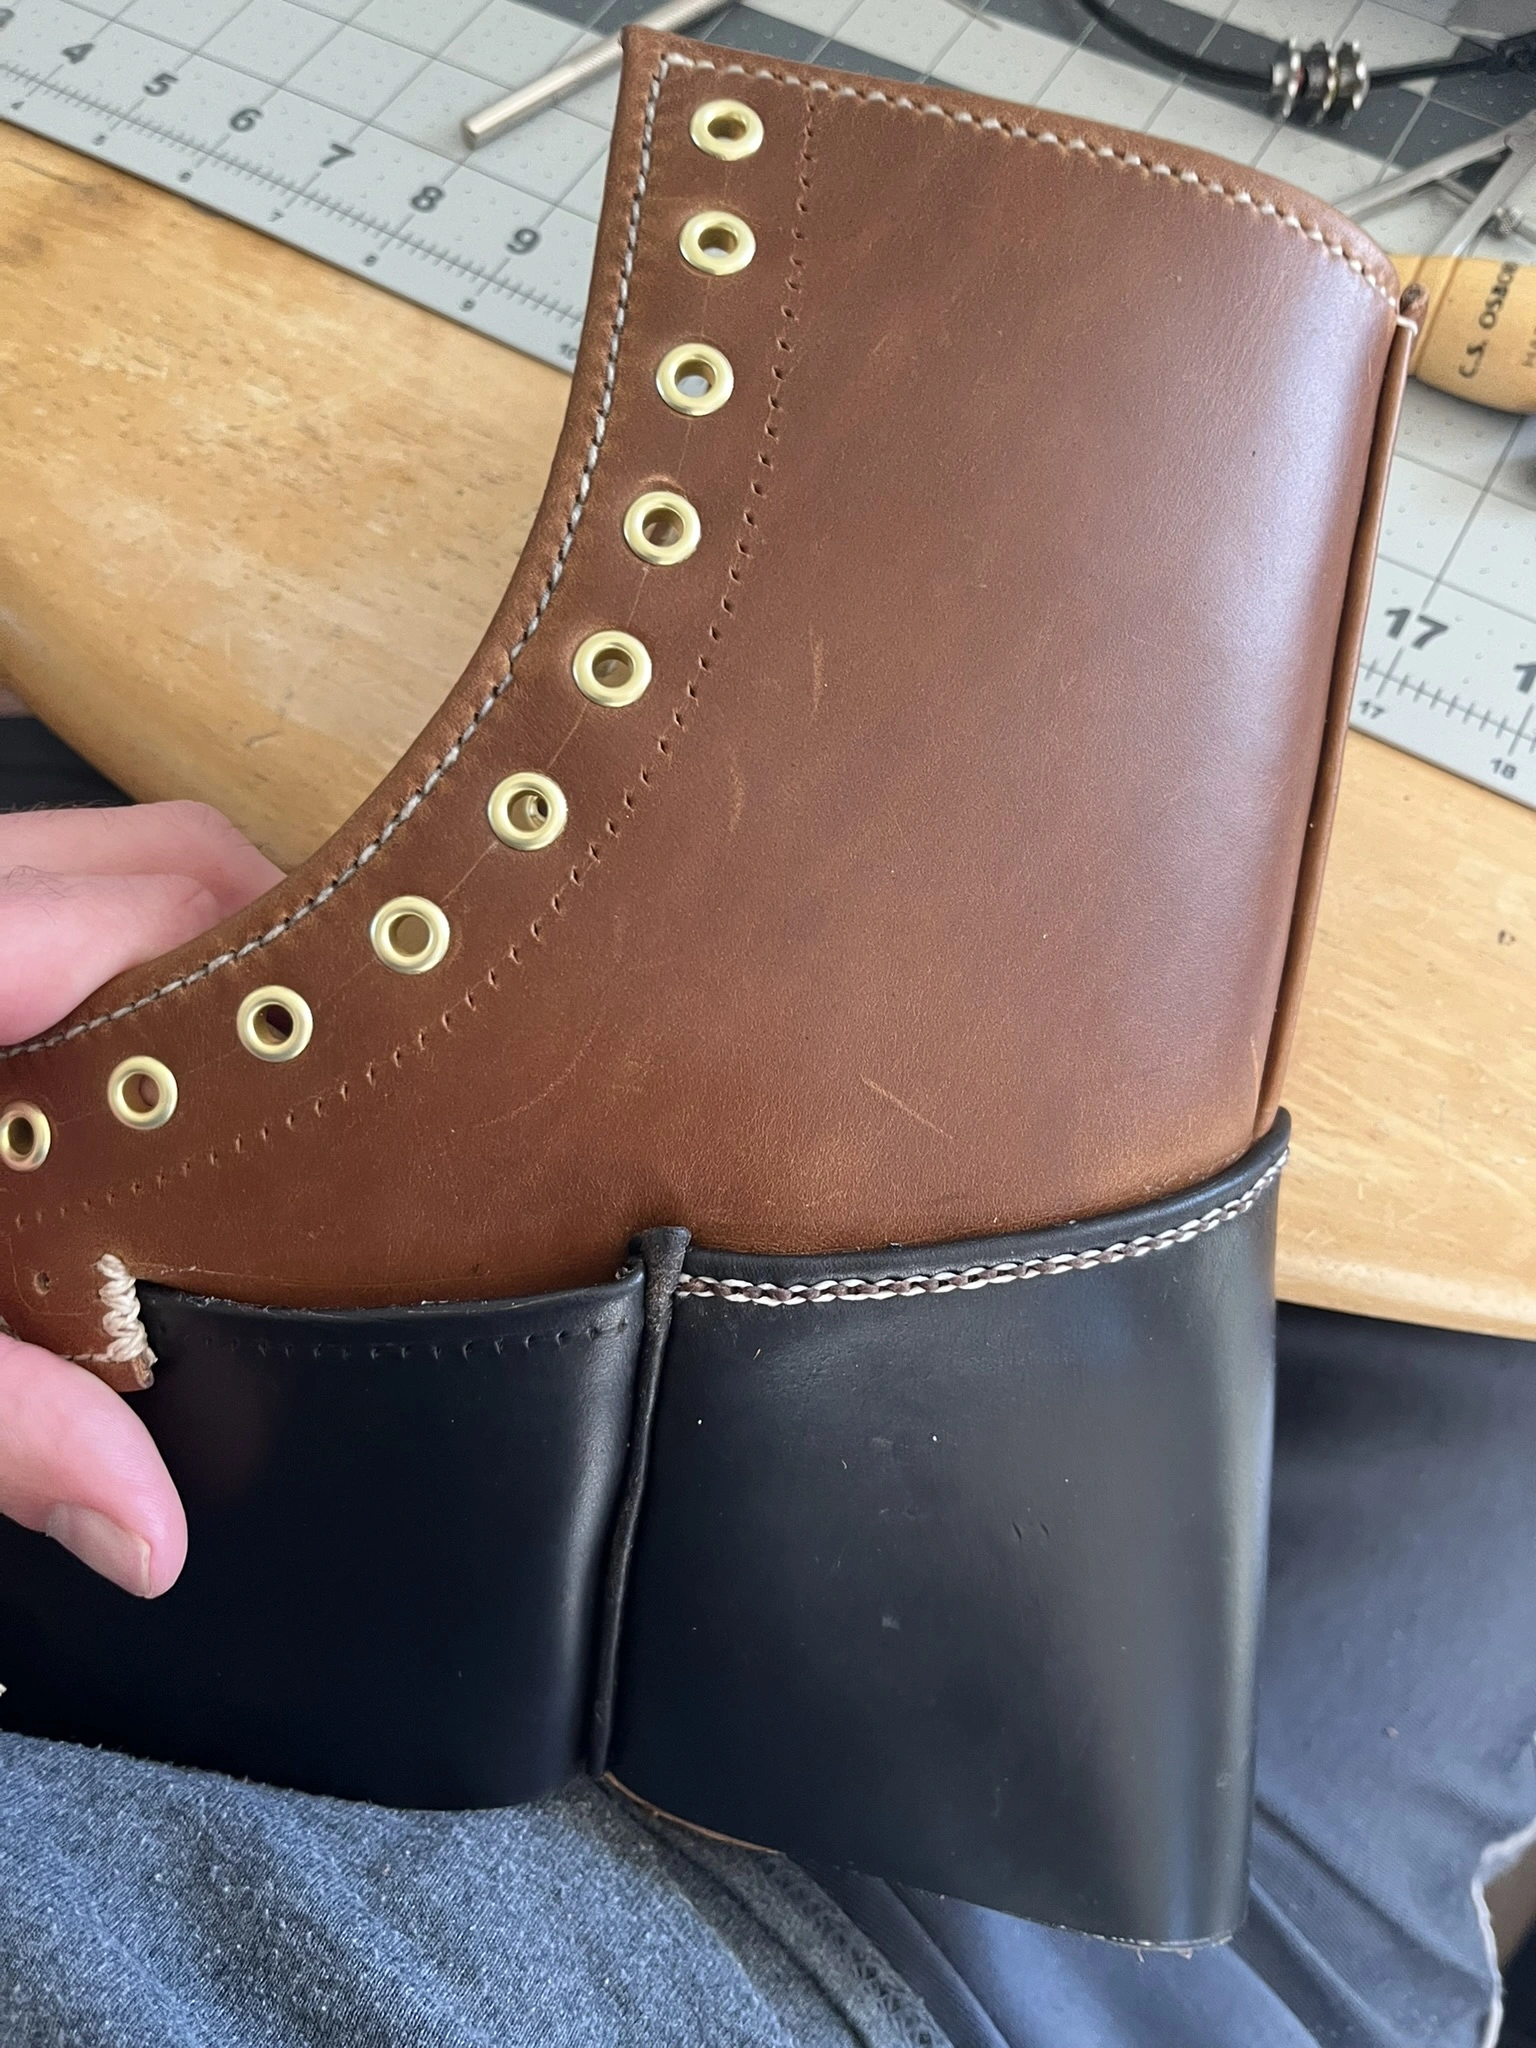
| Quarter Leather | Seidel, Double Shot, Natural | Rocky Mountain Leather Supply | Note: When Rocky Mountain’s website says “½ Hide”, they mean half of a side, not a full side. |
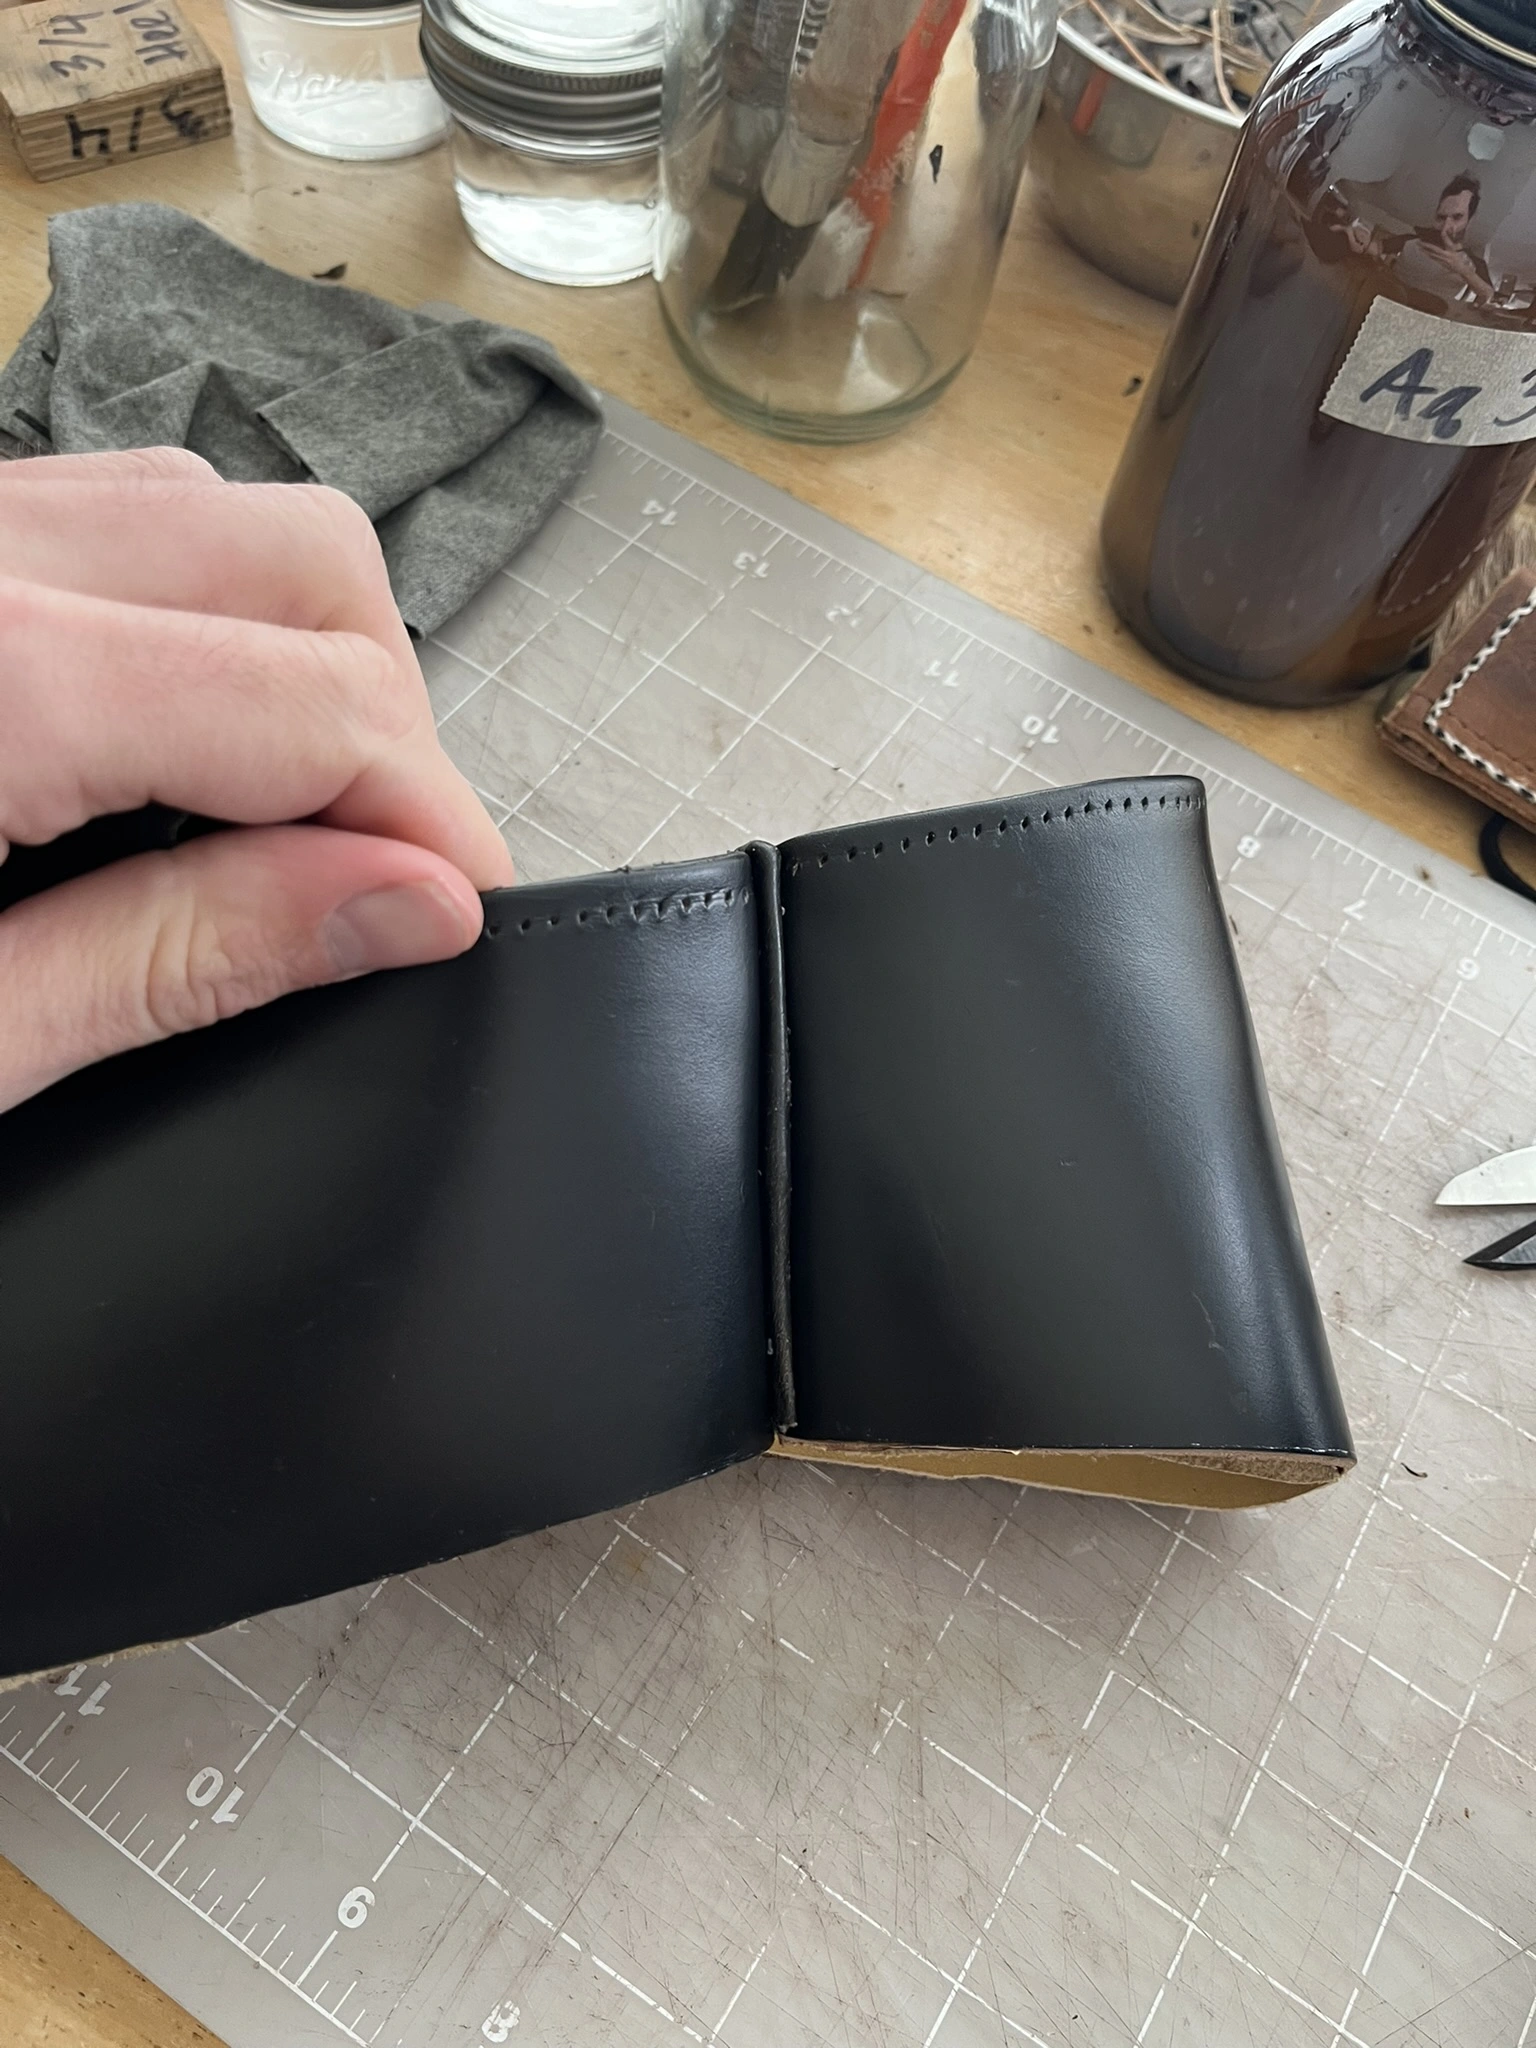
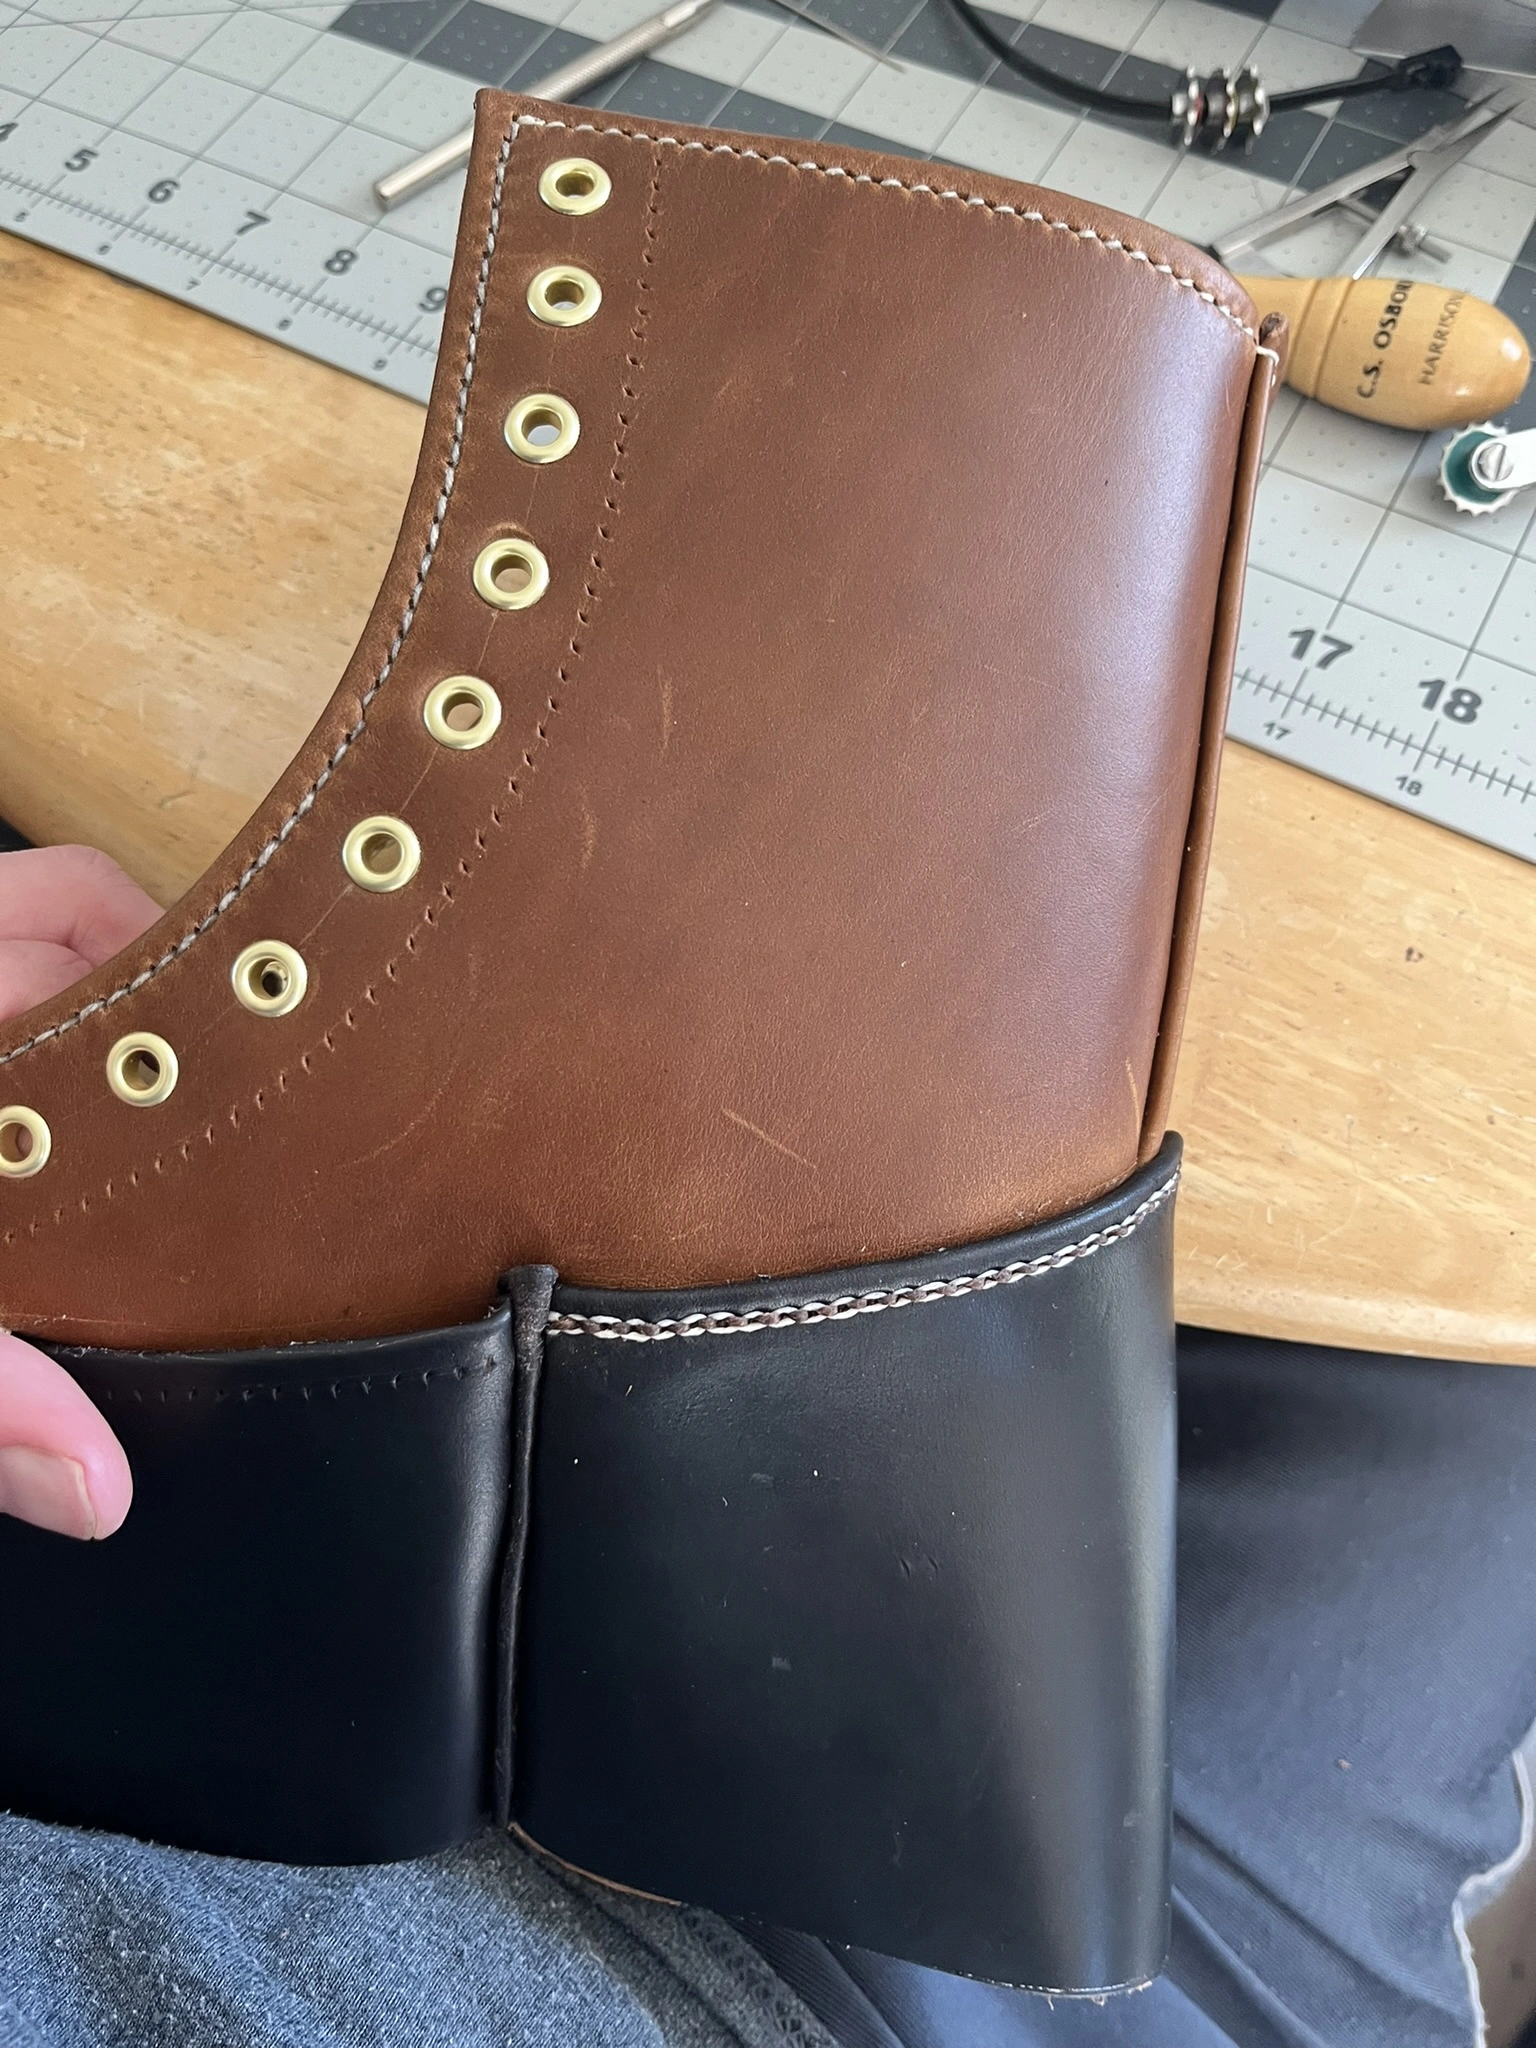
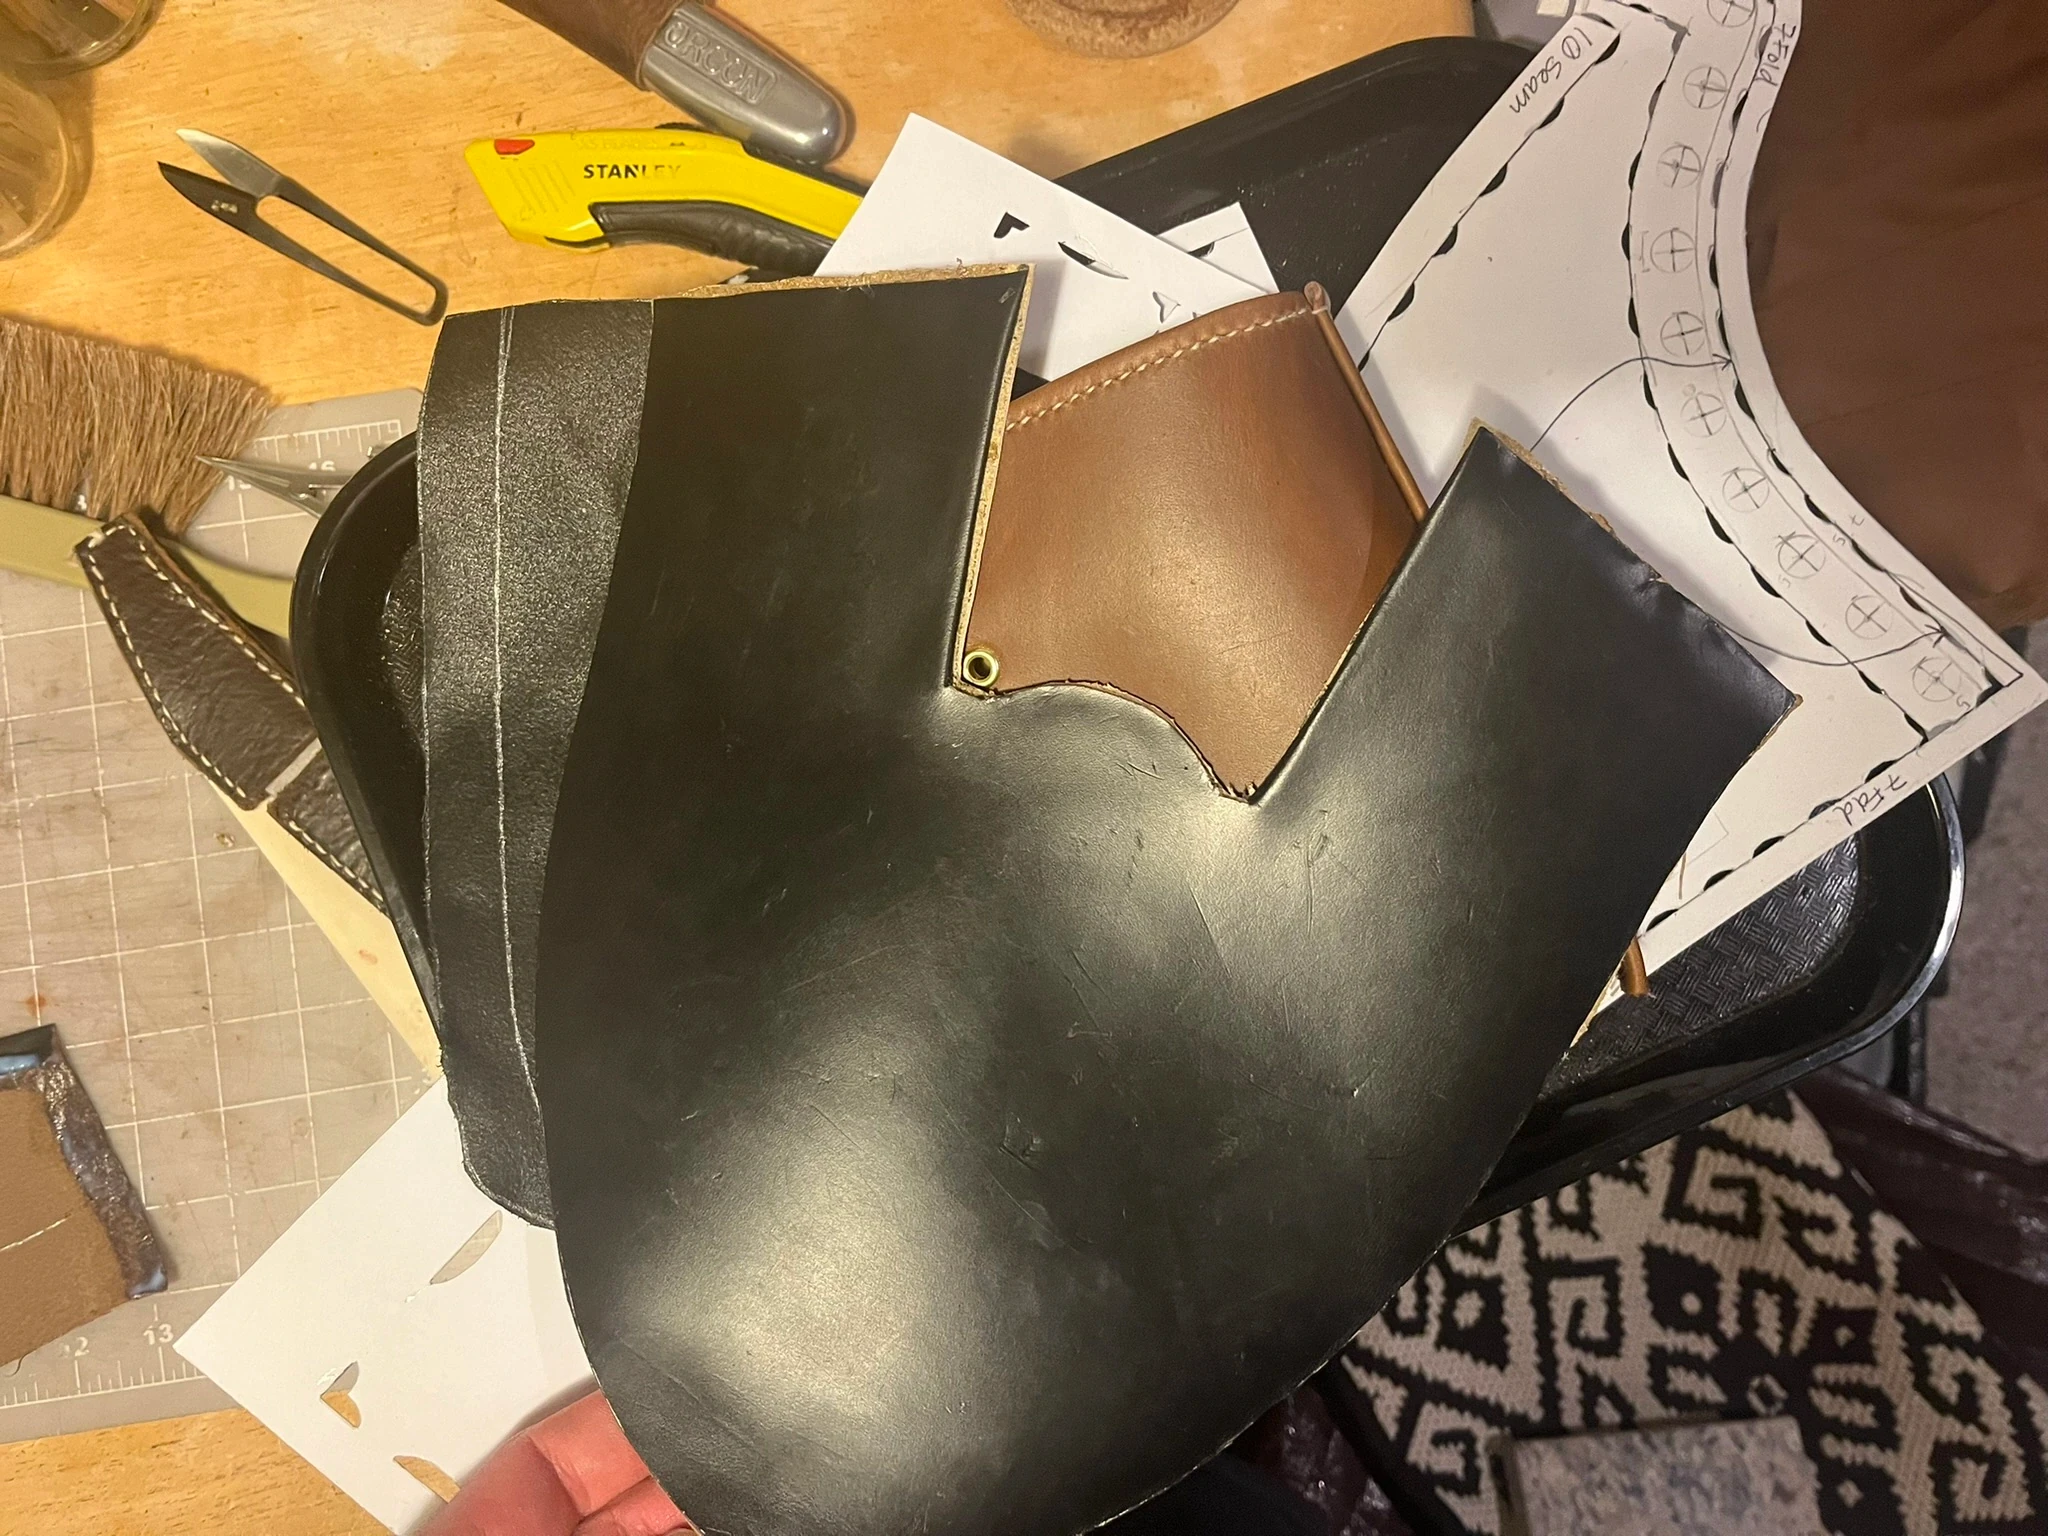
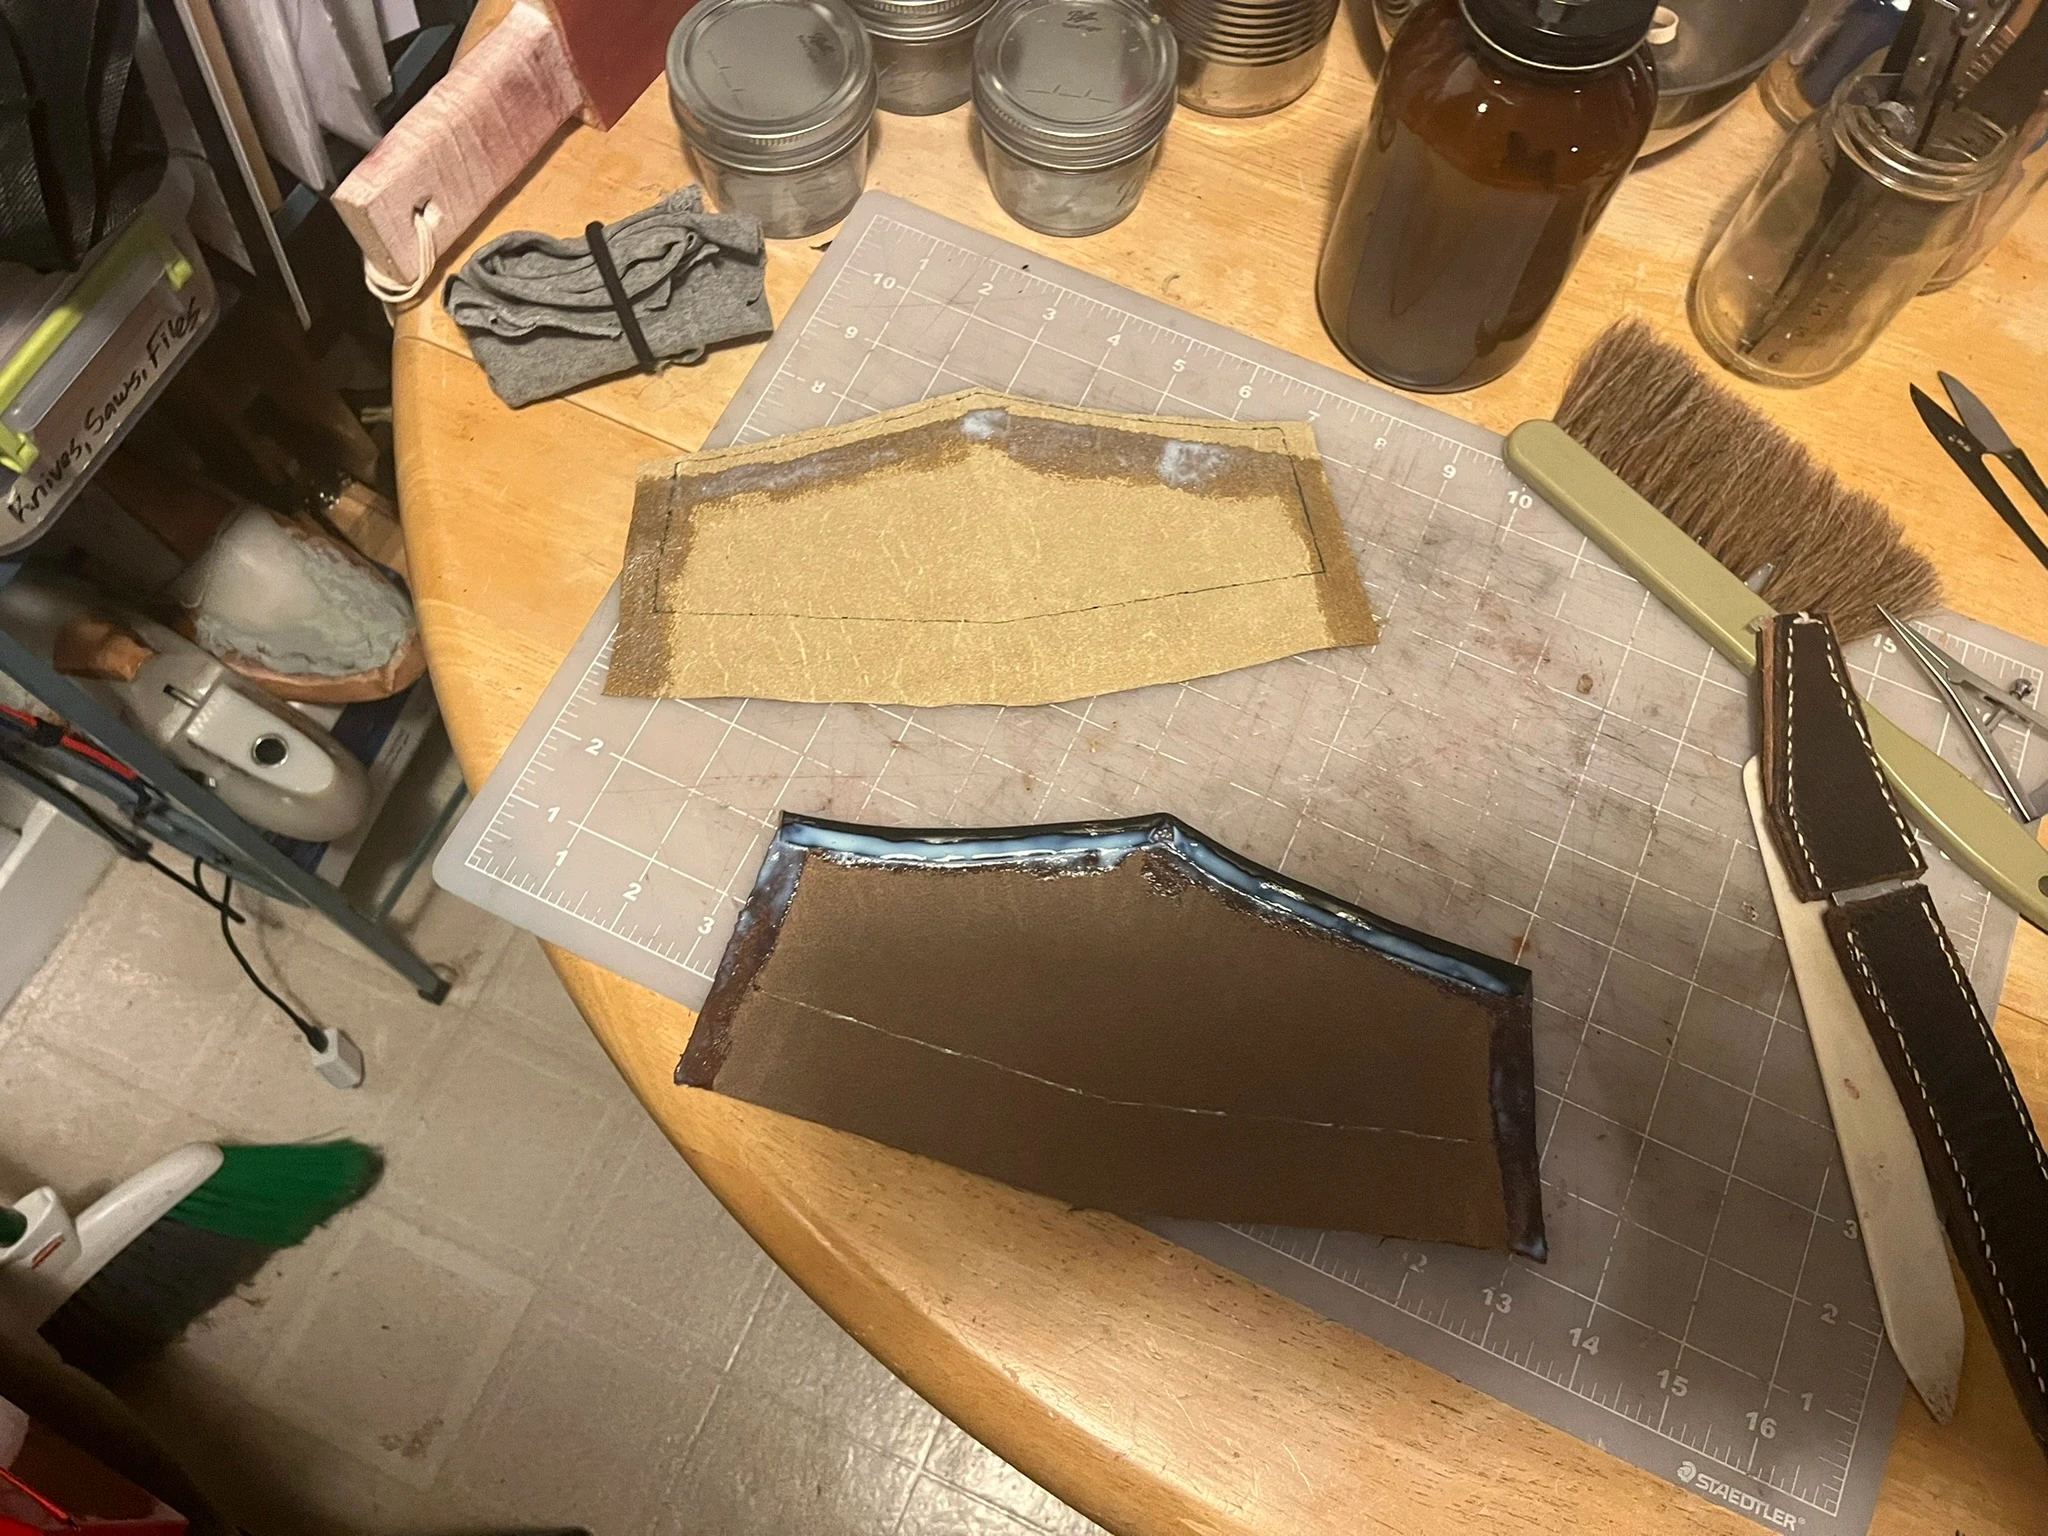
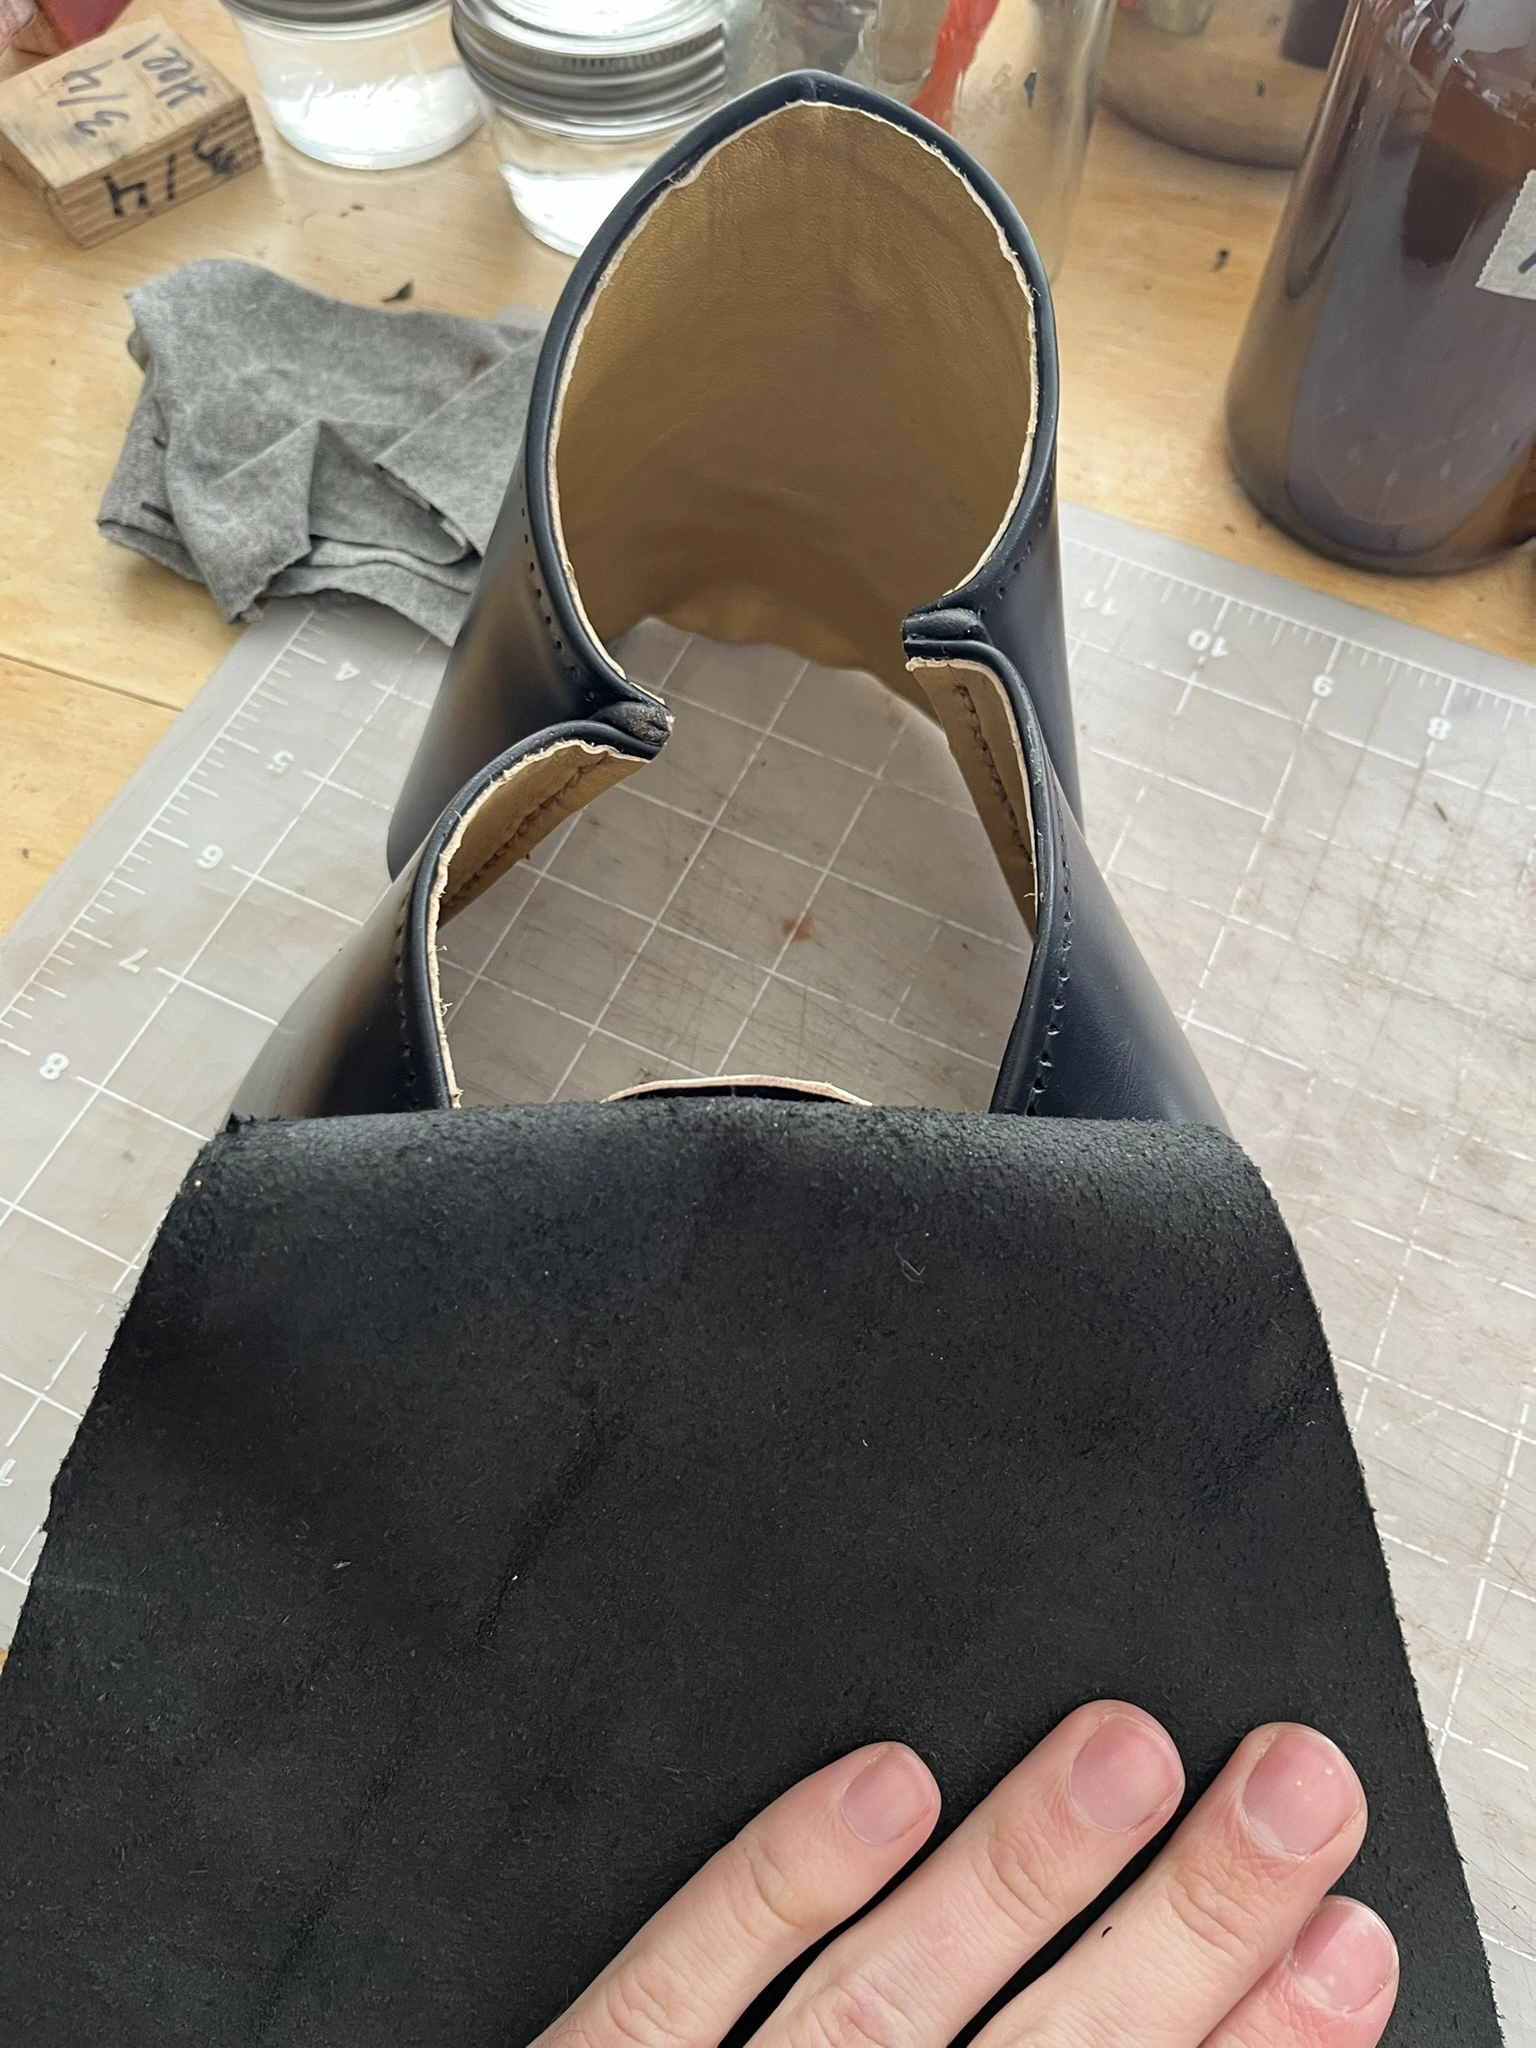
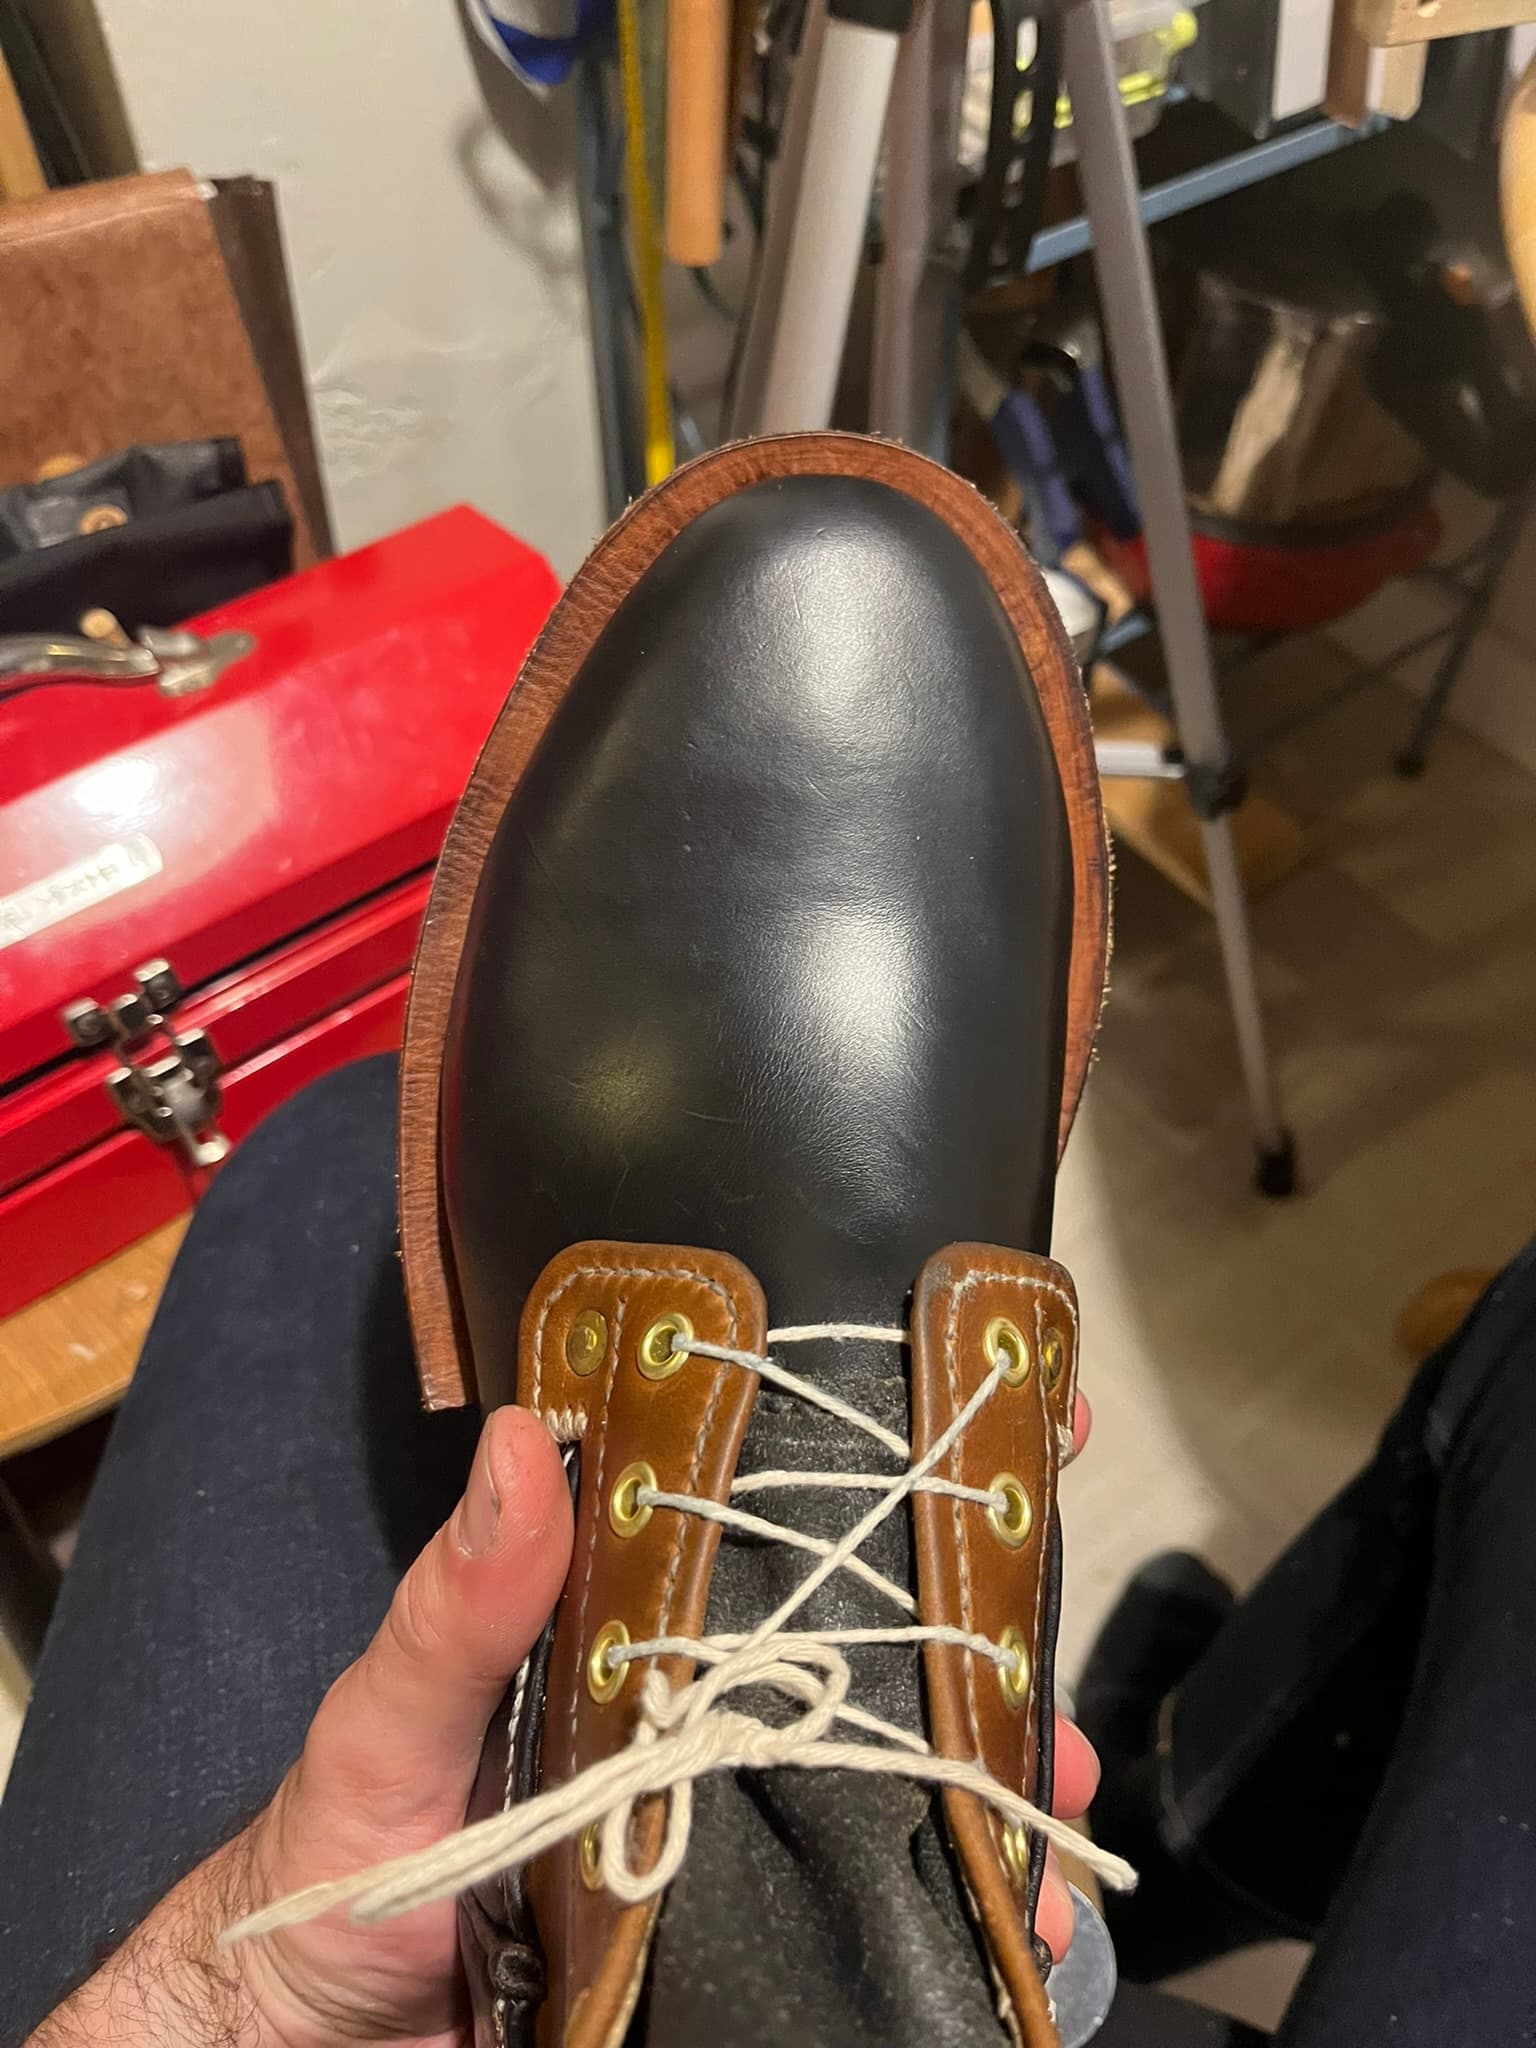
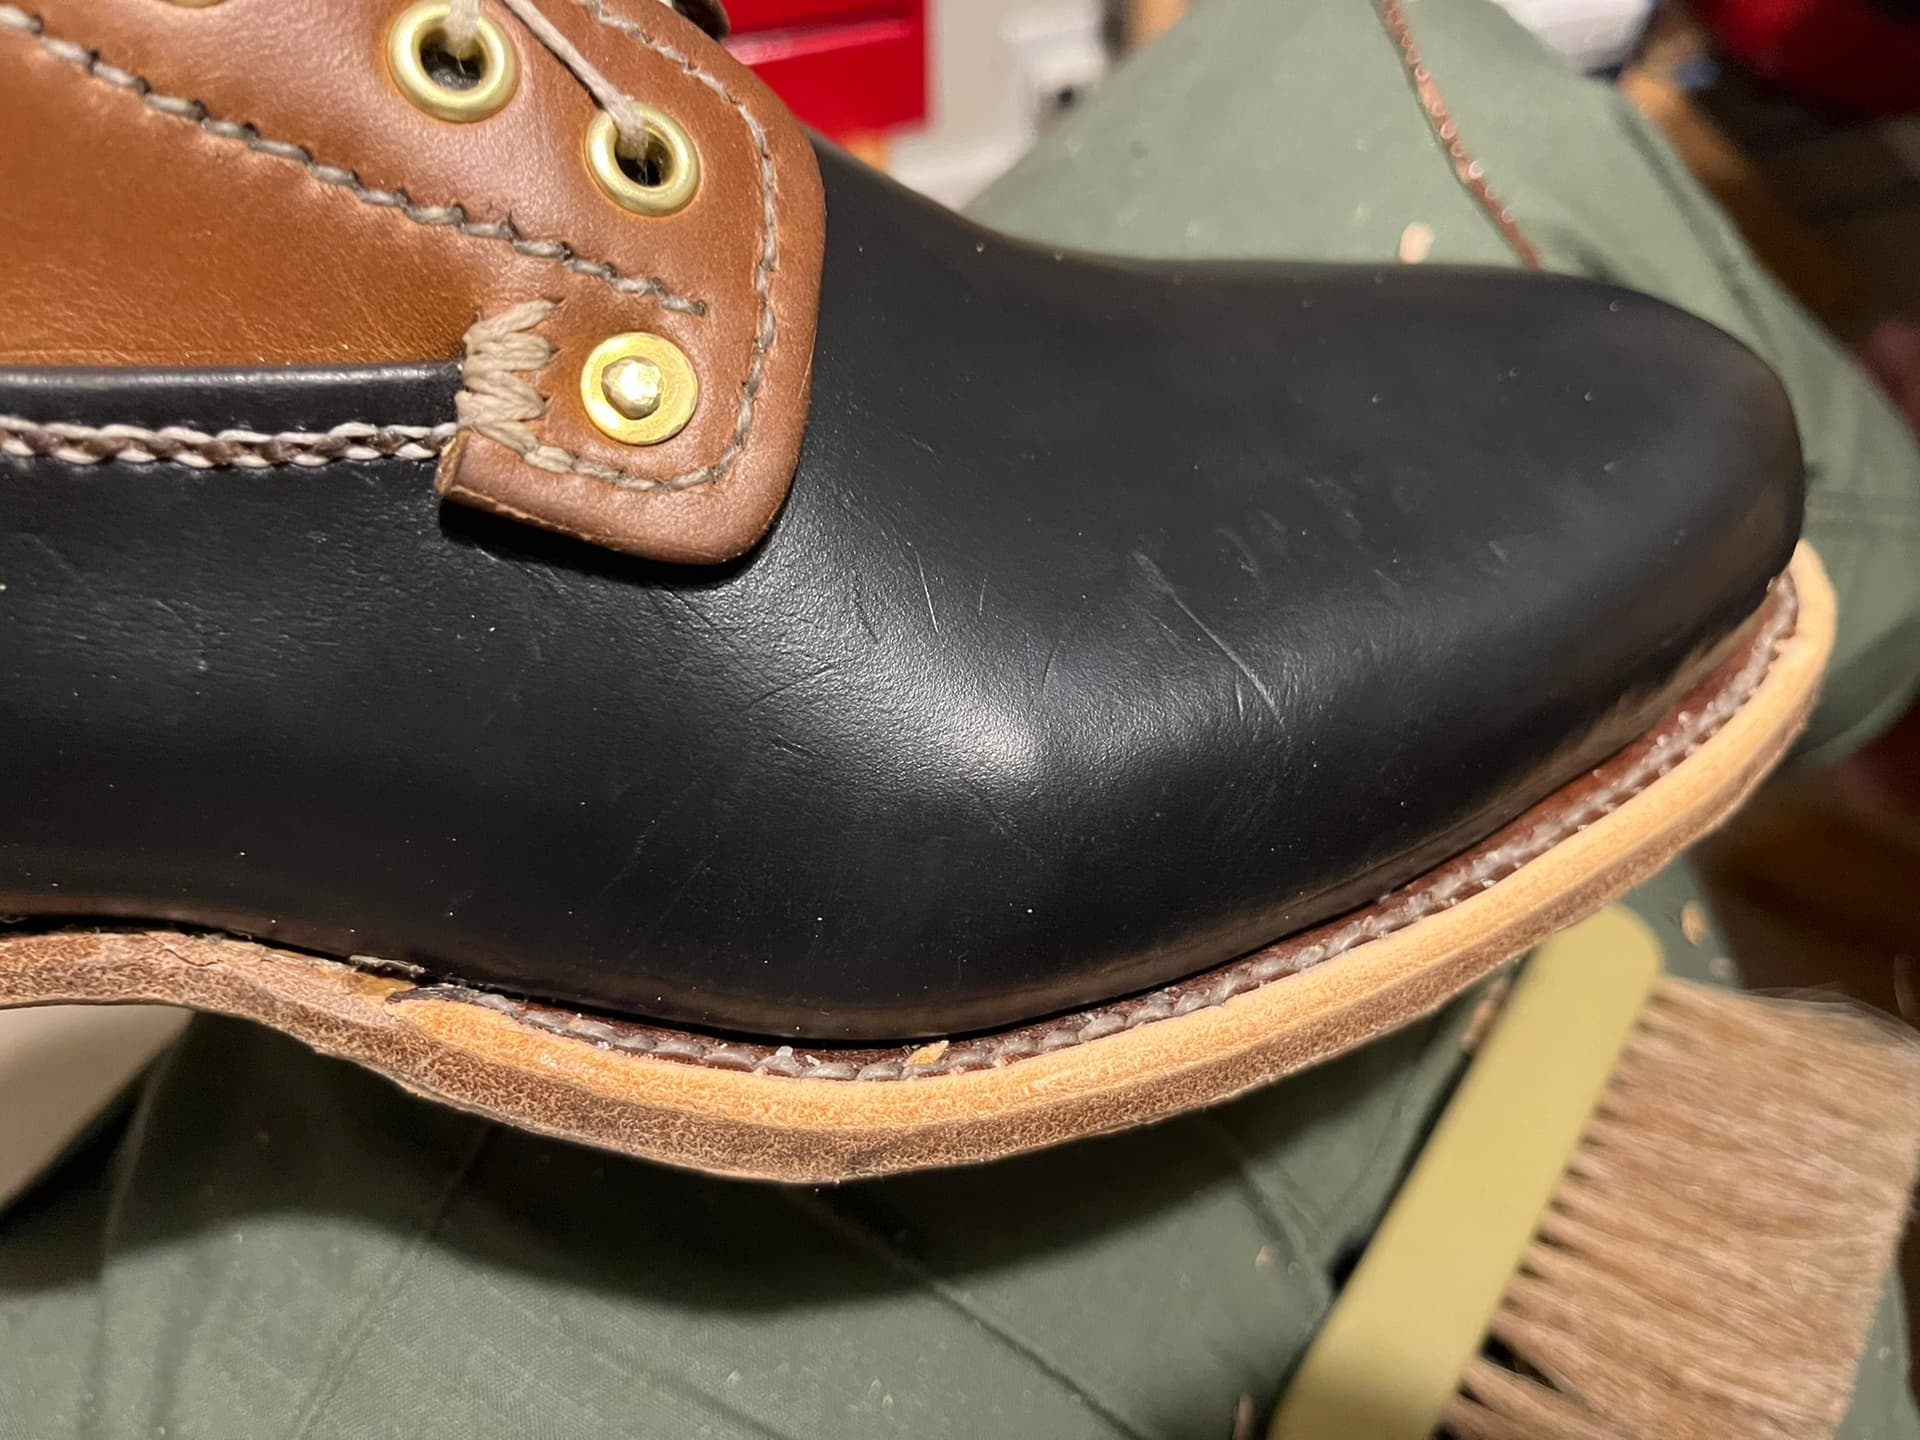
| Vamp and Counter Leather | Horween Chromexcel, Black, Craft Grade | Maverick Leather Company | The side I received had a big hole in it, but that’s craft grade for you. |
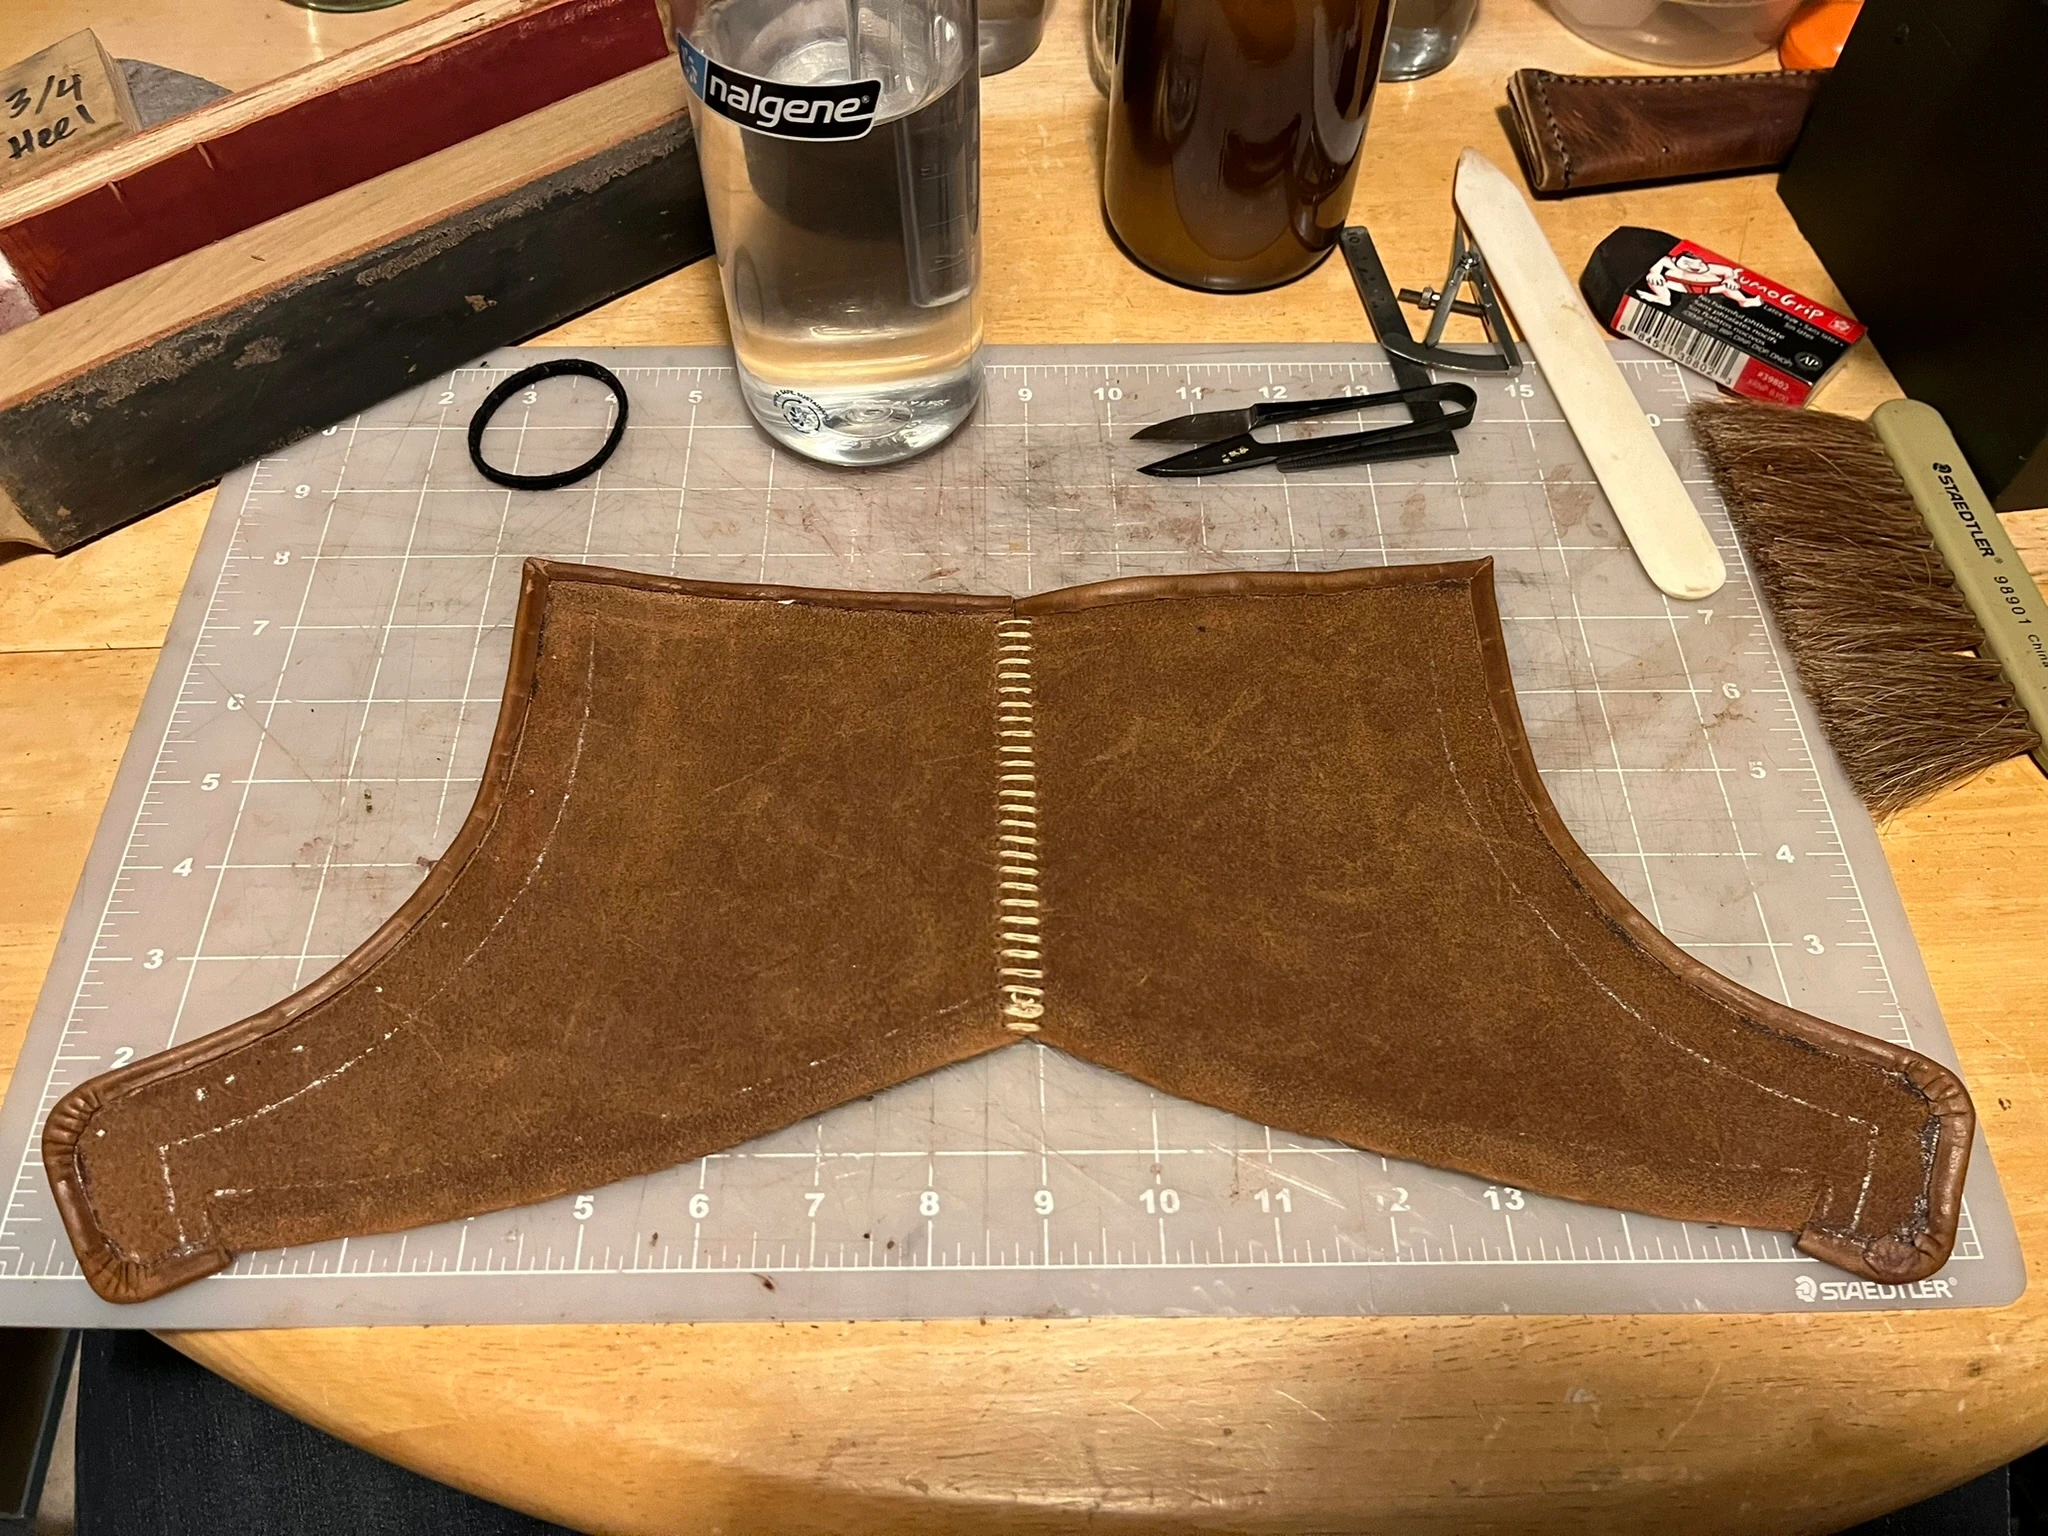
| Lining | “Resistance”, Tan | Maverick Leather Company | |
| Tongue Leather | Black Pigskin Split from a Clearance Bin | Tandy Leather San Bruno | |
| Eyelets | Ohio Travel Bag A-348-SB 5.3mm Eyelets with A-401-BP Washers | Ohio Travel Bag | |
| Quarter Thread | Crawford Threads No. 18 Waxed Irish Linen Thread, Natural, 4 Cord, 50 gms | eBay | I don’t believe this is available new anymore. There are other waxed linen threads on the market. |
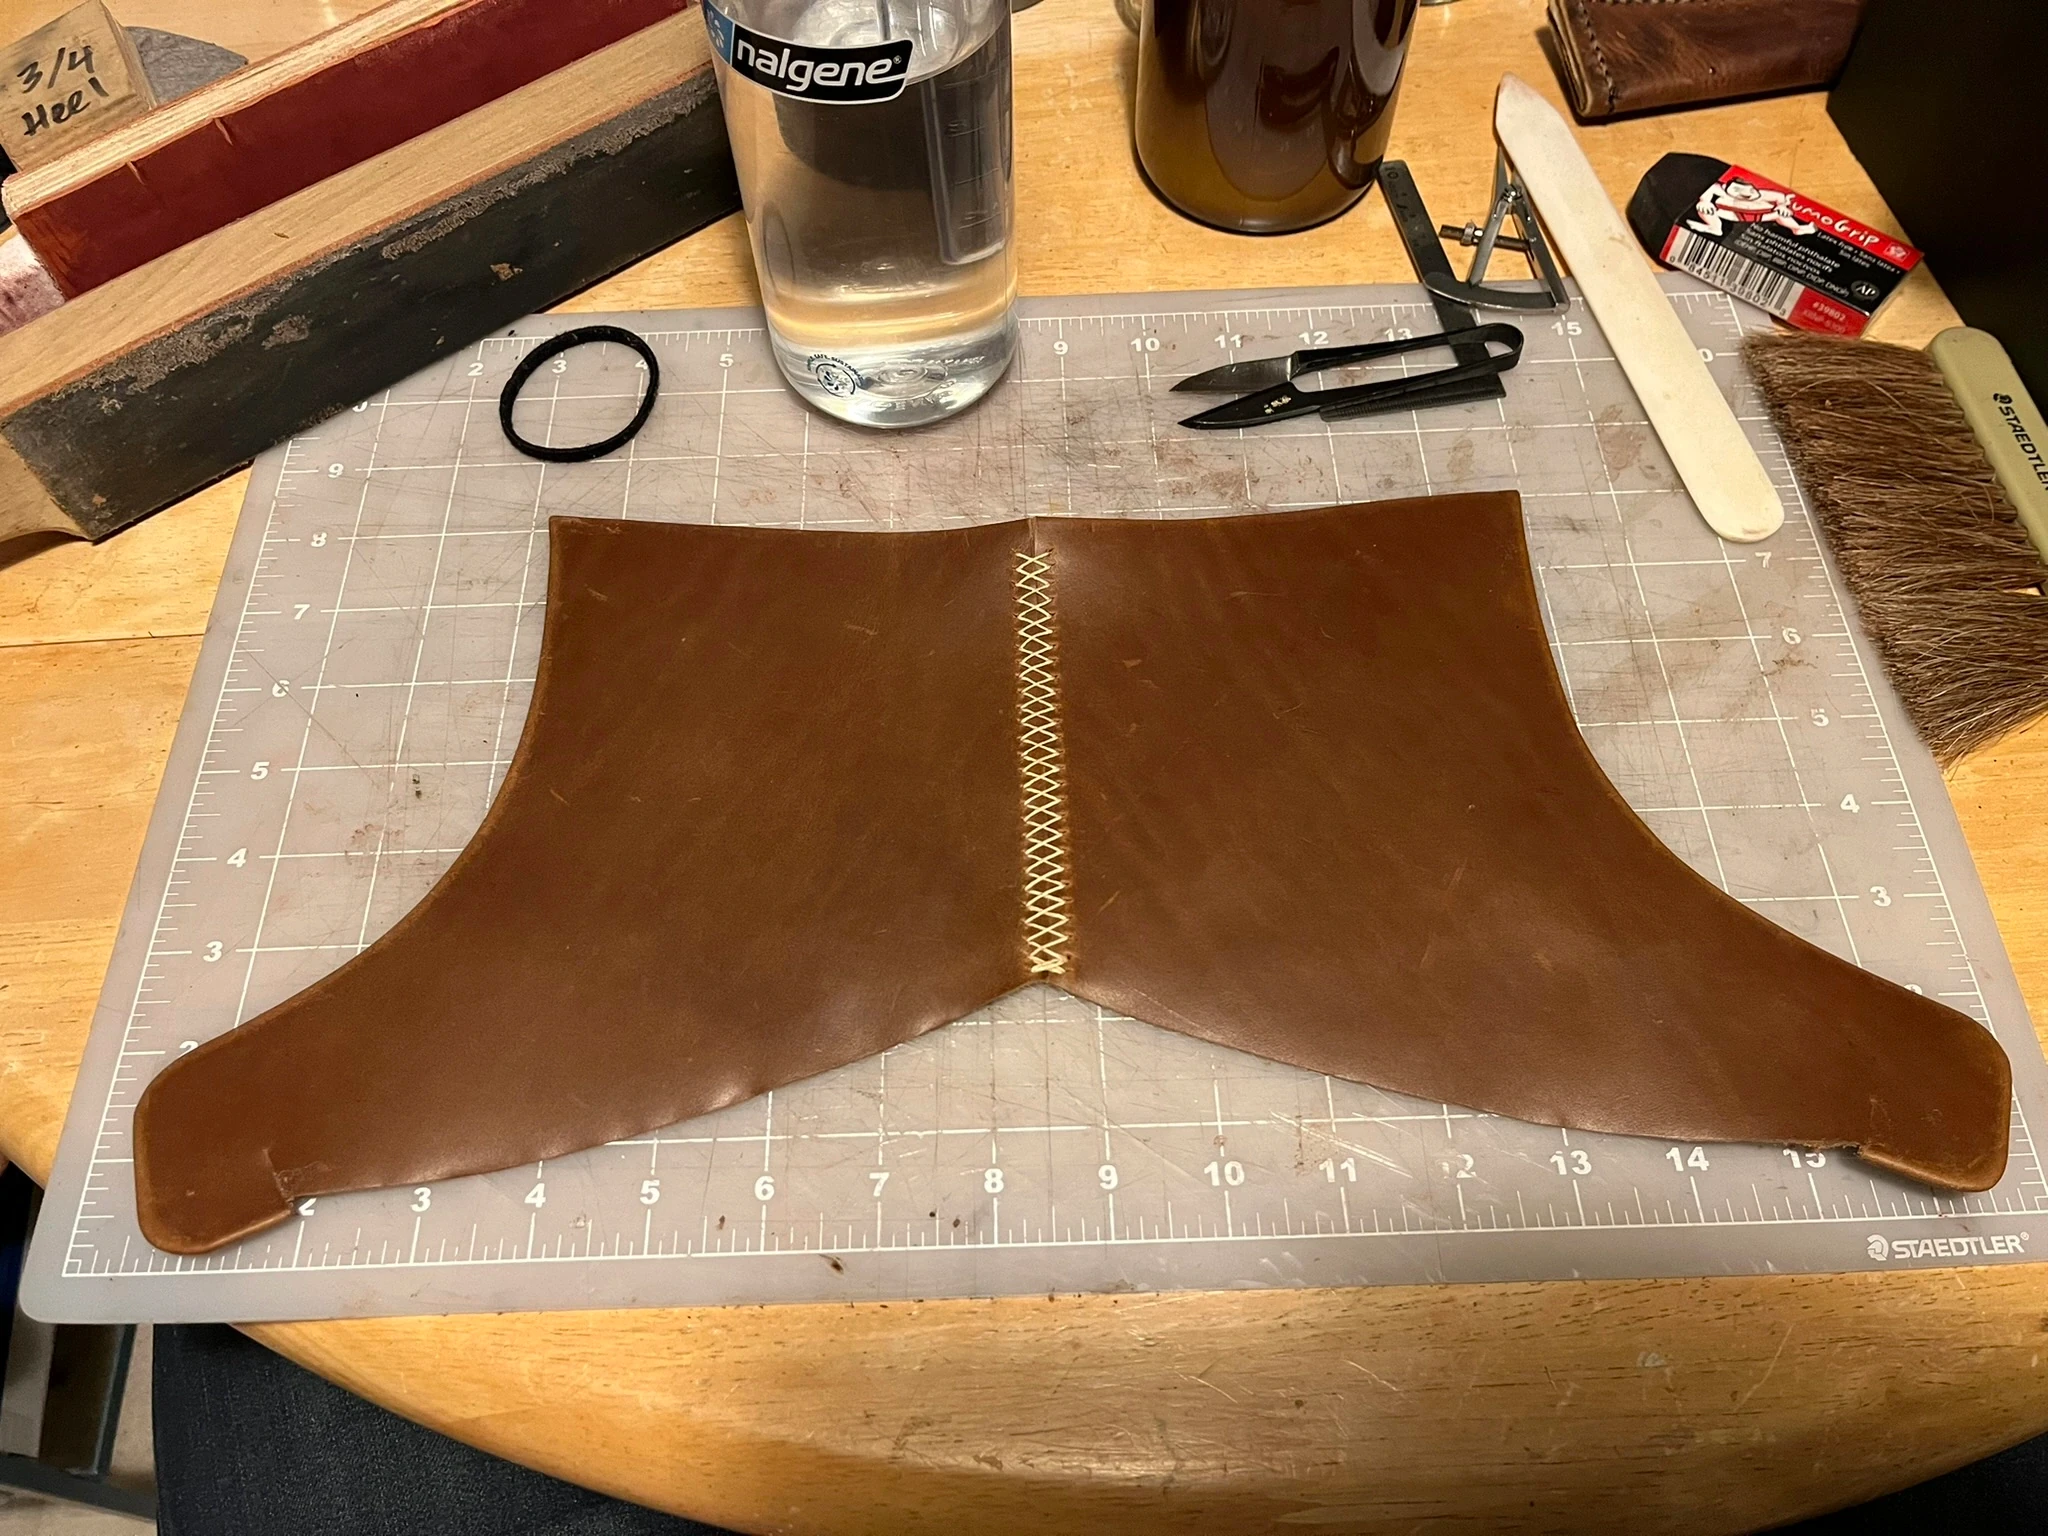
| Vamp Joint Thread | Maine Thread Twisted Waxed Cord, 0.045″, Ecru | Maine Thread | |
| Tongue Seam Thread | Maine Thread Twisted Waxed Cord, 0.045″, Black | Maine Thread | |
| Vamp-Quarter Seam Threads | Maine Thread Twisted Waxed Cord, 0.040″, Brown and Twisted Waxed Cord, 0.030″, White | Maine Thread | |
| Last Build-Up | 3M Bondo Original Body Filler, Scrap Leather | O’Reilly Auto Parts | |
| Closing Adhesive | Renia Aquilim 315 | Sorrell Notions and Findings | |
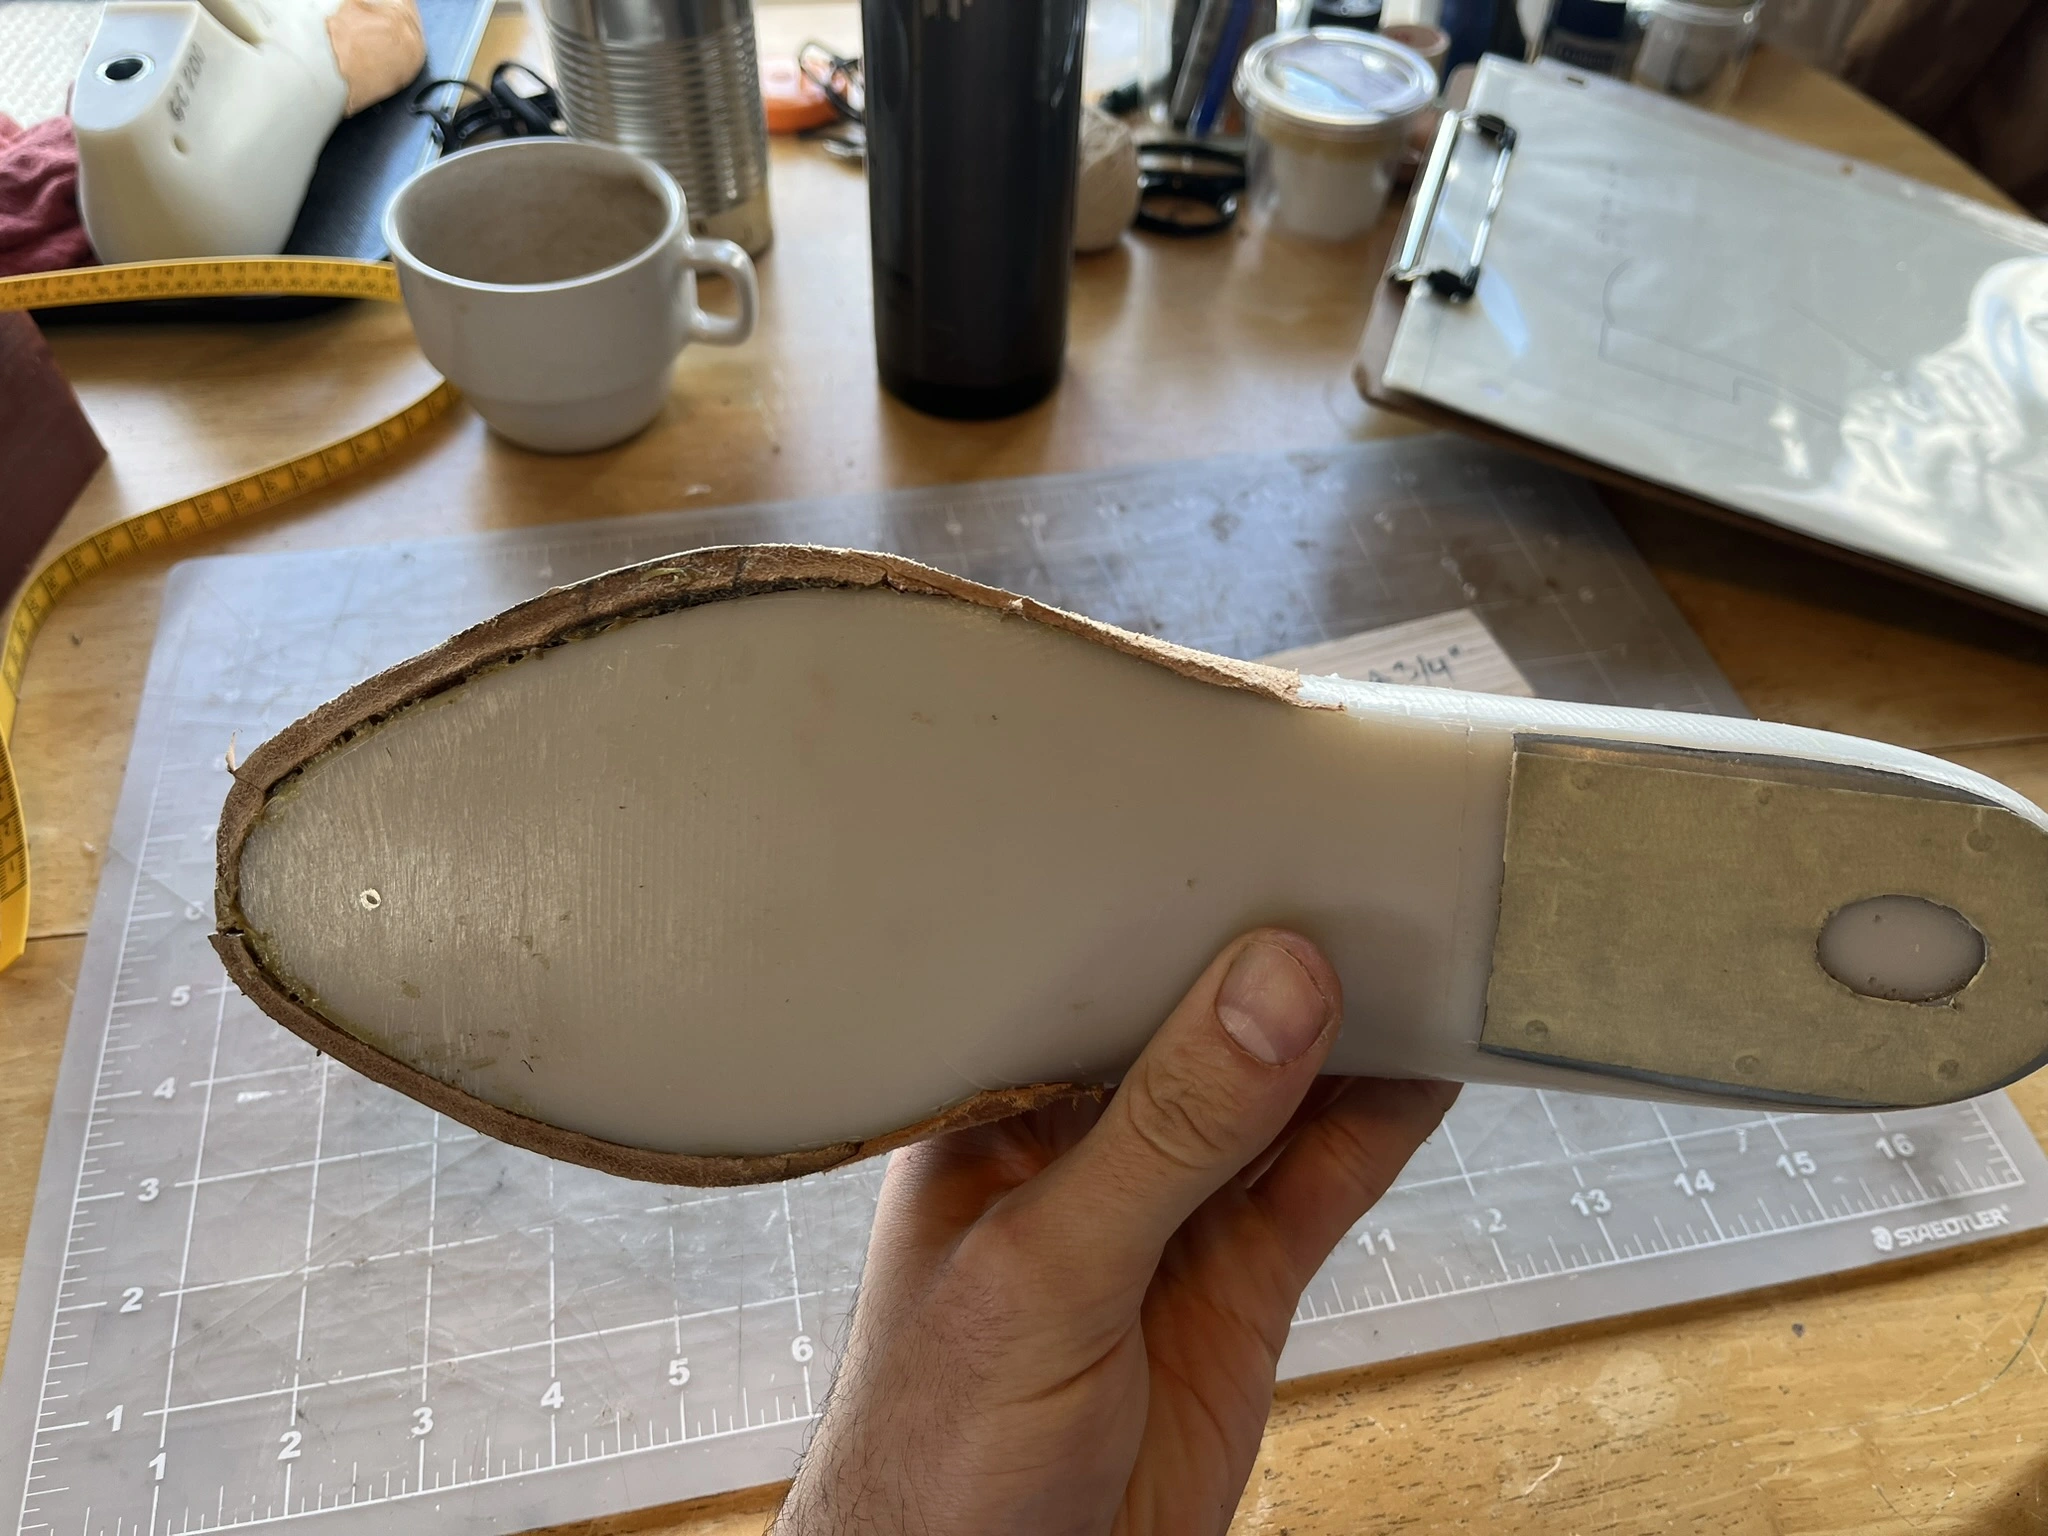
| Shanks | Model 1242, Steel, Flat, Two-Rib | Panhandle Leather | |
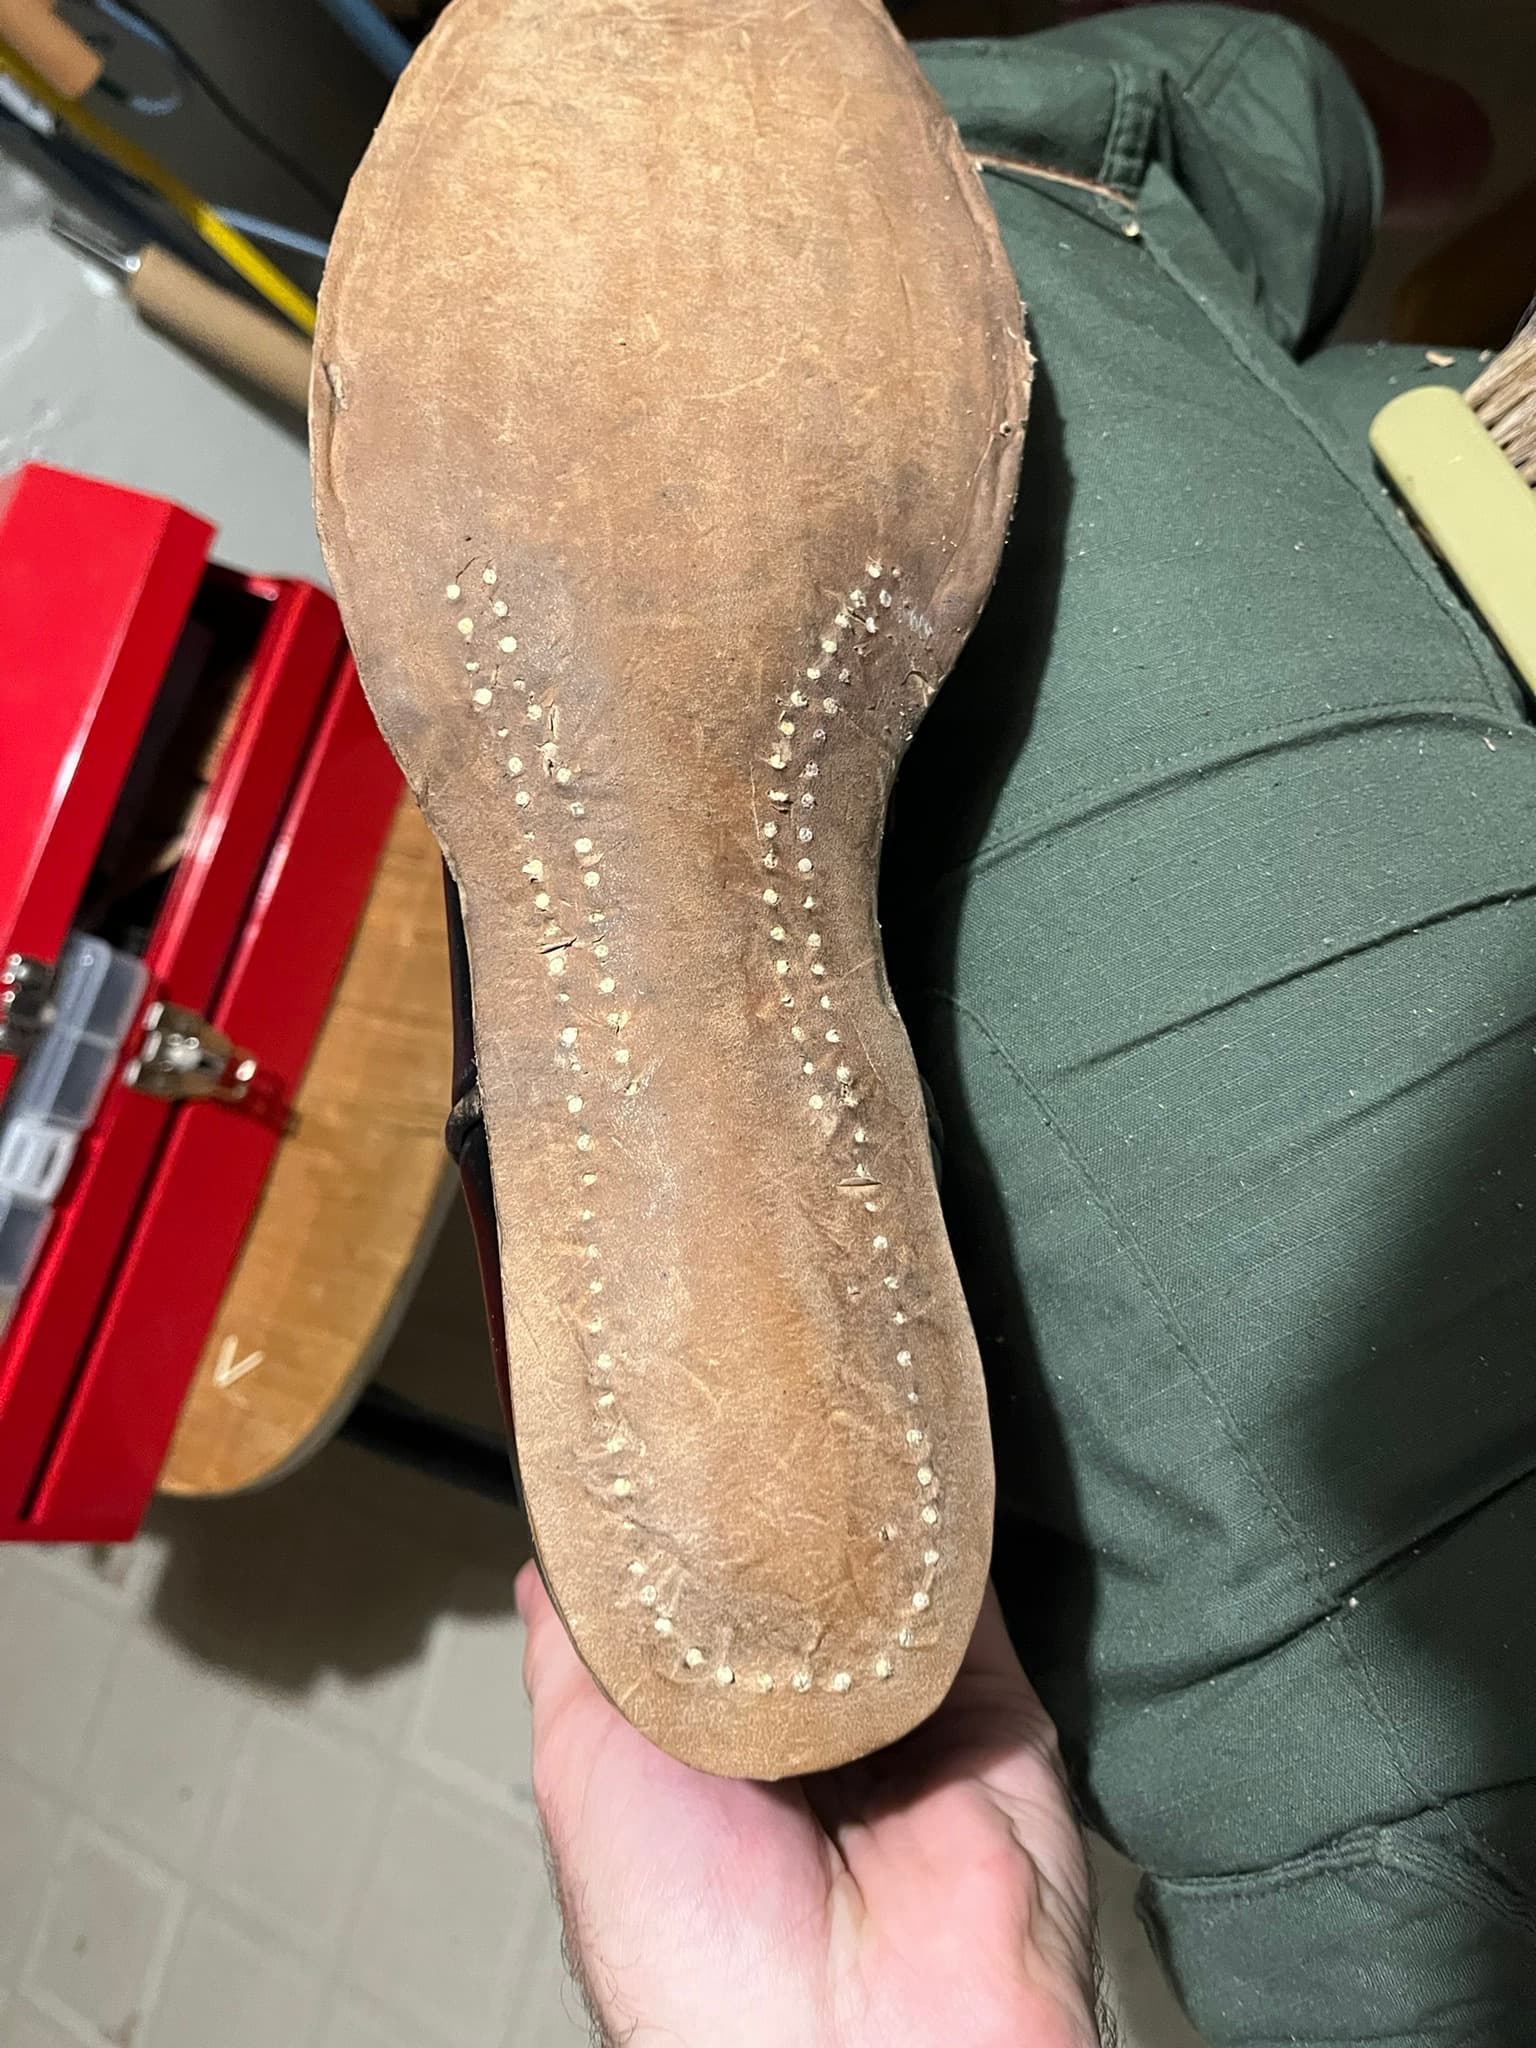
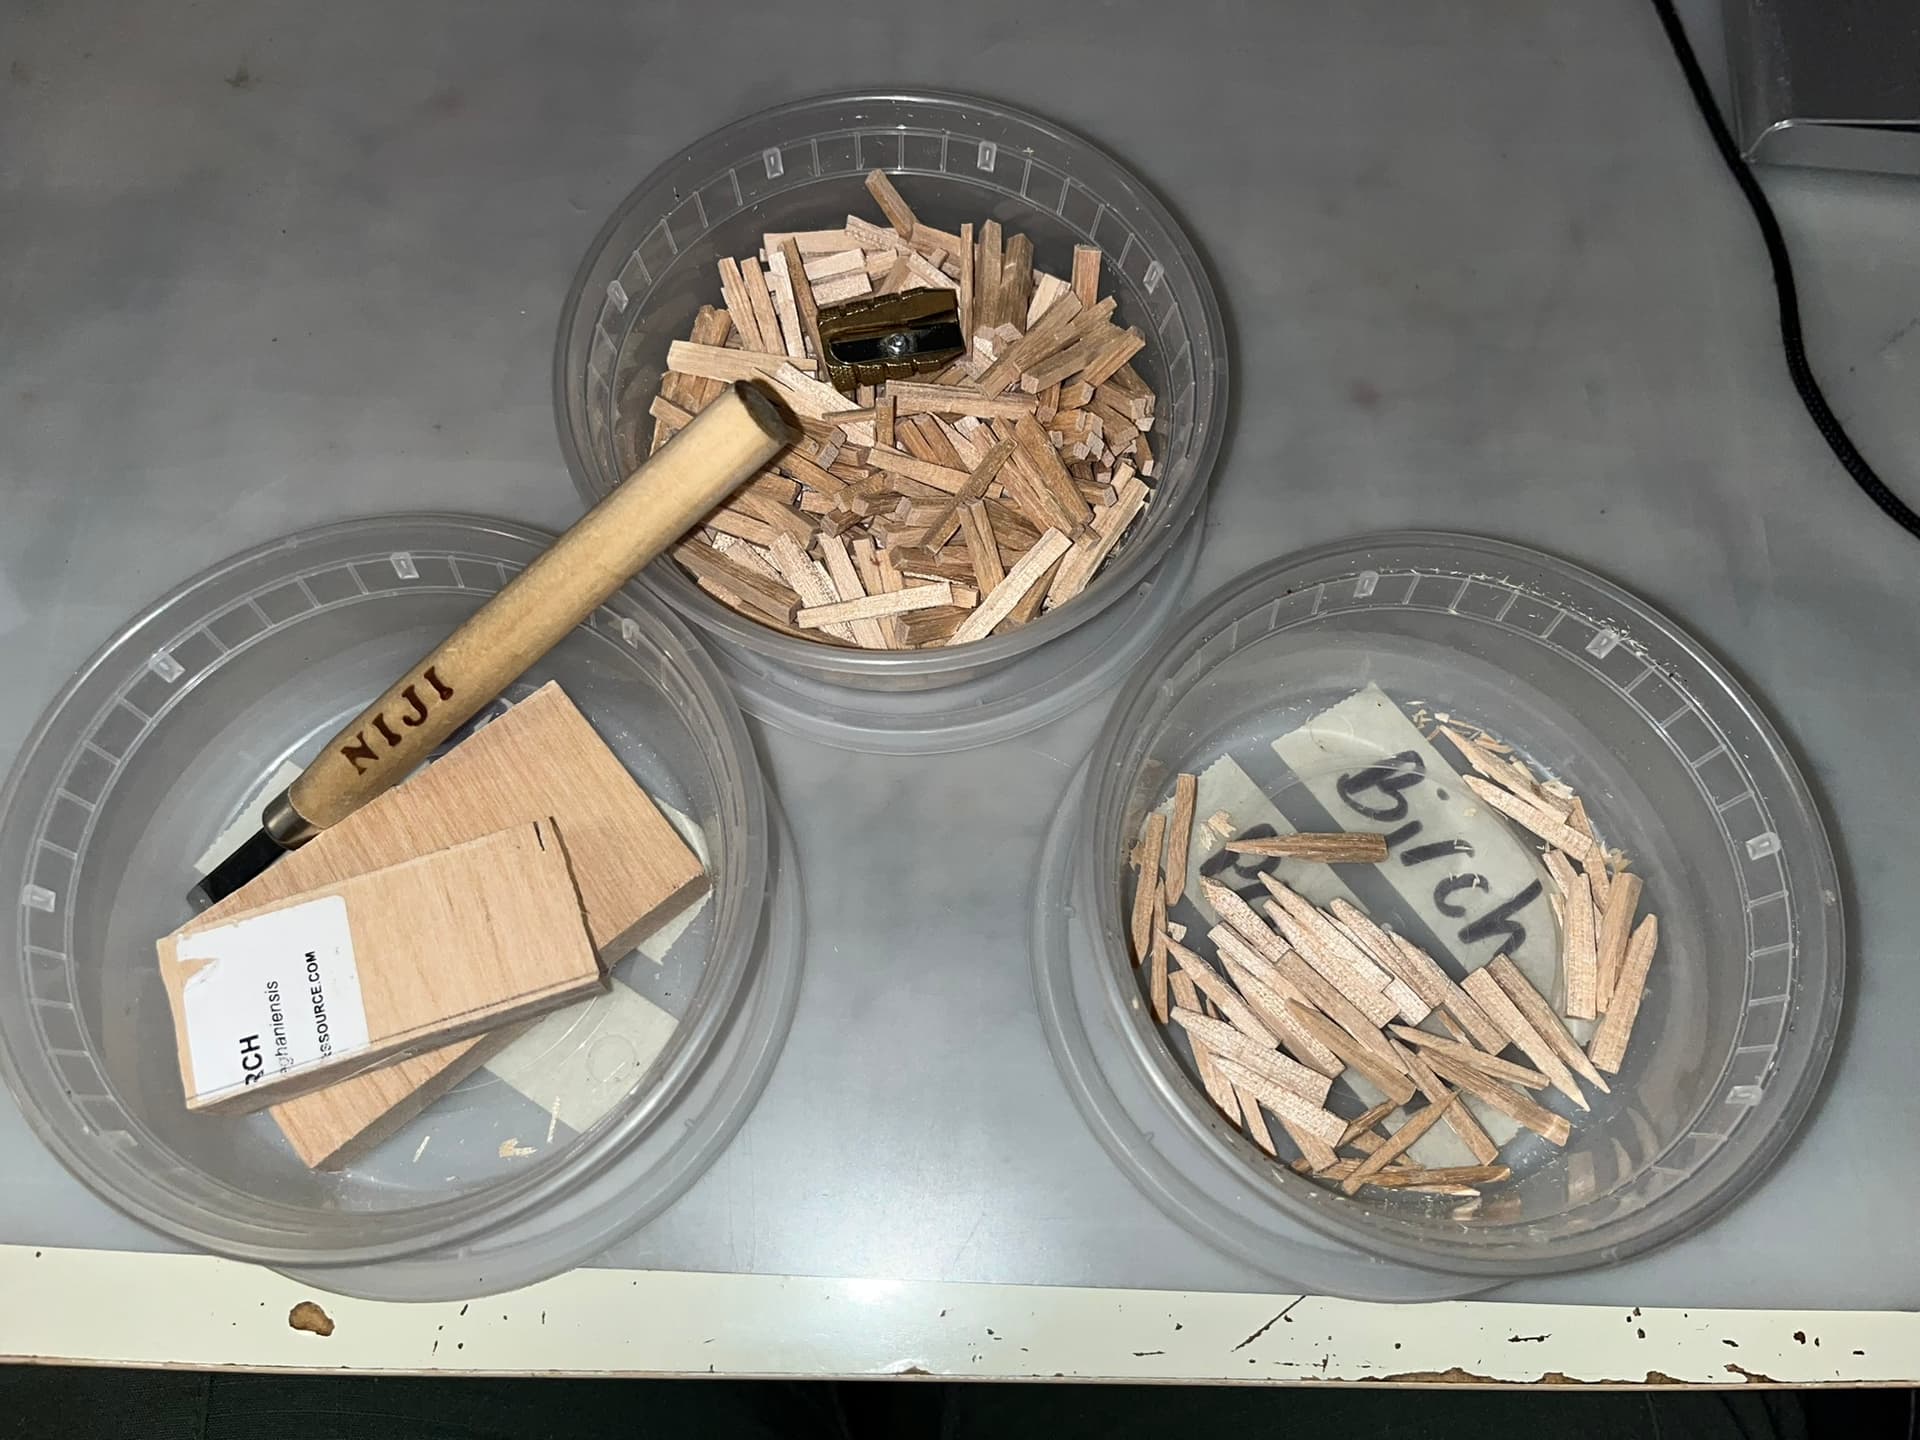
| Pegs | Self-Made Pegs from a Birch Hardwood Sample, Round Bamboo Chopsticks, and Round Birch Meat Skewers | Woodworkers Source for sample, Chanco for chopsticks, Chef Craft for meat skewers | See this topic on DIY pegs. |
| Outsoles | Leather Sole Bend | Montana Leather | |
| Bottom Cement | Barge All-Purpose | Amazon | |
| Heel Lifts | Large Heel Lifts | Sorrell Notions and Findings | |
| Top Lifts | From 12" by 12" Rubber Sheet, SBR, 70 Shore A | Zoro | |
| Top Lift Nails | D.B. Gurney #14 Iron Shoe Nails | Sorrell Notions and Findings | |
| Edge and Heel Dye | Angelus Leather Dye, Light Brown | Amazon | |
| Heel Nails | D.B. Gurney 8/8 Brass Nails | Sorrell Notions and Findings, sample bag |