Sorry about that. I did try to change the setting, but it seems to come up anyway.
I’m not sure it’s a bad thing to ask folks to use their words. But I agree it sure can be annoying.
I’ll try to tweak it again.
Sorry about that. I did try to change the setting, but it seems to come up anyway.
I’m not sure it’s a bad thing to ask folks to use their words. But I agree it sure can be annoying.
I’ll try to tweak it again.
Heres how Jarrett sets up his first, just one of many solutions
https://www.instagram.com/p/Br55hAan5U2/?igsh=enJ4OXRjMmtkd21y
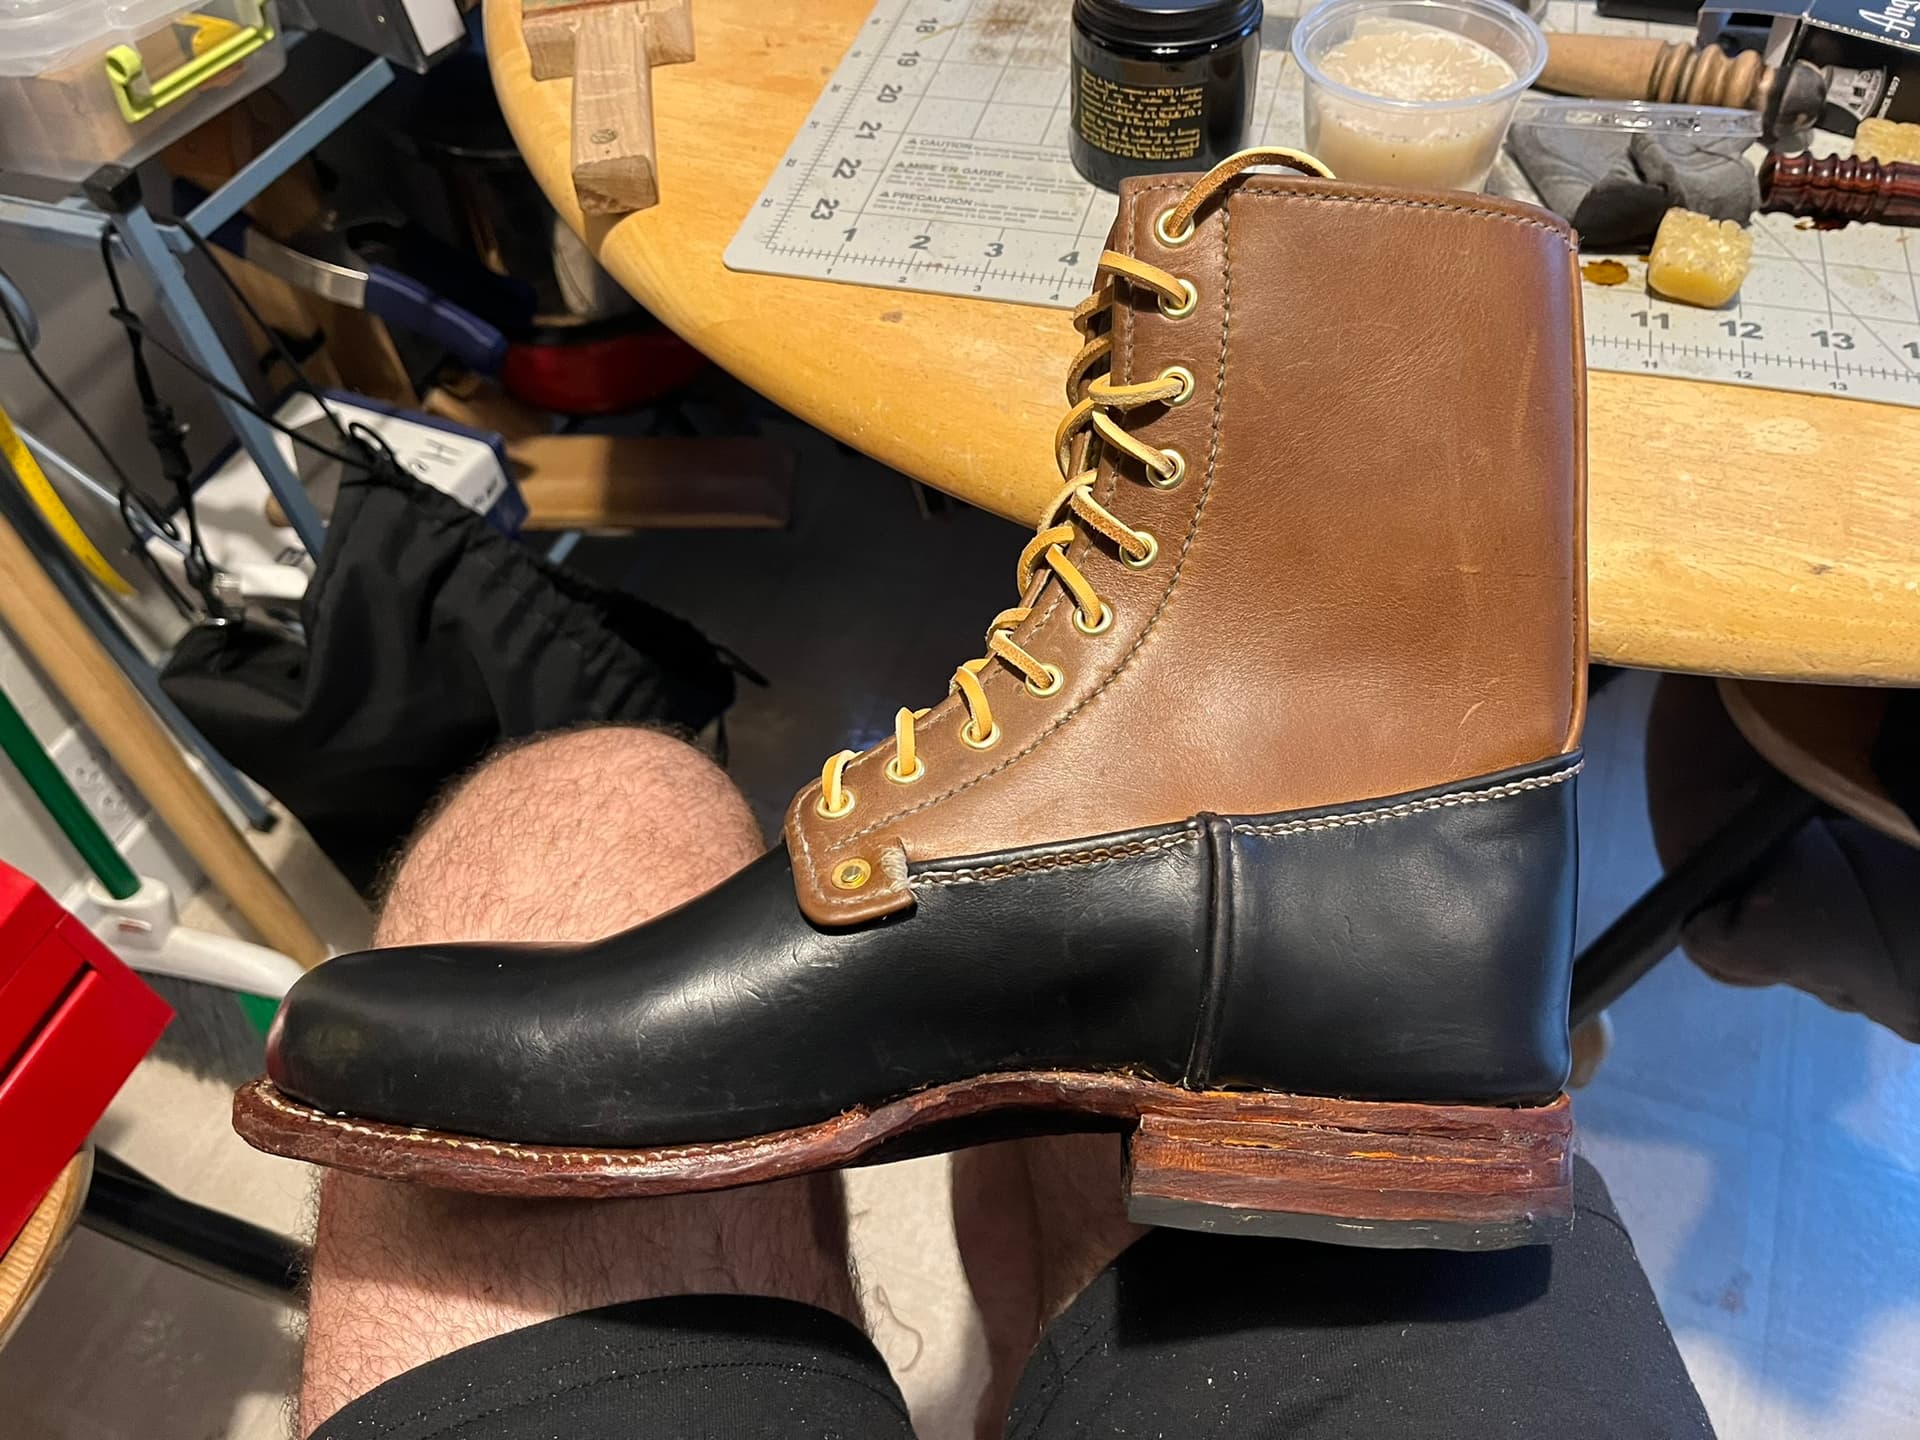
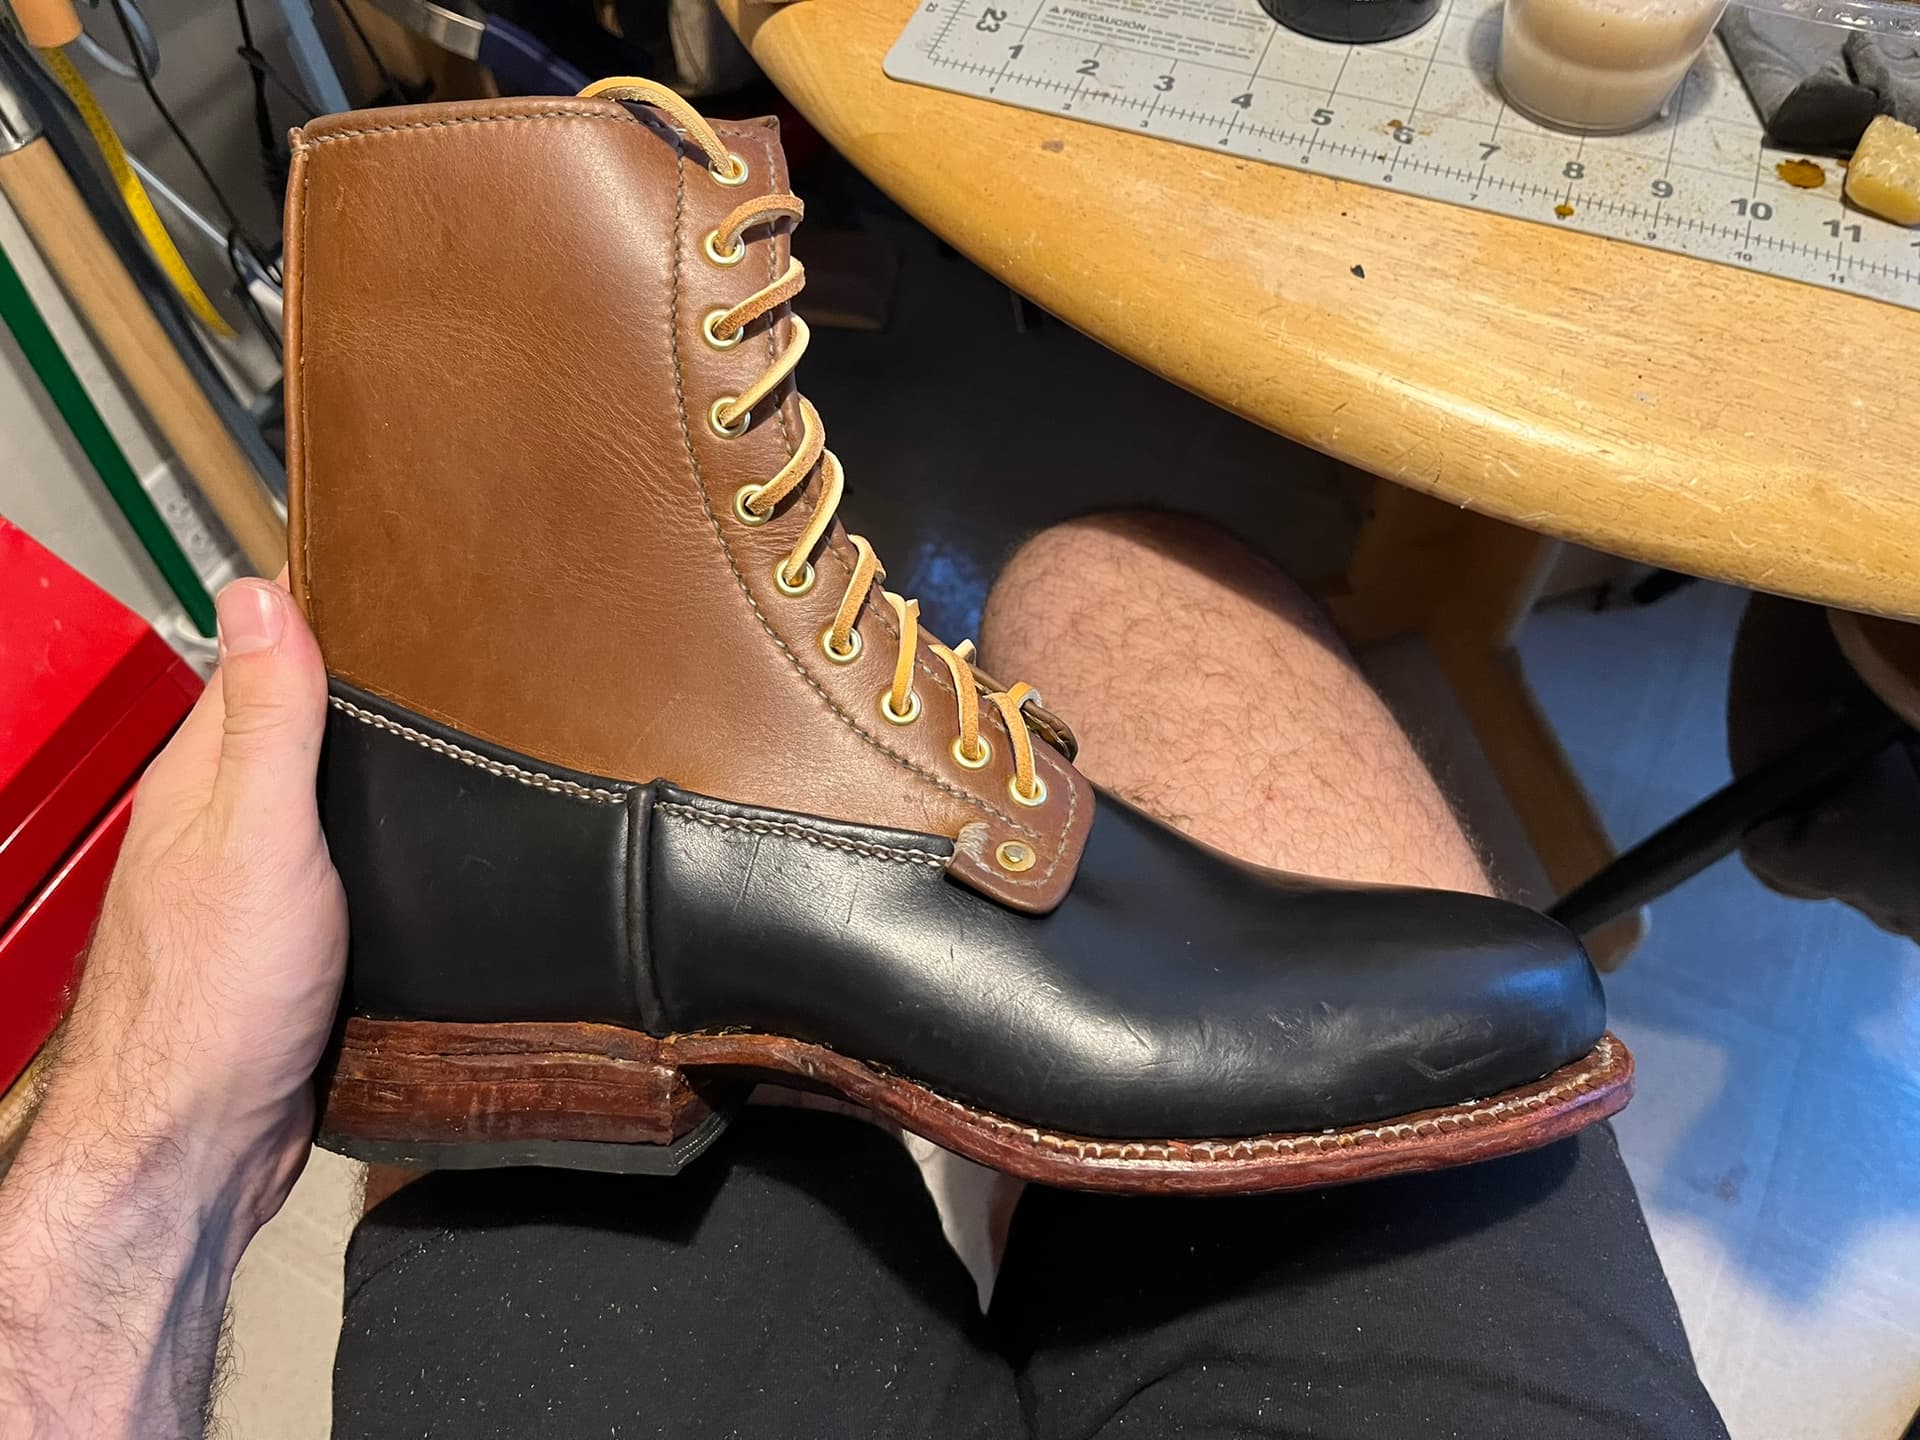
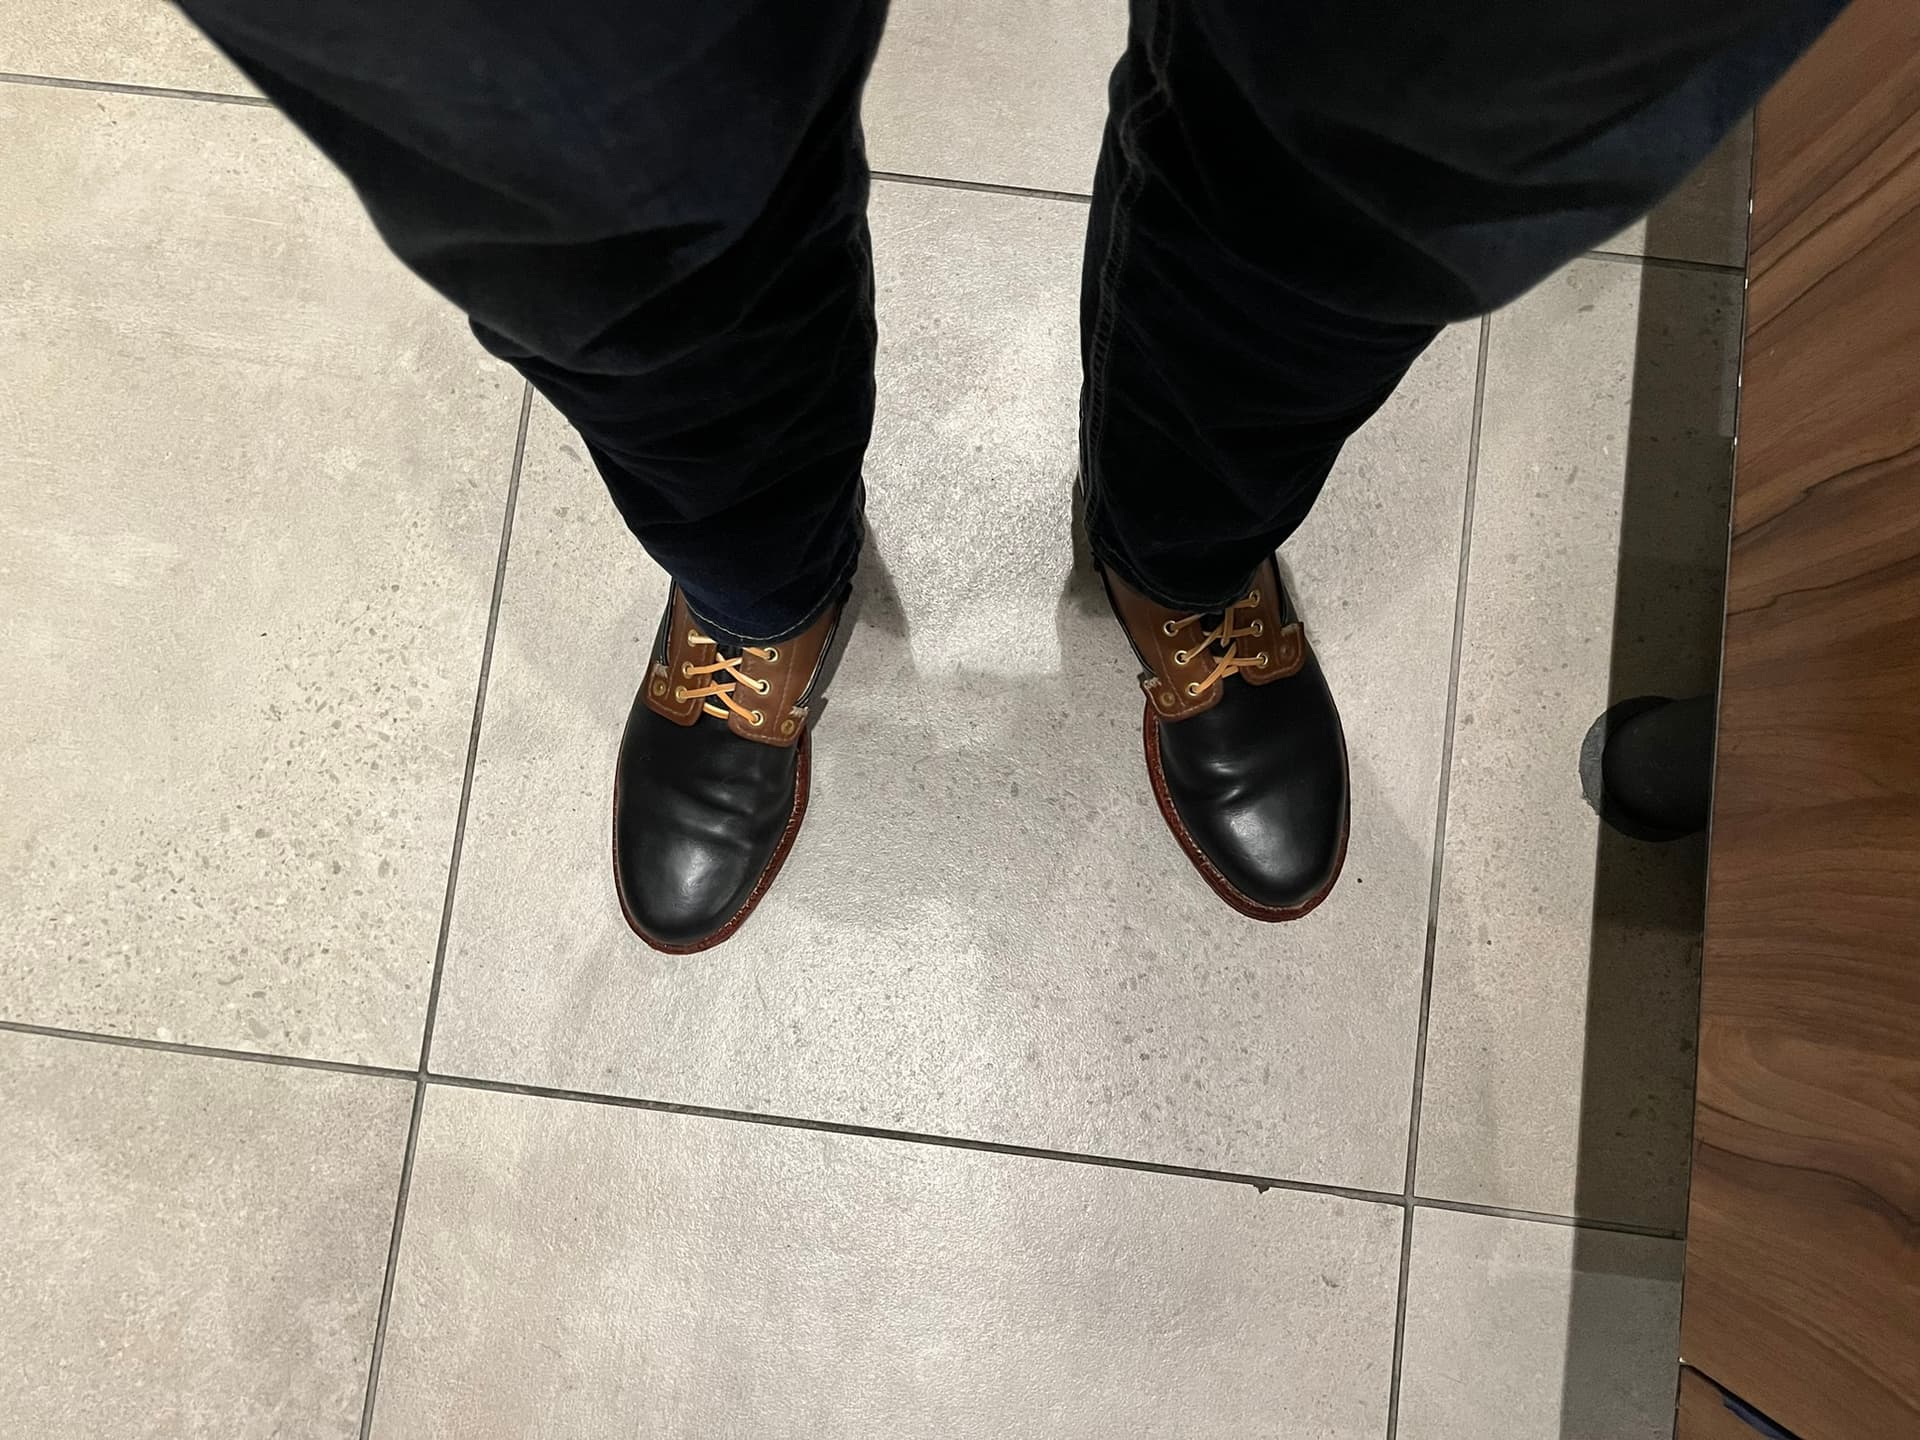
Pair 2 is off the bench and onto feet! I’ll almost certainly go back and refinish the bottoms, but I got excited and decided I wanted to get these wearable for the weekend and double back.
More updates with mistakes and supplies to come. Meanwhile, the good news is that they came off the lasts without damage and appear to fit really well. I was worried I might have messed something up under the arch in the right boot, but it turns out I just got my sock all bunched up the first time I went out in them. Go figure.
I’m still committing too many misdemeanors against leather finish. I was pleasantly surprised how many disappeared with a little rubbing or shoe polish. But I know I’m still of hacking away.
The most frustrating came when nailing down the top lifts with long tapered shoe nails. I pierced holes for one with my pegging awl, as usual, but when I actually drove the nail down it shot out the side of the heel and nicked the beading of the vamp-heel-counter-cover seam. Bummer.
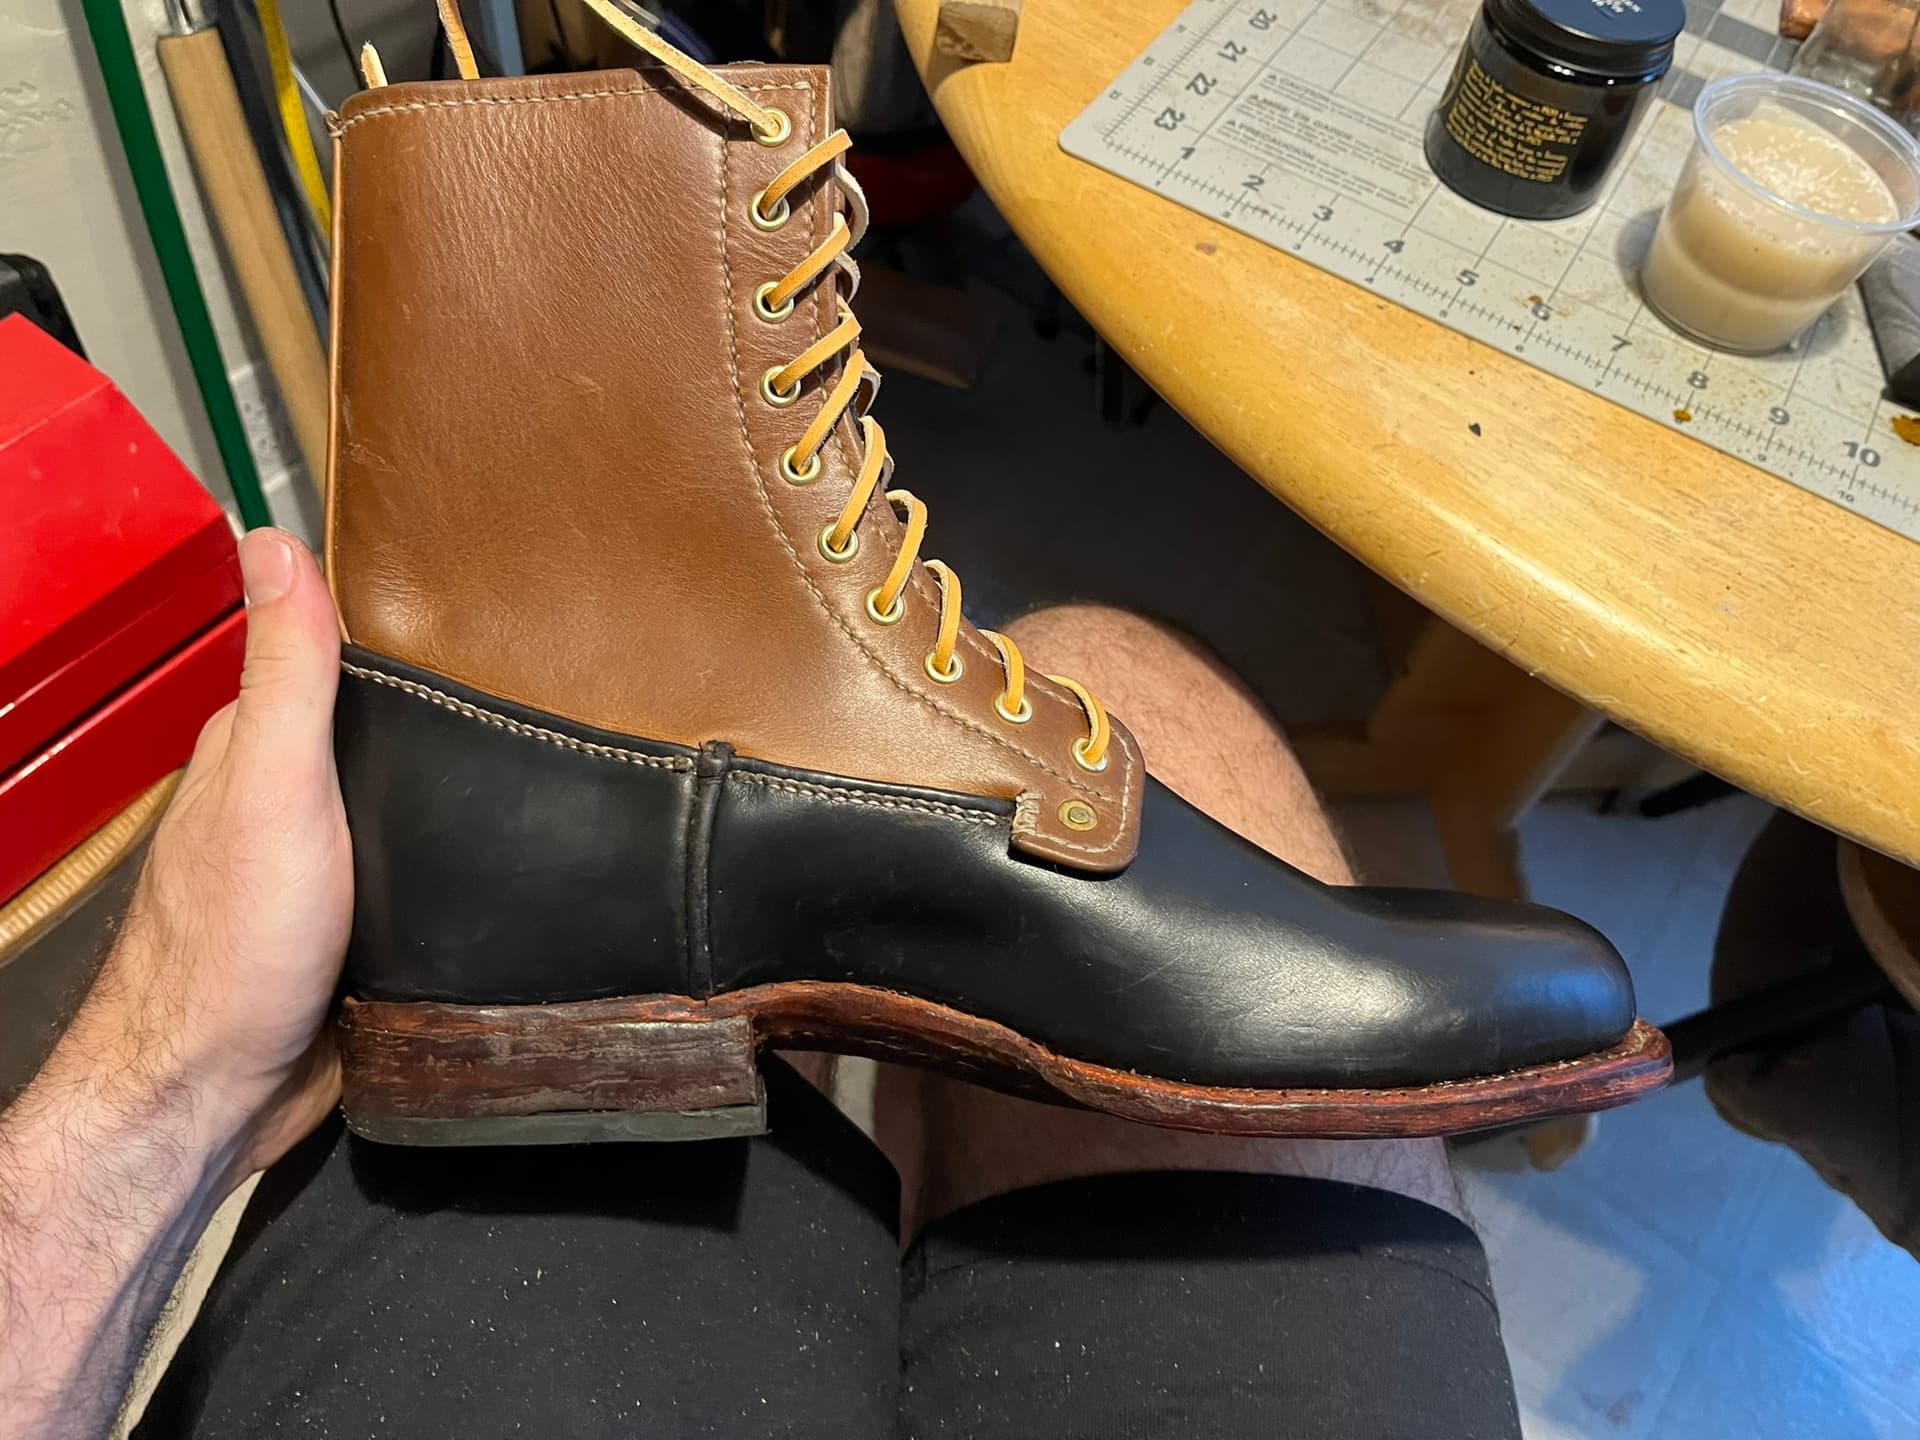
I noticed pretty soon after lasting that one of the heel sections came out a bit fatter, and therefore longer, than the other. One heel stack itself also came out noticeably longer than the other, front to back.
At some point along the way, possibly when I adjusted seam allowances for the vamp-heel-counter-cover seams, after realizing I’d left way too much, the seams on the insides of the boots shifted further back than those on the outsides. In other words, the heel breast lines match the vamp-counter seams on the outsides, but the heel breast stands somewhat forward of the same seams on the insides of the feet.
I may have to go back and look at my patterns and forms to figure out where this originated.
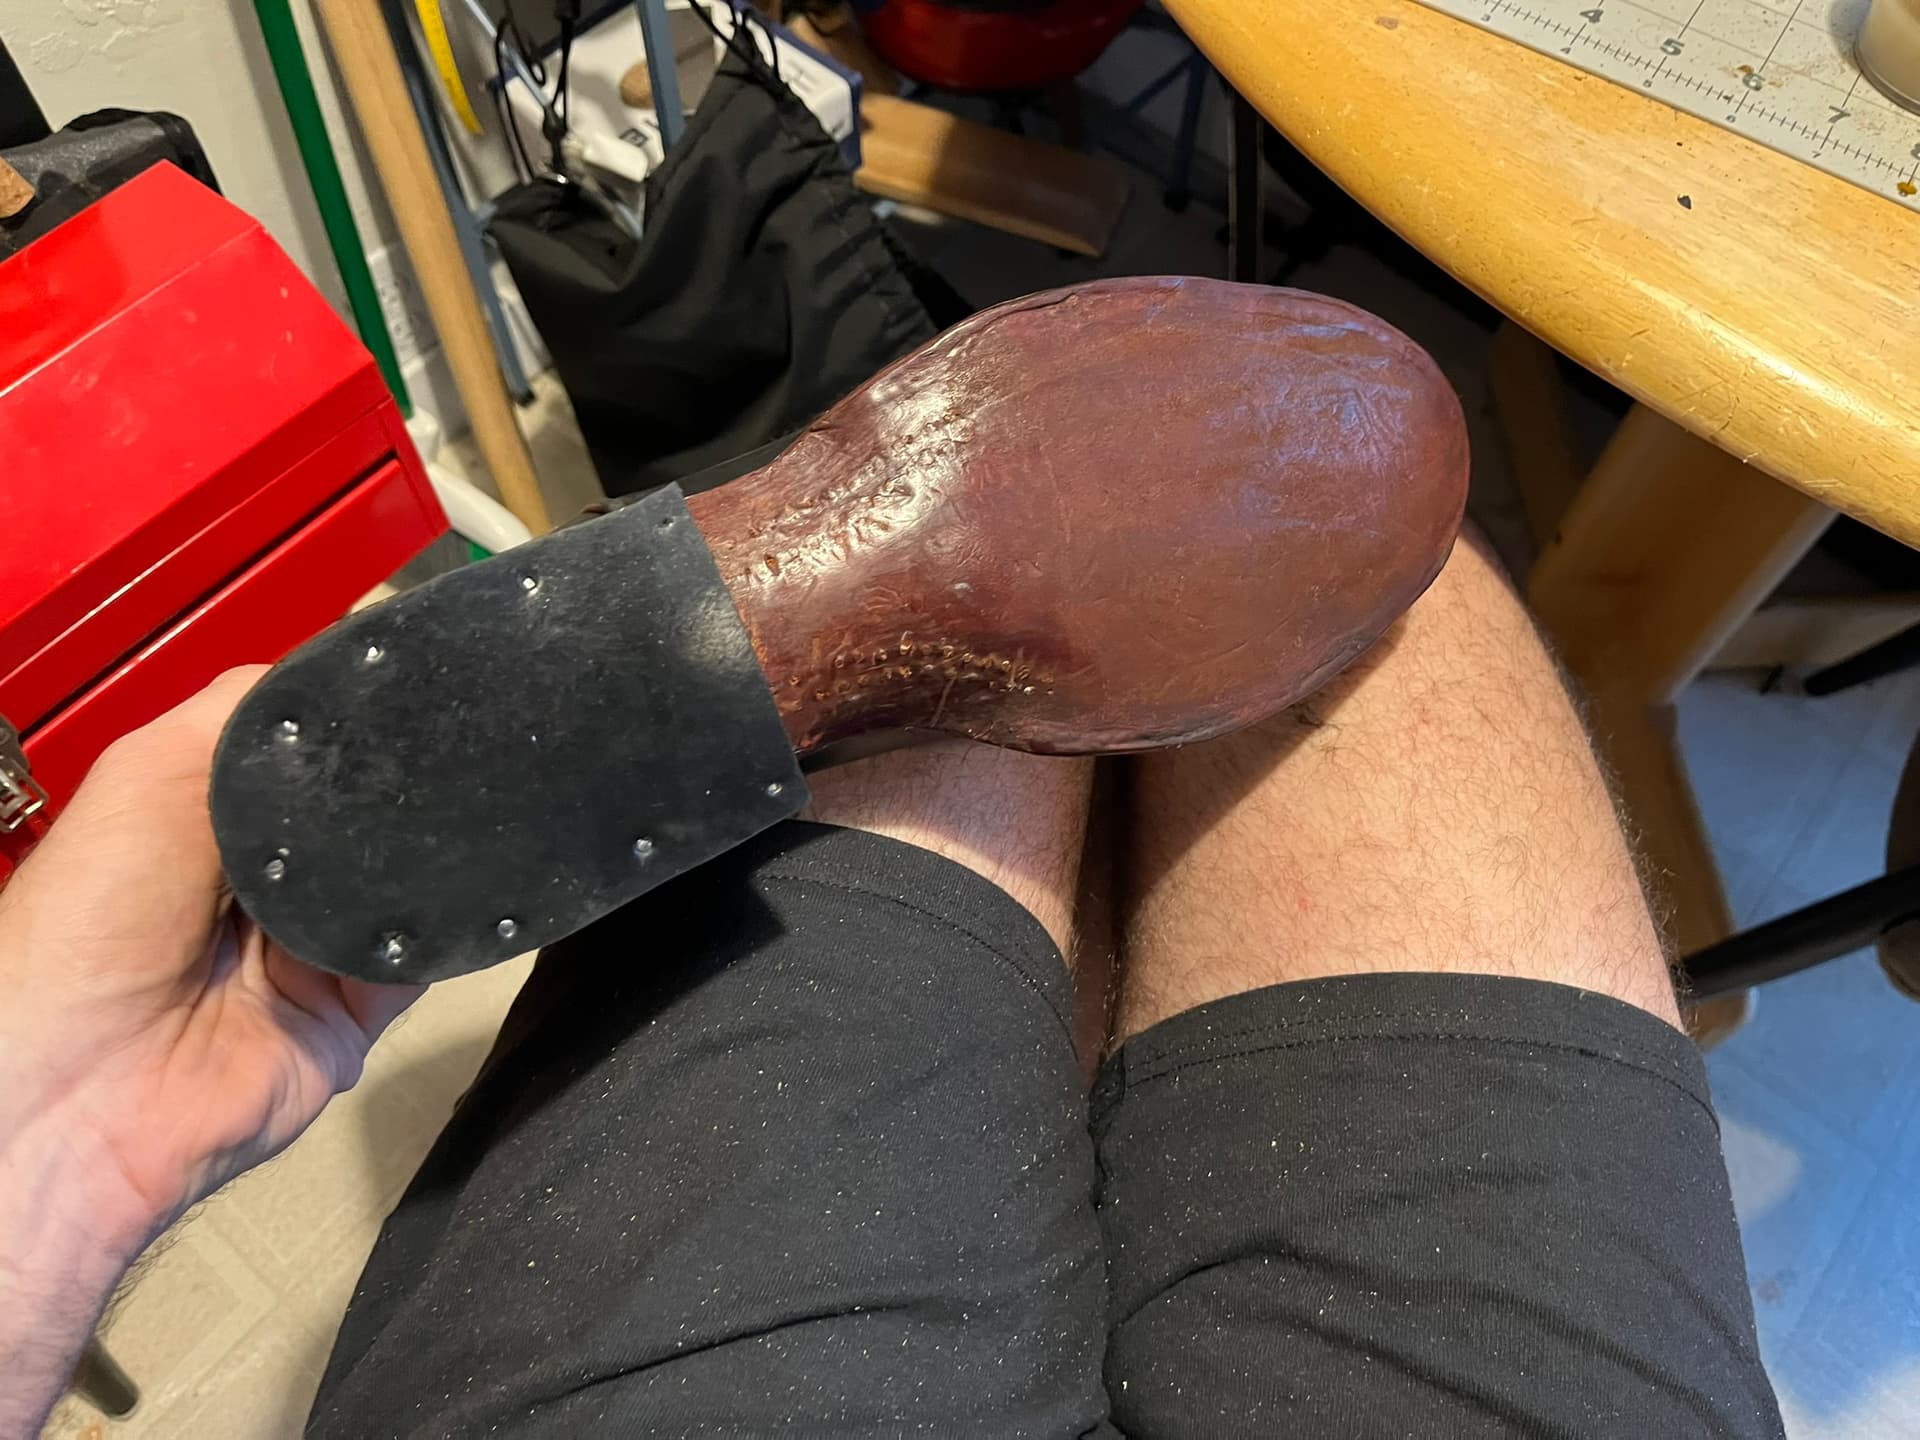
This was first time stacking heels from lifts. I still cheated, by using pre-cut lifts from @customboots’ shop rather than cutting out of my sole bend.
One of the most obvious things I should have done was more proactively patterned my heel blocks, including the breast lines. Among other things, that would have helped me trim each lift more consistently to finished size, so final trimming and finishing would be easier.
For now, I’ve essentially put aside final sanding and shaping. I’d really prefer to avoid adding power tools to my process, even a simple benchtop sander. But if I’m going to go that route, I clearly need to invest in a lot more planning to get results on par with what folks expect from shoe repair shops.
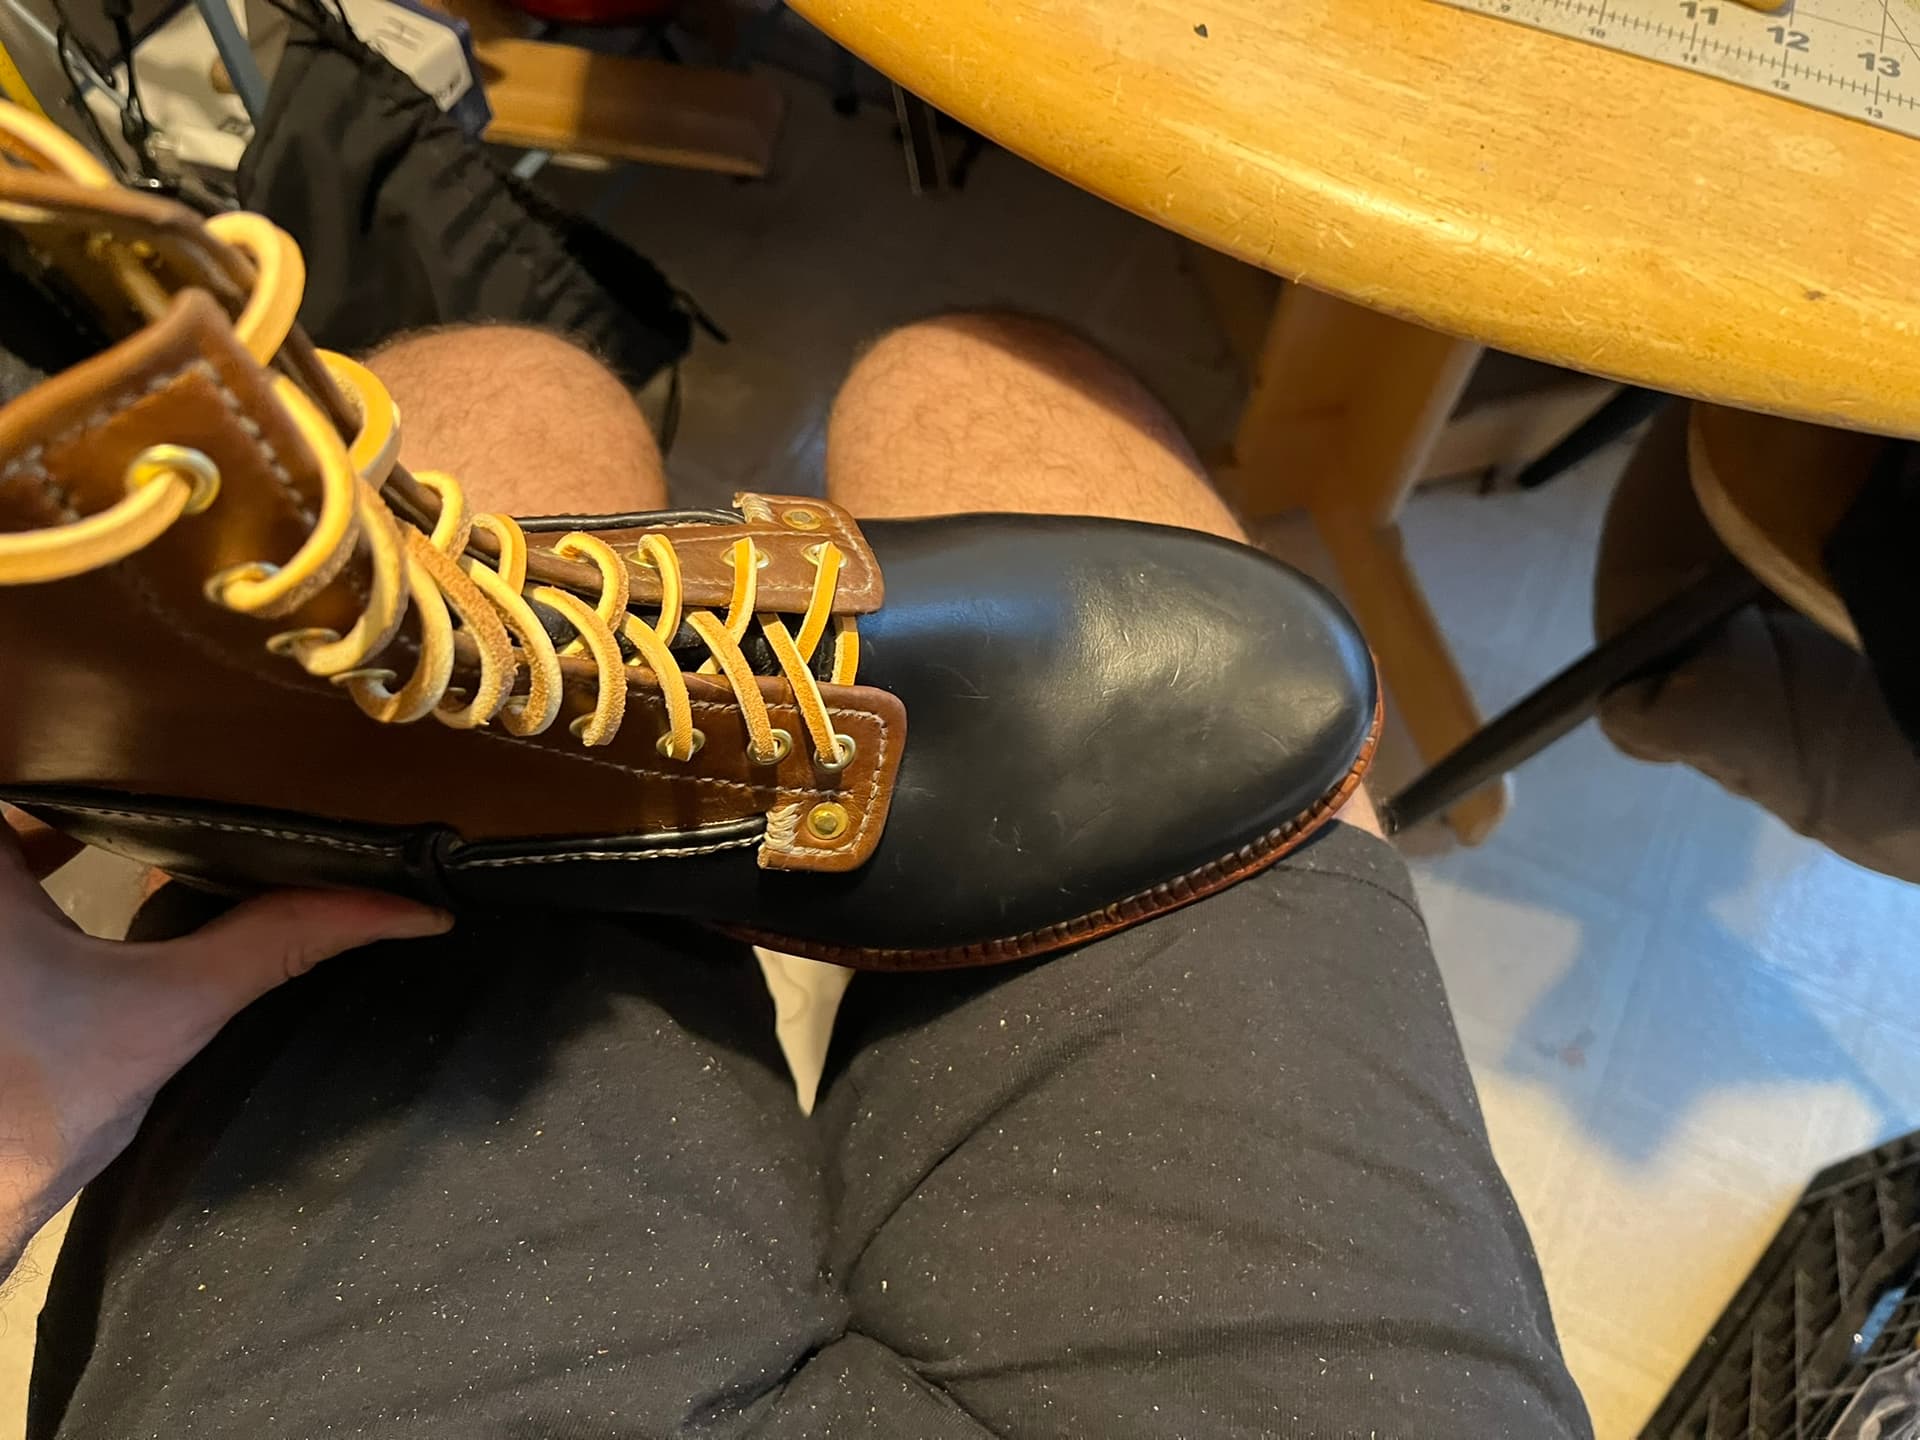
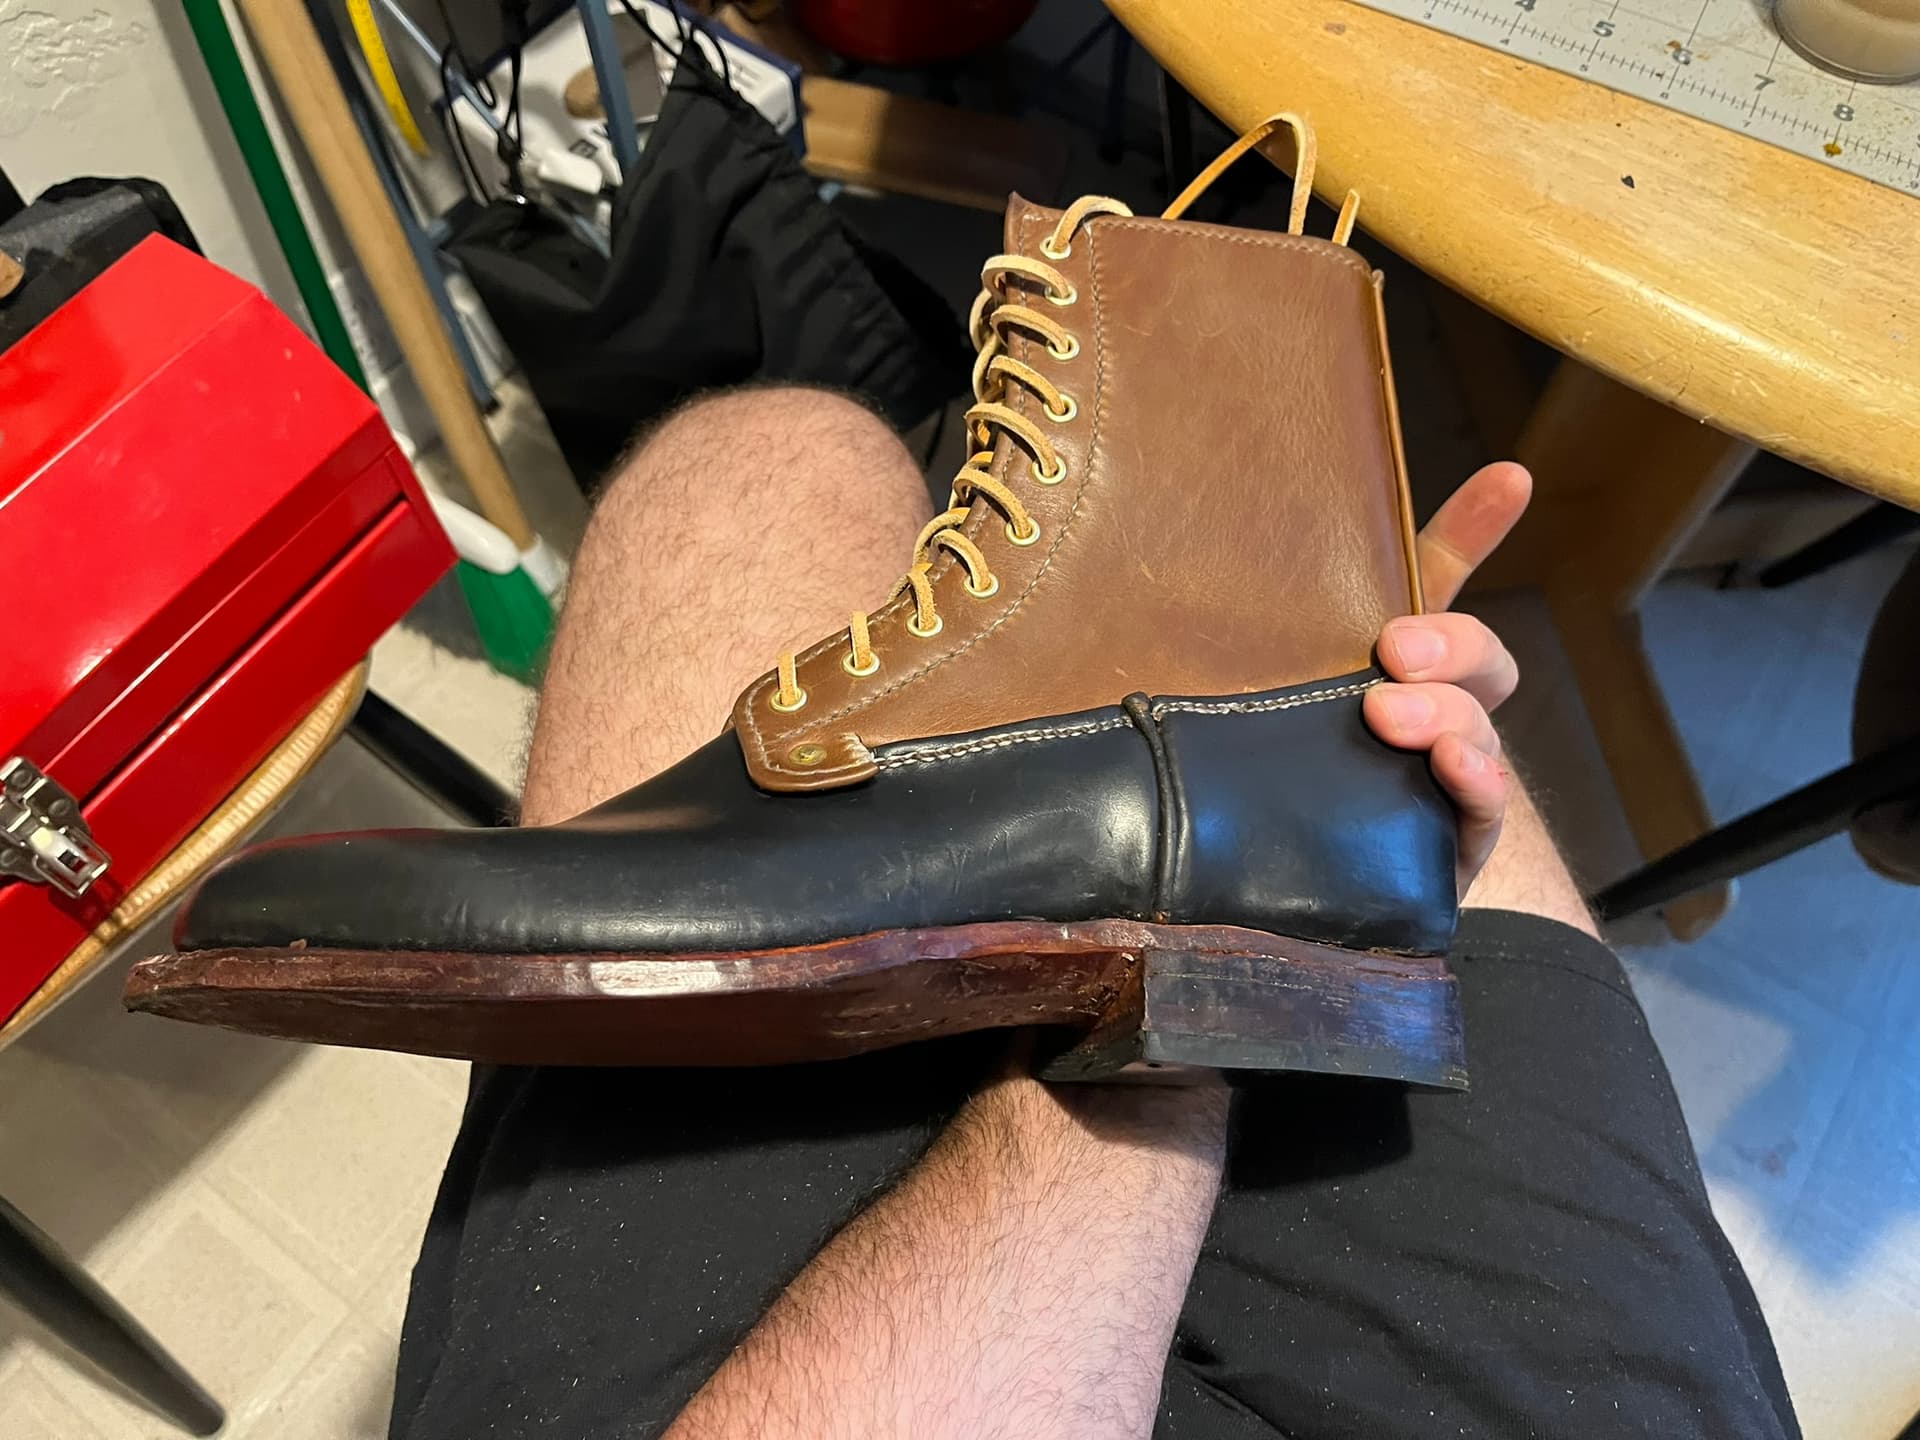
It might still be too early to tell, but I was surprised how apparent the shapes of the leather toe stiffeners seemed to me just as soon as I pulled the lasts out. I’m definitely thinking I should go to thinner leather overall for stiffeners—or prepare to skive down what I have been using aggressively—but I didn’t see this coming on the toes.
On the bright side, the toe stiffeners defeinitely feel robust. And I’m glad I included them on this pair, in light of the style.
@Twand I’d made a reminder for myself to make sure to send you a short thanks when I finally finished pair number two. I really appreciated you taking the time to meet me, show me around your shop, and answer so many of my goofy questions by e-mail!
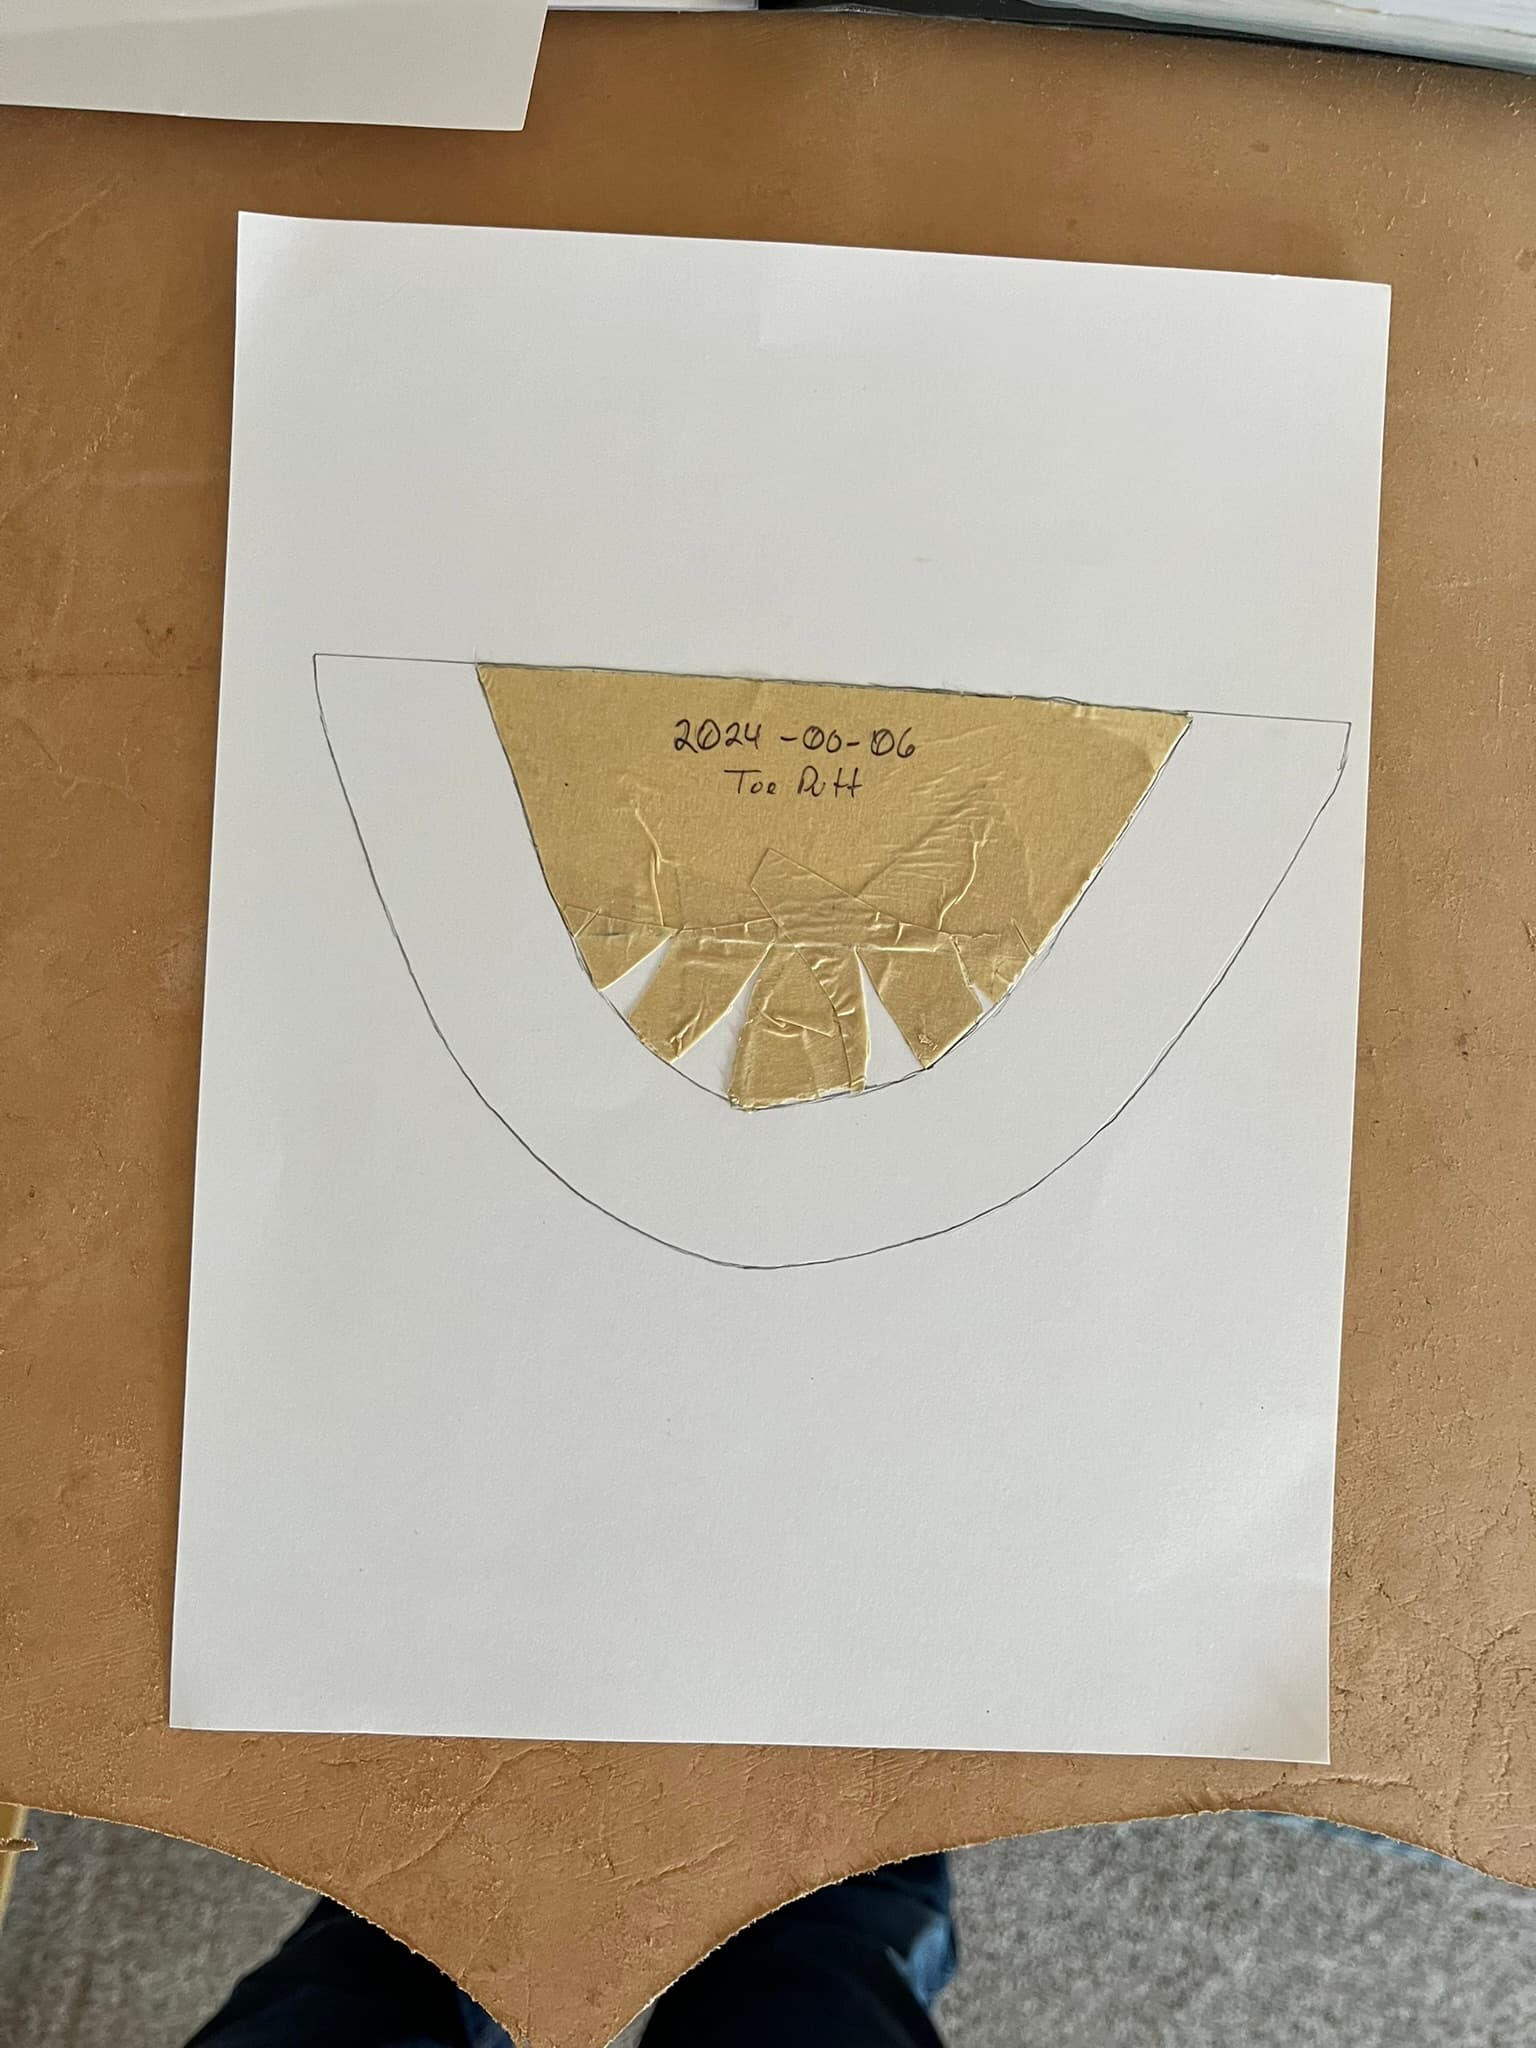
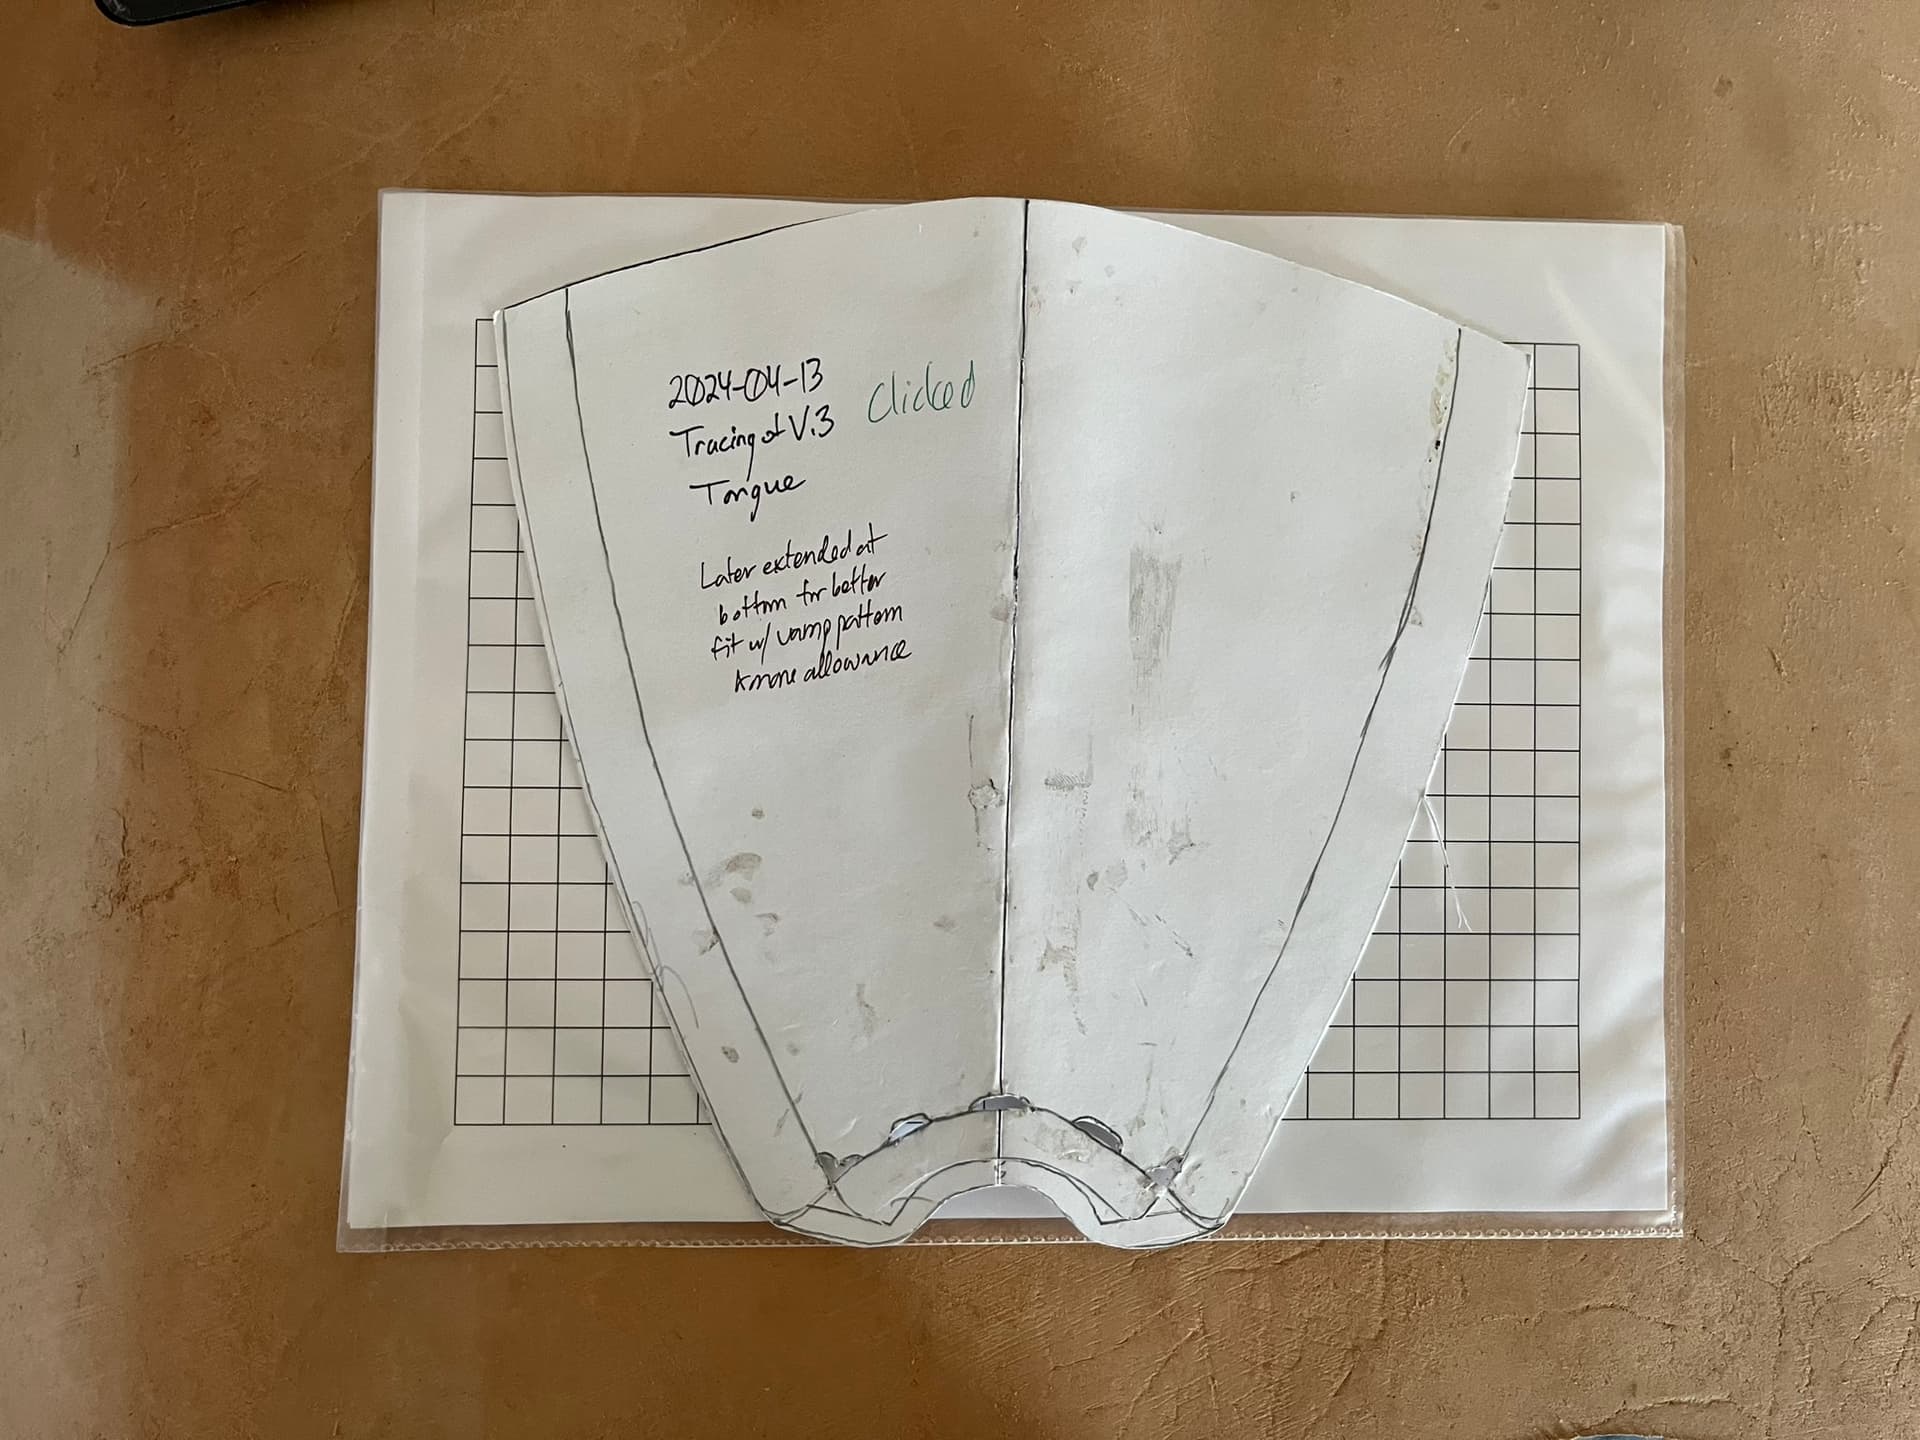
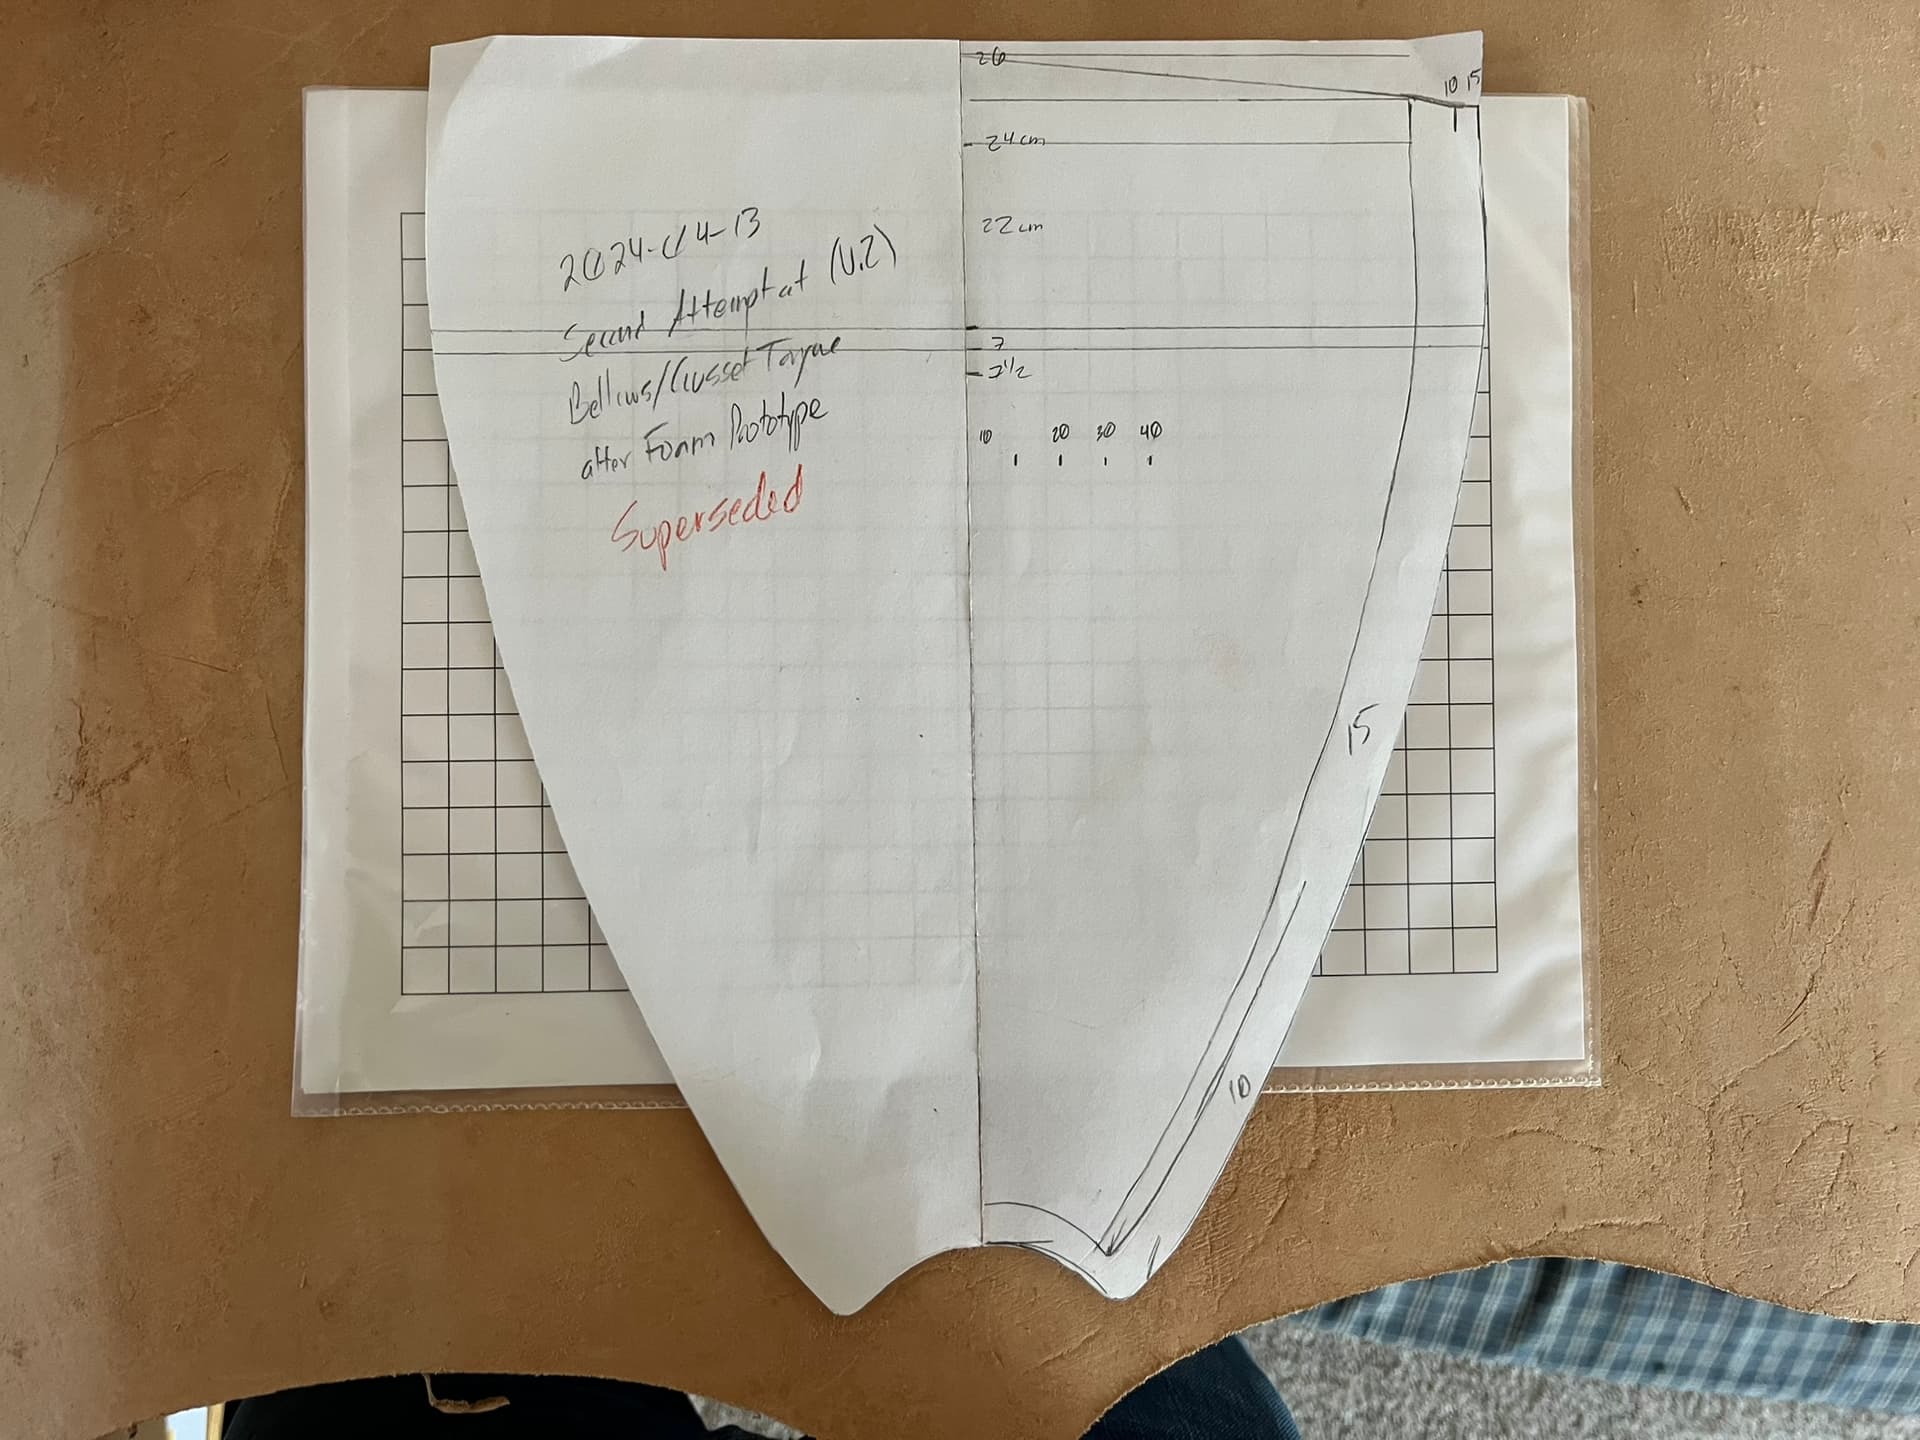
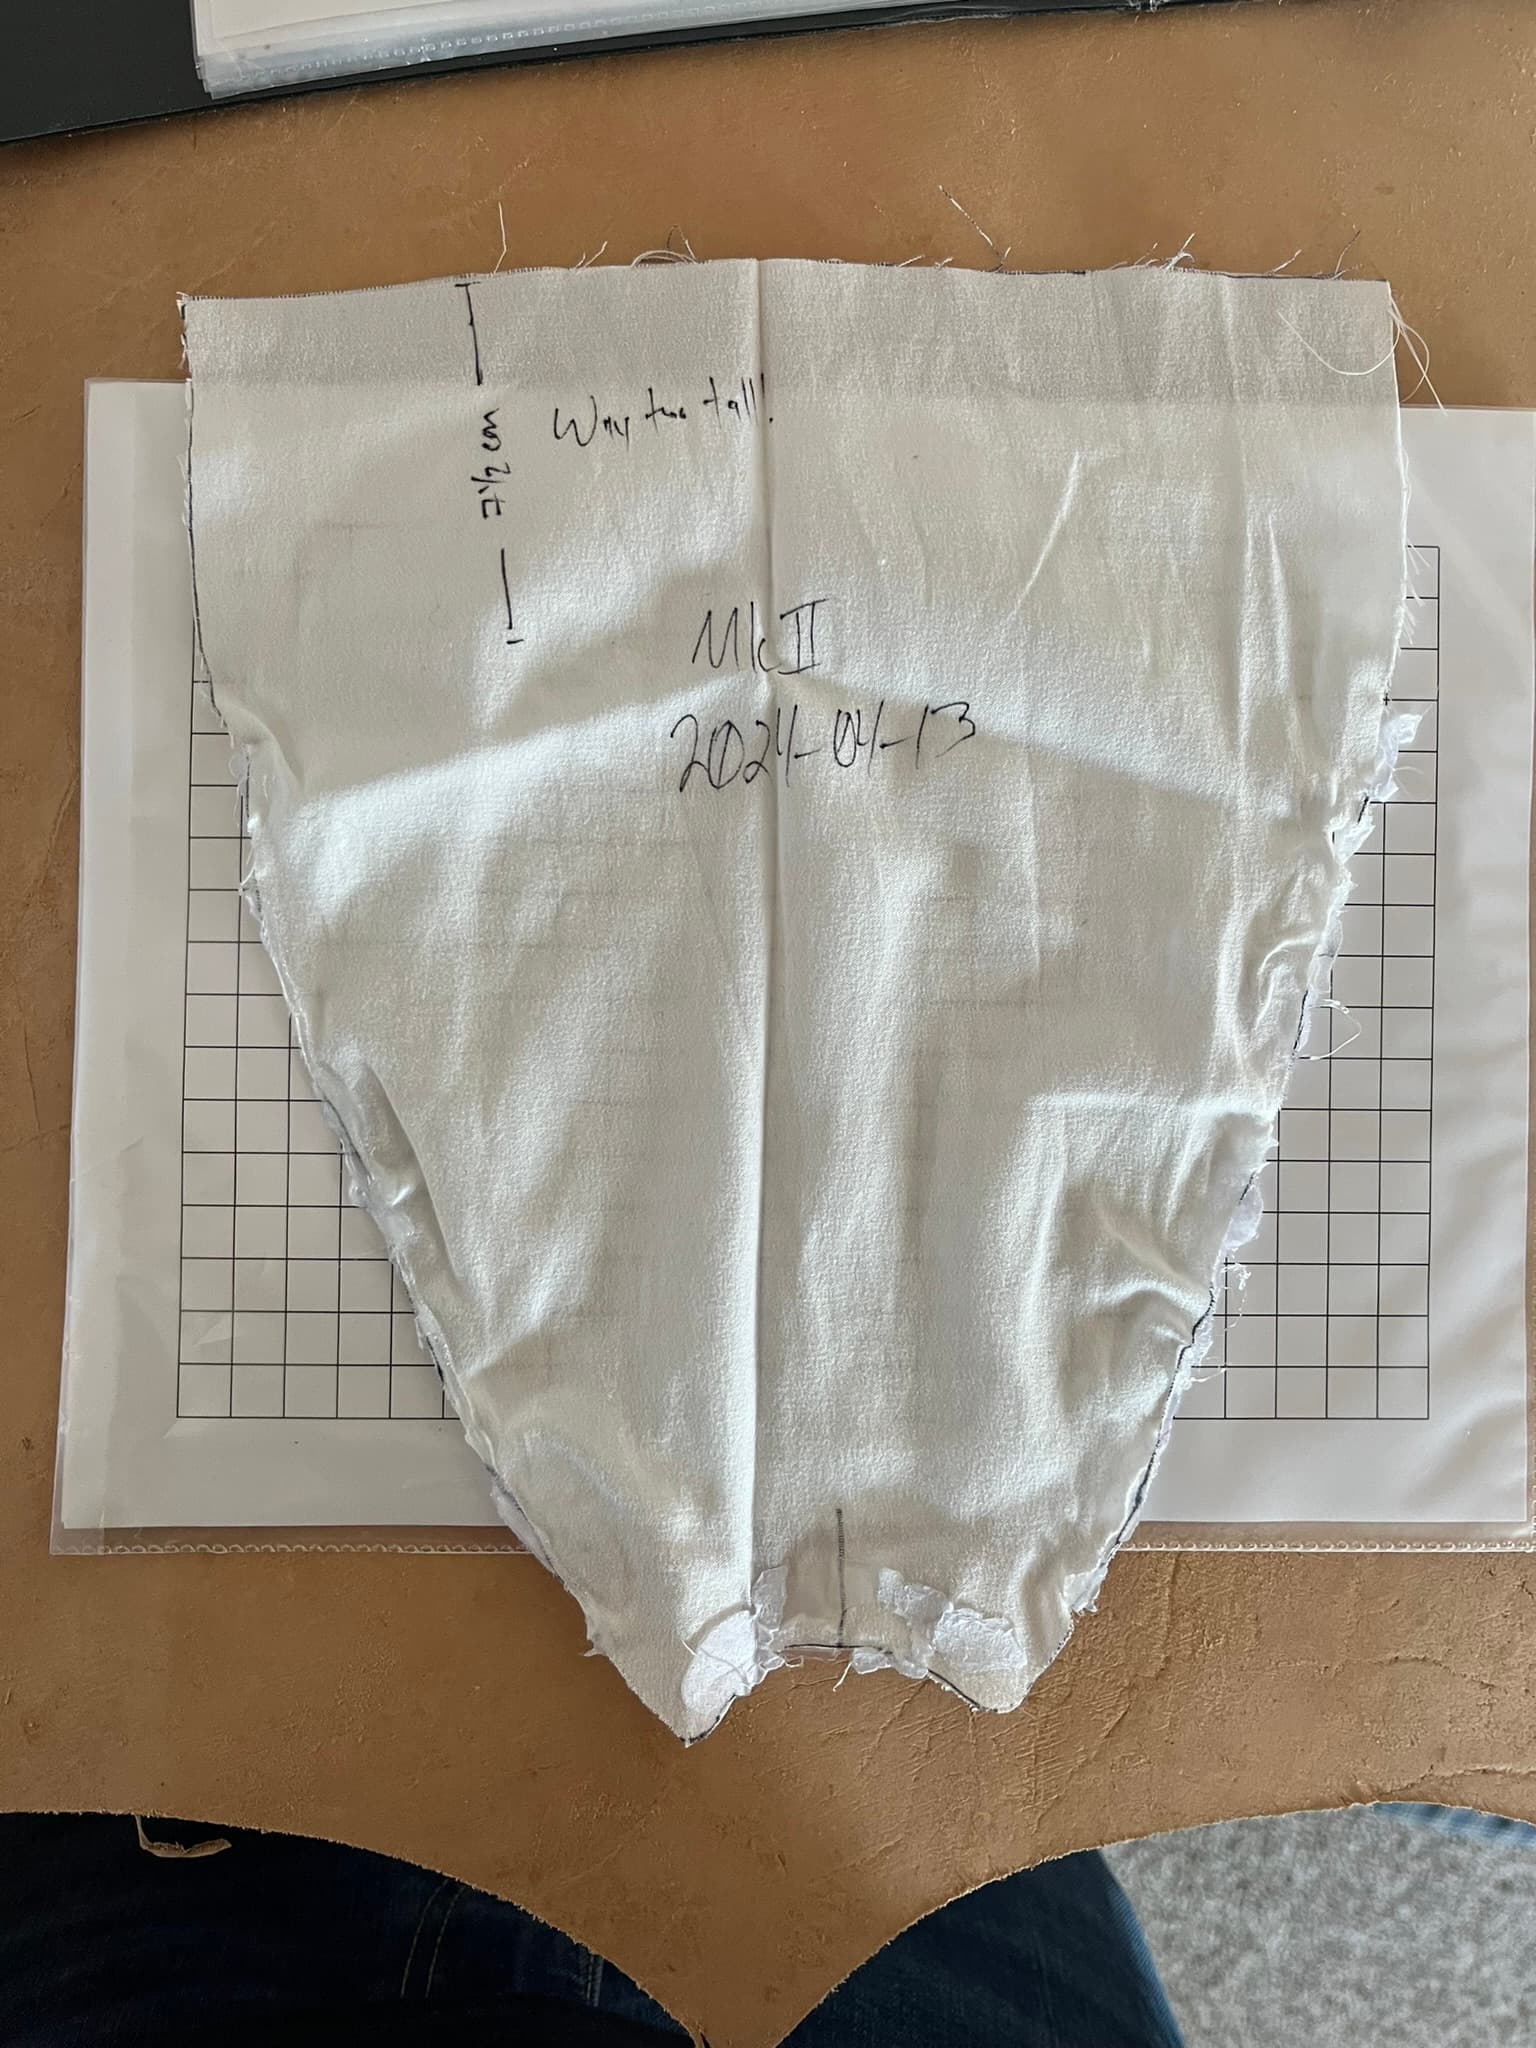
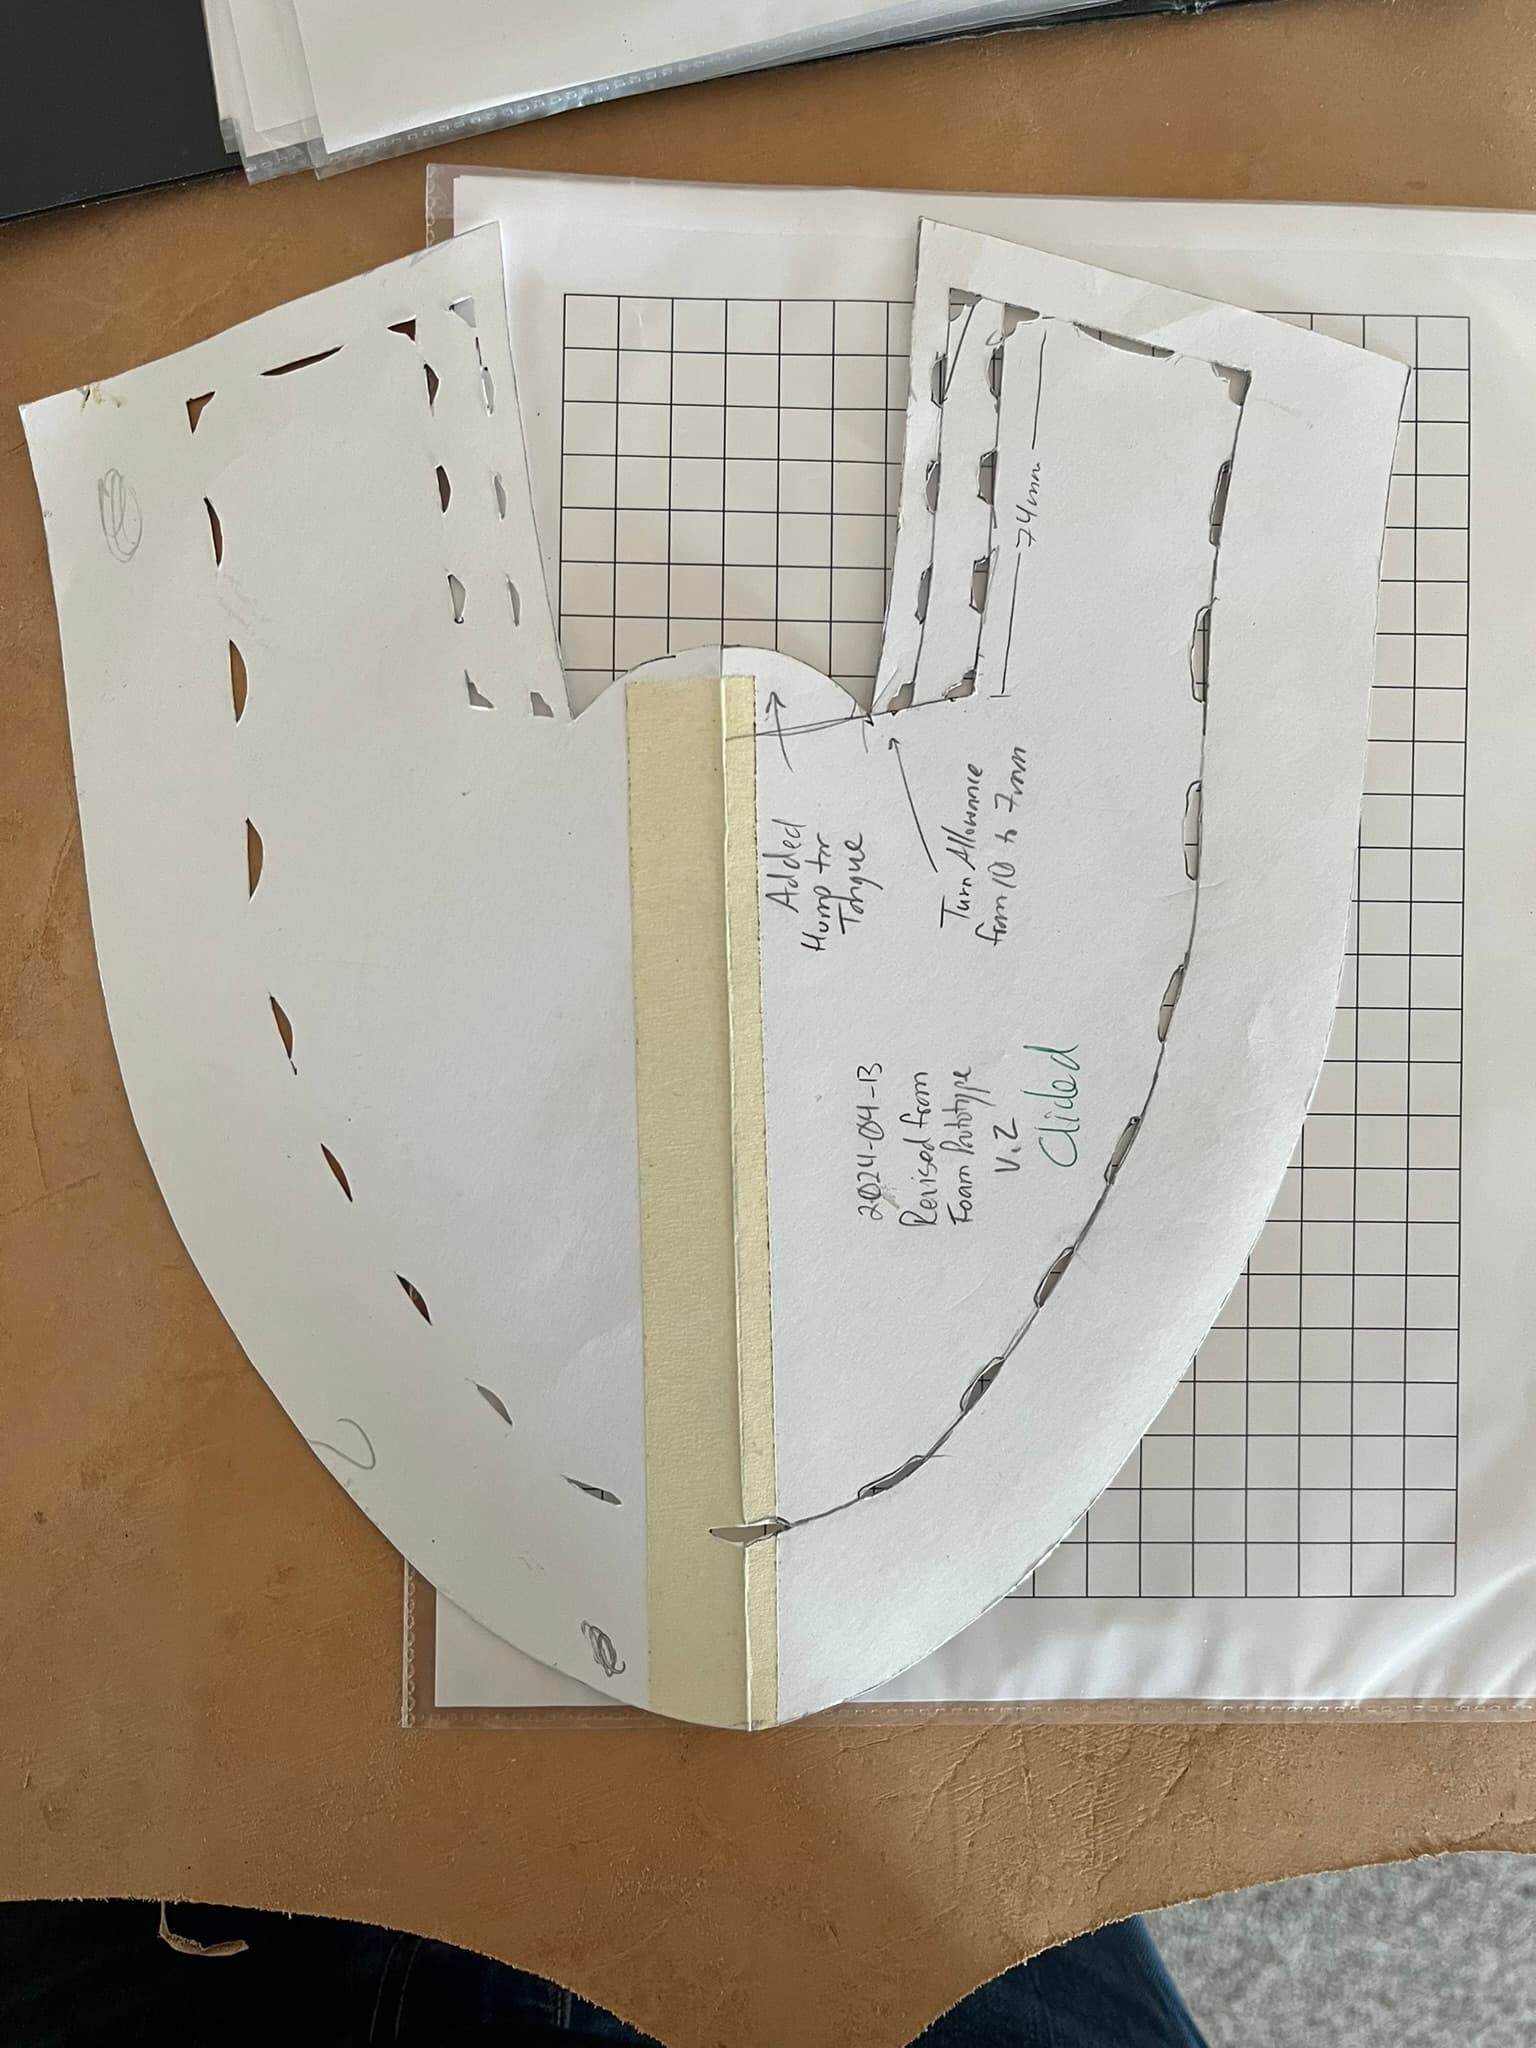
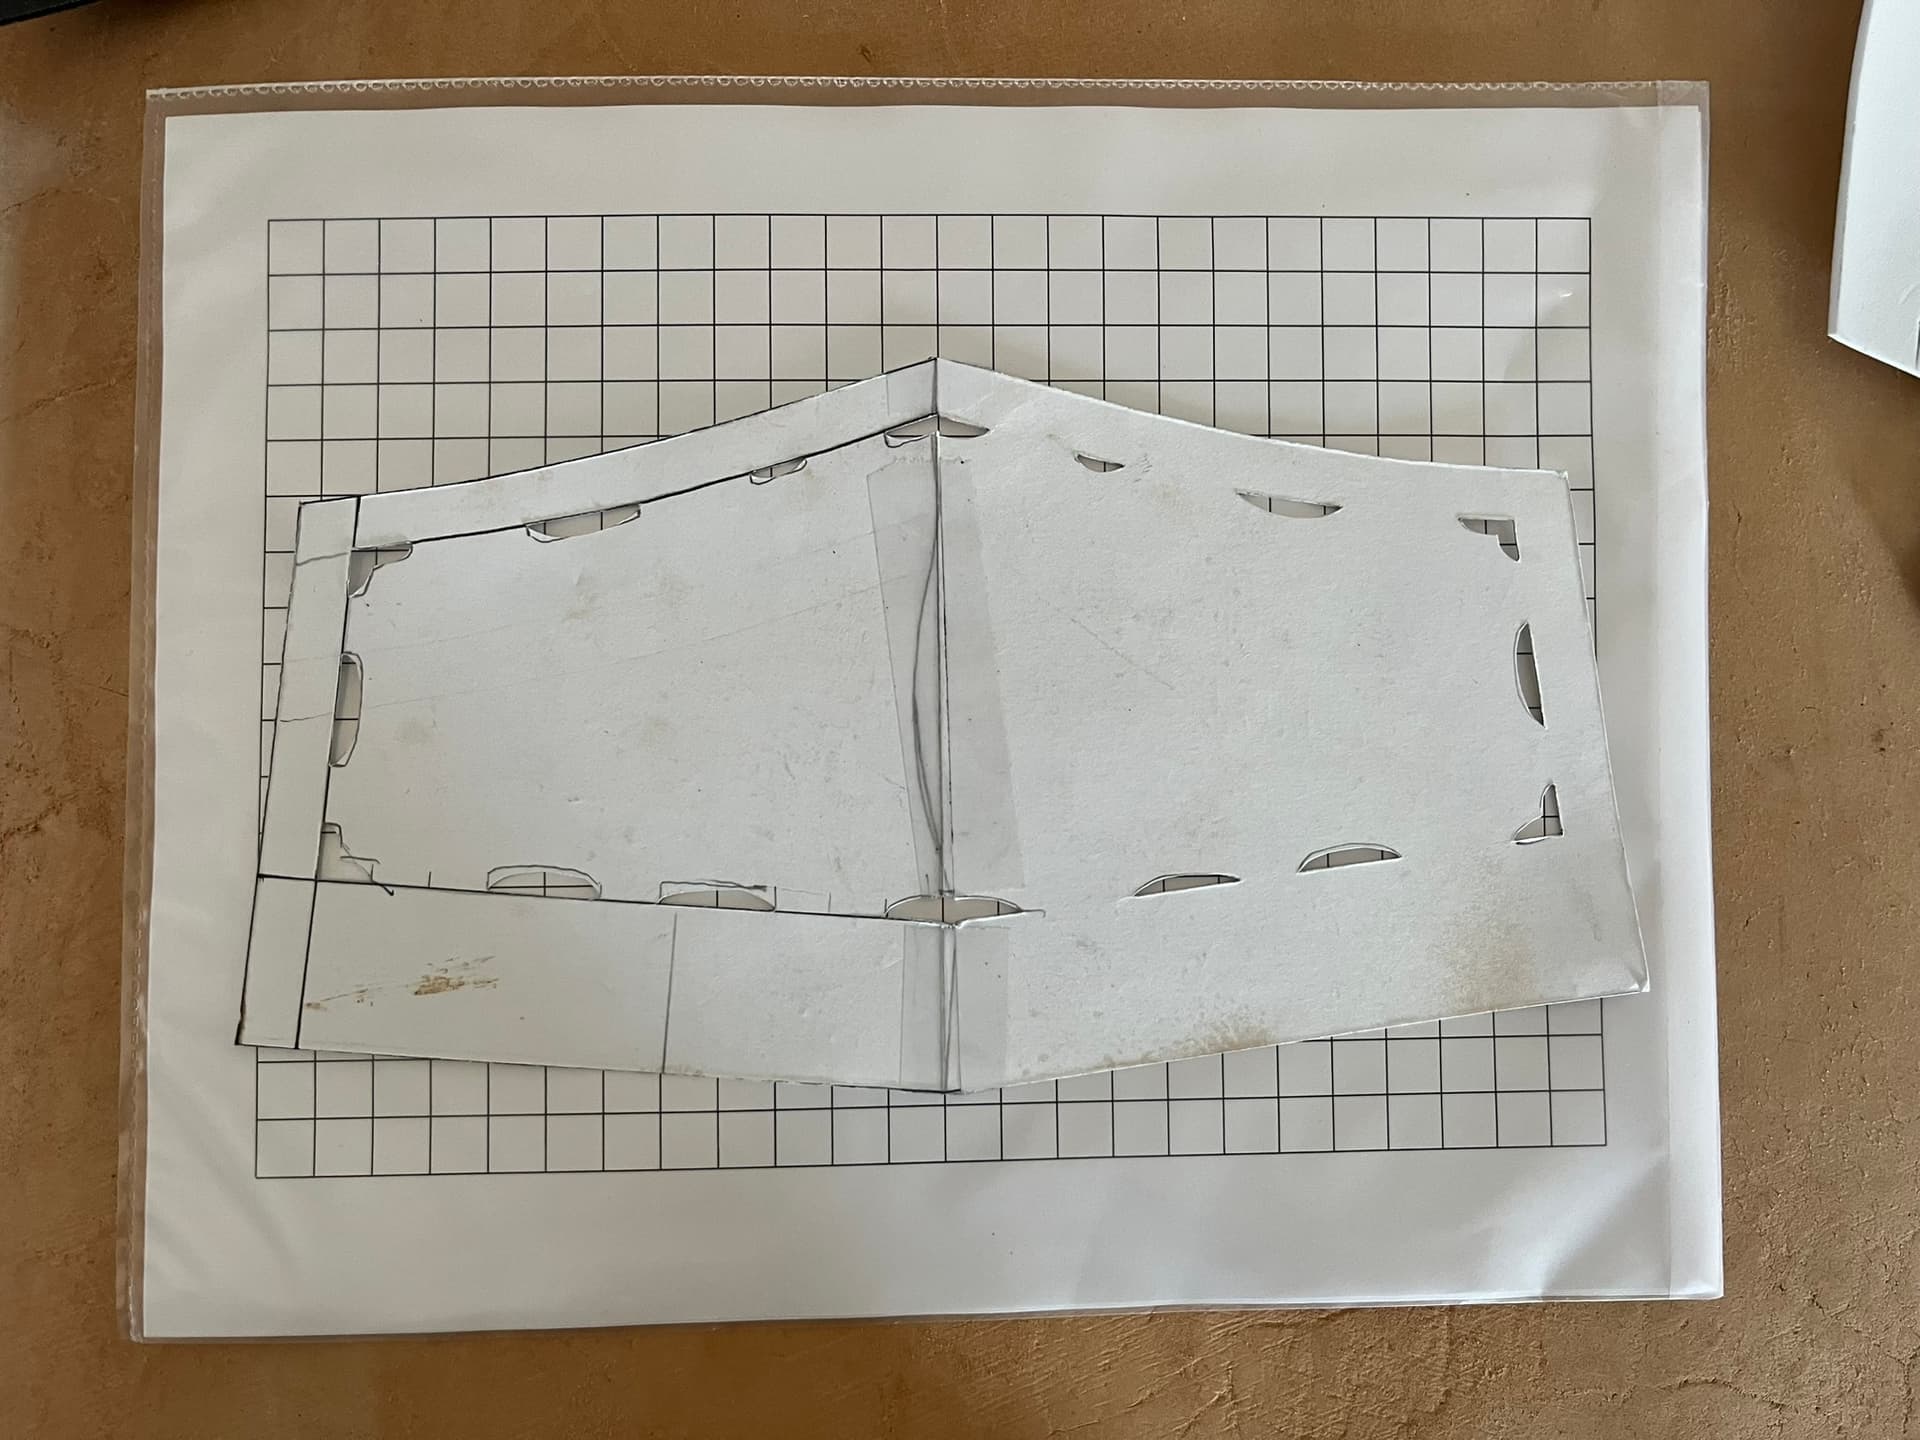
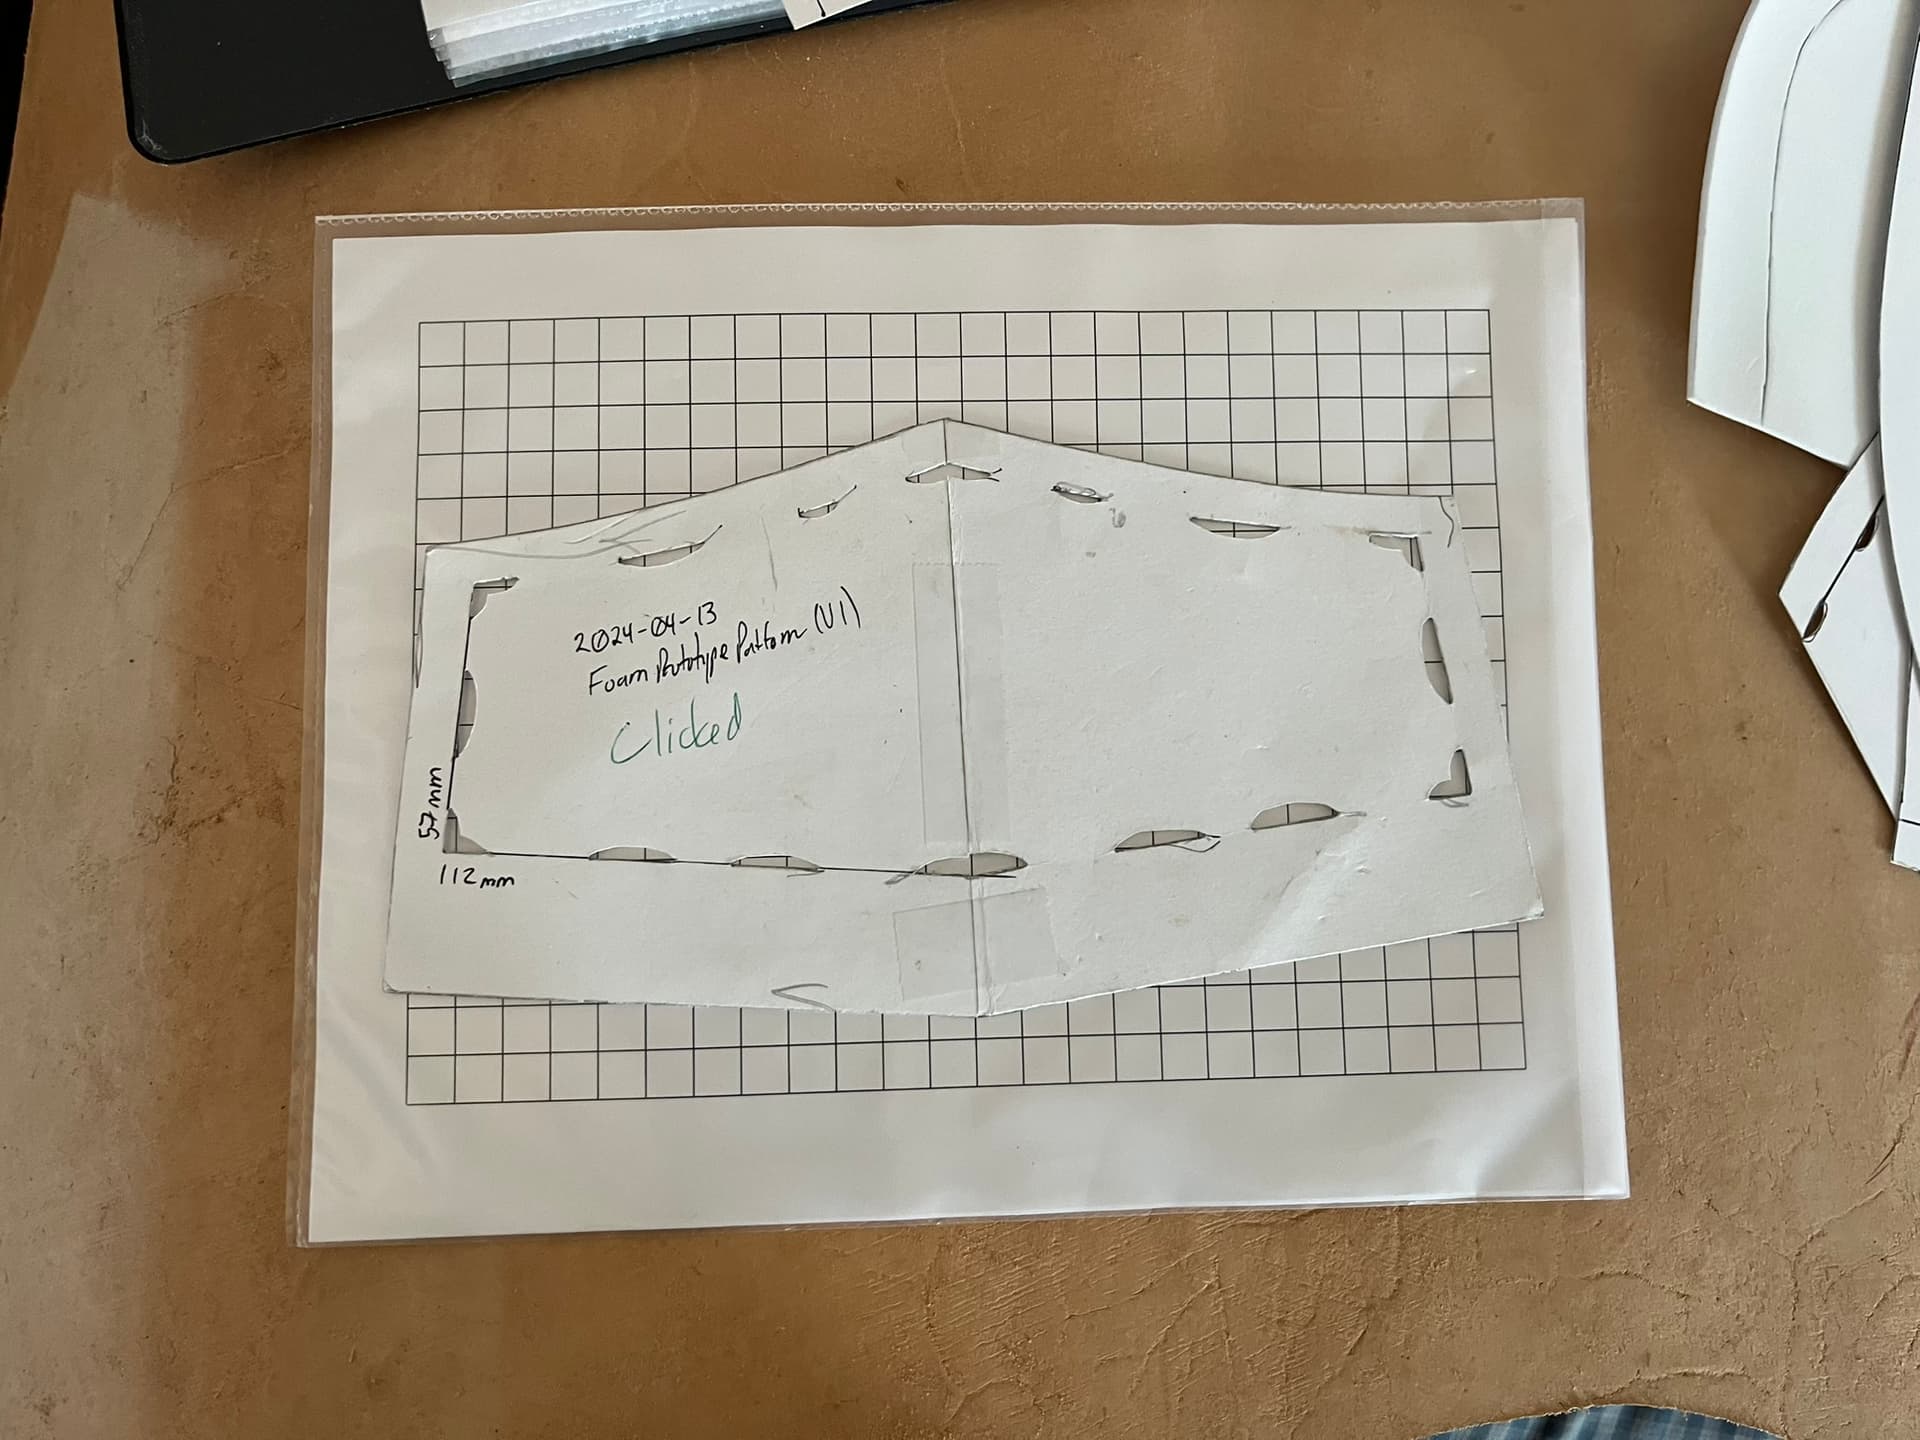
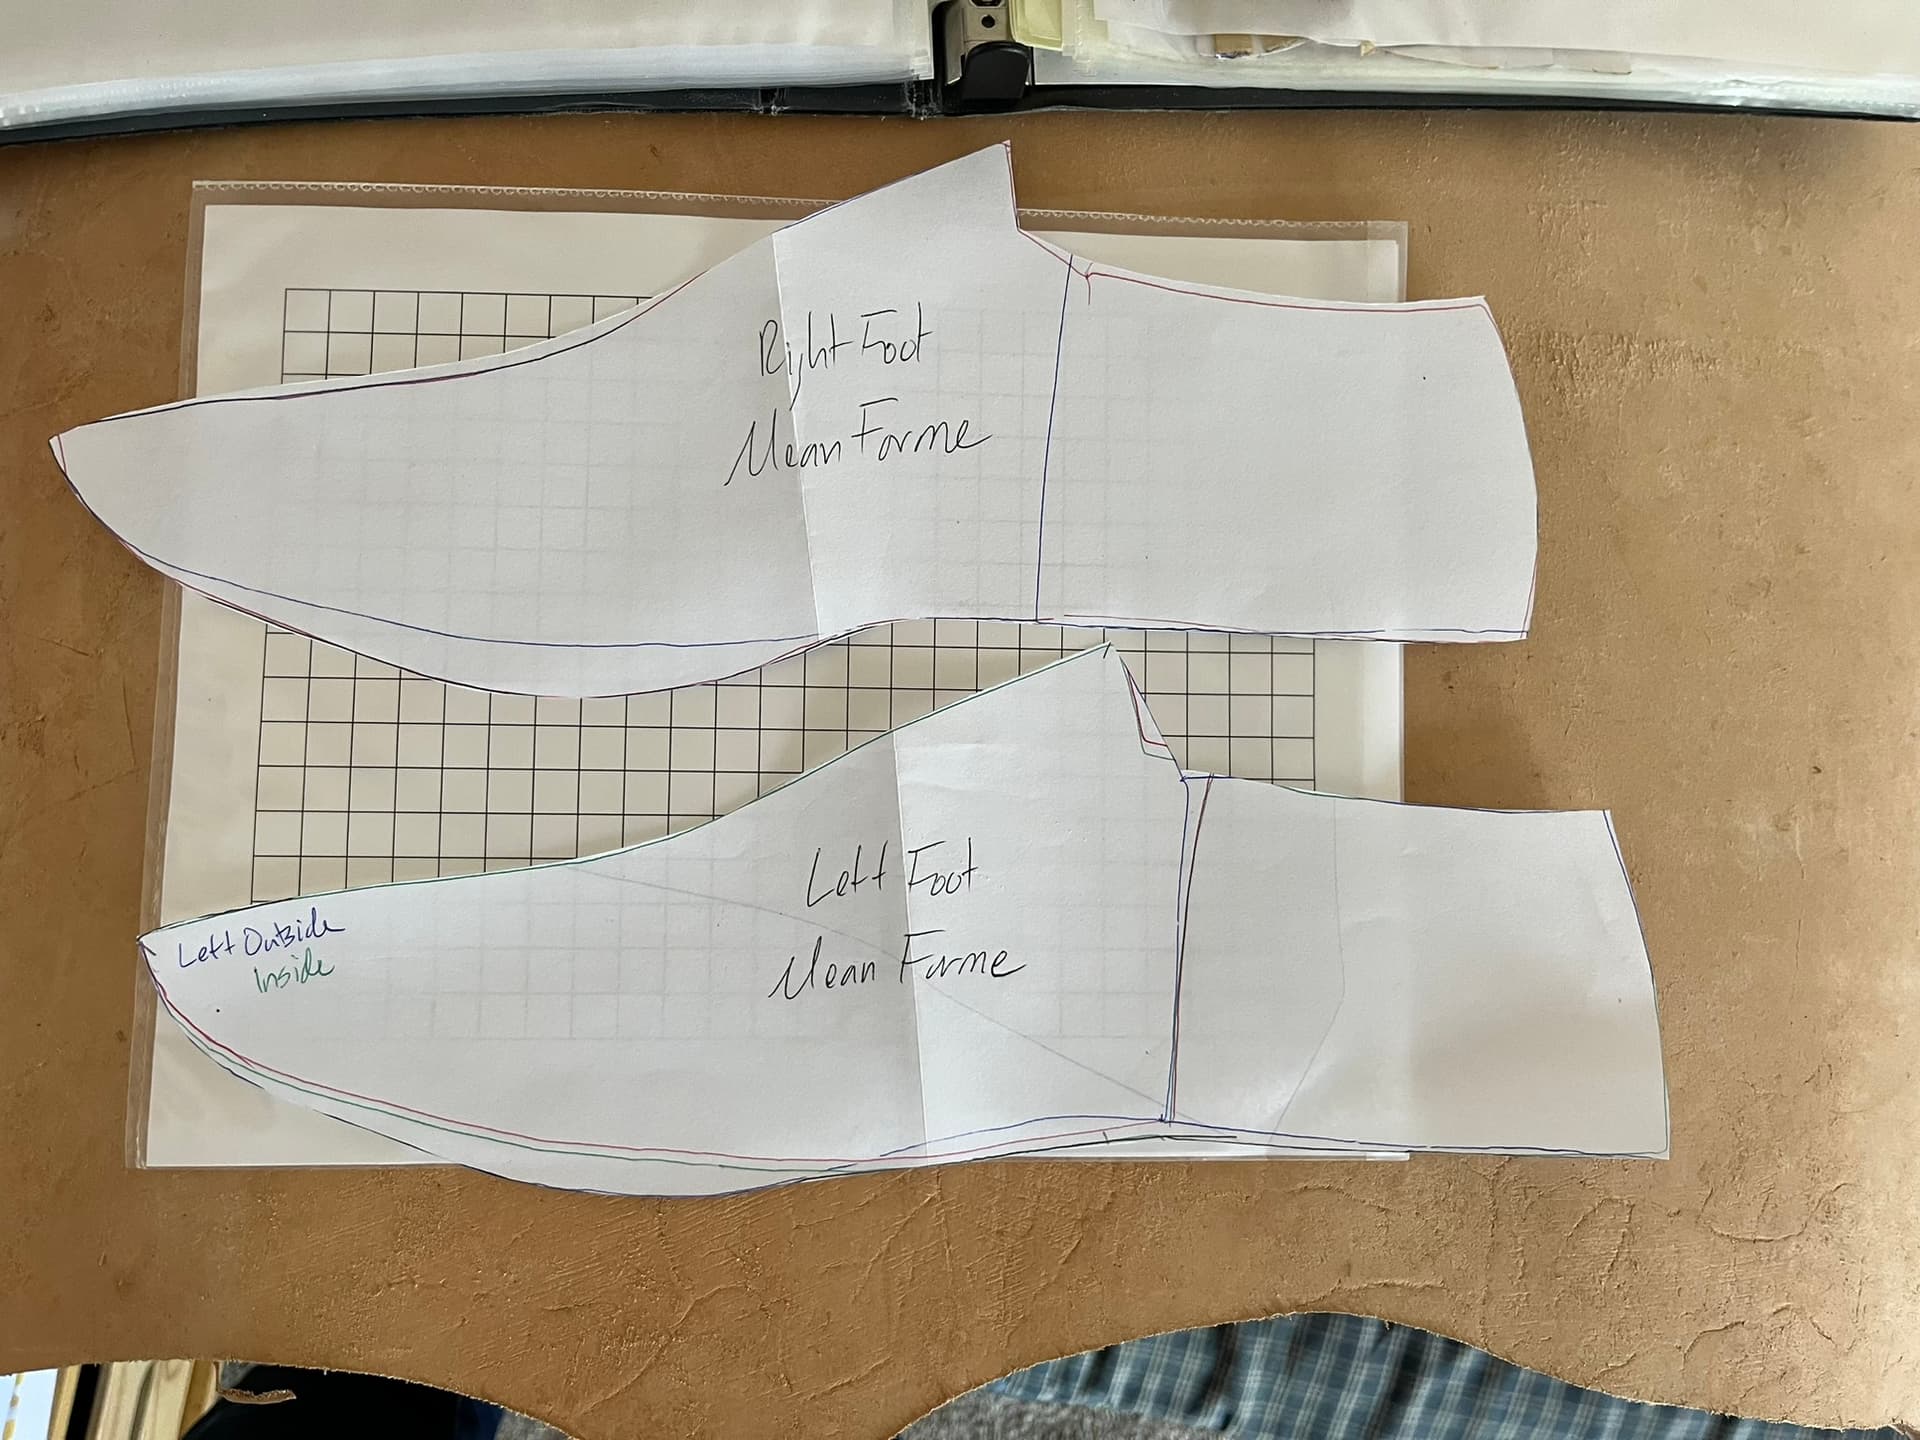
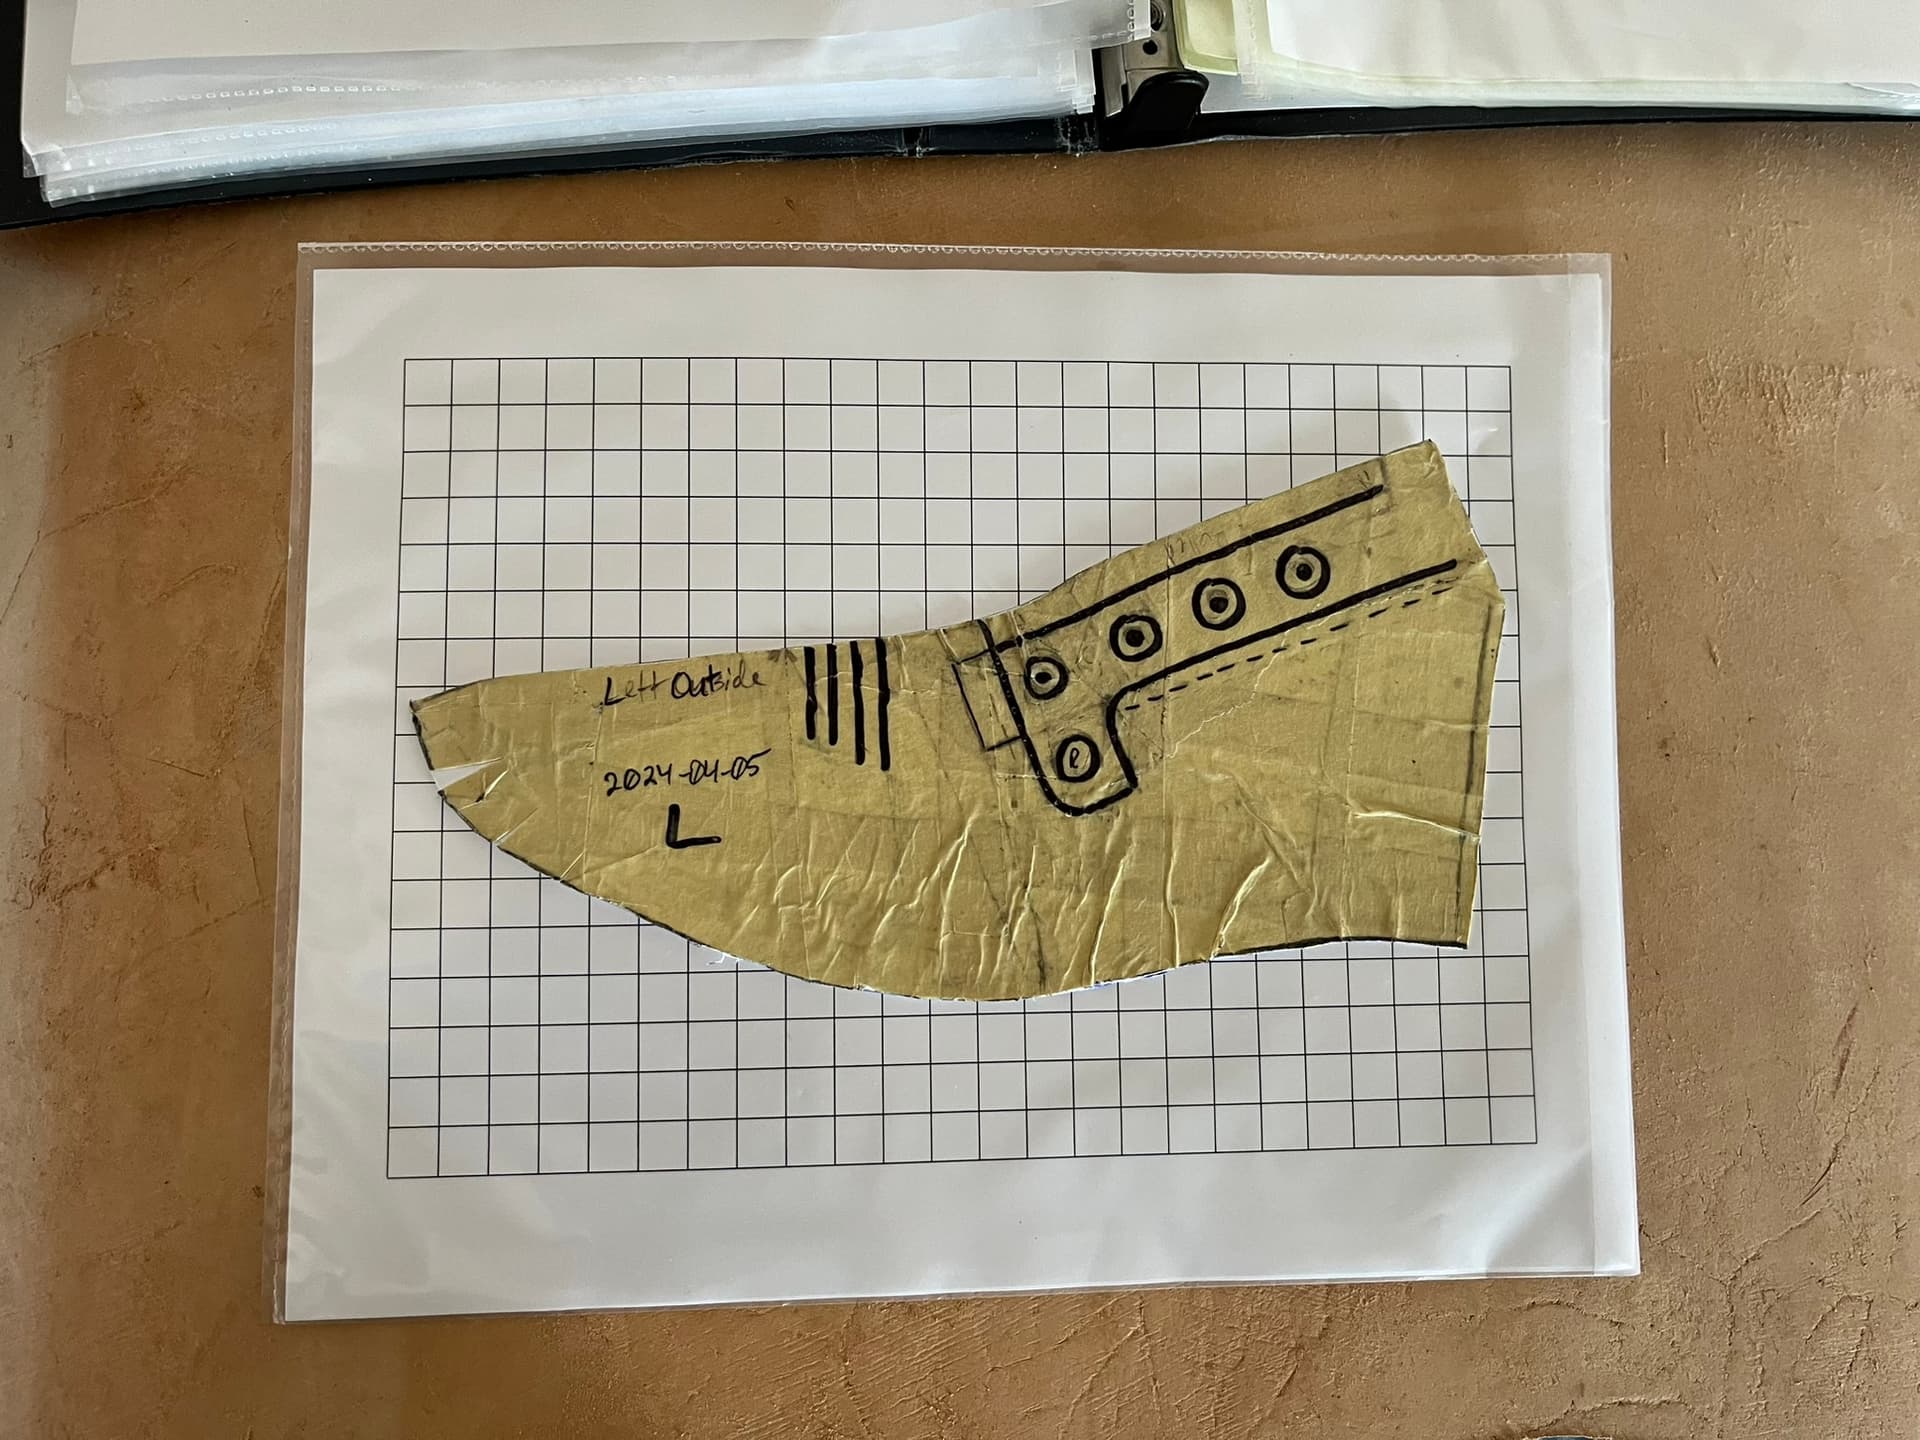
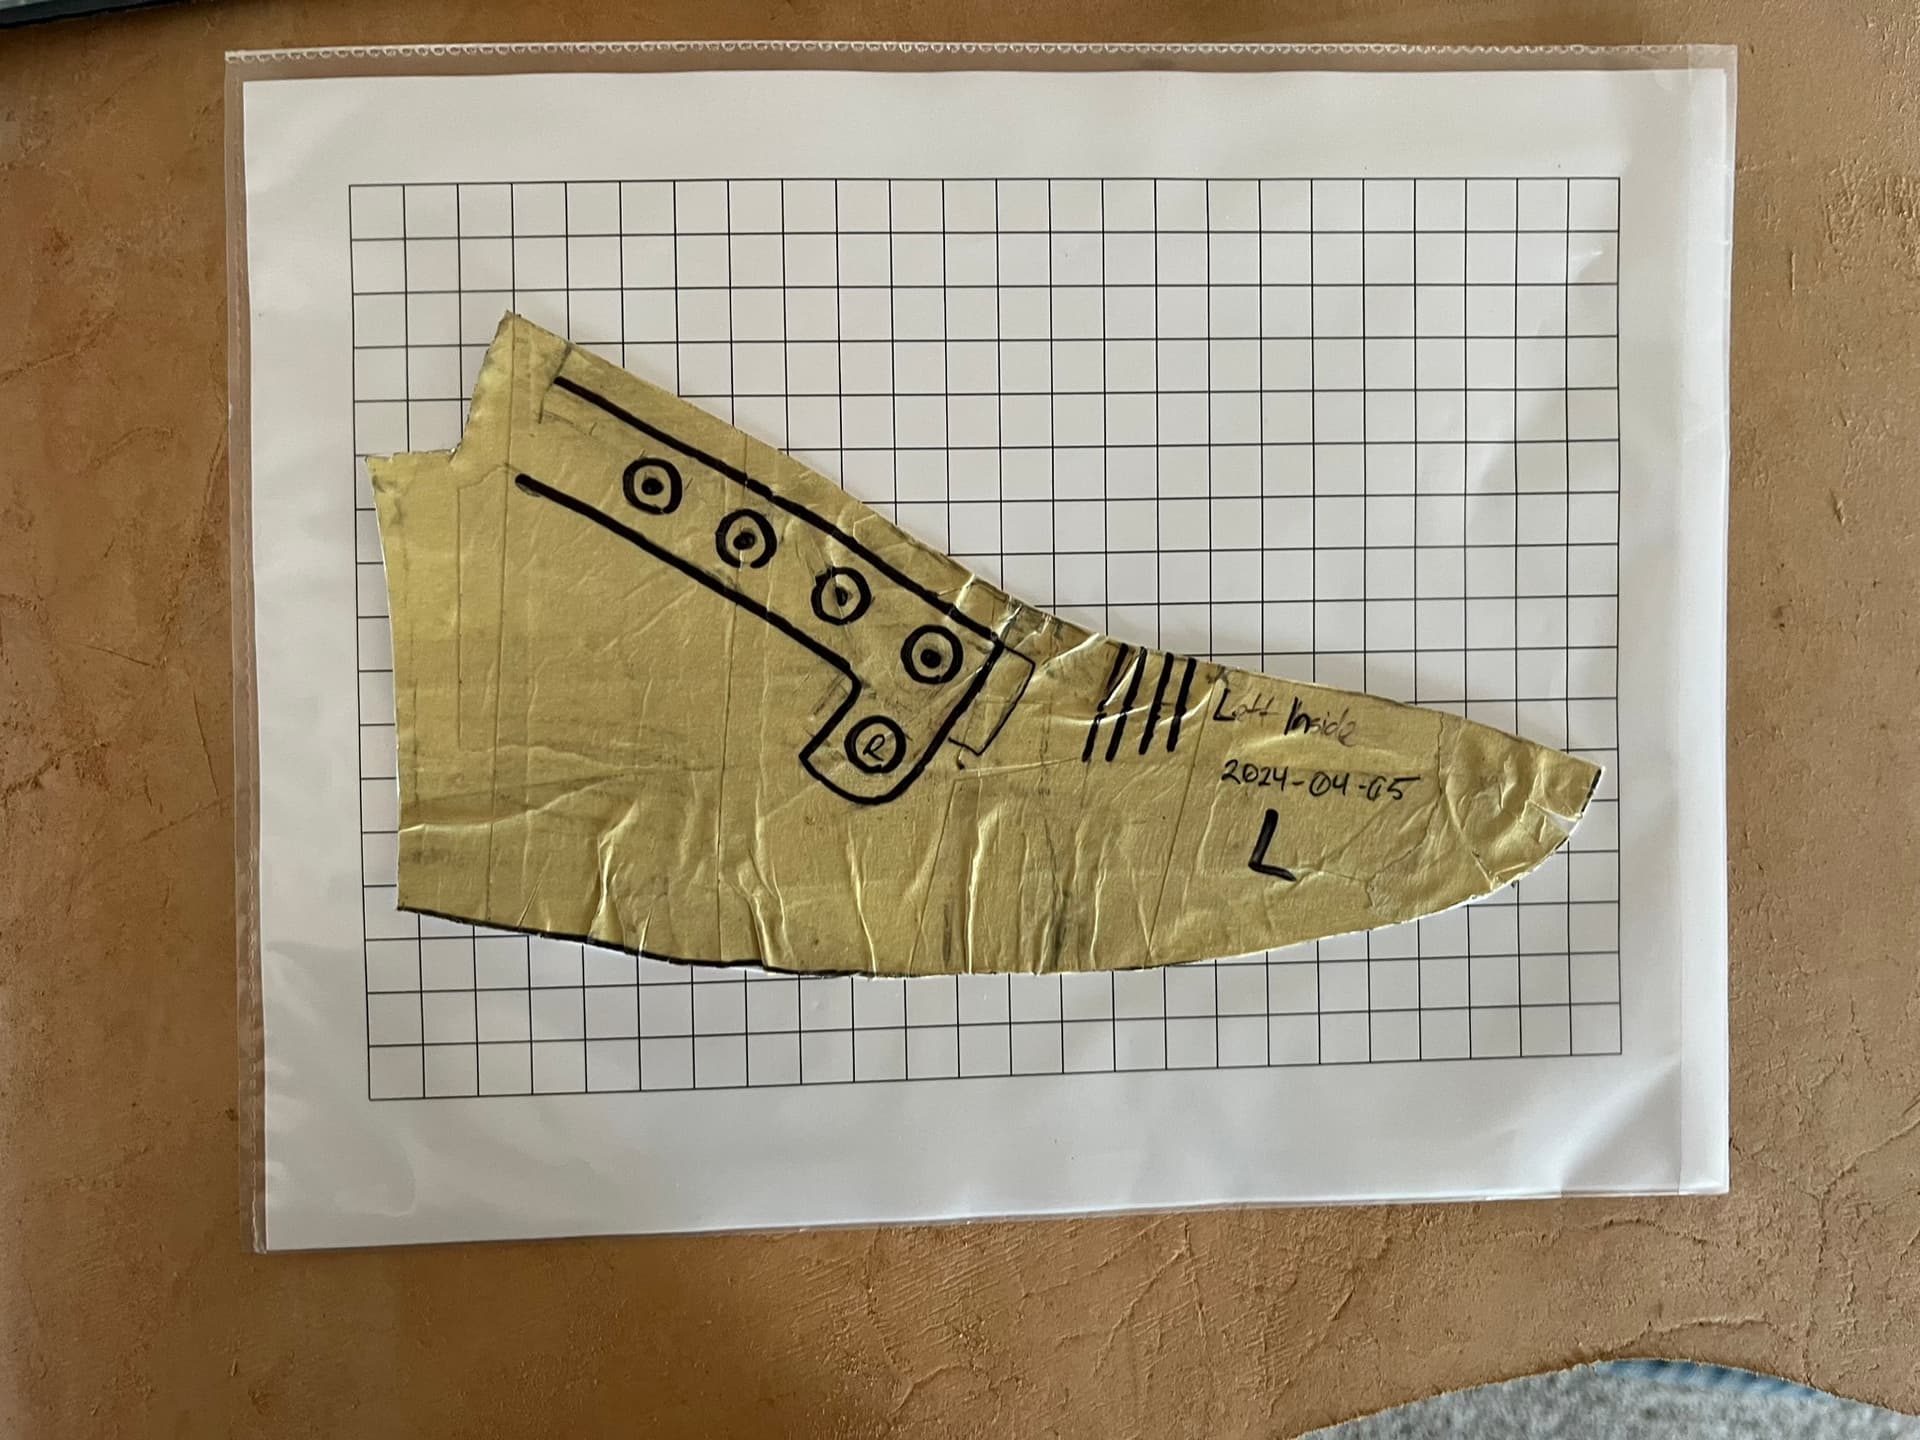
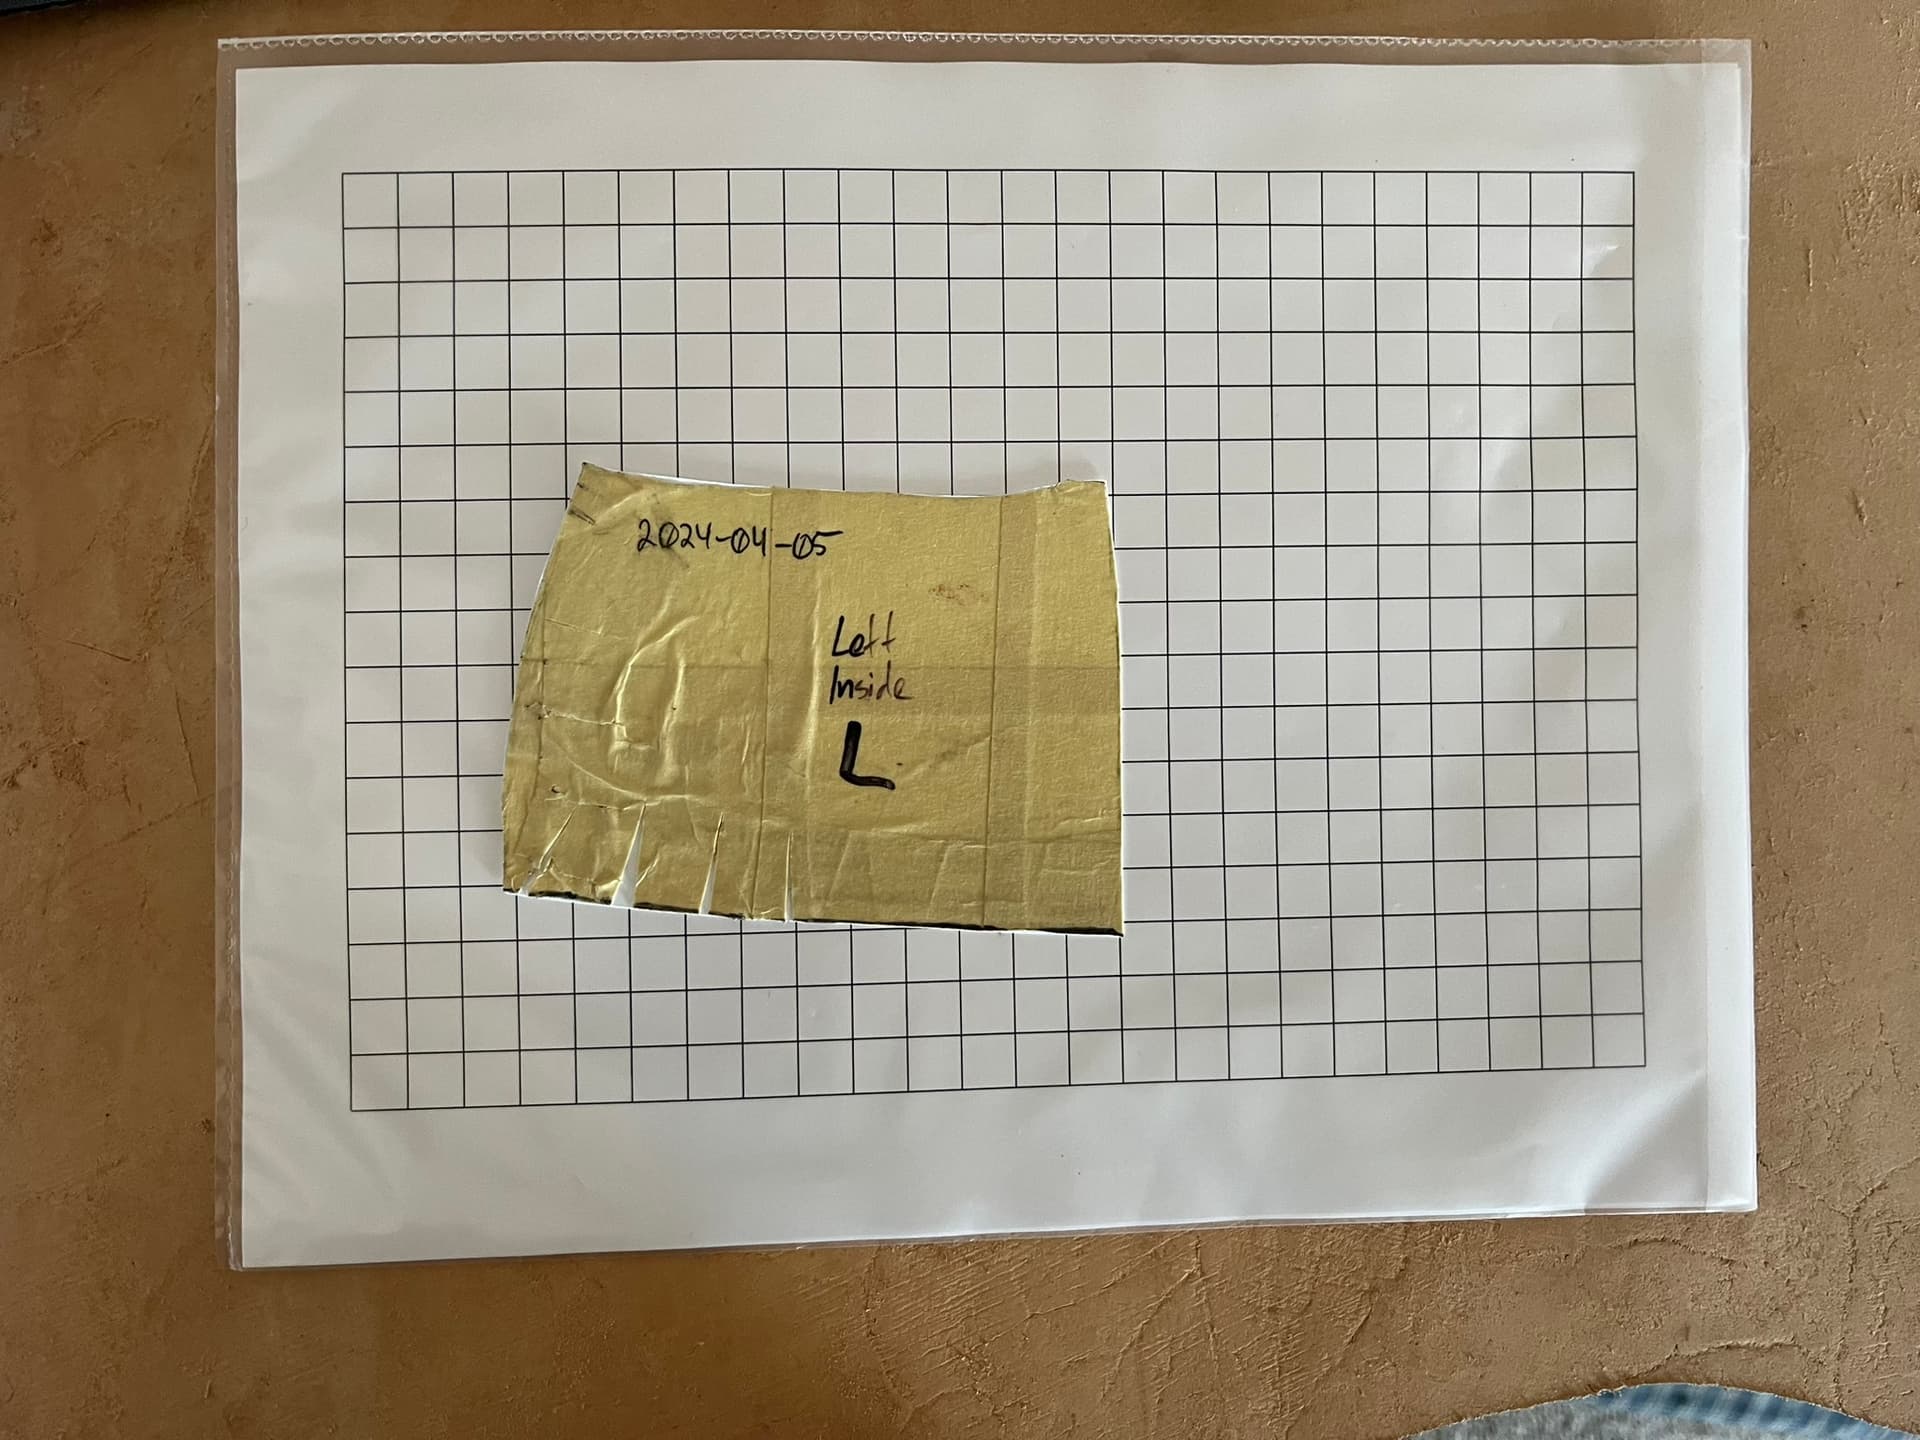
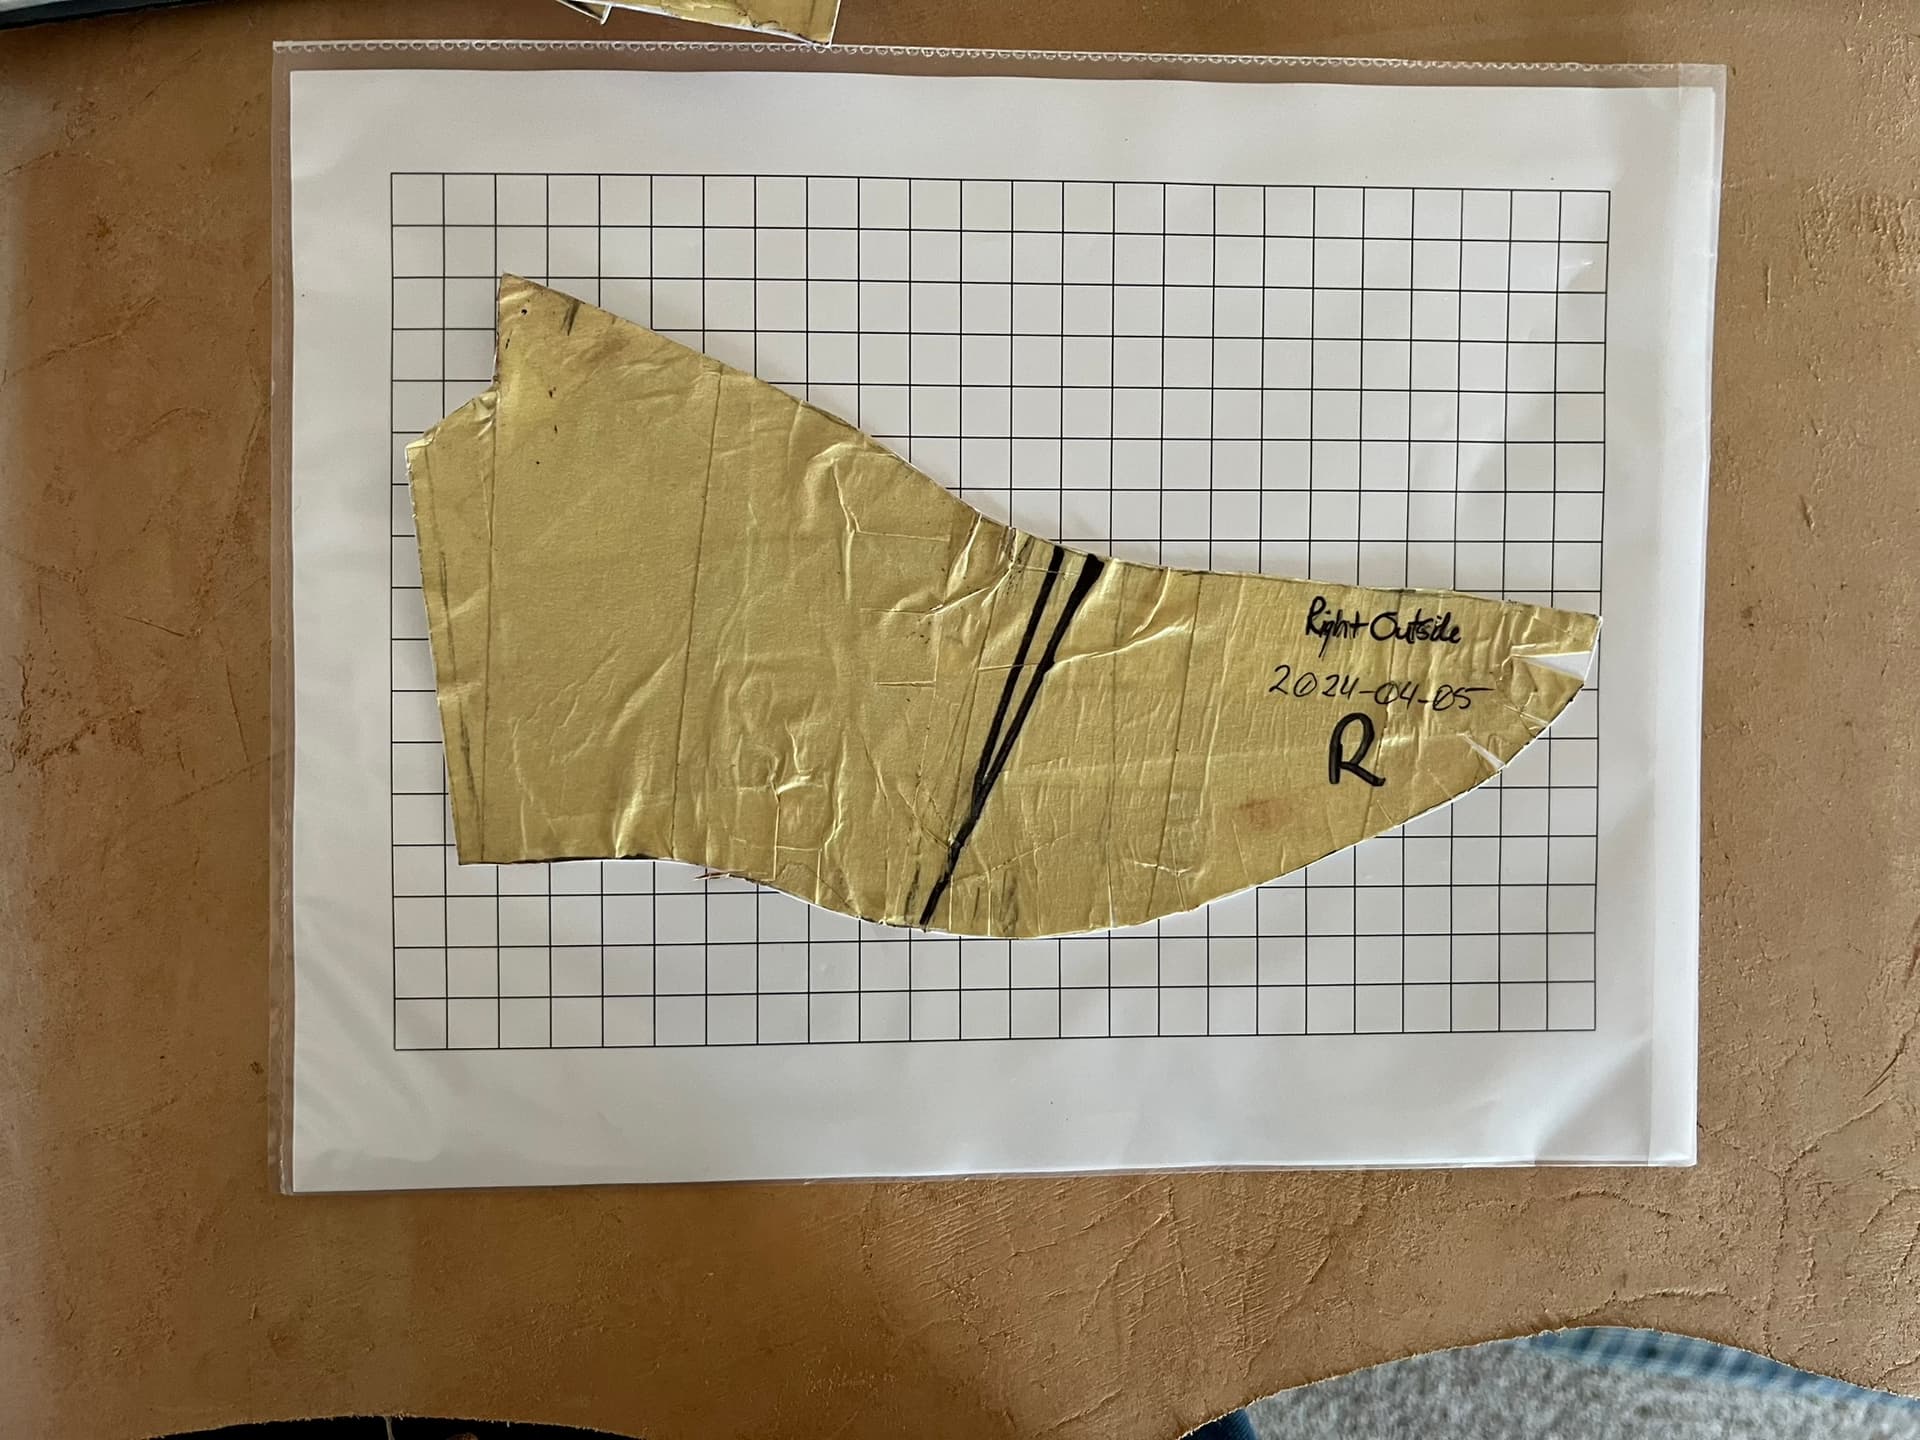
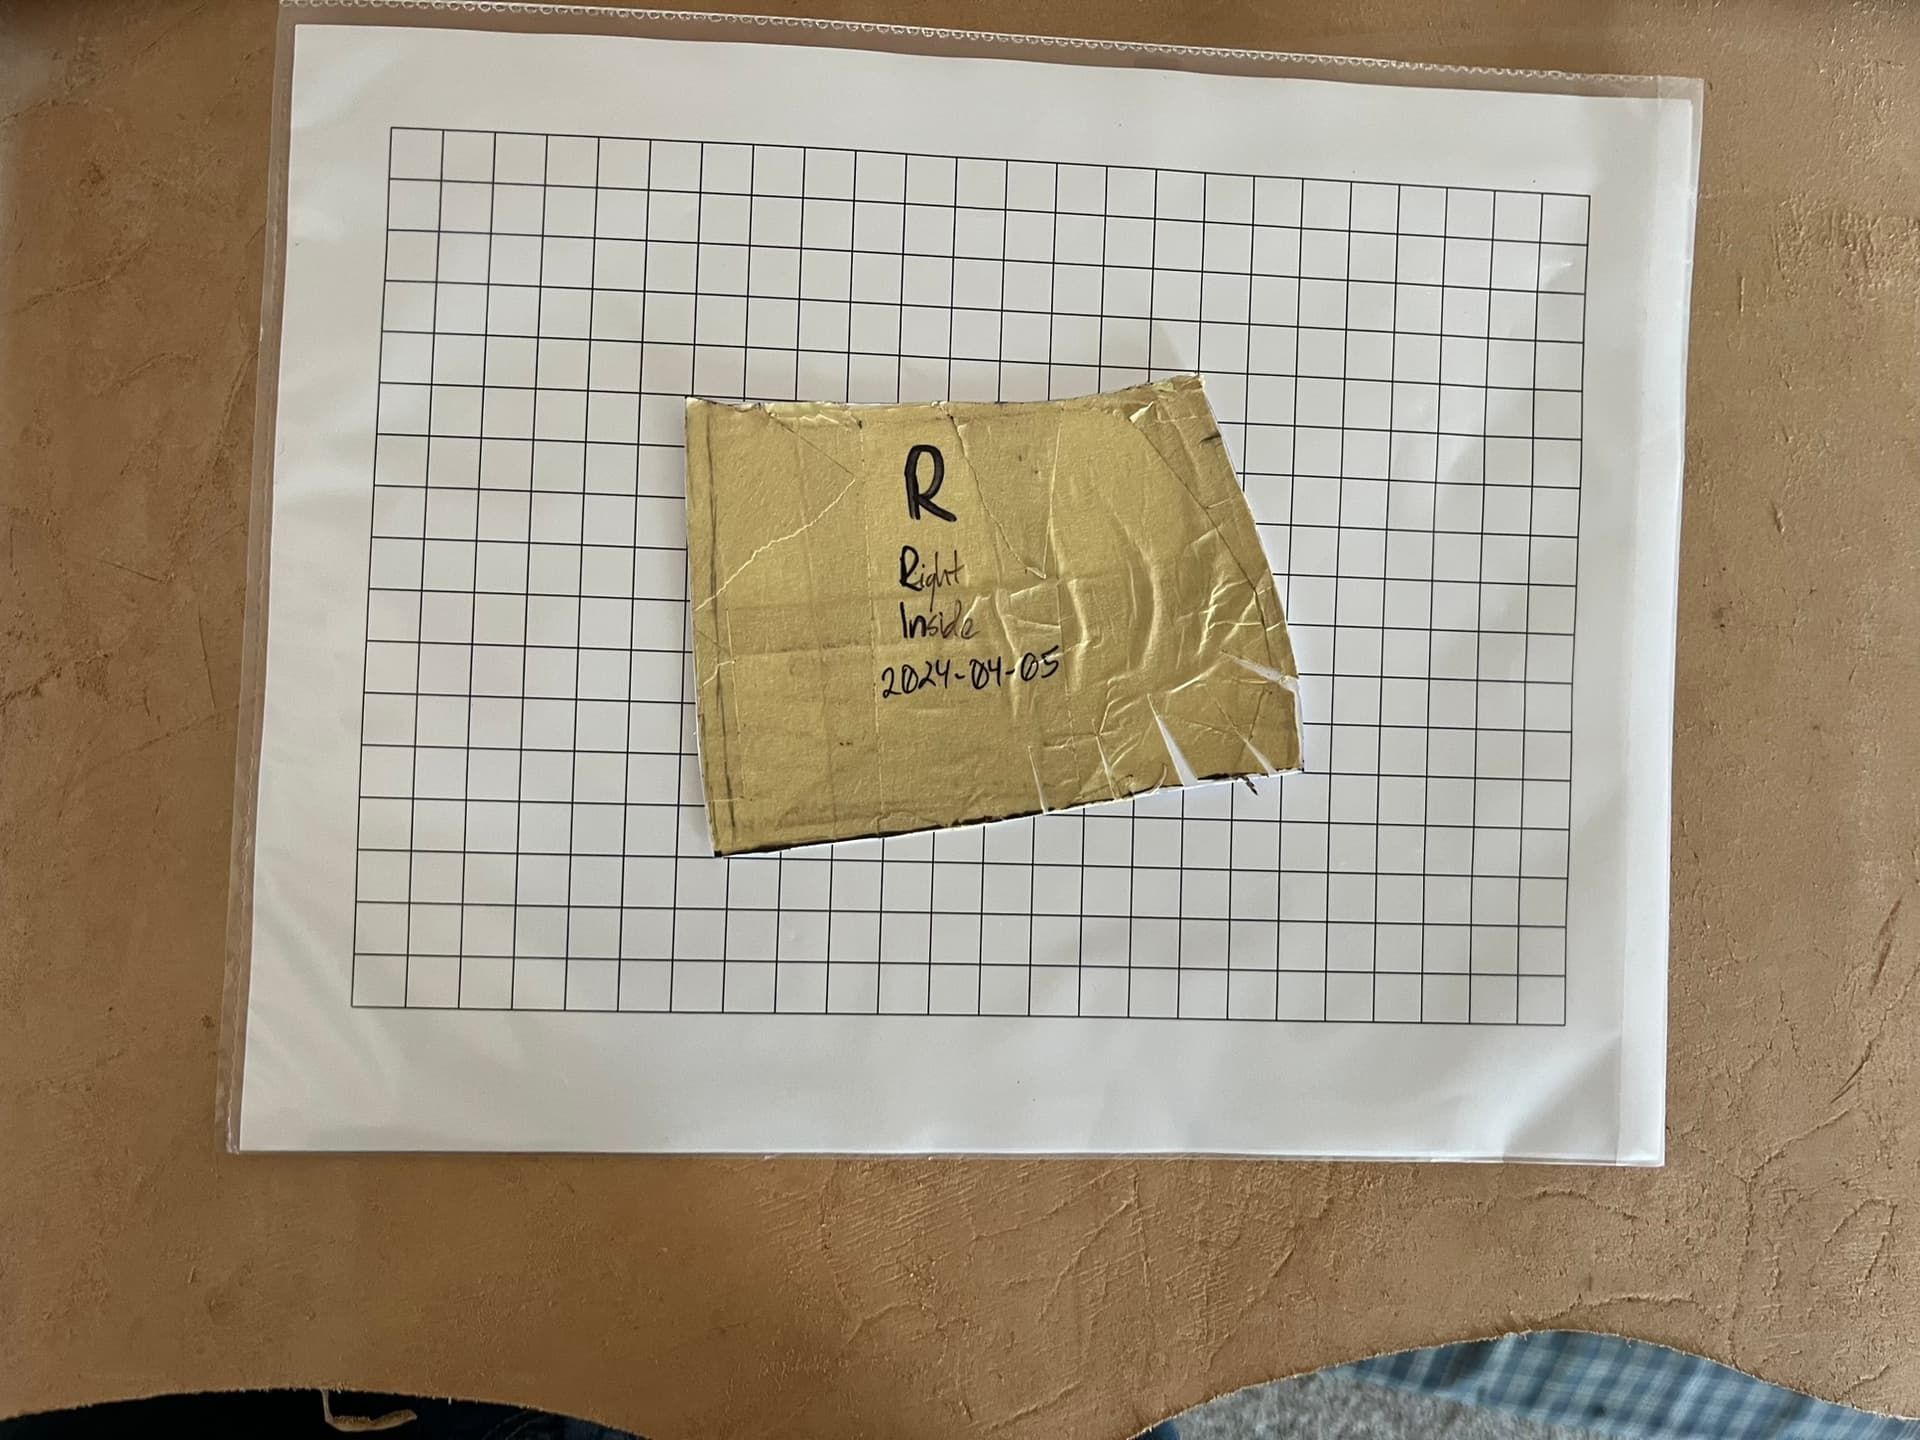
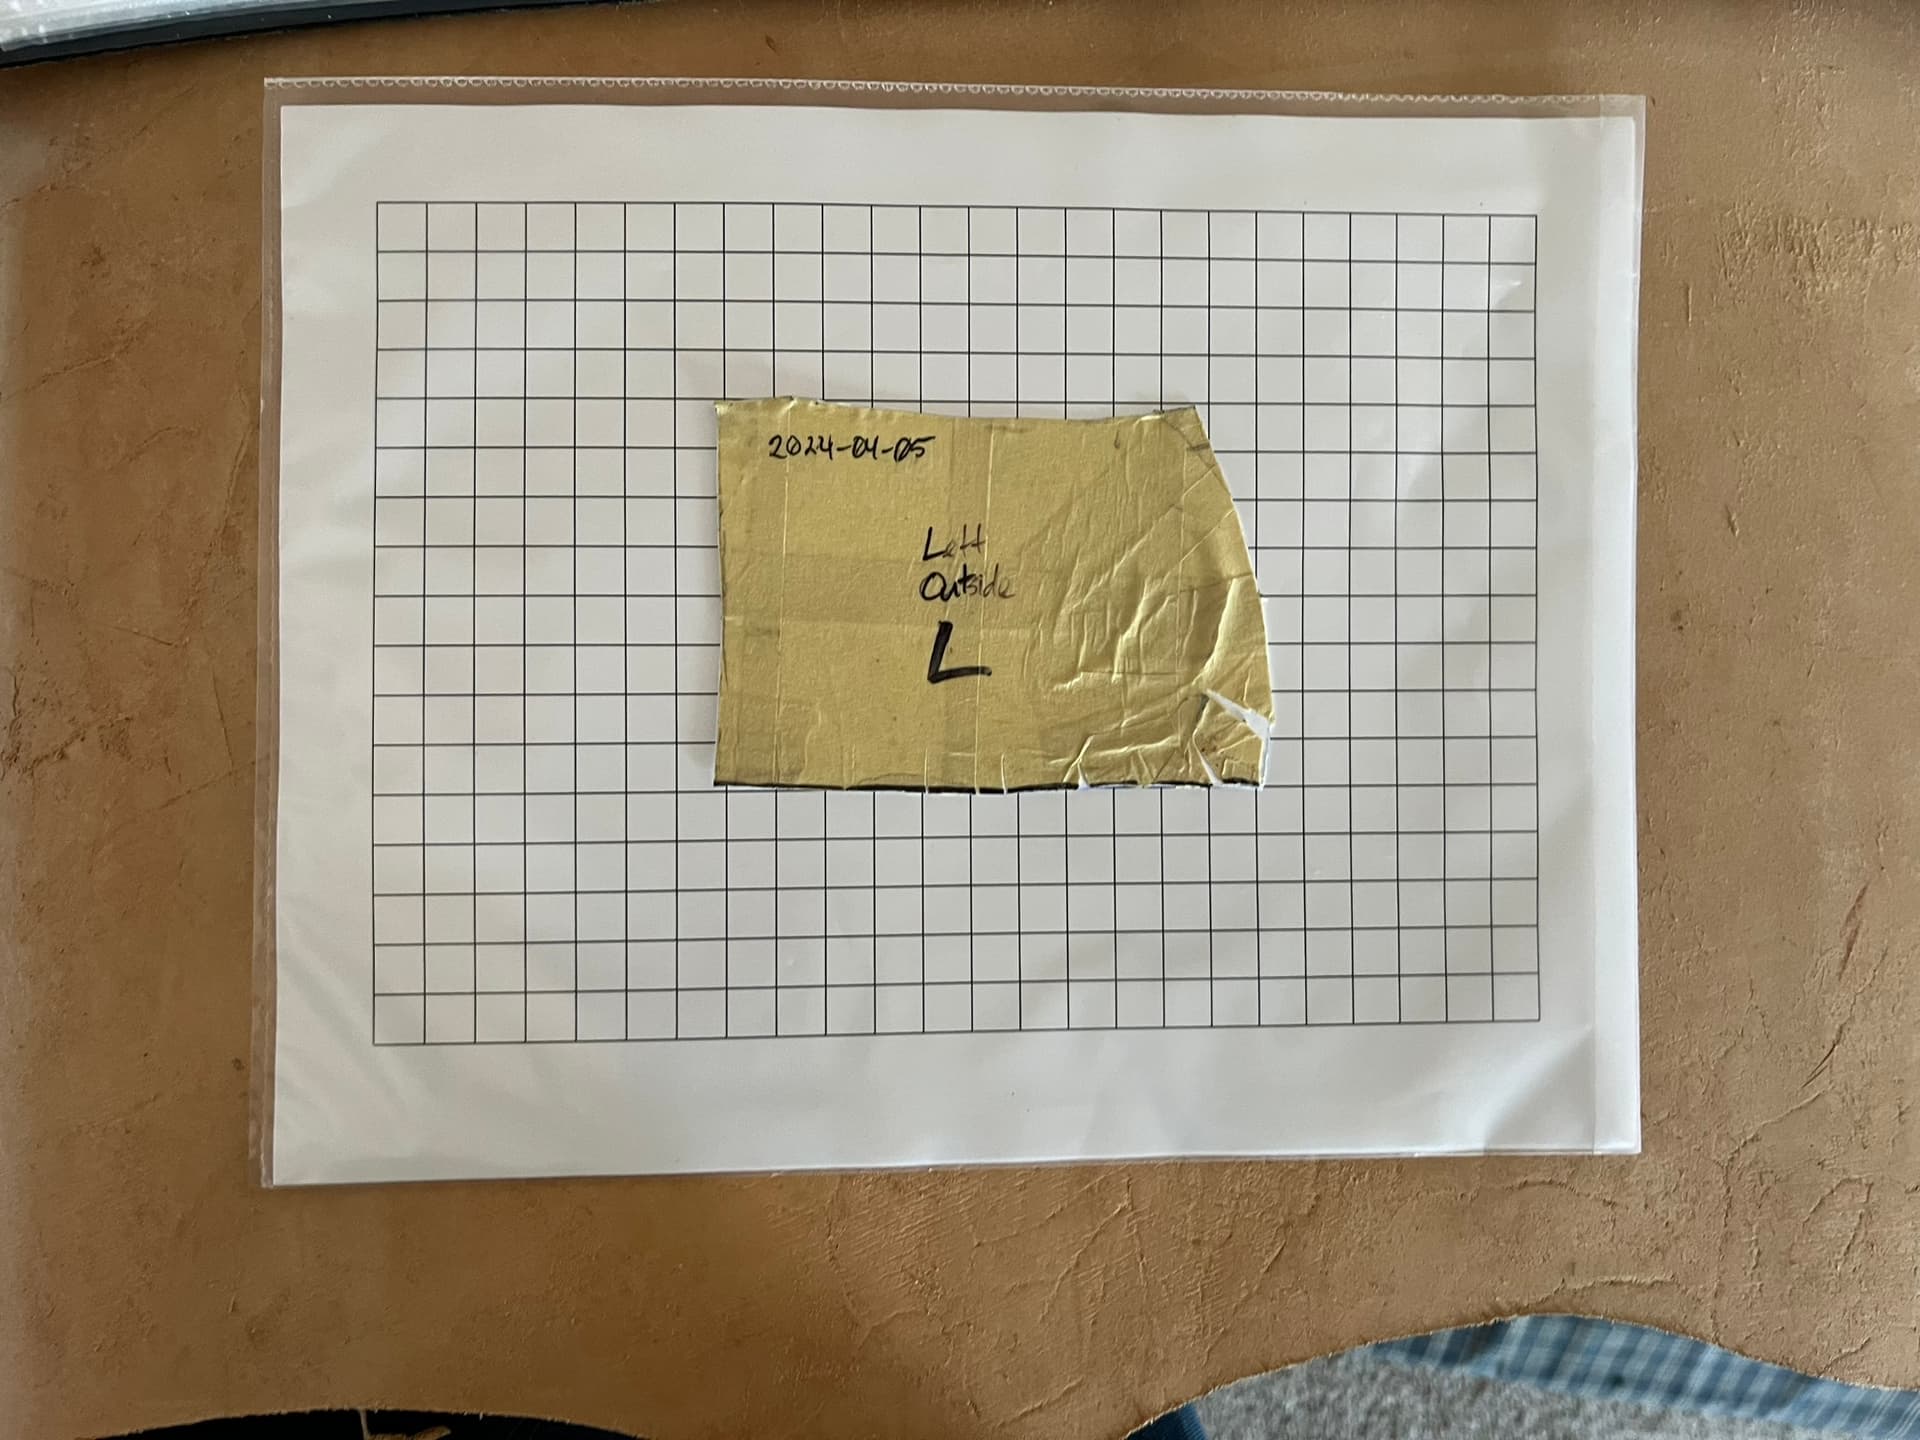
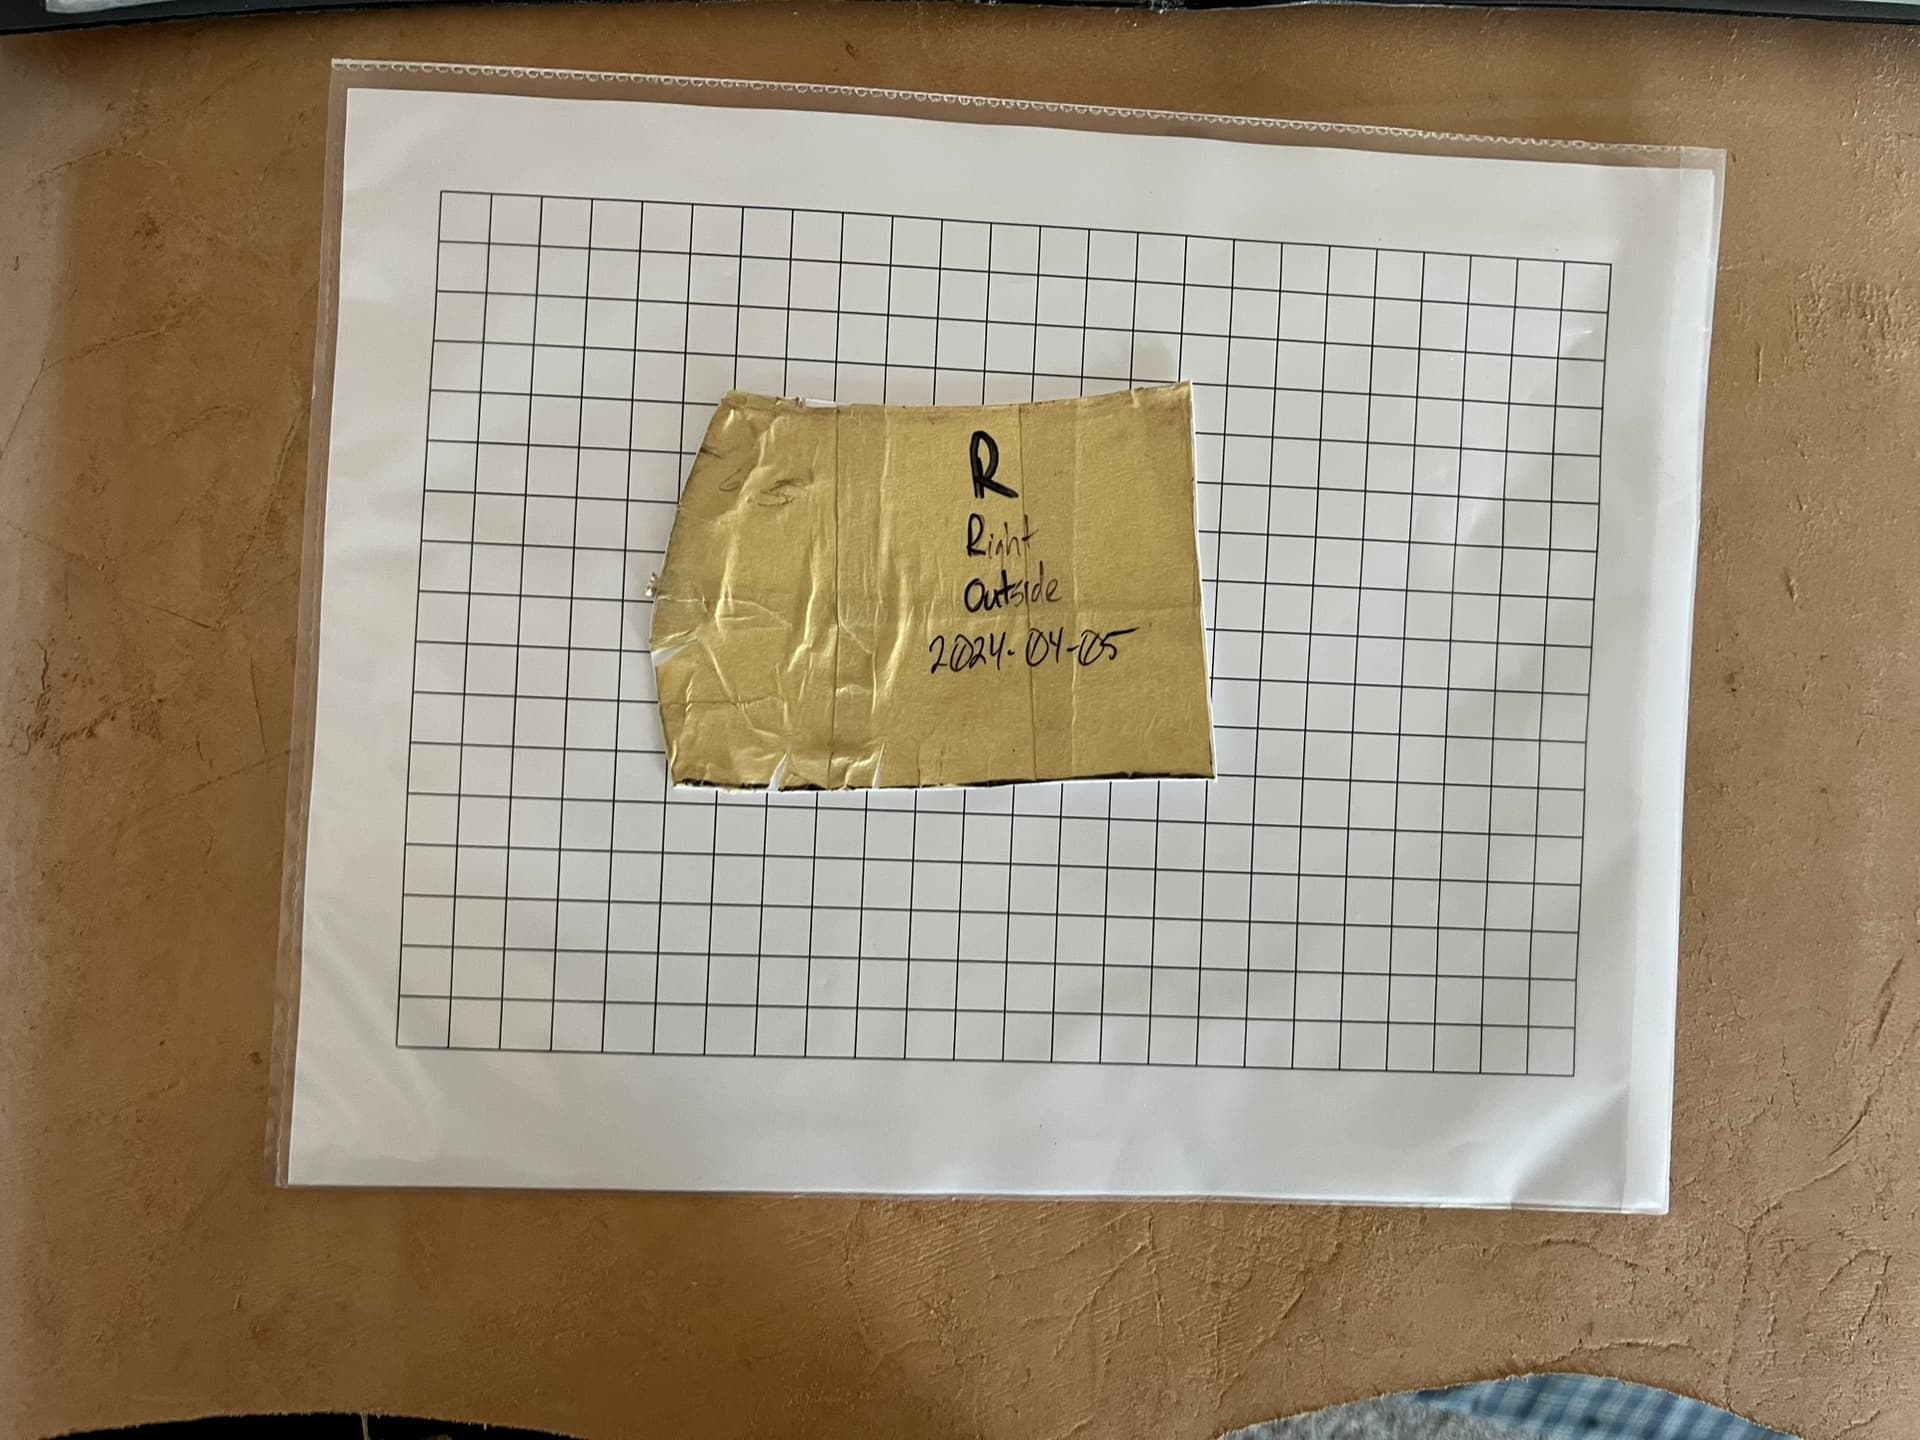
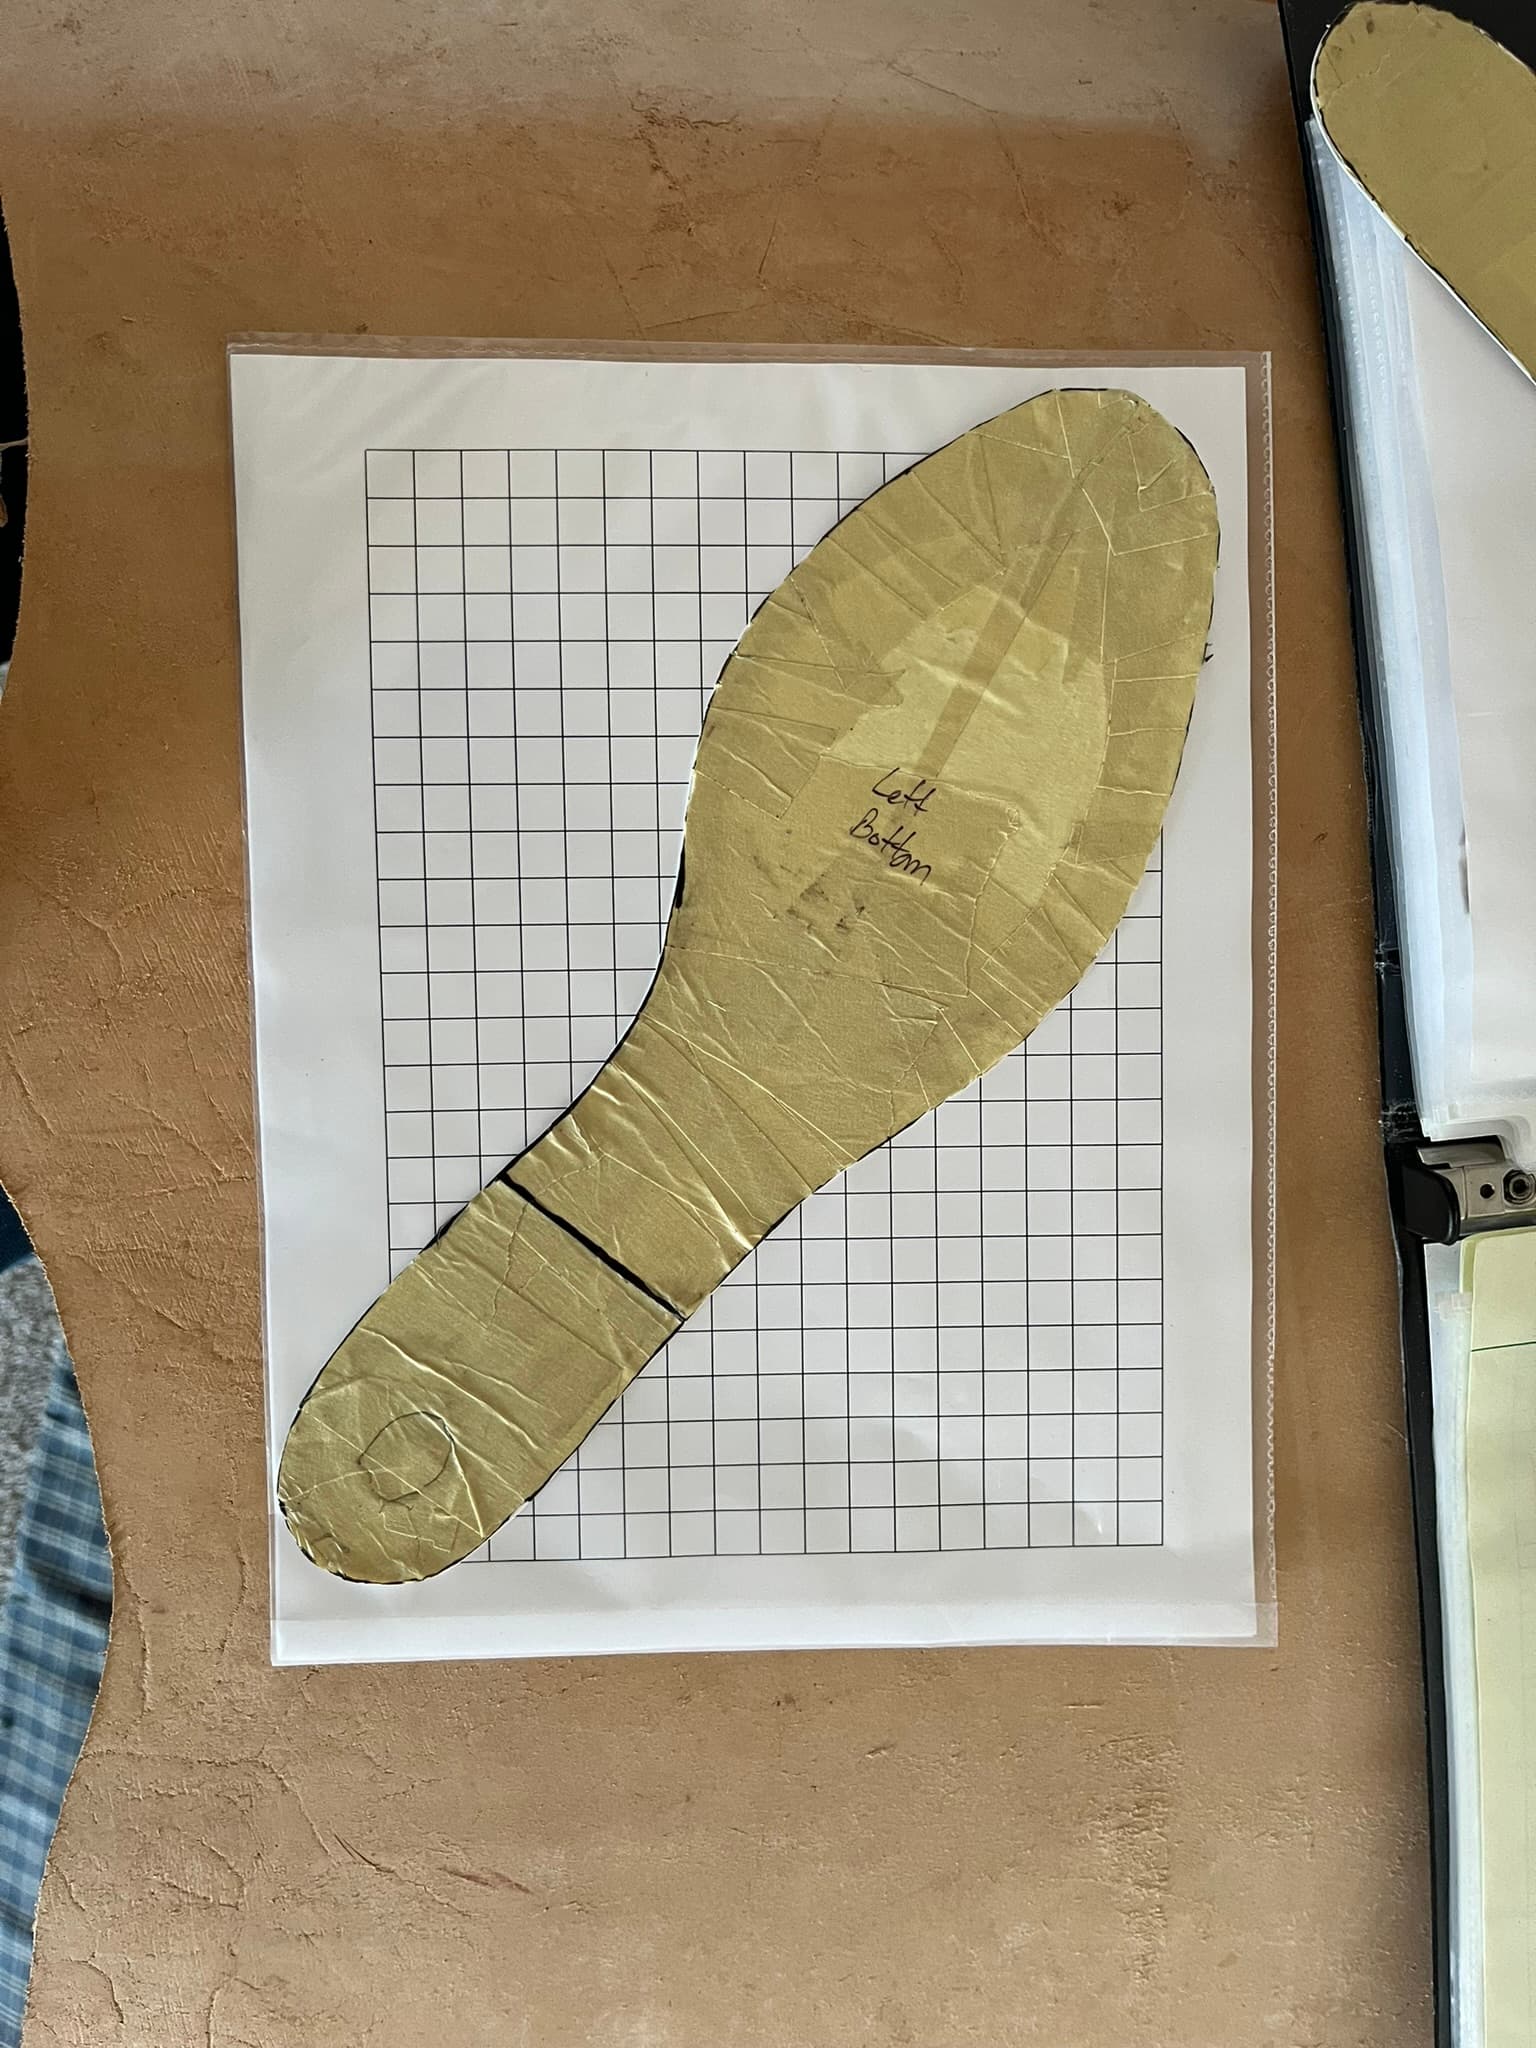
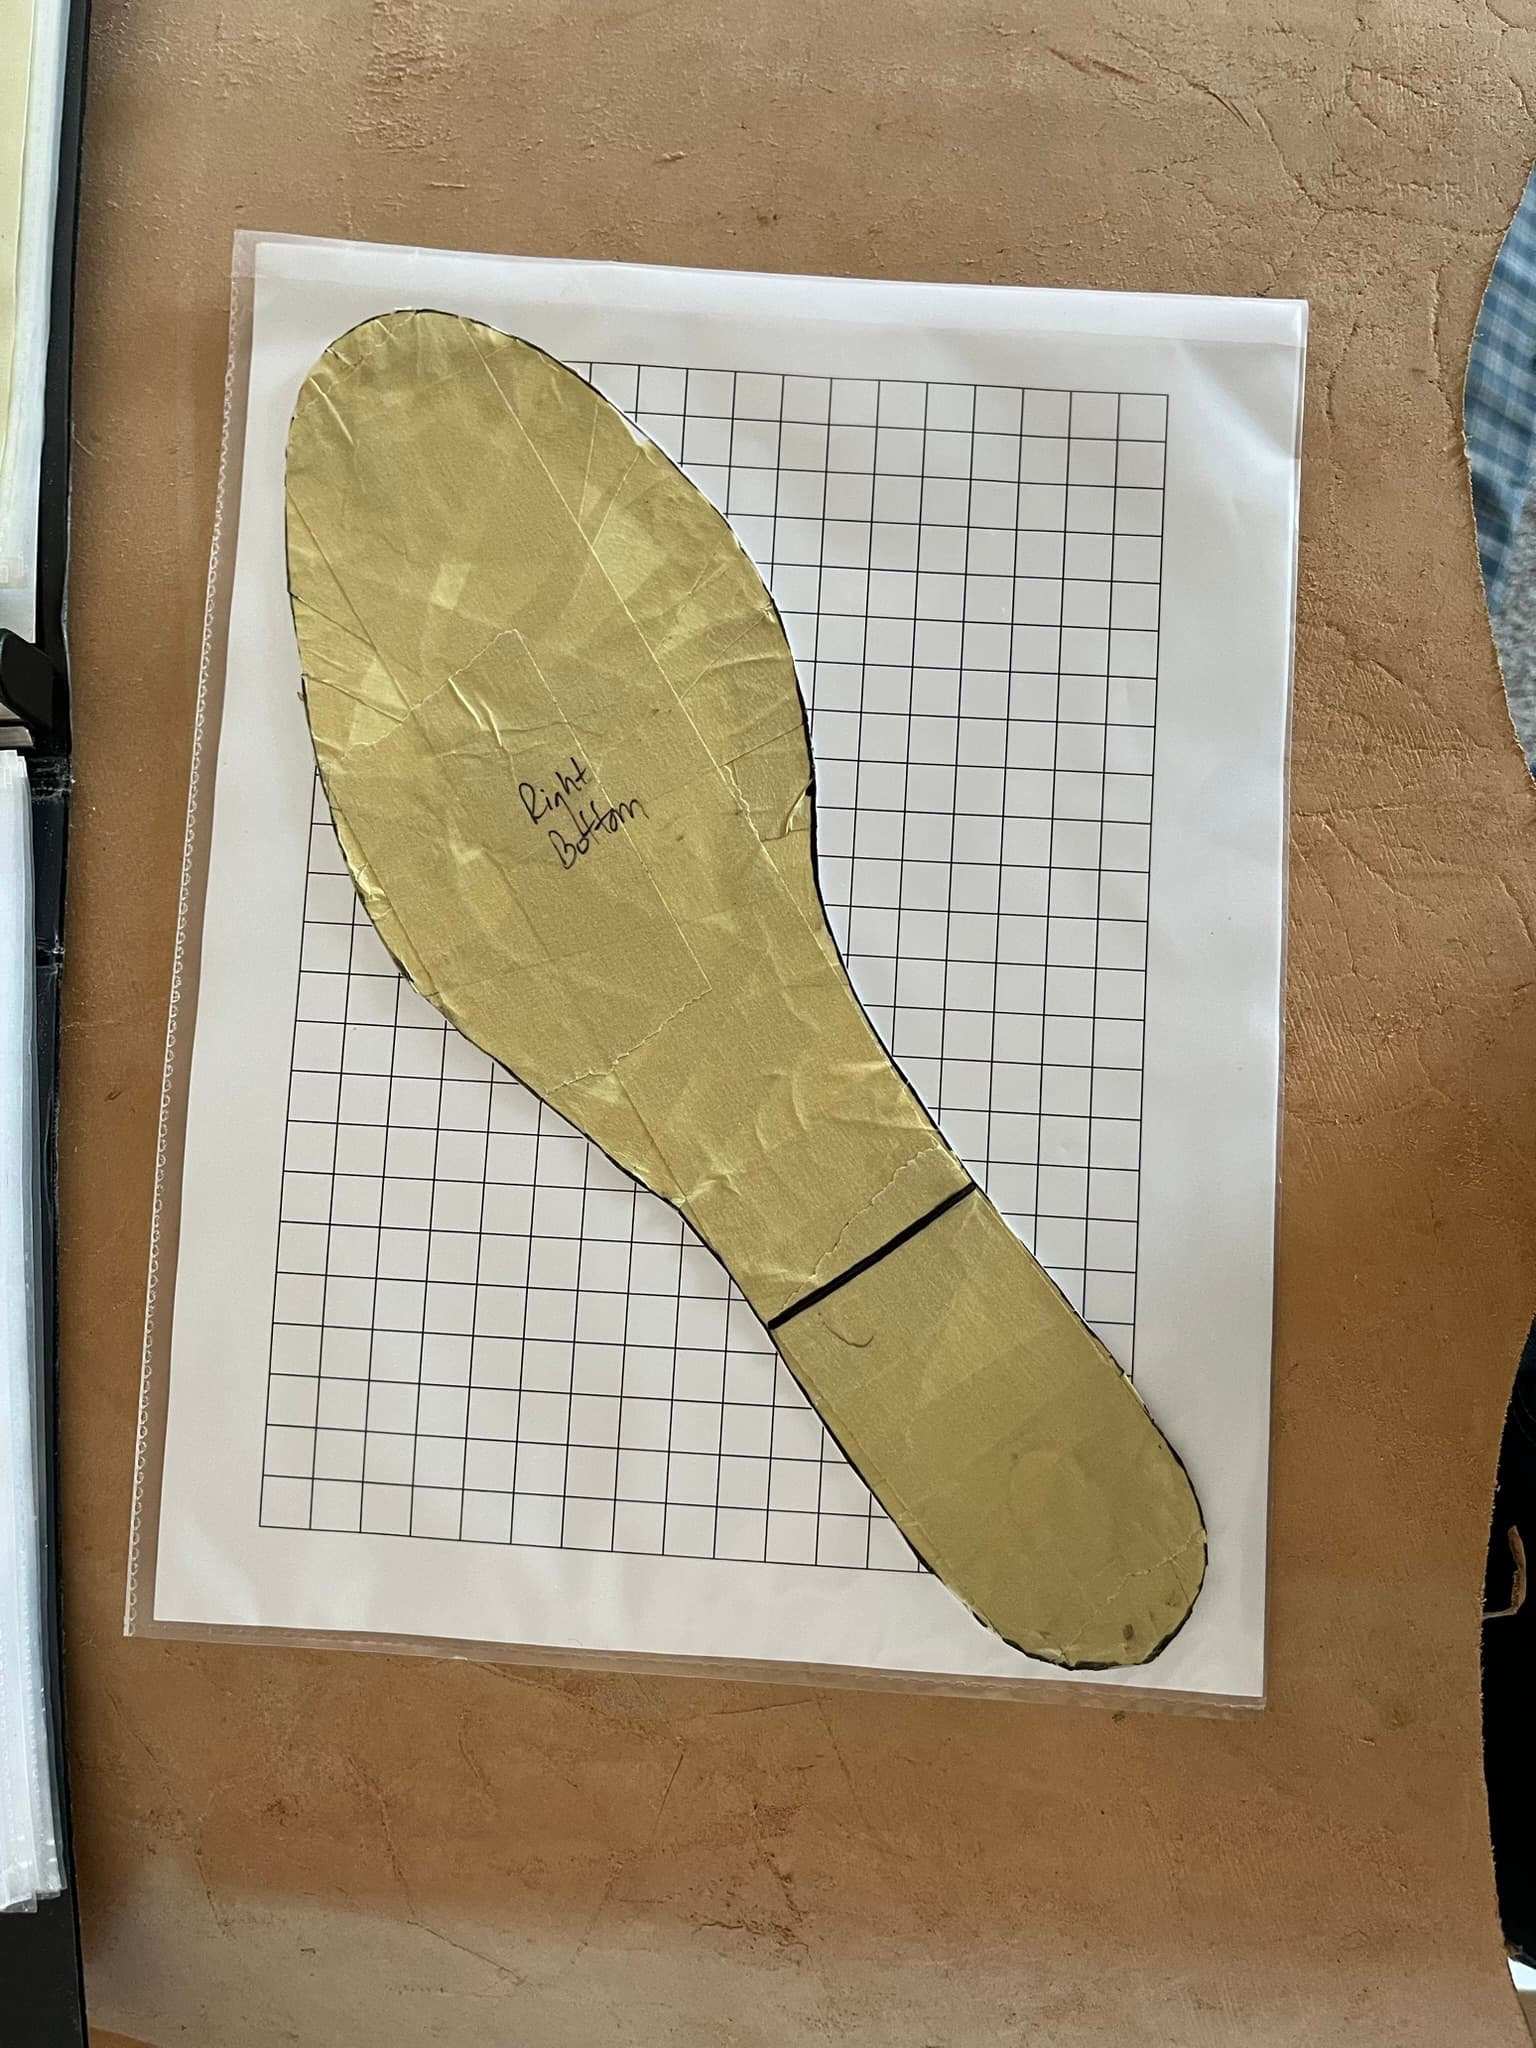
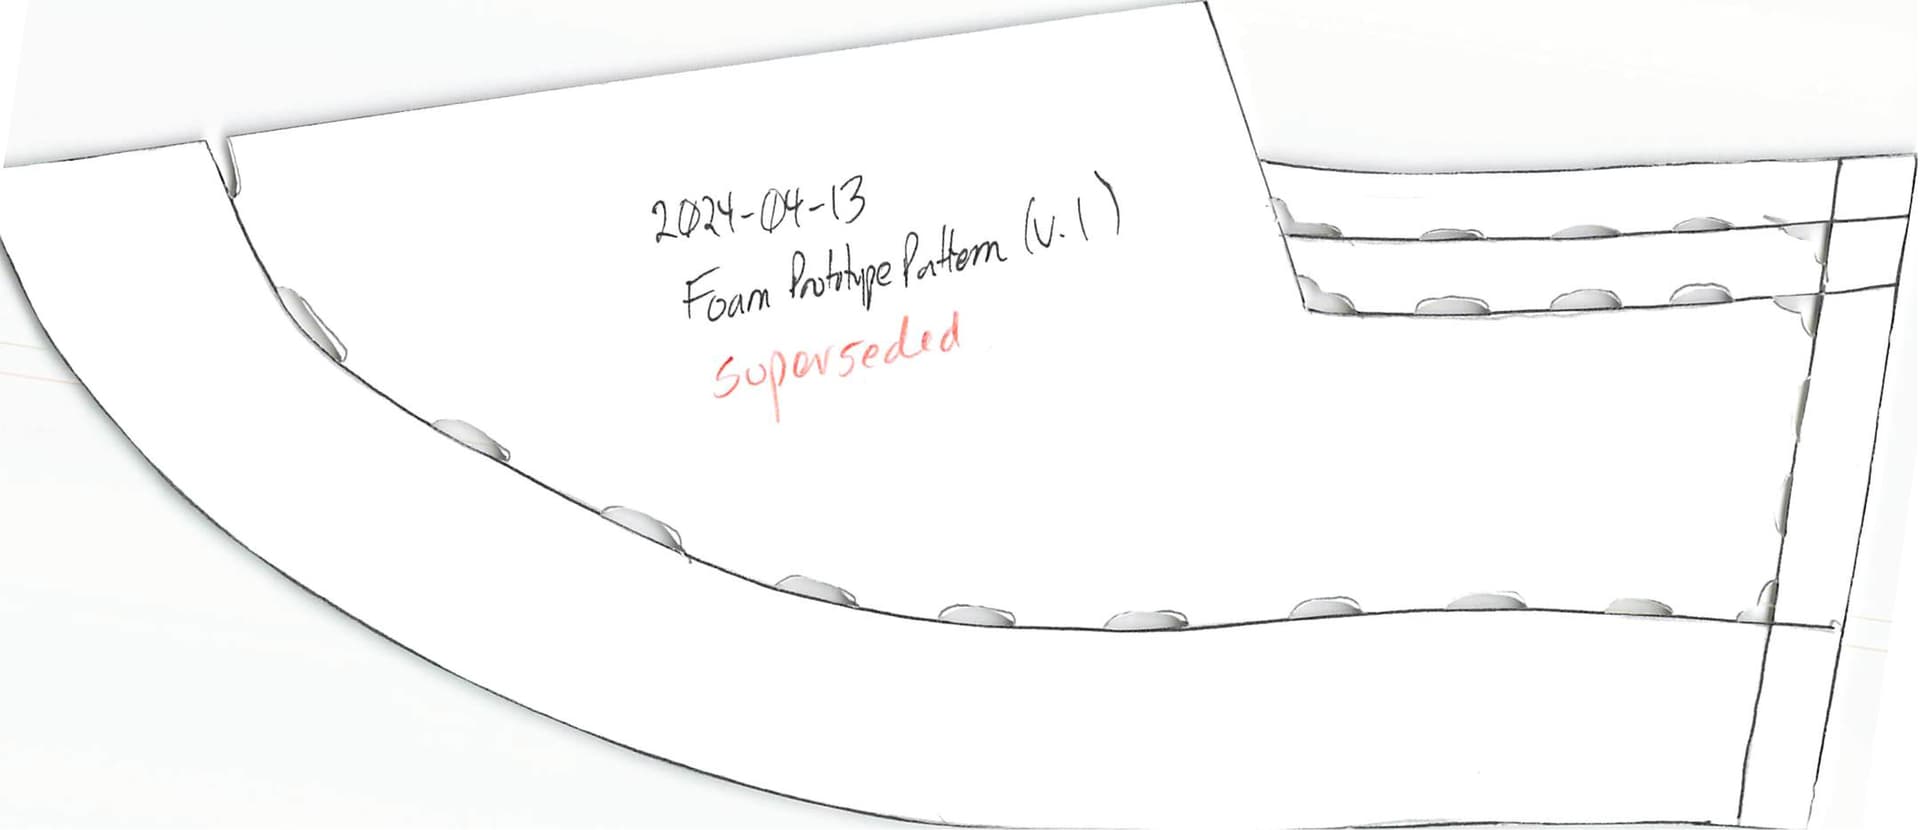
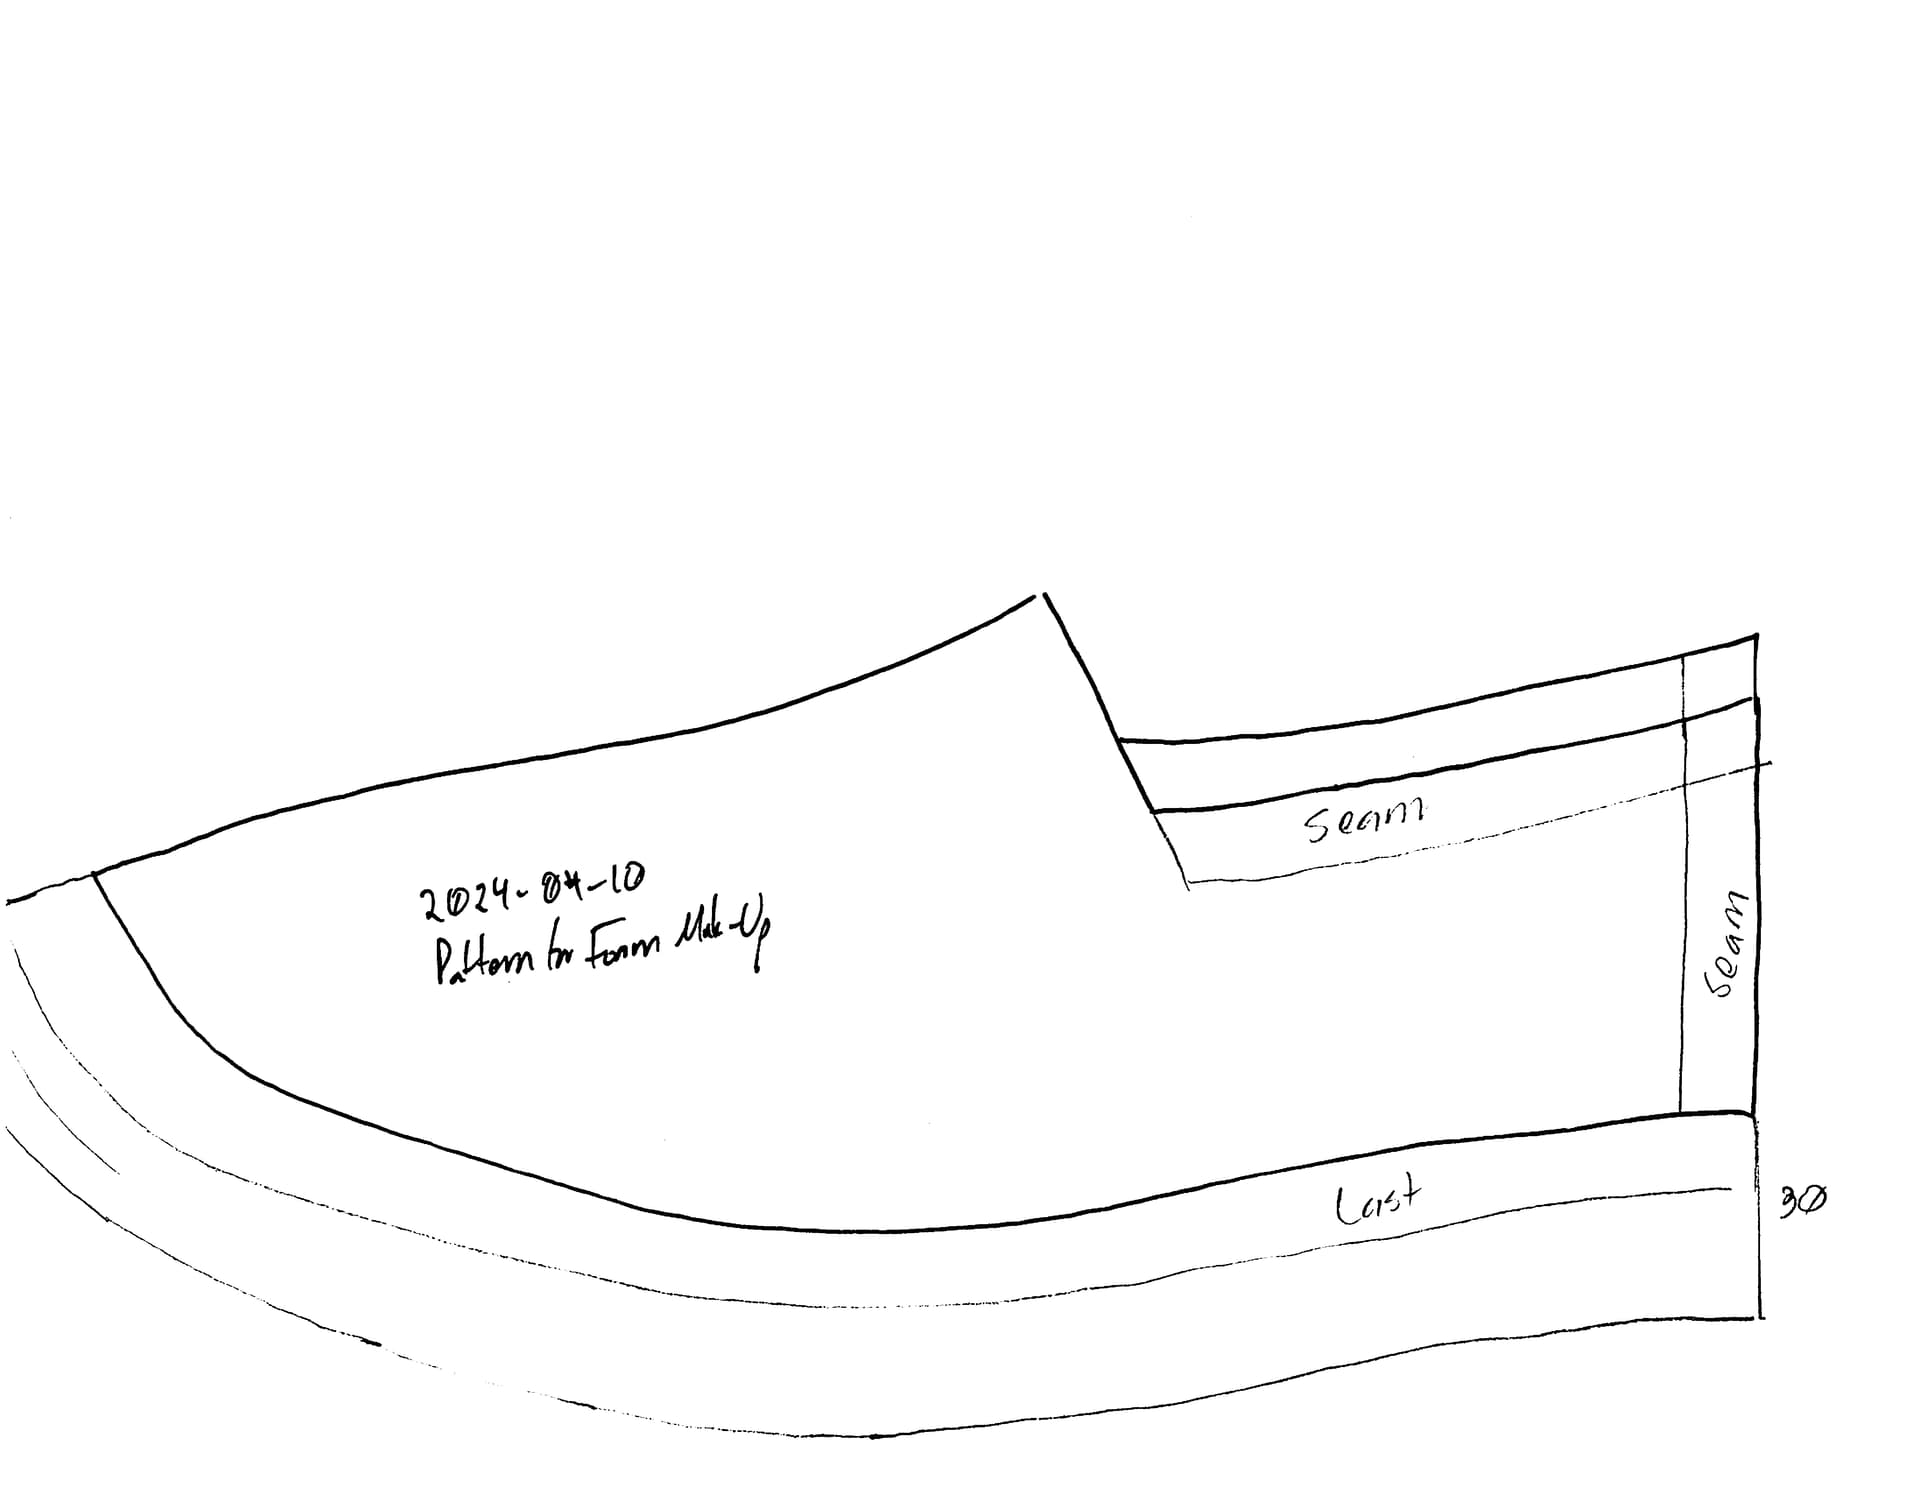
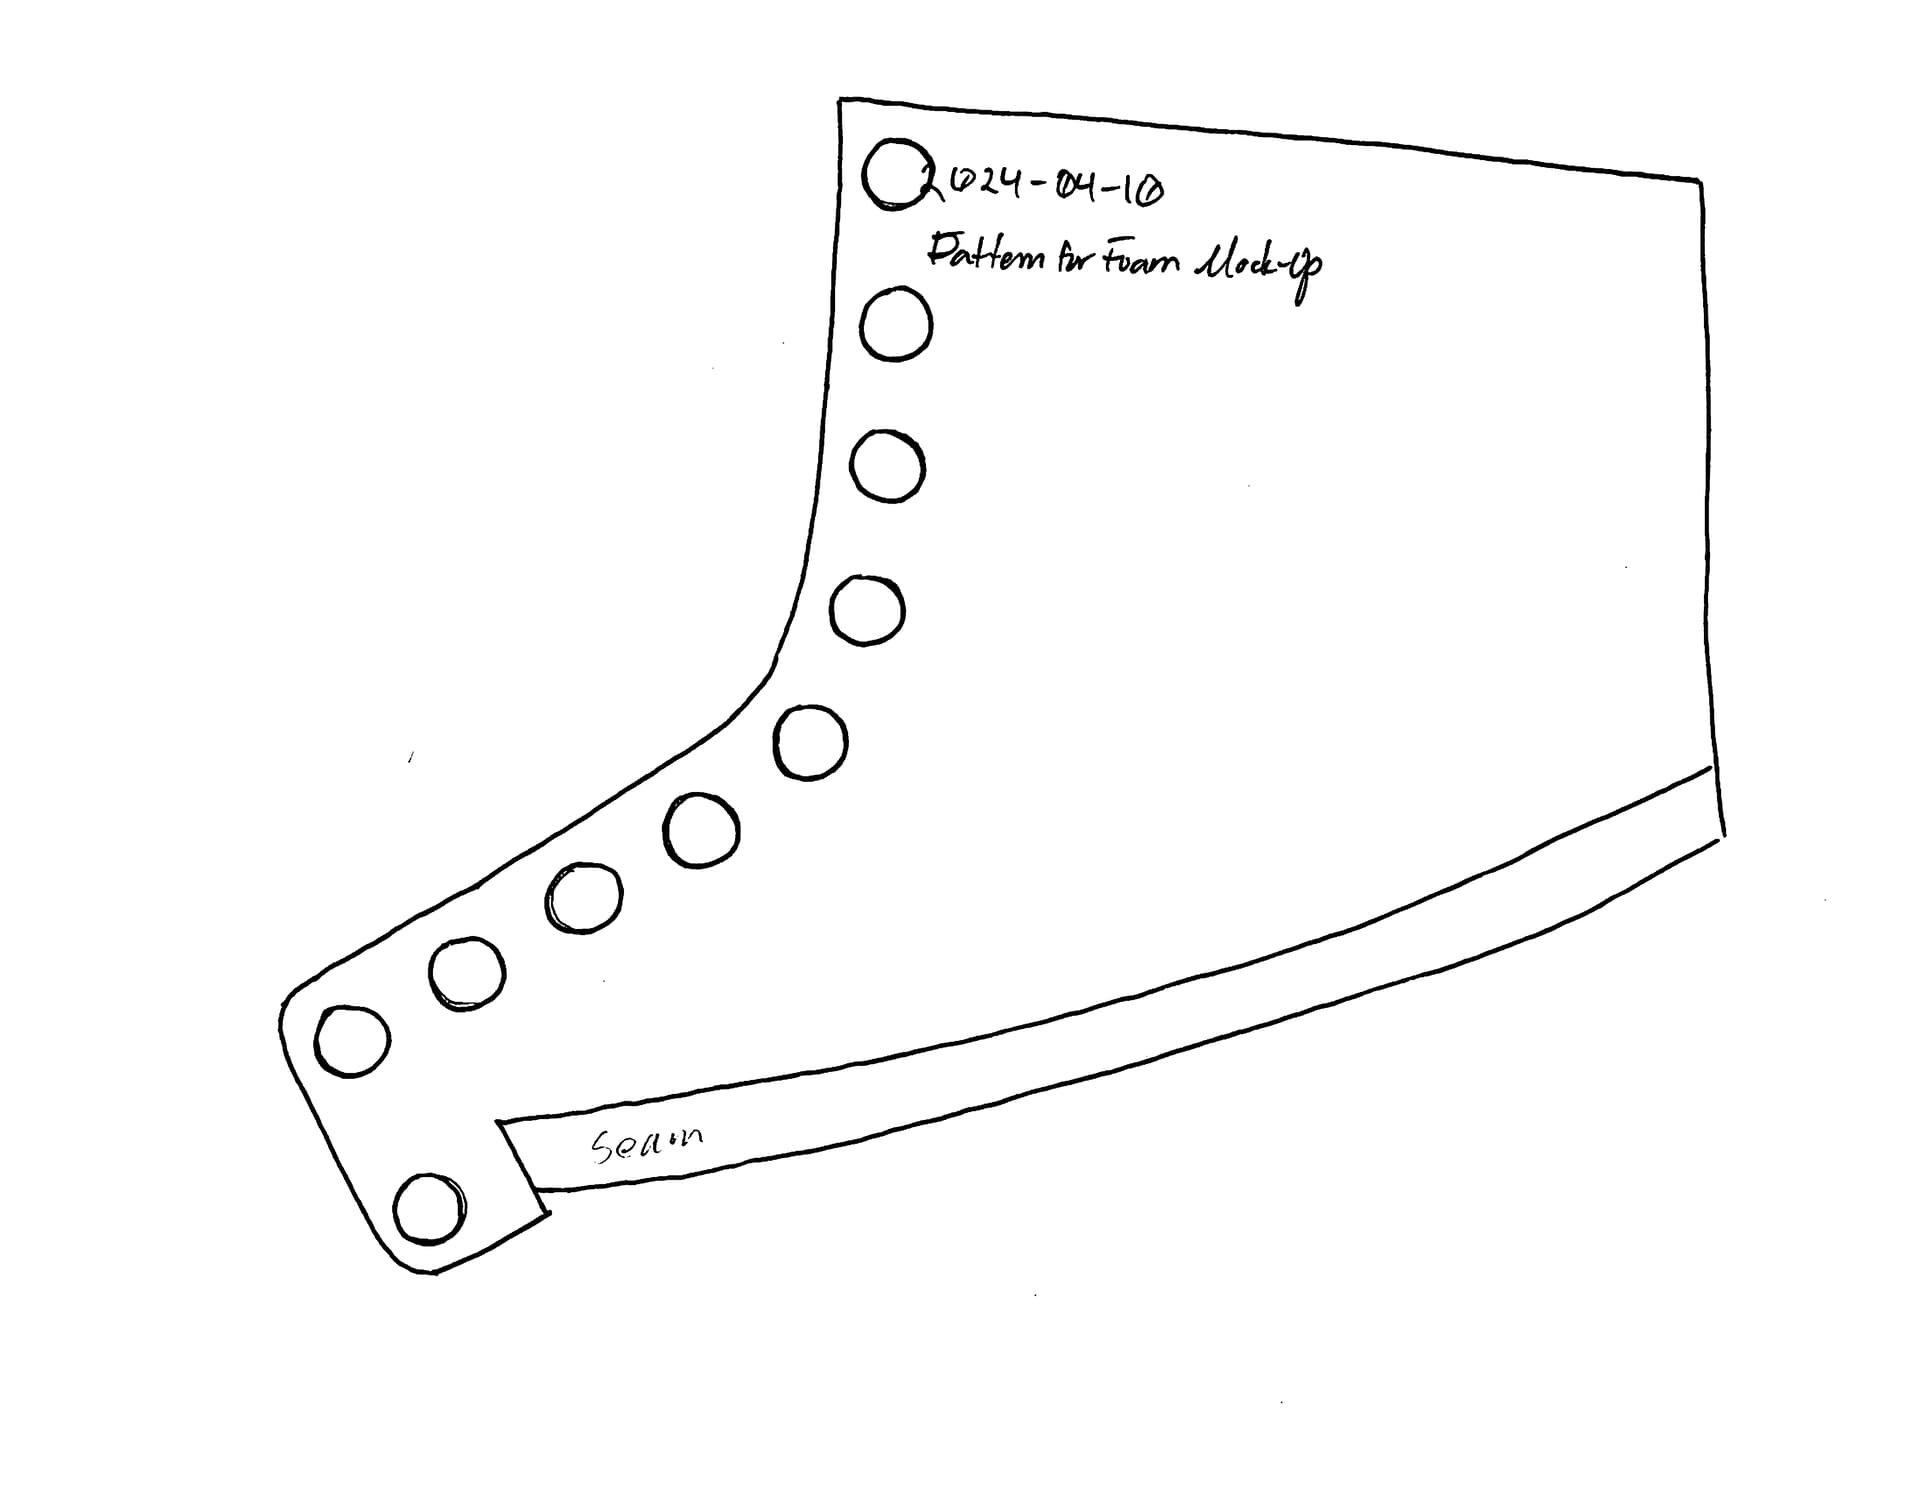
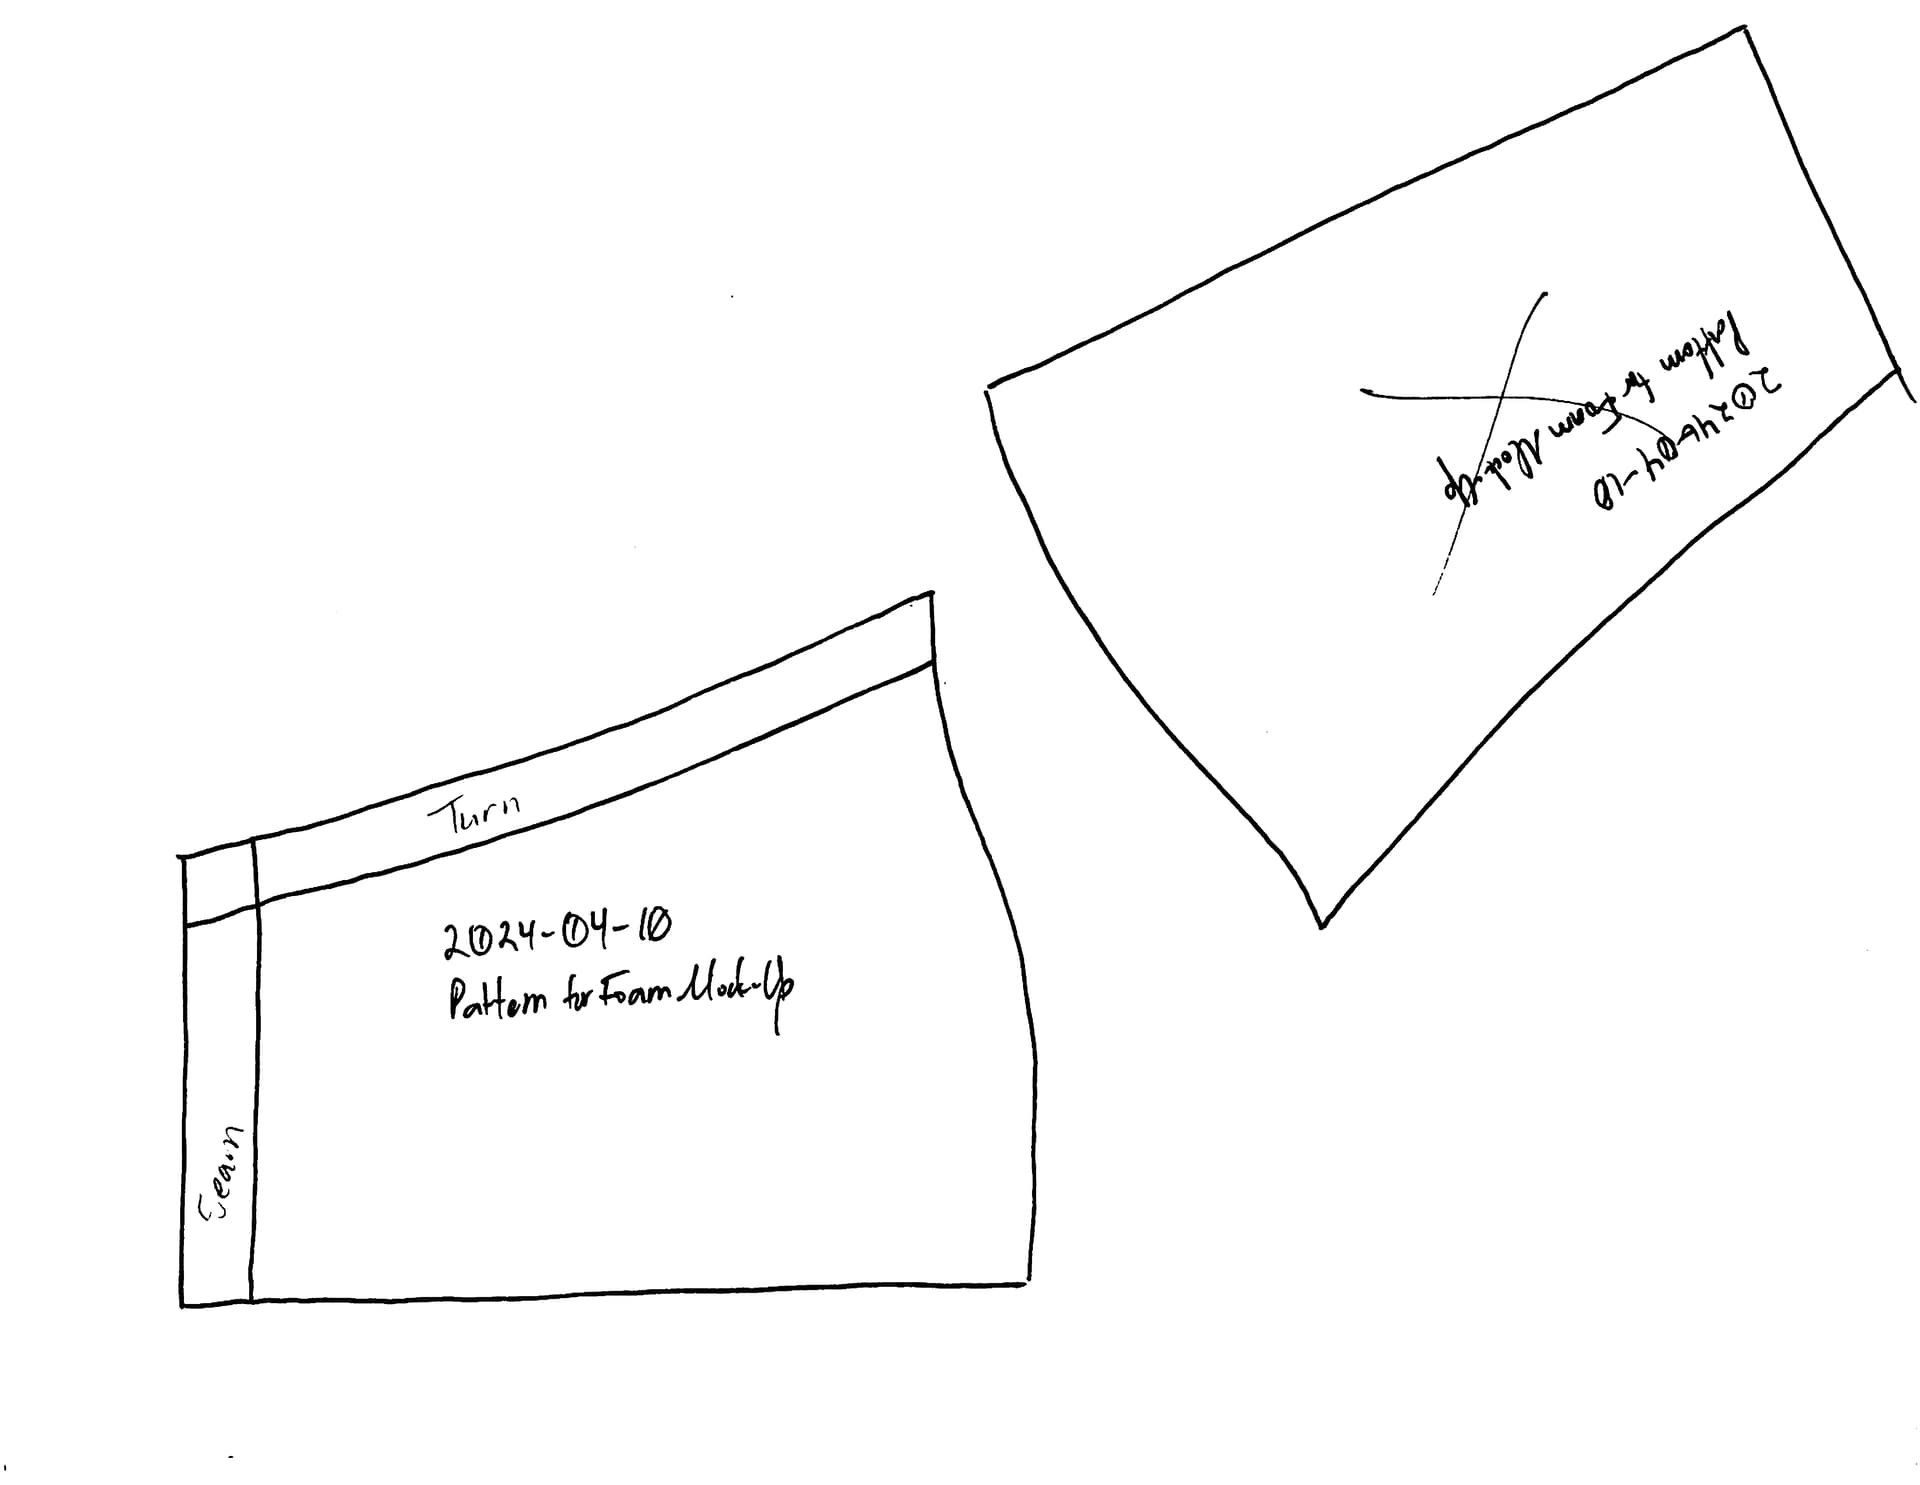
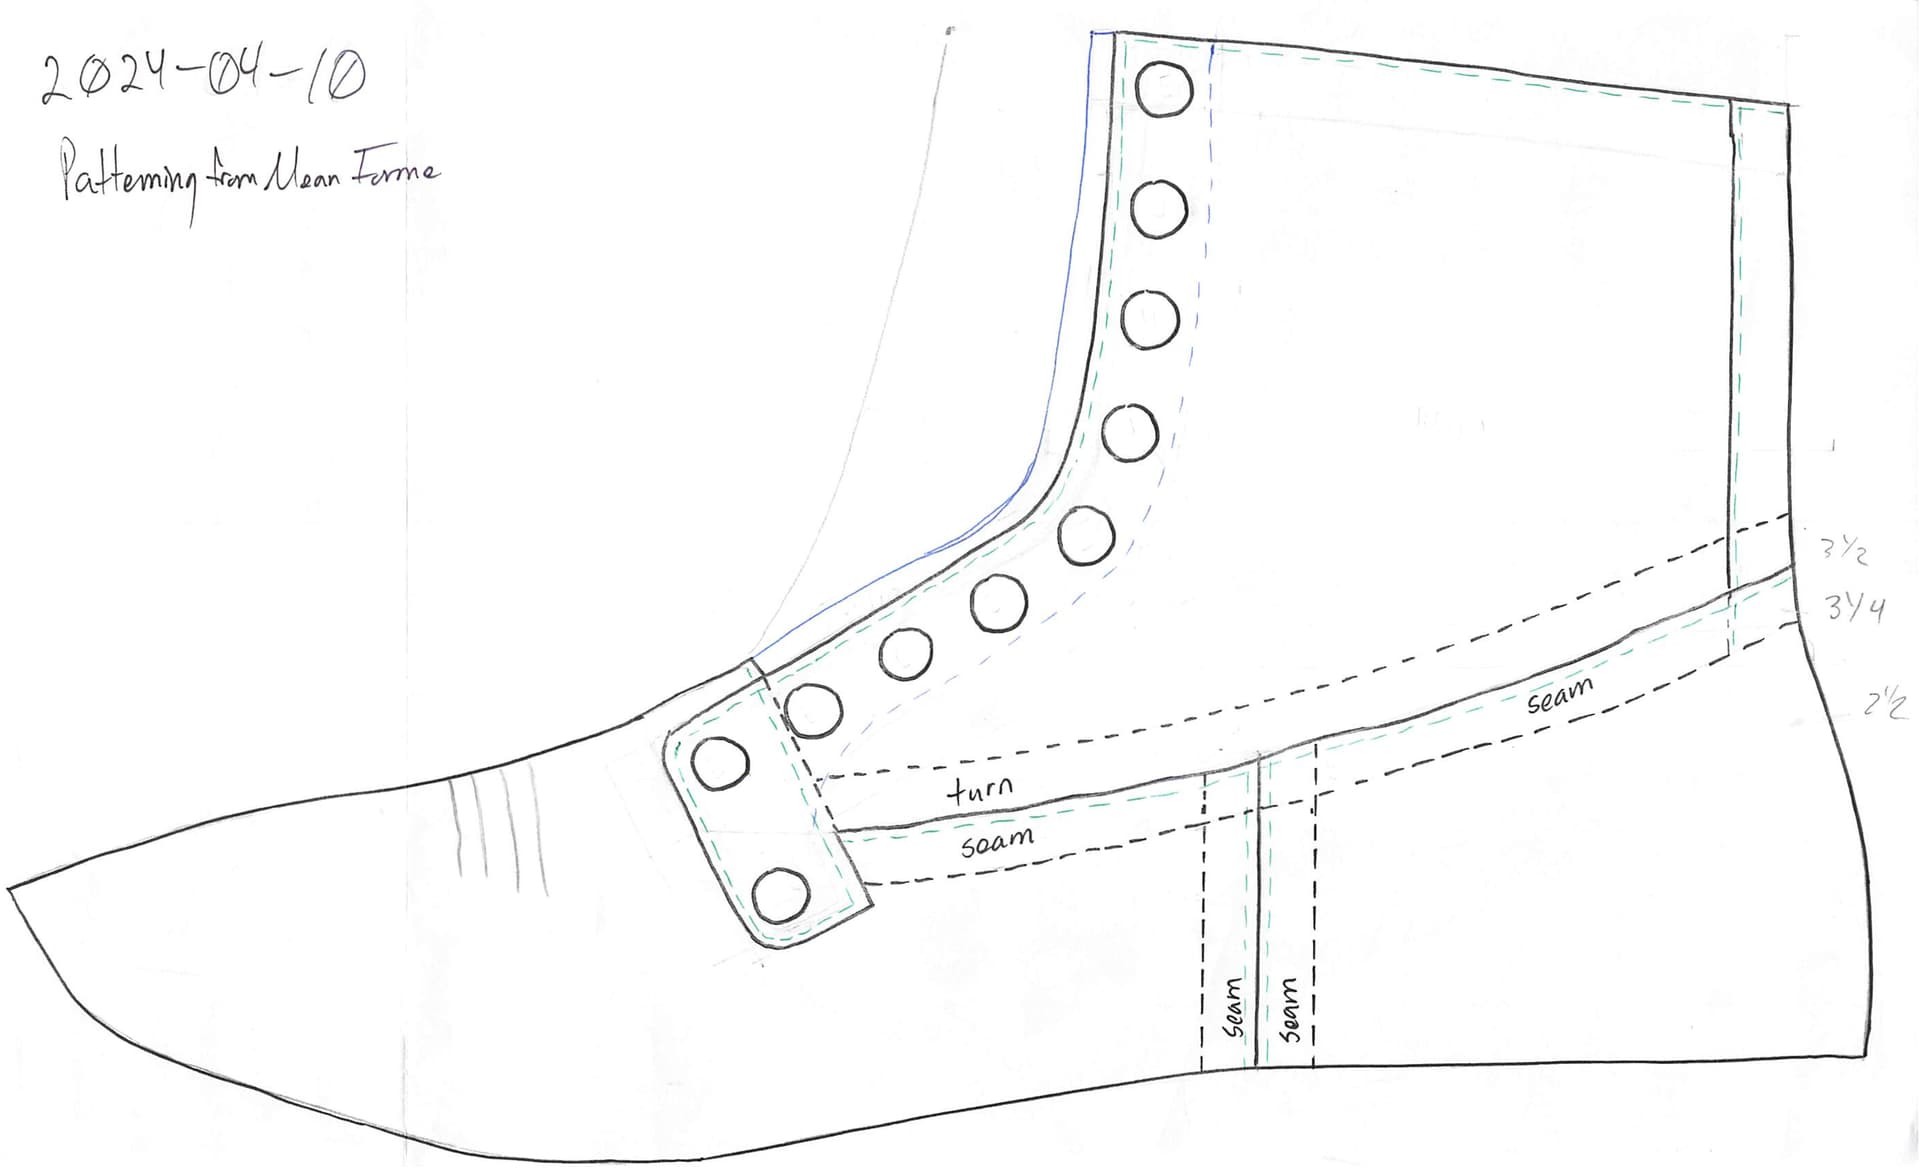
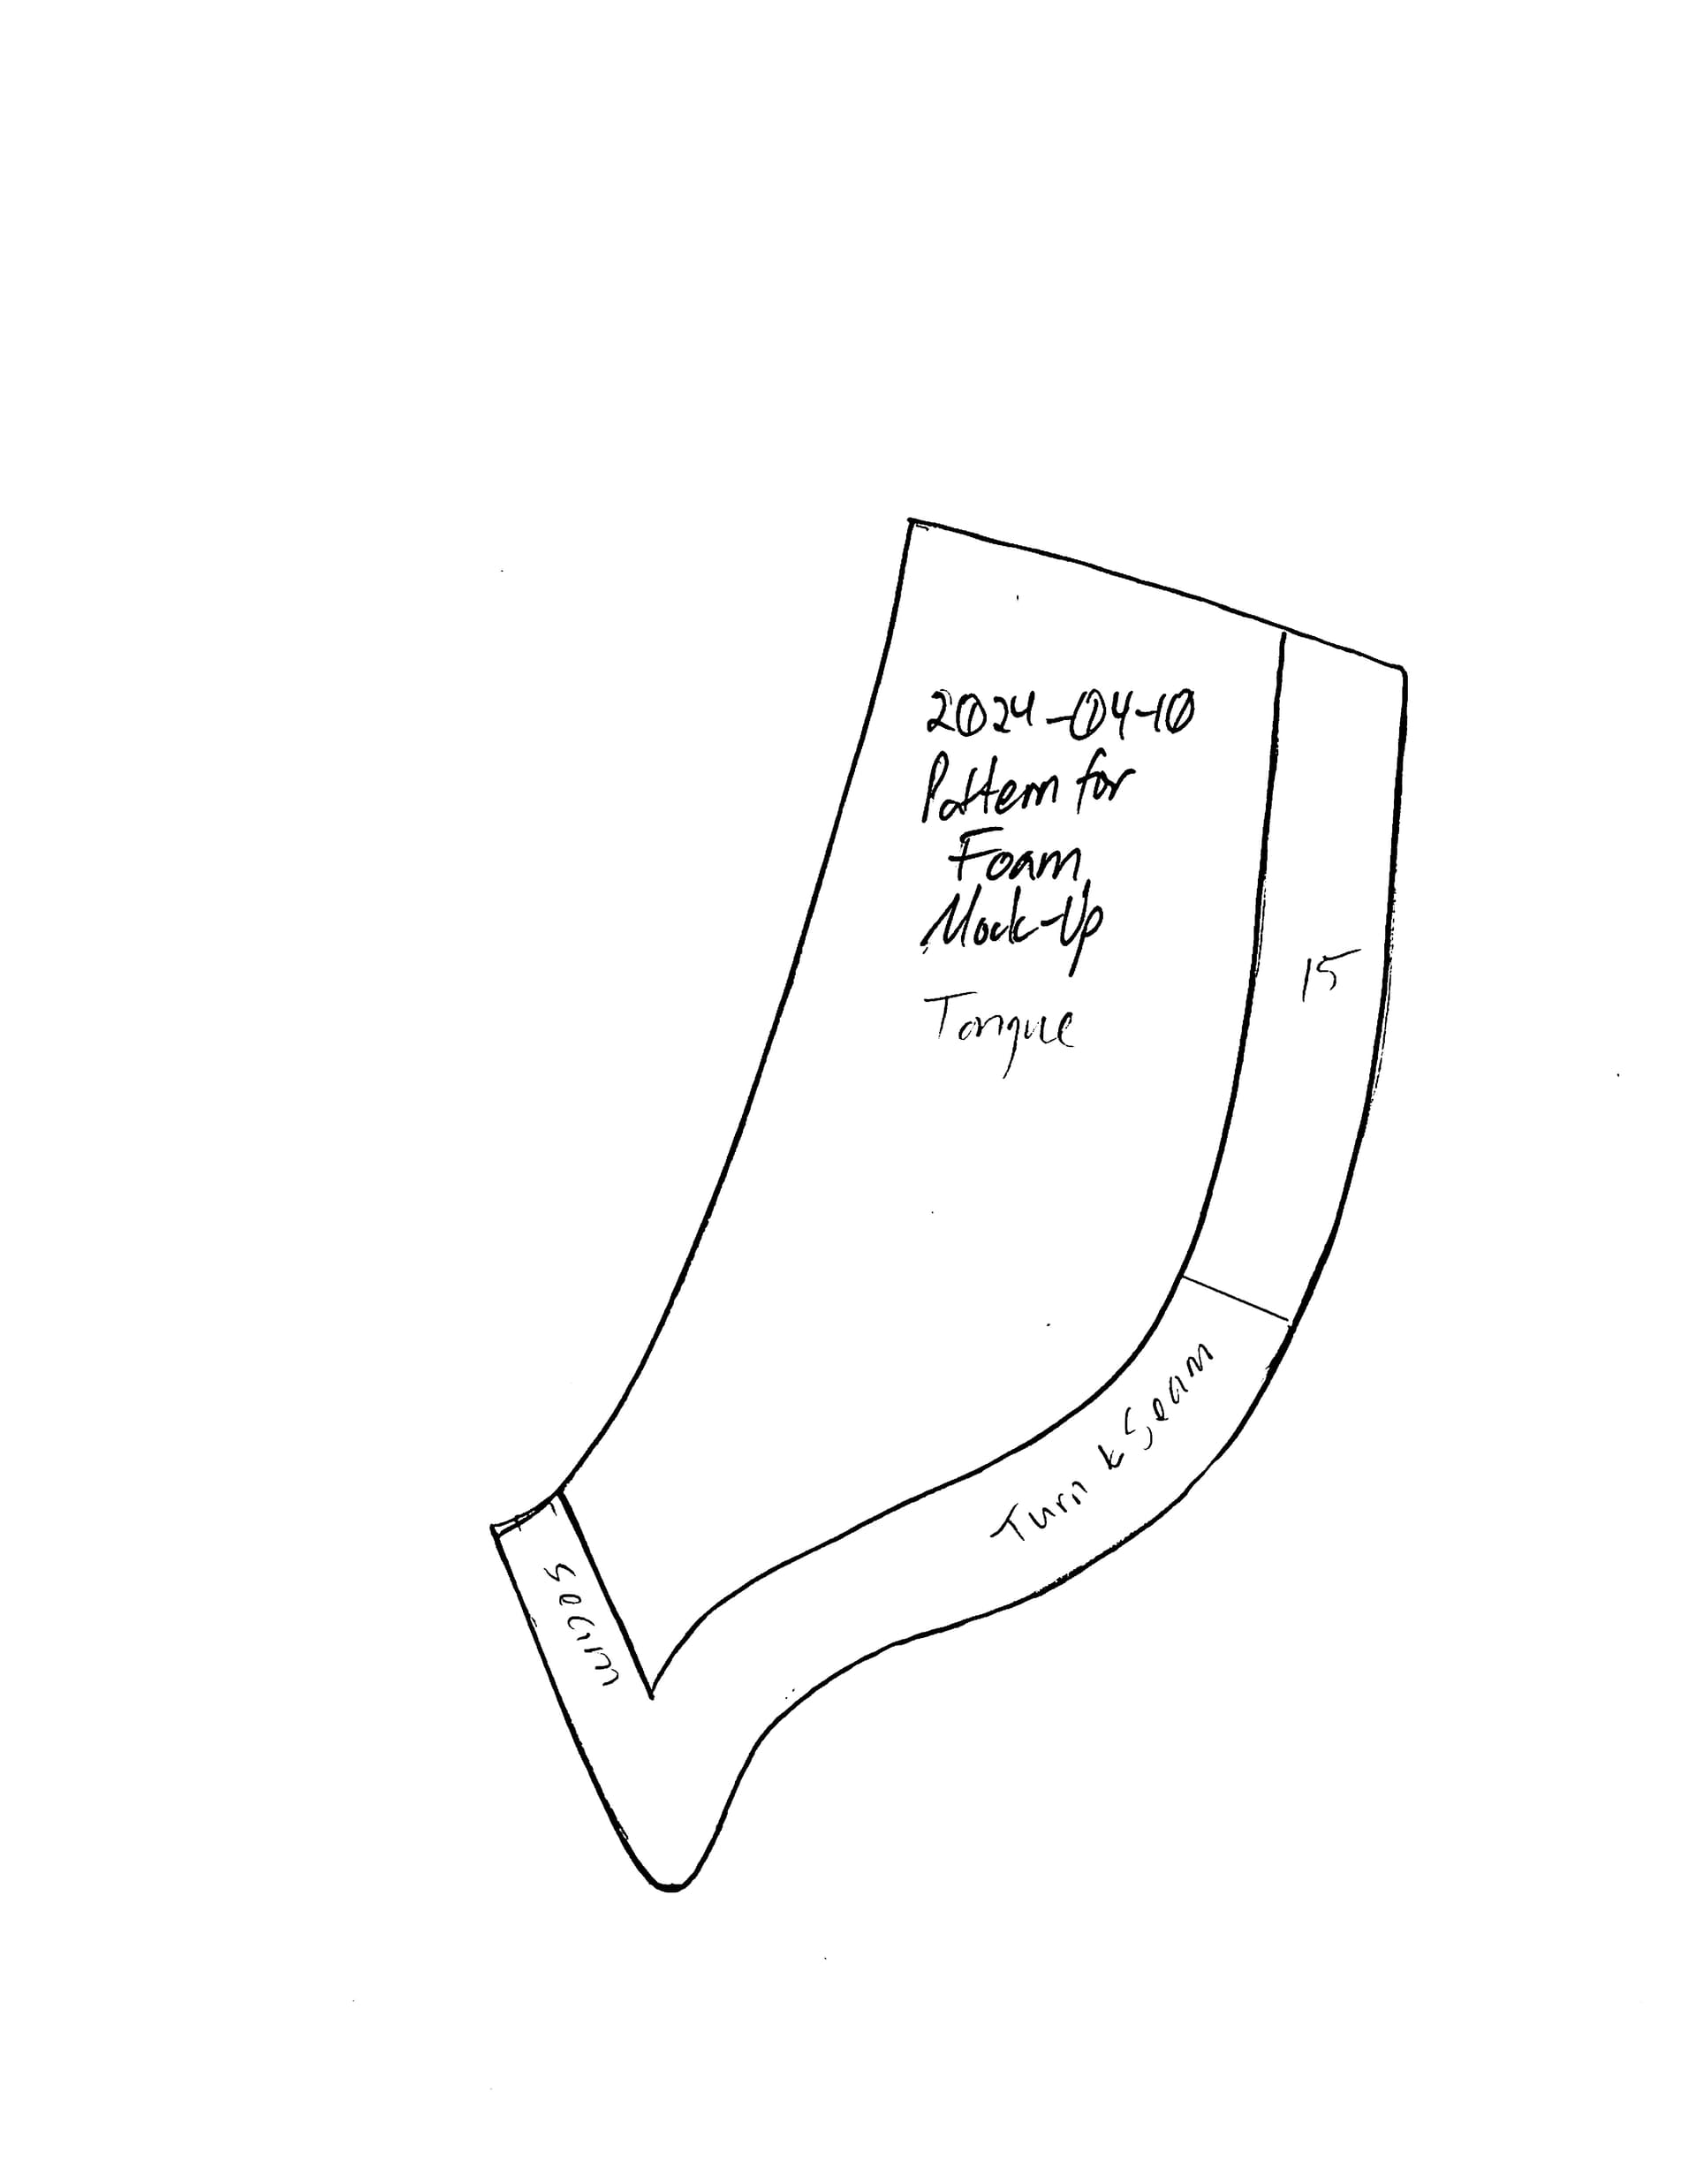
I went through and scanned the pattern pieces and other items from my binder for this pair. The ones I couldn’t get through the sheet-fed scanner, I photographed over a centimeter grid.
I also made pattern pieces for the leather pieces to build up the lasts in a few places, but the scans of those didn’t turn out well.
As I feared, I did in fact pull a few pegs loose at the very back of the heel on one of the boots as I was drawing out the last. Not a problem during wear, but potentially a worsening issue from taking that boot off, or getting the heel stuck on things.
I went in with a thin, fan-shaped brush for a heavy double application of Barge. Then I stood in the foot, on just that one leg. Hopefully that does it.
Thinking more about the pegs through the heel seat that came loose, I realized that it likely points back to a more basic mistake.
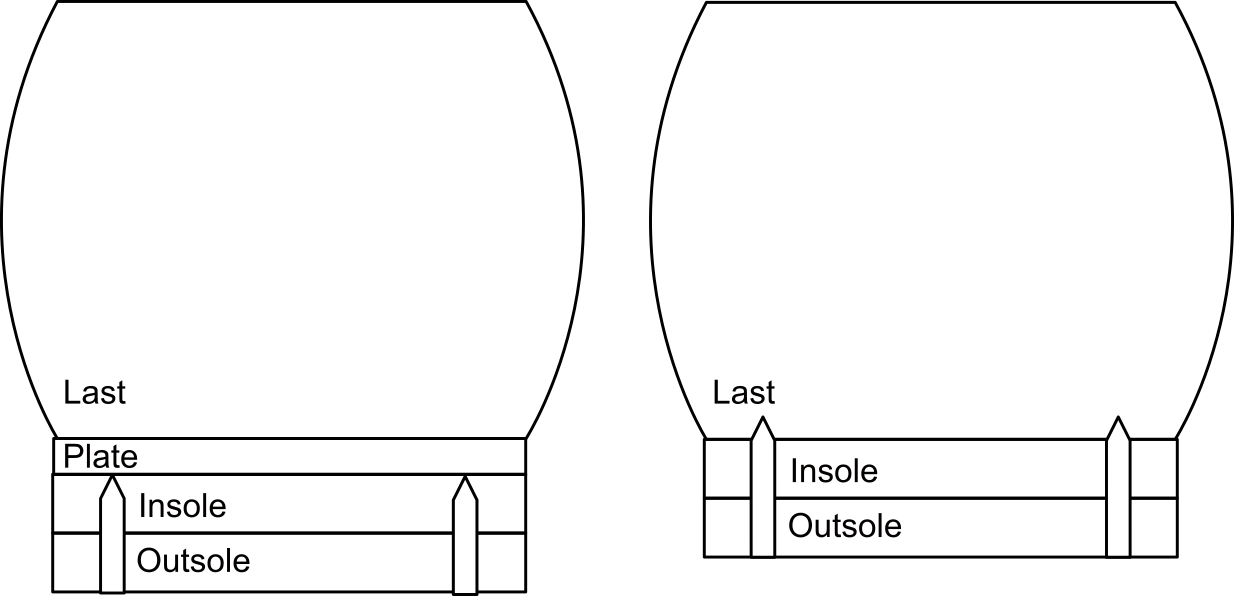
The lasts I built up came with plates just over the heel seats. But during the build, I got excited about pegging and decided to continue all the way back through the heel. I fixed up a depth stop on my pegging awl to make sure I’d go deep into the insole without going through it, breaking the point of my awl blade on the plate. But that resulted in some pegs held into the insole mostly by their pointy ends, not at the full widths of their shanks.
What I should have done was either nail the heel seats and peg the waists, as I originally planned, or pull the plates off the lasts and peg through the insoles.
Or, frankly, stick closer to roper style and just welt back to the heels.
The idea of relying on cement to hold that heel on got to bothering me, so relasted the boots, tore down the heels to the split lifts, and nailed them with some D.B. Gurner 8/8 brass clinching nails.
I liked the idea of reusing some peg holes to make driving the nails easier. But I ended up putting a few just outside the heel plate on the last, right on the edge of the insole. I should have driven them further in from the featherline, so they all hit the plate.
I made do by peening a few over with a drift. I also cut the sock liners a few millimeters wide on each side, so they covered the very bottoms of the uppers where they curl in down below the insoles.
I’ve heard it from literally everybody now: I shouldn’t have hesitated to use better insole leather, like Baker or Rendenbach, even for my second pair. I probably had more trouble carving—and keeping awls instact—because of the leather I chose.
I don’t mean to take away from what I did use, which came from Panhandle Leather. It’s sturdy stuff, and at a very reasonable price, about a third of the fancier German tannery product as cut stock. I imagine for stitchdown, or for channeling with a rotary machine, it could make a lot more sense. But I’m accepting that I should move on for my next handwelted pair.
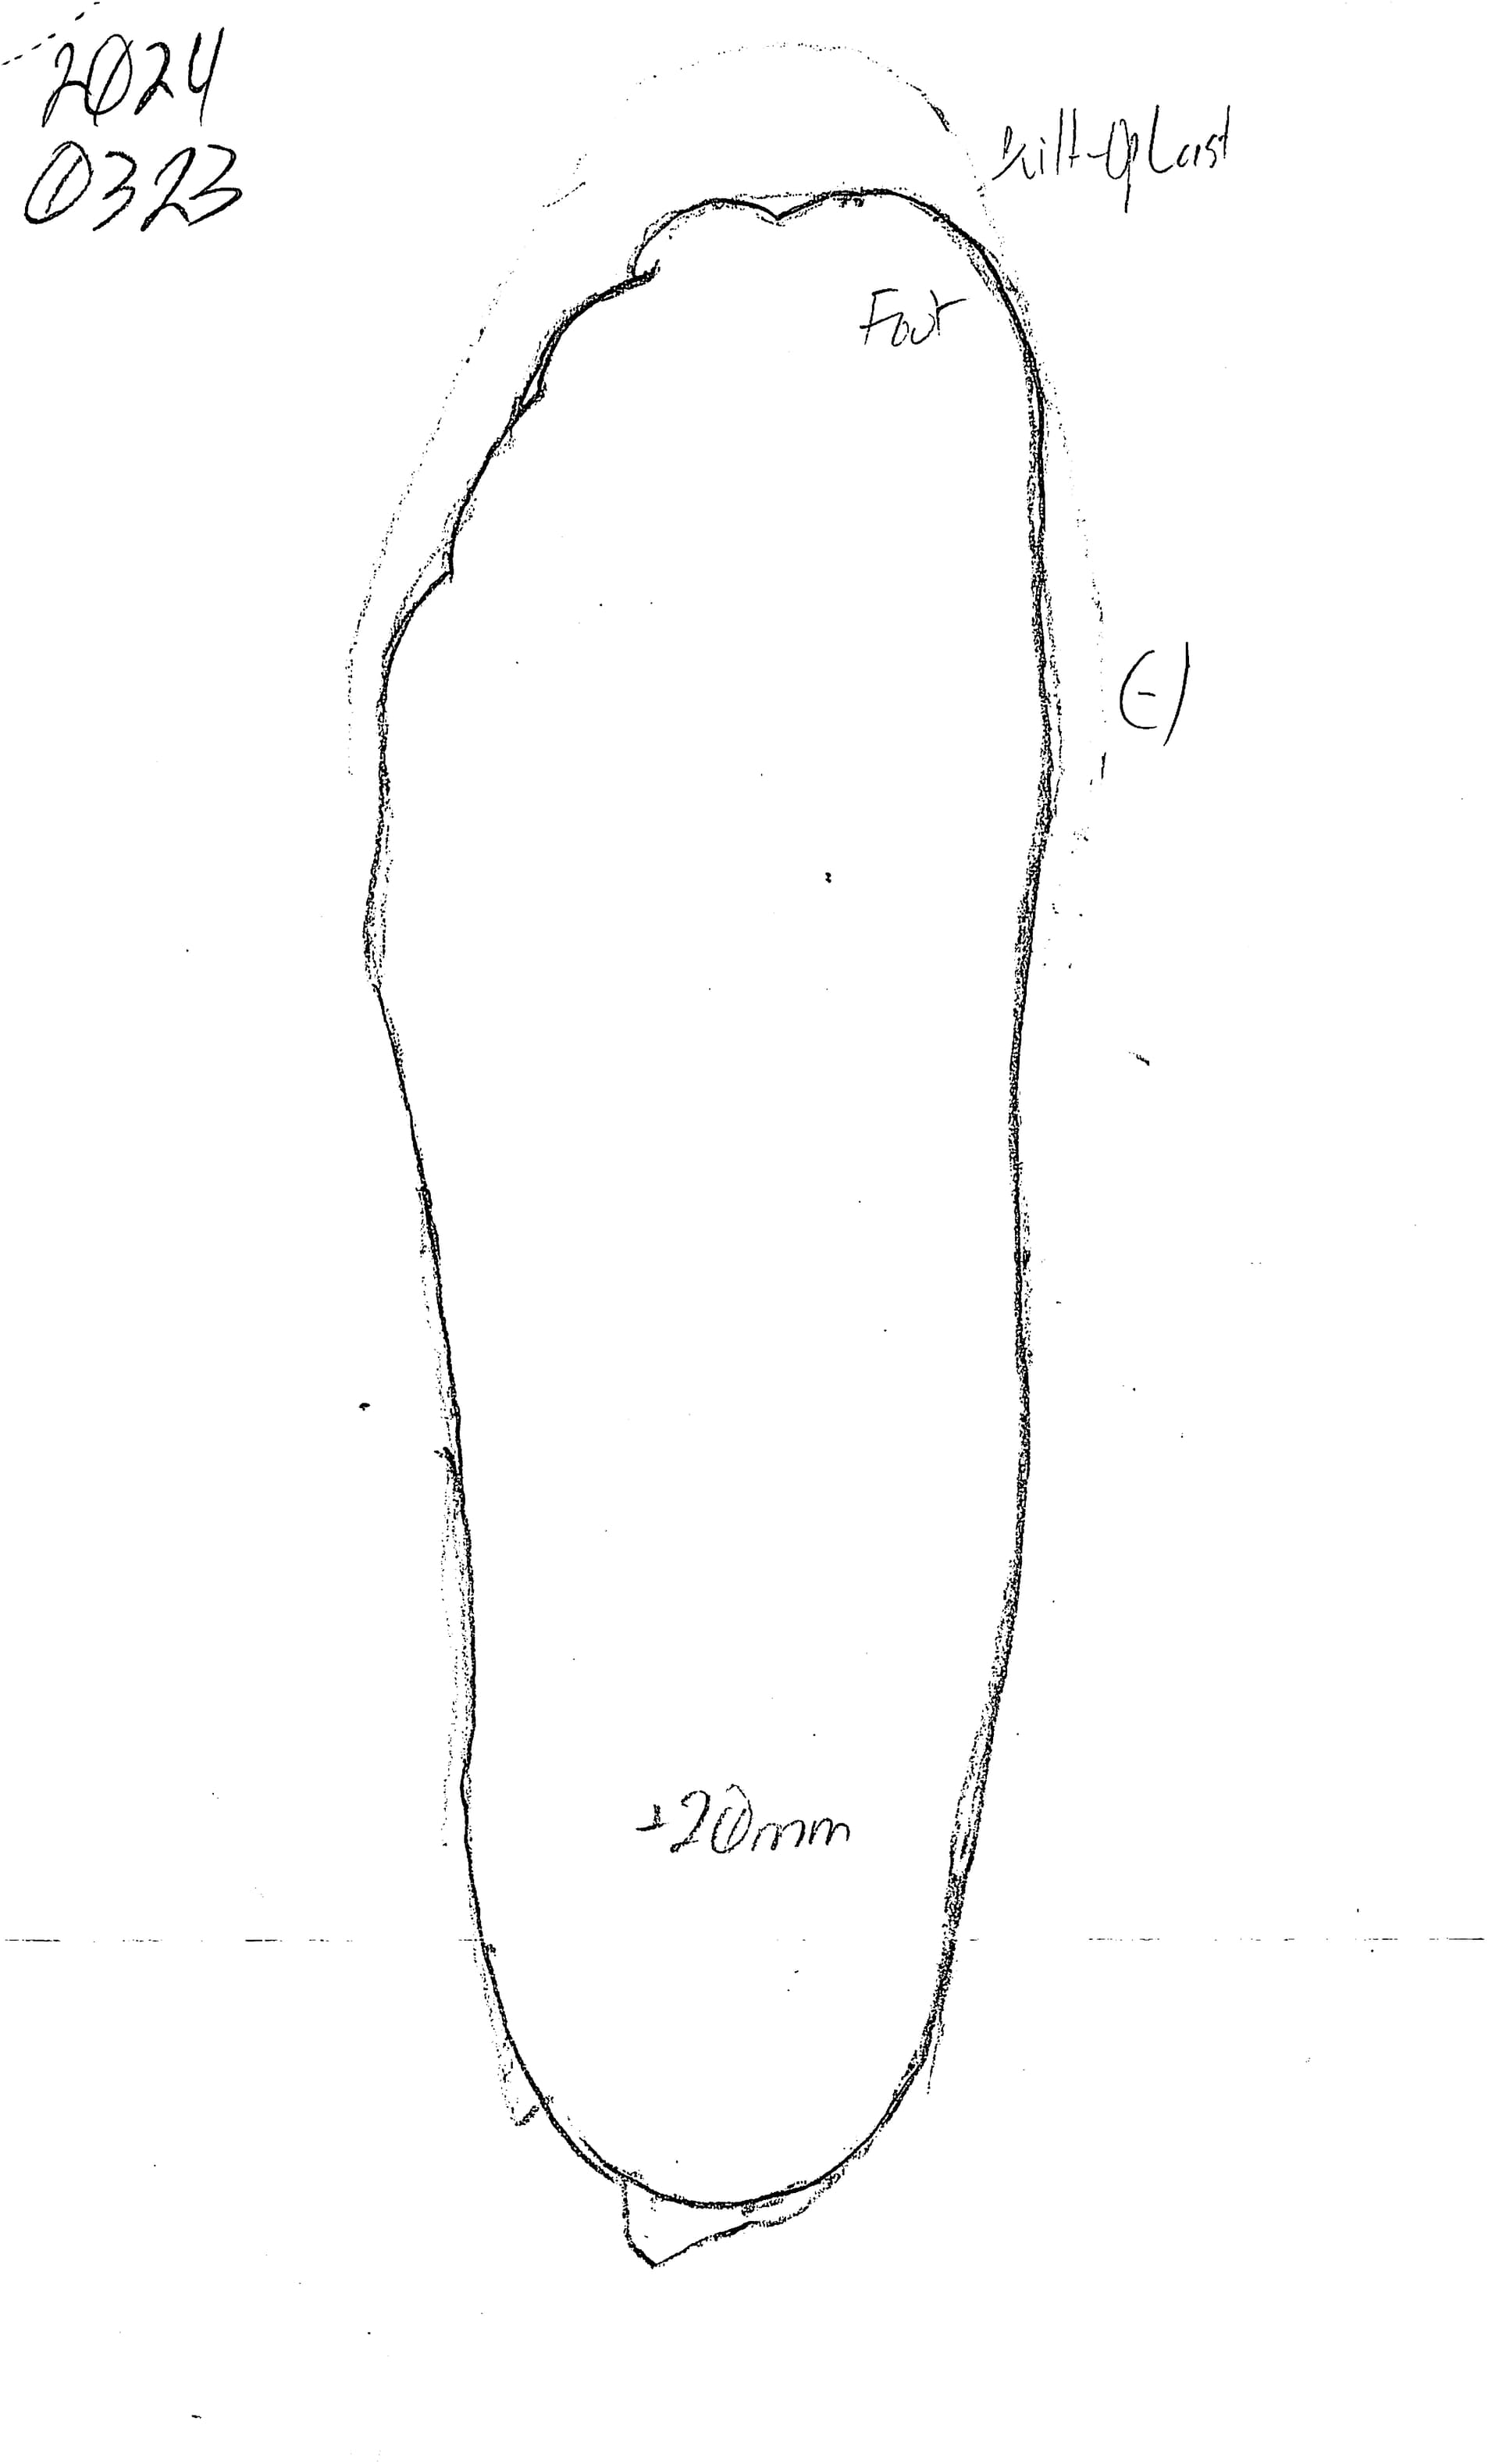
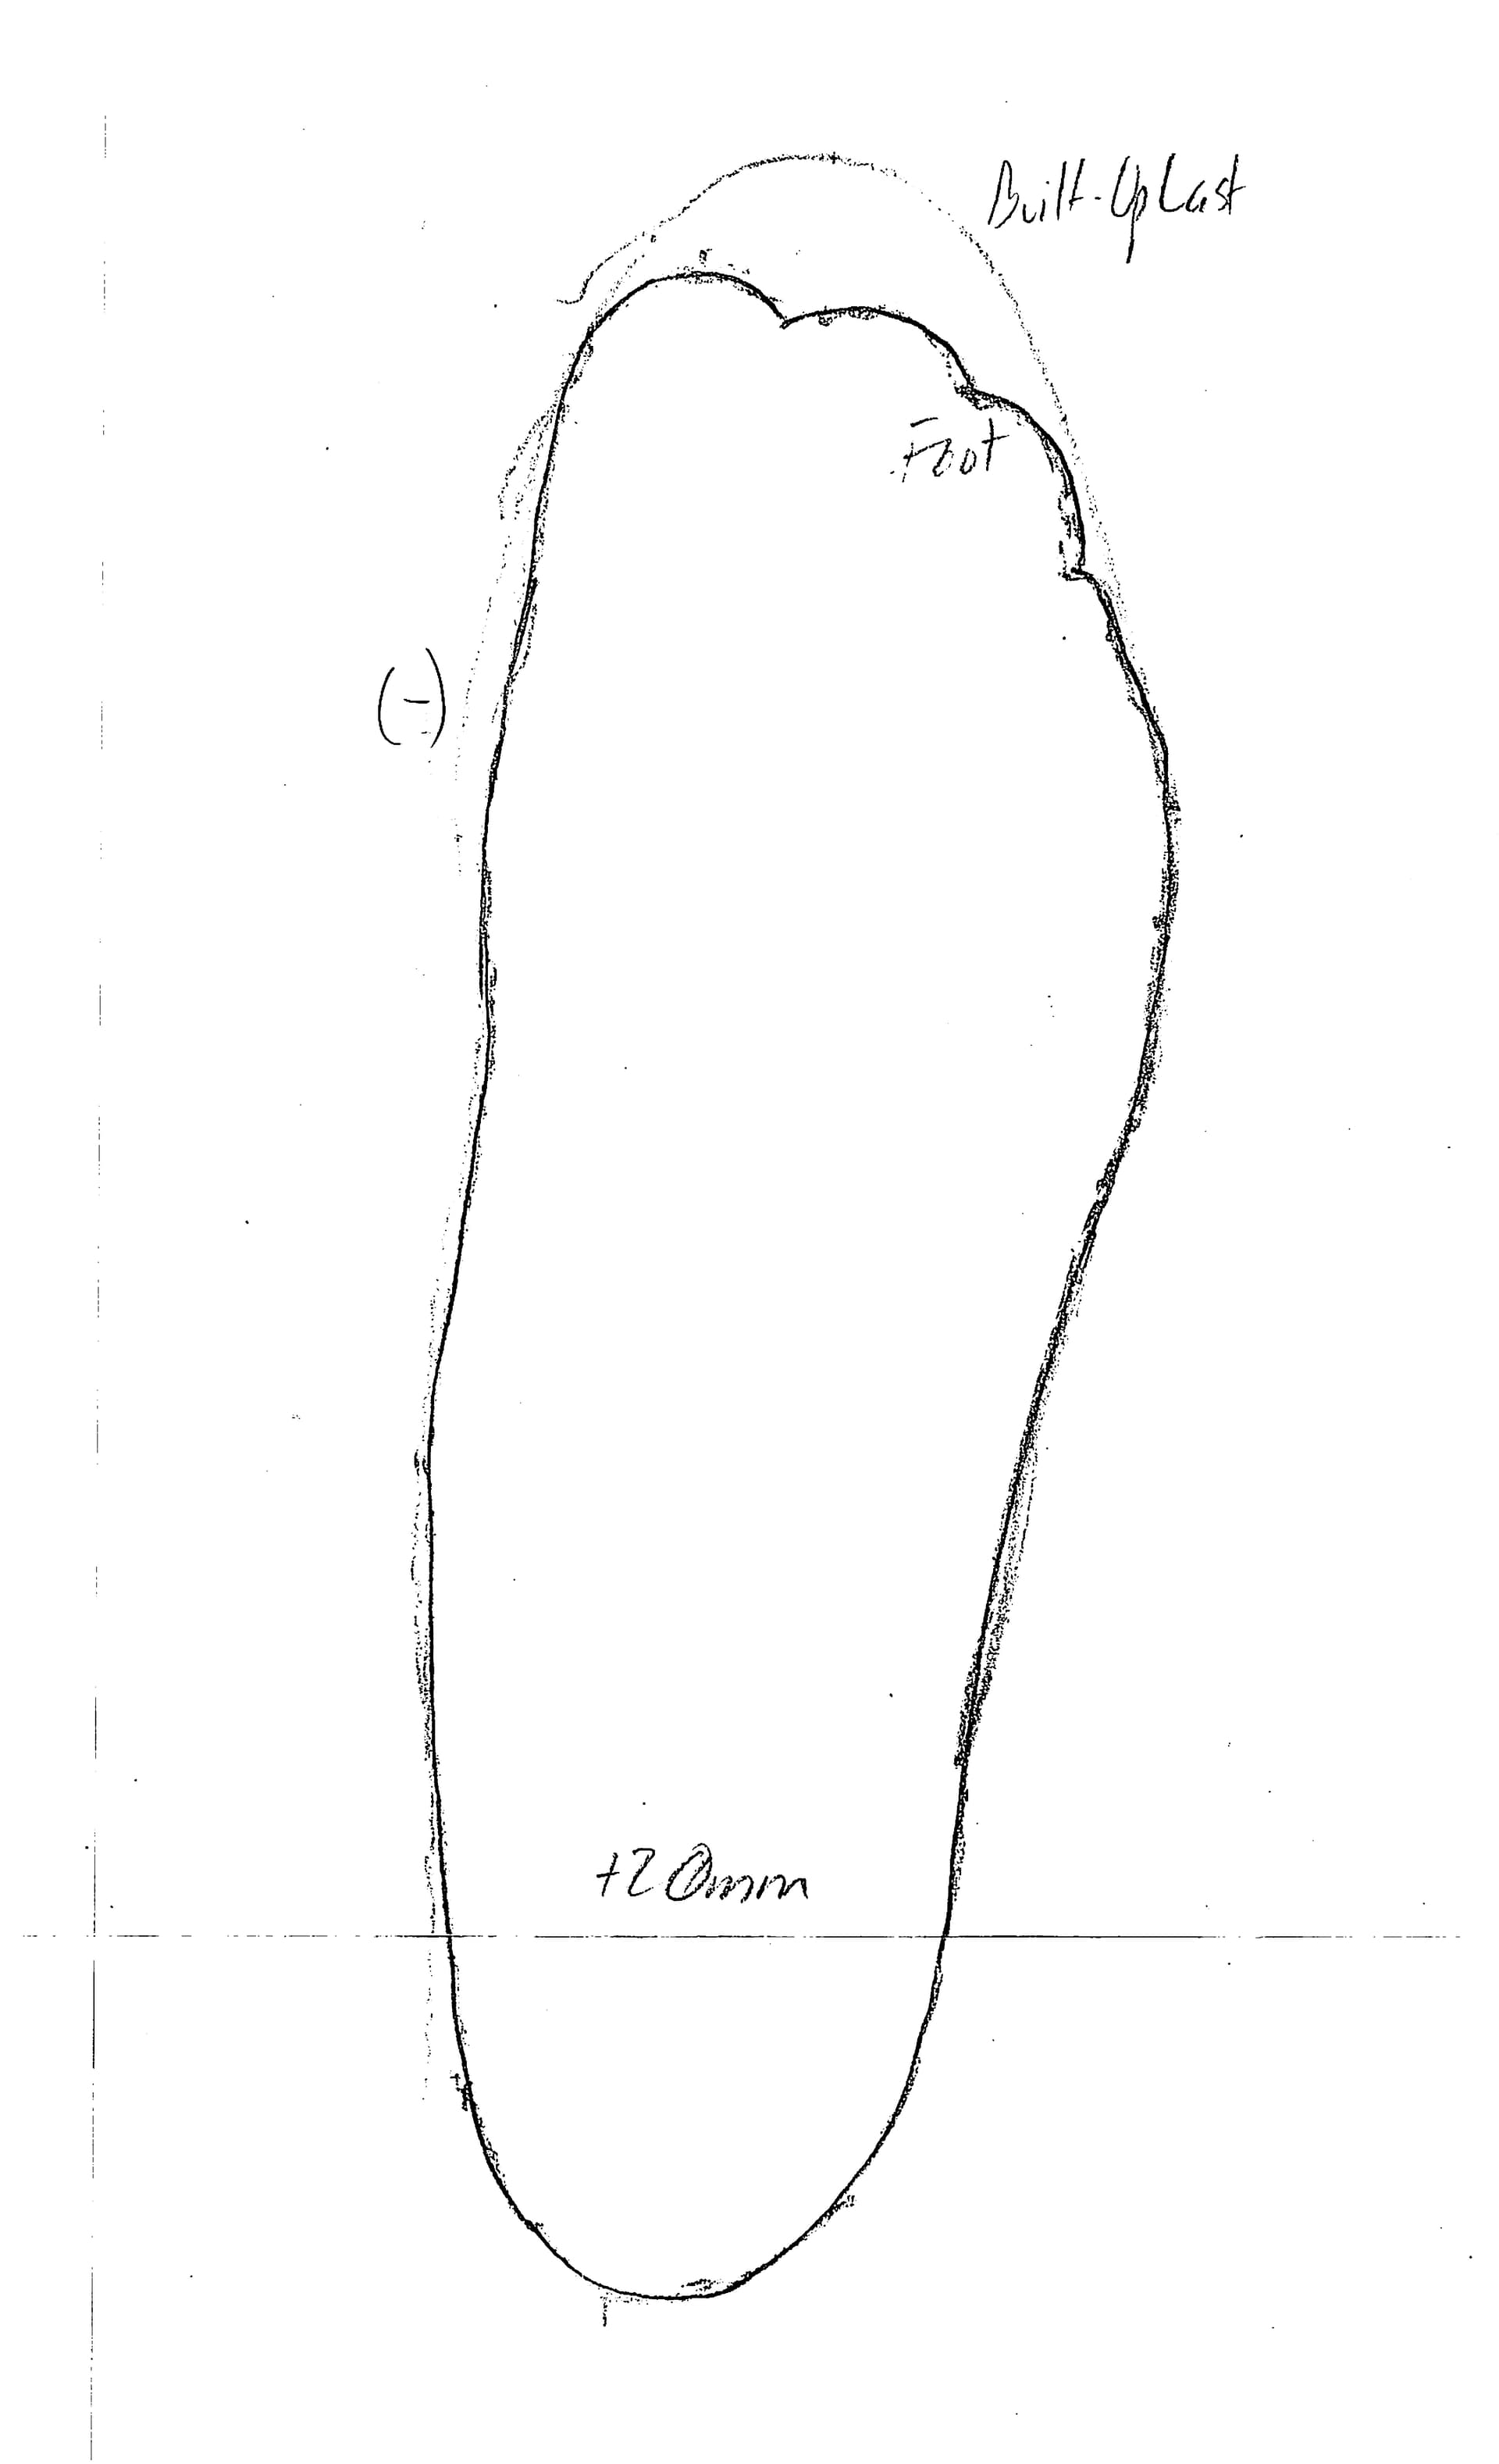
I ended up going into the bottoms of these again, trying to find out where the bump I’m feeling under the right arch is coming from. I pulled the heels, packed back the outsoles, and pulled out the steel shanks. I ended up replacing the spring steel shanks with strips of sole leather cut and skived to fit the channels I’d cut ouf of the shank covers to fit the steel shanks. I suspect one of the steel shanks created a ridge in the fill and shank cover in the right boot. My hope is that, even I can still feel that hump when I get the boot back on, leather will allow my foot to pound it out.
While I was in there, I drove the brass clinching nails further in toward the centerline, too. No more brass poking into the sides of the heel cups. I had just enough room on the split list to move in a bit.
This might be cheating, but after bending a few brass tacks without fully driving them home, I fell back on piercing holes with my pegging awl first.
I actually had a harder time getting the lasts out this time than any time before. I should have remembered to dust on some talc again!
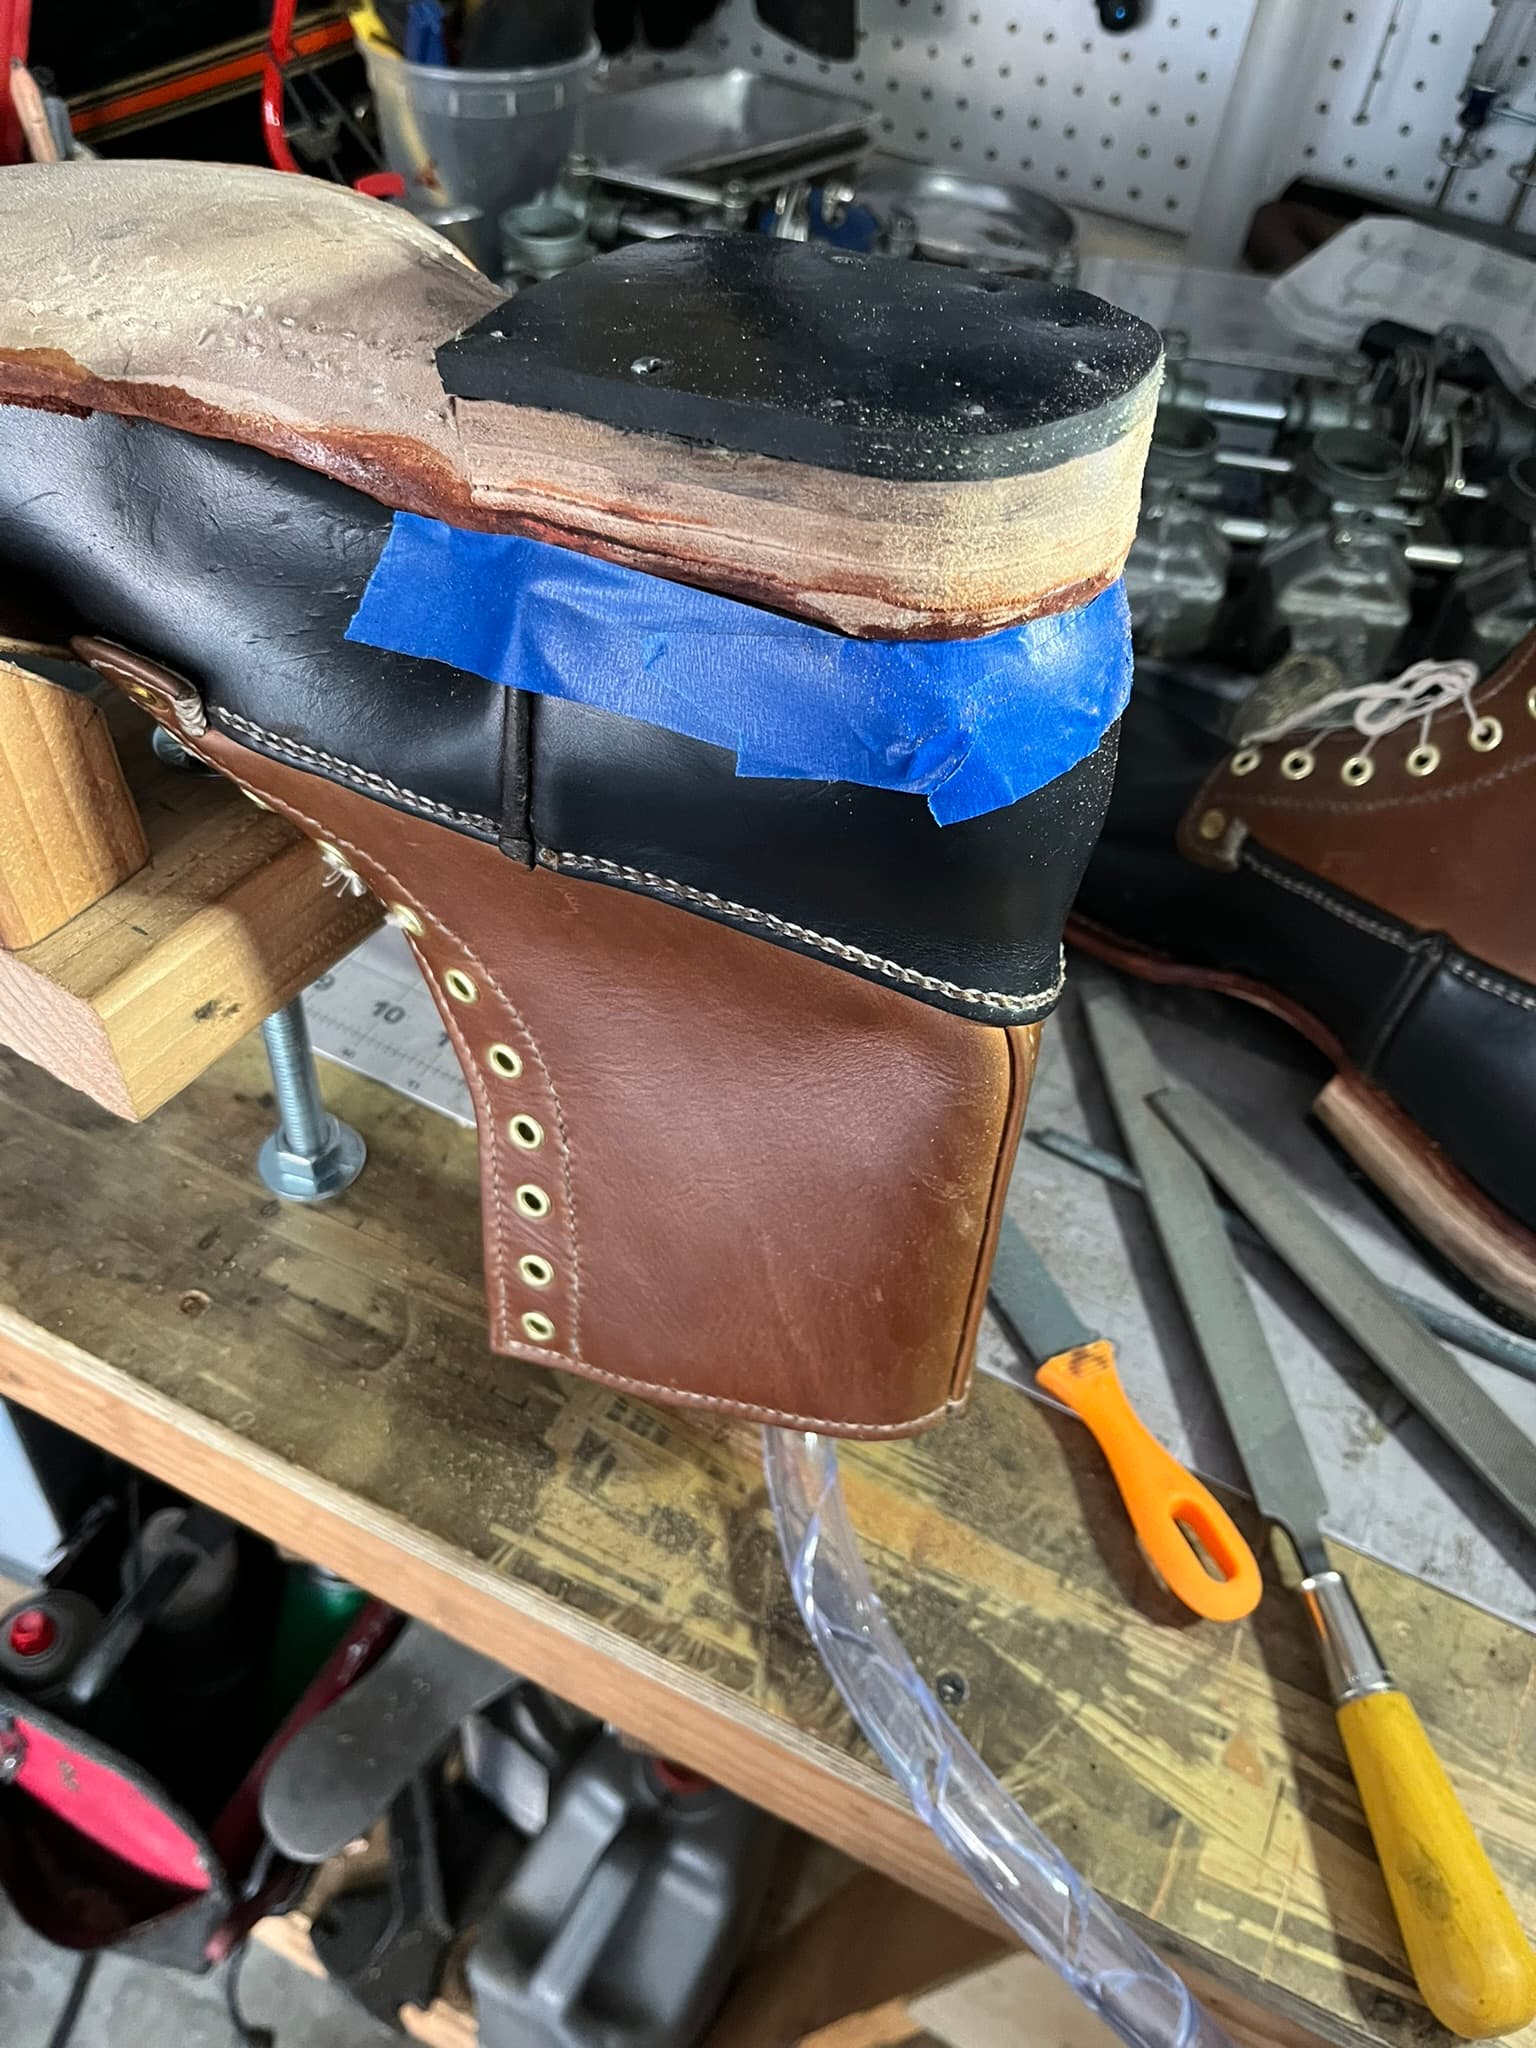
With so much work and work on the heels and edges, I also went ahead and dyed the heels and edges black. I wasn’t happy with the brown I’d started with in the first place, there still traces of that color left after rasping down past the surface to level again, and I think the black looks better in the end. I’ll be on the lookout to see whether the dye sticks to the white Maine Thread poly outseams.
Took some gumption to pull the sole back off again, hole they feel better this time!
They don’t! There’s still a ridge under the arch in one boot.
I have it on my list to get the right boot up on a flat surface at eye level and see if it’s something to do with how the heel meets the ground.
I suppose it did take a little gumption to pull the soles off, in the same way that it takes a little gumption to change clothes and start out on a run on a bad day. But in the same way, getting started was the hardest part. From there, the work just got done. Even though it didn’t get the immediate result I hoped for, I know I’ll never regret it.
Maybe I’ll never get to the point where Pair 2 is my go-to for wearing. But as a source of lessons learned, it’s already paid its way a few times over.