Definitely feel free to share here!
I’m particularly curious, since it seems you’re interested in different kinds of lasts than folks around here have tended to focus on.
Definitely feel free to share here!
I’m particularly curious, since it seems you’re interested in different kinds of lasts than folks around here have tended to focus on.
The last I have showing up is a modified whistler boot last from podohub. If it works better fitting wise, I’ll probably look into a sneaker last as well though. Or more likely, go down the rabbit hole of printing my own lasts. I already use 3d printing a good bit when making watch straps, so wouldn’t be a big departure. I will definitely post up process pics as I go. Have two boots planned already.
I’d be very grateful for a post on a Podohub last here. I’m also taking notes on 3D printing lasts.
Other Internet shoe friends report costs in polymer of about $30 per pair in PETG. There are different opinions on how best to infill, but 5mm PETG on the bottom surface seems to suffice.
I can do a derailed review when it comes in and talk through my thought process in what I ordered and why. It’ll be a little bit of time before i have a shoe actually built off it to validate fit and such.
Price wise, after shipping, it cost me about $50 more to have him print the last and ship it over just purchasing the digital file. I currently only have my resin printer set up and after doing some test prints, I wouldn’t actually get a nail to go into the printed resin, so it was out as a viable printing method. If i am happy with the printed last, I will probably look at getting a copy of the software from 3d shoemaker and get my fdm printer back up and running.
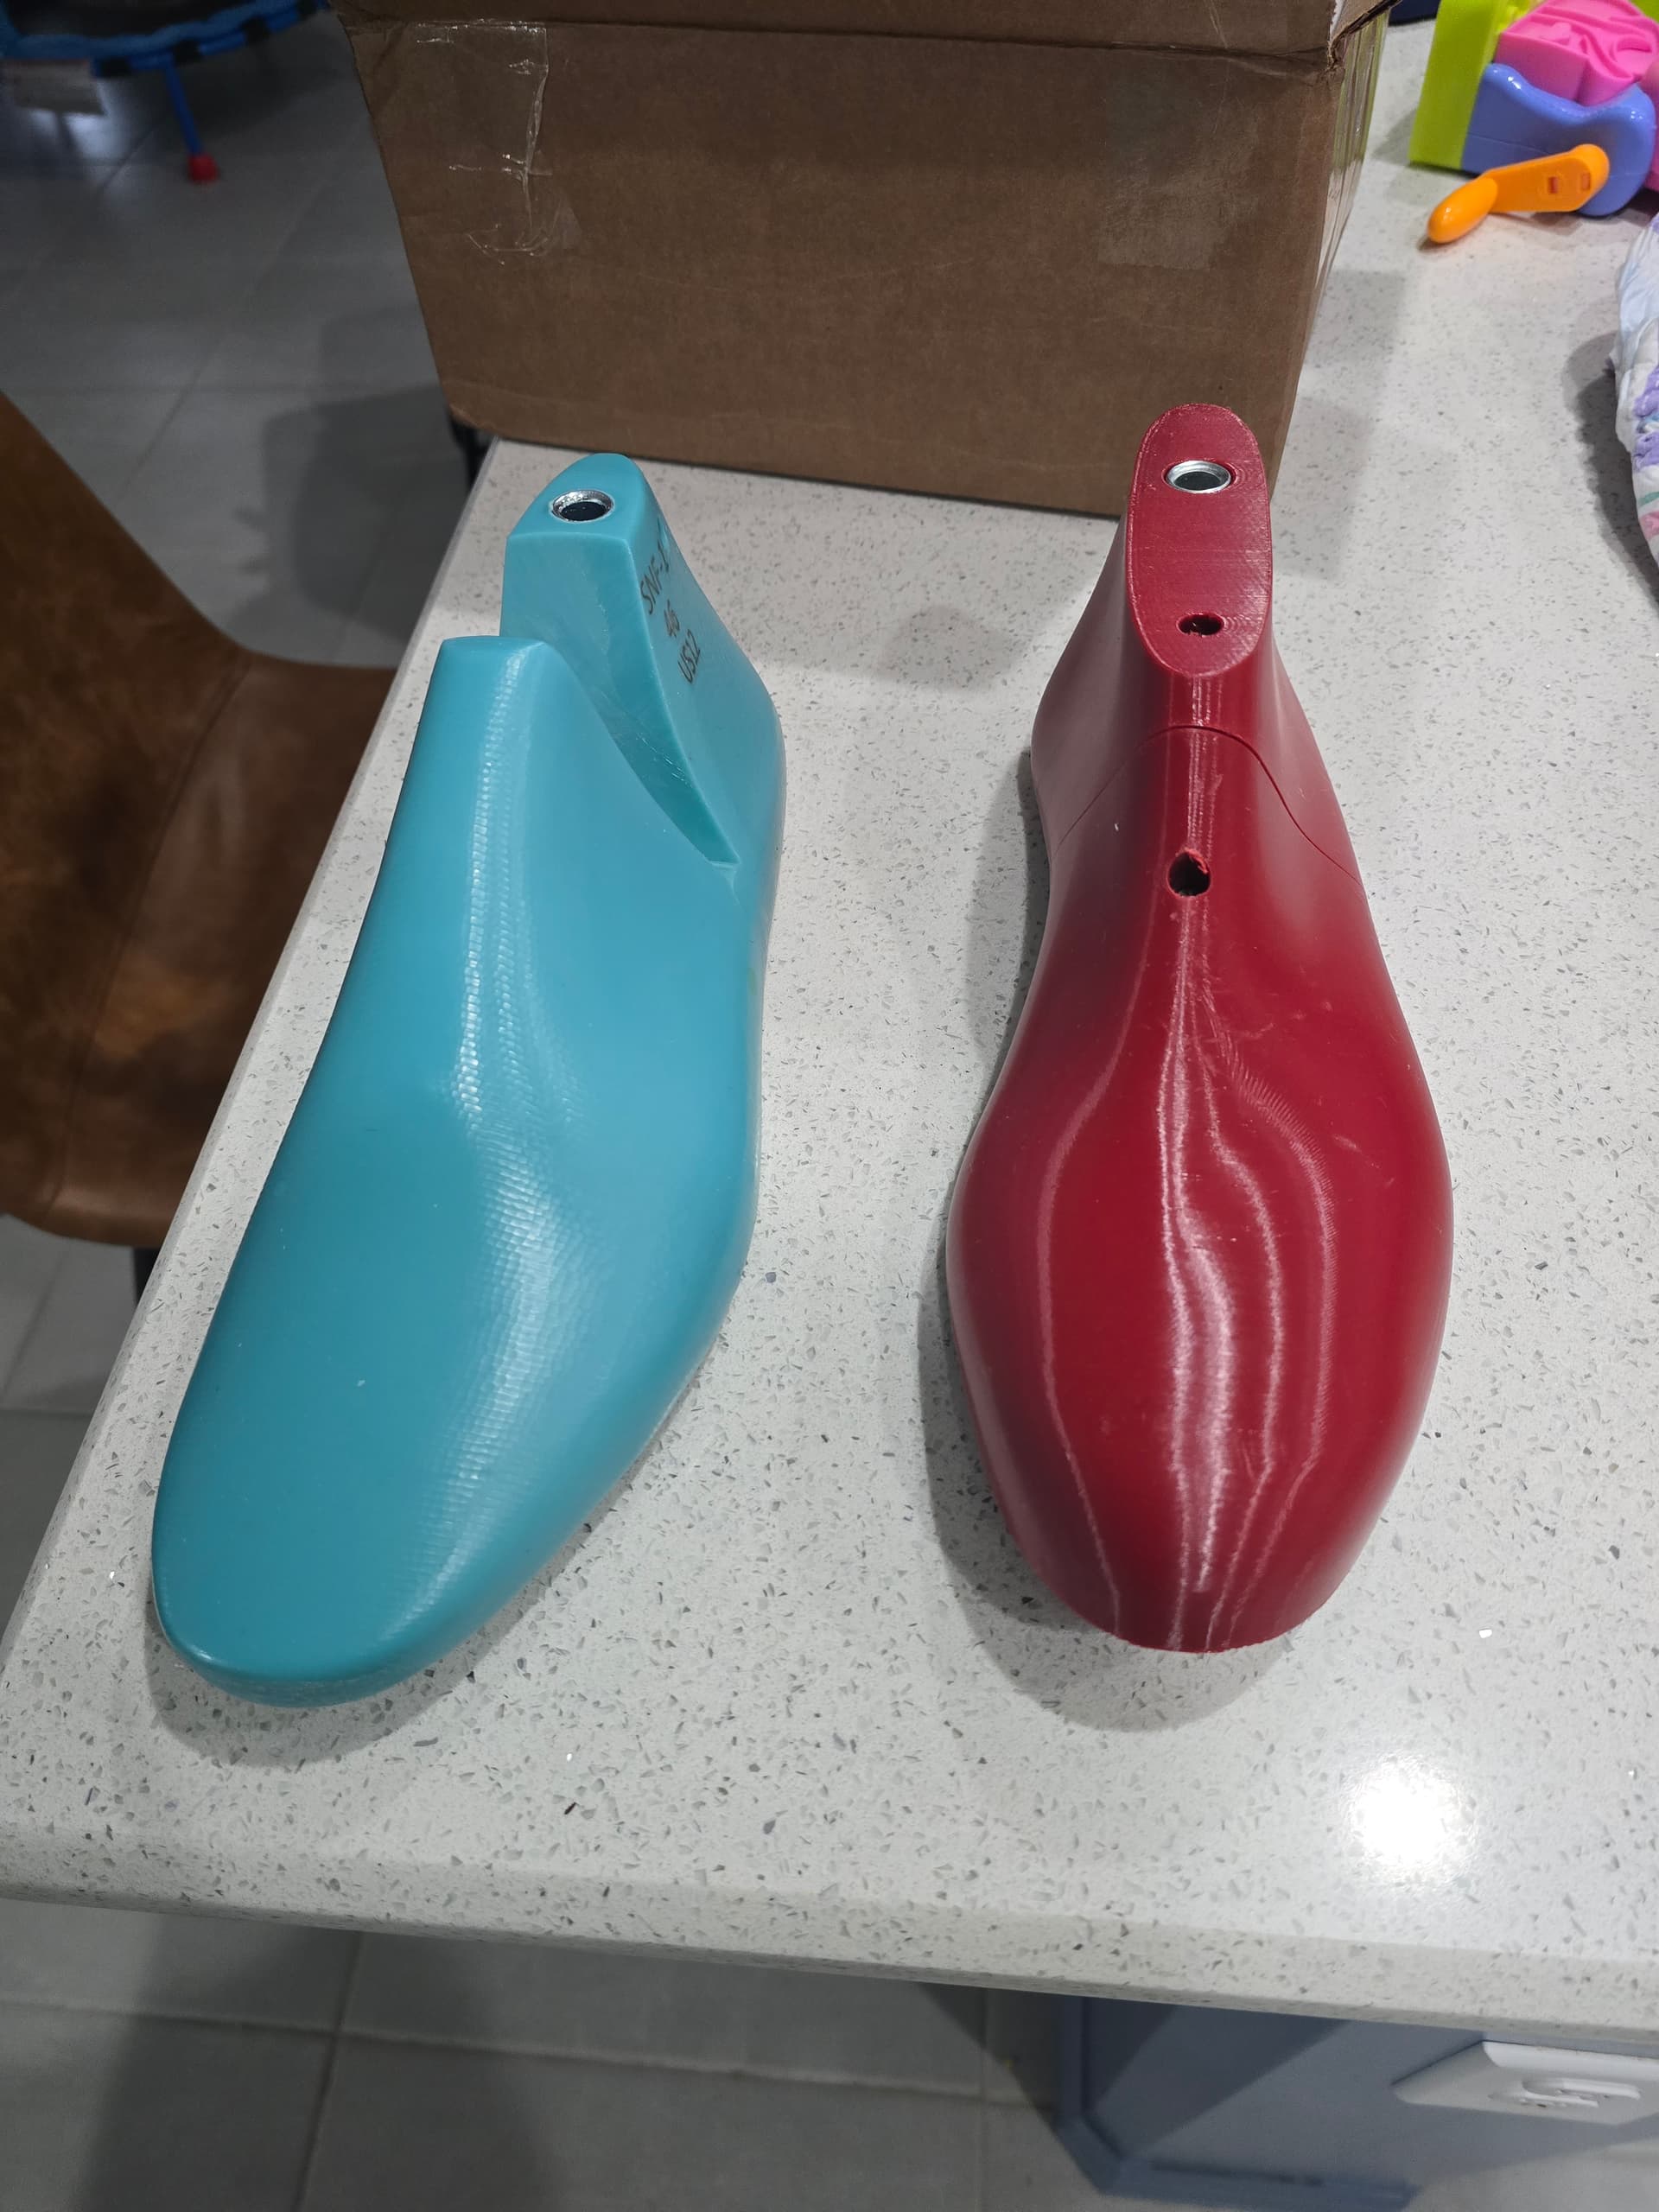
The lasts I ordered showed up today. So far, I am impressed with them.
After my misadventures with the lasts i ordered for my sneaker build, I did a foot tracing/took measurements following Lisa Sorrel’s youtube video and went through boot last options on Podohub and 3dshoemaker. After using the insole tracings available and comparing numbers, I found that a size 11 EE whistler last on pedohub was pretty much perfect dimension wise for arch length/volume measurements.
The only issue was the overall length just seemed too long, so in the interest of trying out some of the custom modification options, I ordered the last with the toe box length shortened by 8mm.
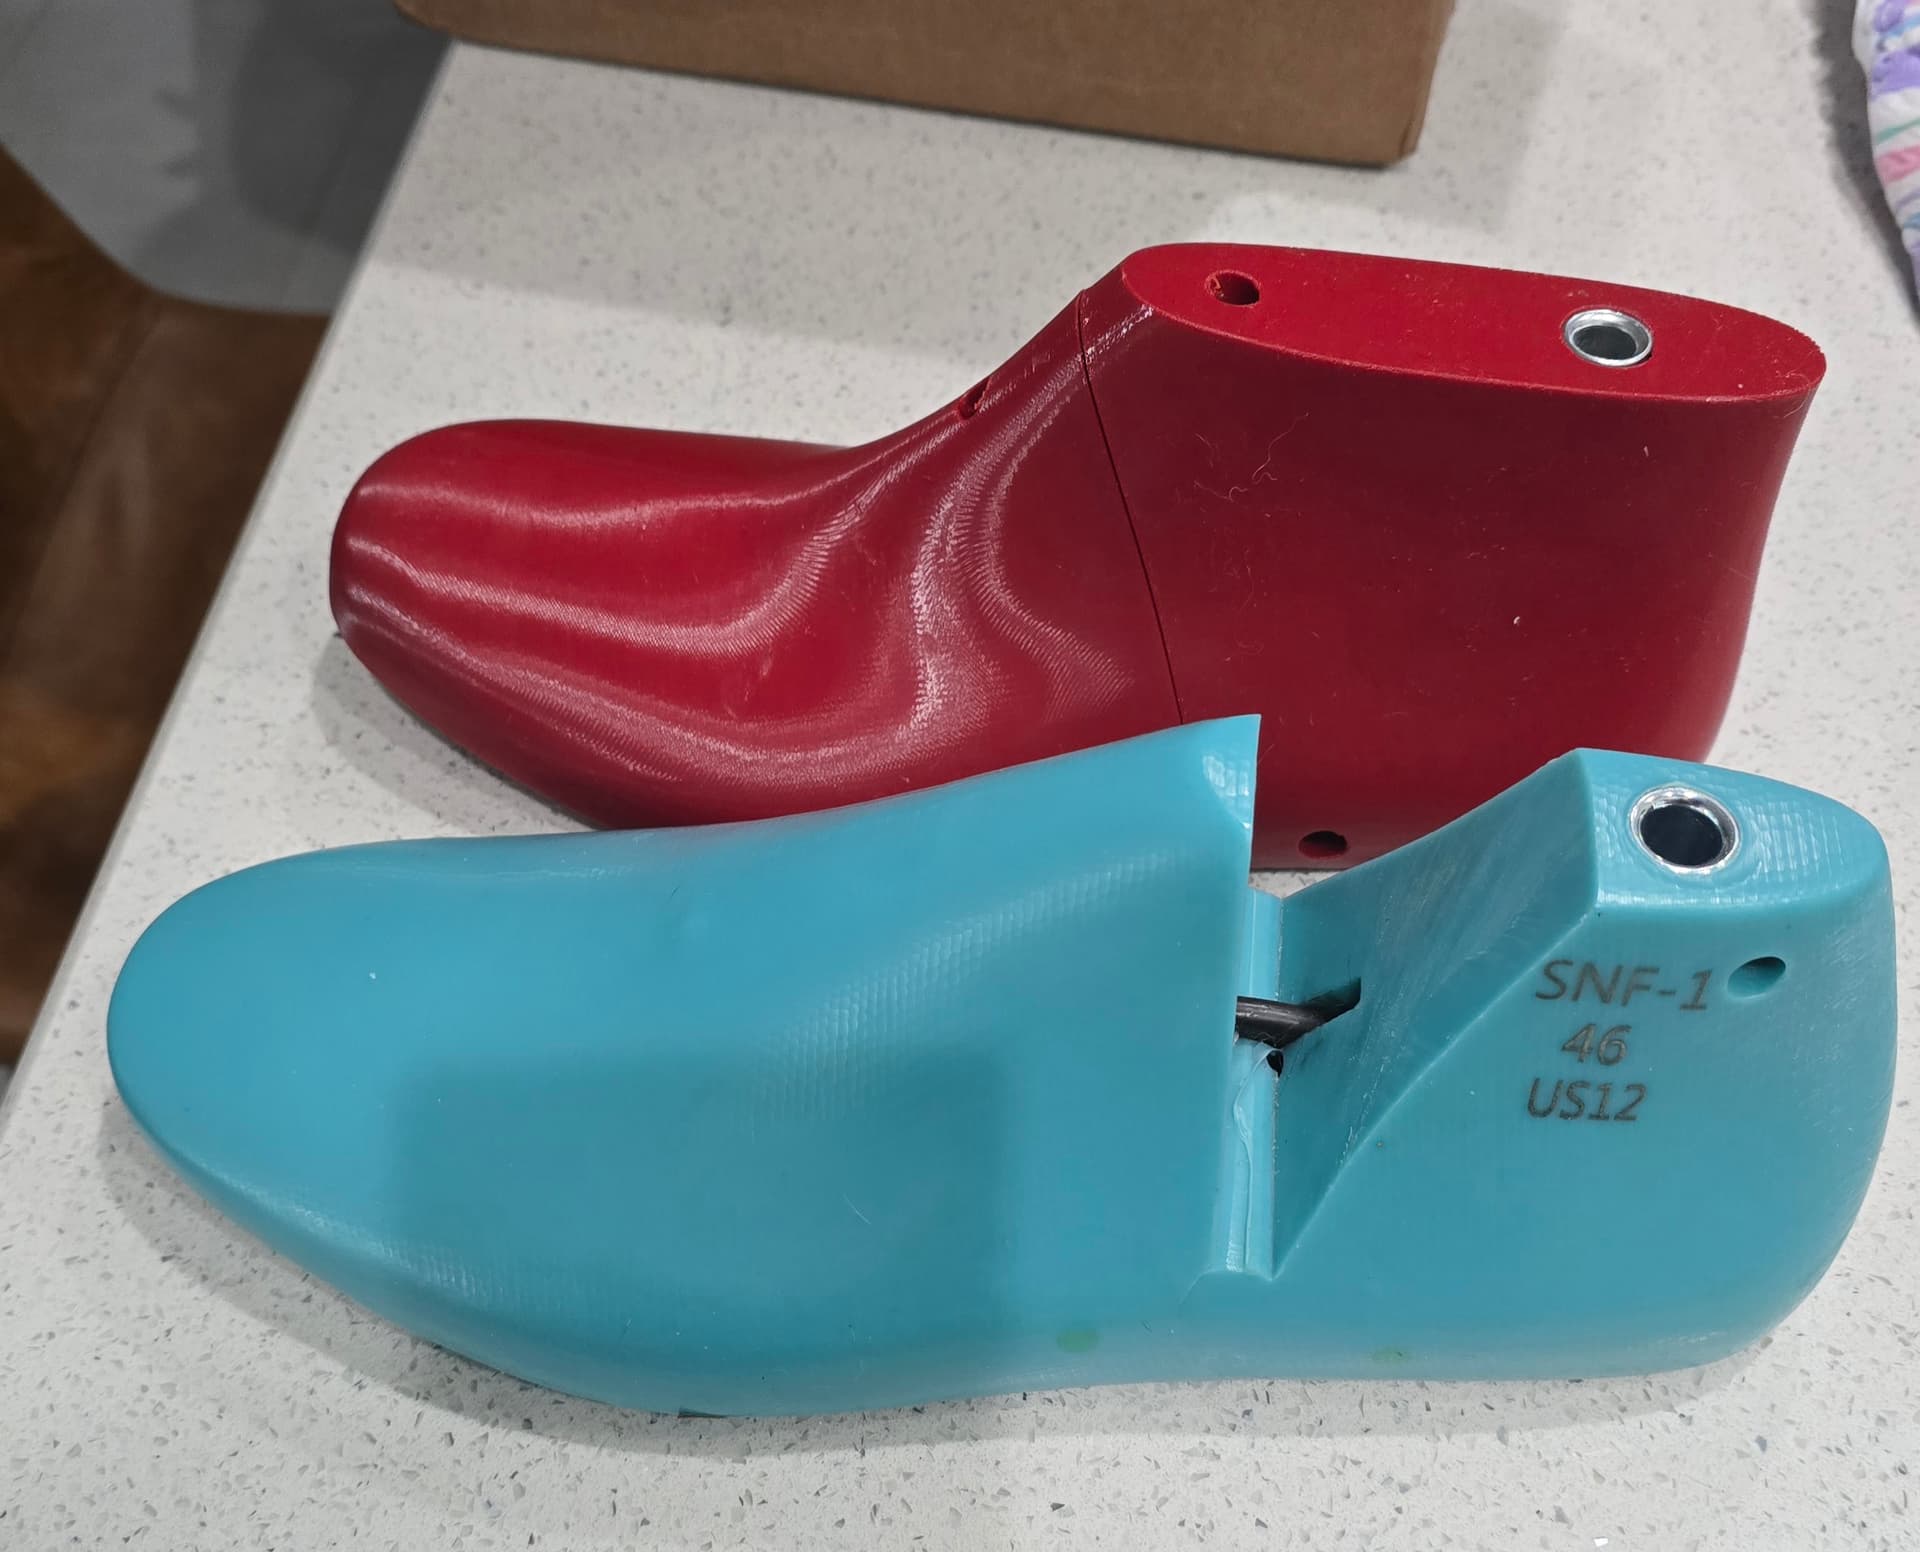
Here is the last next to the more traditional sneaker last I have for comparison.
I also ordered the upper digital pattern he offers. I plan to tape the lasts and make my own meanform to see how it compare.
All in all, with shipping from Canada to the US, adding in the patterns and modification, they cost about $100.
I will update with observations as I move through my next build.
Interesting!
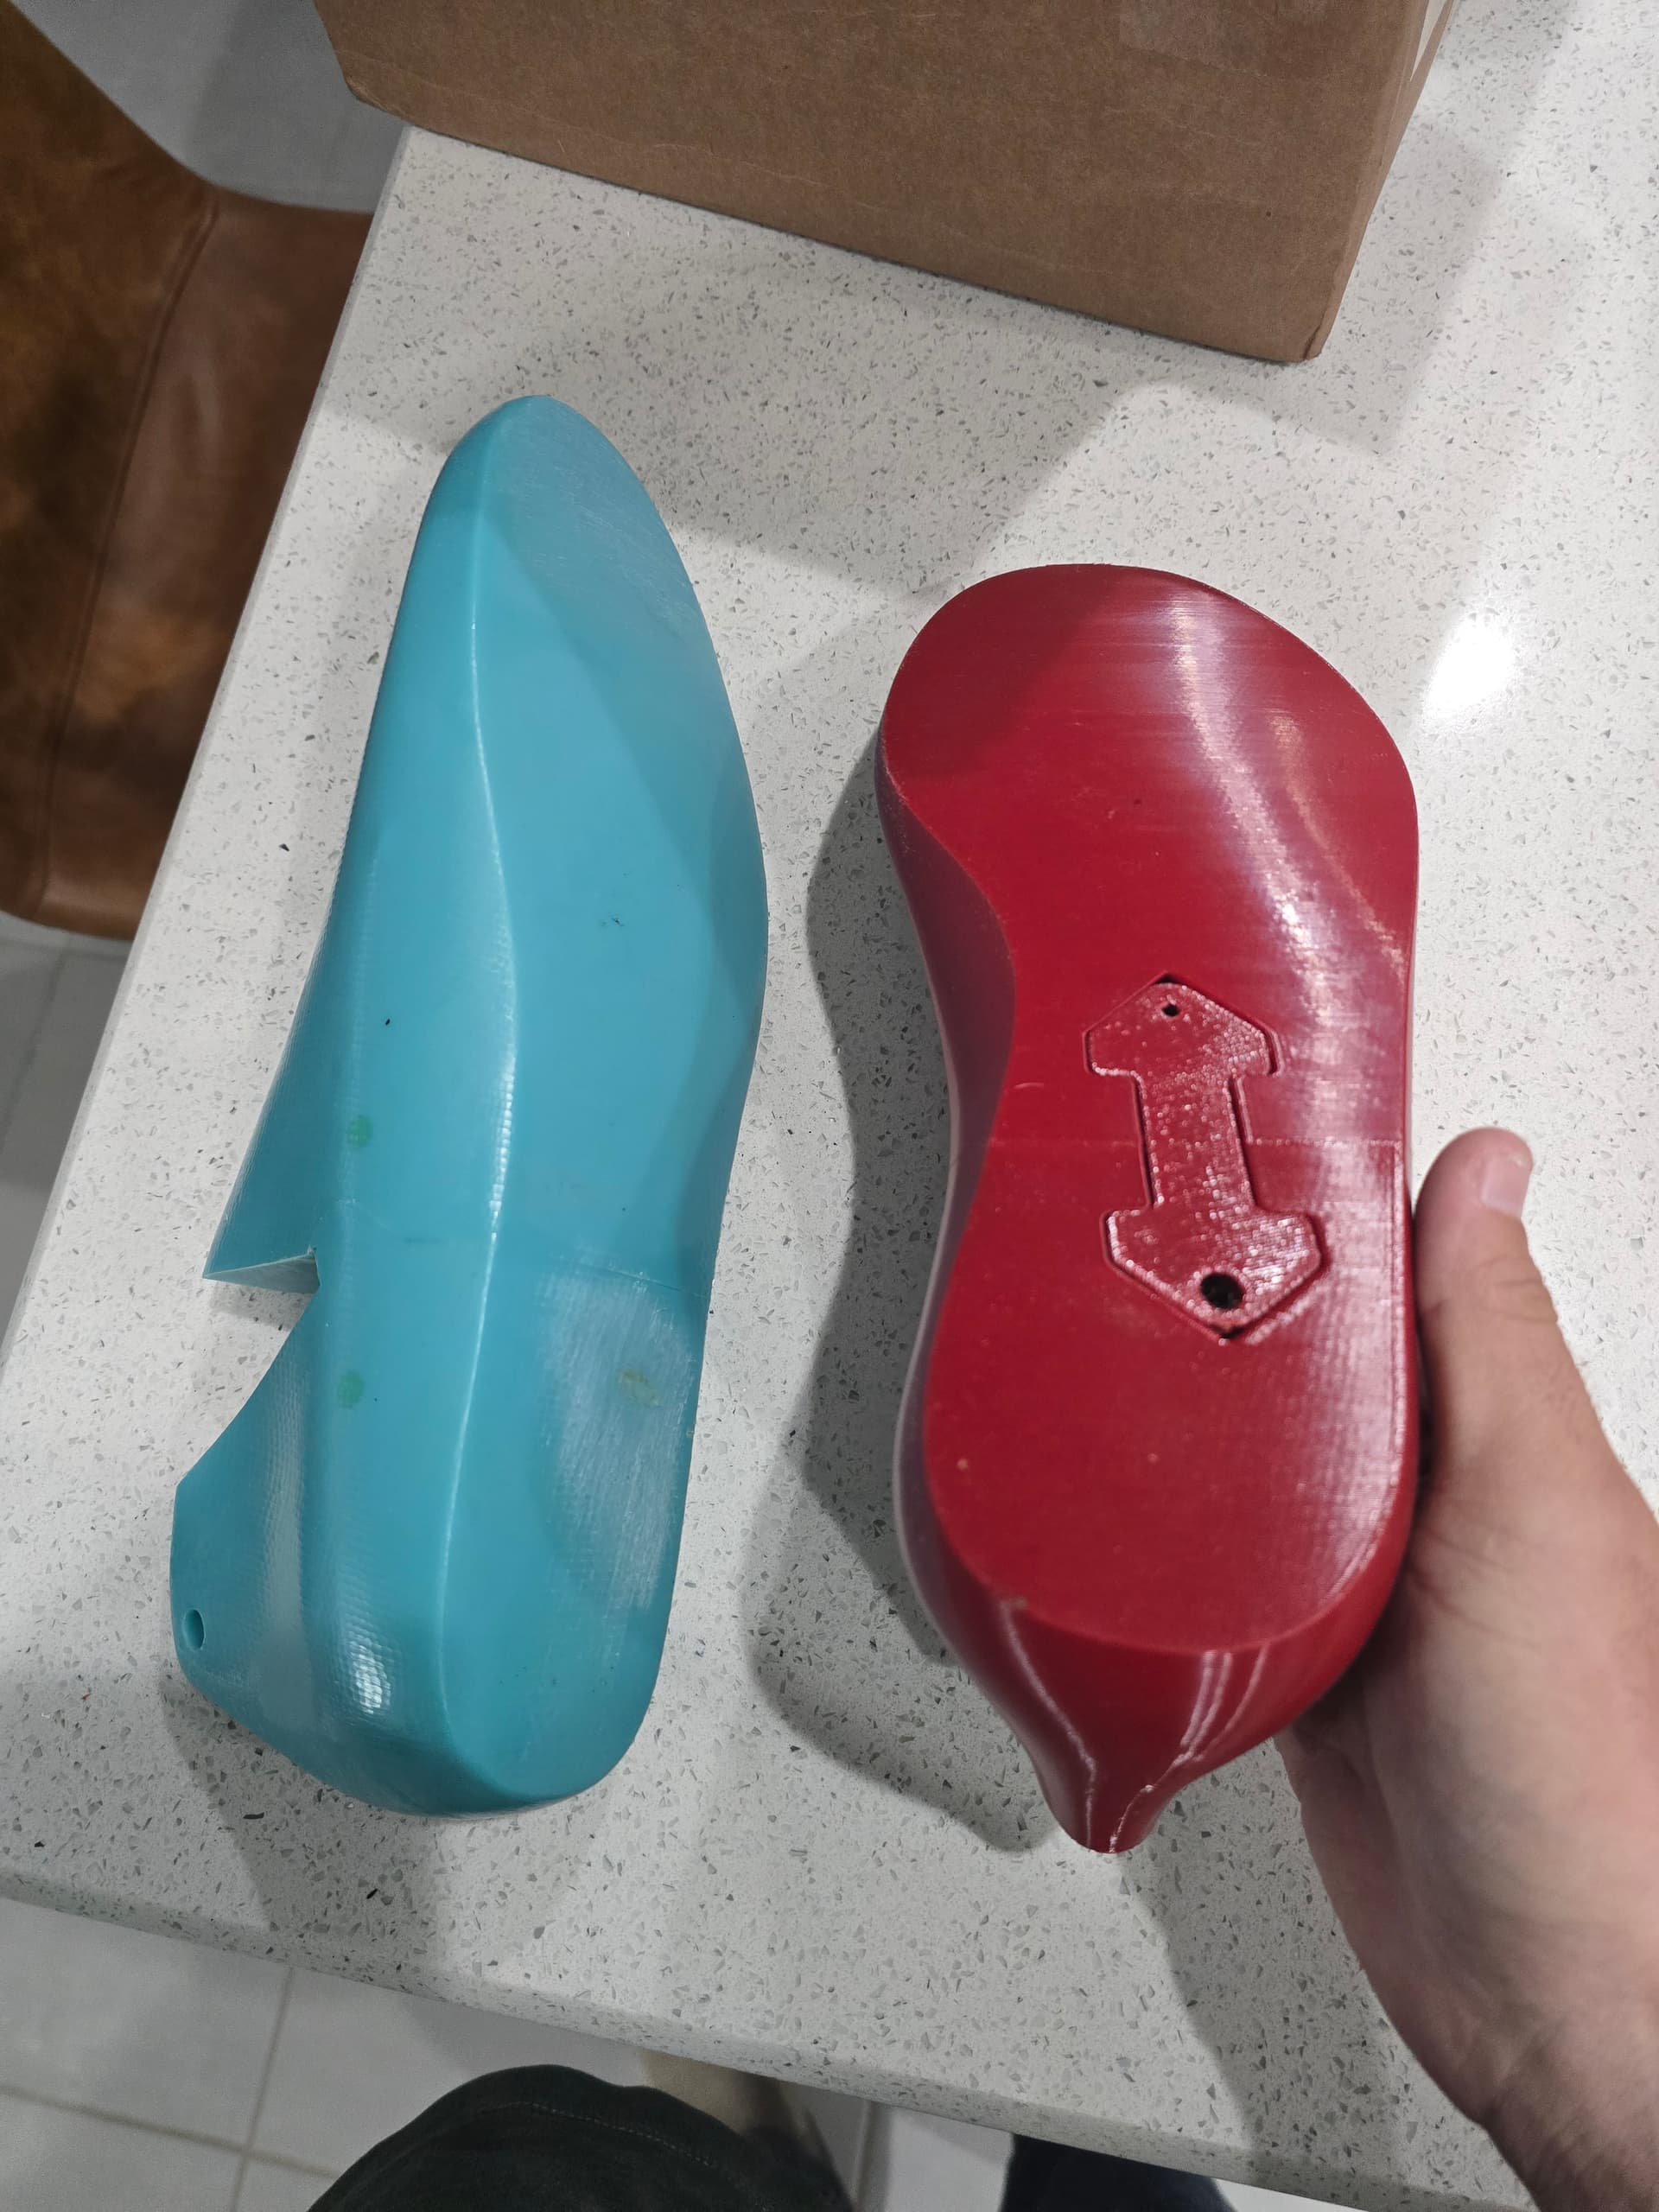
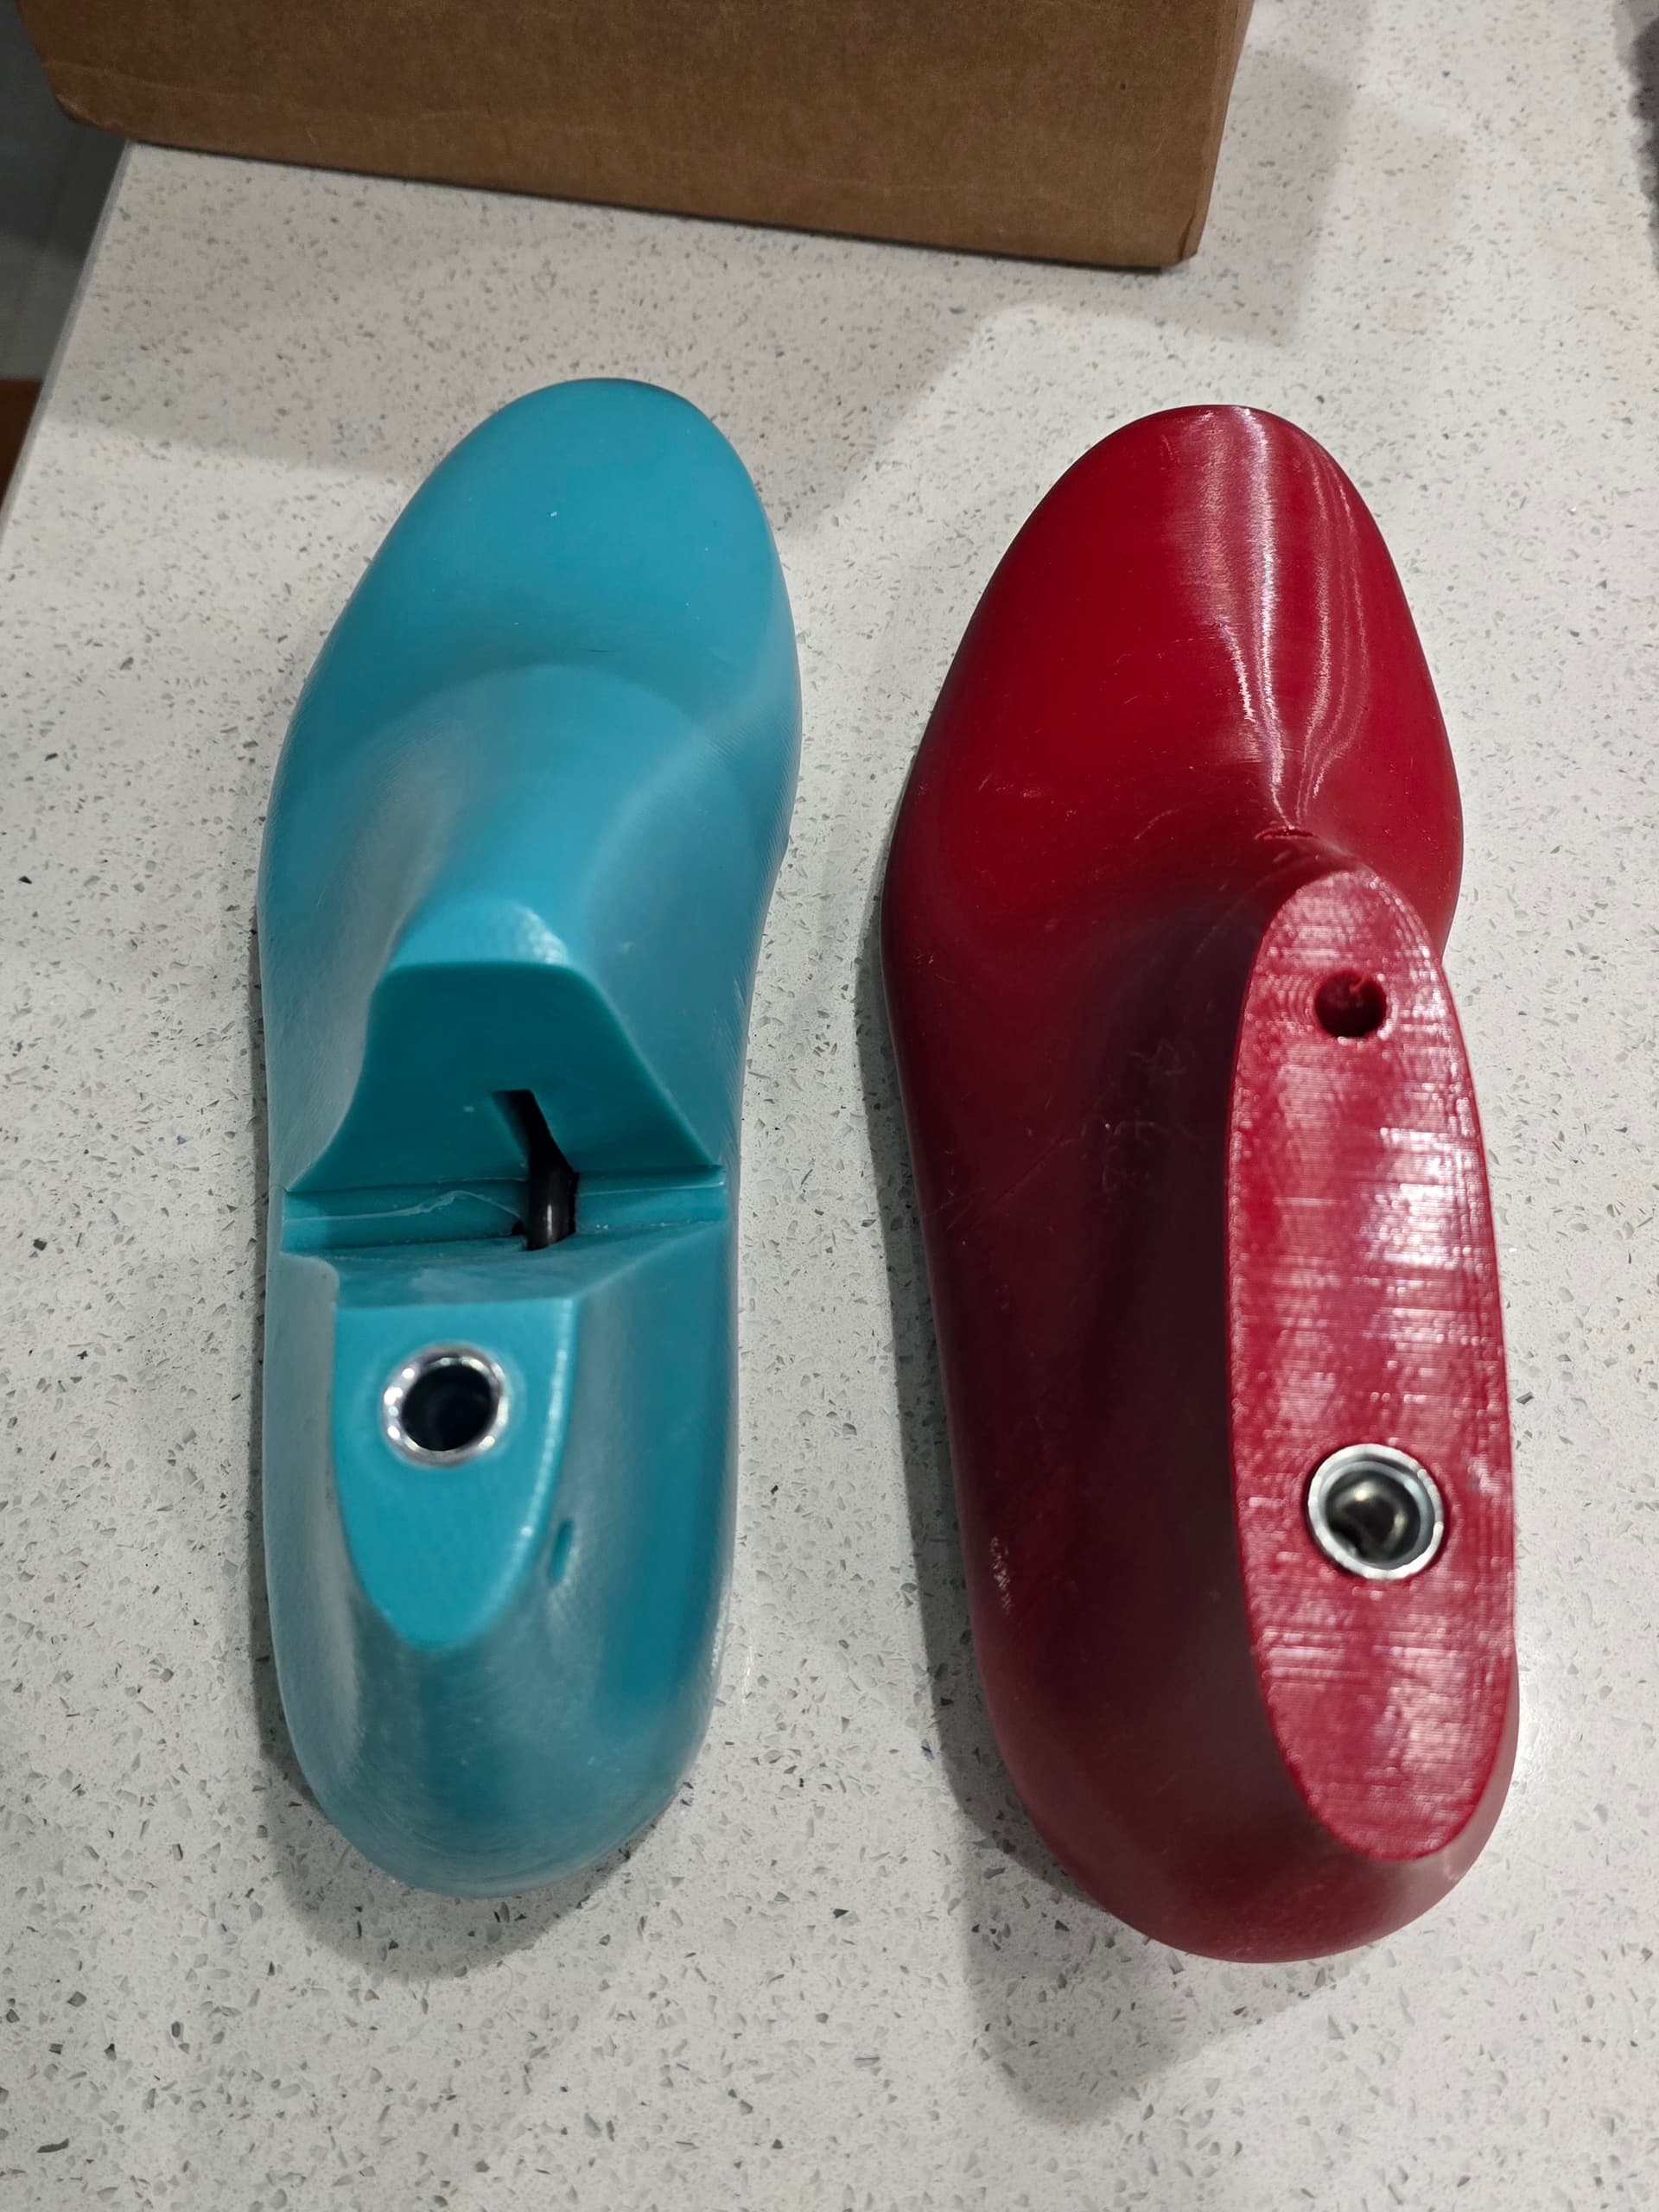
I don’t think I’d seen a photo of the bottom of one of his lasts yet. Do you happen to know what the double-arrow-shaped inset is for?
It’s his rail joint assembly for separating the last. Actually looks like a really creative solution.
Interesting.
I would want to put something in the void, like a thin scrap of leather, before molding a leather insole to the bottom. Otherwise you’ll end up embossing the shape into the insole.
I do the same thing for tack holes in metal plates.
It’d be a pretty easy one to put a little clay or something in the hole and put a piece of tape over. Good call though, didn’t even give it a second thought.
You don’t want to use anything that will stick to or stain your insole material.
Given the amount of hammering done on insoles, especially when heeling, you don’t want to leave any void in the surface. It will emboss nicely onto the leather.
I was thinking more along the lines of filling the void with some hard clay or something like that and then taping over that so the insole would only be contacting the non-adhesive side of the tape.
Started working on laying things out for patterns today. I paid a few dollars extra for digital upper patterns, just to see how well they worked. Files showed up with a lateral and a medial pattern. I printed them both up, then taped the lasts and pulled tape patterns to compare while making my mean forme.
The patterns look spot on based on my tape patterns. Really nice not having to try to smooth out every little tape wrinkle. The only problem is the patterns don’t have the vamp point/vamp line marked, so I did pull those off my tape and transfered over.