Questions and Notes on 3D Printing Lasts

I’ve been researching 3D printing for lastmaking. What a rabbit hole!

I haven’t bought a printer. I’m still wondering whether I should. But I’m seriously considering it.

I’d like to share a few questions, as well as a few tentative notes, in case others can help or be helped.

Questions

Is printing with PETG filament the clear way to go for the foreseeable future, or is it worth looking forward toward stronger “engineering filaments” that newer, hotter-running printers now support?

Given that we’re printing relatively large, curvy blob shapes, is it worthwhile buying a newer CoreXY printer, or will “bedslingers” or other older, cheaper designs suffice?

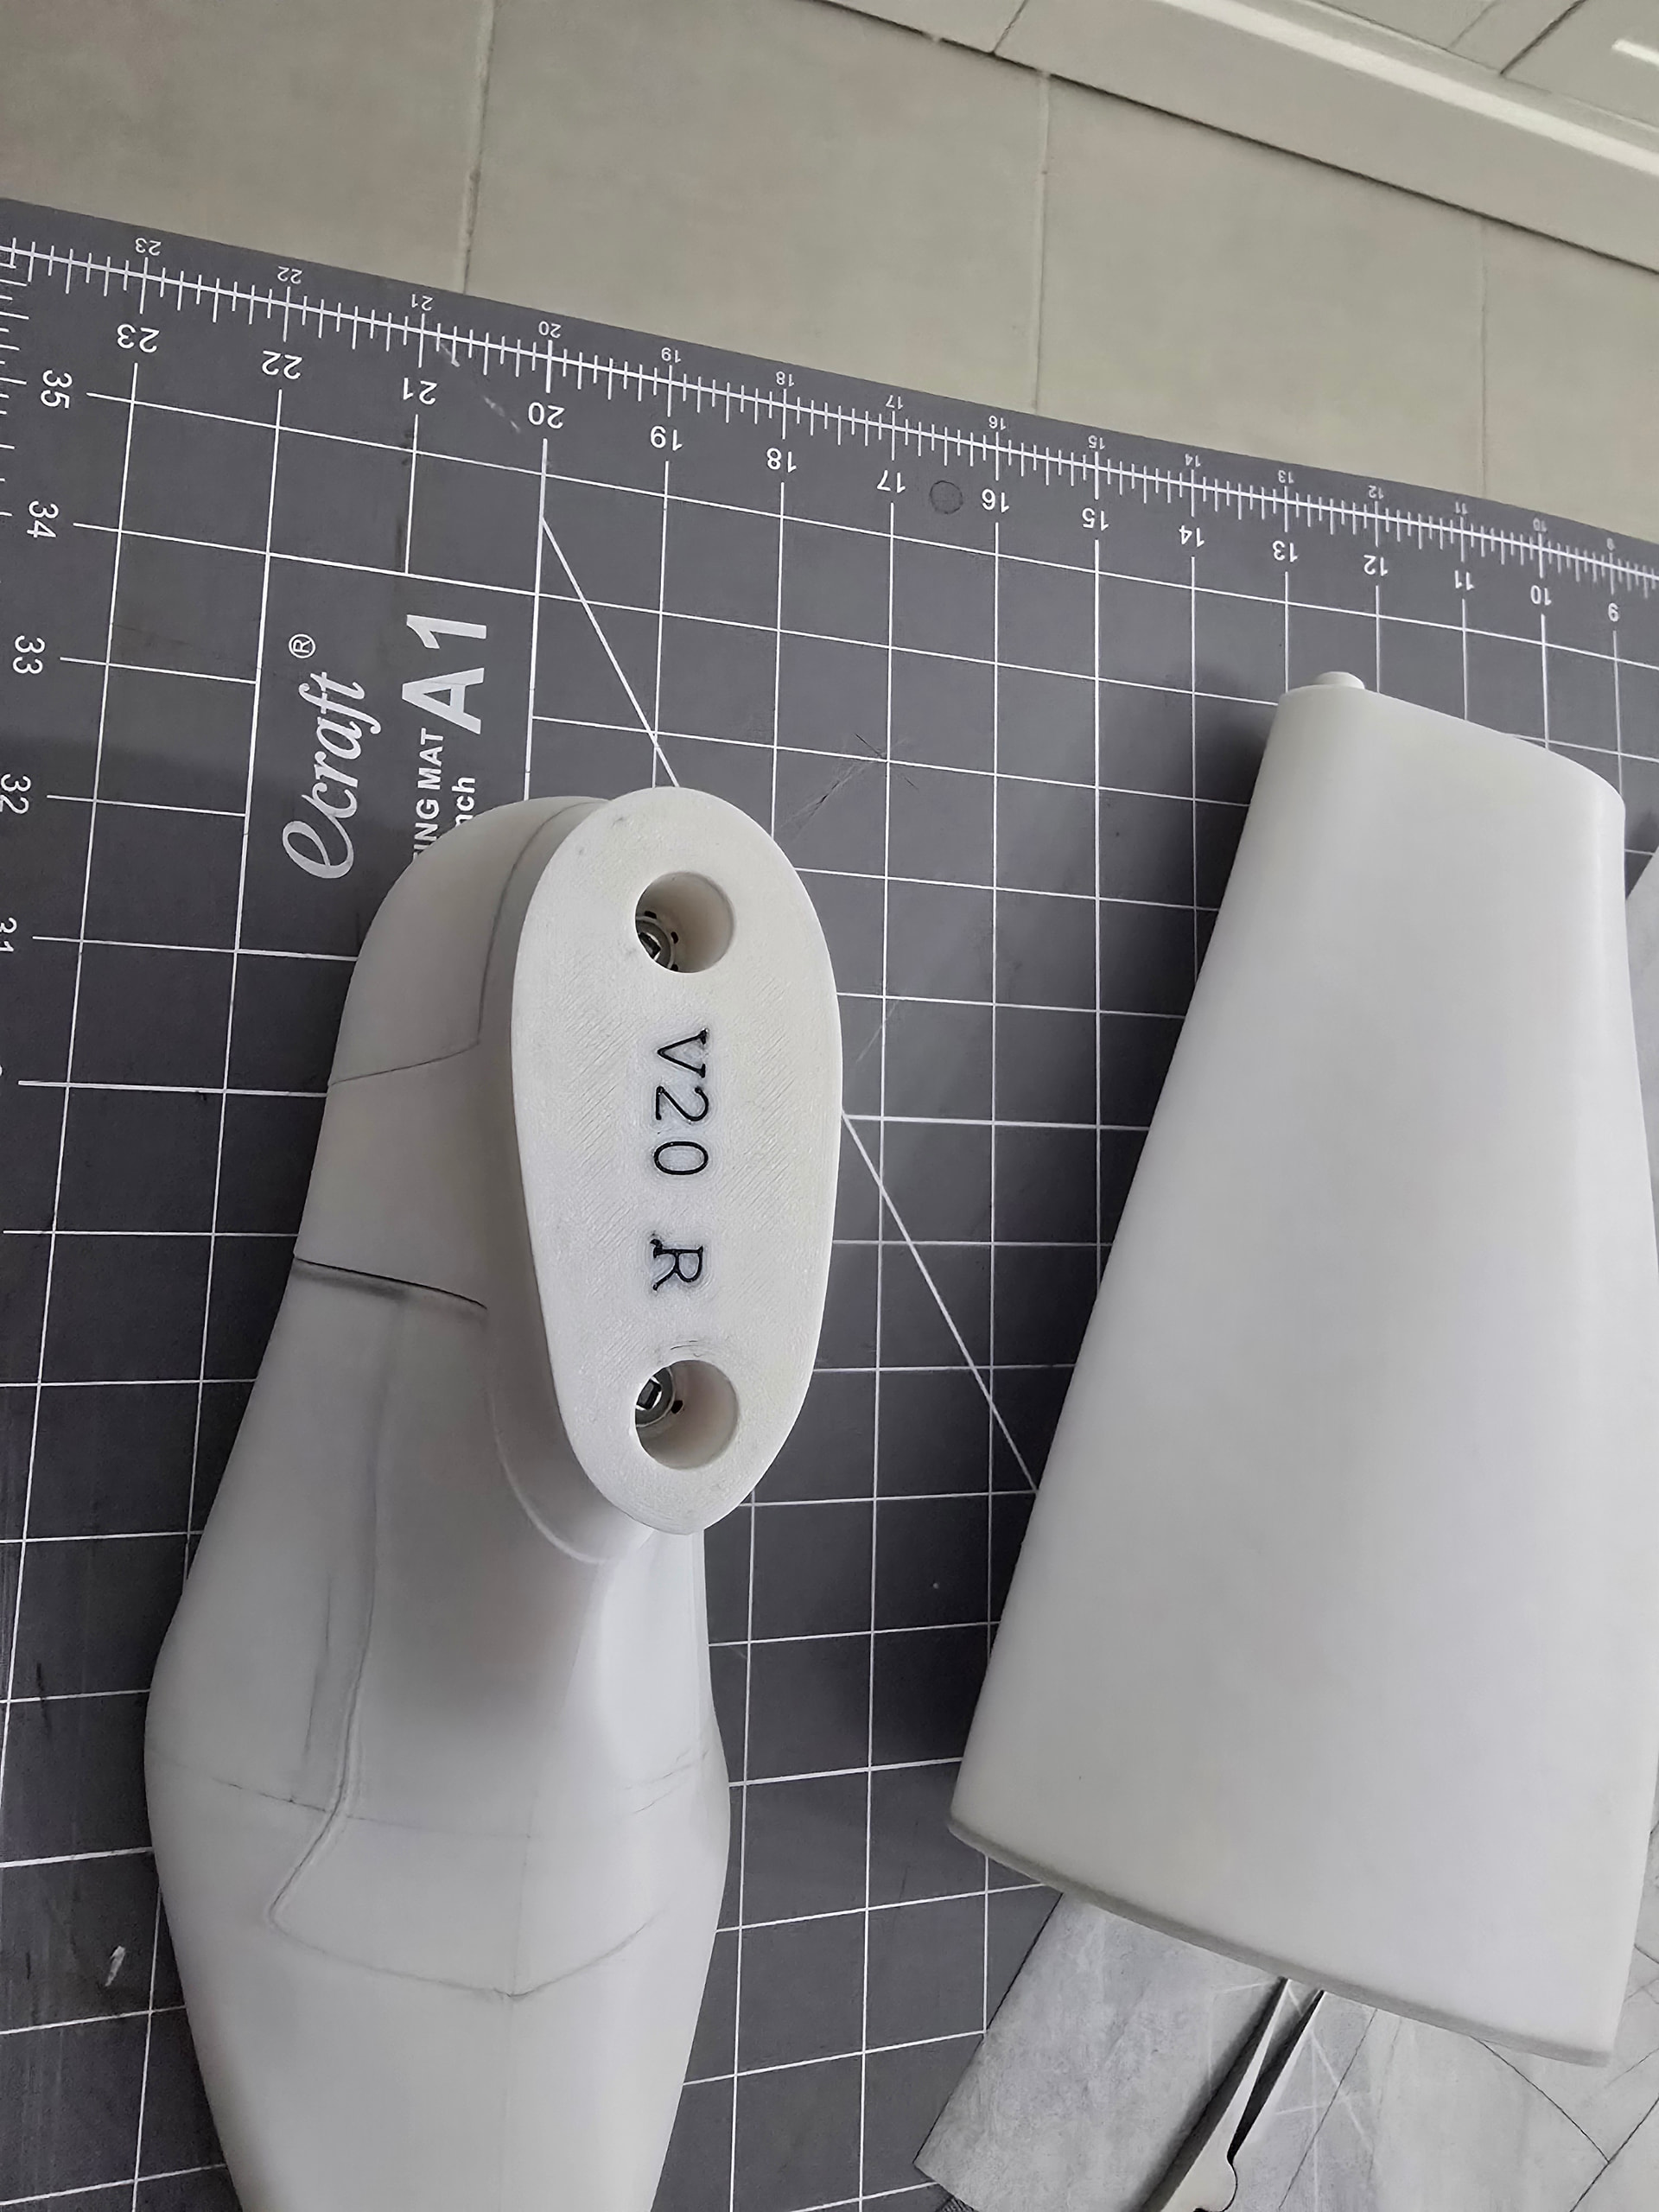
For printing joined-up lasts, I’d obviously need build volume for the length of the largest size I wanted to print, perhaps 300, 325, or 350 mm. But for printing hinged or divided lasts in multiple pieces, can I go with a smaller build area, perhaps 250 by 250 by 250 millimeters, without missing the extra room?

Has anyone tried installing a broader nozzle, say 0.6 or 0.8 mm, to speed up printing?

Notes

I am completely new at this, so don’t take anything I write as gospel. This is just a snapshot of how I see things at the moment. I fully expect to learn more and change my view.

There are actually a few different styles or processes for “3D printing”, but the one relevant for lastmaking seems to be fused deposition modeling. This is the style where a printer melts plastic filament and shoots it out over a platform, like a plotter with a hot glue gun instead of a pen.

The major FDM printer manufacturers that I see are Bambu Lab, Prusa Research, and Creality. Very roughly speaking, Bambu is like iPhone, Prusa is like Android, and Creality is like a budget or burner phone on the rack at Walmart or Best Buy.

The 3D printing enthusiast community runs under and beside all the people who just want to buy a printer, plug it in, and print specific projects, toys, or trinkets. Talented DIY’ers build their own printers from parts, share designs and software for free online, and enjoy upgrading and optimizing their printers. They’ve originated many of the key ideas and improvements in 3D printing, especially since key early patents on the technology expired in the 2000s.

Prusa came out of the hobby and for a long time served as its champion, making turnkey printers available for the masses while staying connected to enthusiasts. They published part designs and associated software for free under “open” licenses, like enthusiasts do. Based in the EU, they achieved broad success with “bedslinger” printers, a design where the platform, or bed, onto which the printers print moves front to back or side to side, while the print head above moves perpendicular as well as up and down.

Meanwhile, hobbyists developed and refined a different approach, CoreXY, where the print head moves forward and back, and perhaps also up and down, while the bed remains relatively still. The Voron project in particular published designs for a robust CoreXY printer that hobbyists could build by ordering a list of commonly available, off-the-shelf parts, plus printing a few plastic pieces with another 3D printer. A bit like building a race car or kit plane.

Bambu Lab, based in China, leaped ahead of Prusa with a crowdfunded CoreXY printer incorporating lots of hobbyist-developed techniques and designs. They’ve since grown into a broader company with a large catalog of printers, accessories, and supplies. Bambu printers boast lots of features, run out of the box, and work nicely with all the other things Bambu sells, all at very competitive export prices.

Both Prusa and parts of the hobbyist community look down on Bambu as free riding off their sharing community, without giving back. They’re also alarmed by Bambu’s increasing steps to control how customers use its products and prevent them from repairing, changing, or using with third-party accessories. But non-enthusiasts often appreciate the approachability, reliability, and integration of Bambu offerings, many also buying consumables like filament from the company. Think Apple customers buying phones, computers, chargers, and accessories that all work together.

Creality has positioned itself as the budget alternative, trailing Bambu and Prusa in models and features, but charging significantly lower prices. Many people have got their start in 3D printing buying a Creality printer recently. While they do print, they’re not known for long-term reliability. Enthusiasts deride them as essentially disposable.

Prusa eventually responded to Bambu with its own line of CoreXY printers. They are still made in the EU, but cost more than Bambu alternatives, sometimes suffer production delays, lack the Apple-esque integration across consumables and accessories of Bambu, and arguably lag on some specs and features, such as build volume. Prusa also backed away from releasing designs and software for its new line entirely on “open” terms, instead releasing some on terms that only allow free use, changing, and sharing for non-commercial uses and machine repair.

What’s a would-be last printer to do?

The easy choice for those looking to focus as much as possible on modeling, sharing, and printing lasts, and not on 3D printing itself, looks like buying a Bambu CoreXY printer. 3DShoemaker has mentioned using a model X1C himself, and also that an older, cheaper P1S would suffice.

I am starting to see why. The P1S has a build volume of 256 mm cubed, or roughly 10 inches cubed. It only prints one material at a time, but lasts can printed with just one. Bambu itself sells rolls of PETG filament on spools with QR codes you can scan in to configure the printer. Most people will probably appreciate managing the printer using Bambu’s app, from their phone.

If budget doesn’t reach Bambu prices, or you’d rather spend less now to try and potentially more later, for another printer, if you like the process, Creality might make sense.

I personally have a long history in open software, so my heart is clearly with the enthusiast projects, in particular Voron, started by a fellow NorCal resident. I rather like the idea of learning more by building a kit, but am also wary of taking too long a detour on my way to printing lasts. If I were going to buy something today, I’d likely buy a prebuilt “open” printer based on one of the Voron designs, like a Sovol.

Have you talked with Baschdln on Instagram? He might be on Reddit too, not sure. He’s been printing fitter “shells” on a Bambu printer. I don’t know if he’s printed lasts.

1 Like

Jost(Baschdln) prints last on his x1C as well as the fitters. I have talked to him a good bit about his process.

1 Like

I considered a creality carbon before picking up my p2s. The conclusion I came to was the carbon seems to have a lot more quality issues with a lot of customers talking about long down times and I didn’t want to deal with that. The price difference between a carbon and a p1s without an ams is very minimal, so I couldn’t justify it. I also knew that I would want capability for doing drying, do I would be adding a dryer regardless, so why not include the bambu ams capability to also do multi-roll printing?

On the topic of multi-filament printing… You want it. I initially had the same thought process; multi color stuff wasn’t really my use case, but now I use the AMS constantly.

For example, when I print a last, I keep 4 rolls of filament ready to go. Two of whatever color I am printing the last out of, one contrasting color of the same material, and one support interface material.

I use the contrasting color to write a last identifier and if the part is for left or right. When you last has multiple pieces and you go through multiple iterations, having identifying marks embedded is really convenient.

I use the support interface to give tighter finishes on any surface that need support material to help the multiple pieces connect better. You can use regular supports, but they always leave more surface artifacts.

I keep a second roll of the same color because I can automatically fail over to it if the first roll runs out. It just switches to the second roll and keeps going. A last takes a decent amount of filament, so if you can’t automatically switch rolls, you need to either make sure whatever roll you start with has enough material on the roll for a last, making it hard to use up a full roll, or you have the printer pause and wait for you to come manually change it.

1 Like

Thanks so much for notes. The benefits of multiple spools of PETG and a dedicated support filament make sense to me.

It is one of those things I didn’t think I needed, but it really makes a nice difference.

Some of the filaments, like the tpu air I use for the fitters, really benefit from a lot of drying too. I run the tpu air out of an ams ht that lets me do a higher temp install drying and then I actively dry it at a lower temp while printing. The petg needs dried initially, but it is much less sensitive.

1 Like

To contextualize some of the mutli-material discussion, I have been doing markings like this on all the pieces but also worth noting are those counter bores for the screw heads. When that top piece prints, the text is in the build surface, so it makes support towers in each counter bore, with an interface layer that cleanly detaches from where the screw head seats. I then use those counter bores to index the calf piece, otherwise I could use longer screws and just have the heads sit proud if the upper surface.

1 Like

I’ve really appreciate you sharing your experience!

I’ll admit I’m not entirely sold on automatic filament changing for marking. I’m very used to marking things myself, and suspect I could just print markings onto surfaces as embossed voids, perhaps flood them with a paint marker.

I have a lot more research to do on support materials.

I see various vendors, including Bambu, marketing materials specifically as PLA or PETG support filaments. Bambu’s is apparently mostly thermoplastic PU, with some PET. I see some other makers using PLA to support PETG.

It’s been hard to get a good sense of how much a separate support material would be useful as support versus for other reasons, such as tool-free removal or material finish once removed.

I wouldn’t suggest getting a multi material system just to do marking, but it’s really convenient for it if you have it. Won’t ever rub off, you can sand the surface without it going anywhere since it is several layers deep, etc. It takes next to no time to set up and only adds a little time to the print cycle.

For support material, I use the “support for pla/petg” from bambu because I bought a sample roll to try it, but it isnt necessary. You can just use pla if you’re printing in petg (or vice versa) and it is way cheaper.

You only use the support material for the interface layers generally. The bulk of the supports get printed in the same material as the main print, especially on a single nozzle printer. With a multi-nozzle printer, that could change. For example, if printing a tpu fitter, you may still want to do all the support structure in pla or petg, since it is more rigid.

1 Like

Thanks again for great notes.

To date, I’ve been thinking almost entirely about printing lasts, rather than fitters, slippers, slides, or other full-size objects in flexible materials. I need to sit a bit longer with whether to limit to lasts or spread out that way.

3D printing is clearly a big detour from shoemaking and traditional lastmaking. I’m already considering bringing a lot of separate knowledge and pricey equipment into my process, and I worry about how that might limit who I can share with and learn from. Throwing in automatic material changing could narrow that field down even more. At the same time, it’s clearly becoming more common and available. Both Bambu and Prusa offer integrated units.

I think 3d printed lasts are becoming increasingly more common in the hobbyist community, be it people designing and printing their own or people sourcing them from etsy/3dshoemaker/podohub, so going down a path using printed lasts doesn’t seem to me like it would be particularly limiting in audience.

Designing lasts also isn’t really any different from traditional methods. I have spent a ton of time with my head deep into George Koleff’s books working out the geometric fundamentals, just as I would have if I was making a wood last. Yah, the manufacturing is quite different. With that said, even though I am printing everything, I have still considered going and taking some traditional last making classes as learning the form is very much extensible across manufacturing methods.

What printing really enables is fast iteration. Iteration is my biggest hurdle as someone with a full time job that isn’t in shoemaking for improving, so that’s a very much welcome thing in my opinion for learning. Being able to make design updates, print a mock toe to lay some leather on and a fitter to test fit changes, and learn from that iteration in under 24 hours is something I just could never do if I had to sculpt a new last (or build up/remove a lot), etc.

I don’t think any of the multi material stuff is by any means required but implementing it in your work flow also wouldn’t block off someone without it. It’s just going to cost them more time and energy to not have it.

1 Like