I just got a cute little edge iron and some flakes of carnuba wax (Marcell was out of the stick but this stuff had comments by wood people that it worked fine for sealing wood, so I went with that). To experiment with it, I wanted to redo the edges of the soles on the first pair of shoes I ever made back in 2023.
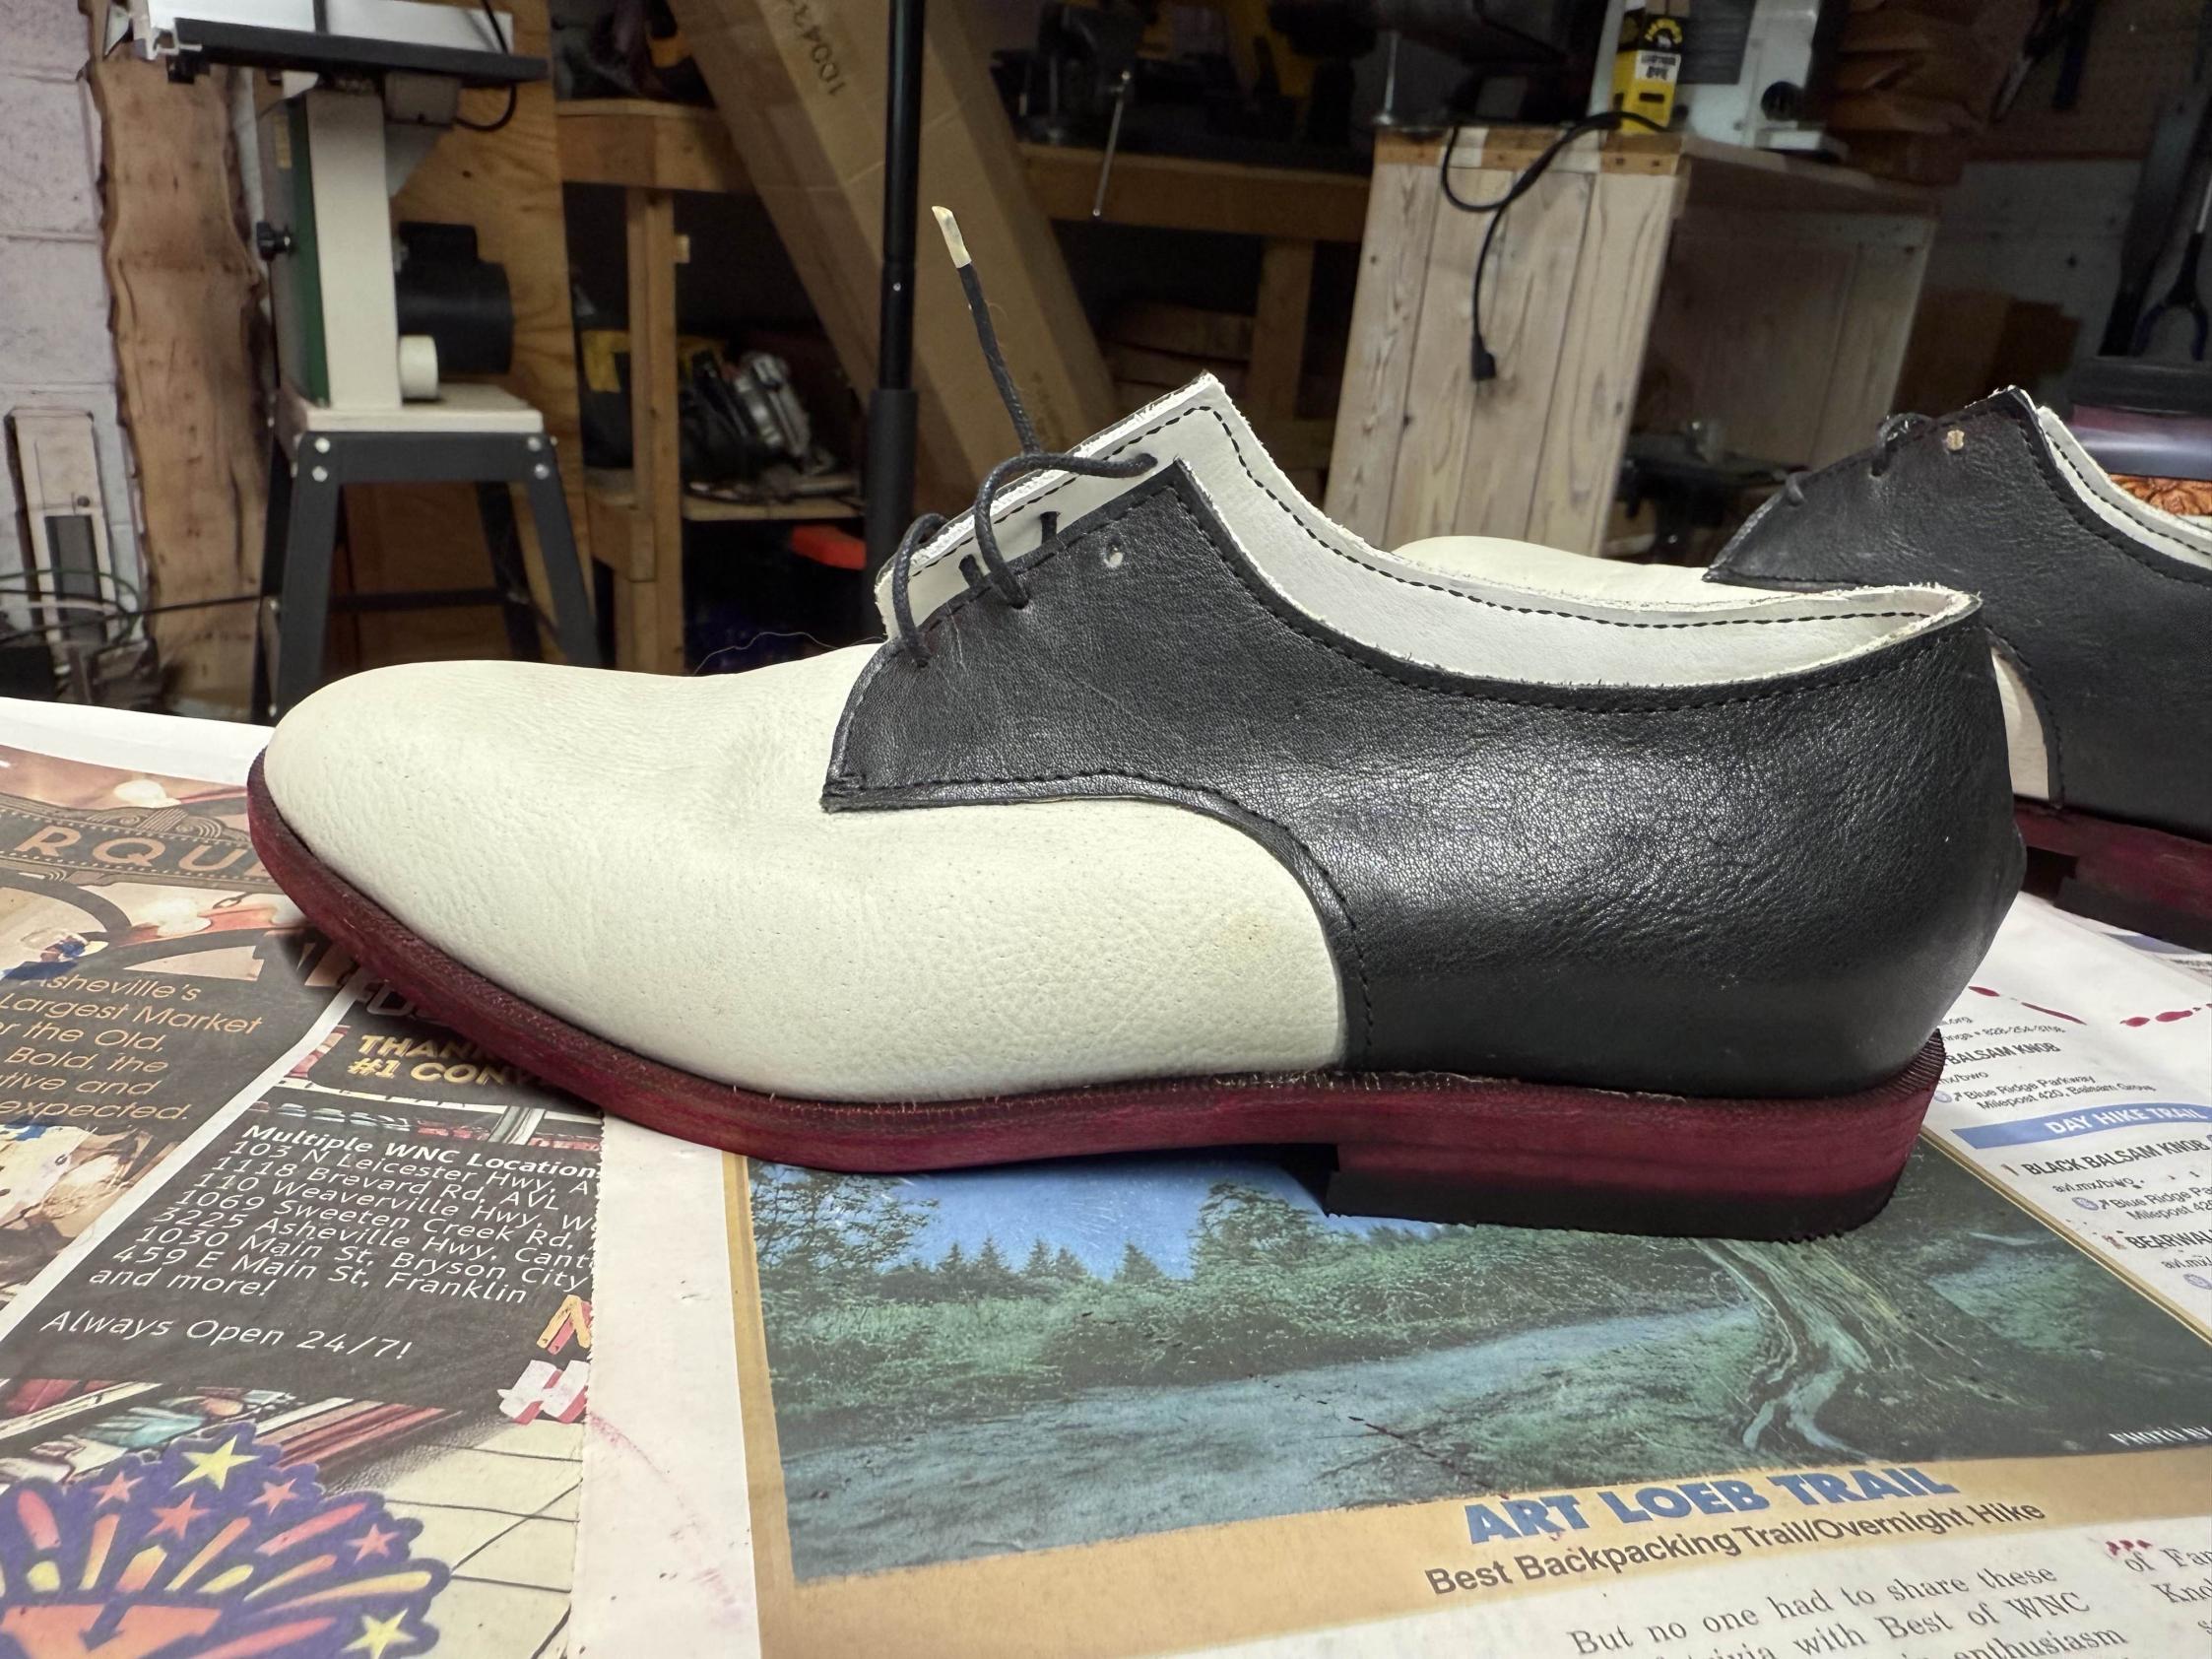
They are little cemented construction black and white derbies with false welt and dark red soles. I have toplift on the heel but not the front of the shoe, as I wanted to be able to slide around when dancing. They are not exactly a saddle shoe pattern, these were made to replicate a paper-thin pair of shoes I loved in college and walked through the soles of before I knew of any cobblers.
I will see if I can find the original photos, but my idea of what amount of rand/welt to leave looked very chunky and inelegant to me upon further inspection, so I took them to my belt sander and nipped everything in, which of course took off the dye and sealant on the edges. I hand-sanded the edges a bit afterward with finer grits after shaping. Here they are after re-sanding and re-dyeing.
Then I poured a little pile of carnuba wax flakes onto a sacrificial piece of leather, with all of this sitting on top of my chunky stone i usually skive on because heat, and kinda tried to apply it the way I imagine one uses a quill only extremely hot. That seemed to get it on a bit unevenly but mostly good. I just got a bunch of cotton buffing attachments for my dremel, so I went and used those to buff the wax, and I think the result was very pretty. I am not sure how thick it is supposoed to be, but when I tap with my finger it’s pretty hard and it’s certainly darker and shinier! I feel like the slight unevenness is charming but if for some reason i didn’t want that…I wonder if it reveals that my hand wet sanding of the edges was not the final step, and I would need to even that out much nicer before dyeing if I want that super even? Although it seemed like the heat was the thing actually causing stuff to darken up, perhaps unevenly. Here’s the end result.
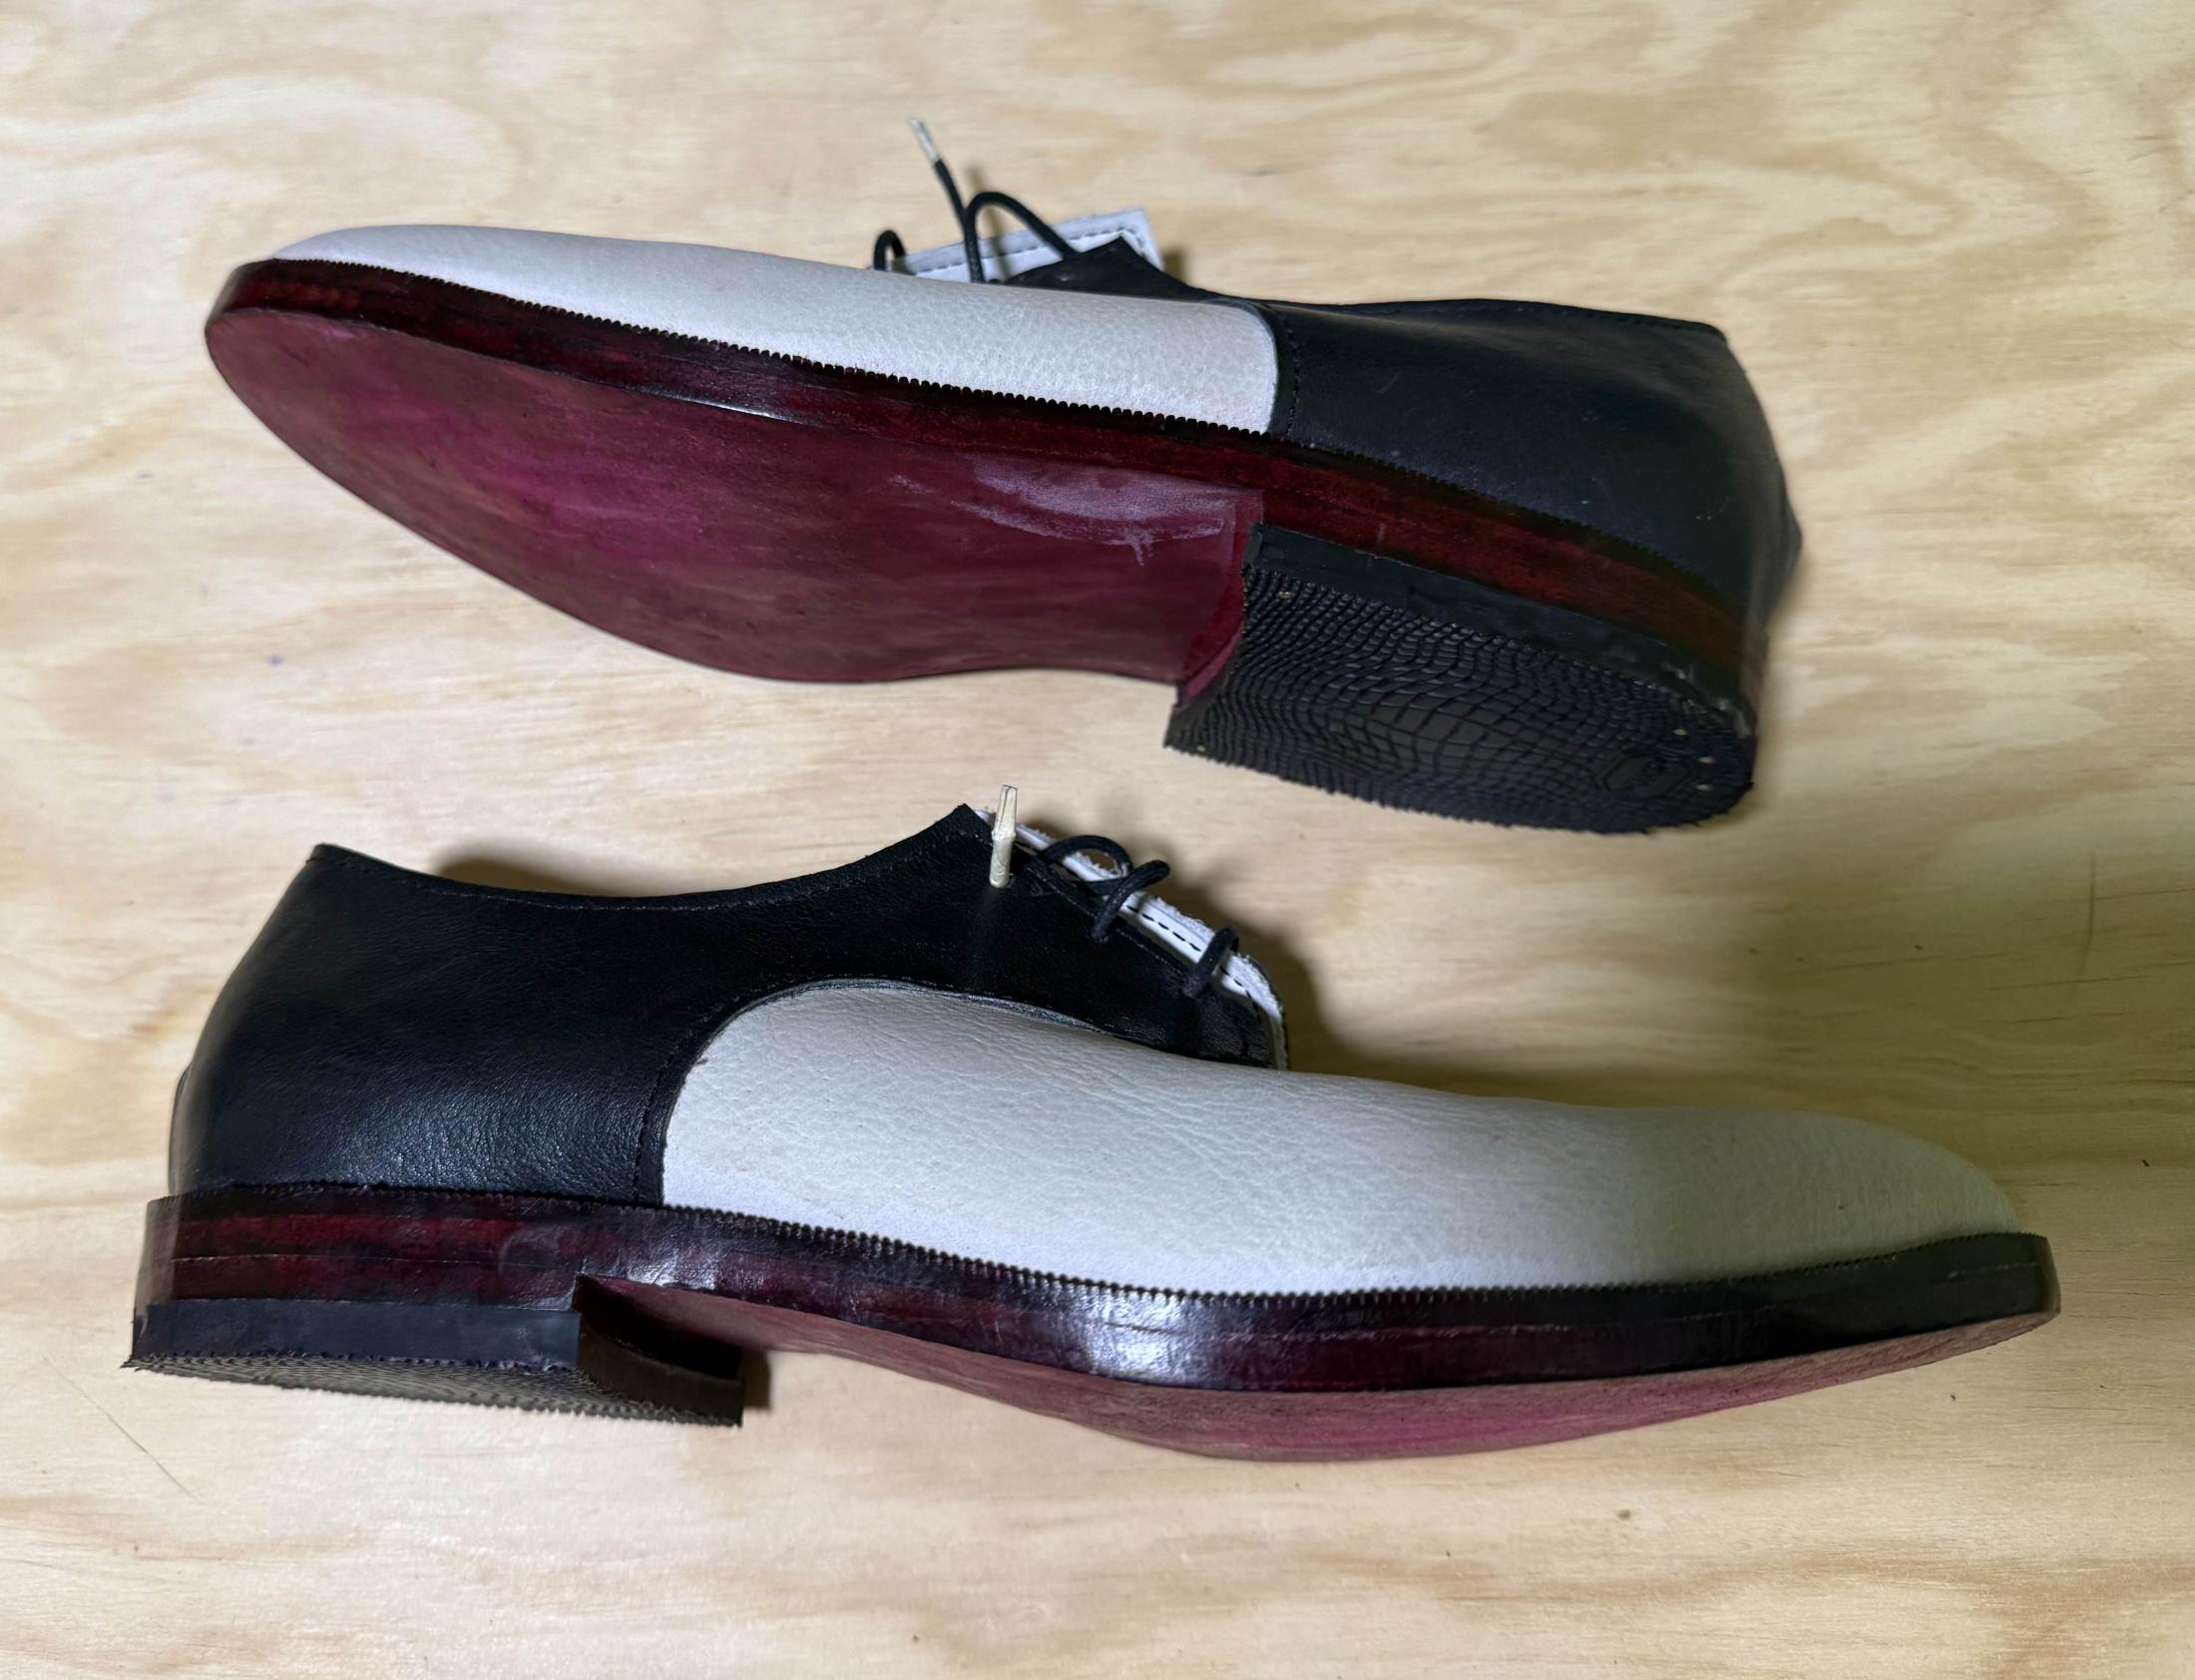
Got away with only one tiny burn on my finger but it did hurt like a son of a bitch for quite a while, I suspect because a tiny sliver of me kept cooking for a bit there.


