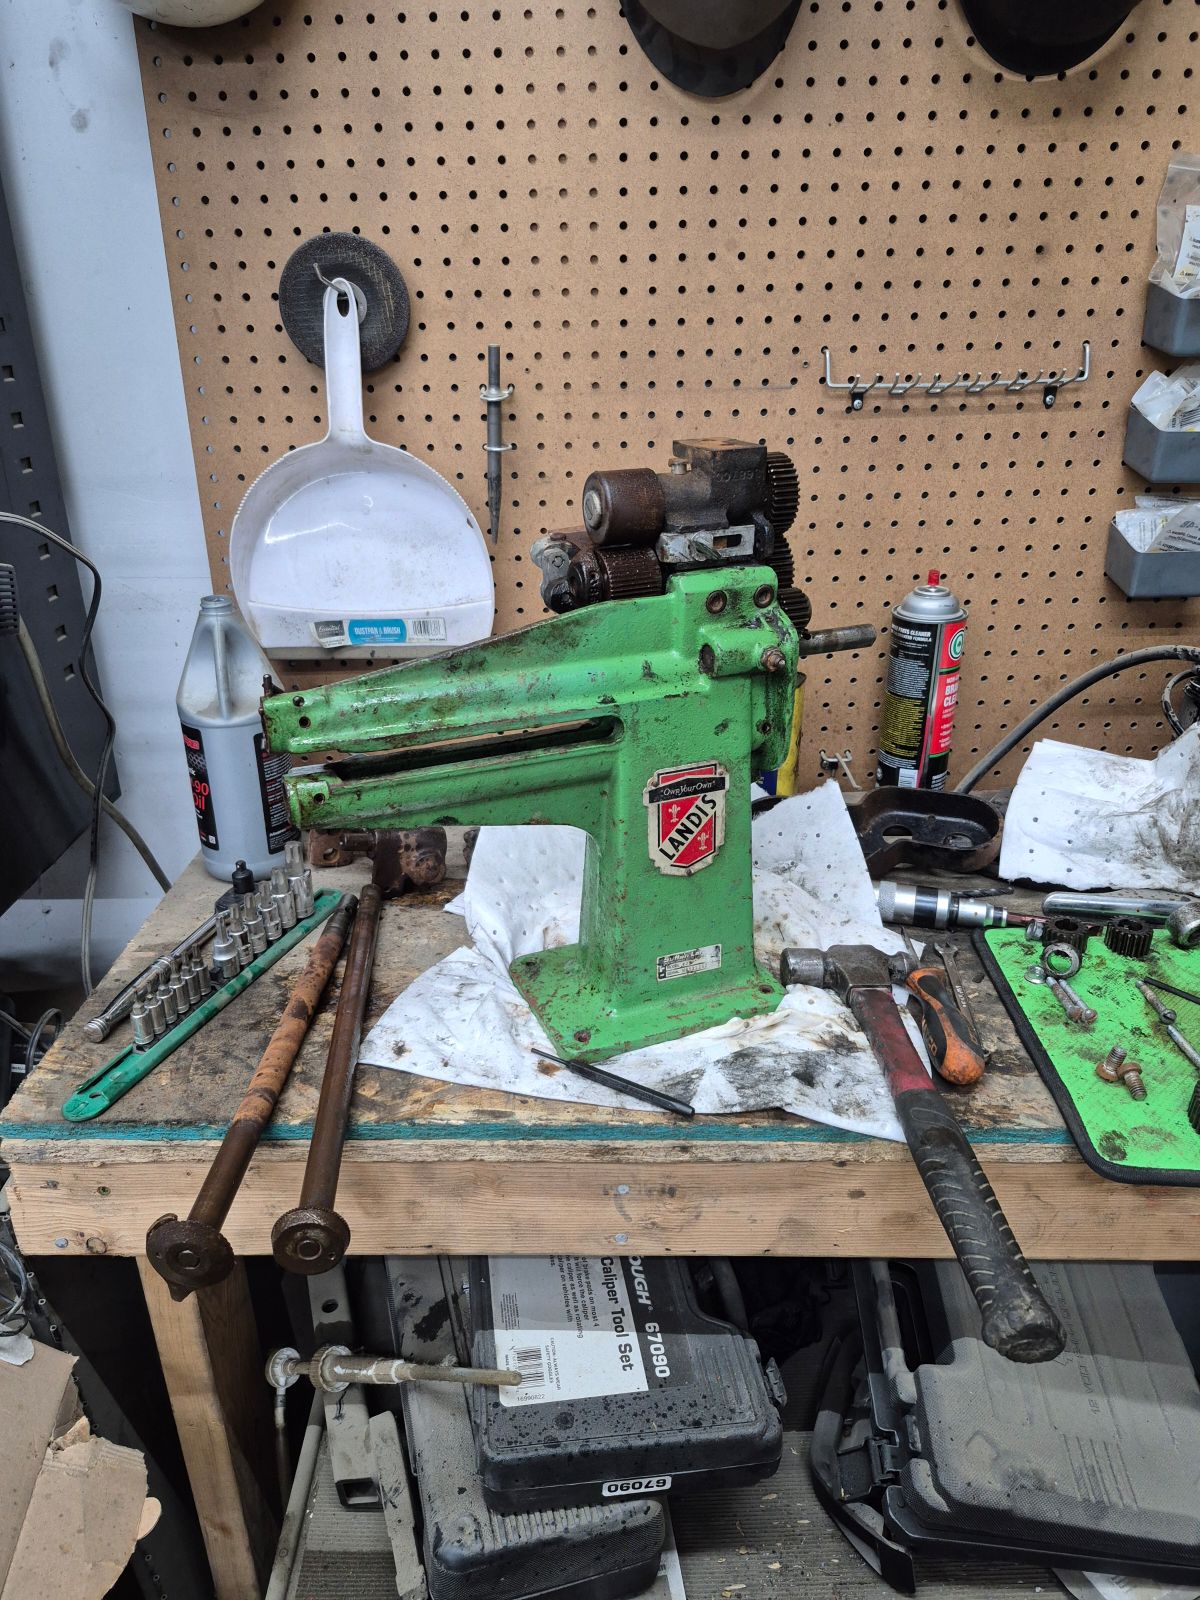
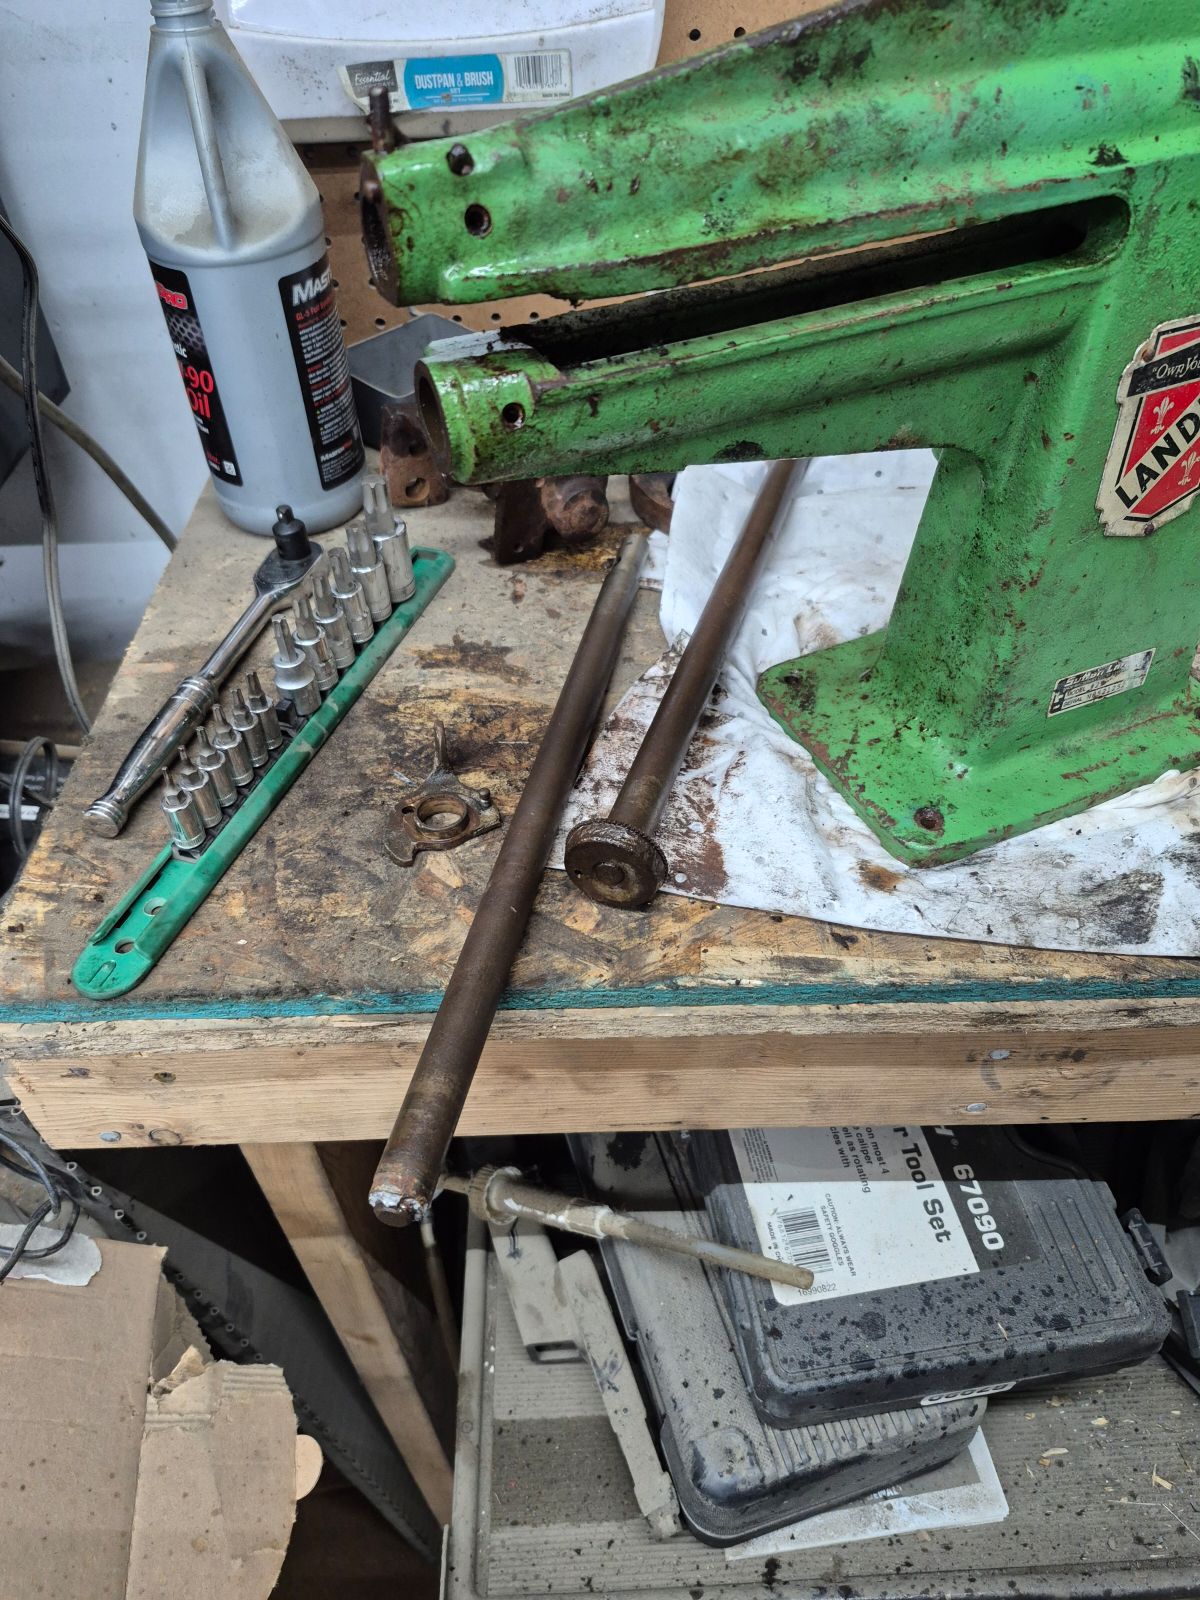
Hi yall!
I got my hands on a landis 25 that was locked up pretty solid from another super generous forum/discord member, and figured id do a follow-along dissasembly/recondition/reassembly for the 25 considering there isnt a whole lot of information, let alone a guide on dissasembly on one of these guys.
I may not be real good at making boots yet, but fixing old machinery is something ive got a bit of experience in, and really enjoy doing.
Tools list for landis 25 breakdown
Flat blade screwdriver
Pin punch/starter punch
1/4" chisel
Small ball-peen hammer
Impact screwdriver with flathead blade
5/32 Allen key wrench or socket
5/16 Allen key wrench
1/2" combo wrench
3/8" combo wrench
2 - 9/16" wrenches
3/16" drill bit for removing peen in keys
Locking pliers/water pump pliers
Wire brush
1200 grit emery cloth
220 grit Emery cloth
2000 grit sandpaper for shaft polishing
Triangle file
Penetrating oil
MAPP gas torch
Engine valve spring compressor tool
Wire wheel
Brass punch brush set
Feeler gauges
Molybdenum grease, or Engine assembly lube
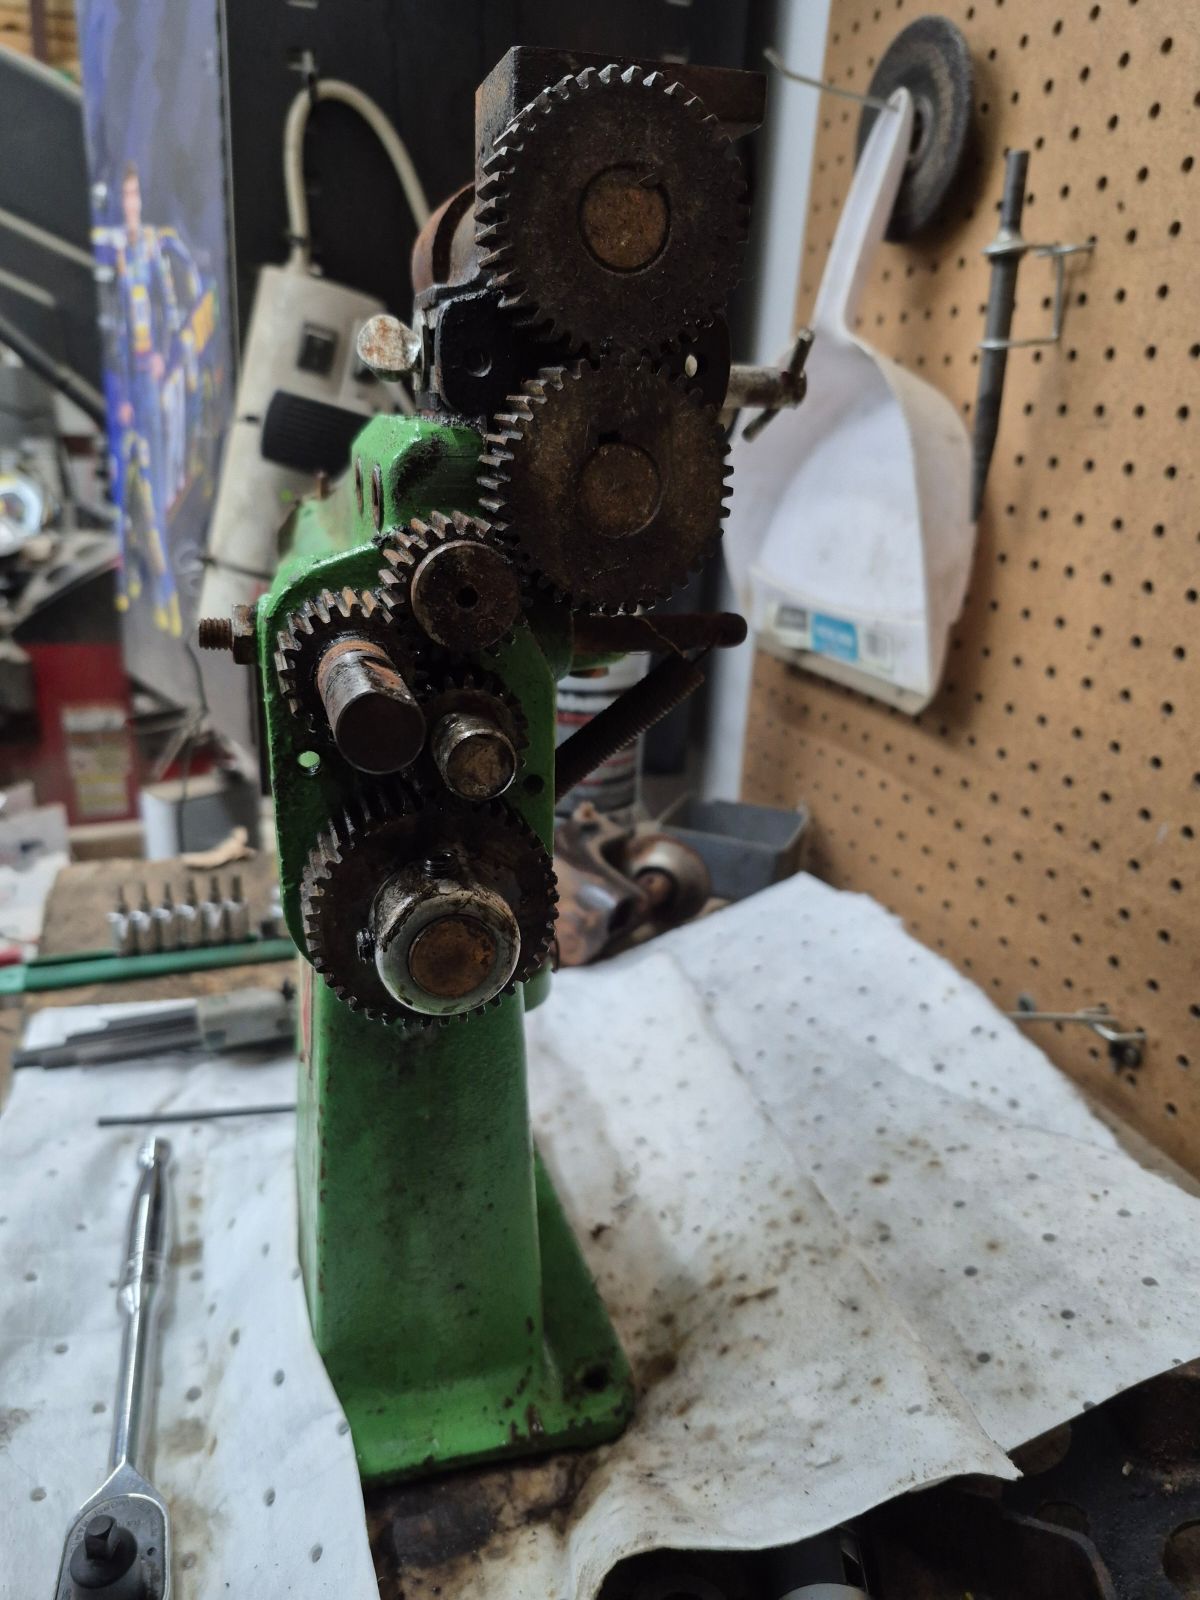
Landis 25 breakdown and dissasembly

-
Use 3/8" wrench to loosen handle set screw and remove the crank handle - you may have to apply penetrating oil, and gently tap the base of the handle loose.
-
Remove 4 flathead machine screws holding the gear cover to the casting
-
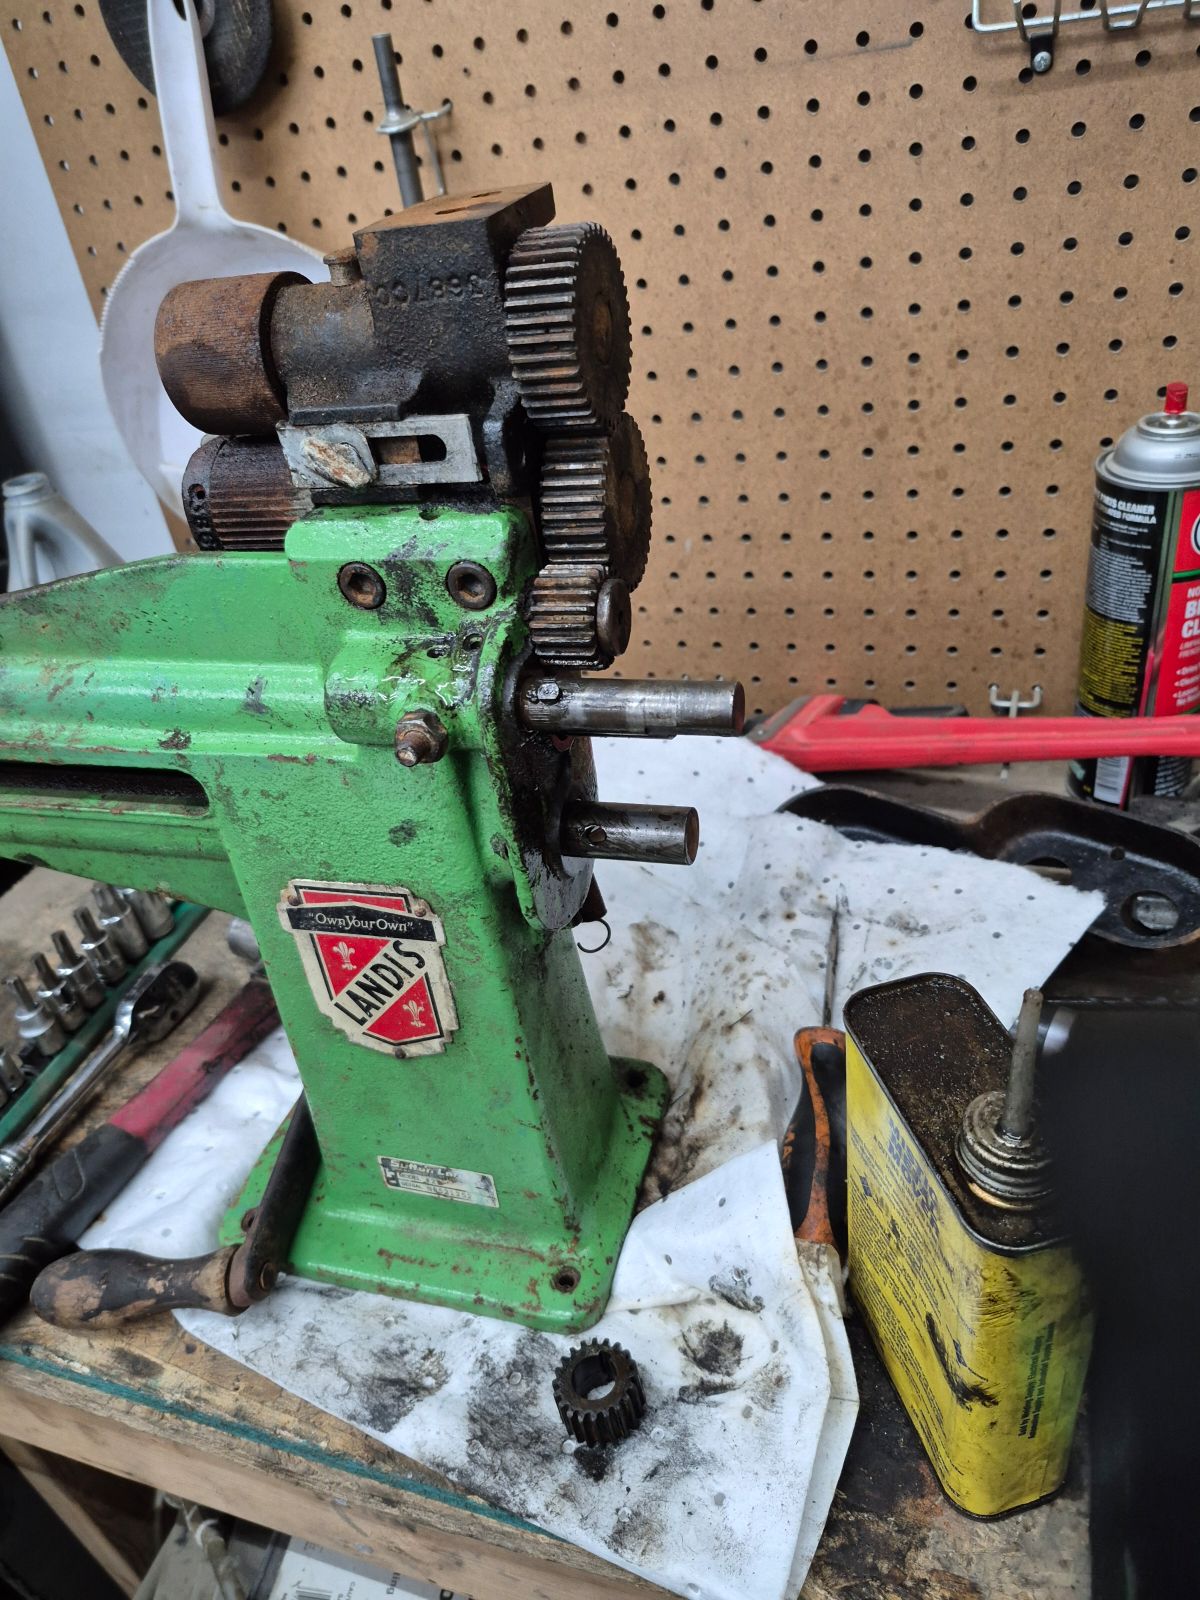
Using the 5/32 Allen wrench, loosen the set screws in the locking collar holding the feed wheel drive gear, and slip it off, you may have to add a little penetrant, and grab the collar with pliers to break a rust bond.
3.5. Any gear that refuses to move, can be wedged between the casting and gear with the chisel. Gentle taps and pressure should be enough to break the bond, and get it moving. Be careful not to over-do it. The gears have to come off straight, to come off easily.
-
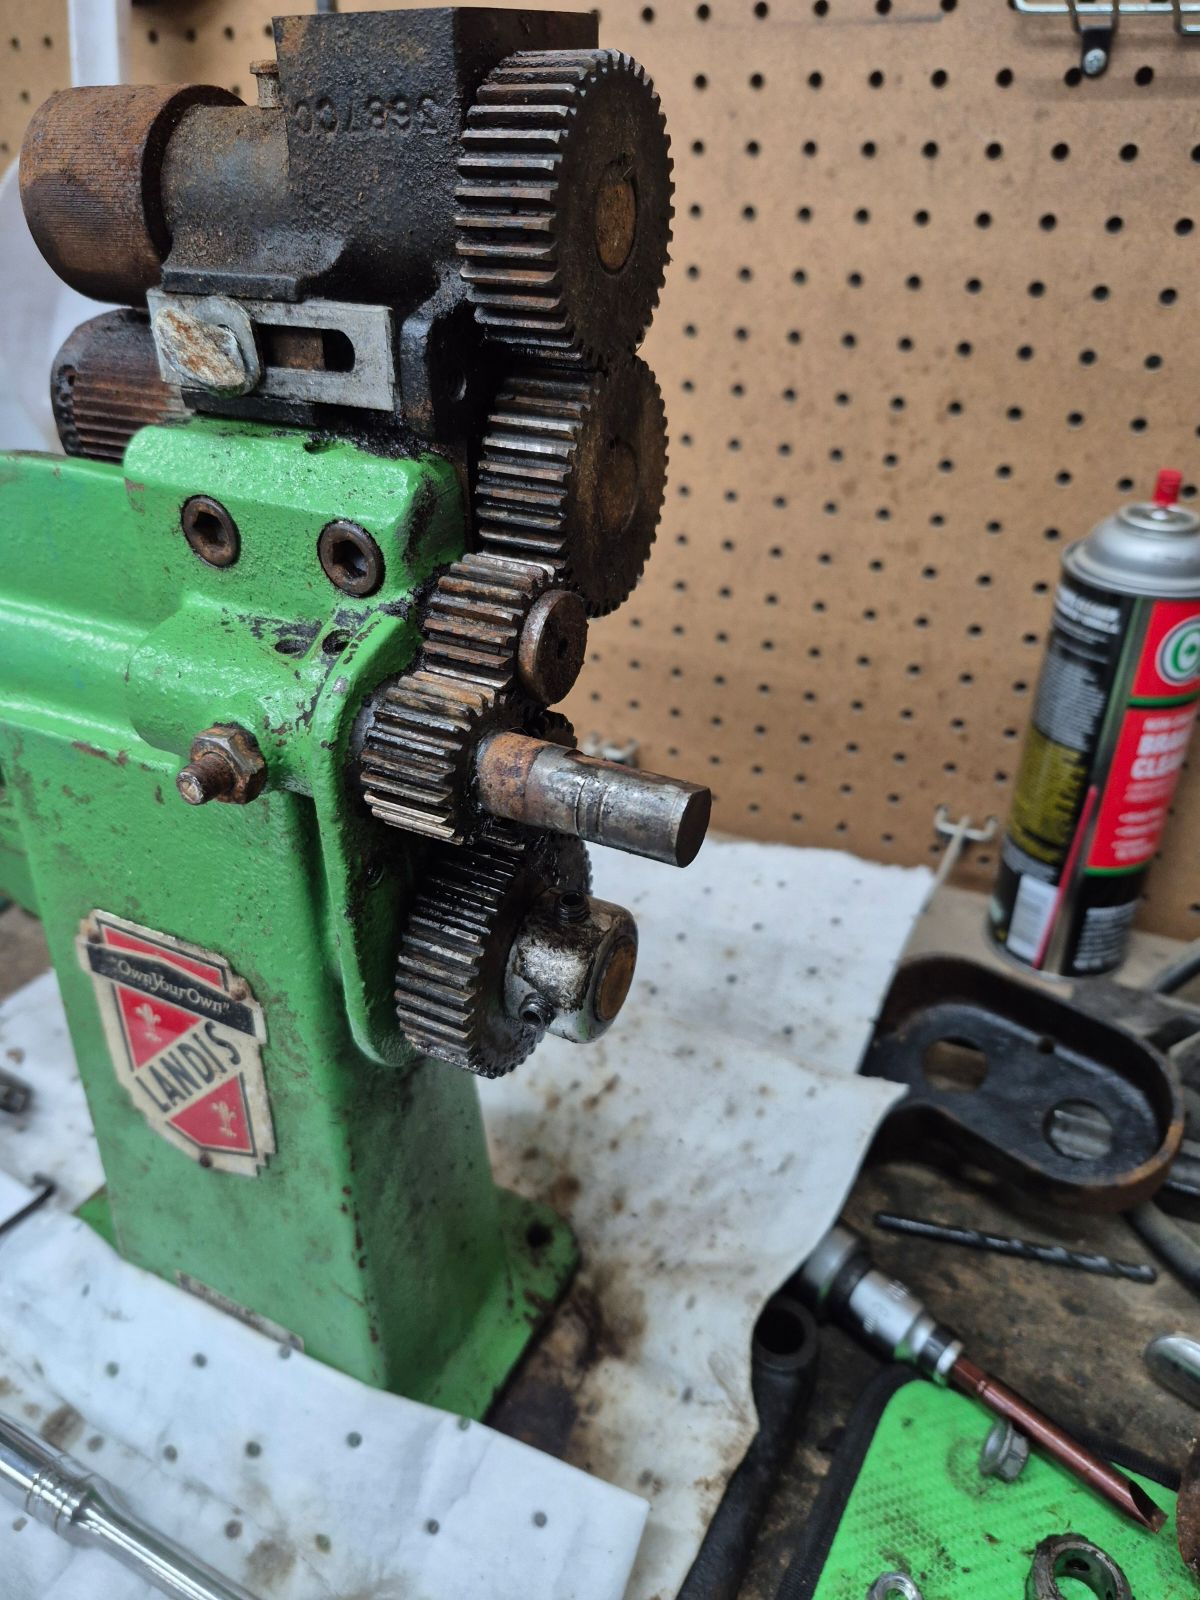
The feed wheel drive gear should slide free of the key with little effort, if it doesnt, gentle taps with a hammer and consistent pressure will split it loose, at this point, invert the shaft, and slip the key out of the keyway (keep the keys with the gear for the shaft they were removed from) (Keys may be peened, look for a locking divot hammered into the shaft, and you may have to remove the burr with the drill bit to remove the key)
-
Remove cutter head drive locking collar, there will be another 2 set screws, the same process used with the main gear will be applicable everywhere in the drive-train.
-
Remove hand crank drive gear and associated key
-
(Your mileage may vary on the next step, as to where in the process you will have to do it) flip the tool with the cutter and feed head facing you, and remove the spring on the cutter head guard. Both shafts should now be free spinning independently of one another, and should slide free in the casting, if not, gently tap on the back of the feed wheel with a ball peen. Both shafts should come out together, and if they do not, liberally apply penetrant, and put your pin punch in the divot from the gear train side, and give it a couple good pops with the hammer, and they should come loose.
-
Chuck the feed wheel shaft up in a vise, or any other holding fixture, and use your punch to tap the feed wheel clockwise (Left-handed thread, righty loosy, lefty tighty) to get it loose. (You may have to apply penetrant and heat to get it to move, rust bonds are VERY strong)
-
Same process with the cutter blade as the feed wheel. (Mine was rusted solid, and the blades are hardened steel, so you can score them with a chisel in an X, and then smack it hard with your hammer and the blade will shatter, repeat with any left over pieces that are still bonded, being careful not to damage the threads)
-
Removing the welt roller - use the 3/8" wrench to loosen the set screw on the welt roller handle, remove the spring, and then the handle. You may have to chisel the handle loose.
-
Use the impact screwdriver to remove the 2 flathead machine screws that attach the welt roller to the skiving attachment
-
Depending on the state of the welt roller shaft, it may slide free of the assembly at this point, if not; Apply a liberal amount of penetrating oil, set it in a fixture so the gear end is facing down, and put your punch in the divot on the handle end of the gear shaft and hammer the shaft out.
12.5. Use your Impact screwdriver to remove the welt roller attachment from the associated shaft, and gently tap the roller and bearing off
- If the shaft is seized in the welt roller casting, apply penetrant and orient it in a fixture with the roller end down, and punch the center of the shaft down until it comes free of the casting. This may require some significant hammering. (I upgraded from the small ball-peen to a 3lb sledge hammer for this one)
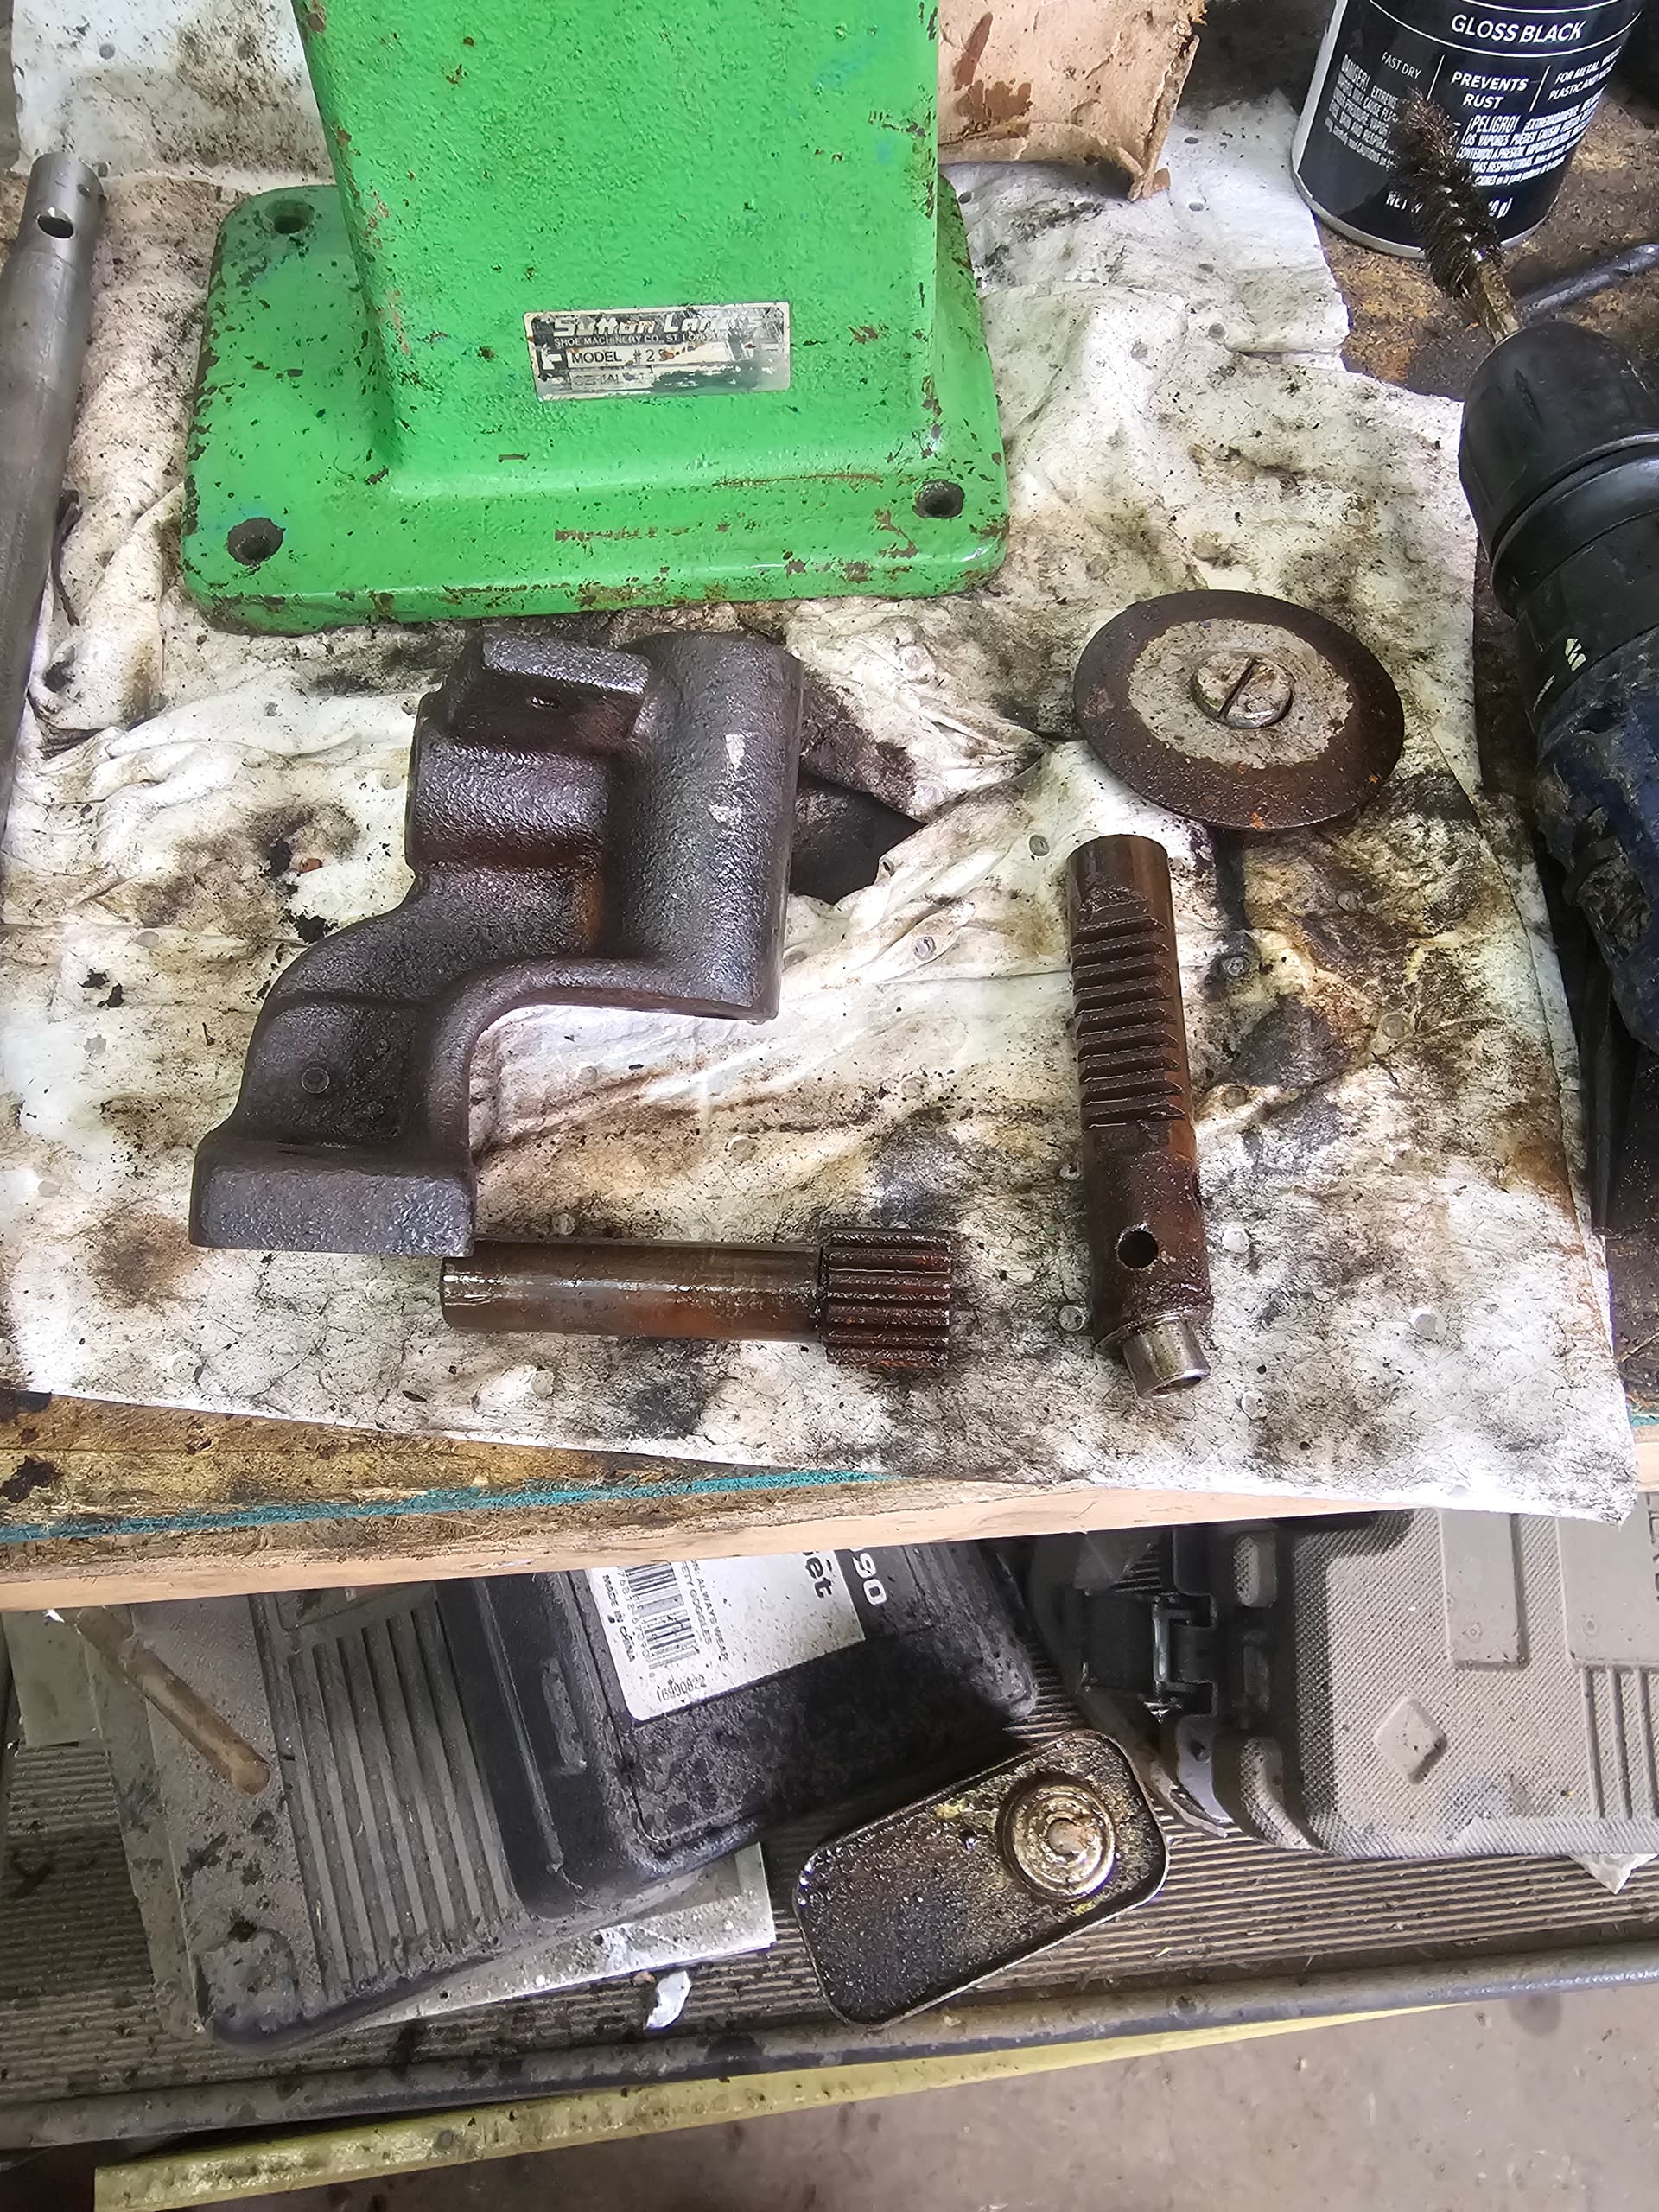
13- cont- clean the housing with a solvent cleaner, and sand all the rust from the moving surfaces. Housing surfaces usually only require 220 grit, but you will want to polish to at least 1200 on the shafts. There may be a ridge from oxidation around the top of the welt roller shaft, use a file to clean any lip that hangs on your fingernail.
-
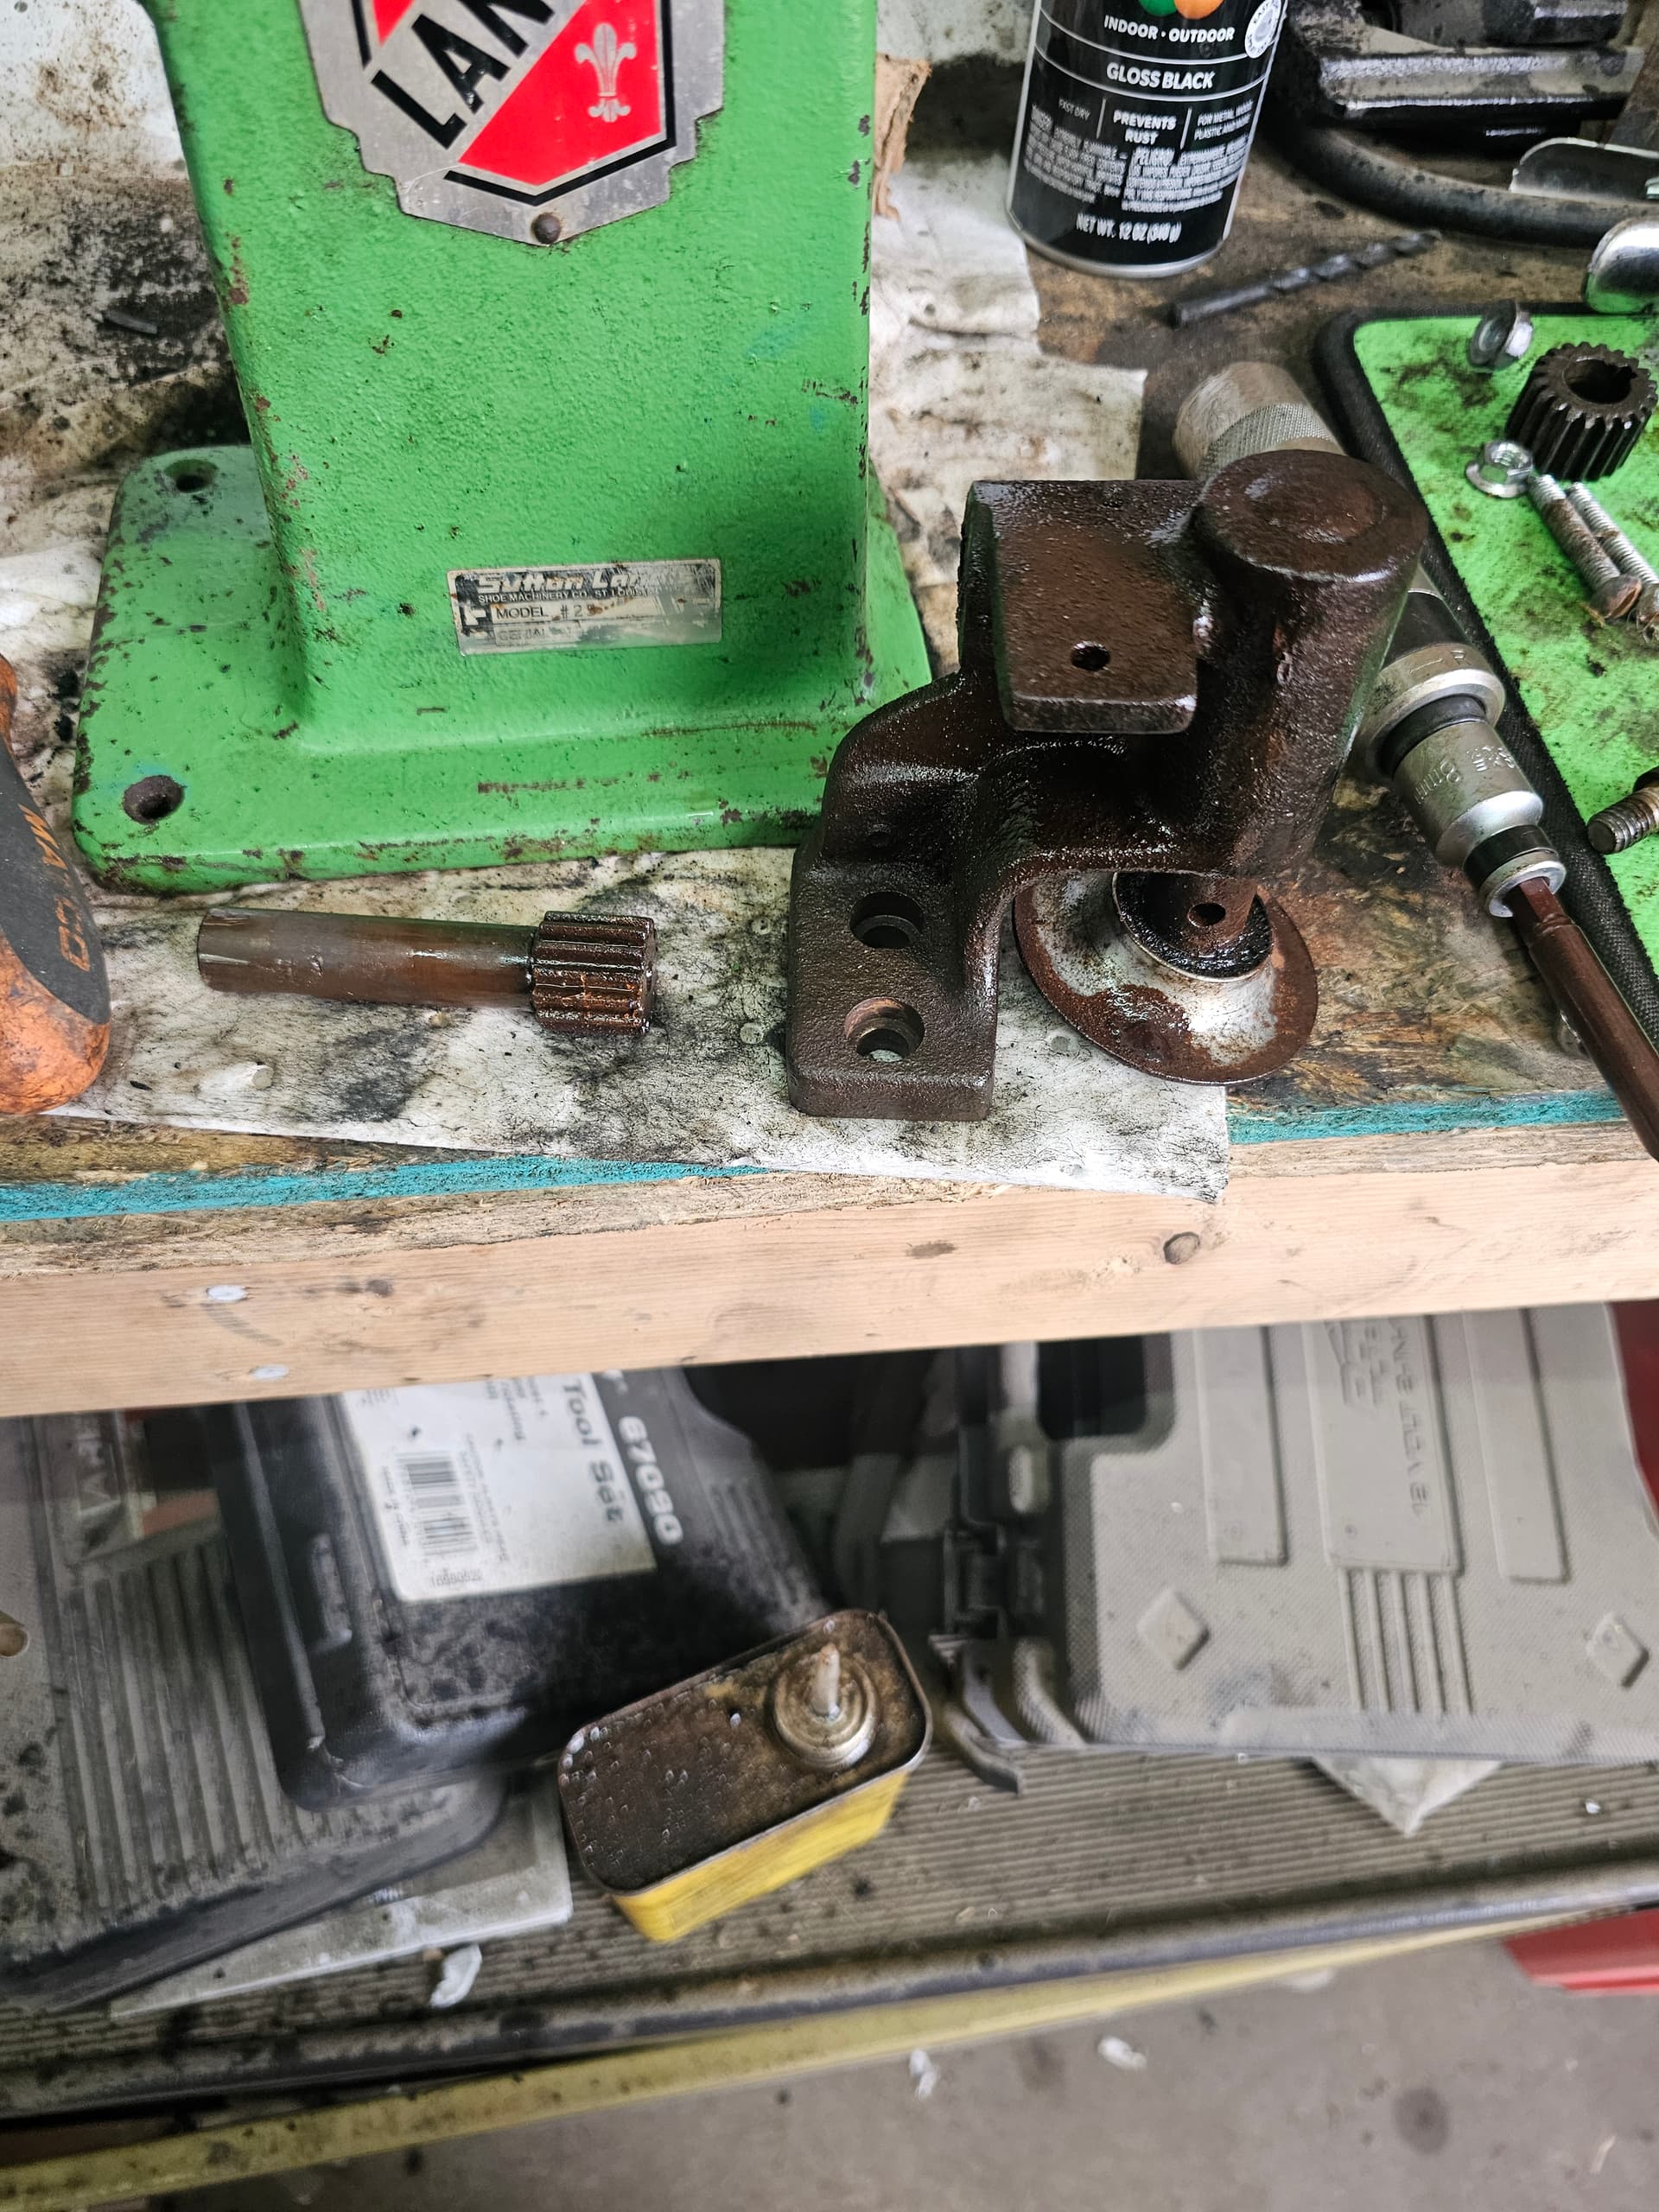
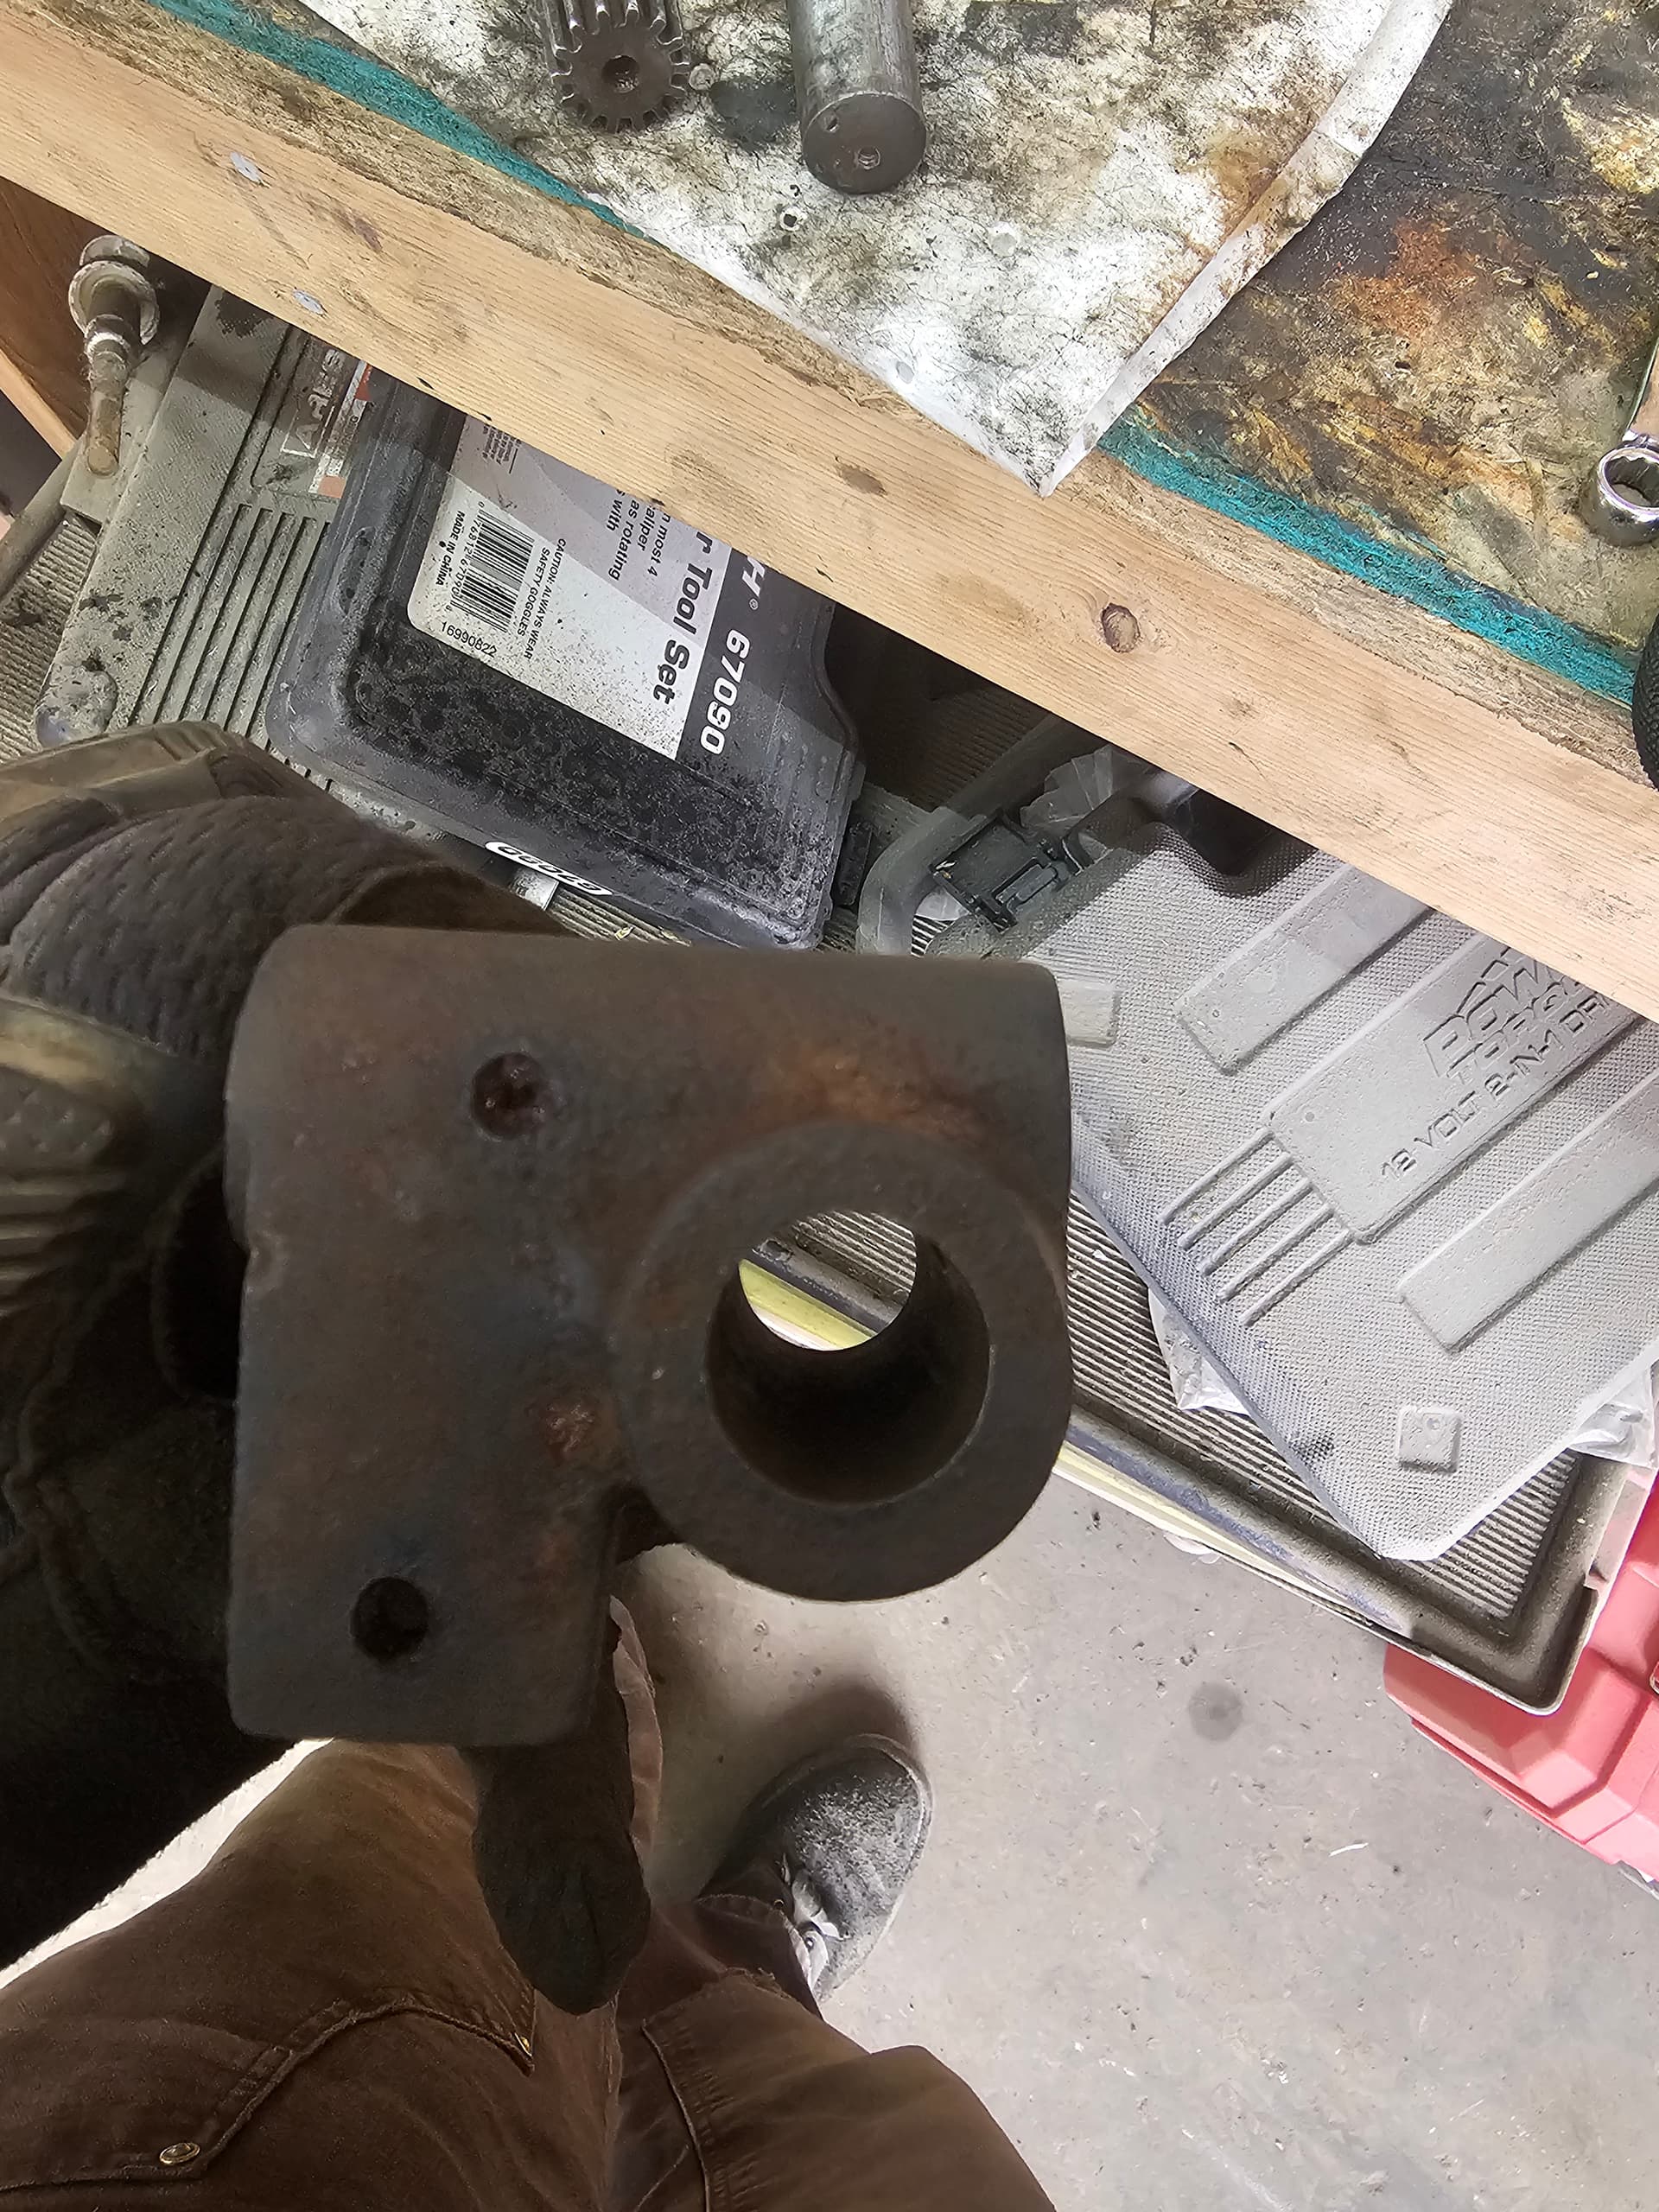
Removing the skiver assembly - 2 5/16 Allen head bolts hold the skiver assembly to the main casting body. These may have some significant tension on them. Be careful that the tool sits all the way in the bolt head to prevent rounding out the fastener. Be sure to keep track of the universal joint piece that serves as the linkage between the lower drive gear and the bottom feed wheel of the skiver
-
With the skiver assembly free, you can then remove the top feed wheel with the impact screwdriver, and be sure to remove the associated key.
-
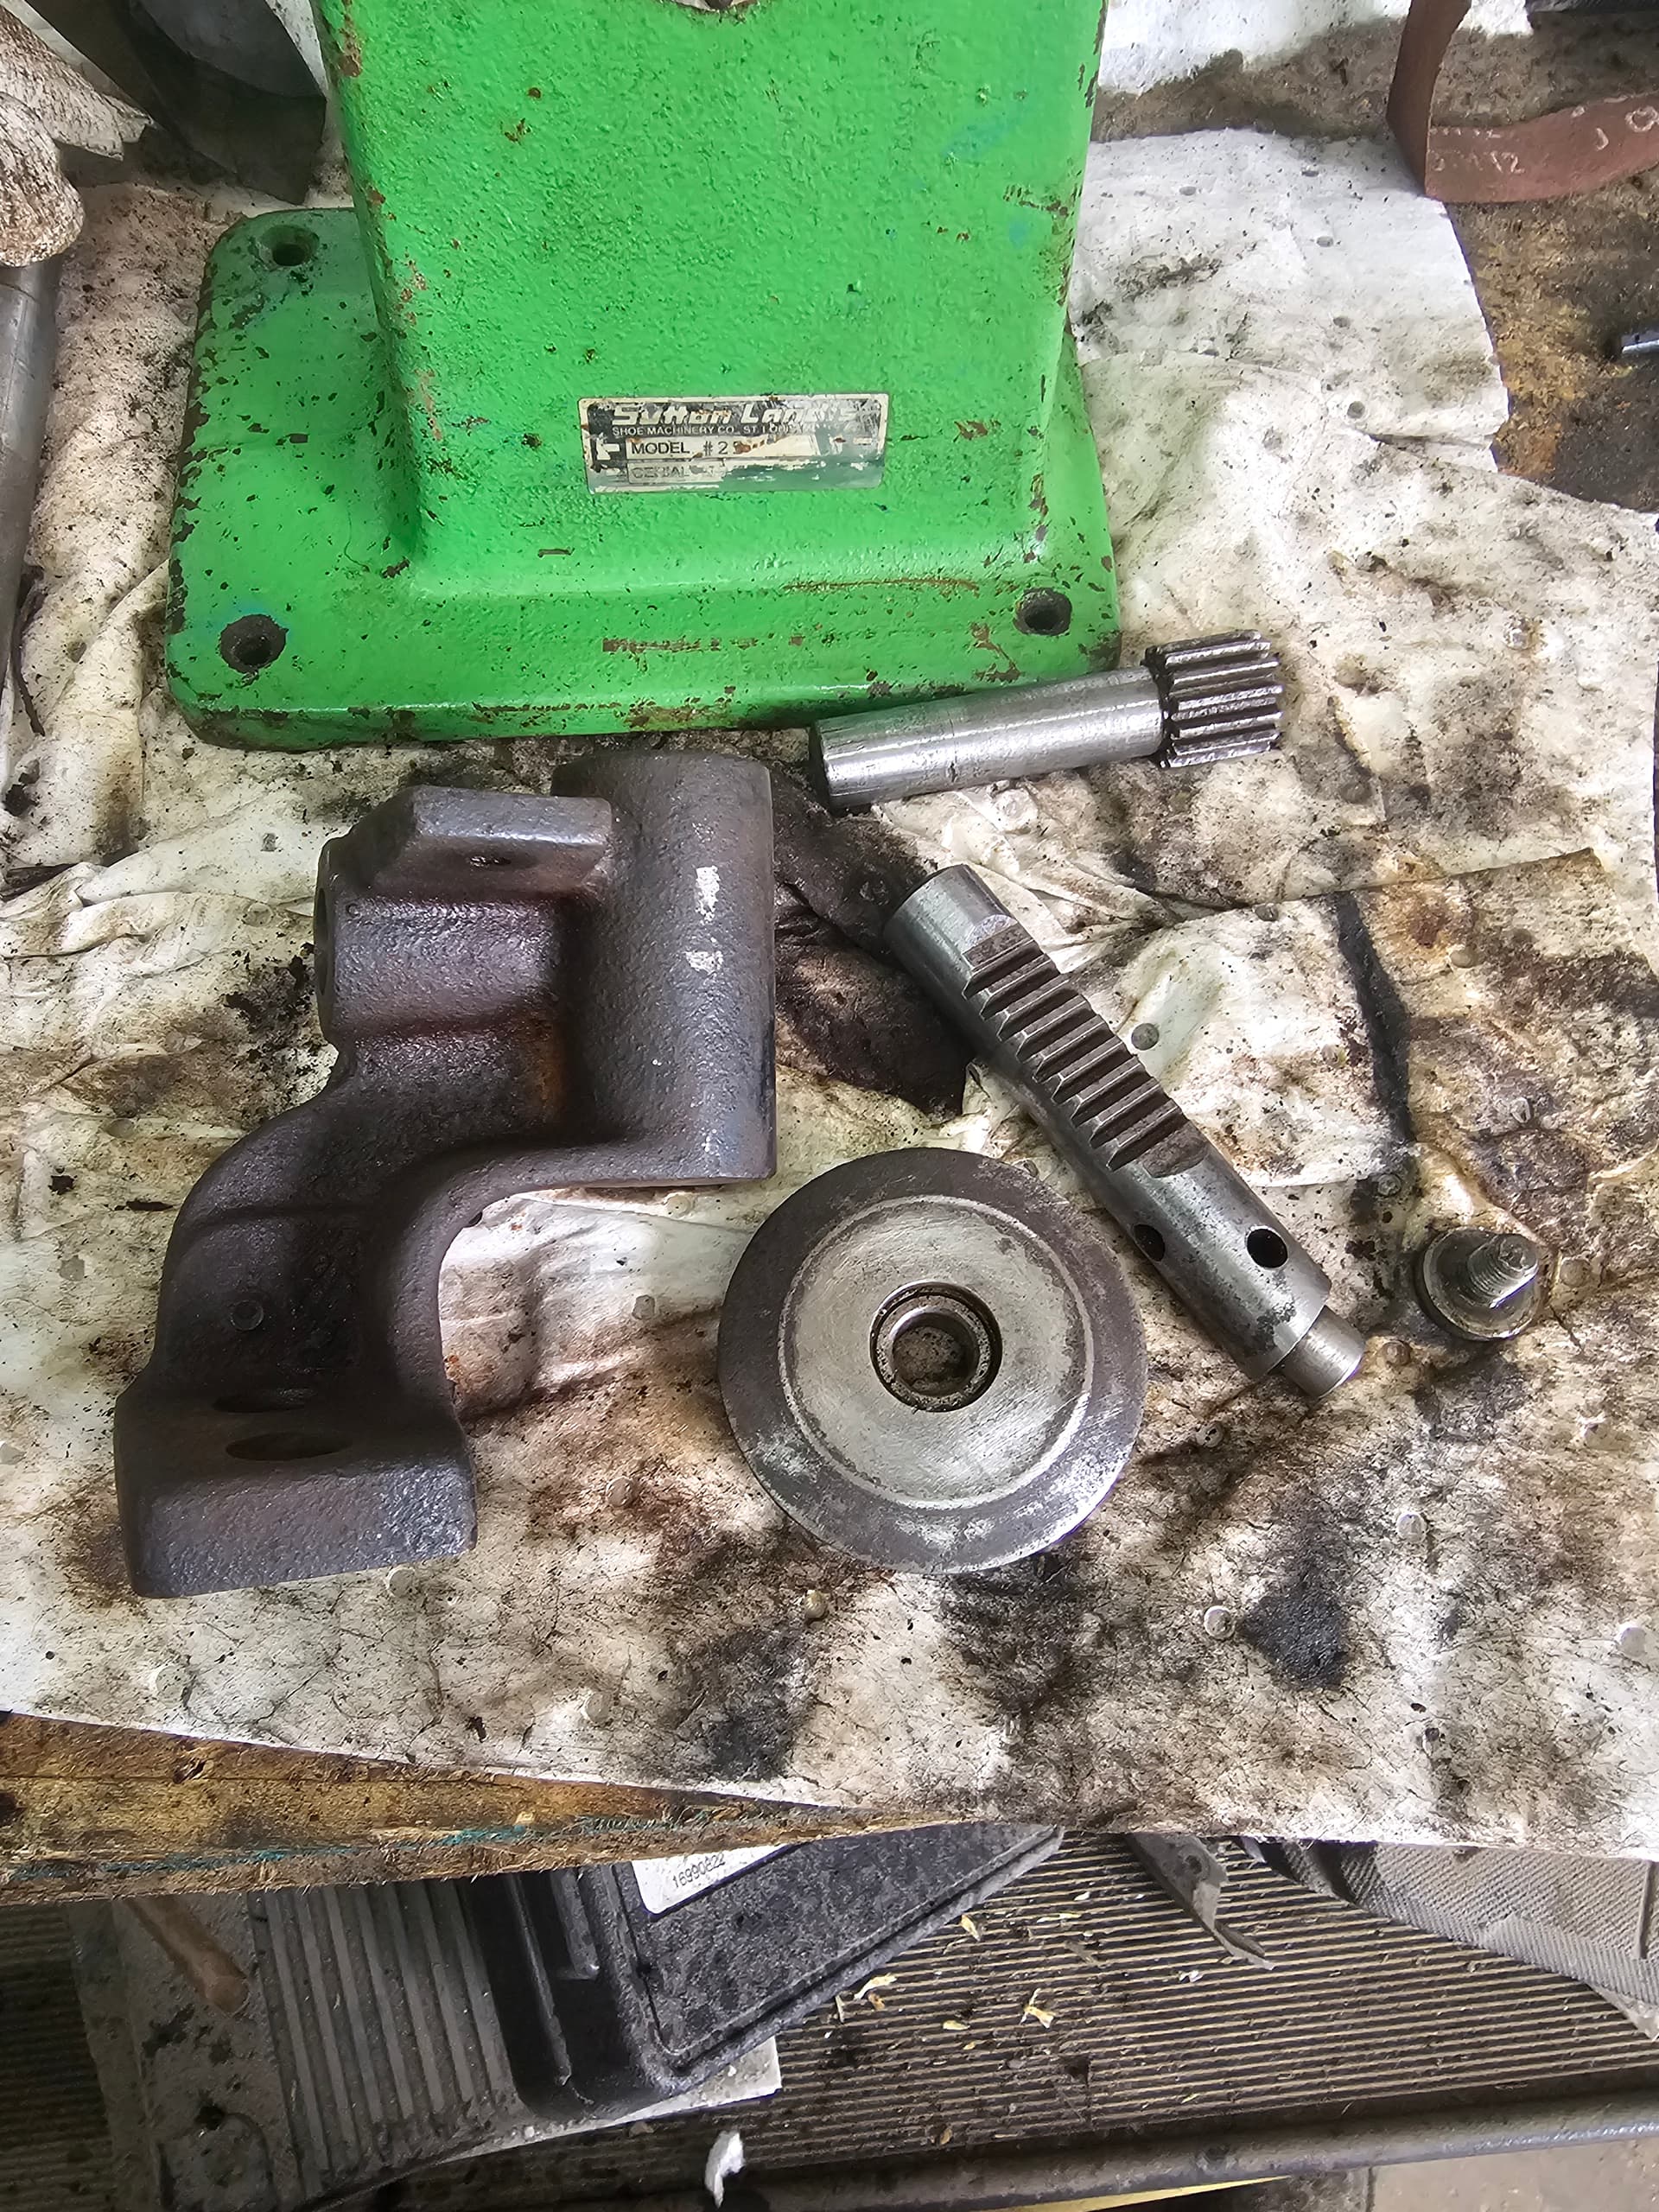
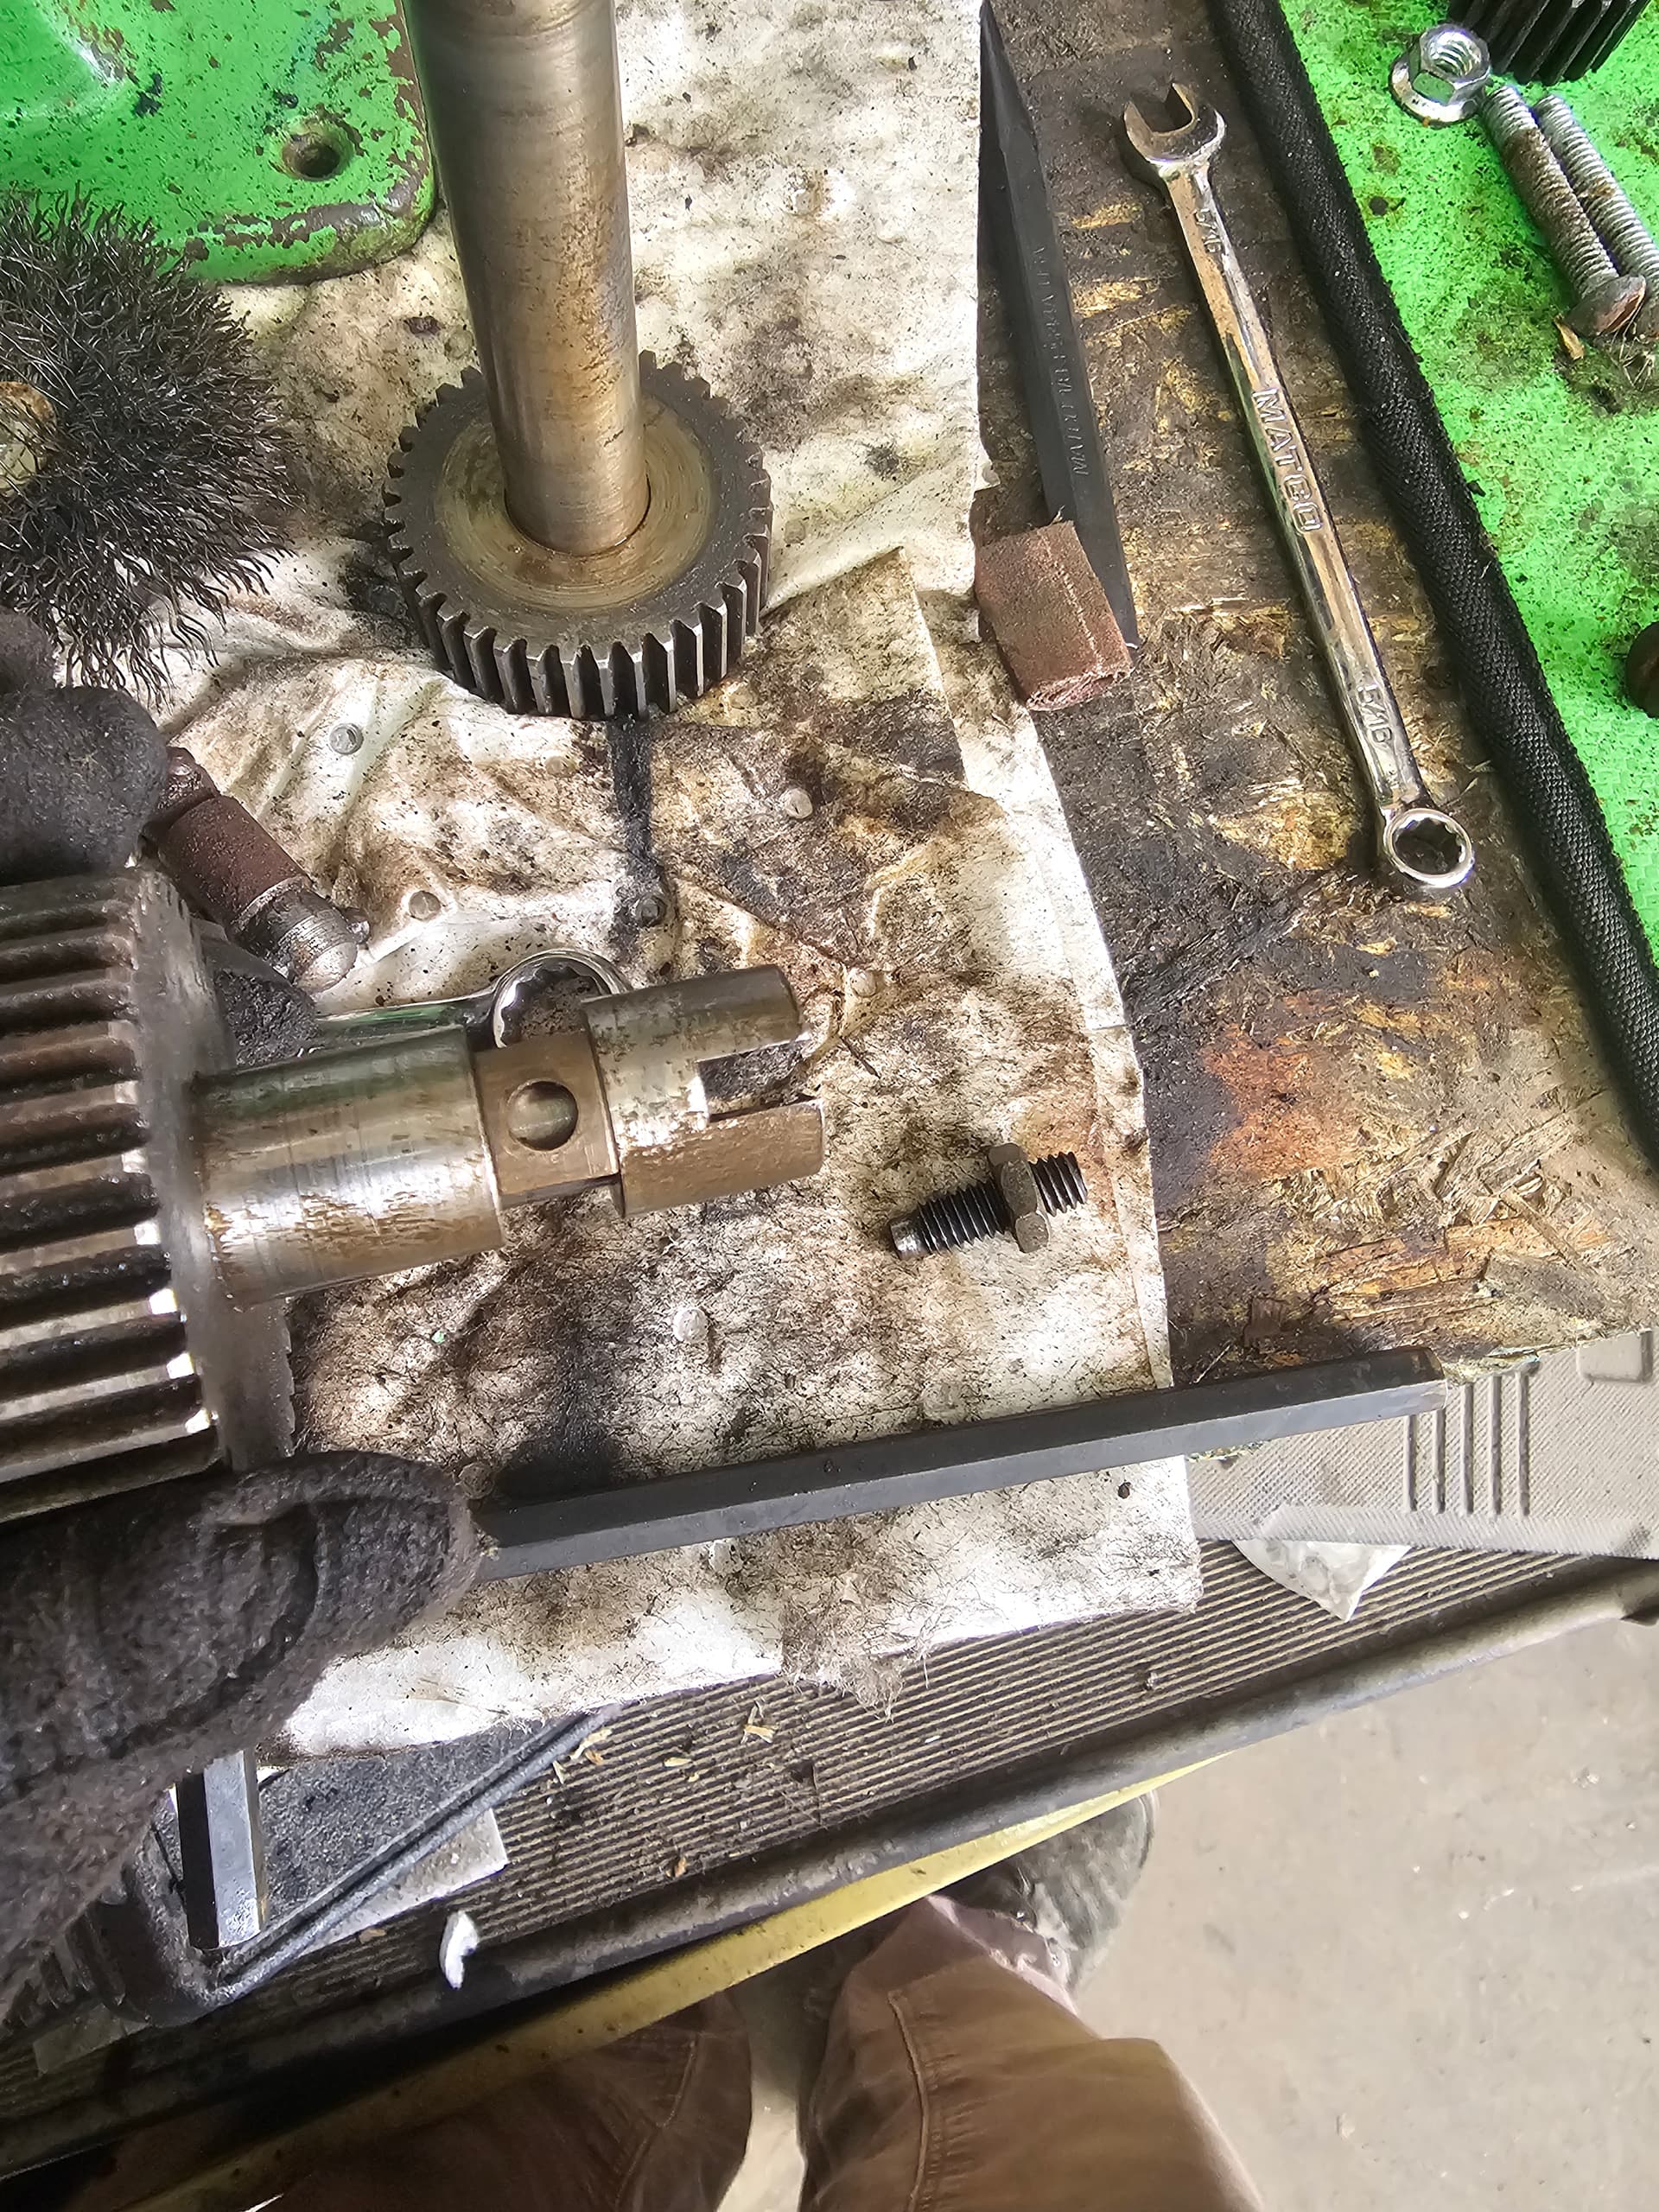
The lower feed wheel has a drive that can be removed with a spanner wrench to free it. (I have chosen to ignore the 1/16" end play in the shaft, and will turn a bronze bushing to fill the gap at a later point)
-
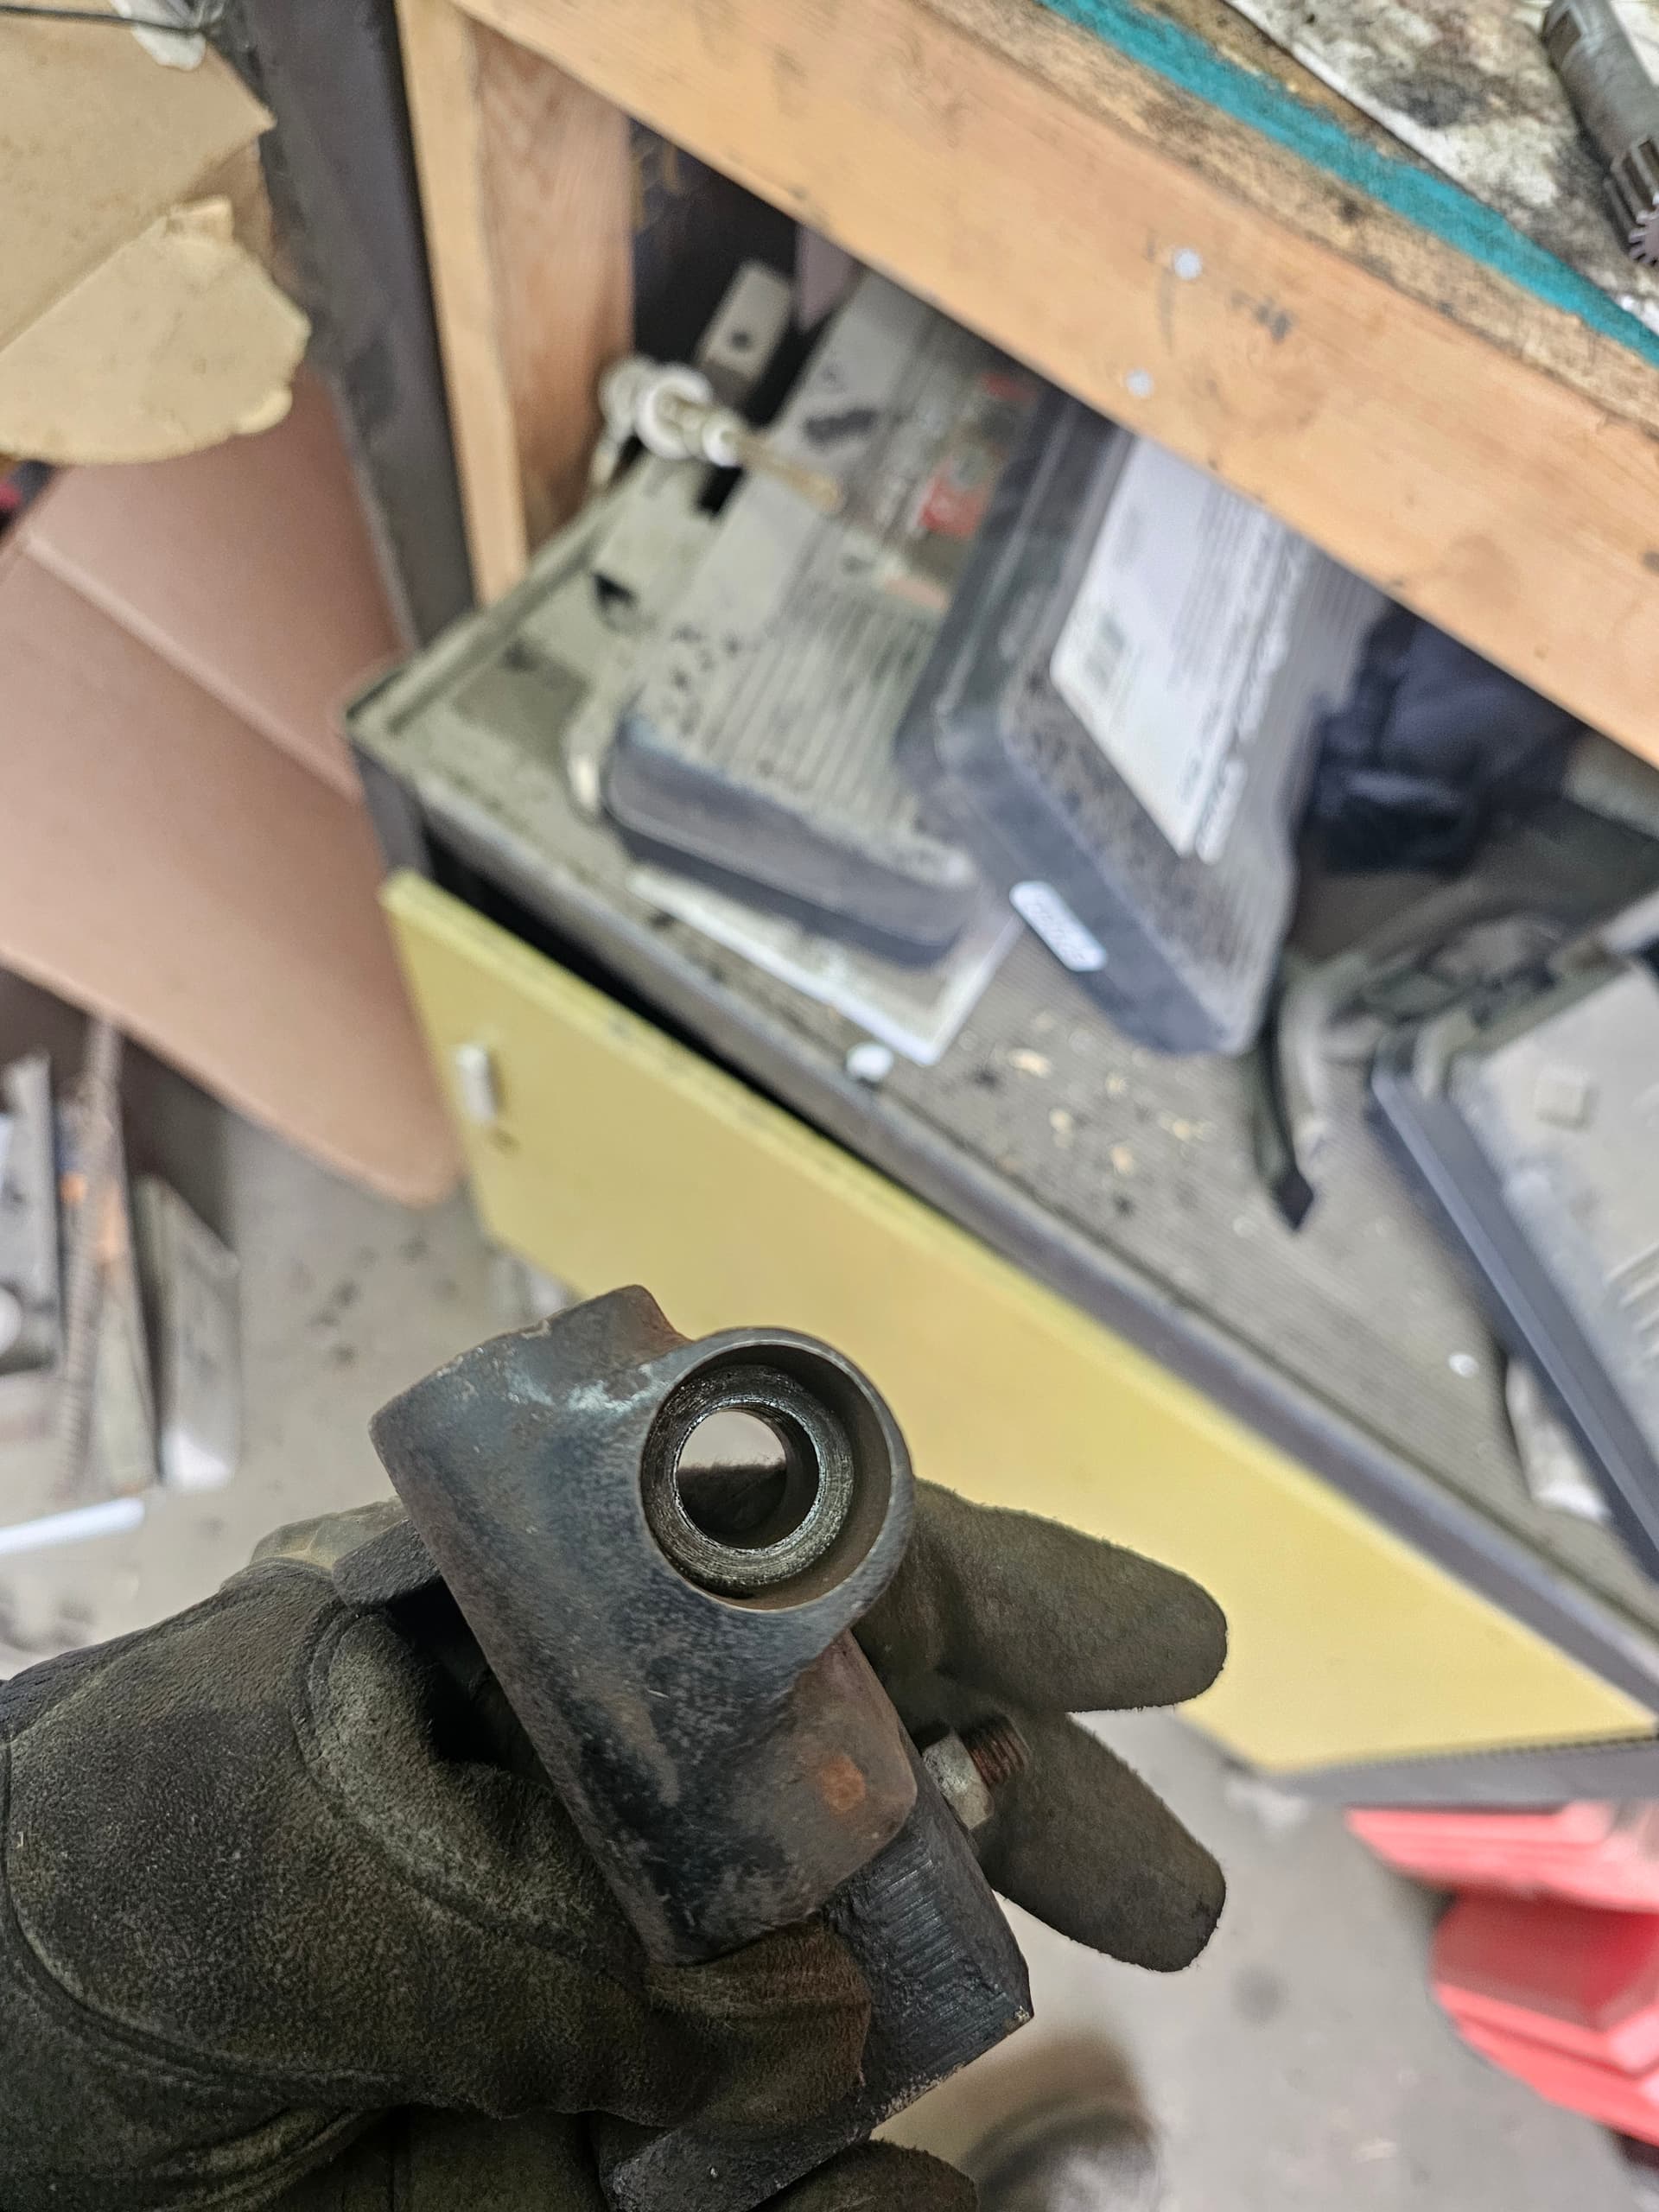
Removing the lower drive gear - there is a stud and lock-nut that threads into the skiver casting to retain the lower drive gear shaft. It is a 1/2" nut, and the stud should only be finger tight. When you remove the lower drive gear shaft, be mindful of the small brass bushing that will come out with the shaft. The end of the stud rides in that keyway and bushing to control endplay, and shaft retention.
-
Removing the skiver spring, and lower feed wheel assembly - use an engine valve spring compressor tool to compress the skiving spring, and then remove the 1/2" adjusting stud on the bottom, as well as the retention bolt that holds the feed assembly to the casting, it should be a 9/16" (with spring tension gone, it should only be finger tight) and slide the shaft up and out of the casting. You can leave the spring in the compressor tool, or relieve the tension and set it aside.
-
Now that everything is blown apart, get your favorite solvent cleaner and apply it liberally to every surface in the casting, and use your punch brush kit to clean every surface that makes metal to metal contact, using your files and emery paper and sandpaper to clean up any rust pitting or ridges on the surfaces and polishing any rust or pitting on the shafts. Wire wheel any heavy rust spots. If available, use compressed air to blow out the oiling holes in the casting, and brush them out if they need it.
Will do another guide in addition to this one when i get the new blades in for re-assembly!