Encouraged by a friend, I’m trying my hand at last sculpting in oil-based modeling clay. The idea is to make the shapes in something cheaper and easier to work than wood, then create a mold and cast into a more durable material for hammering and nailing.
I shared some notes on final last casting media here:
Monster Clay
I got a bunch of different suggestions and recommendations for the sculpting medium. In the end, I went with a 4.5-pound block of brown Monster Clay-brand oil-based modeling clay, specifically their “Hard” formulation:
https://www.monstermakers.com/monsterclaybrown
This stuff comes in a plastic microwaveable tub. At room temperature, it’s solid, a bit like a big block of beeswax. But you can heat it to make it malleable like putty, or even melt it liquid for pouring into molds.
A big selling point was that it’s reusable. You simply soften it up or melt down and sculpt again. On the downside, it’s less durable and dimensionally stable than cured polymer clay like Sculpey.
Slow Cooker Works Well
I microwaved mine to get it out of its tub, but then followed another piece of advice and found a two-quart slow cooked to keep the medium warm while sculpting.
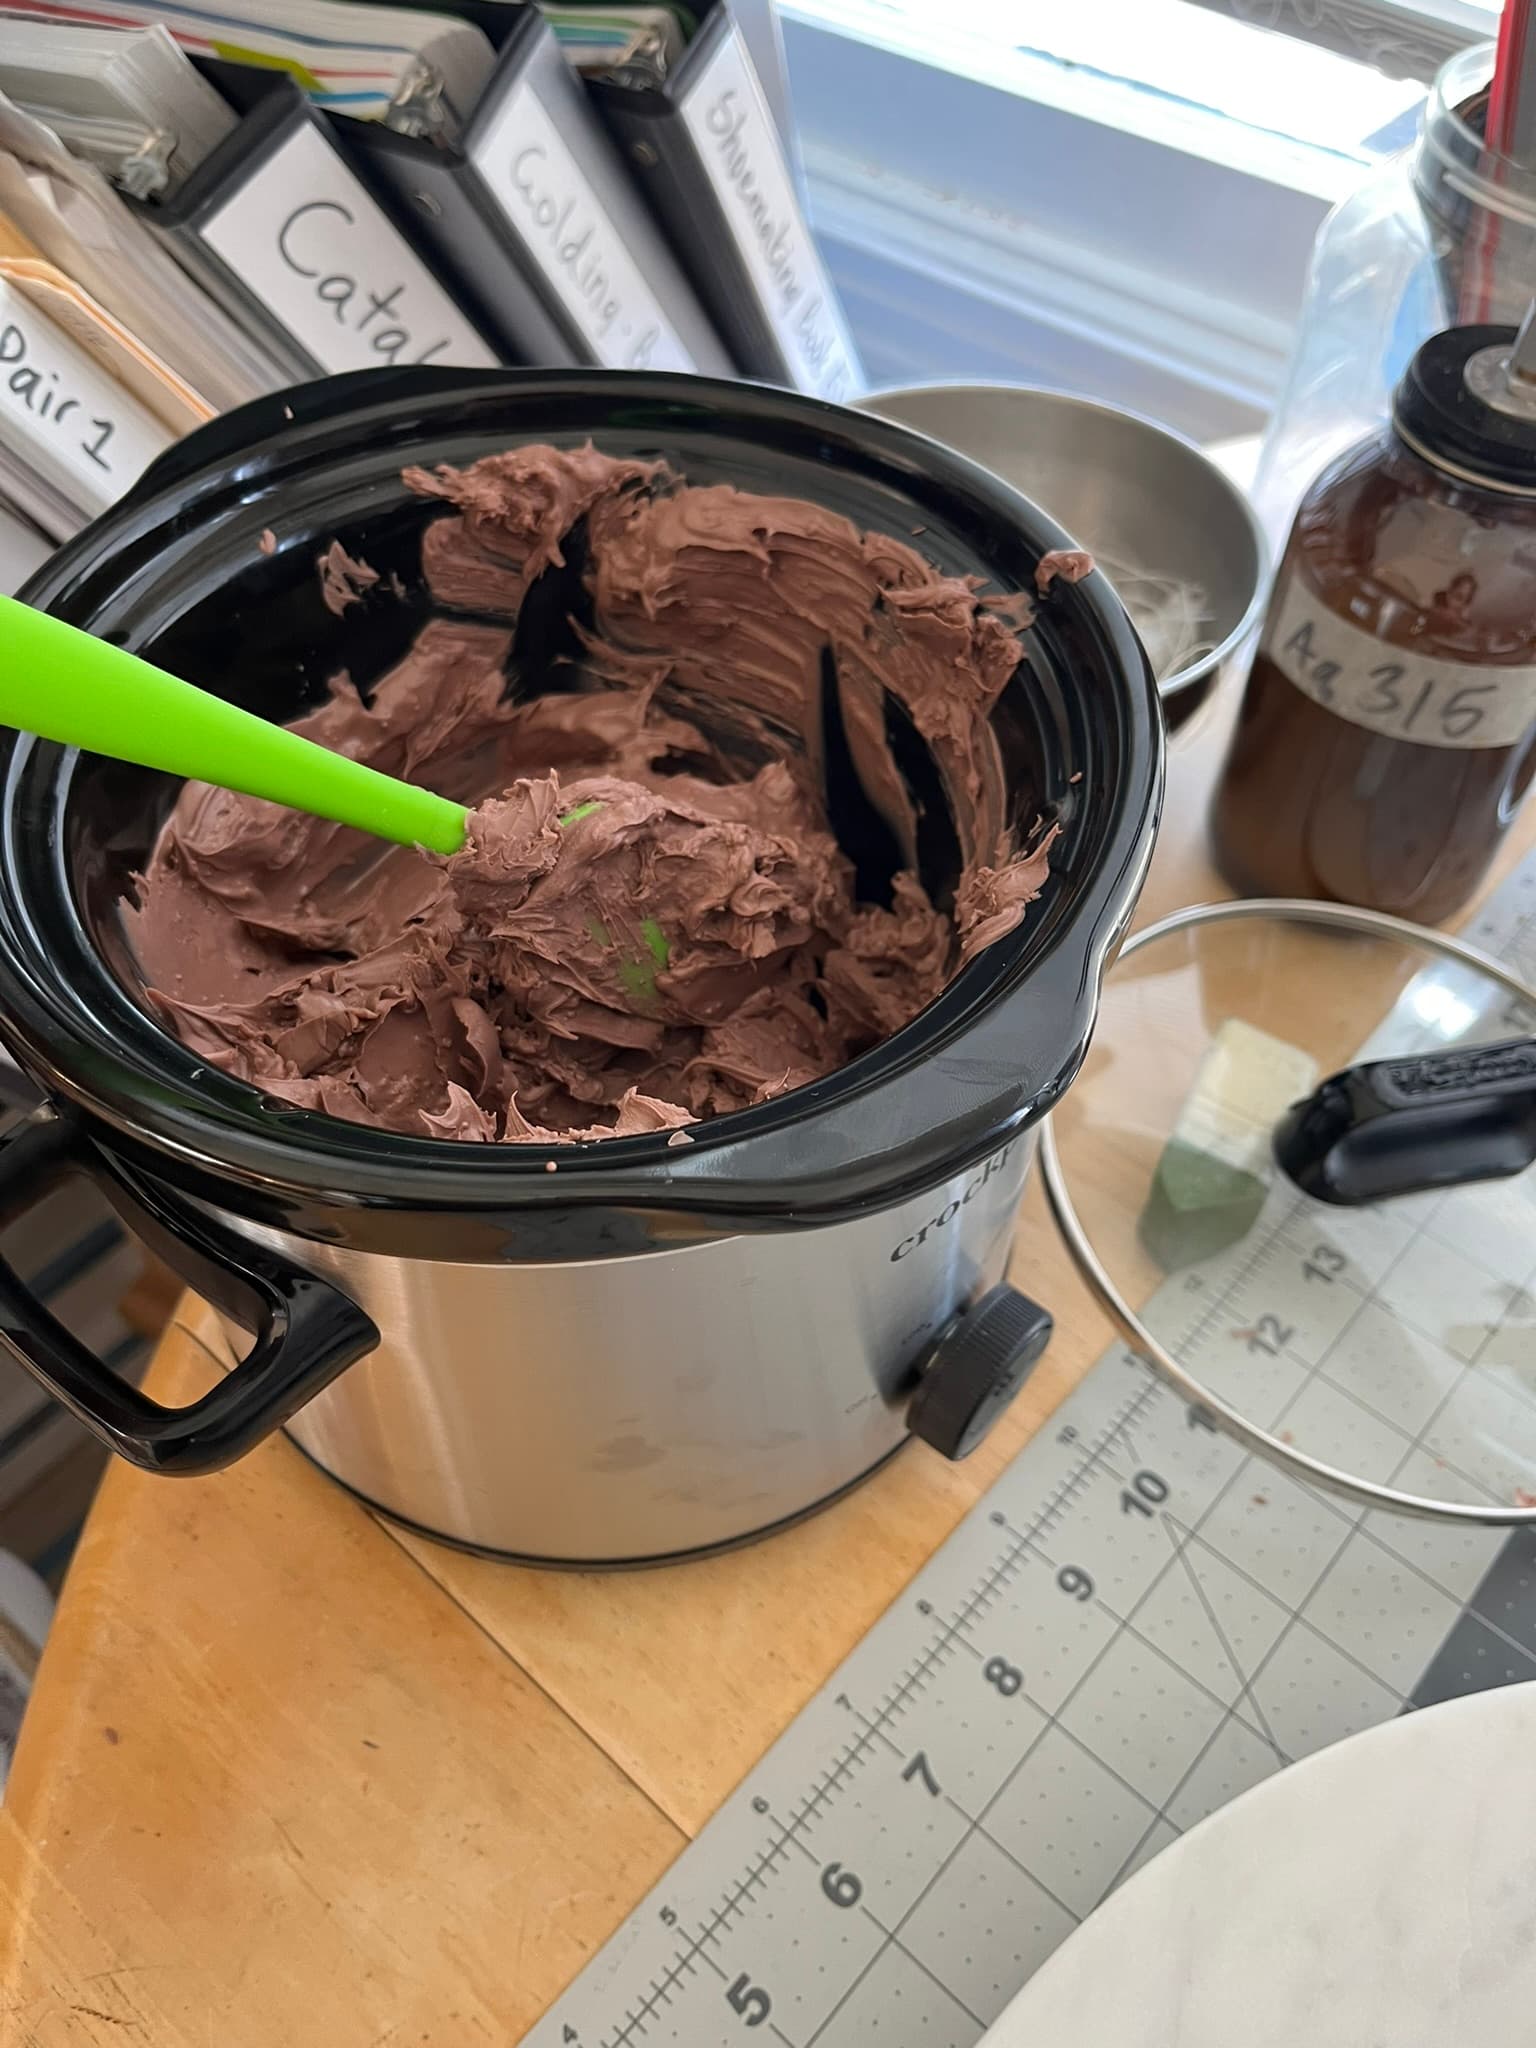
On the “Warm” setting, the stuff at the very bottom tends to get liquid and soupy, while any material mounding up stays firm, but not hard.
I actually found that handier than a big pot of just liquid. Sometimes I just wanted a glob to add on to fill in a space, while at other times I really wanted to paint on a liquid to smooth a surface out and fill gaps. The medium works great for both.
First, Copy
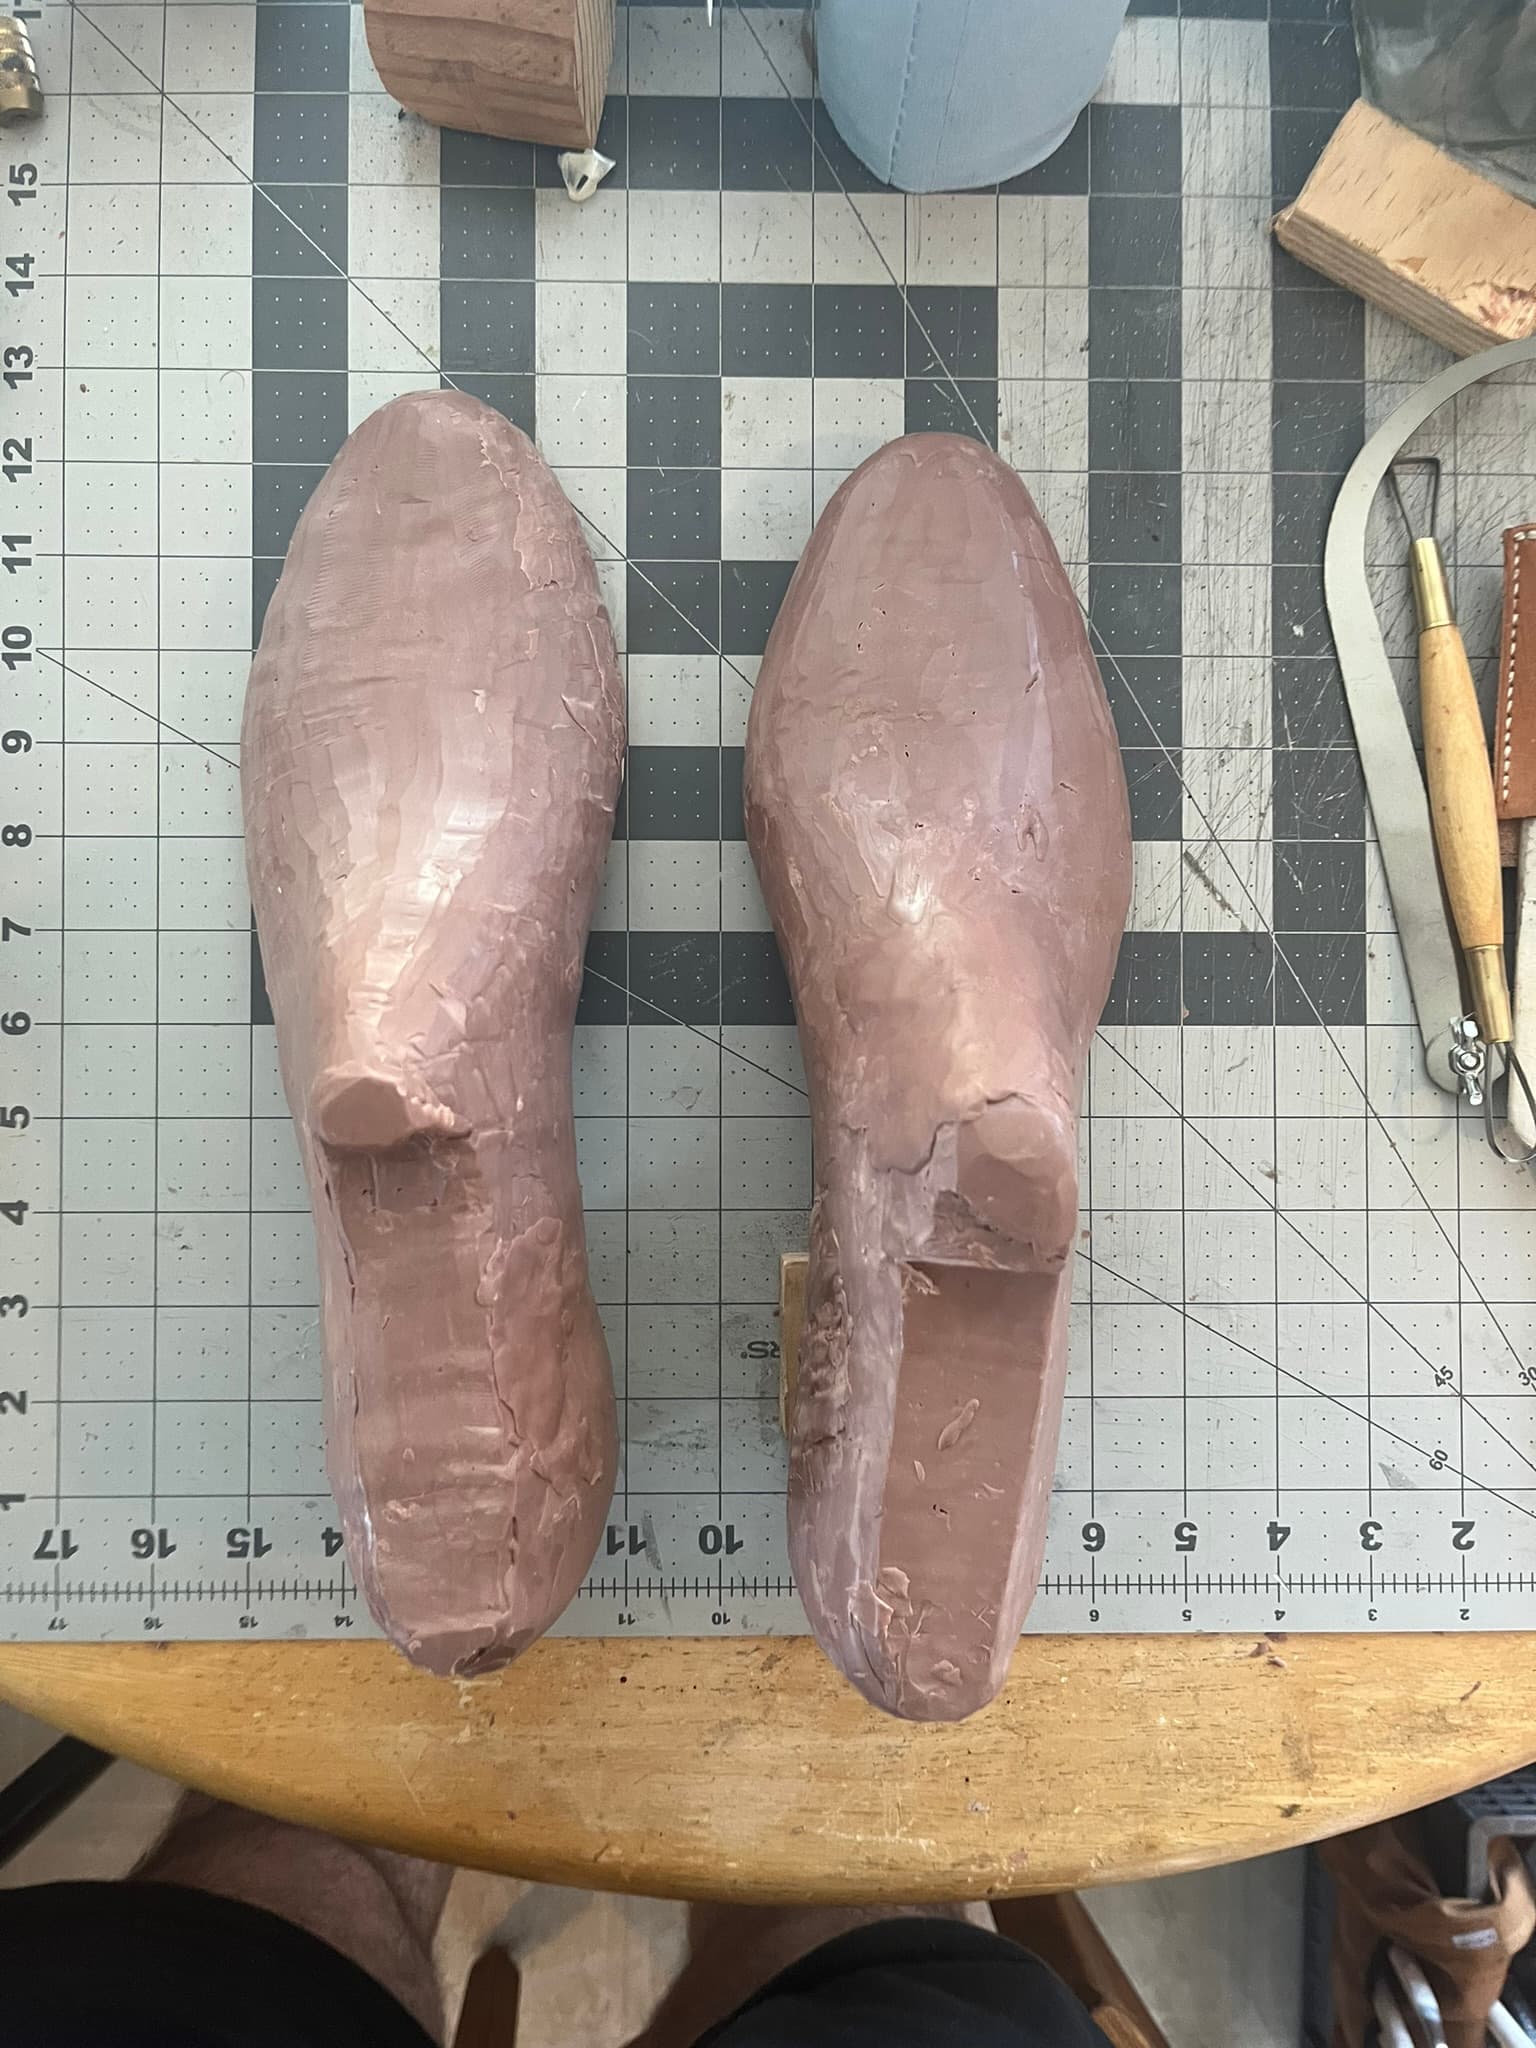
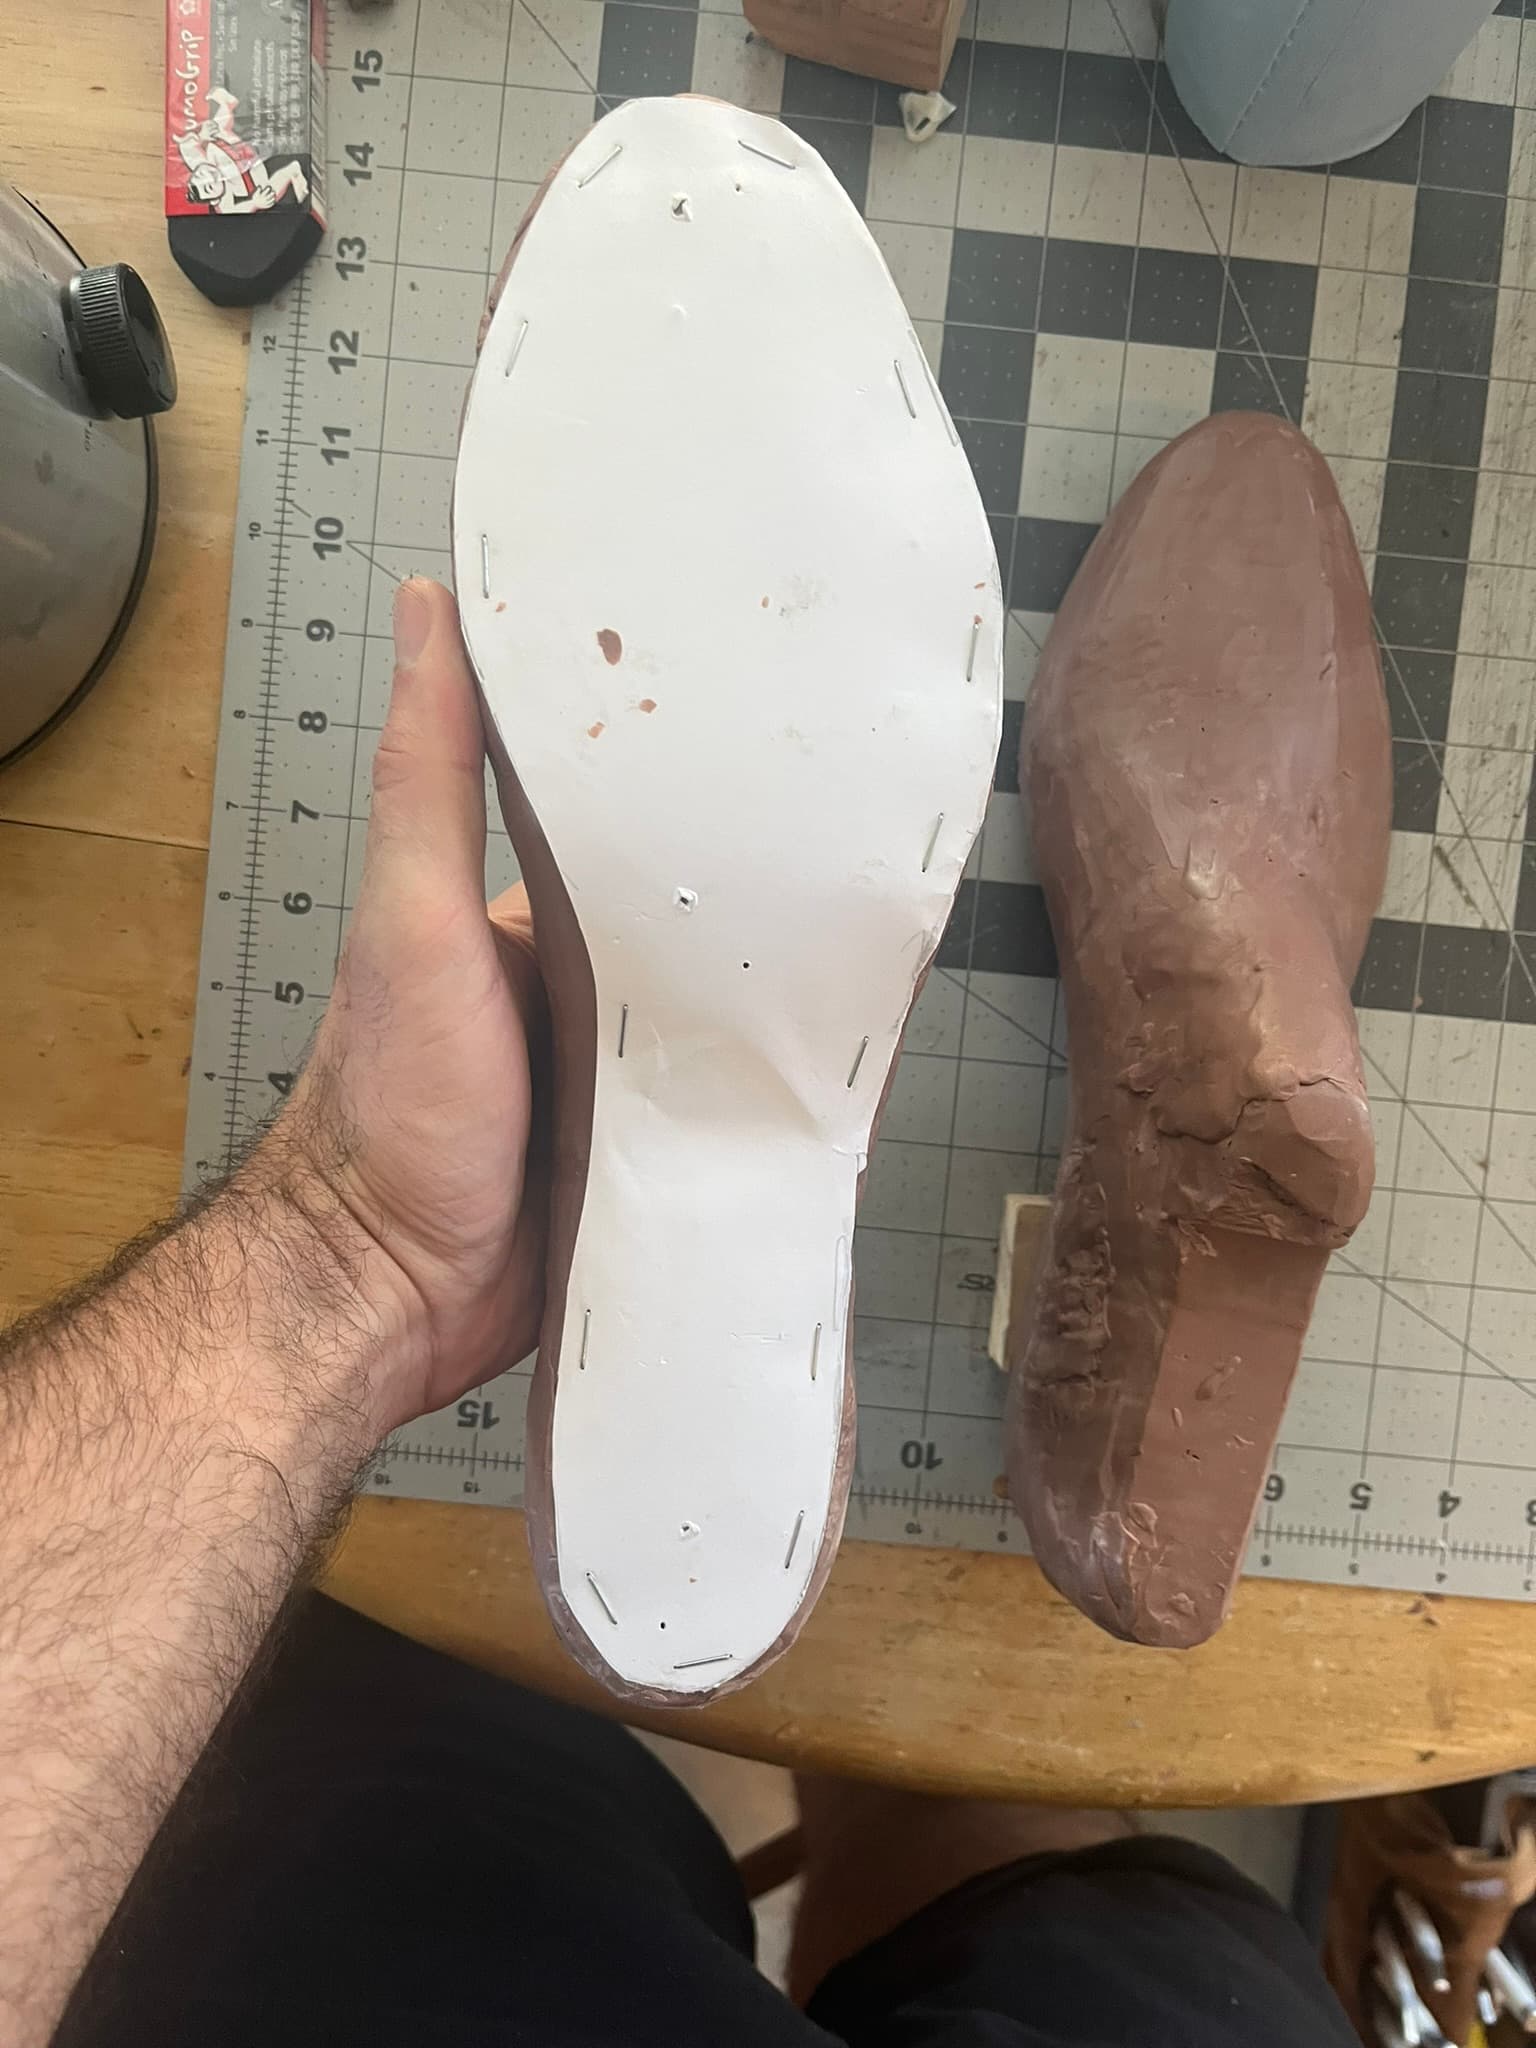
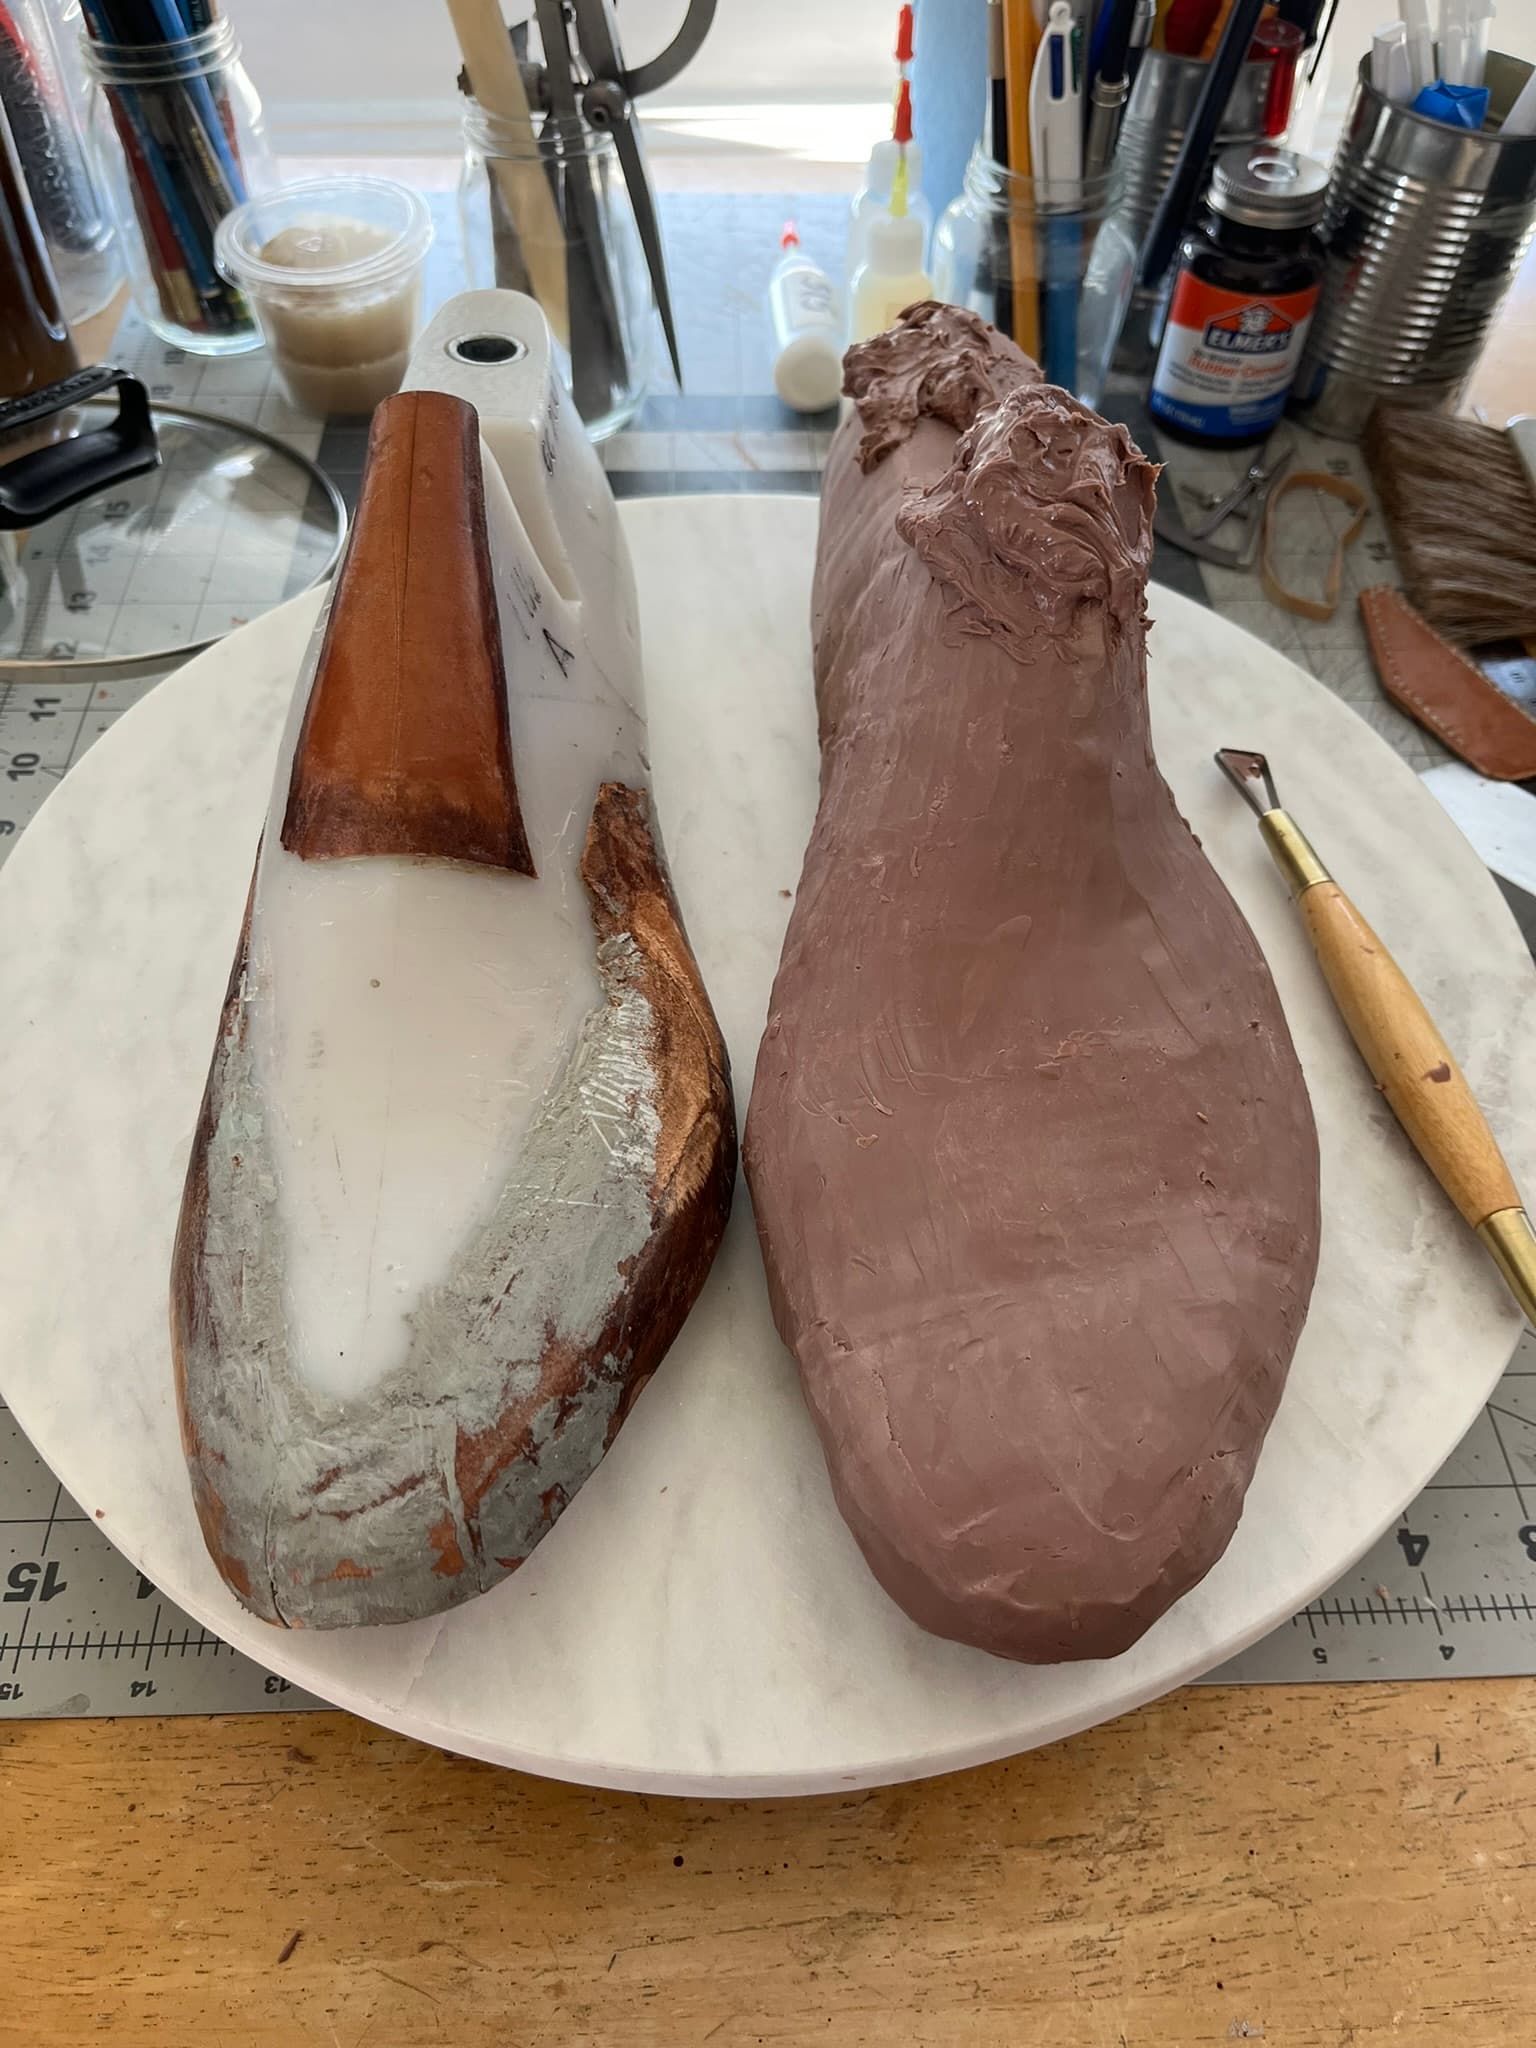
I decided that before trying to sculpt a last entirely freehand, from tracings, measurements, and pedigraph, I’d begin by copying the last I built up for my second pair. Here’s the roughly formed kind-of-last shape I started out with:
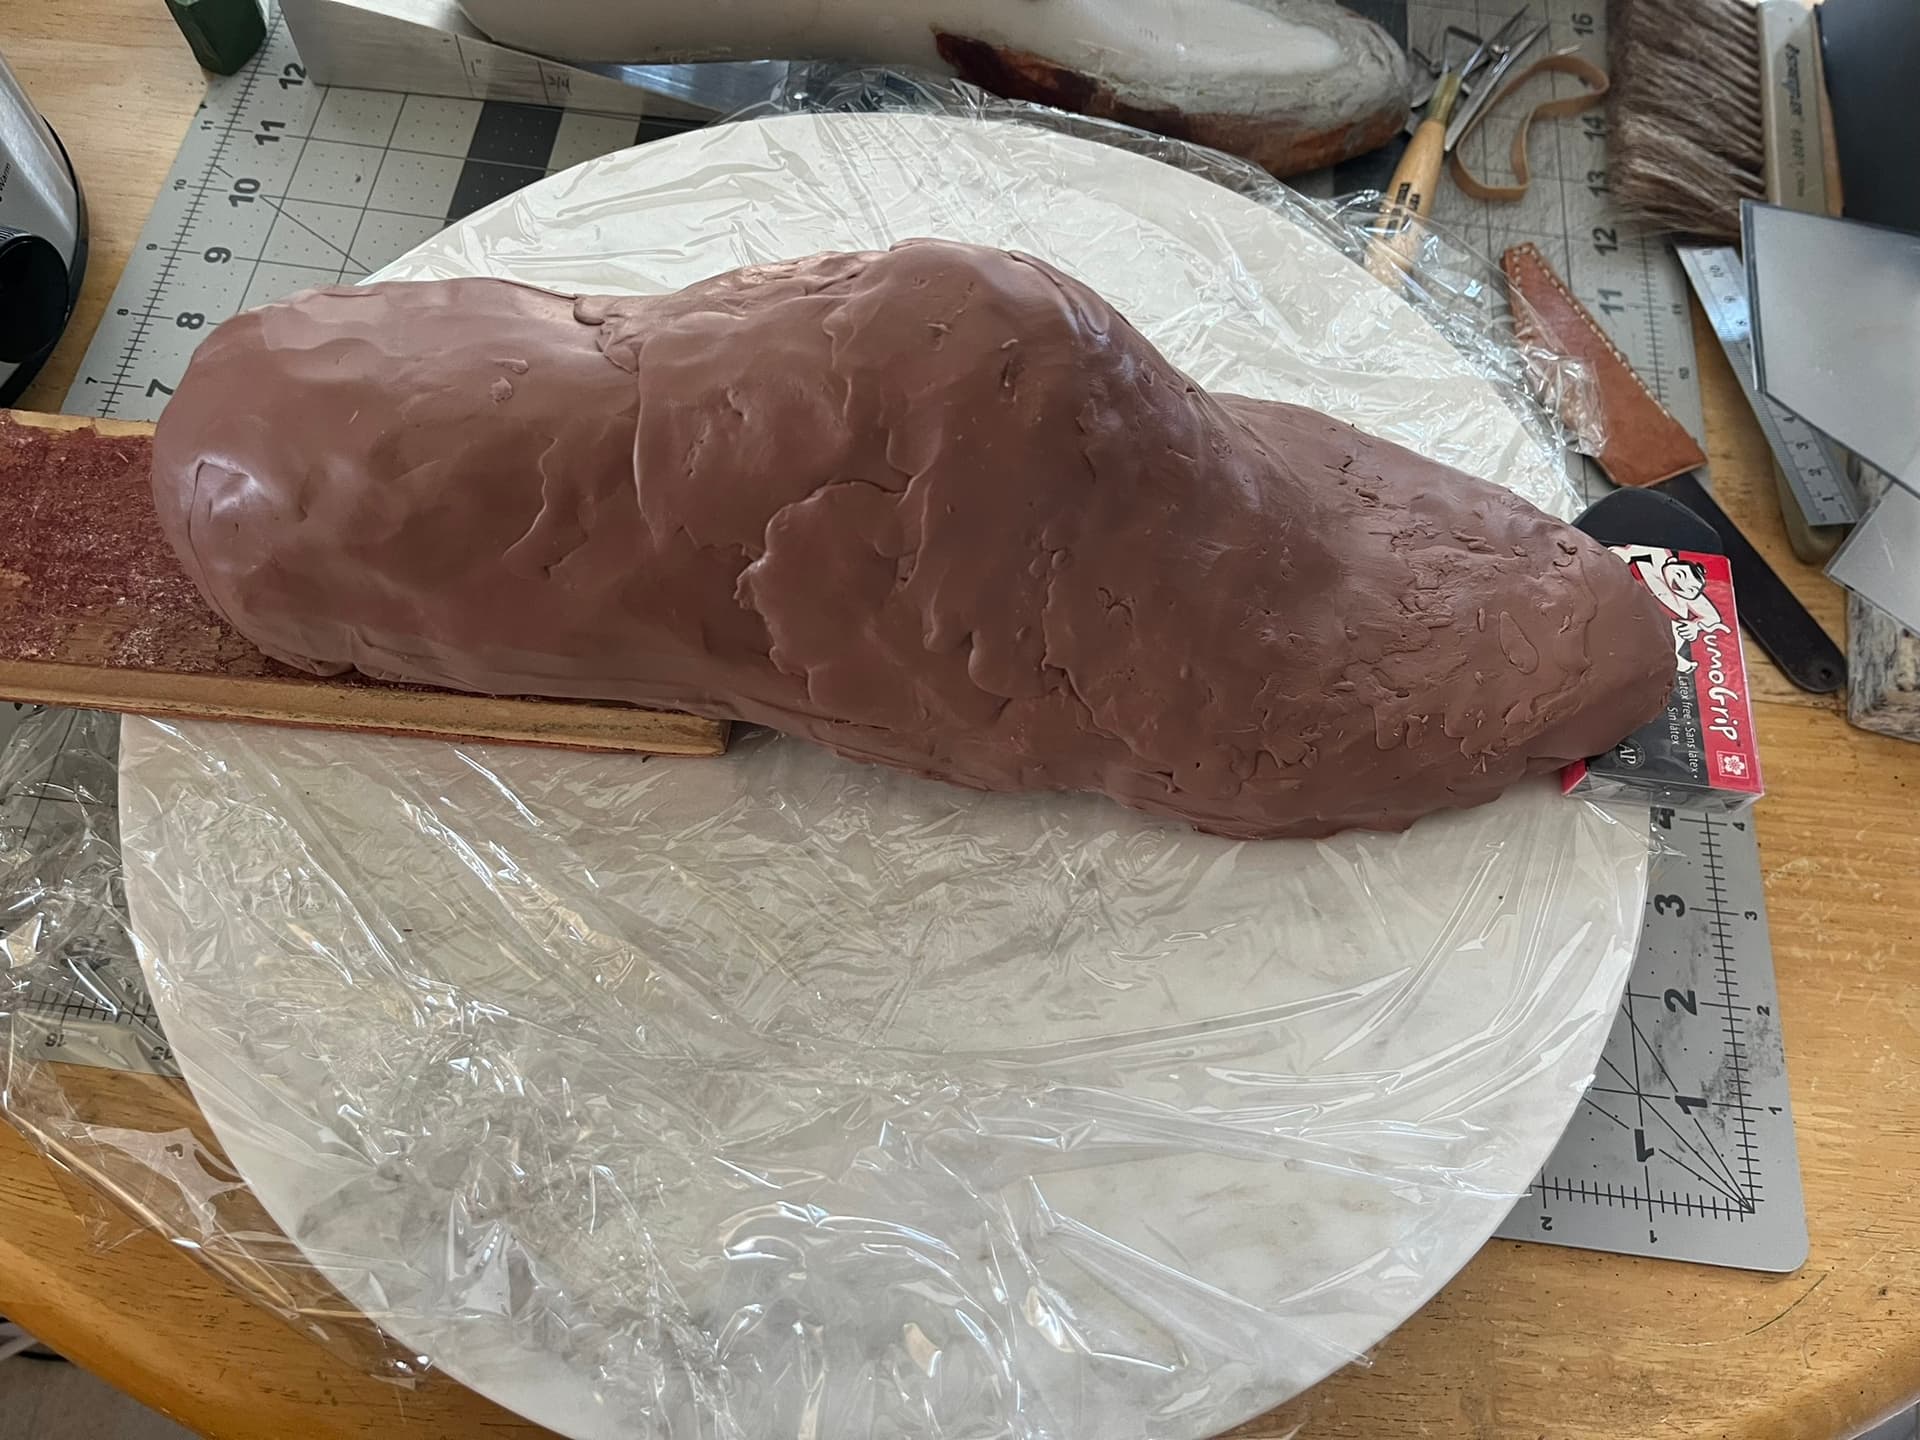
I put the hindpart under a block as a head start on the 3/4-inch heel pitch. The medium was warm enough that it slumped down immediately next to the block, rather than making a nice ramp, but it was easy enough to sculpt that curve once it cooled.
Here’s the copy beginning to take shape. I used a Kemper-brand KSP1 “ribbon” sculpting tool with one flat and one oval loop. This is a bit like a typical wire sculpting tool, but instead of wire it has narrow ribbons of steel with sharpened edges.
Mostly I did long strokes with the flat loop. But the curved loop did come in handy for some of the concave surfaces of the heel clip.
Good example of glomming on a blob there. I needed more height at the top fo the cone, so I just stuck on a bit more clay, let it cool, then cut it down.
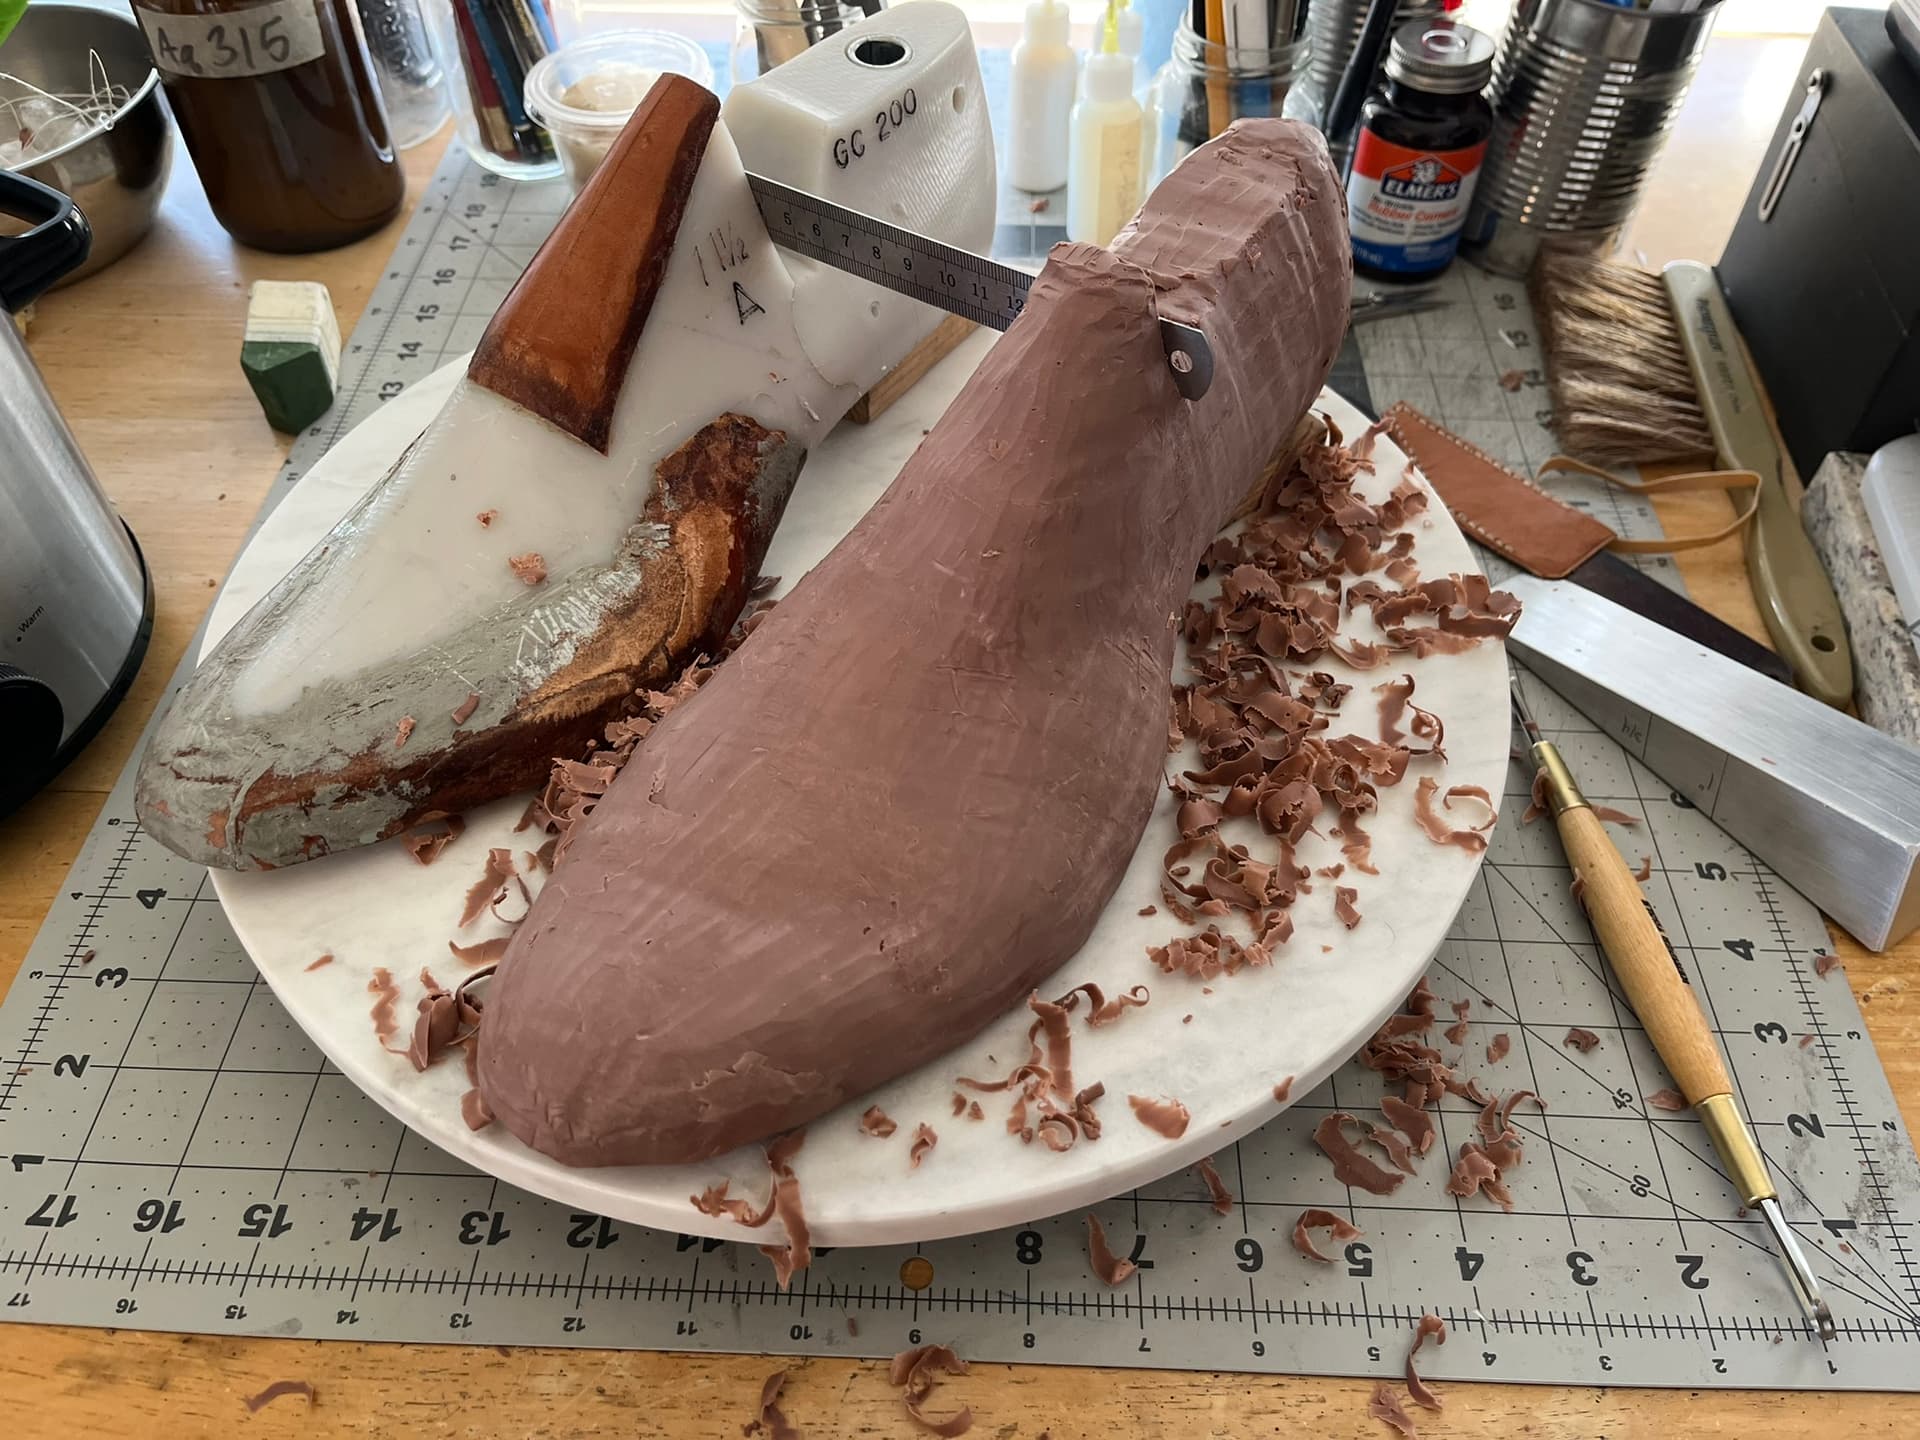
I found it helped to put both shapes up on blocks for their intended heel pitch, and also to fix them together behind the cone, where the shelf last has the v-cut for its alpha hinge. Since the heels and toes get a lot of shaping, it didn’t work well to try to keep them aligned by either end.
Turntable Helps
I finally succumbed to @customboot’s advice to get a cheap marble turntable / Lazy Susan for skiving. I actually haven’t tried it for skiving yet, but I found it very handy for turning the lasts around as I compared them. Unrelatedly, also for 3D scanning lasts with my cellphone.
More Armature, Less Clay
I found the 4.5-pound block more than enough for one long, skinny last. The one I’m copying is about 12 inches long, but narrow.
The clay could go even further if I’d used some kind of armature rather than sculpting in solid clay. I’m thinking a nice set of random balls—golf balls, ping-pong balls, big and small marbles—would do great for marking and filling out heels, first MP joints, and fifth MPJ joints. Short plywood blocks could fill out from the heel to the cone, provide rigidity, and give some straight reference lines.
One More Tool
I will probably look into getting an even broader sculpting tool, for taking off more at once. Kemper seem to make some for pottery.