In your reading tour of cowboy boot making manuals, do you see many recommending that you make a last form, such as by taping over a last, in order to get piece pattern shapes for vamps and counters? If so, do those manuals typically have you cut the last form down the main axis, the center line running down the last from heel to toe? Or do they have you take the shape of the vamp off the whole front of the last, without splitting it down the middle?
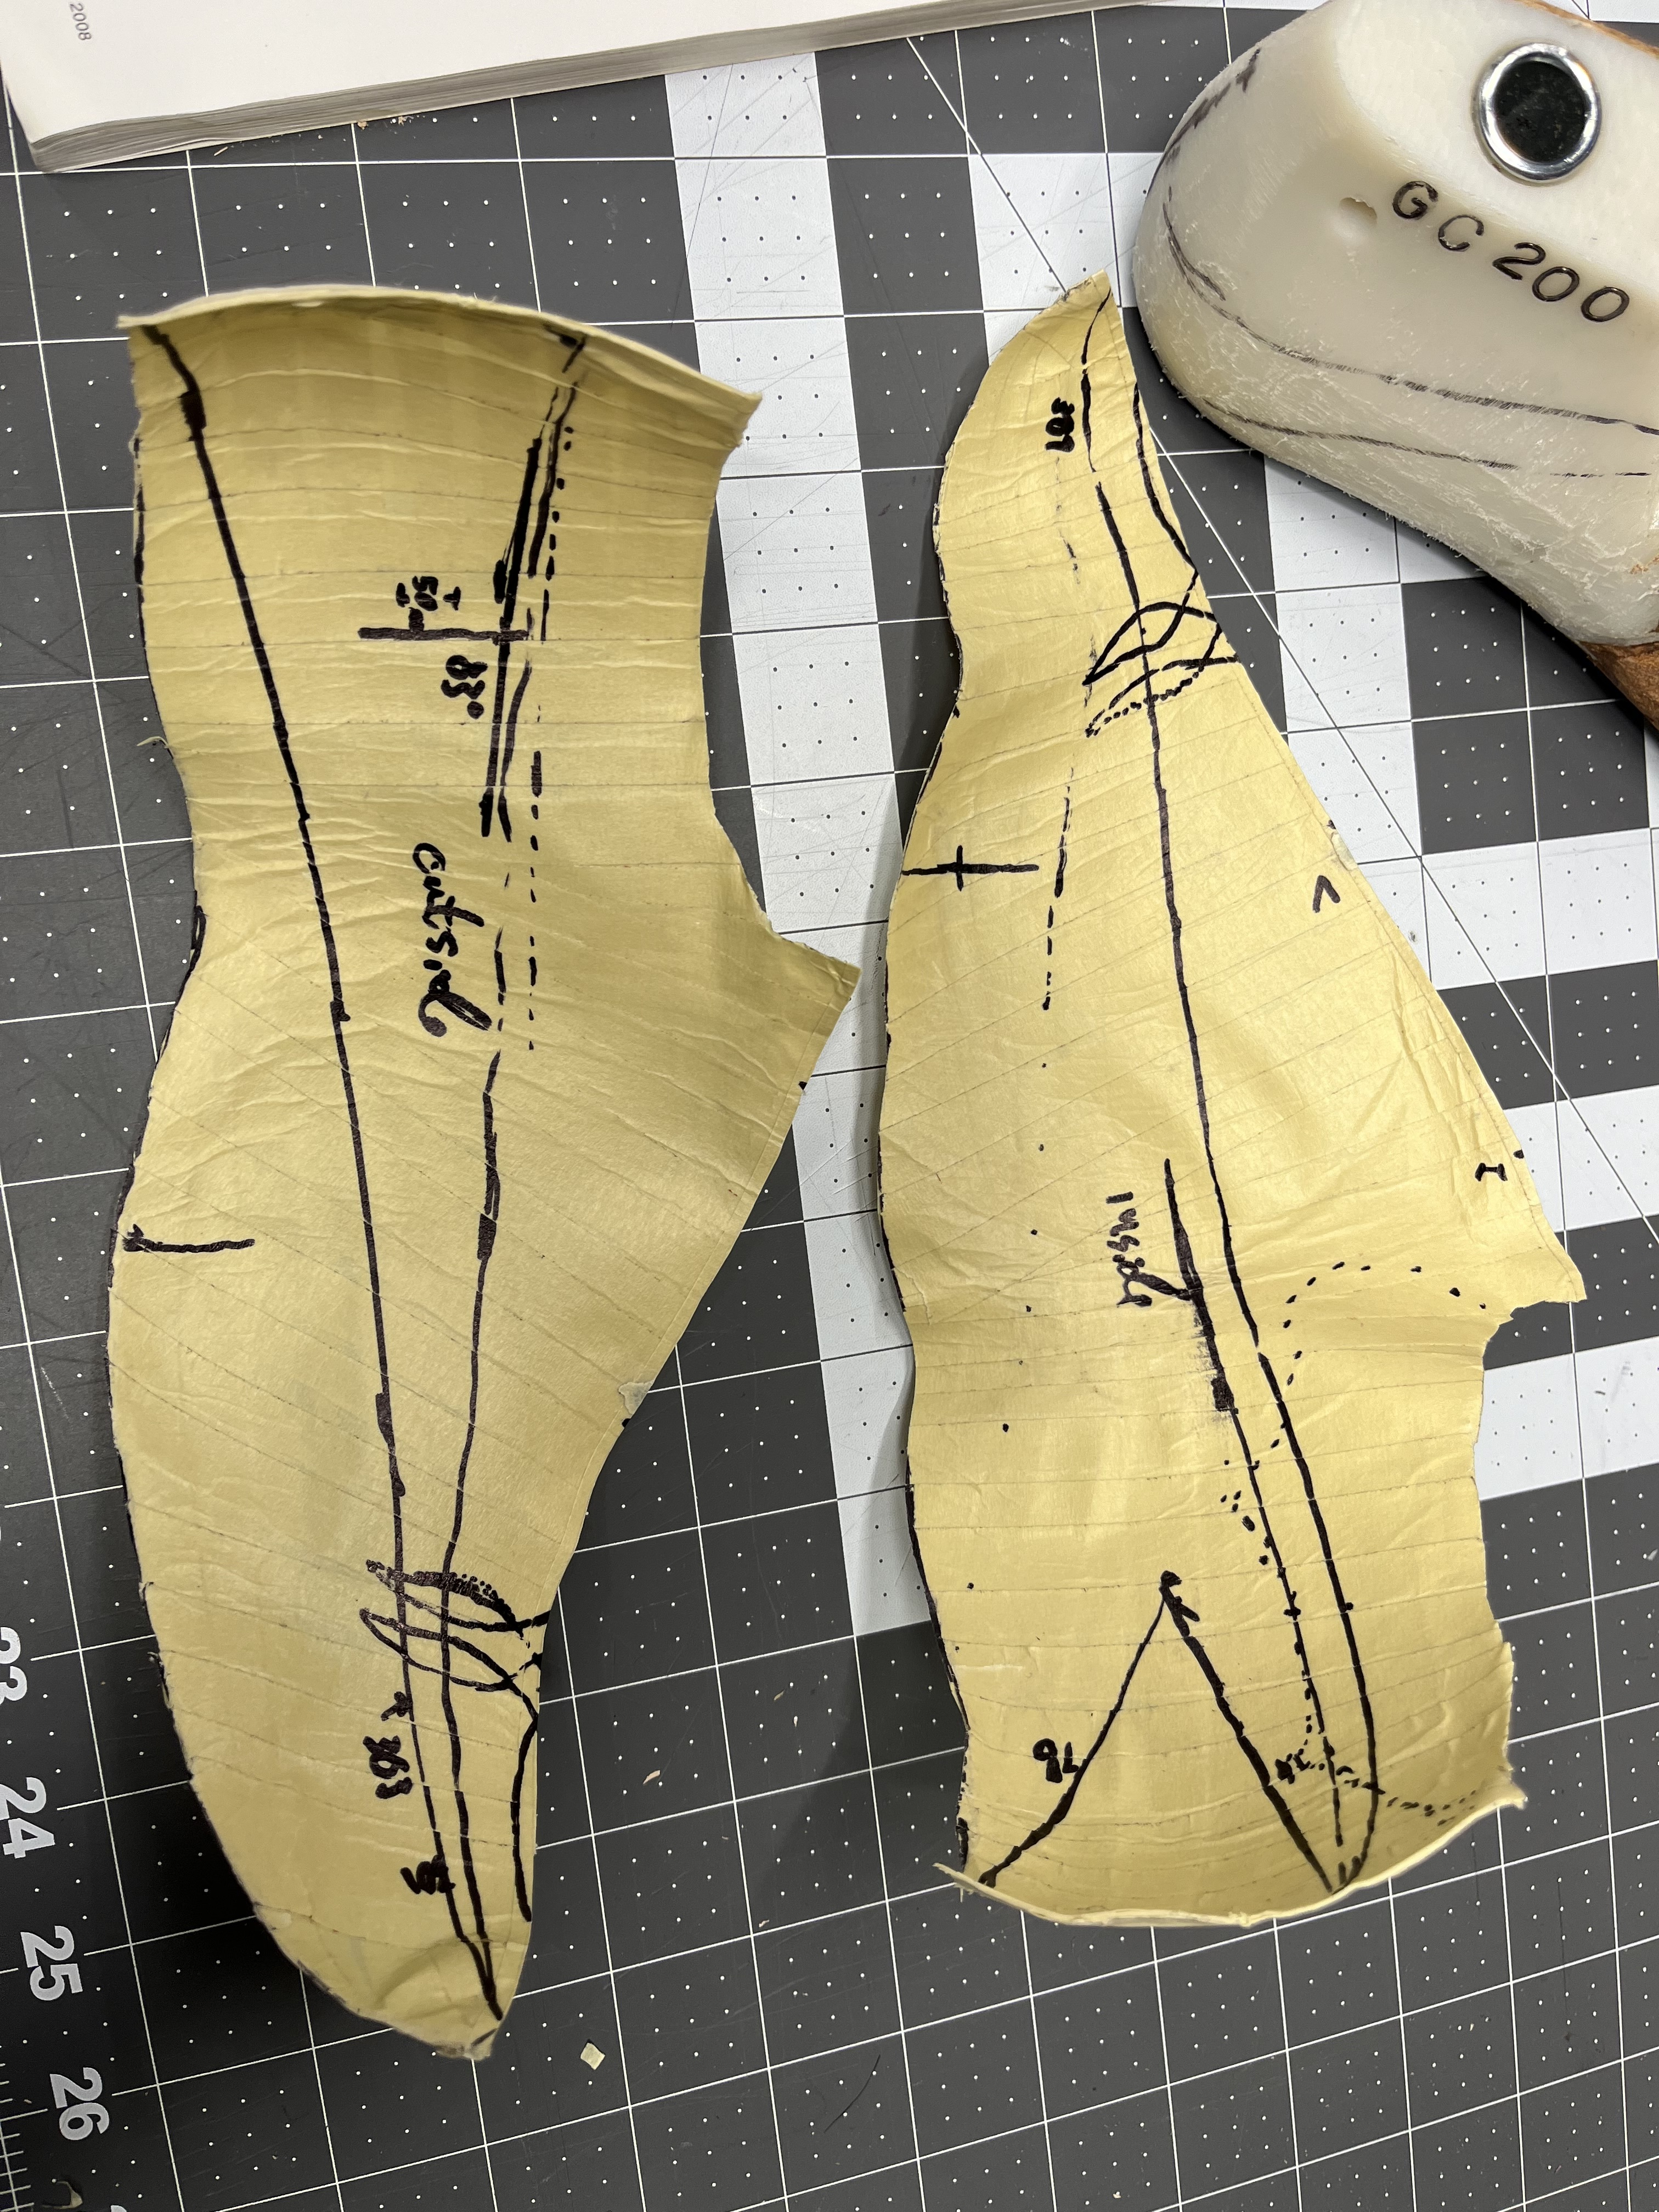
You may have run into that with the lace-up pair you did recently. The usual method taught for shoes seems to be to tape both sides of the last, then split down the main axis. You then flatten out both halves of the tape onto paper, lay one side over the other, align key points, and create an average shape, or “mean form” to use for patterning.
This creates an extra patterning step: since the pattern pieces for the right and left sides of the vamp have concave curves to them, where the instep slopes down, there aren’t two straight lines to join into one piece to cut out. You have to decide how to overlap those pieces, and then whether and how to “spring” the pattern to avoid cutting out a bunch of extra leather for lasting allowance you’ll never need.
I find myself wondering why I don’t just cut the tape off the front of the last, for the vamp, all as one piece, and flatten it out. That would take a lot of flattening, but thinking about how to add lasting allowance during that process might be more intuitive and fool-proof that the odd geometric methods involved in springing.
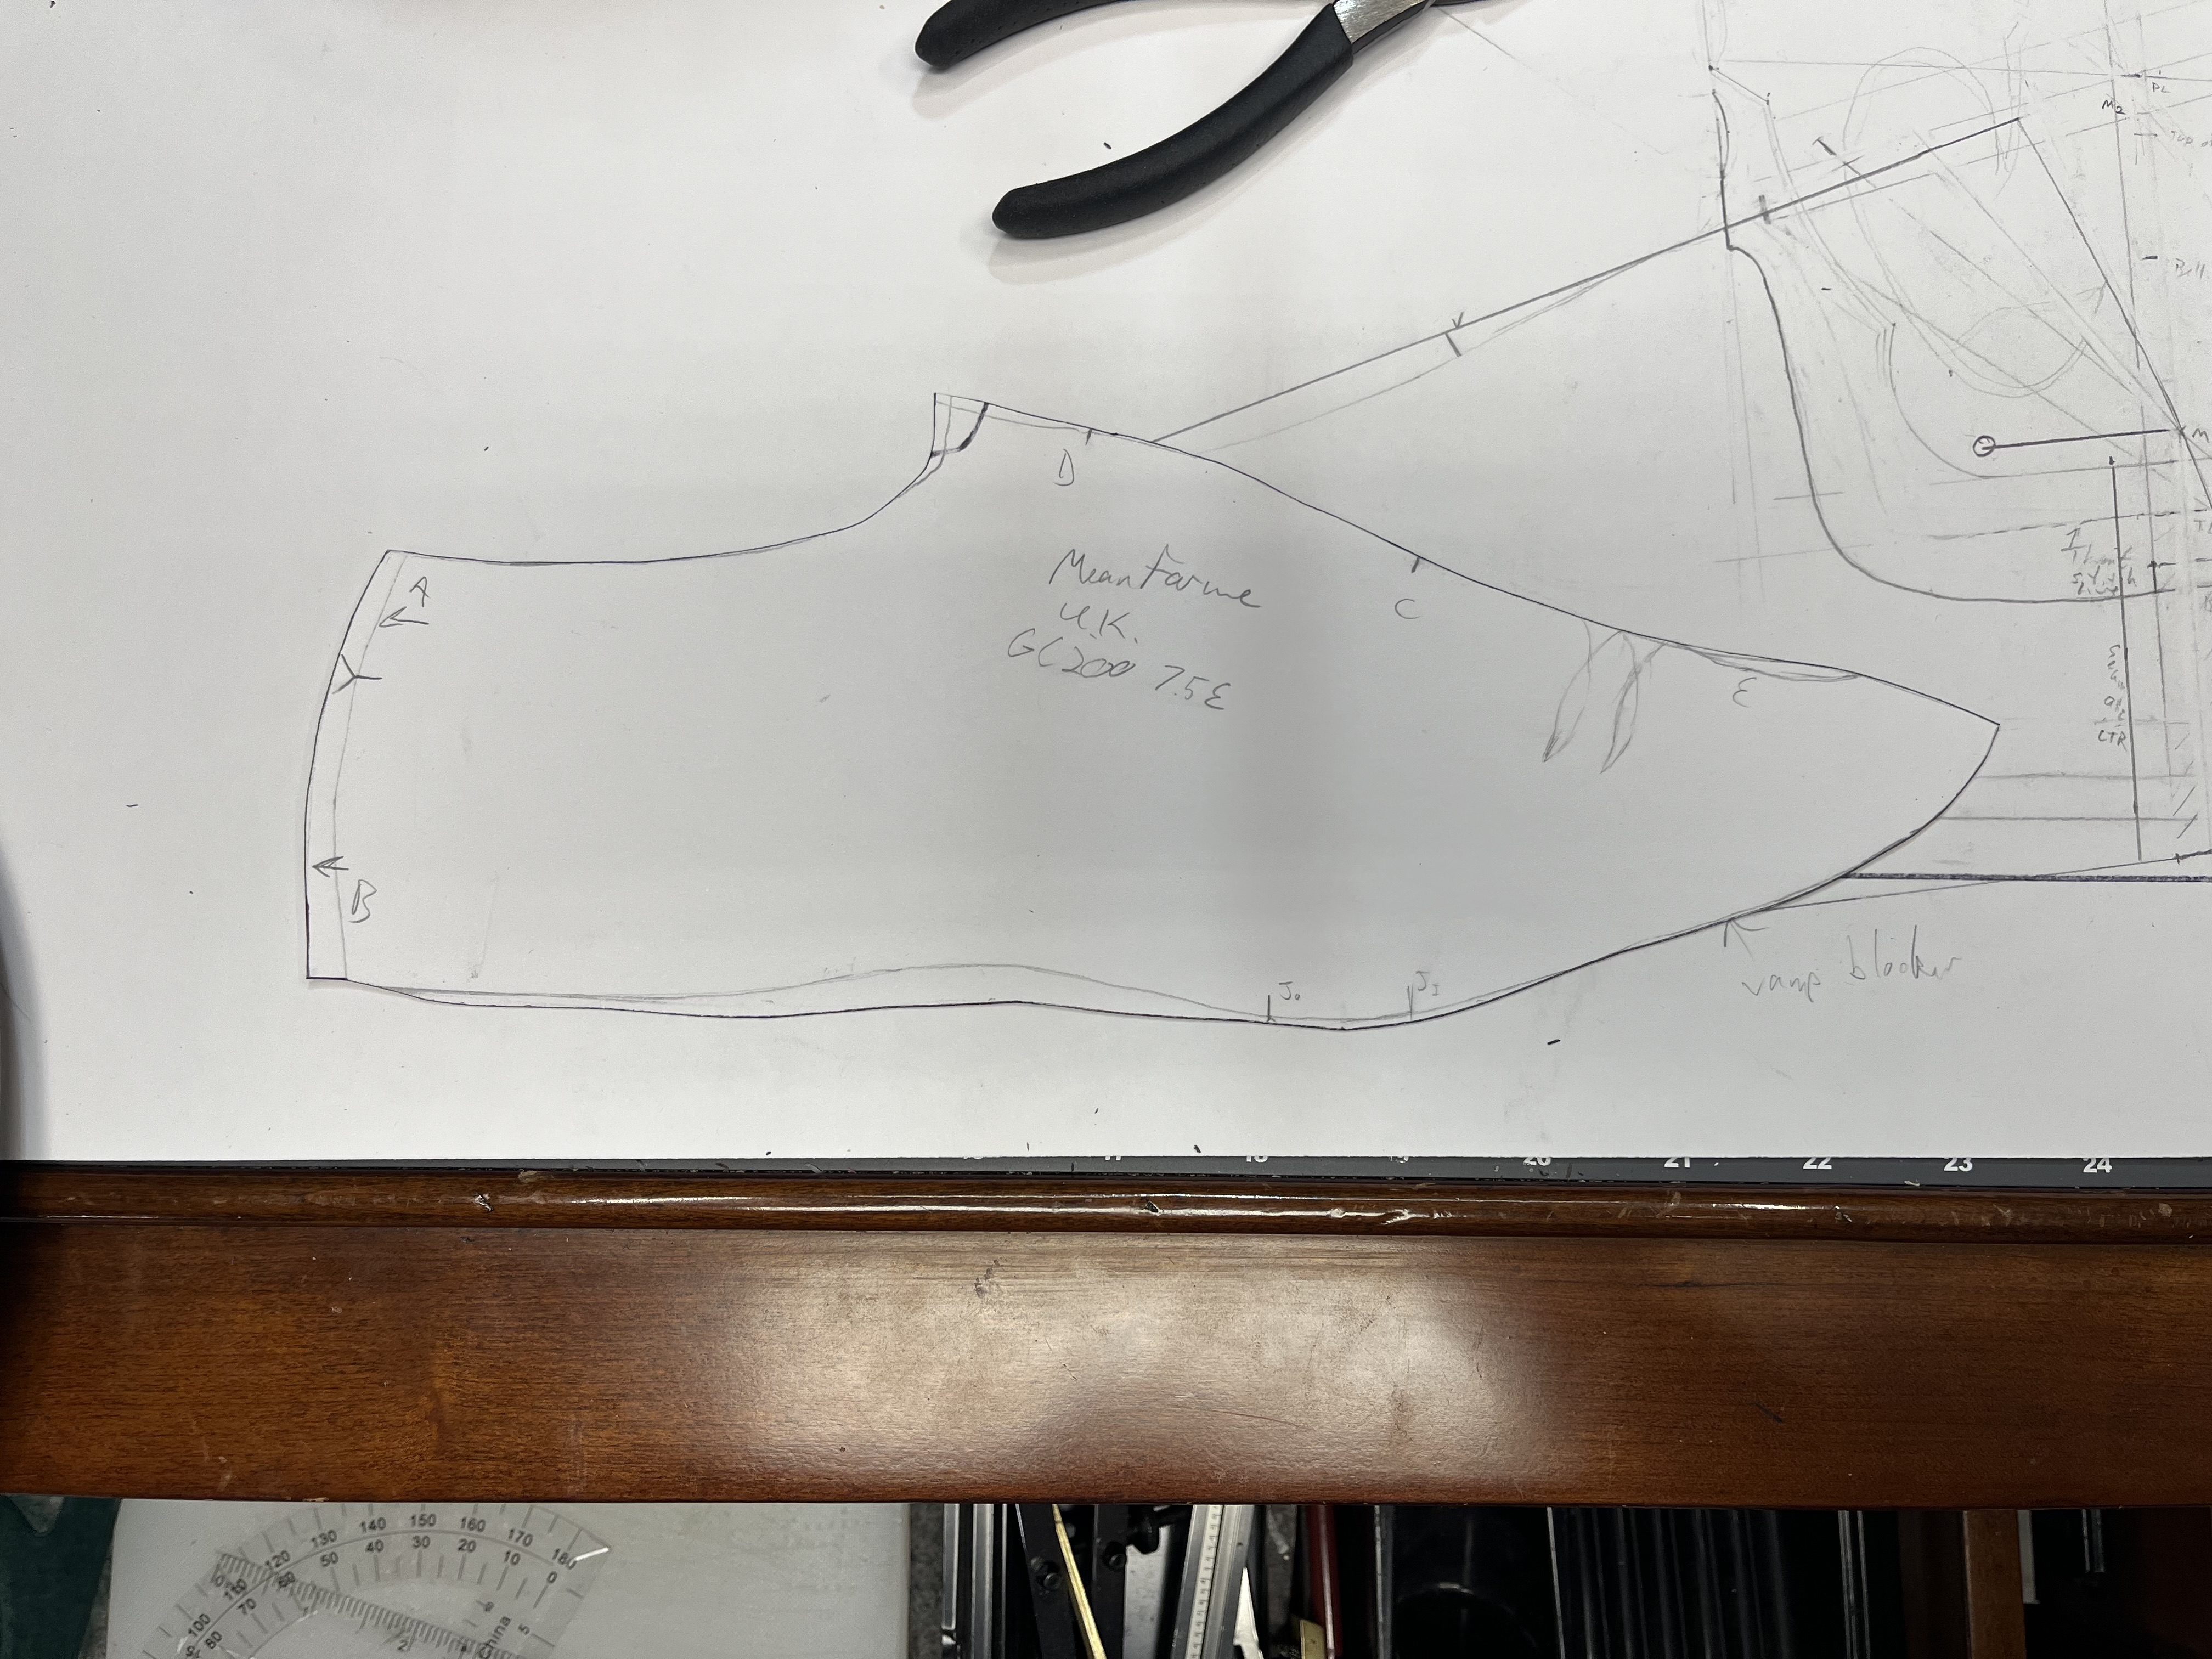
None of the cowboy boot books address patterning of the vamps and counters. Even Frommer was hand wavy about it (he used “classical patterning methods” to derive his counter pattern). Im writing up my thoughts on patterning cbb’s as i go through this one, ill put them here. But basically because 3/4 of the counter cover and all of the vamp blockers edges are allowances, you can use the patterning of the top as a template to trim the other pieces to size.
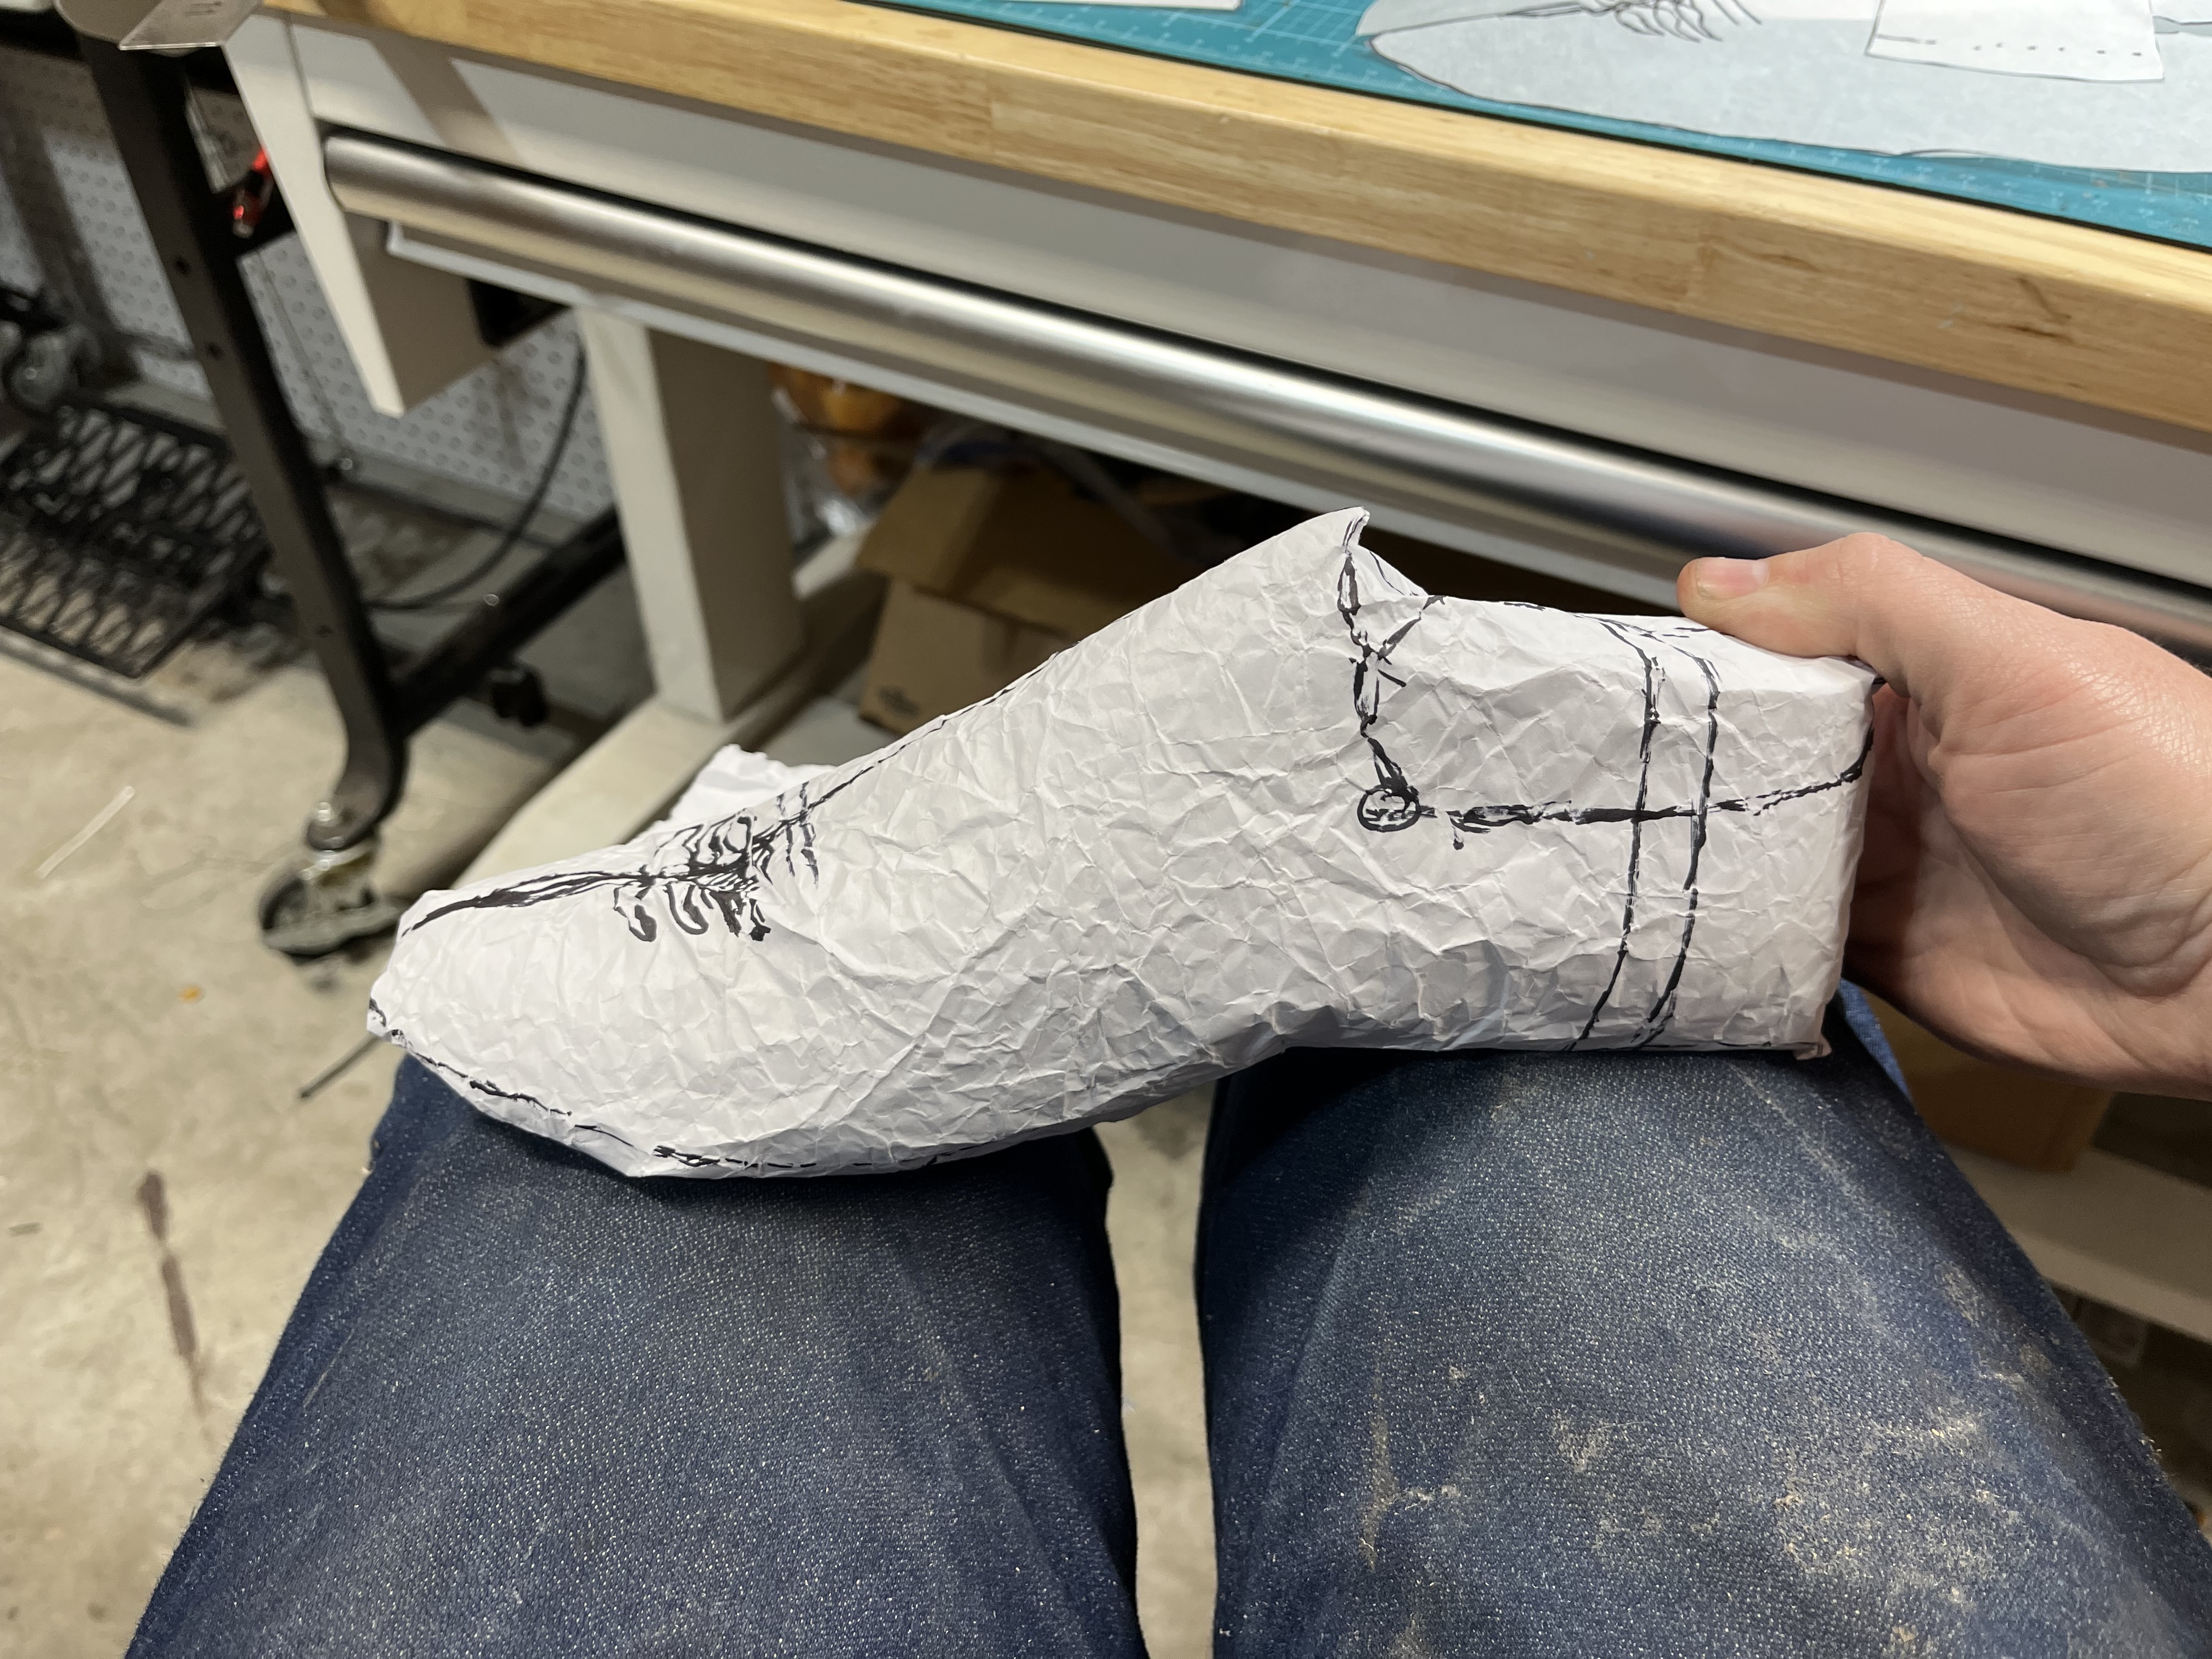
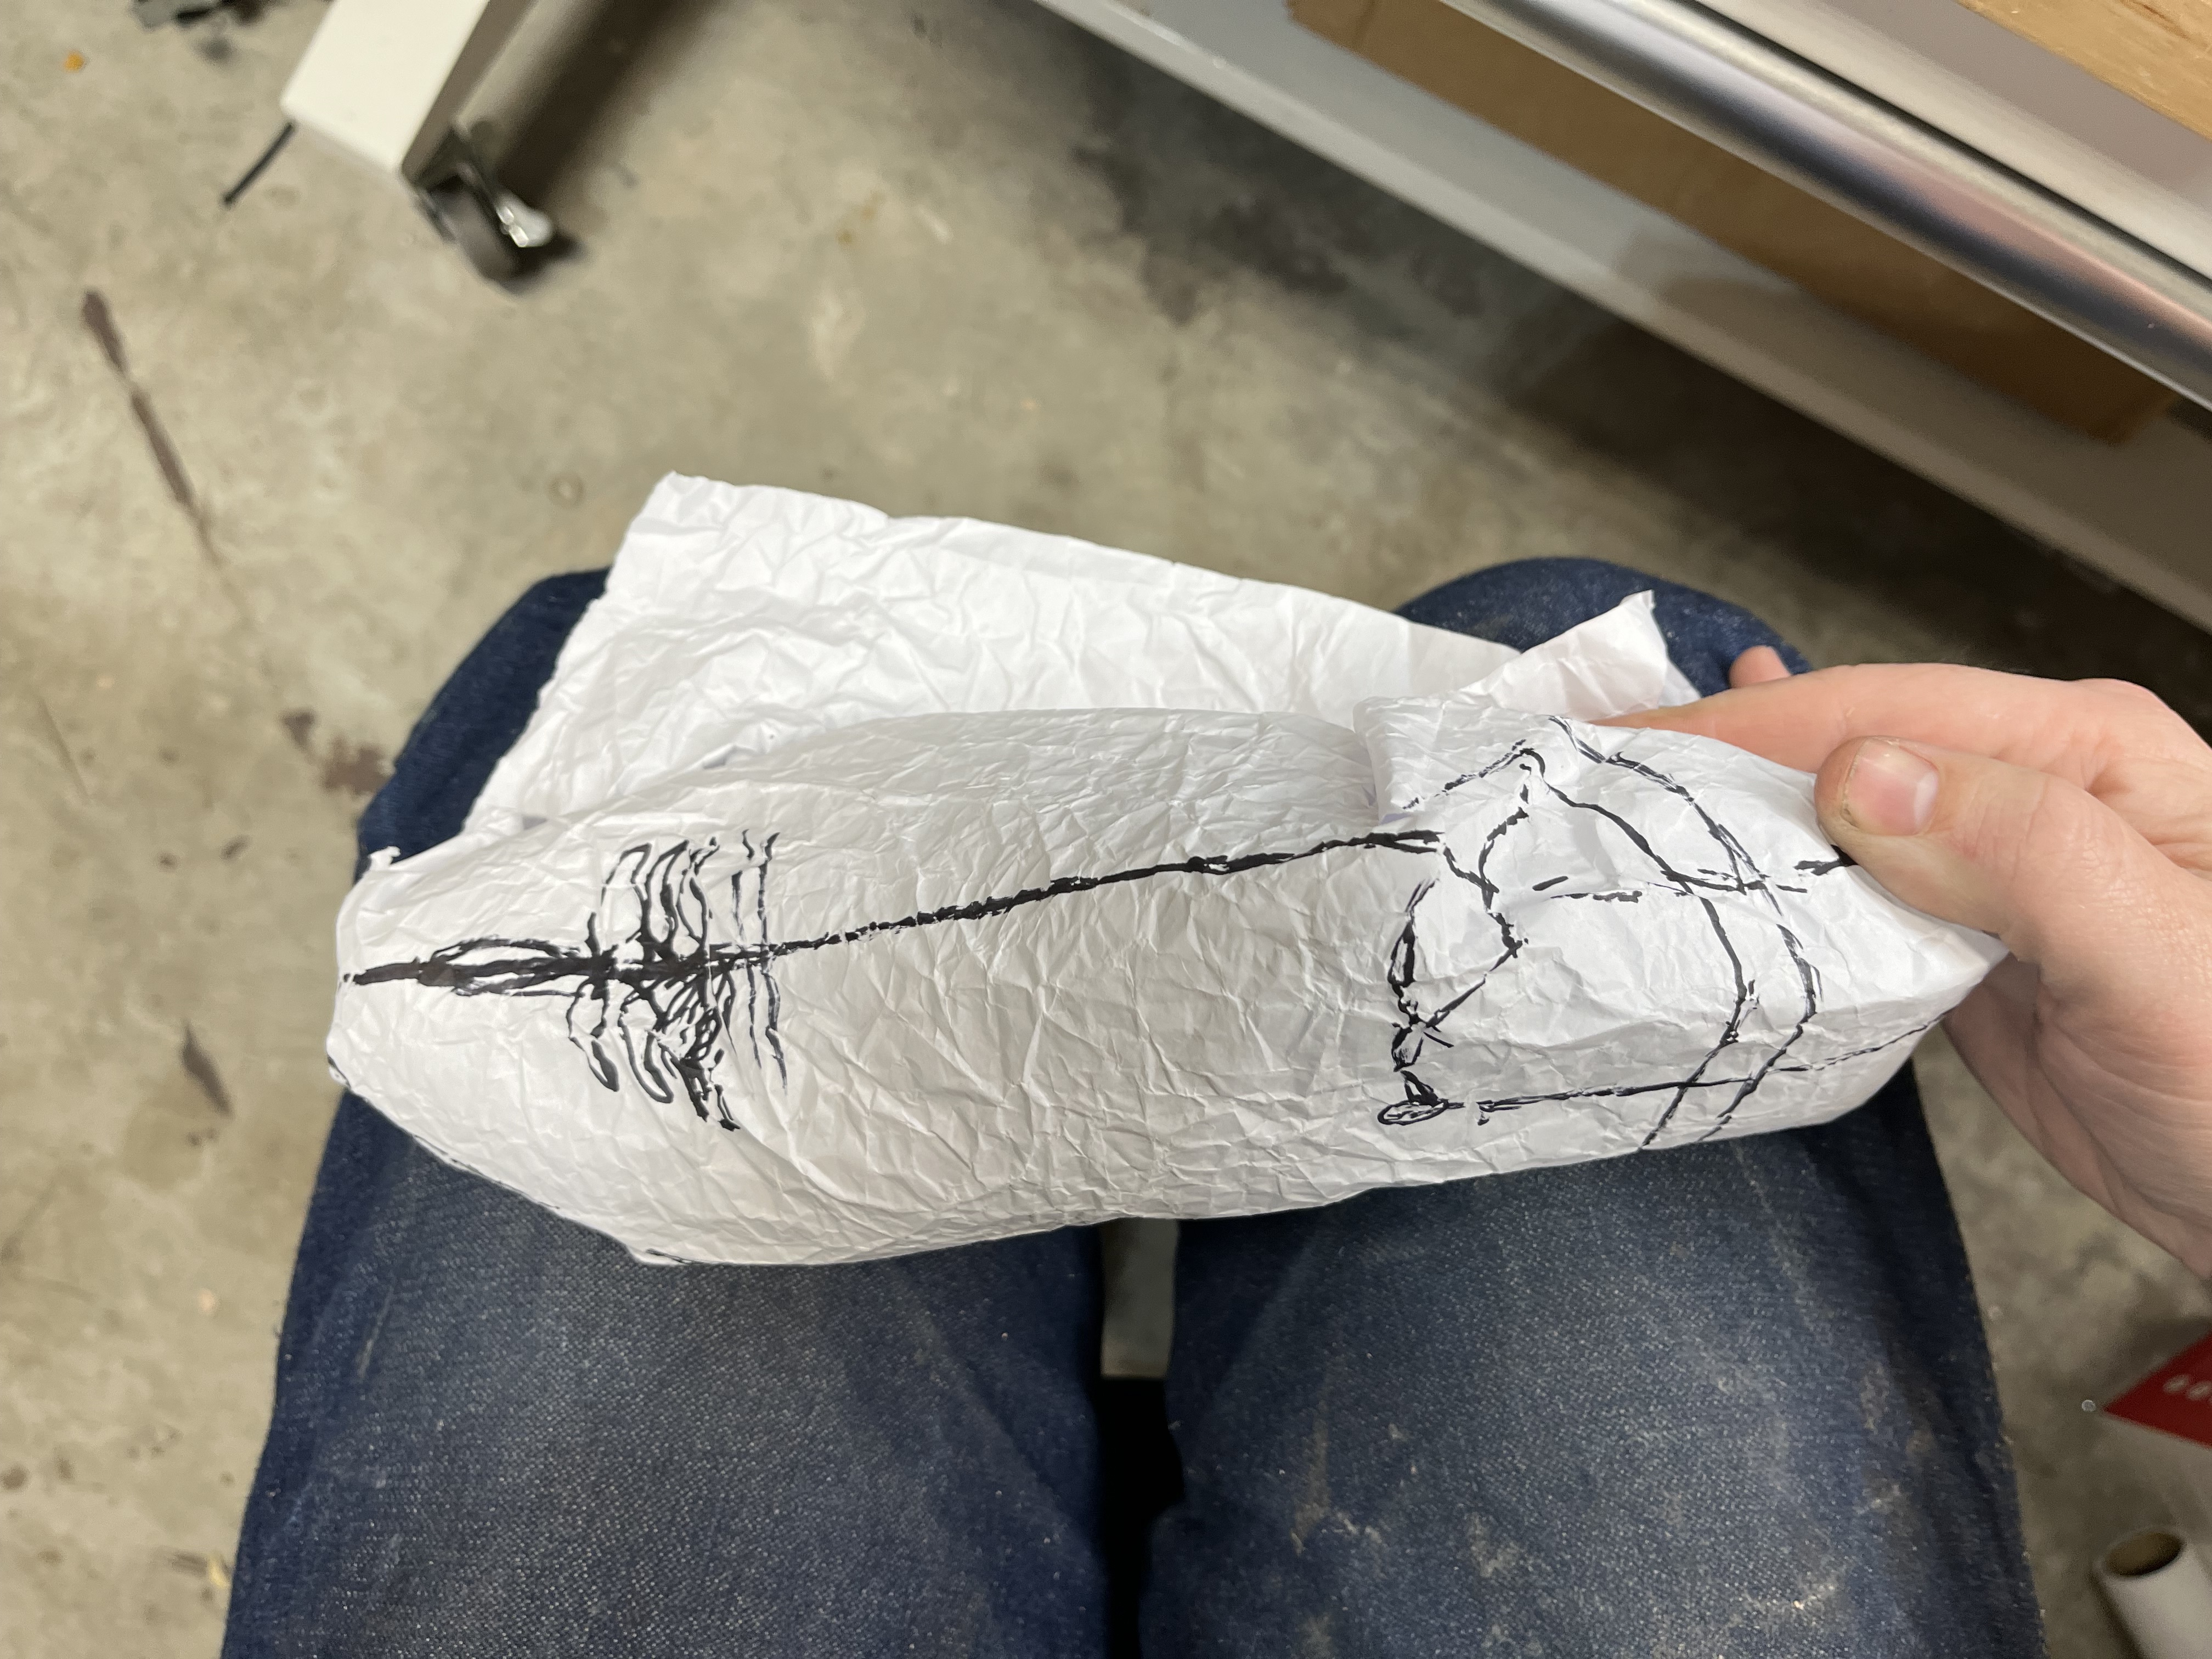
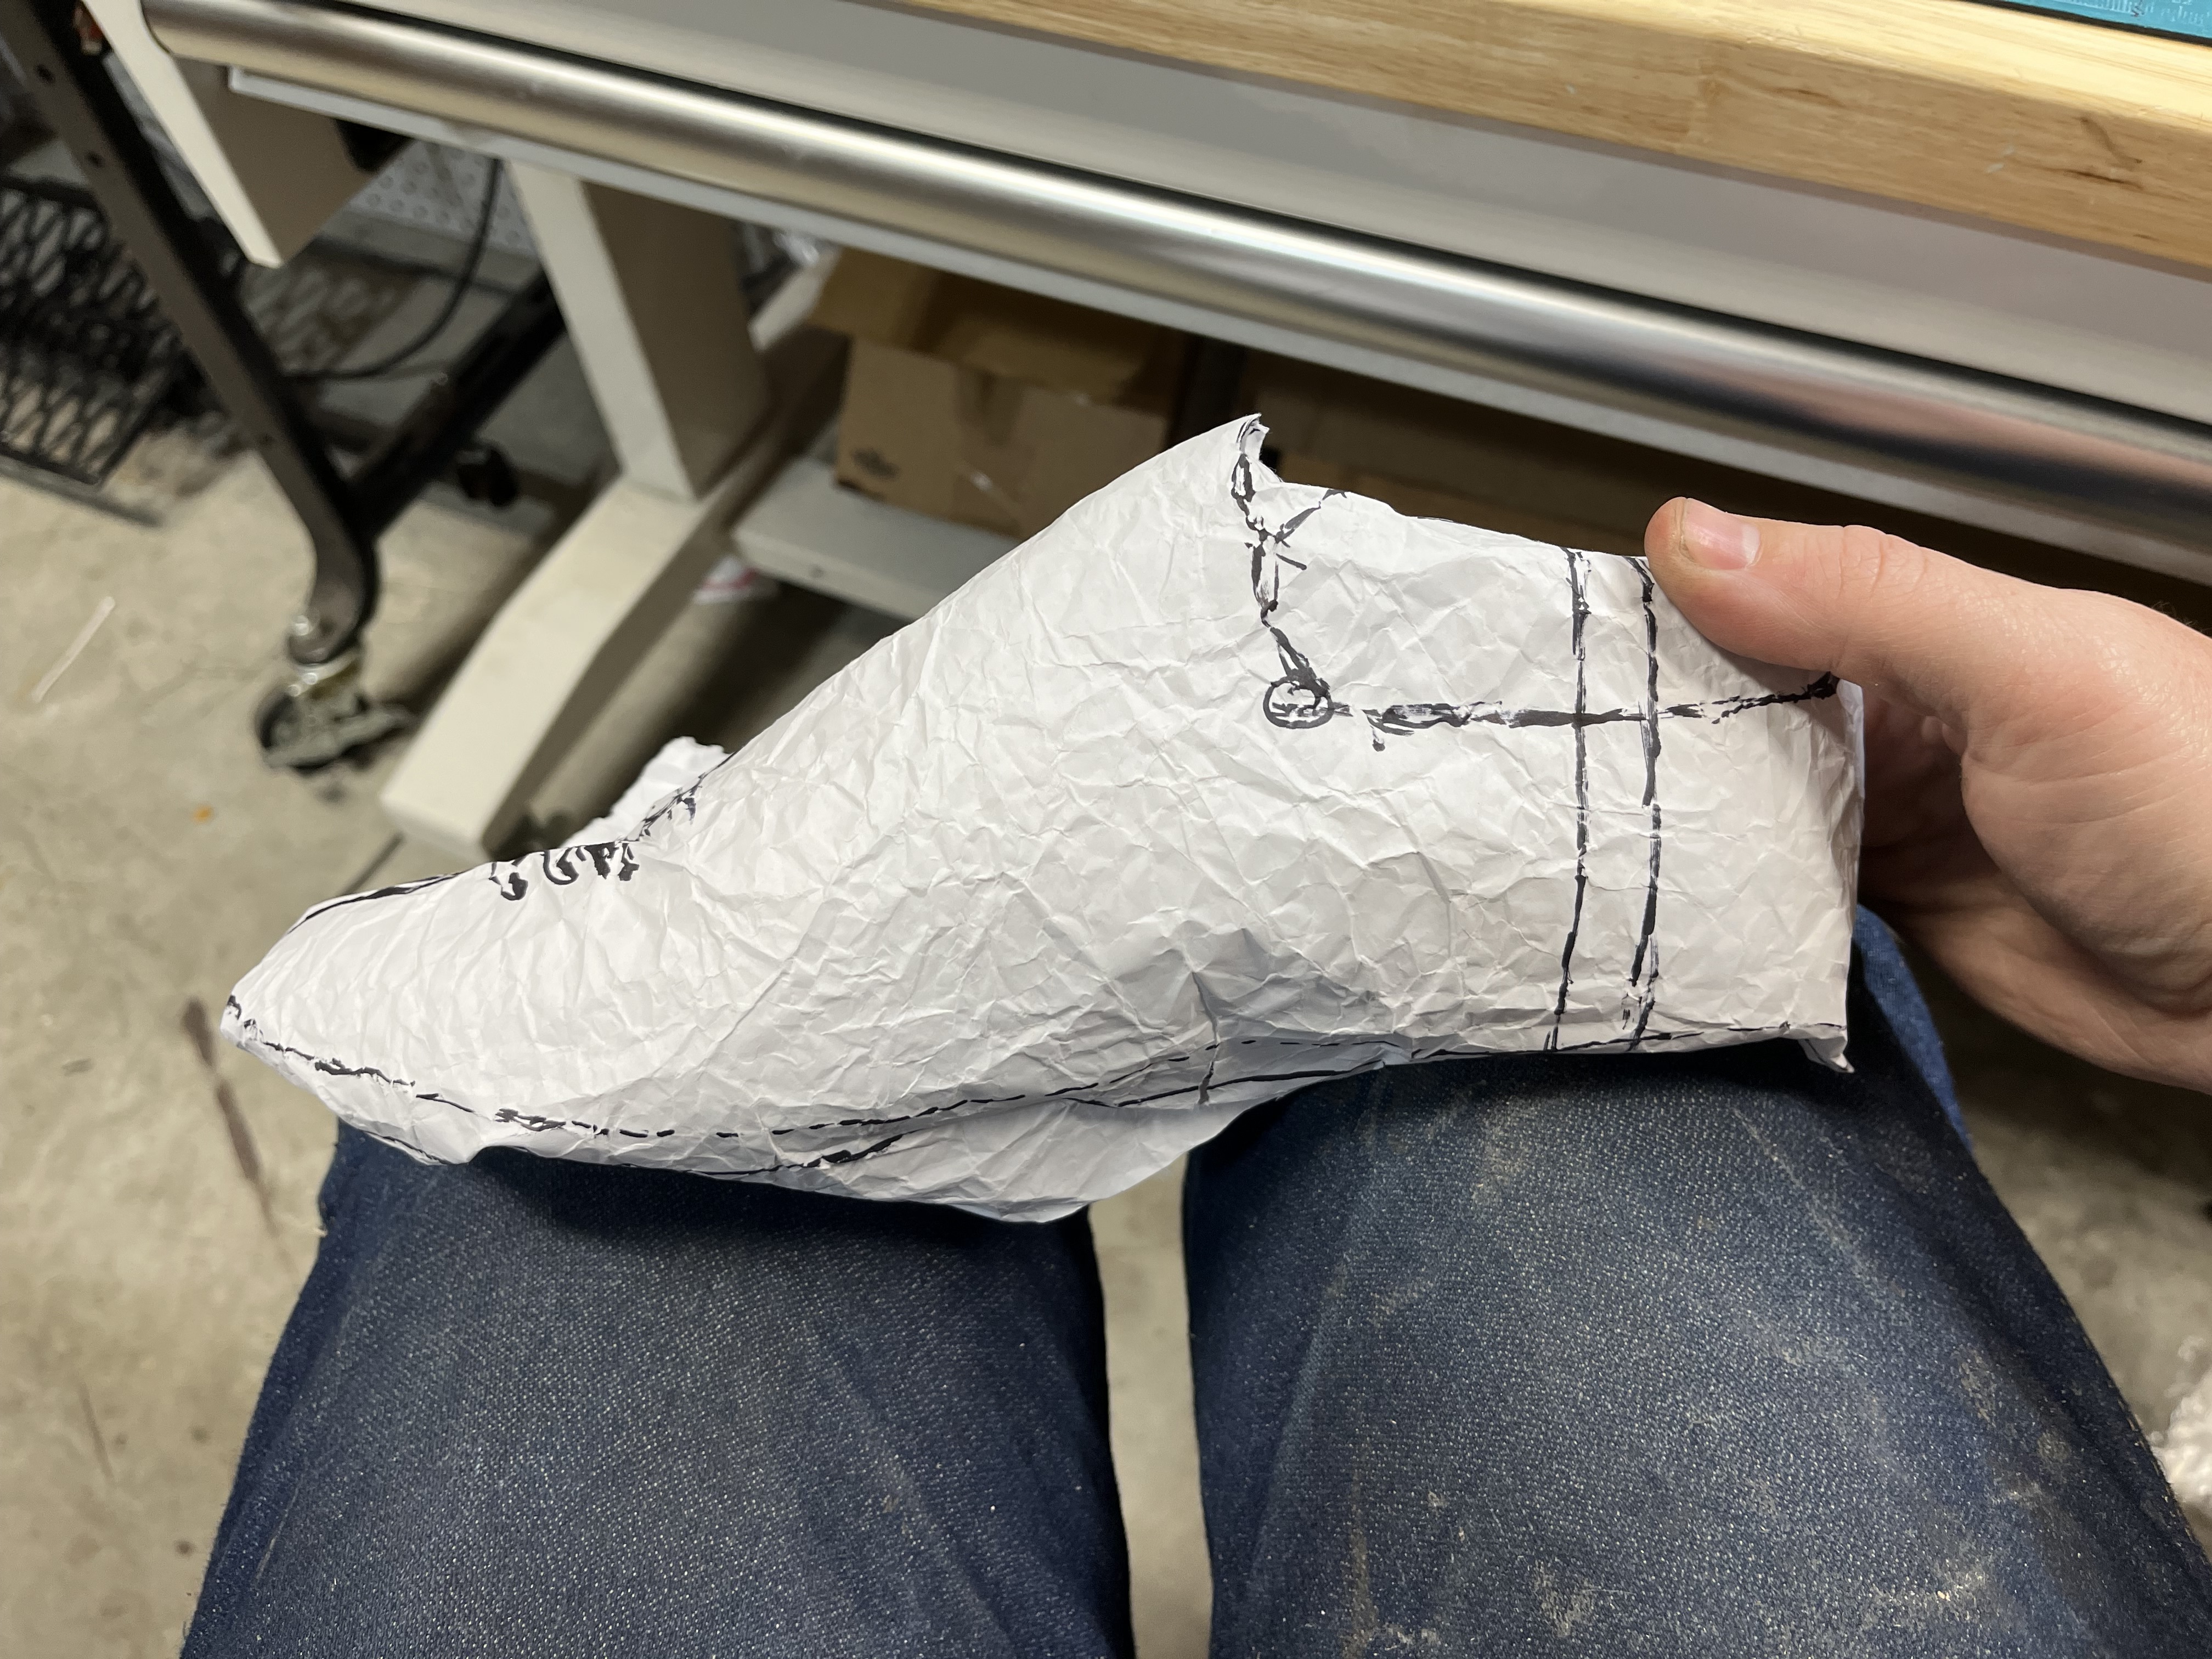
In the meantime one of my first drafts was to use the crumpled paper method which was much easier for copying a bilateral form than trying to expand rigid tape with lots of cuts. Im pretty sure you’d end up needing relief cuts down the nose of the vamp that would end up mimicking the expansion had by drawing that straight line to flip the 1/2 vamp pattern over anyway.
First of all, I really appreciate your braoder thoughts on how patterning gets taught in cowboy boot world. I clearly guessed very wrong that it would be similar to what I’ve seen from other directions.
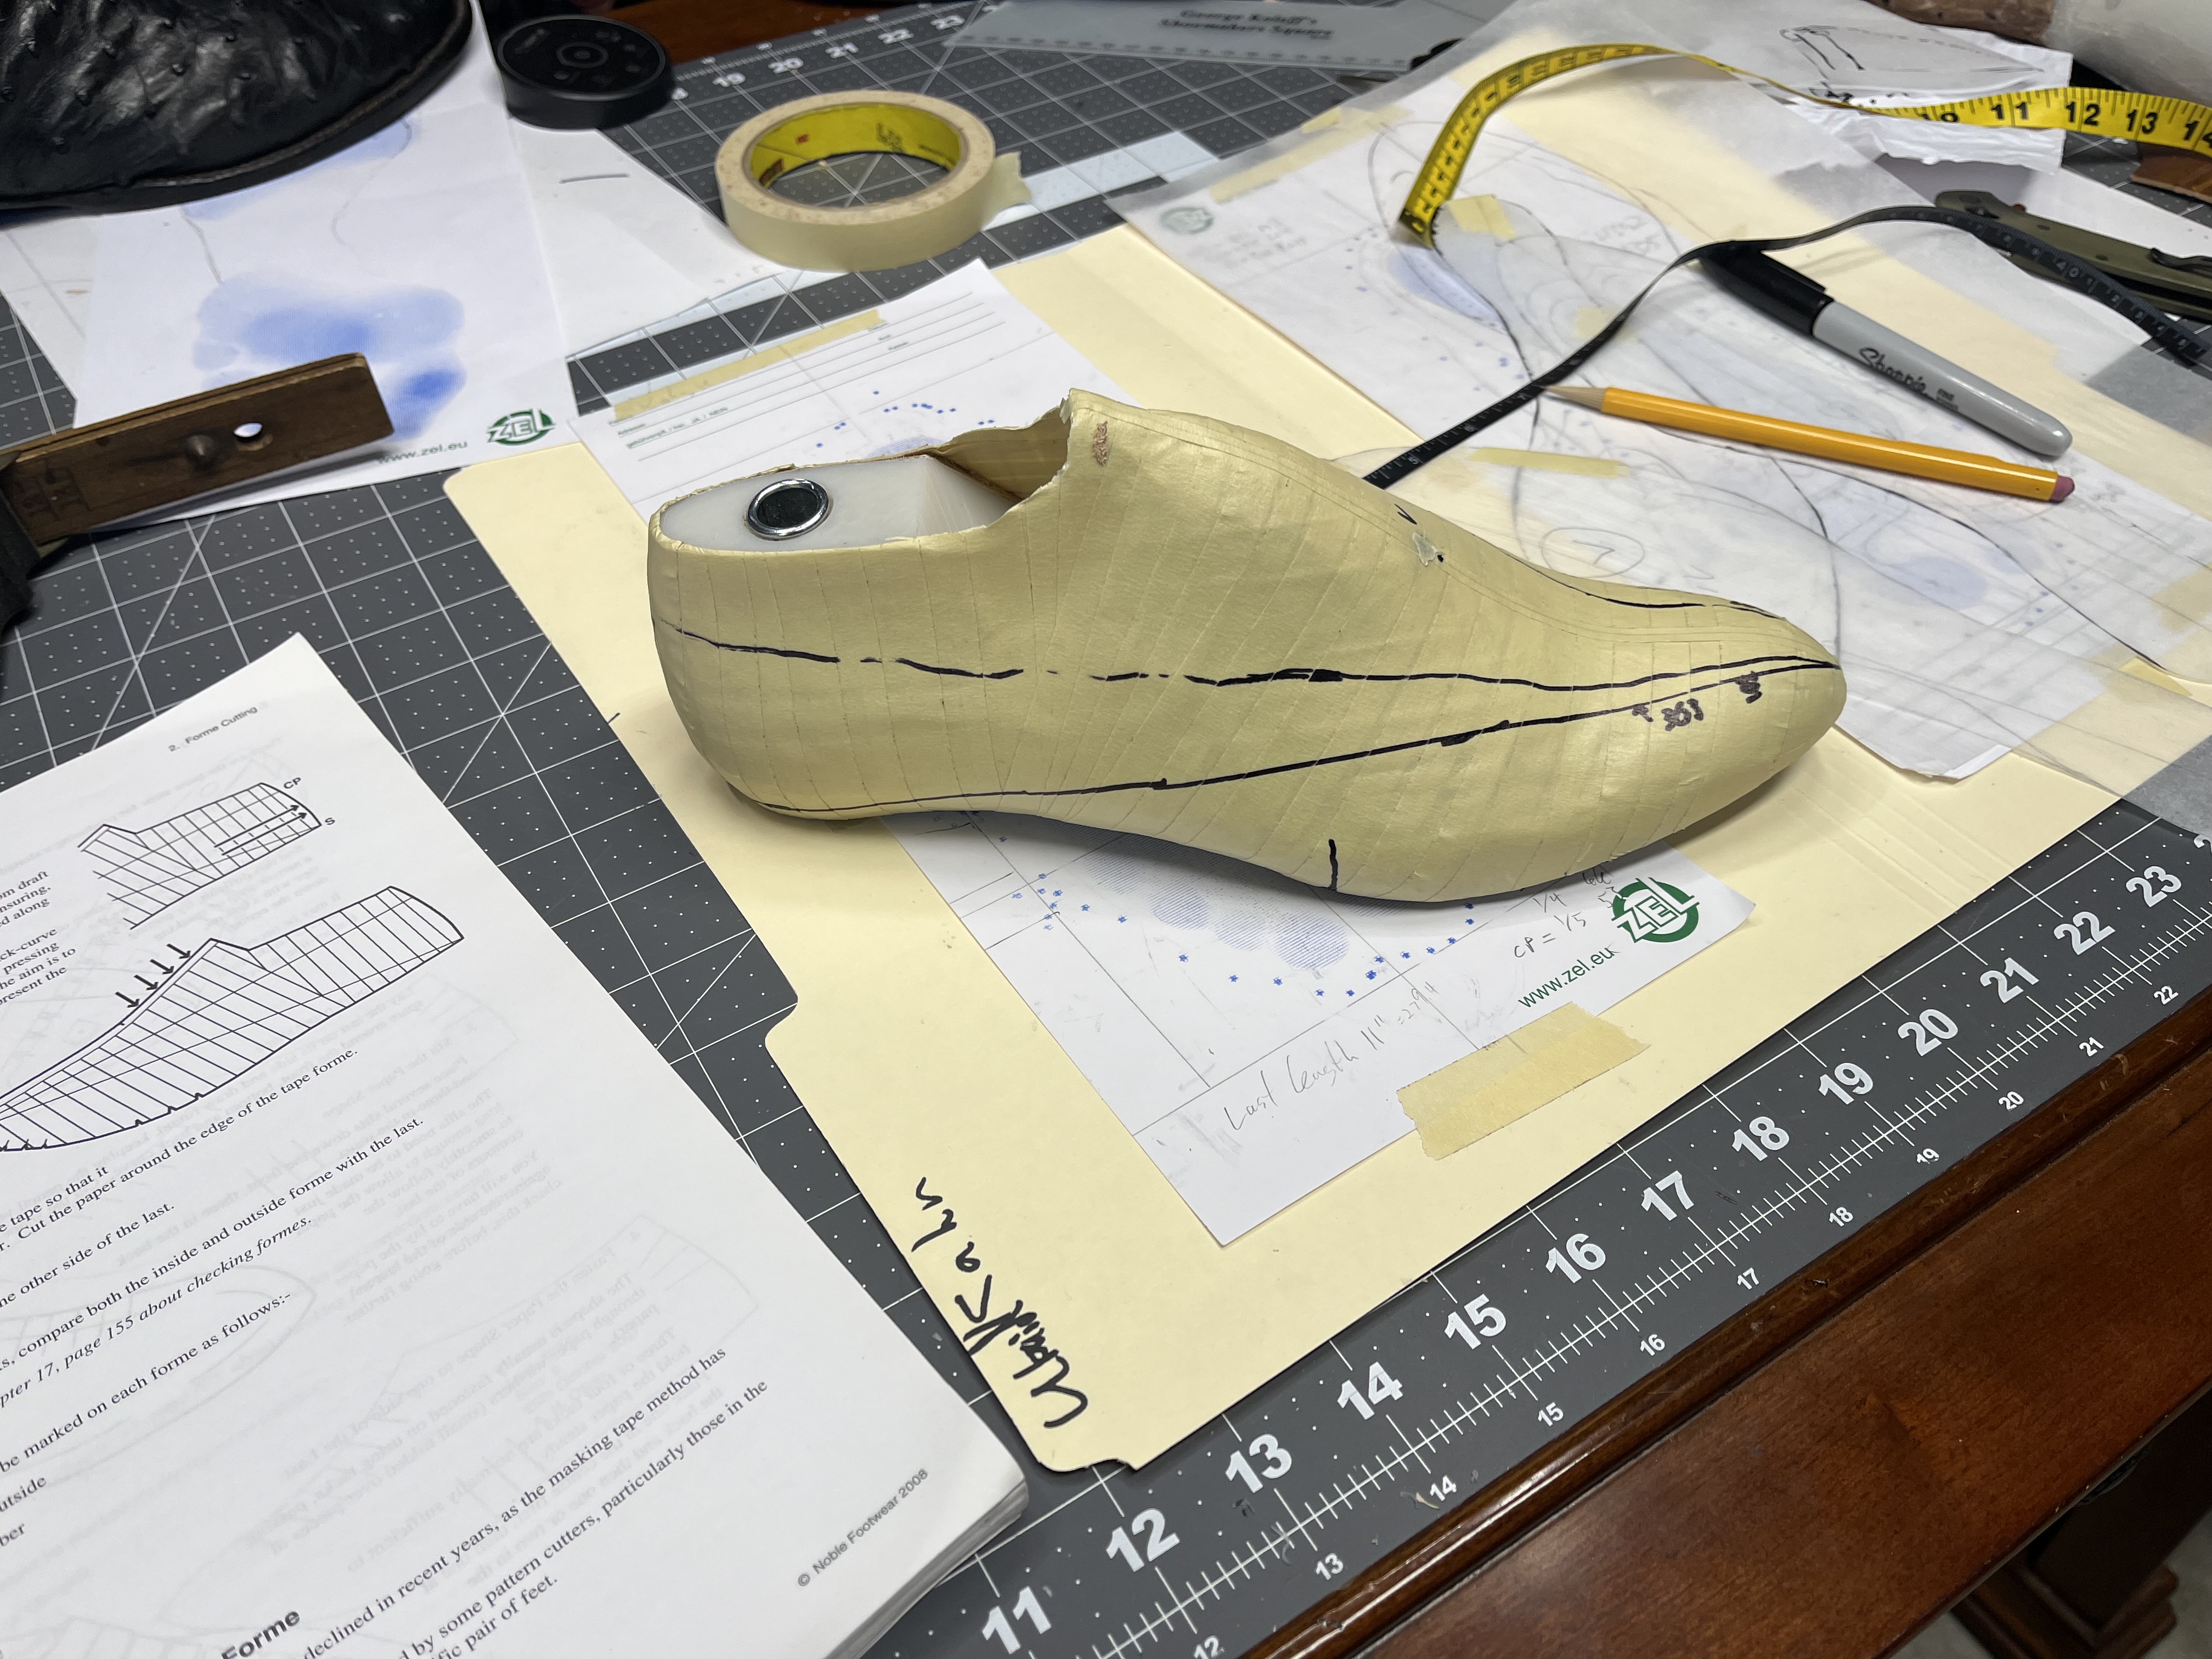
Making Last Forms
Thanks also for mentioning the crumpled paper method. I’d never seen or heard of that!
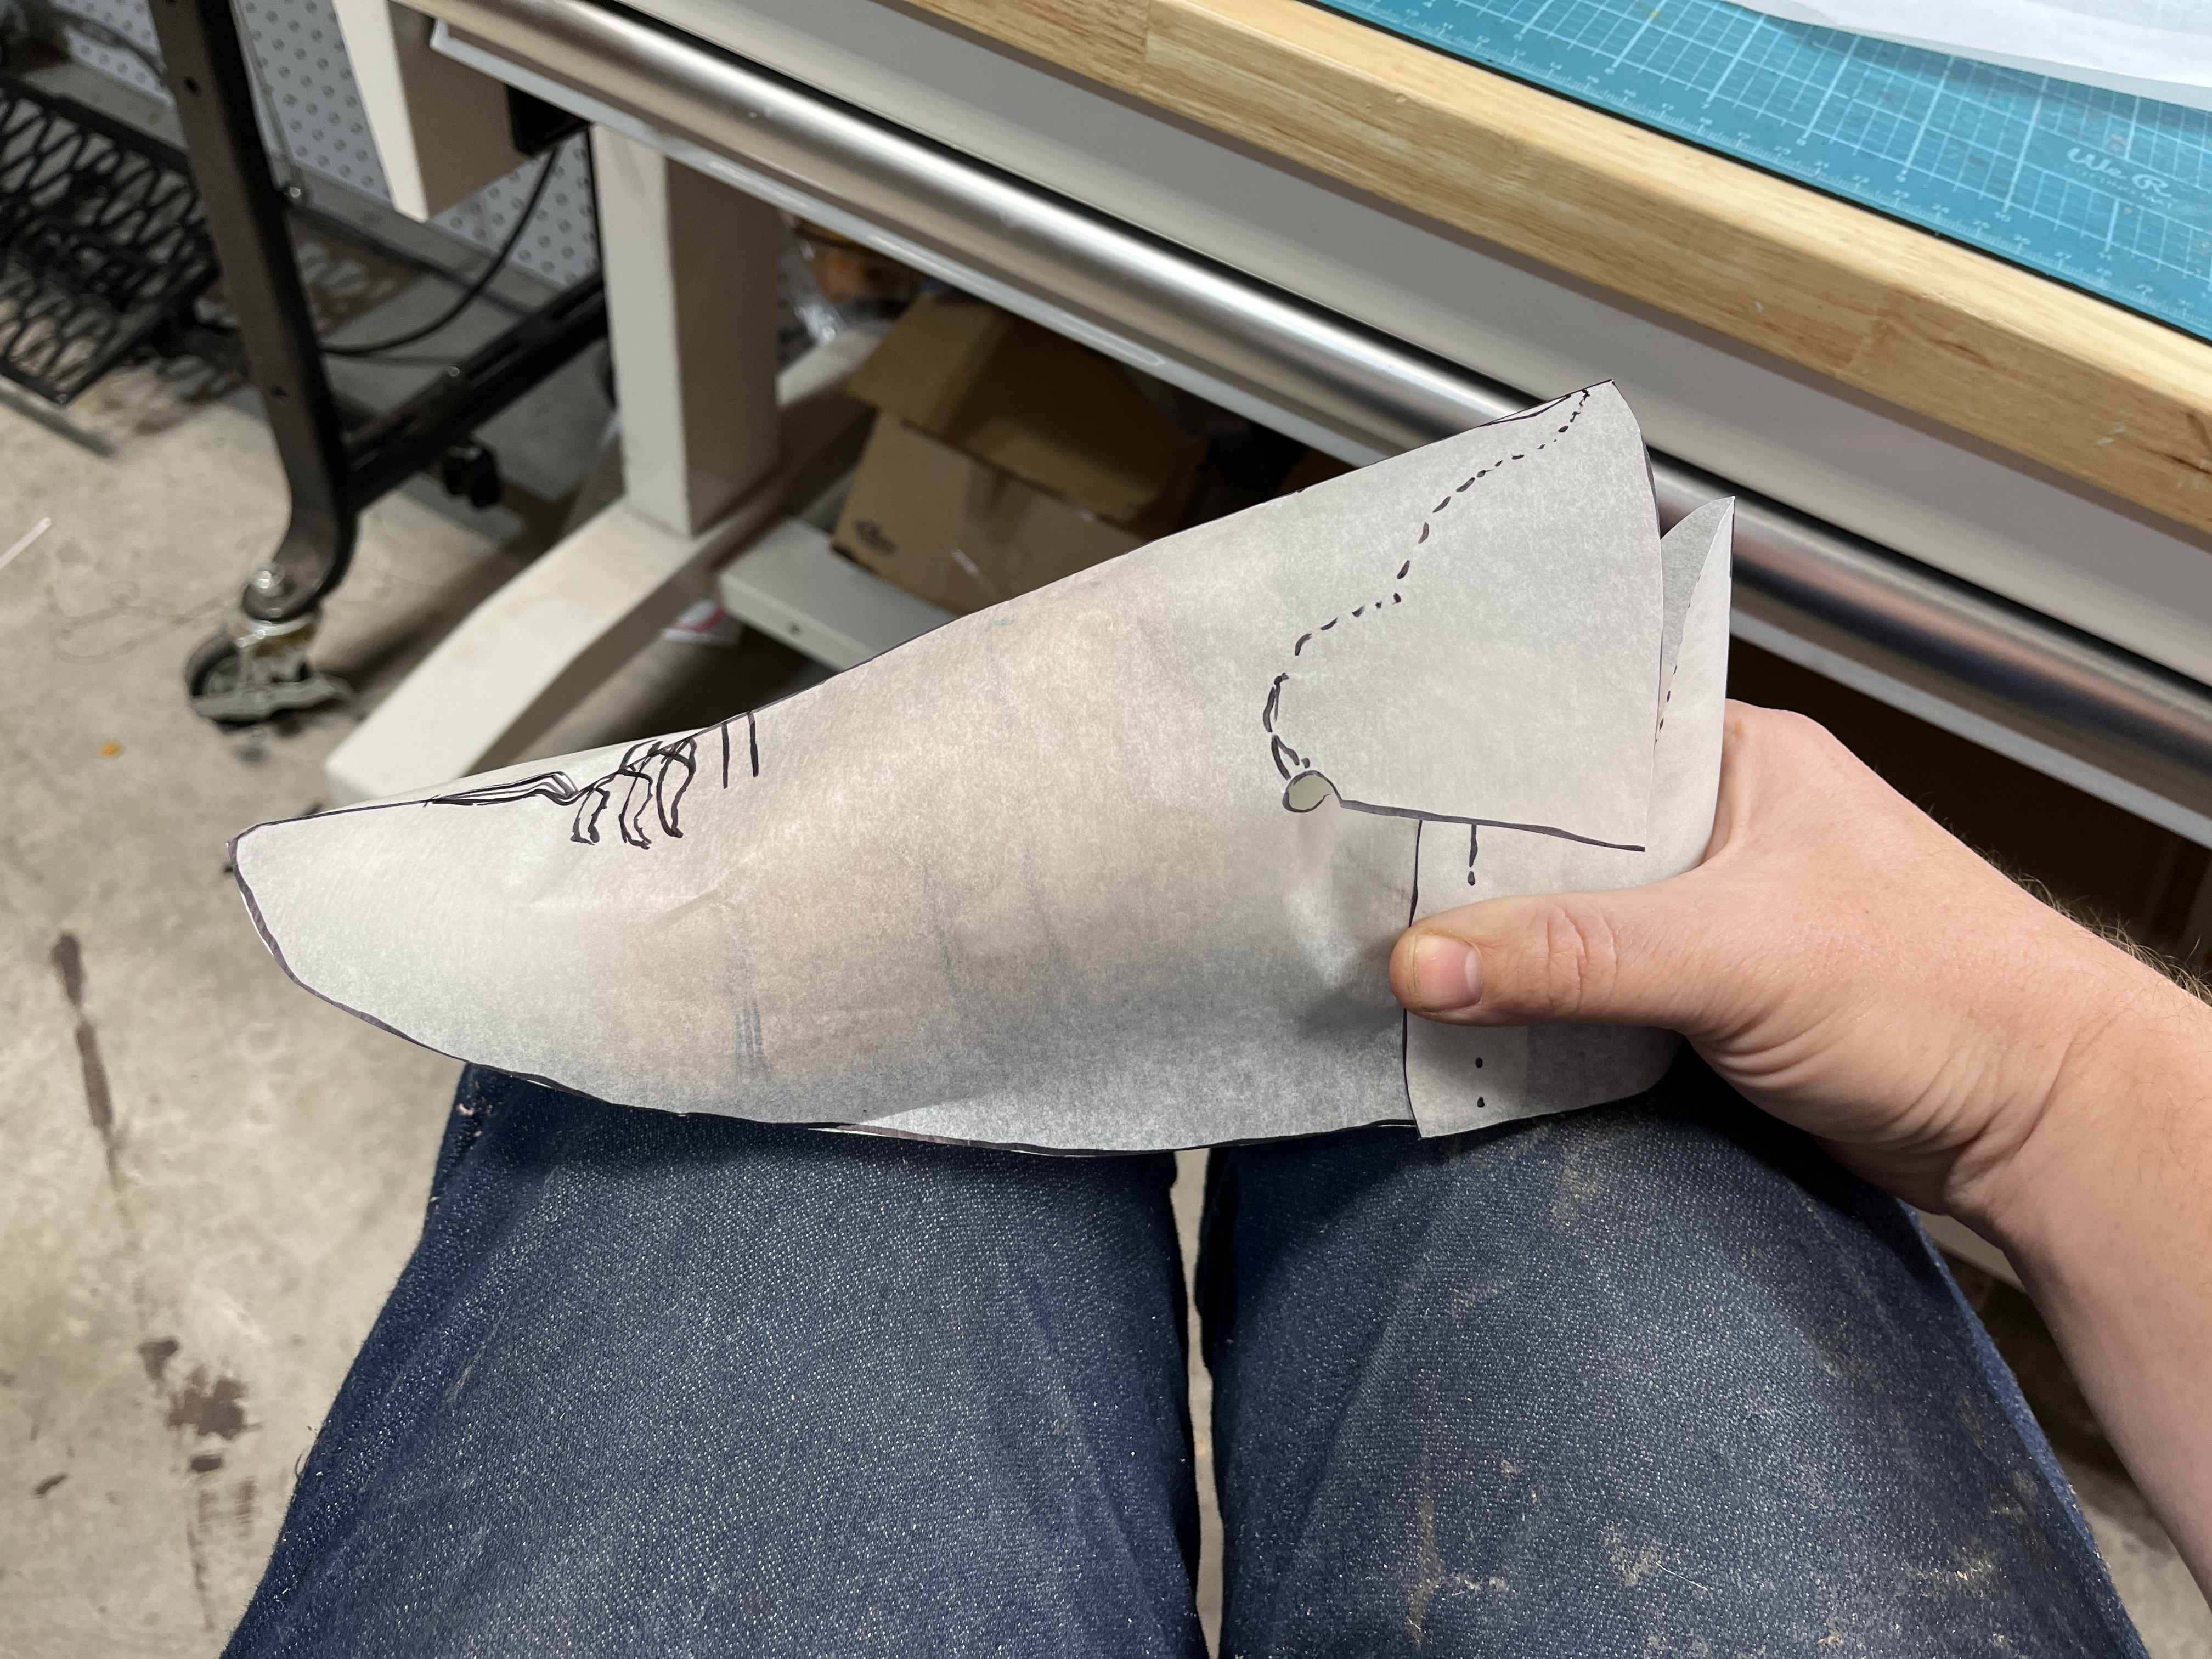
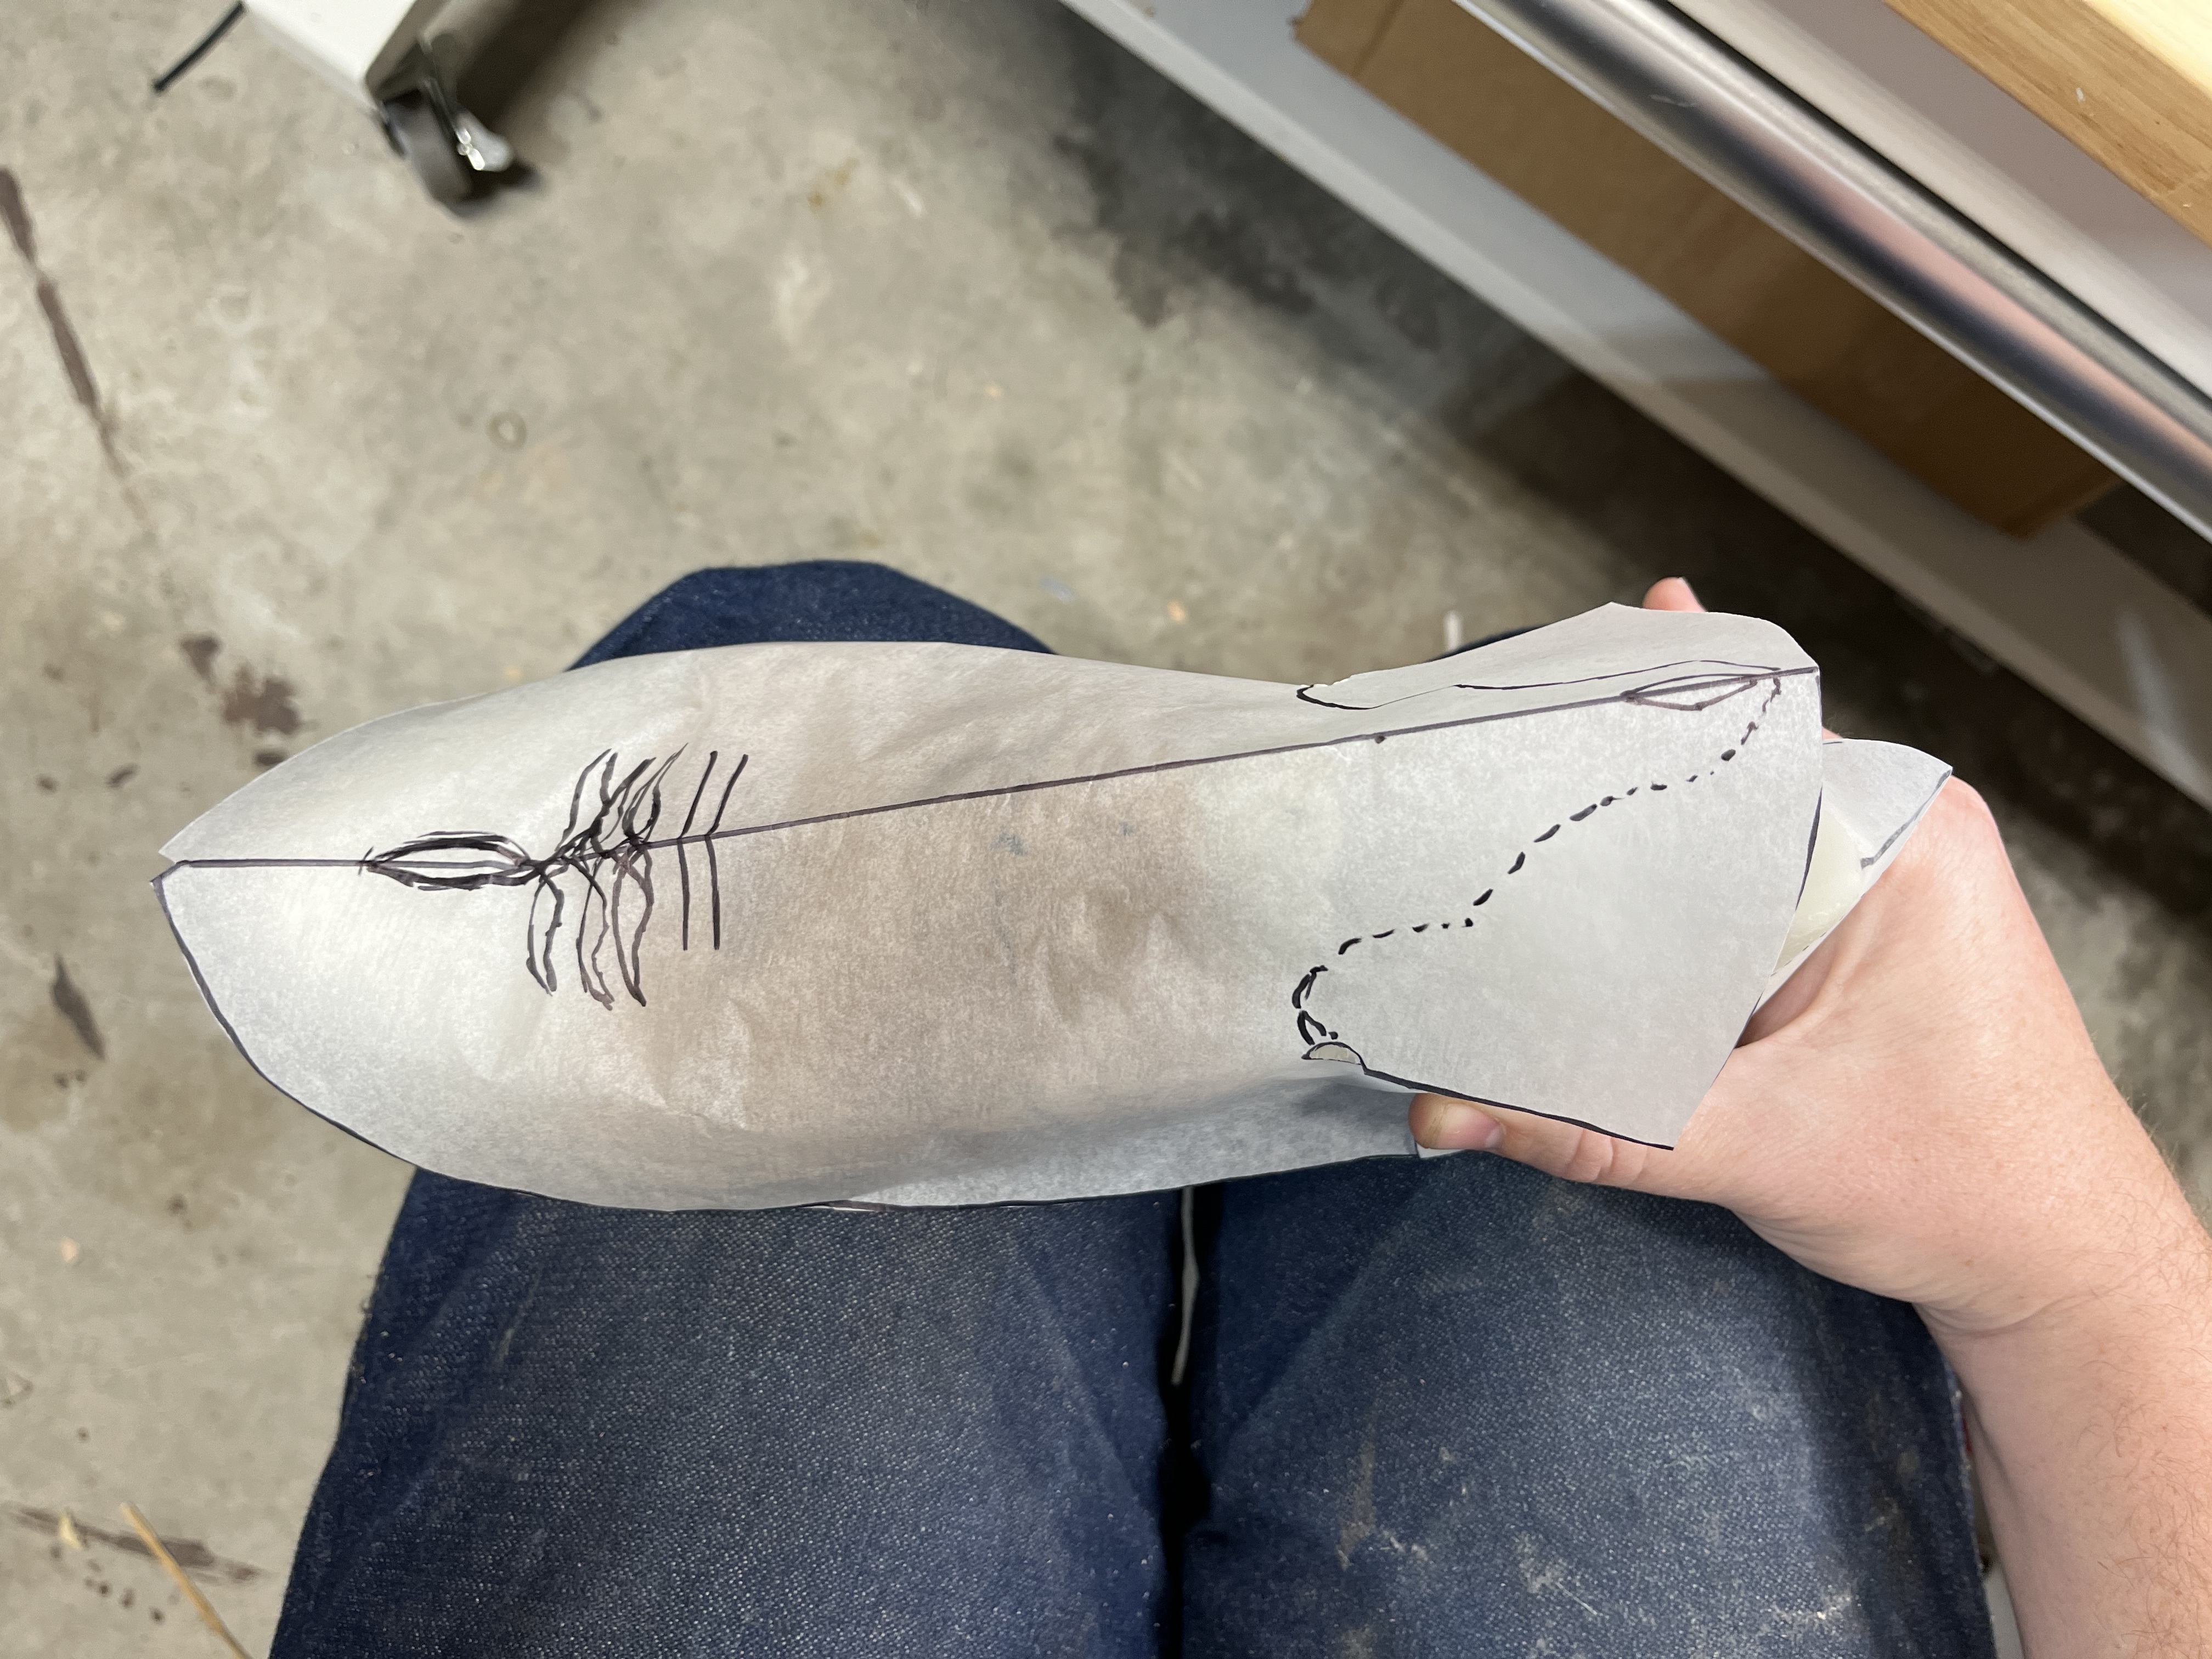
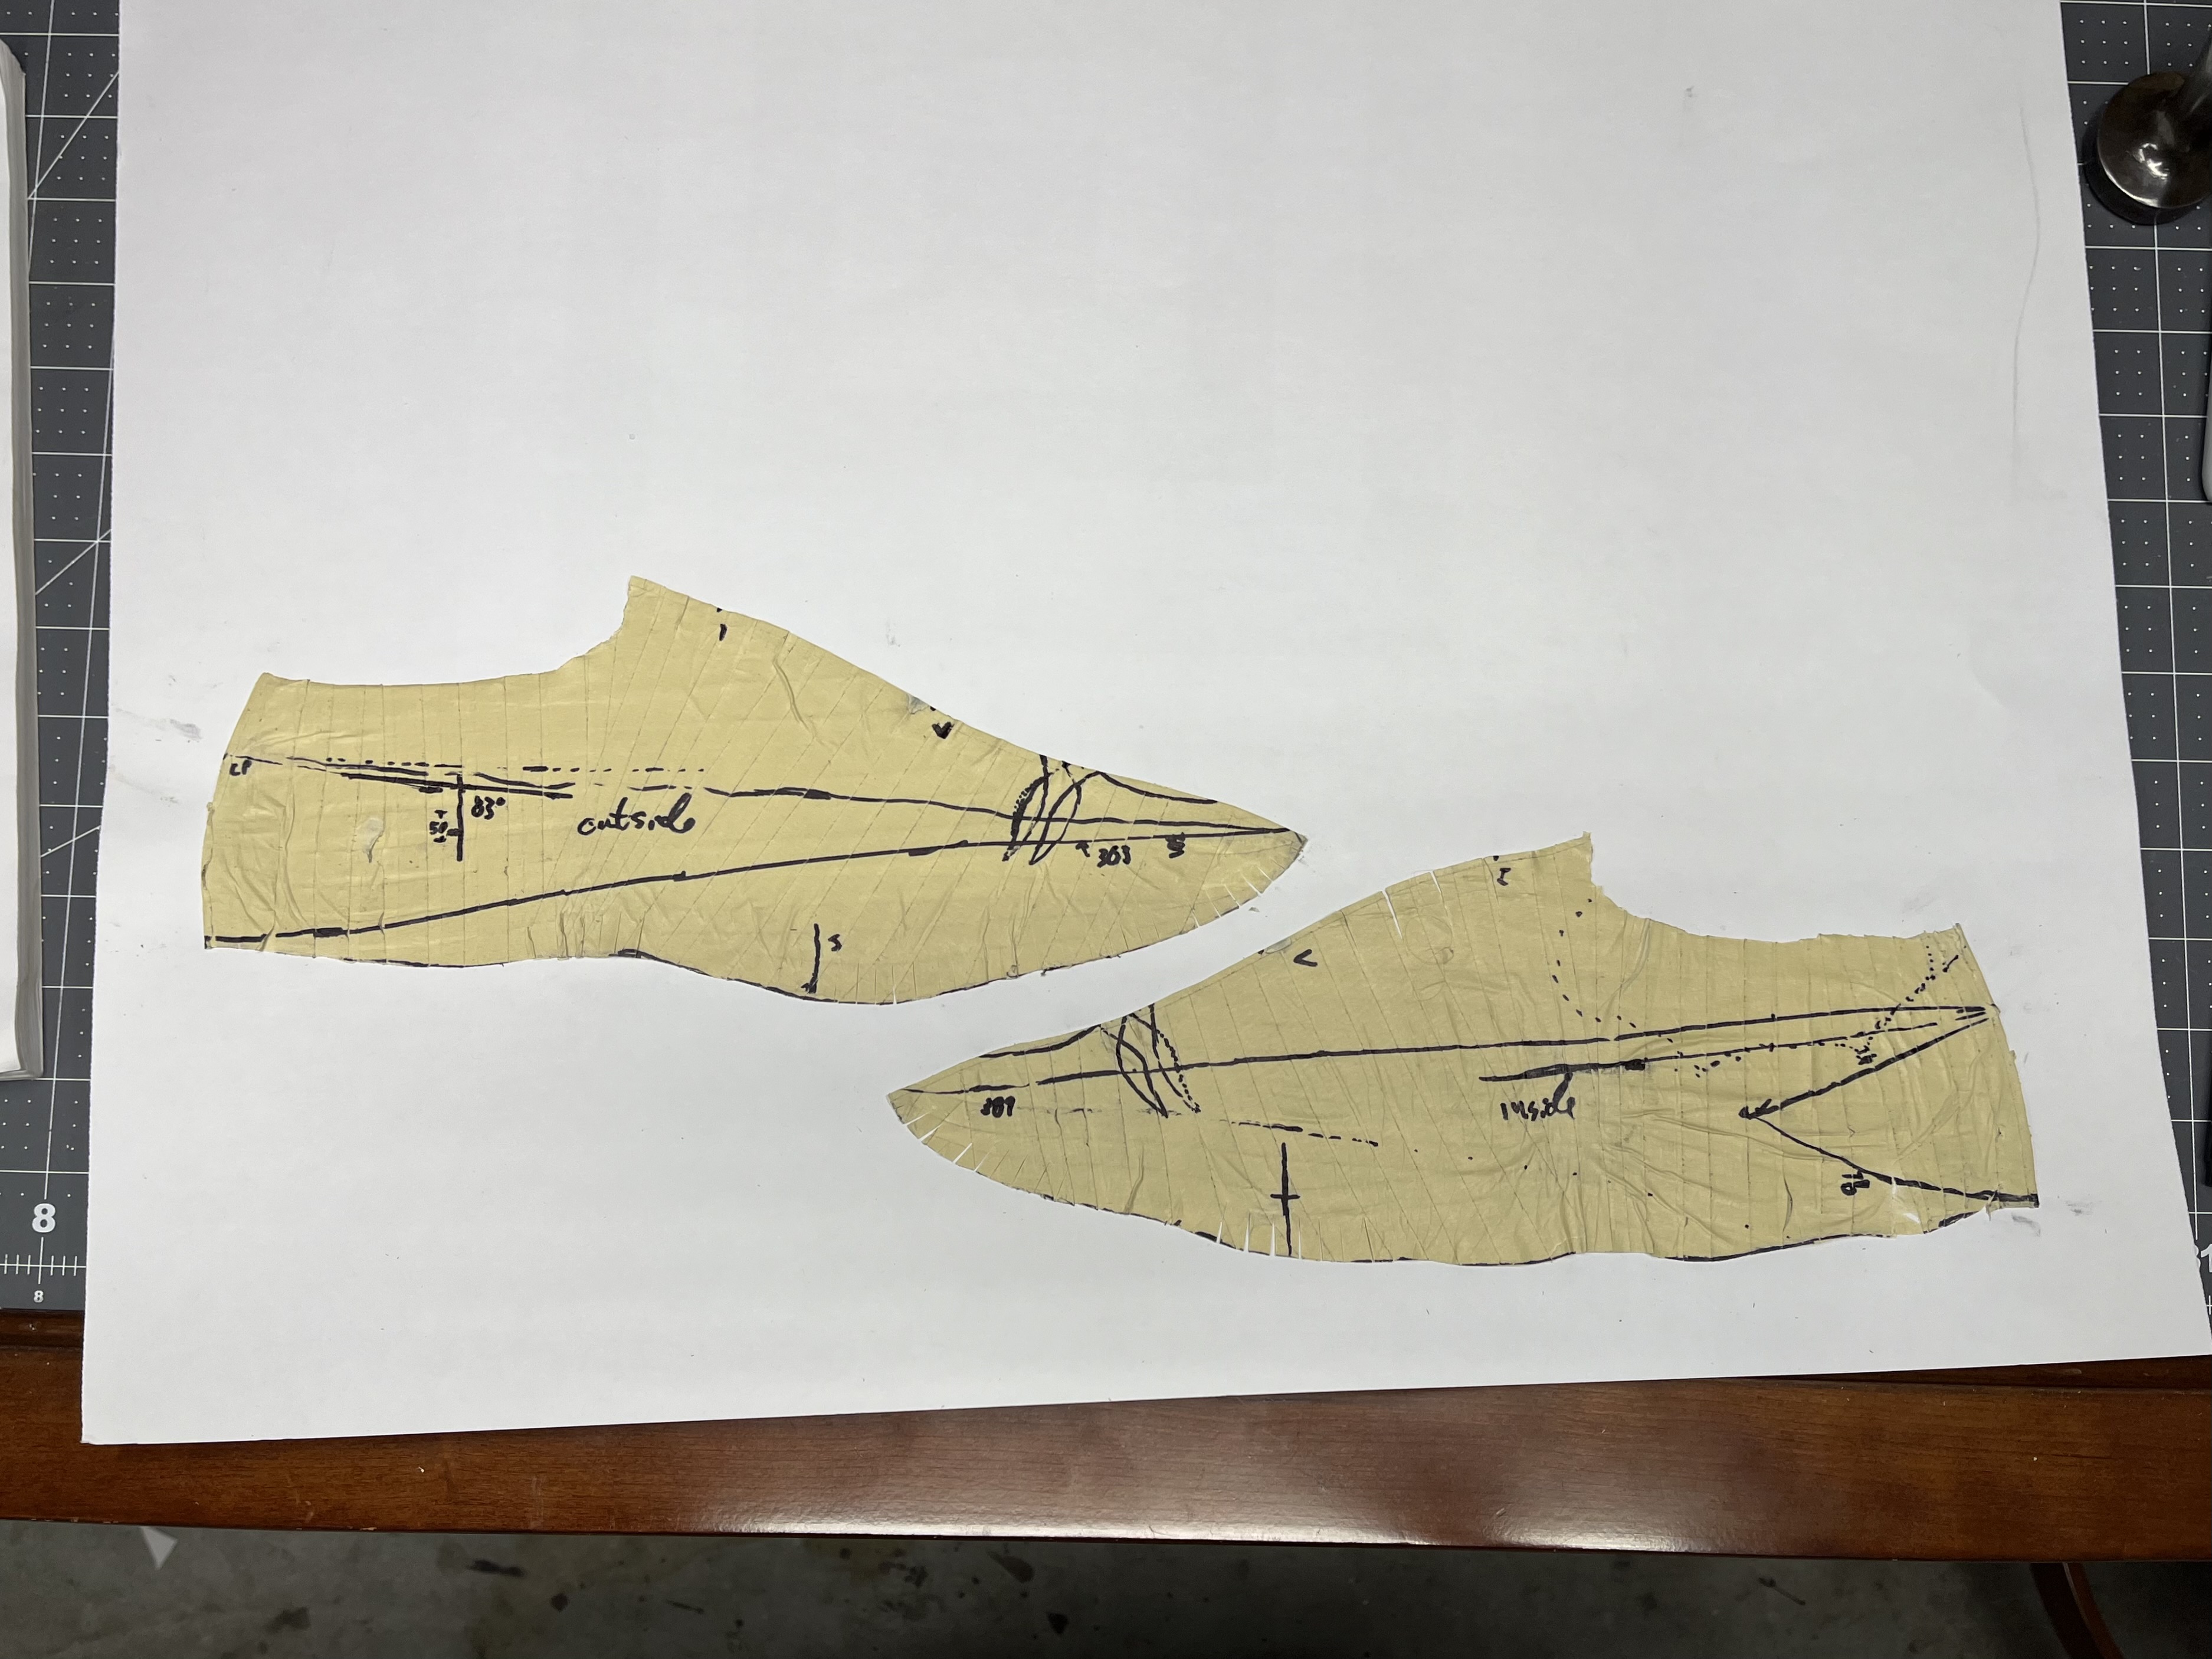
The technique I’ve seen, read about, and successfully used is exactly that: make slashes and allow the last form to splay out to lay flat. But make sure wherever possible to do that in lasting allowance, far away from any key design lines or seams. I’d try to keep the main axis, from the topline down the vamp, whole.
I’ve generally found that’s possible if I stick the tape peeled off the down first along a line through its middle, running roughly from the counter point to the toe point, then use fingers or tools to press down from that line out toward the edges. There’s not so much curve between that notional line and the main axis of the vamp or the topline of the backpart. There is a bunch of curve from that line down toward the featherline, so slashing becomes necessary to get it to lay flat.
There’s a level of refinement that I haven’t reached here yet: making sure toe caps end up in the right position along the main axis. I vaguely remember seeing in one of @Customboots’ videos that stitching bugs and wrinkles, and then lasting them right, can be tricky, both for a single boot and to make sure fellows match.
Aside: A Thanks
I hadn’t heard Anne’s name, either. Or seen her Instagram account.
Her post that you shared sent me on a little research jaunt, yielding several updates to shoemaking.wiki. I’ve made sure to reorganize so more general “making last forms” is in the process timeline, with taping and crumpled paper as techniques for doing that. I’d also never heard of the school that she mentioned, Arsutoria. I’ve now got at least an entry for that one, so it shows up in the list of schools with a little Italian flag.
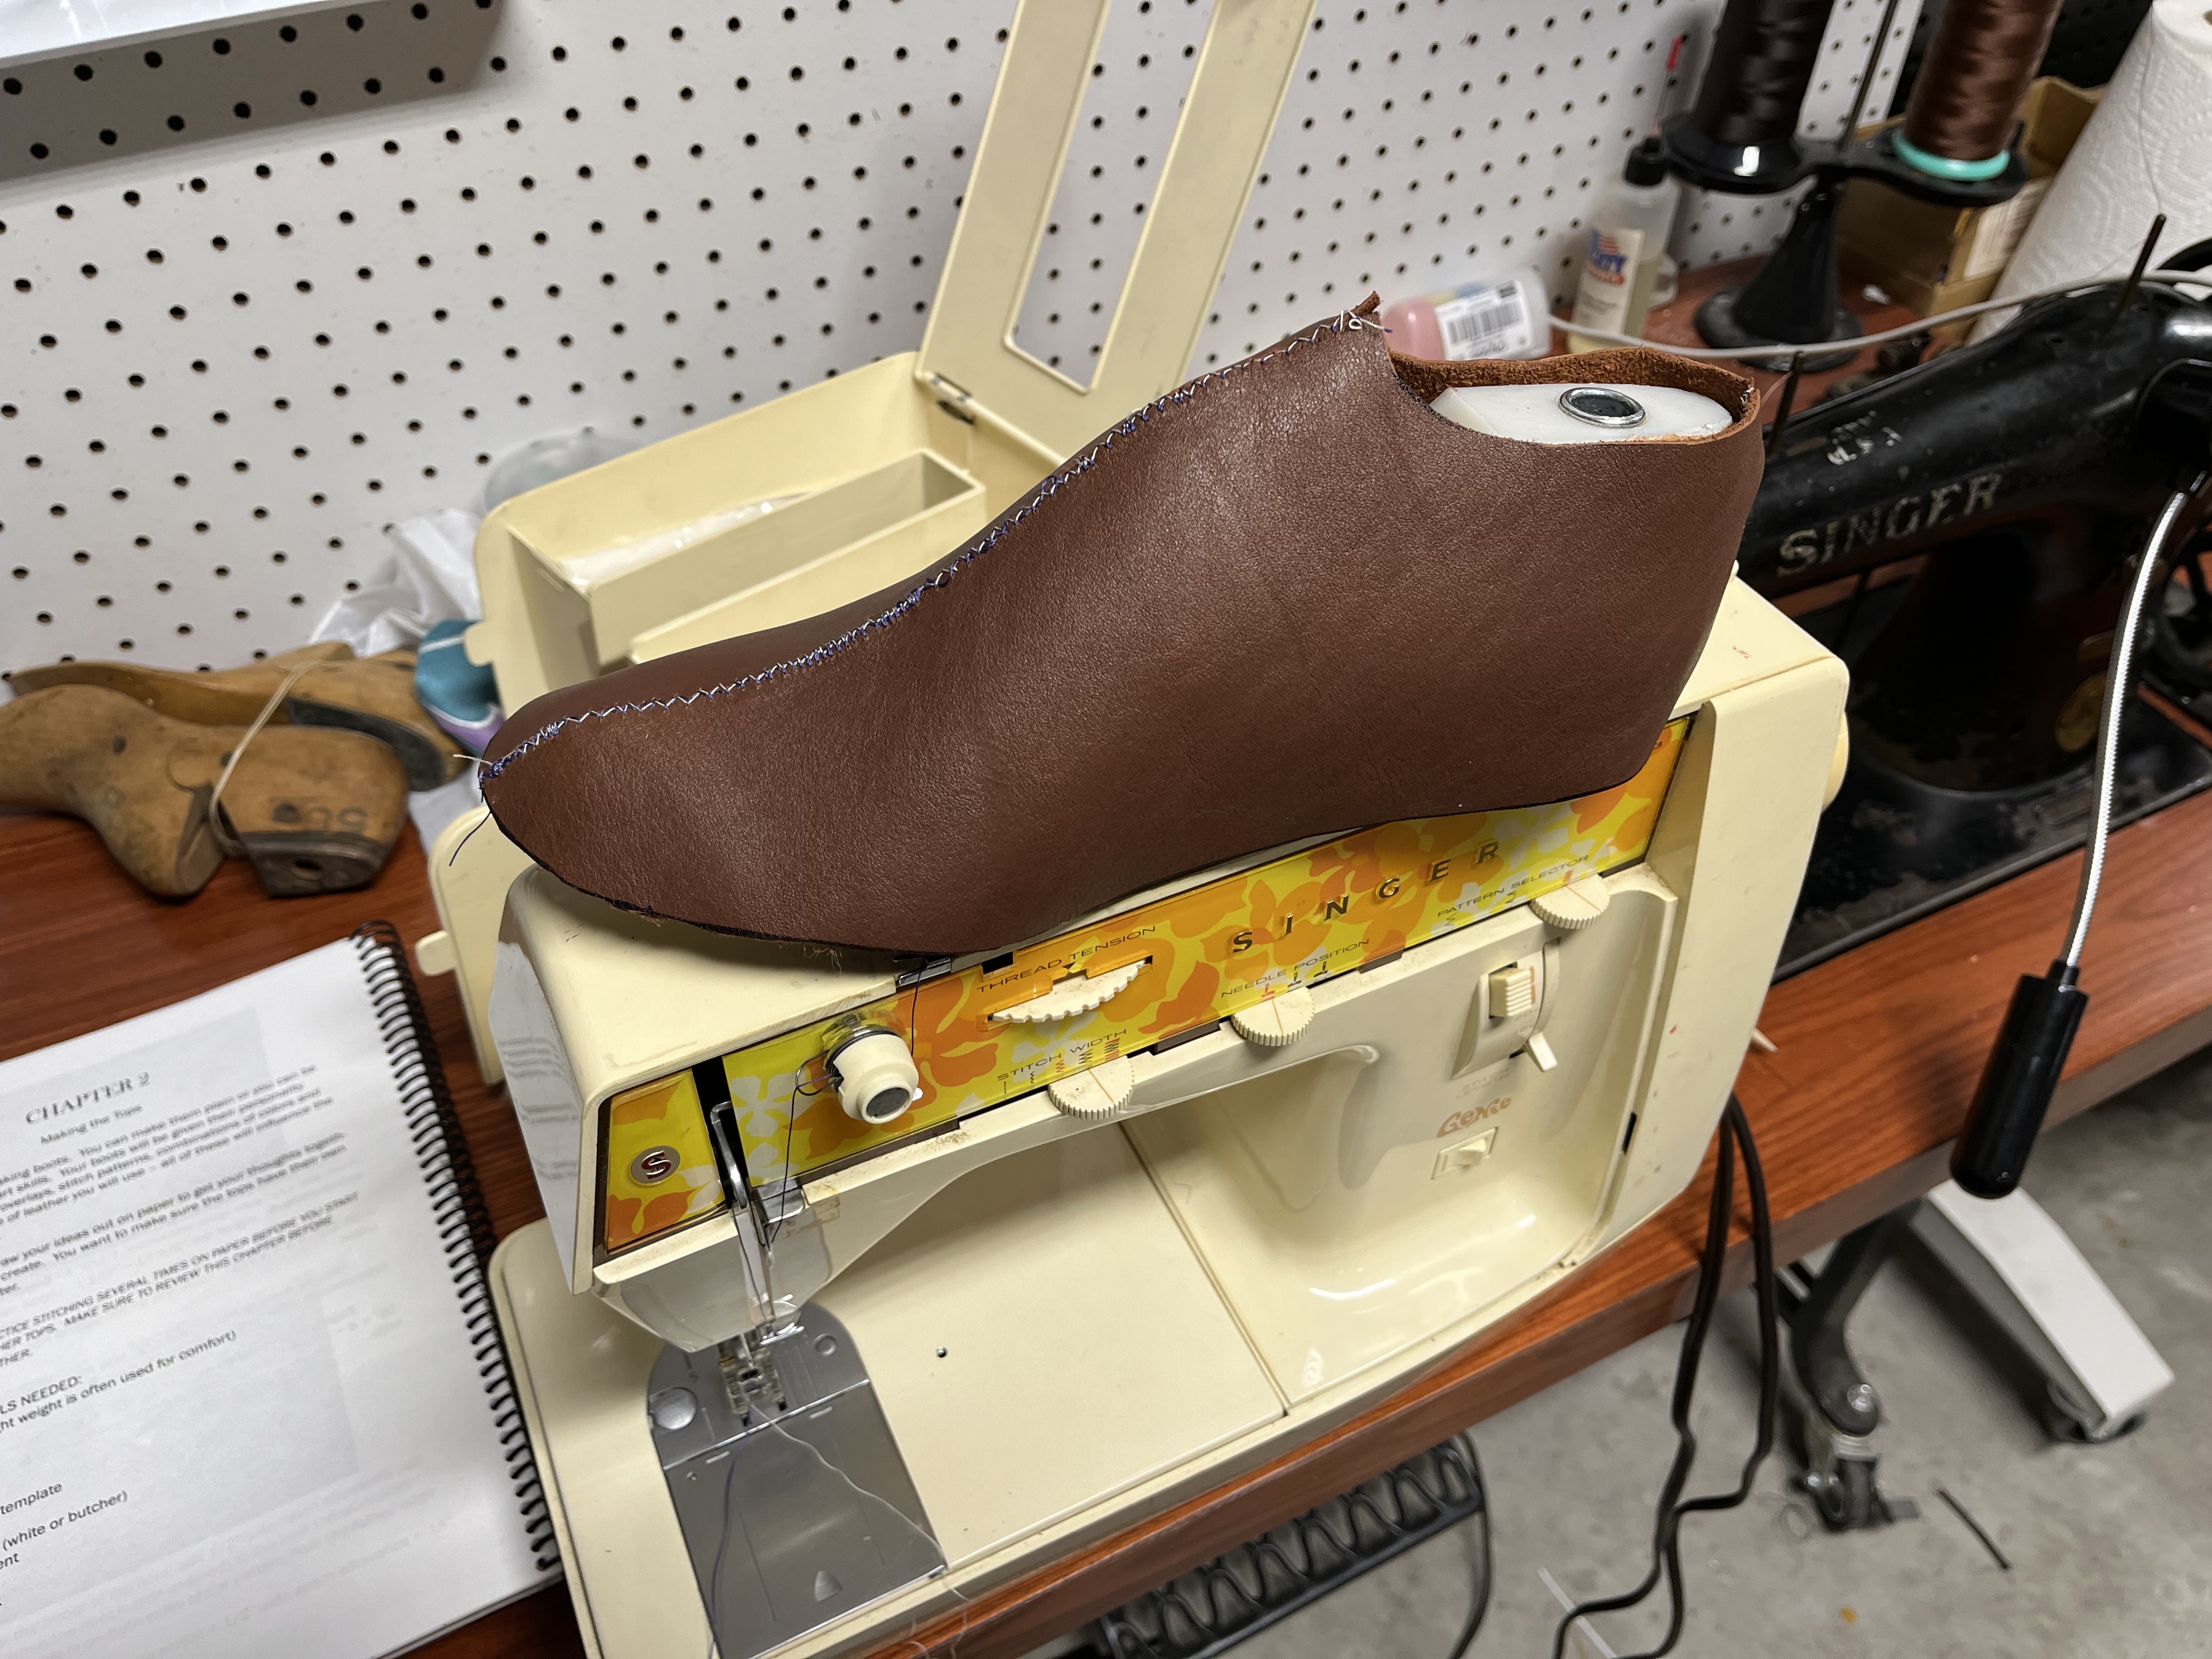
Paper Mock-Ups
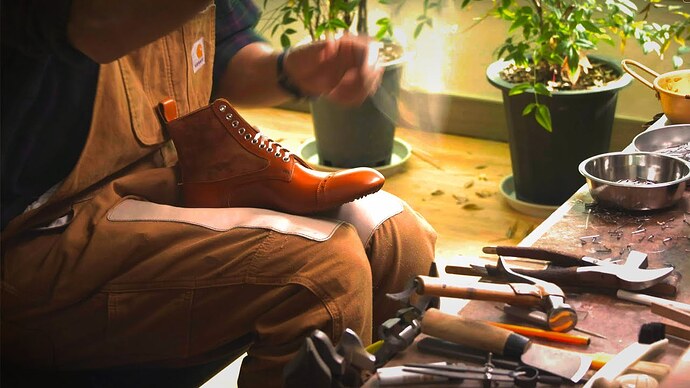
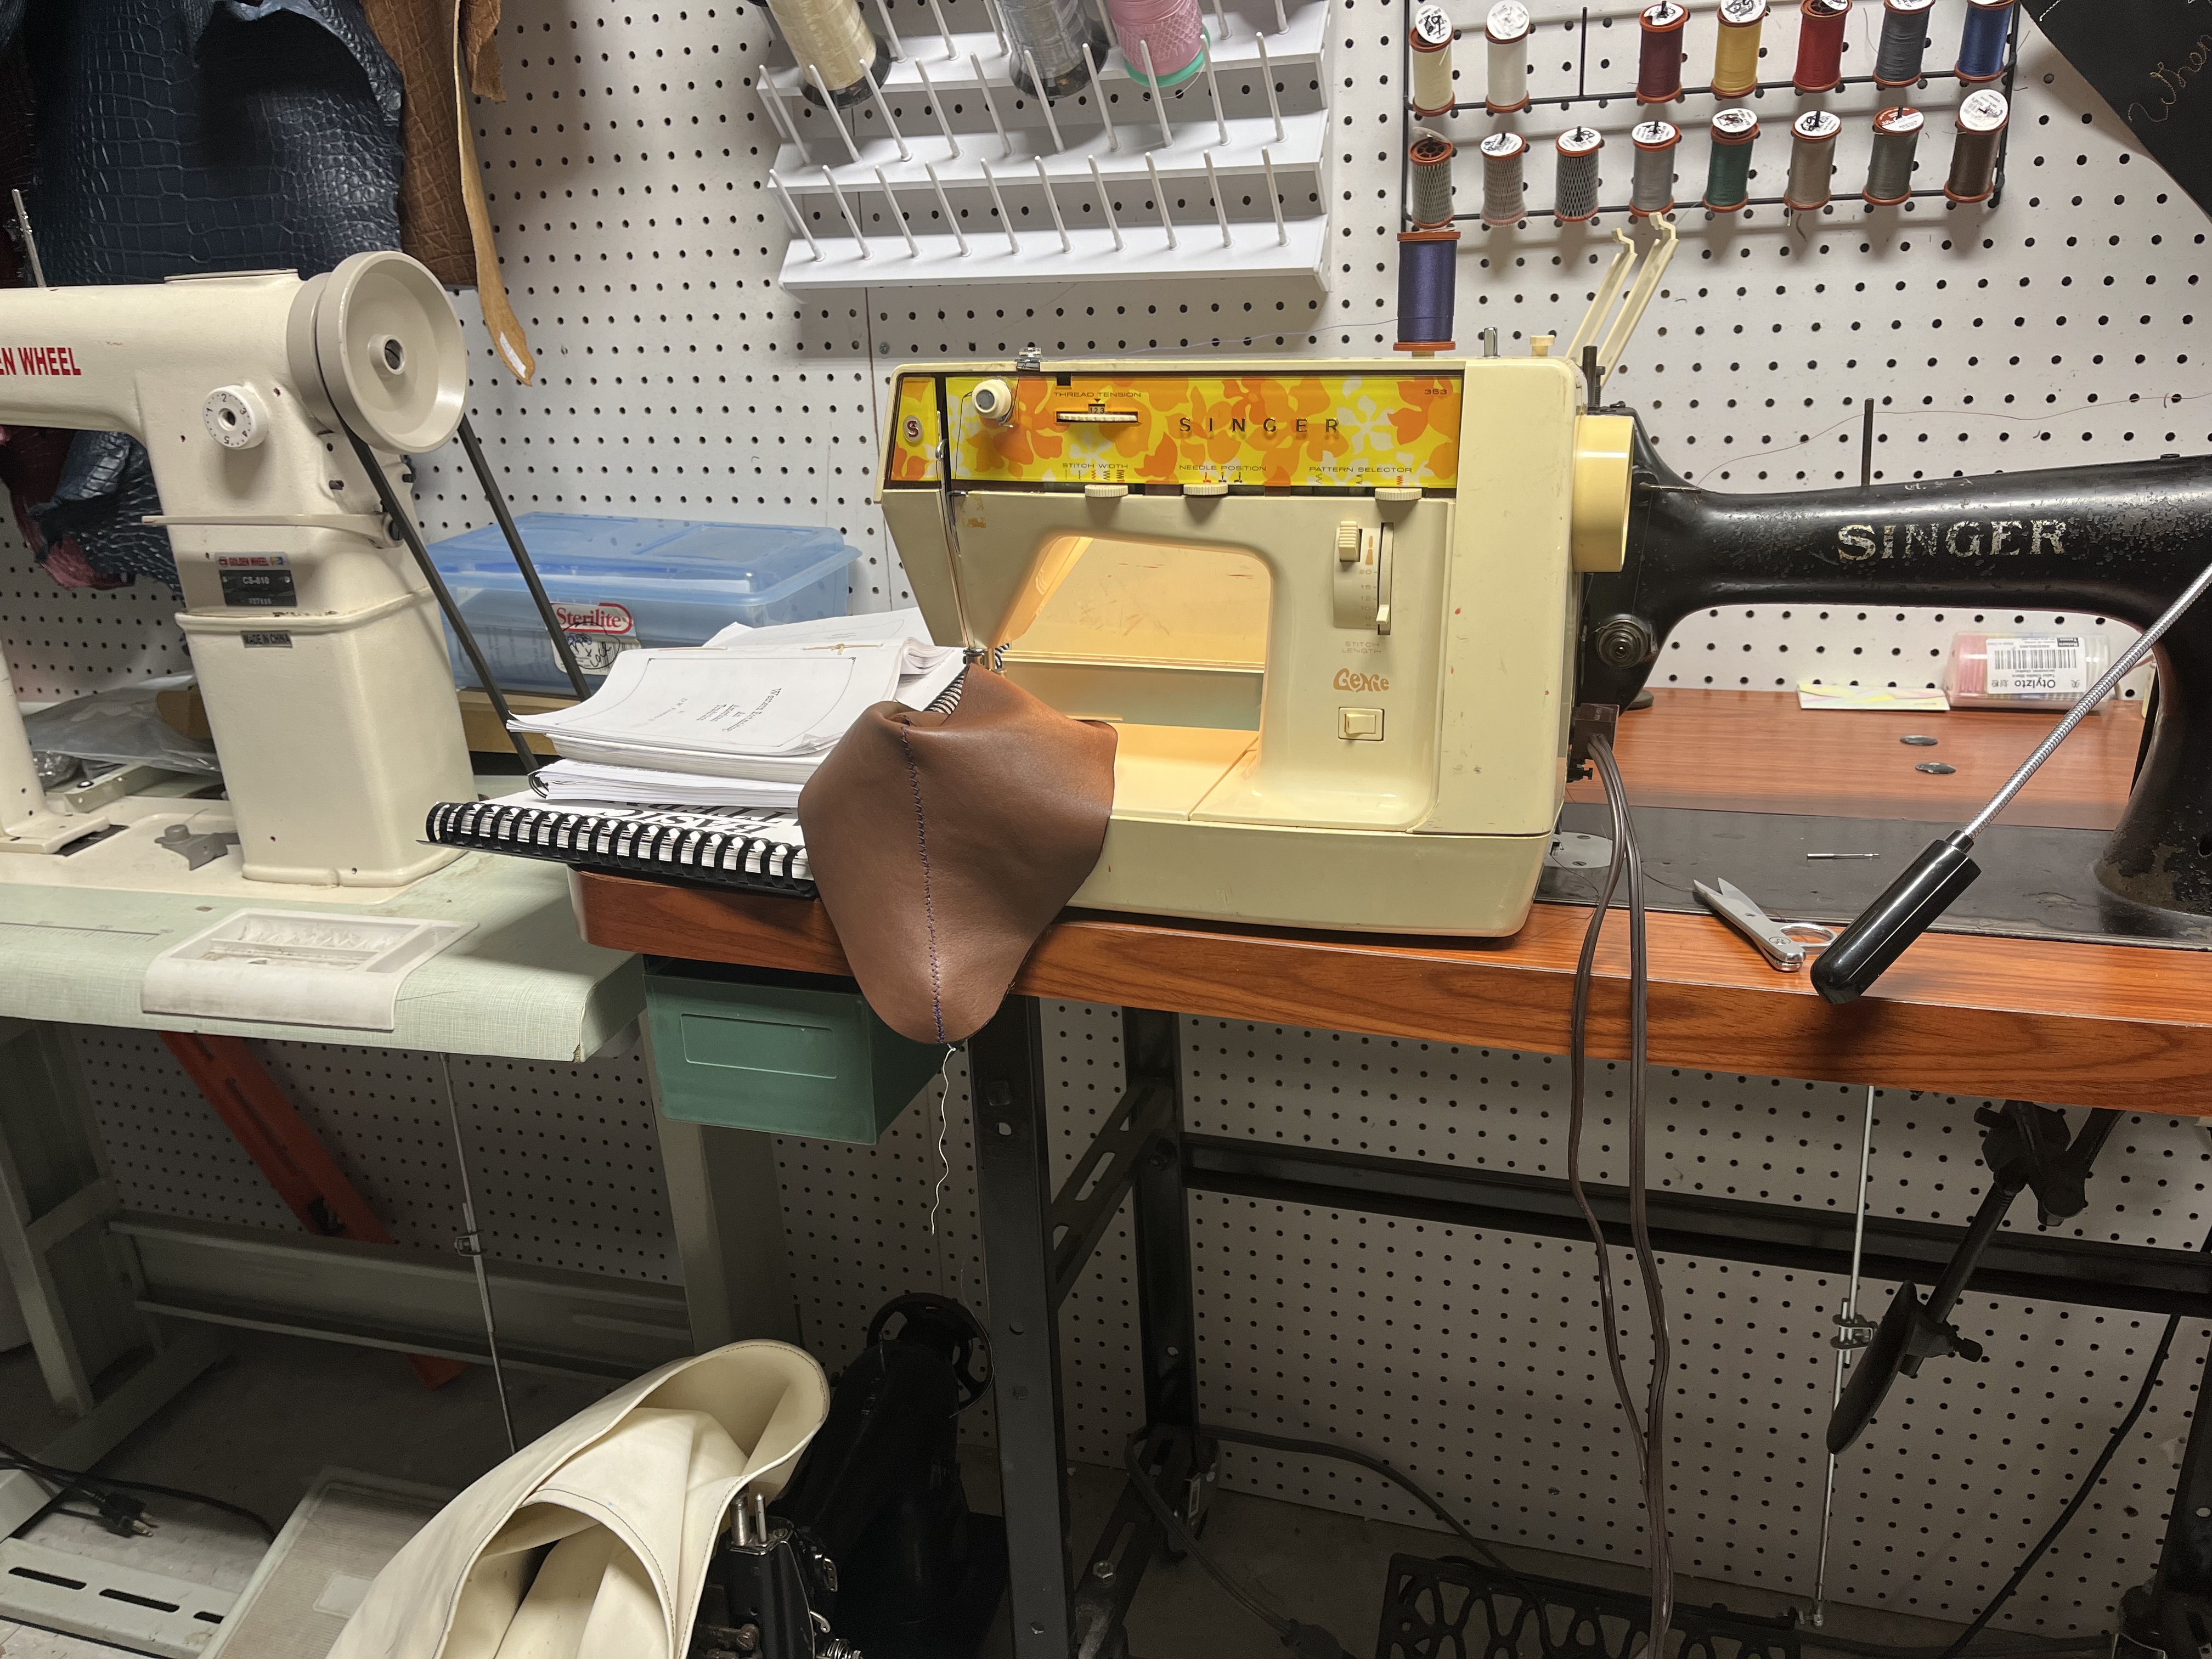
Maybe I can get you back for sharing Anne’s post by sharing another fun paper trick you may not have seen yet: making a mockup in brown paper, sewing it together with single lines, wetting it with a micro-mist spray bottle, and drafting it over the last with tacks to check pattern and design:
Or skipping right to the part where he sprays and fits over:
By the way, that video’s a pretty good video demo of last taping process, too:
I did this once with EVA foam, but that was rather expensive. Wetting thick paper makes a lot more sense.
I’ve been watching Terry’s videos for a while now. He recently started cutting his videos fast in some repetitive parts, like the last taping section above, showing the result of each repetition in rapid succession. He also did it the lasting section of that video, jump-cutting to the points where he sets each tack:
It turns into a rapid-fire thwack-thwack-thwack, but you can still where he chooses to put tacks in sequence and his process of splitting pleats.
Fast cutting usually makes my head hurt. But I actually enjoyed watching this new style. The way he does it, I actually find myself more eager to share as examples, since it makes for shorter, denser video. Hopefully you agree.
Before she jumps on me, Lisa may talk about patterning in more detail but hers is the one I havent read yet
Im waiting for her shoe-boot book to come out…right???
Re:toe bugs, ive been too scared to try yet, or at least I’ve put off tackling that. I’ve heard a few methods, but I haven’t done the deep dive yet. Breck Wallace told me his method based on doing some last and tongue pattern measurements but it went over my head at the time. I was intimidated watching Lee re-last a boot like 3 times to get the bug just right, and he was also talking about making a mistake patterning those but it also went over my head at the time sorry
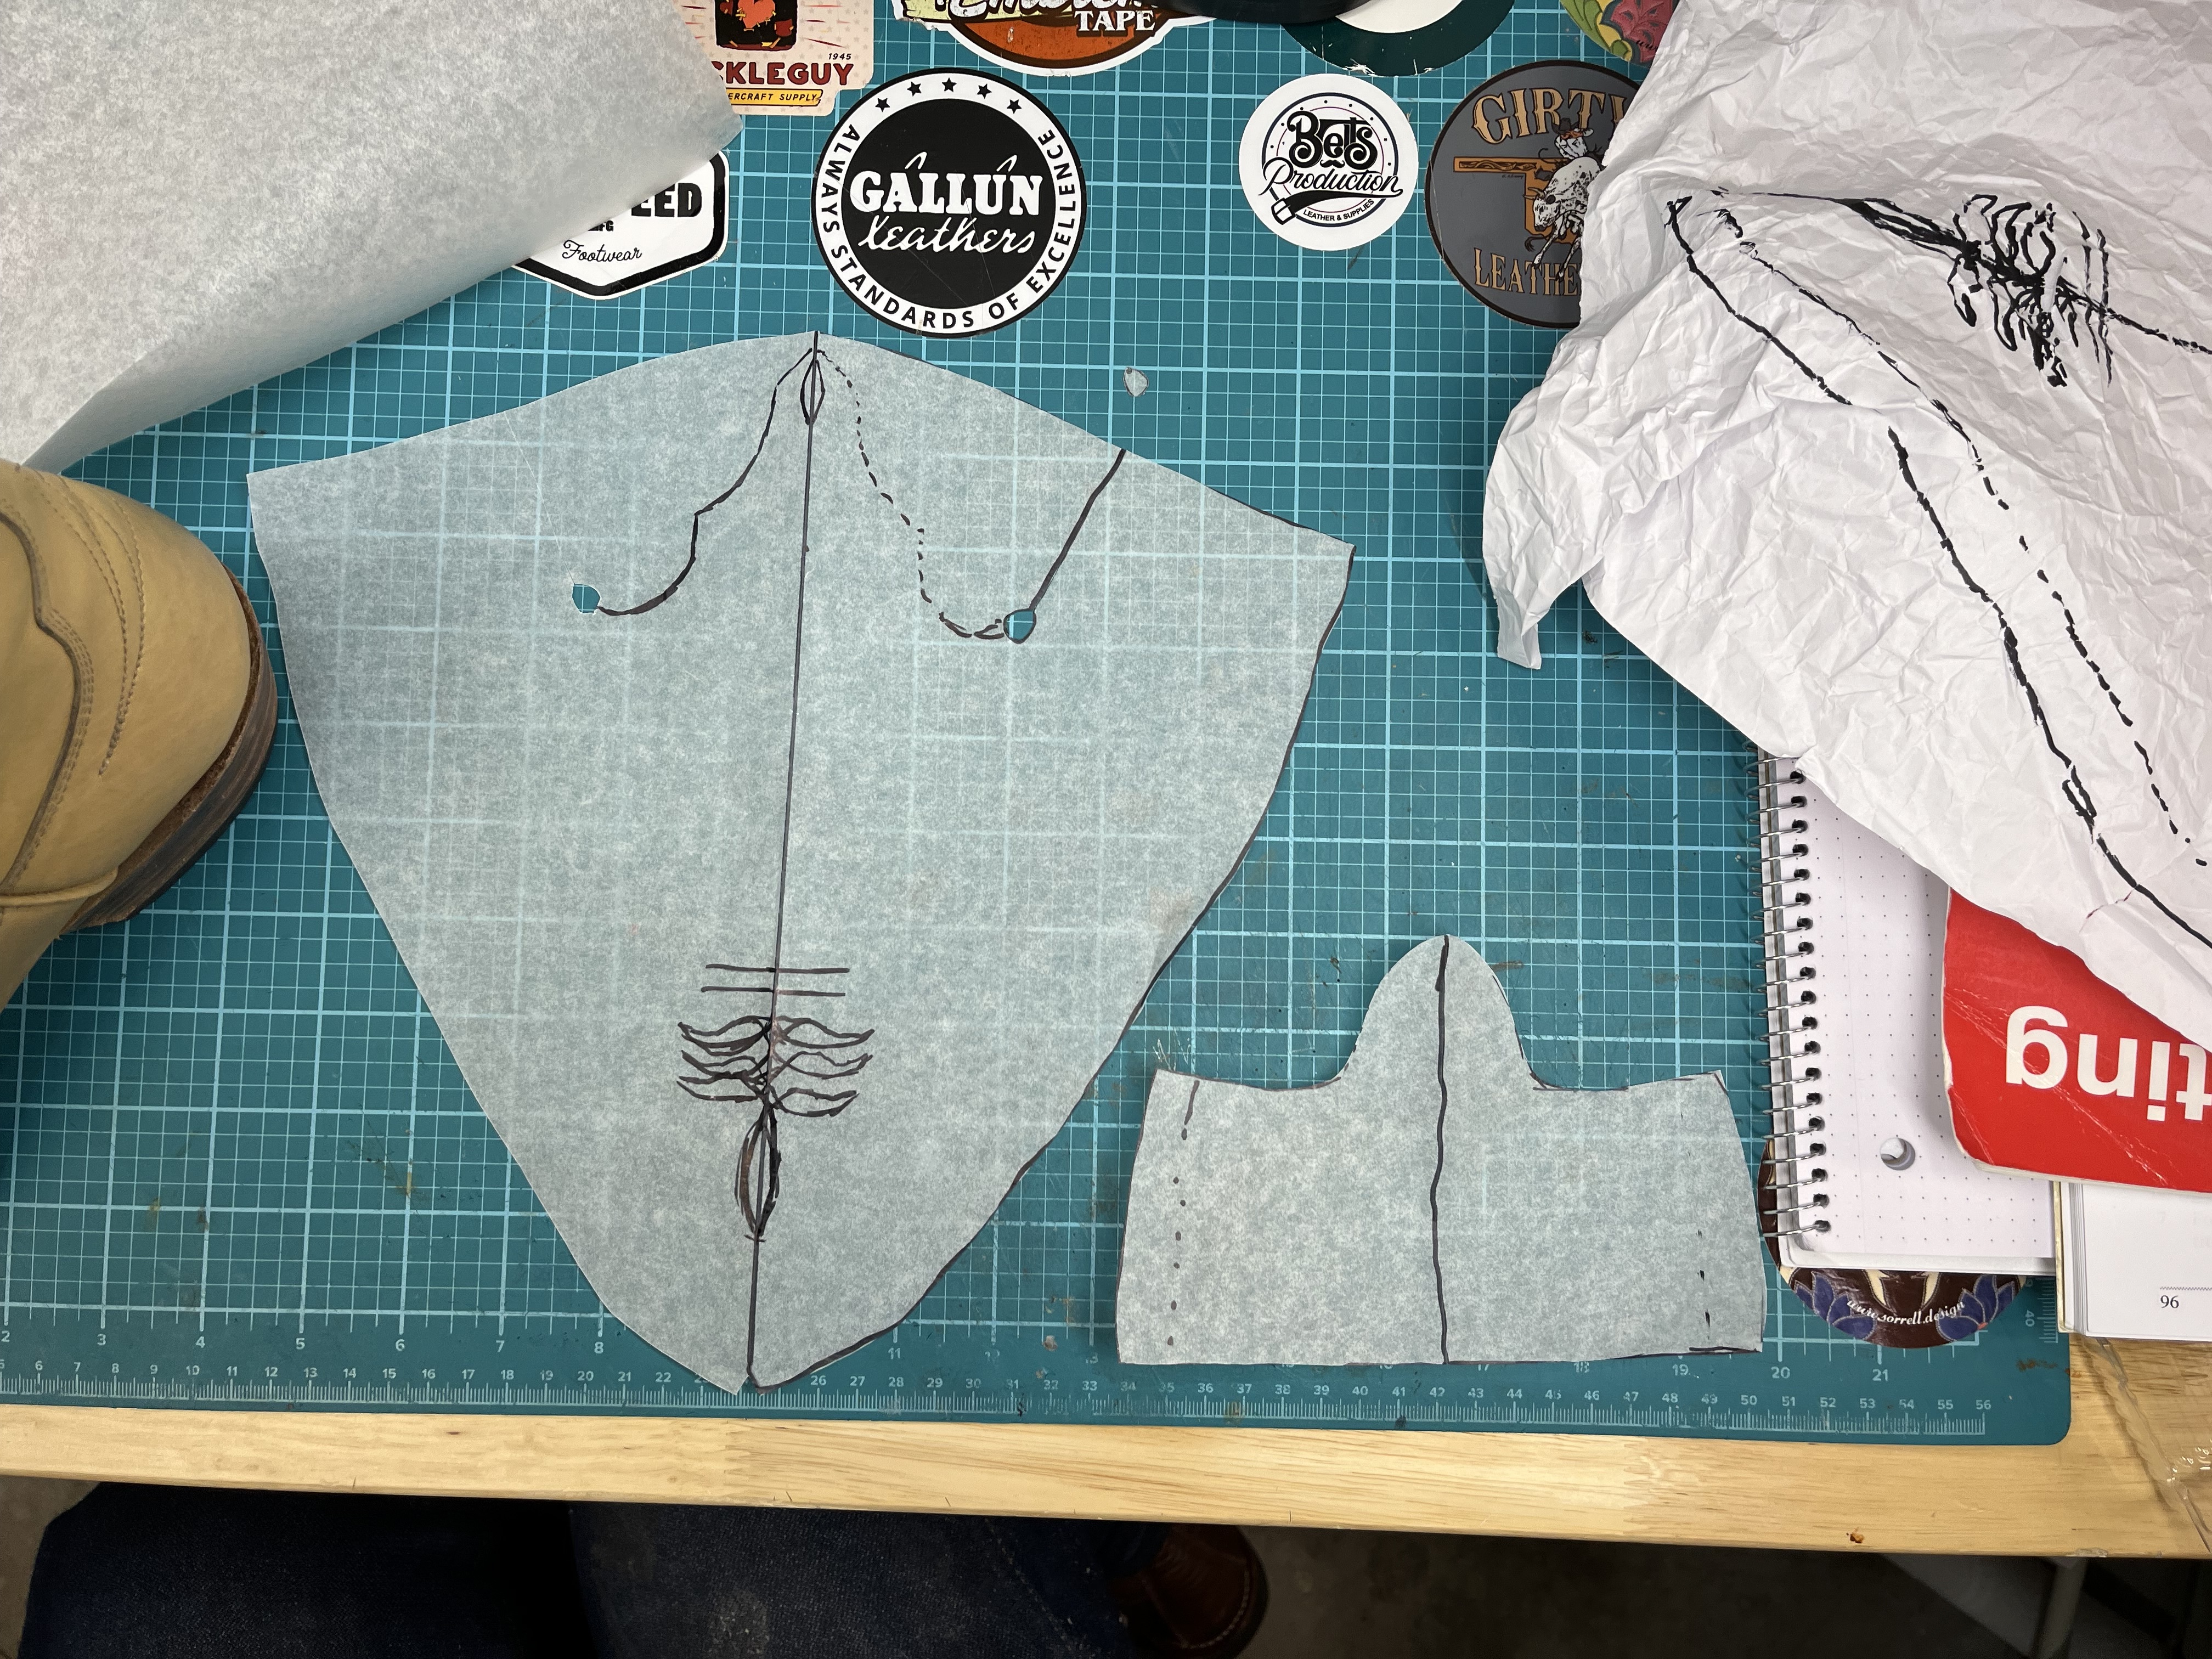
I did this for this pattern, following frank jones drape method for pattern checking. He said to use a thin non-stretchy material - he suggested nonwoven reinforcement. I of course used thick stretchy leather and ended up not getting much info out of it other than it roughly ended up vamp shaped. When you get his book youll enjoy that part, there’s detailed instructions on checking and troubleshooting your mean forme based on the drape fit.