I was practicing insole prep on scrap skirting leather and ended up breaking my awl. Thankfully the awl broke with some of the bend remaining
I have seen a few Japanese shoemakers use some kind of homemade stitch groover for their sole stitches to lay in. Usually they mark the leather with a pen, cut with a knife, open the channel, then use their handmade tool. I didn’t really understood what this tool was for until finishing up my latest pair of shoes.
Previously I had used the popular Japanese stitch groover and it worked fine for the first pair but after that the blade got dull pretty fast and it would also get clogged and become useless until I could get the leather out. For my latest pair I made the stitch channel just using a knife and channel opener. What I found is that while the channel opener is useful with setting up a visual reference for your awl to exit, ultimately the shape is still a V. So if your awl exits from the side of the V instead of at the vertex your stitches do not lie entirely inside the channel. When you fold the flap of sole leather back you can end up getting little beads on the grain.
To make this process more forgiving you can make your stitch channel a U instead of a V. This is accomplished by processing the broken awl so that it acts as a scraper within the V cut.
The Awl is processed by sharpening the outside edge such that a burr forms along the inside edge. This burr is what will cut along the sides of the V to make the U, much like how a traditional metal shoe scraper is used. You do not need to sharpen the inside of the awl. Just curved strokes on the outside, putting small amounts of force so that the burr curls inward. Make sure to do the same at the tip and the sides.
Here is what my awl looks like after processing:
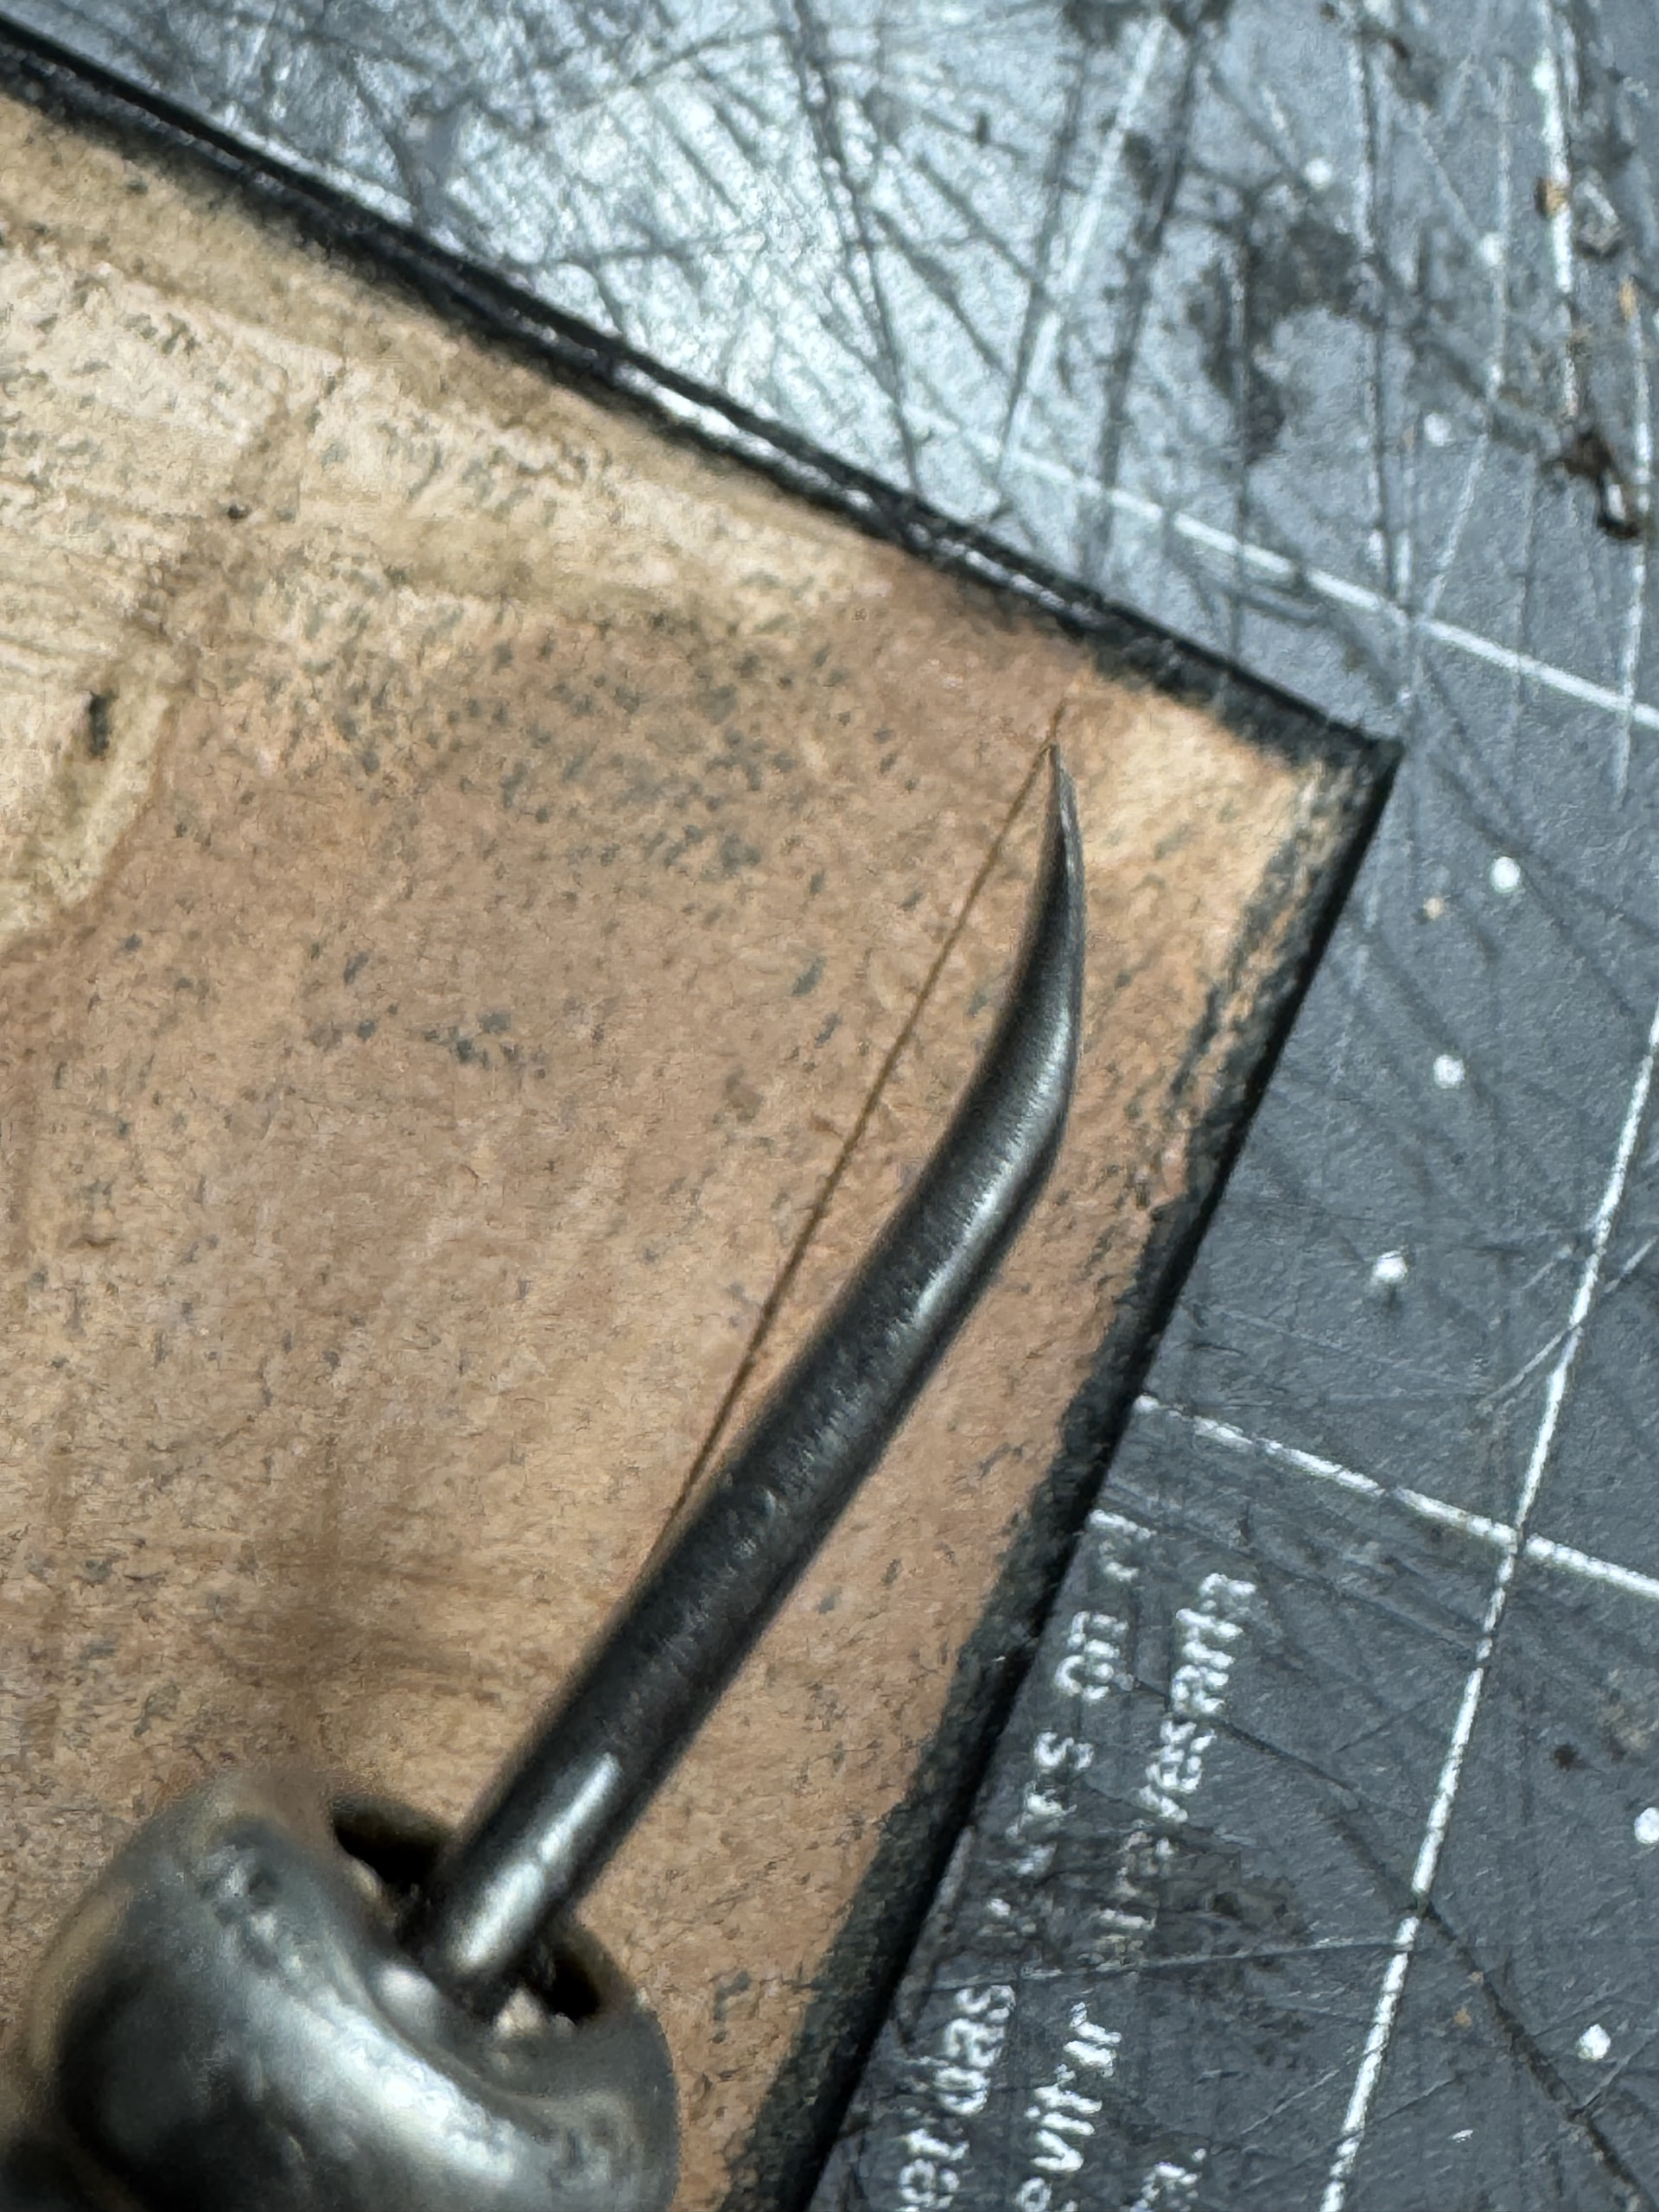
The burr will gradually wear down but just a few strokes on the sharpening stone brings it back to life.
Here is a test showing how it is used on some sole bend:
First the initial cut is made with a knife.
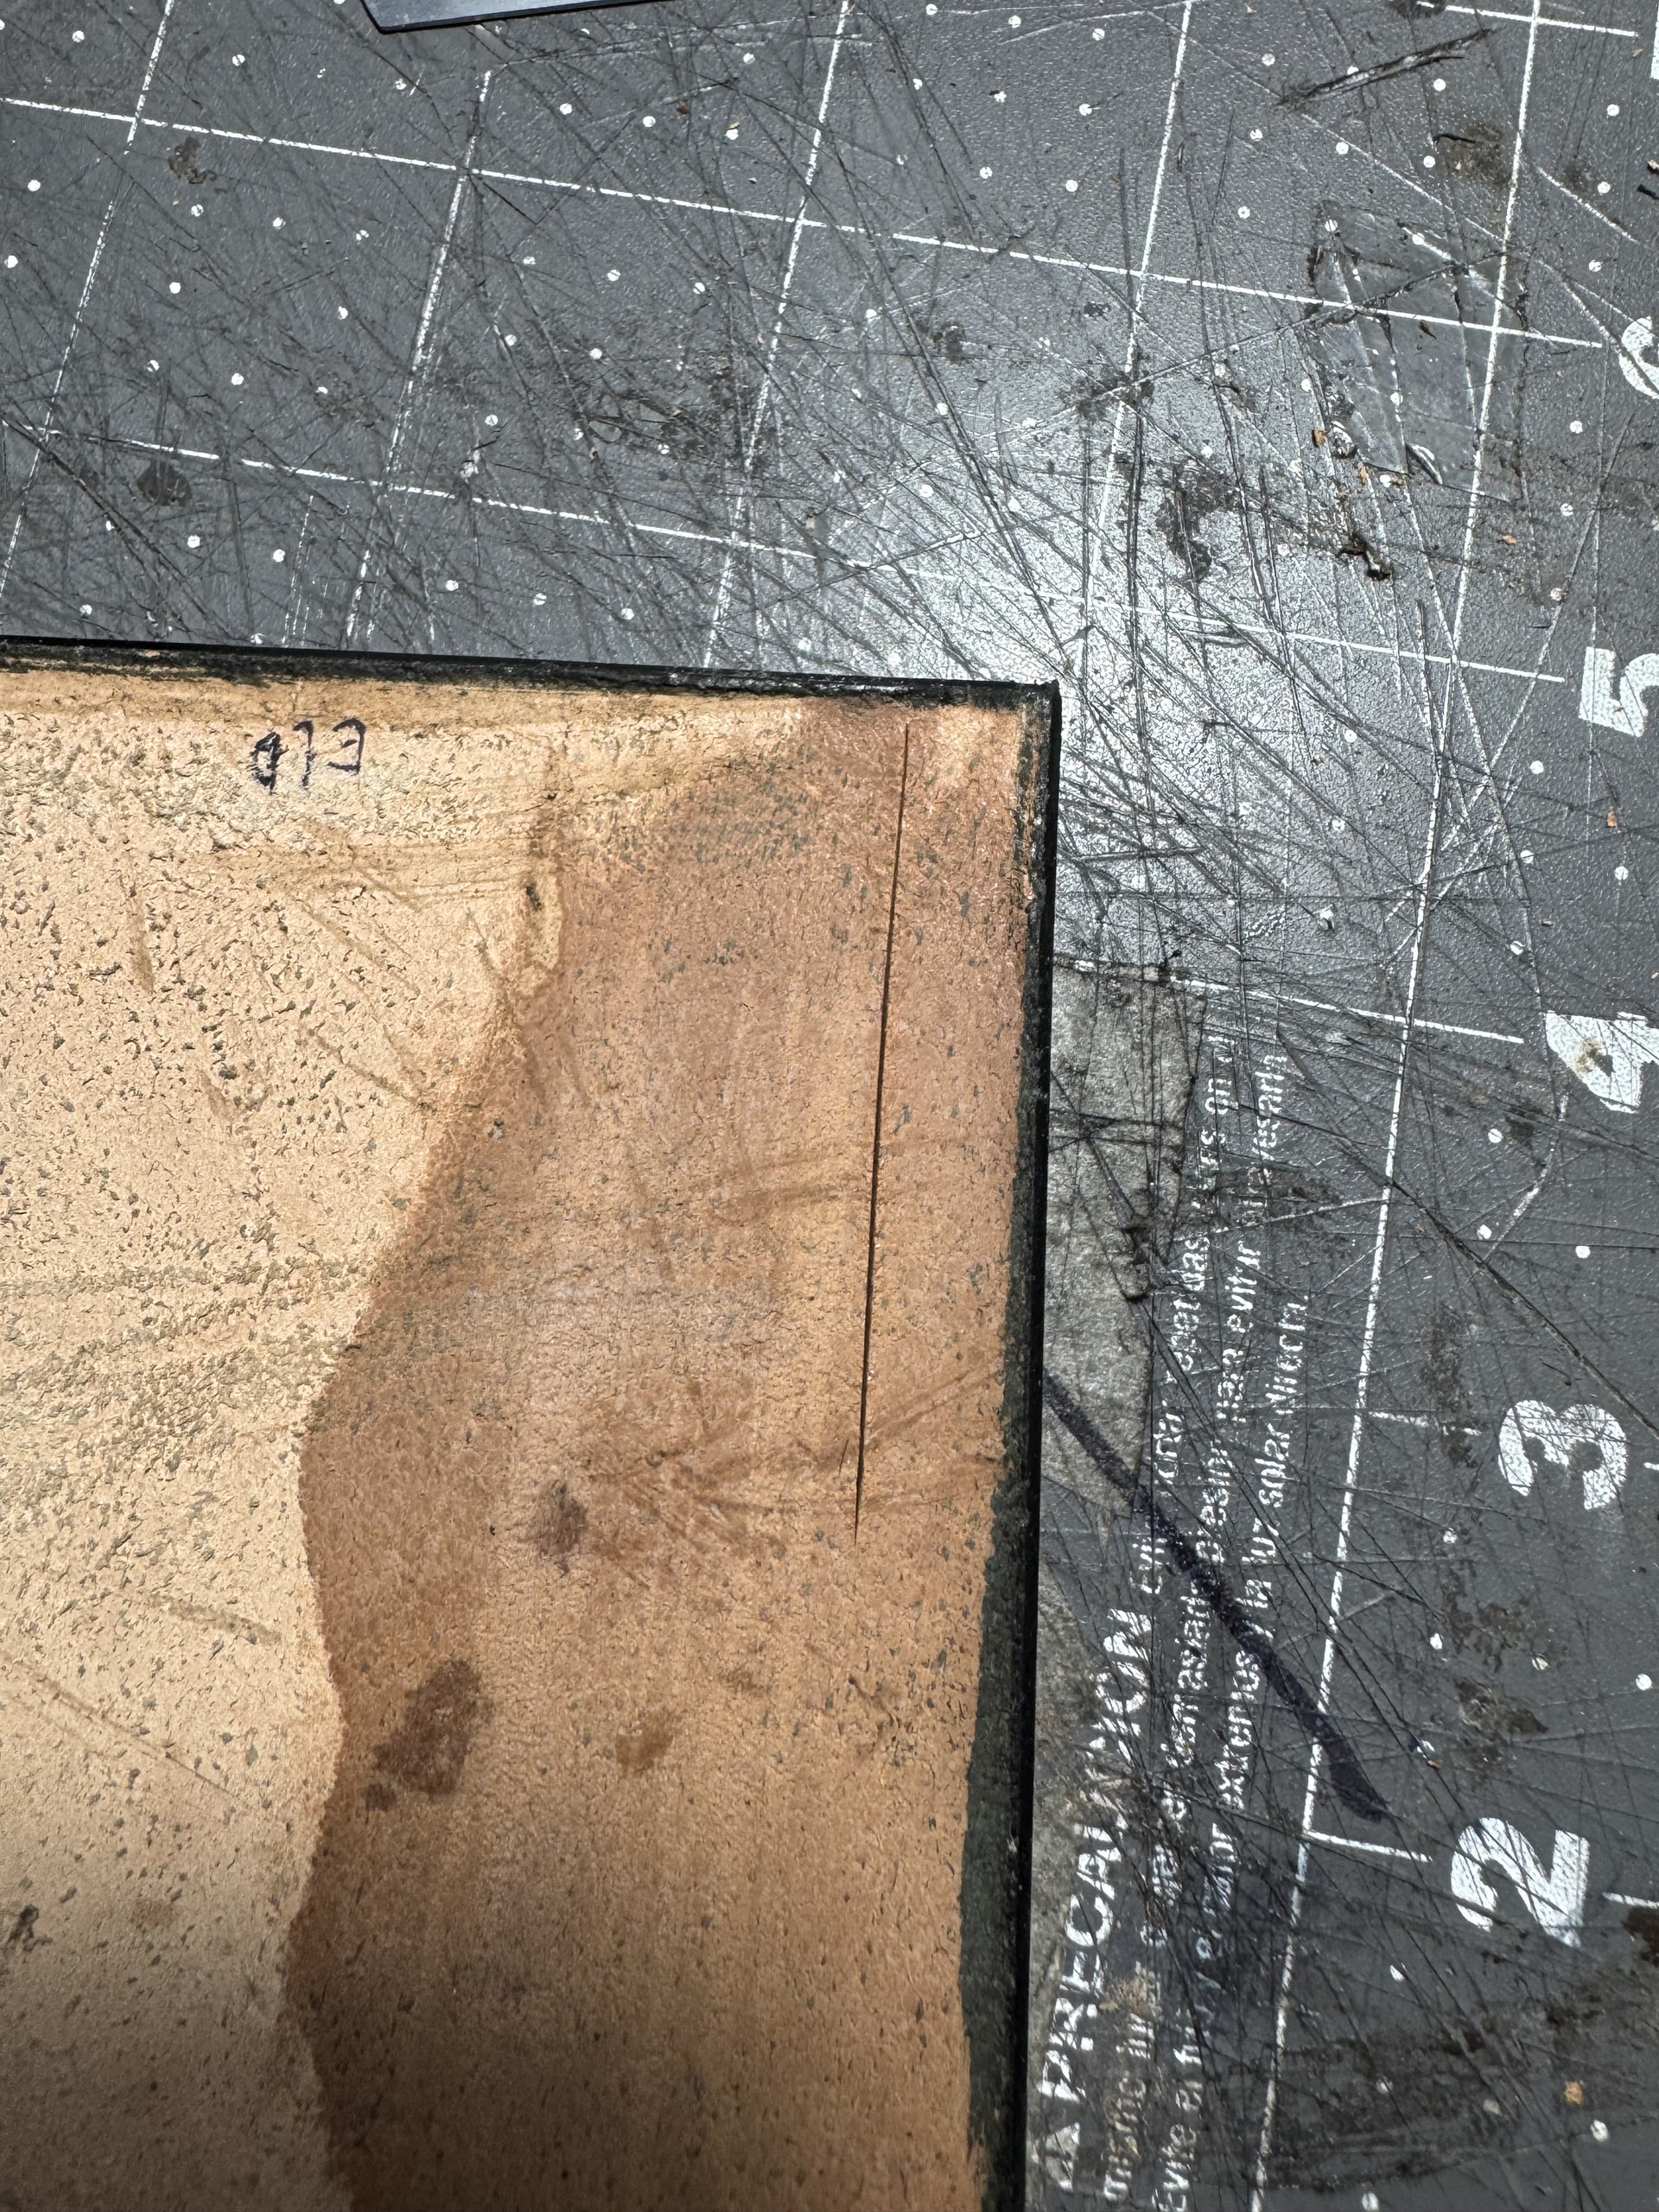
Then the channel is opened. You can see the V I talked about.
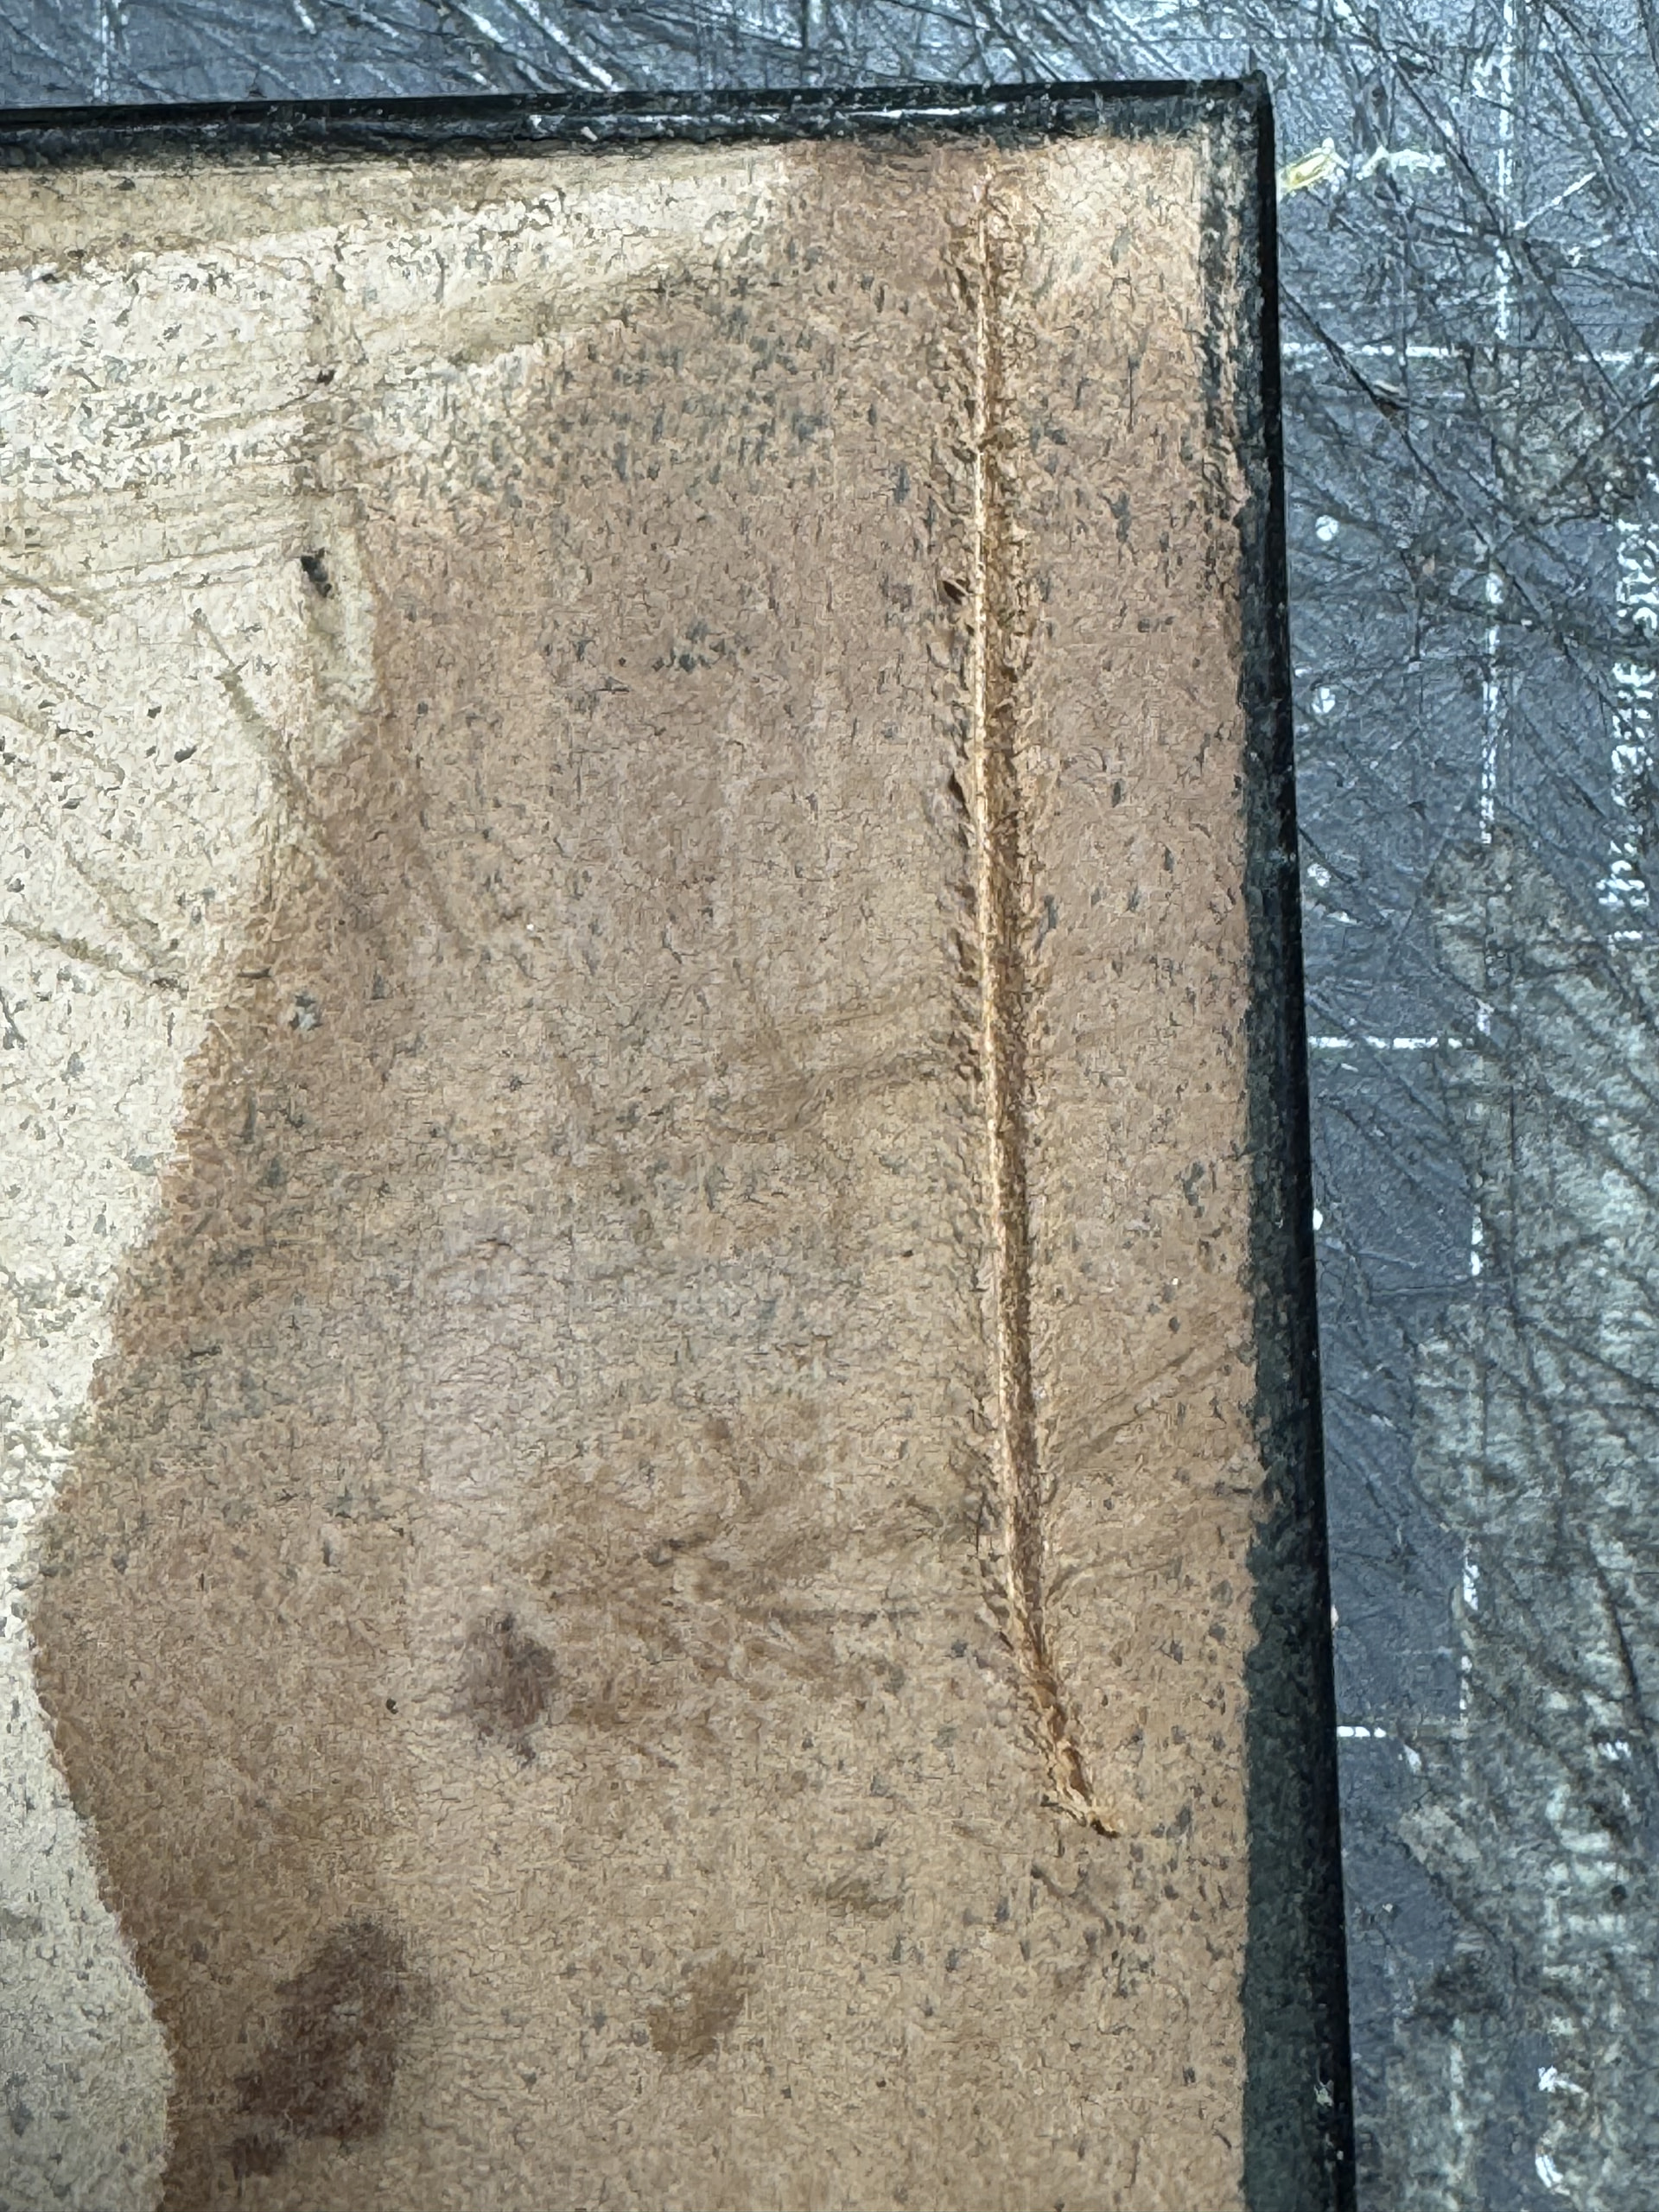
Finally the scraping awl is used and the channel is a perfect U, ready for your stitches. Be careful with how much you scrape. Since this is just for demonstration I did it several times but you can go too deep if you aren’t careful. I am for 1.5 mm depth but it will depend on how heavy your sole and thread is,
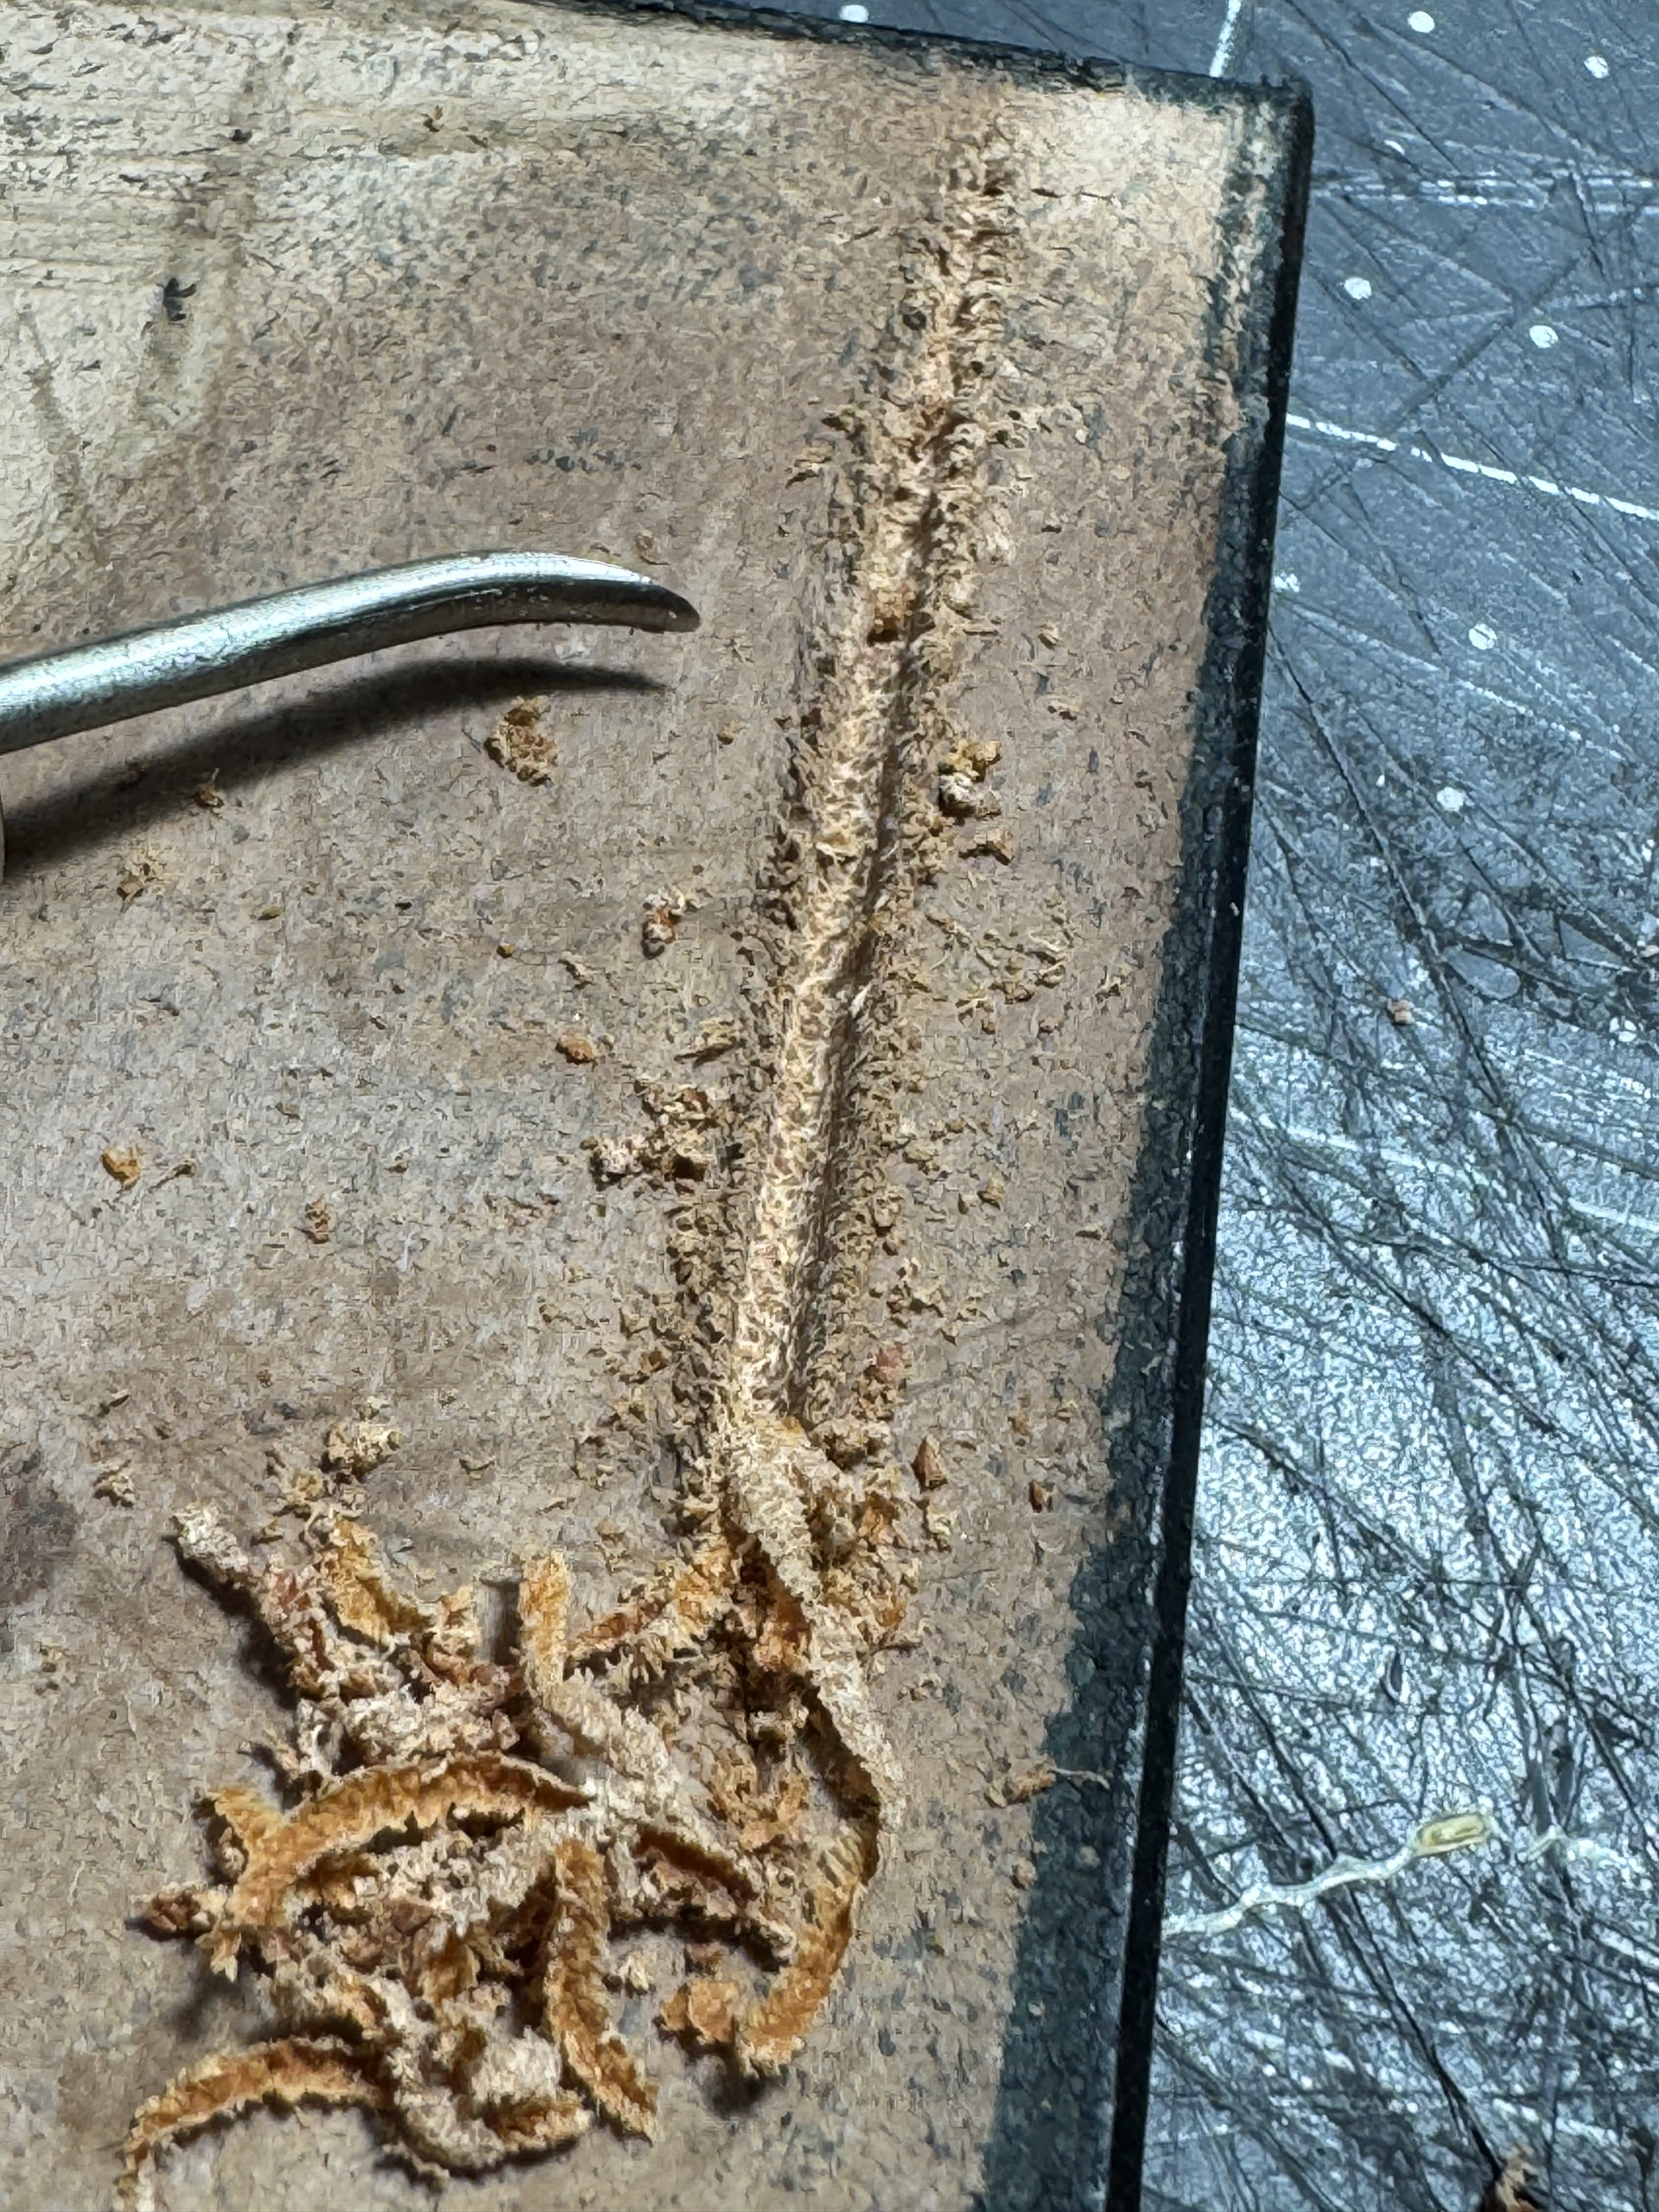
Of course this is not a necessary tool but if you have a broken awl laying around why not give it a try?