I wouldn’t be so hard on yourself!
Thanks for sharing.
I wouldn’t be so hard on yourself!
Thanks for sharing.
Yeah, I have both sizes. I tend to prefer the longer ones when I do anything moccasin, as it lessens any chance of having to start a new thread. I’ve purchased from Lisa a few times now, she’s been such a useful resource.
And that’s good to know on the Ritza. I really couldn’t think of a reason why it would be frowned upon in cordwaining circles, but I just didn’t know enough. I have tried Maine Thread’s version of it, and I still prefer Tiger. MT’s version is a bit bulkier of a thread, so the 1mm Tiger has an easier time going through a needle eye that the 1mm MT struggles at.
That’s very kind of you, and it is much appreciated. I’ve been on Reddit plenty, but have never even heard of Crispin Colloquy.
Okay interesting, good to know. I think I saw her video of using the plow on the feather side. Another possible tool to have to buy. Hahaha
I’m sure I can practice and get good with a knife. I did see quick improvement from the very first one I tried, and then the second one. I mostly just brushed up on the blog post from Arno Shoes on carving. And then using a proper tapered end should hopefully help not bust out the bottom of the holdfast.
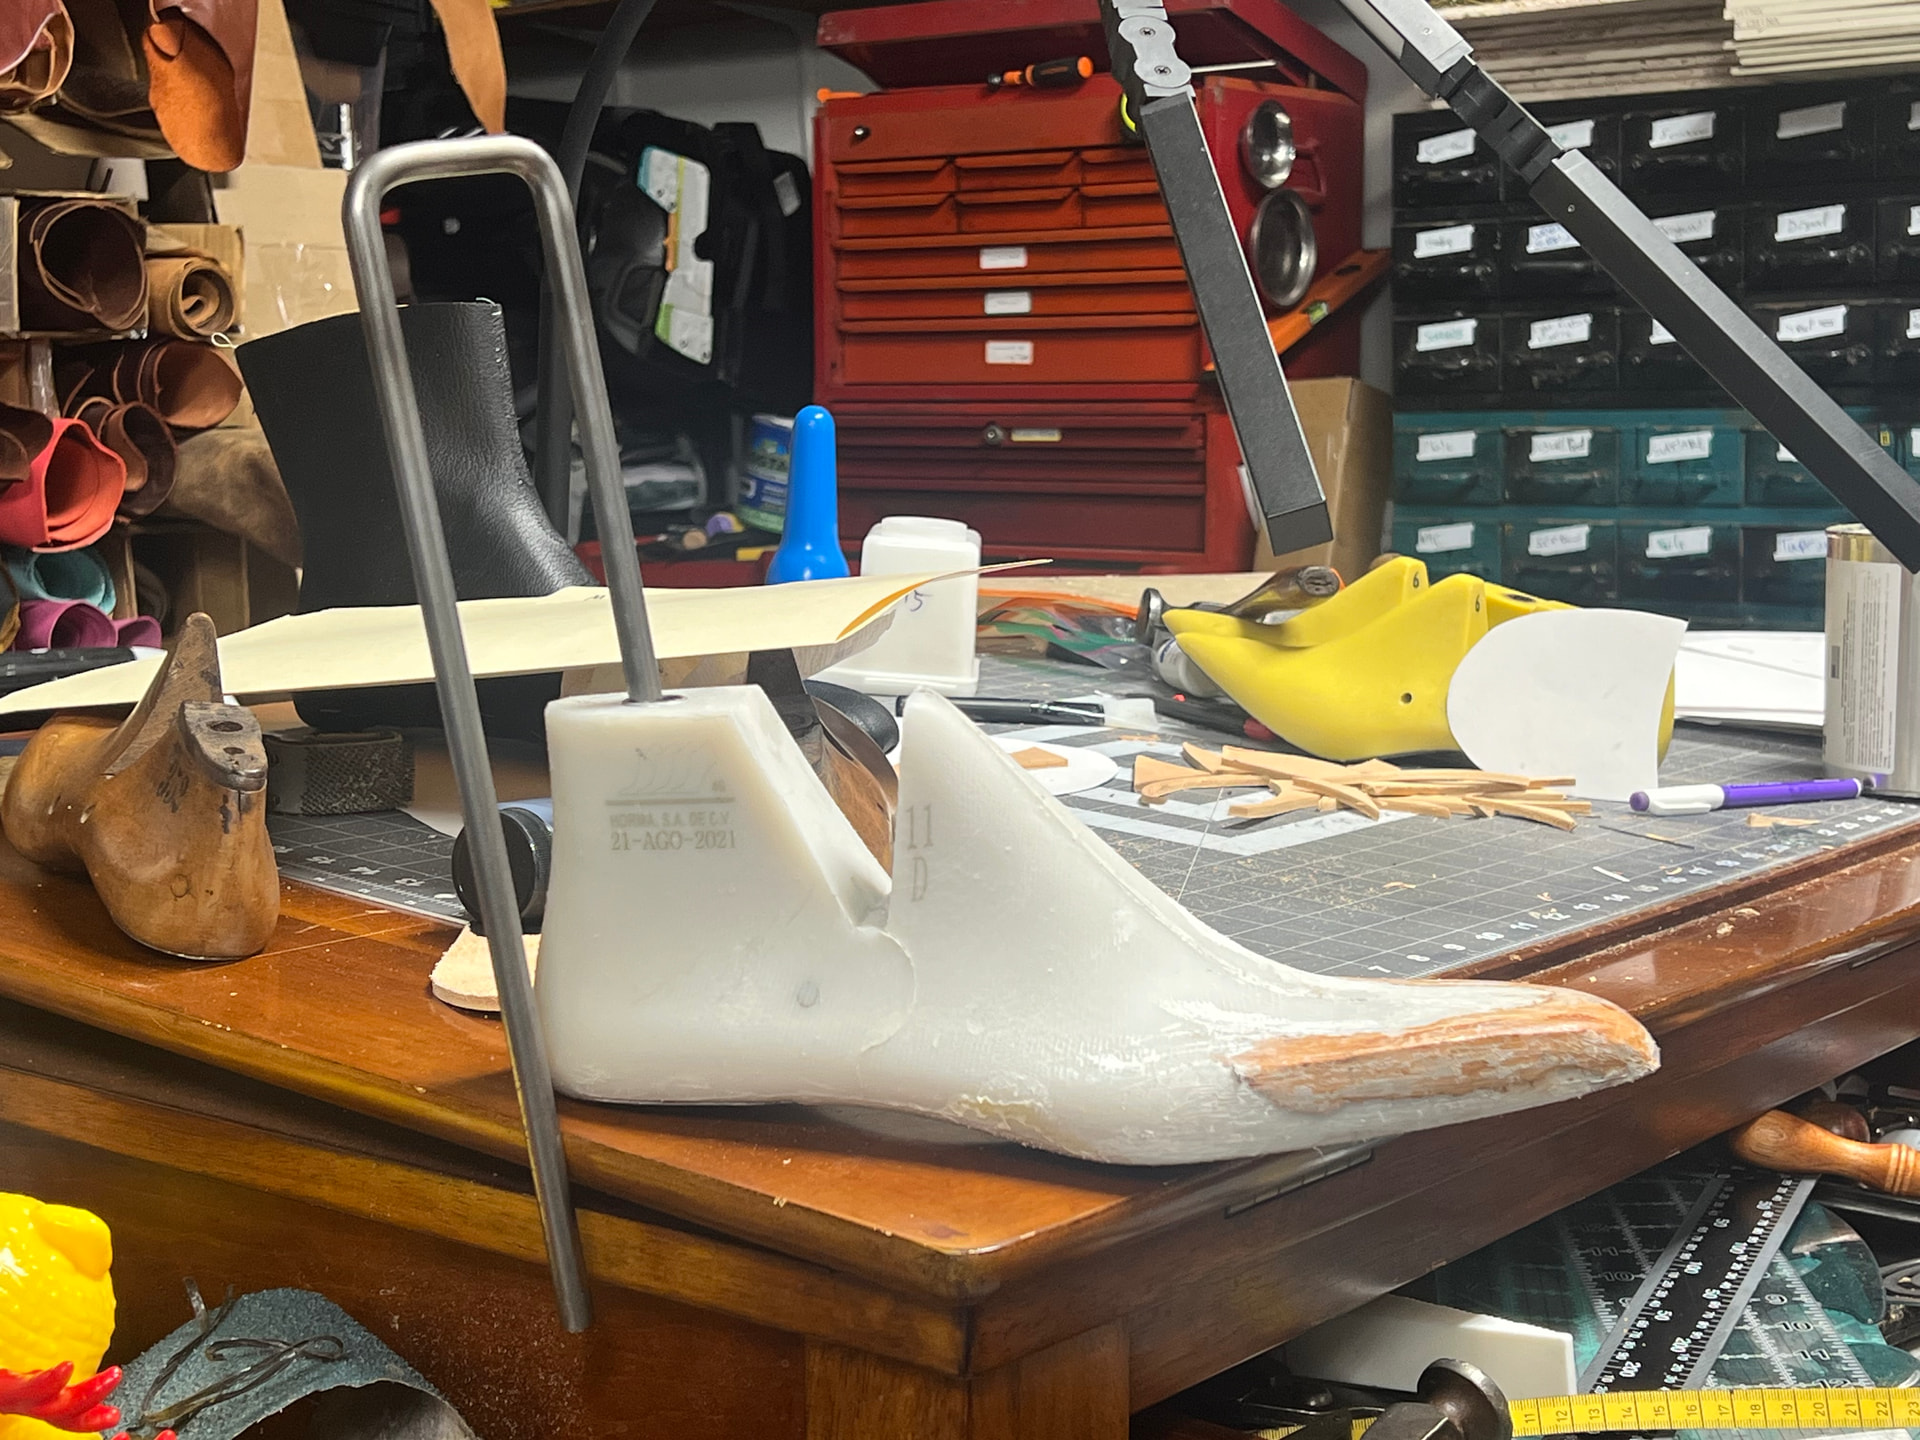
Check me on this logic though. The holdfast should basically look like a short but wide trapezoid, with the bottom being wider than the top, for structural stability. I know the outer hole should come out toward the middle of the side of the holdfast. I was inserting my awl at the bottom of the inner, sort of intending to make a shallow arcing motion, as the awl is shaped to do.
Does that sound basically correct? I’m just trying to catch if I missed anything else with my holdfast issues.
Holdfast carving differs widely between makers. I have notes on a few variations:
Conceptually it’s just - take a bite of insole, take a bite of upper, take a bite of welt and cinch them all together. The bigger the bite of insole the more it’ll resist pulling out. The more consistent the width, direction, distance from the edge, and spacing of the bites, the more consistent the external appearance and also more durable because of the even distribution of force across multiple stitches. There are lots of systems to achieve that consistency including the common one of digging away insole on either side of a little plateau of holdfast. This presents consistent faces for consistent angle and depth of entry and exit and a smooth curve to the stitch line, addressing the depth, width, and distance from the edge consistency problems of eyeballing each stitch. Also it makes a little inside recess to bury the stitches and minimize wear, and an outside recess that does the same as well as angle the welt up and pull it flush to the insole and upper to the external appearance. A million variations on how you do that but same principles and they all seem to work for people who do the same thing every time for years. Trapezoids, squares, inside grooves and outside bevels, flaps you fold up and glue to eachother, or just passing the awl into and out of an uncut insole (the latter usually without a welt), they can all work if you practice them, holdfasts are just tools to create consistency
I pretty much just do it like a V. I’ve thought about doing it like the top half of a K but it’s never seemed like it would make that much difference so it’s not something I obsess about. I just make the groove and move on.
Thanks for sharing! I’m sorry I missed your demo at the event.
Thanks! And howdy in England! I’d love to go be a fly on the wall at that independent shoemaker’s conference some year, the talks always sound incredible, and from such knowledgeable people
Okay cool, thank you for the info guys. I think I will continue trying with knives, practicing on some scrap first. Conceptually, it all seems relatively straight forward. But the actual practice of doing it can be a little less than. Haha
That’s a real solid little moccasin stand. I may have to grab one at some point, even if I don’t really have a need for a new one.
Tom does solid work for sure
Man I know I’m late to this and you have probably figured things out by now.
I started using a craft tool stitch groover but now use the Osborne #34. The smallest groover is about perfect size for 7cord thread.
This and an American channel knife as recommended by DW Frommer are how I have been cutting my hold fasts as of late. Victor Starko made me a 3 mm welt knife, which I believe he is now stocking regularly.
There was some decent discussion a while back, here
Enough about the tools I use, off to the process.
#1 use the Osborne groover first. I use 3/16 for the feather except at the toe which I go to 1/4”.
So for the sides set the Osborne 34 at 5/8” and go up to about where you estimate your toe cap will end on both insoles this will be the stop point for 5/8” groove . Re set the groover to 11/16. At that point transition smoothly into to 1/4” feather around the toe.
With the American Chanel knife set for 3/16” cut width, cut depth depending on your insole thickness. Cut the sides of the feather channel on both insoles up to the transition point. Re set cut width for 1/4” and finish the toe feather transitioning smoothly from 3/16 to 1/4”.
Open the cut you just made and proceed with the feather knife.
All of the above cuts can be done free hand with a regular knife. It can be helpful to use some masking tape to set depth of cut. The important thing is to be consistent and keep a SHARP blade wether on the groover or the knife.
I’ve got a bag of Craftool-style stitching groovers, plus freehand Osborne gum tools. I’ve basically gone to cutting freehand with a knife all the time.
I’ve had a really hard time getting the gum tools to gouge where I want them to gouge. I have to push pretty hard to cut the fibers of bottom leather, but that makes them liable to run off my lines. The groovers with guides can help, but I find myself wanting to vary the distance from the edge.
So I end up marking my line with a ballpoint point, then incising with the very tip of a sharp knife, then cutting out a triangular trench, like a mini version of the inside of a holdfast.
Have you sharpened and stropped your groove tools?
This makes a big difference. Also were you cutting the groove before or after the feather? I stared doing it before so I had the fulls and smooth edge of the insole to rest the point of the compass style groove tool on. That part made a big difference in guiding the tool.
That’s a good reminder.
Seen any good videos on stropping or sharpening methods?
I have had some success by cutting a groove, then rubbing some compound into the groove and running the tool backwards through it to strop
Knives or groovers?
Honestly knives depend on the type and length of knife.
I prefer to drag sharpen when finishing but when setting a bevel I will push or even do back and forth to set the edge. Groovers are pretty easy as you just match the angle already there and drag backwards mark the polished metal with sharpee to determine where you’re contacting the stone and adjust accordingly.
For stropping use whatever compound you prefer in FIRM leather. Don’t lift the blade angle higher than the sharpening angle. Alternate back and forth and yes you can strop too much in one sitting. Normally 4-5 strokes each direction will take the burr off.
A good place to look for stones would be dans whetstone. Make sure to check their specials page.
If you have long knives, a long wide stone makes things much better.
That’s a neat trick!
So I haven’t been far off, but I have to allow I probably haven’t been doing it often enough.
Old Tandy disposablades mentality still at work, I suppose…
This also works n edge bevelers.
A string with compound of the correct diameter works as well.
As far as knives go depending on what it needs.
1 I will uses back and forth strikes to set an initial bevel. Sharpen me side until there is a bye the length of the blade. Work the other side to raise a burr on the second bevel. This bevel can be felt with the thumb nail by running it from the spine of the blade out towards the cutting edge and you will feel a “curb” or nothing. The curb says there is a bevel raised.
2 moving to a finer stone I will remove the burr from the previous step and refine the edge. Depending on the use of the knife I will go to the strop at this time or I will move to a fine black Arkansas stone and this will normally take no more than 10 or so alternating forward strokes with pressure reduced each stroke. Then move to the strop. Any combination or all may be needed for different knives.
Dont fall into the assumption that a knife is sharp out of the box or stat stripping will always return it to Sharp.