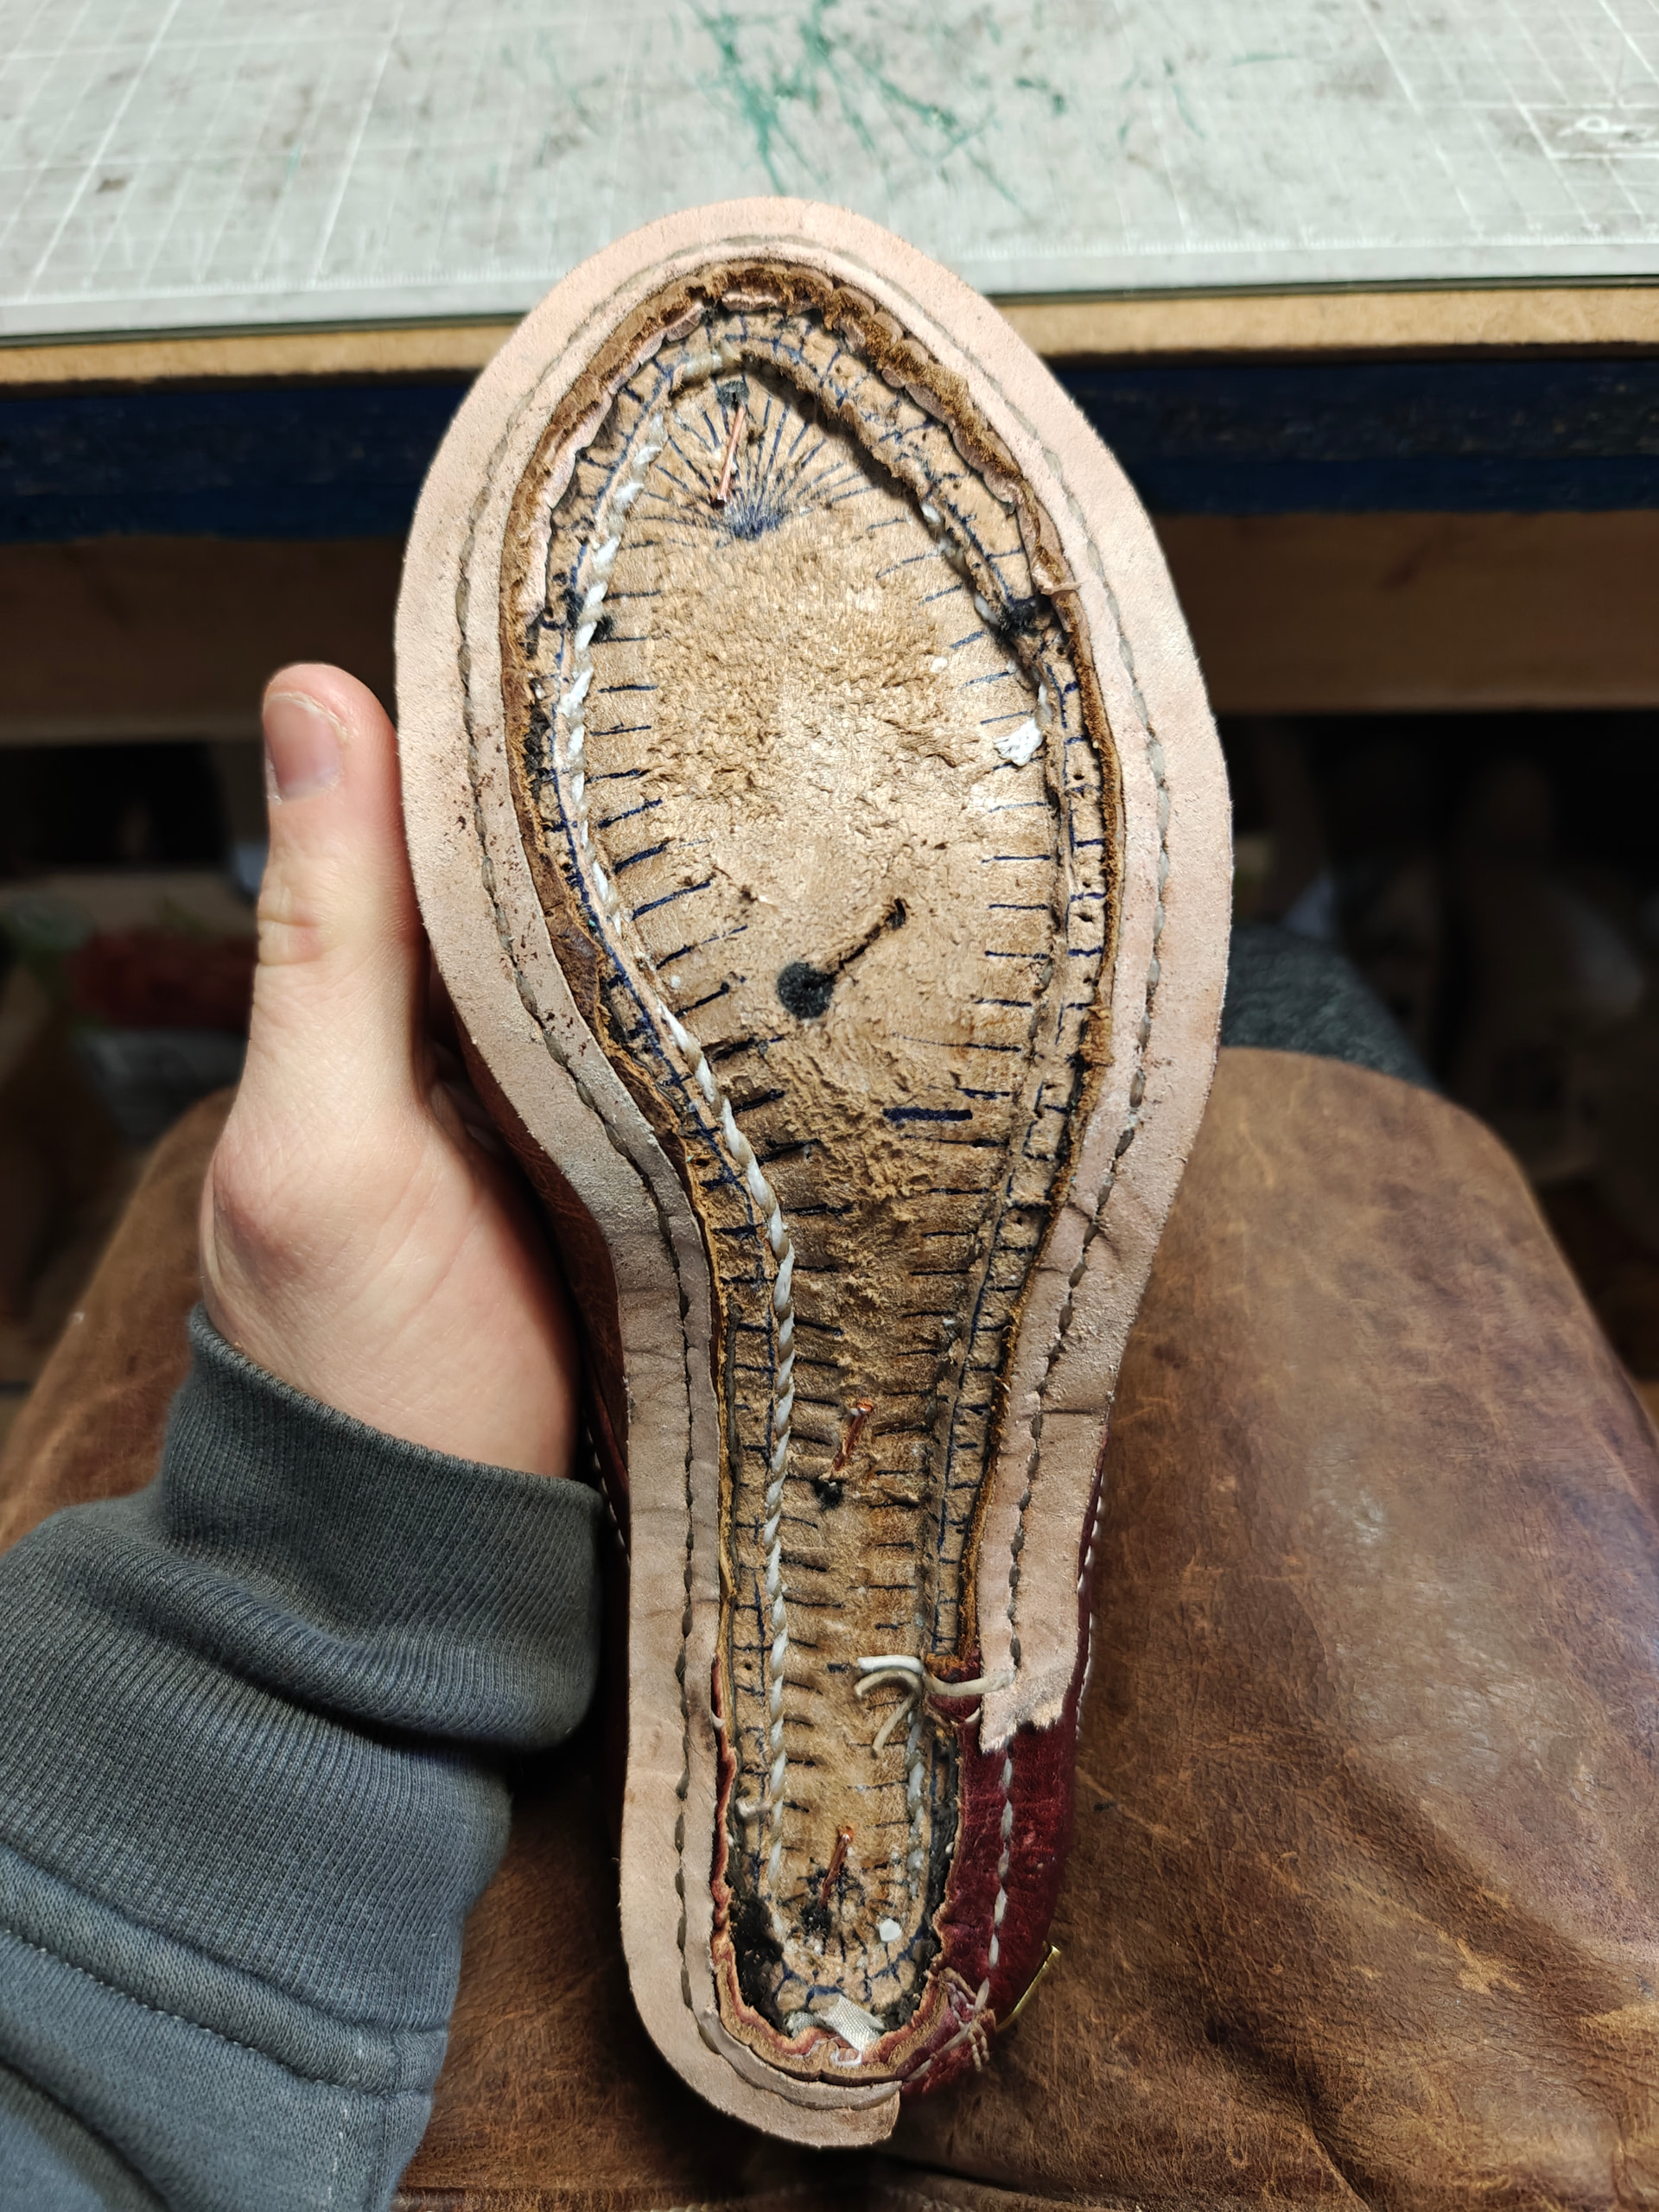
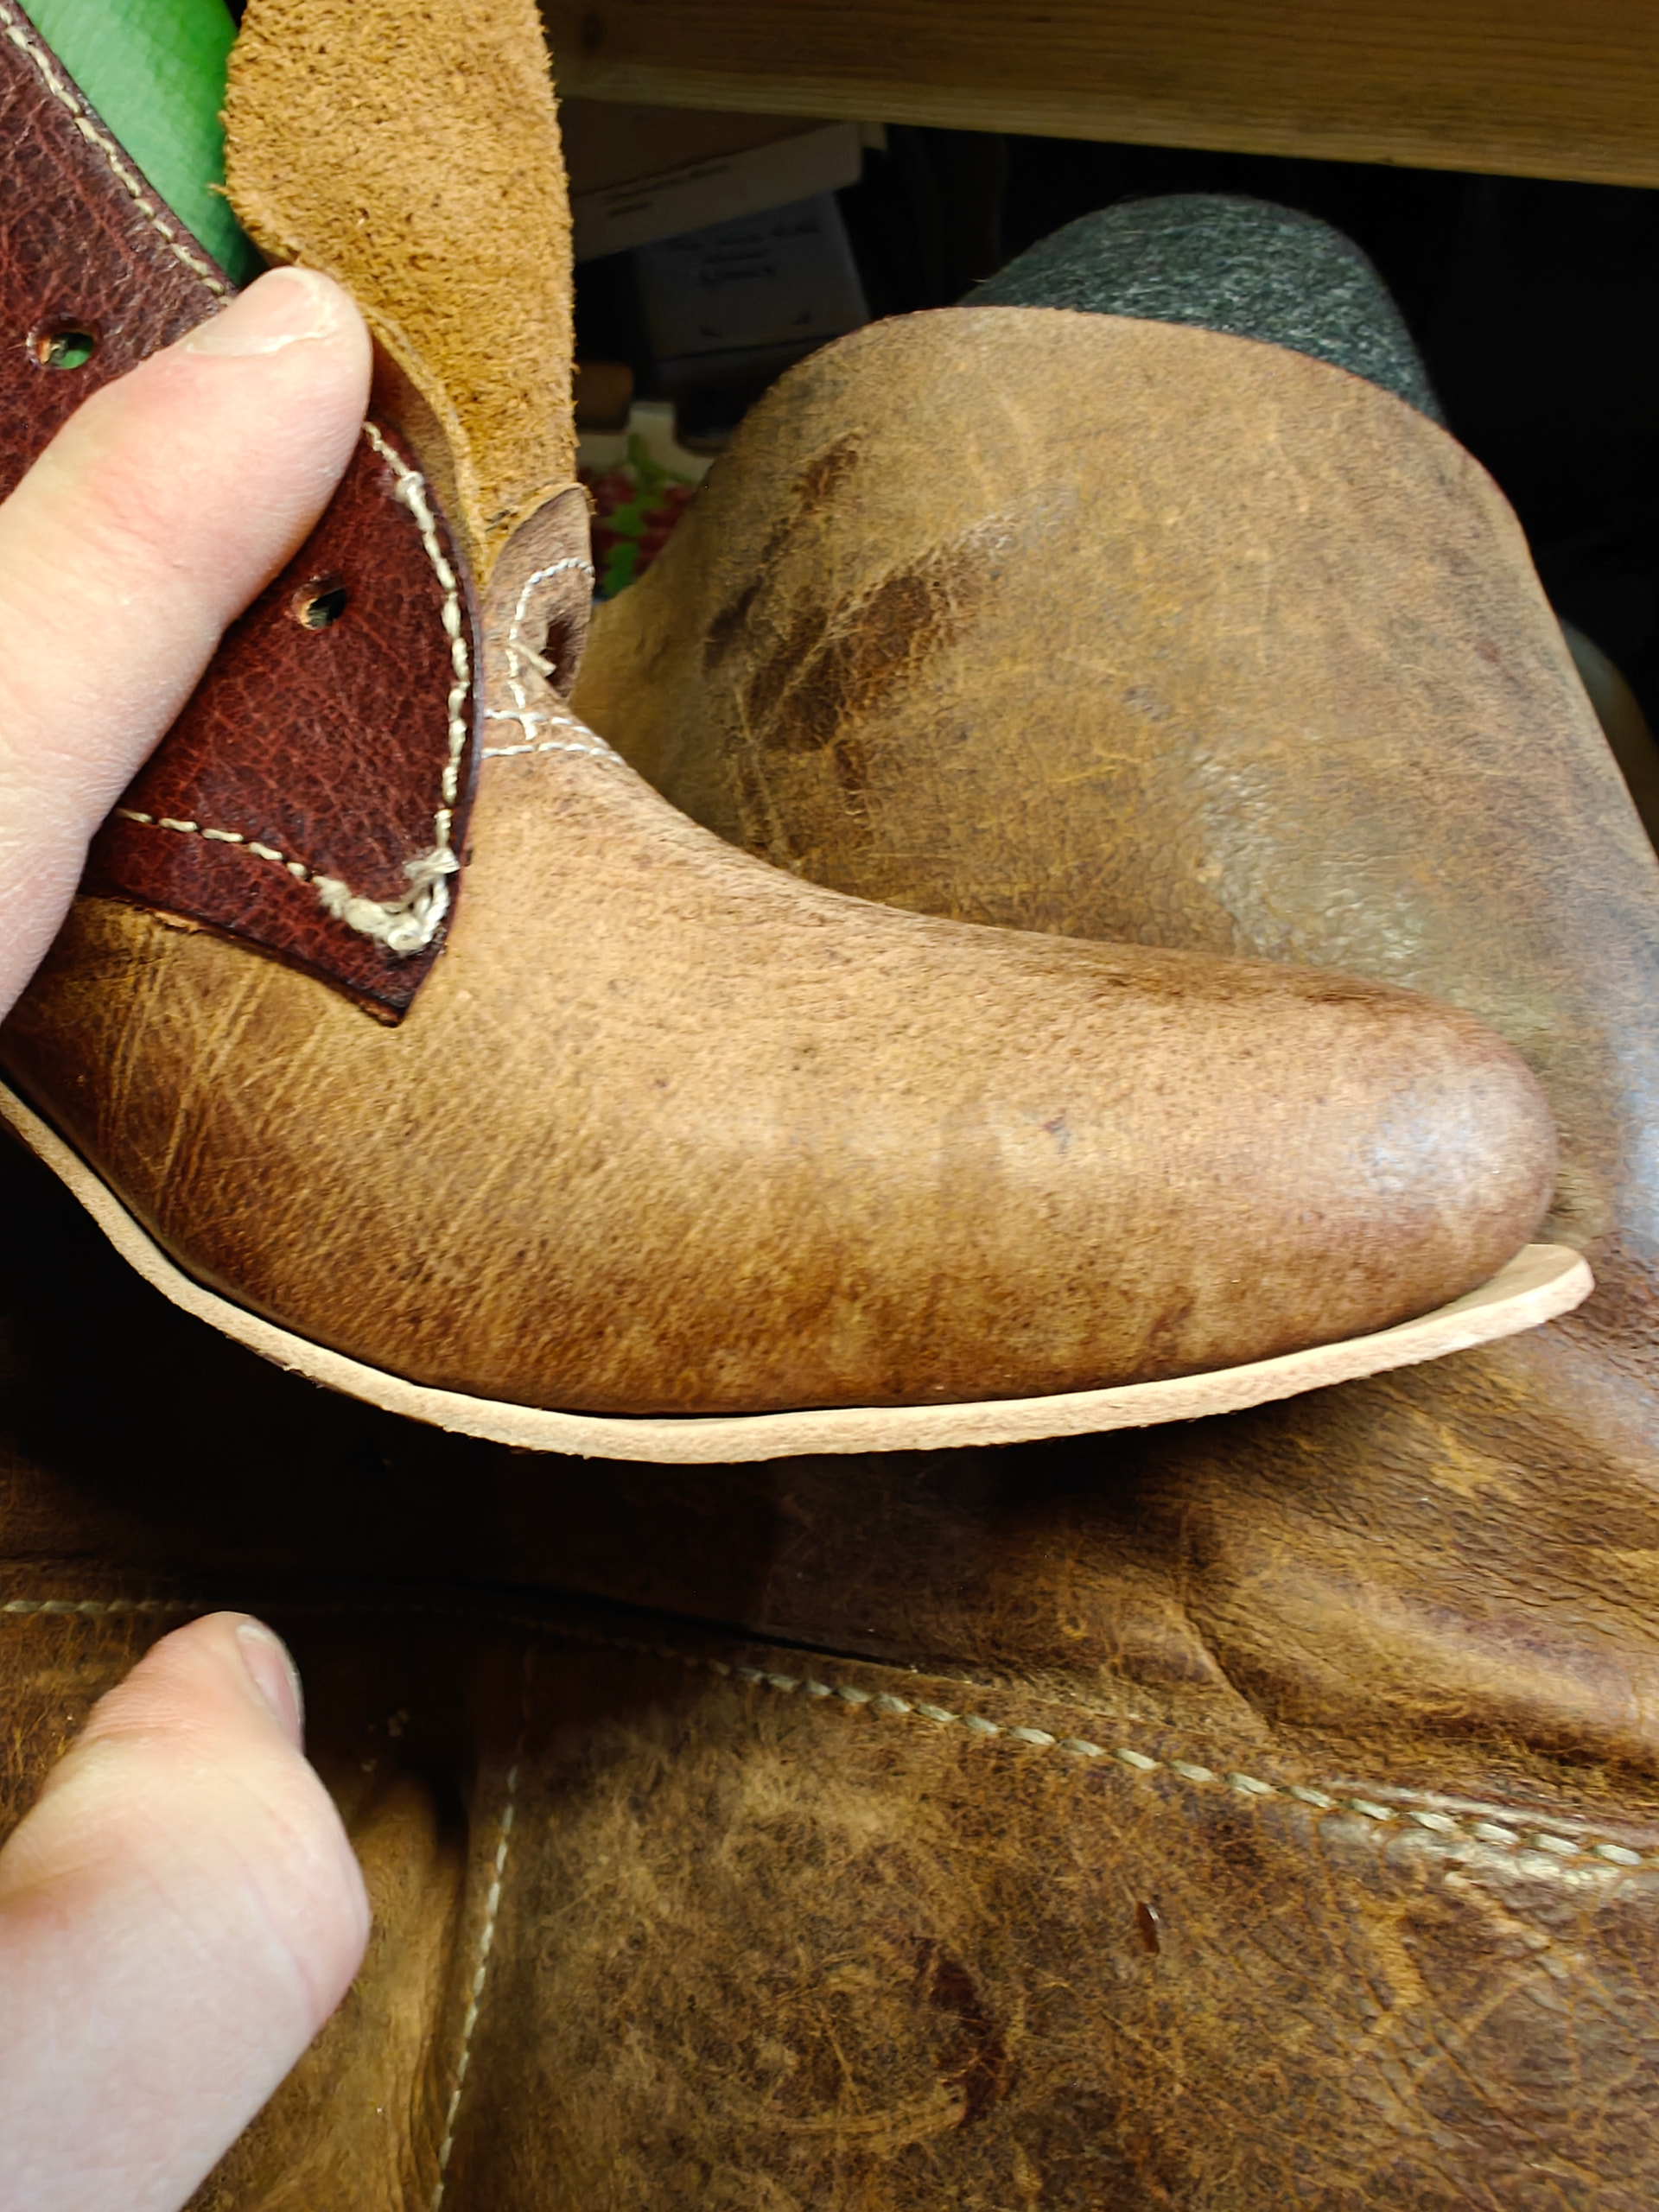
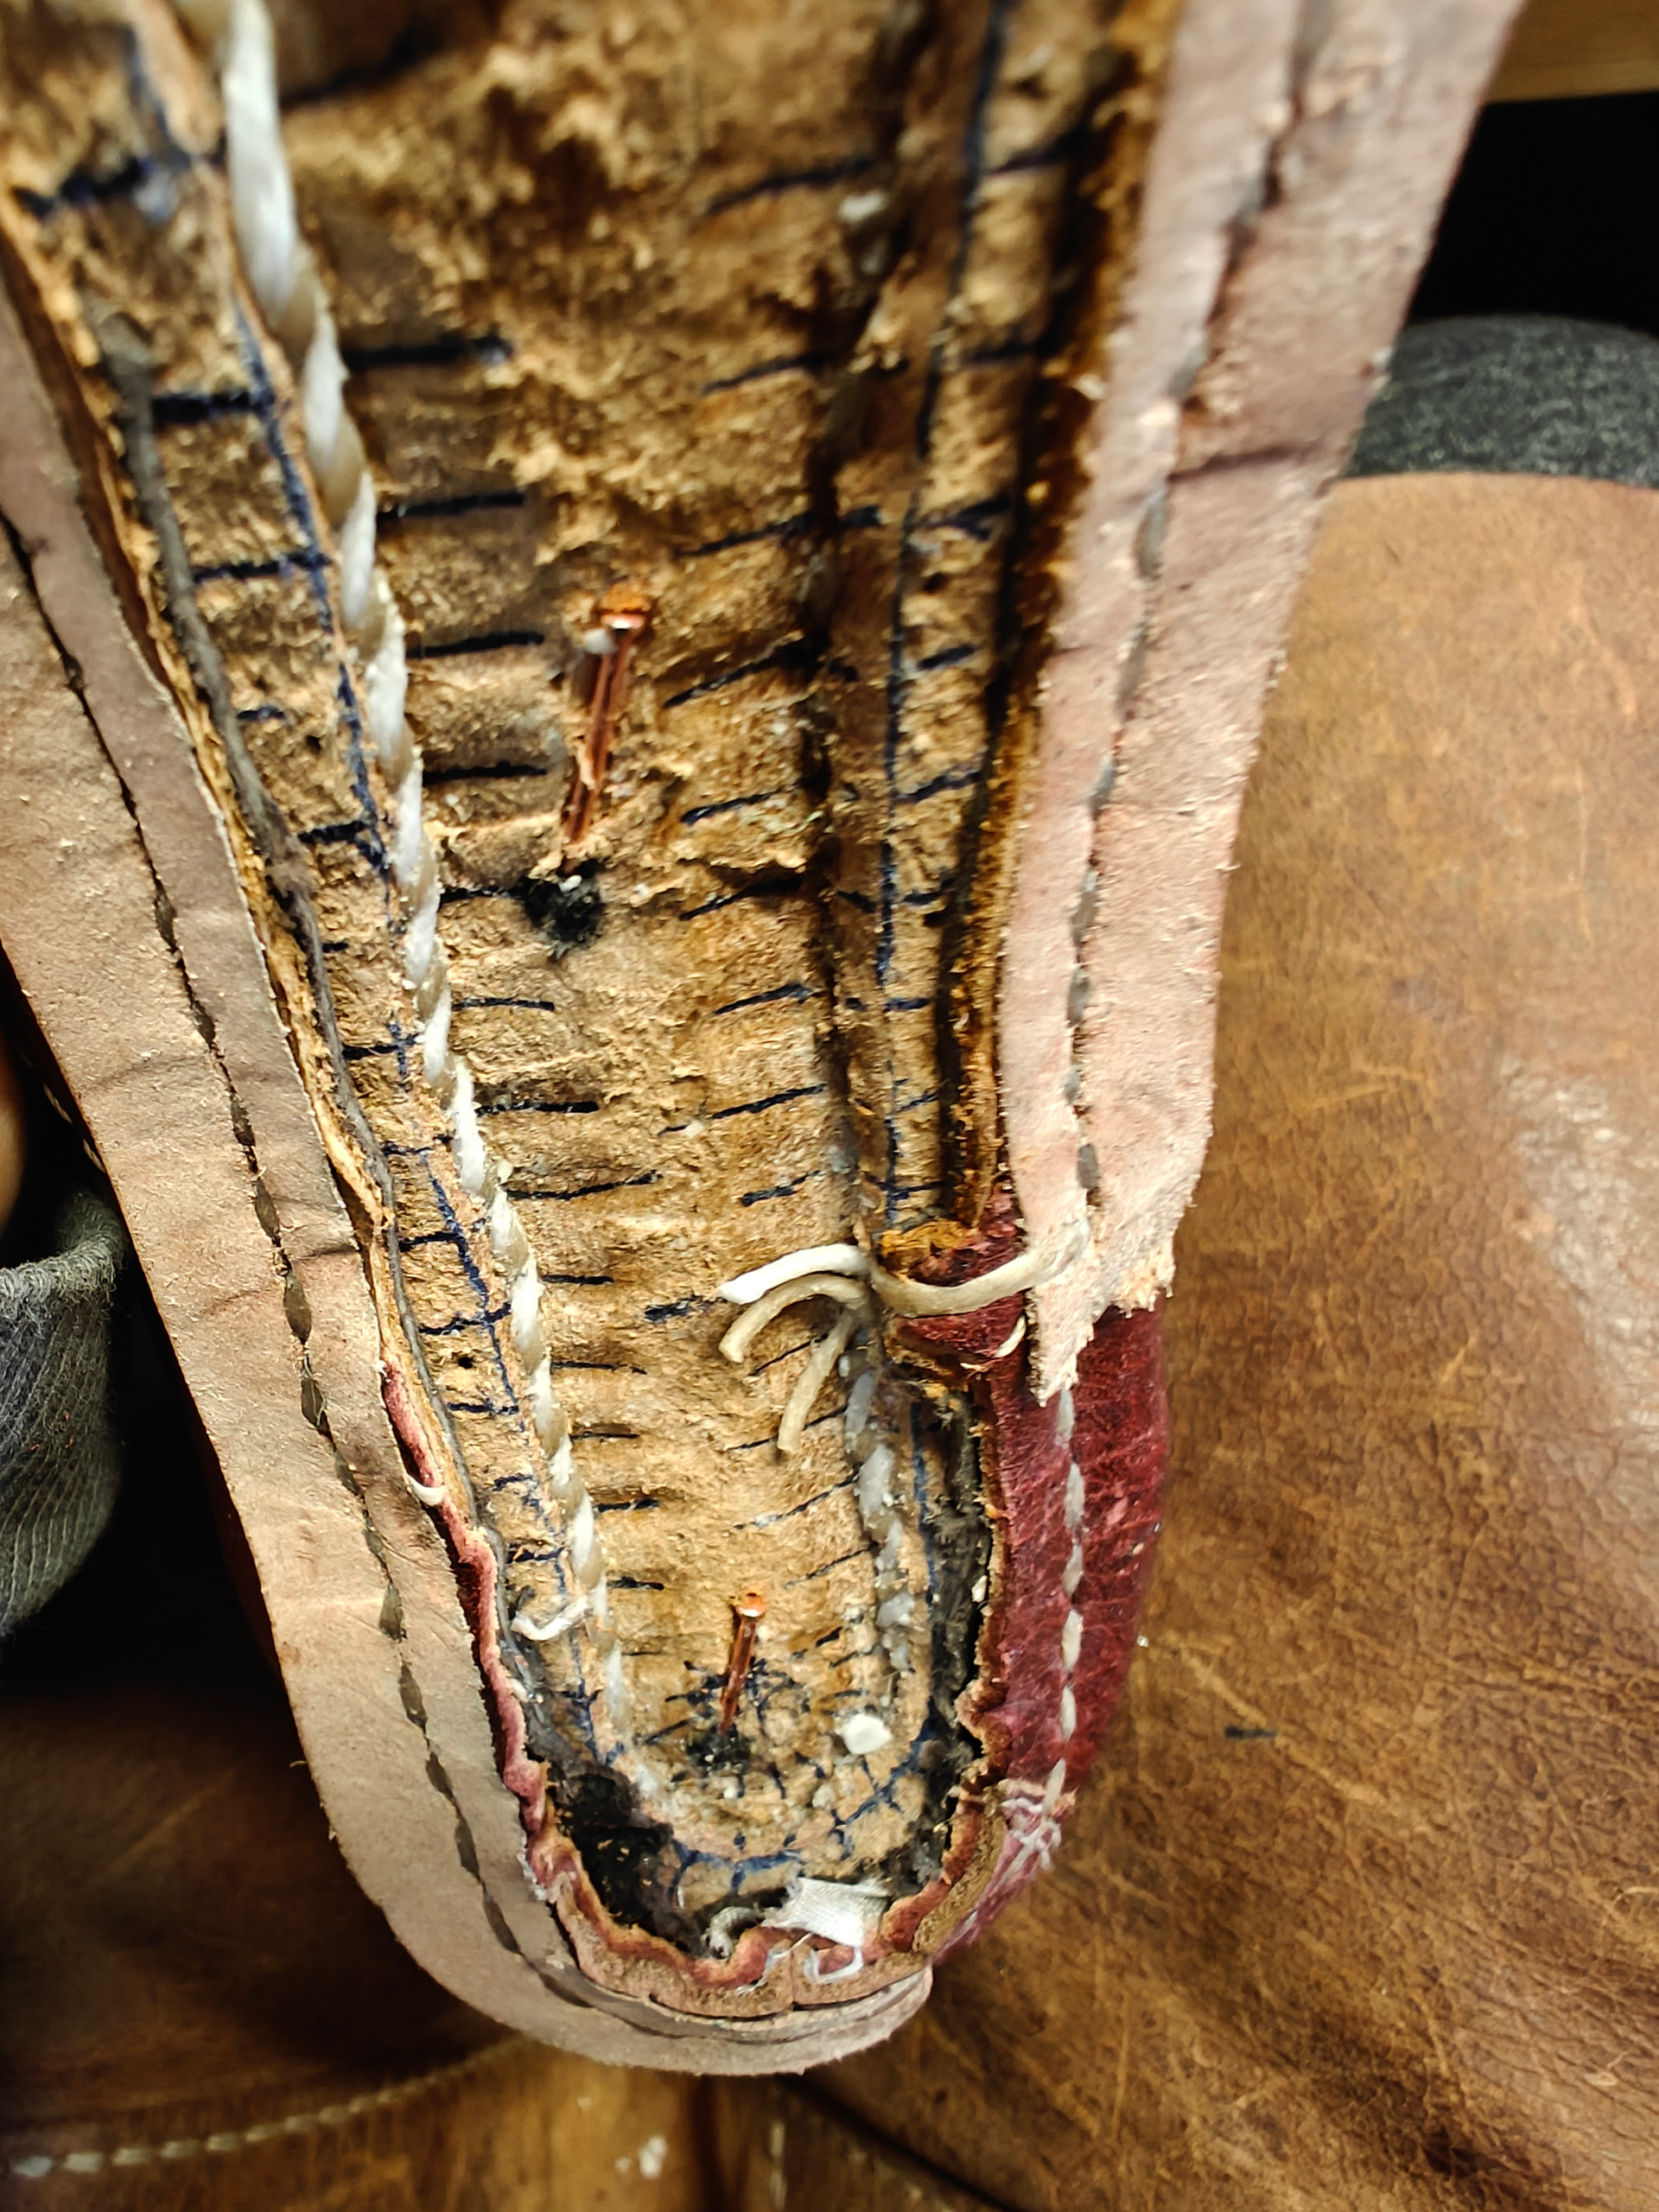
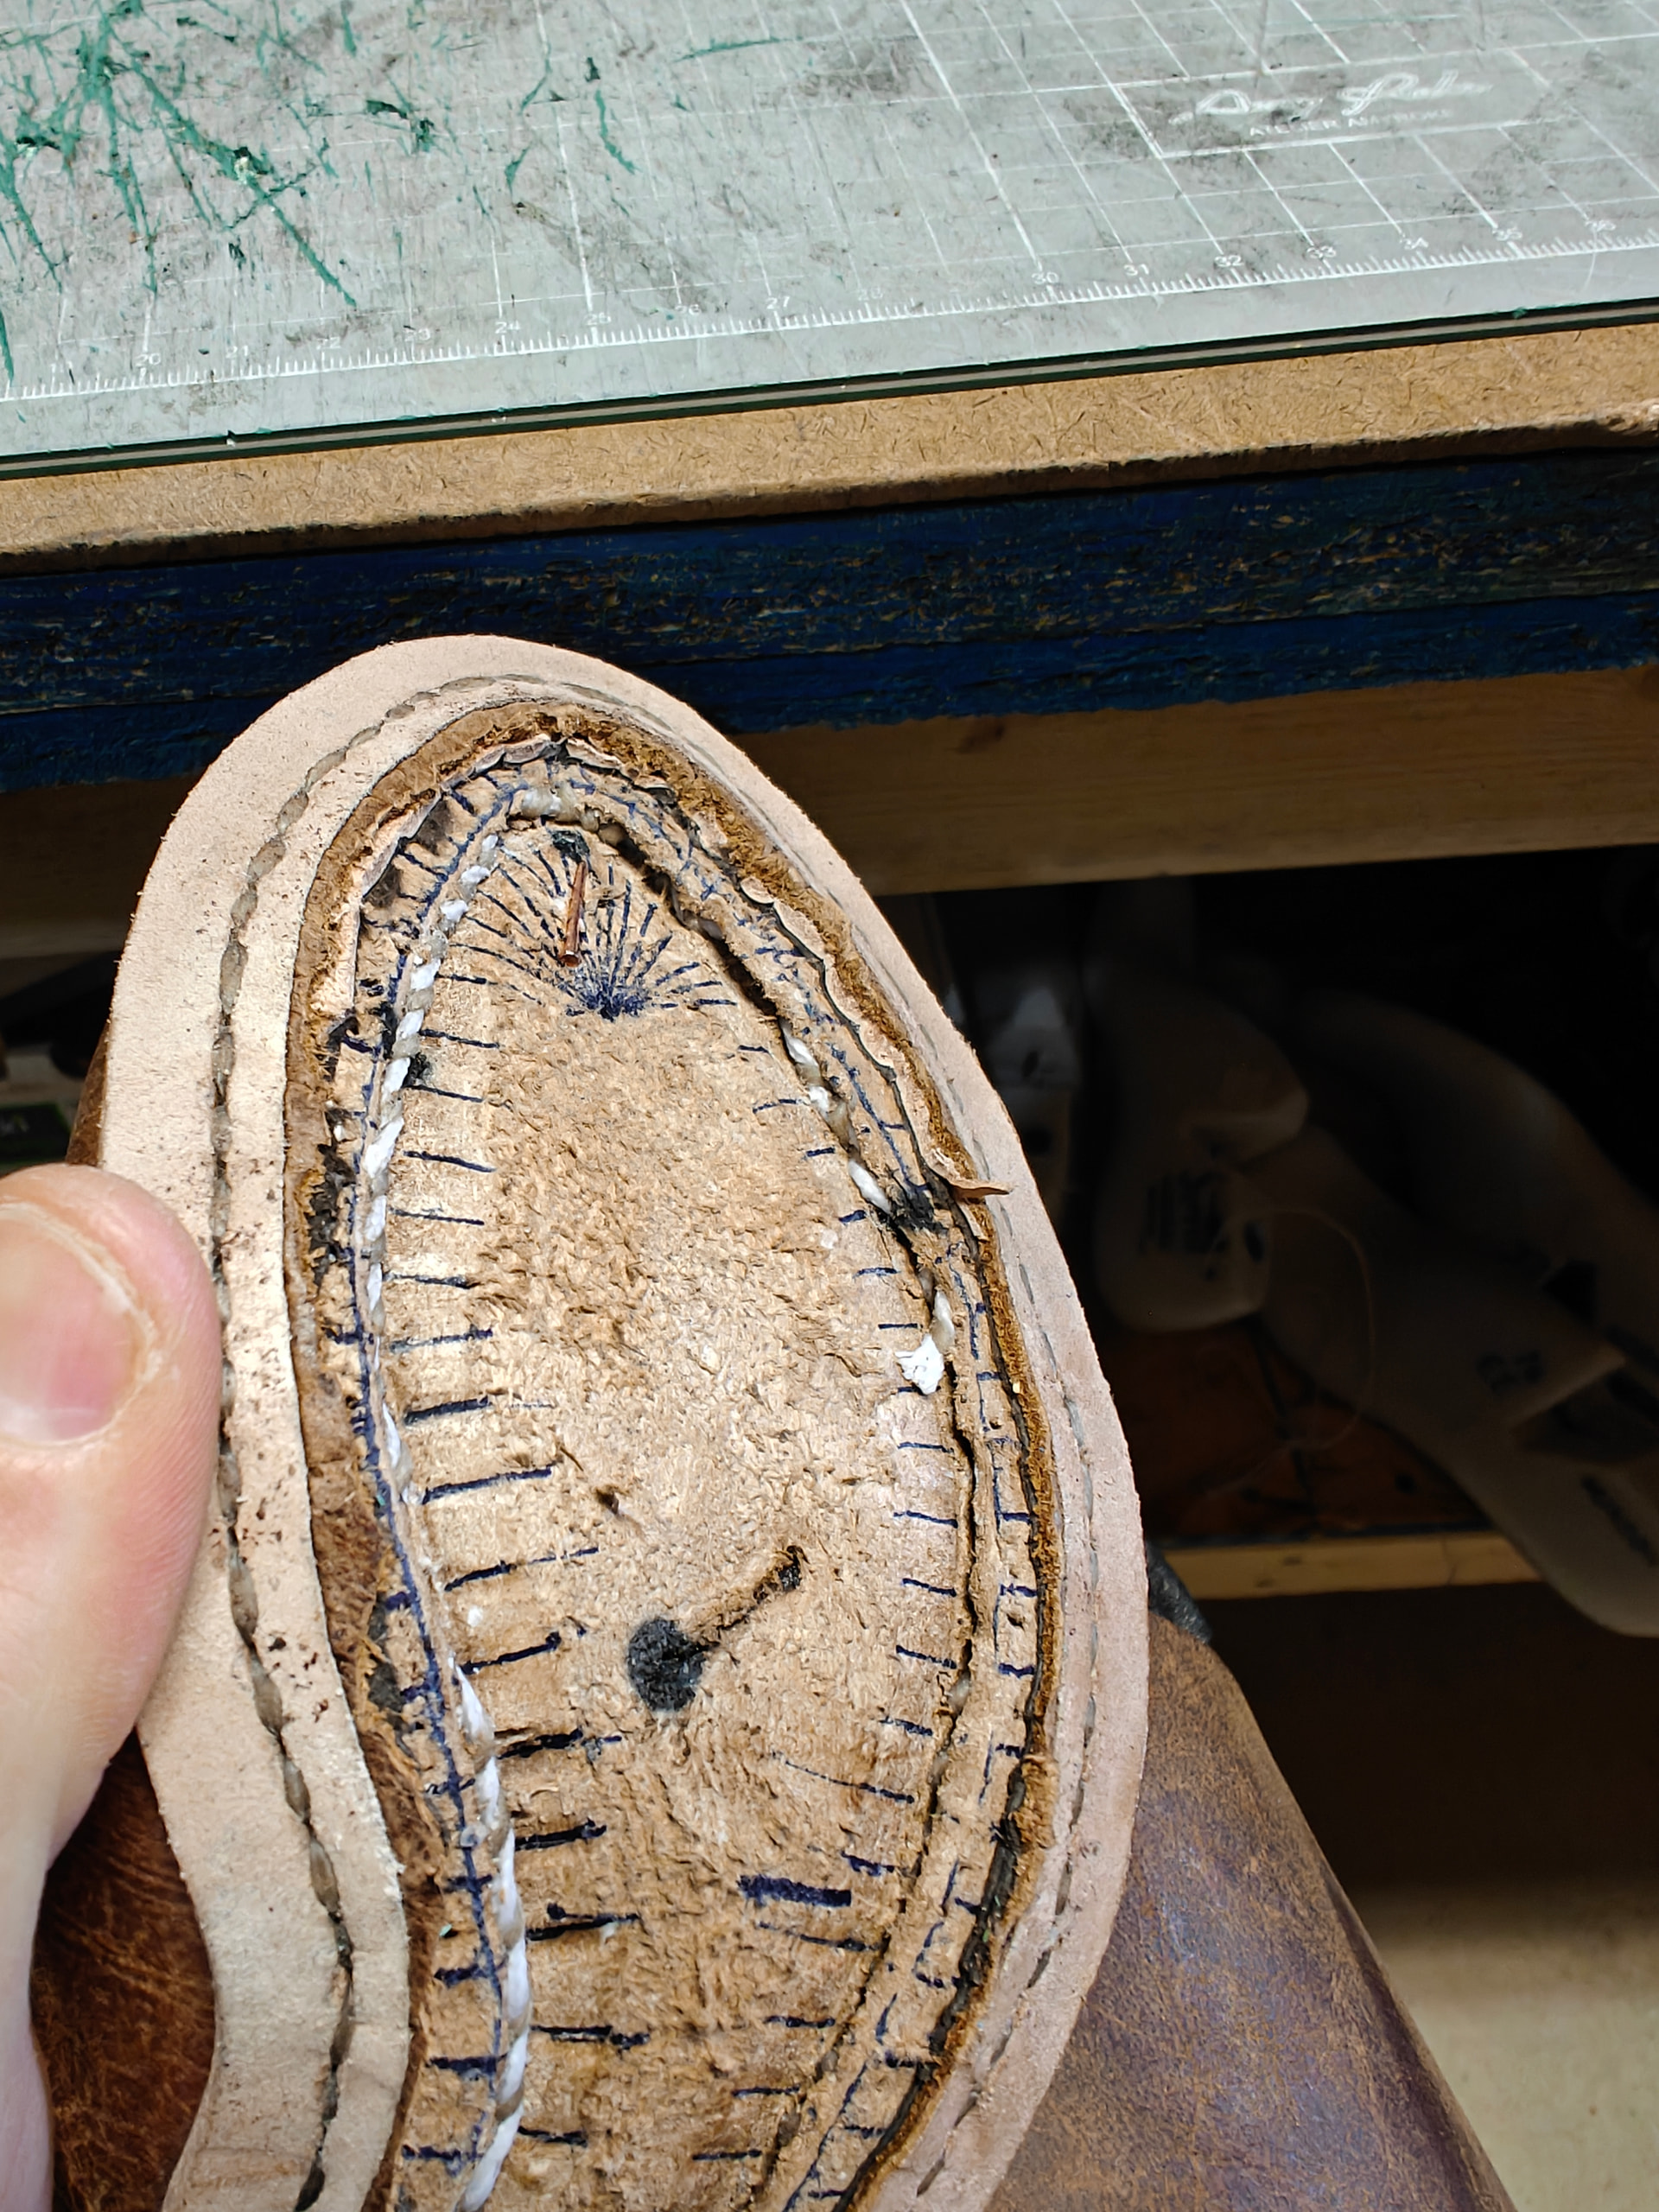
These are the practice boots I am learning various things on. As we talked about in my intro post, I had some issues with the inseaming thread sinking into the holdfast. I think that was likely a combo of channeling issues, opening the holes too much, and a thick knot of thread getting pulled through.
I plan on trying some fishing line bristles to allow the thread to pass through more easily. Also want to only push the awl just barely through the other side, as to not widen it too much. I obviously need work on my knife control. But interweaving the white 1.7mm tiger thread seems to work as a smart buffer.
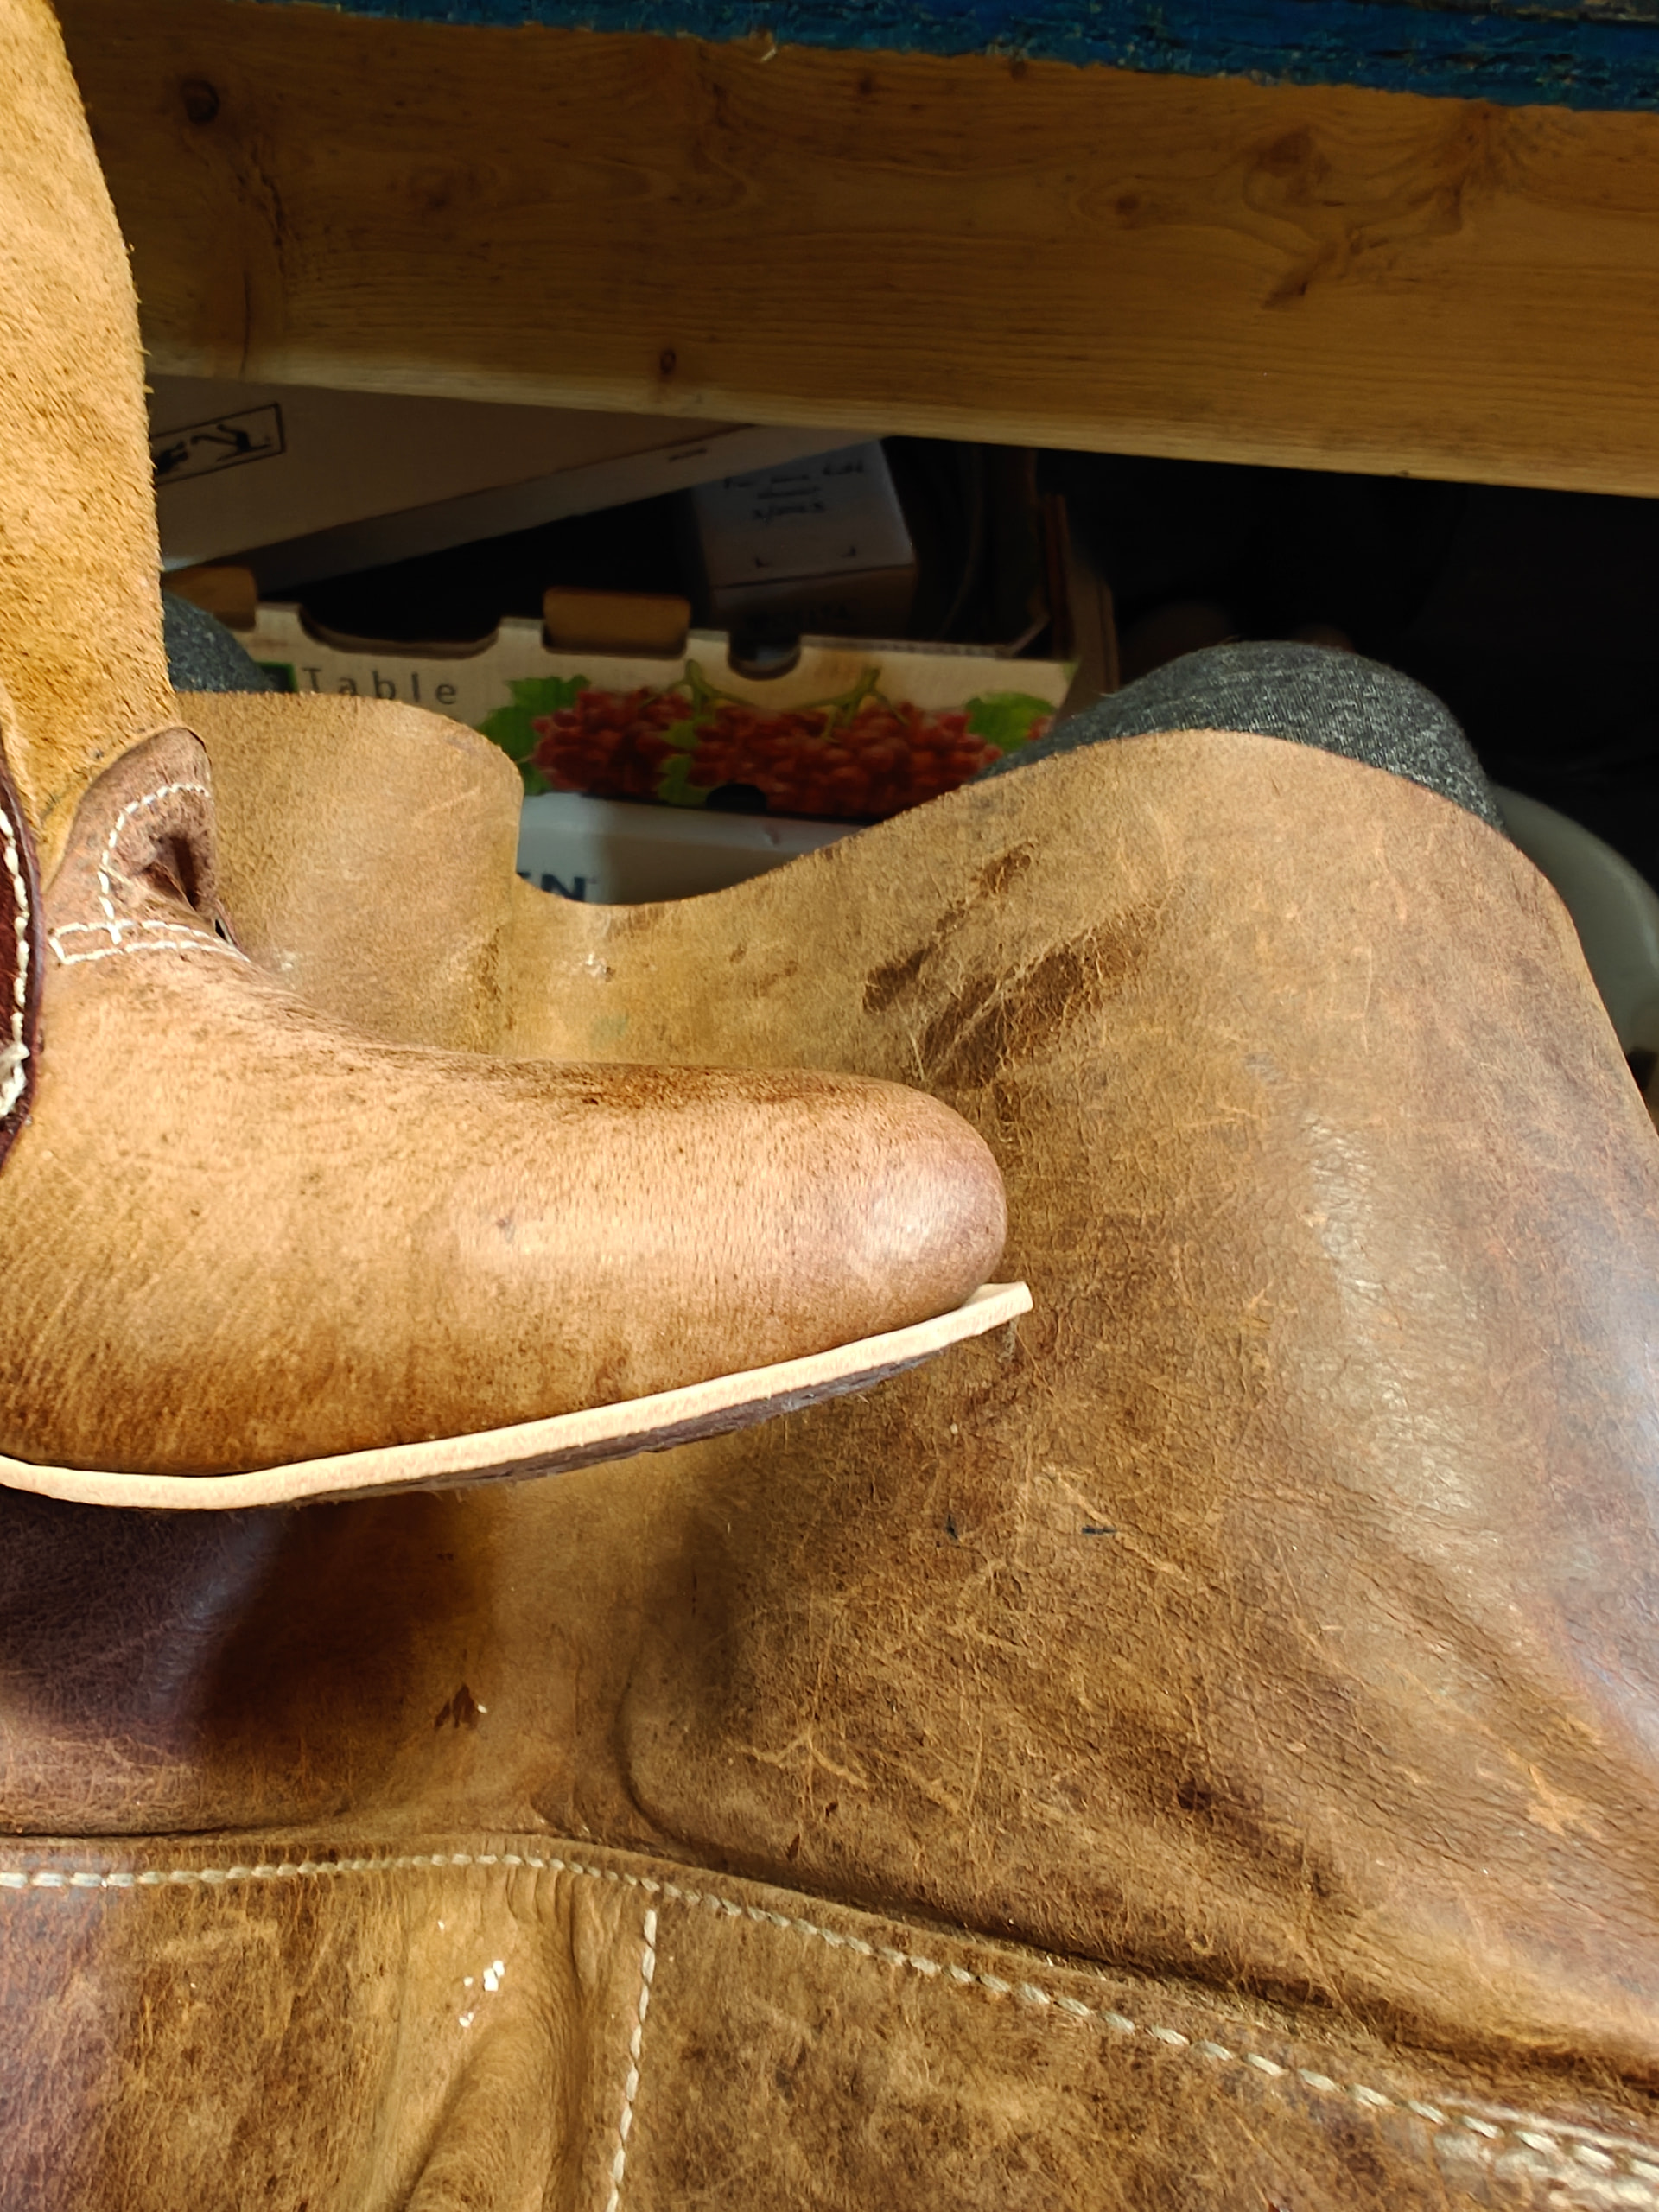
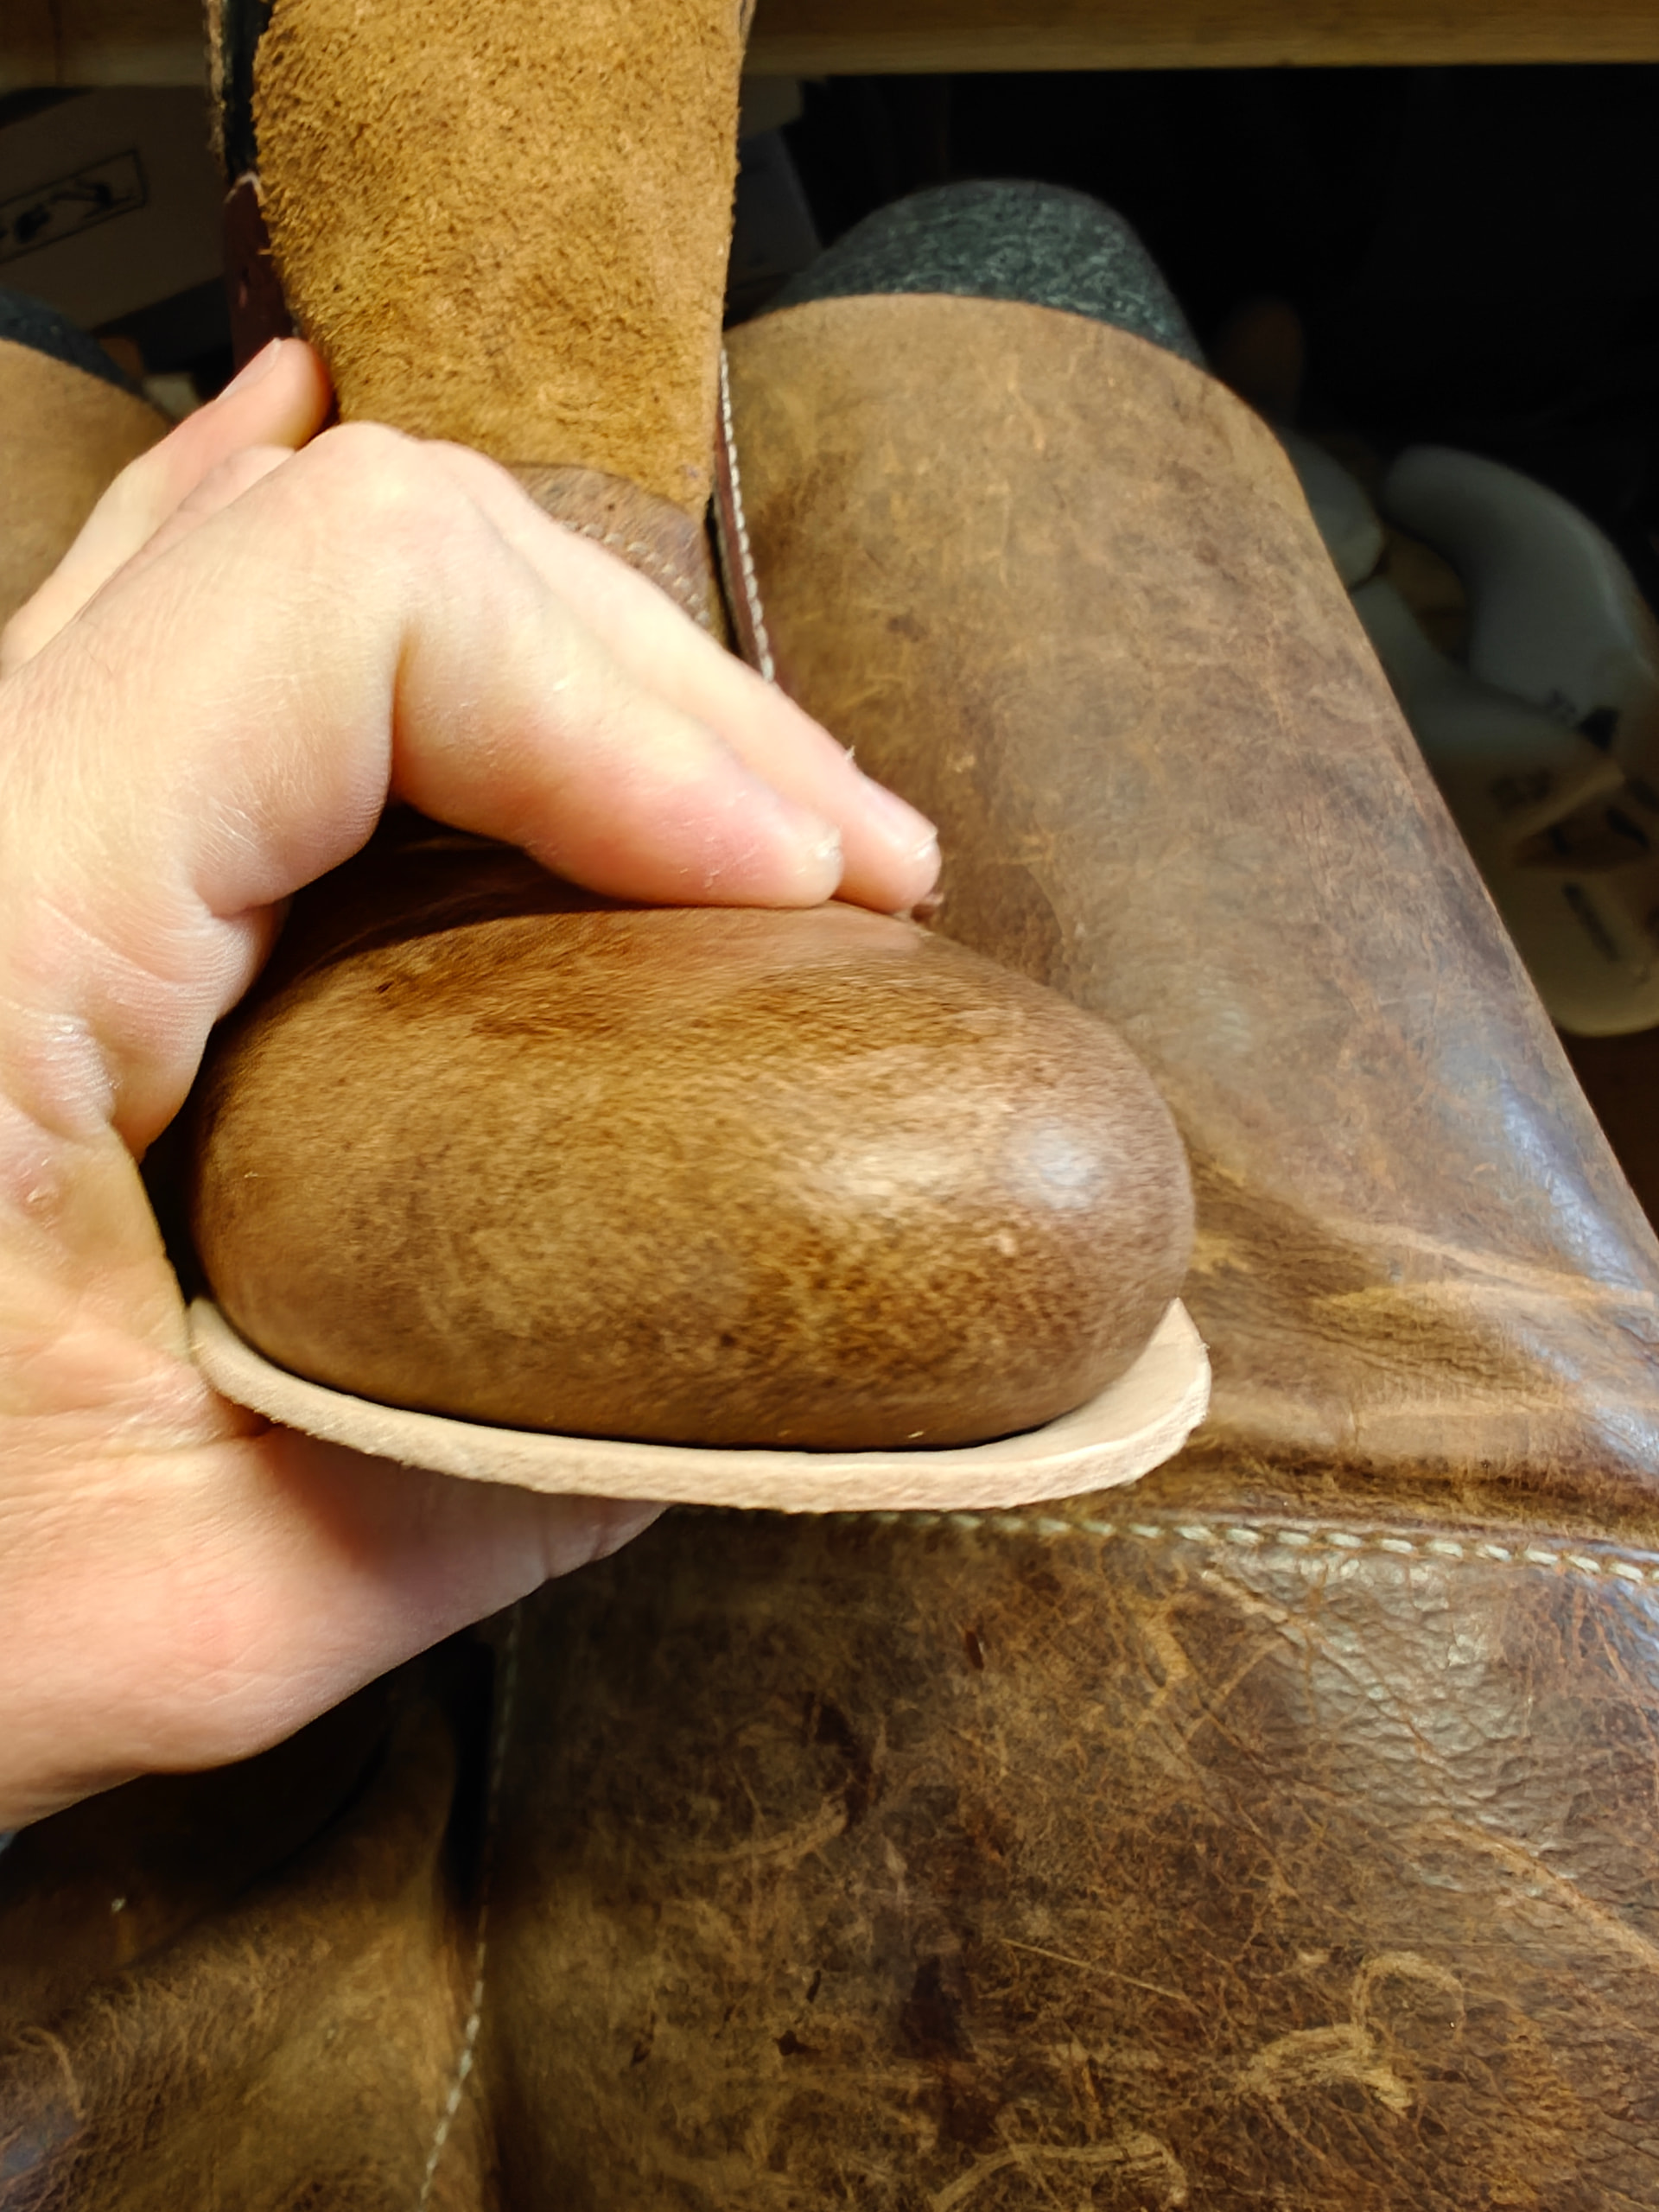
Overall though, I think it turned out alright for my very first attempt. From the outside, it looks fine to me. Any thoughts, comments, or suggestions would be greatly appreciated!
Thanks
2 Likes
That looks great for a first attempt!
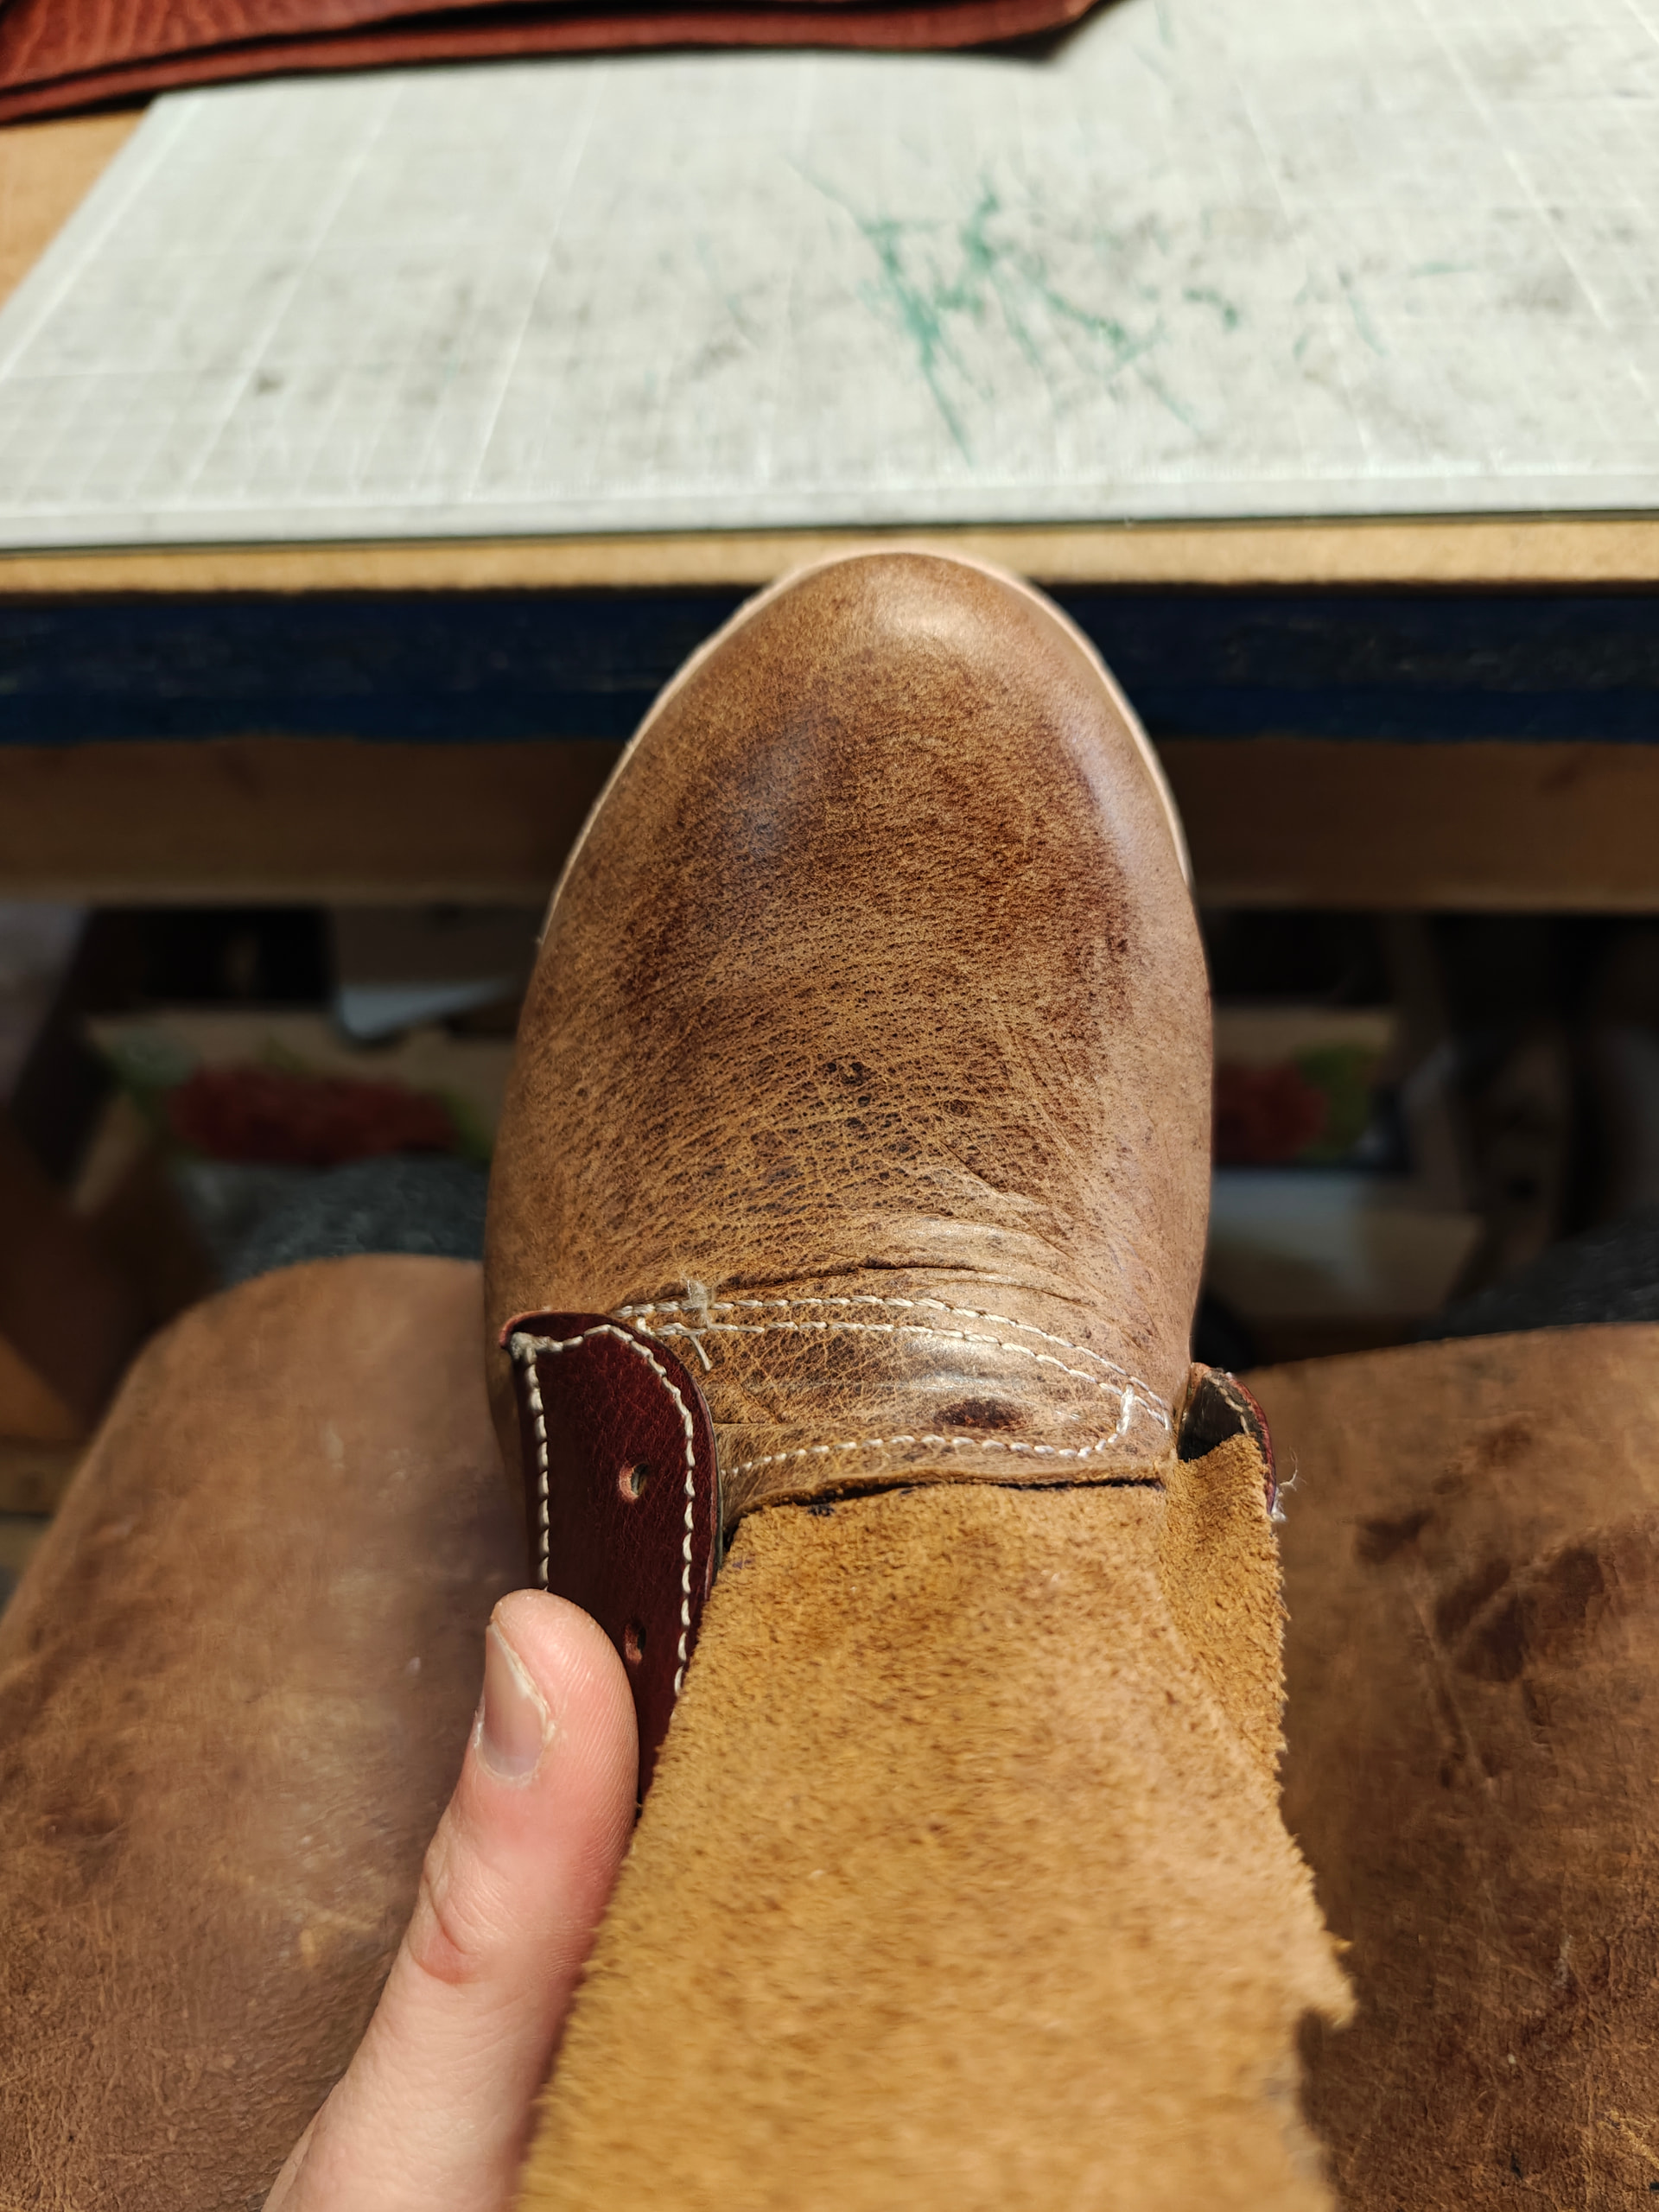
Thanks! I’m mostly worried about structural integrity now, I think the exterior appearance turned out basically fine. And I can’t see any hint of the toe stiffener in there either.
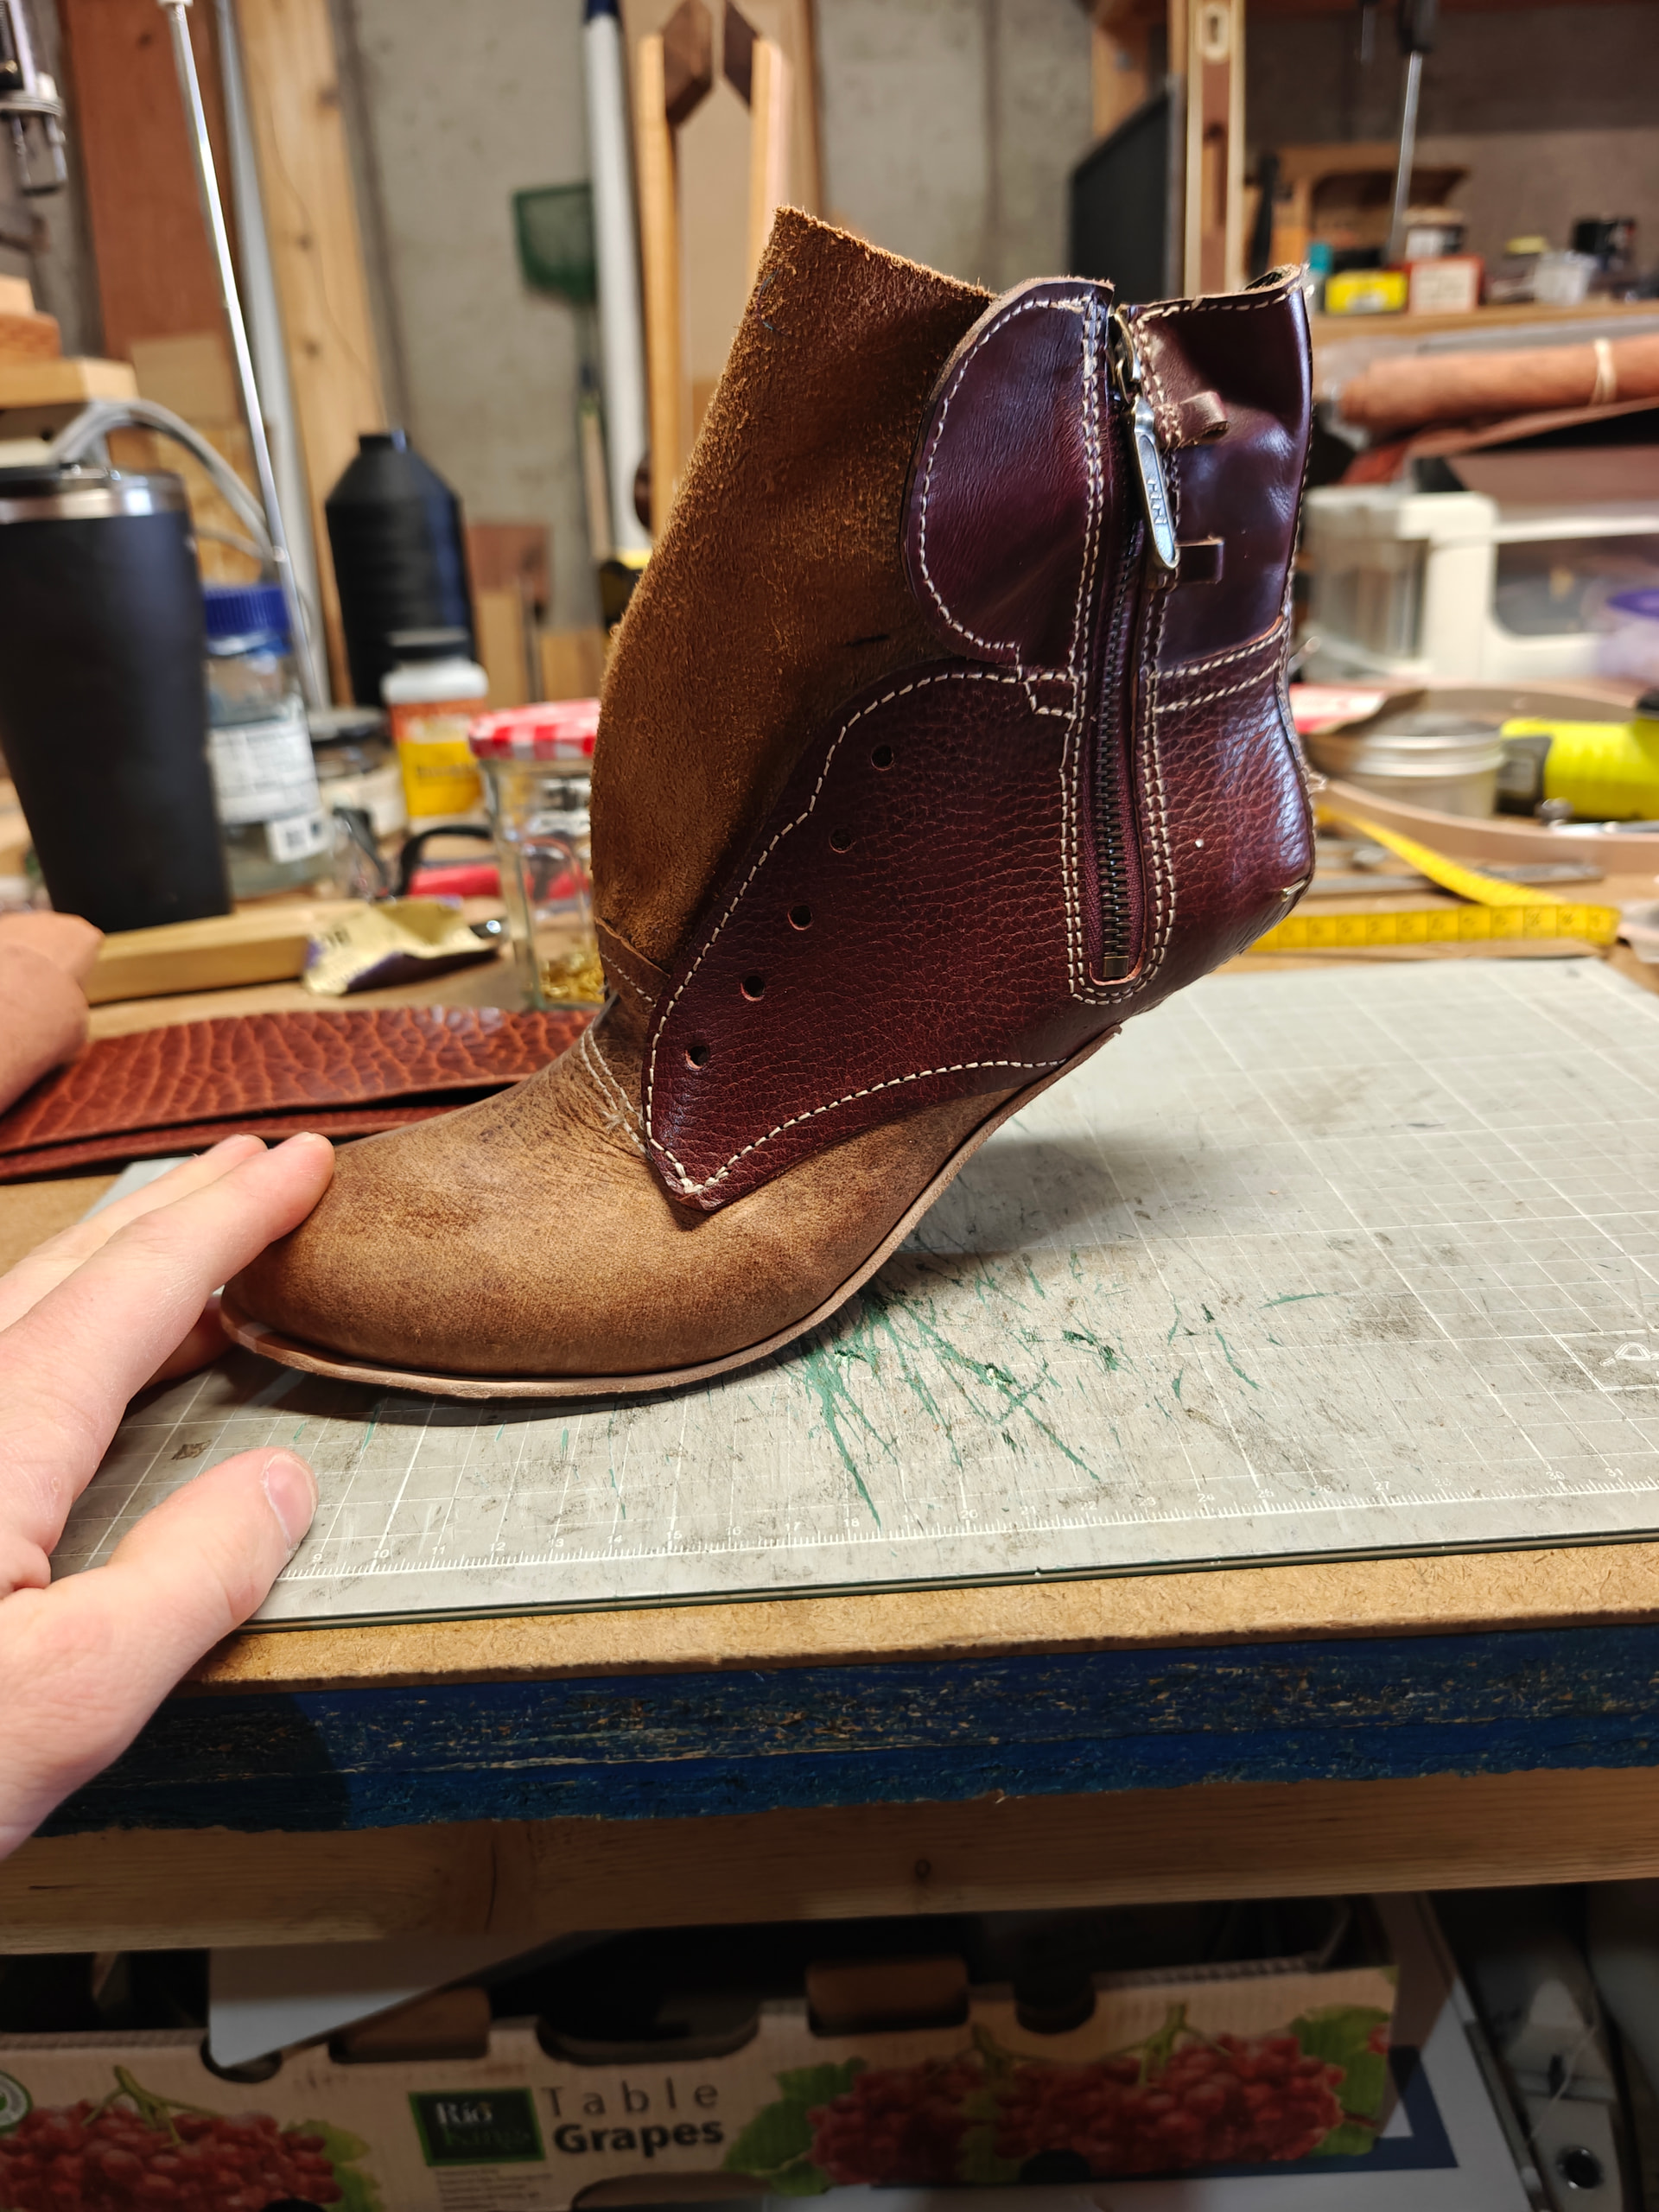
I’m still not entirely sure how to bottom the rest though. Welting up to the ball area is the way to go, but once the boot lifts off the ground, I want it to be sleeker.
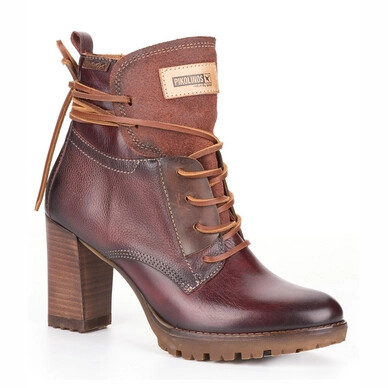
I’m modeling off of this boot, as it was the person’s request:
The last has no metal plate, so I think a wooden peg situation might be the best bet. I want to do a vibram 7500 midsole, because I really enjoy the repairability of being able to rip off the outsole and glue a new one on.
Do I see correctly that you already welted almost all the way around, except for a bit around the lateral side of the heel seat?
In that case, you could sew the welt really close through the waist with a flat awl, “blind” style, then create spade-like notches in the outsole to widen it out at the ball, where you can stitch tighter, perhaps with a square awl.
Oh oops, yes. Forgot to clarify on that, which I did in the video I made for IG. I left that part unwelted just to compare a welted heel vs non welted. I prefer the non welted heel for sure.
Do you have any examples you could direct me toward foe that? I unsure if I’ve seen any construction like that before.
Oh nice, I had his video queued up to watch at some point. He seems to be really good at the craft.
Thanks man!
Here’s So Tsuchiya doing same through a narrow waist:
There are some cuts, but you’ll see he goes from holding a flat awl to holding a square awl.
1 Like
I don’t think you can build up a heel that high without either doing a wedge or using a wood/plastic heel with a nail driven through. The shank is narrow in that picture I bet cause they are using high heel techniques with stiffened reinforced lasting board etc. check out the swr video on high heels it’ll give you a picture. You could also ask Eugenia neave on IG she’s maybe the nicest person in shoes (though that’s a tight race) and does a decent number of heels
2 Likes
I was planning on getting a 7cm plastic heel. I might get a bug up my butt to learn wood working and make some wooden heels, but not likely. I figured building up leather to that height wouldn’t have a huge change of working. I actually bought a pair of the boots to tear them apart, and the heel is just a plastic thing with some leather sheet stuff wrapped over.
That with a steel shank should be sufficient I think. In the very basic test boot I did before this one, for pattern verification, it seemed to work just fine.
1 Like
That’s a real kind thing to say.
I’d love to find ways to make this forum more useful and welcoming to folks doing more ladies’ shoes.
So I am rethinking my bottom stack for this boot. I was originally thinking of a Vibram 7500 midsole, and simply barging the outsole to the midsole without any stitching.
Now I am thinking of just doing a leather midsole. Welt will exist up until the area where the shoe lifts off the ground, behind the ball. Behind there, the upper will be sewn the same way, just without the welt (can’t remember the term for this). Then leather midsole will be sewn onto the welt, and pegged in the arch and heel areas. Then outsole will also be glued to the midsole, with stitches on the welt area. The heel will be trapped by the fastener keeping the 7cm heel on, and I think the arch area should be fine to not have any physical fastening.
Part of my rethinking the Vibram midsole is that wooden pegs might work better with leather, as opposed to whatever material the Vibram 7500 is.
I’m doing a Vibram Montagna sole, and the tread only exists on the front half of it. I could also just do some small, sort of decorative nails in the arch area to guarantee it stays on.
What do you guys think of that concept?
What kind of leather is preferred for a midsole? Seems like that is a little less important than insole or outsole leather.
1 Like
I’m having a little trouble understanding your plan. Sorry—I might just be tired!
I don’t know that I’ve seen Vibrams 100s on production boots without the accompanying midsole. I suppose this is partly down to cost, but partly also down to the fact that the non-lug part of the 100 is relatively thin.
I’ve never tried pegging through Vibram rubber.
No worries, I probably did a poor job explaining over text.
I’m thinking a 270 degree welt, or whatever angle you want to call it, much like how a cowboy boot is done. The entire insole will have a holdfast, and behind the ball (in the waist and heel), the upper will be sewn to the holdfast without a welt.
I’m thinking of doing a leather midsole. It will be sewn to the welt, and pegged at the waist and heel.
I would then do that Vibram 100 sole, capturing the outsole with a stitch through the welt. So the welt will have a double row of stitches. One only binding the welt to the midsole, and the outer stitch binding the welt, midsole, and outsole.
In the waist and heel, the outsole will be attached to the leather midsole with barge cement, at the very least. In the heel, the physical fastening will take place when I nail the heel block (either this heel or this heel).
I’m wondering if the waist area will be fine to just be cemented on with barge, or if I should consider some small decorative tacks to hold it on.
This is an example I found of the Vibram 100 being affixed directly to a leather midsole.
1 Like
All that makes sense to me.
I would fully expect Barge to hold those outsoles on through the shanks, especially between welted foreparts and nailed heels. In fact, I’d trust it hold the foreparts on, too, assuming you do a little roughing before cementing, apply liberally, and wait out the proper drying time before sticking. You could do two coats of Barge if you really want to.
I write about Nicks and the other Spokane makers too much because I started really reading up on shoemaking by researching those companies. I do think they’re useful as benchmarks for durability.
Some of the boots that White’s, Nicks, JK, and Frank’s make for linemen, arborists, and other professional climbers use just cement to hold Vibram 100 outsoles onto the foreparts. They usually stitch those outsoles on their boots, but stack-ups of thick or even double leather midsoles, plus inserts they call “shanks” to make the waist parts those workers stand on even thicker and stiffer, make them too big to fit in the jaws of their Rapid E machines.
At the same time, even PNW boots that do get 100 outsoles stitched on often see some slight delamination around the rim. But unless you’re really working the boots hard, that’s unlikely to create any kind of structural issue, where the outsole flaps off.
Yeah, I was thinking something similar to a PNW style bottom. Almost linked to one to dmeonstrate my idea in my previous reply. Obviously not exactly the same construction, because these are hand welted, but other similarities for sure.
I’ve been wary of using only barge/cement to be a sufficient bond between leather and rubber compounds, but I do figure that the shank area should probably be fine. I’ve only ever used Vibram 7500 midsoles on my moccasin boots. The outsole is sometimes bonded directly to it, or there’s some amount of foam in between. Regardless, I’ve always heard that like materials tend to bond better.
1 Like
Well, I bought a fudge wheel. Very quickly realized the utility of it. I am sure I could practice with some wing dividers and get it alright looking, but it seems like a fudge wheel is probably just the best tool for the job.
Is there a preferred midsole leather at all? For this test piece, I just used some 5-6oz tooling veg tan from Tandy.
1 Like
I saw immediate improvement in consistency of my outseams when I started with a fudge. The effect reminded me a lot of adding a pricking wheel or stitching chisels to my small-goods leathework, way back when.
I’m still not great with the fudge, especially when it comes to rounding corners consistently. I’d definitely recommend you do some practice on scraps.
I’d like more info on what production companies use for leather midsoles, too.
I don’t know of any tannery marketing any specific tannage as “insole leather”. I suspect most makers who actually use them use more flexible outsole blanks or even cut from sole leather bends. Perhaps somewhere between flanky stuff for insols and the really hard, dense stuff up by the backbone for outsoles.
Wickett and Craig has some leather they specifically market for midsoles.
1 Like
Really? Do you have any more information about that?
I tried mailing them about insole leather ages ago, but never heard back.

")
 ASMR")
