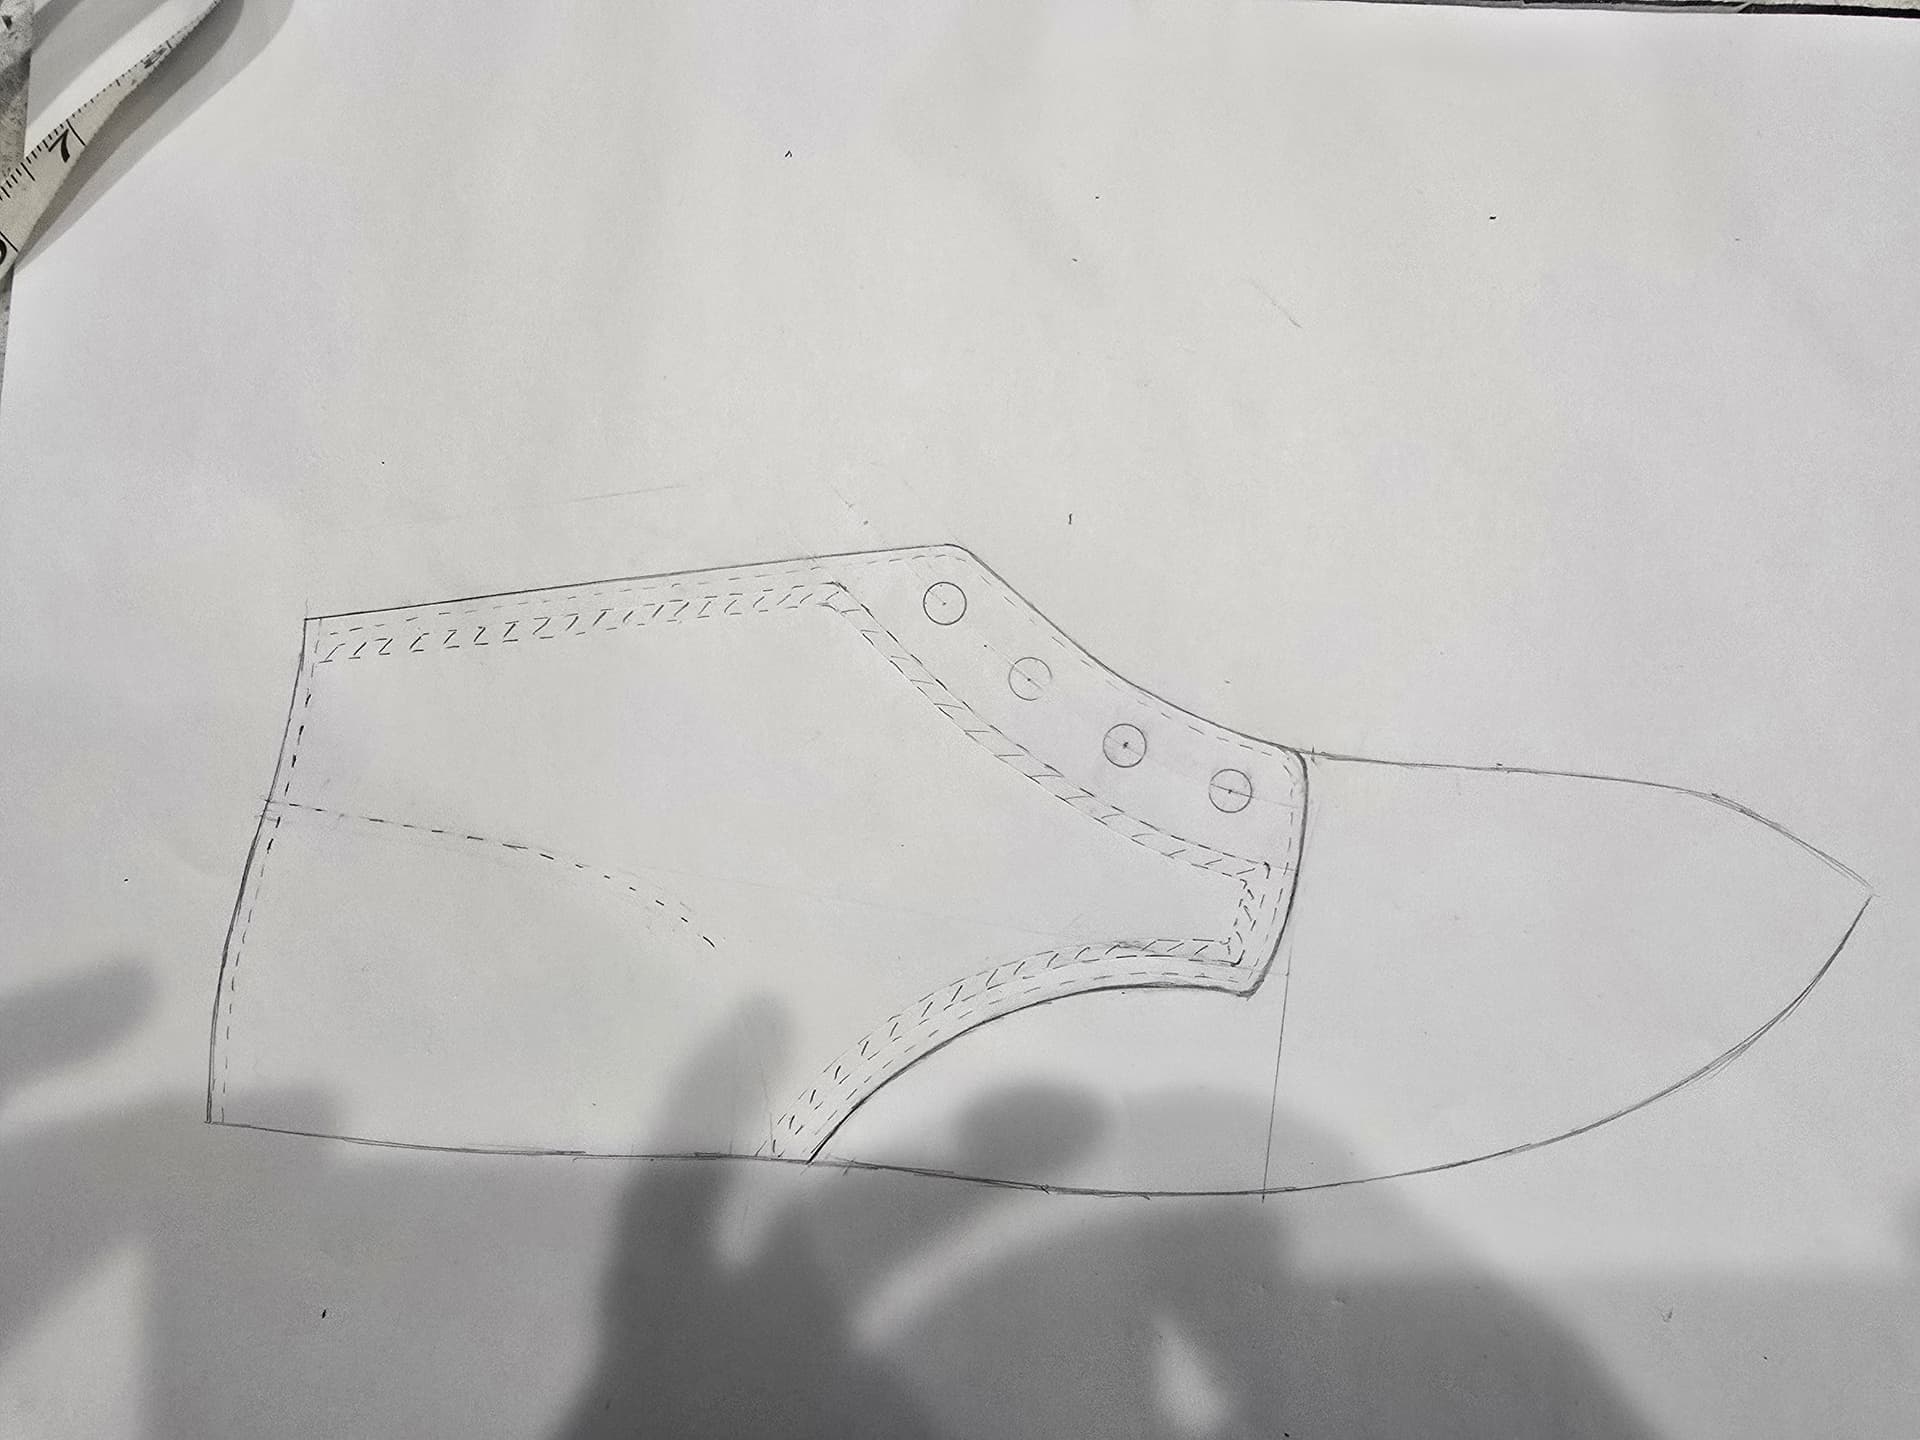
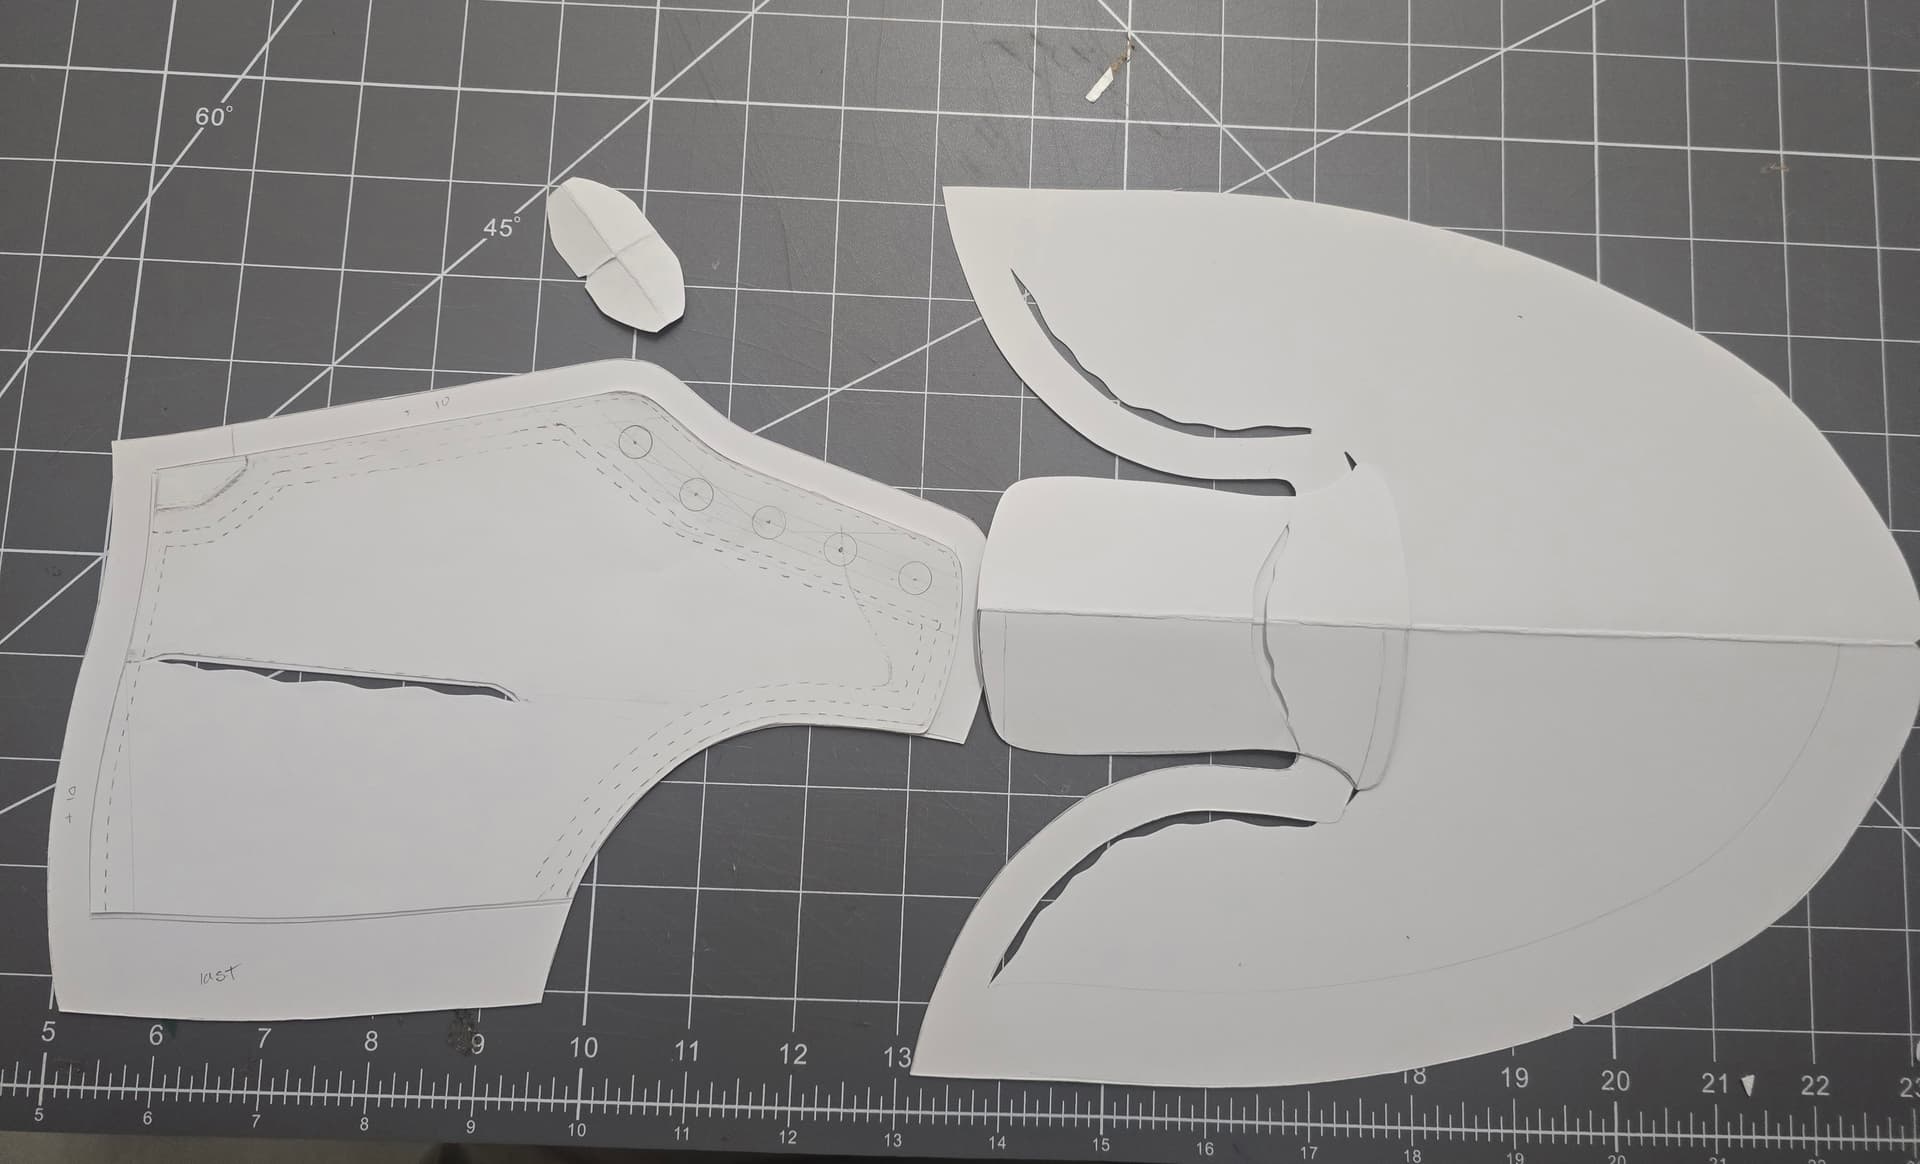
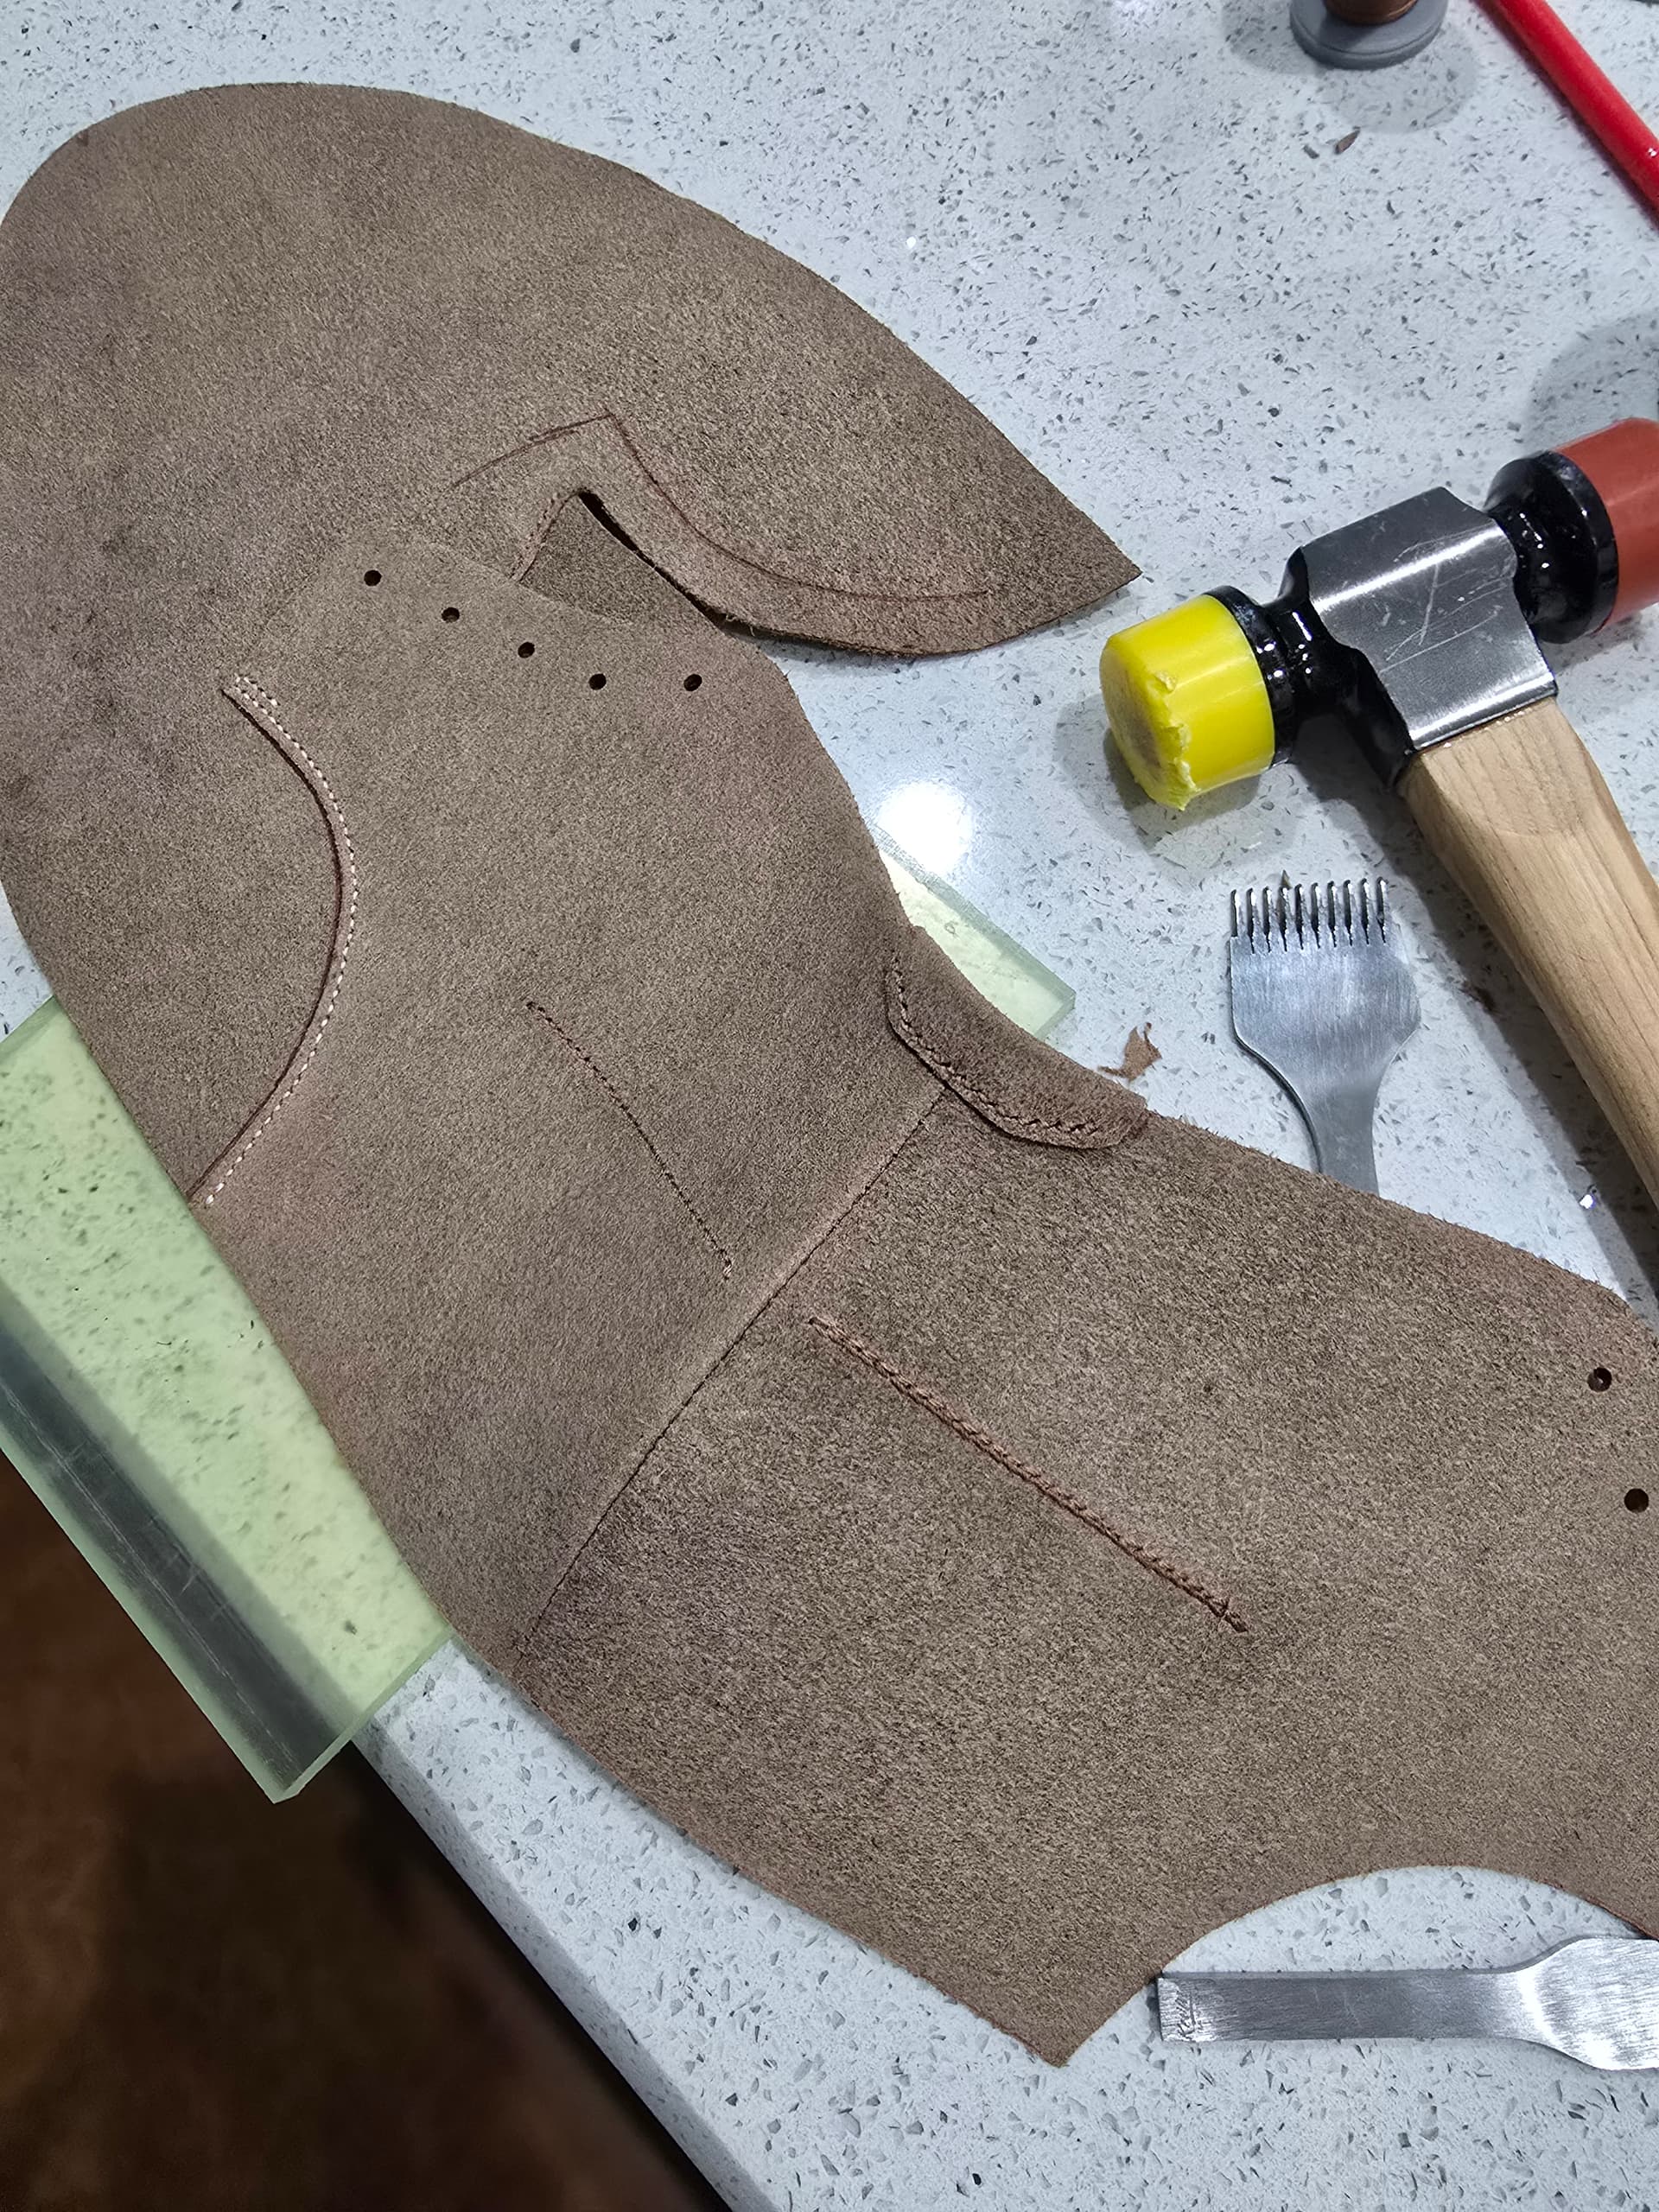
My thought for the heel counter is to run a stitch line through the lining to basically create a pocket it can locate into without having an extra back stay.
Can you reference what you are talking about here? I am used to covering the (damp, malleable) counter and the inside of the upper and lining with Hirshkliber, shoving that counter between the lining and upper where I marked ahead of time, and then lasting the heel area. Although now I’m playing with the idea of just doing extra overlay on the outside in the counter shape if the upper leather is thick enough…
In the sketch above, you will see a stitch line that would basically trace along the top of the counter. My thought being to run that stitch line through the upper and lining prior to lasting (or perhaps after the initial stretch) to basically create a more defined pocket between the upper and lining to do exactly what you normally do. I am probably overcomplicating things unnecessarily.
I have definitely seen the outside overlay used before to more or less create the same idea where the overlay creates the same “pocket” for the counter on the outside of the upper (covered by the overlay).
Nothing unusual about using stitching to help confine a heel counter in an internal pocket. Allen Edmonds “Higgins Mill” and White’s “Semi-Dress” come to mind.
I’ve even seen work boots with internal heel counters without any quarter lining. Maybe Red Wing’s 953? I can’t remember.
Heavier work and riding boots that use heavier, sole-leather heel counters all have external heel counter covers, as far as I’ve seen.
Even if your heel counter isn’t that thick, if it’s thicker than the usual textile or thermoplastic sheets that factories use, you may want to give allowance in the quarters along the back curve to accommodate without over-stretching.
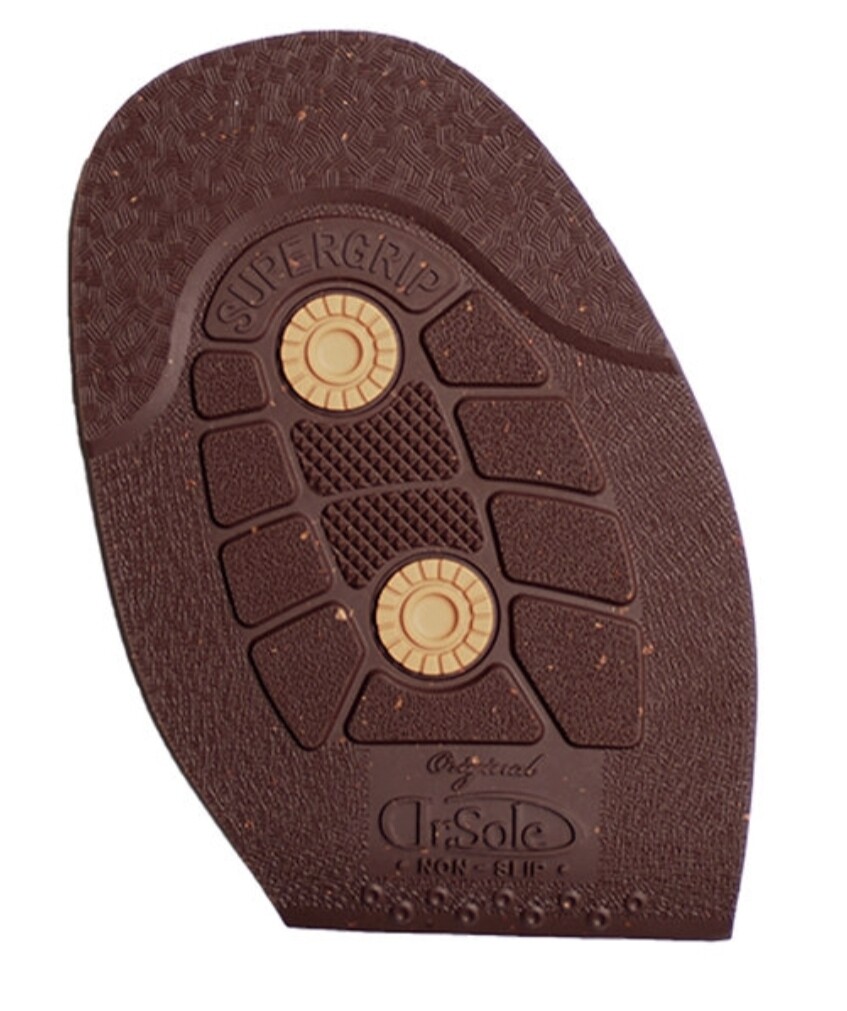
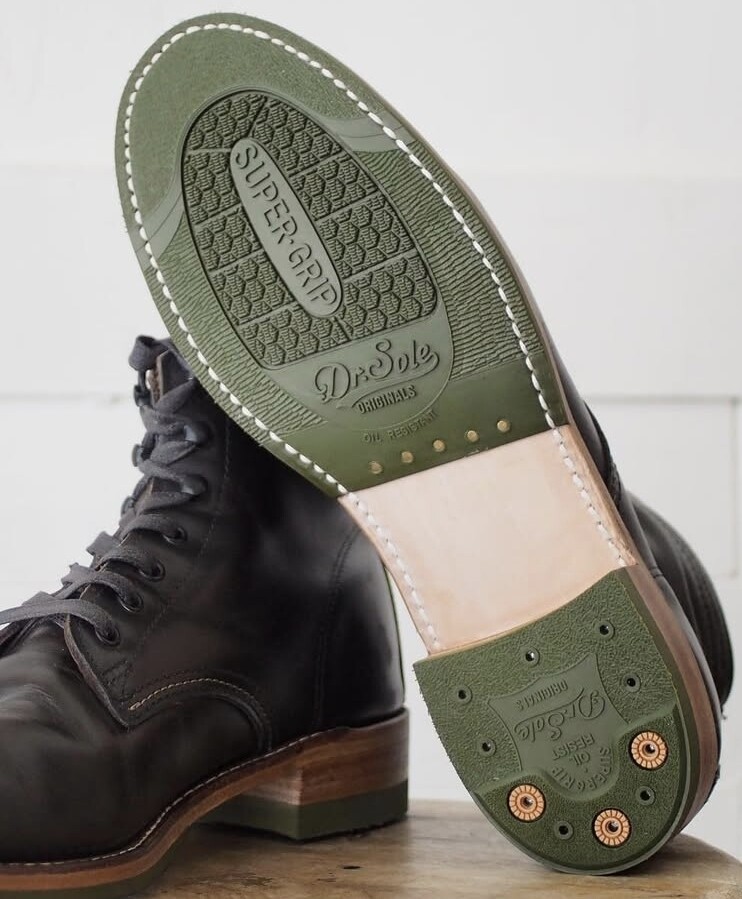
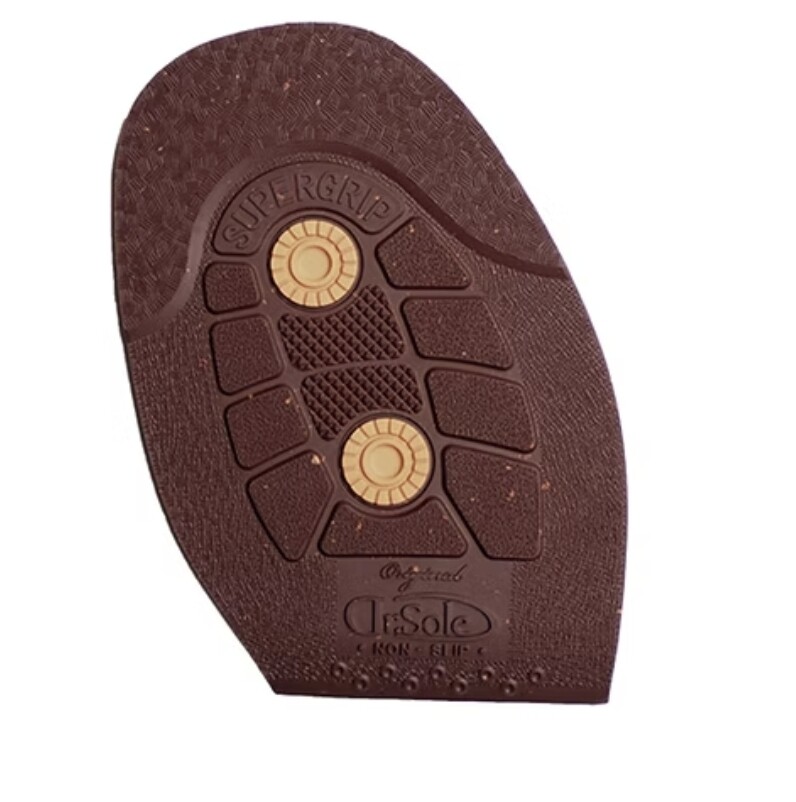
Leather is en route. Usung badalassi carlo nemesis in machiatto for this one. Thinking of doing the Dr Sole half sole in burgundy to match with the burgundy accent stitching.
Hoping for someone to check my math here before I hit submit on the sole order.
The last I am using has a ~15mm heel height.
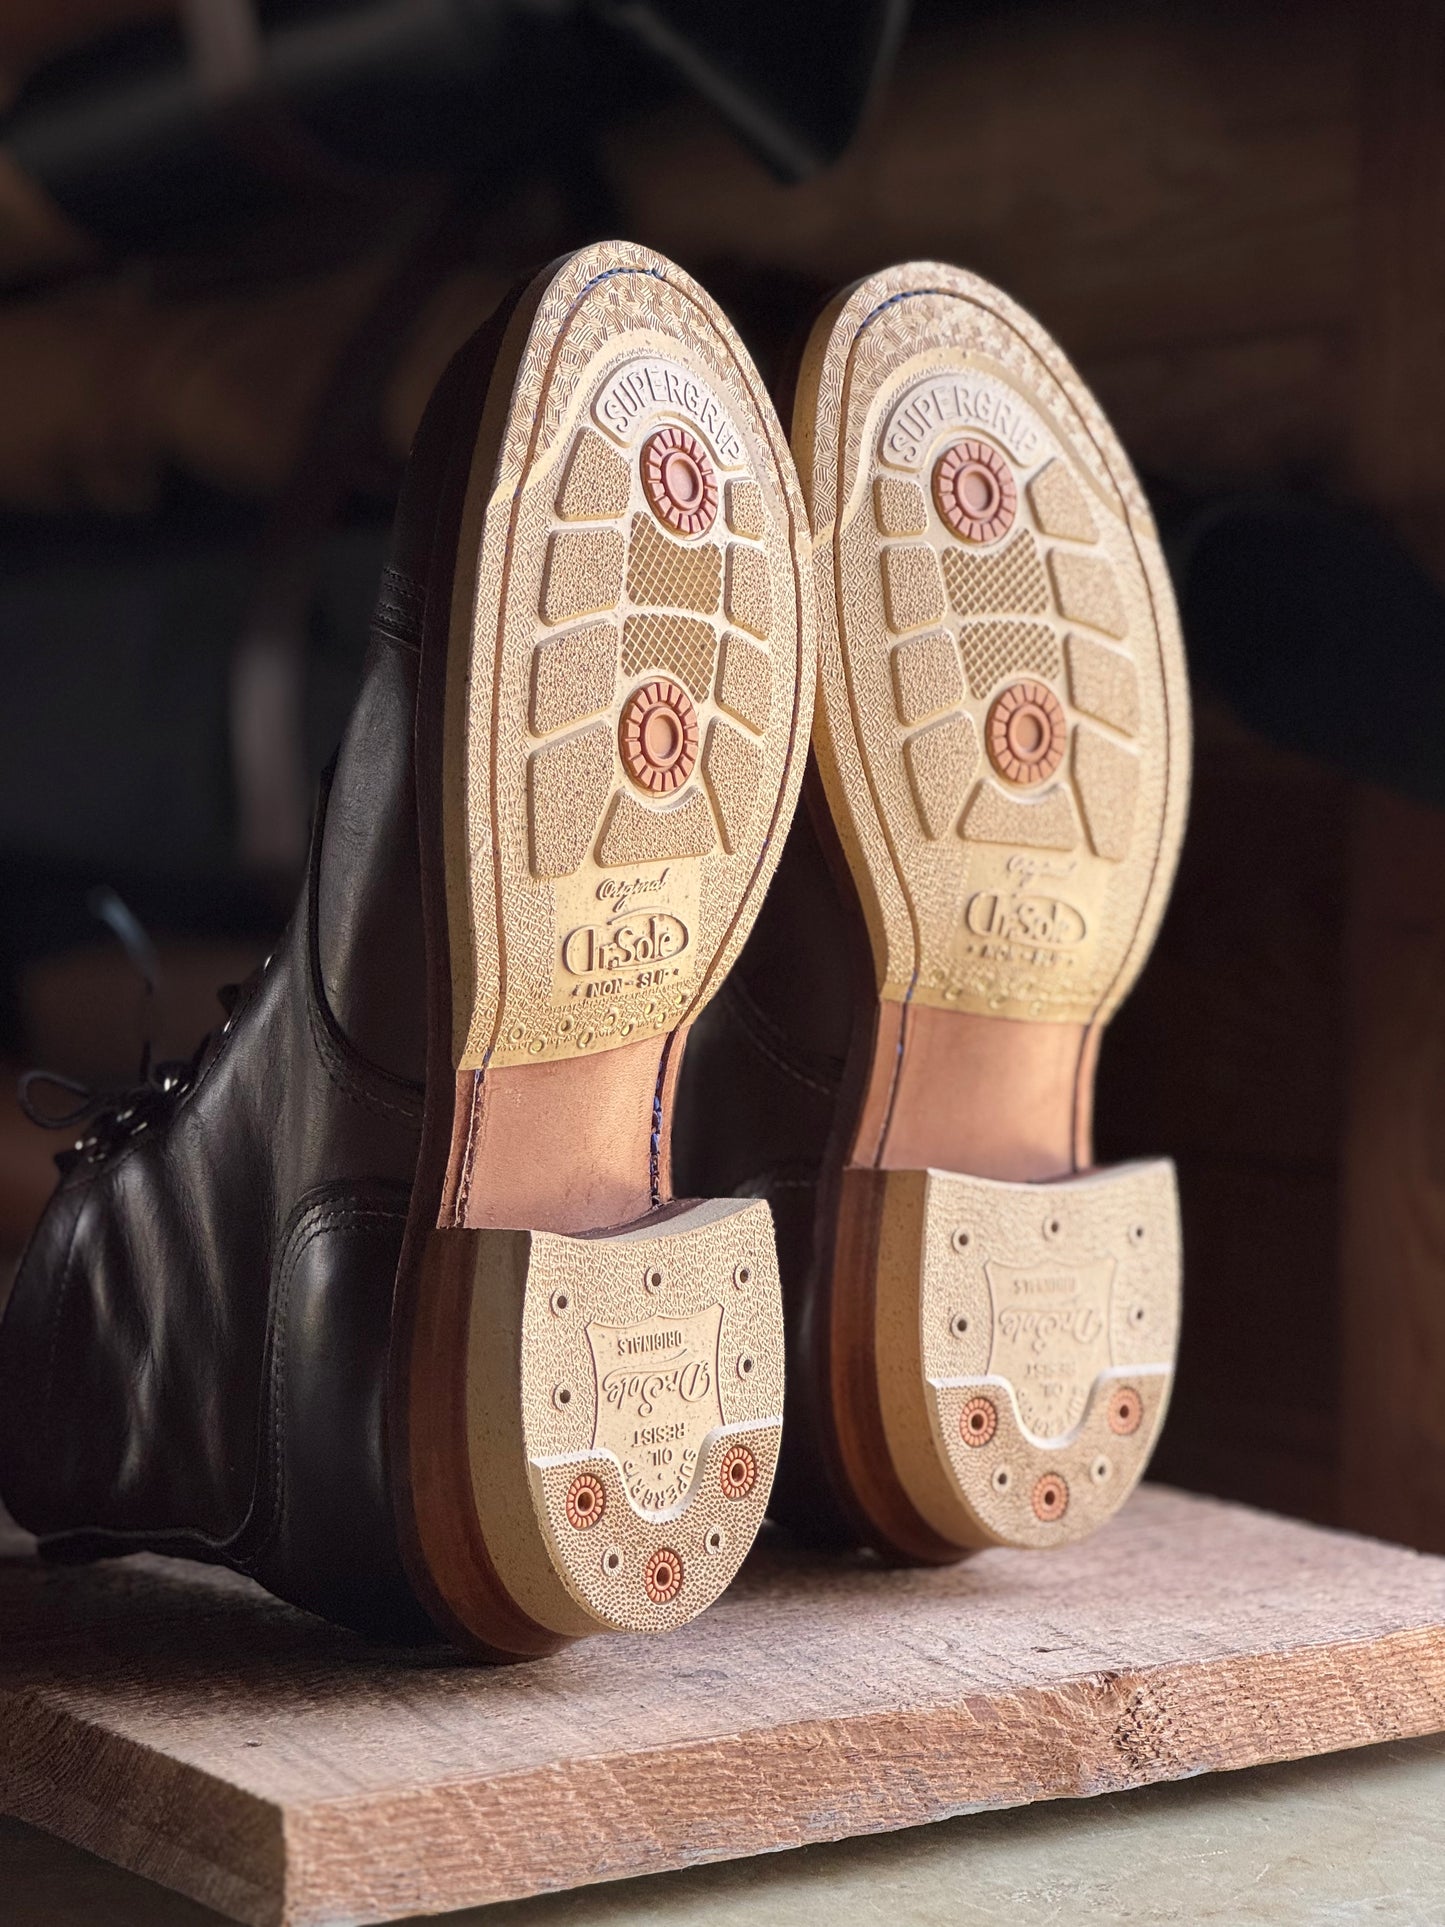
If I grab a dr sole half front sole that’s 6.5mm thick and a whole heel at 21mm thick, I should be just about perfect with my stackup without needing to build up the heel with additional leather layers.
21 less 6.5 is 14.5, but it never seems to be quite so simple with shoe repair materials.
I’d expect a half sole to have full stated thickness at the break, but I’ve never handled a Dr. Sole half new. For the other dimensions, I think Lisa posted outlines for at least some sizes.
The Vibram unit heels I’ve handled are typically a bit concave on top. Nailing in place tends to flare them out, shortening a bit and giving a lip that needs to be pared off or sanded away. I don’t know if Dr. Sole does the same.
If you’re worried about color continuity, you might pick up a set of midsoles in matching material if you can. You could cut some out to use as a lift, if need be.
Not too worried about color continuity, although not a bad idea. More of just looking at it from a simplicity standpoint. Don’t want to add to a stack up if not necessary.
Looks like I will probably order the dr sole stuff from Lisa. I was going to order direct from Dr Sole overseas, but for two sets (already planning the next, next project), they want $65 shipping.
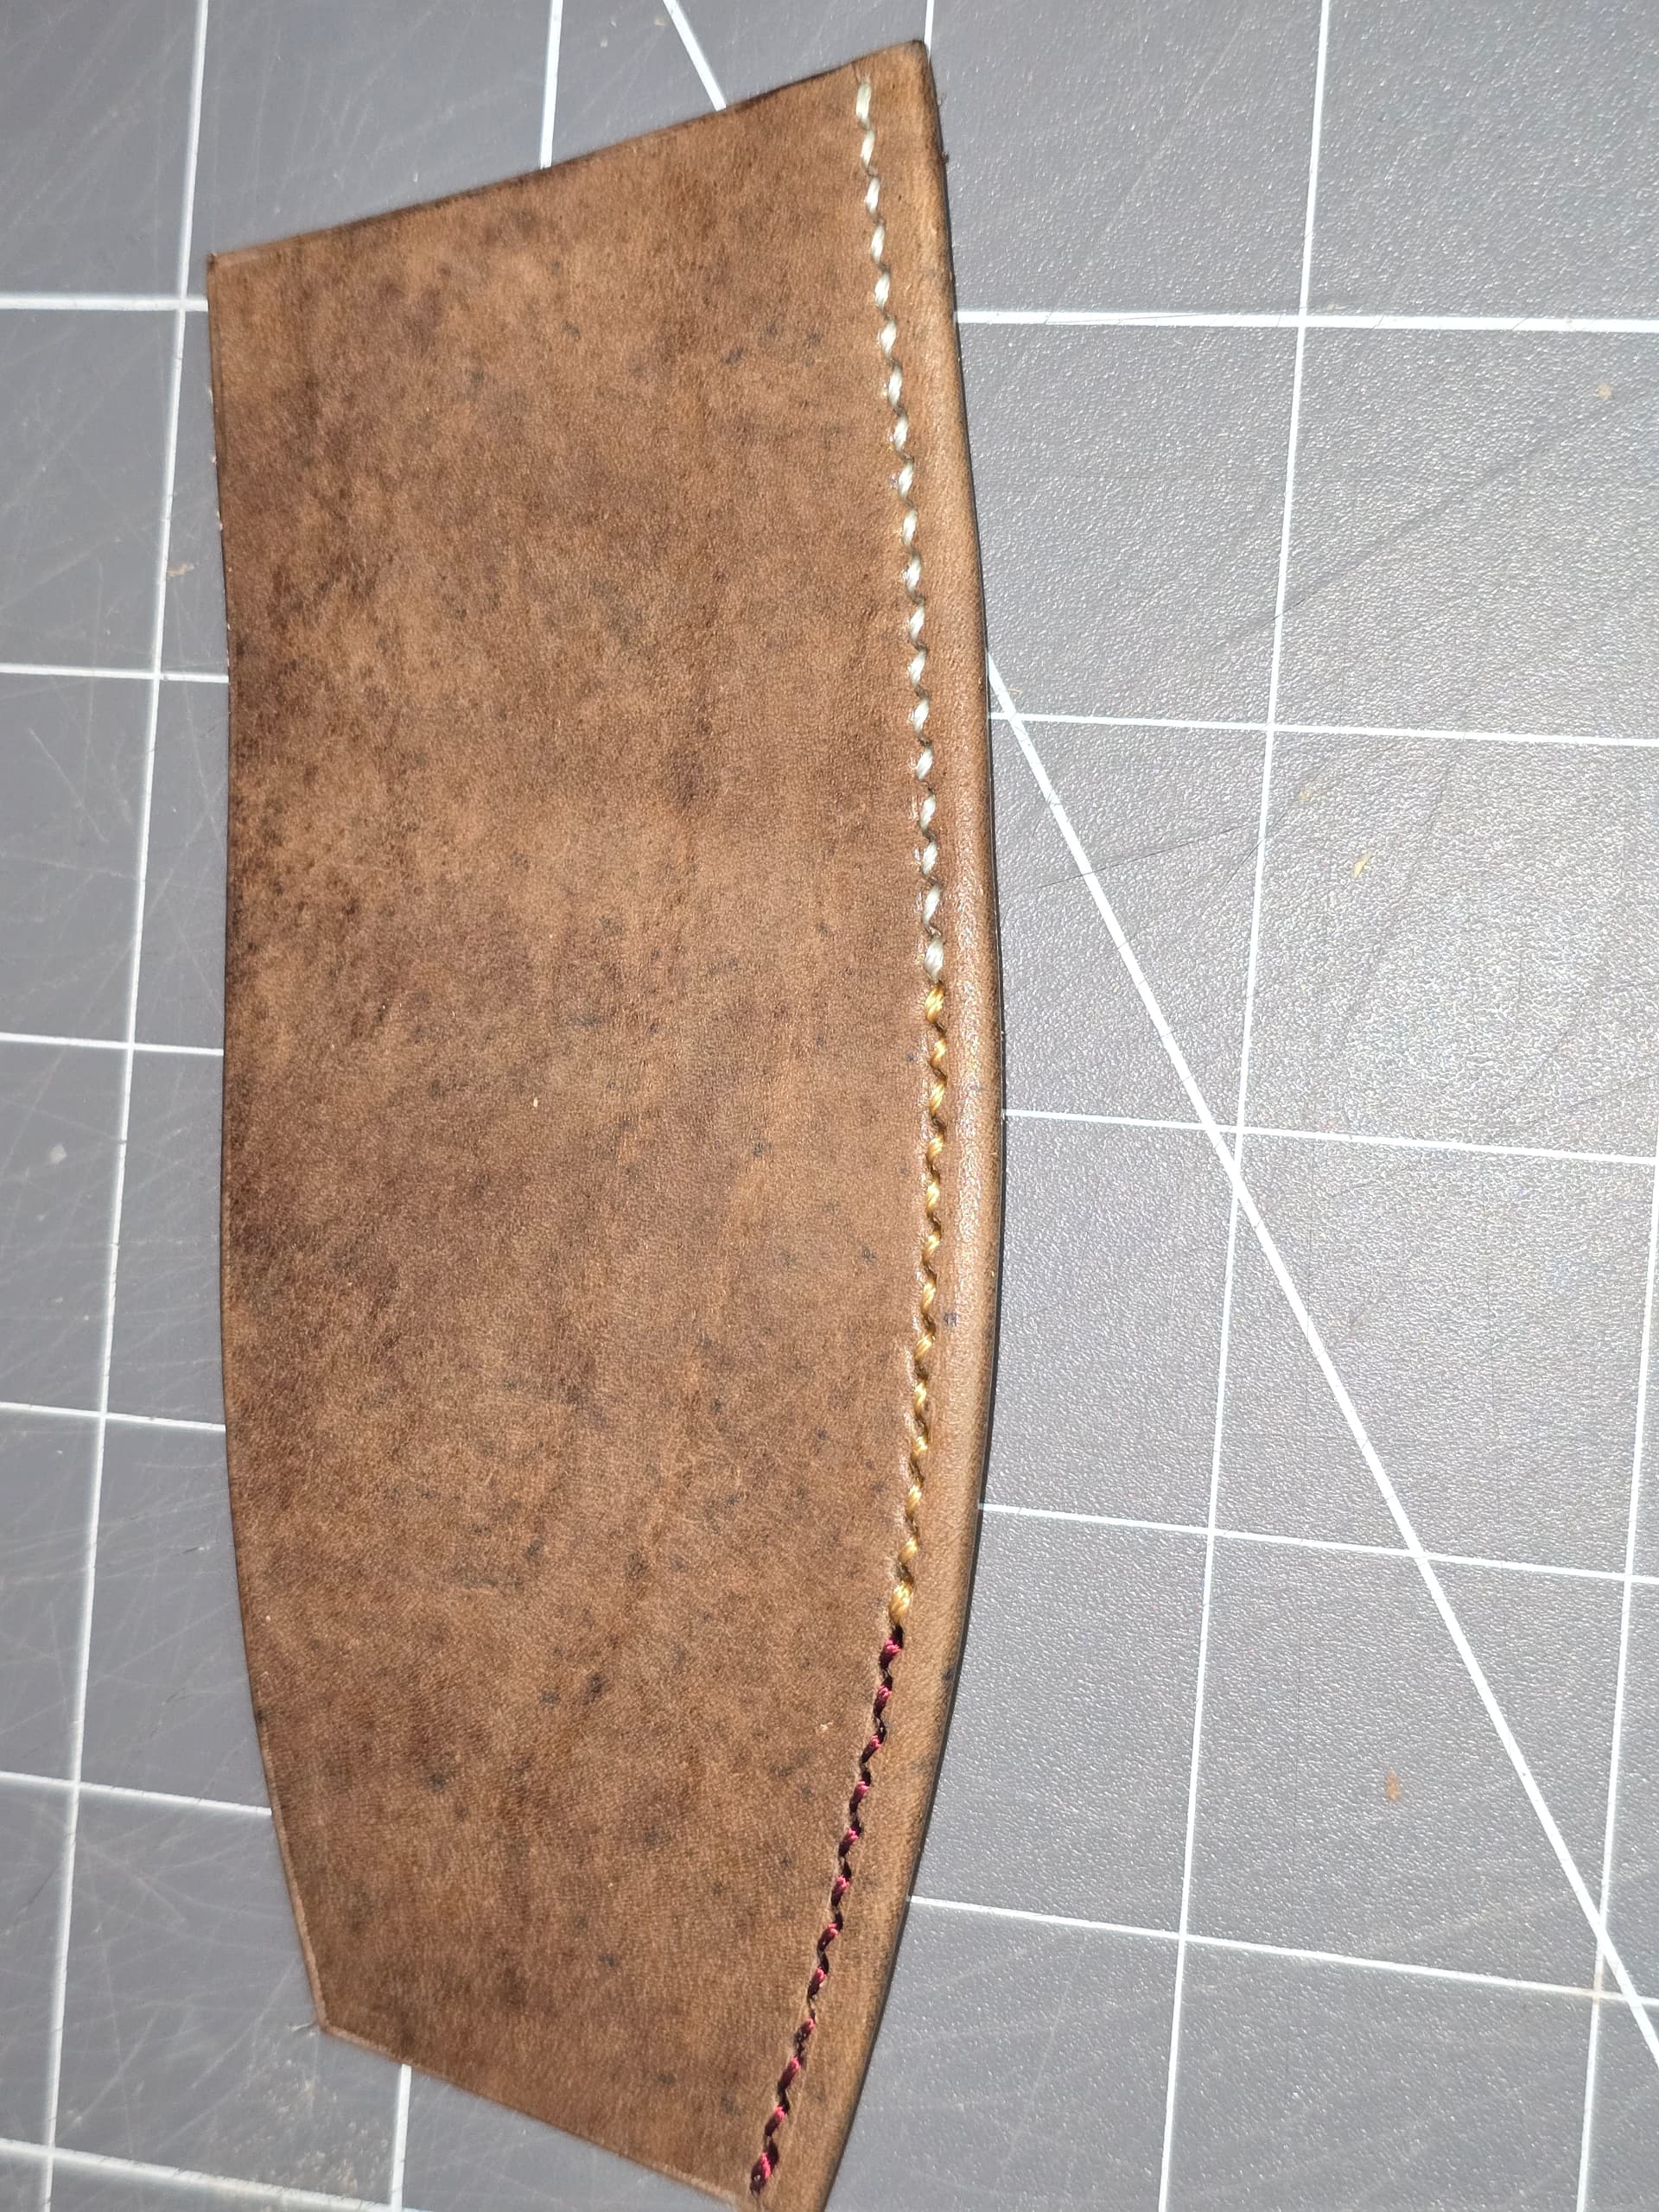
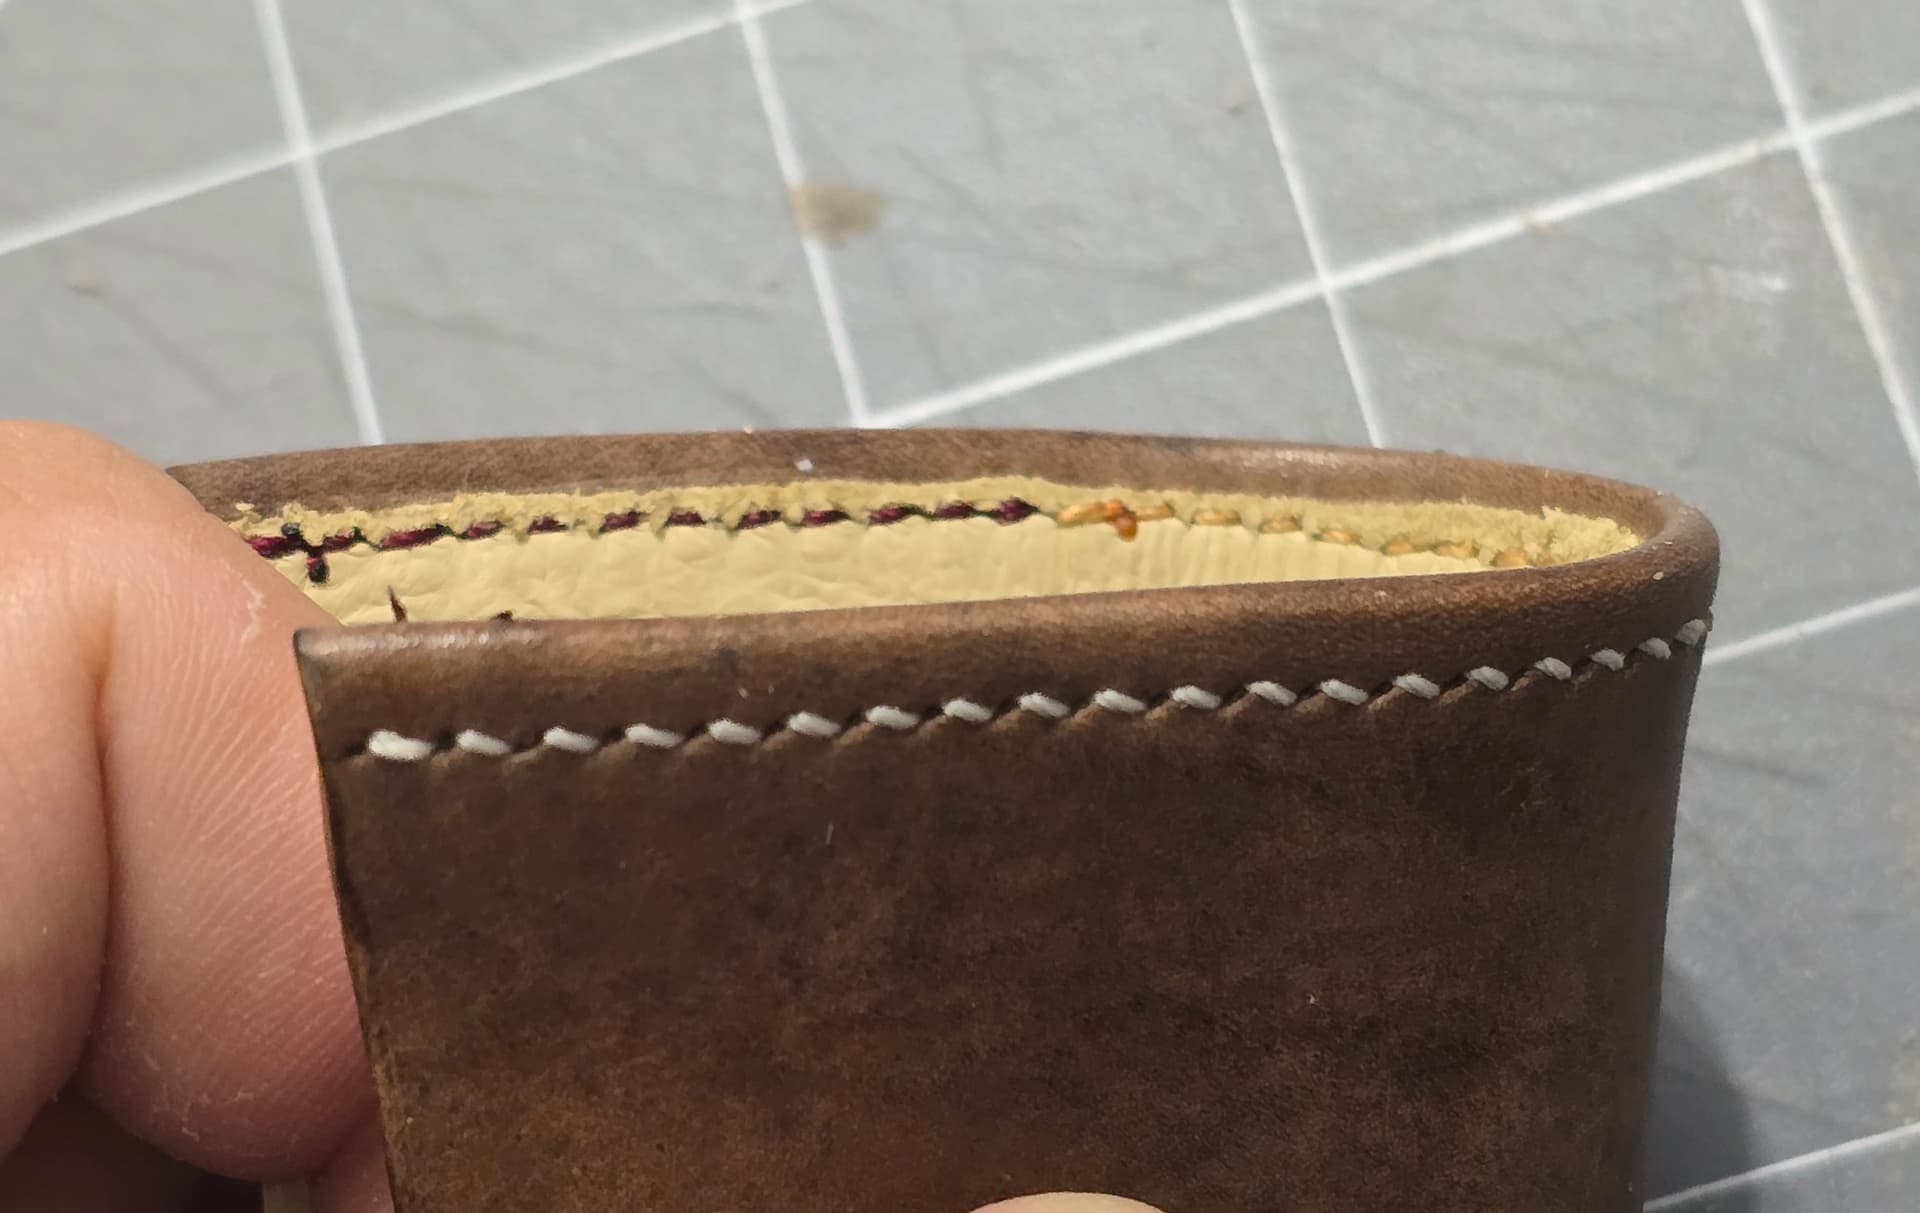
I made a test coupon today with this new leather to look at colors, test burnishing, try a rolled edge method I had been tossing around in my head, etc, and I think it wants the stitching to be much lighter.