Will check it out. Fortunately with the mock up, it’s super easy to look at it and work out how much I need to add
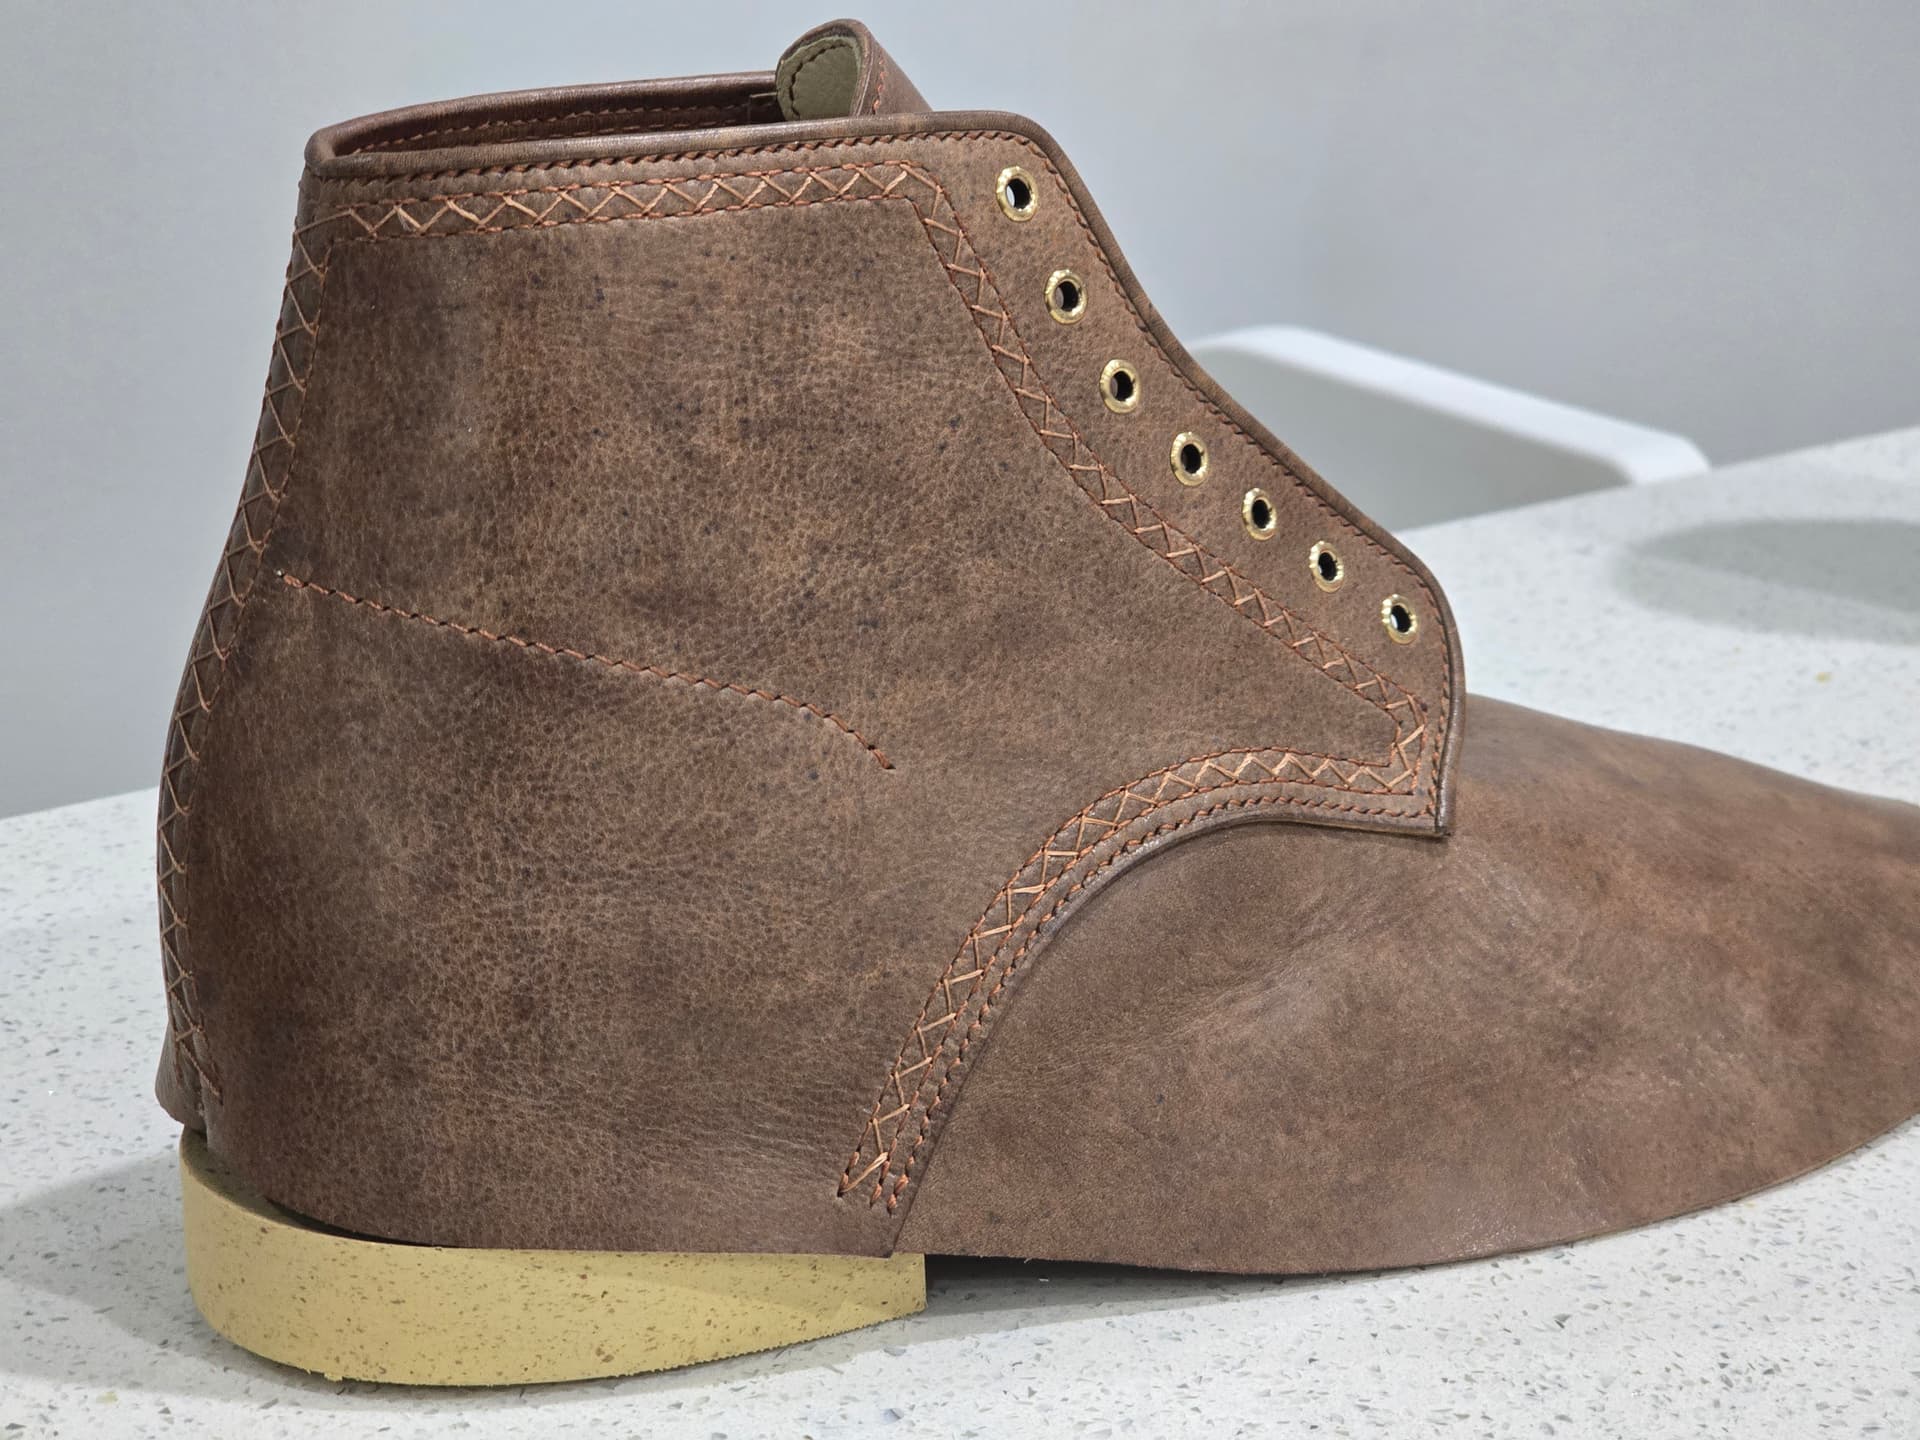
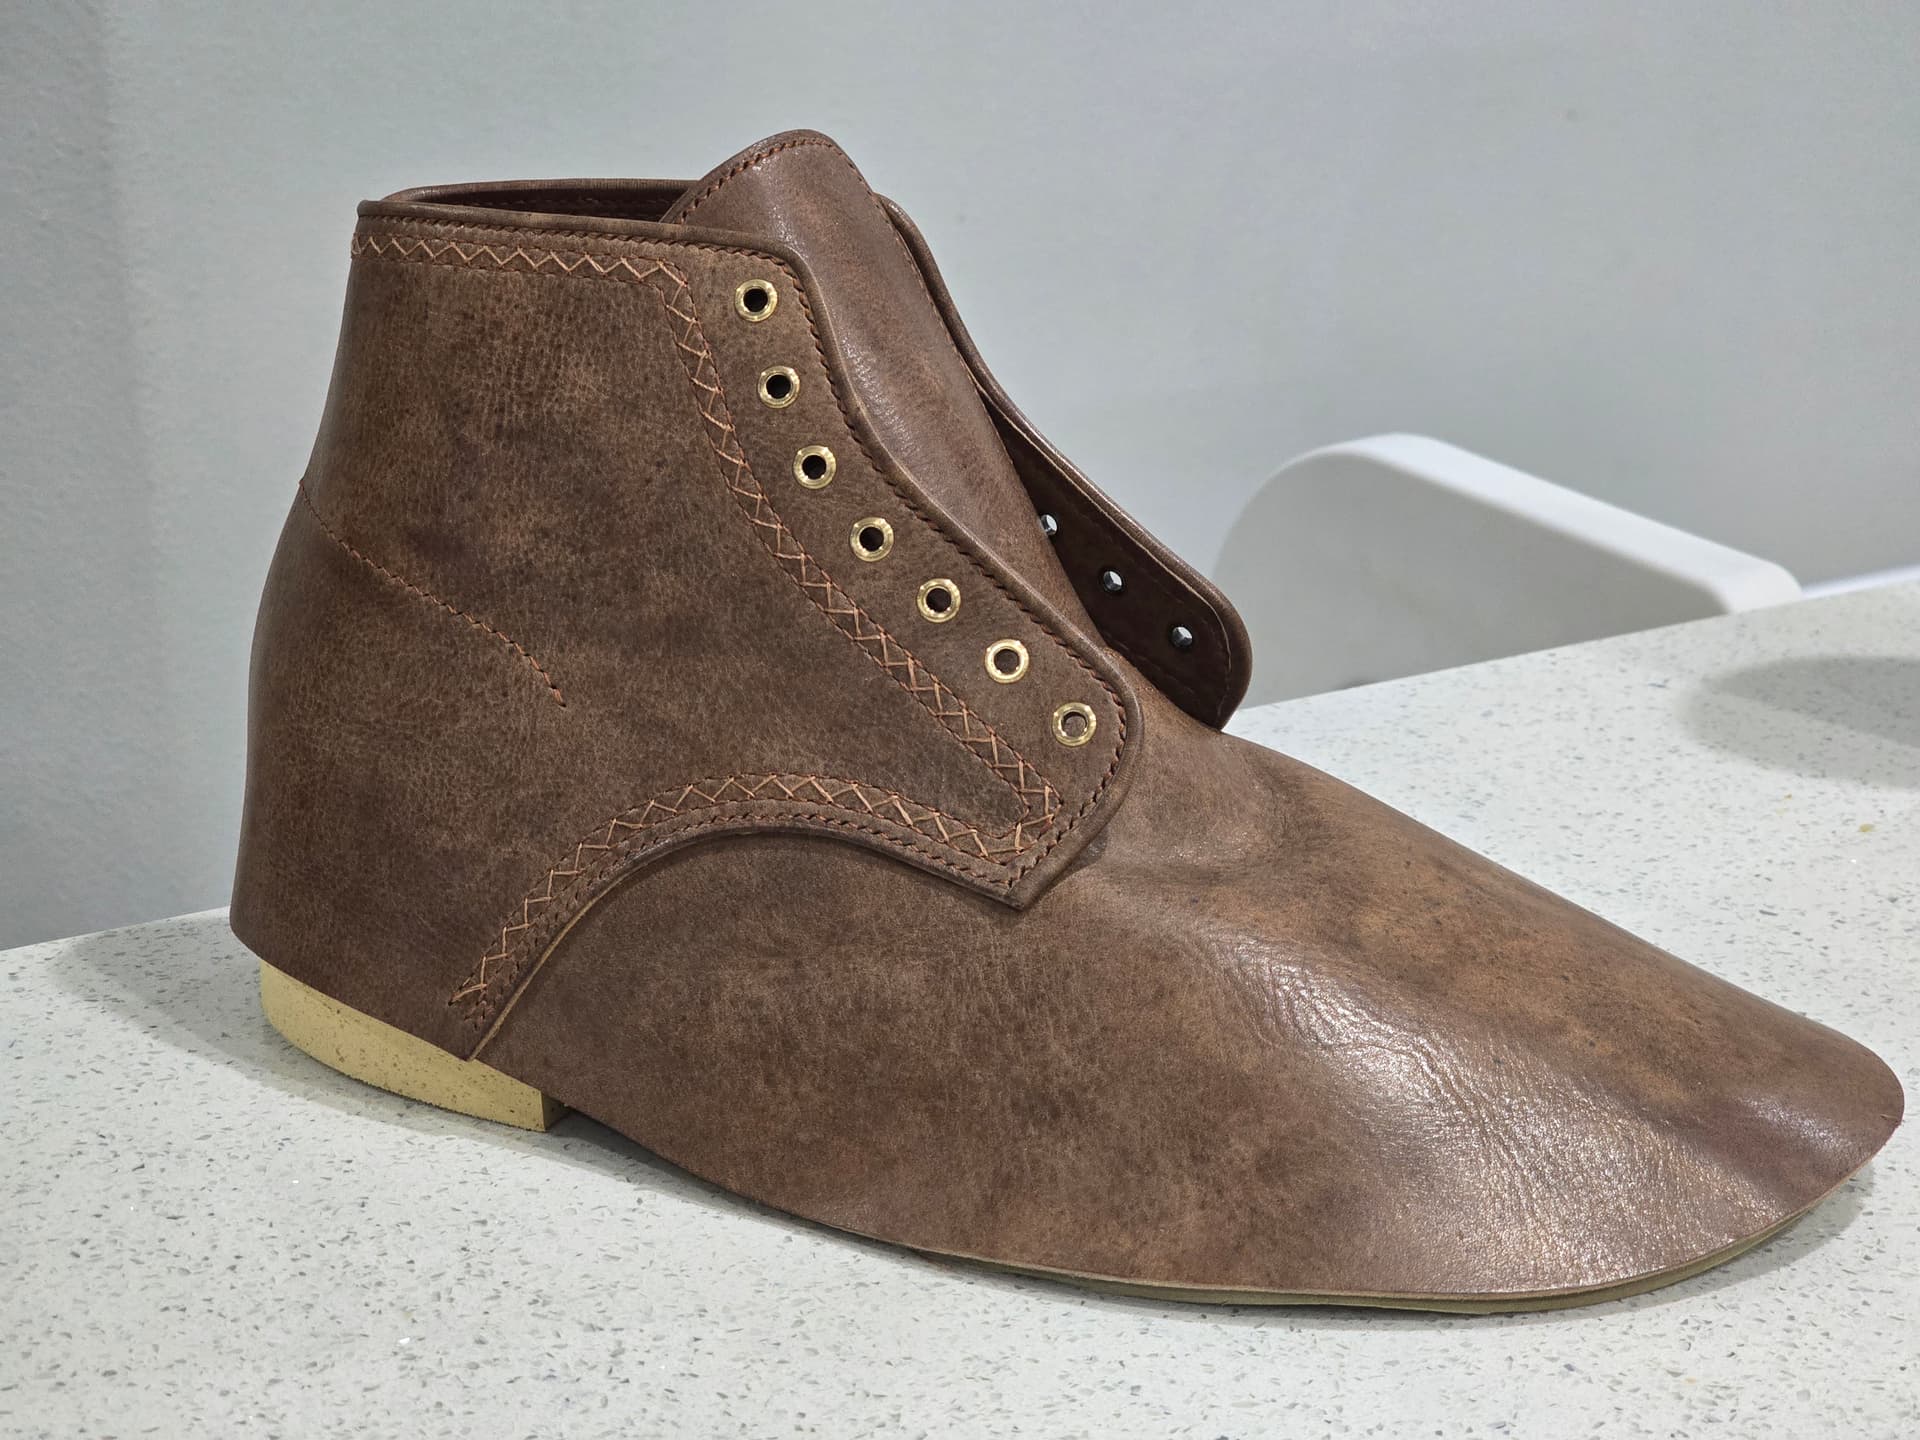
I don’t like the little tab on the back, but I am feeling the chain stitch.
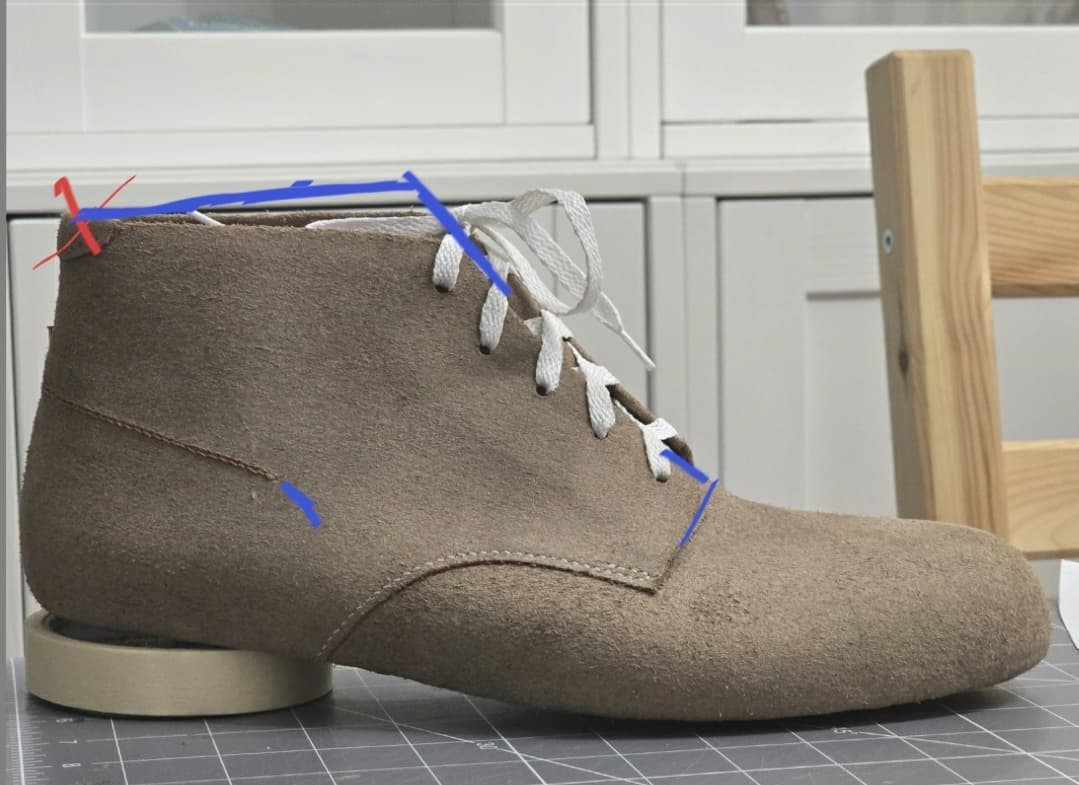
Needs to come further forward and have a more pronounced down turn at the end
1 Like
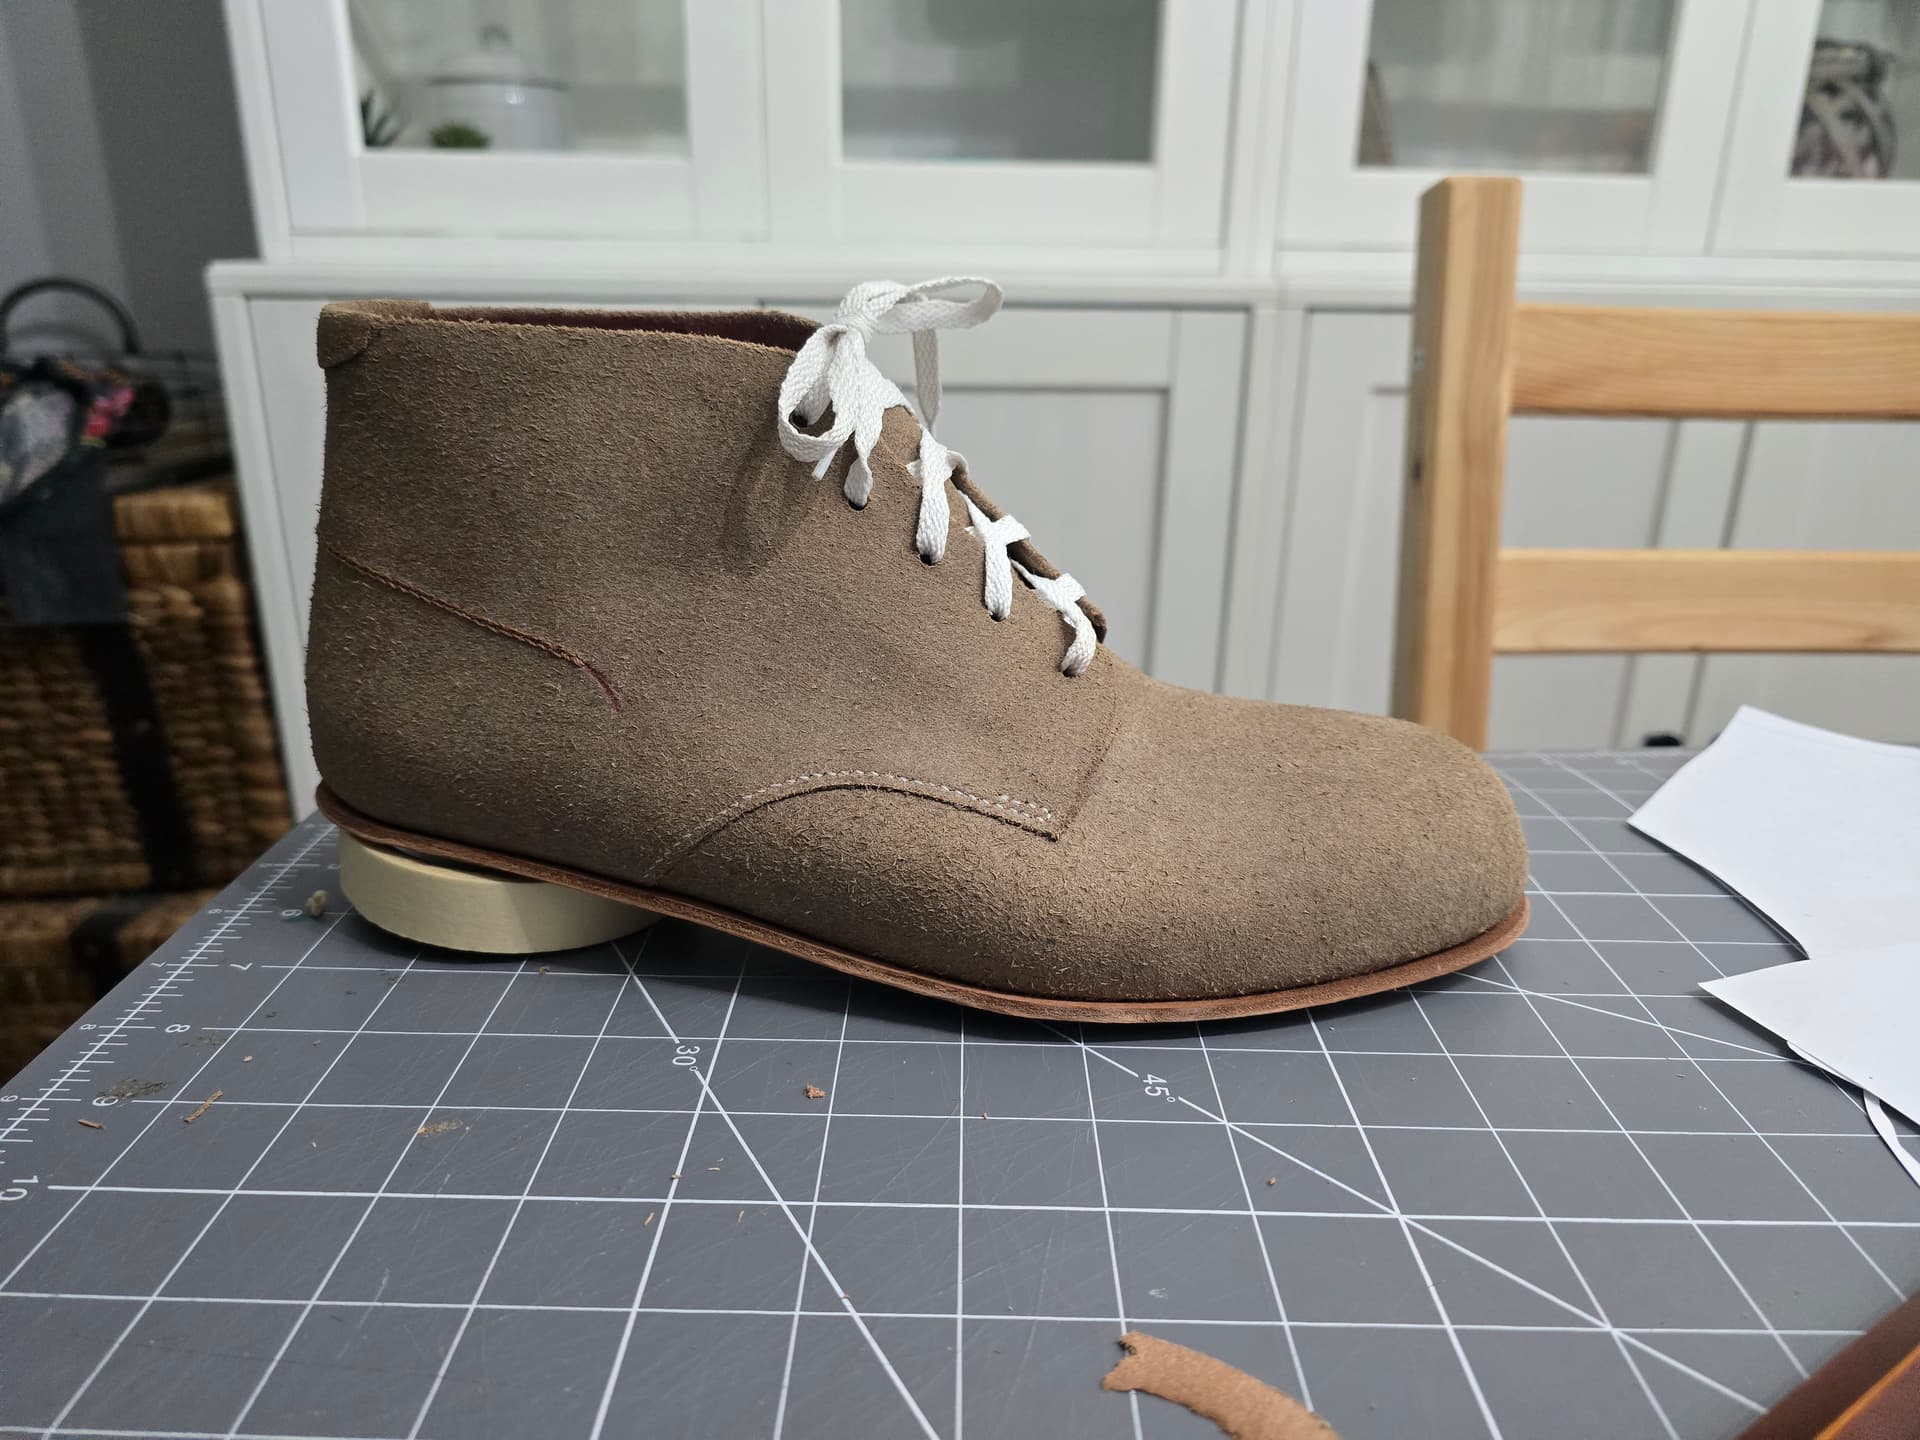
The little extra kick down helps I think.
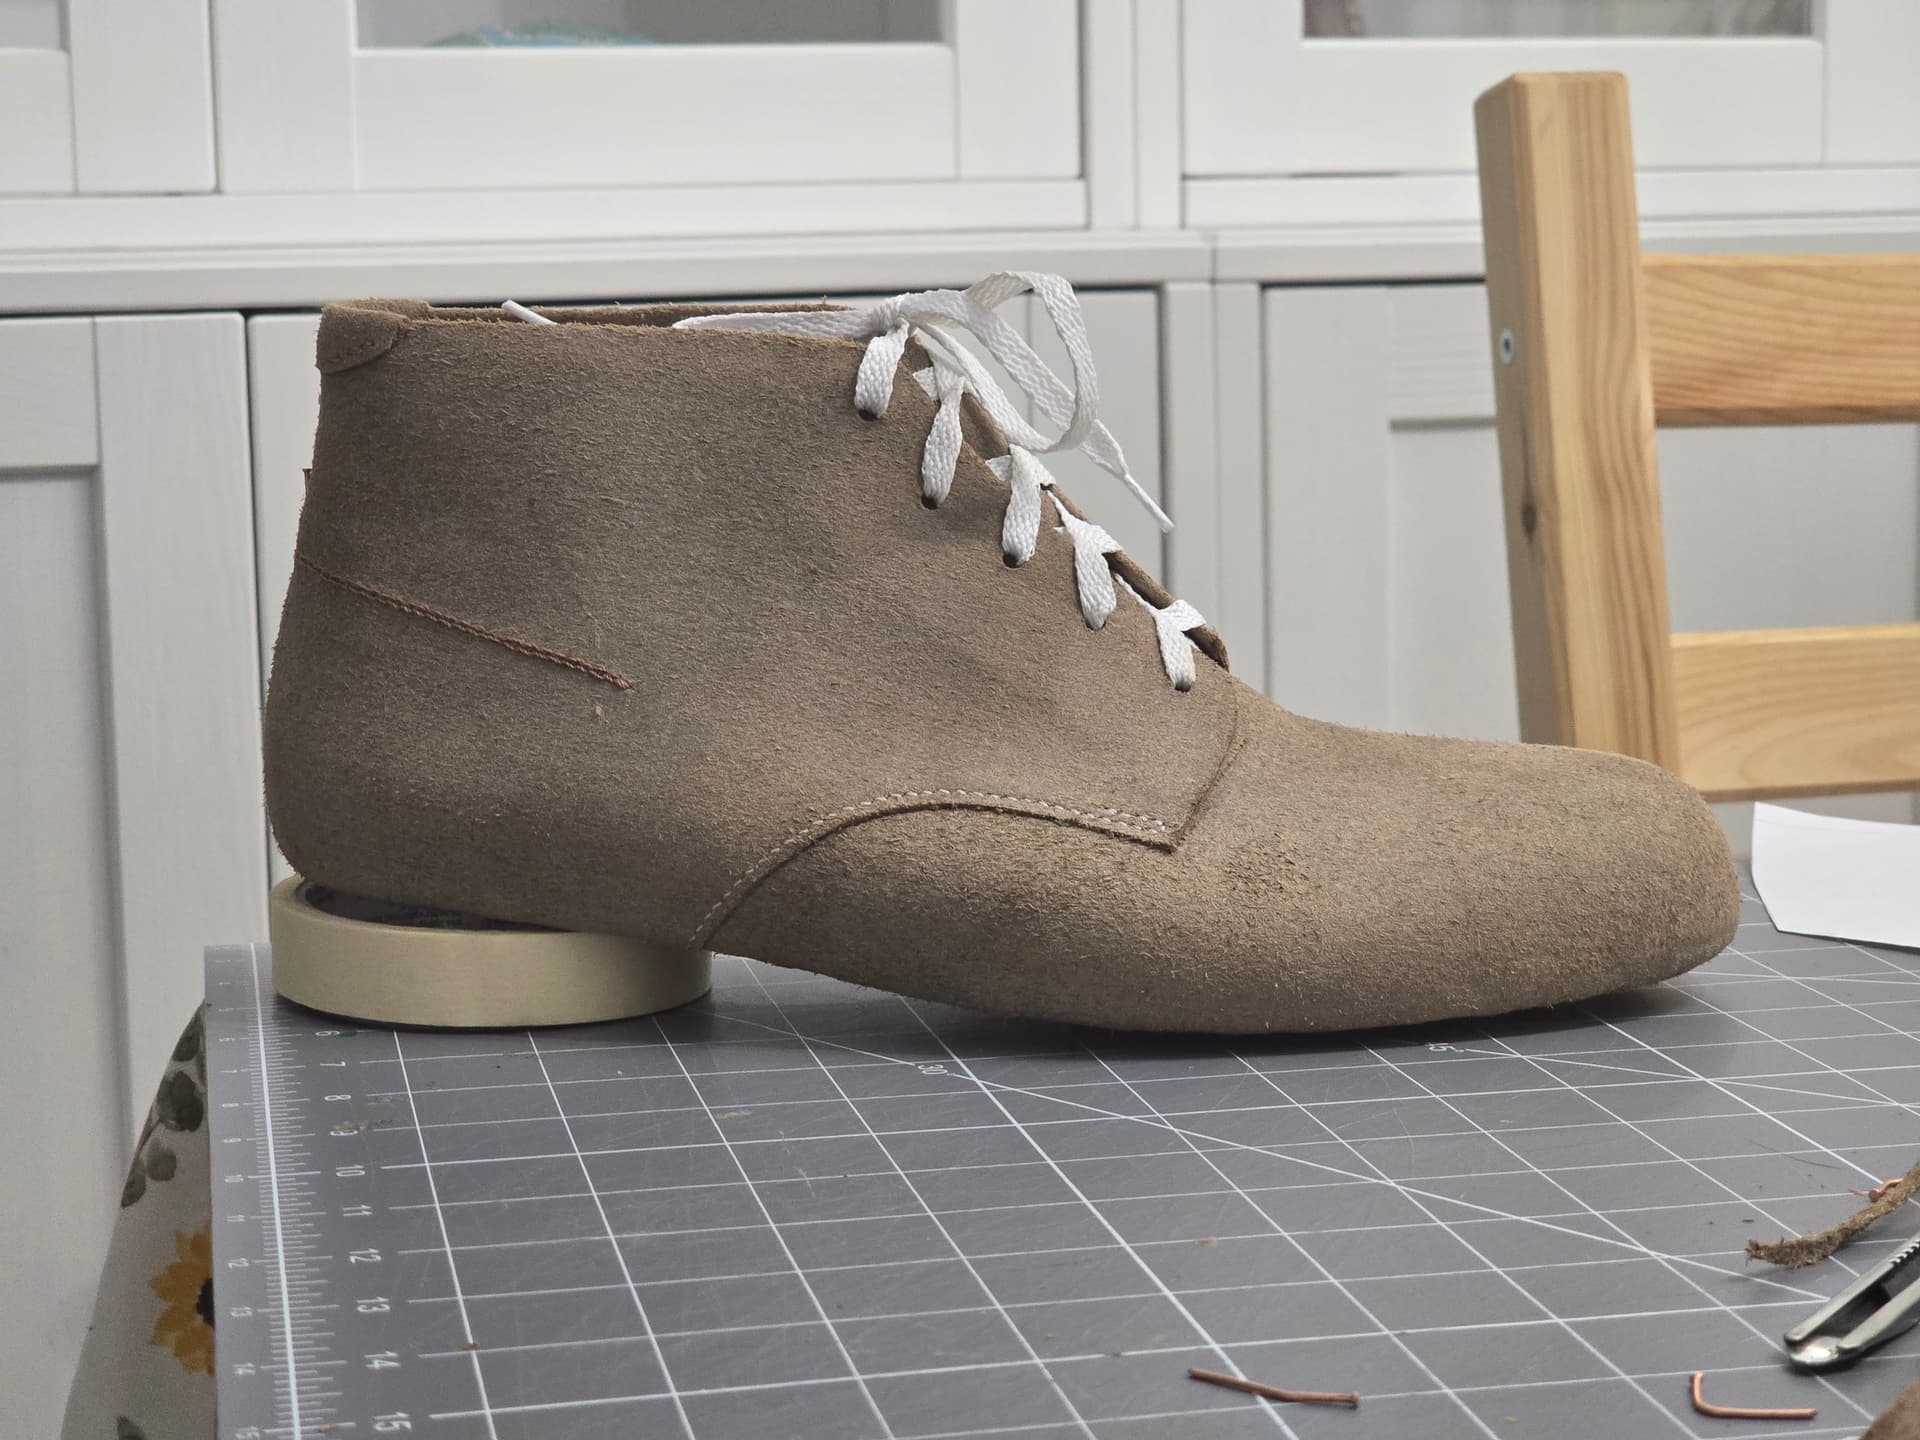
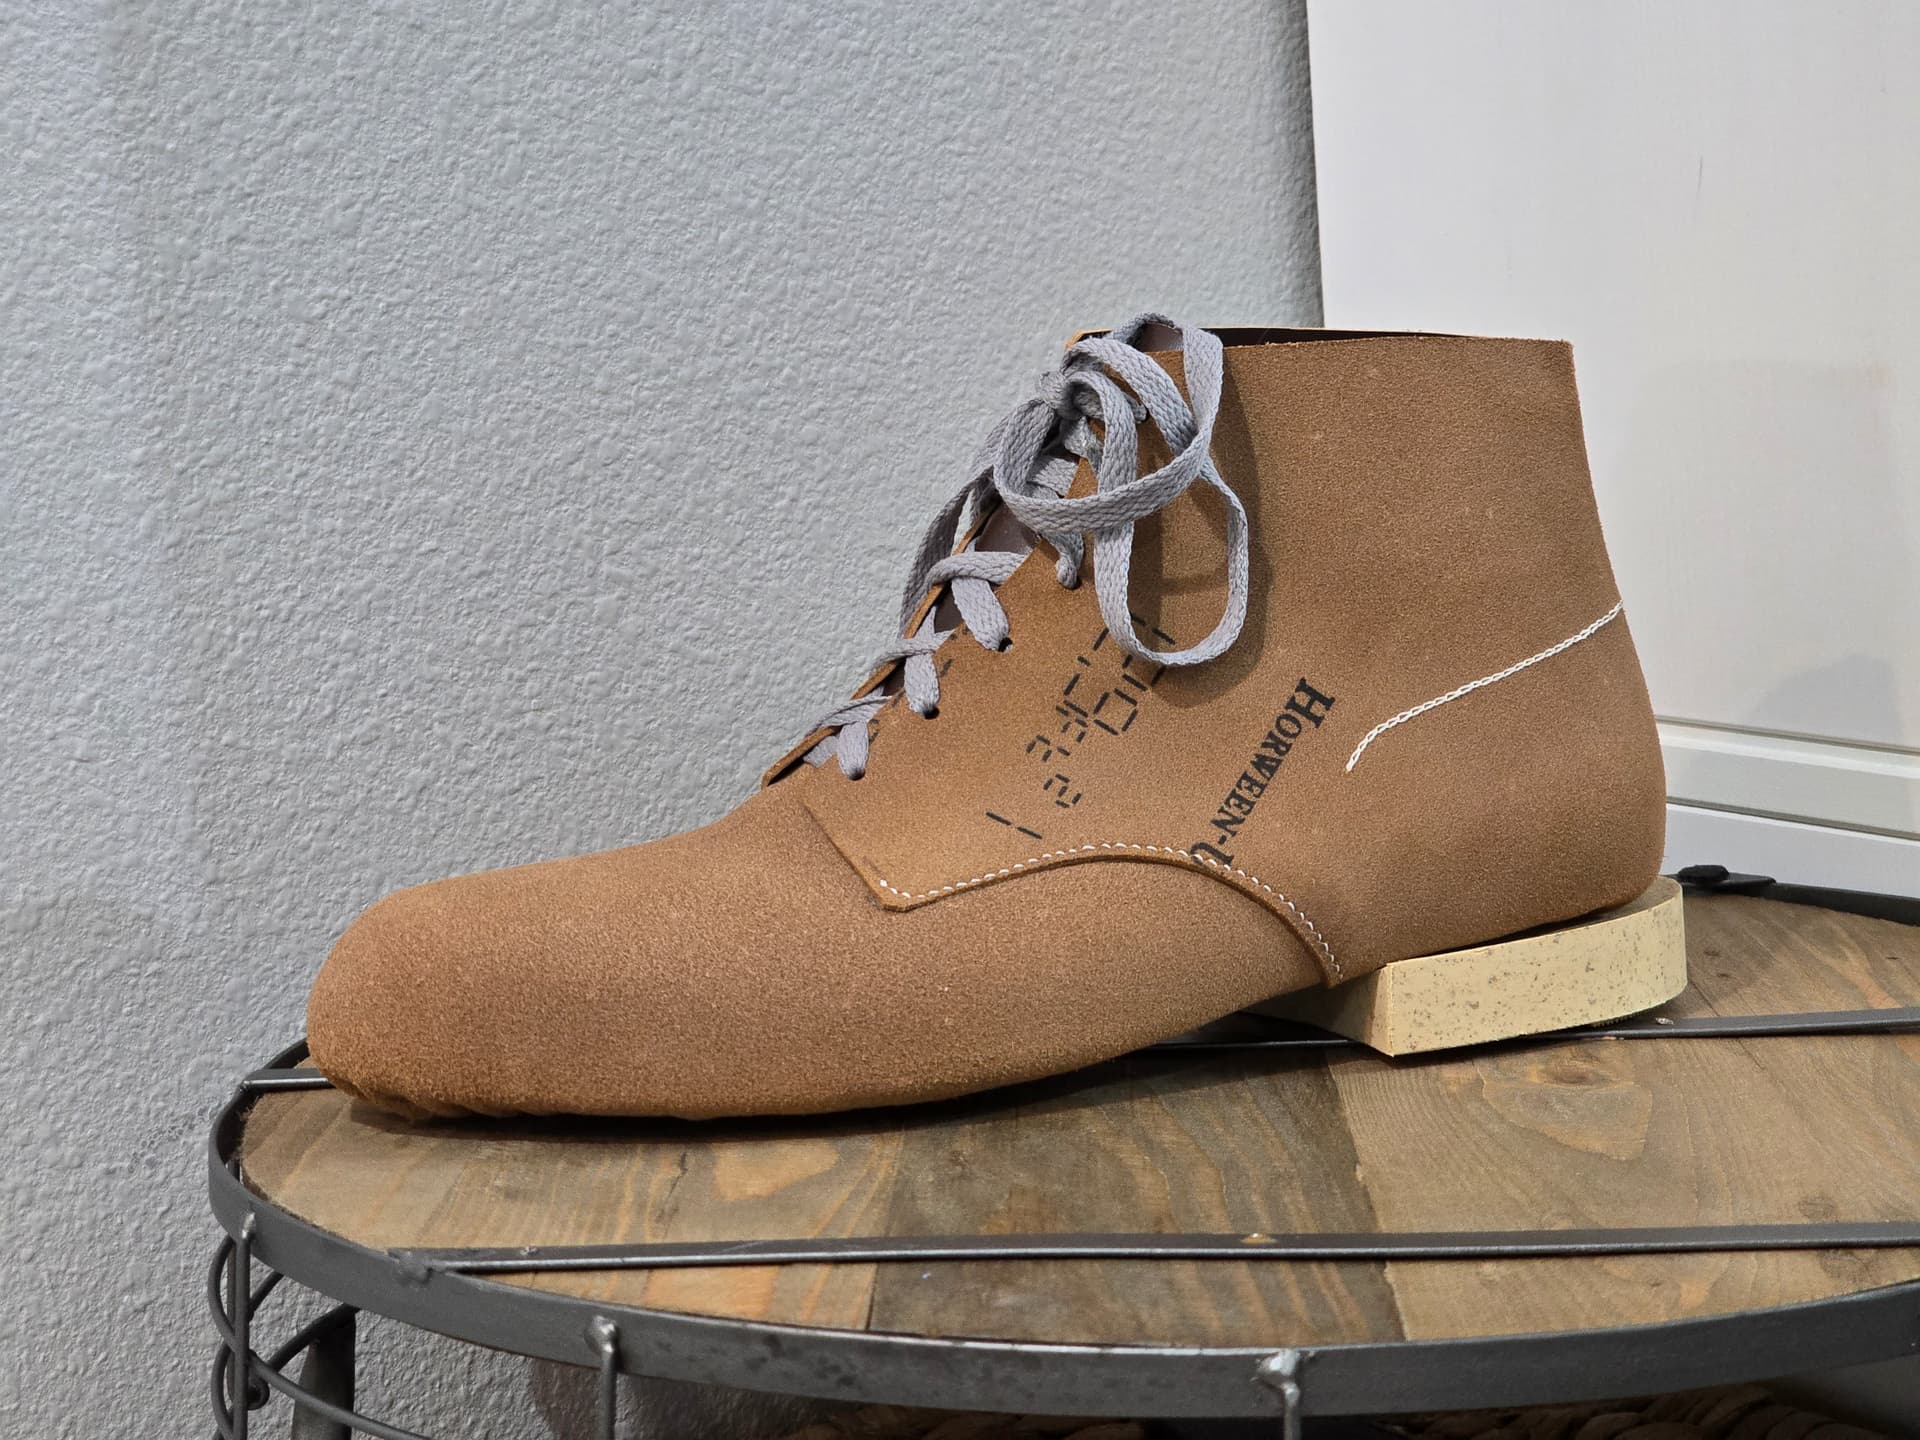
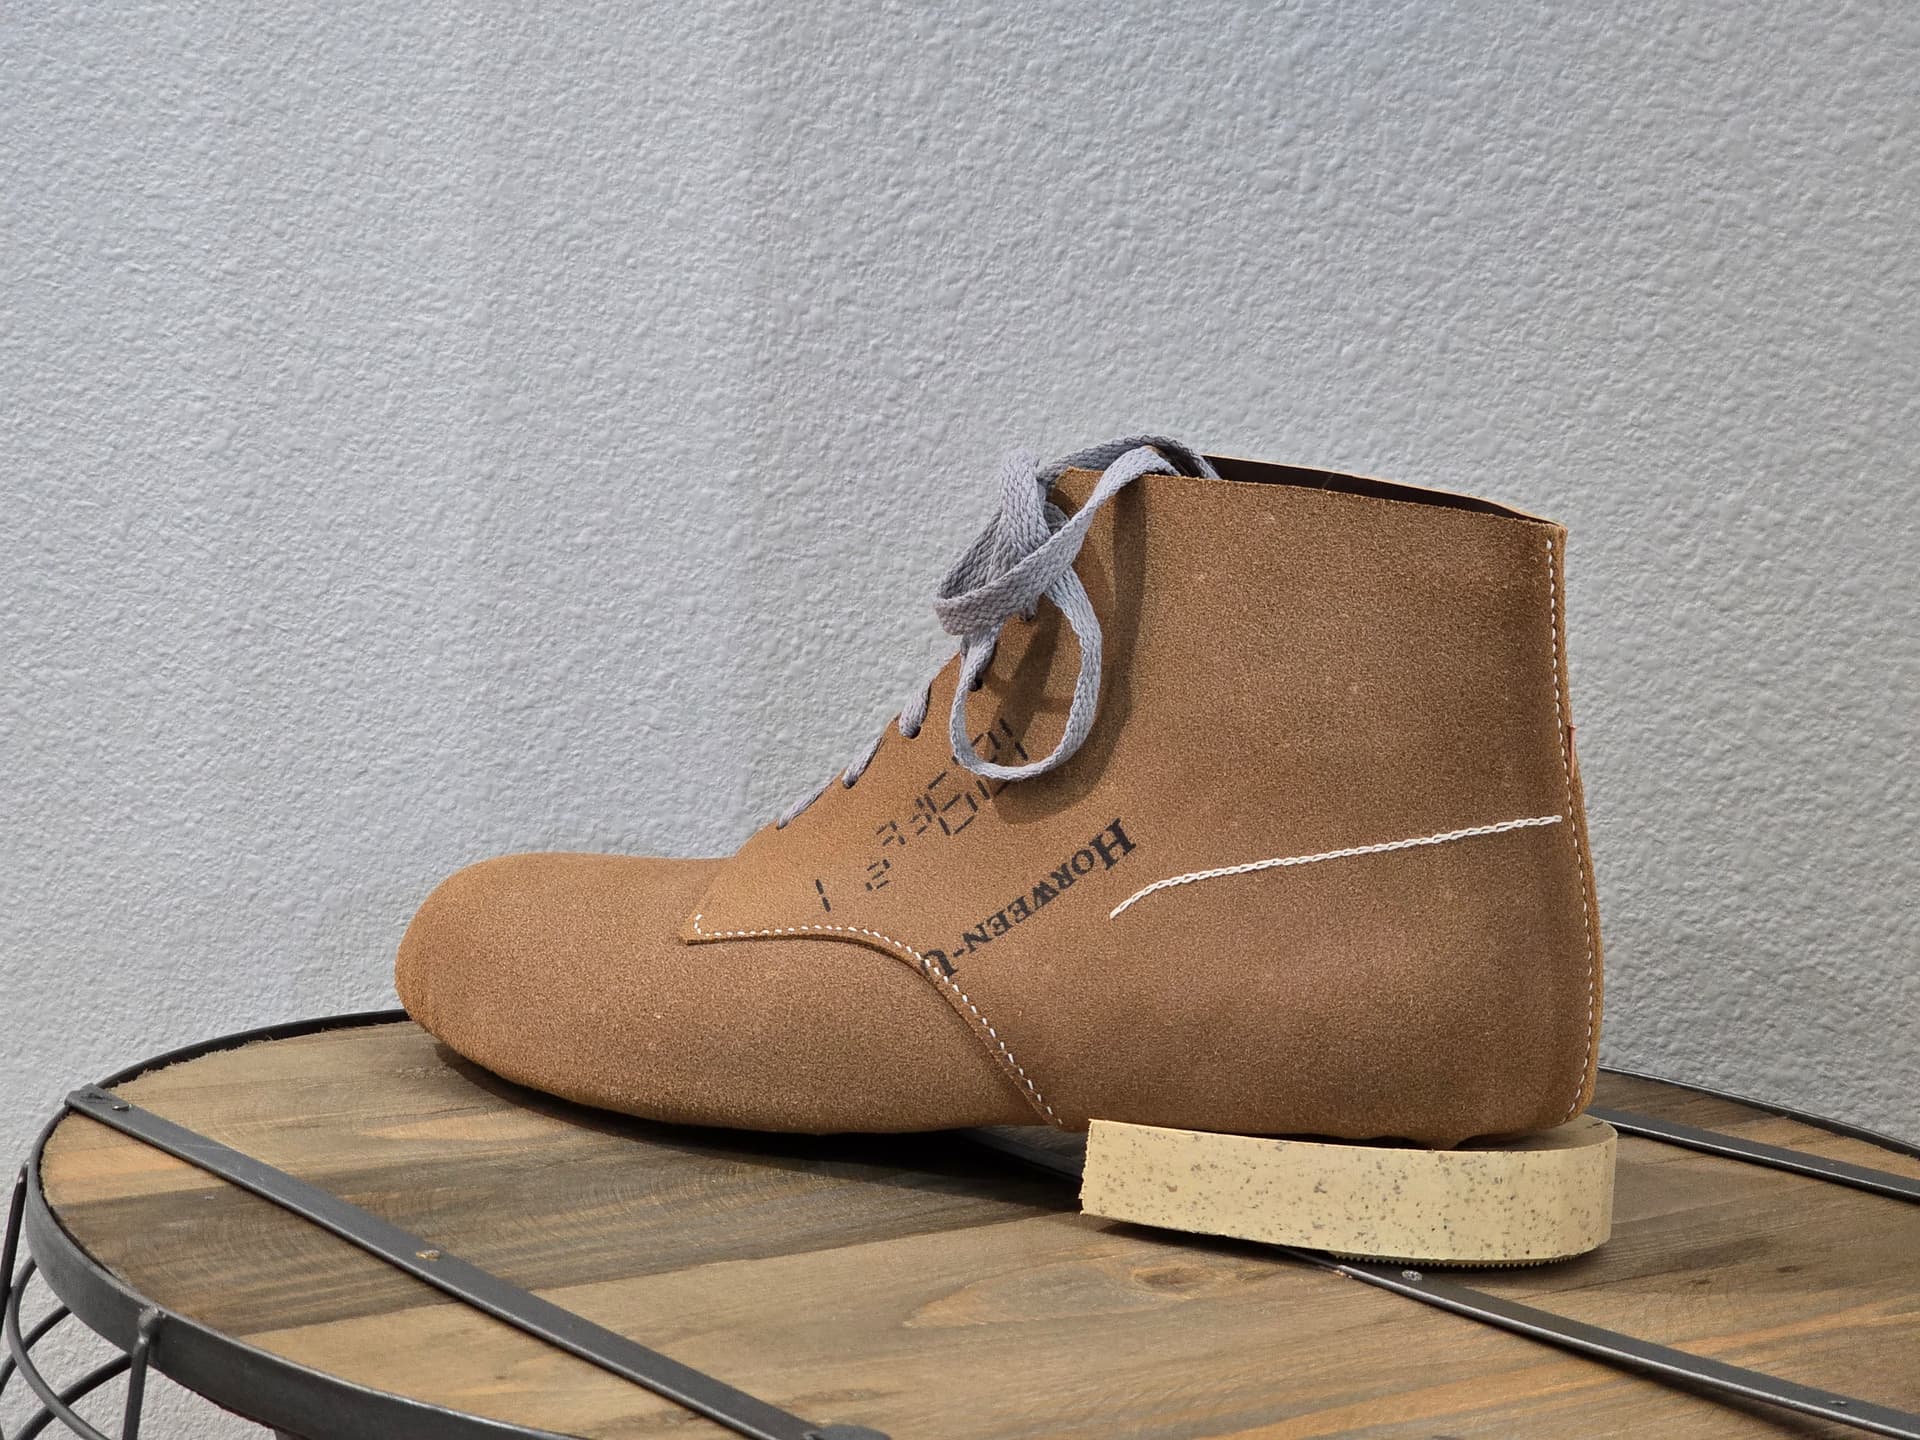
I cemented on a thin outsole to give slightly more support to try it on. Debating if I would to stack up a super crude heel as well.
1 Like
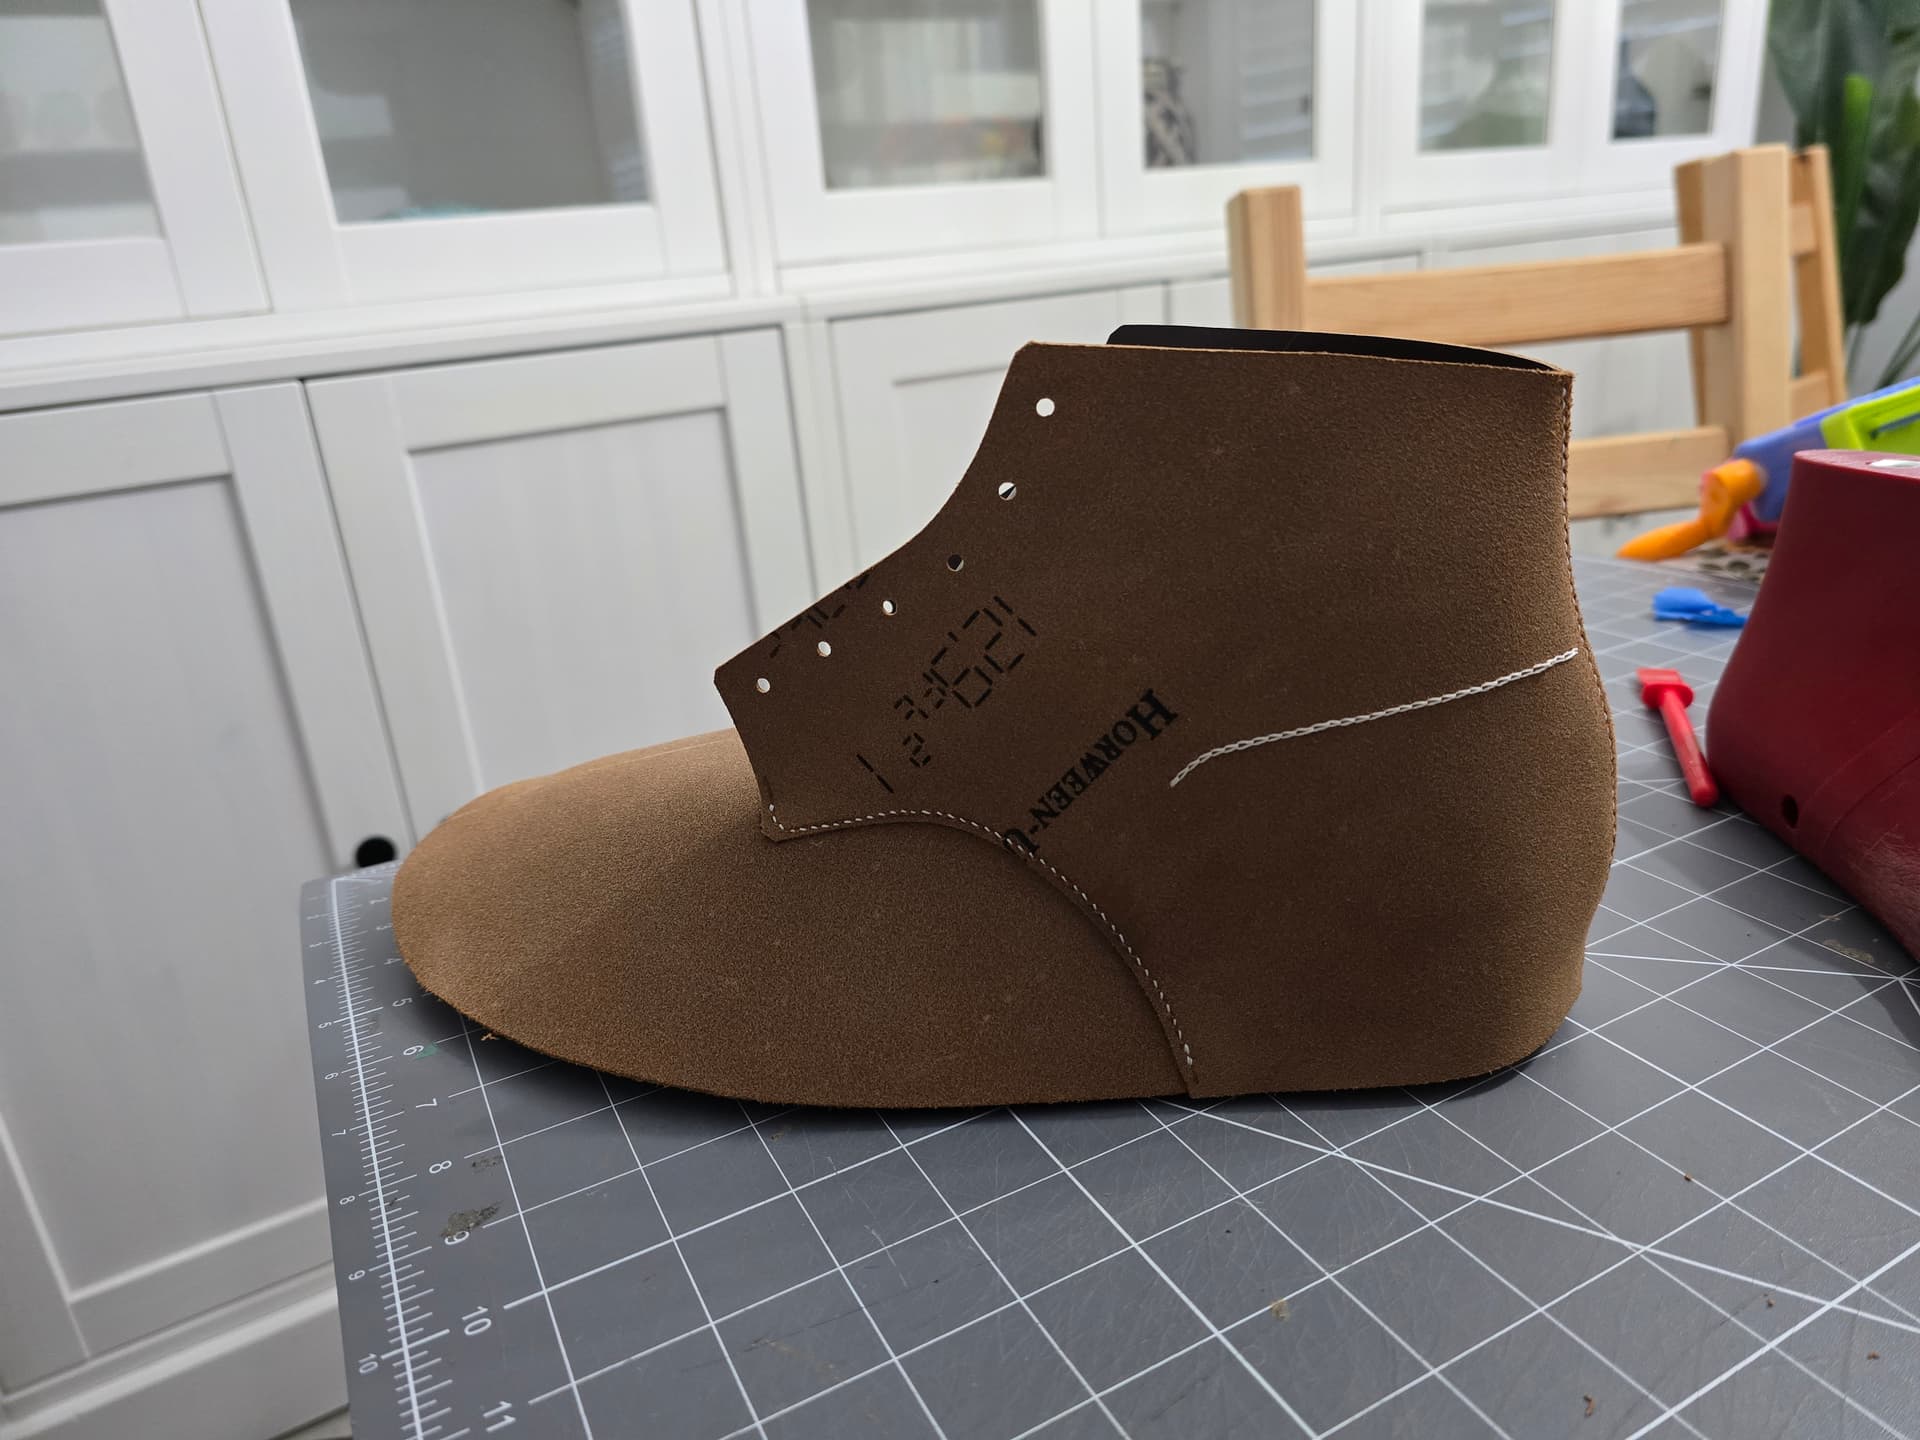
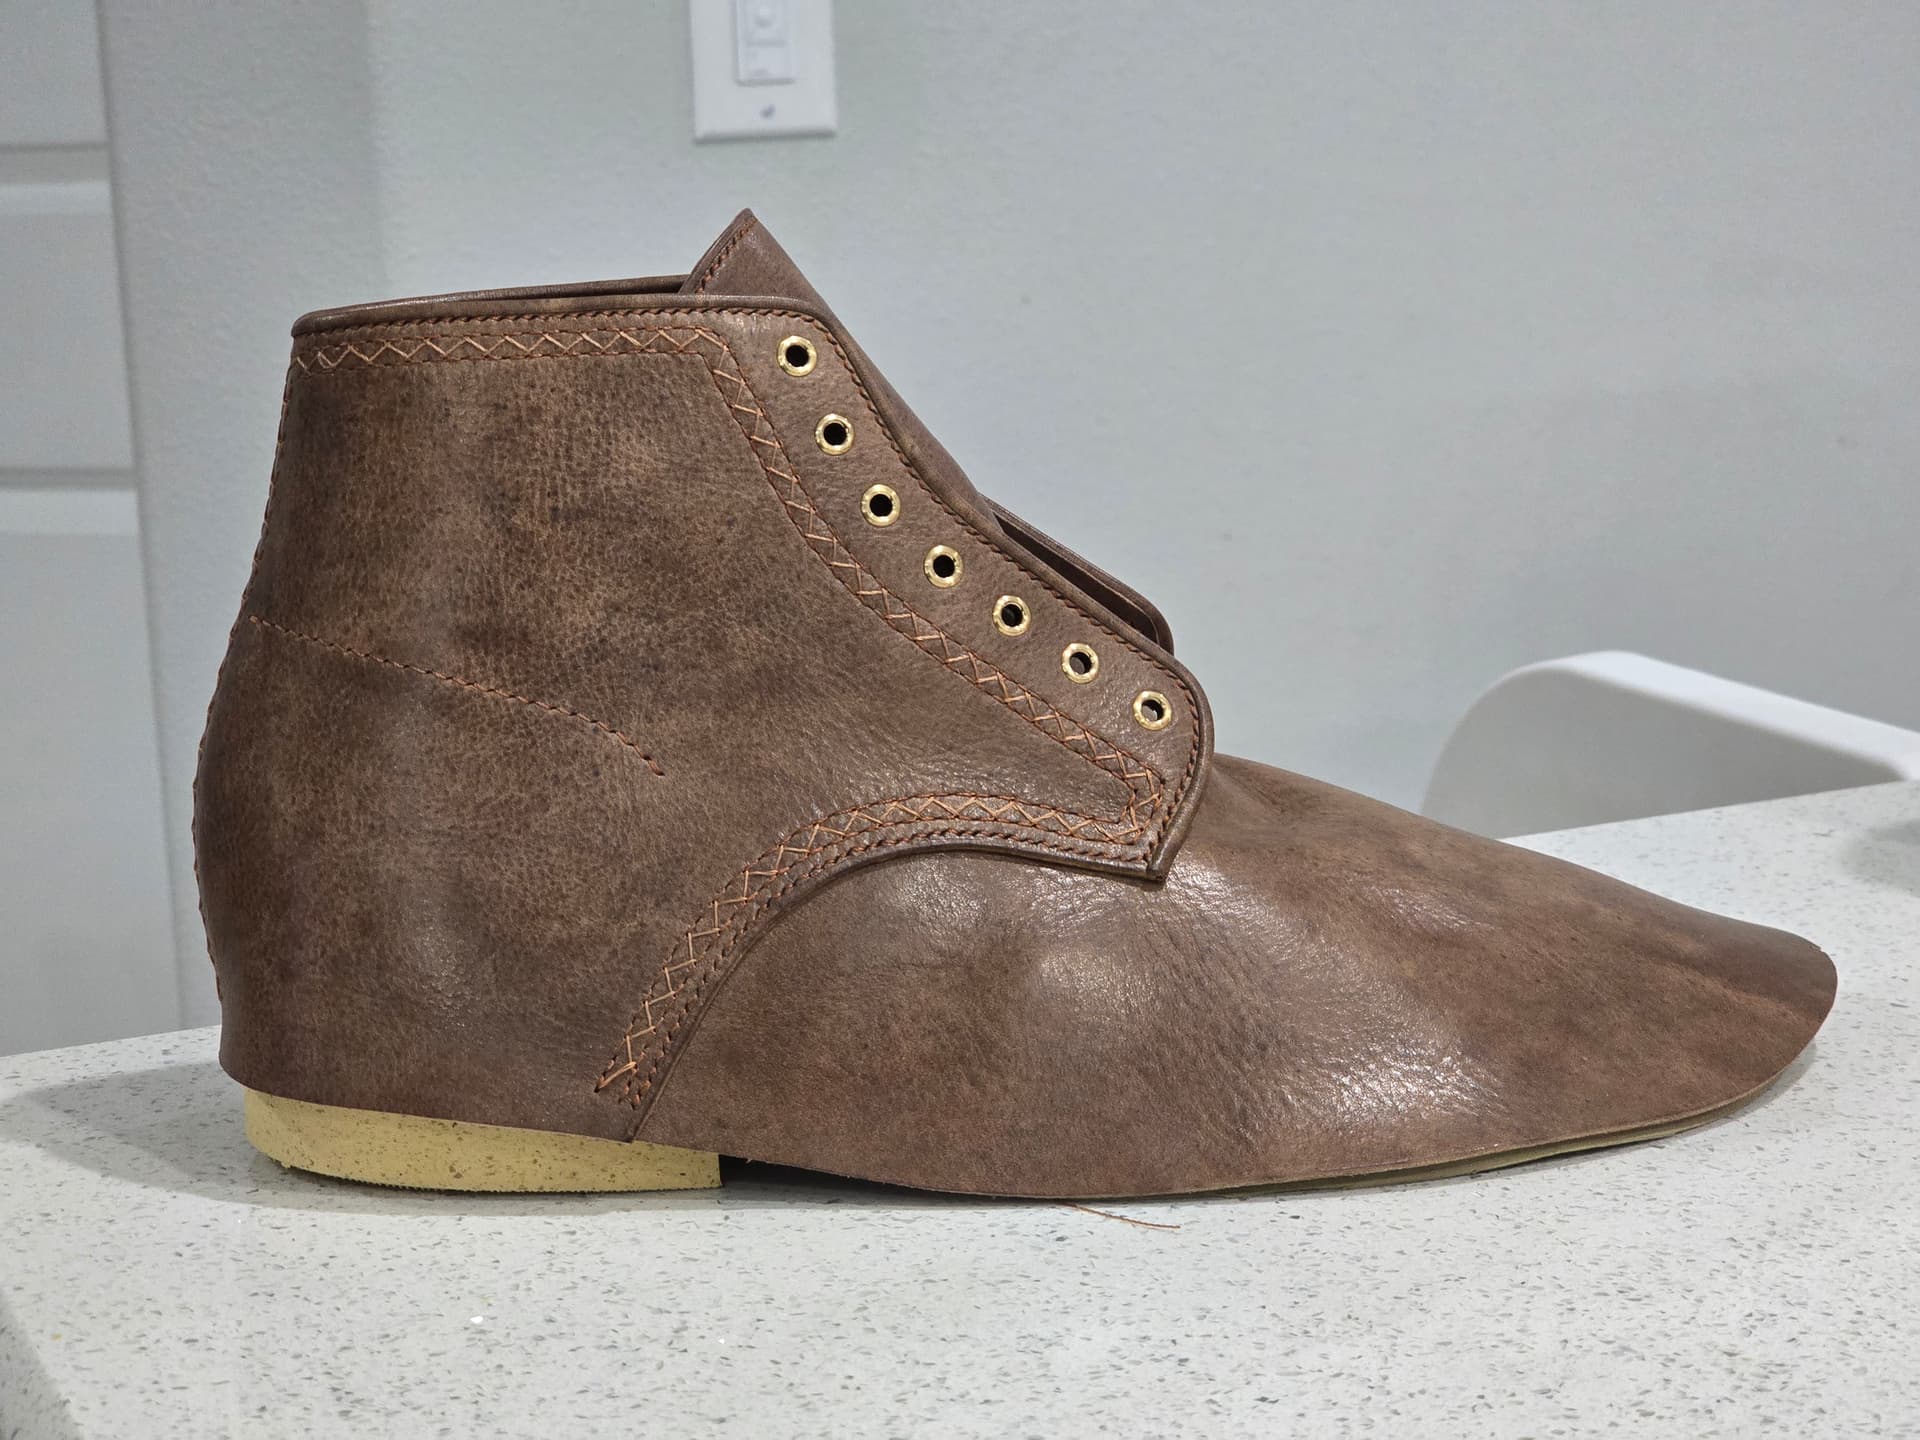
Well, after trying it on and walking around, there are a few visual changes I want to make. Top line needs to rotate up a bit to a steeper angle. Also want to reduce the radius going down the eyelet stay. Bottom of the facings need to be a little less rounded and I want to open the facings up a little. That rear tab needs to go too
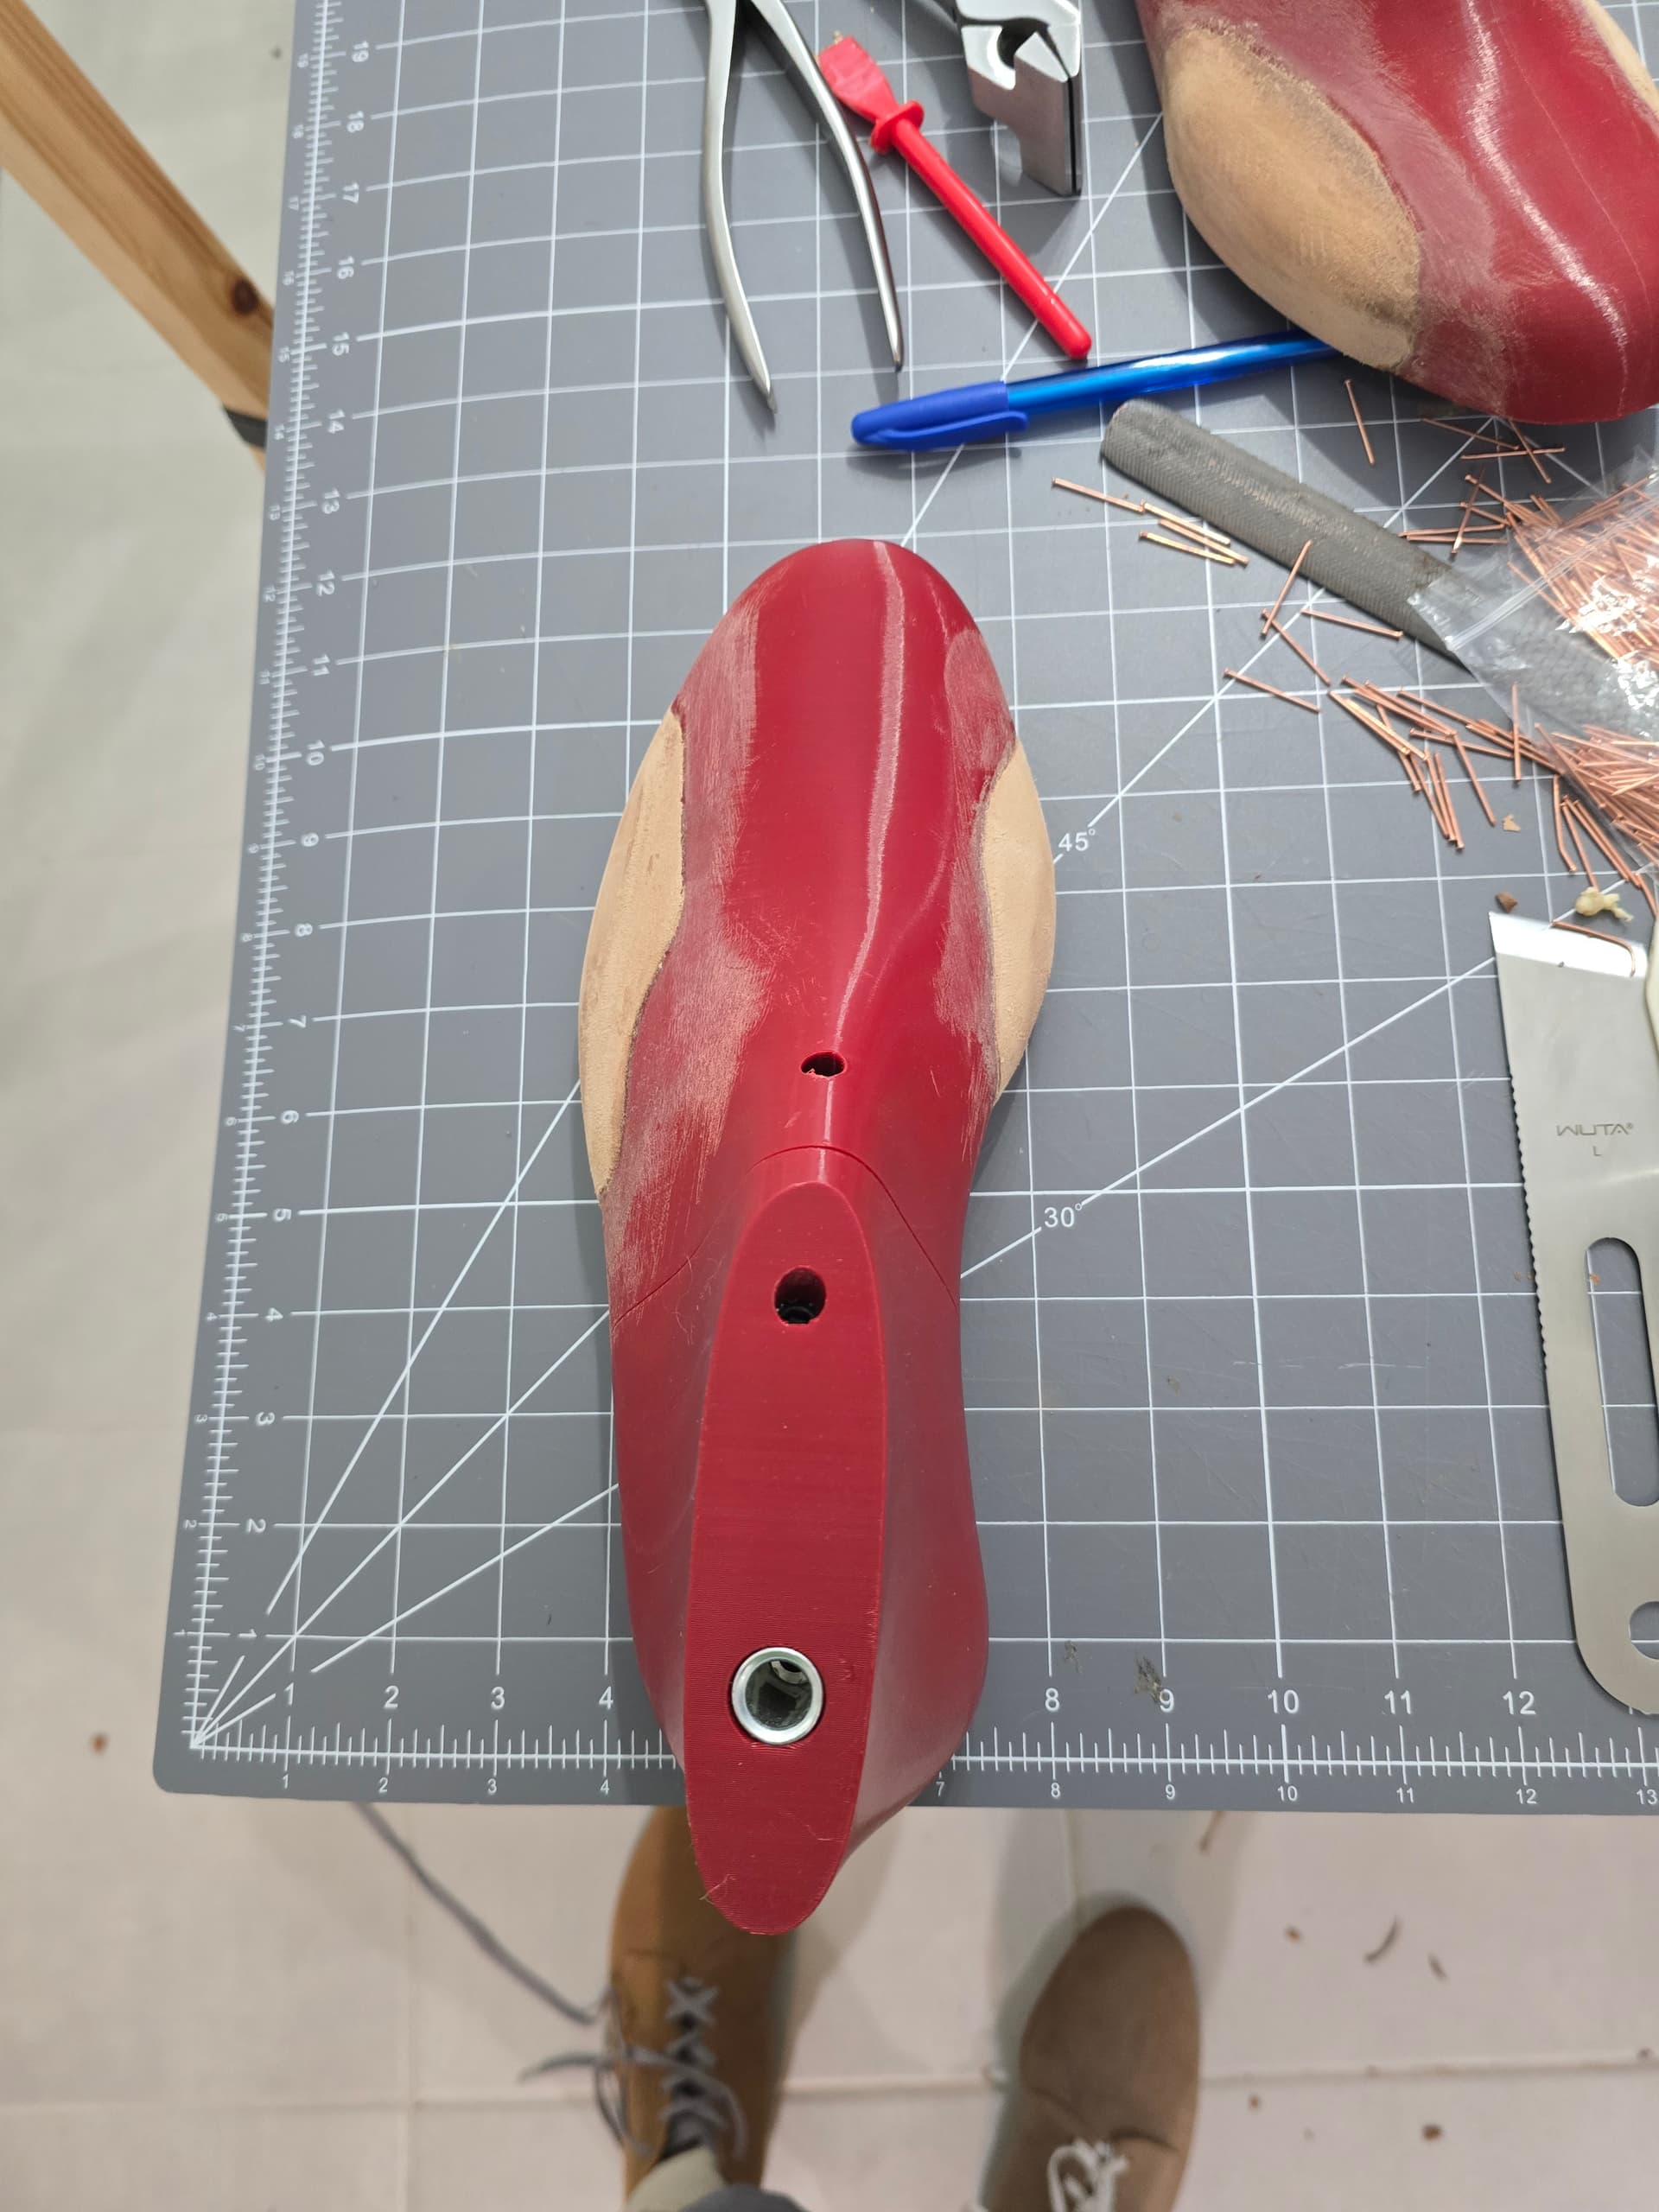
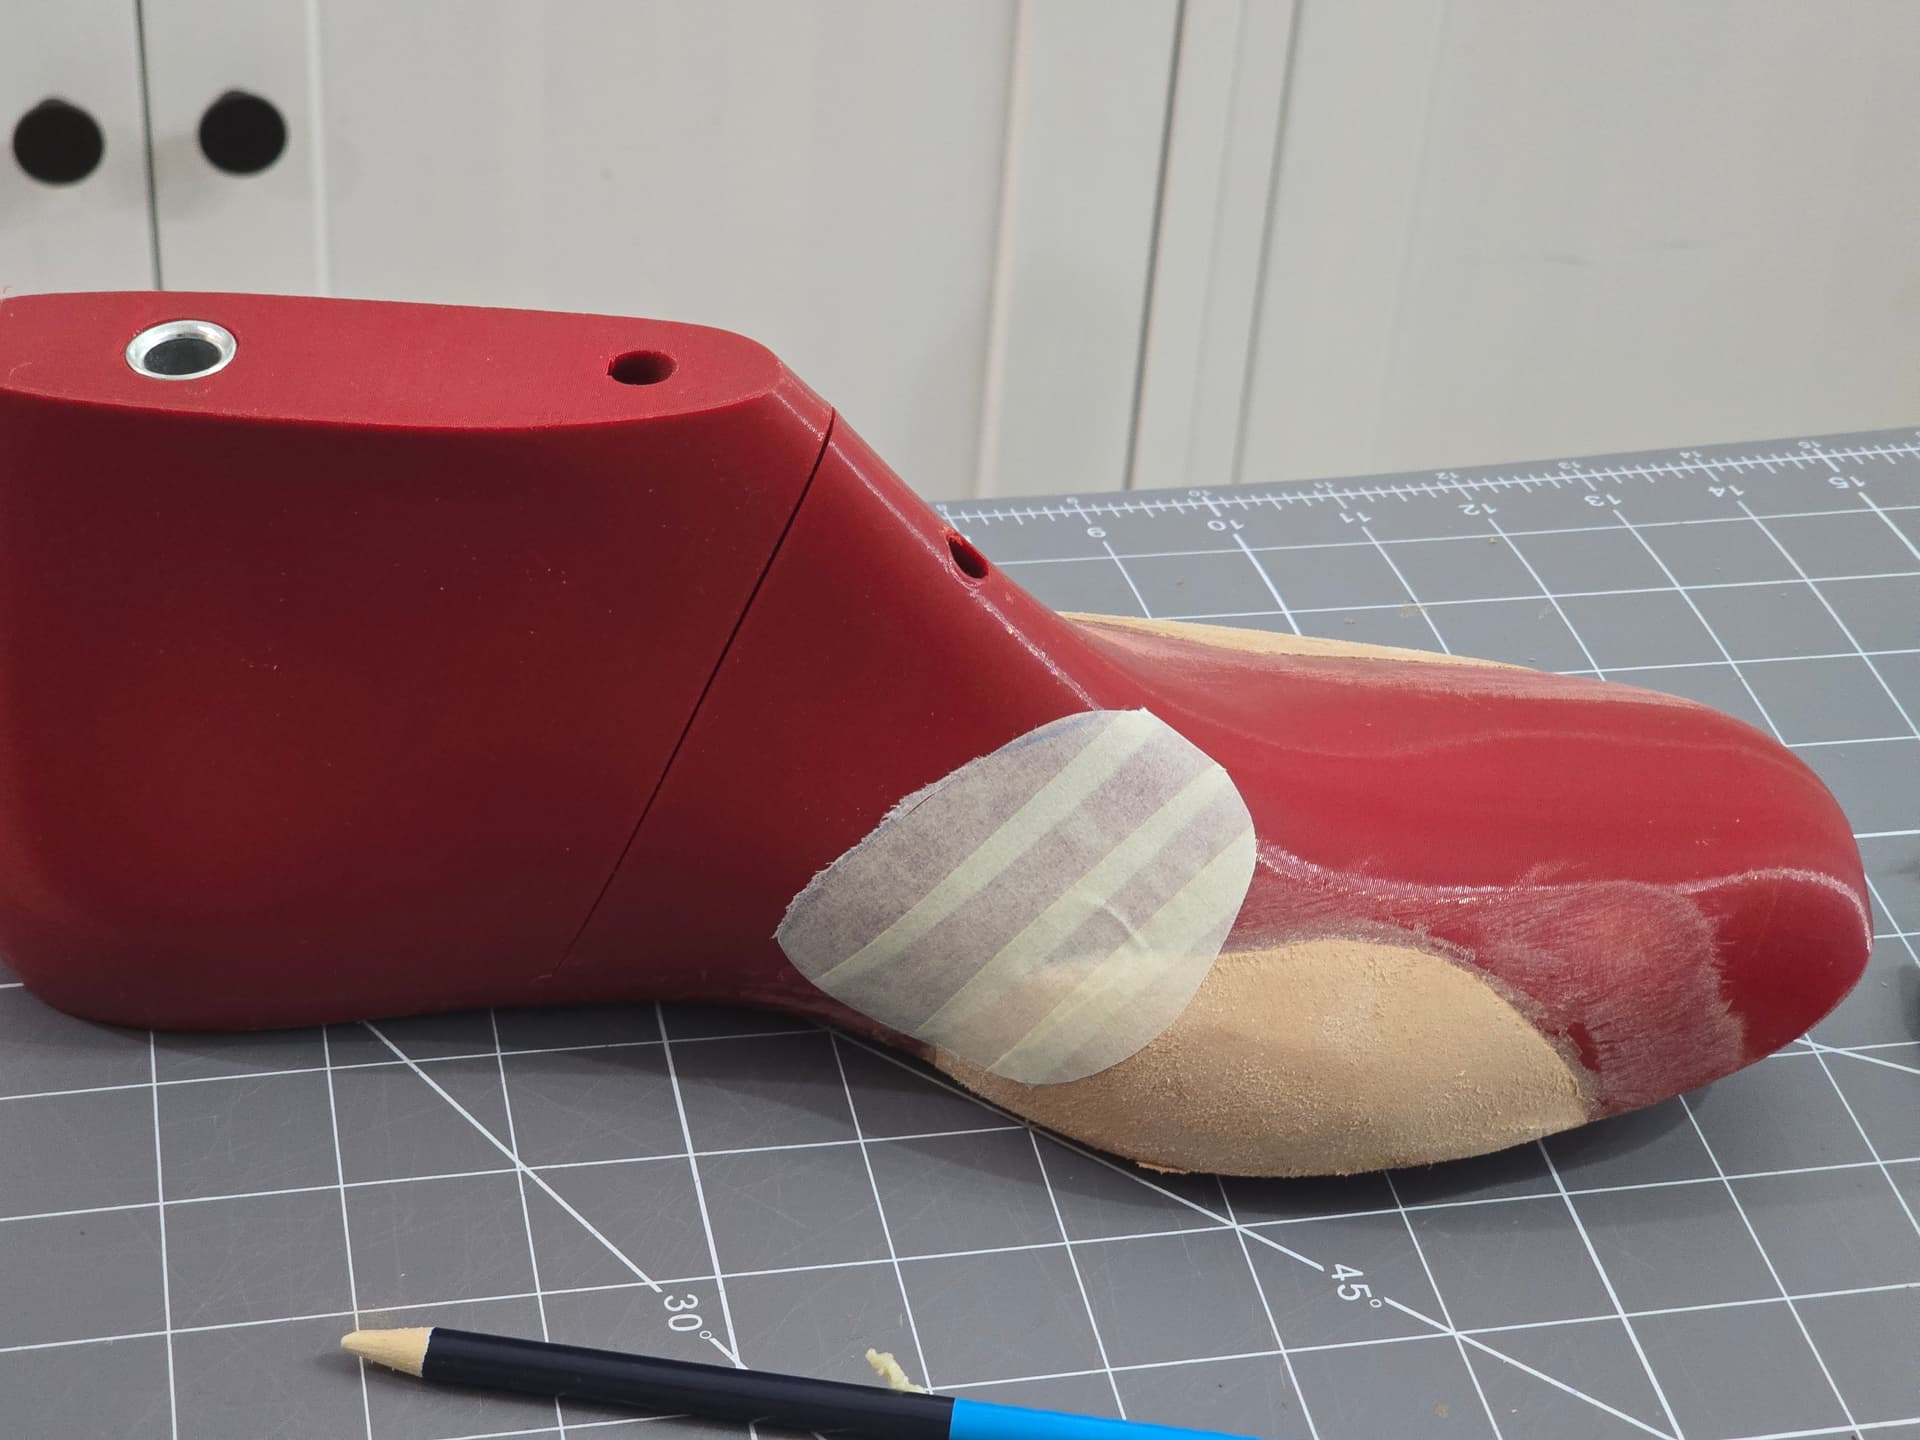
Fit wise, they’re close, but need a little more space in the instep, so going to be adding a little to the lasts.
1 Like
Tests are good!
I get a lot of satisfaction out of being able to tweak things.
Now comes the tough decision of if I make another test boot after the next pattern rev or just go for it
If it’s just for you, do what sounds the most fun.
Another test will always help the end product. But you’ve done a lot of work already, and a finished pair could be a timely reward.
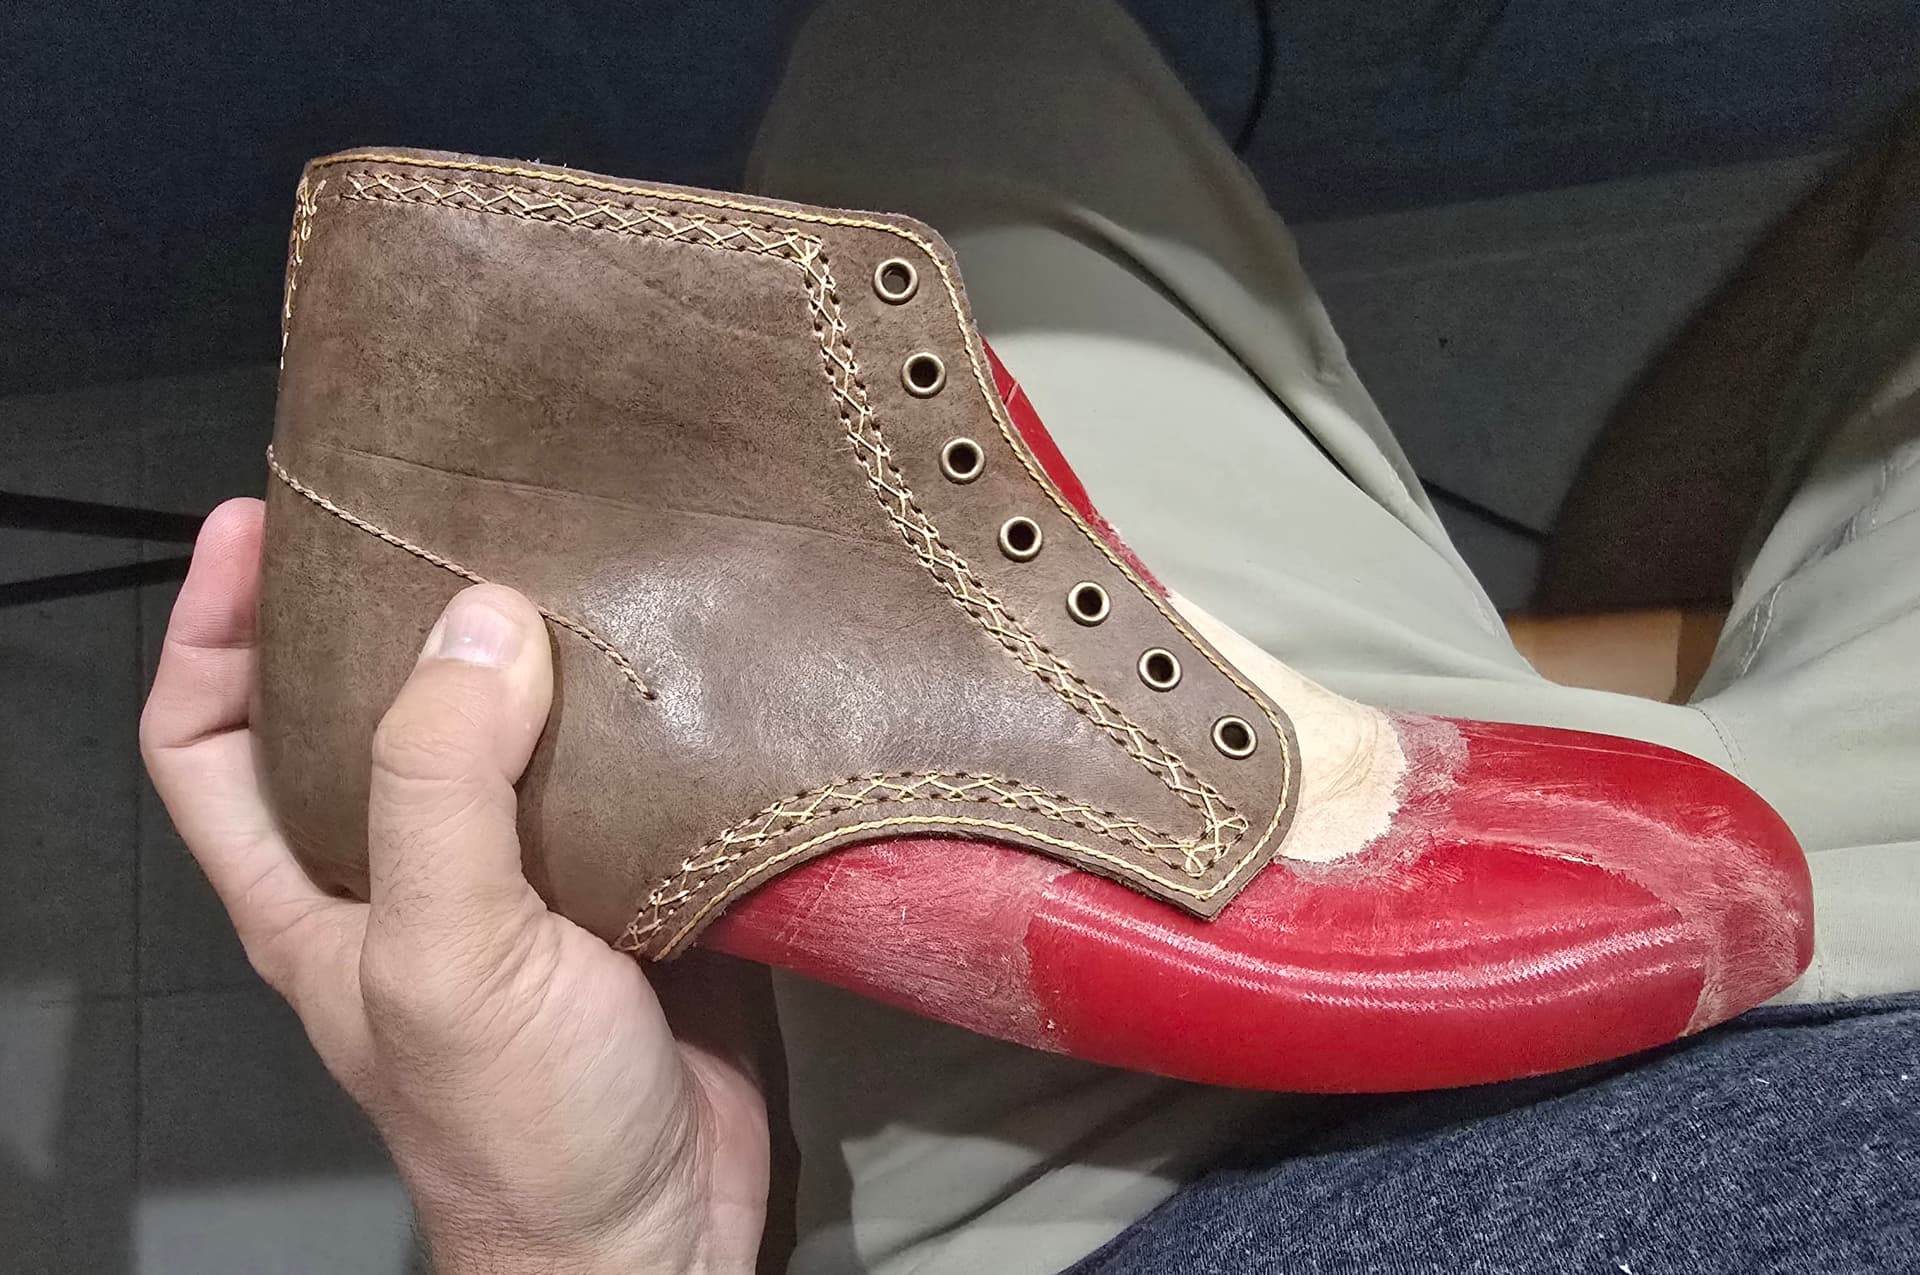
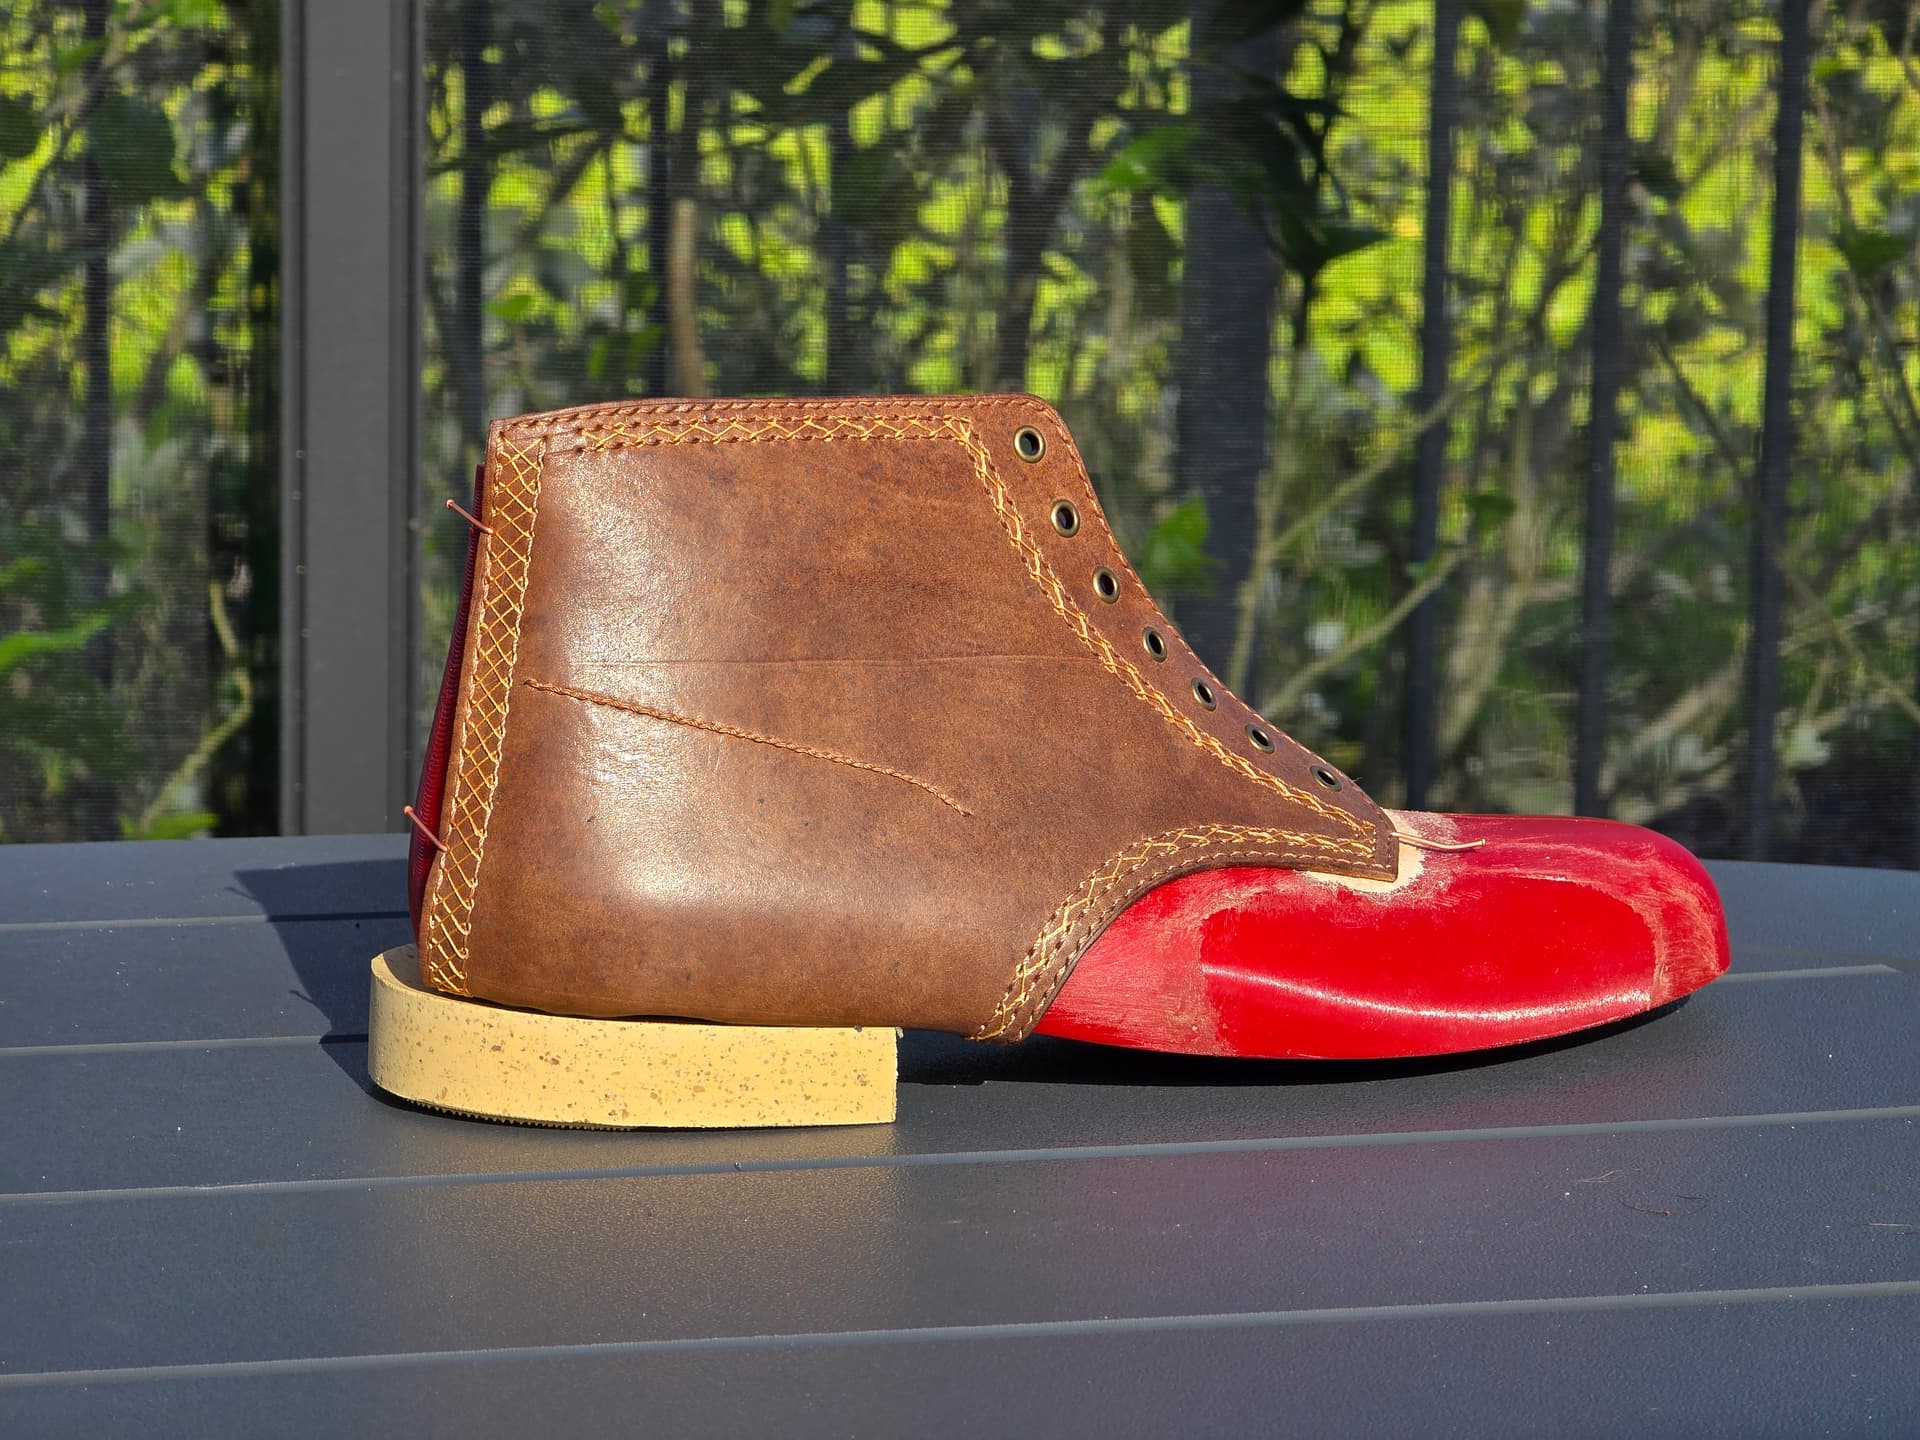
Decided to do another fit check mock up. Good excuse to practice tensioning some of the chain stitch details I am considering and modified how I did the french seam up the rear a little.
I killed the end of the chromexcel hide I have been using. Have a horween coconut latigo that I bought for making a bag for my wife laying around. There was a section of it with lots of scratches on the top grain, so perfect for wasting on a mock up. Amusingly, it was the section with the tannery stamp on the flesh side, so got a decorated quarter.
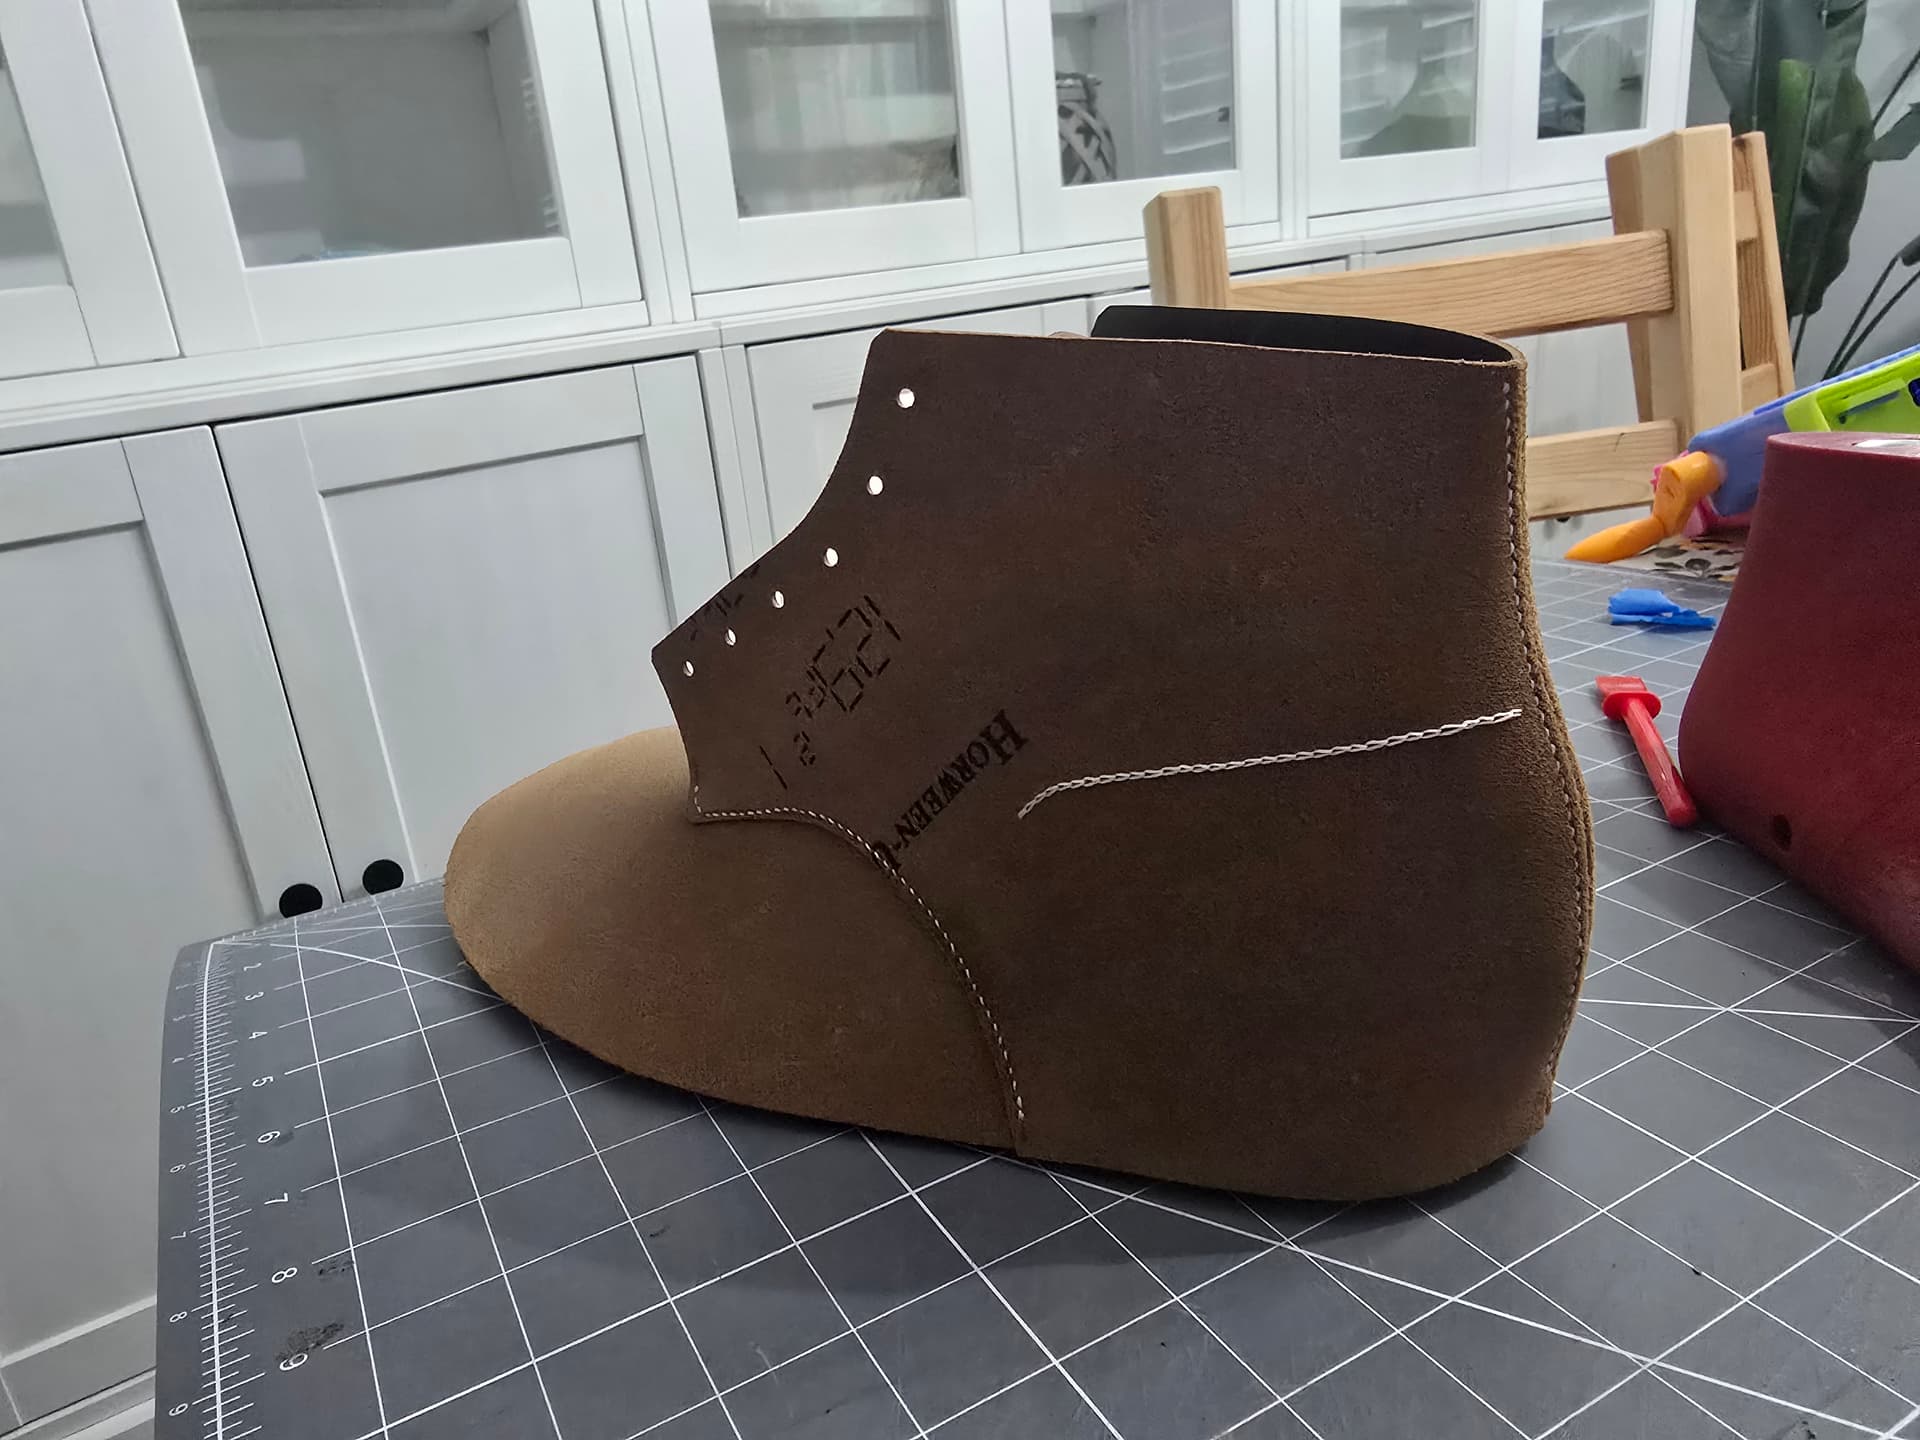
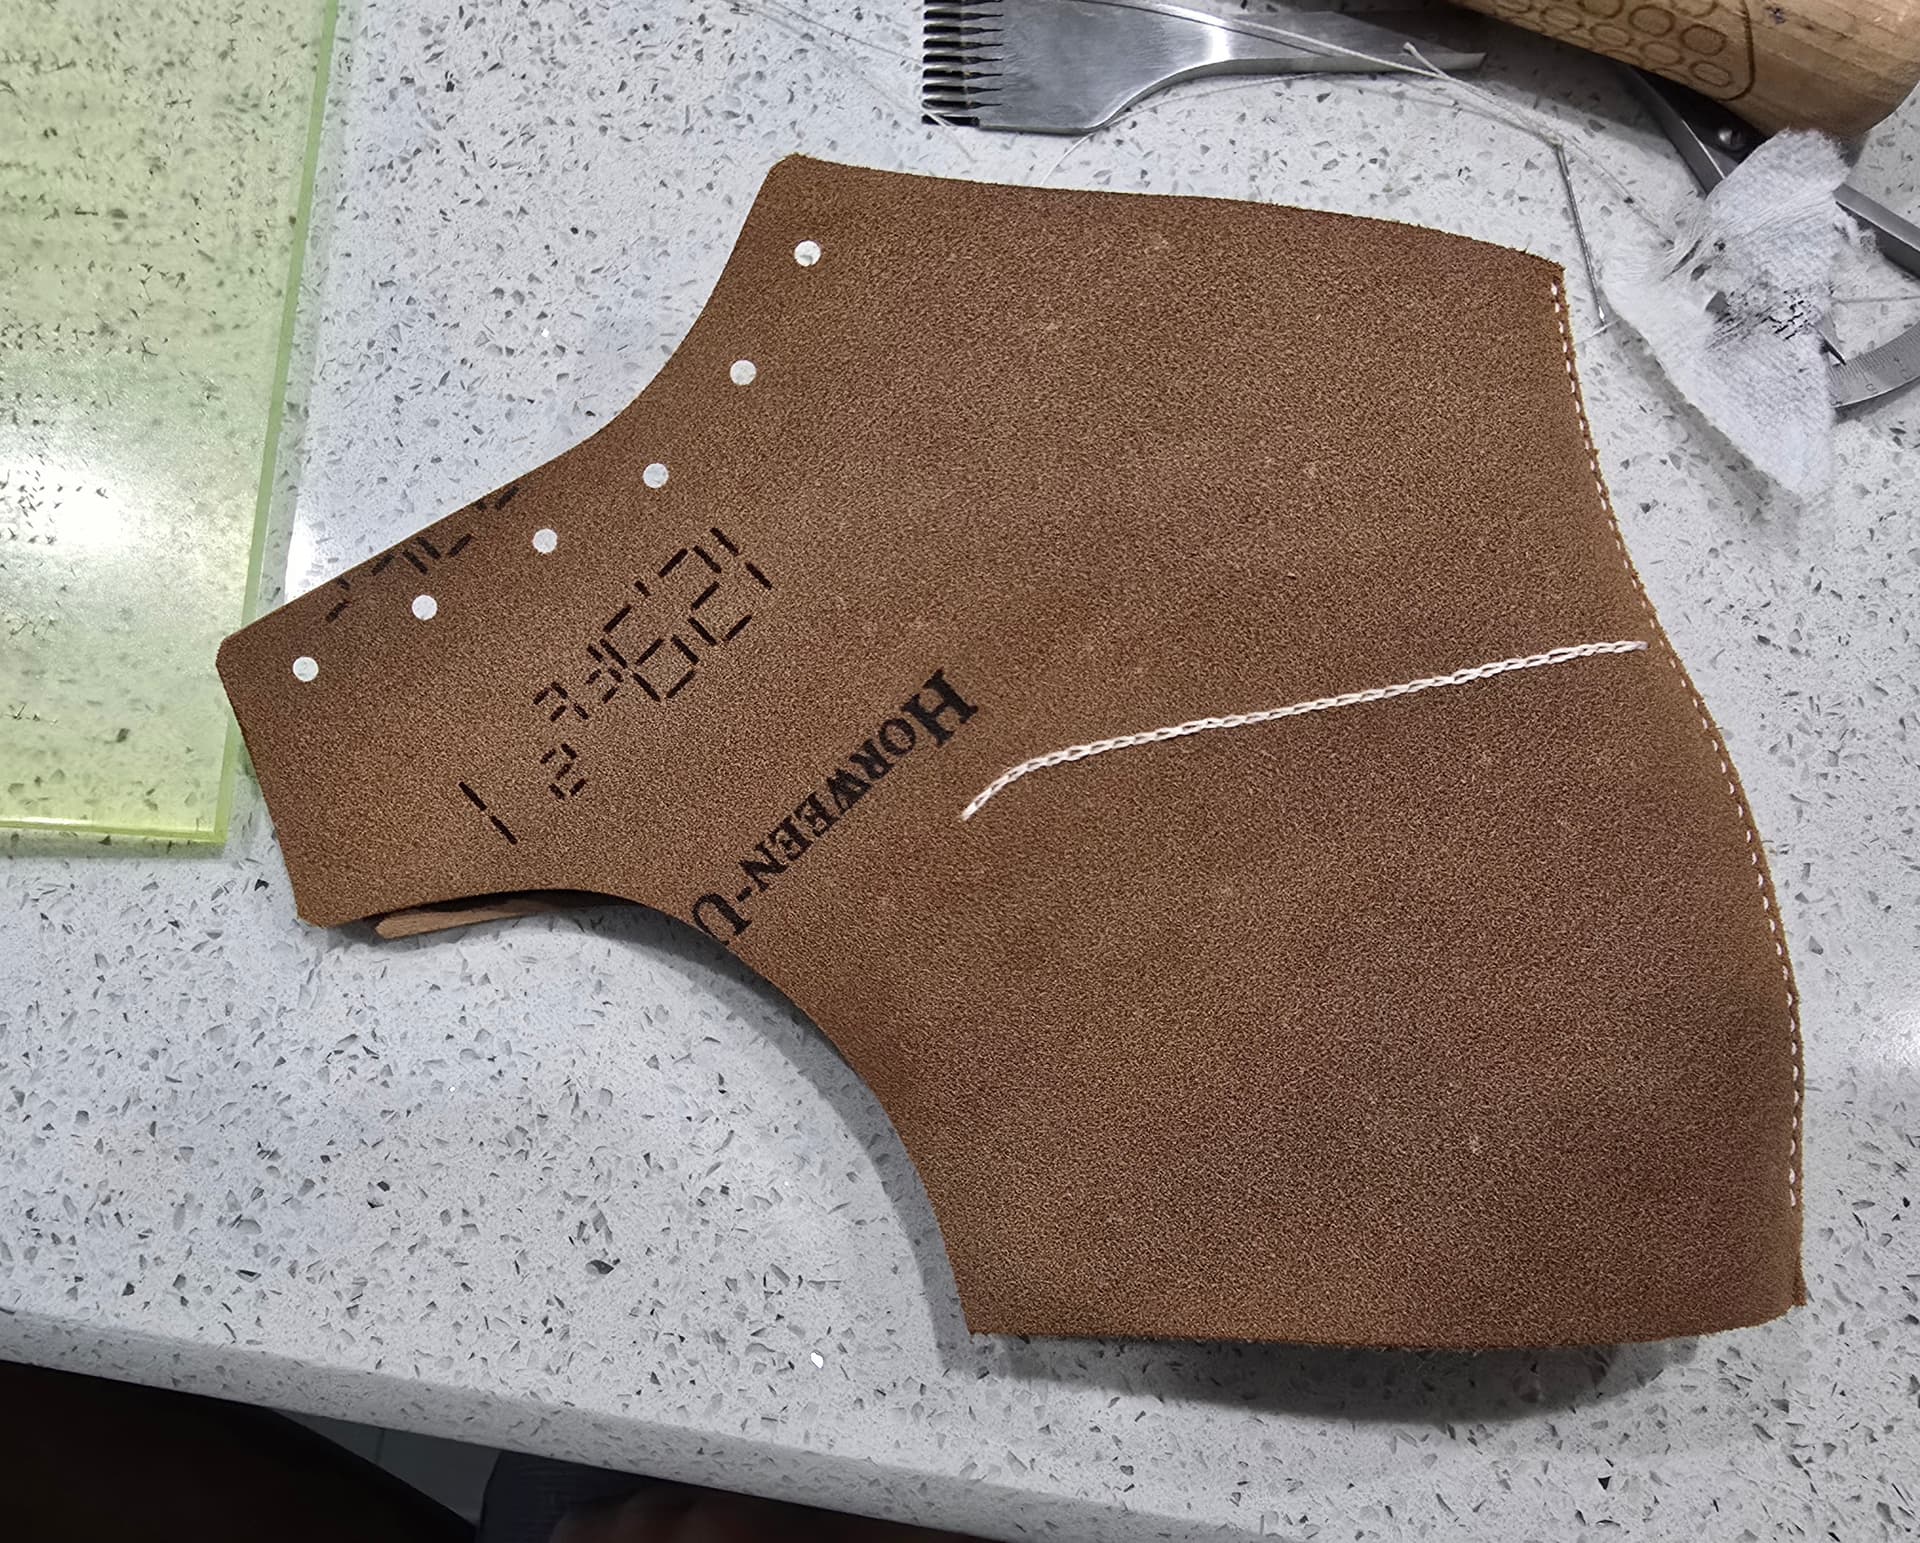
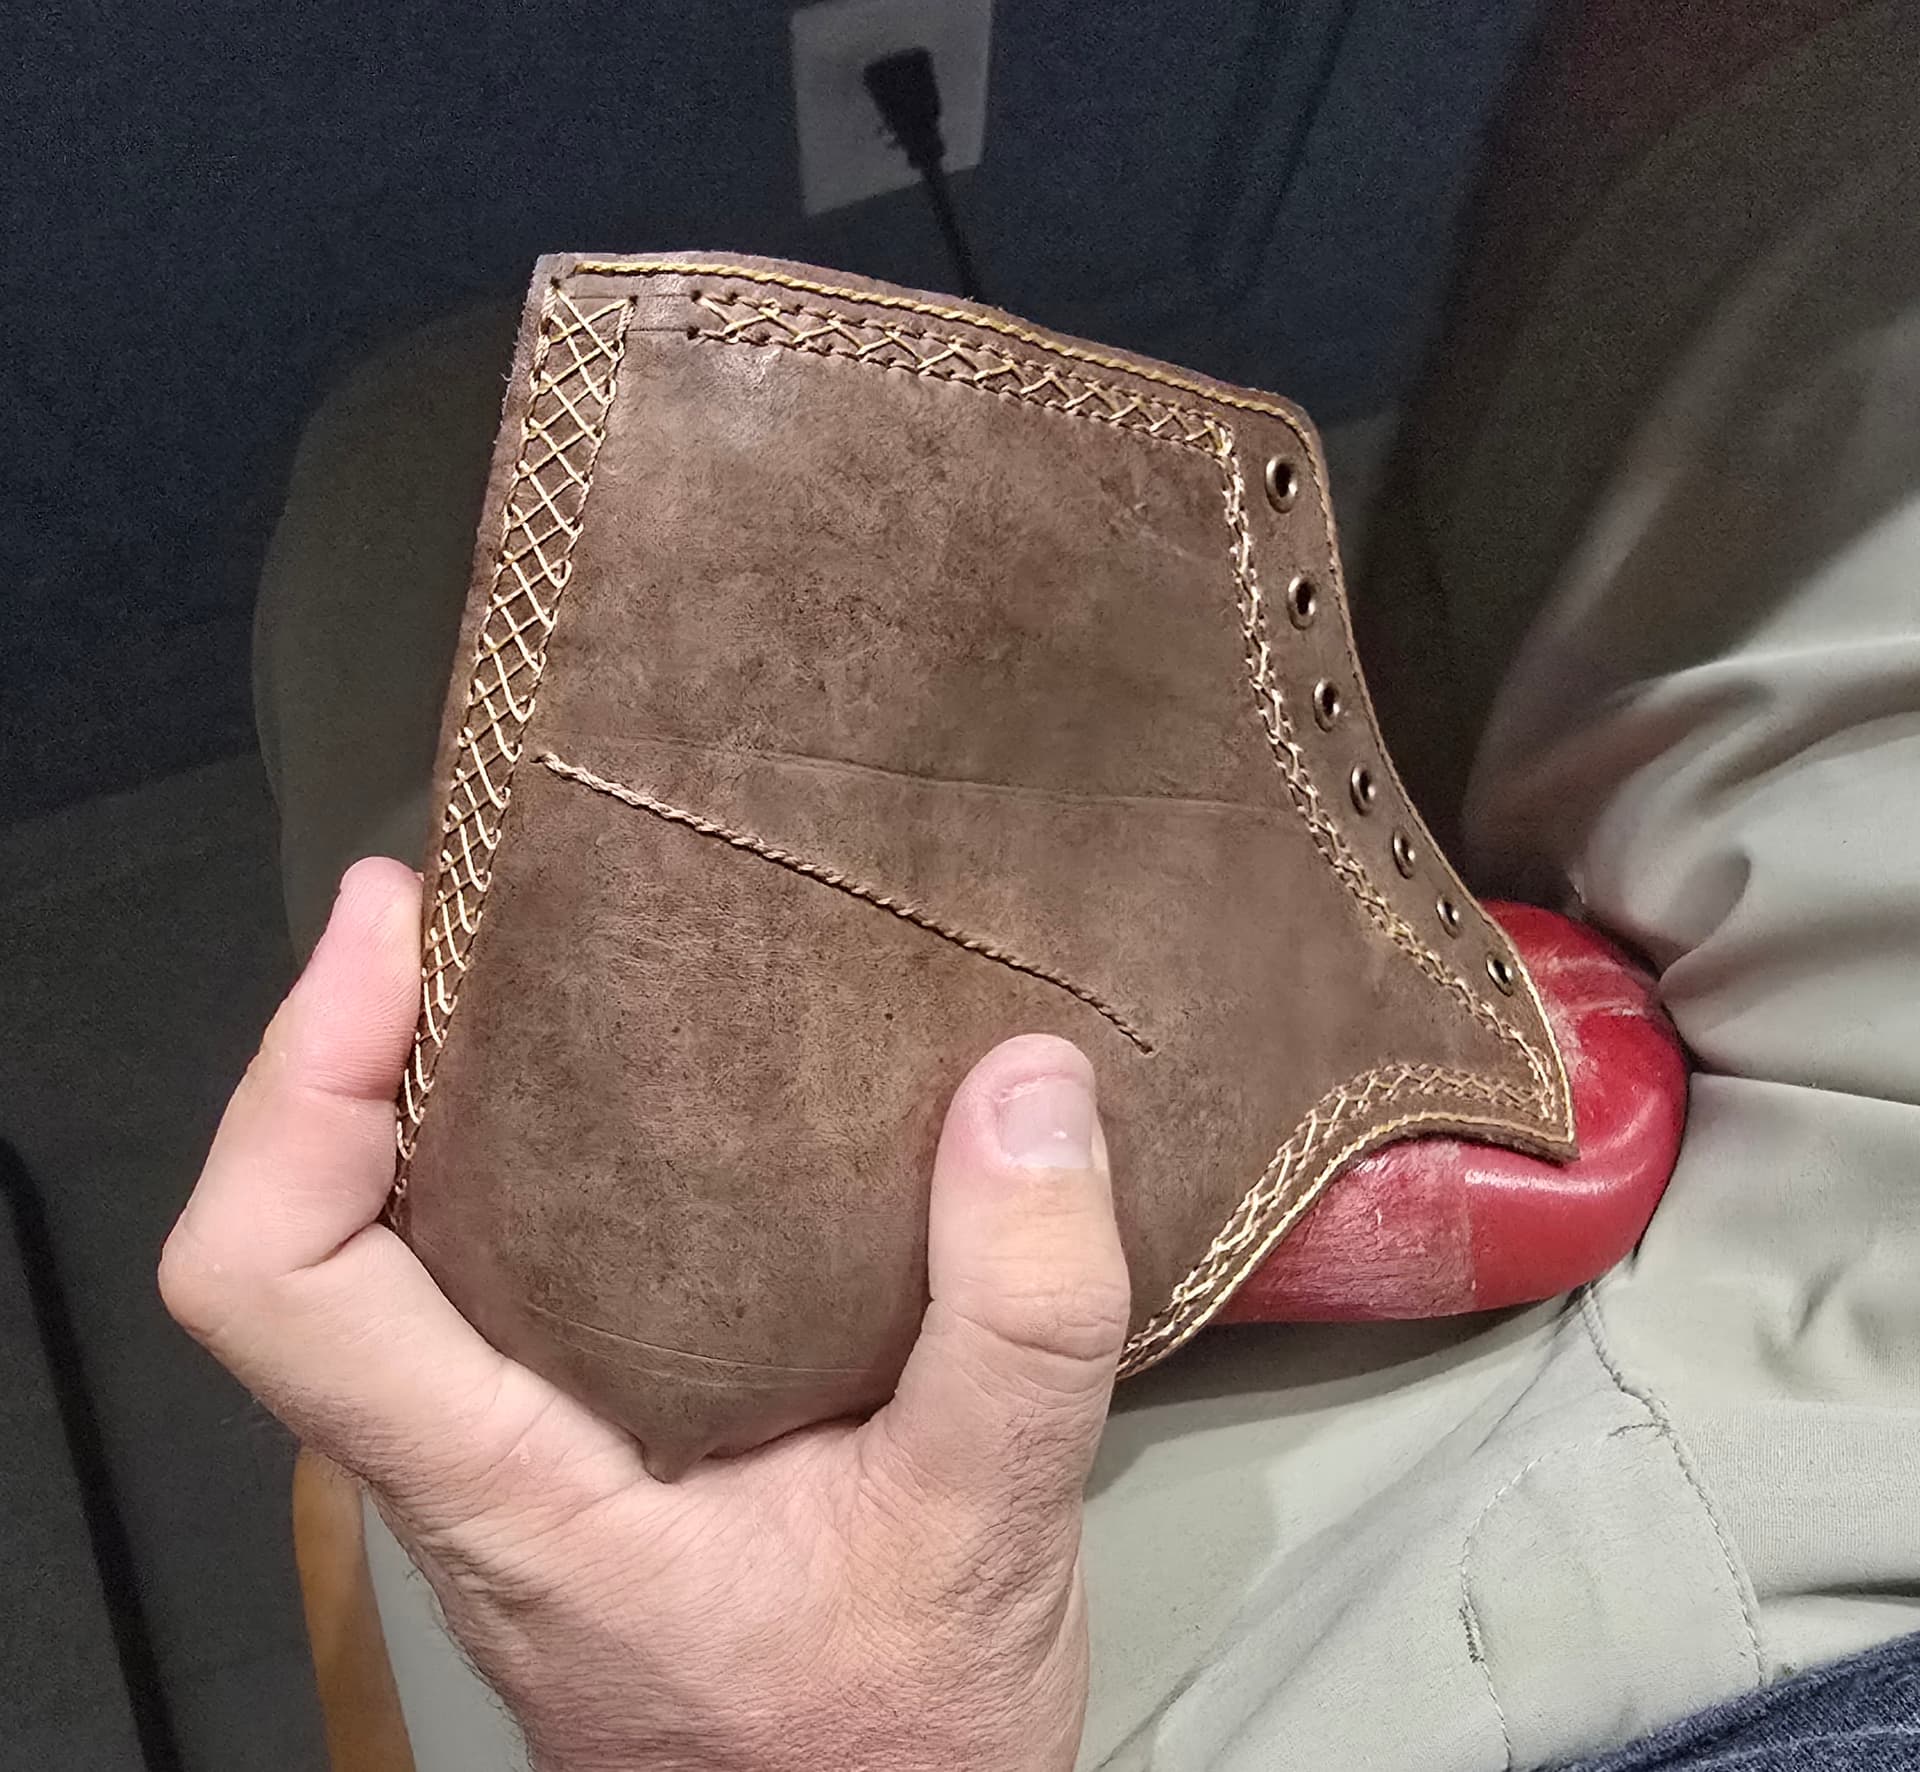
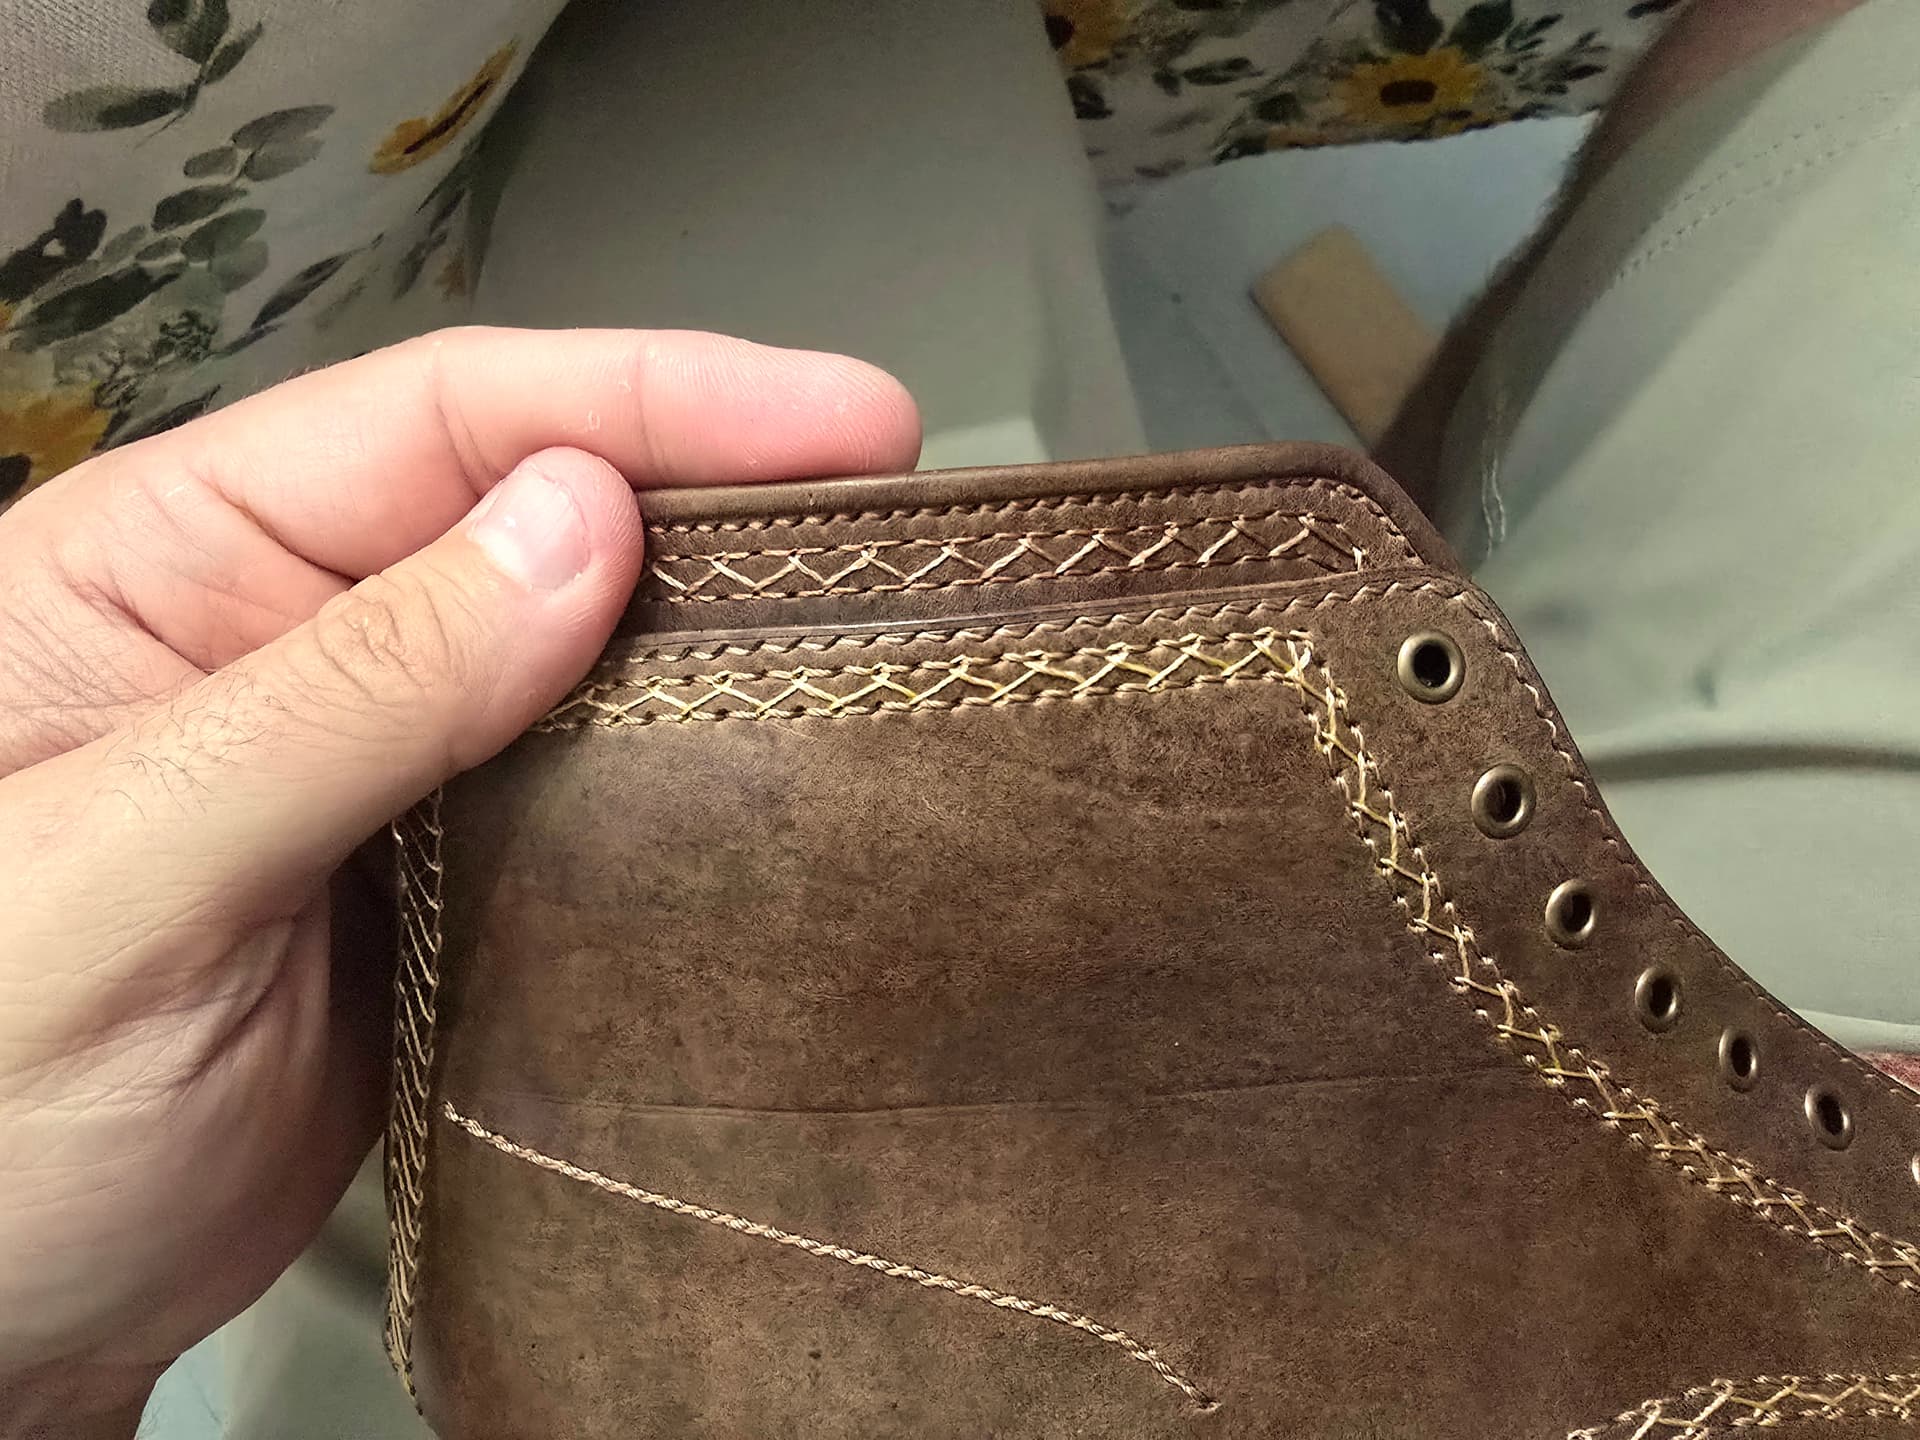
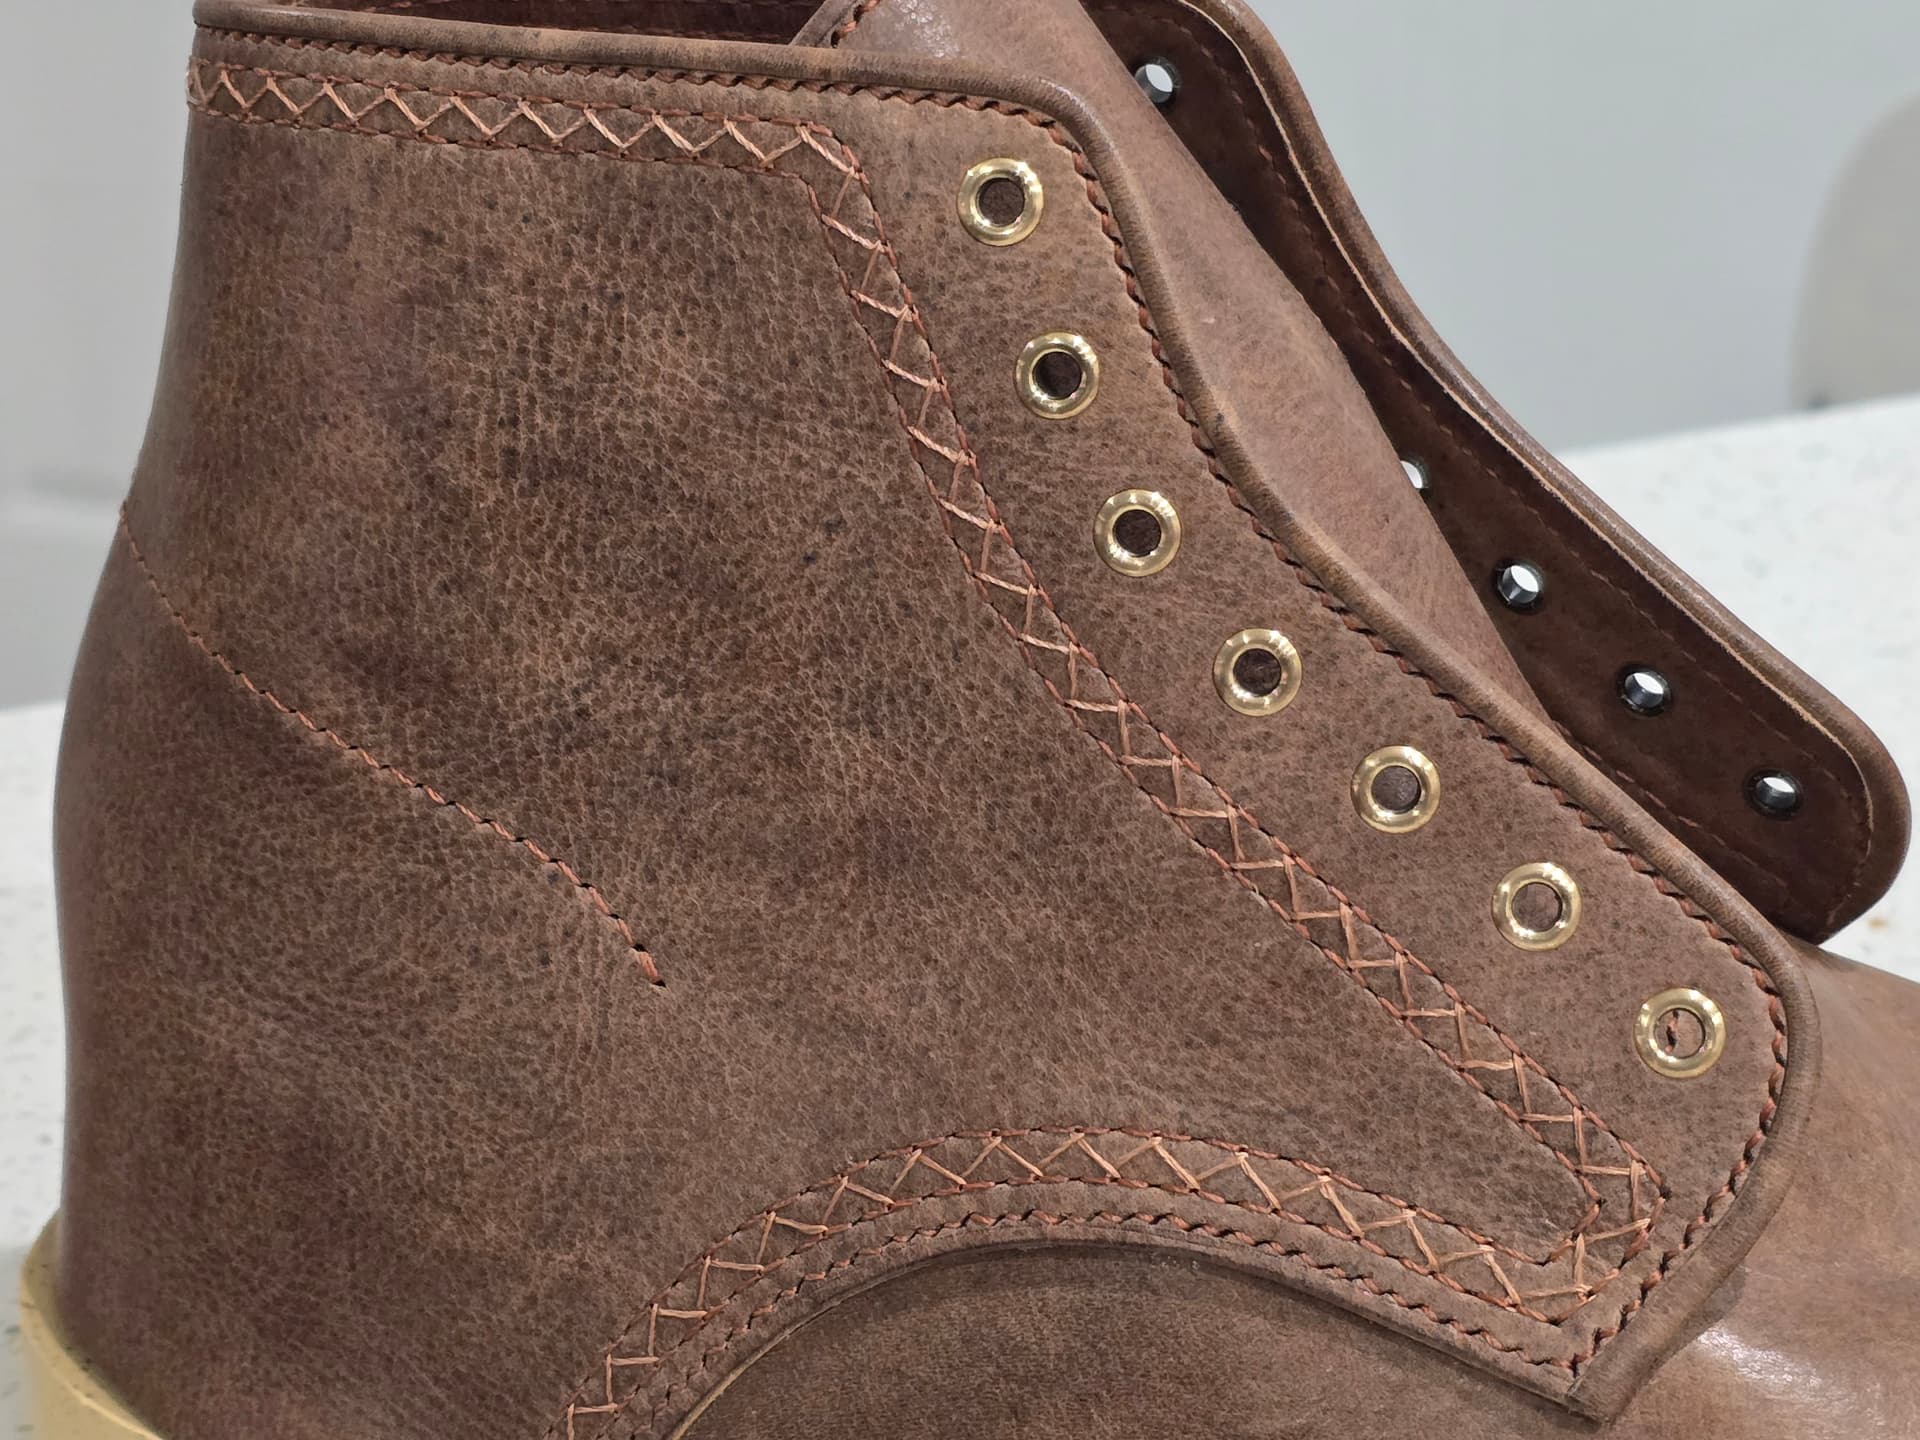
Ended up adding about a cm to the back height and about 1.5cm to the front of the top, so raked the top back a bit more. That called for an extra eyelet. Put a little chamfer on the quarter corners which I hate, so that won’t move forward.
1 Like
Mock up looks good, but the fit isn’t quite there.
My first test fit mockup felt too narrow. After measuring again against my last, my ball girth was about 5 mm too small. So I added some material on both sides of the last at the ball line to make up the difference
After trying on the latest mockup, I am still feeling tightness that I normally think of as being too narrow.
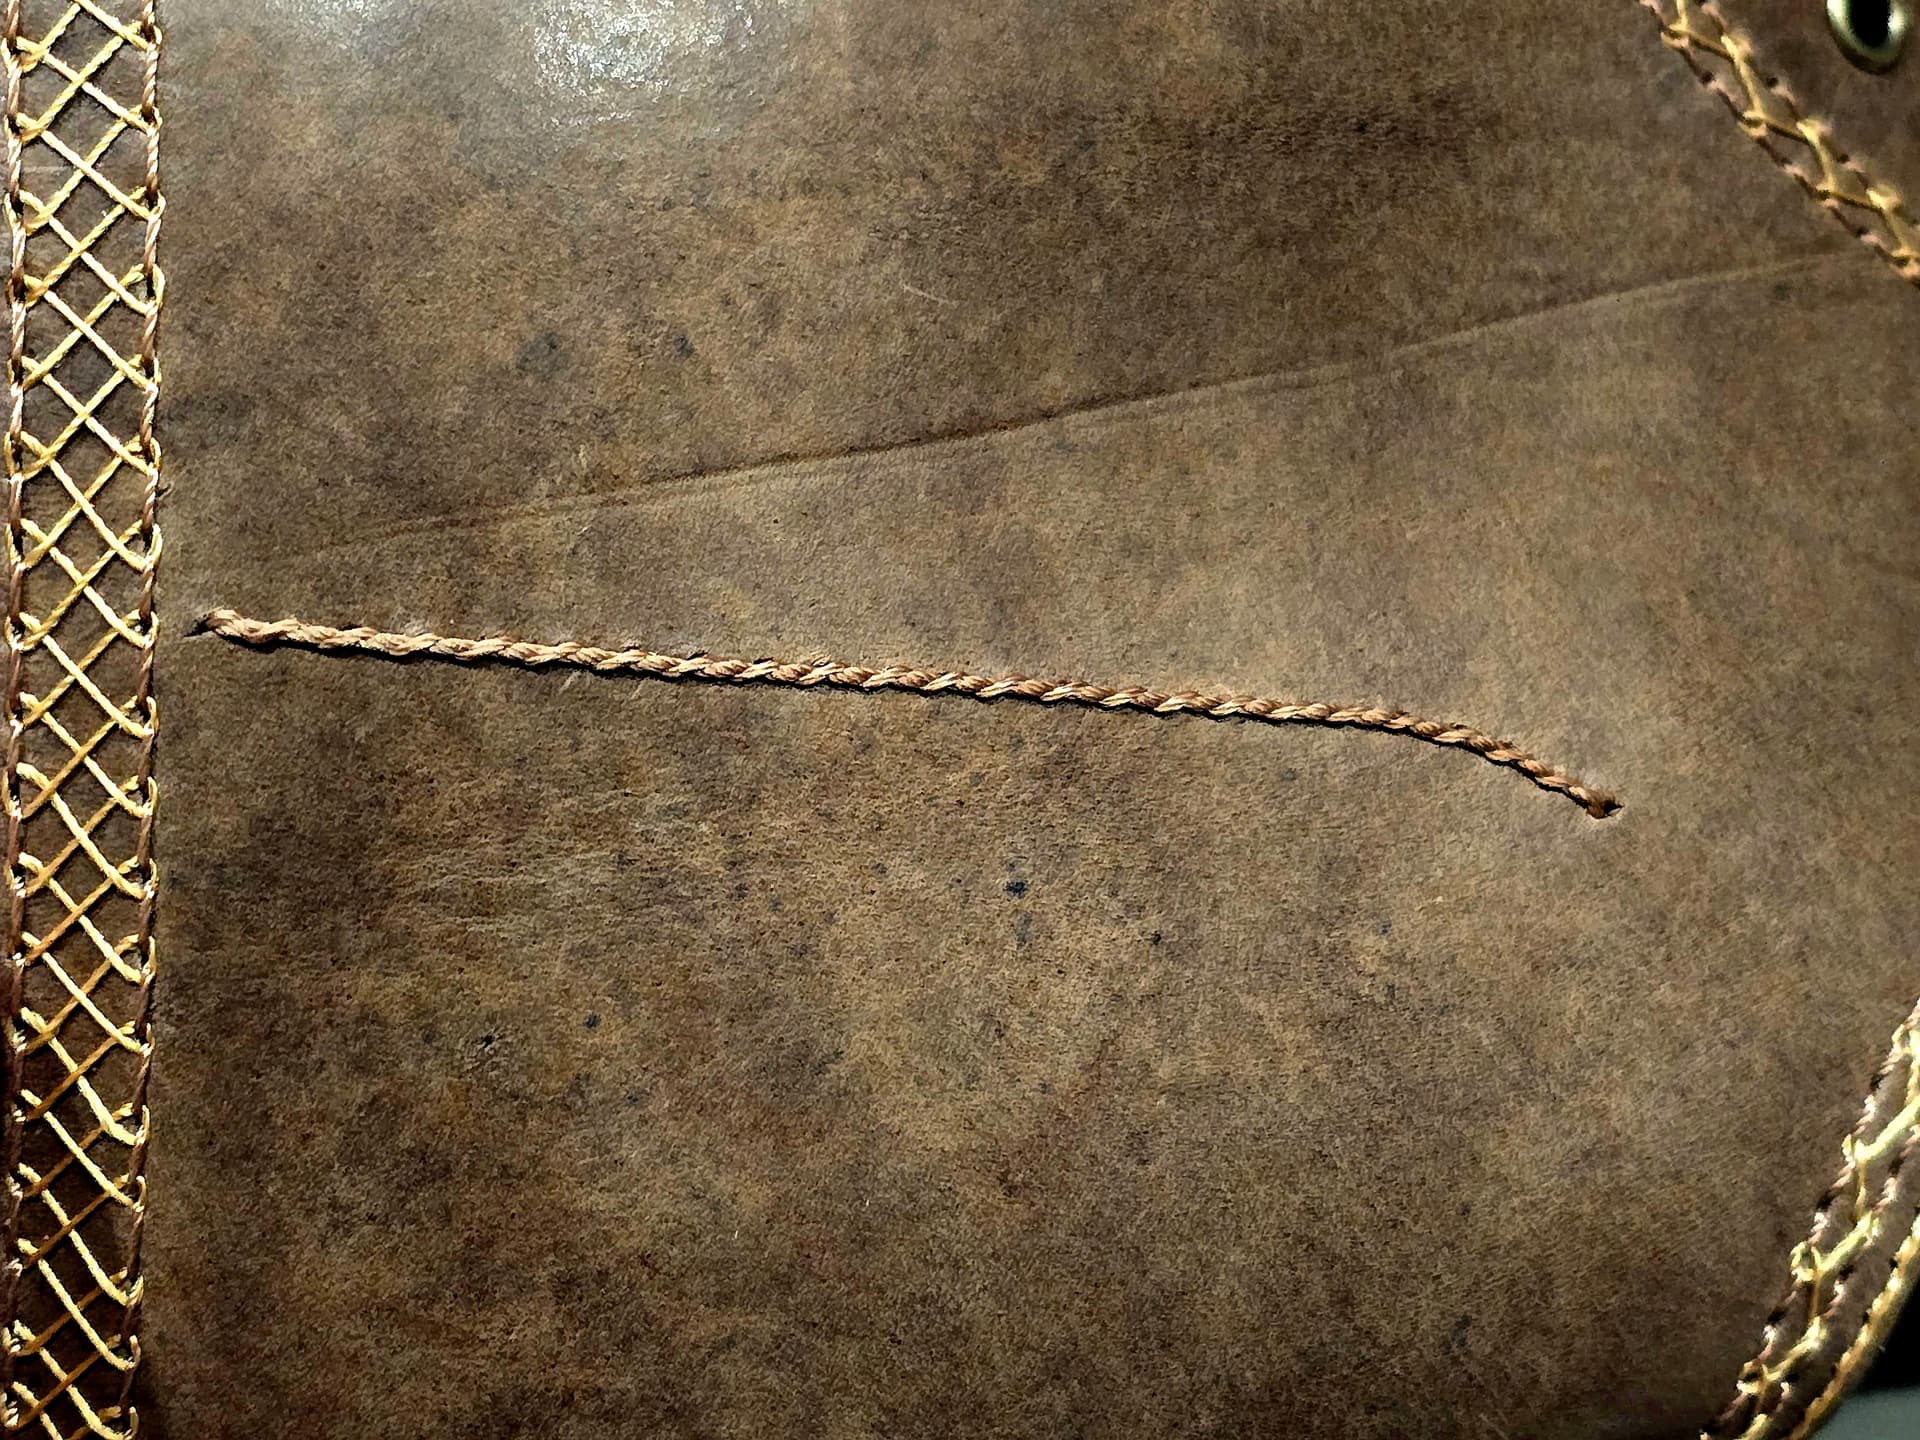
Really noticeable right here
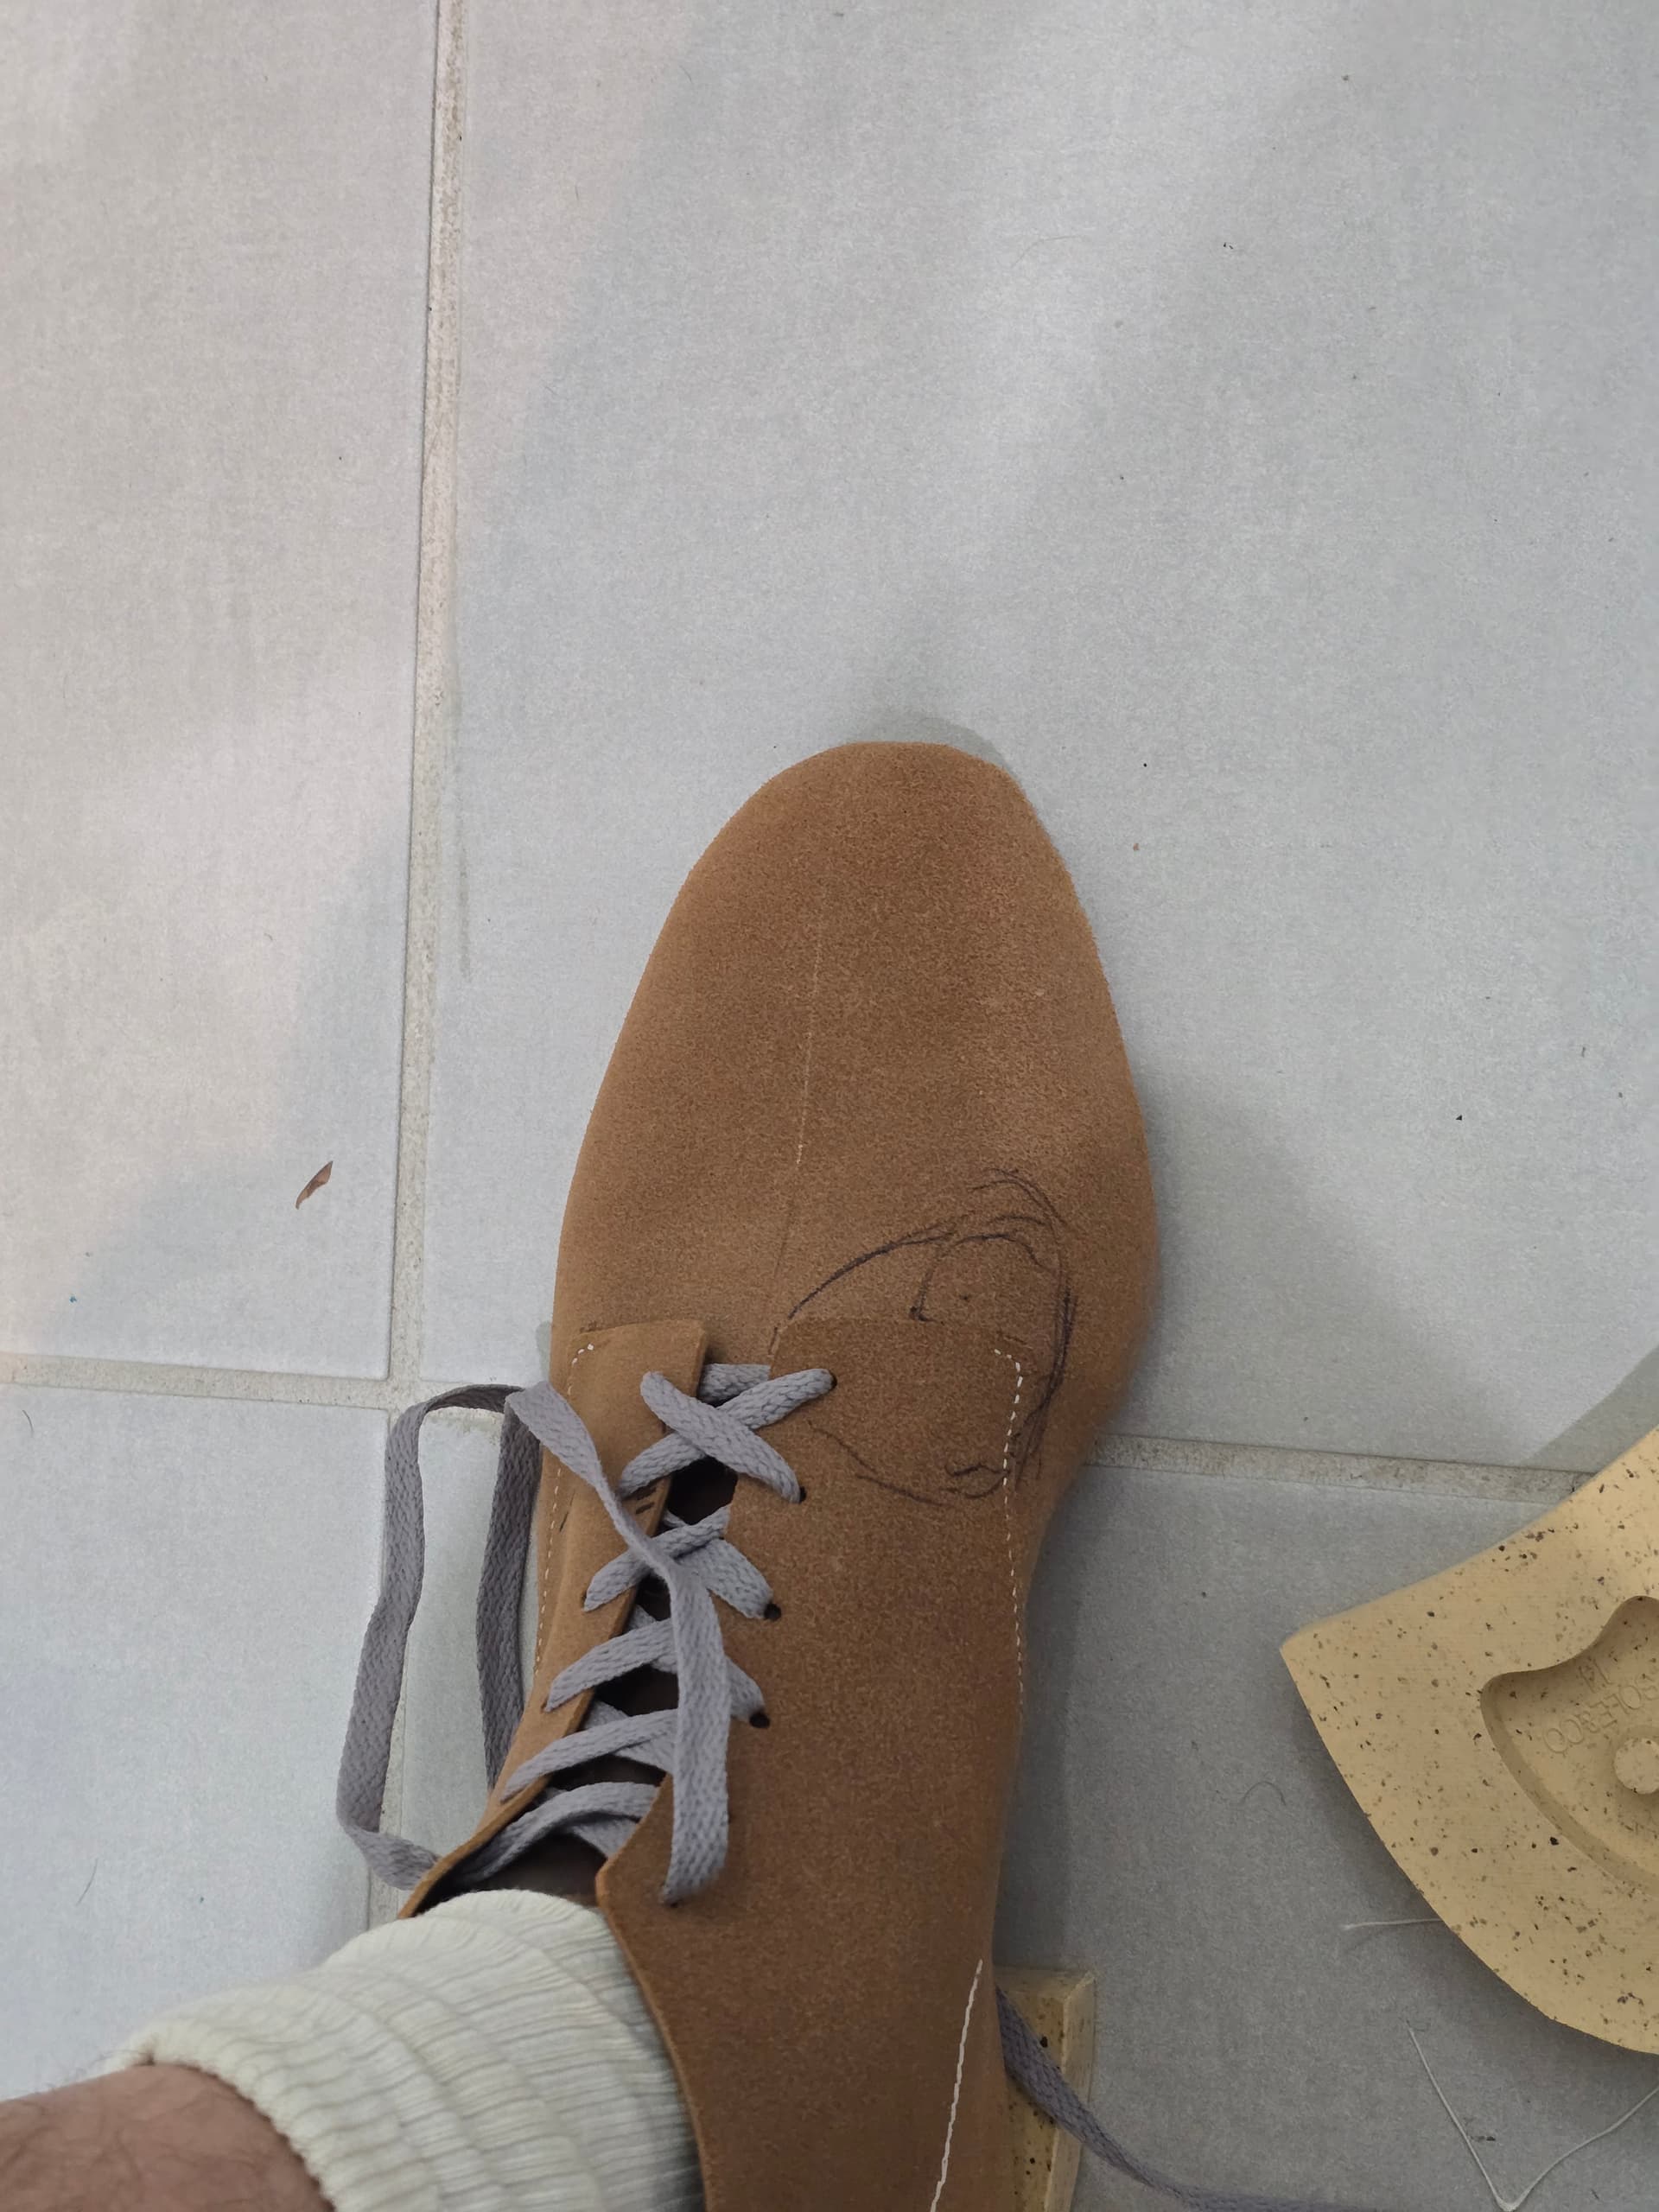
Sorta a tight instep feeling, but really localized on the joint there. The additional width helped a little, but now it’s really loose down at the feather edge.
Thinking of pulling the additions I made to the last off and building up here and across the instep a bit.
I vaguely remember that Love, Jules, a duo making boots out of Canada, offered chain stitching accents as an add-on feature for some of their models.
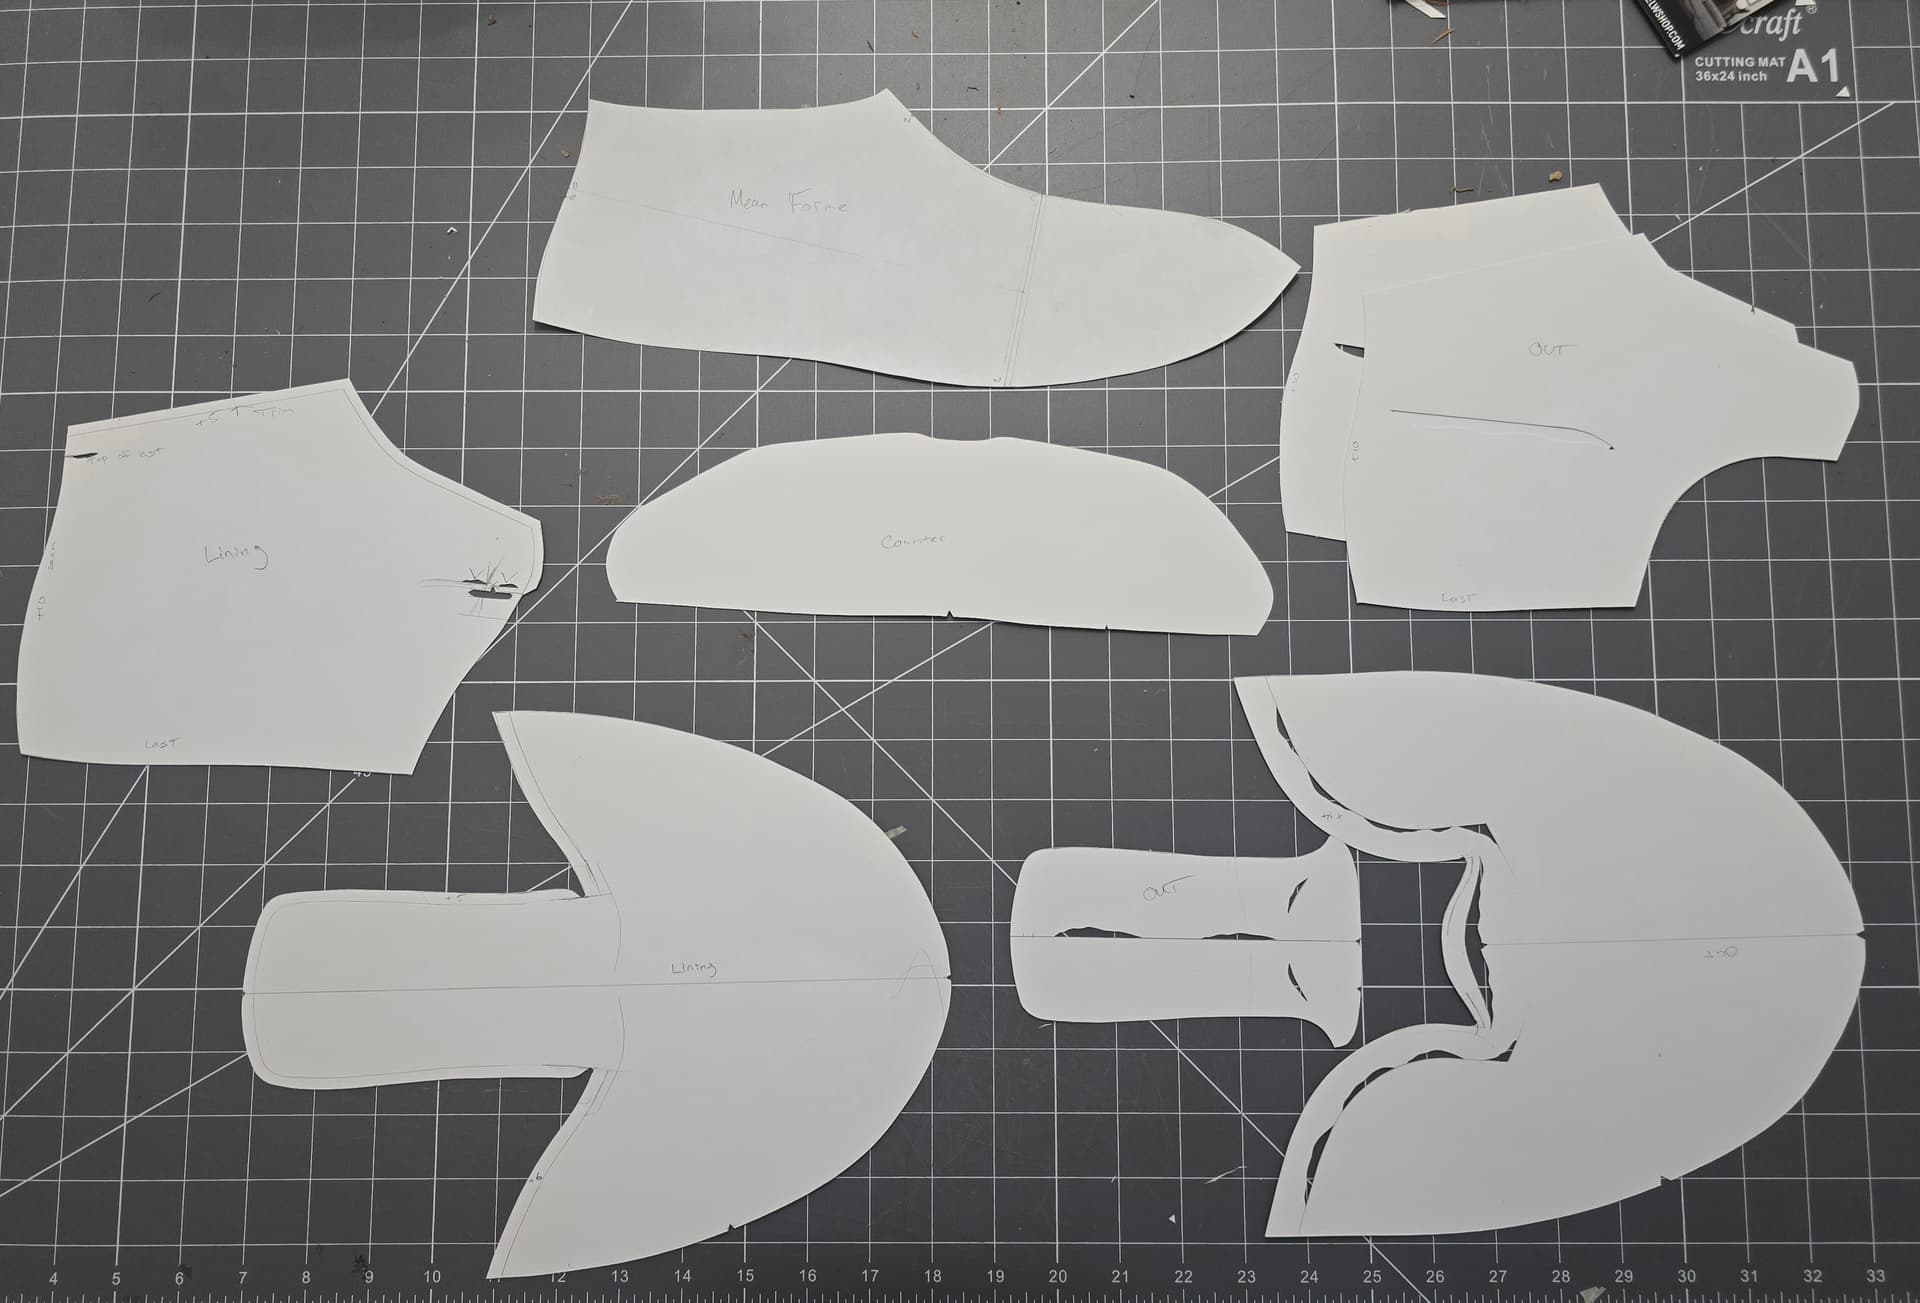
Patterns are ready to go. Thinking of cutting one of the quarters and doing a trial run of all the stitching to make sure I am good with stitch spacing/thread size/colors, etc
1 Like
Waiting for some new thread color res to show up, so laying out the test panel.
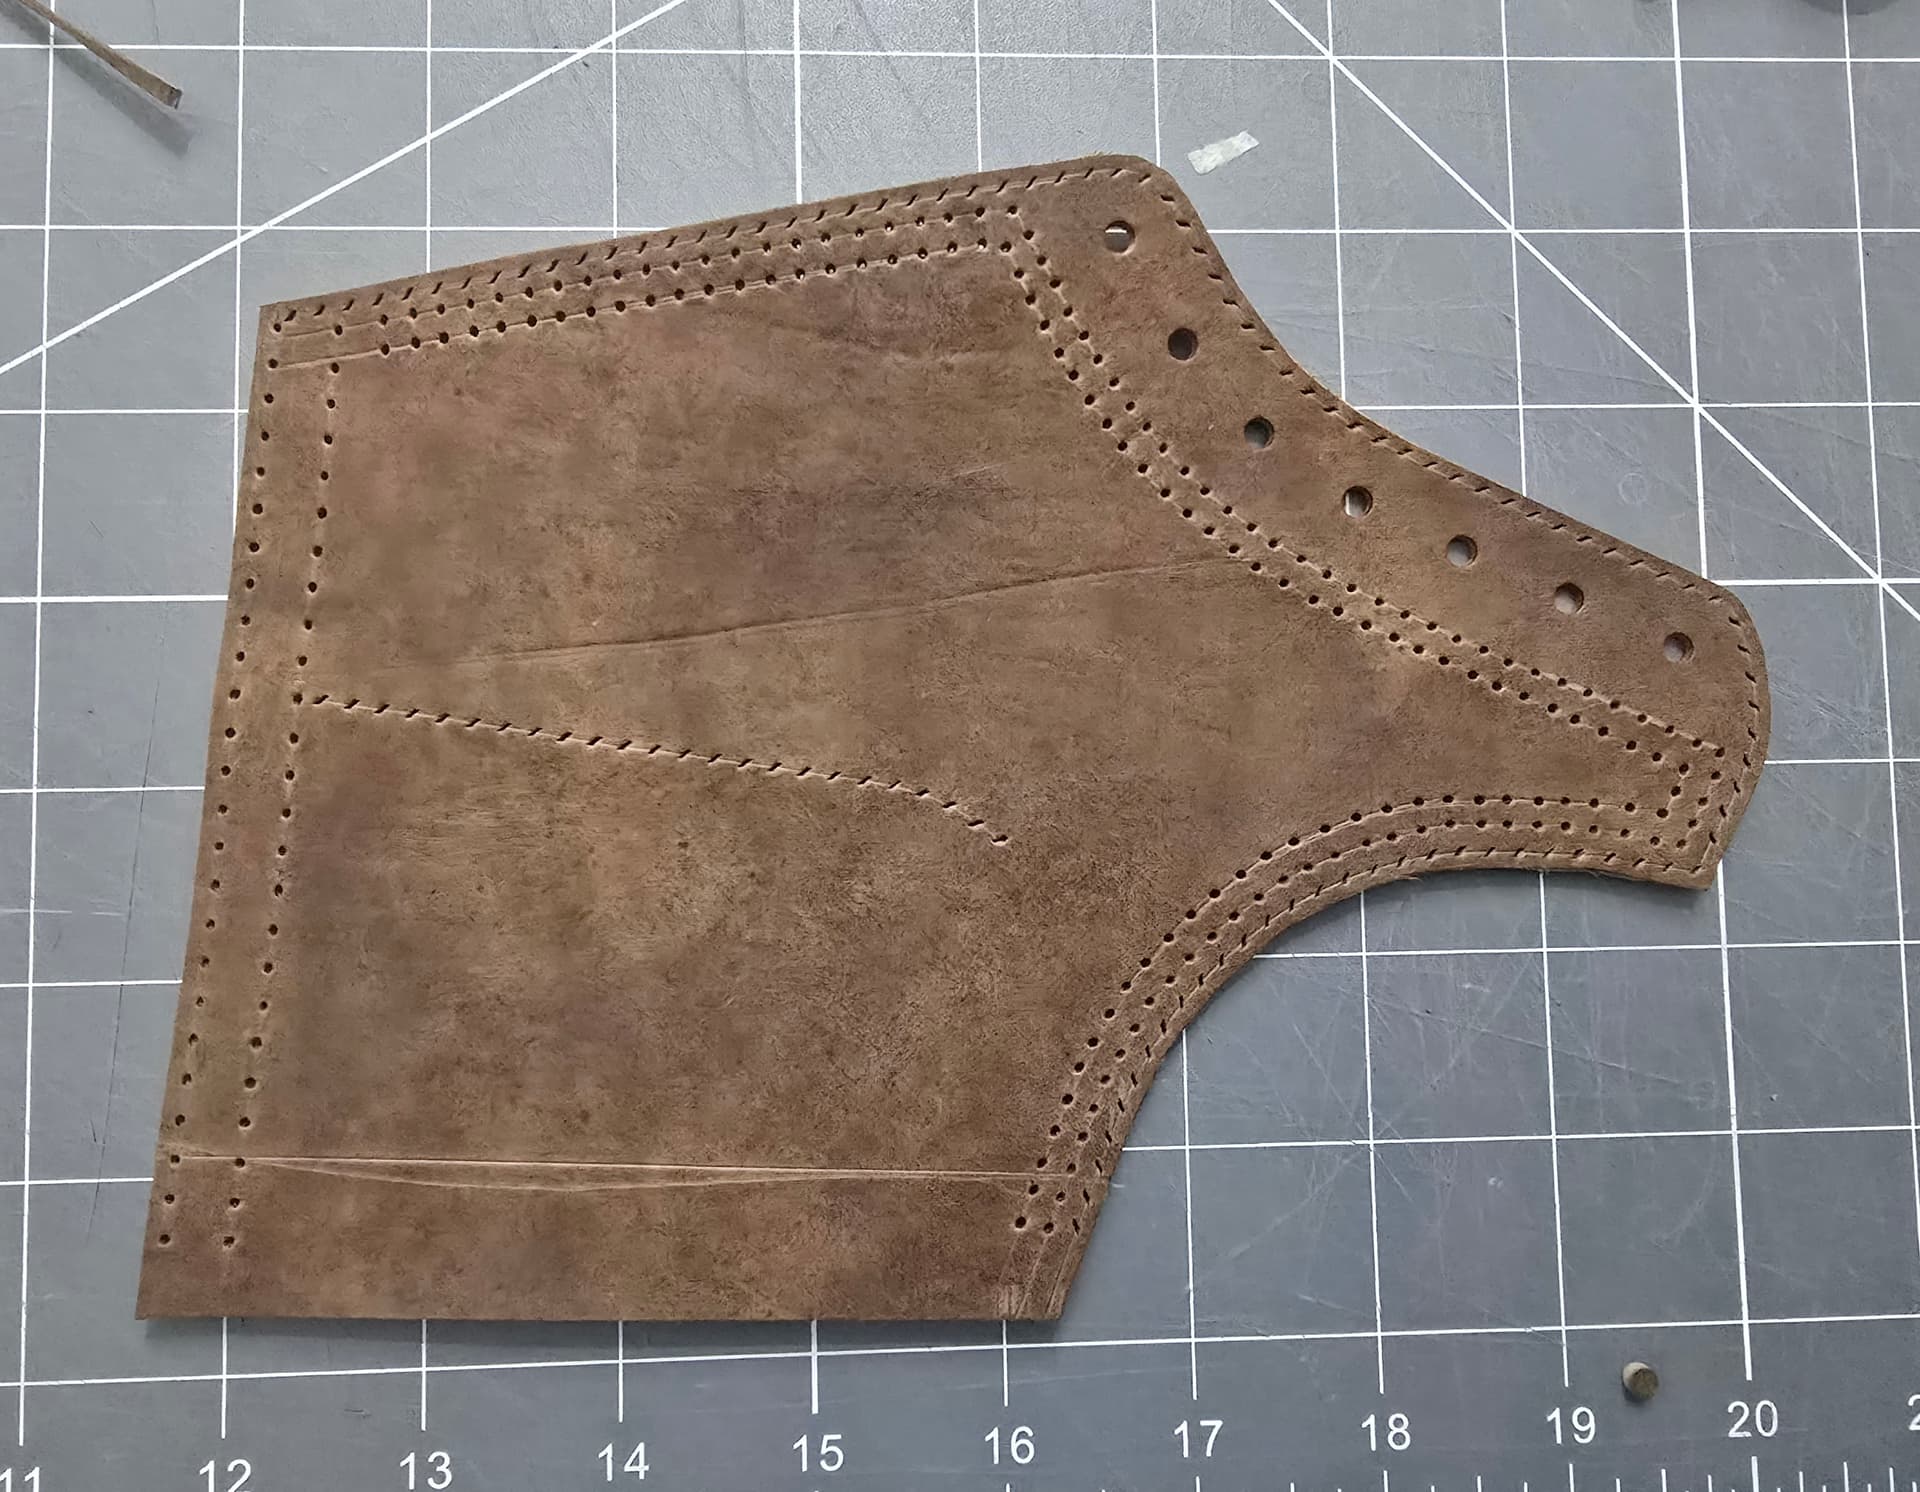
Round holes will get saddle stitched and then herringbone stitched between them. To do so, the holes really need to be spaced the same between the two rows, which obviously doesn’t work easily with different distances around the curves.

This time through, I marked out the outside curve stitch locations and did them one at a time, but it would be nice to have something more consistent.
Thinking of making a tool that holds three chisels like this:
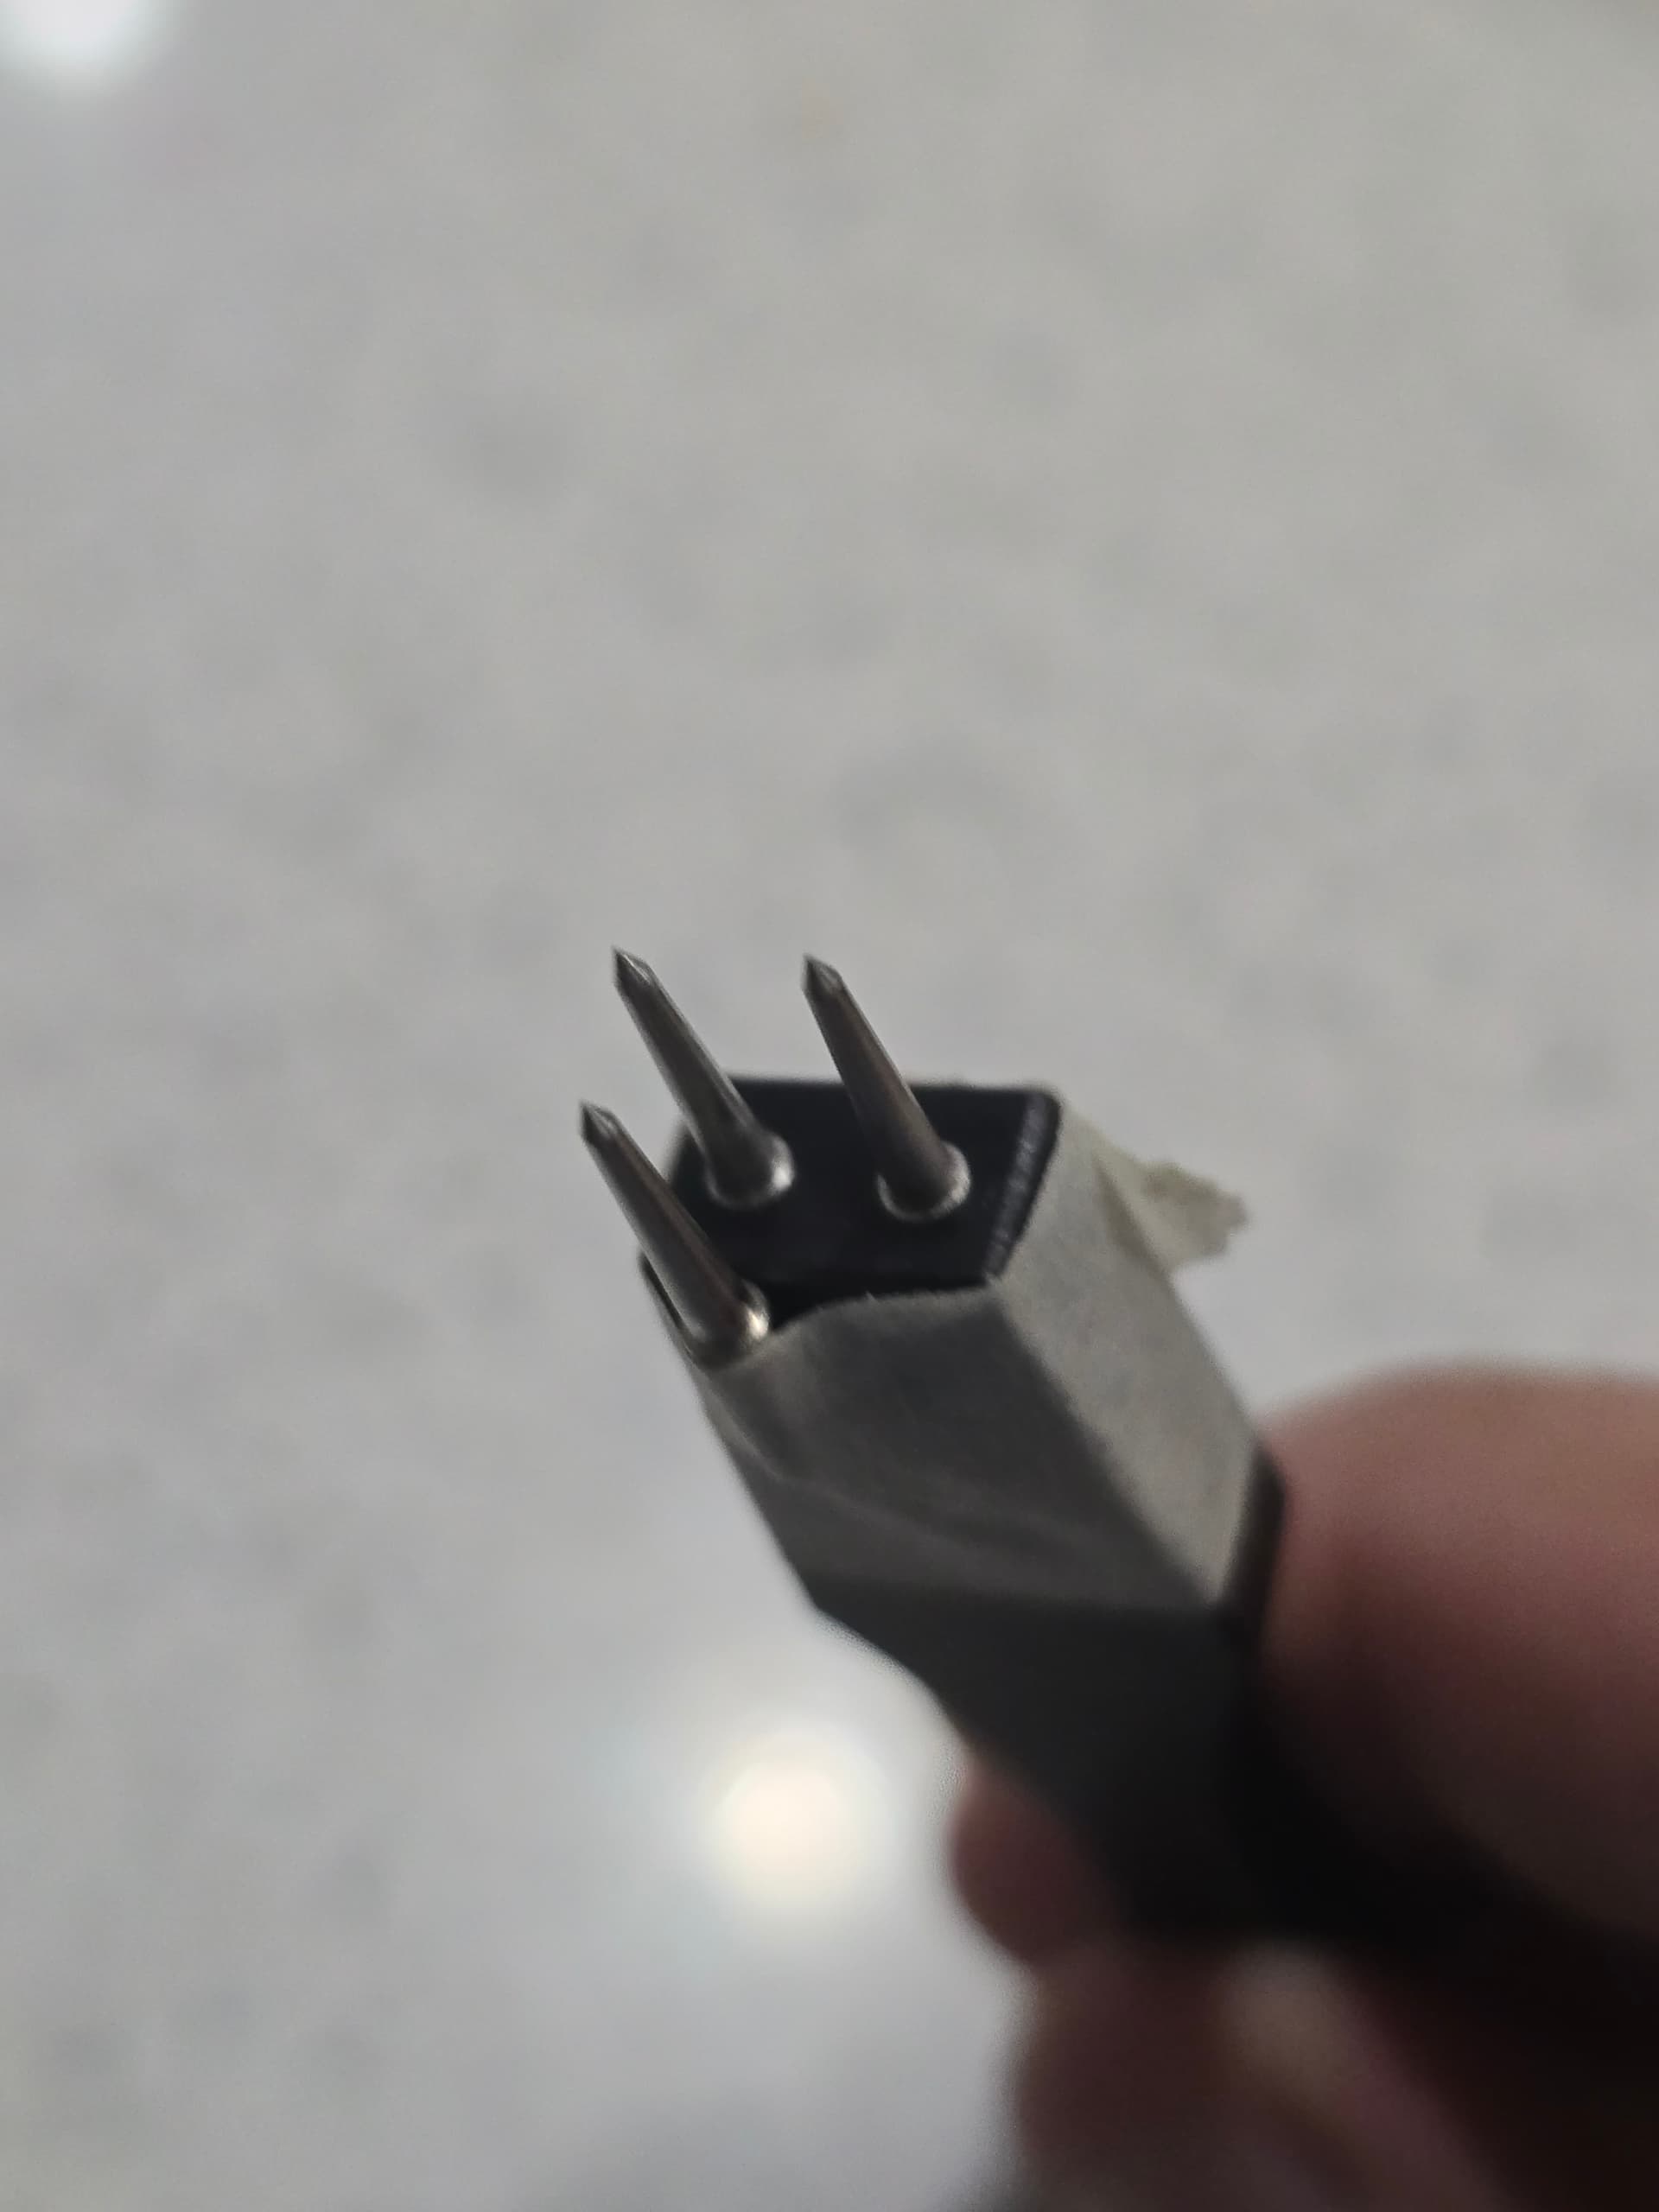
That would let you run two along your main stitching line like punching any other curve, but create the offset curve at the same time always perpendicular.
1 Like
Thread was delayed, so did the mock up with somd gold colored thread I have laying around. Not a fan.
I did the perimeter and the counter pocket in a whipped stem stitch. I like it on the counter pocket, hate it om the perimeter.
It pulls weird around corners and makes the edges look really sloppy.
All in all, it’s just way too busy. I think a simple perimeter stitch, better thread color and spreading the stitch holes out on the herringbone would help but I am undecided on what I want to do.
This was my eventual takeaway from some similar experiments, too. But I’d definitely give yourself a little time to appreciate the fine work you did!
I also wouldn’t give up on any particular stitches. I regret doing that in the past. Later on, when I happened to try the same stitches I’d given up on with different thread and leather color combinations, I’ve found they could give a really different effect.
The gold thread definitely doesnt help here. It’s too similar to the leather color that it loses definition but not contrasty enough to stand out.
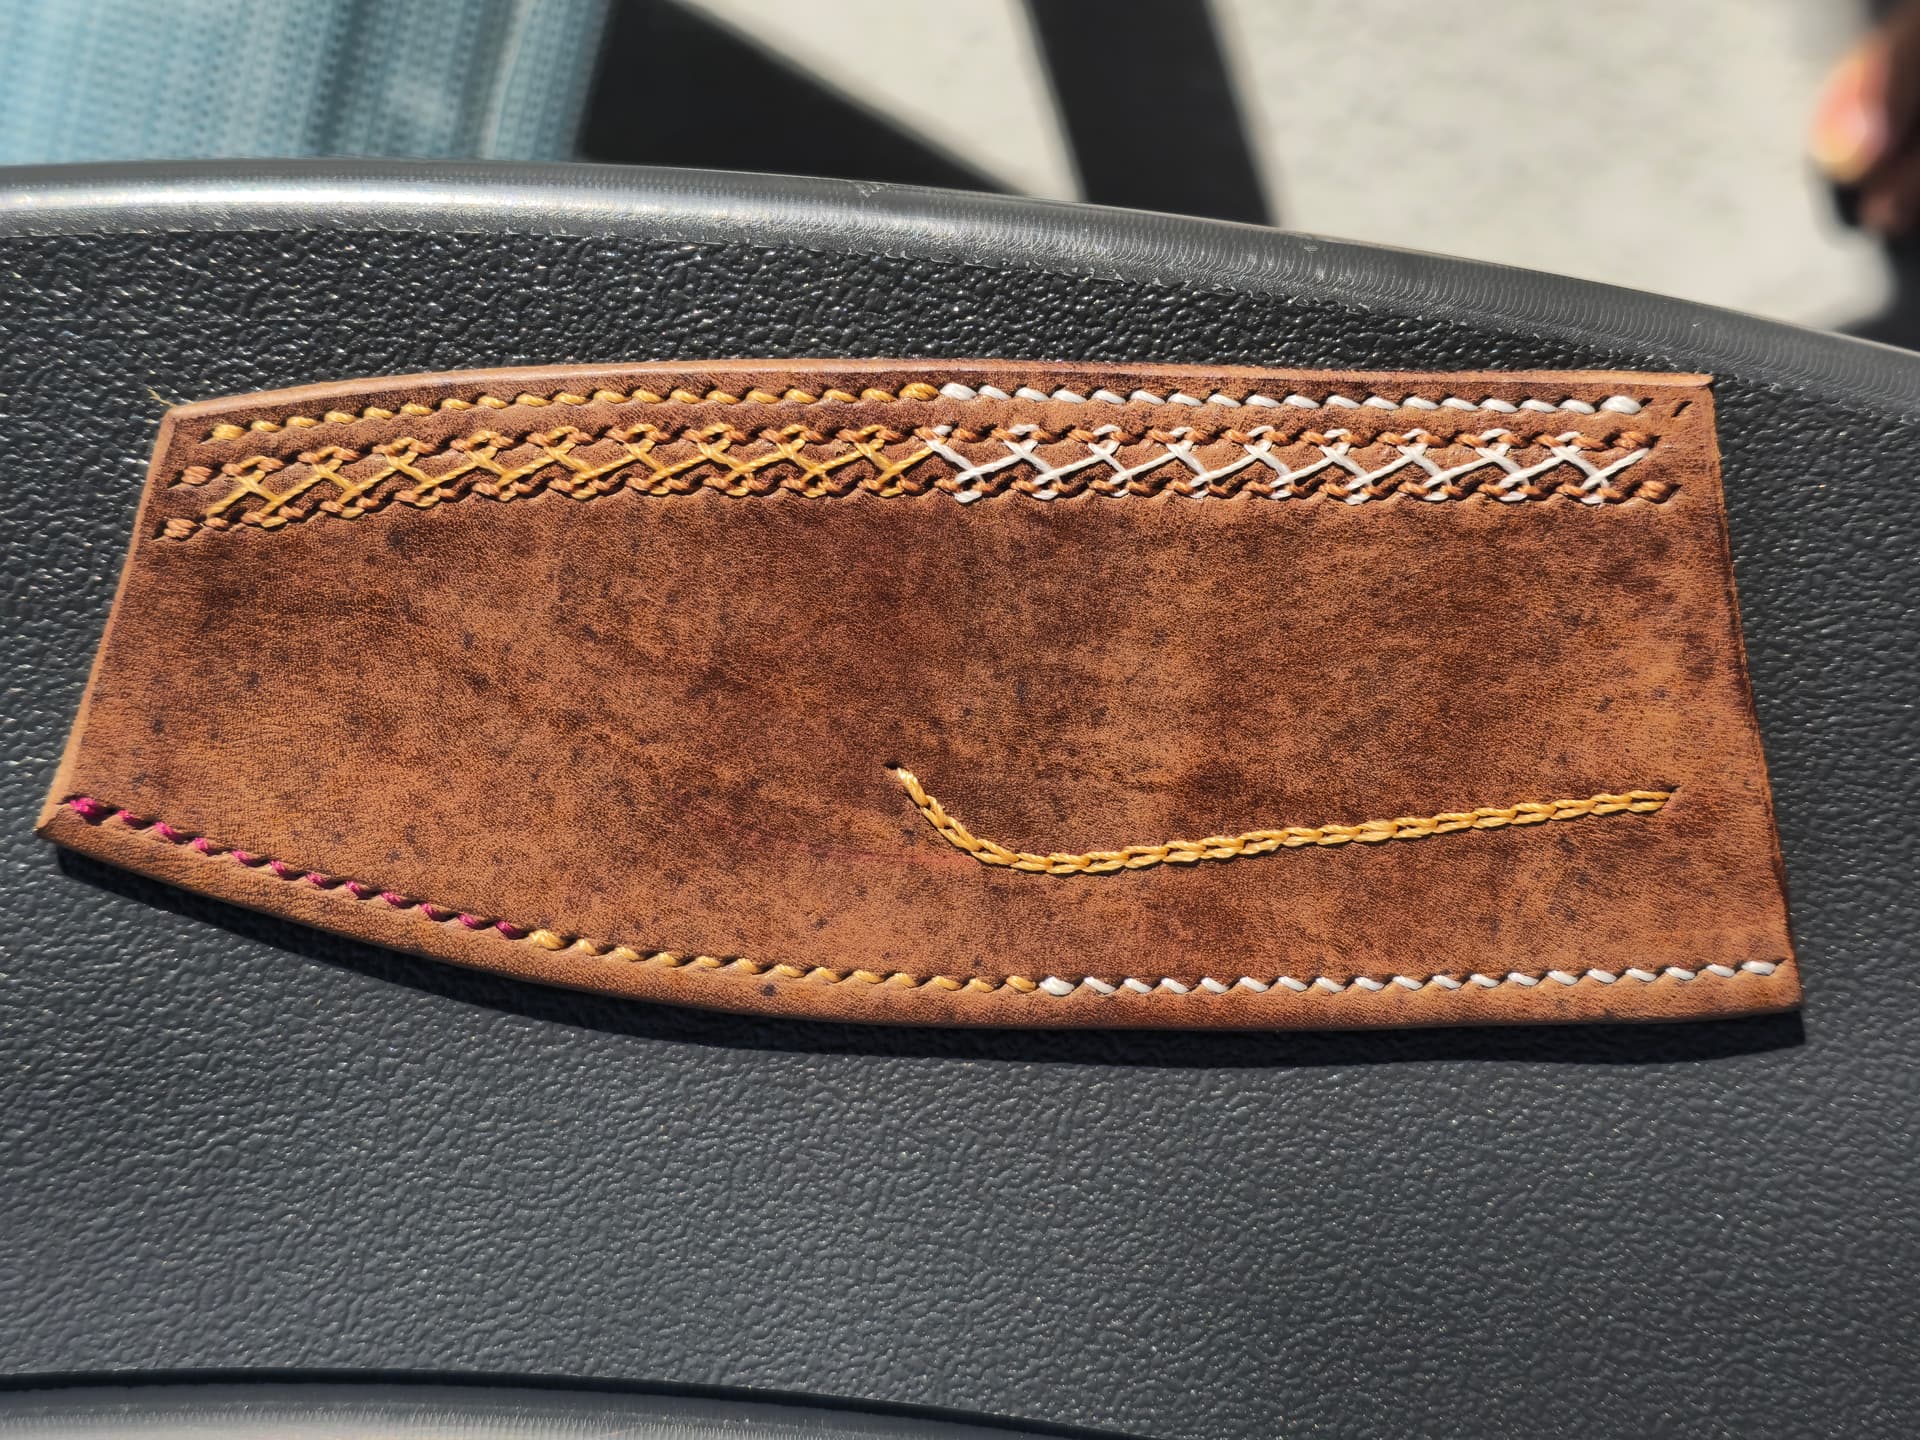
Something closer to the white and a little more spread out should help things quite a bit
1 Like


So hard to photograph the colors in door under artificial light. I will try to get a color comparison tomorrow.
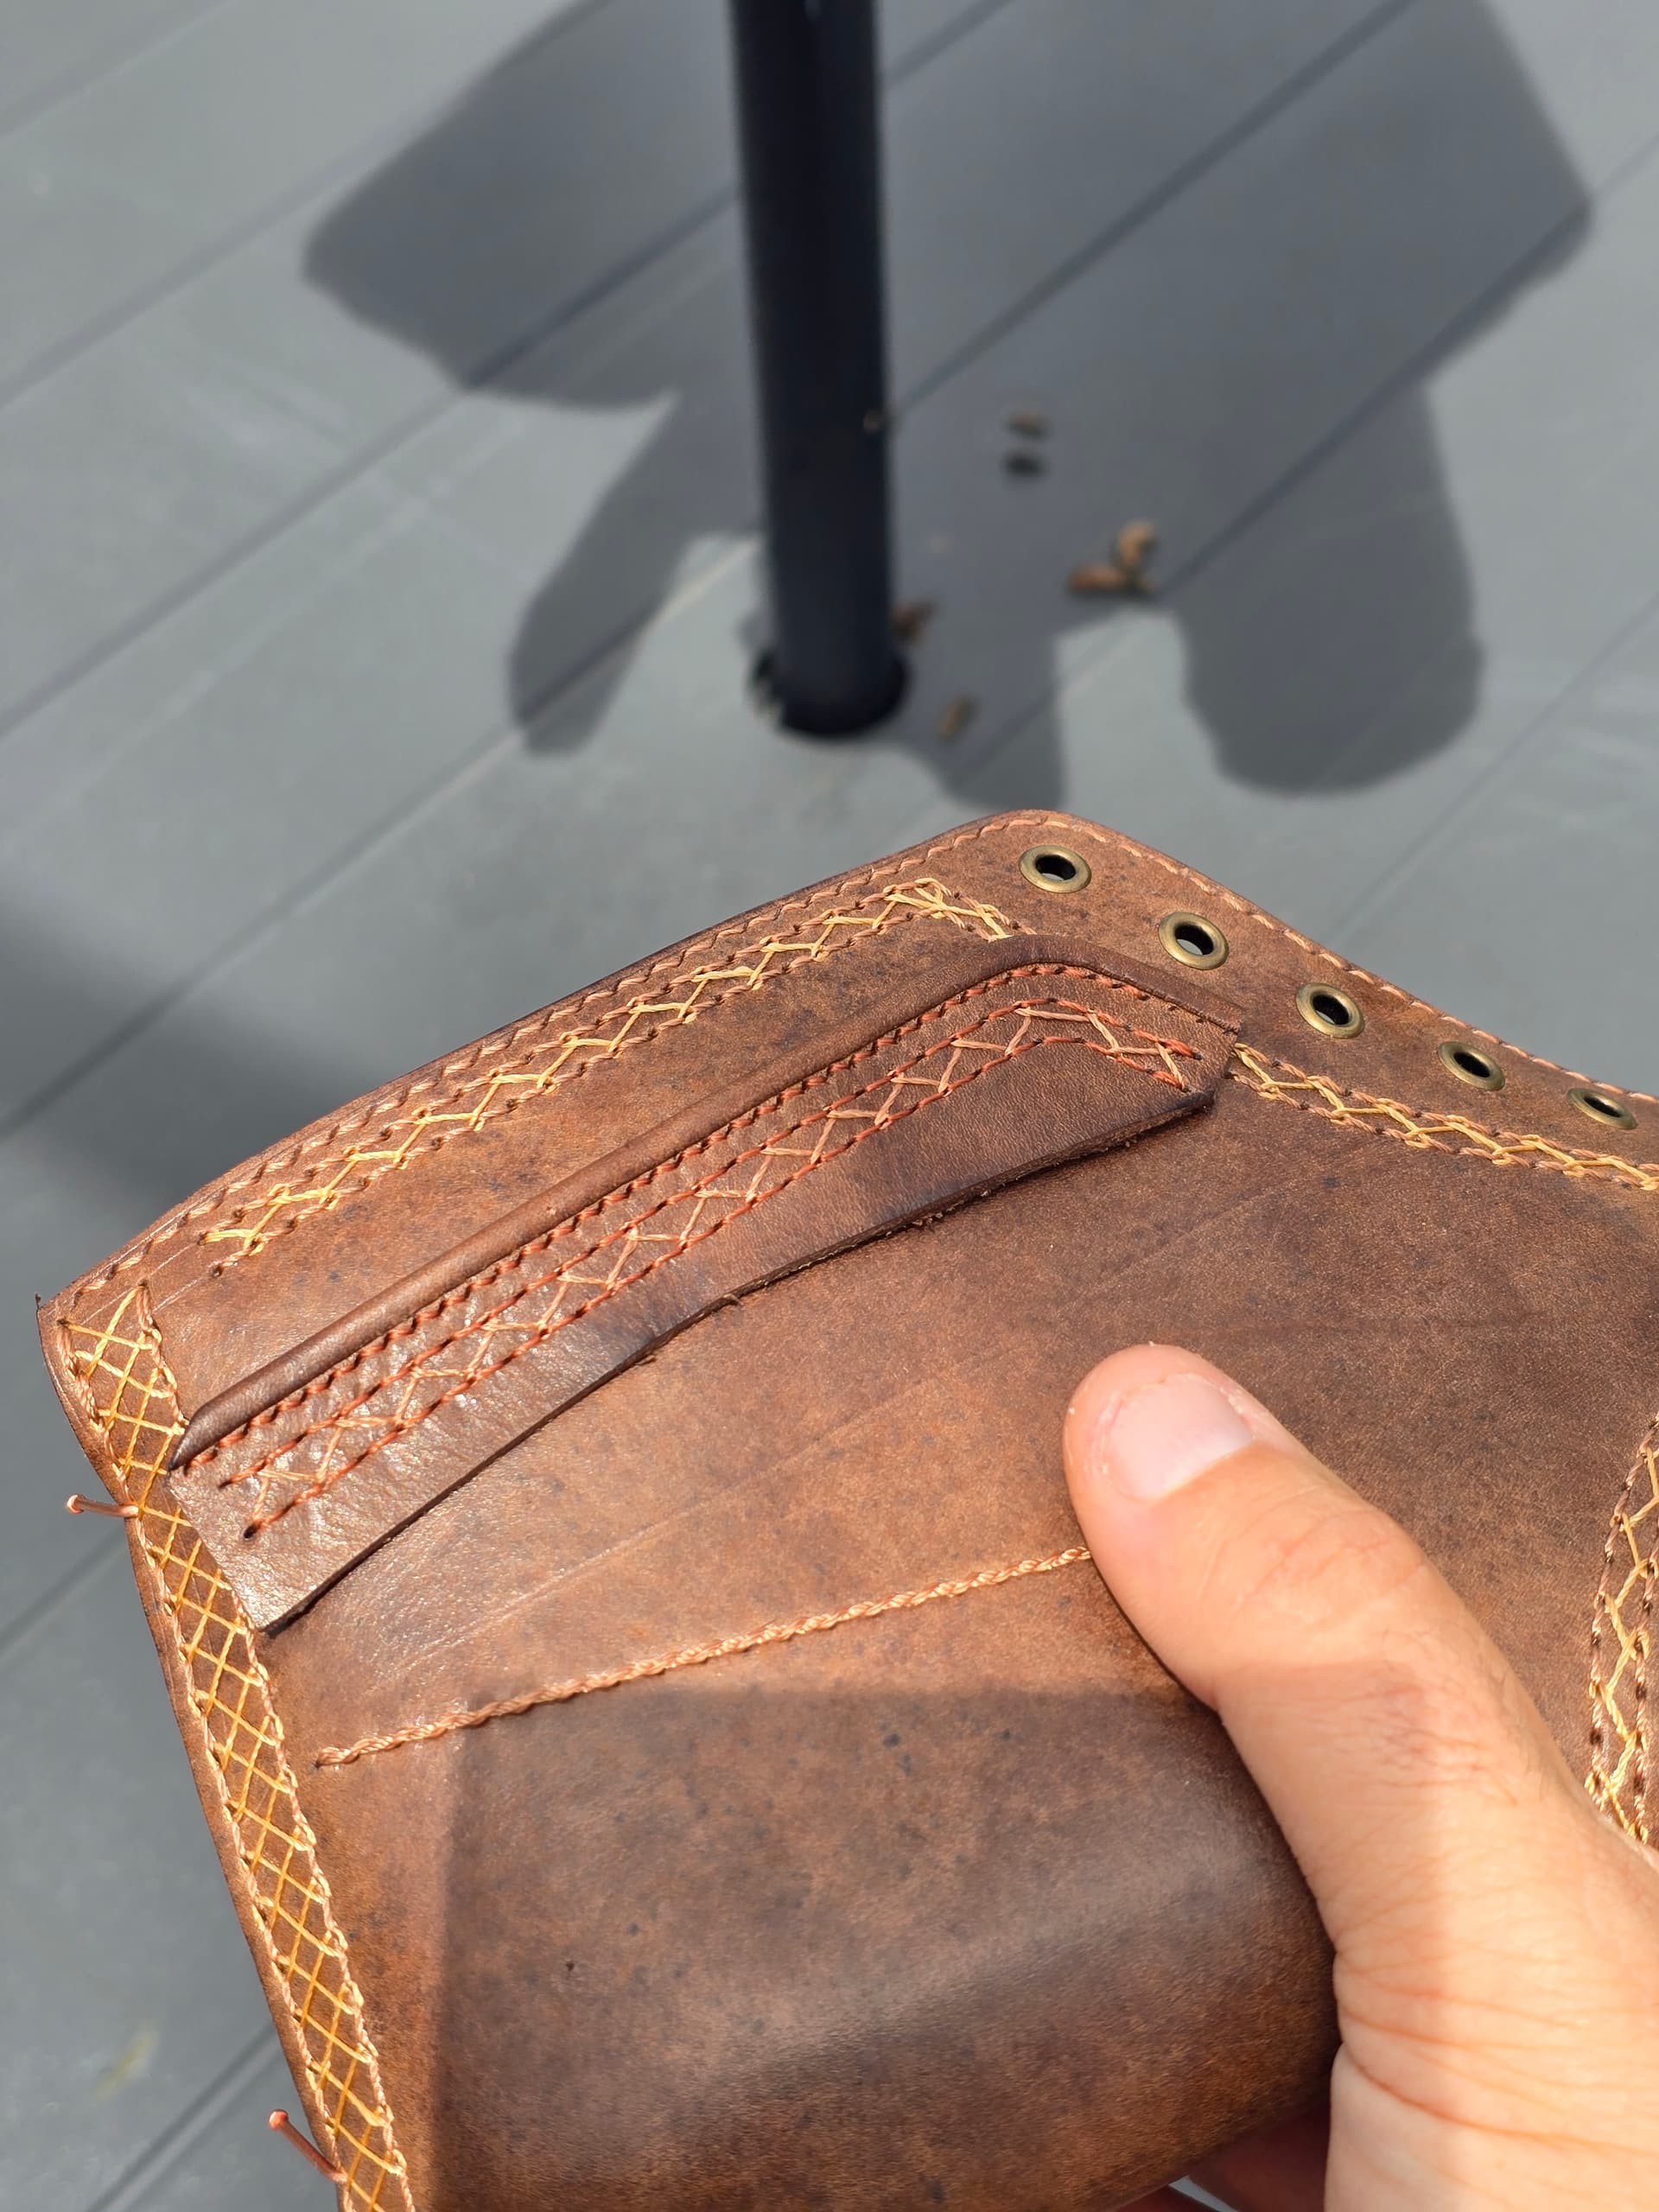
Did a test adding french binding across the top and the going darker with the saddle stitches and a more color matched herringbone. I think it helps quiet things down a little bit. Also changed the top line stitch to a 3mm pitch and spread the two herringbone saddle stitches 1mm further apart.
Edit: photo added in outdoor lighting
1 Like
Very nice! I agree the less complex stitchwork gives a better effect overall.
Funny thing is I ended up with pretty much the same stitch pattern, just tweaked the color/thread size/pitch going into the final makeup and that calmed things down a lot. Only thing that simplified was sticking with a saddle stitch on the heel counter line rather than the whipped stem stitch
1 Like