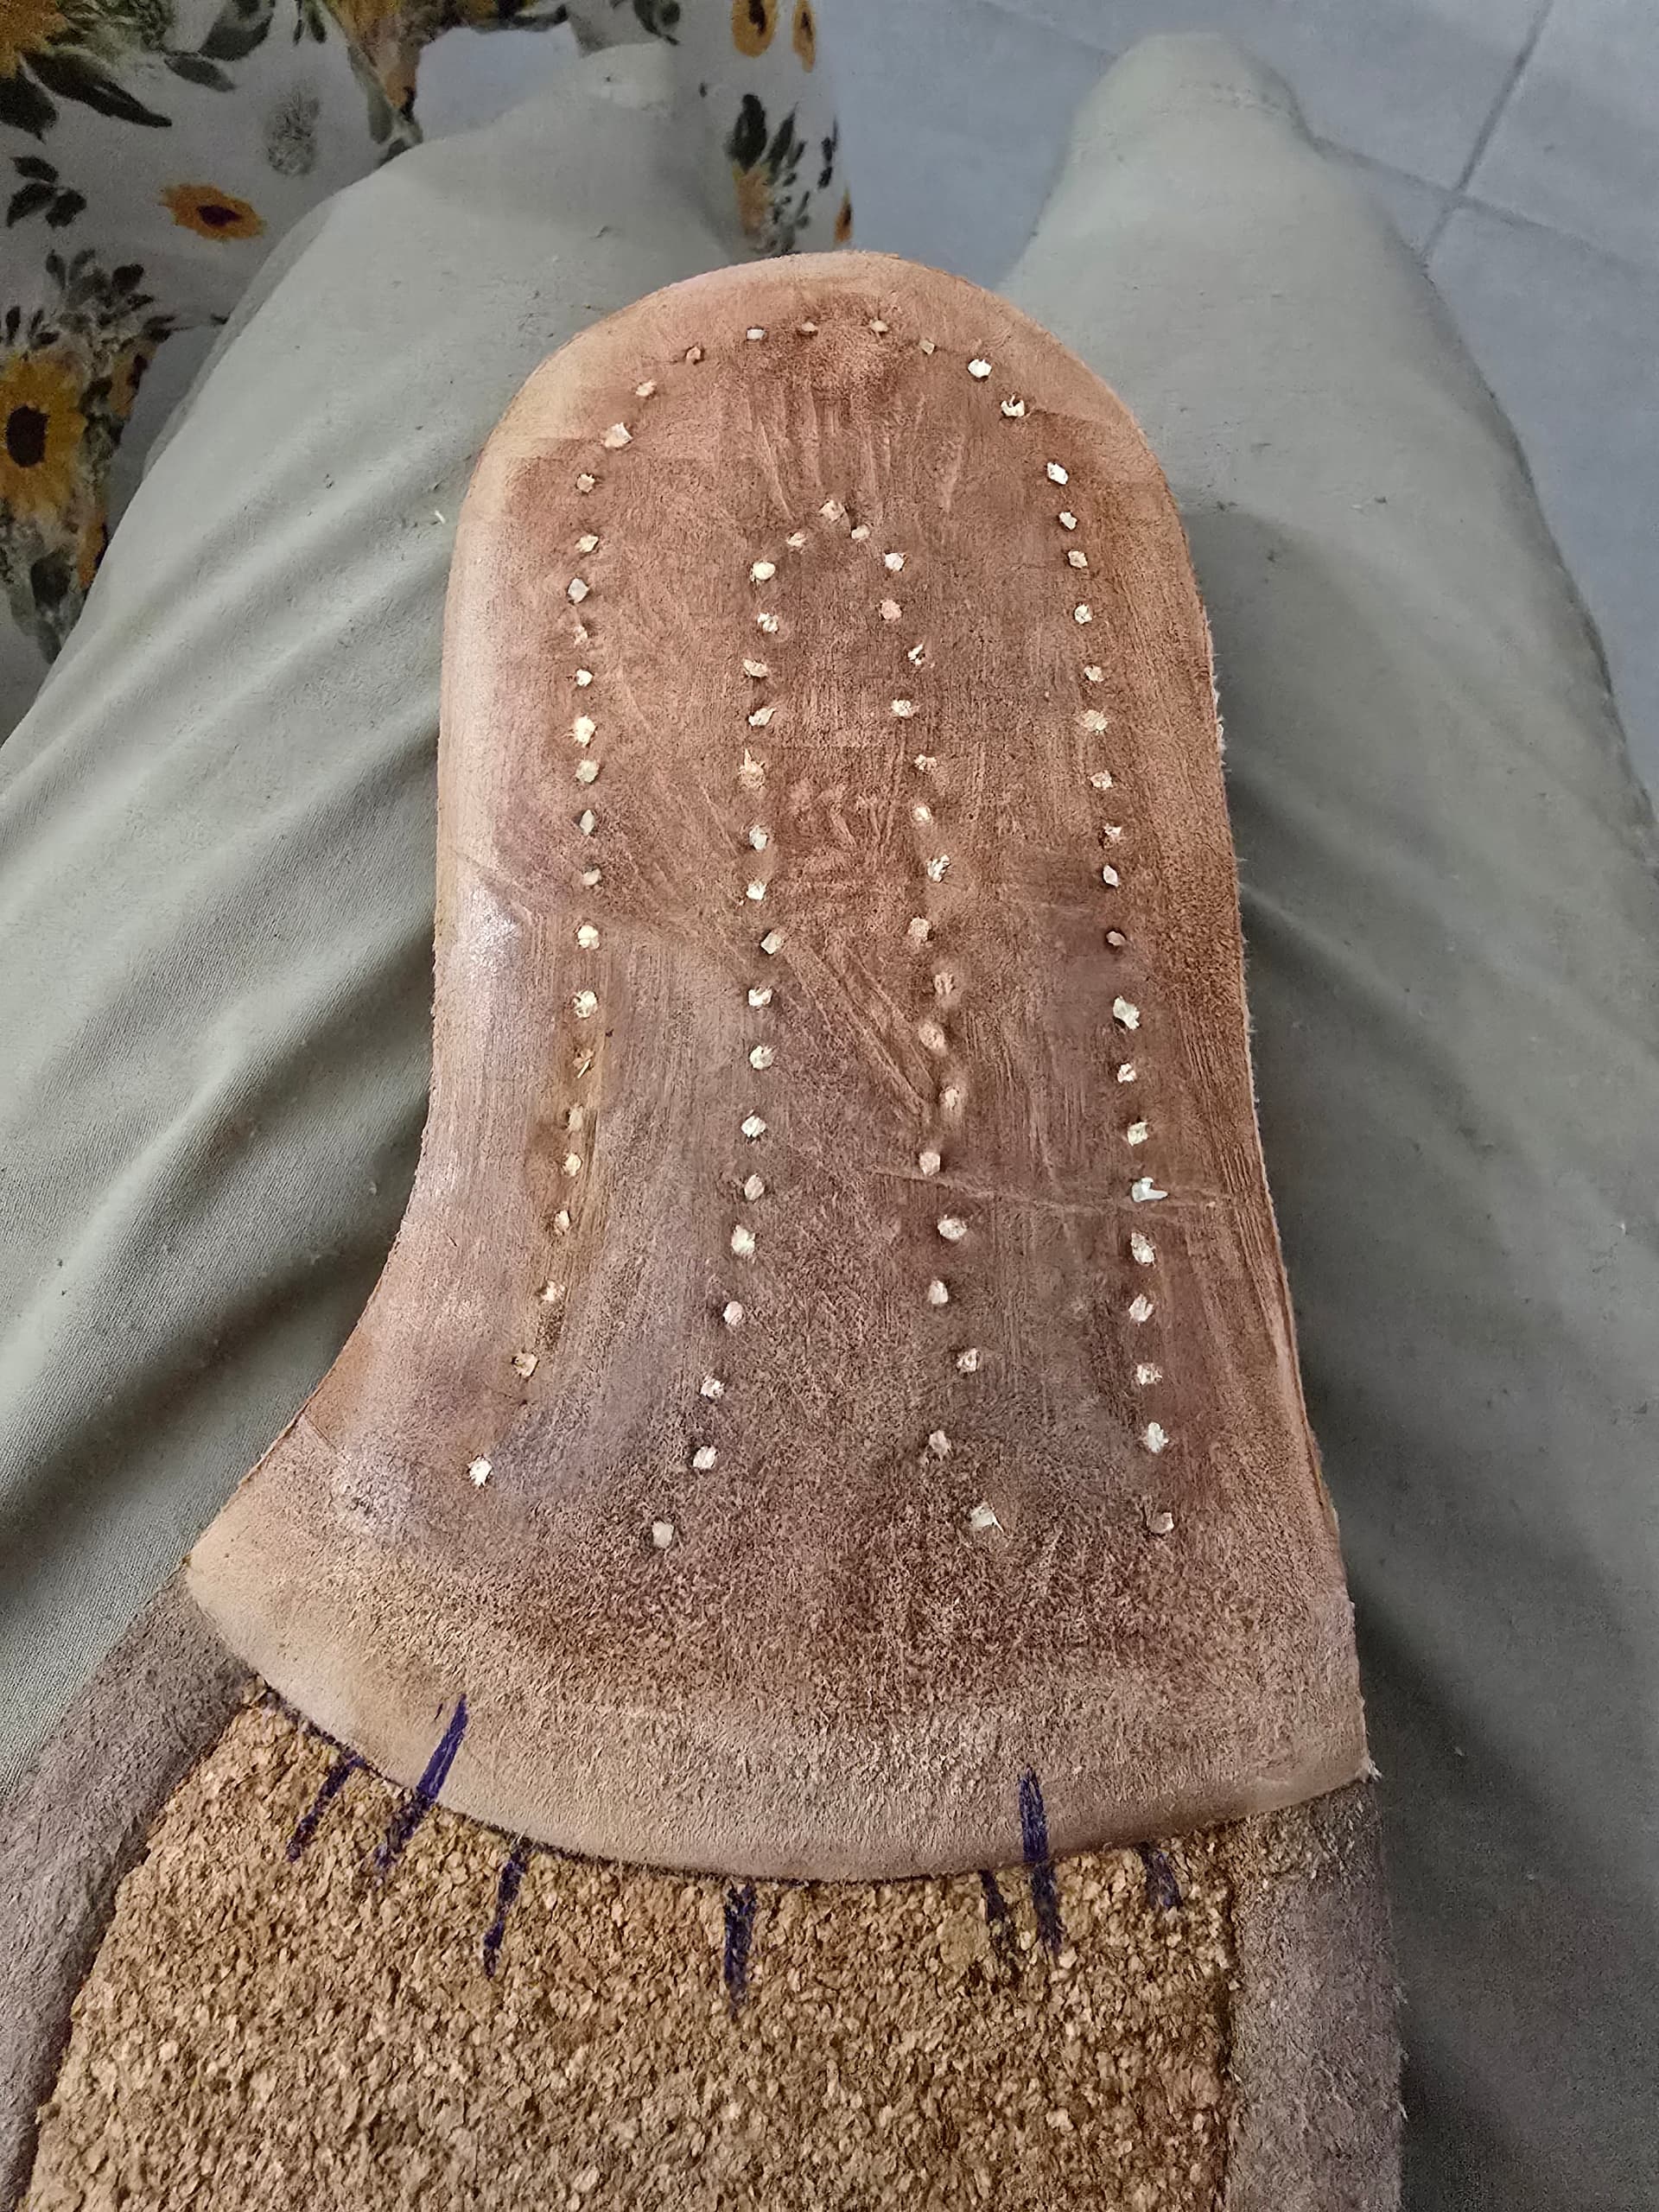
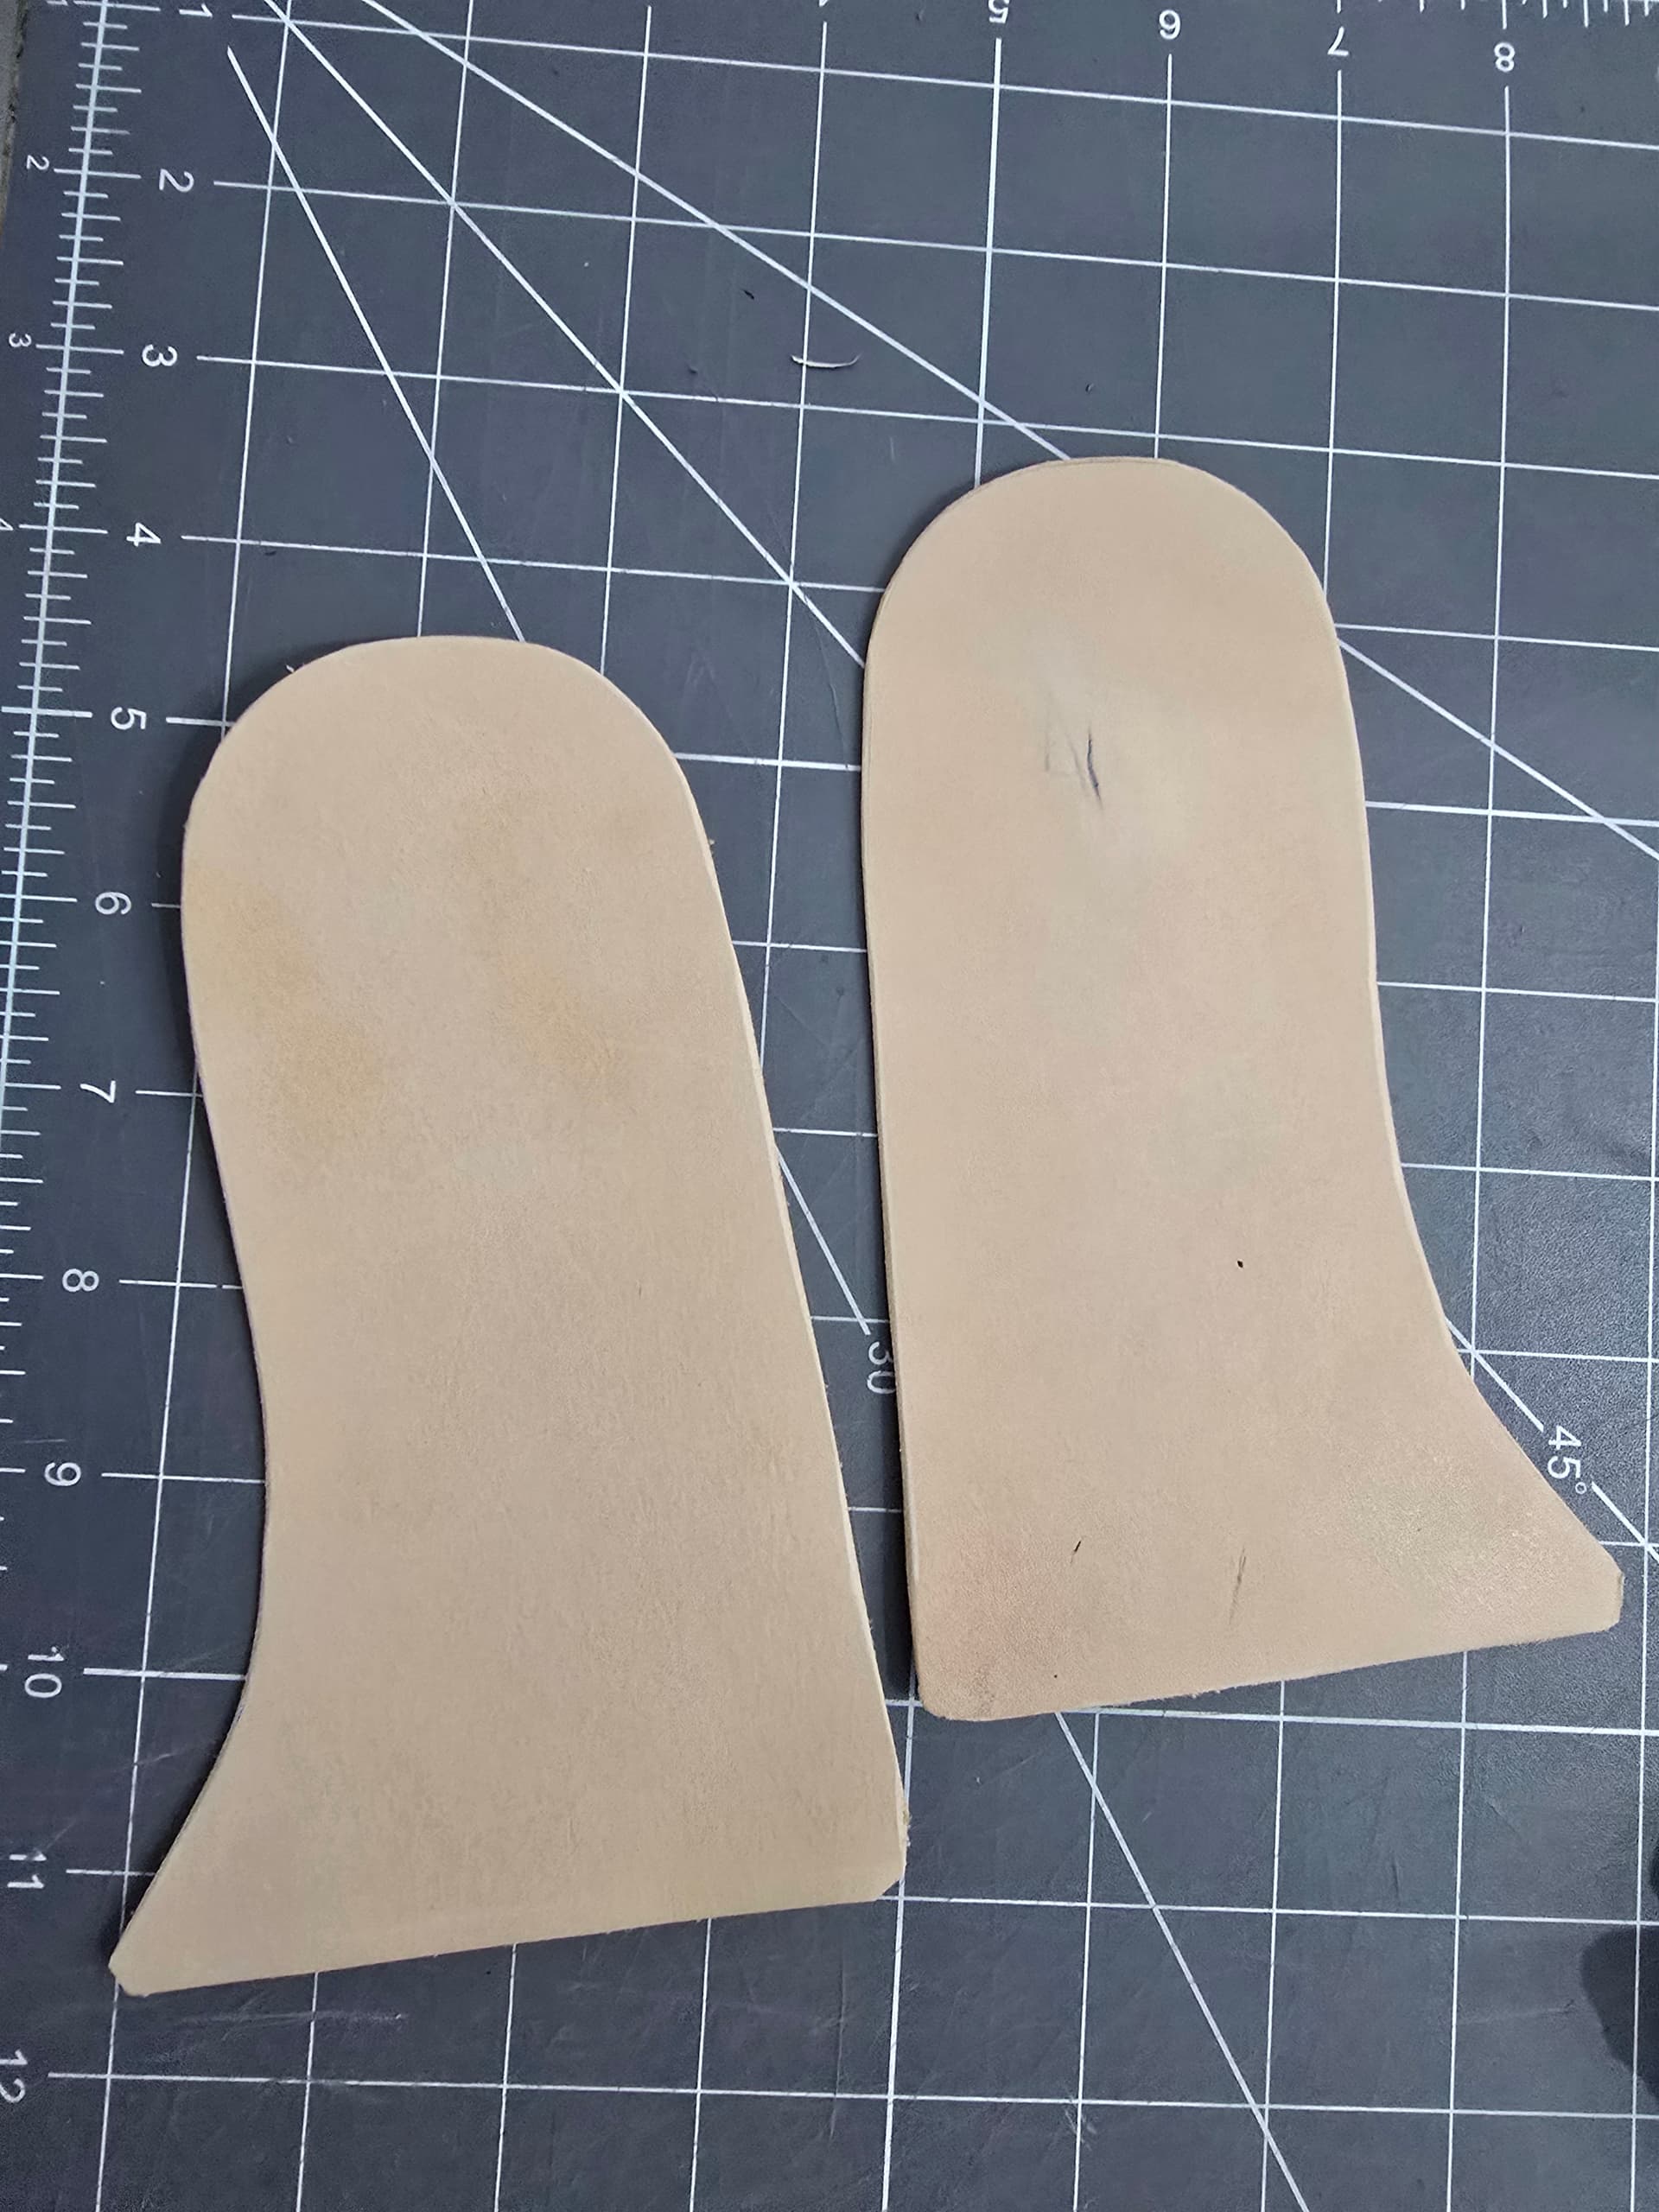
Ended up doing a leather shank to avoid setting off the metal detectors at the airport… of course that snapped off pegging awl stuck in the heel probably won’t help.
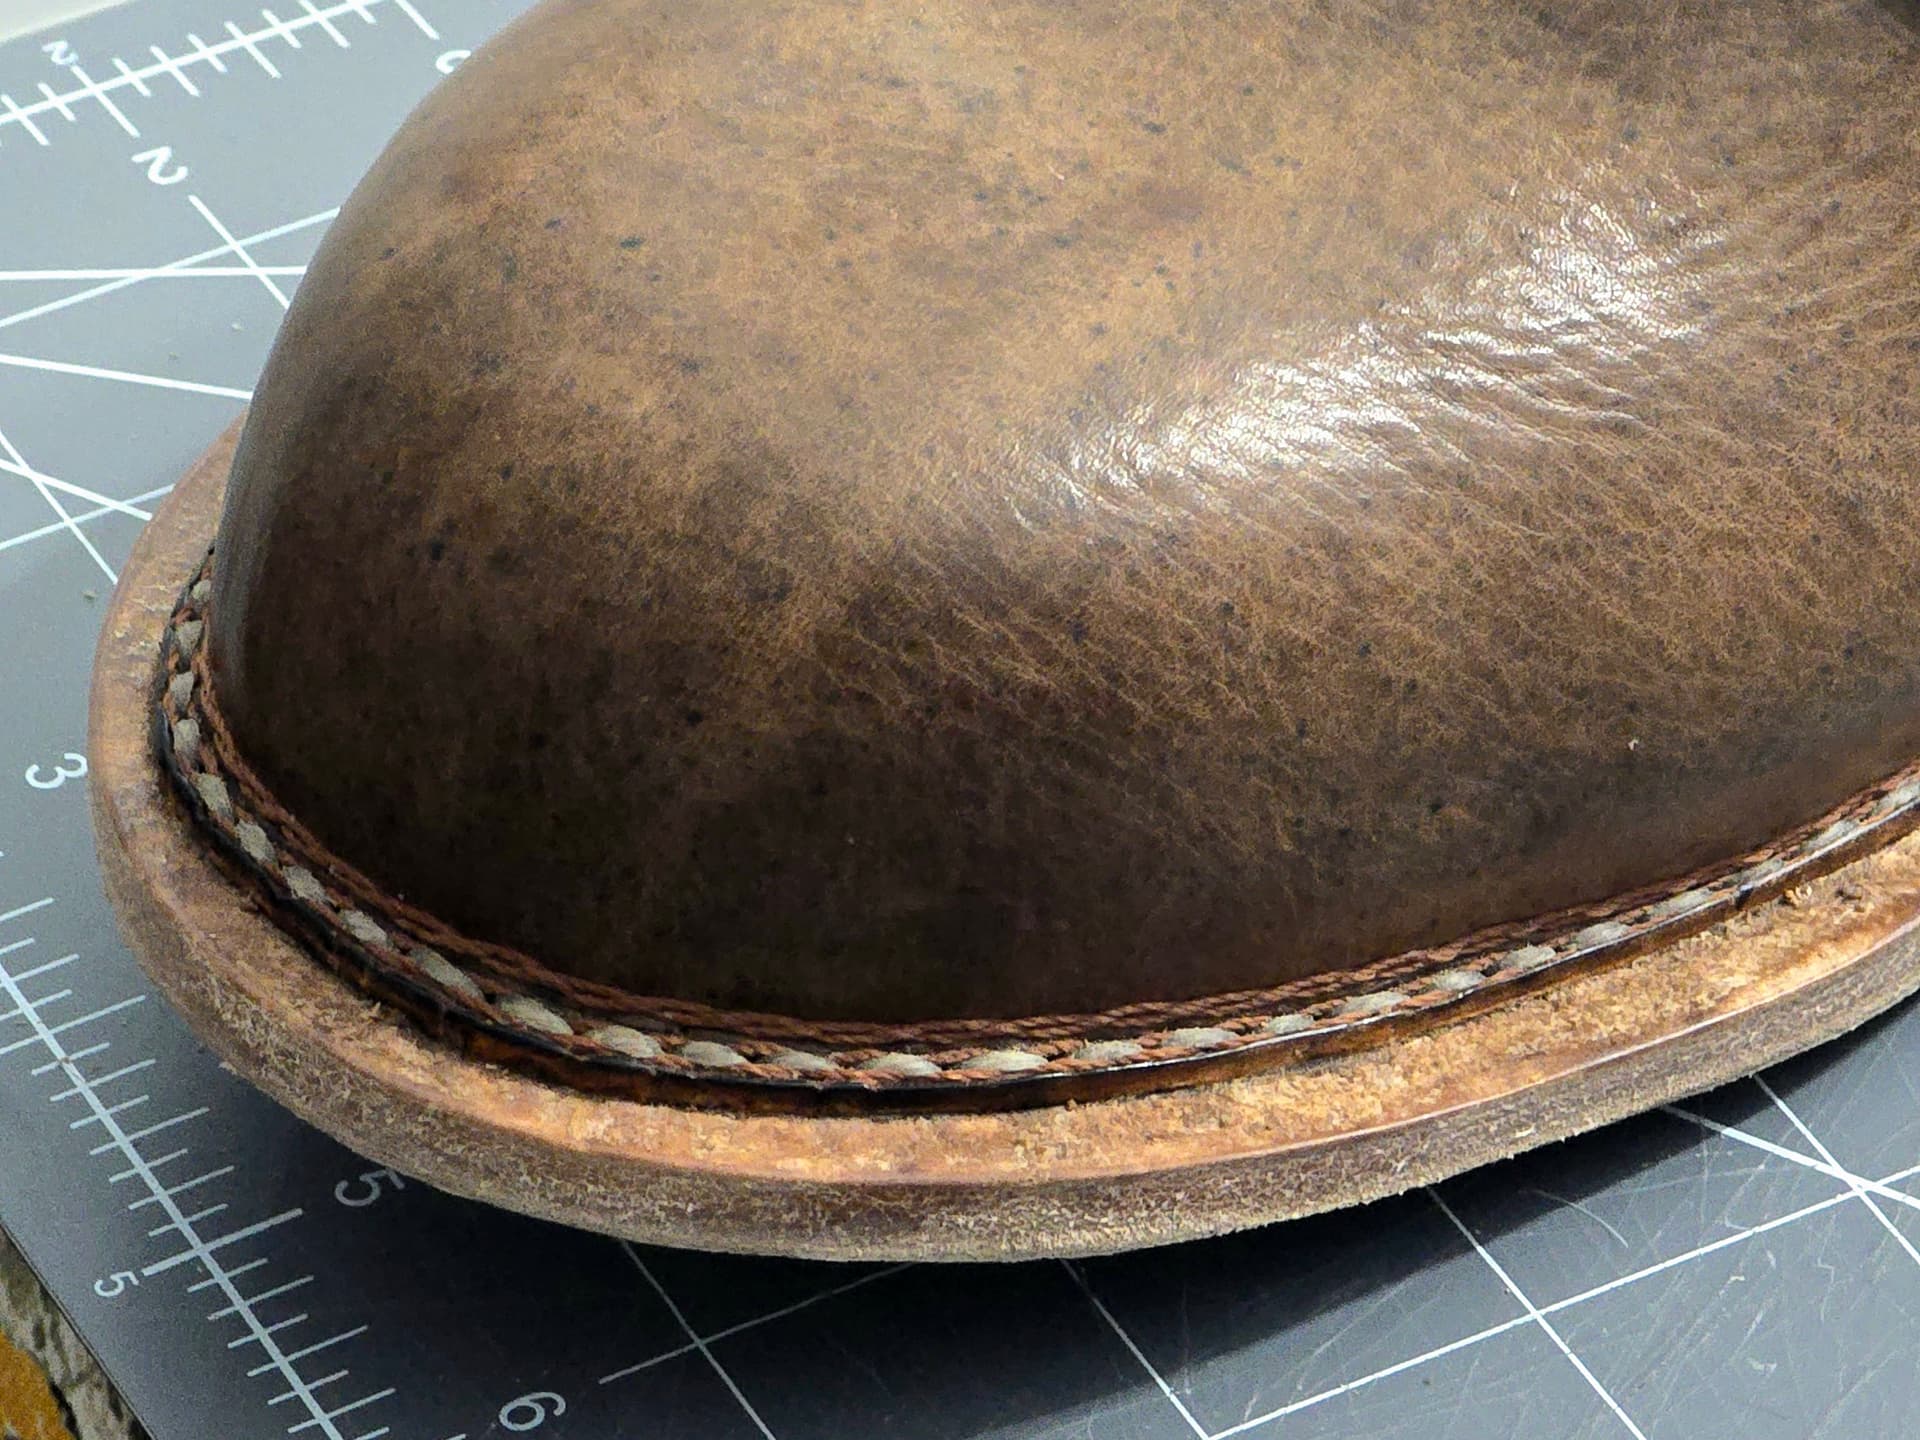
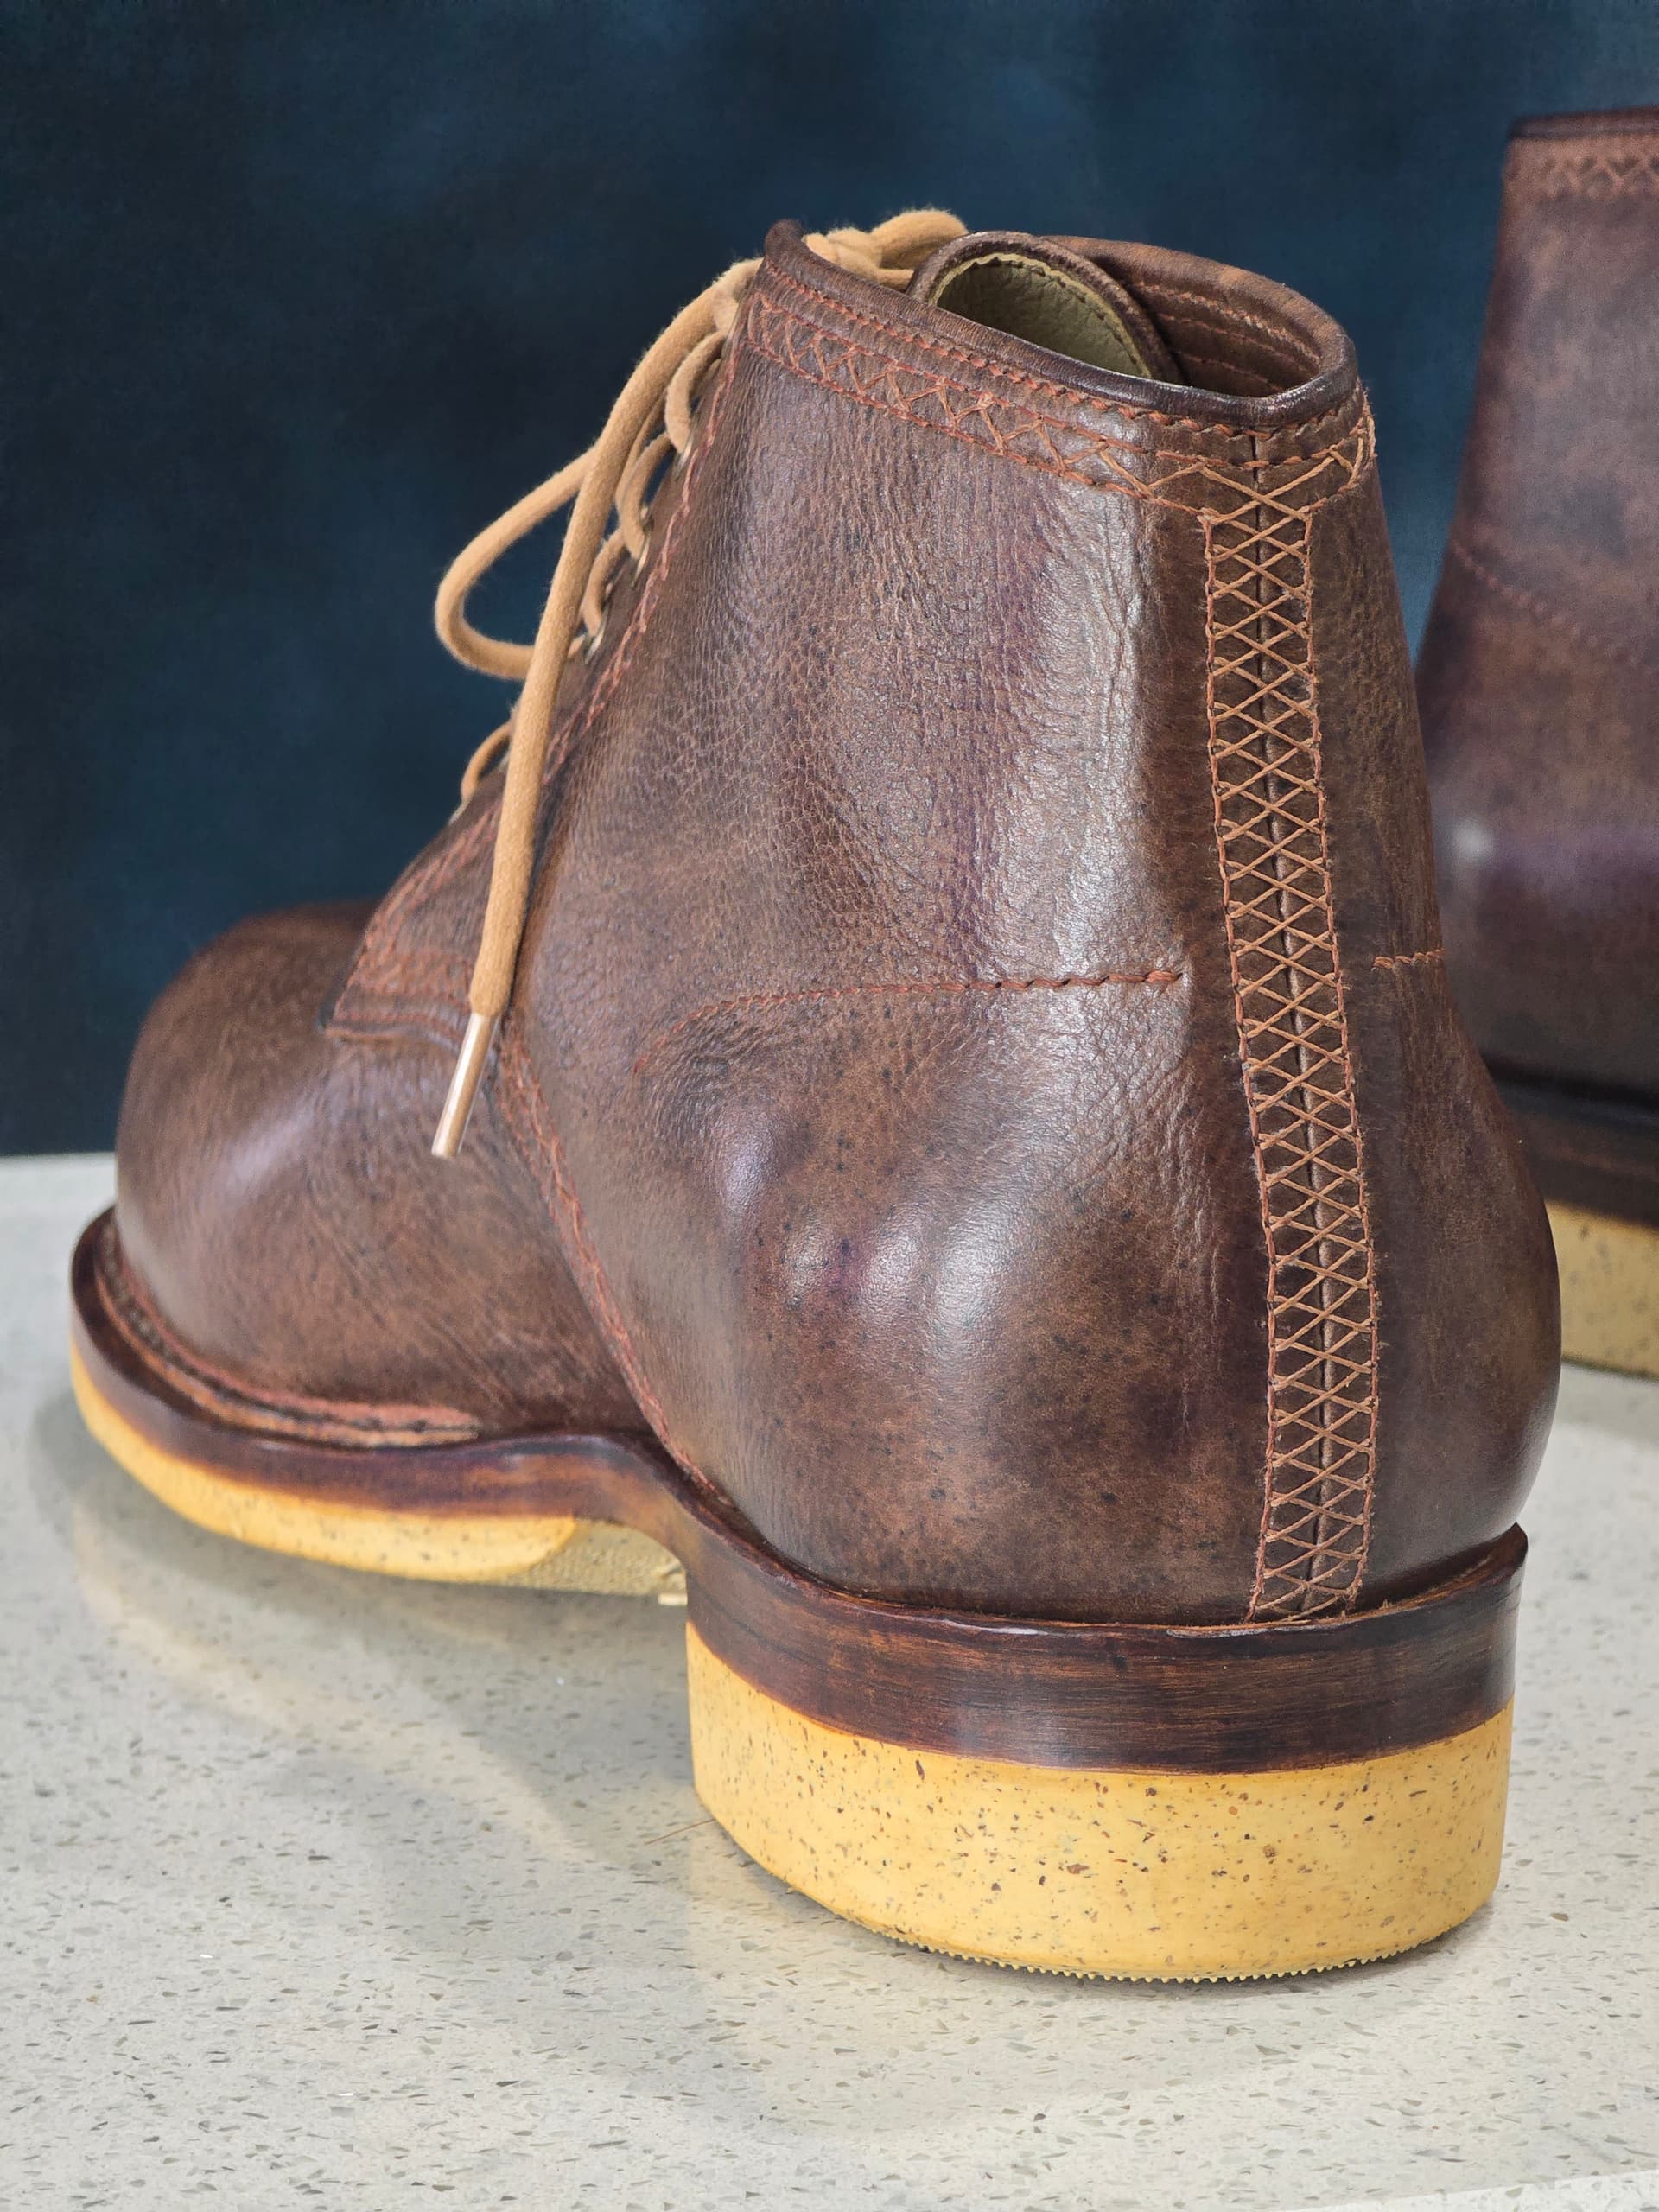
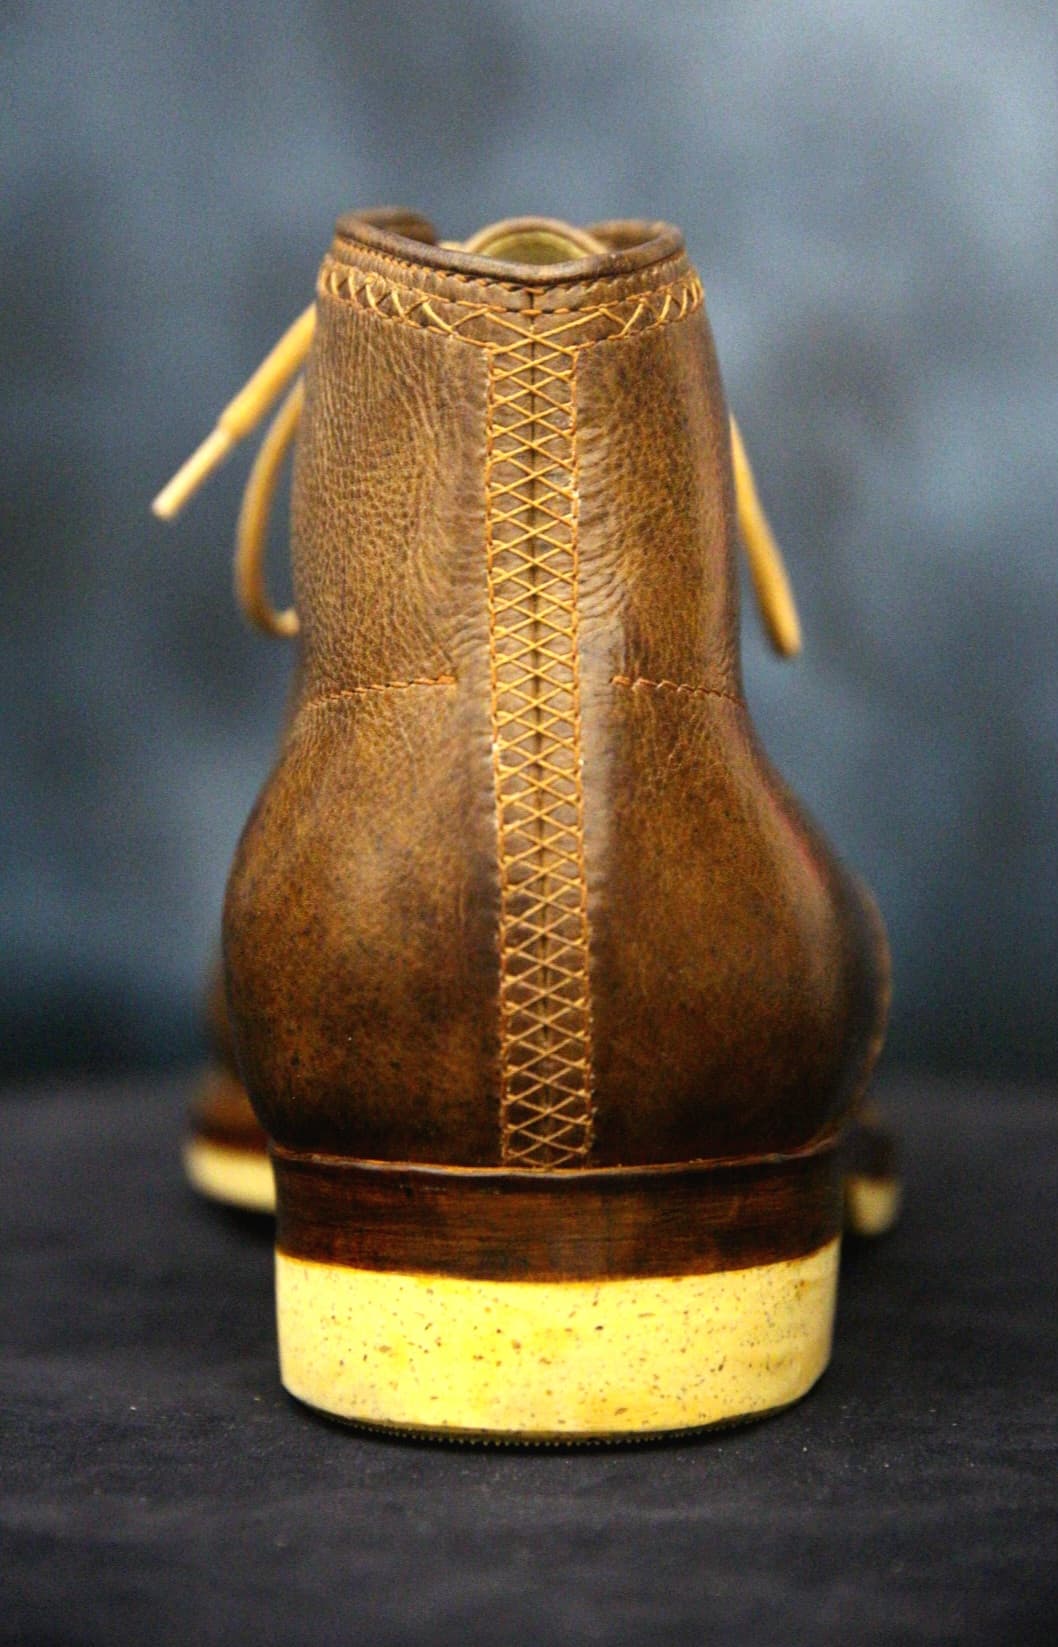
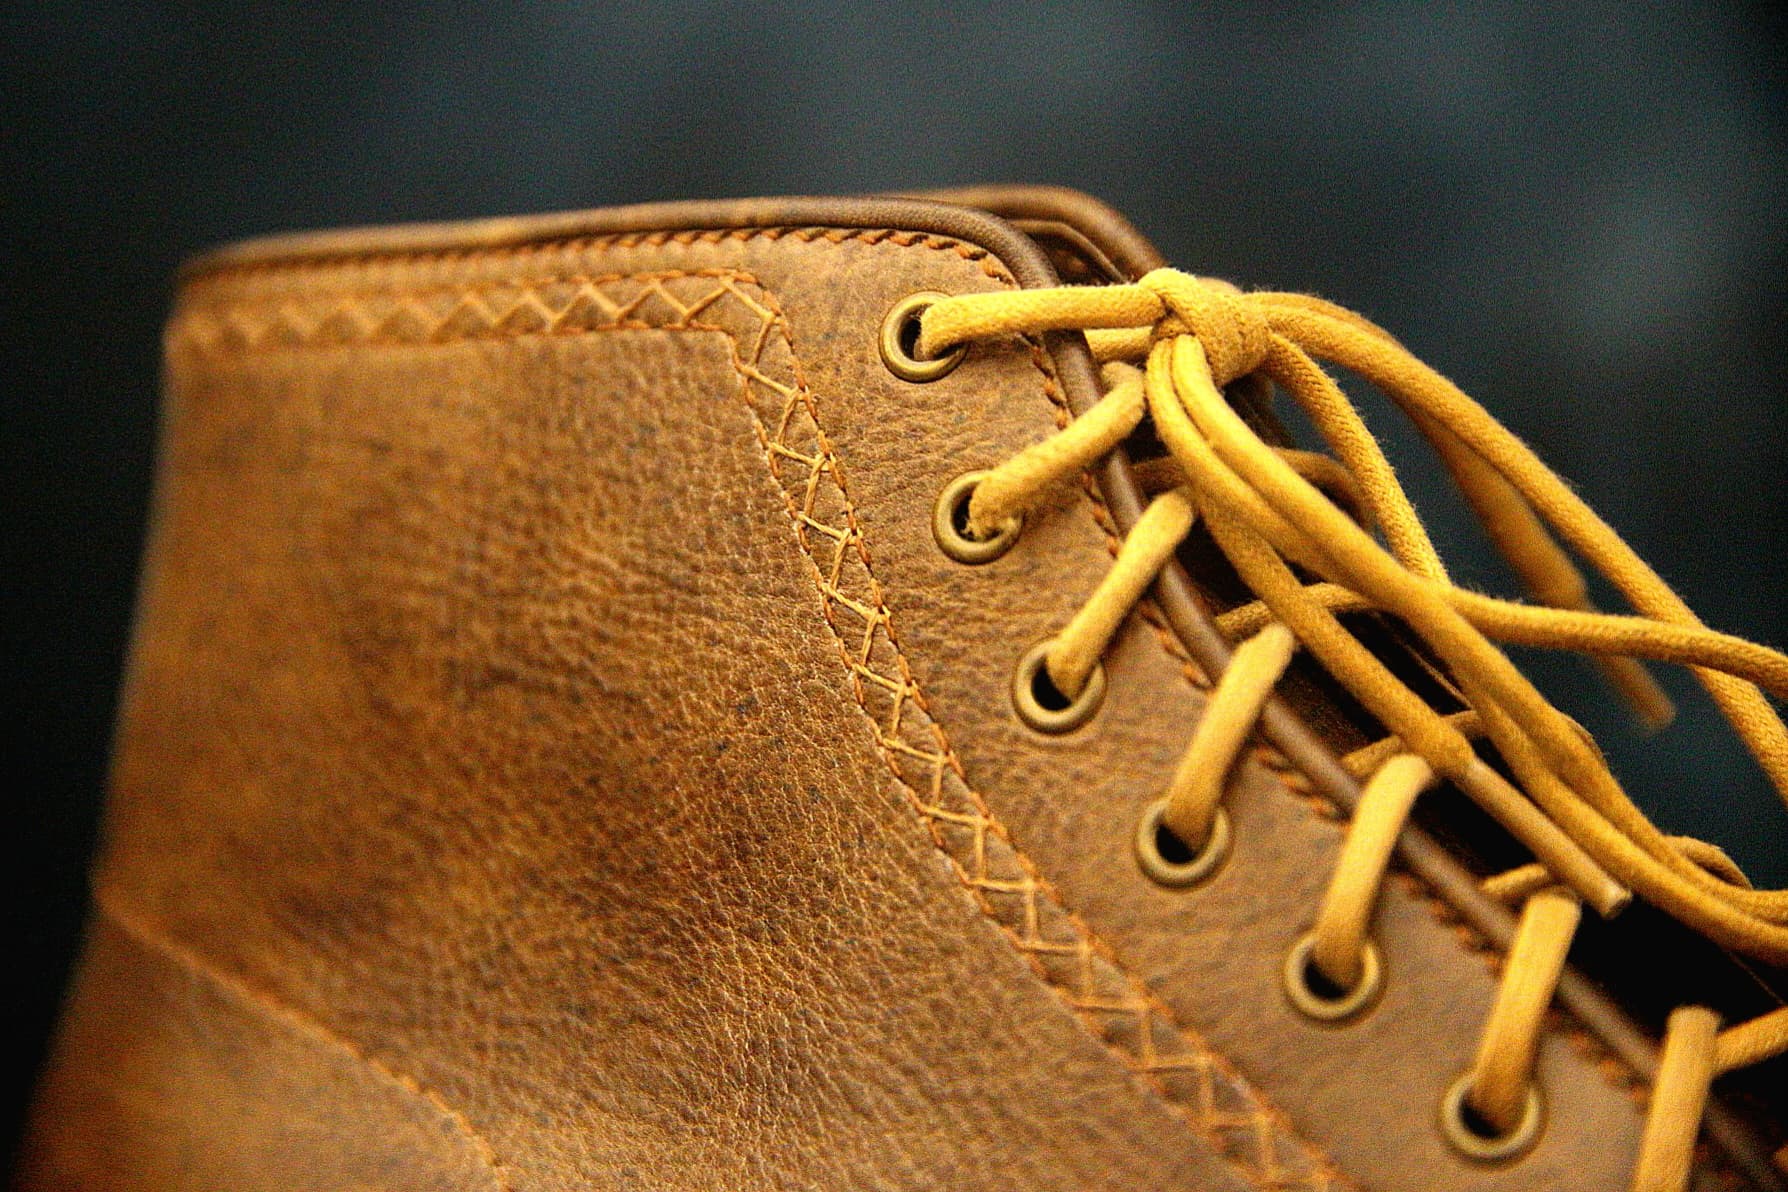
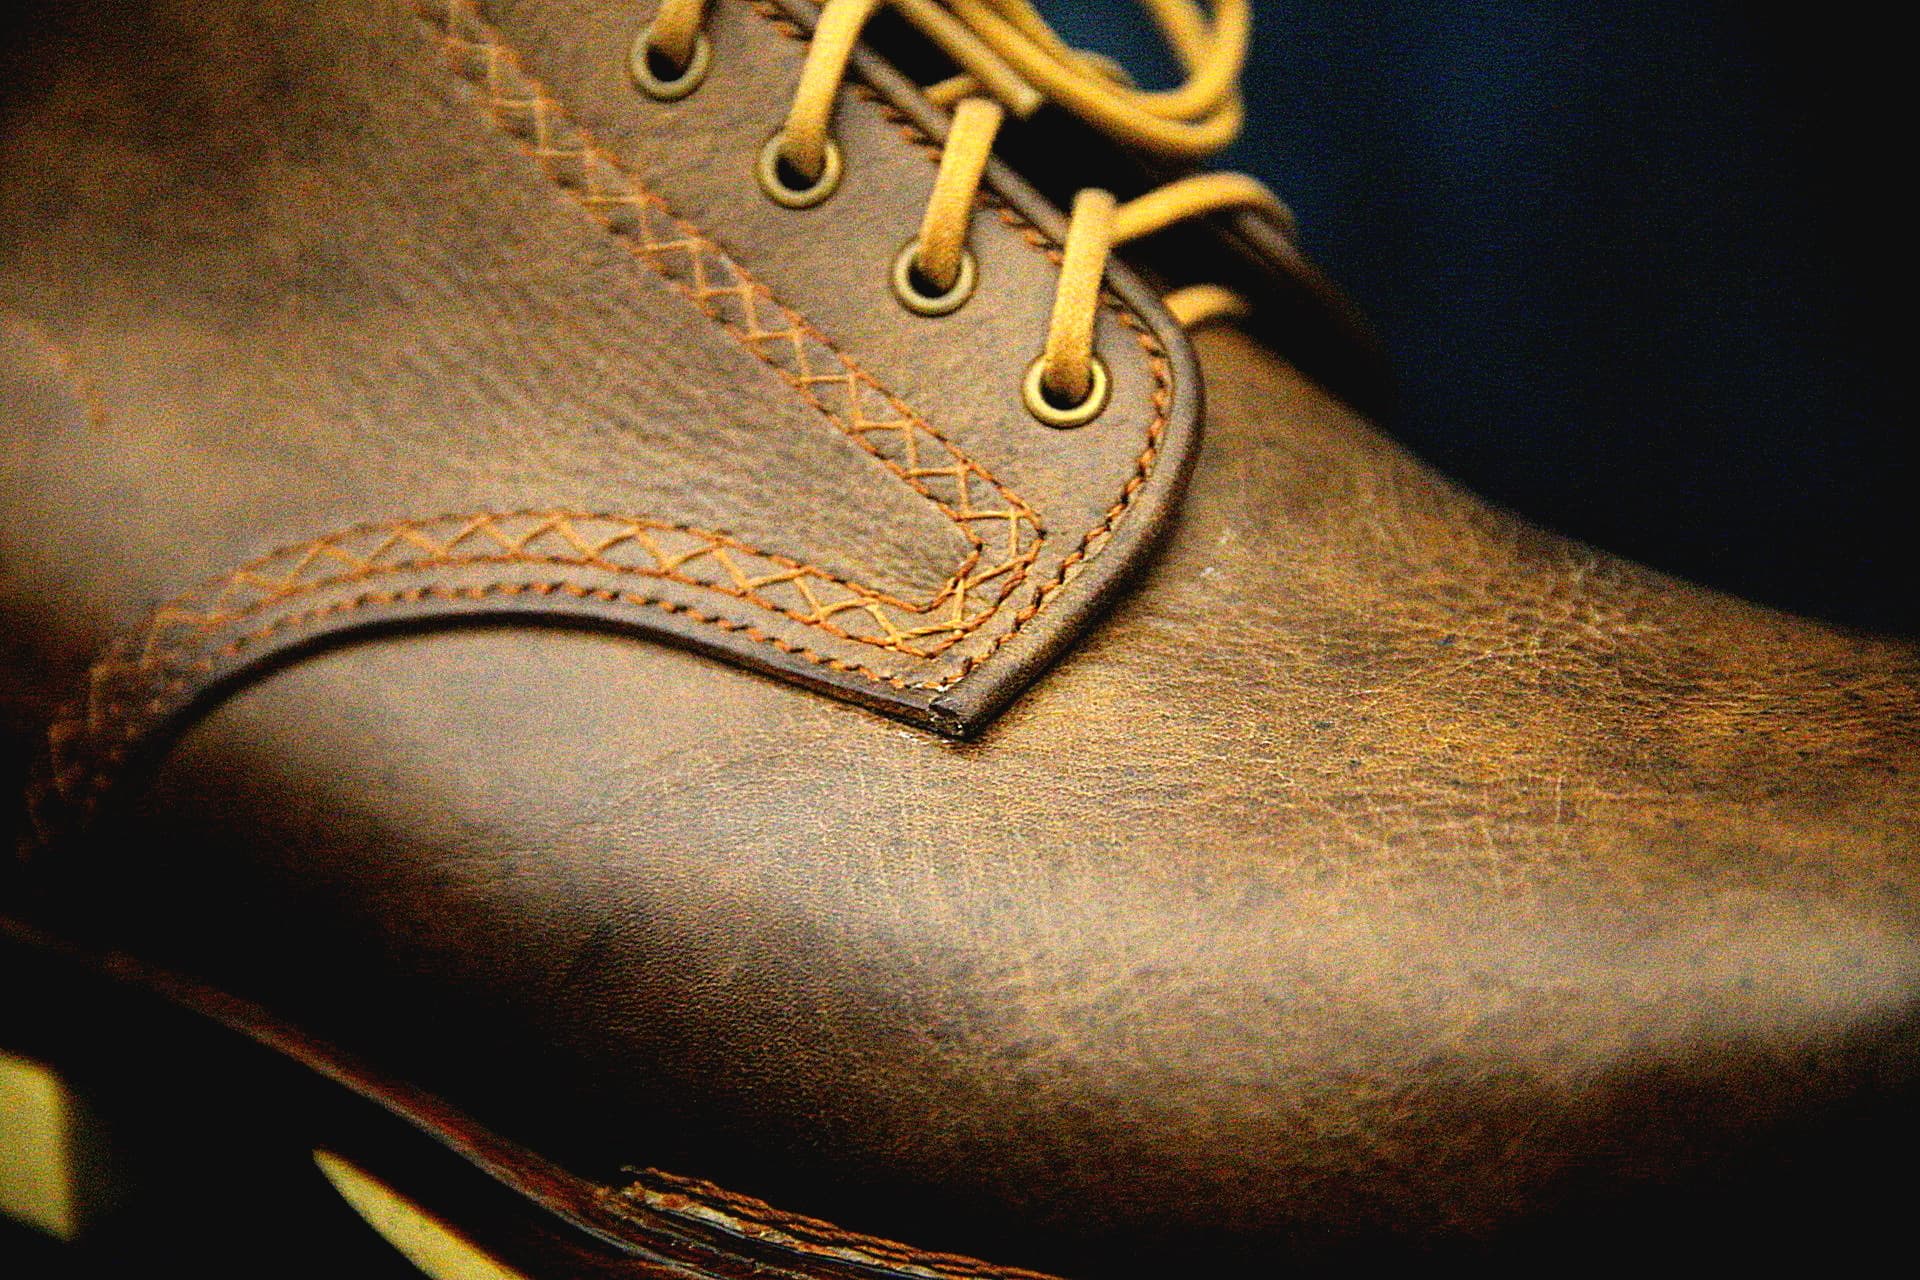
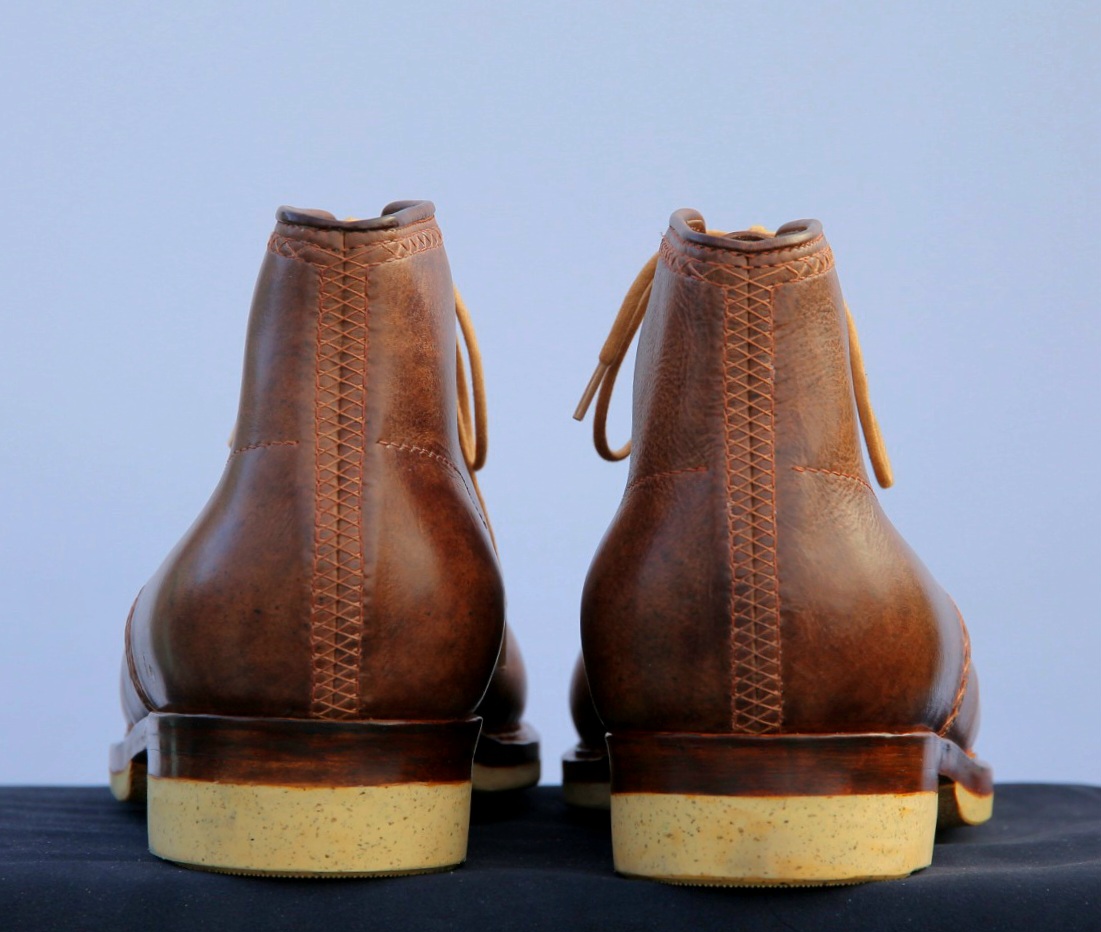
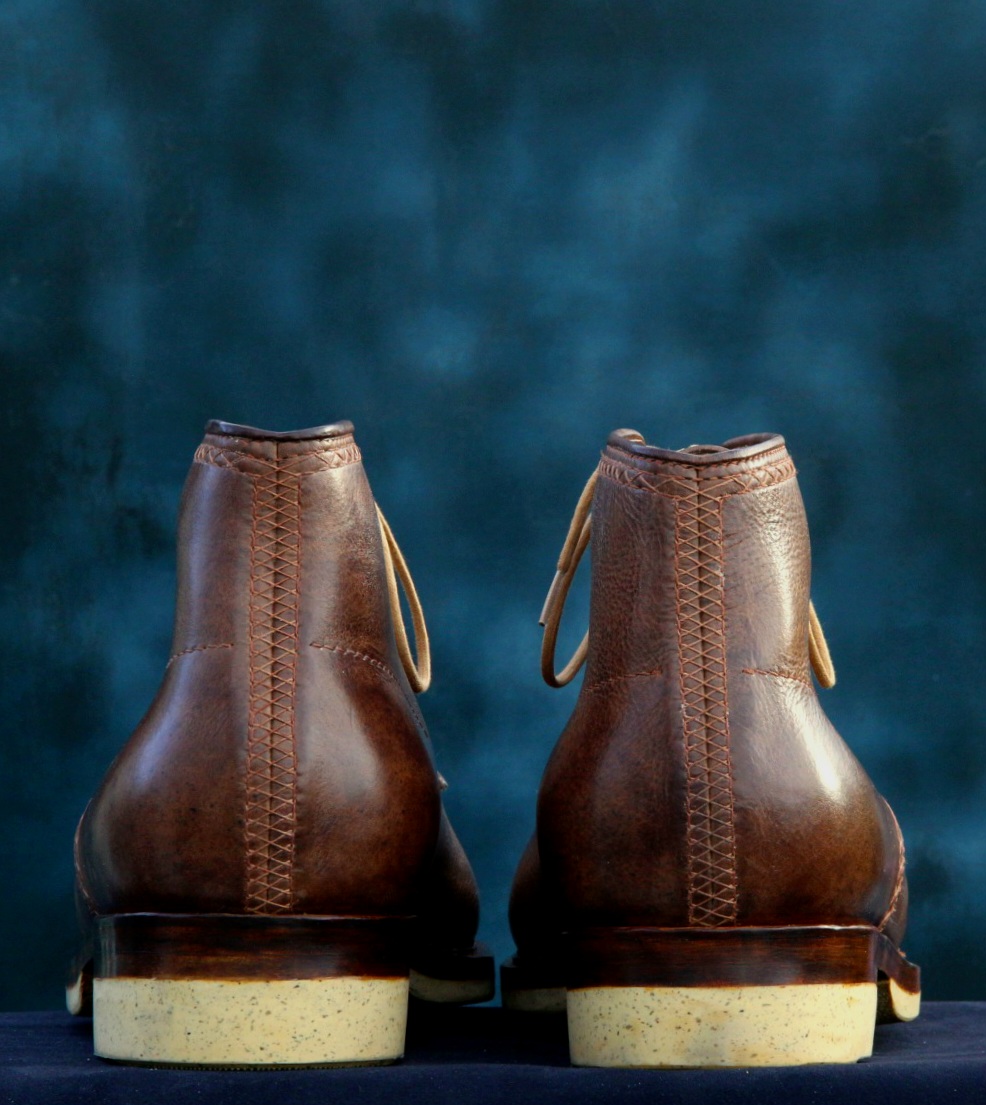
Got my spacing wrong on double Norvegese stitch. When I marked holes for the 2nd row, I placed them next to the fat part of the chain stitch, thinking that would make the chains nest. In retrospect, it definitely doesn’t work that way and I should have placed them where there chains cross to nest correctly.
After getting everything nicely laid out on the outside, not all of the holes lined up with the pre-punched ones and it was much easier to just make an appropriate new hole, so it really didn’t help out at all.
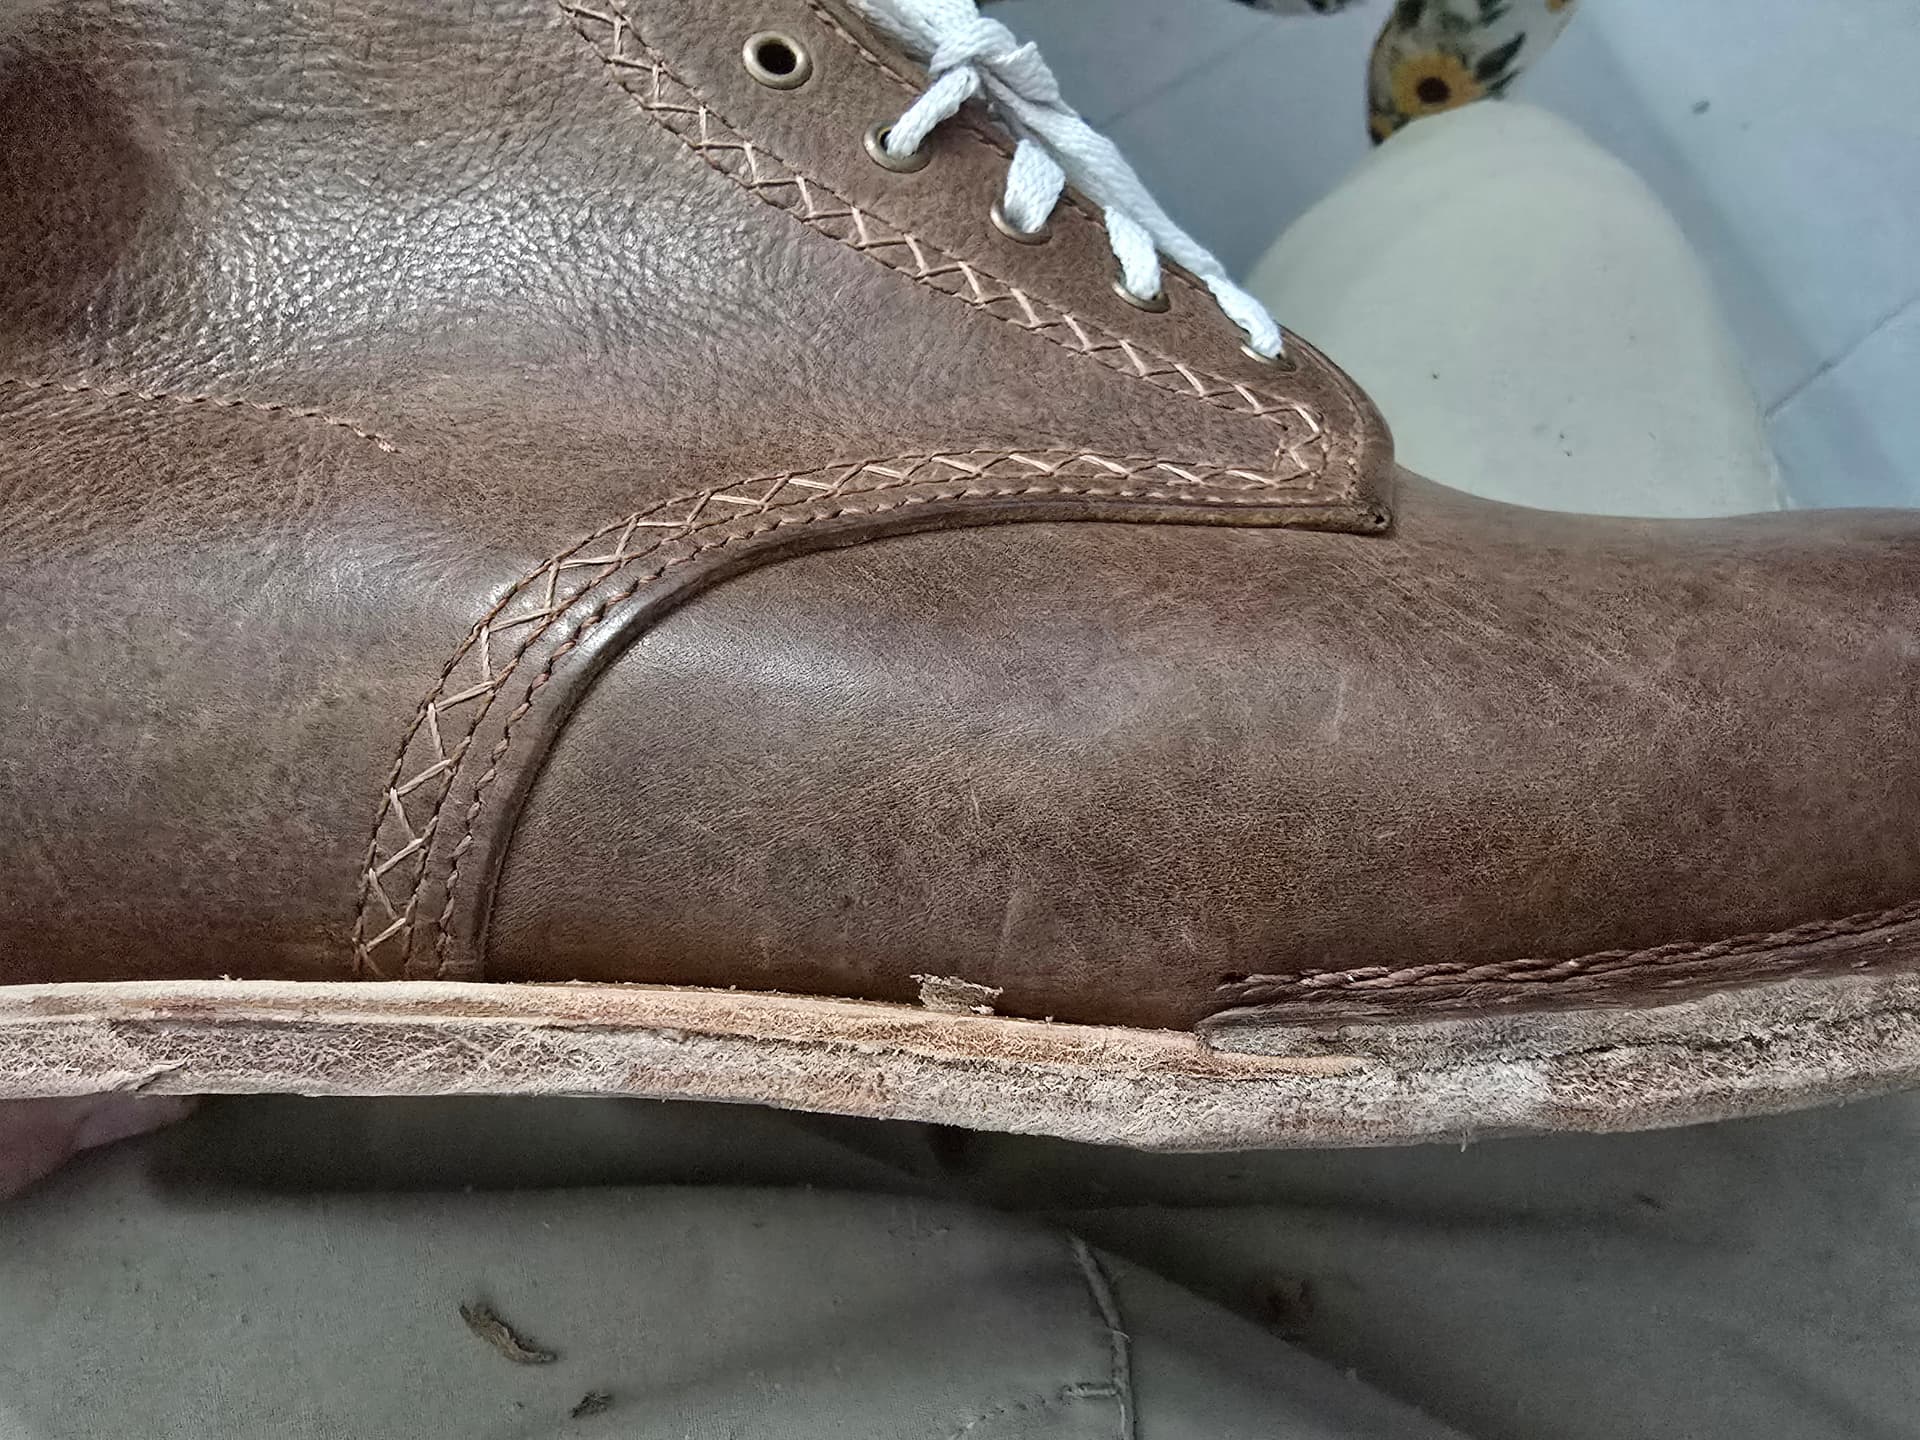
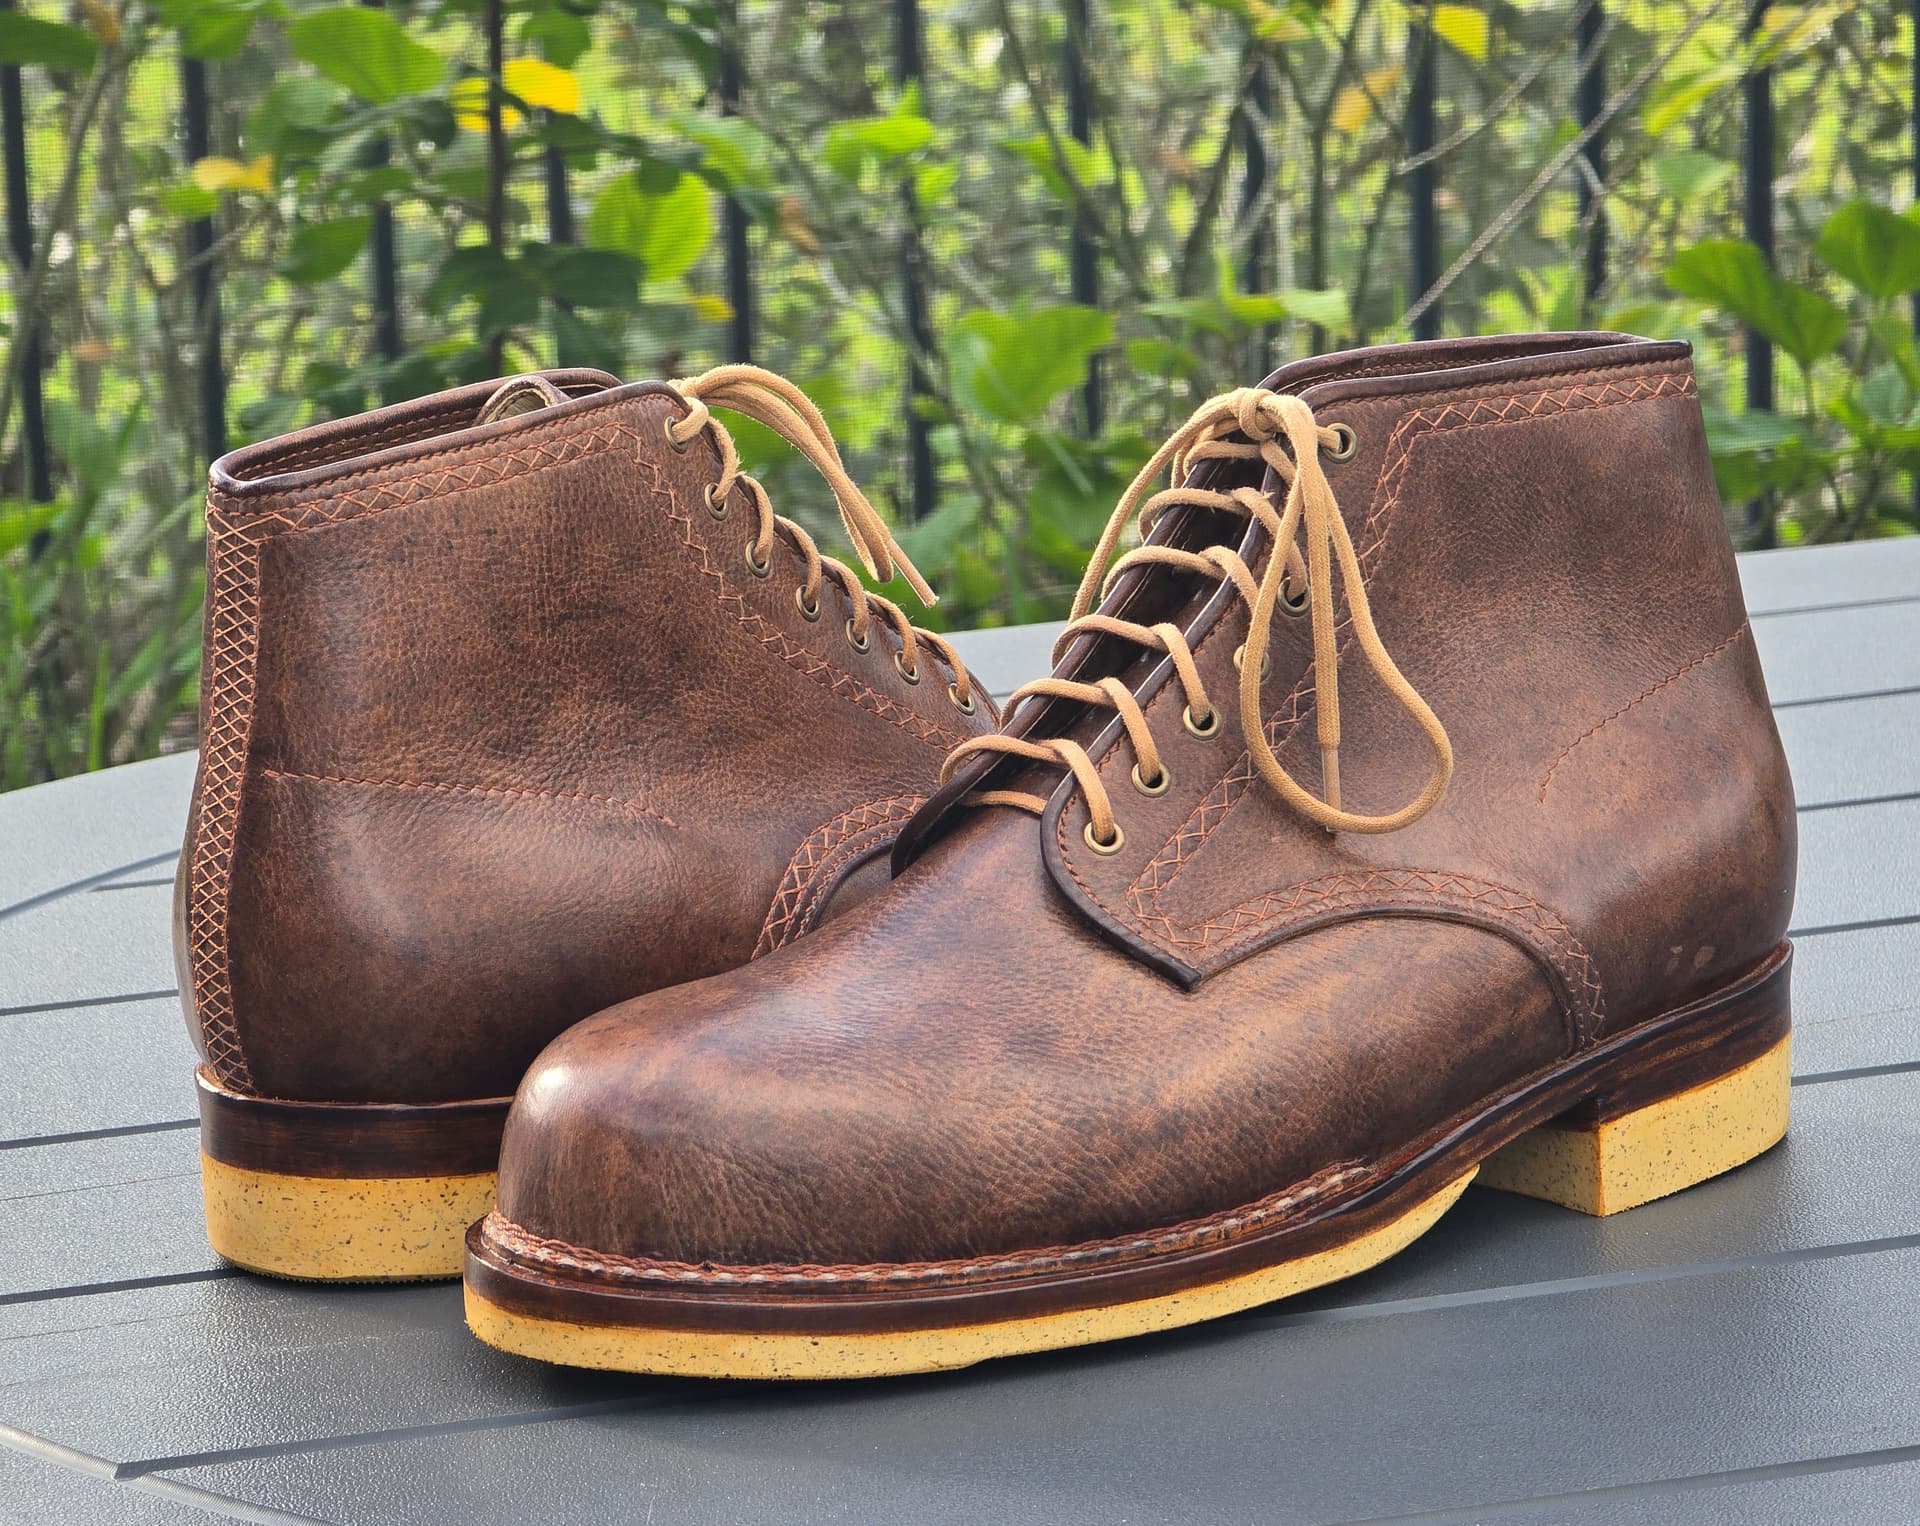
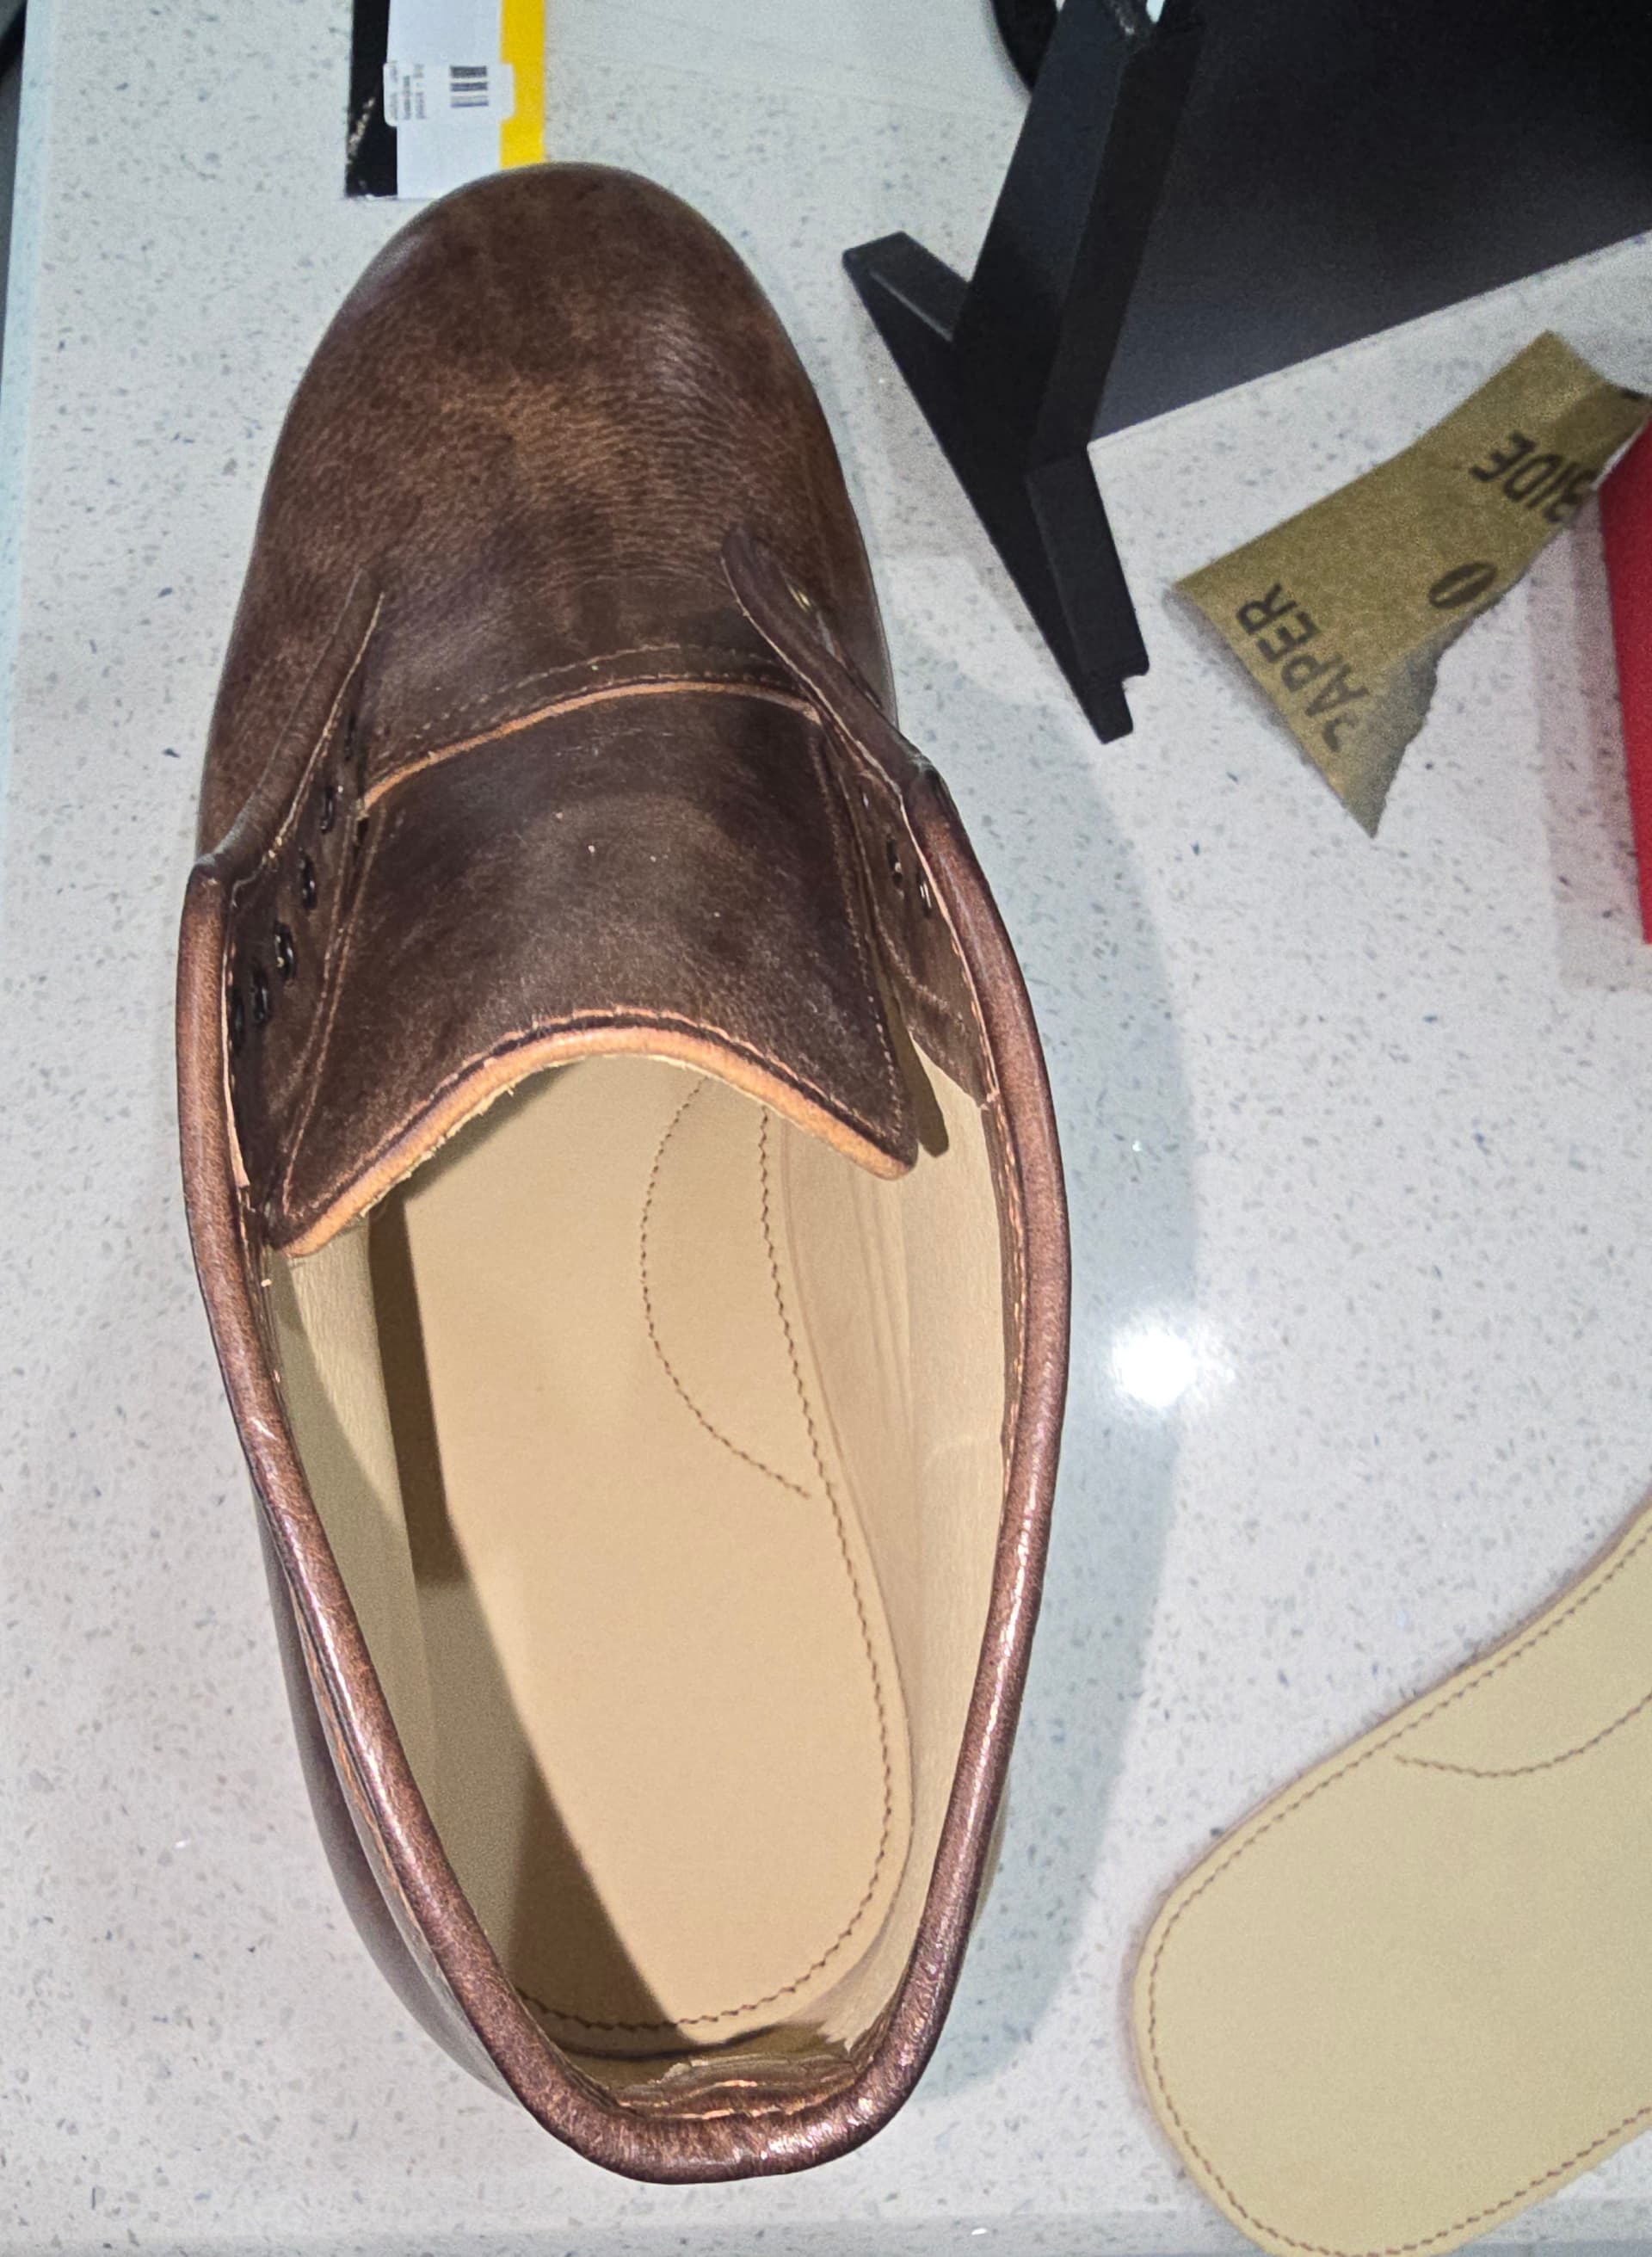
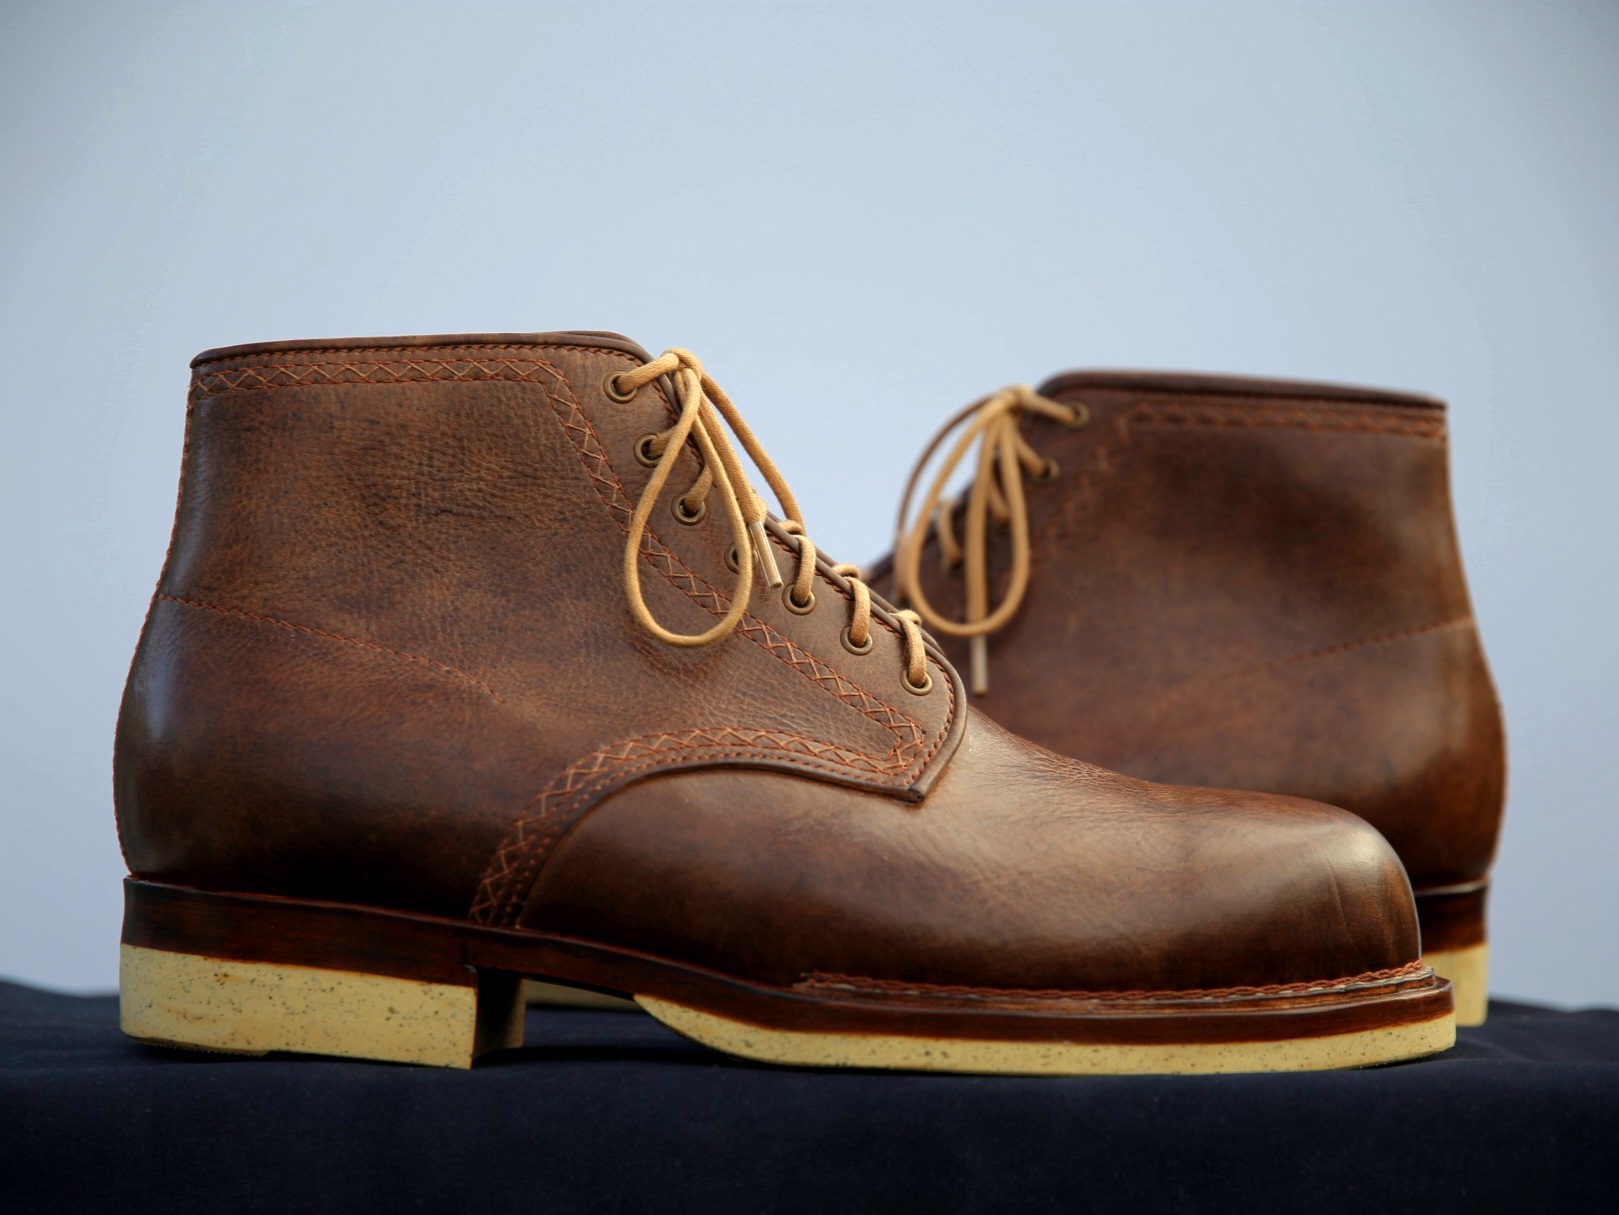
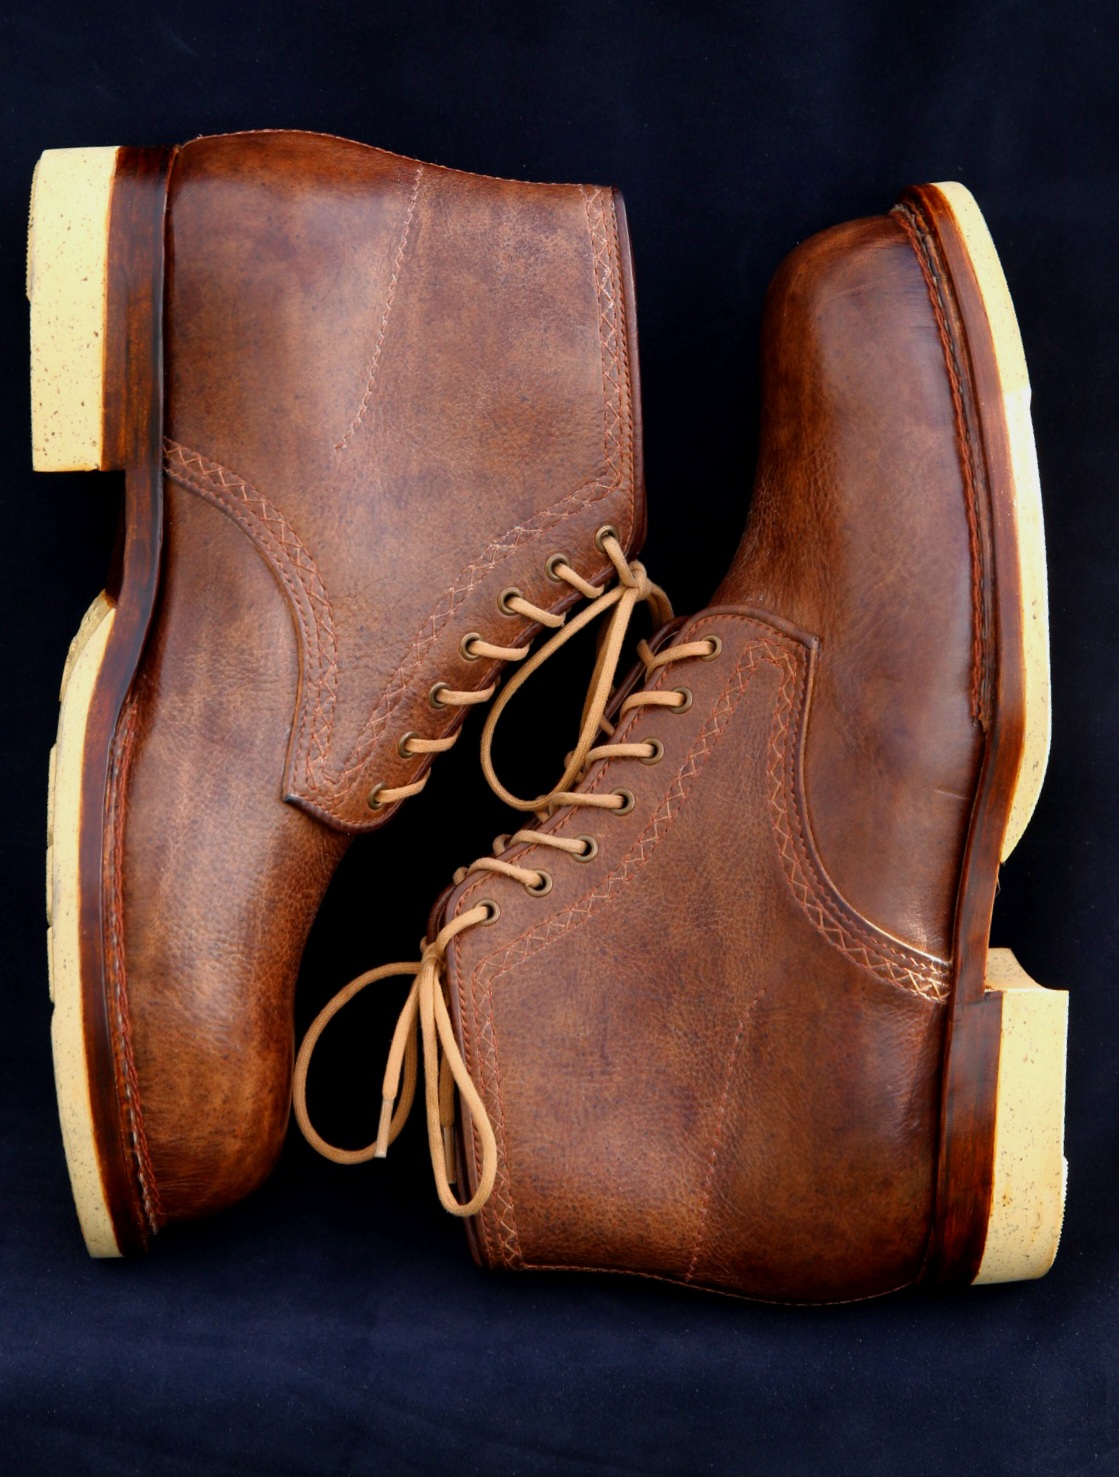
It’s definitely looking good as it is coming together. Still lots lf work to do on the sole, but the first two stitch rows through the upper are working well.
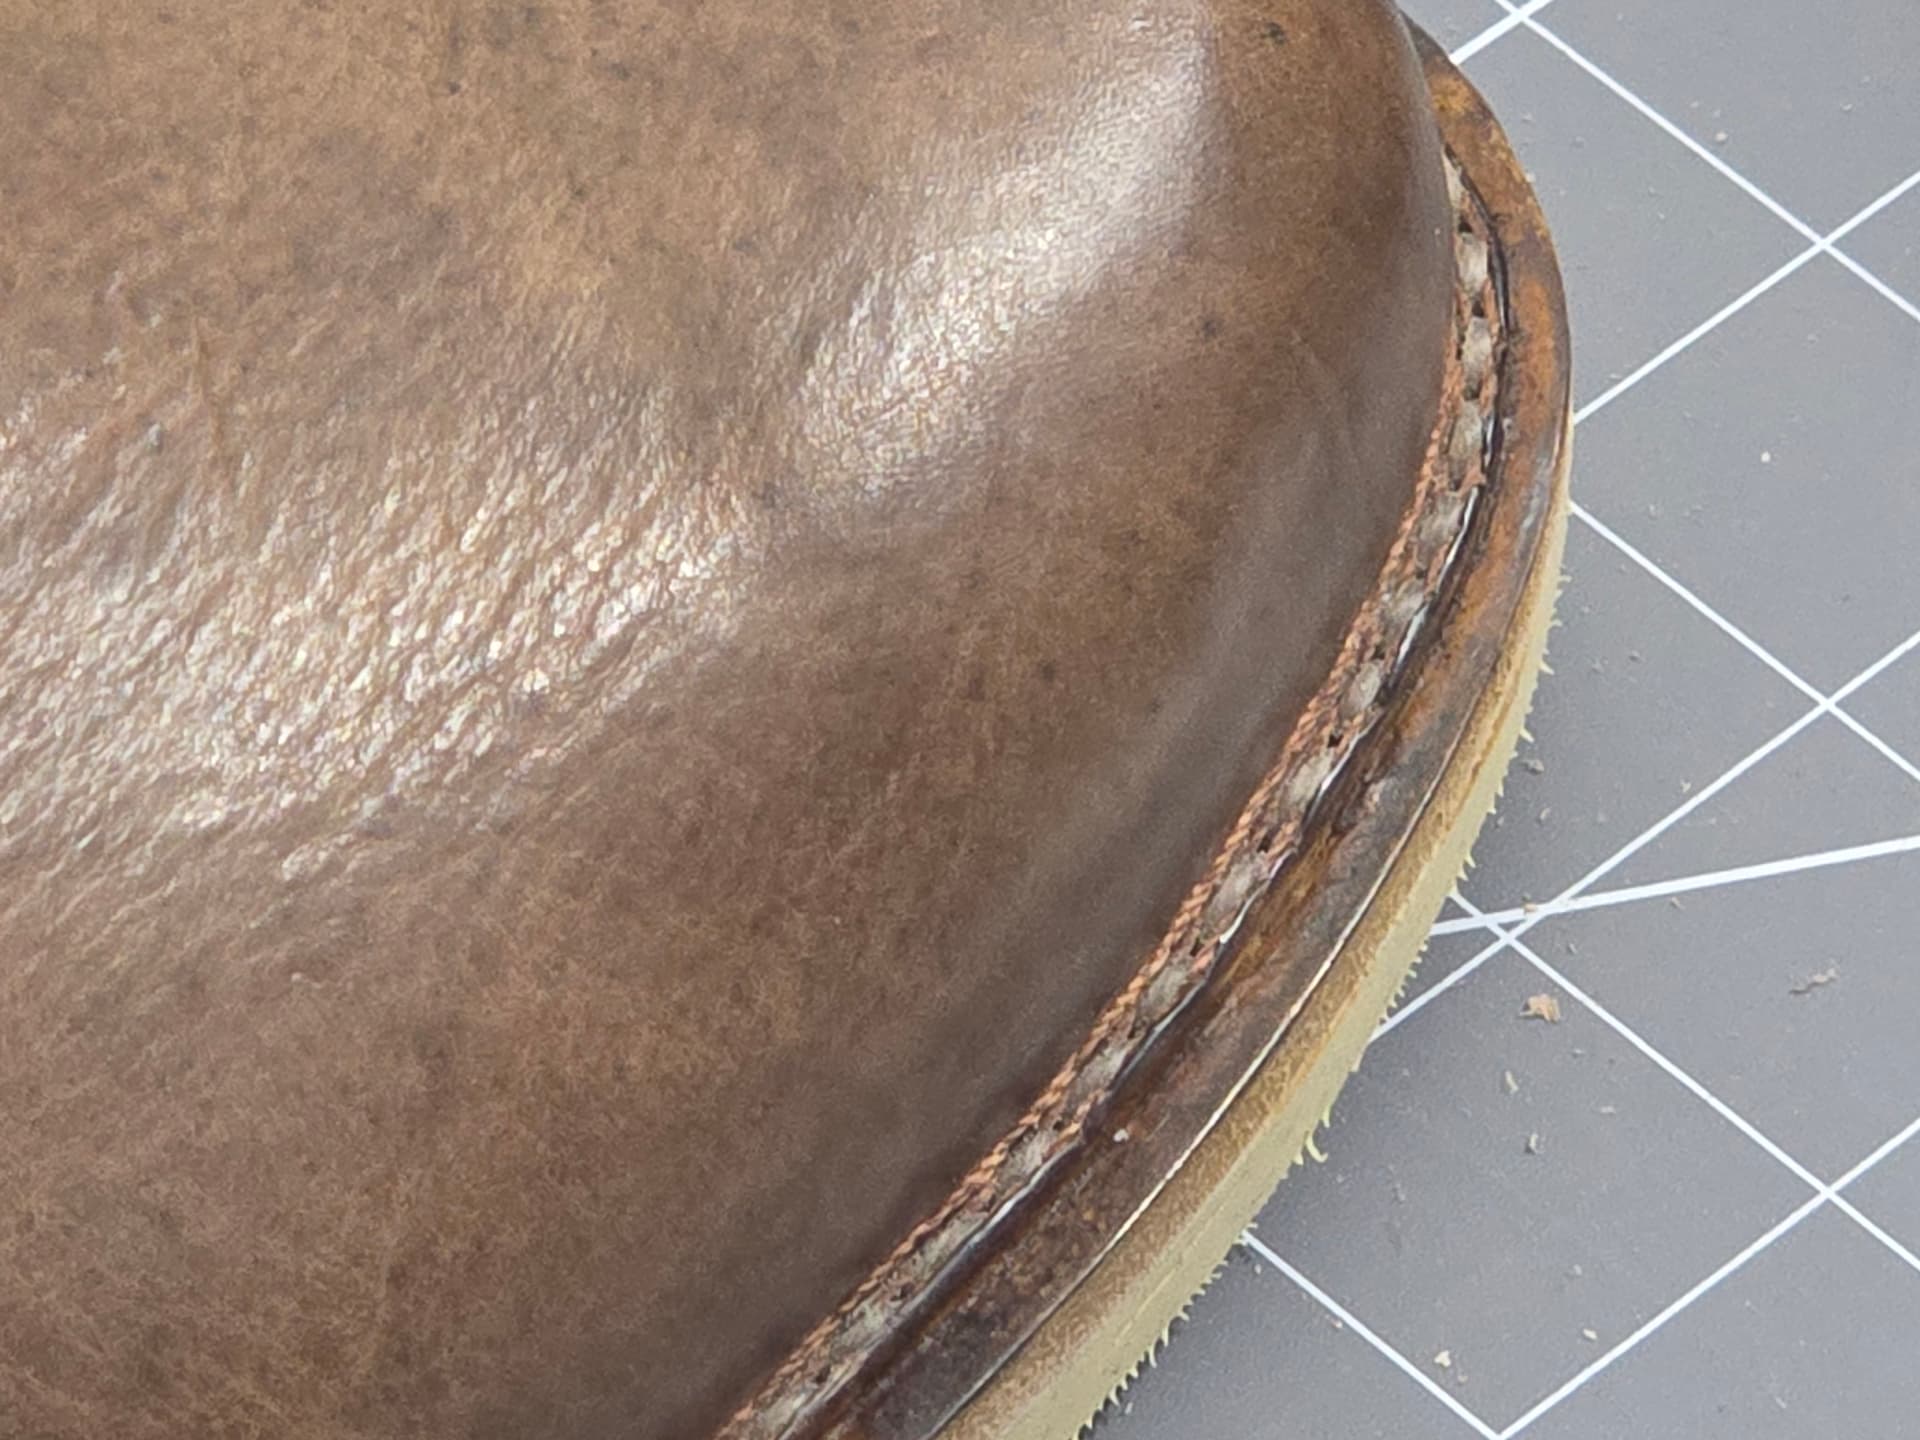
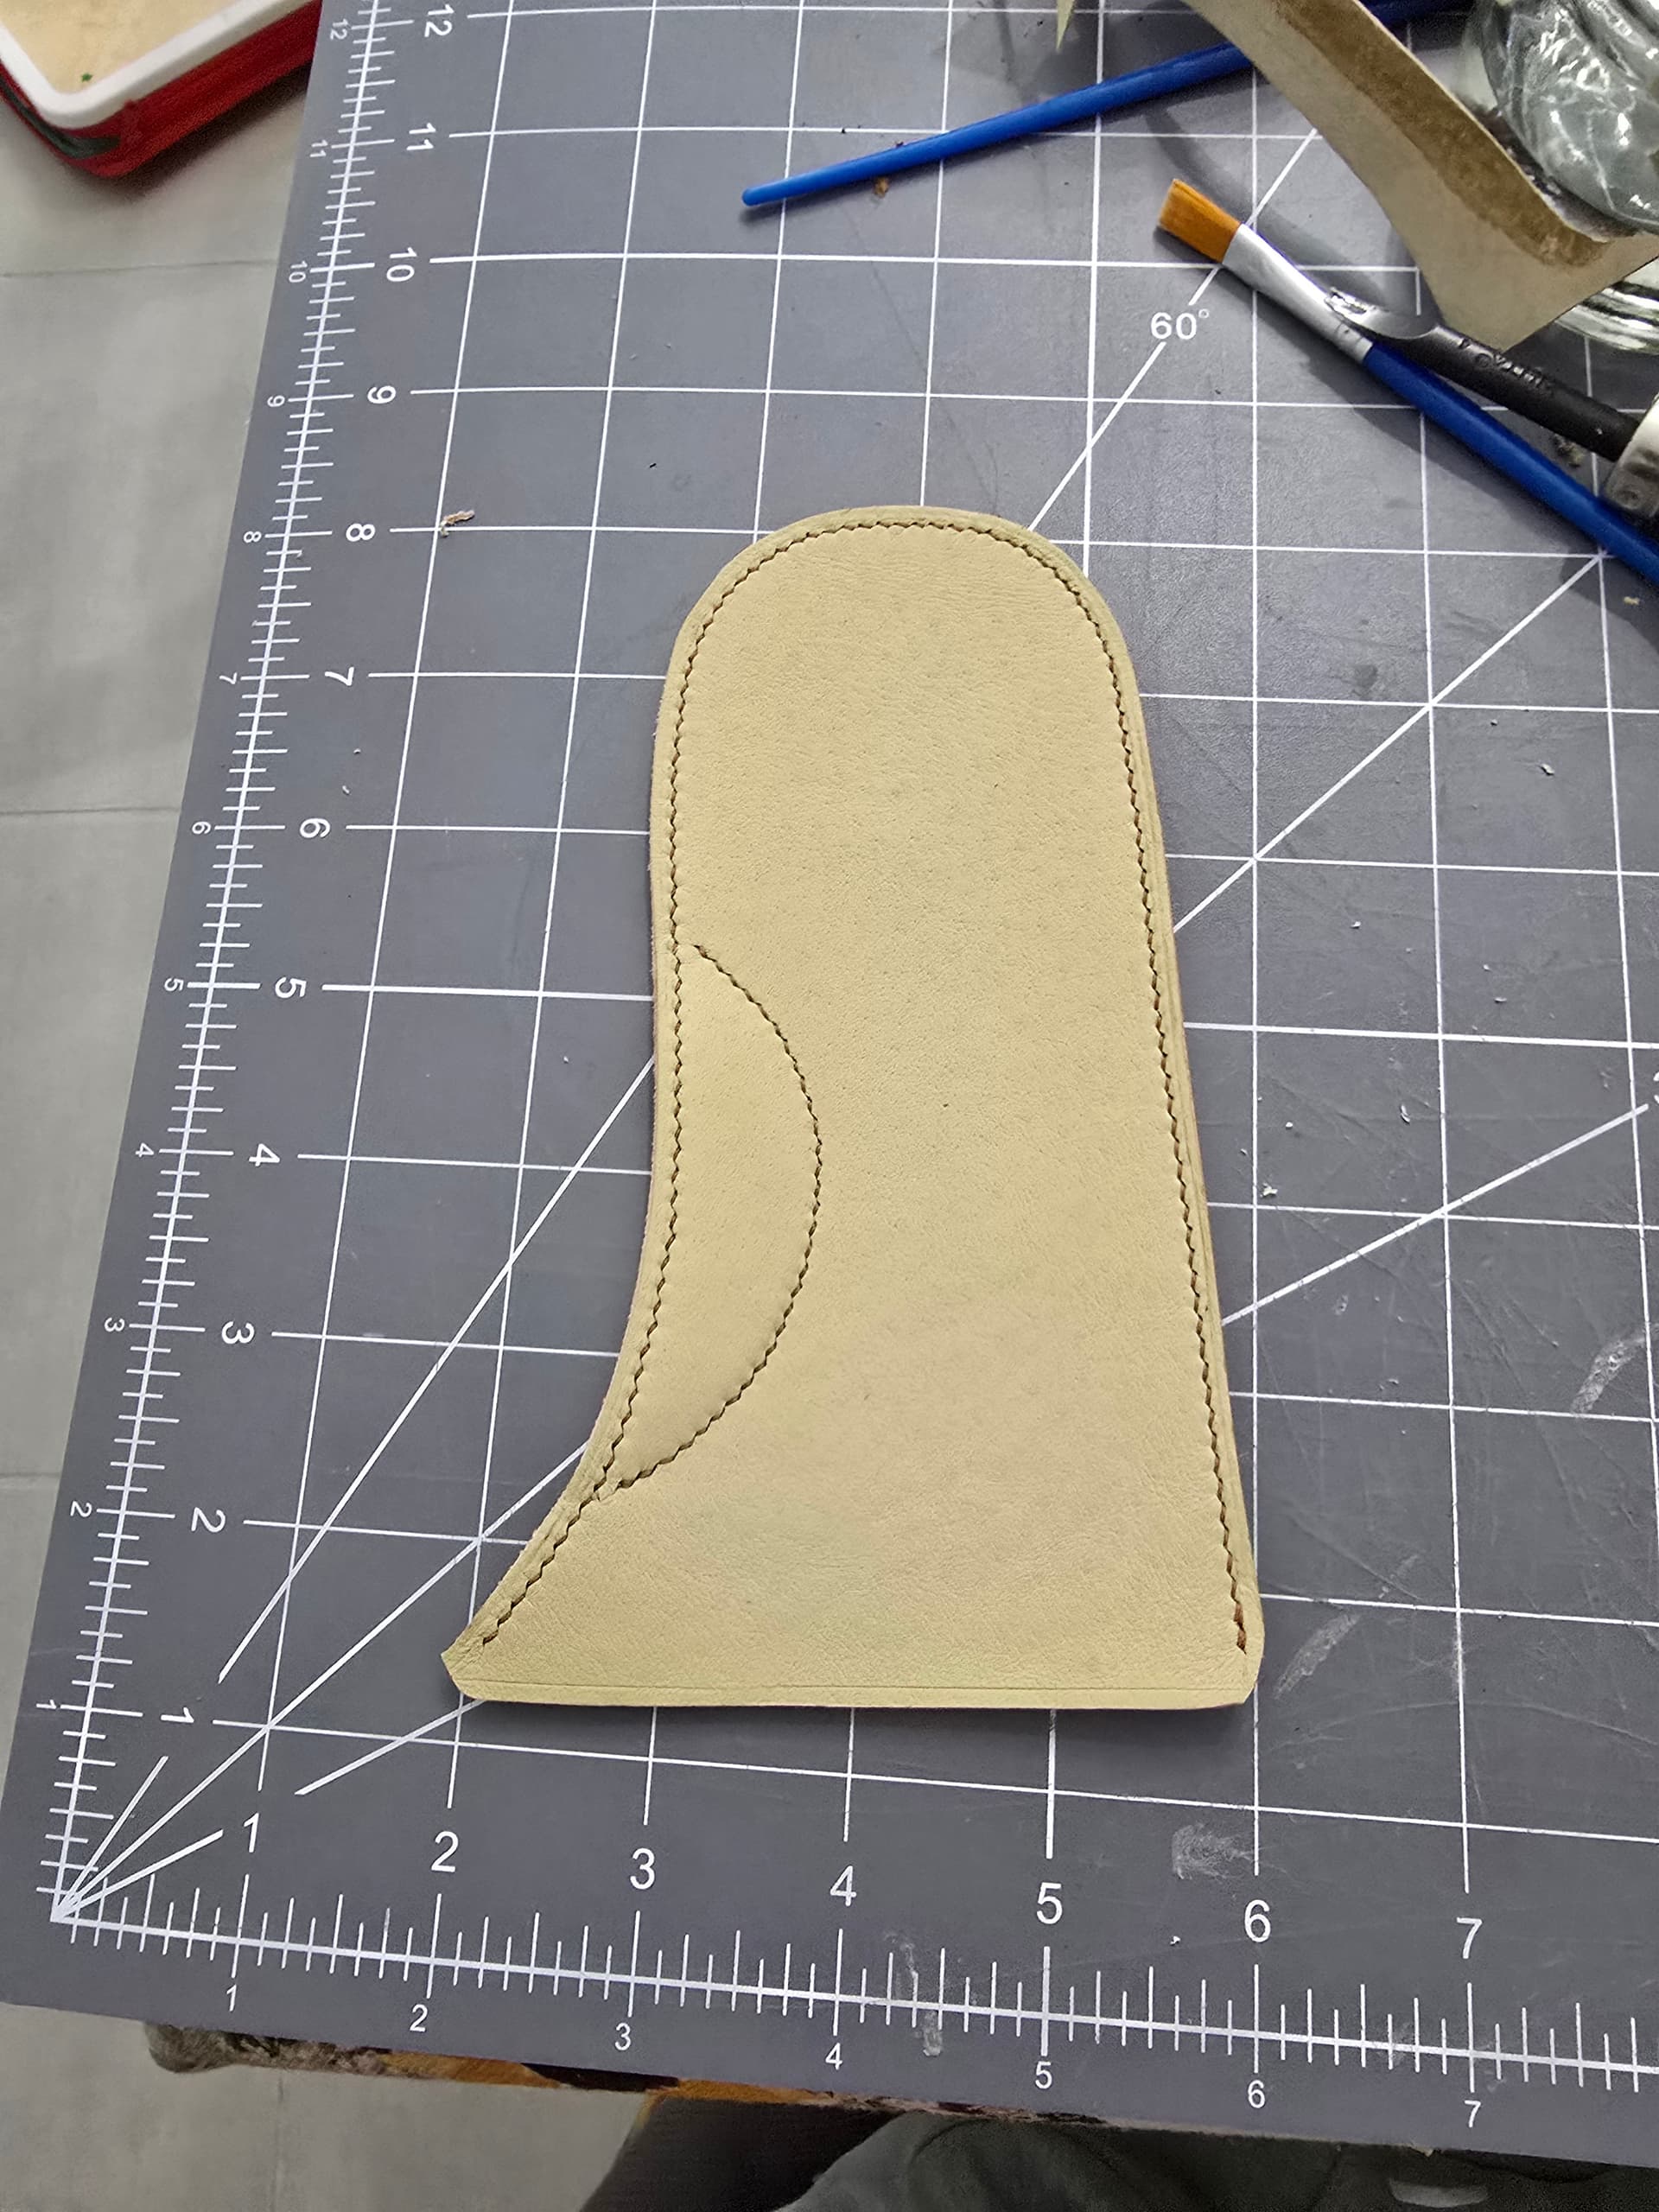
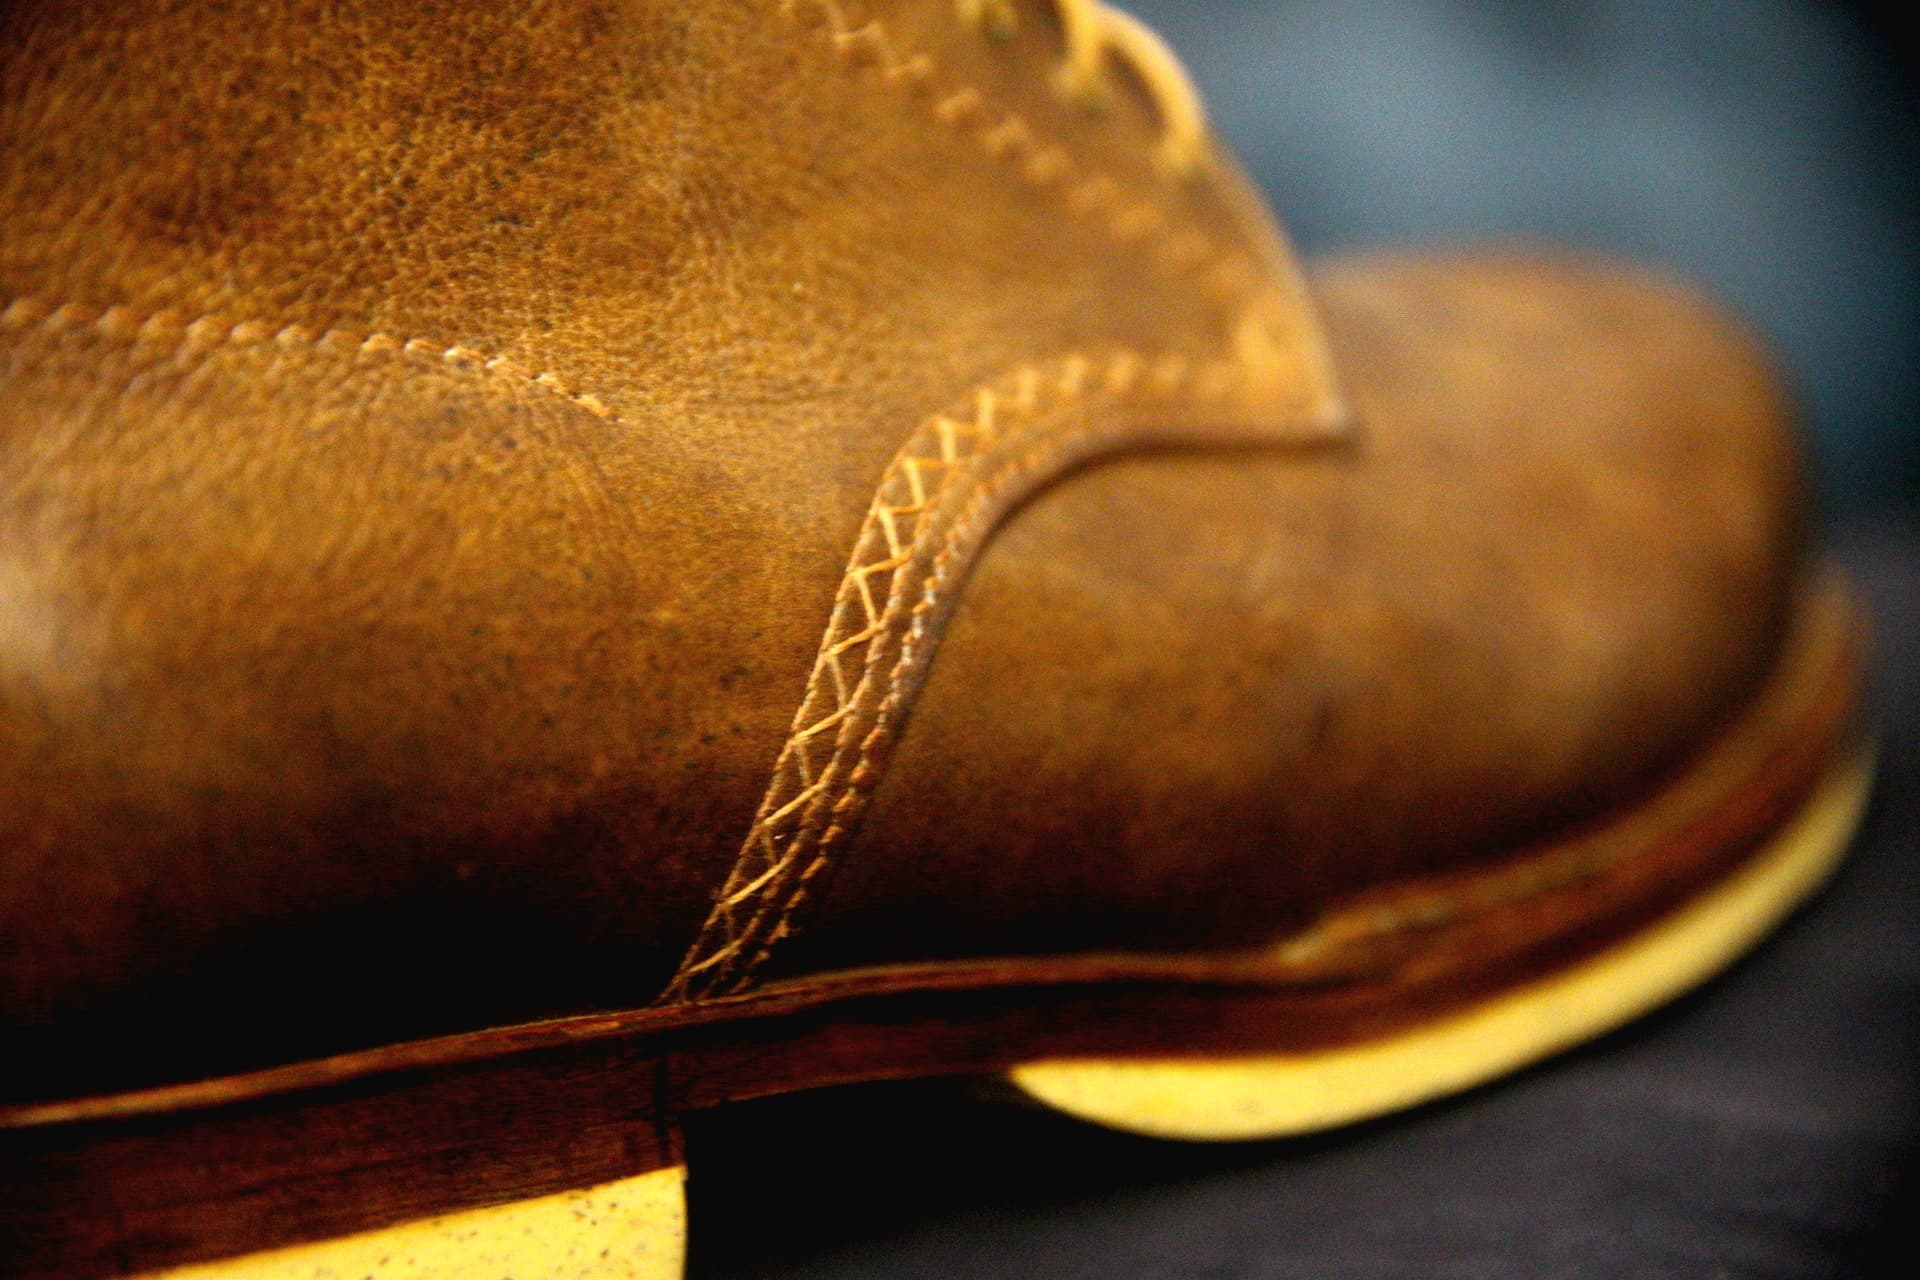
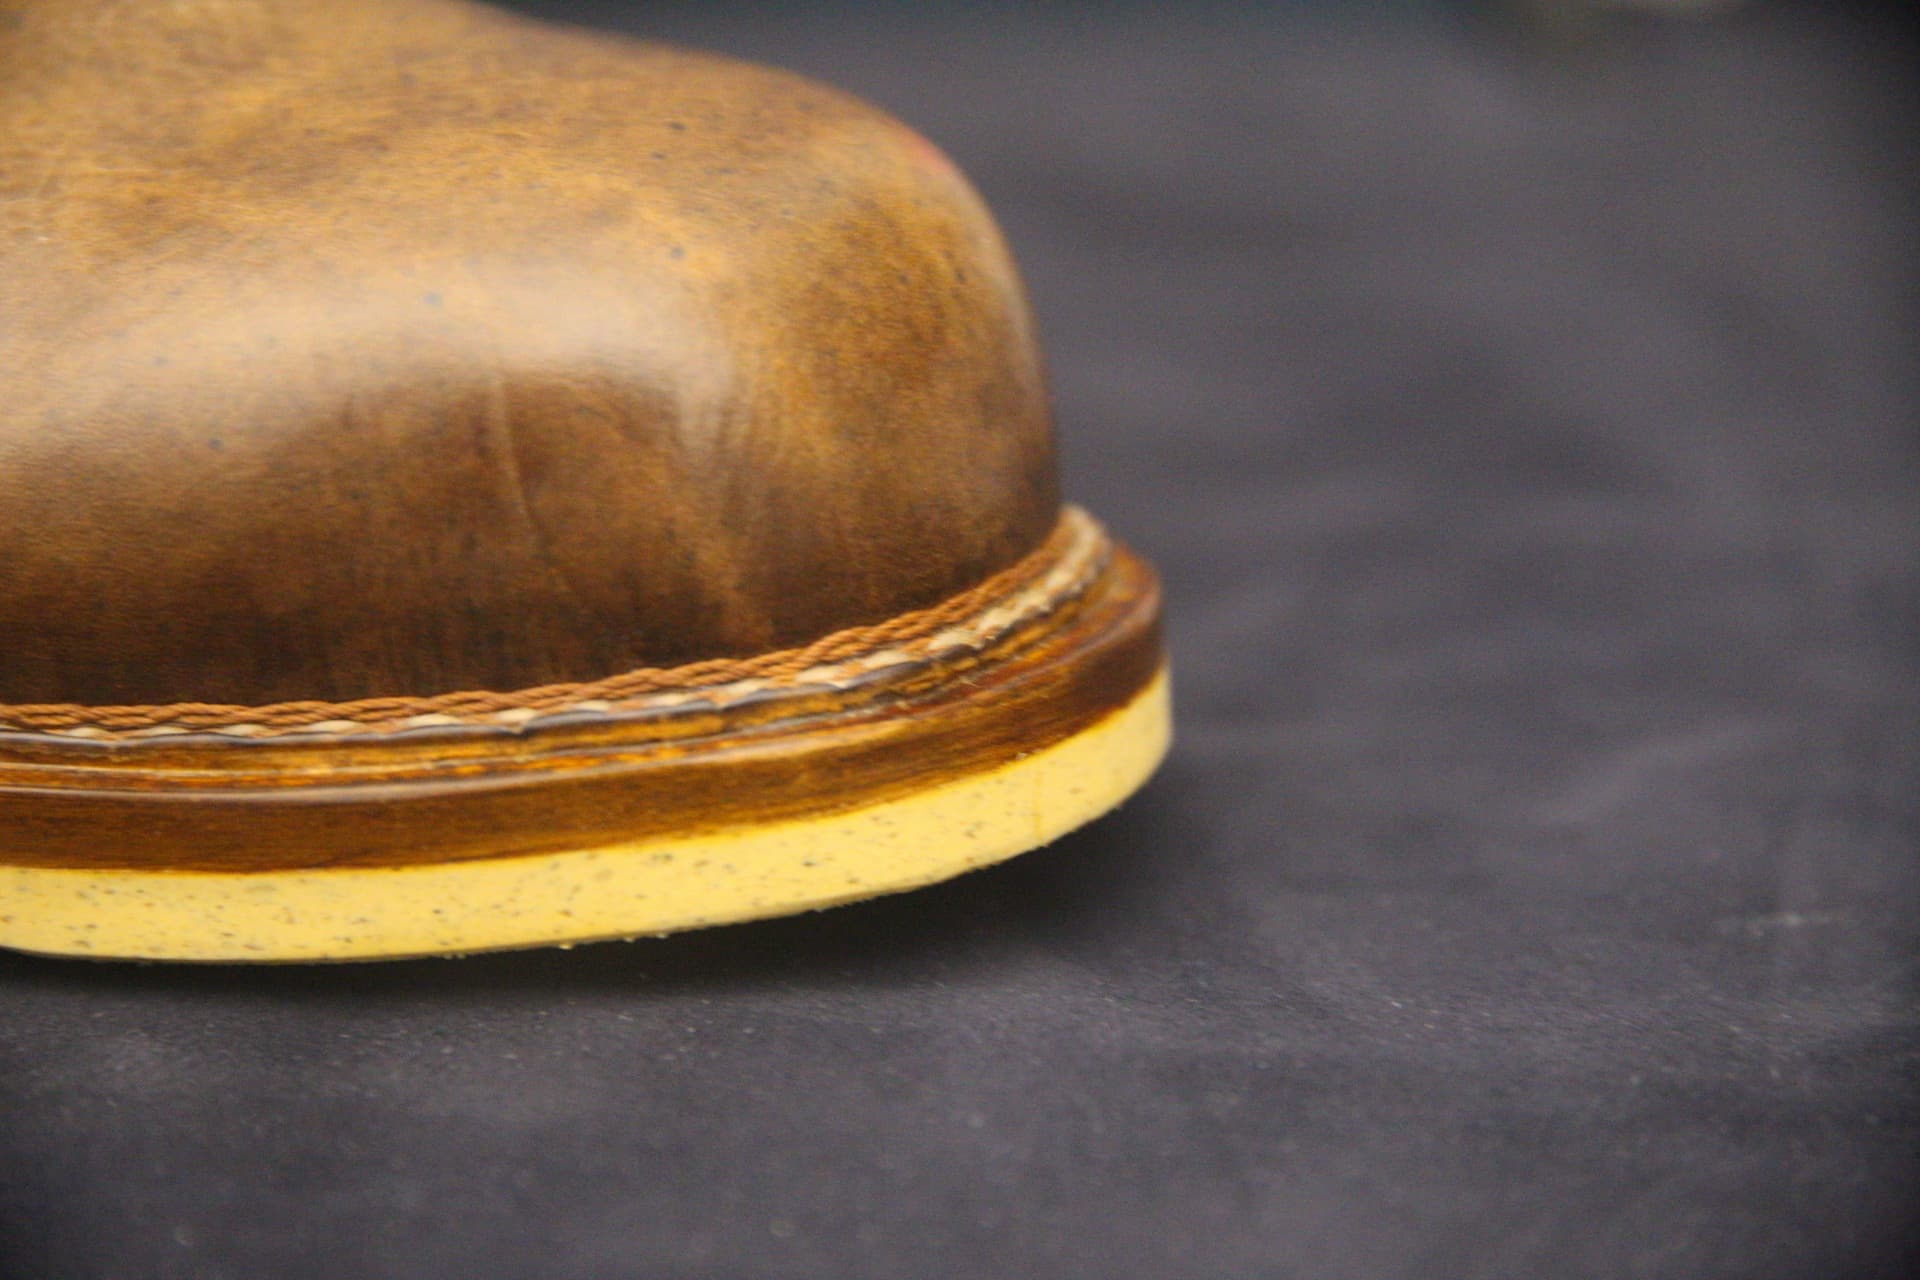
In retrospect, rather than using the sole bend as the midsole, resulting in the flesh side being exposed (what I am currently working on make look better), i should have used two thinner layers and attached flesh side fo flesh side so I had the visible grain side on the upper and lower surface.
It is a bit scraggily. Sanding then burnishing then sanding then burnishing is helping. I am sure I will be able to make something work out ok, it’s just nit ideal
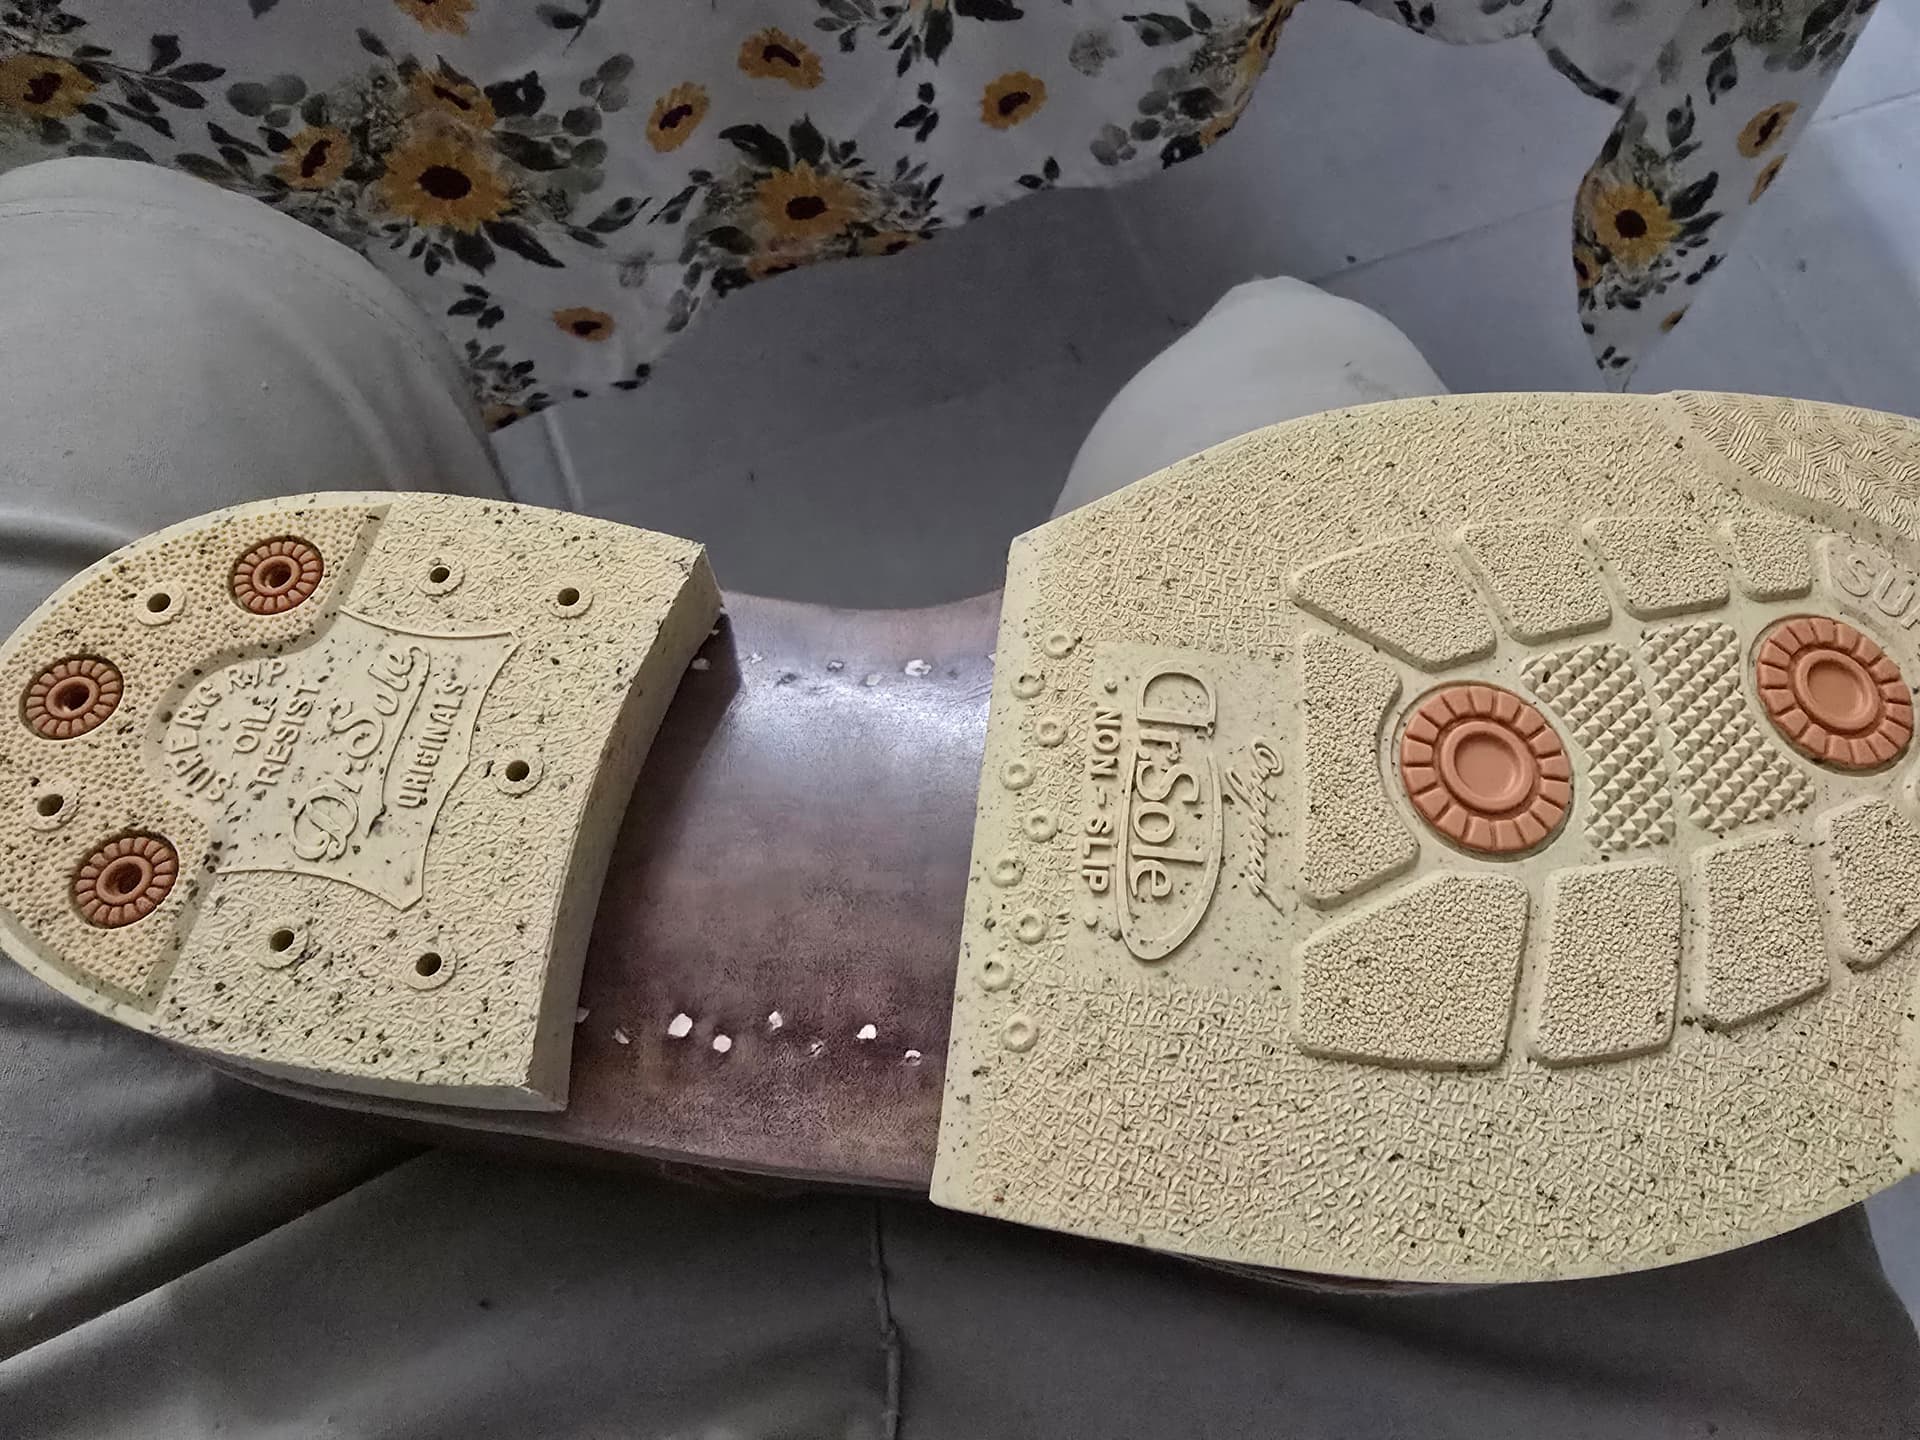
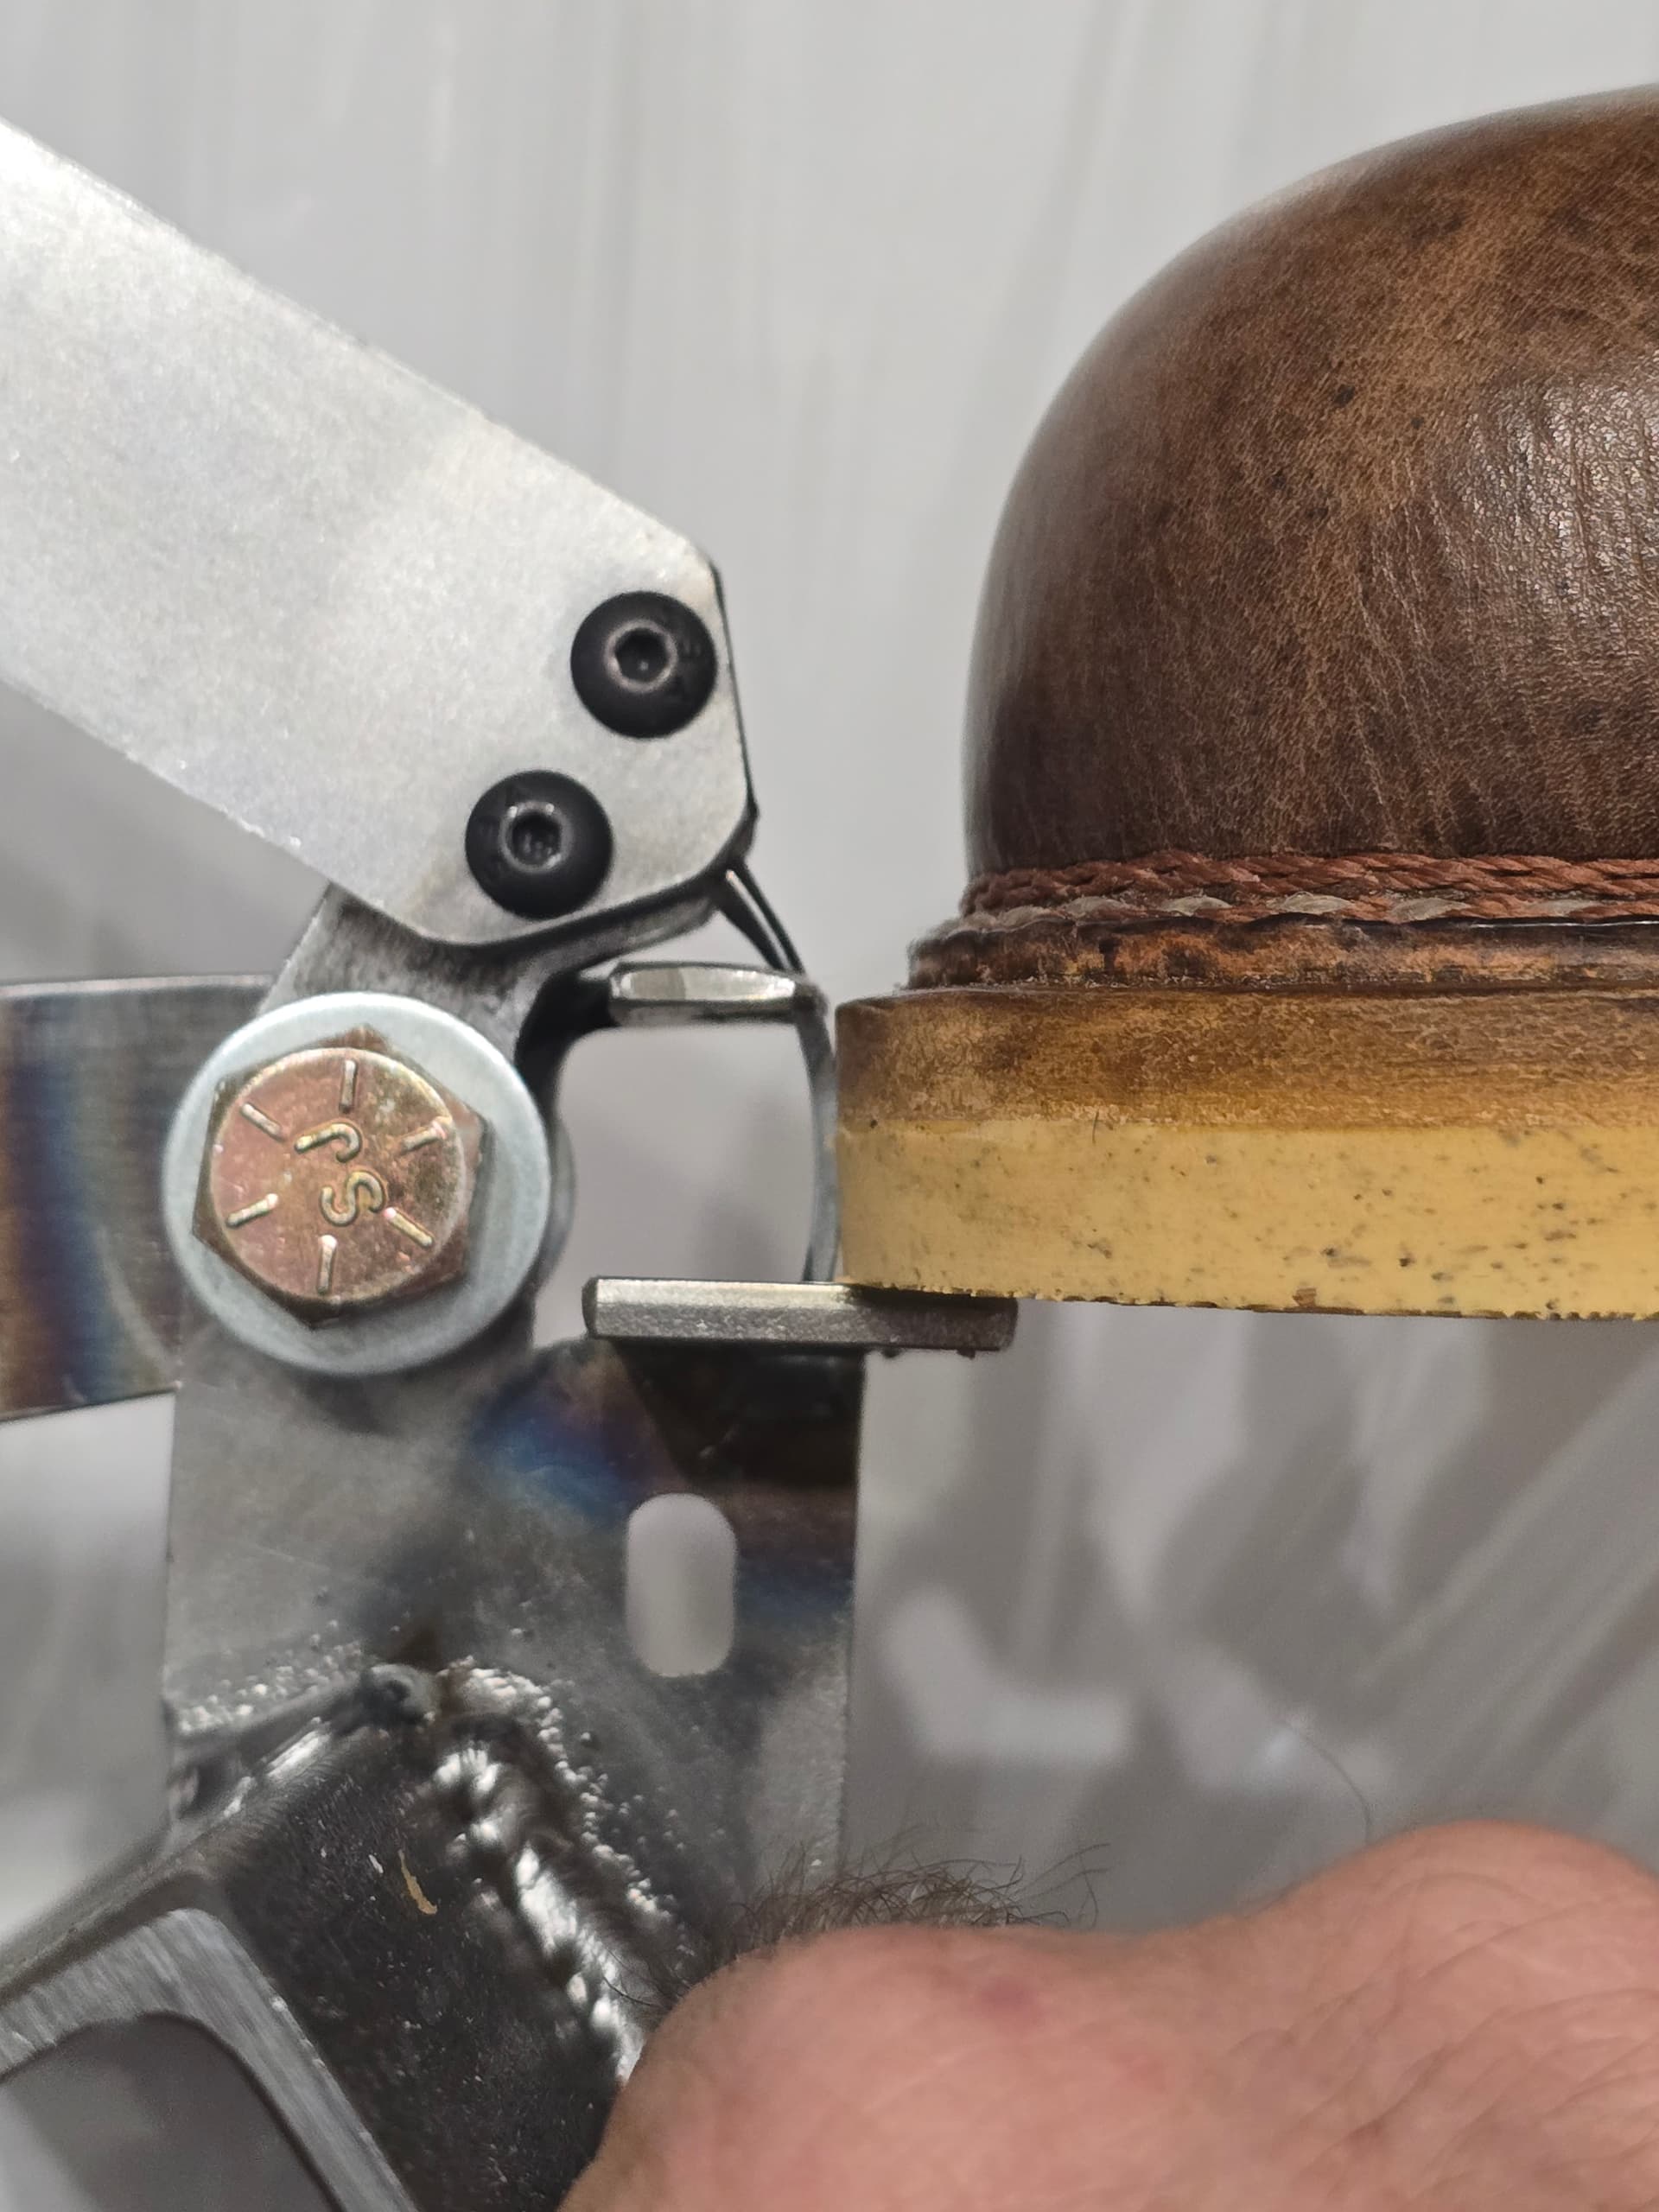
I went back and forth on what to do foe the outsole stitching. When I trimmed the soles, i got a little over zealous and ended up shorter than I would have liked. When i started laying things out to punch the holes, I got concerned I might blow out the side of the midsole.
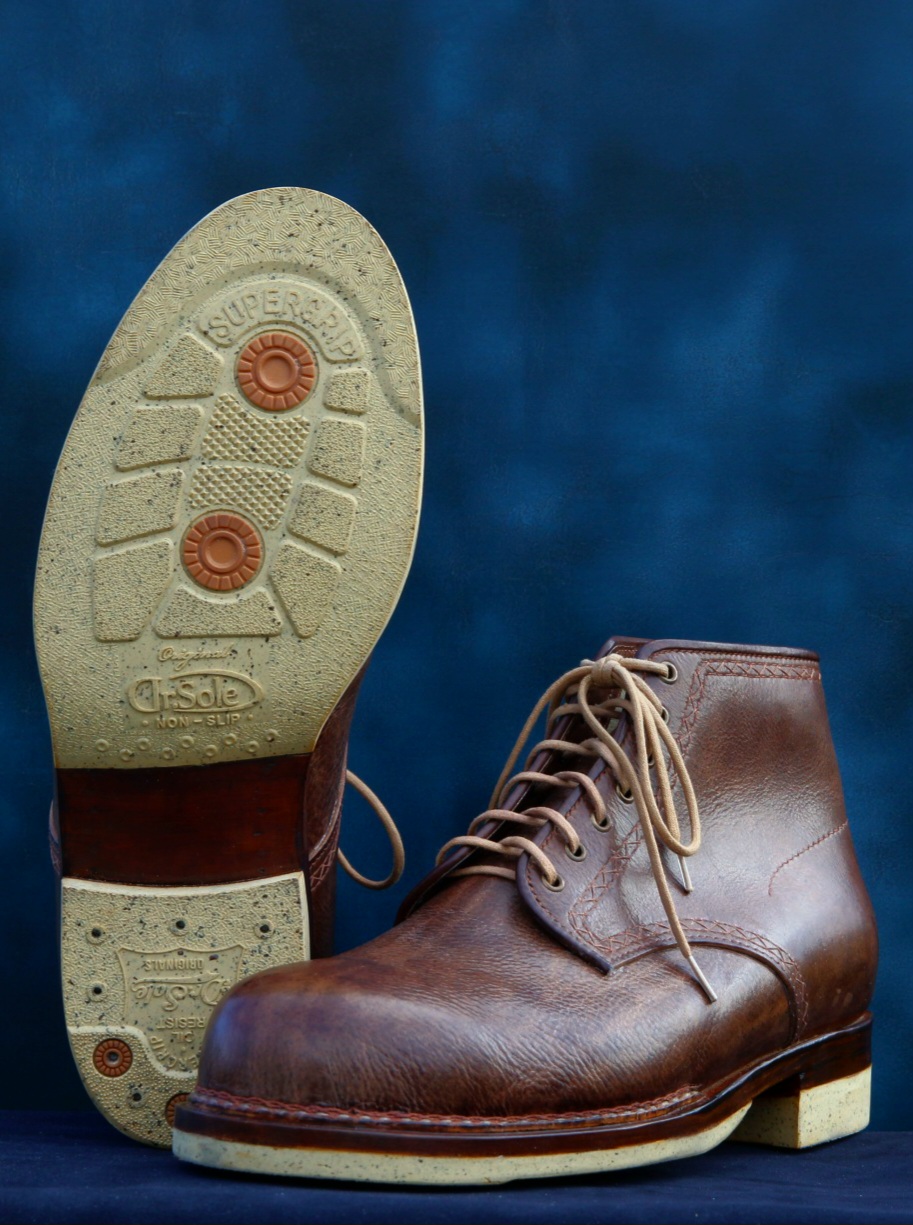
Was planning in risking it until lining things up on this tool and found because of how thick my midsole and the othersole are, I was going to be into the fatter section of the needle at the entry hole. Wasnt worrh the risk so I am going with just cementing on the half sole.
I think I may have overheated things while sanding. Gotta keep the speeds lower.
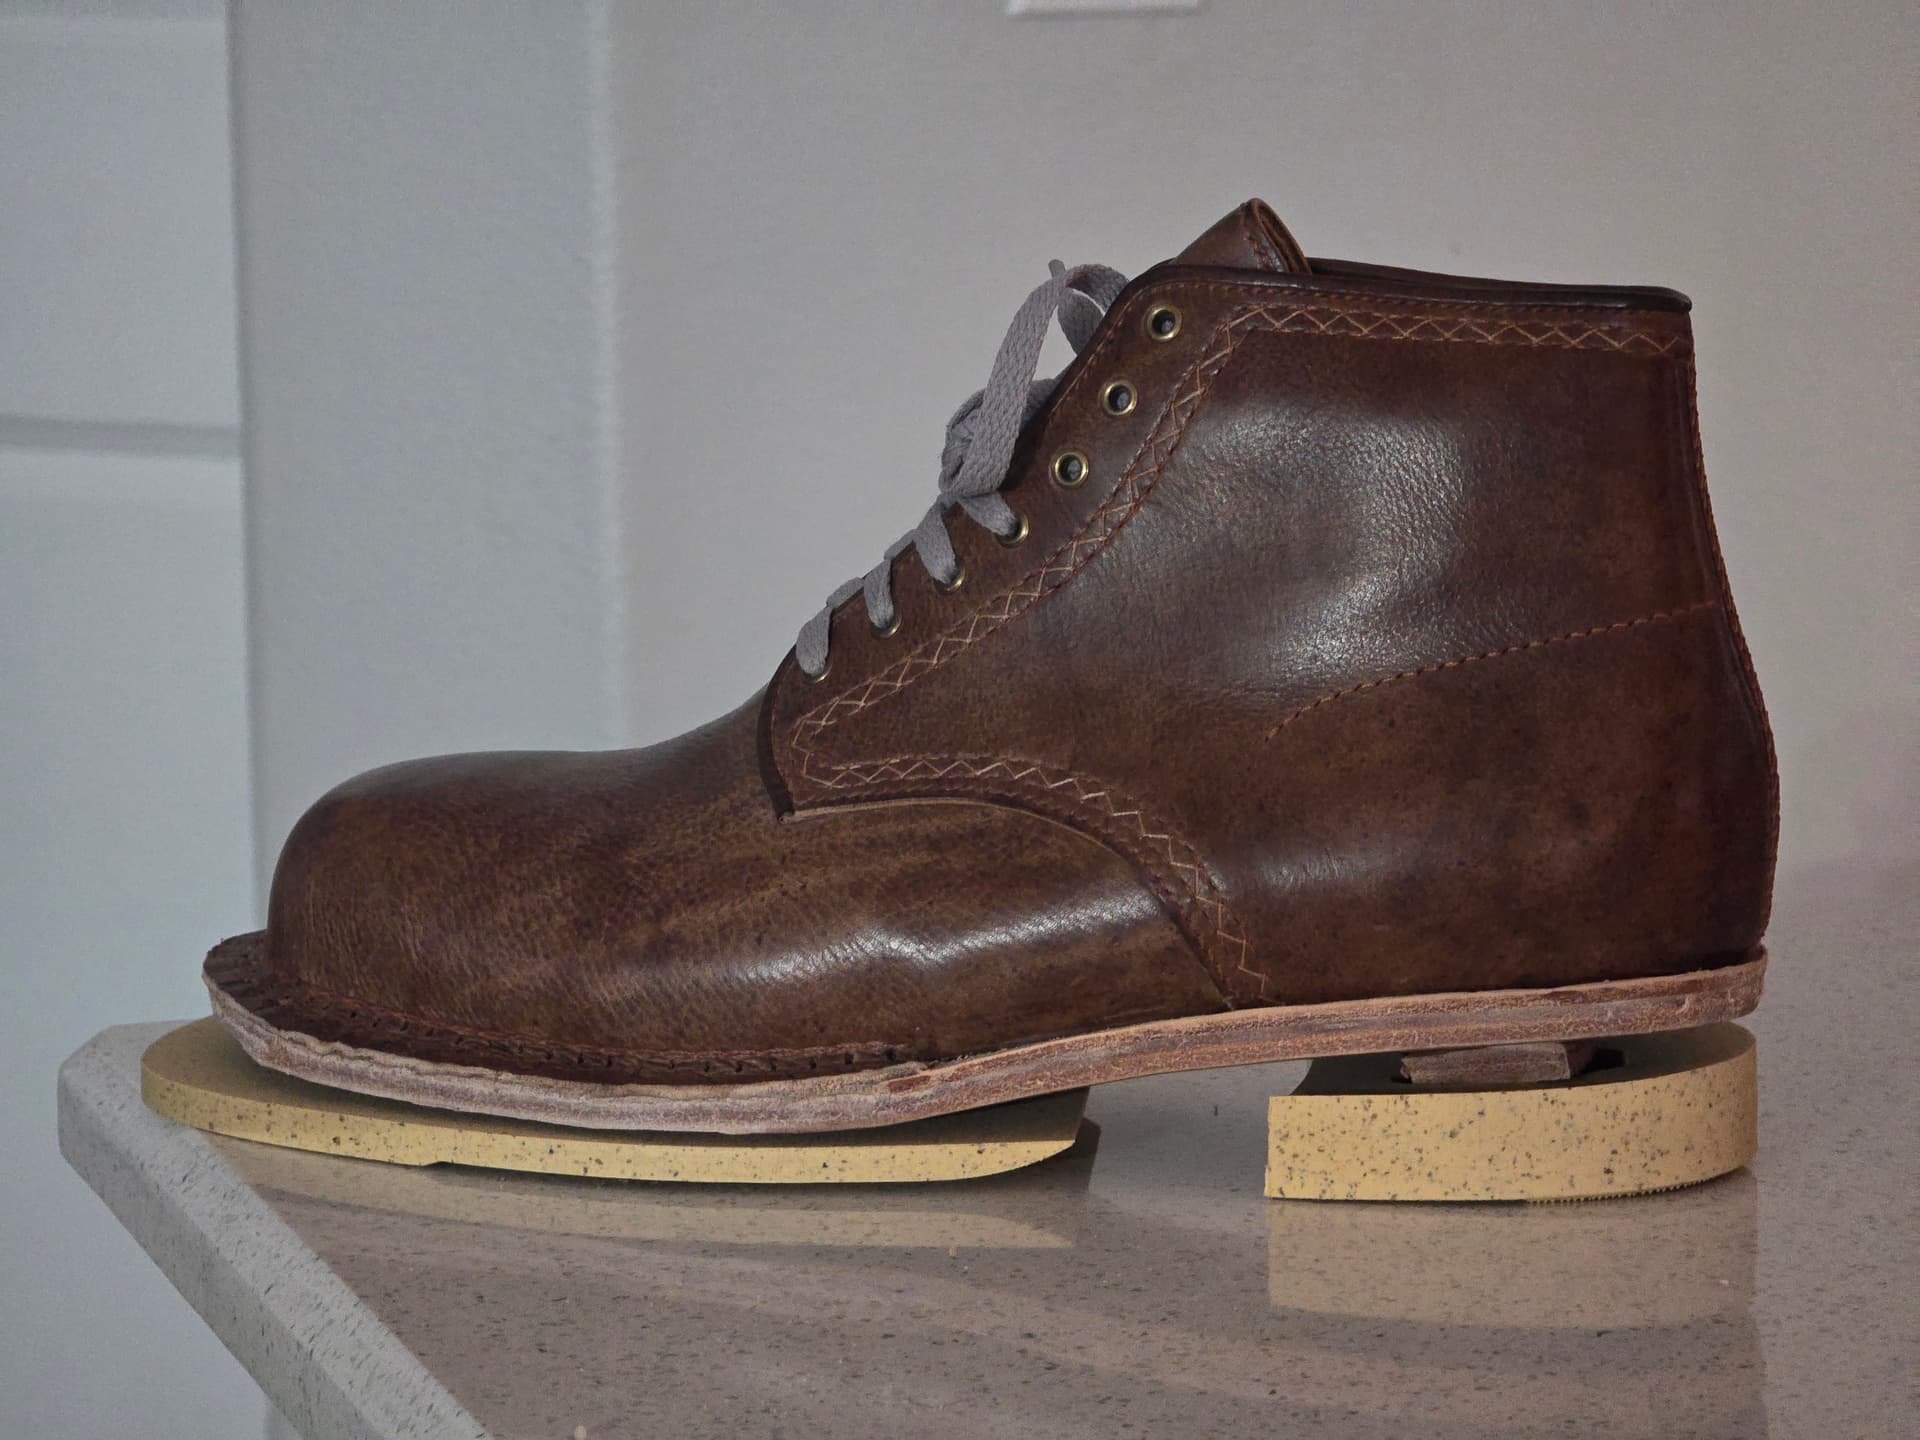
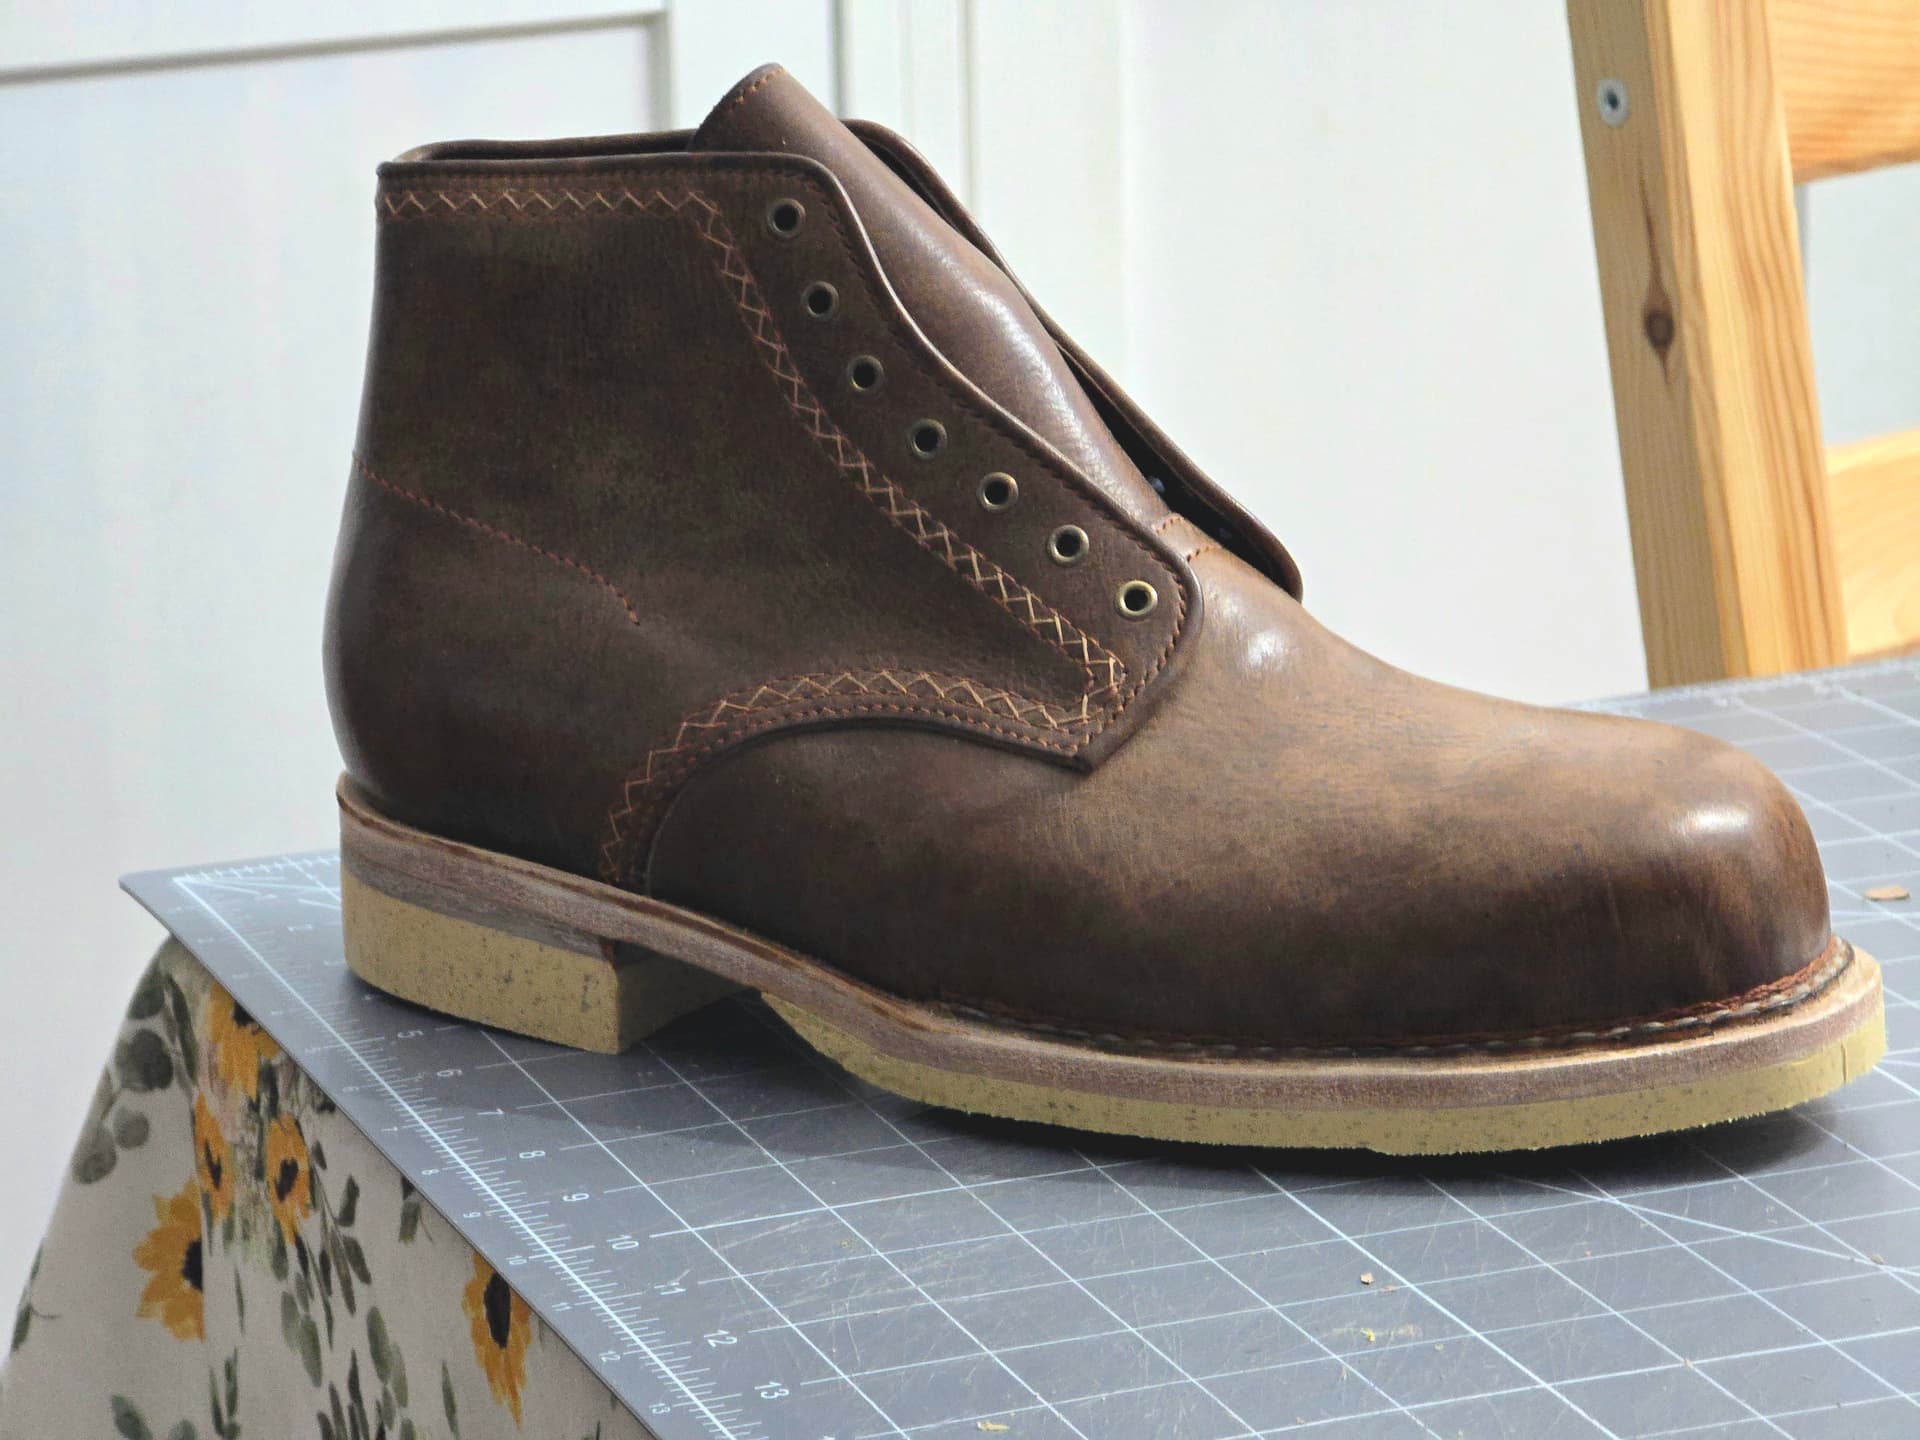
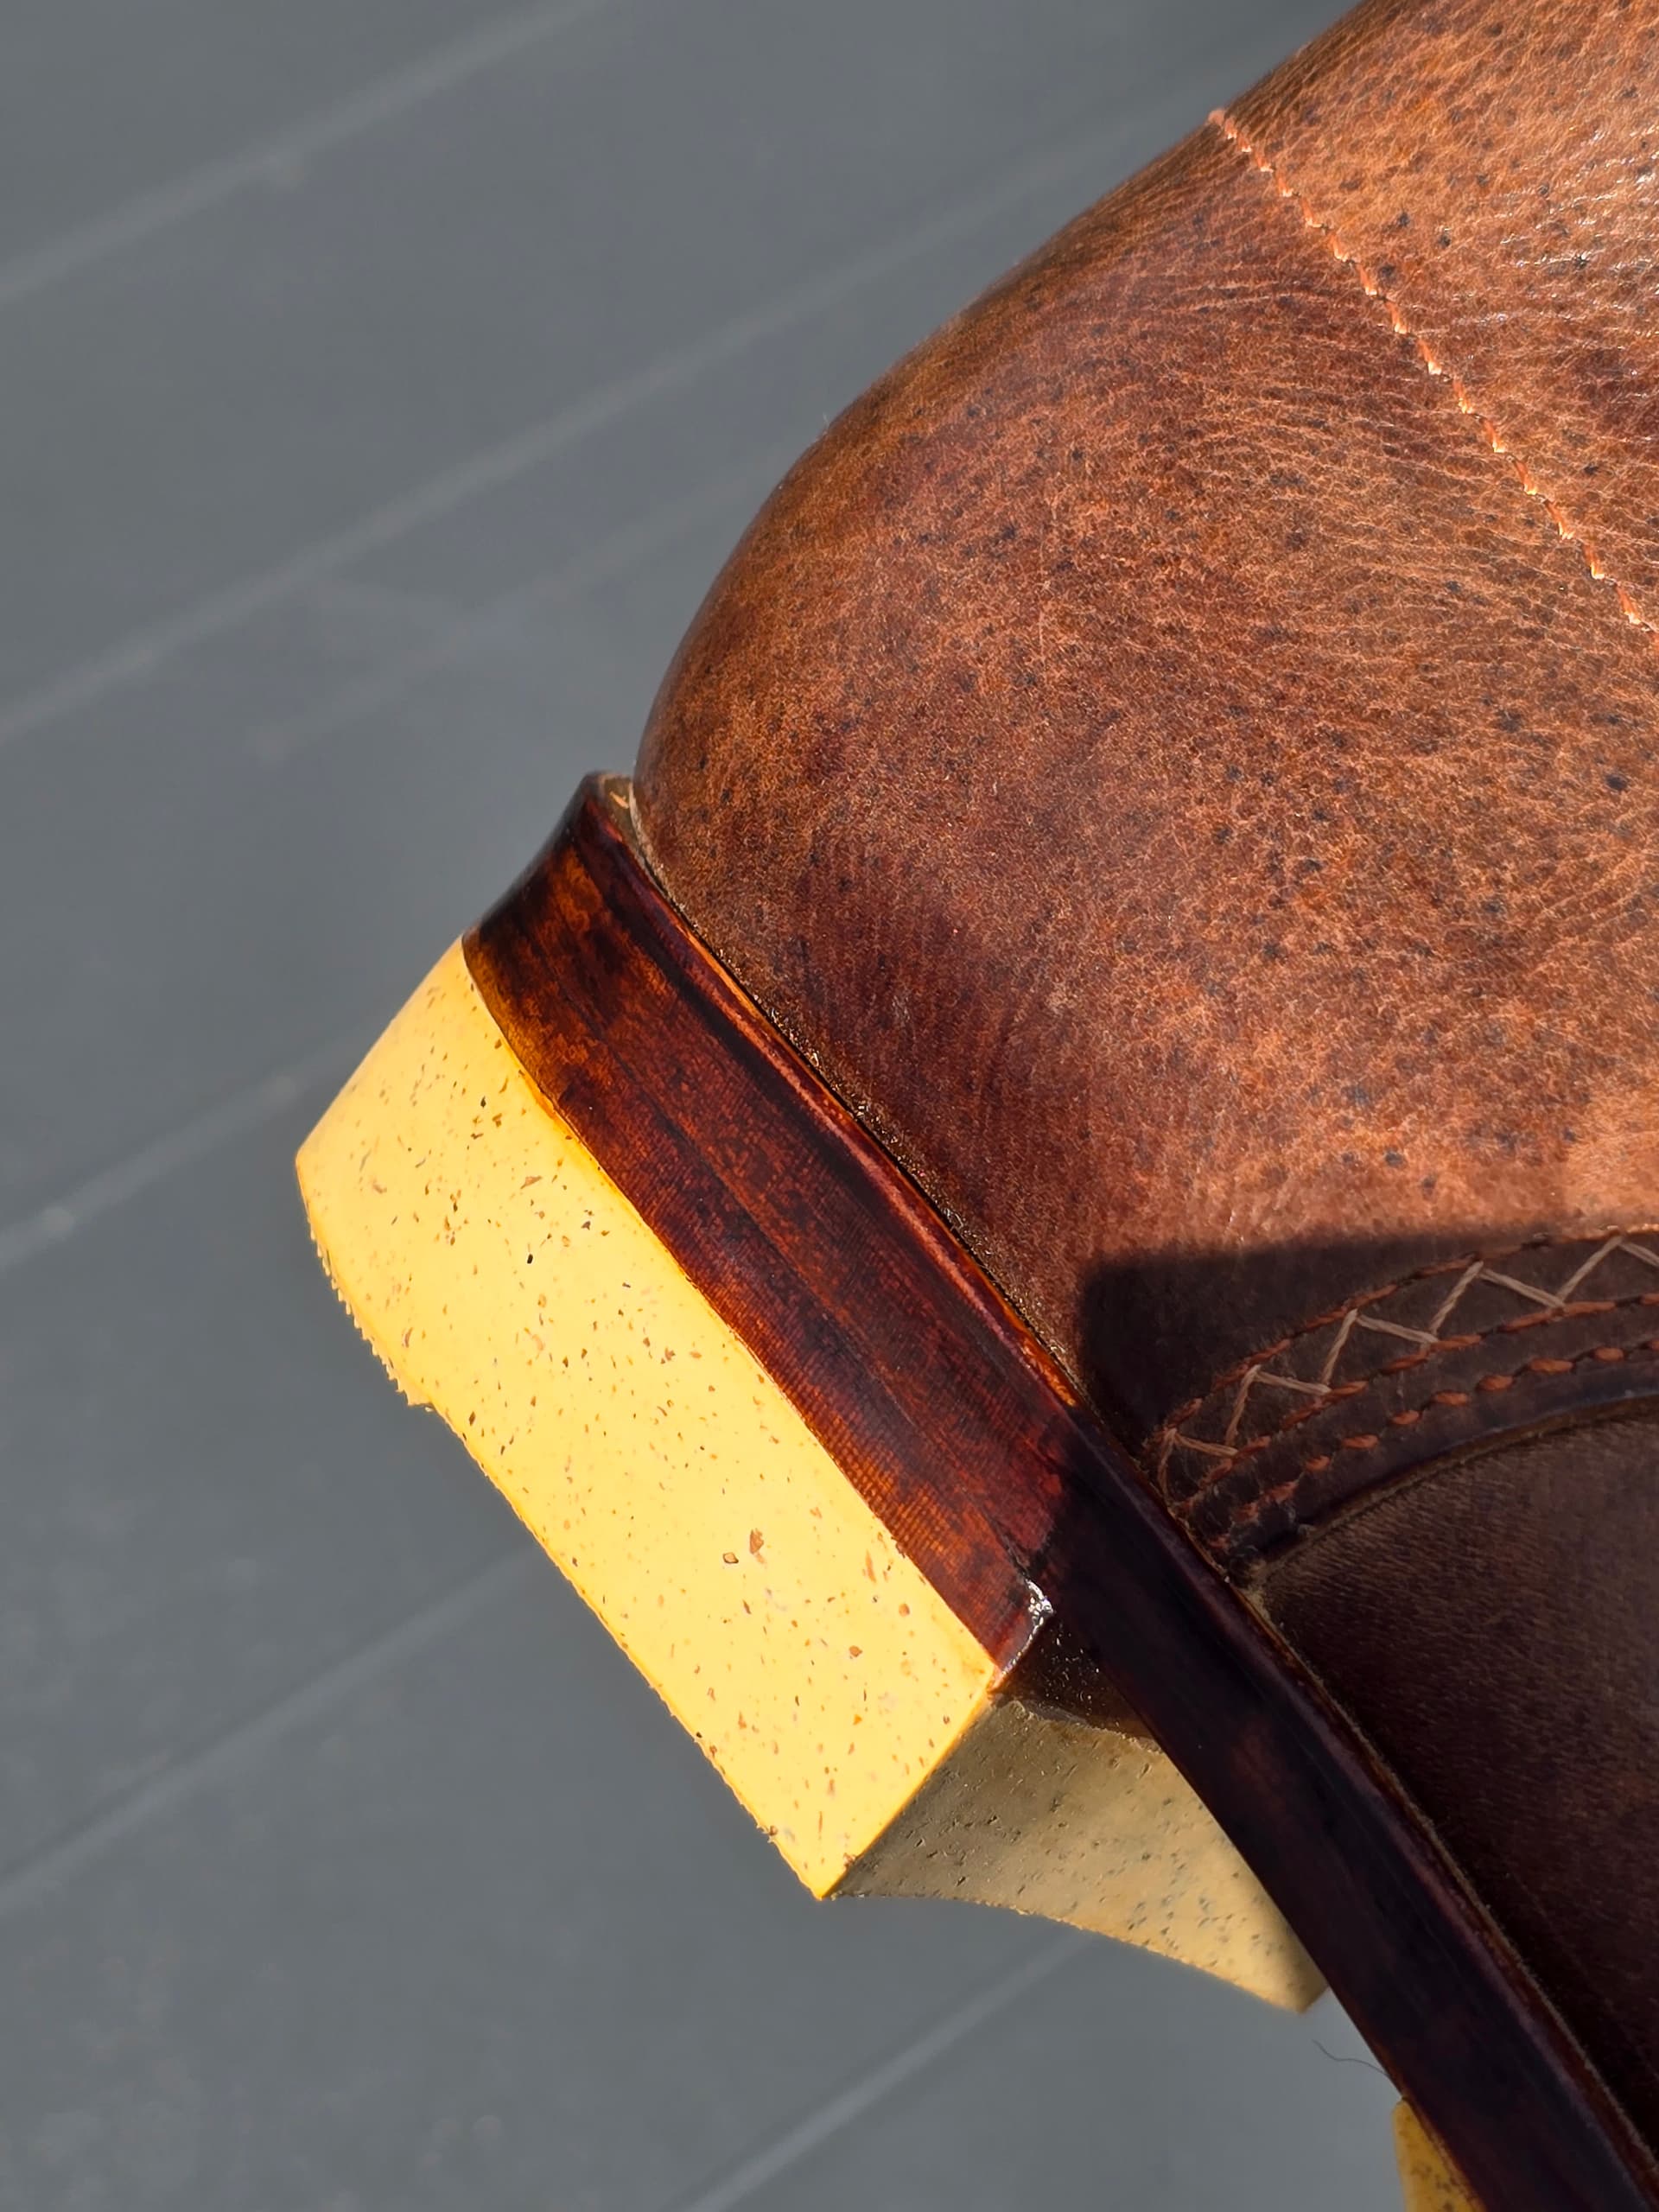
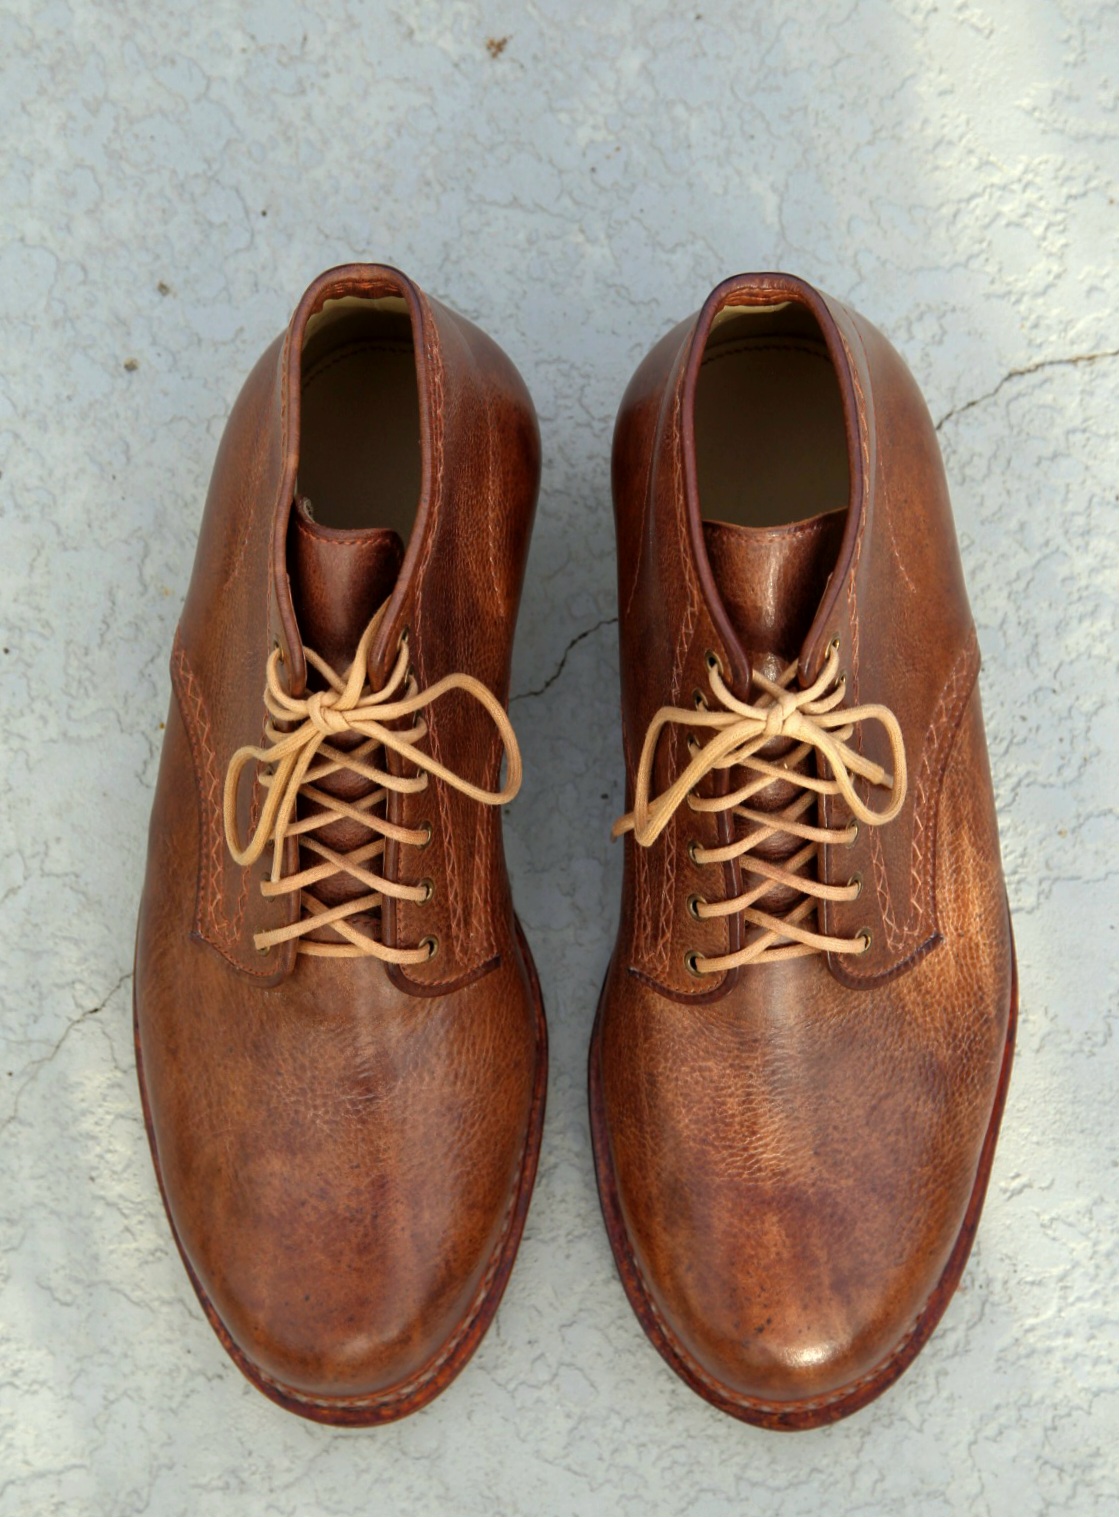
Ended up going back and sanding a lot slower, then dying at full strength then doing a single swipe of the sand paper to give a more deliberate brushed pattern. Worked ok. Better than it was looking otherwise.
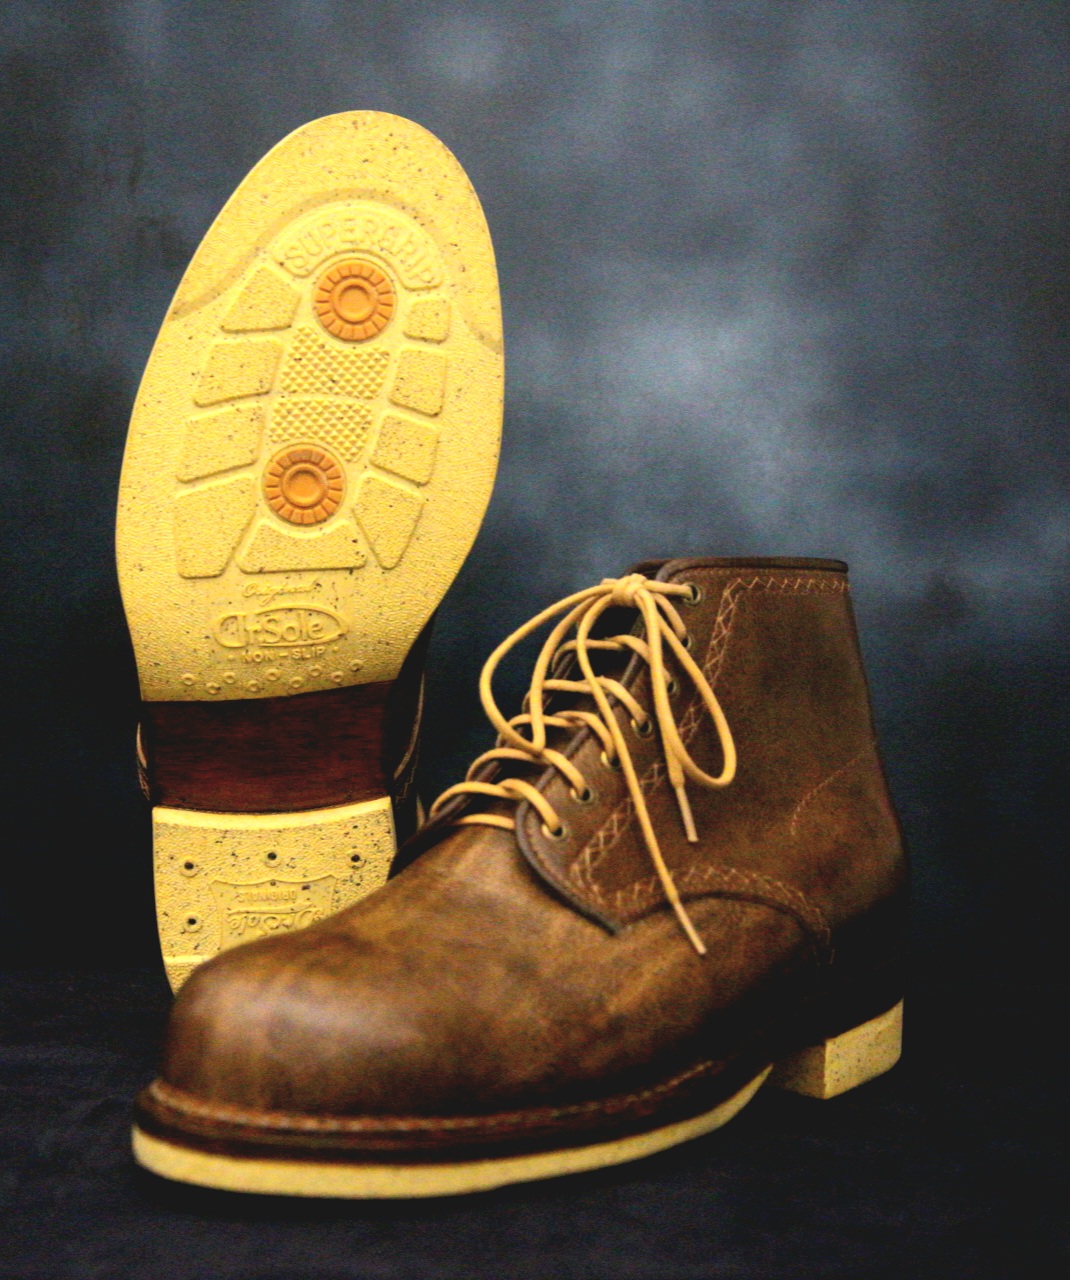
Ended up sanding burnishing sanding burnishing up to about 800 grit and applying a couple layers of beeswax mixed with a little neetsfoot oil (heated, mixed, and allowed to cool into a chapstik like consistency).
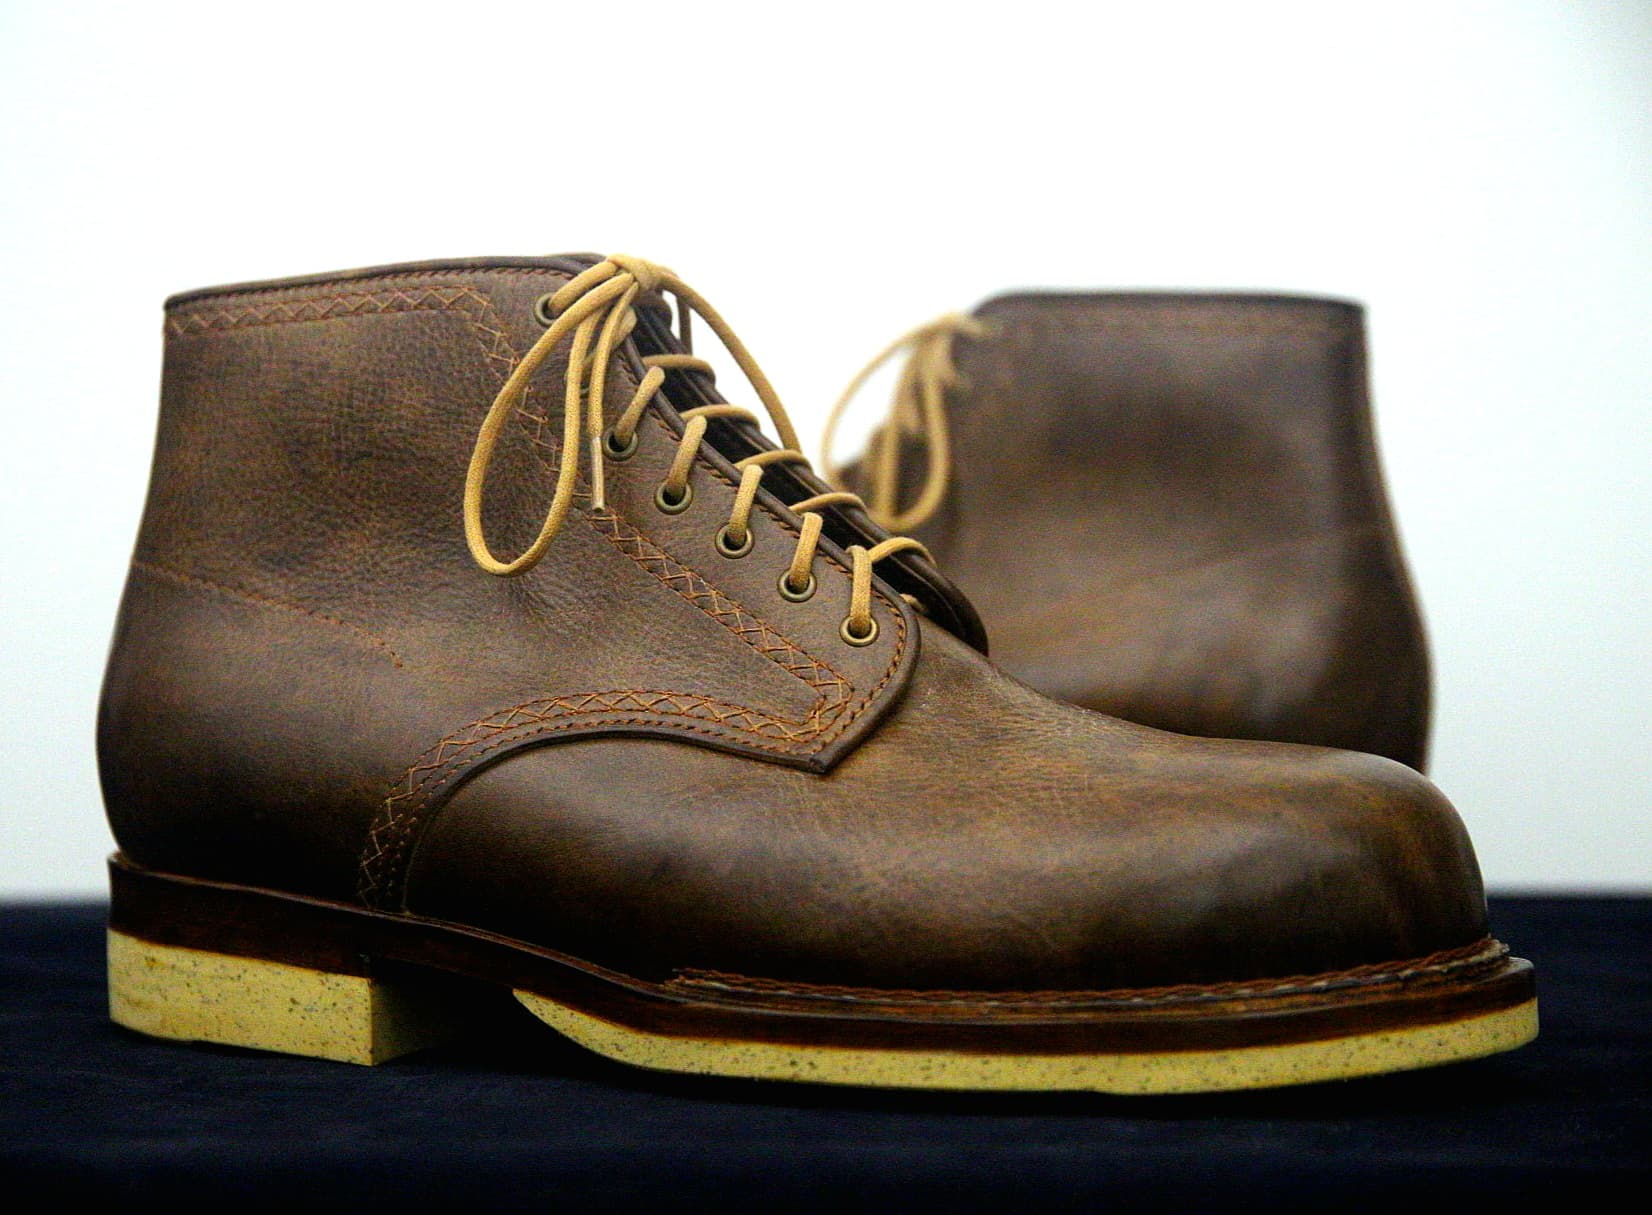
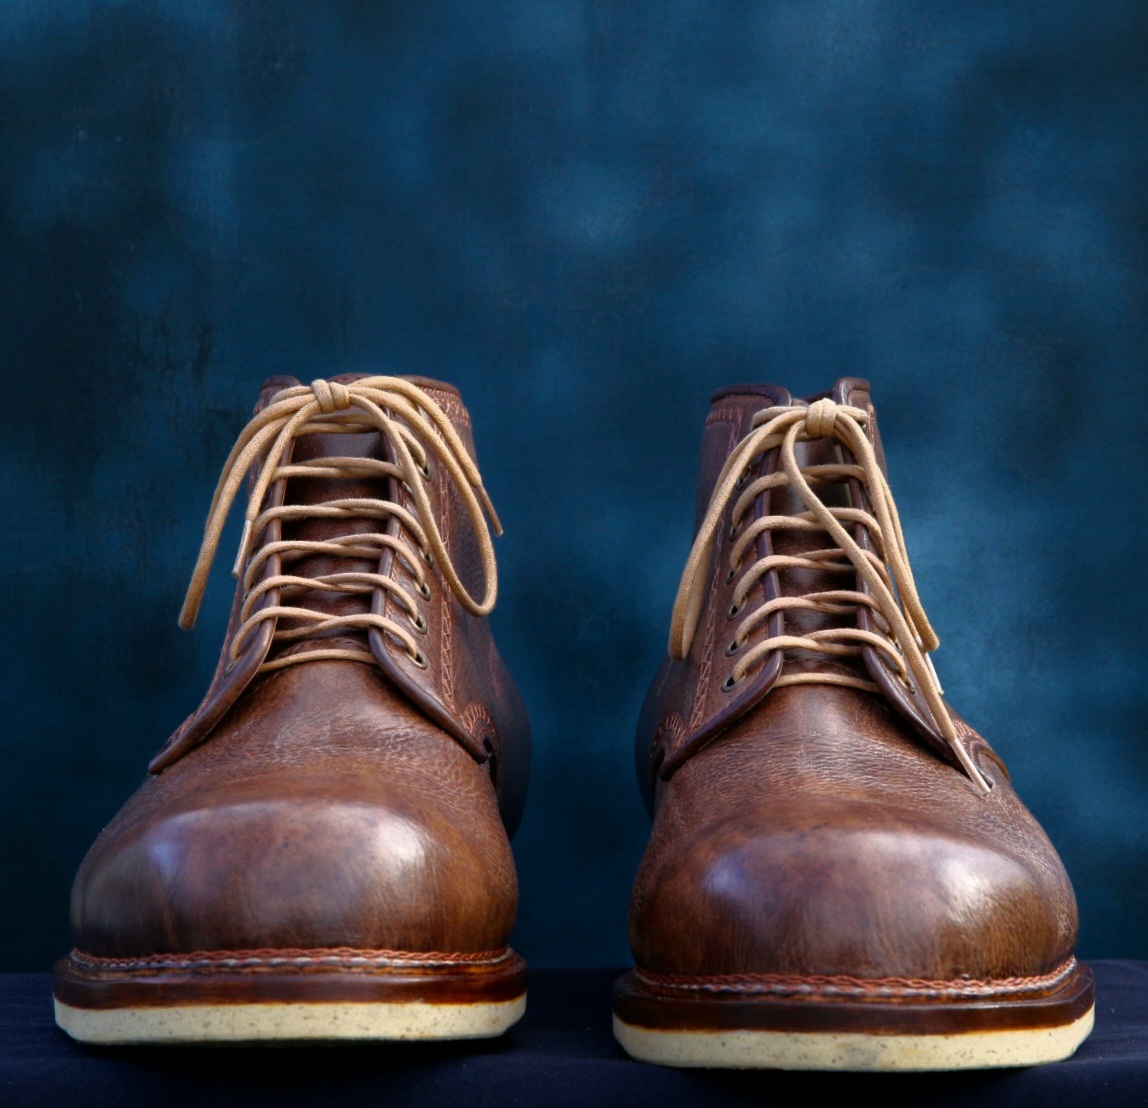
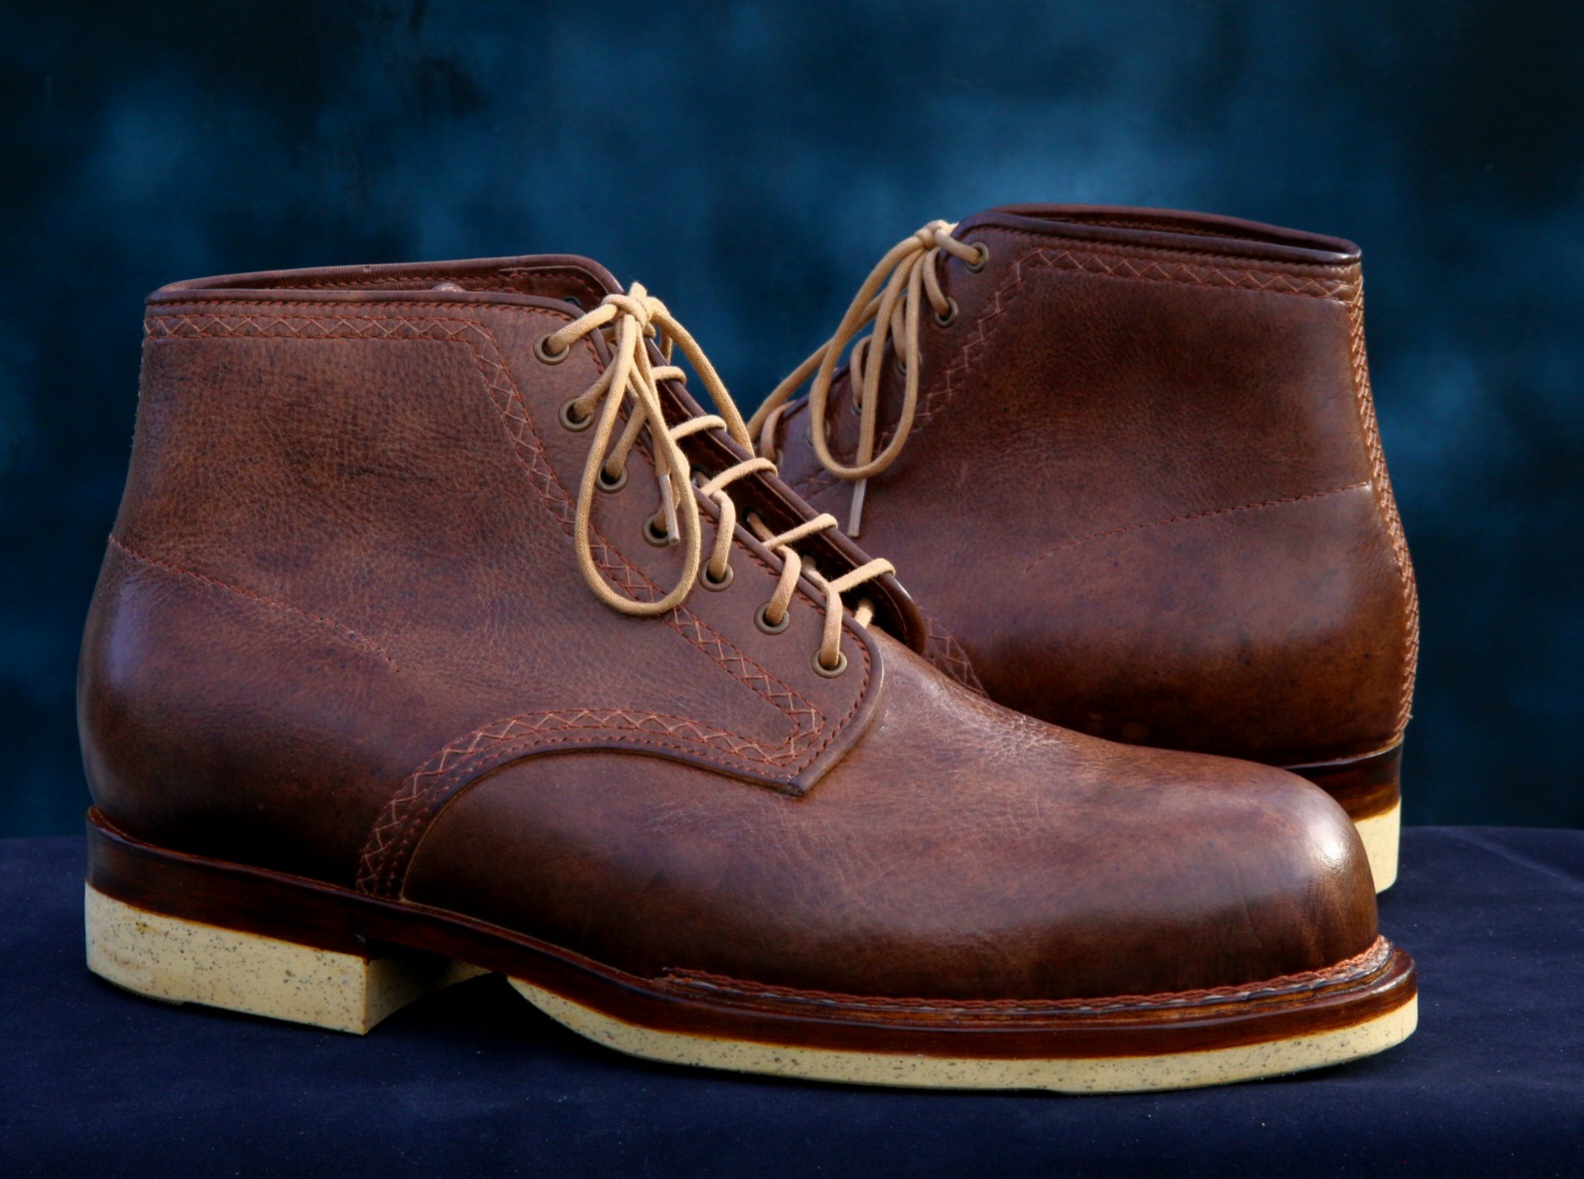
Overall, I am happy with how things turned out. Pretty much done other than the sock liner. Found one spot on the heel where I kissed the upper with the sanding wheel annoyingly.
I’m personally still focused on manual outseaming with square awls. But I’m curious about the clearance issue with the curved needles.
I know the production shops in Spokane just cement outsoles onto boots with particularly thick bottoms, especially boots for lineworkers, arborists, and other professional pole climbers who stand on their arches all day. I know they also tend to go through quite a few needles a week on their Rapid Es, stitching the boots they can fit through the jaws.
I would be less concerned about doing it by hand with a thinner midsole and thinner outsole. This solebend is a pain to get through and I am not super confident in my ability to do so totally straight, so didnt want a stitchline on the bottom that was wandering all over the place.
Well, the cement only plan on the outsole isn’t gokng to work. Started to get a little bit of separation at the tip of the toes on both shoes… so time to stitch.
What kind of cement did you use? Get some good clamping force?
You may be way, way past this, but I know quite a few folks who got disappointing results with even proper contact cement early on. The application process is really different from other glues people tend to know from school and everyday home life.
Edge separation can always happen, and occasionally does. But you’re experiencing well less than I’ve come to expect from Colle de Cologne.
I don’t typically heat CdC. I let it air out until it’s dry to the touch, perhaps 10 minutes.
I’ve usually done two coats for outsoles.
On the very edges, I’d suggest a set of cheap leather press pliers or hammering over something that gives a solid backing, like a welt beater or the edge of a cobbler’s anvil. You want to compress the outsole to the welt, not bend the welt up.
I believe Renia also mentions in their product lit that the bond will increase over a period of two days or so. Wearing them out immediately may test the bond before it’s 100%.