Especially with my back issues, I’ve been thinking about how to improve my work holding for closing uppers by hand. I’ve only ever had the one wooden stitching pony I bought from a Tandy Leather Factory more than a decade ago, and despite many modifications over the years, I’m definitely open to new ideas.
Some photos of French saddler-style “pince a coudre”, "pince Maroquinier, and “pince de Sellier” caught my eye:
https://www.cuirtissu.com/pinces-valets-bancs/3461-pince-sellier-ergonomique-110cm-frene.html
Basically, these are meant to be held in the lap, over one thigh and under another, rather than mounted to a sitting horse or bench. They also use the weight of the leg for closing tension, rather than a screw or clamp or elastic band.
French Products
Of course, importing them from France is expensive. There are apparently a few being made one-off here in the States, but of very luxurious materials, for correspondingly large money:
https://imgur.com/a/clams-3-4-5-bFyurml
https://imgur.com/a/moreau-style-clam-2-ash-sapele-8W1pqUq
https://imgur.com/gallery/moreau-style-stitching-clam-build-7C6NI1t
The cheapest US source I could find is actually right across a bridge from me, in San Francisco, but the price is still nearly $200:
Fortunately, I found some mentions online of a way of building a small one from IKEA furniture. There is even a video about it from a leathercrafter named James Berry:

DIY
IKEA is even closer than San Francisco, and this is clearly more my style, so off I went.
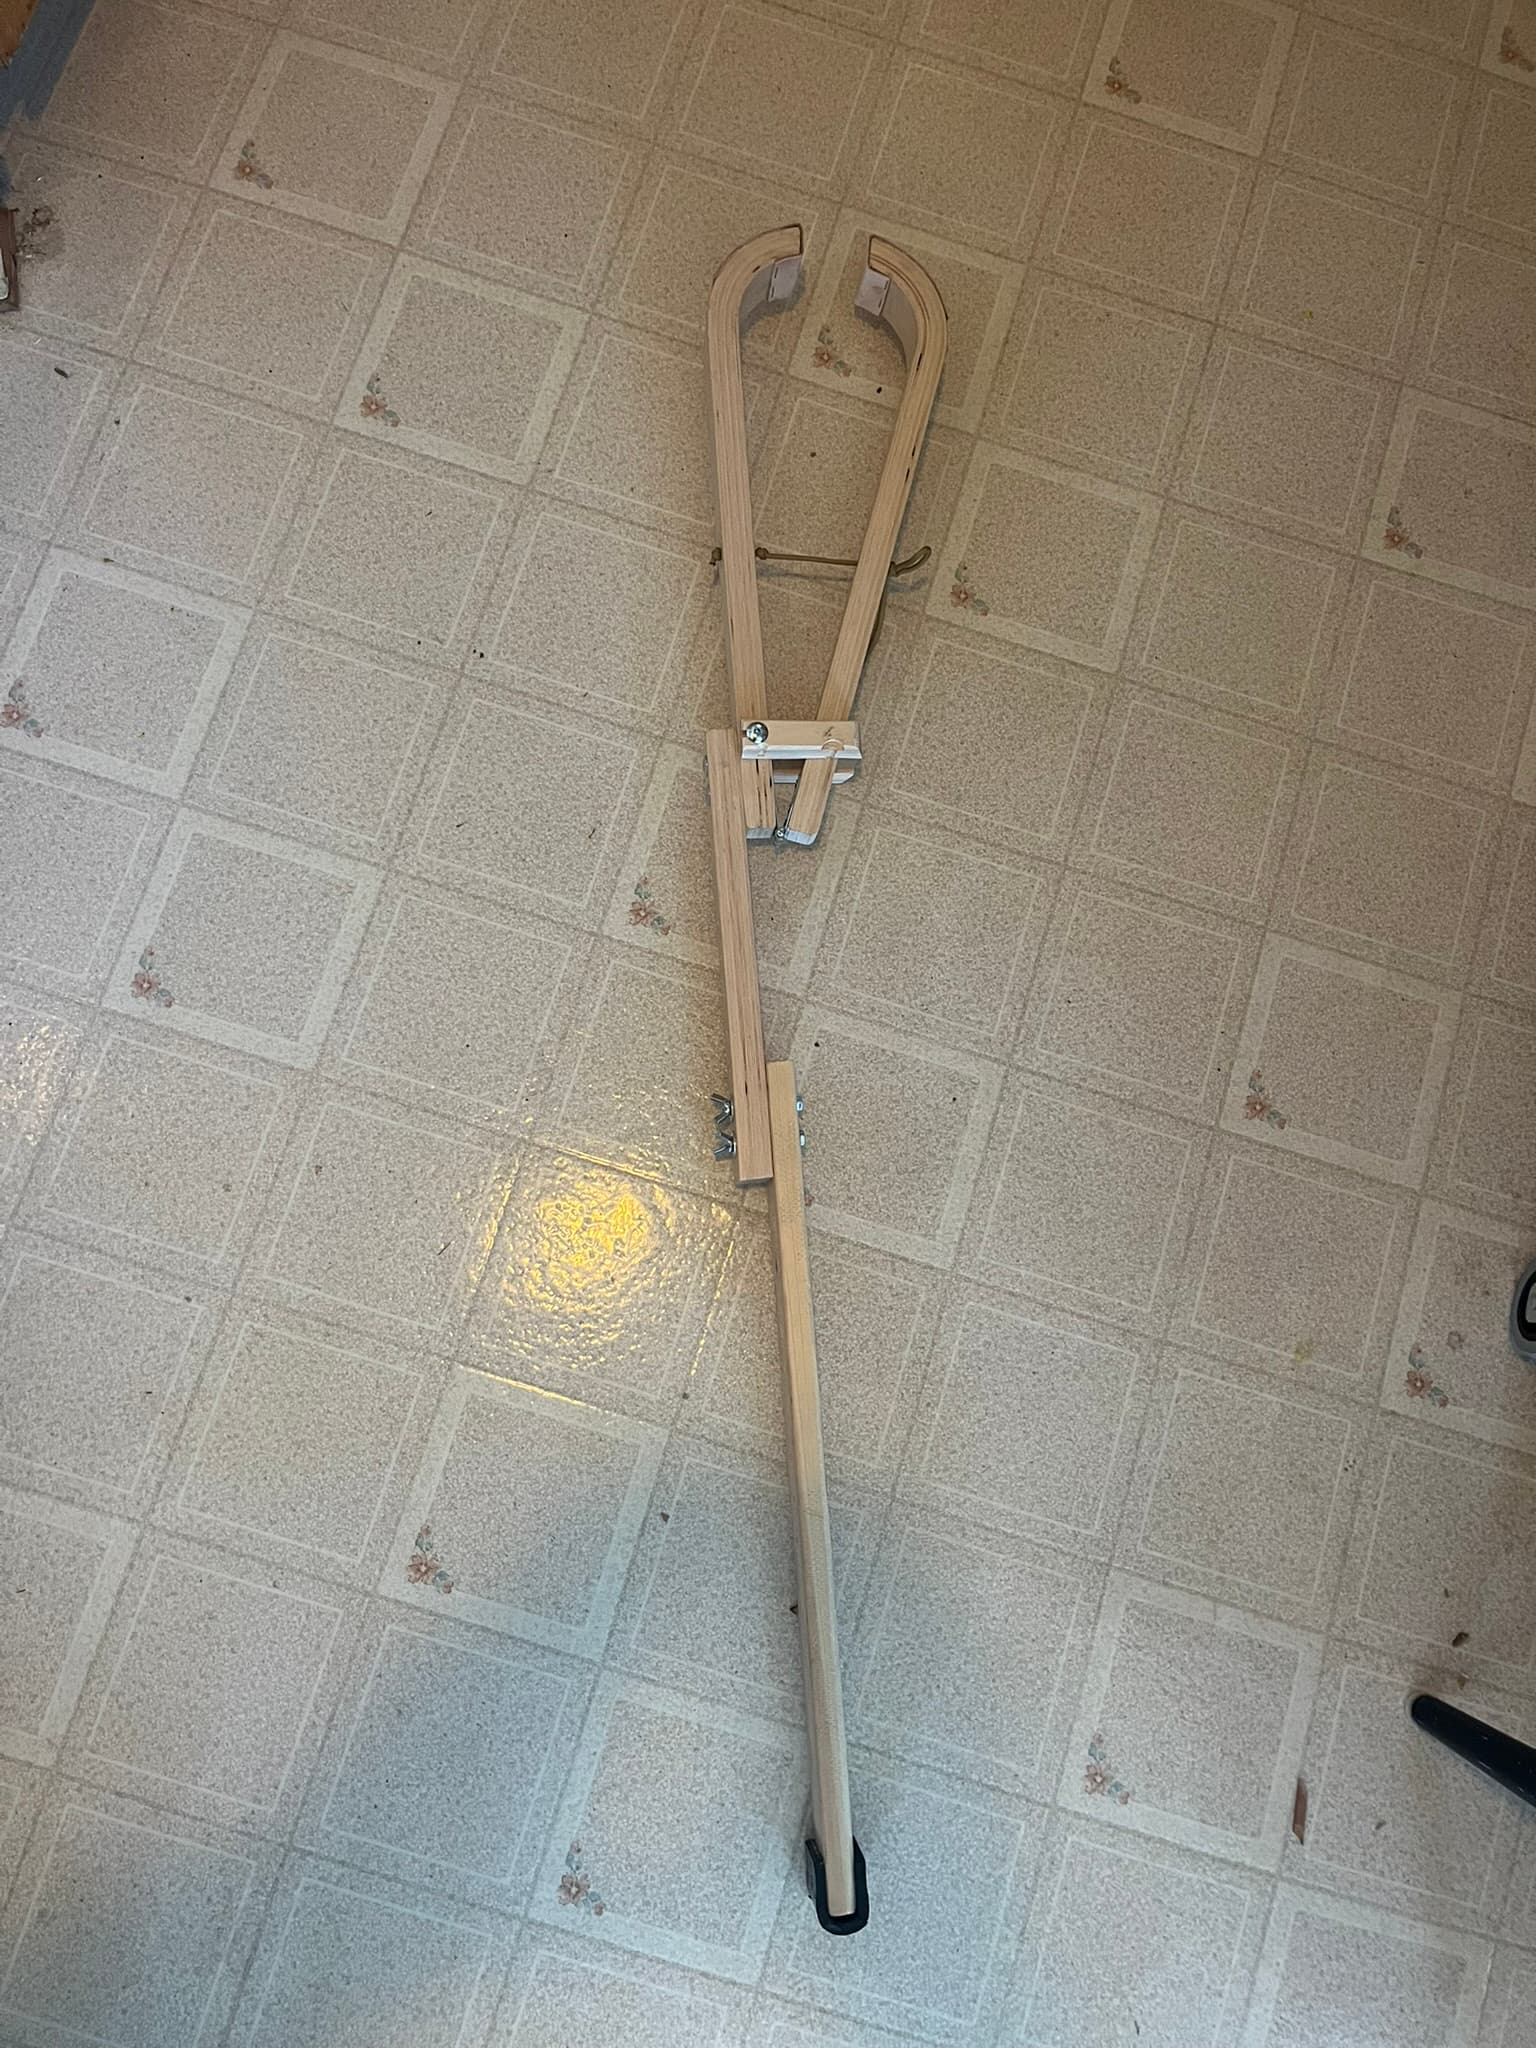
Results:
Notes
The kit to buy is the “Kyrre” birch stool: https://www.ikea.com/us/en/p/kyrre-stool-birch-60416925/ Mine cost $16.
IKEA now also sells a very inexpensive driver bit and drill bit set. I grabbed one just to make sure I had the right bits for the fasteners included with the stool kit.
I did all my cutting with a Gyokucho combination razorsaw, but a ryoba or any other cheap saw capable of clean crosscuts would do.
I bough a two-pack of 1-inch strap hinges from Home Depot for the connections. These are also available at hardware stores like ACE. It’s important to drill pilot holes for the screws.
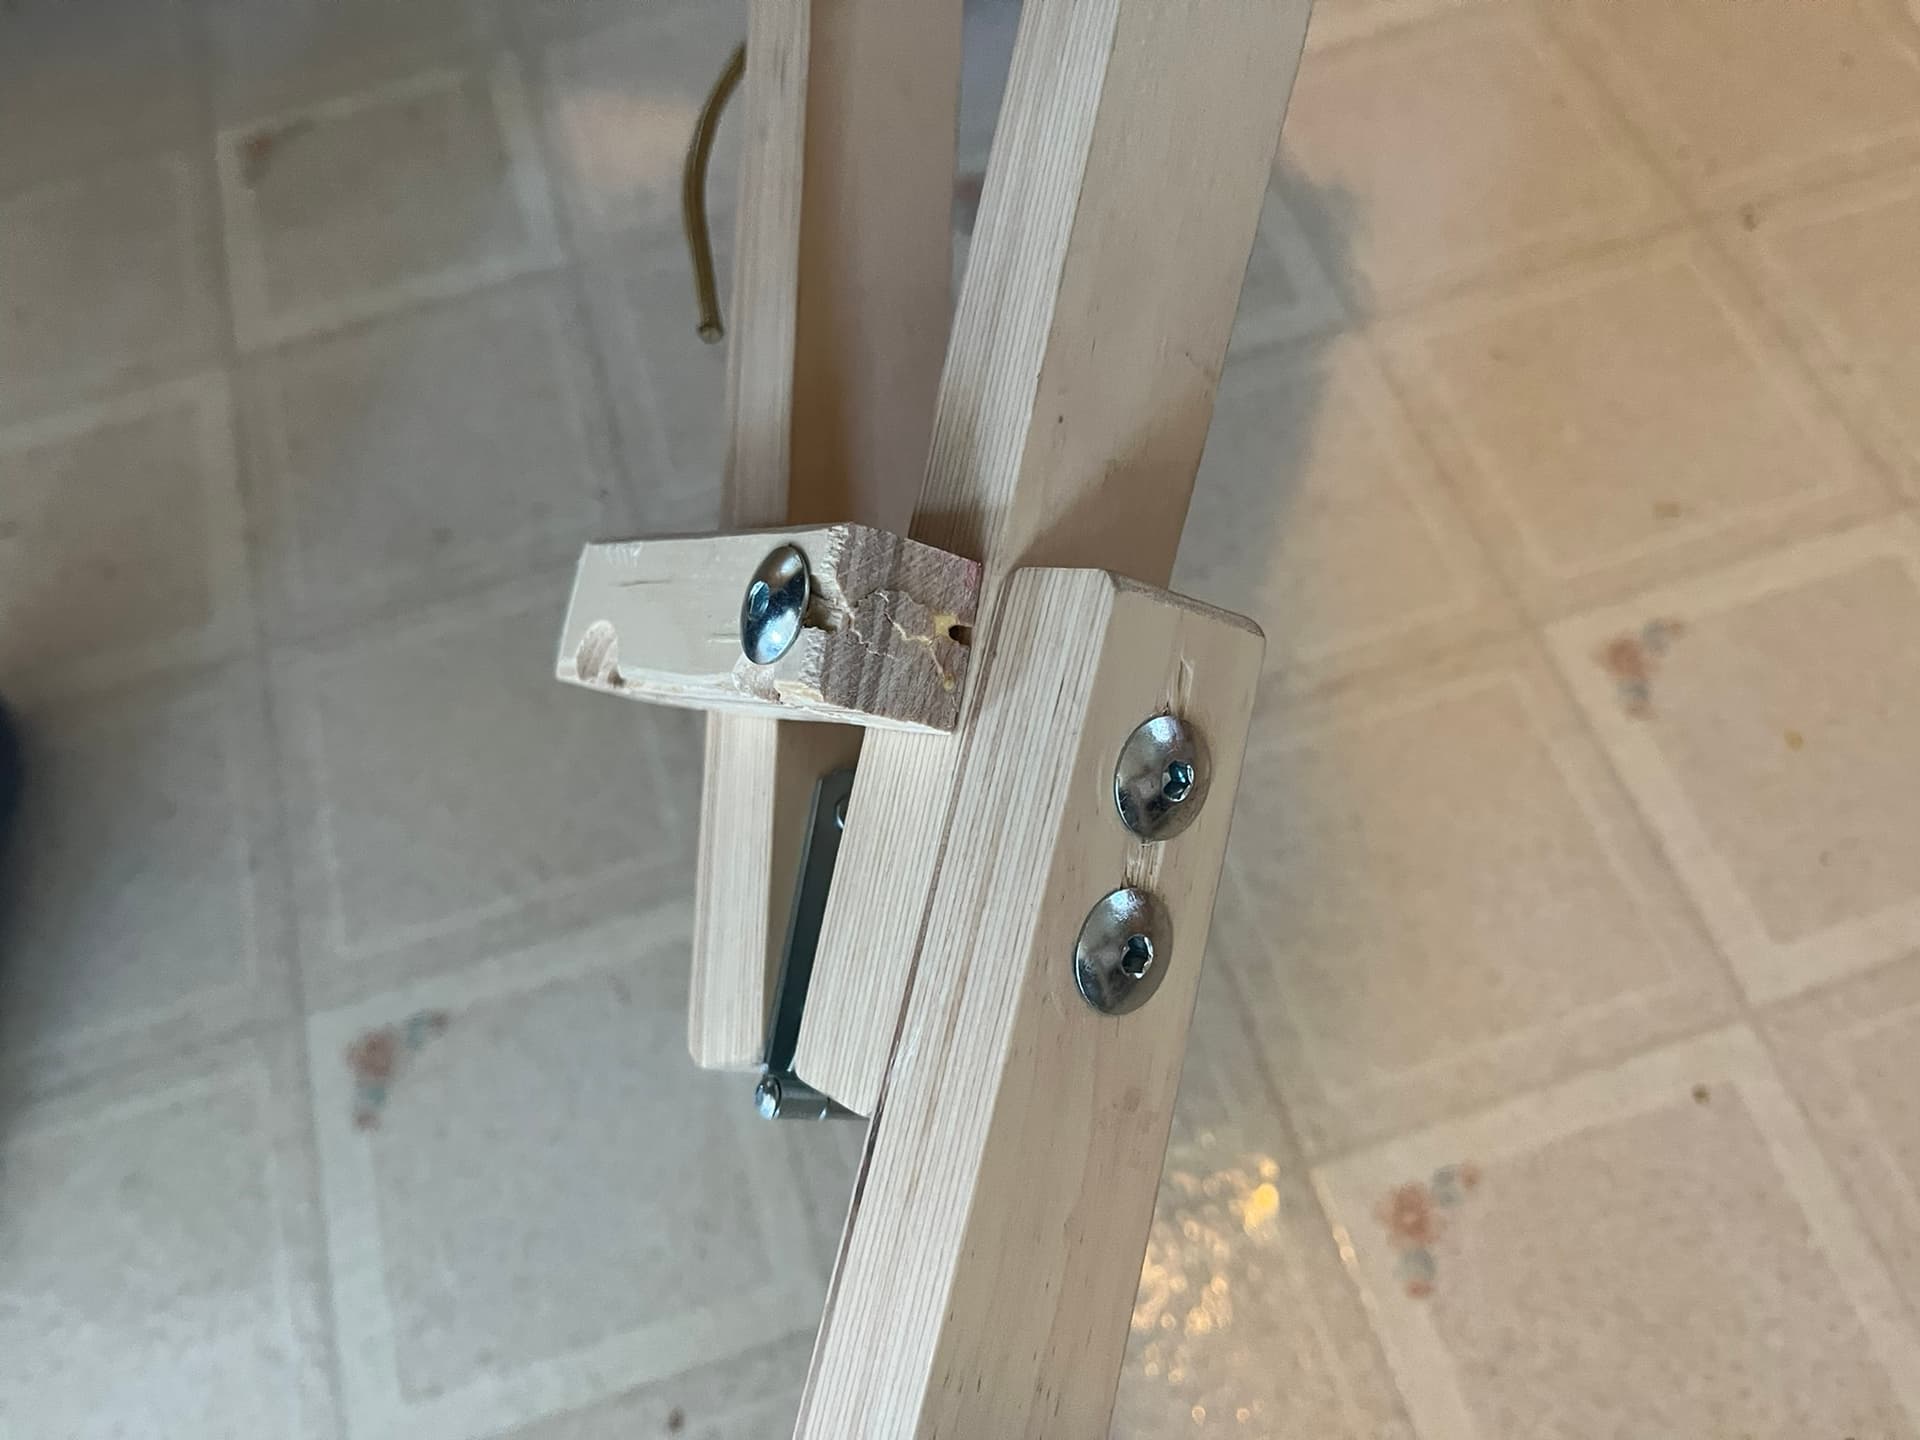
The hinges I bought had a lot of slop. The crosspin is much narrower than the tunnels in the hinges, and it shows. A sturdier option would be something like the heavier-duty, stainless-steel strap hinges sold for hatches on boats. If I take to this vise, I’ll probably upgrade.
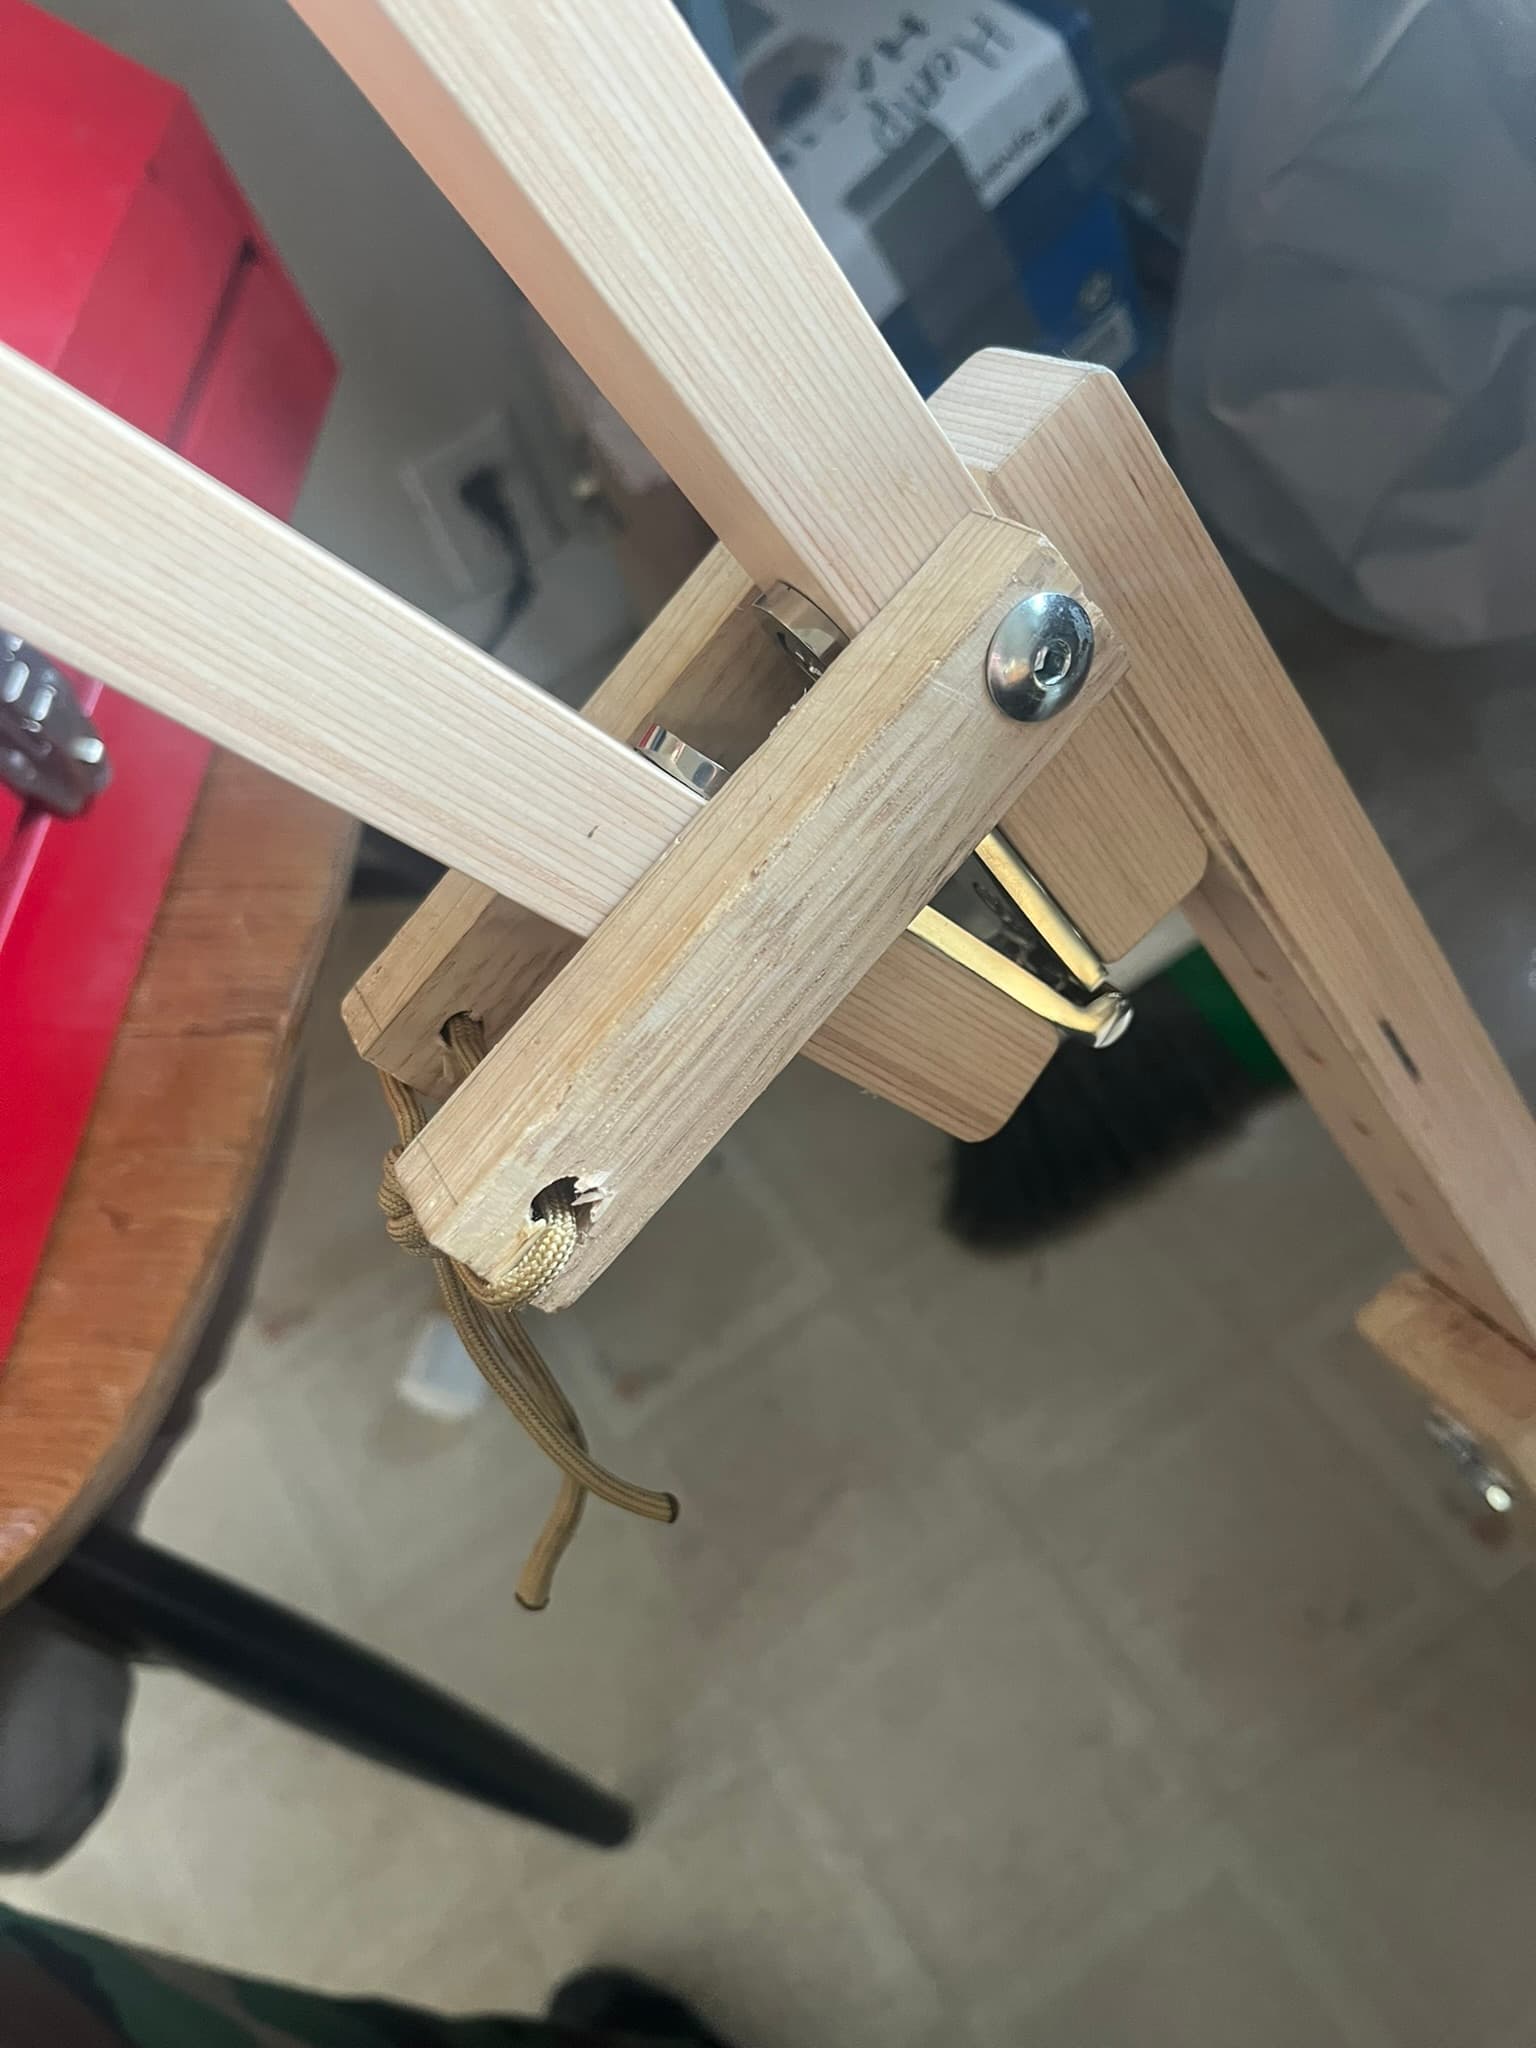
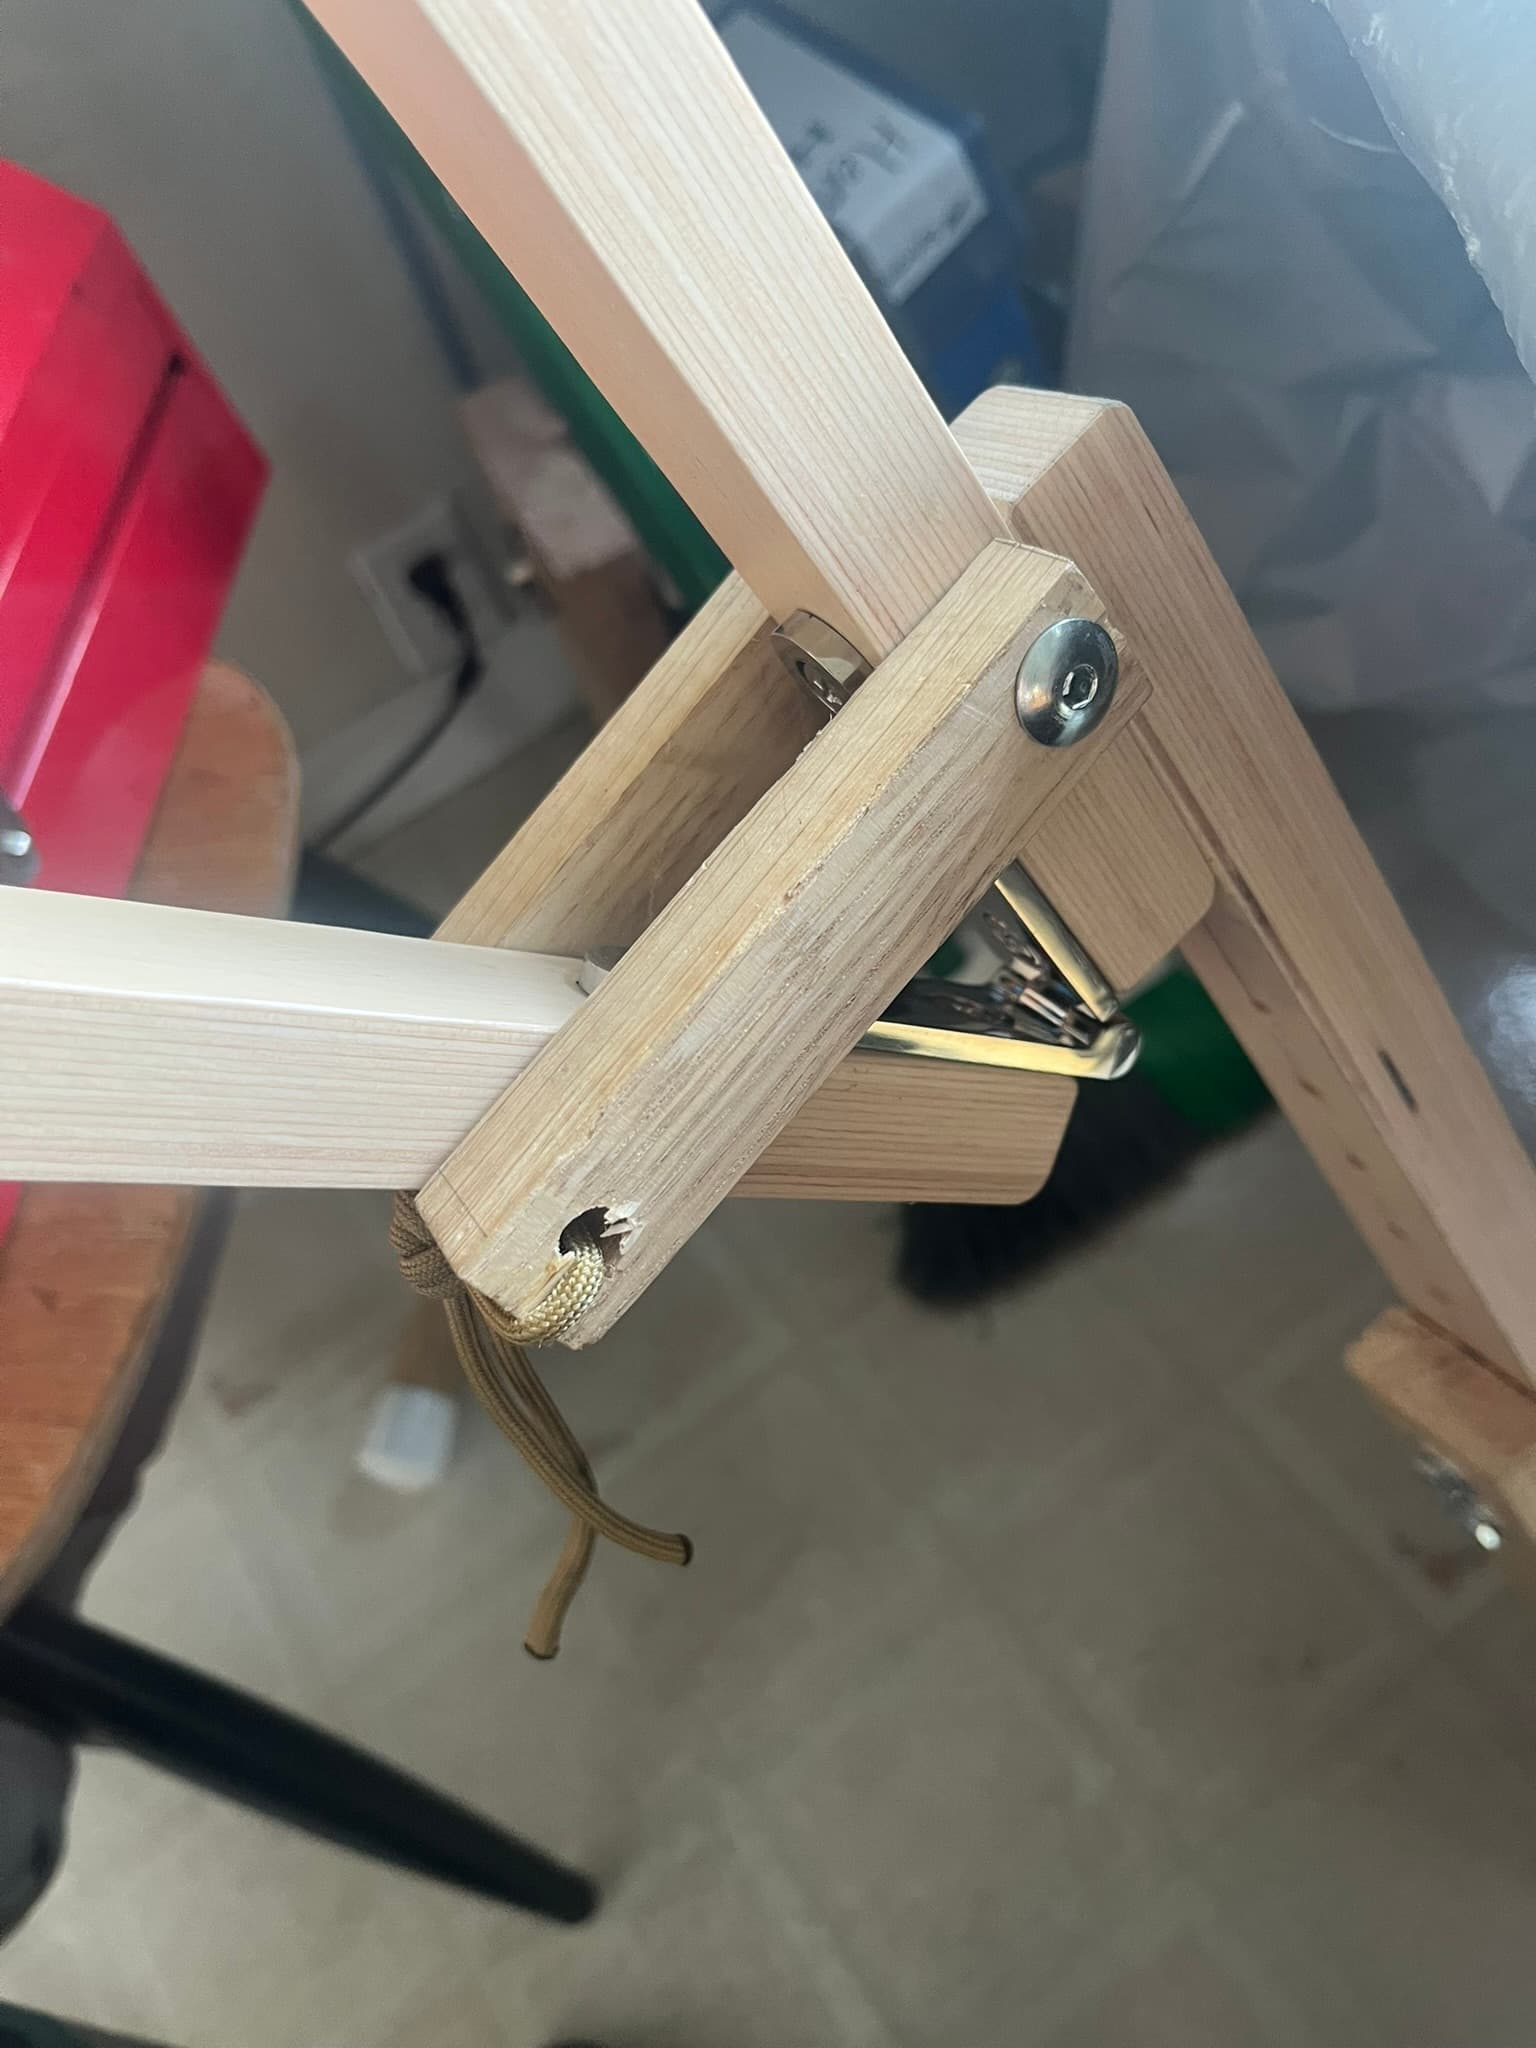
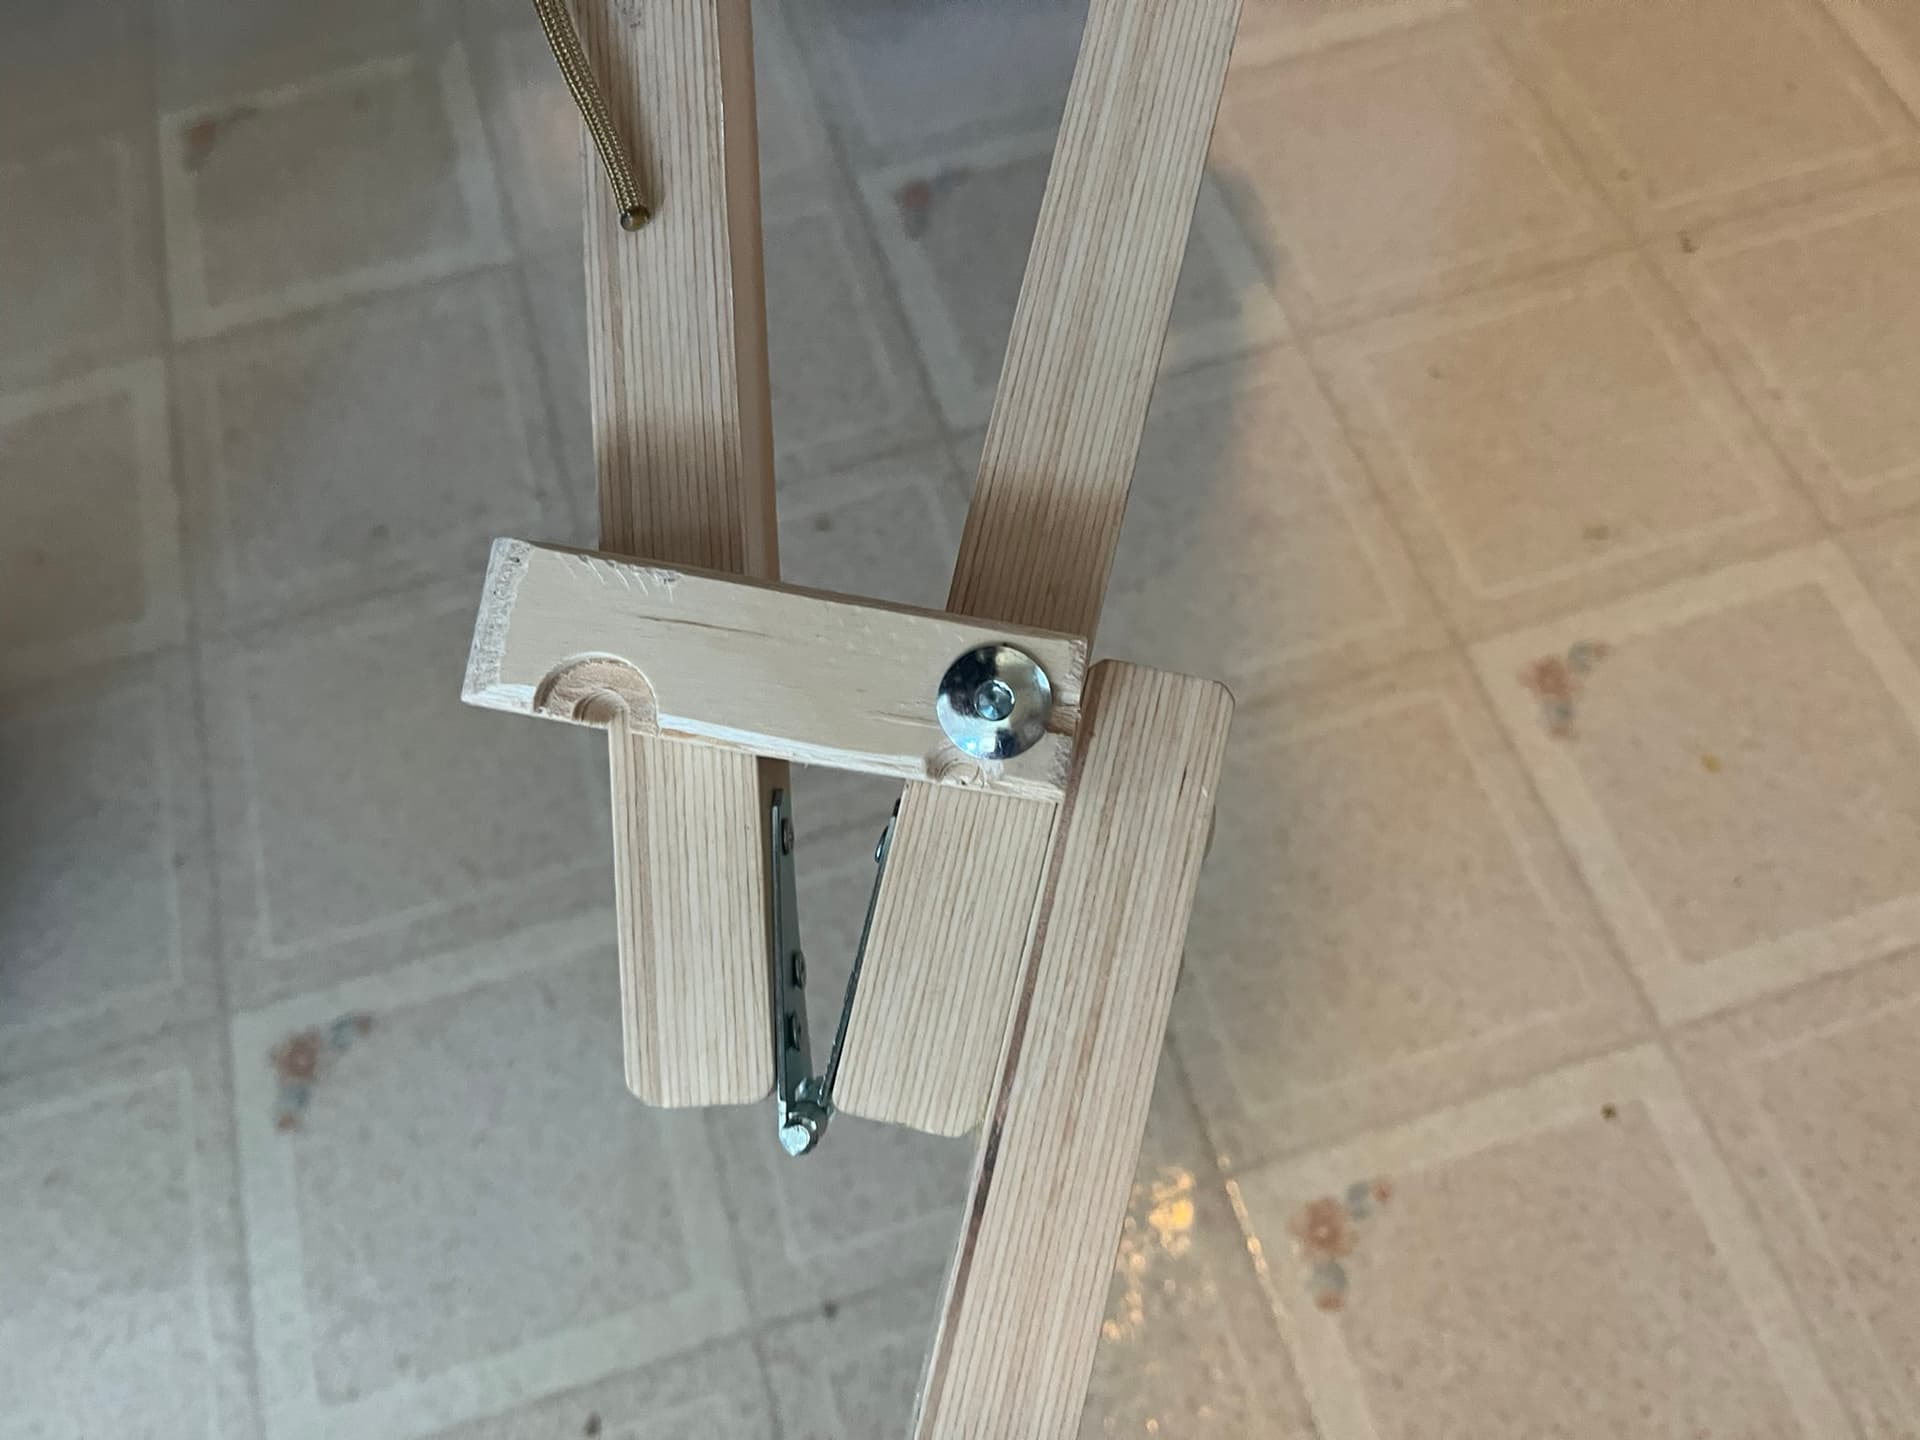
While I’m still using the cheap hinge, I attached two bars to one jaw, surrounding the other, to keep the two tracking straight as they hinge. I used an offcut from making the jaws. This seems to work very well, and the bumps it creates aren’t in uncomfortable positions in use.
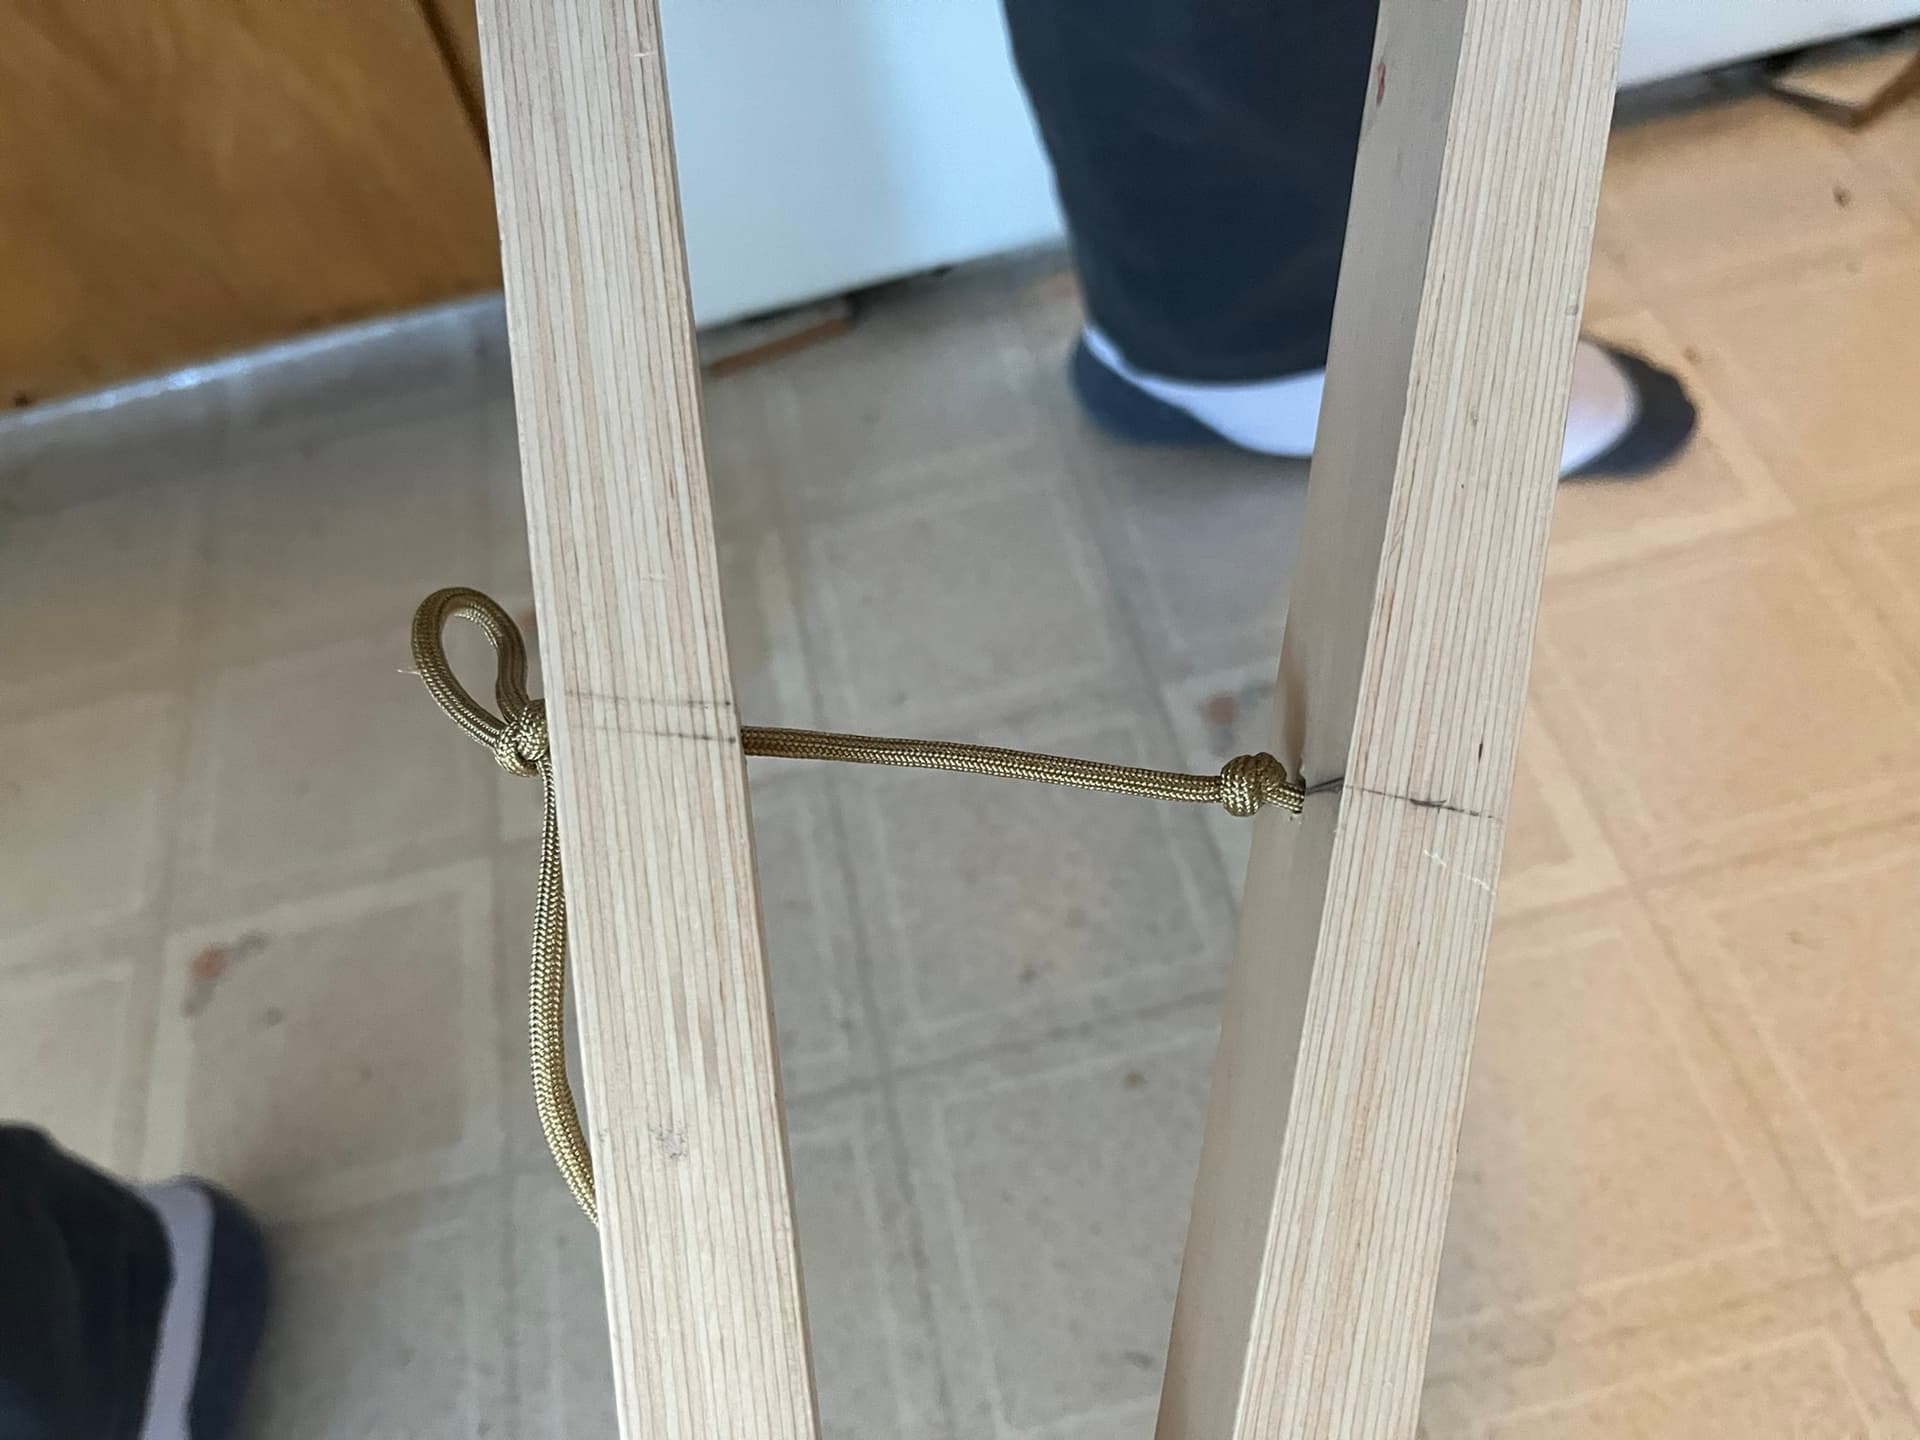
I tried the bicycle skewer approach that James’ video shows, but ended up giving up on it, just using leg tension, and tying a length of parachute cord through the holes to keep the jaw from flopping open. This seems to work well. It helps to tie knots in the cord both above and below the top jaw. That way the cord doesn’t back out the hole on the top.
I wanted to be able to adjust the length, and also to disassemble a bit for storage. The French folding models look really slick, and pretty much all use wooden hinges. But I settled for just drilling holes for bolts with washers and wingnuts. I drilled centers 1 inch apart, and that seems to be working well, even on the longest setting, with the bolts in adjacent holes.
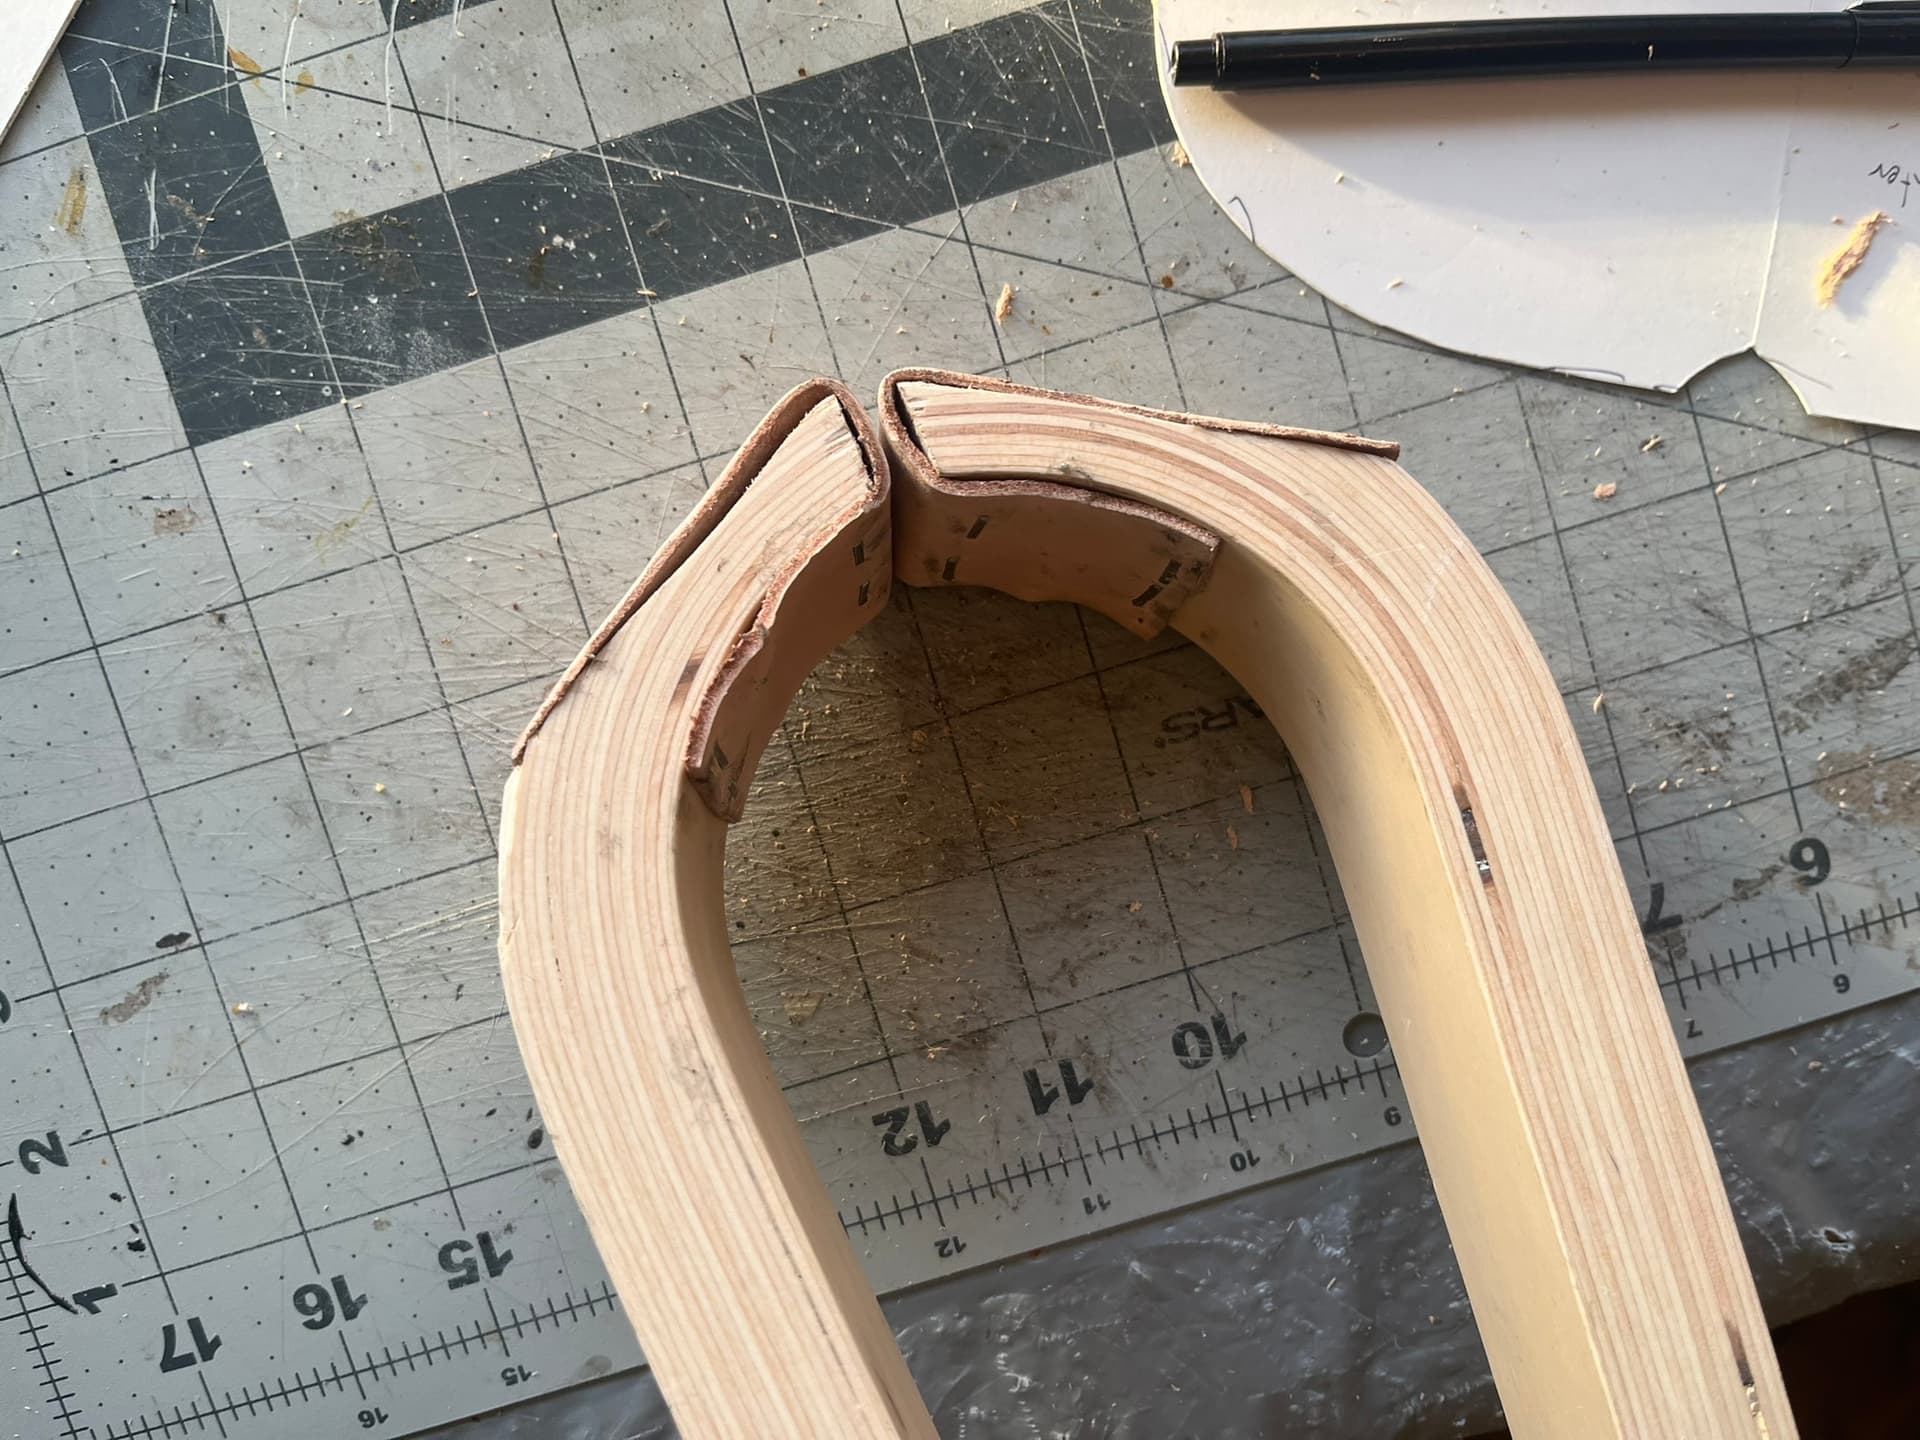
The jaws are narrower than I’m used to, at 1¾″ rather than 2½″ on my old Tandy. That repositioning more times when sewing long lines, but it might be offset by how easy it is to hold and release just using a leg. I suspect it might just be better overall for closing work, where many lines are curved and clearance inside can get tight as pieces come together. These jaws are thick enough that I can glue and screw on extensions to one or both sides in the future, if I want to.
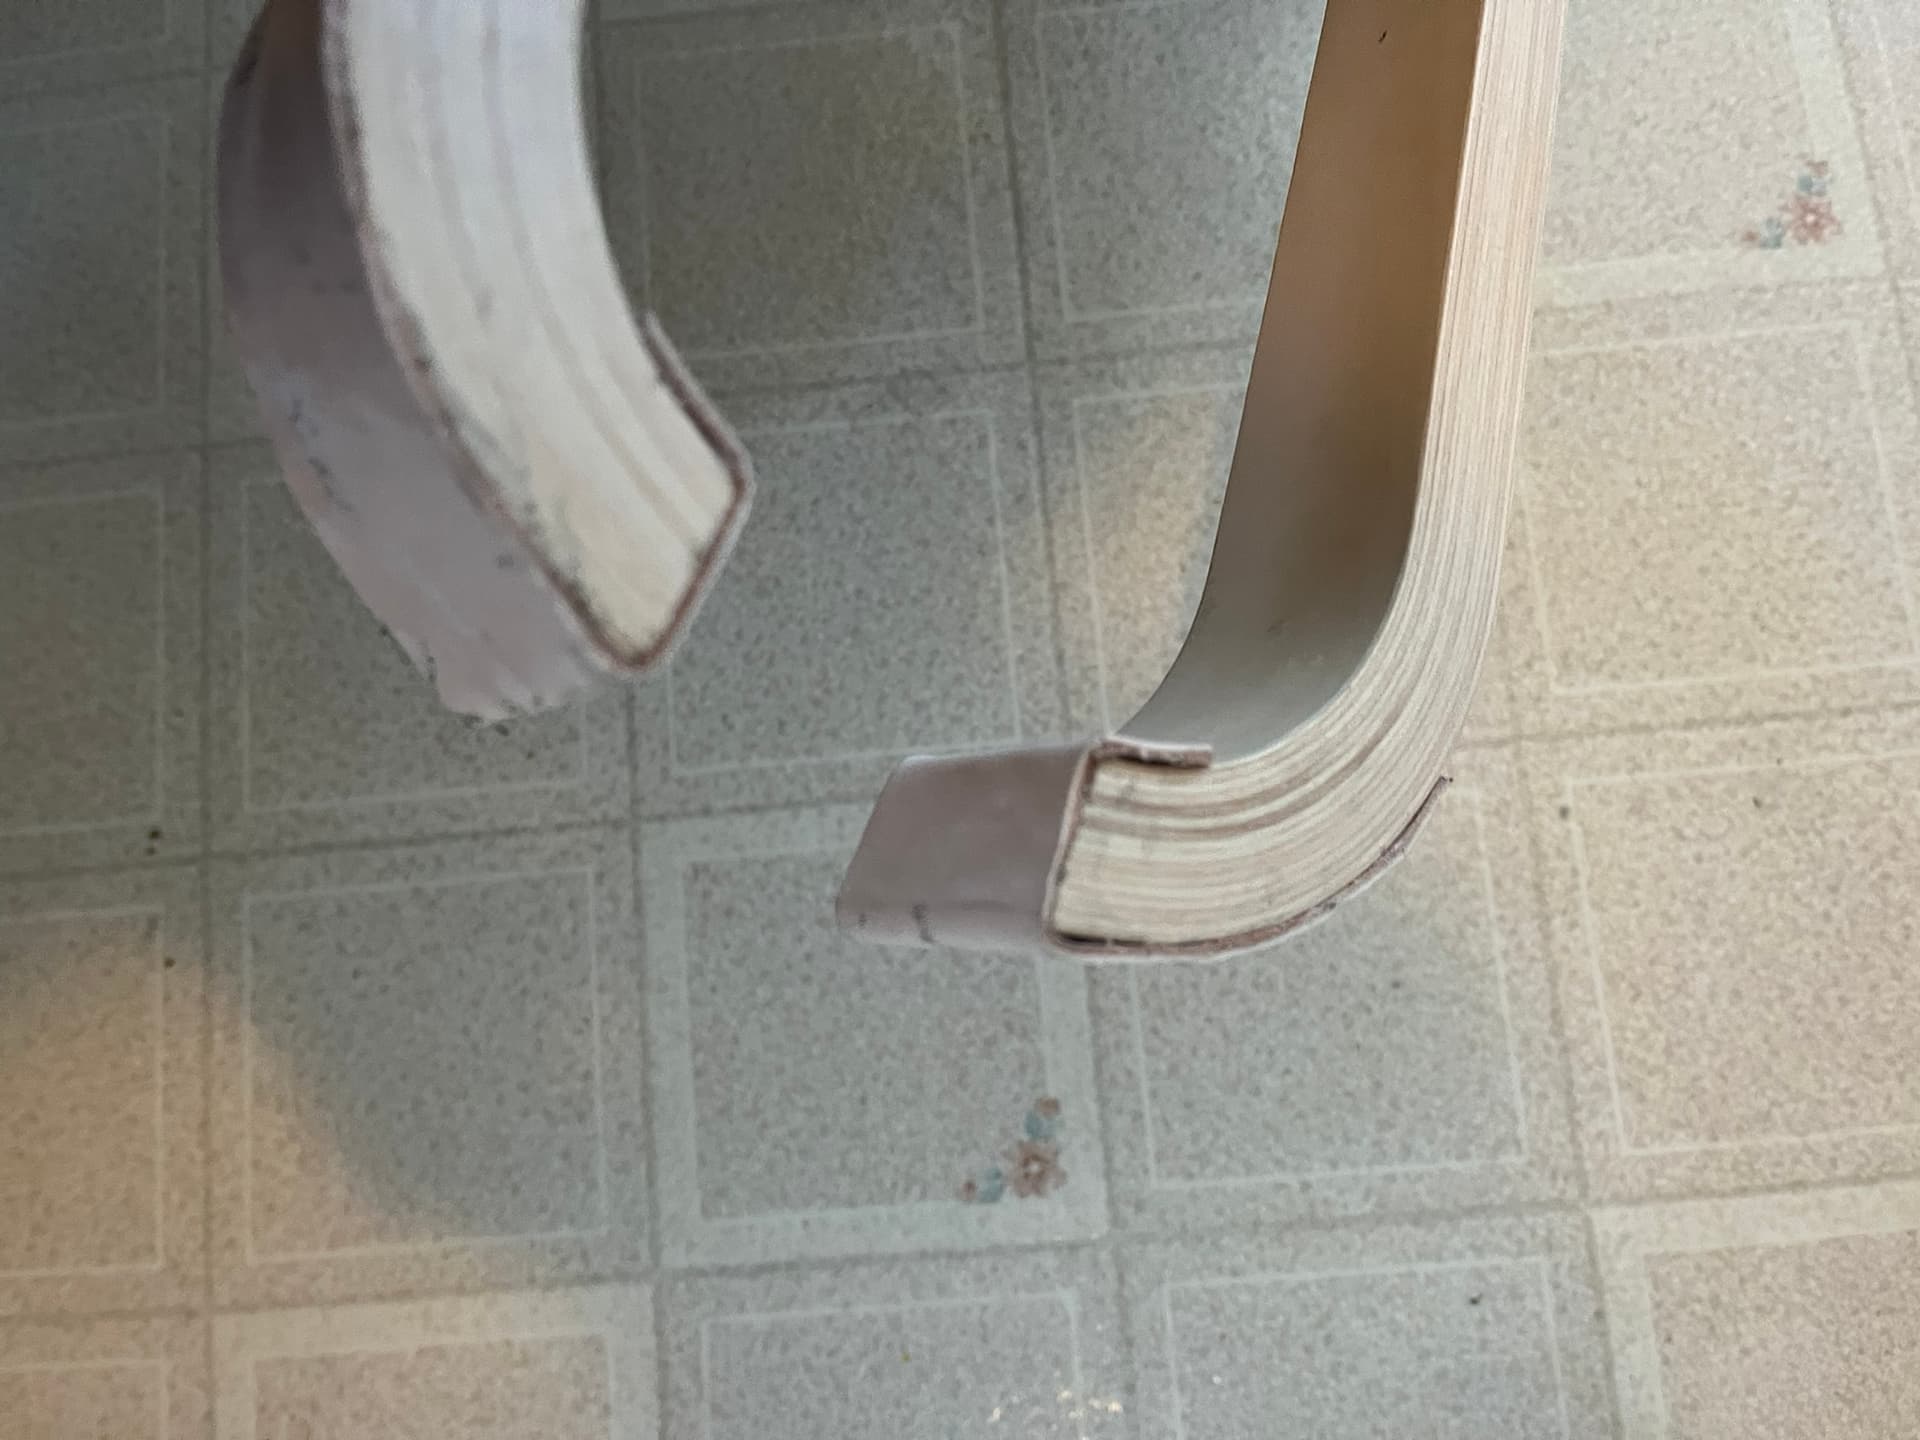
I bent and stapled some scrap rubber to the bottom end. That seems to help keep it from sliding around.