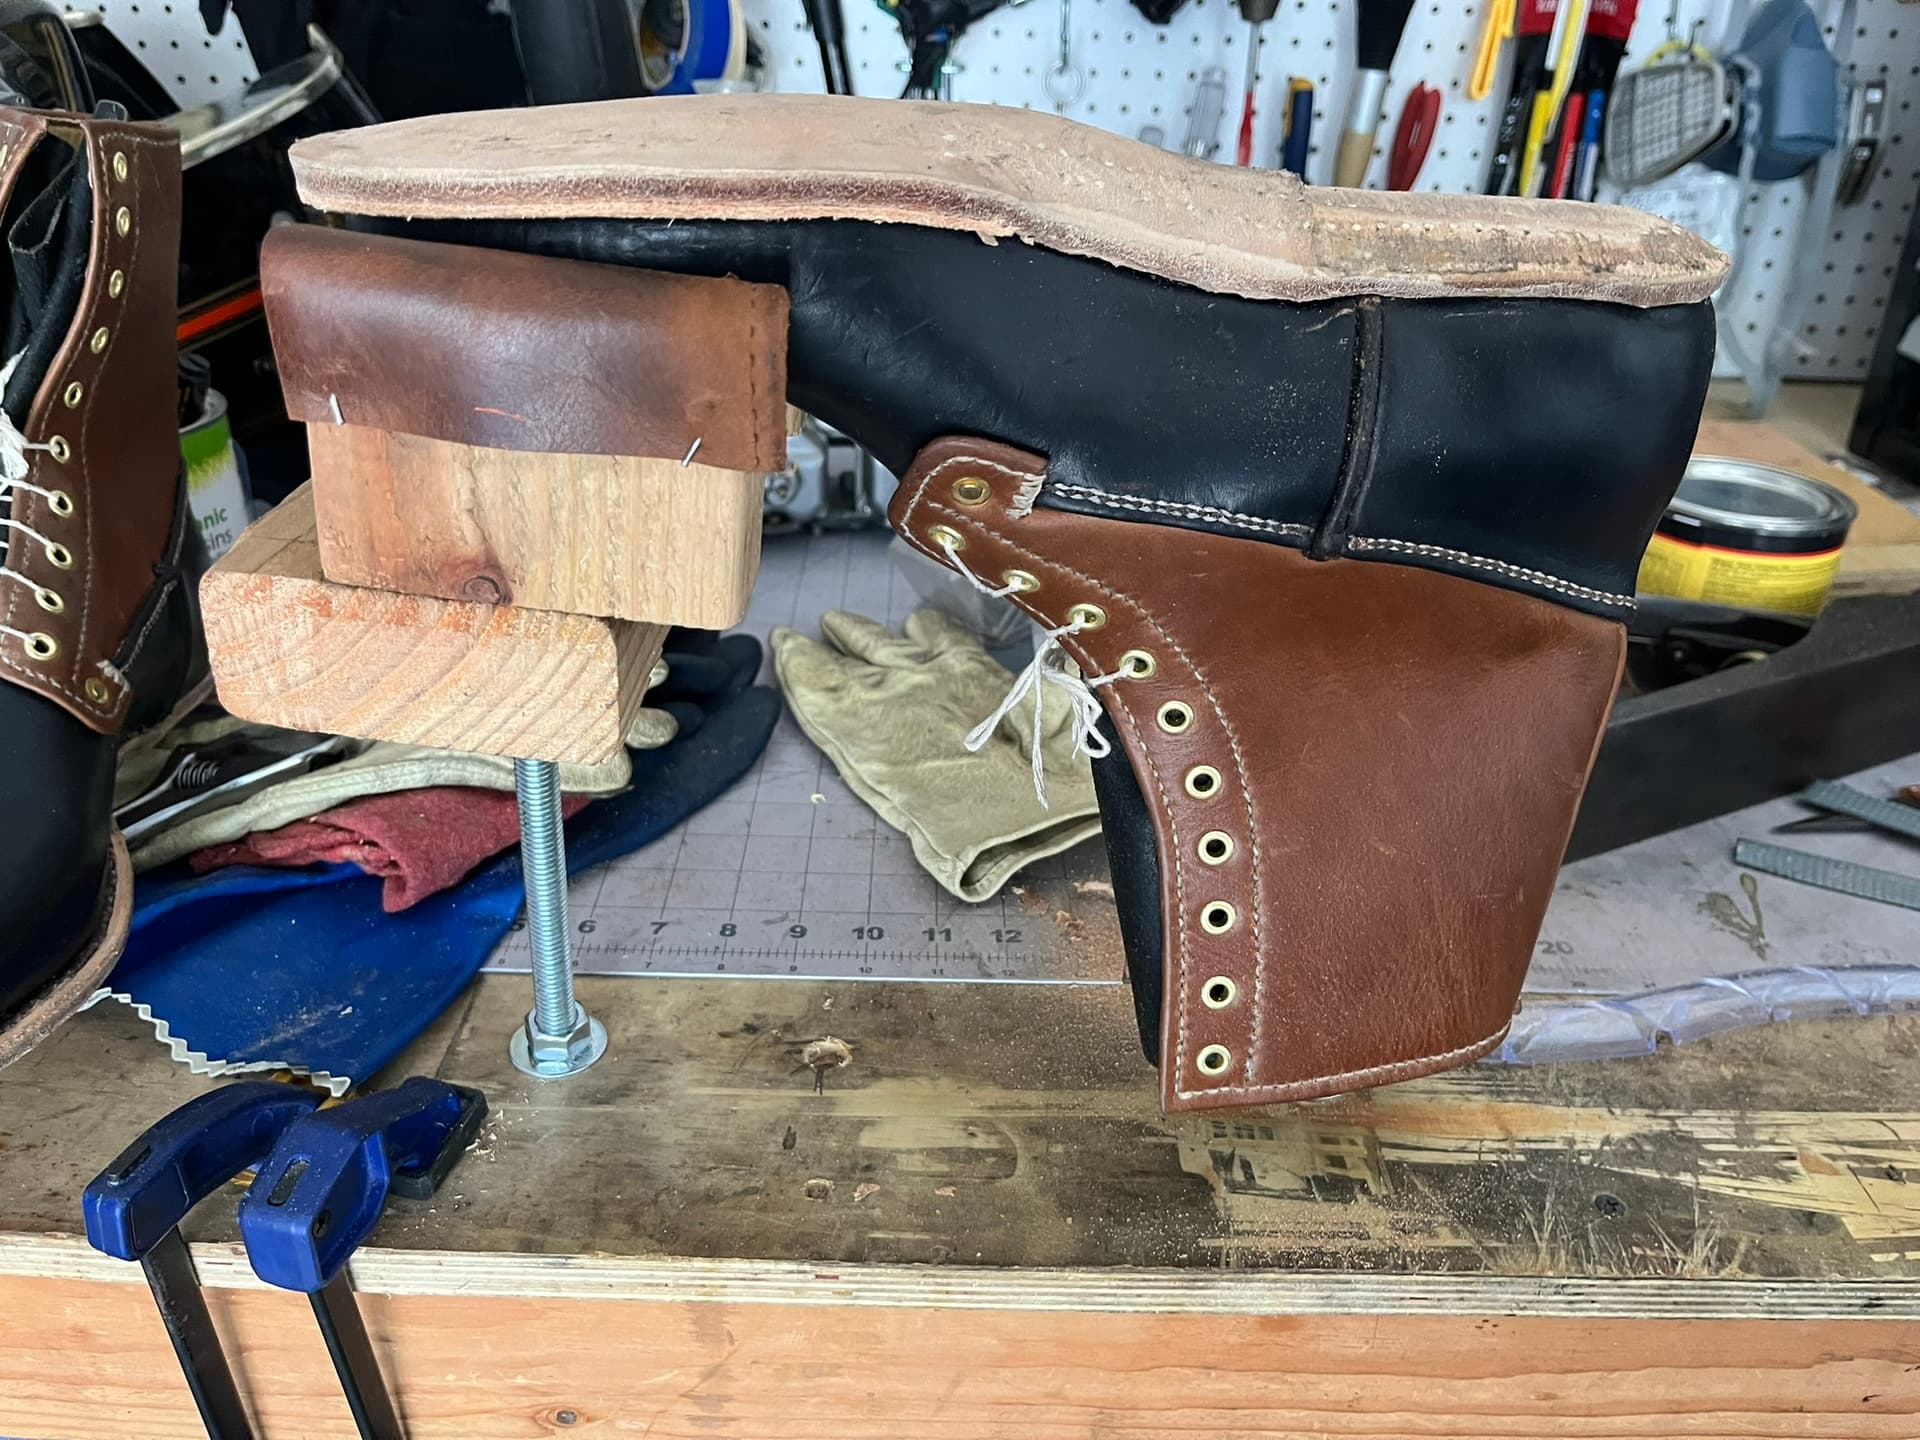
I mostly work sitting down, but I take things out to a garage bench for final cementing, hammering, and nailing of outsoles. A while back, I got one of Tom Carbone’s simple lasting posts from @customboots, built from threaded rod, so I can mount shoes on the benchtop. But I finally got around to building my own, taller post for boots, with a toe cradle:
Ingredients
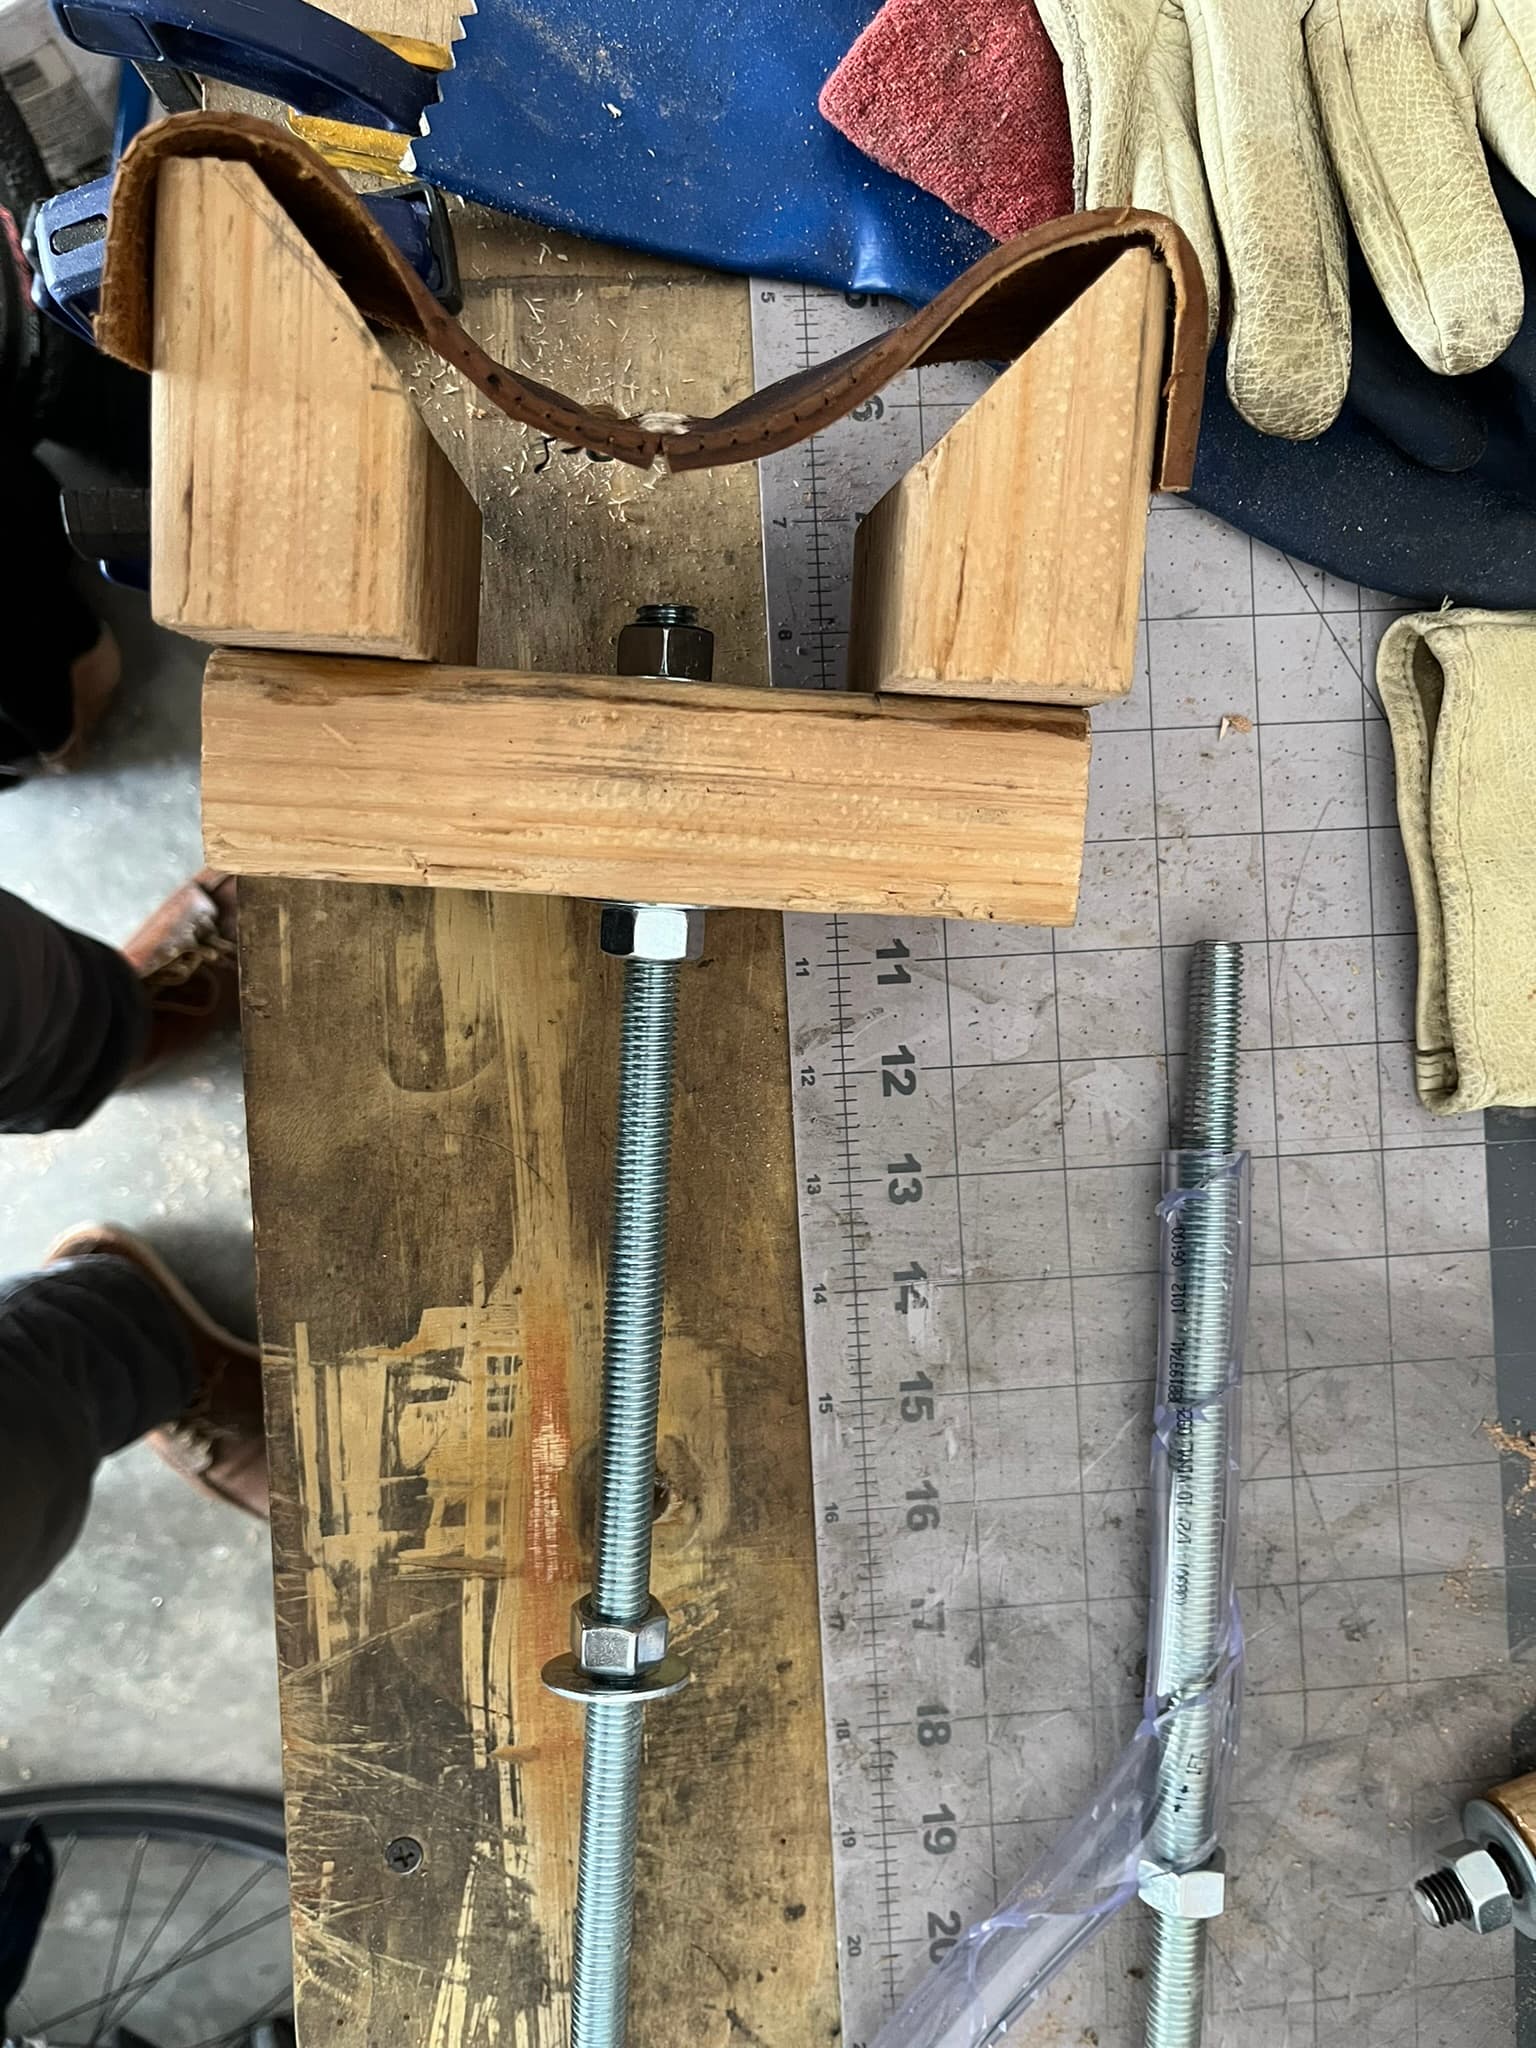
- 36" rod of 1/2-inch coarse-threaded rod
- 6 matching bolts
- 6 washers—I used ones marked 7/8 inch, which fit more tightly around the rod
- some kind of file for taking down threads, bastard-grade plenty sufficient
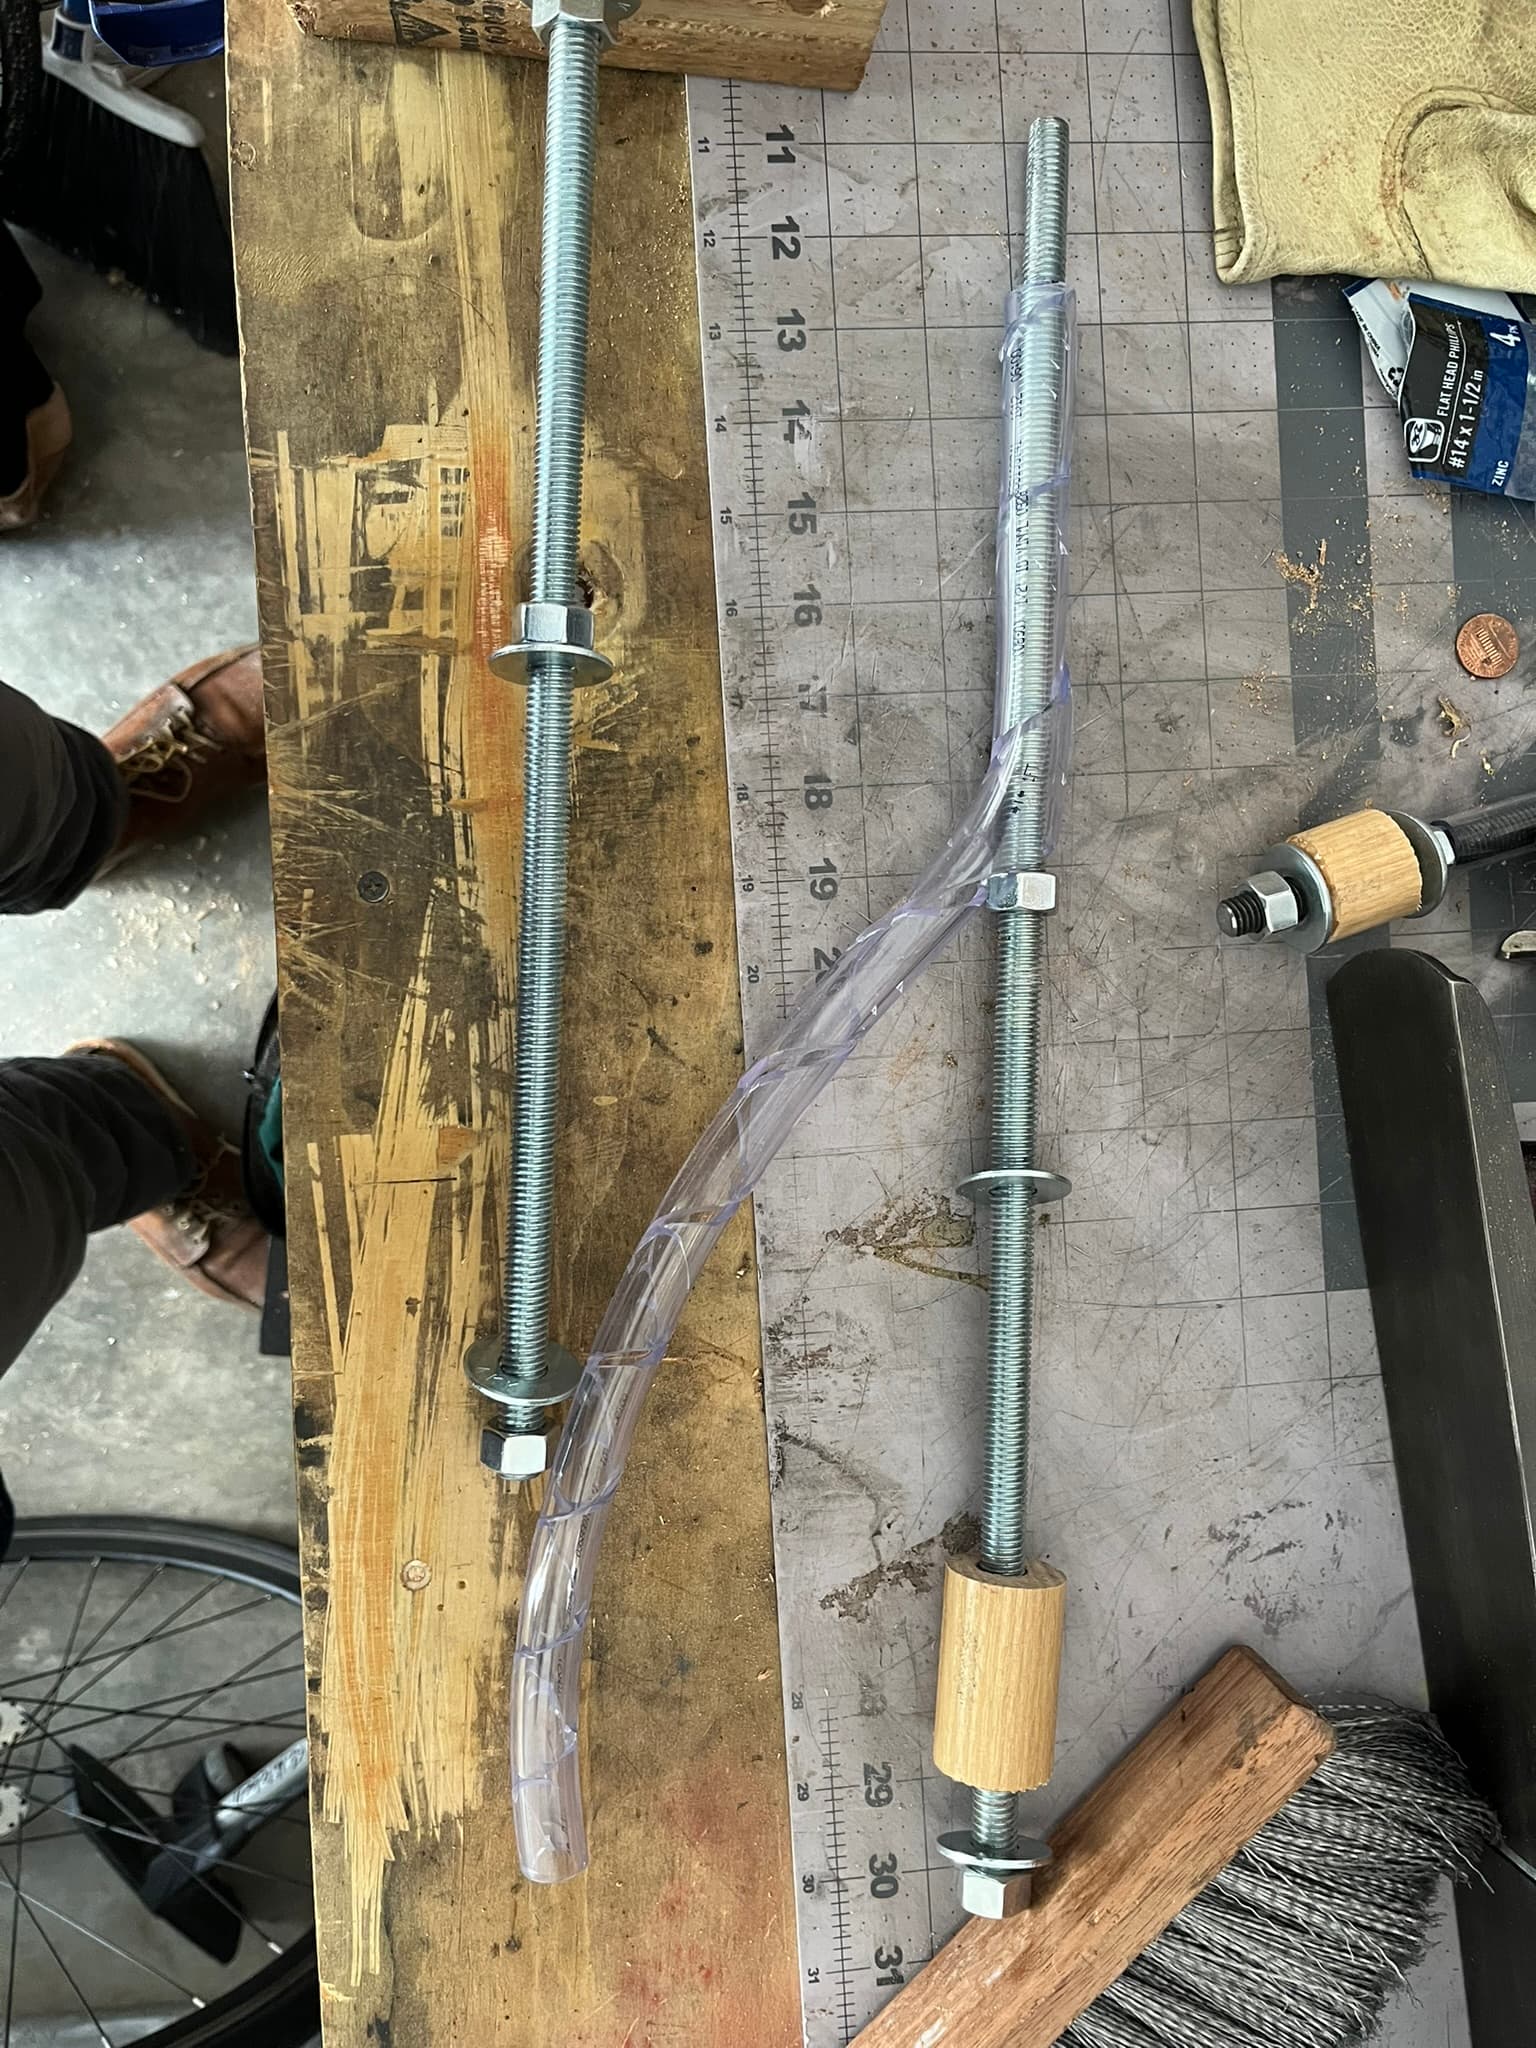
- 18" of 1/2-inch inner diameter vinyl tubing
- utility knife for slicing the tubing
- chunk of 2-by-4 scrap wood
- wood screws
- tacks
- a bit of scrap leather
- some kind of wood saw that can do square and angled cuts
- 1/2-inch drill
- smaller drill to make pilot holes for your wood screws
Construction
To make the posts:
- Cut the threaded rod in half with a hacksaw.
- Grind the threads off the end of one half of the rod, down to the inner diameter. For 1/2-inch rod, coarse or fine, that’s roughtly 0.4 inch, or about 10 mm. For 7/8-inch rod, which I believe is what Carbone’s posts use, the minor diameter is about 0.375 inch, or about 9.5 mm, which you can easily file down to 9mm for narrower last sockets.
- Slice open the vinyl tubing in spiral fashion, candy-cane-style.
- Thread on the bolts with washers inside, one set on the post that was ground down, the other two on the fully threaded post, one on each end.
- Wind the split vinyl tubing around the rod with the ground-down last pin, to cover the threads below the pin where they might rub against the inside of a boot shaft.
To make the cradle:
- Saw off three pieces from your 2-by-4 scrap, two shoulders and one base. The base should be wide enough for both shoulders standing on edge, plus a gap between.
- Saw the tops of the shoulders at angles. Mine pictured are likely still too acute.
- Mark and drill a 1/2-inch hole through the center of the base.
- Mark and drill pilot holes for the wood screws to hold the shoulders to the base from the bottom. I also used wood glue, but that’s probably redundant of the screws. Make sure the angled tops both face in.
- Lay leather across the shoulders and tack to the shoulders on the outsides.
- Thread the cradle onto the threaded rod and secure with bolts and washers.
Using
I drilled some 1/2-inch holes for using this setup in two places: on my garage benchtop, and into a sawhorse I use for my cobbler’s anvil.
It’s nice to be able to adjust the height finely up or down, but it takes a little time to spin the bolts and tighten them down again. As I adjust the last pin up and down, I wrap or unwrap the vinyl tubing to keep the exposed threads covered.
Room for Improvements
I don’t think I made the toe cradle the best dimensions on first guess. Mine is likely far wider than it really needs to be. The angles of the shoulders could also be shallower.
I mounted the shoulders of my toe cradle off-center, thinking that might afford more adjustment. I think it just makes the whole setup less stable. I’ll probably go back and rebuild the cradle with jaws mounted square at some point.
I don’t remember offhand whether my threaded rod was 1/2-inch coarse or fine thread, but I would definitely recommend as coarse as you can find cheaply. It’s faster to mount and adjust.
I’ve found it handy to use a bit of wood dowel with a 1/2-inch hole drilled roughtly through the center to take up length and help prevent wobble. I suppose something like PVC or metal pipe could work as well for taking up the extra length under the bench when working on short boots or shoes.
There’s no spring or other quick-release or quick-adjustment mechanism for the toe cradle here. You can move the crade up or down, but changing the distance from the last pin means drilling another hole for the cradle’s threaded rod.