After my fairly pleasant experience with importing tools from China I decided to try getting some Japanese tools too. The Japanese shoe making scene is incredible. Their abundance of resources is something I really wish was present In America.
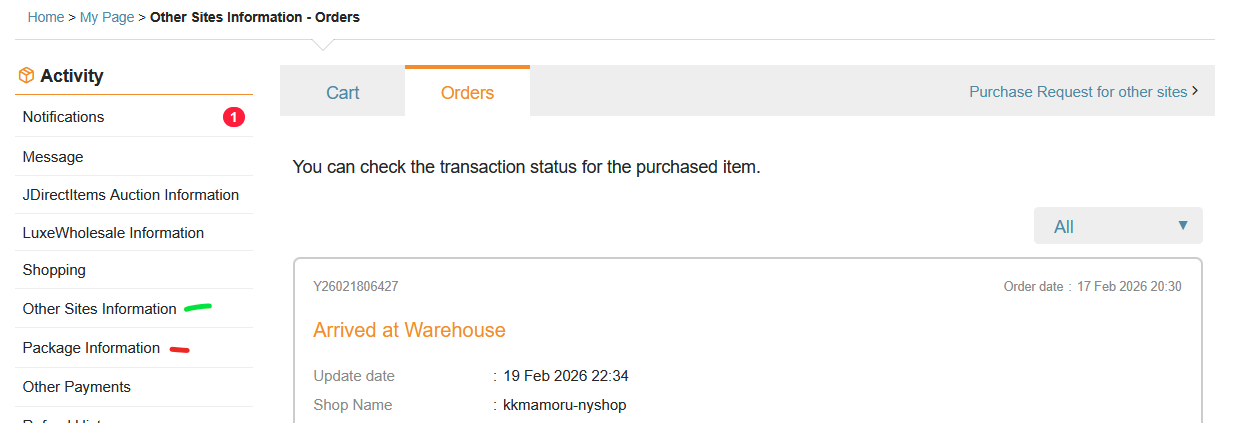
Importing from Japan was a little more complicated than from China. When importing from China you basically have 2 options: Superbuy and Cainiao. Neither store charges fees just shipping so it is very simple to get a cost estimate. Additionally, everything is purchased from the same app/website. Japan on the other hand, has an endless supply of proxy and forwarding services all with different fees and shipping charges. I decided to go with Buyee for this purchase from Mamoru. Most the proxy services charge fees per items and since I planned on getting a few things it made sense to go with Buyee which only charges a fee per order.
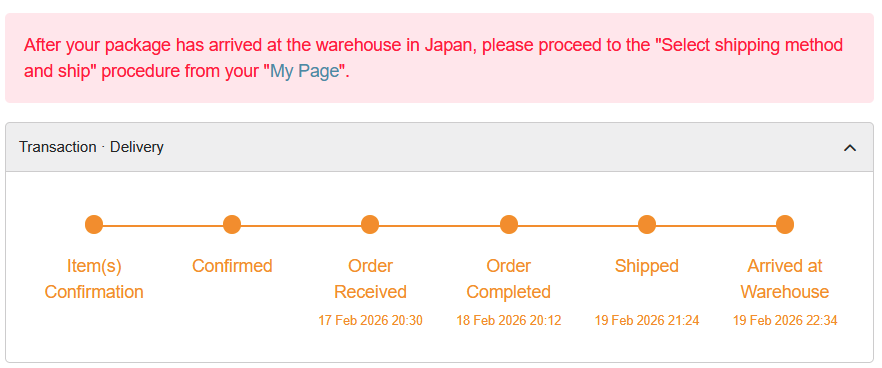
Importing from Japan is much more expensive than importing from China. It’s not just because the products themselves are more expensive, but also because you have to pay the Japanese tax (10%) and then the import tax (15.5%). A lot of the proxies also don’t offer a sea shipping option. I went with ECMS shipping which took exactly 15 days. I paid 3,600 JPY in shipping costs for a 26 x 19 x 10 cm 1 kg package. Shipping from Mamoru to the Buyee warehouse was about a week and I had to pay about 850 JPY in domestic shipping. Most of the cost savings are lost after all the taxes and shipping but there is a lot available in Japan that is hard to find anywhere else.
I wasn’t sure how expensive the shipping would be so I tried to get smaller items in my first purchase.
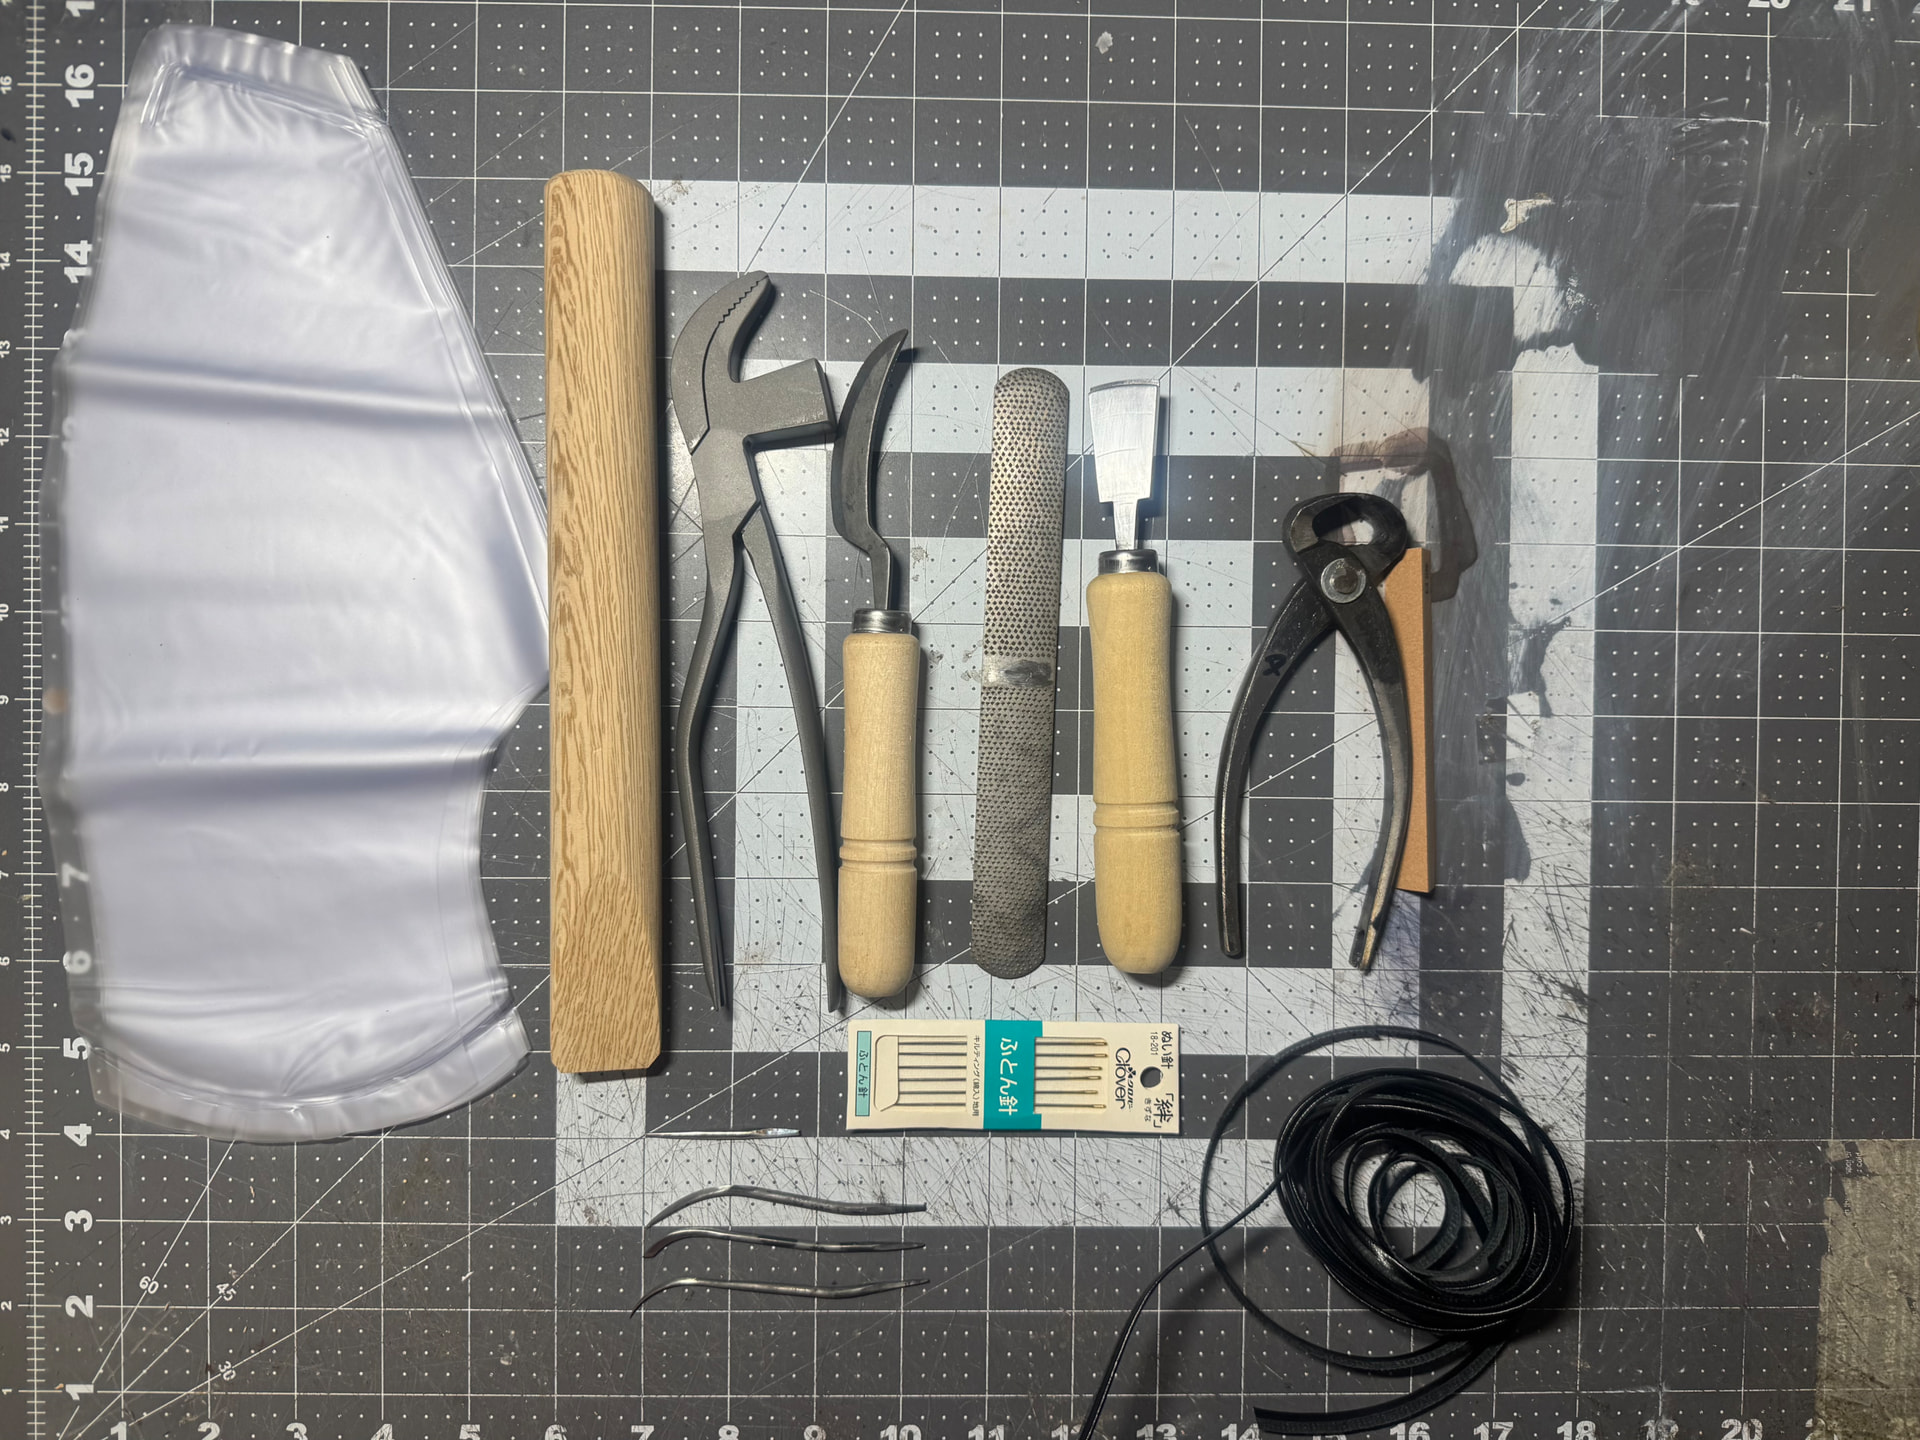
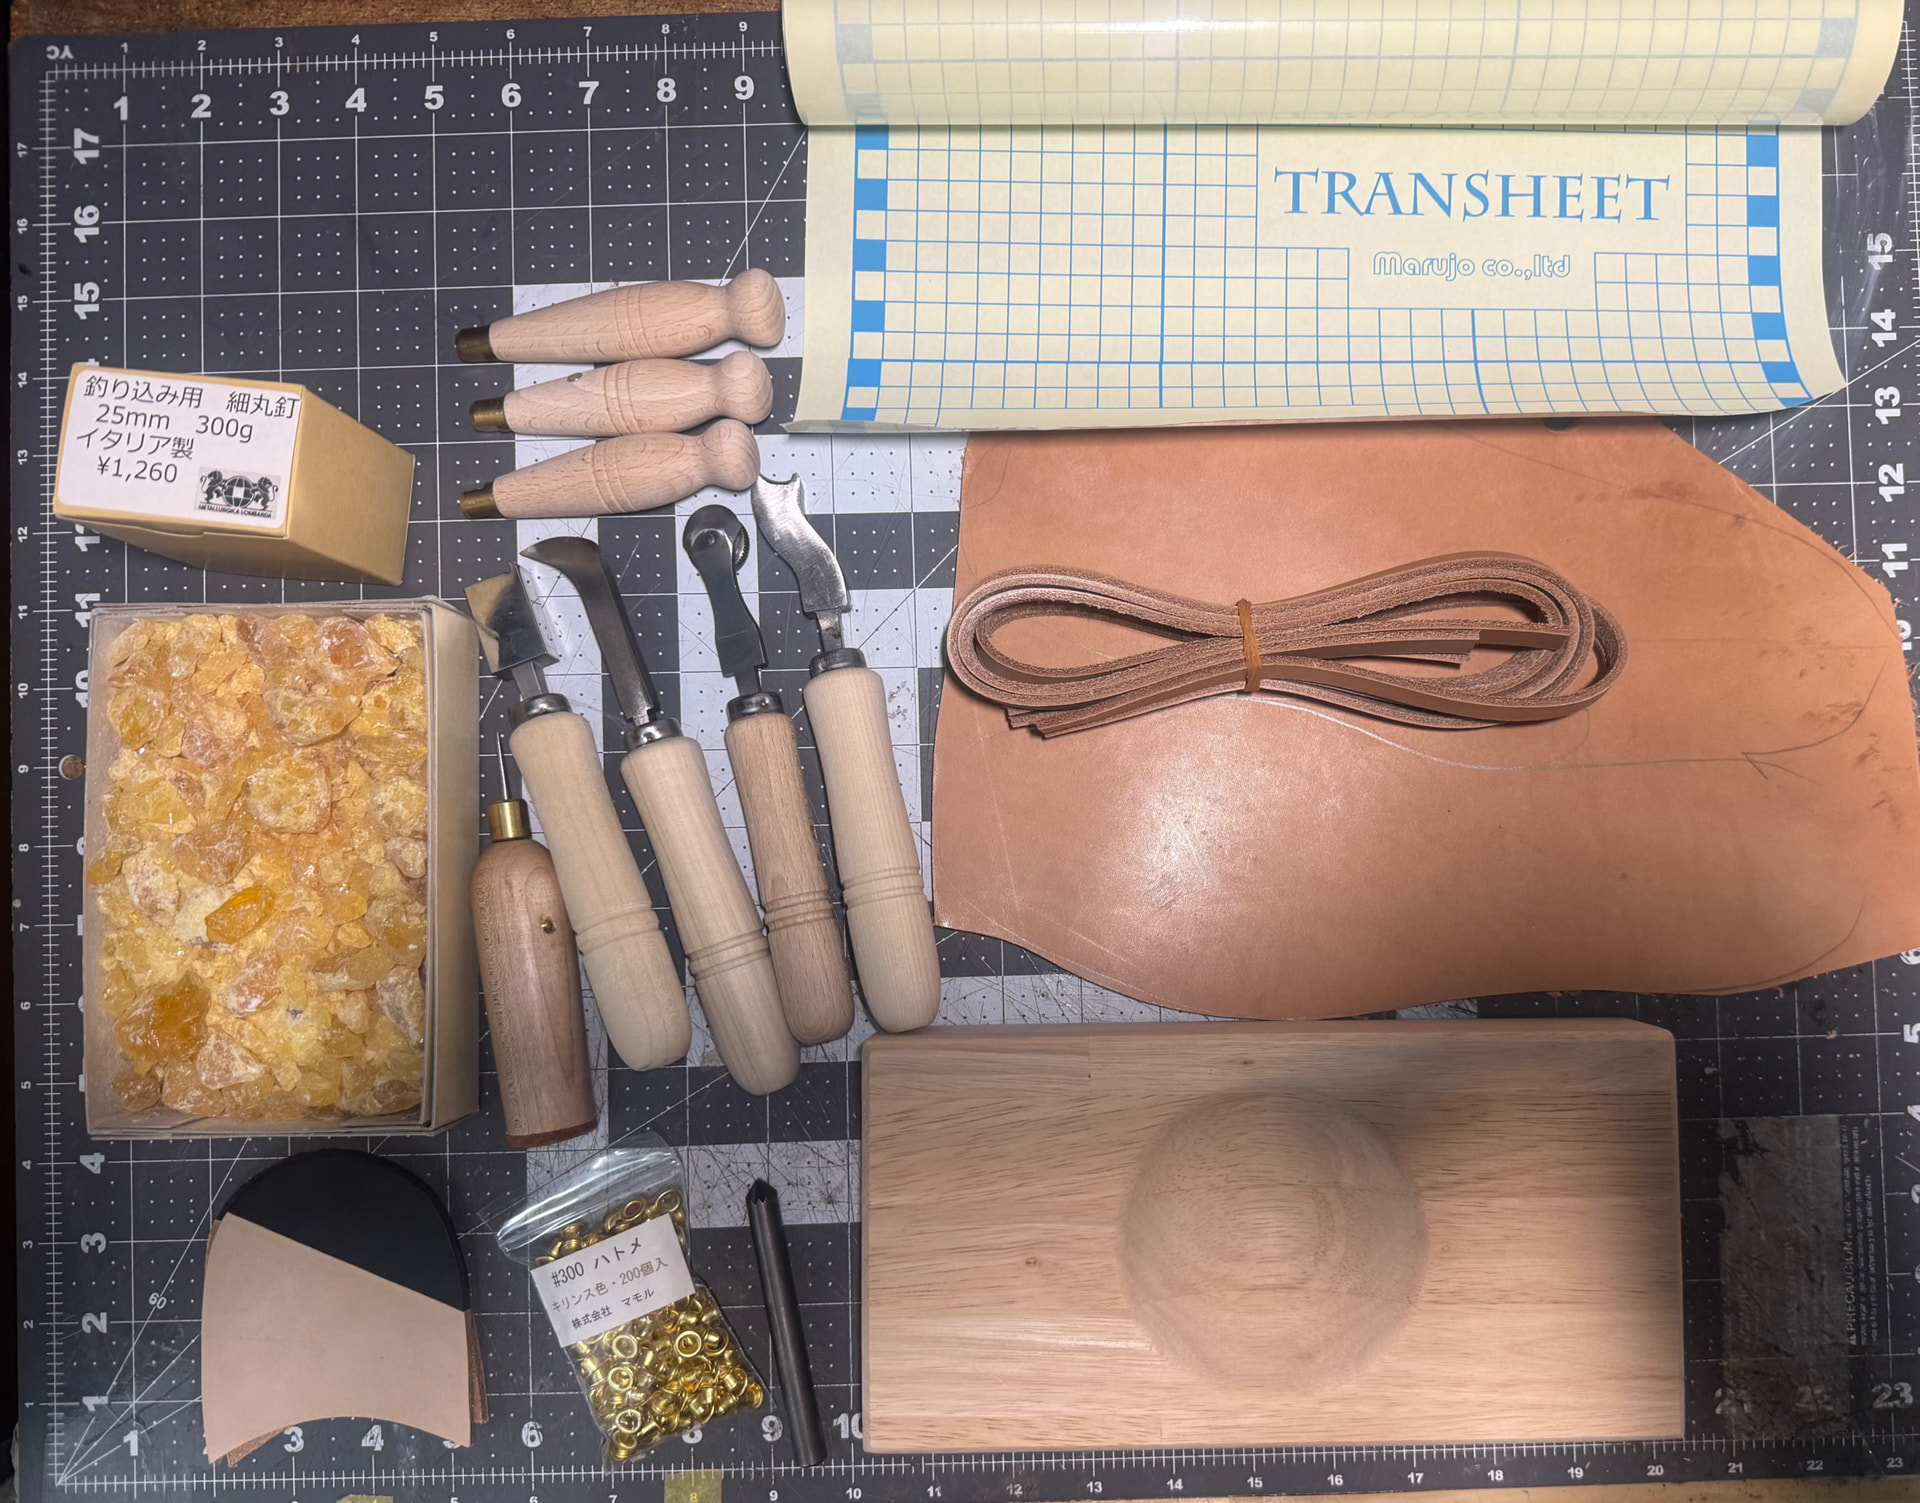
here are the things I purchased with some links to information:
-
5 Shoe covers
-
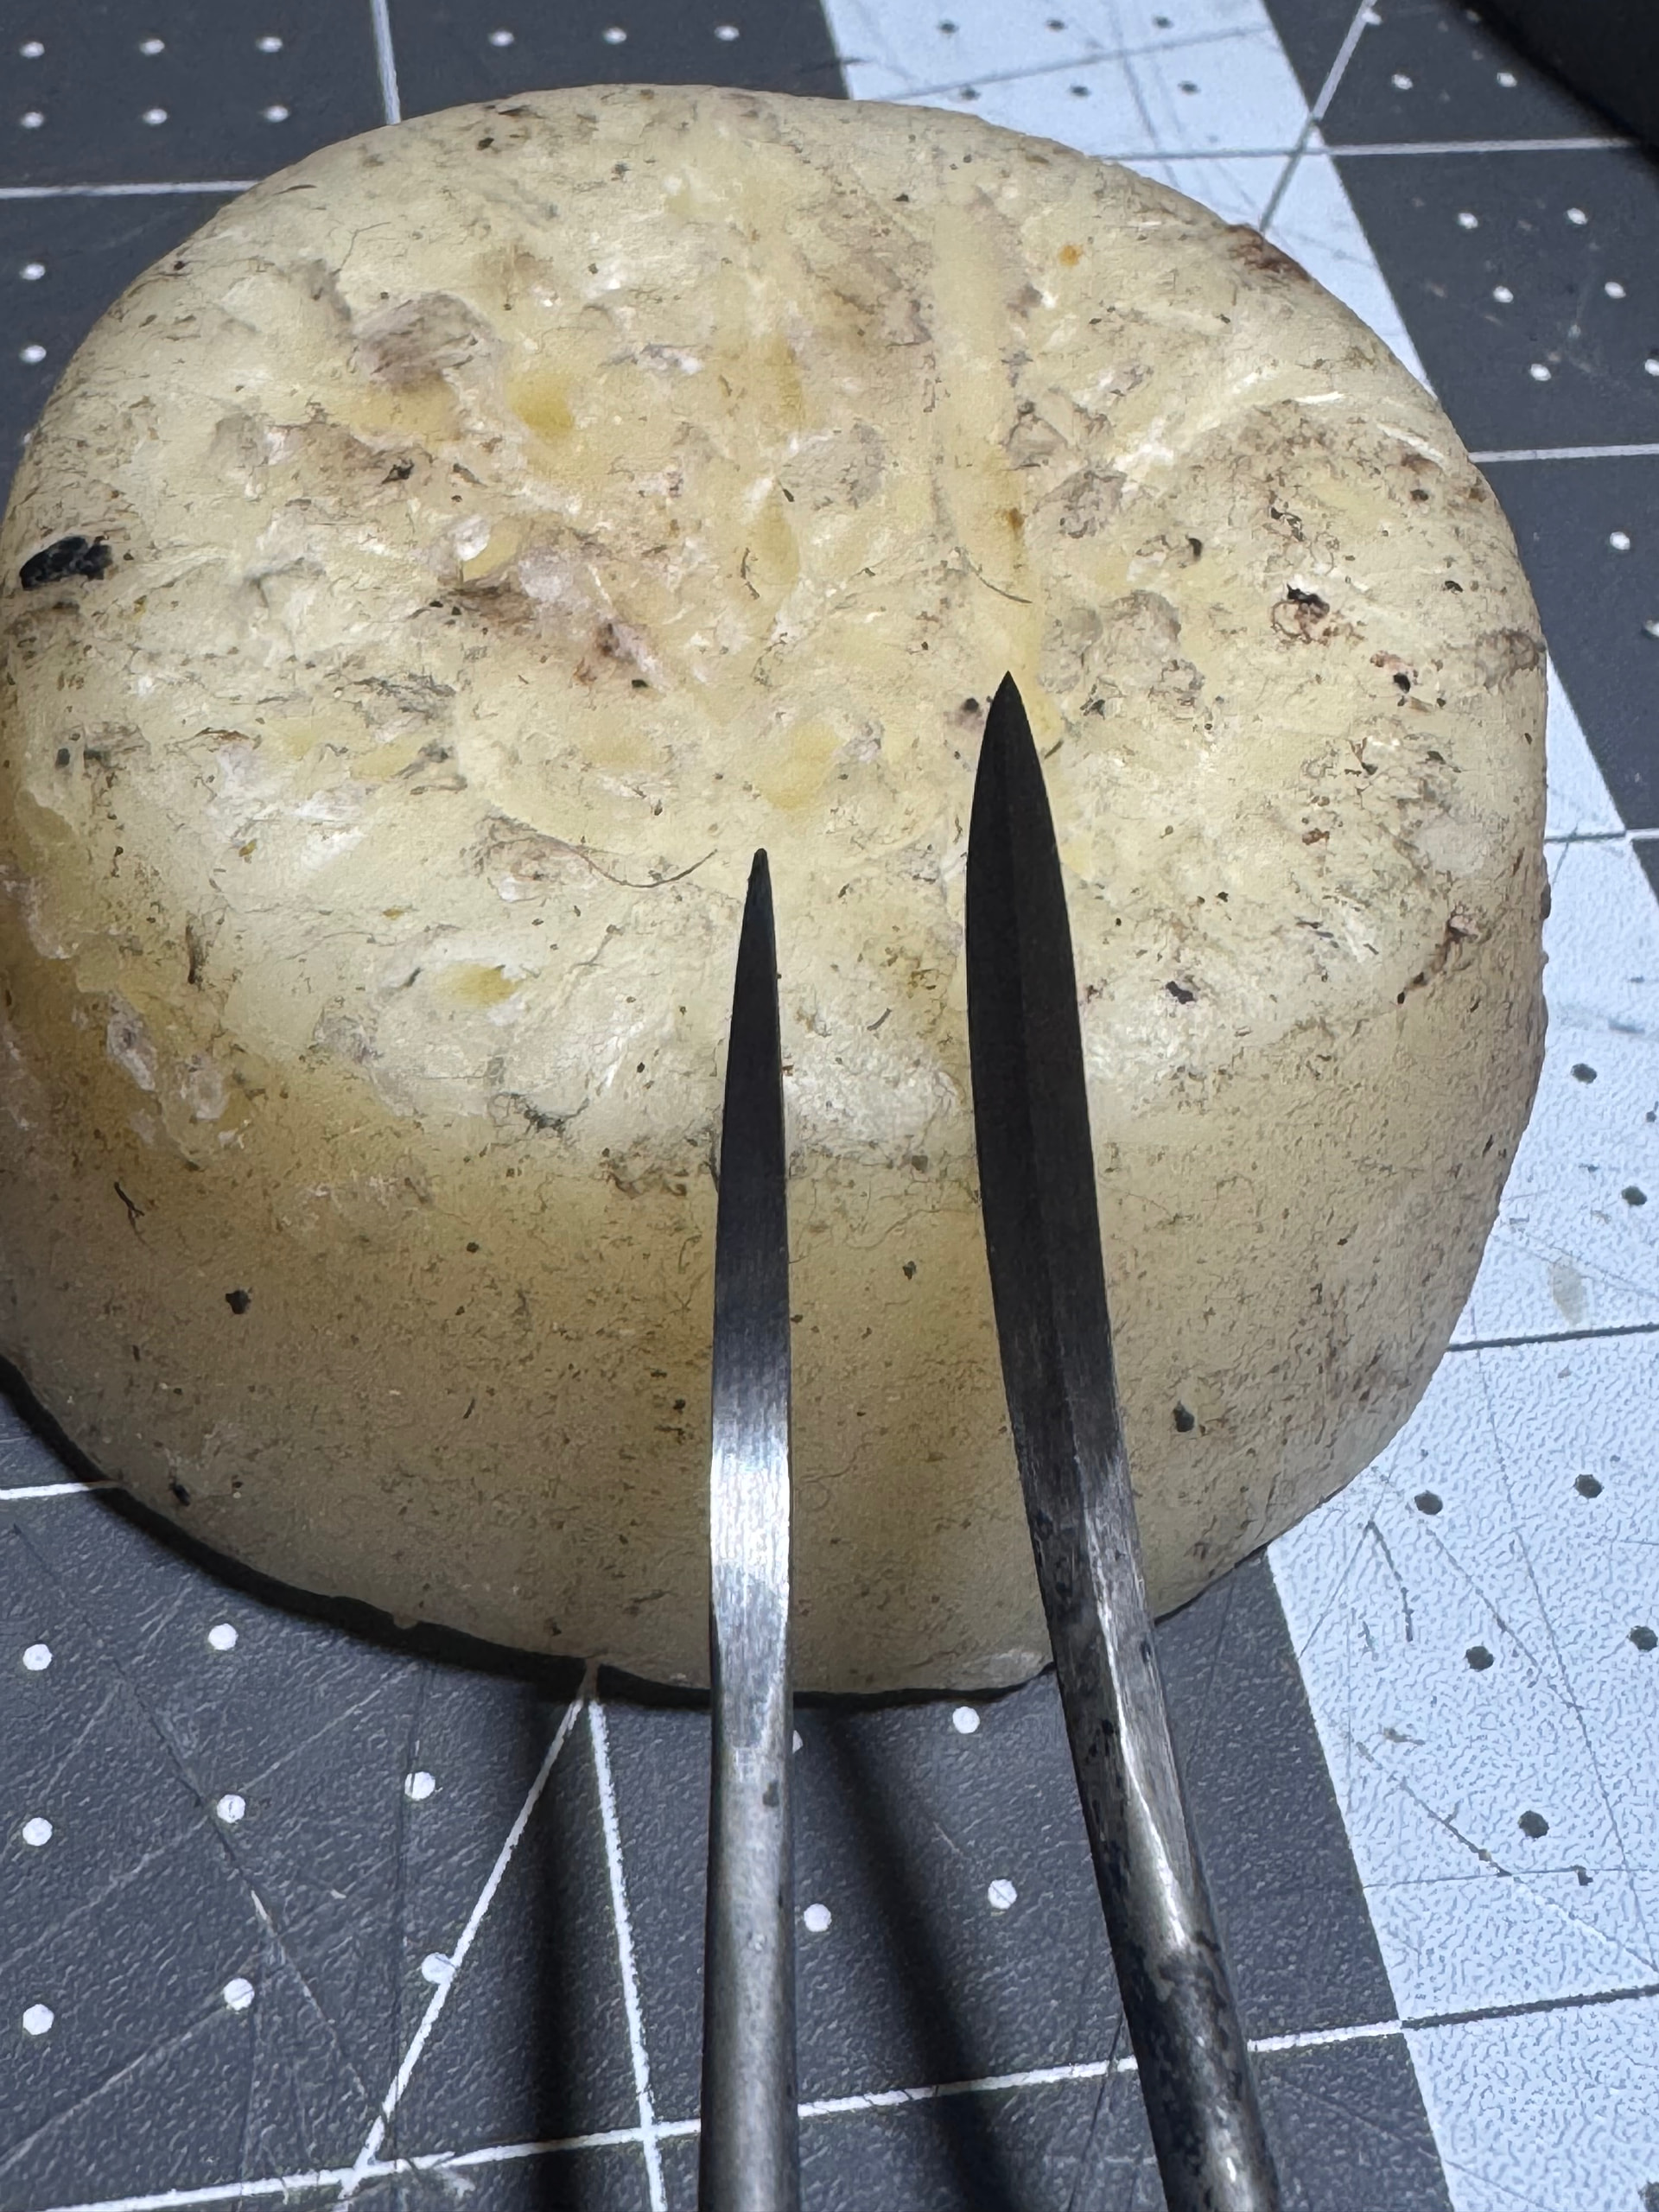
Triangular whetstone (credit to @kemitchell)
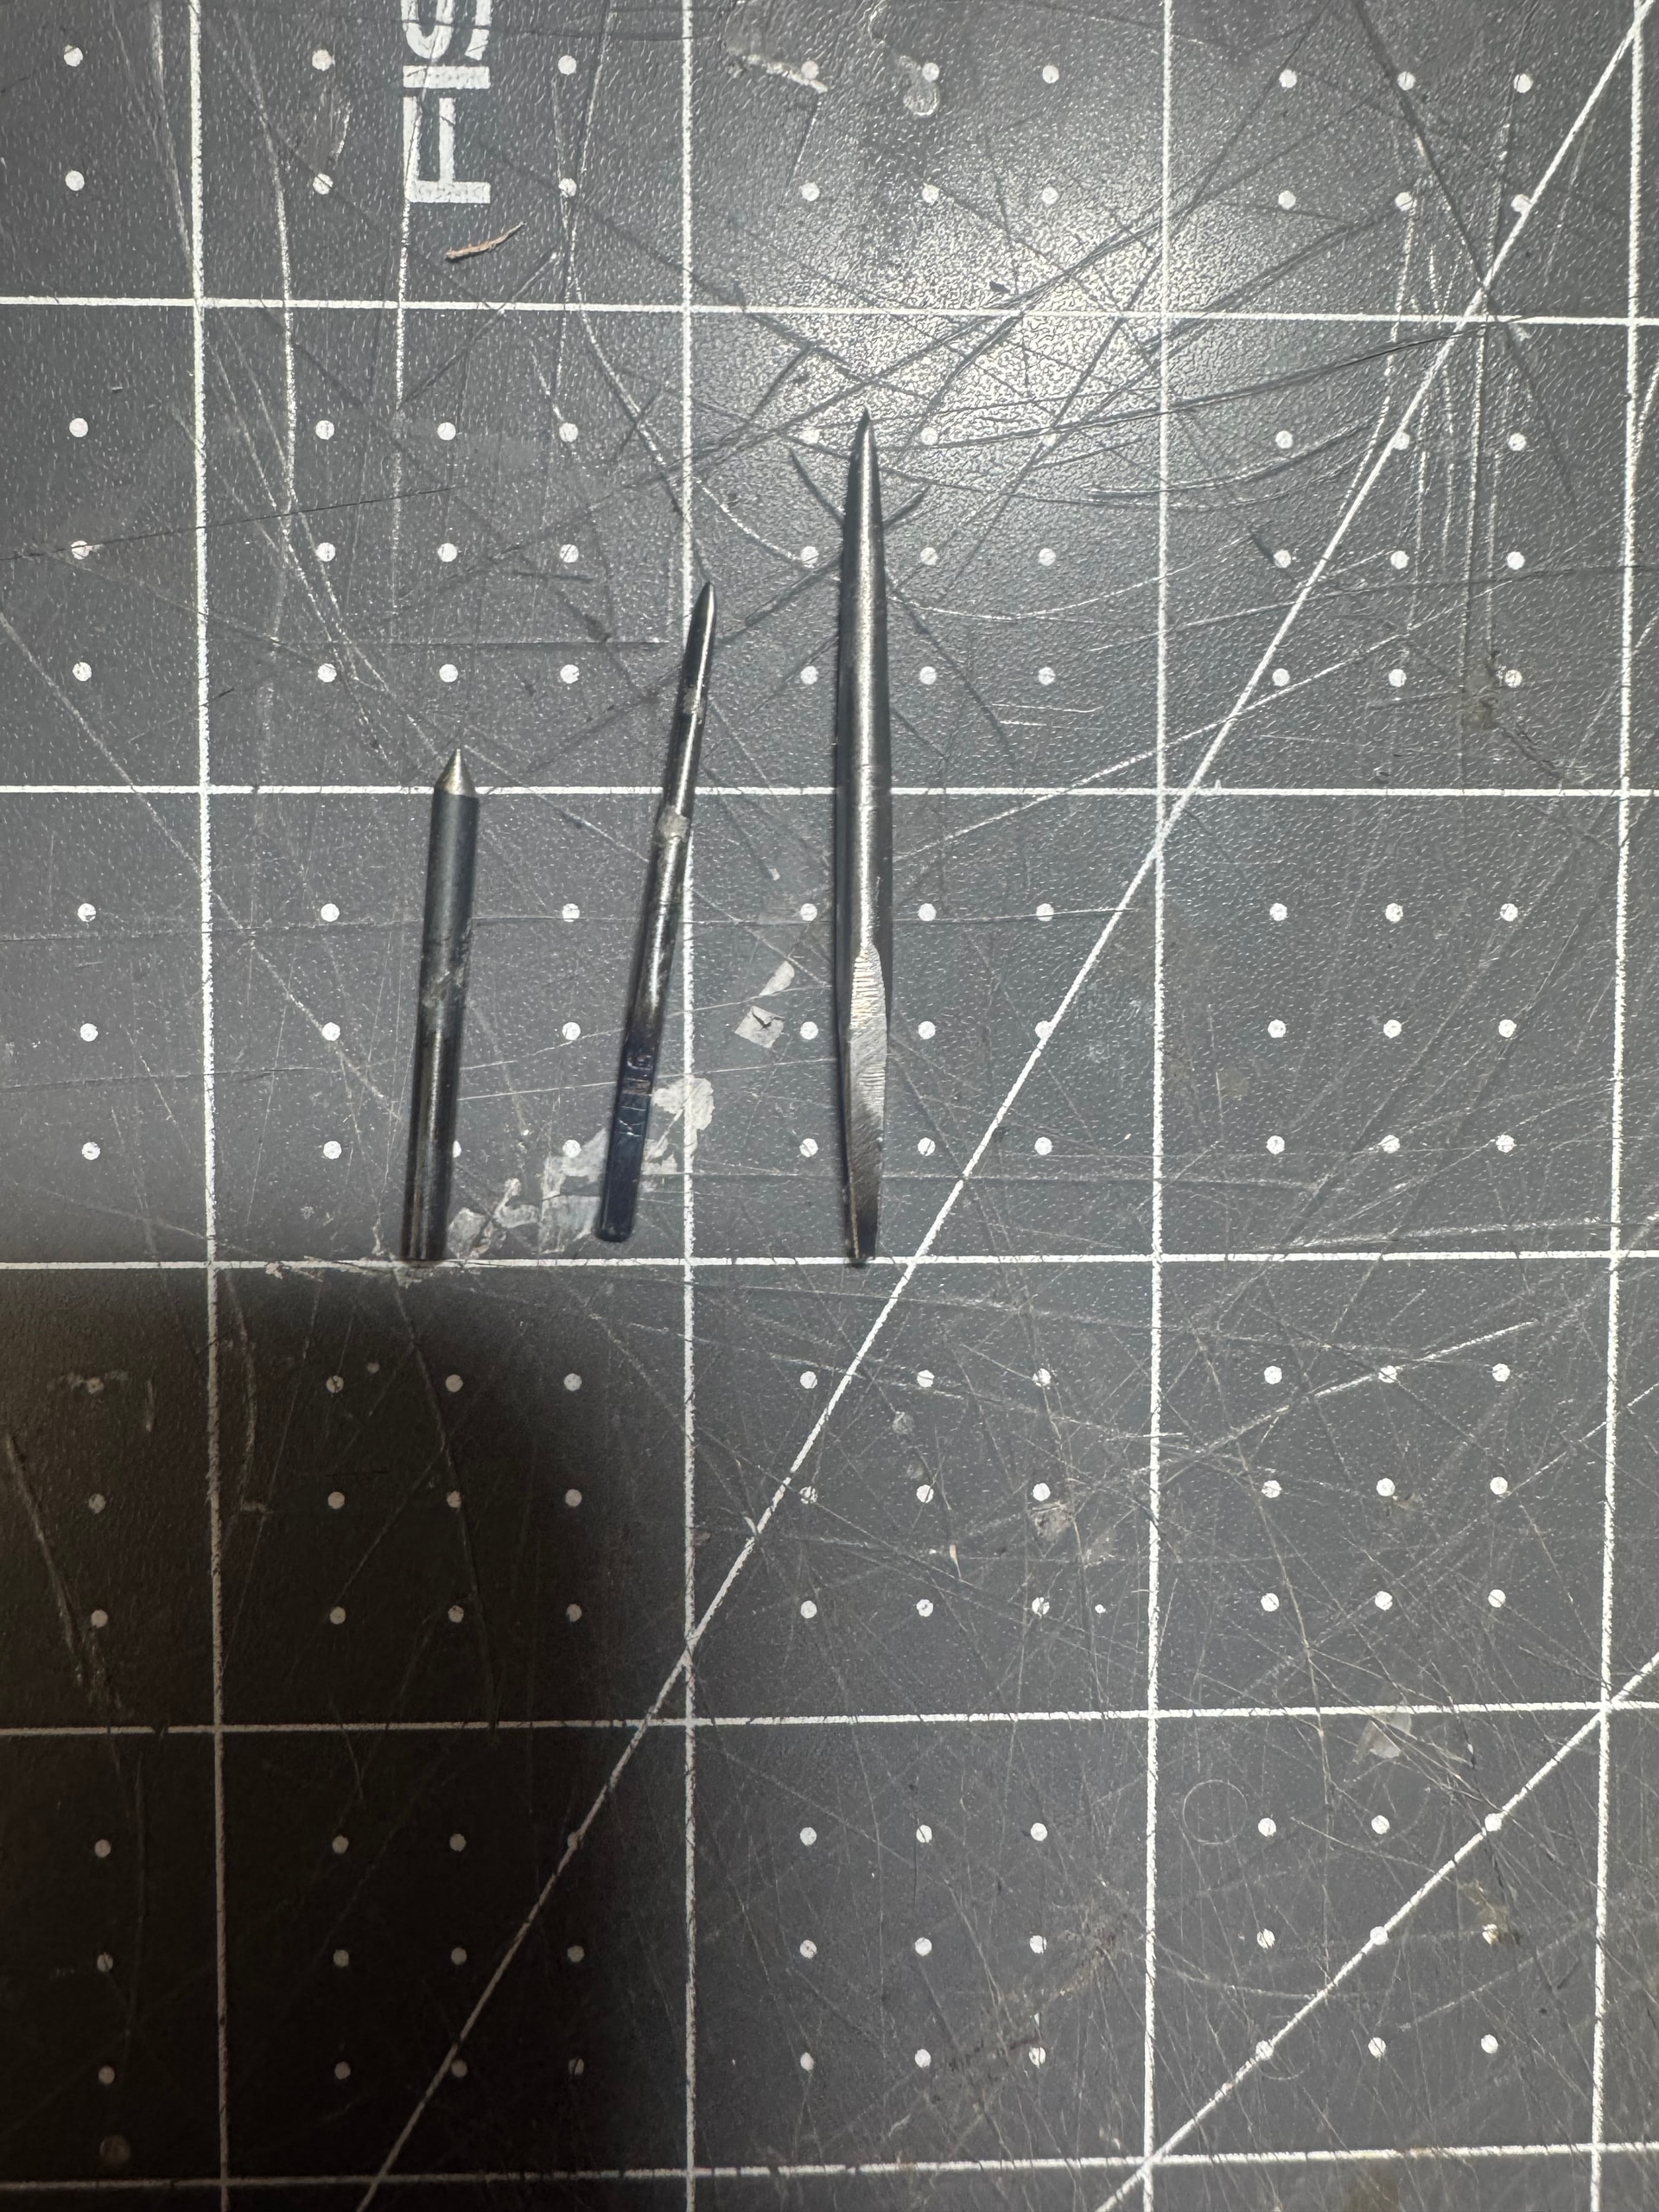
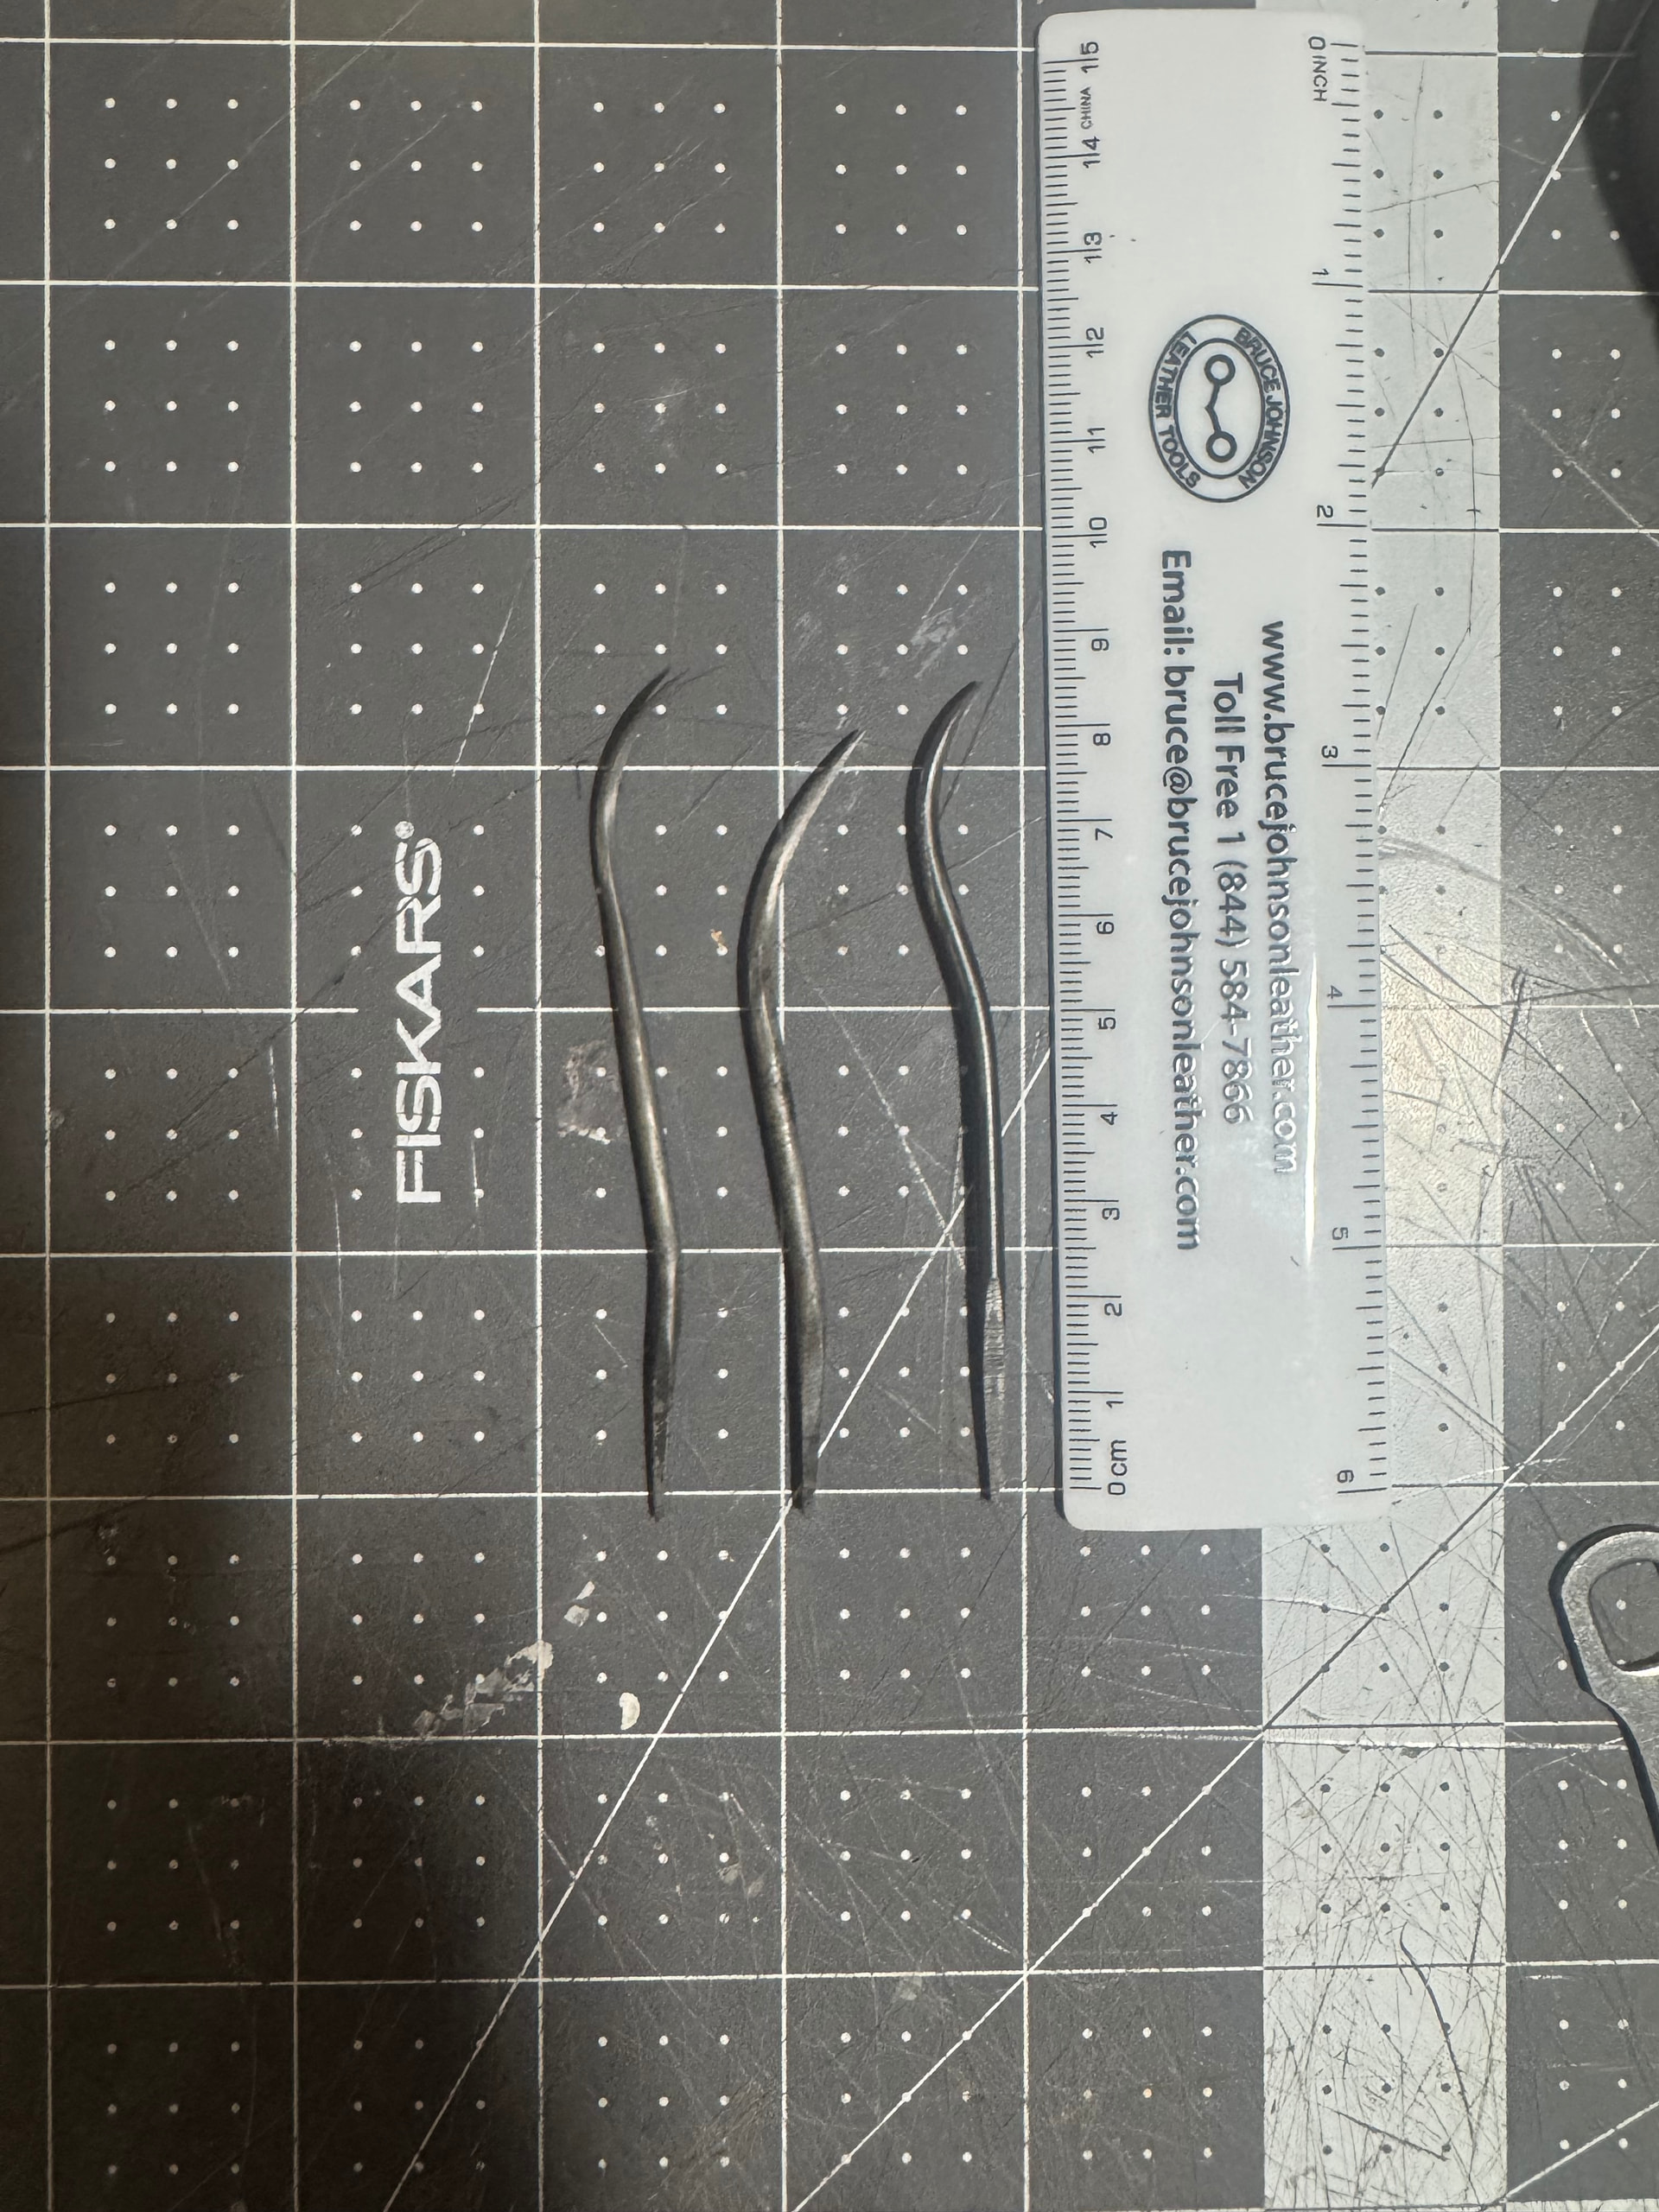
Pegging, welting, outsole, outsole waist awls
-
Beading leather
I’d like to do some preliminary comparisons with other tools I have. A big caveat is that I am still a beginner (7 months) with only 5 test shoes under my belt. I keep making test shoes because I am not happy with the fit of the lasts I have and my technique and finishing is terrible. I haven’t had a lot of time to work on shoes the past few months either so I have mostly just been researching and reading books/blogs. The comparisons will mostly be based off things I have read or seen in videos but I will also include the little hands on experience I have.
Shoe Rasp comparison
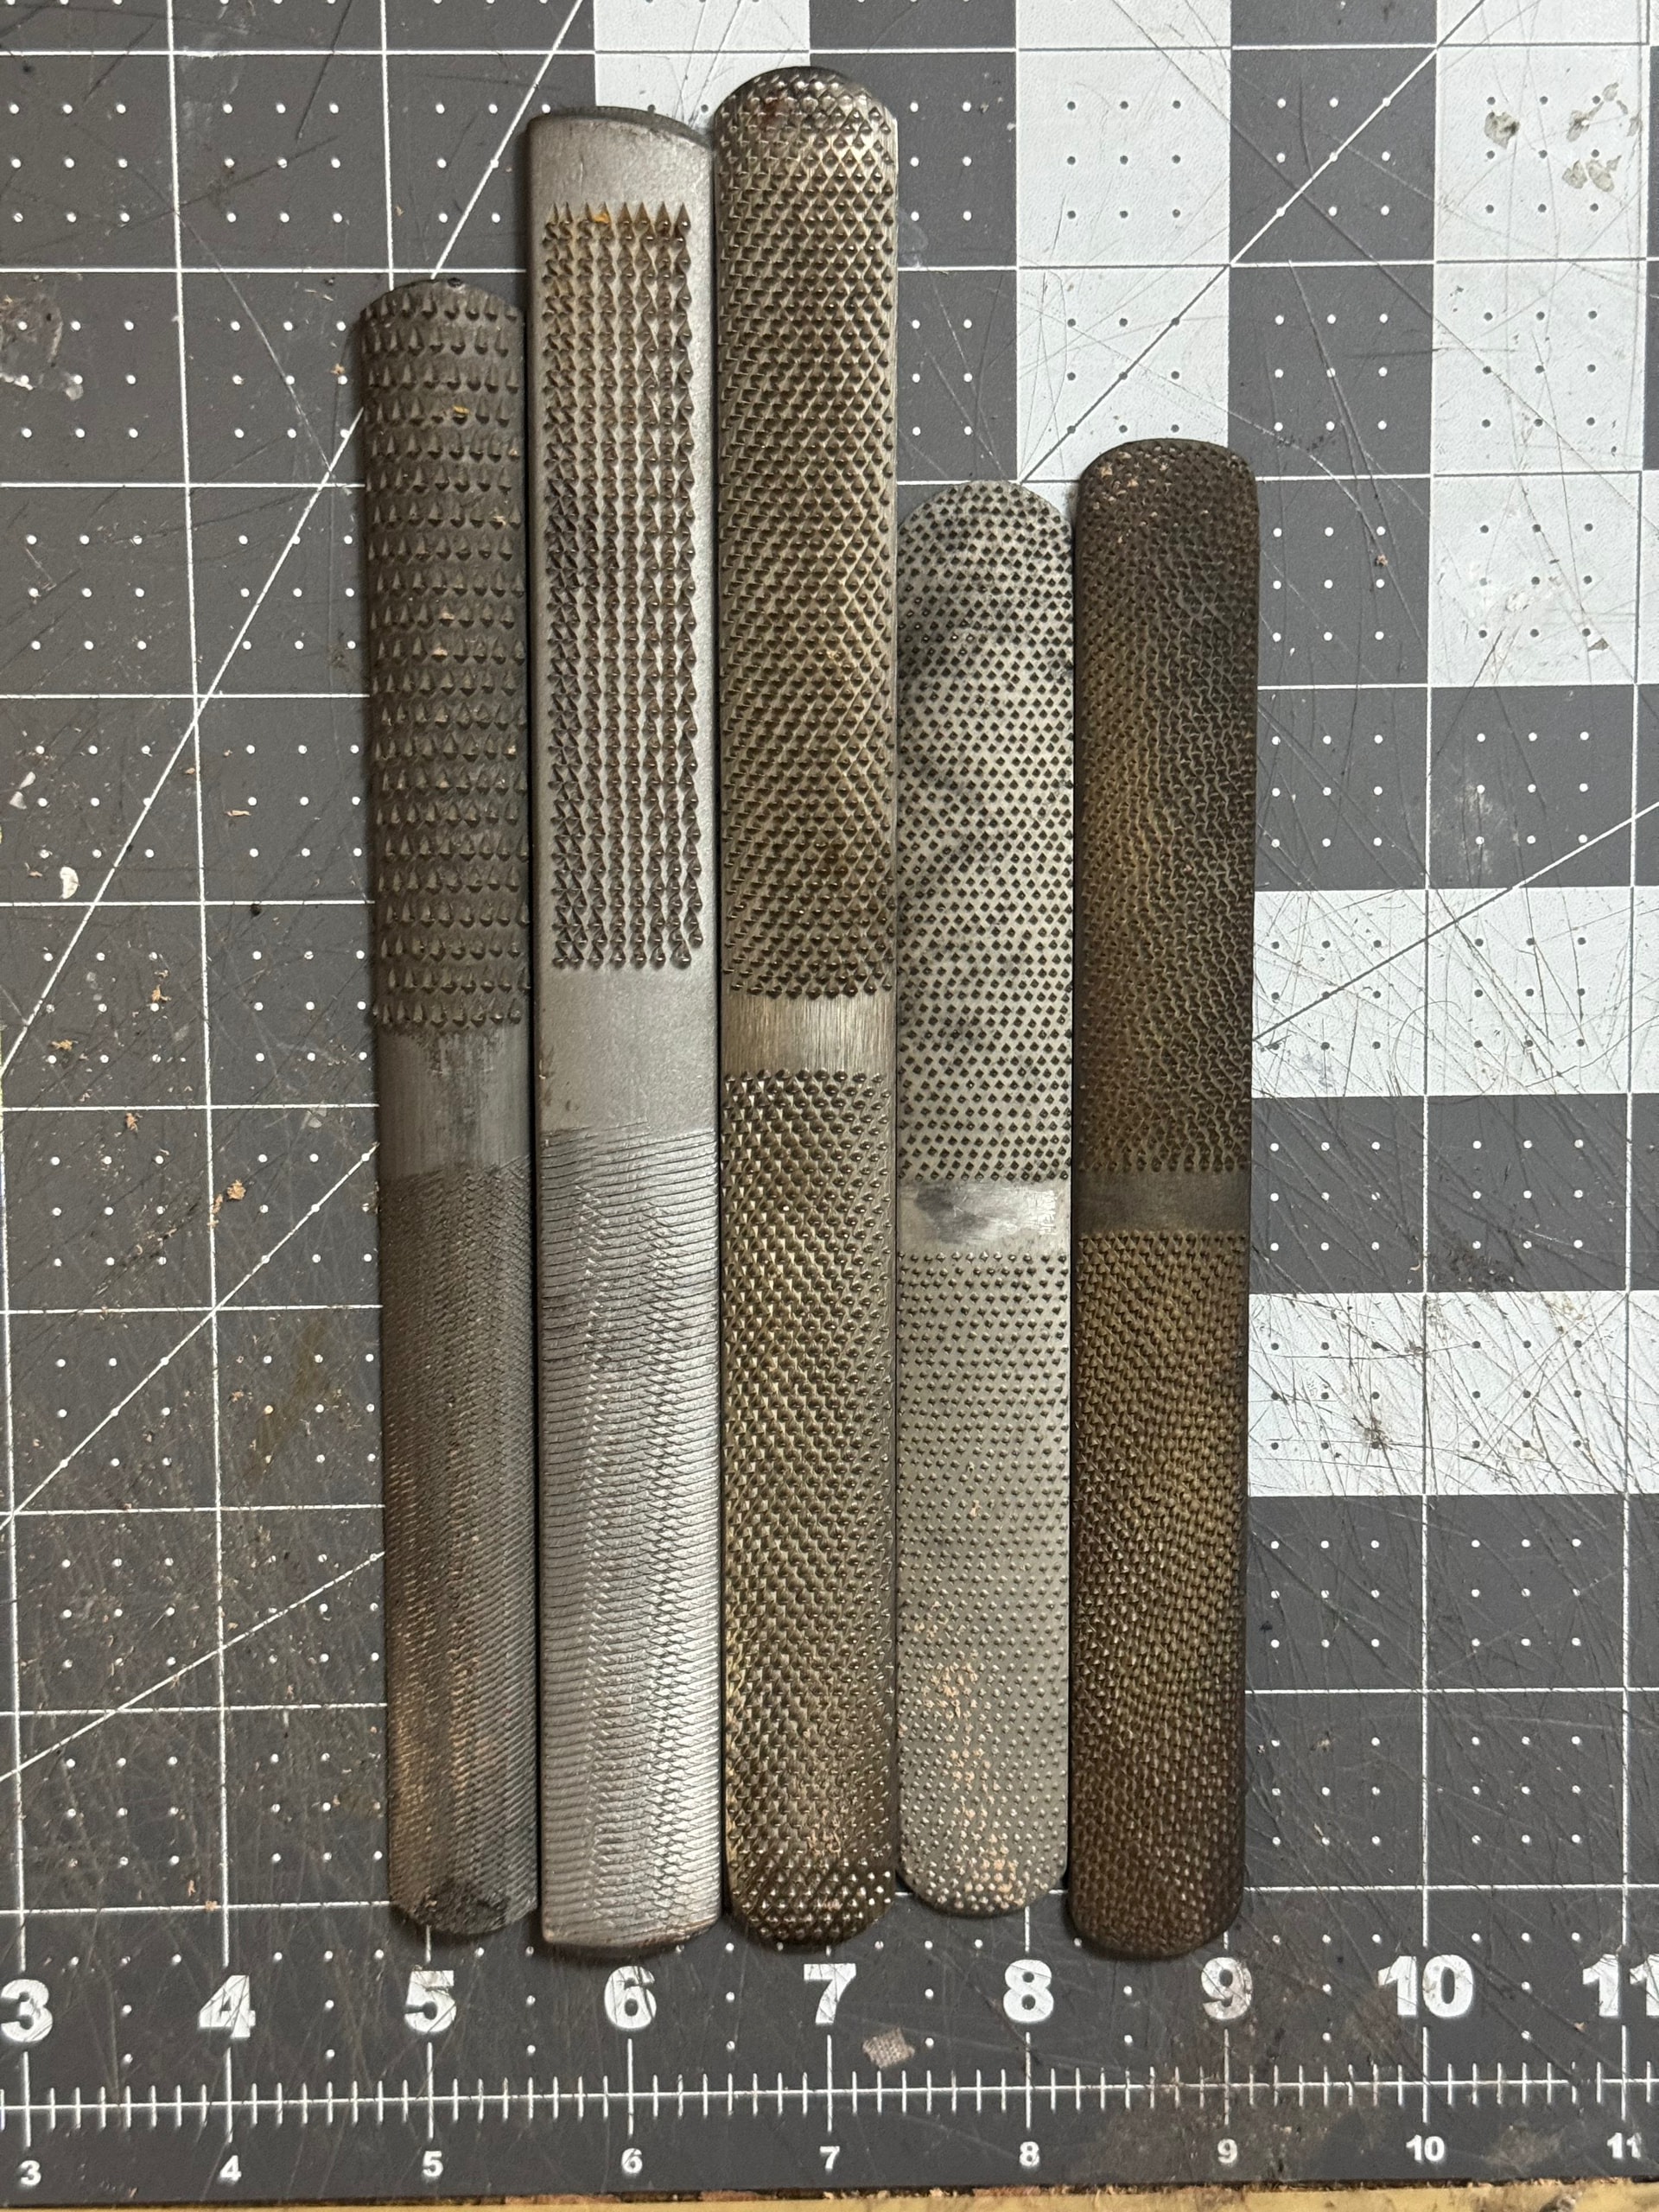
From left to right: cheap 4 in 1, cheap 4 in 1, F. Dick, Mamoru (Otani?), Efe Laborde Bootmaker
The second to left rasp is the first one I ever purchased and it is terrible. it has no sharpness at all and the fact that all the teeth are aligned makes it hard to use. The left most rasp was purchased later and it still has the aligned teeth issue but it has much better sharpening. The F. Dick rasp is also machine stitched but the teeth are slightly shifted in each row so its much nicer to use, very coarse. The Mamoru rasp is the smallest and thinnest of the rasps. You feel a lot of control when using it. The teeth are very small/shallow and spaced out a lot. It is much finer and sharper than the F. Dick rasp. I was confused when I saw this rasp on Mamoru’s website. I had learned from ShoemakersToolmakers and an interview with Sebastian Tarek that the typical Japanese shoe rasp is offered by a famous store called “Otani”. The store has virtually no online presence but I was able to find an article, an instagram post, and a youtube clip. To my surprise, I believe that Mamoru is reselling the Otani rasps. In the middle you can see that they tried to sand the Otani name away but on mine it is still visible in person. I was under the impression that the rasp was machine stitched when I purchased it but in person a lot of the teeth look randomly placed, the price is extremely low if it is hand stitched. The ELB rasp is shorter than the F. Dick rasp but has about the same thickness. It is much finer than the F. Dick. The teeth are not as shallow as the Otani but they are very dense. The sharpness is incredible much nicer to use than the other rasps by a huge margin (Only used on toe puff). It is hand stitched and about 3 times the cost of the other nice rasps.
Overall I like the Mamoru/Otani rasp a lot. In my opinion, it is the best value shoe rasp by far. I can see why professionals that go through rasps frequently buy them in bulk. While cheaper shoe rasps can definitely get the job done I think having a dedicated high quality one makes a big difference. The big caveat is shipping any of the nice rasps is expensive since they all come from overseas.
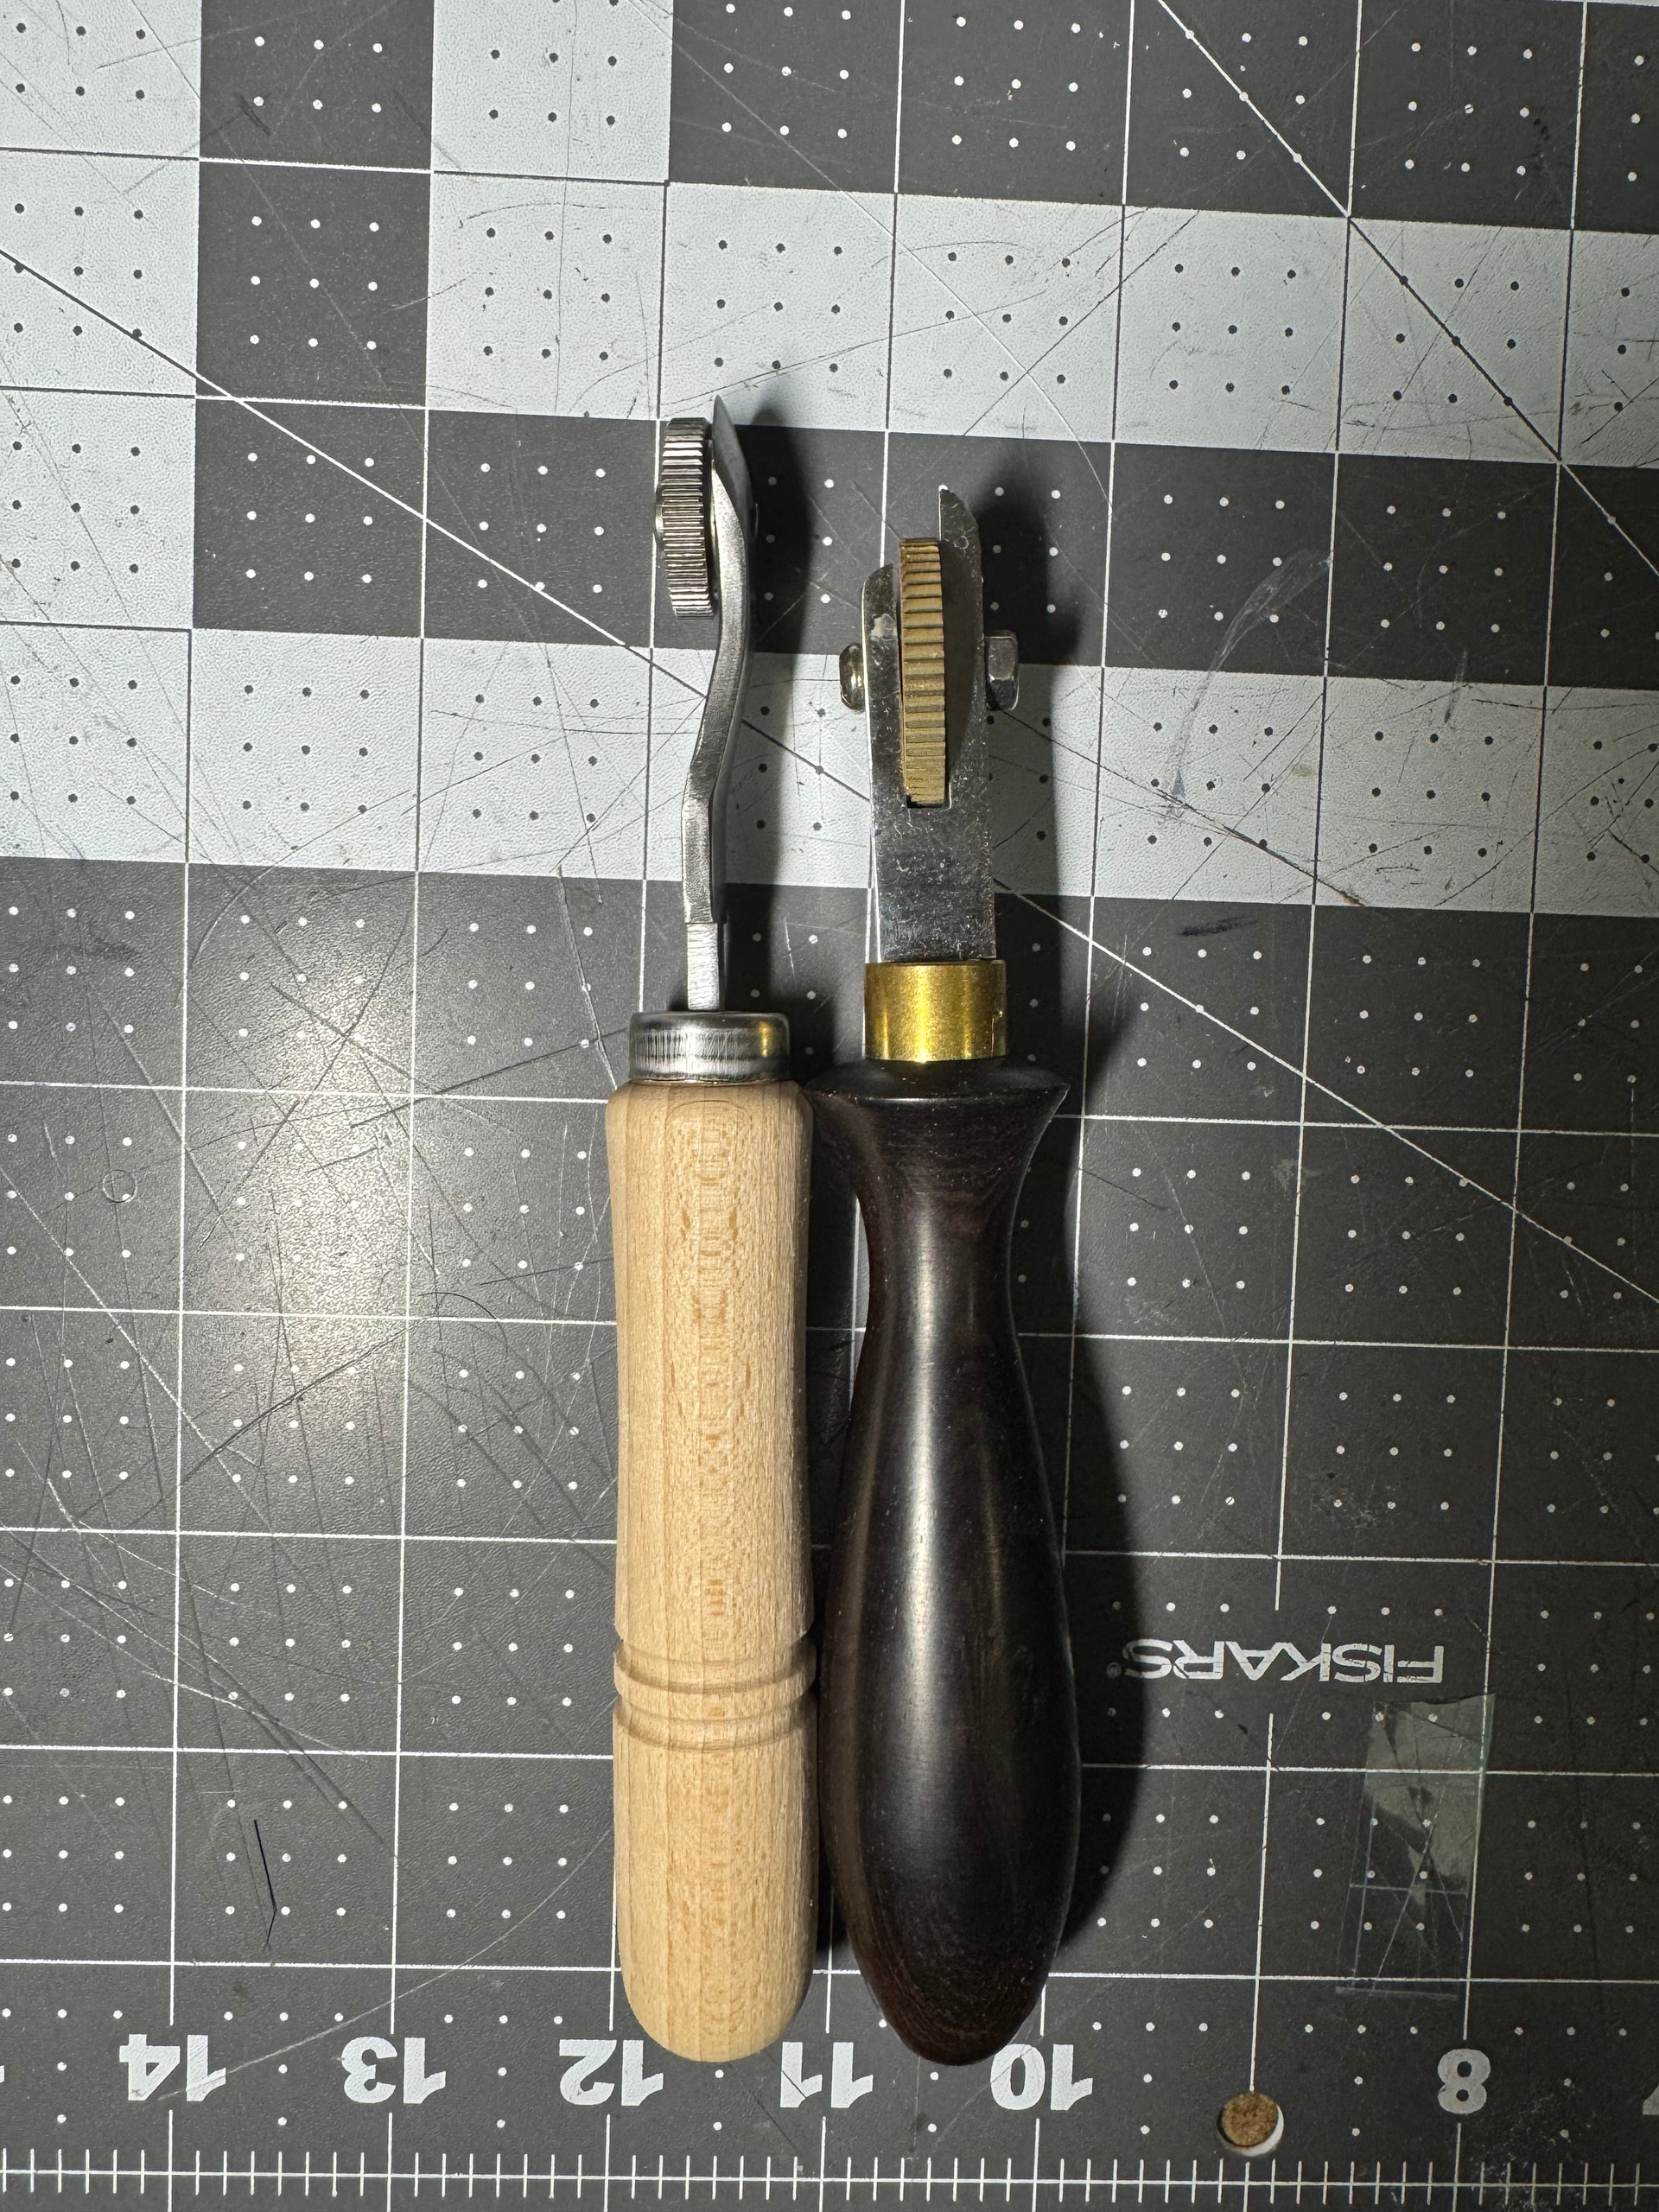
Lasting Pliers comparison
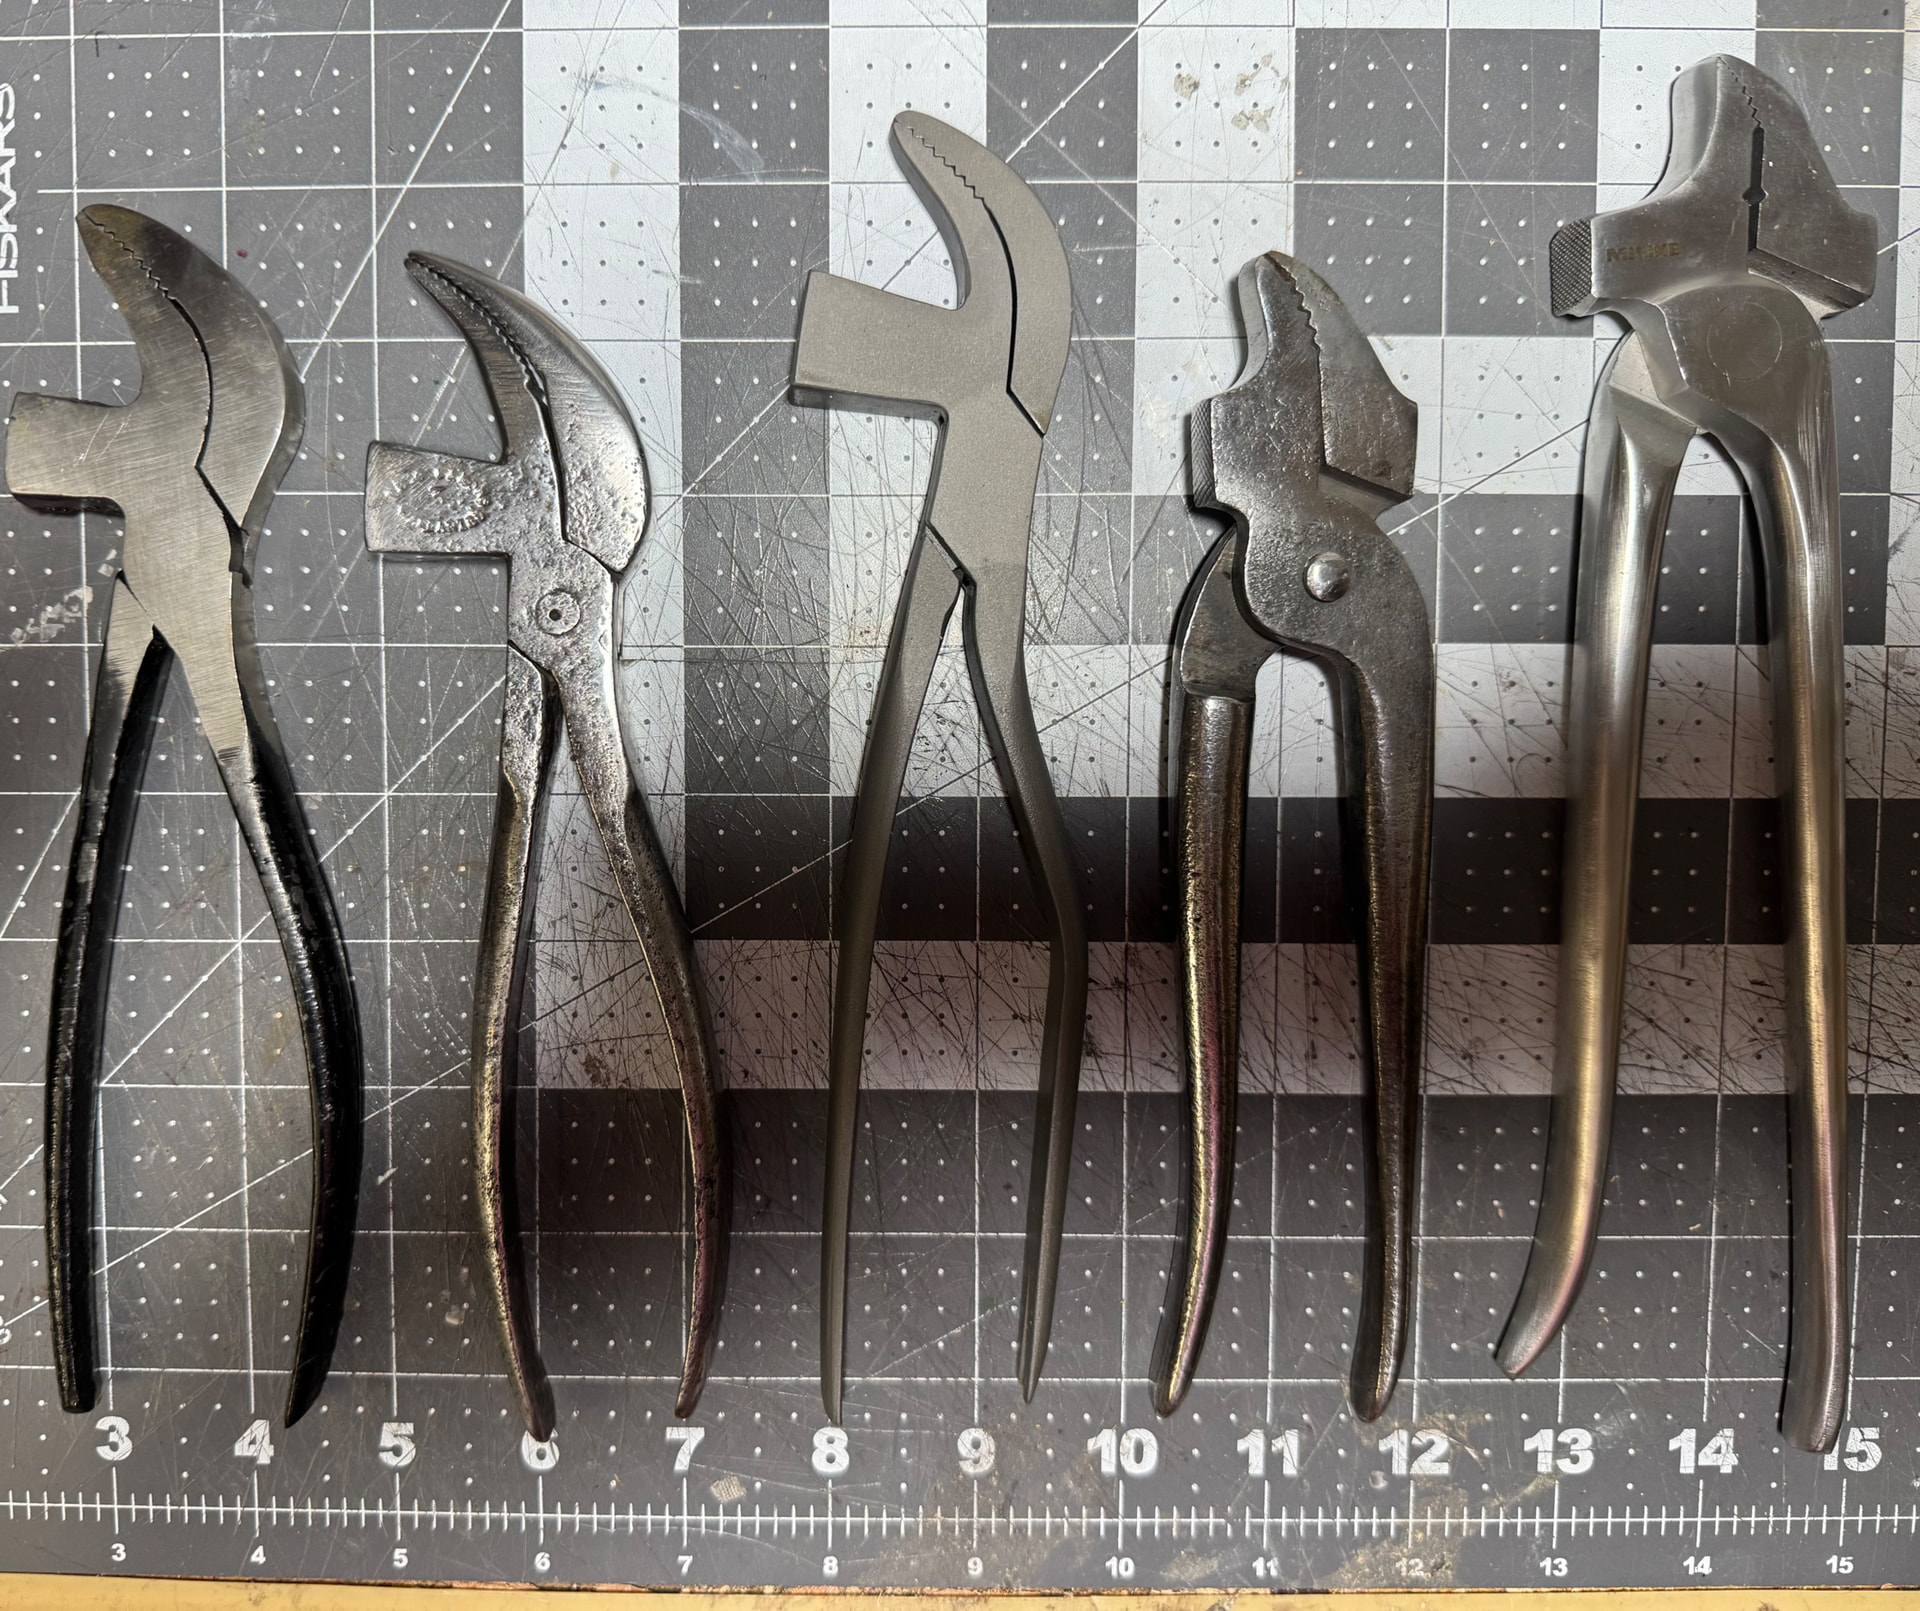
From left to right: Cheap Chinese, vintage Japanese style, Mamoru Japanese style, vintage German style, Minke
The Chinese lasting pliers are the narrowest I have. They work OK but they feel cheap and don’t have much heft to them. The vintage ones to the right are really nice, much more heft. The Mamoru pliers came with some kind of matte finish (to prevent rust?). They are 5mm wide at the end and have a great heft, similar to the vintage ones. They do not feel as solid as any of the vintage ones or the Minke but are miles better than the Chinese pliers. The vintage German pliers are nice with a good heft but the anchor/hammer does not come out as much as Japanese or Swedish style. Its hard to get good leverage unless I pull very close to the end of the lasting allowance. The Minke pliers are the widest (15 mm) and heaviest. They were the first ones I purchased and are amazing in all regards.
One of the main things that pushed me to import from Japan was the lasting pliers offered by Mamoru. I was not a big fan of the Chinese ones and there aren’t many alternatives of that style (other than vintage) available in the US. I was not disappointed with my purchase. While they are not the same quality as the Minke or vintage pliers they are a joy to use. The 5mm width can be used for lasting all parts of the shoe while the hammer face (after mirror polishing) can act as a lasting hammer. The thing that struck me the most about the Mamoru’s is the weight balance. It makes hammering the nails so easy! I can get nails deeper in 2 hits with the Mamoru’s than with the Minke’s and I also hit my fingers a lot less. At about half the cost of other nice lasting pliers they are a great value too. My favorite item from the order.
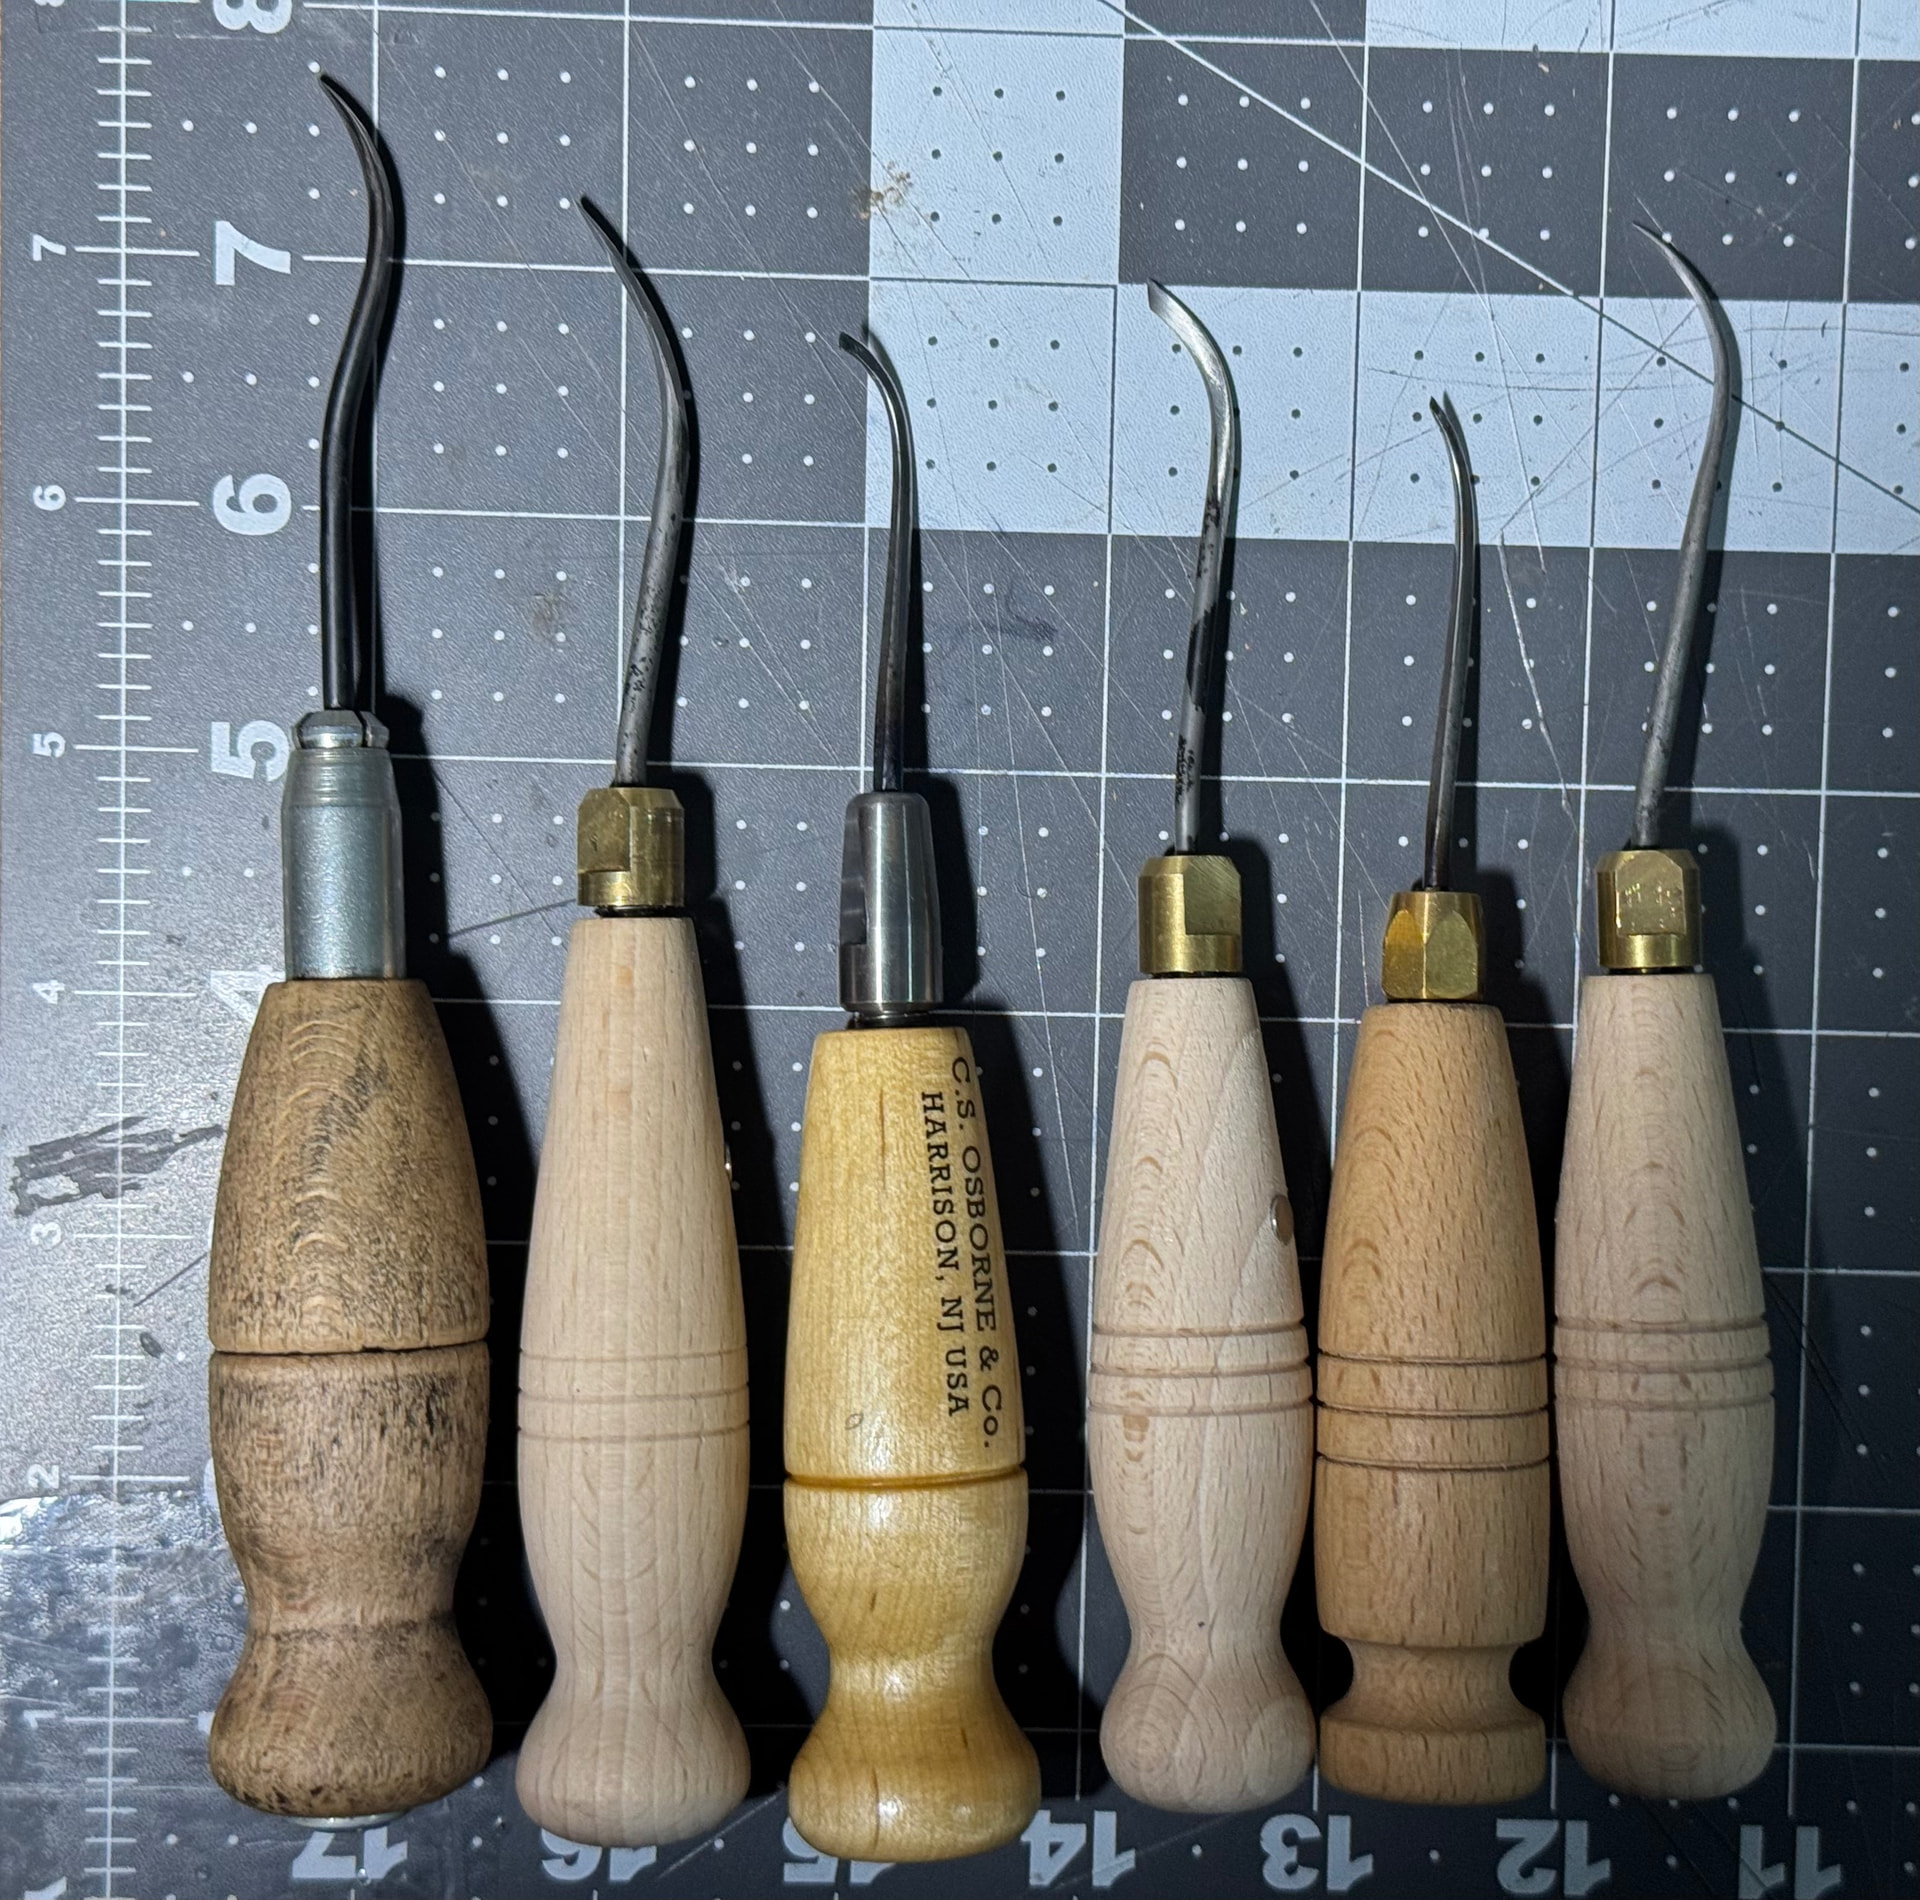
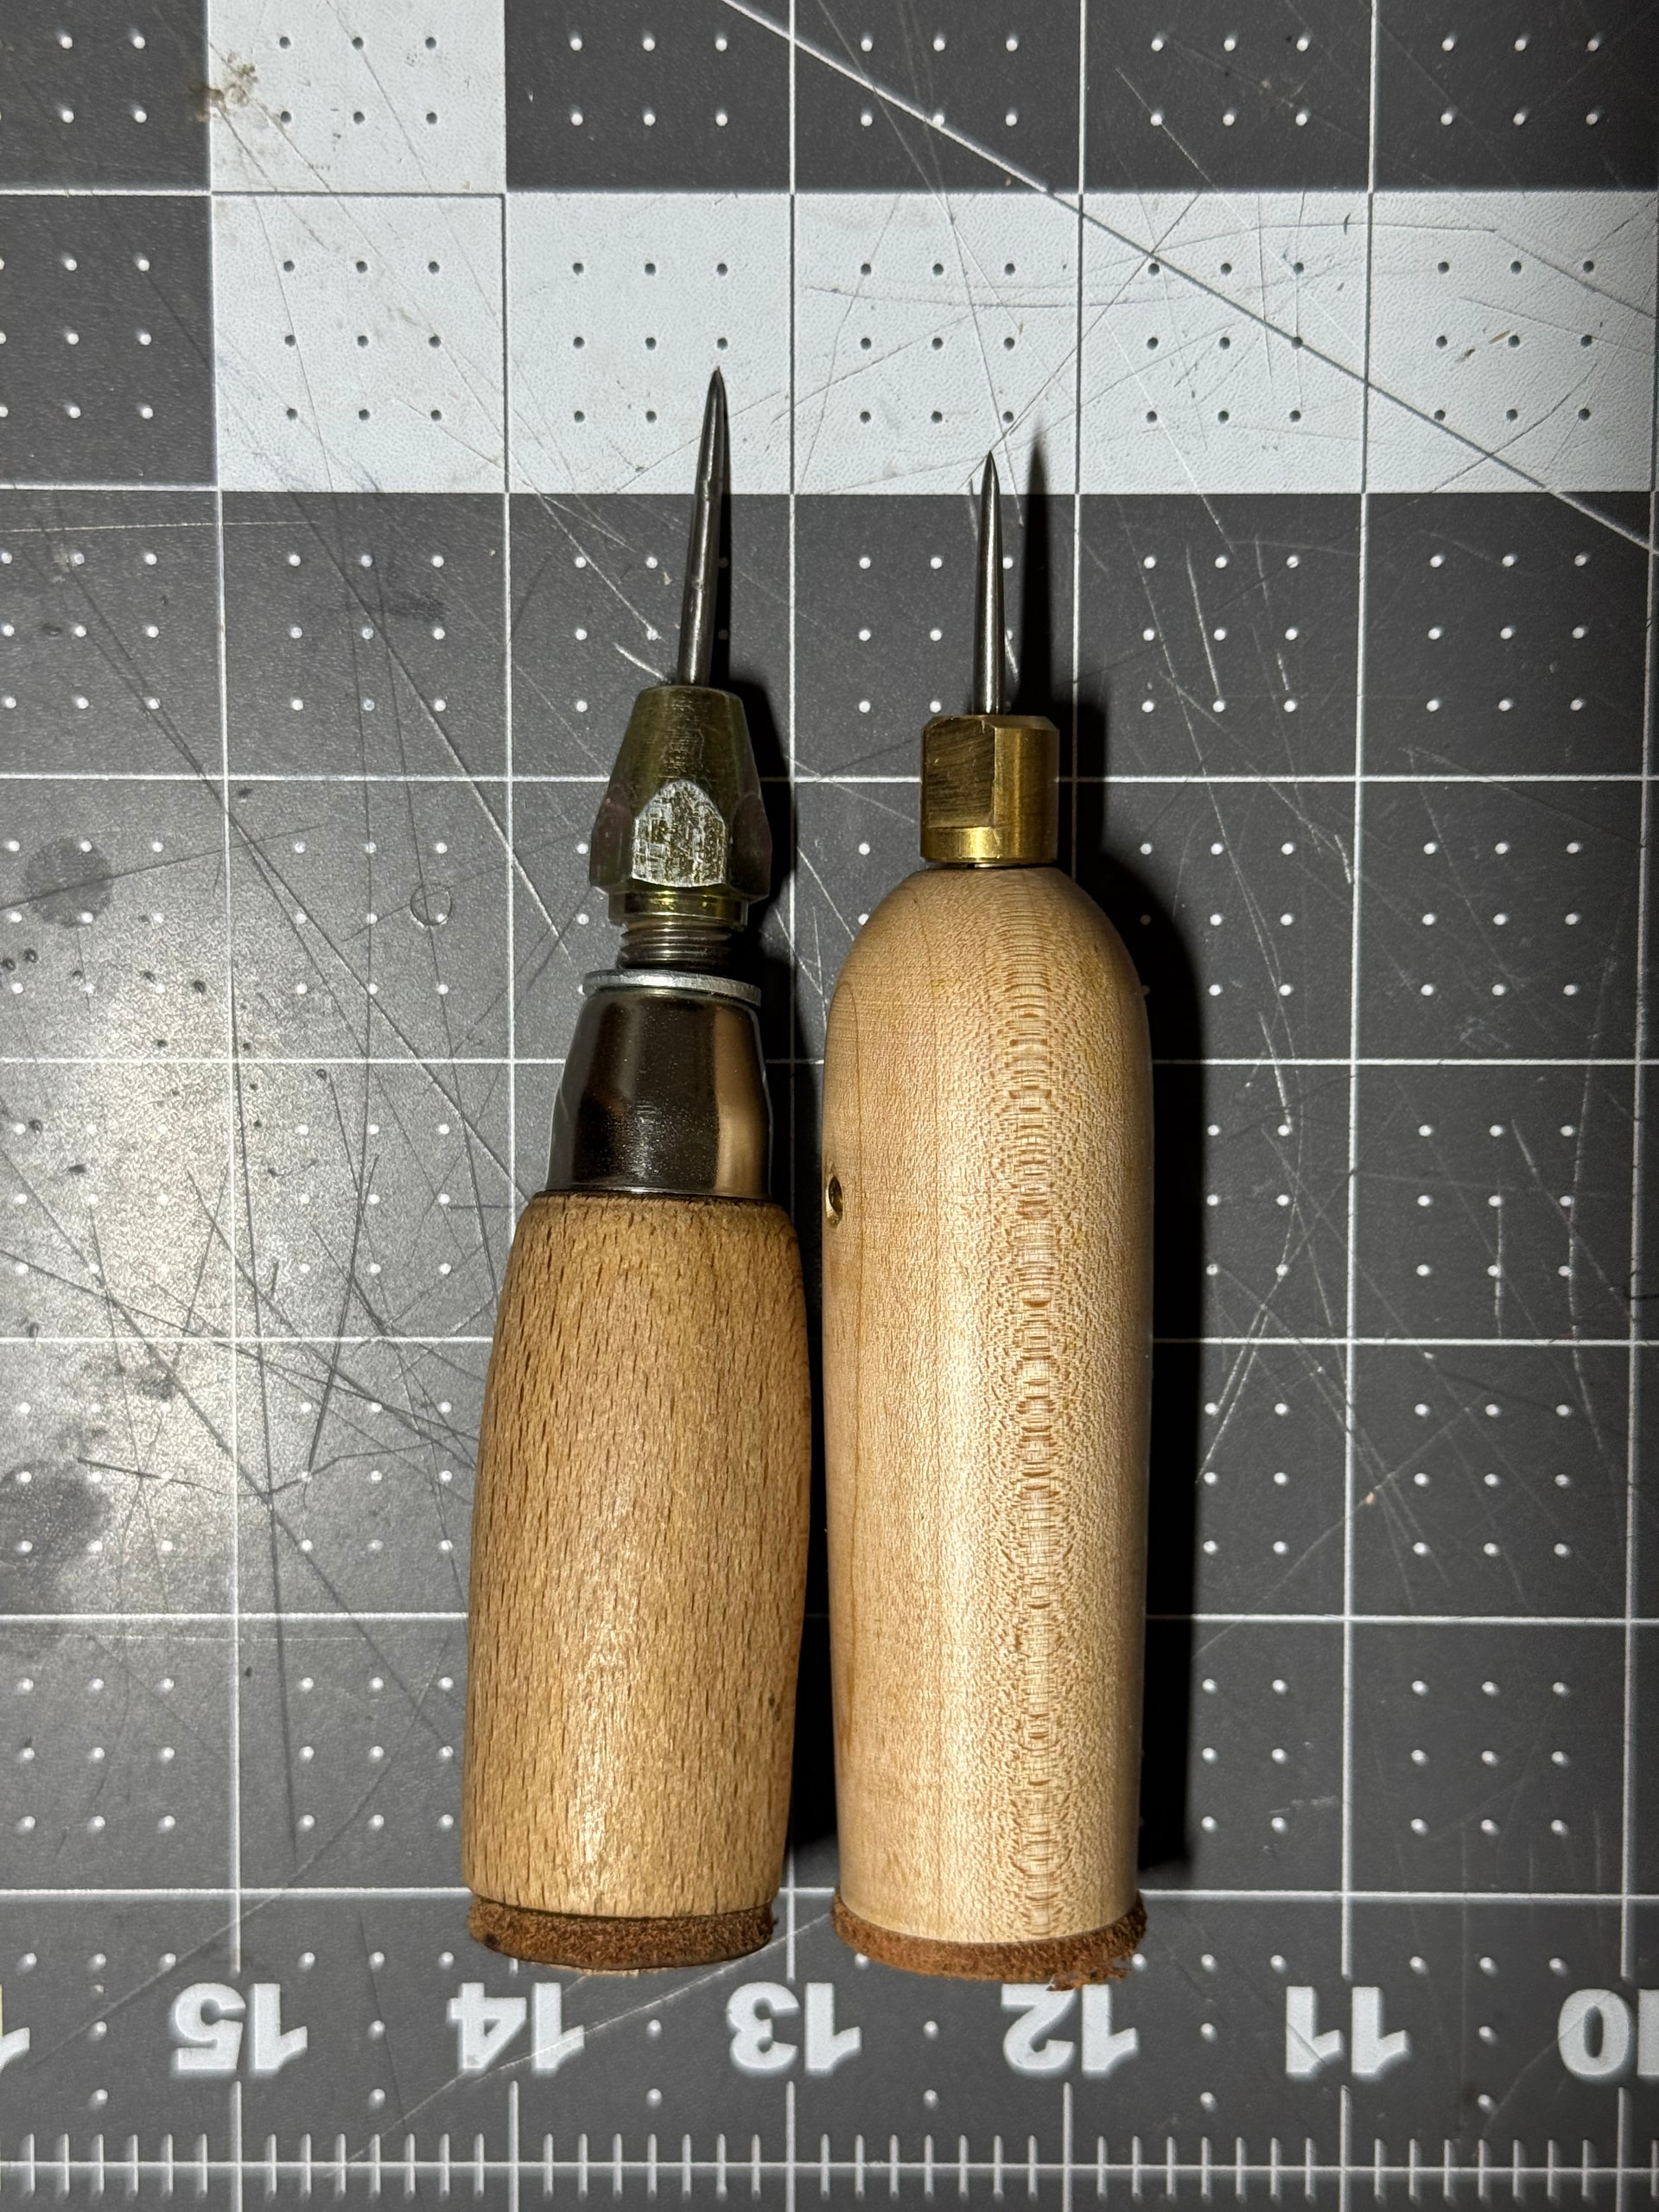
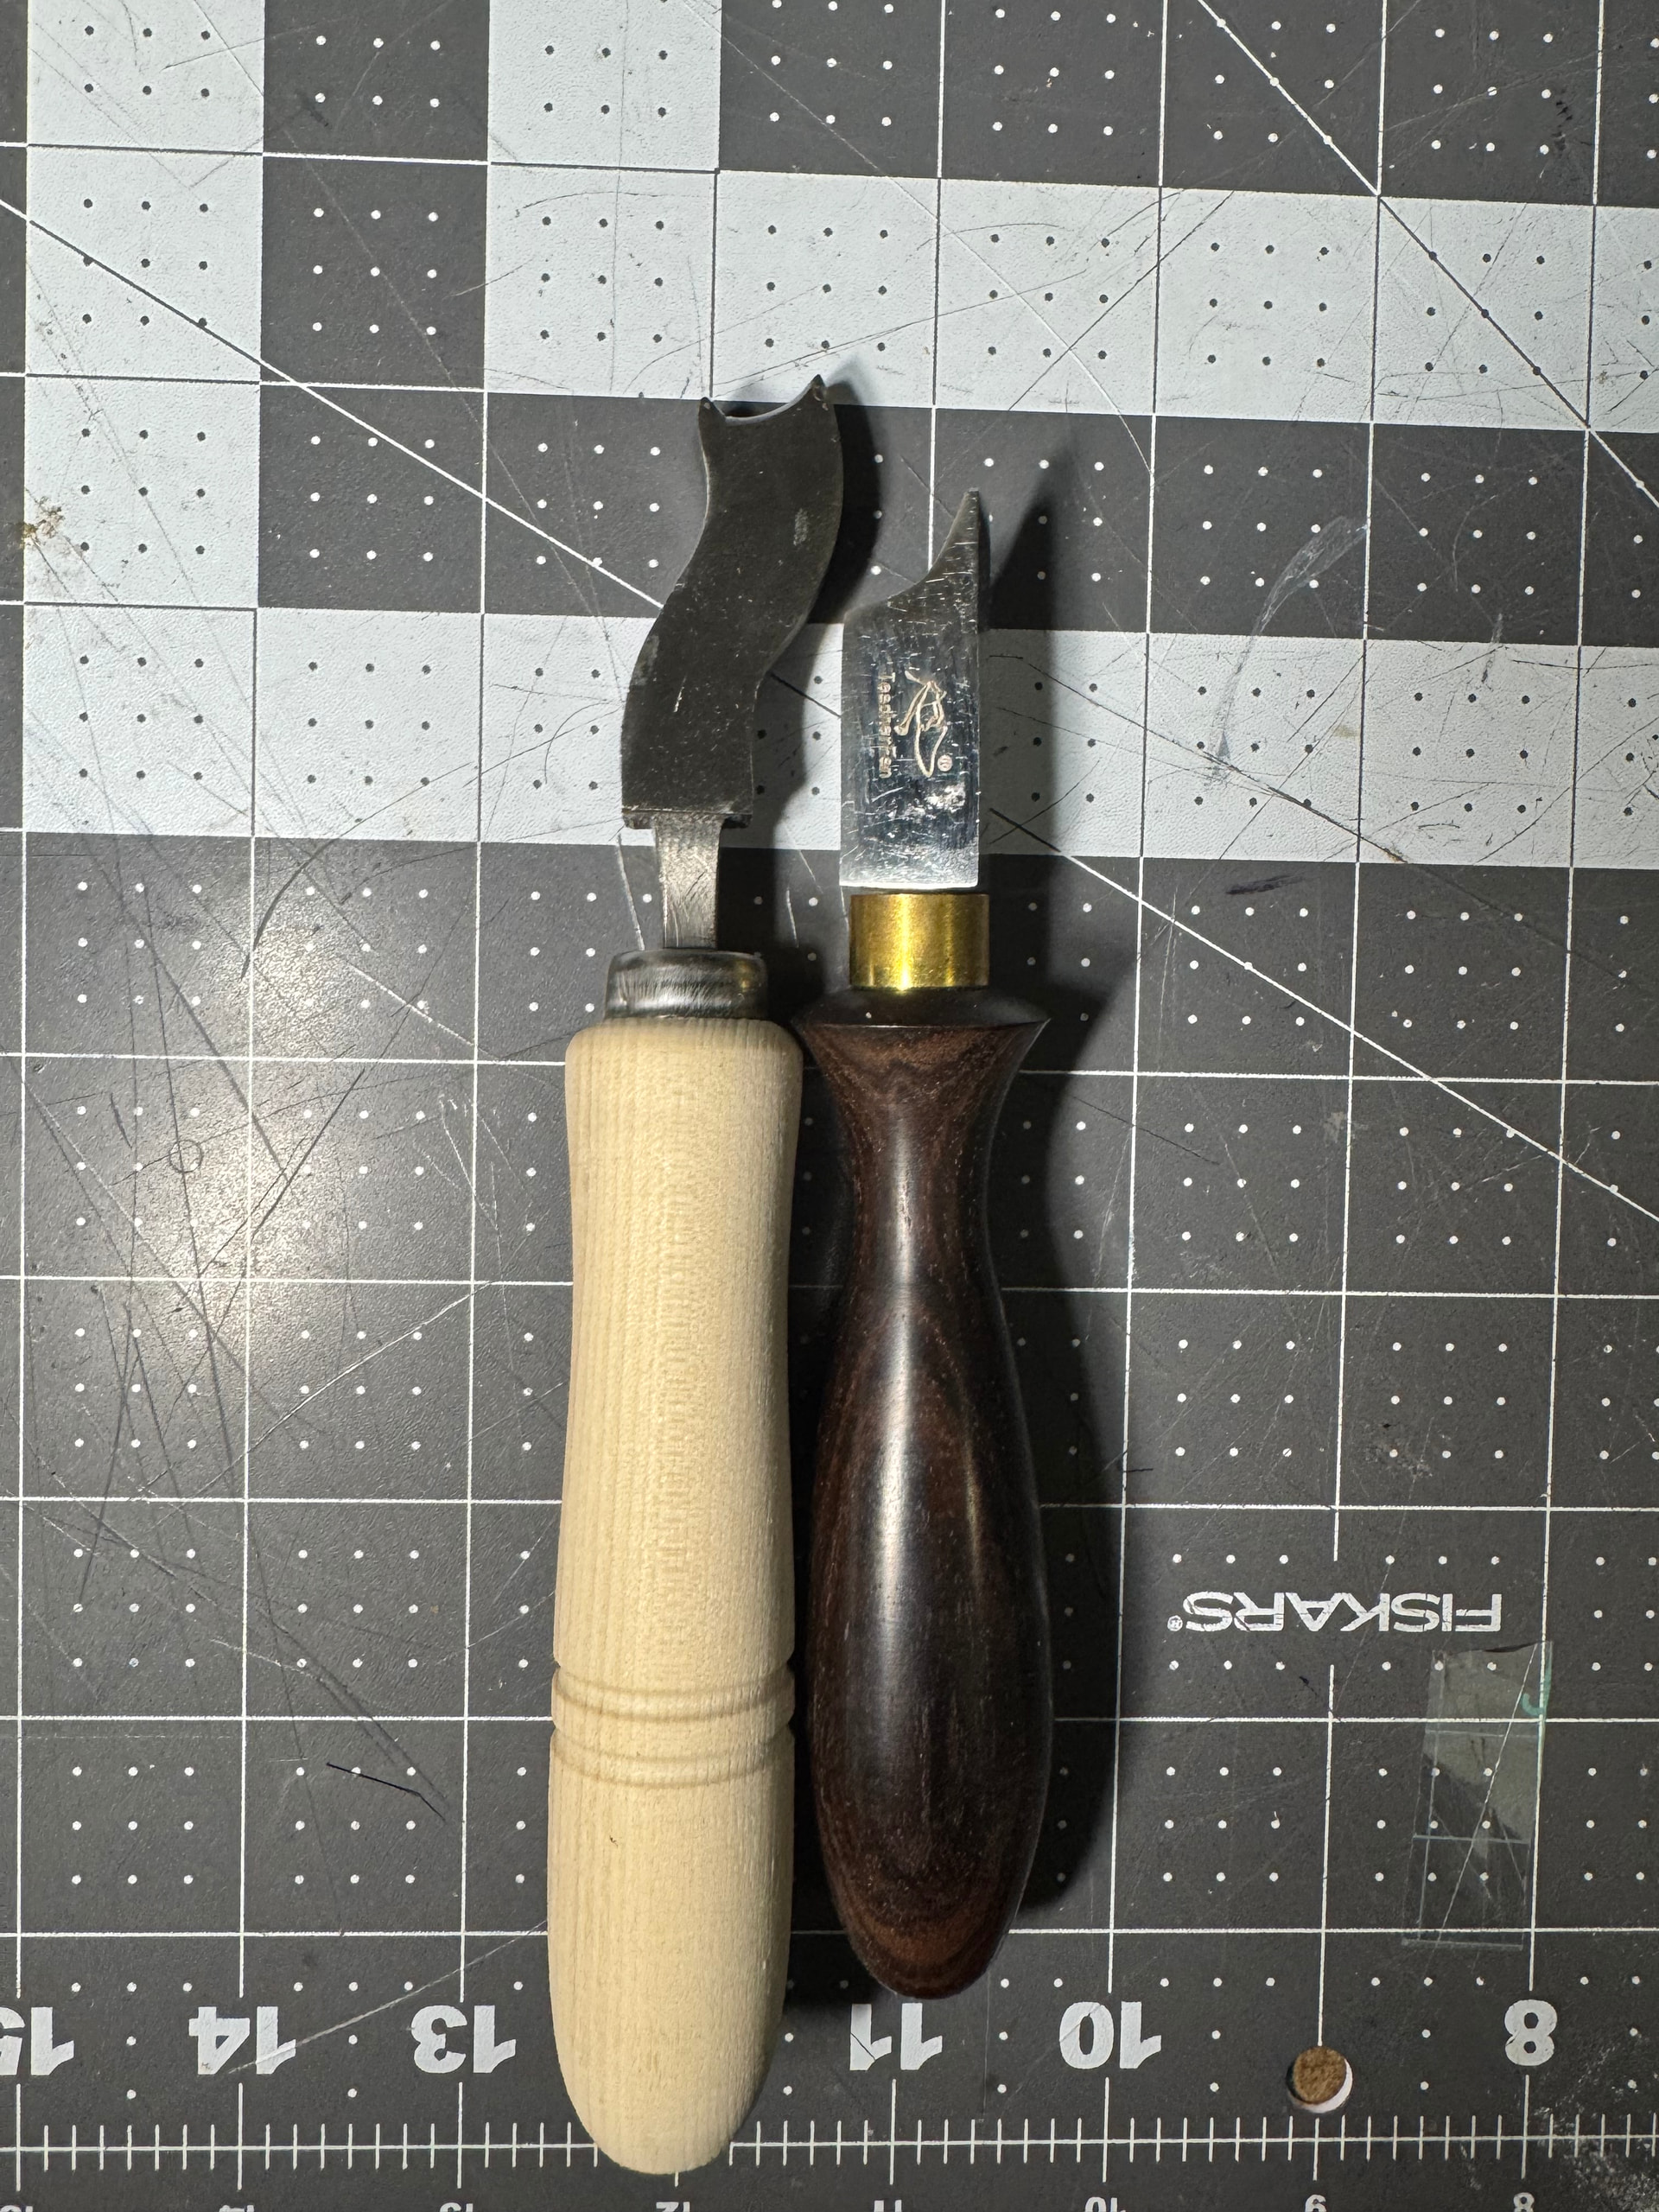
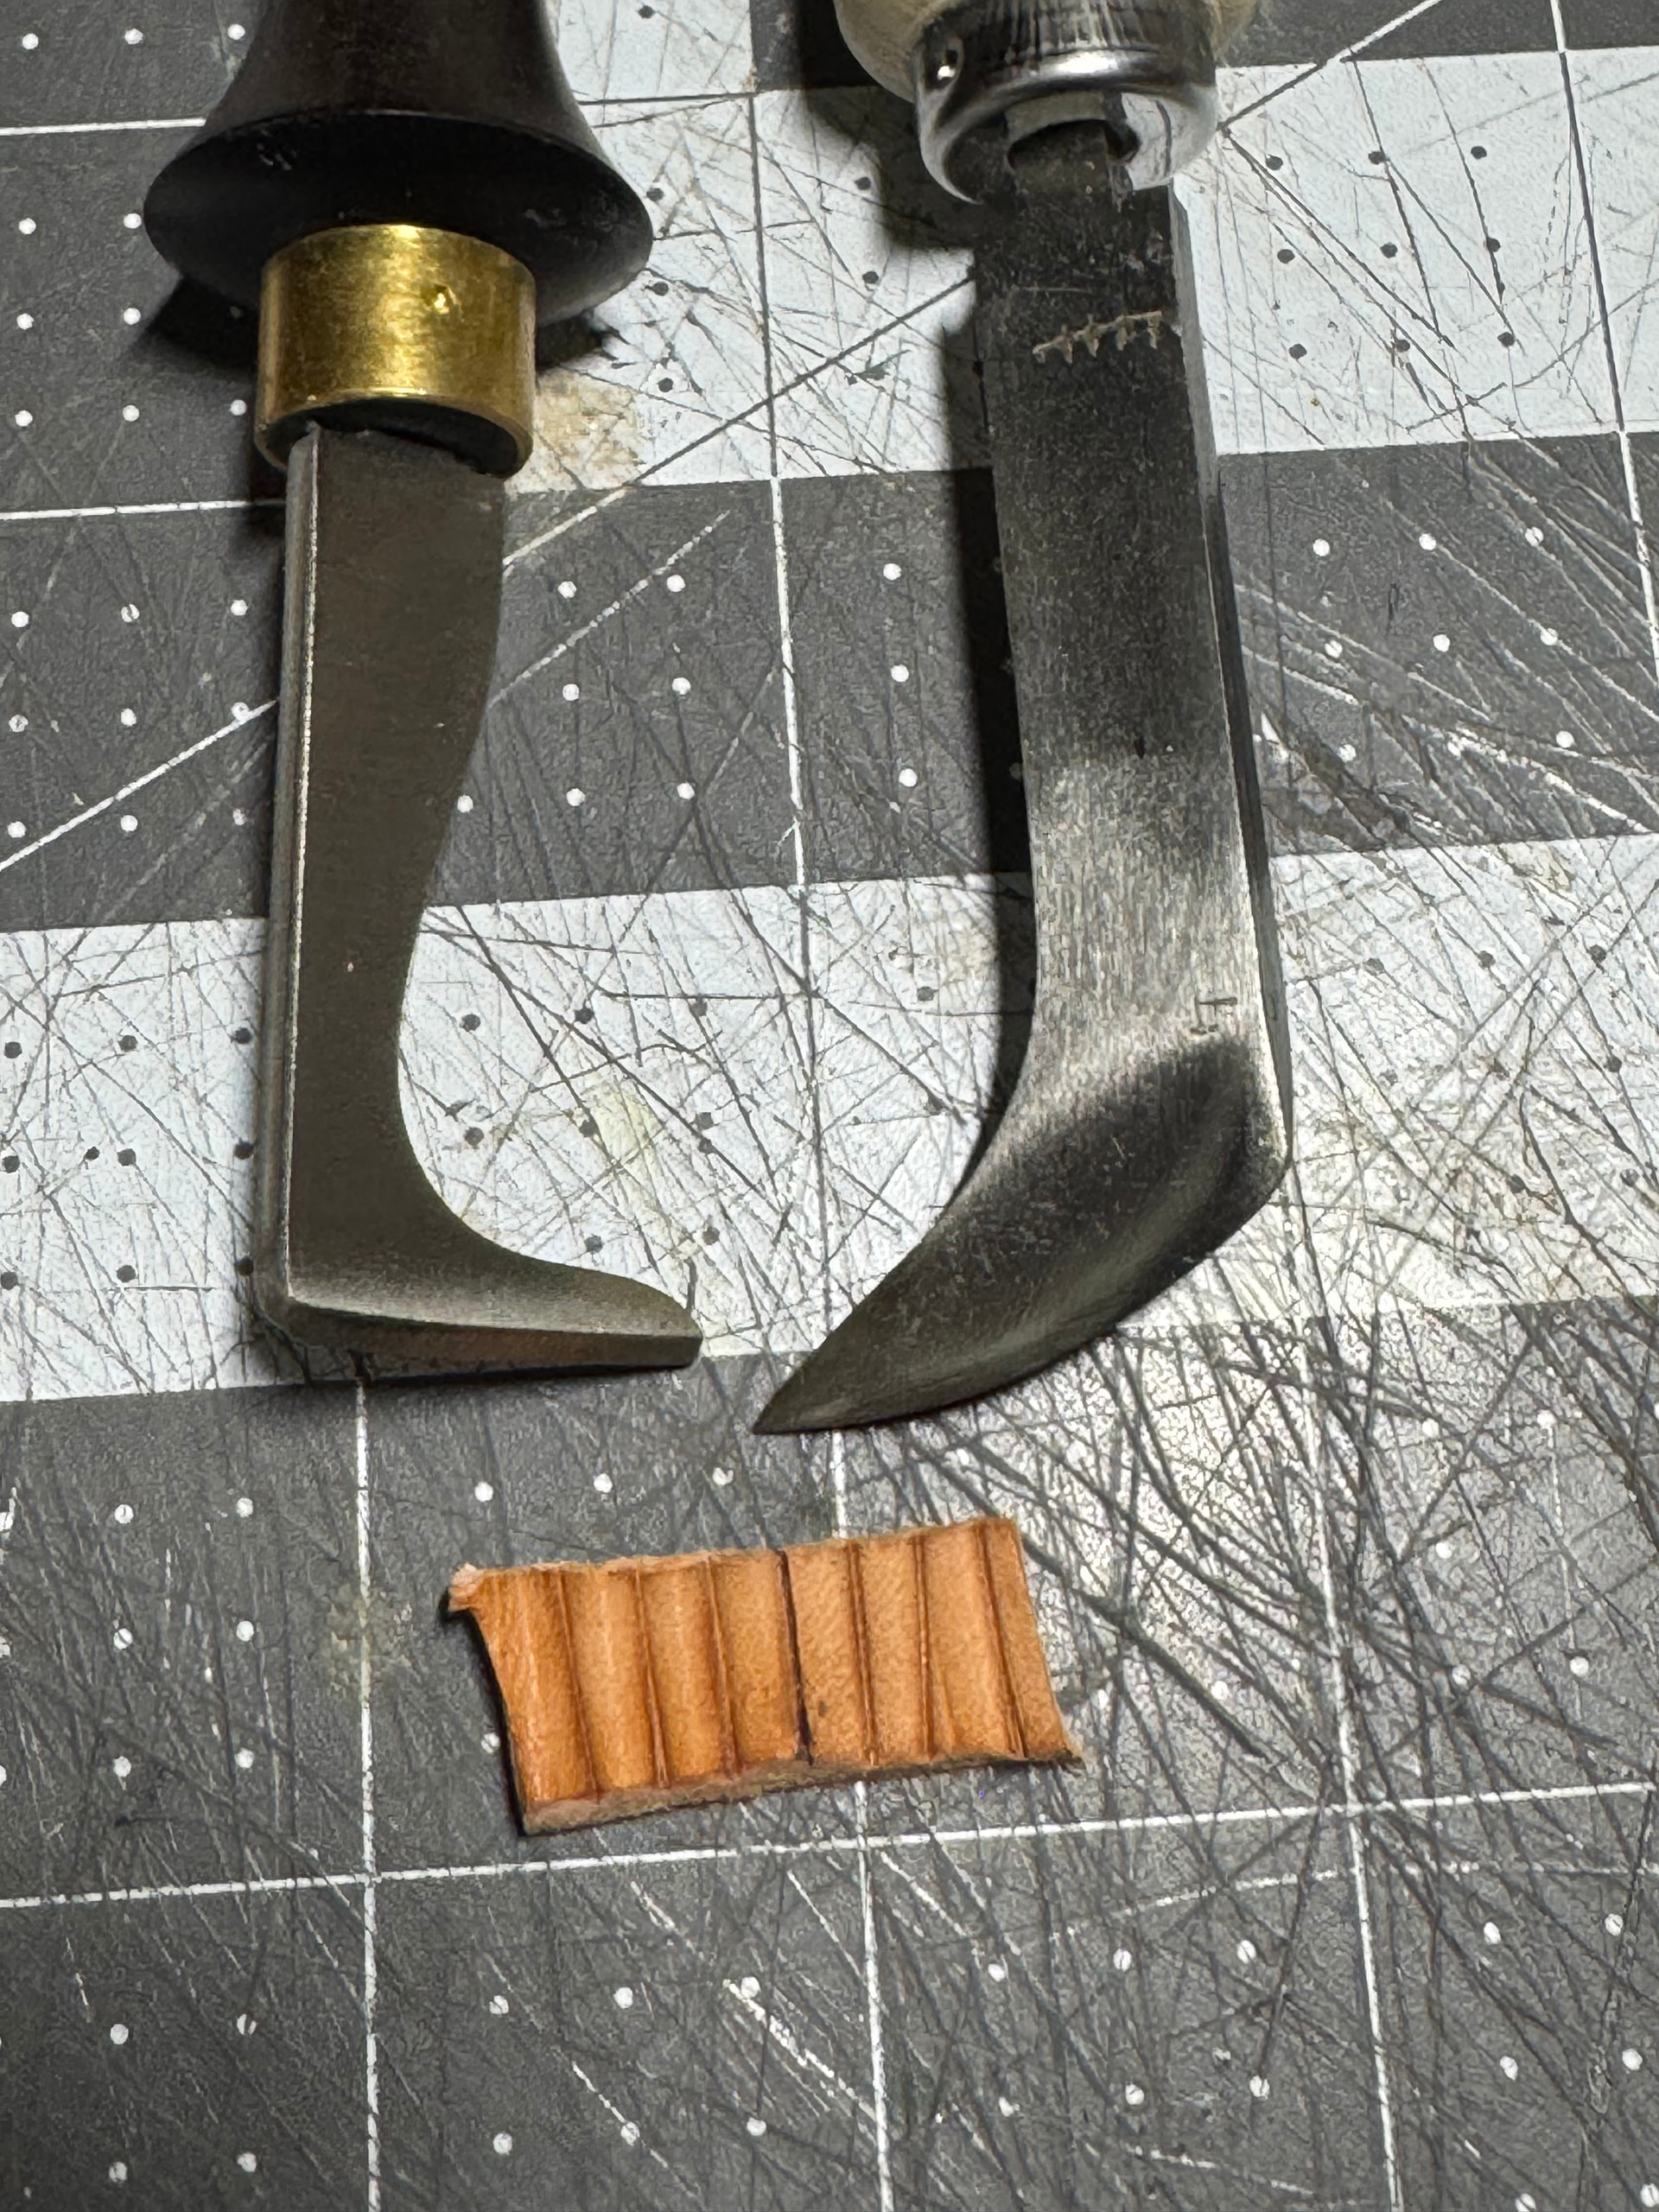
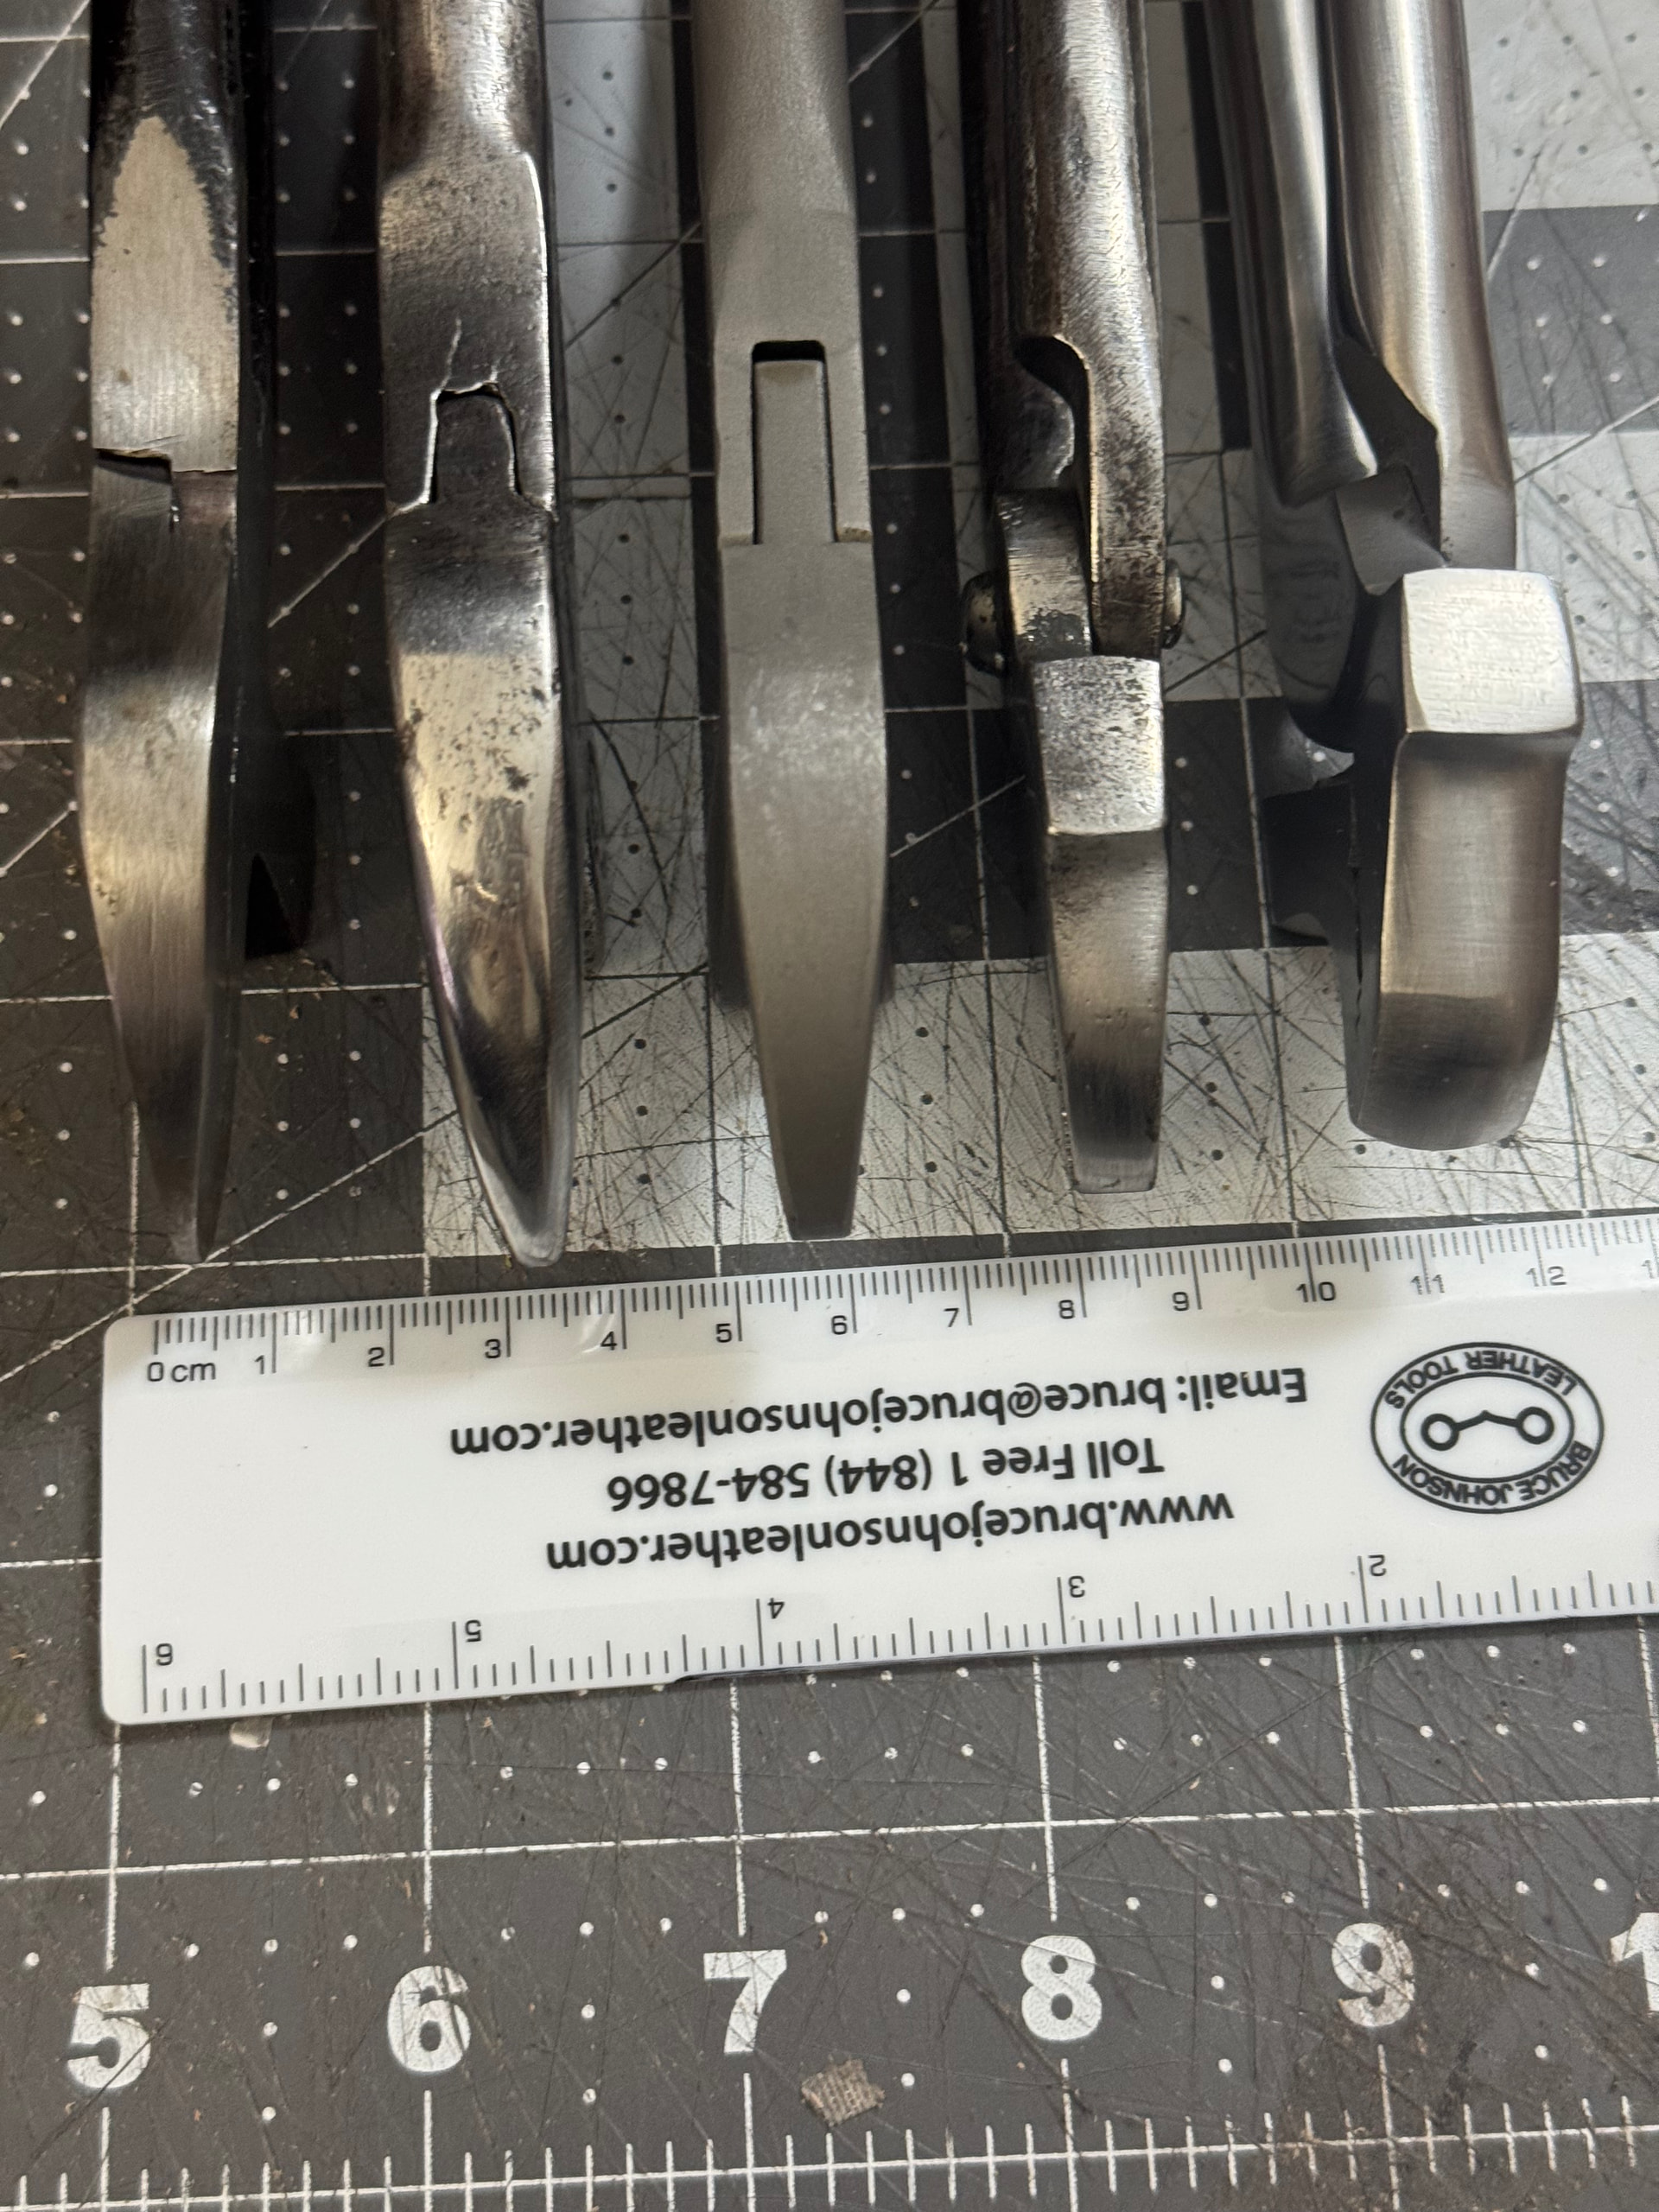
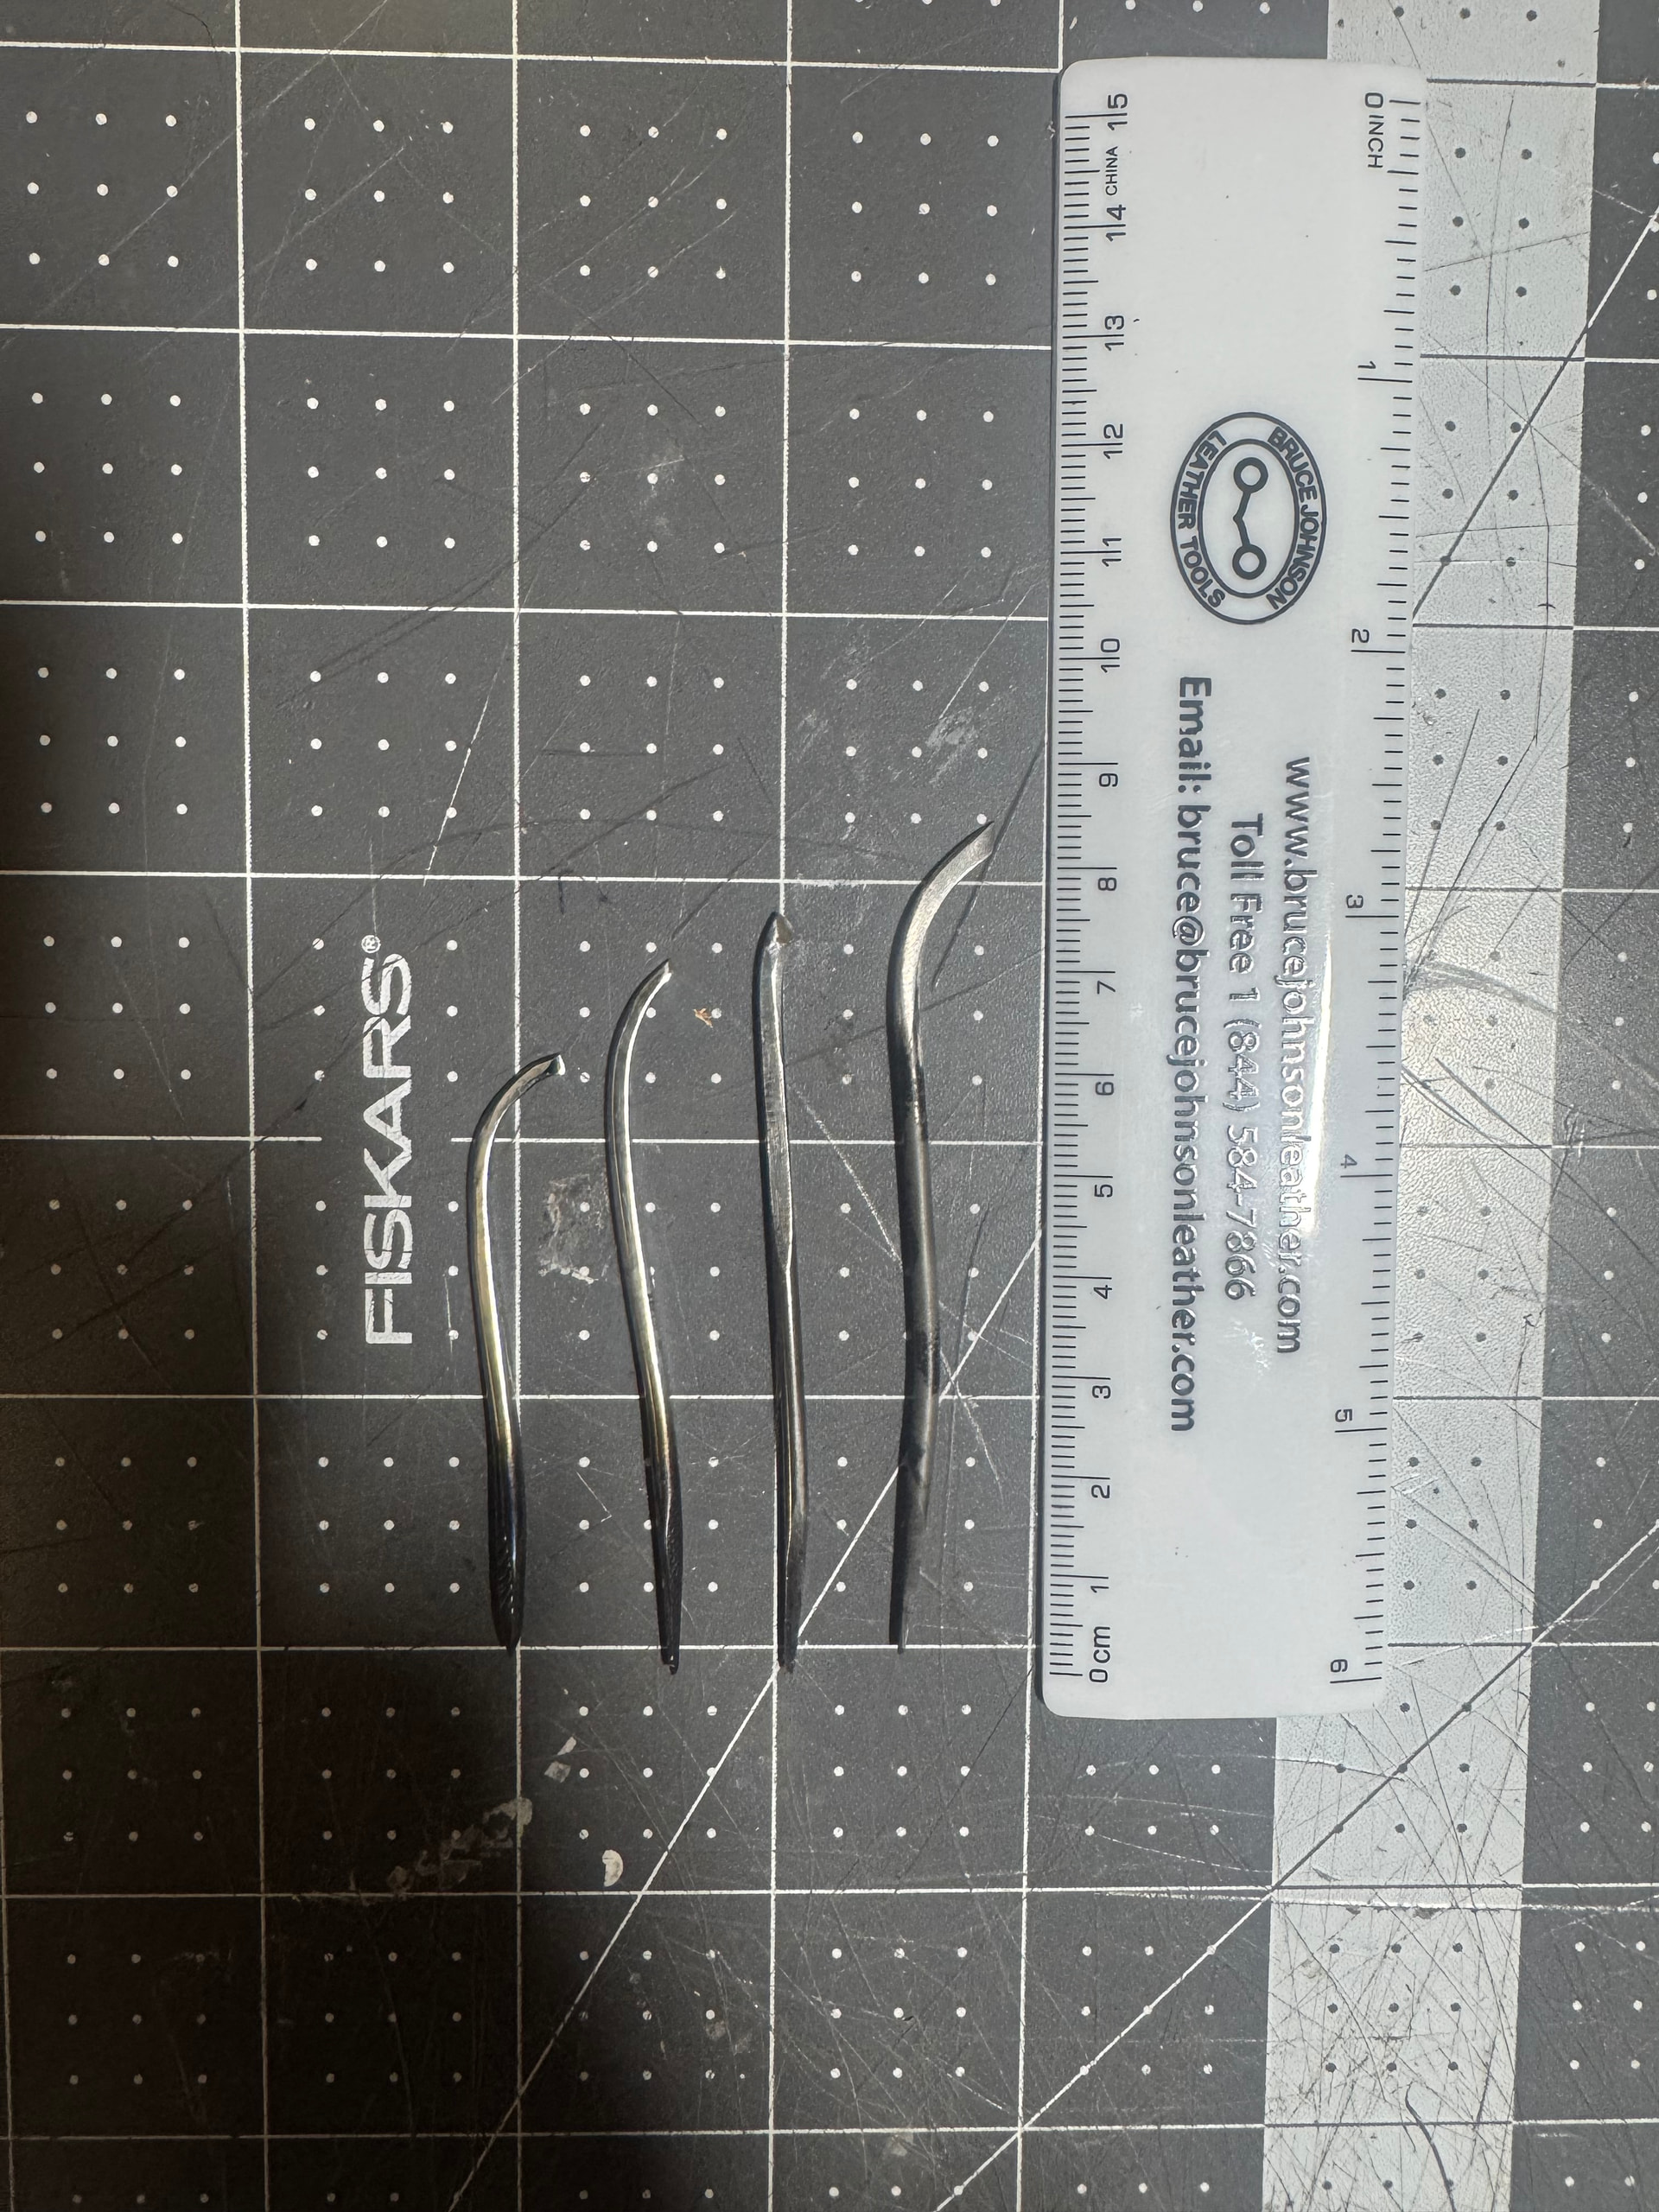
Awl comparison
From left to right: Panhandle, King, Mamoru
The panhandle pegging awl is a great diameter for the 6/11 Blau pegs I have but it is too short. The King is the right length but is very skinny so its very hard to get the pegs in unless I stretch out the hole with another awl. The Mamoru awl is a perfect size in diameter and length. I wish I had also bought the haft because with my current haft it sticks out too much and I am worried about snapping it if I don’t hit it right.
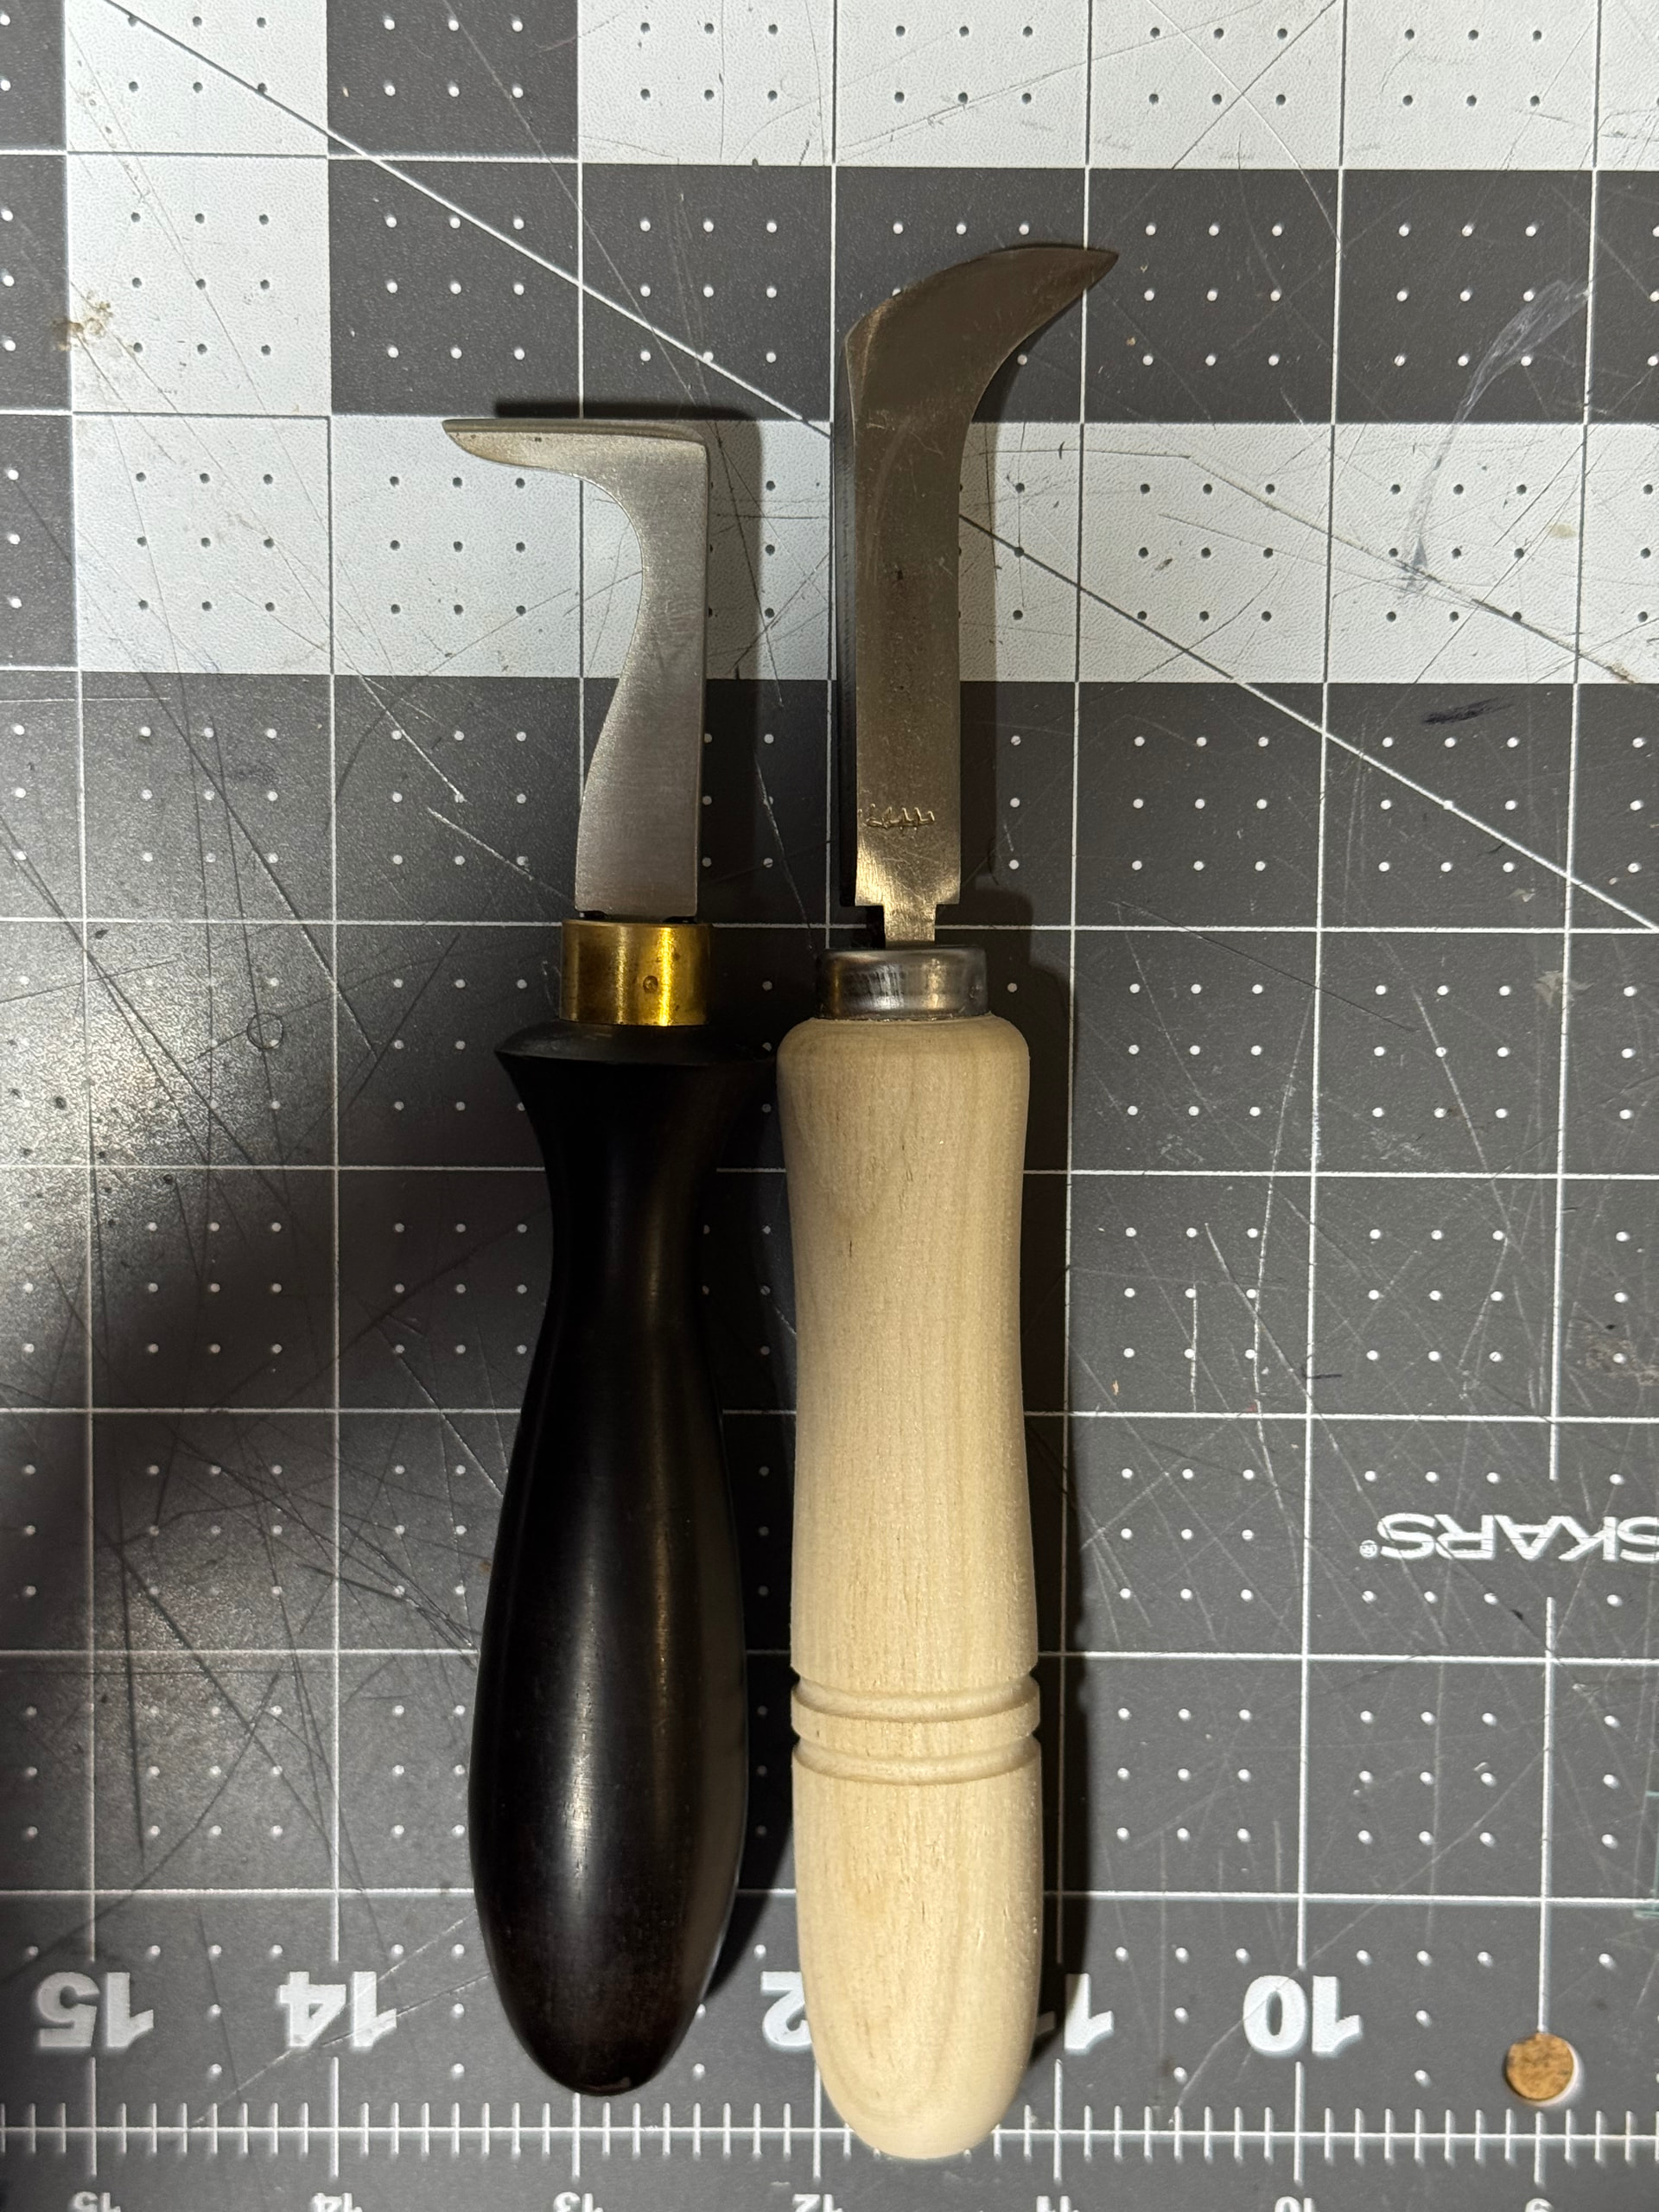
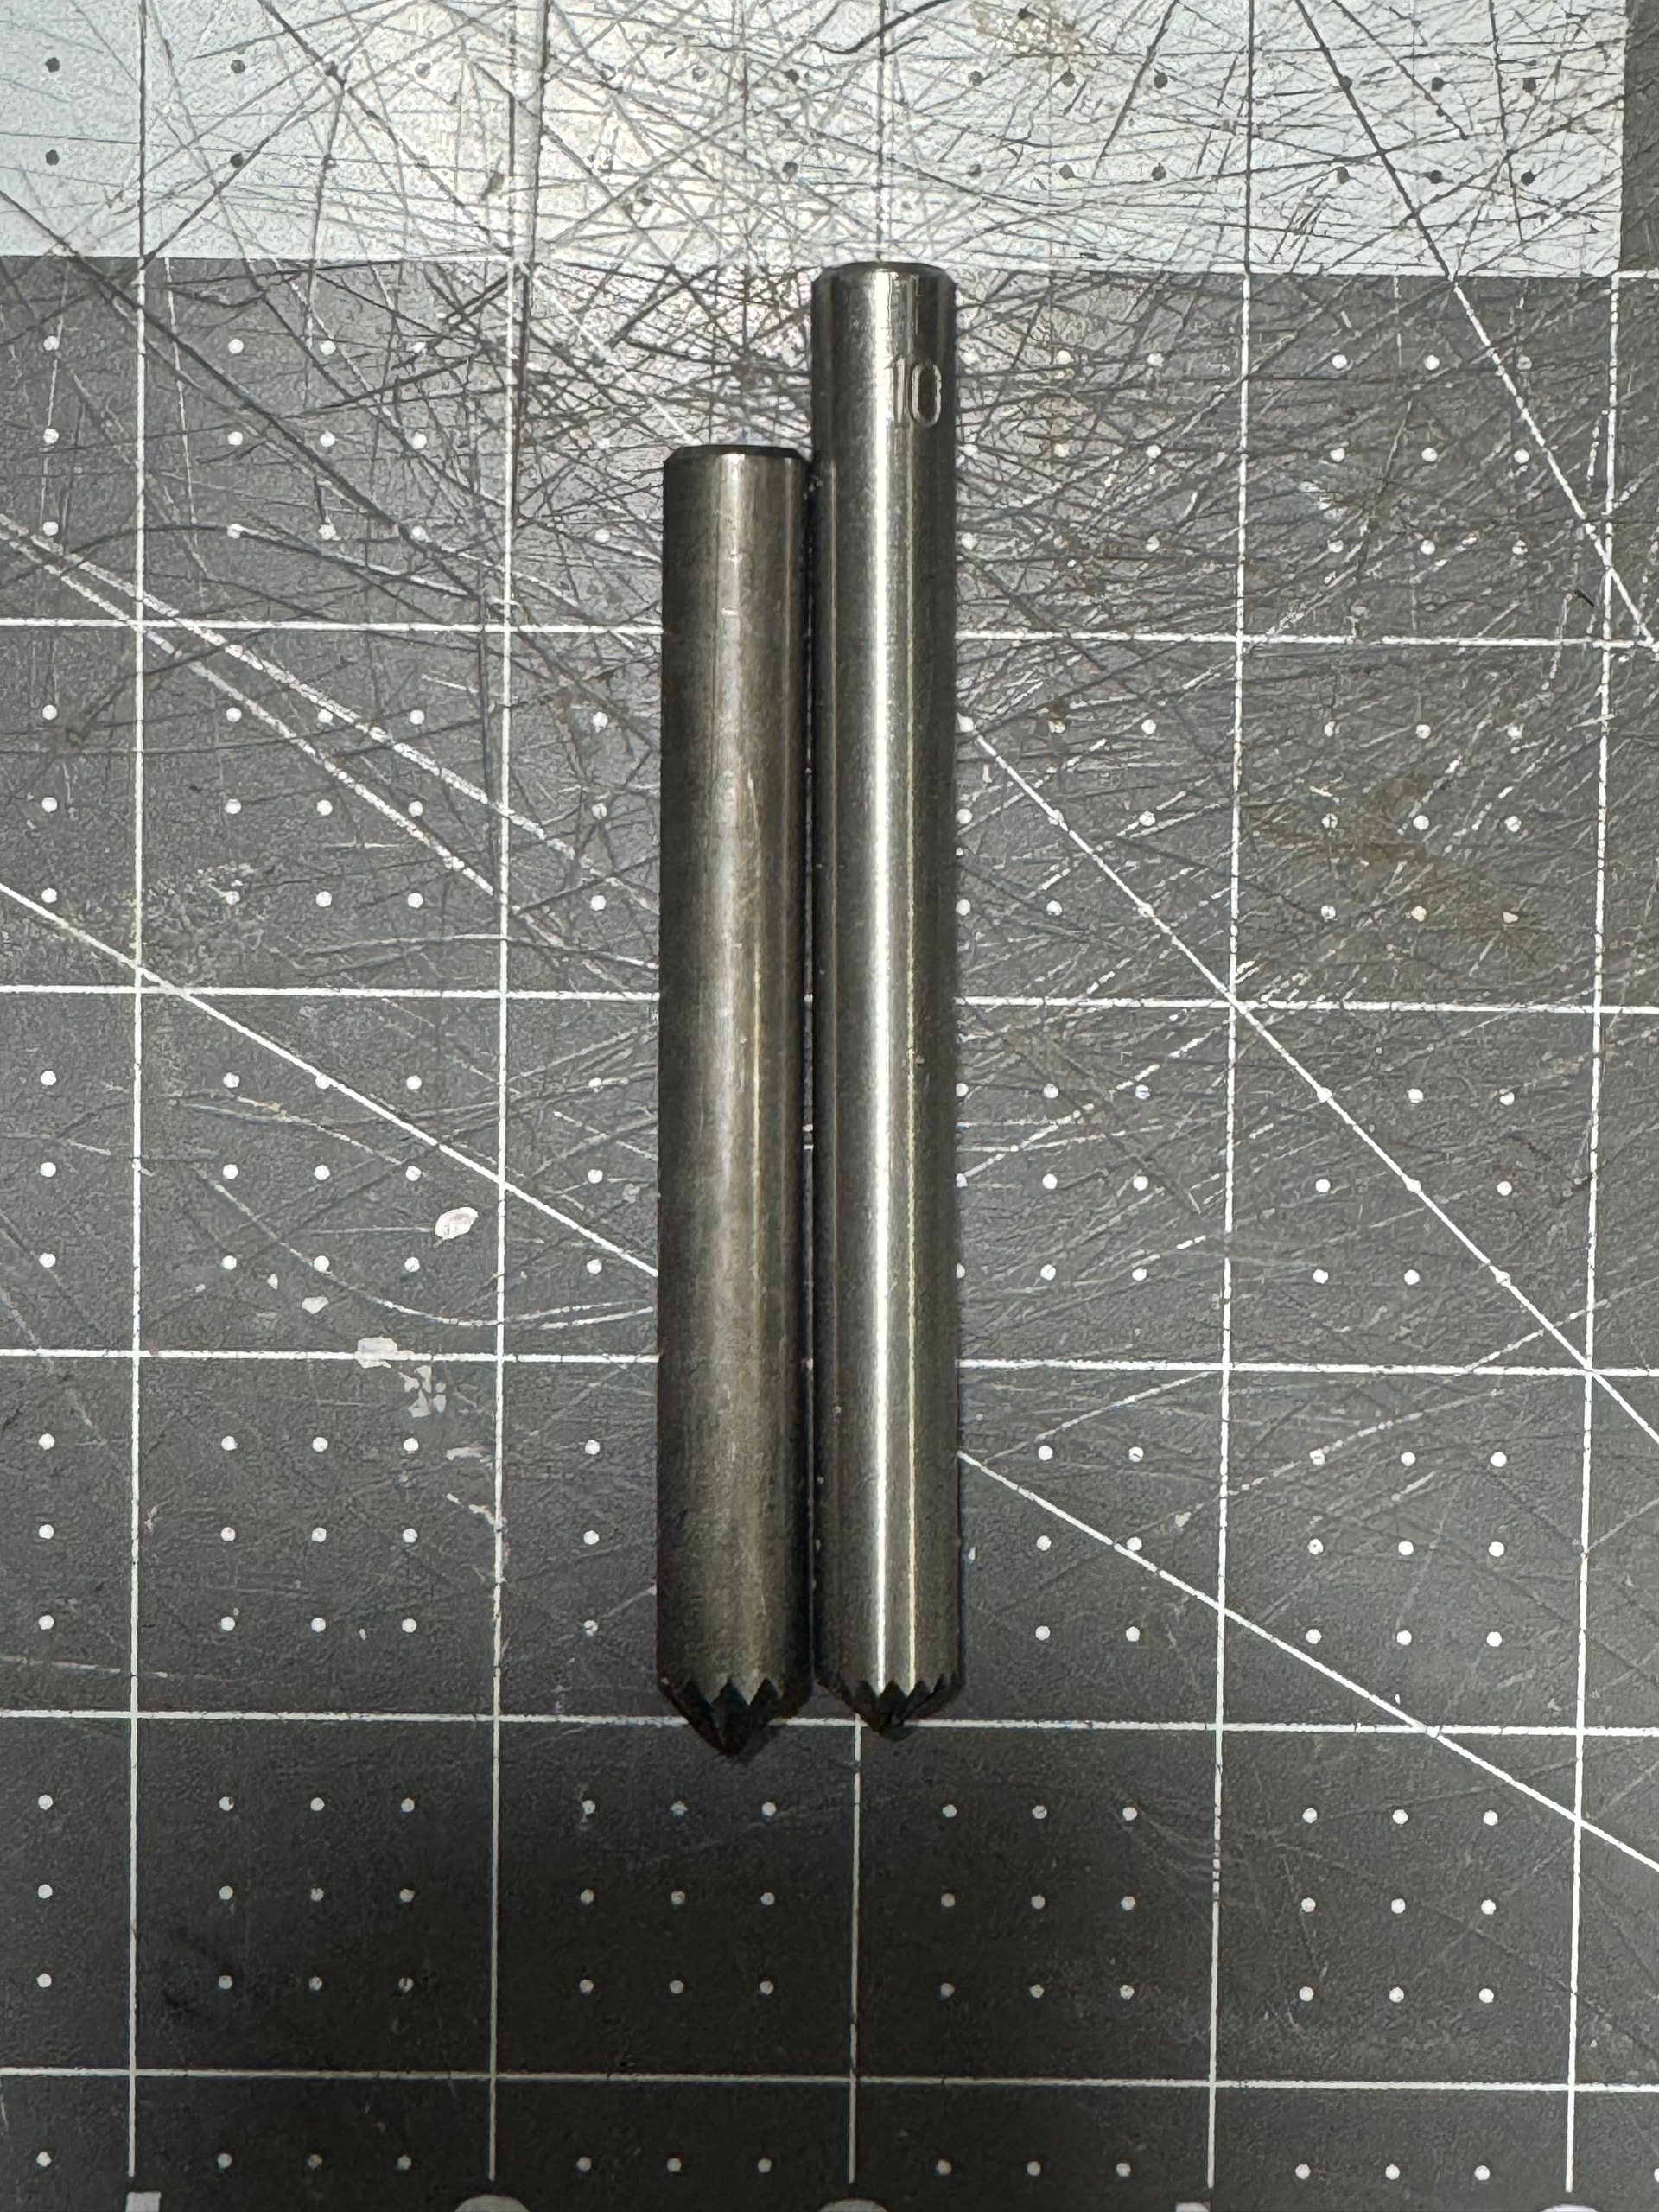
From left to right: Waist stitching awl Mamoru, Welting awl Mamoru, Carbone 3 3/8”
From left to right: Waist stitching awl Mamoru, Welting awl Mamoru
I havent use any of the welting or stitching awls so I can’t comment on how great they are. The Mamoru welting awl has a diamond shape but most shoemakers I’ve seen remove it until it is round. The welting awl is really wide so I think its not possible to do small welt stitch spacing. I had always thought that they used the same welting awl when sewing the wast of the shoe but the Japanese have a dedicated awl for it. It can probably be used for welting too. The Carbone awl is what I’ve used after stabbing myself with a diamond curved awl. It feels indestructible and and is nice to use once sharpened. Unfortunately I think the diameter is a little to large for my liking, the 3 1/8” or the 2 7/8” would have been perfect.
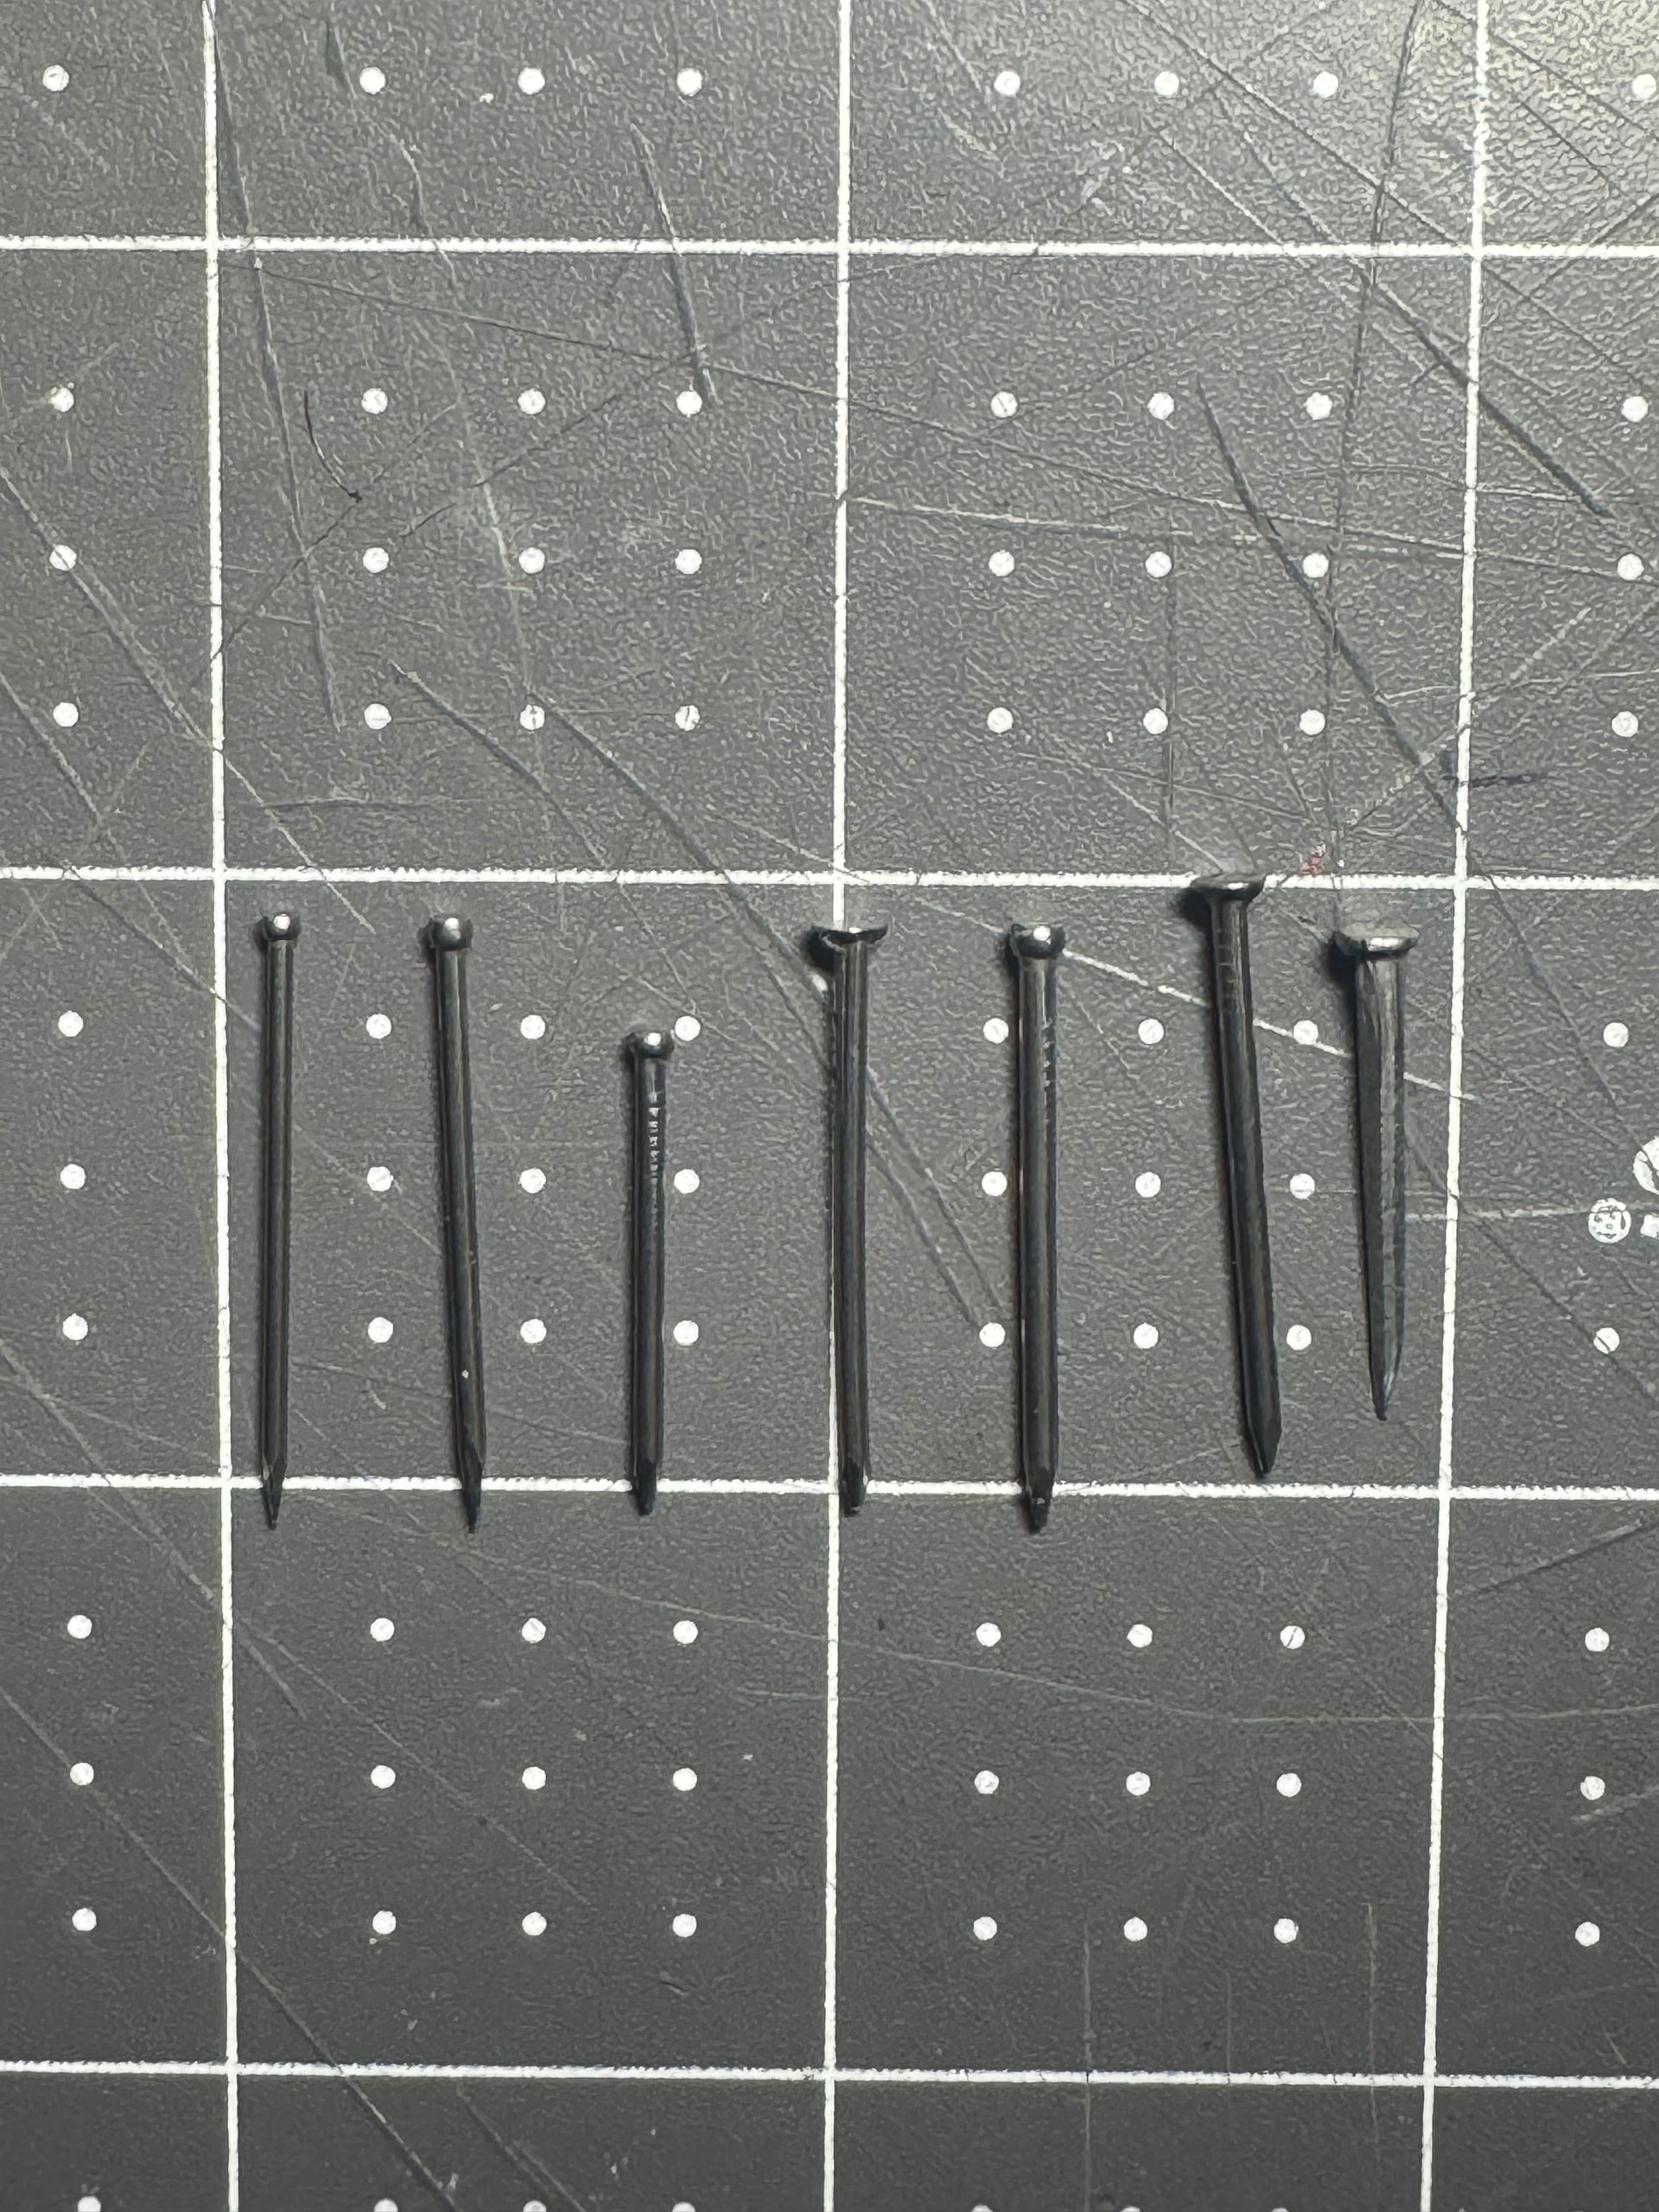
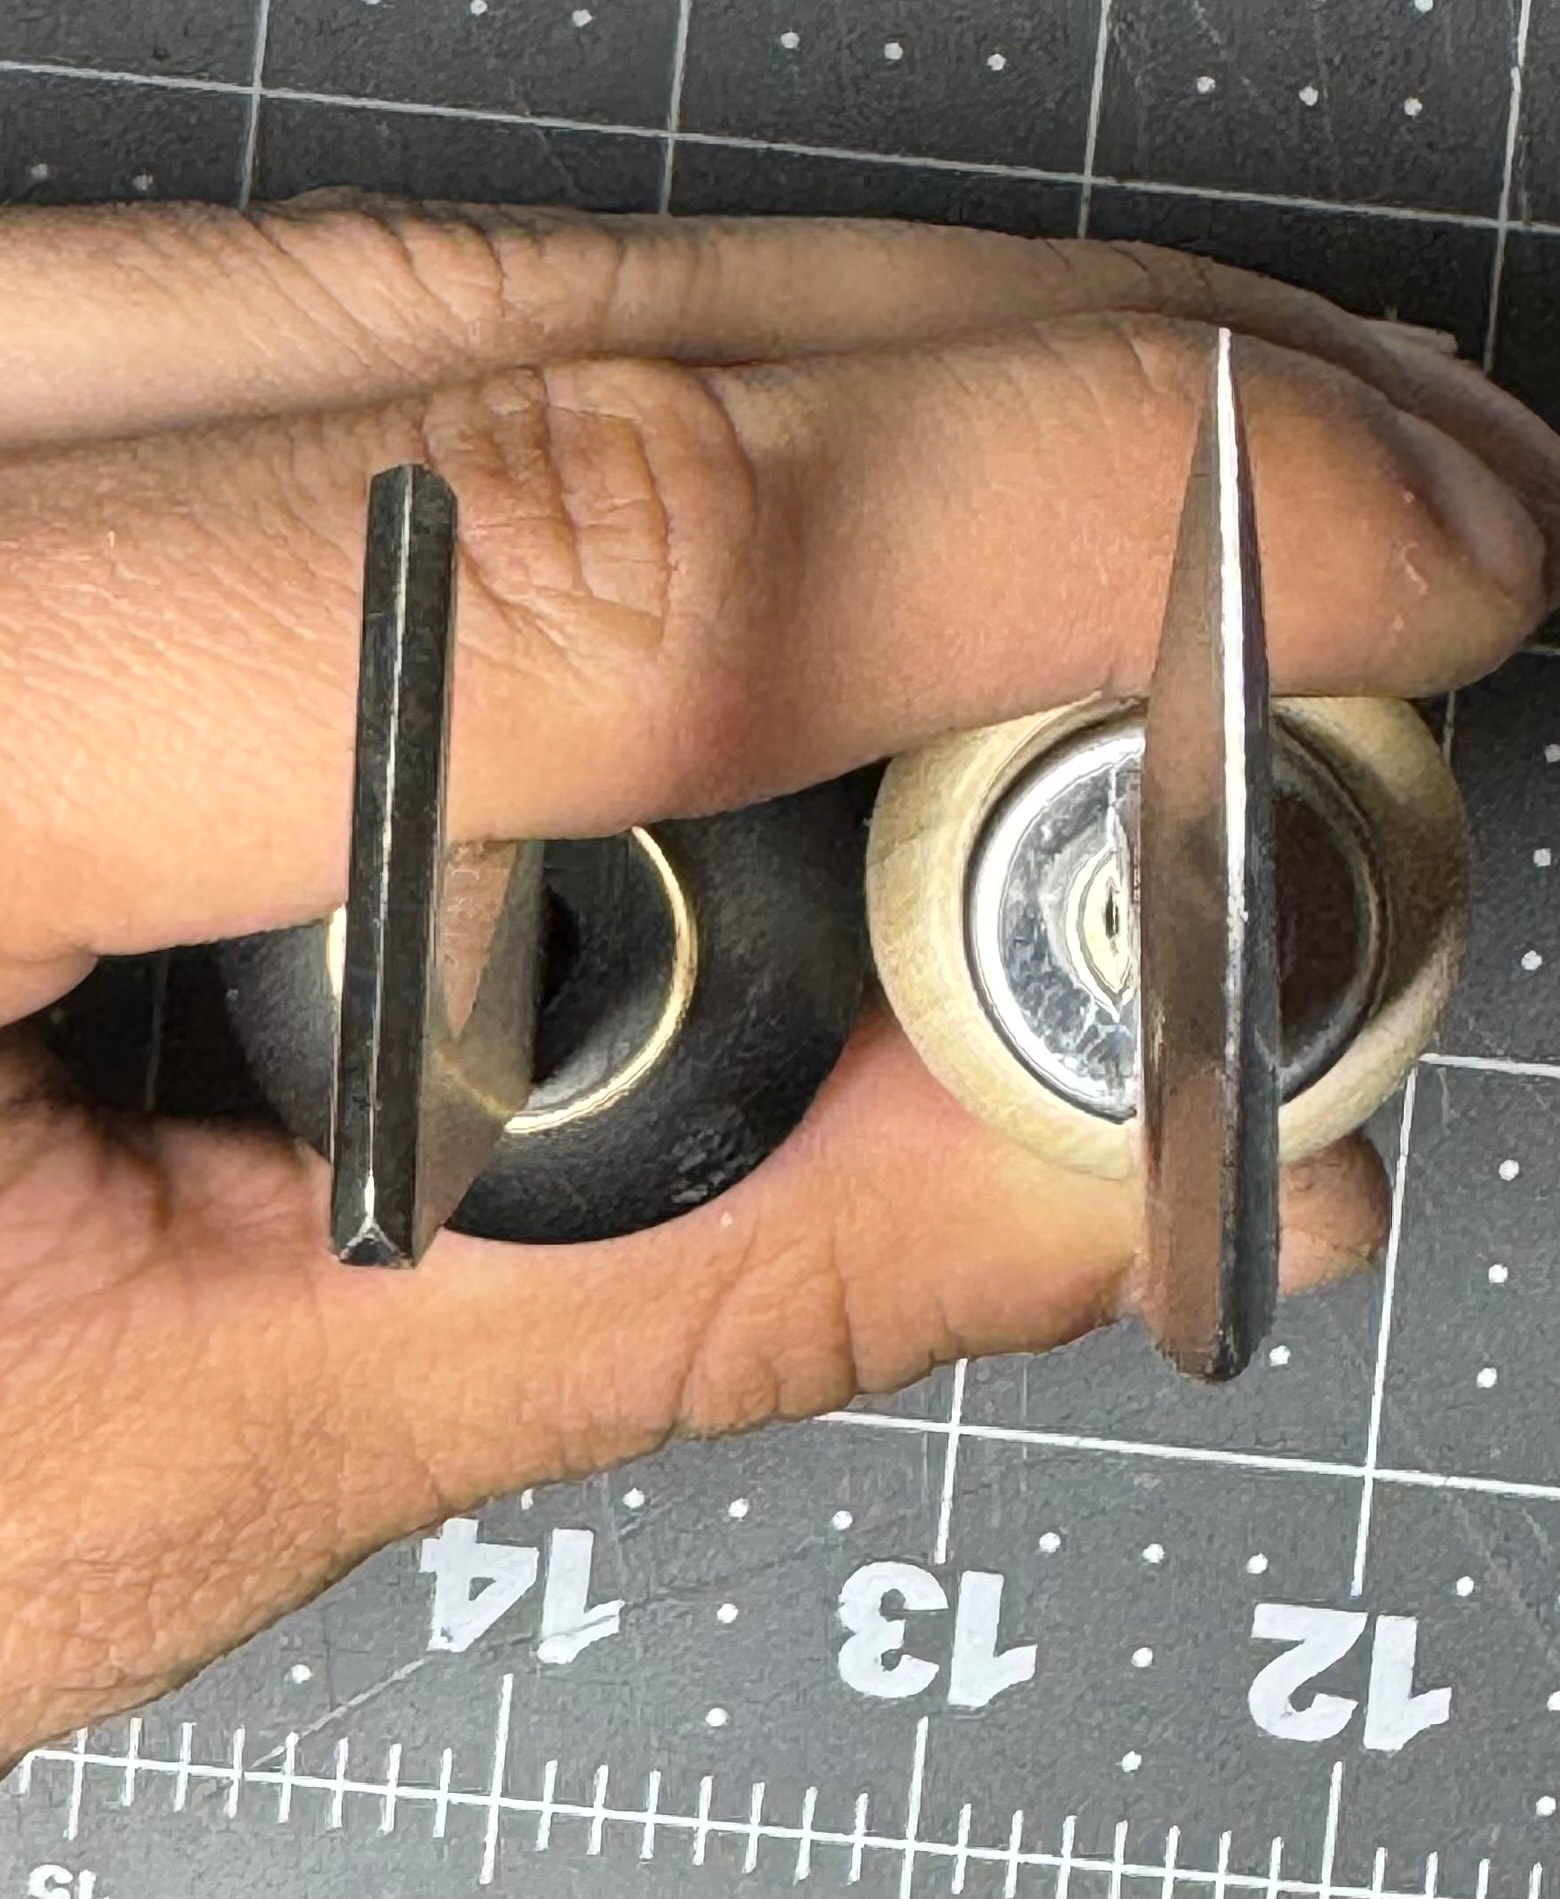
From left to right: Rasche, King, unknown, Mamoru
I was under the impression that the size (usually length) of a stitching awl is correlated with the hole size and thus possible SPI. I think this is still a good estimate but some of the awls I have don’t follow. The Rasche awl has been my favorite so far. Even though it is the smallest awl I have it has a good thickness and cutting surface. The small length lets me use a lot of force without fear of it breaking. The King is larger than the Rasche but has a much smaller cutting surface and thickness it also has a different curve. I purchased the unknown awl from Lisa Sorrell at Boot camp. I have no clue who made it but I got it to use as my straight outseaming awl. The cutting edge is really large, leaving a big hole. I bought it to use on boots with rubber outsoles. The Mamoru is the largest of the awls with a large cutting surface and a similar curve to the King. This is the only awl that came with a cutting edge out of the box. Not a big fan of the length since it feels like it will break when I apply a lot of force.
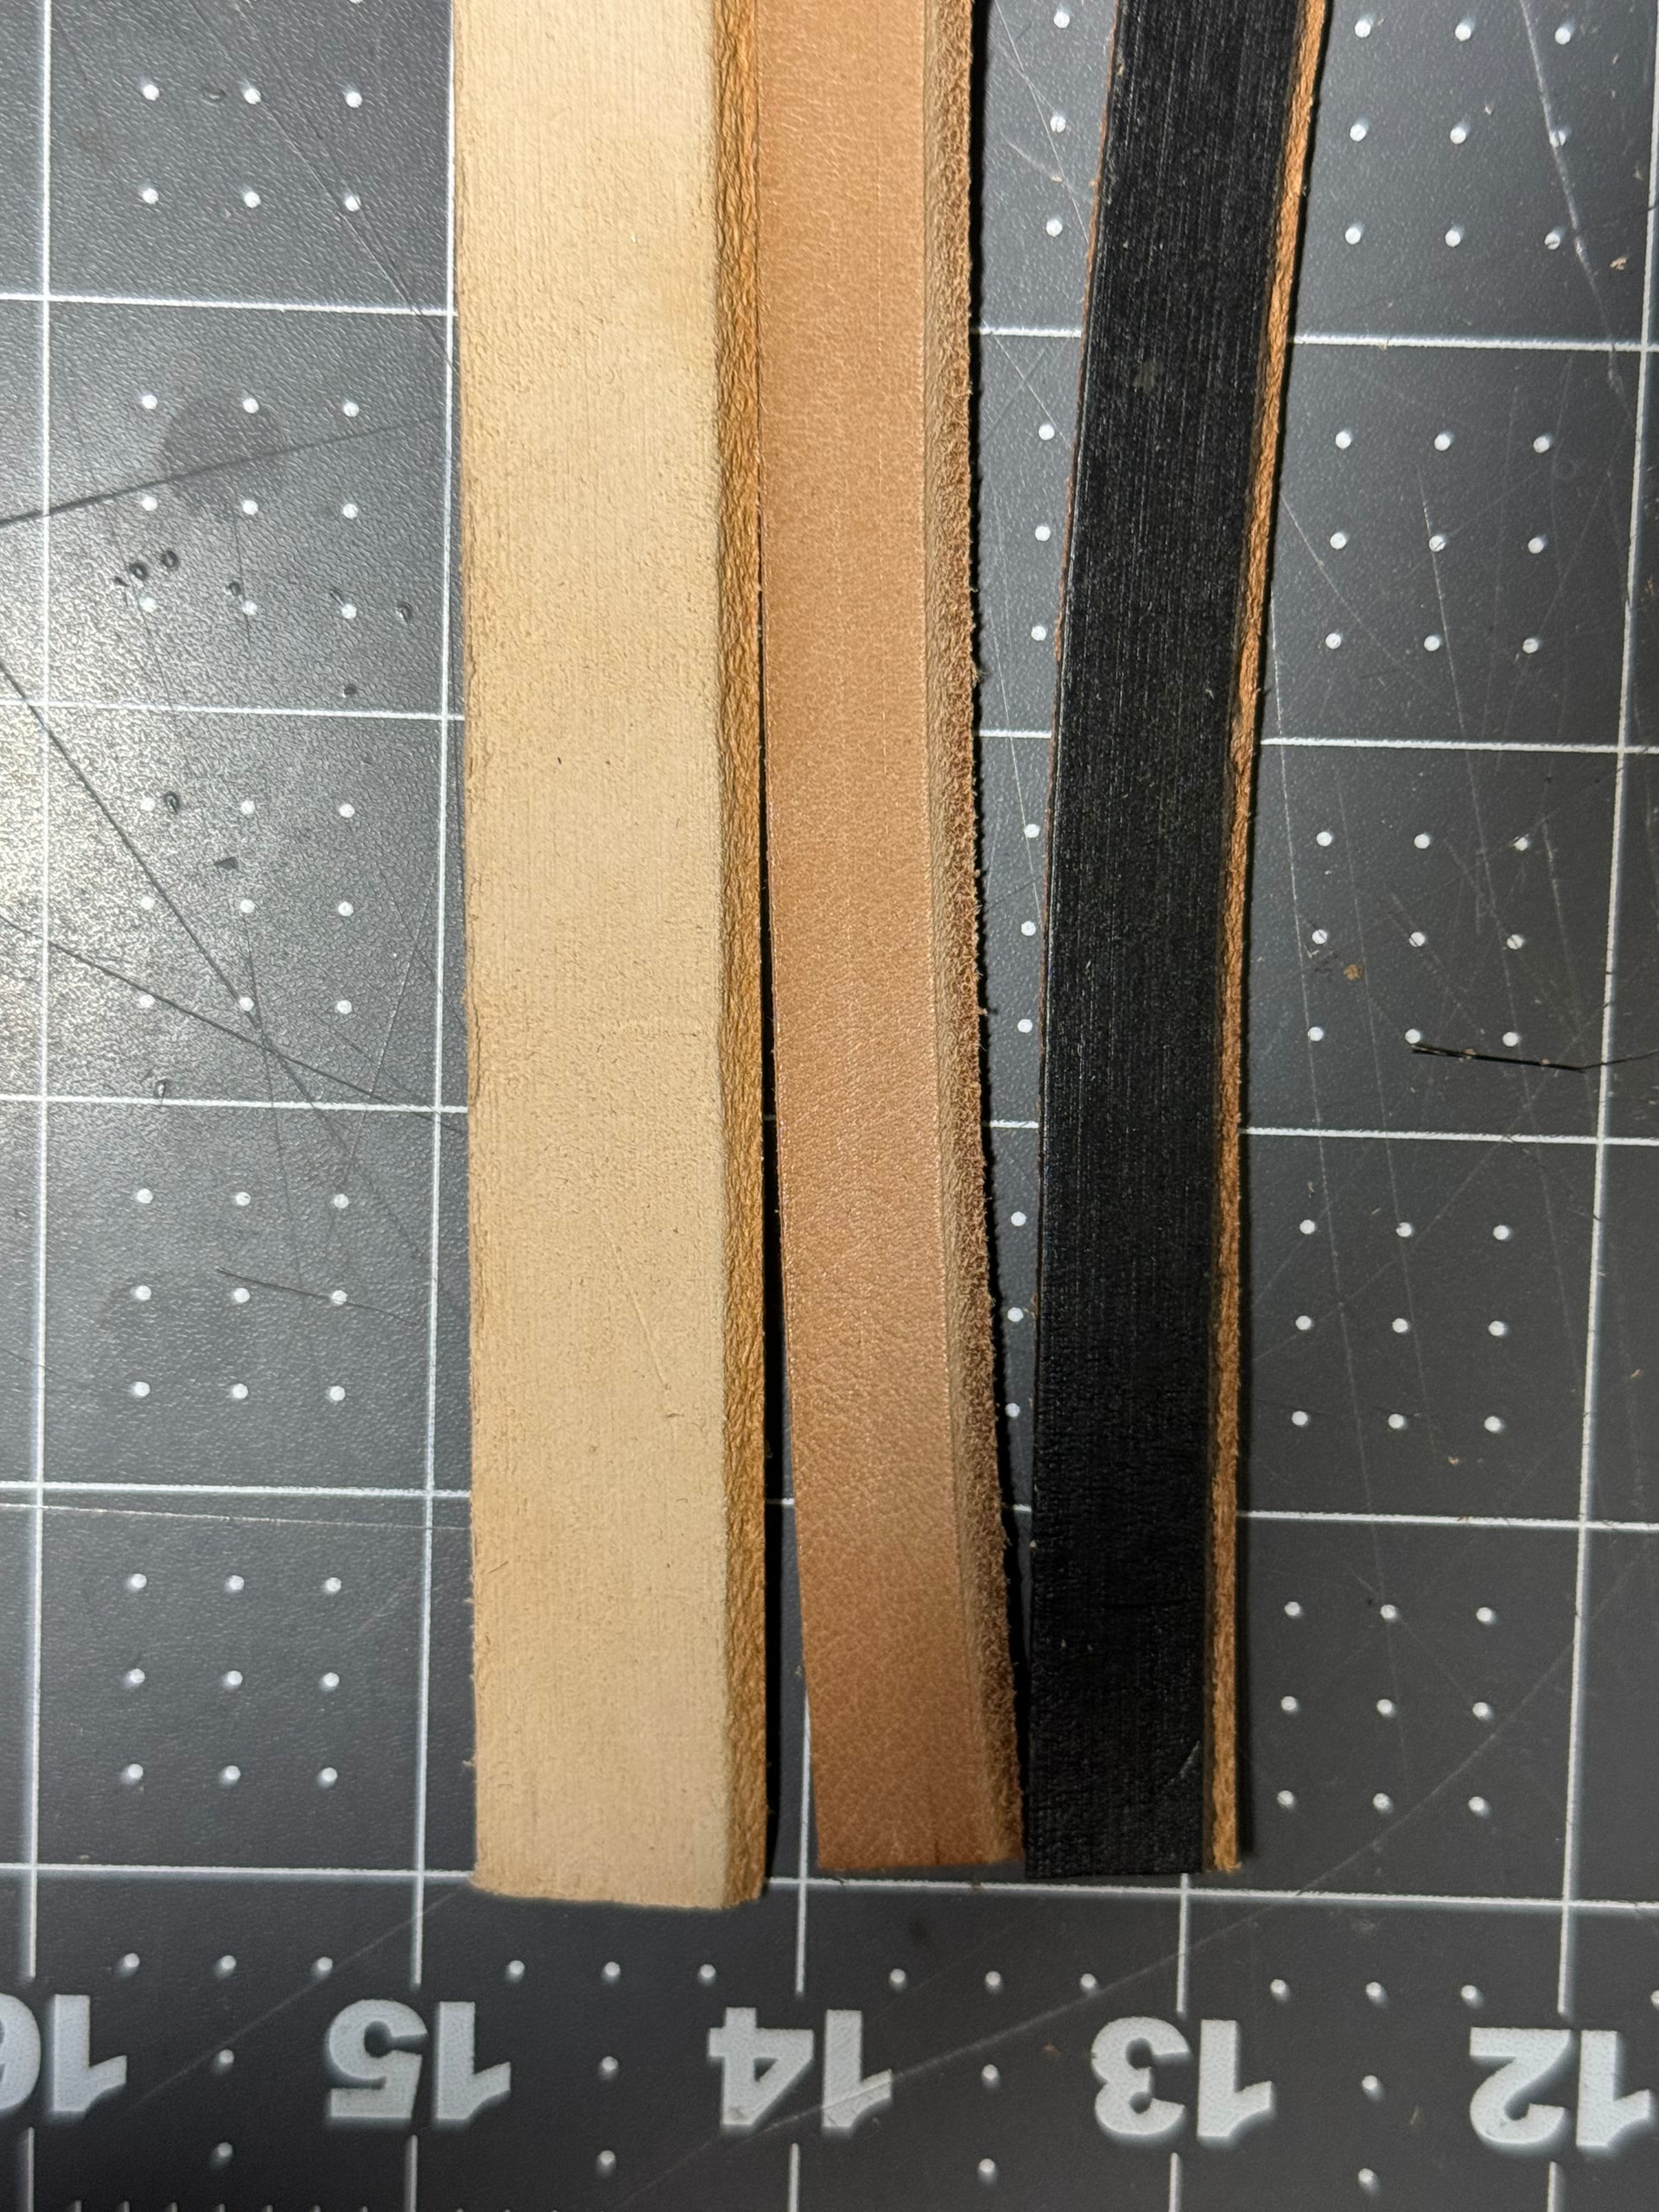
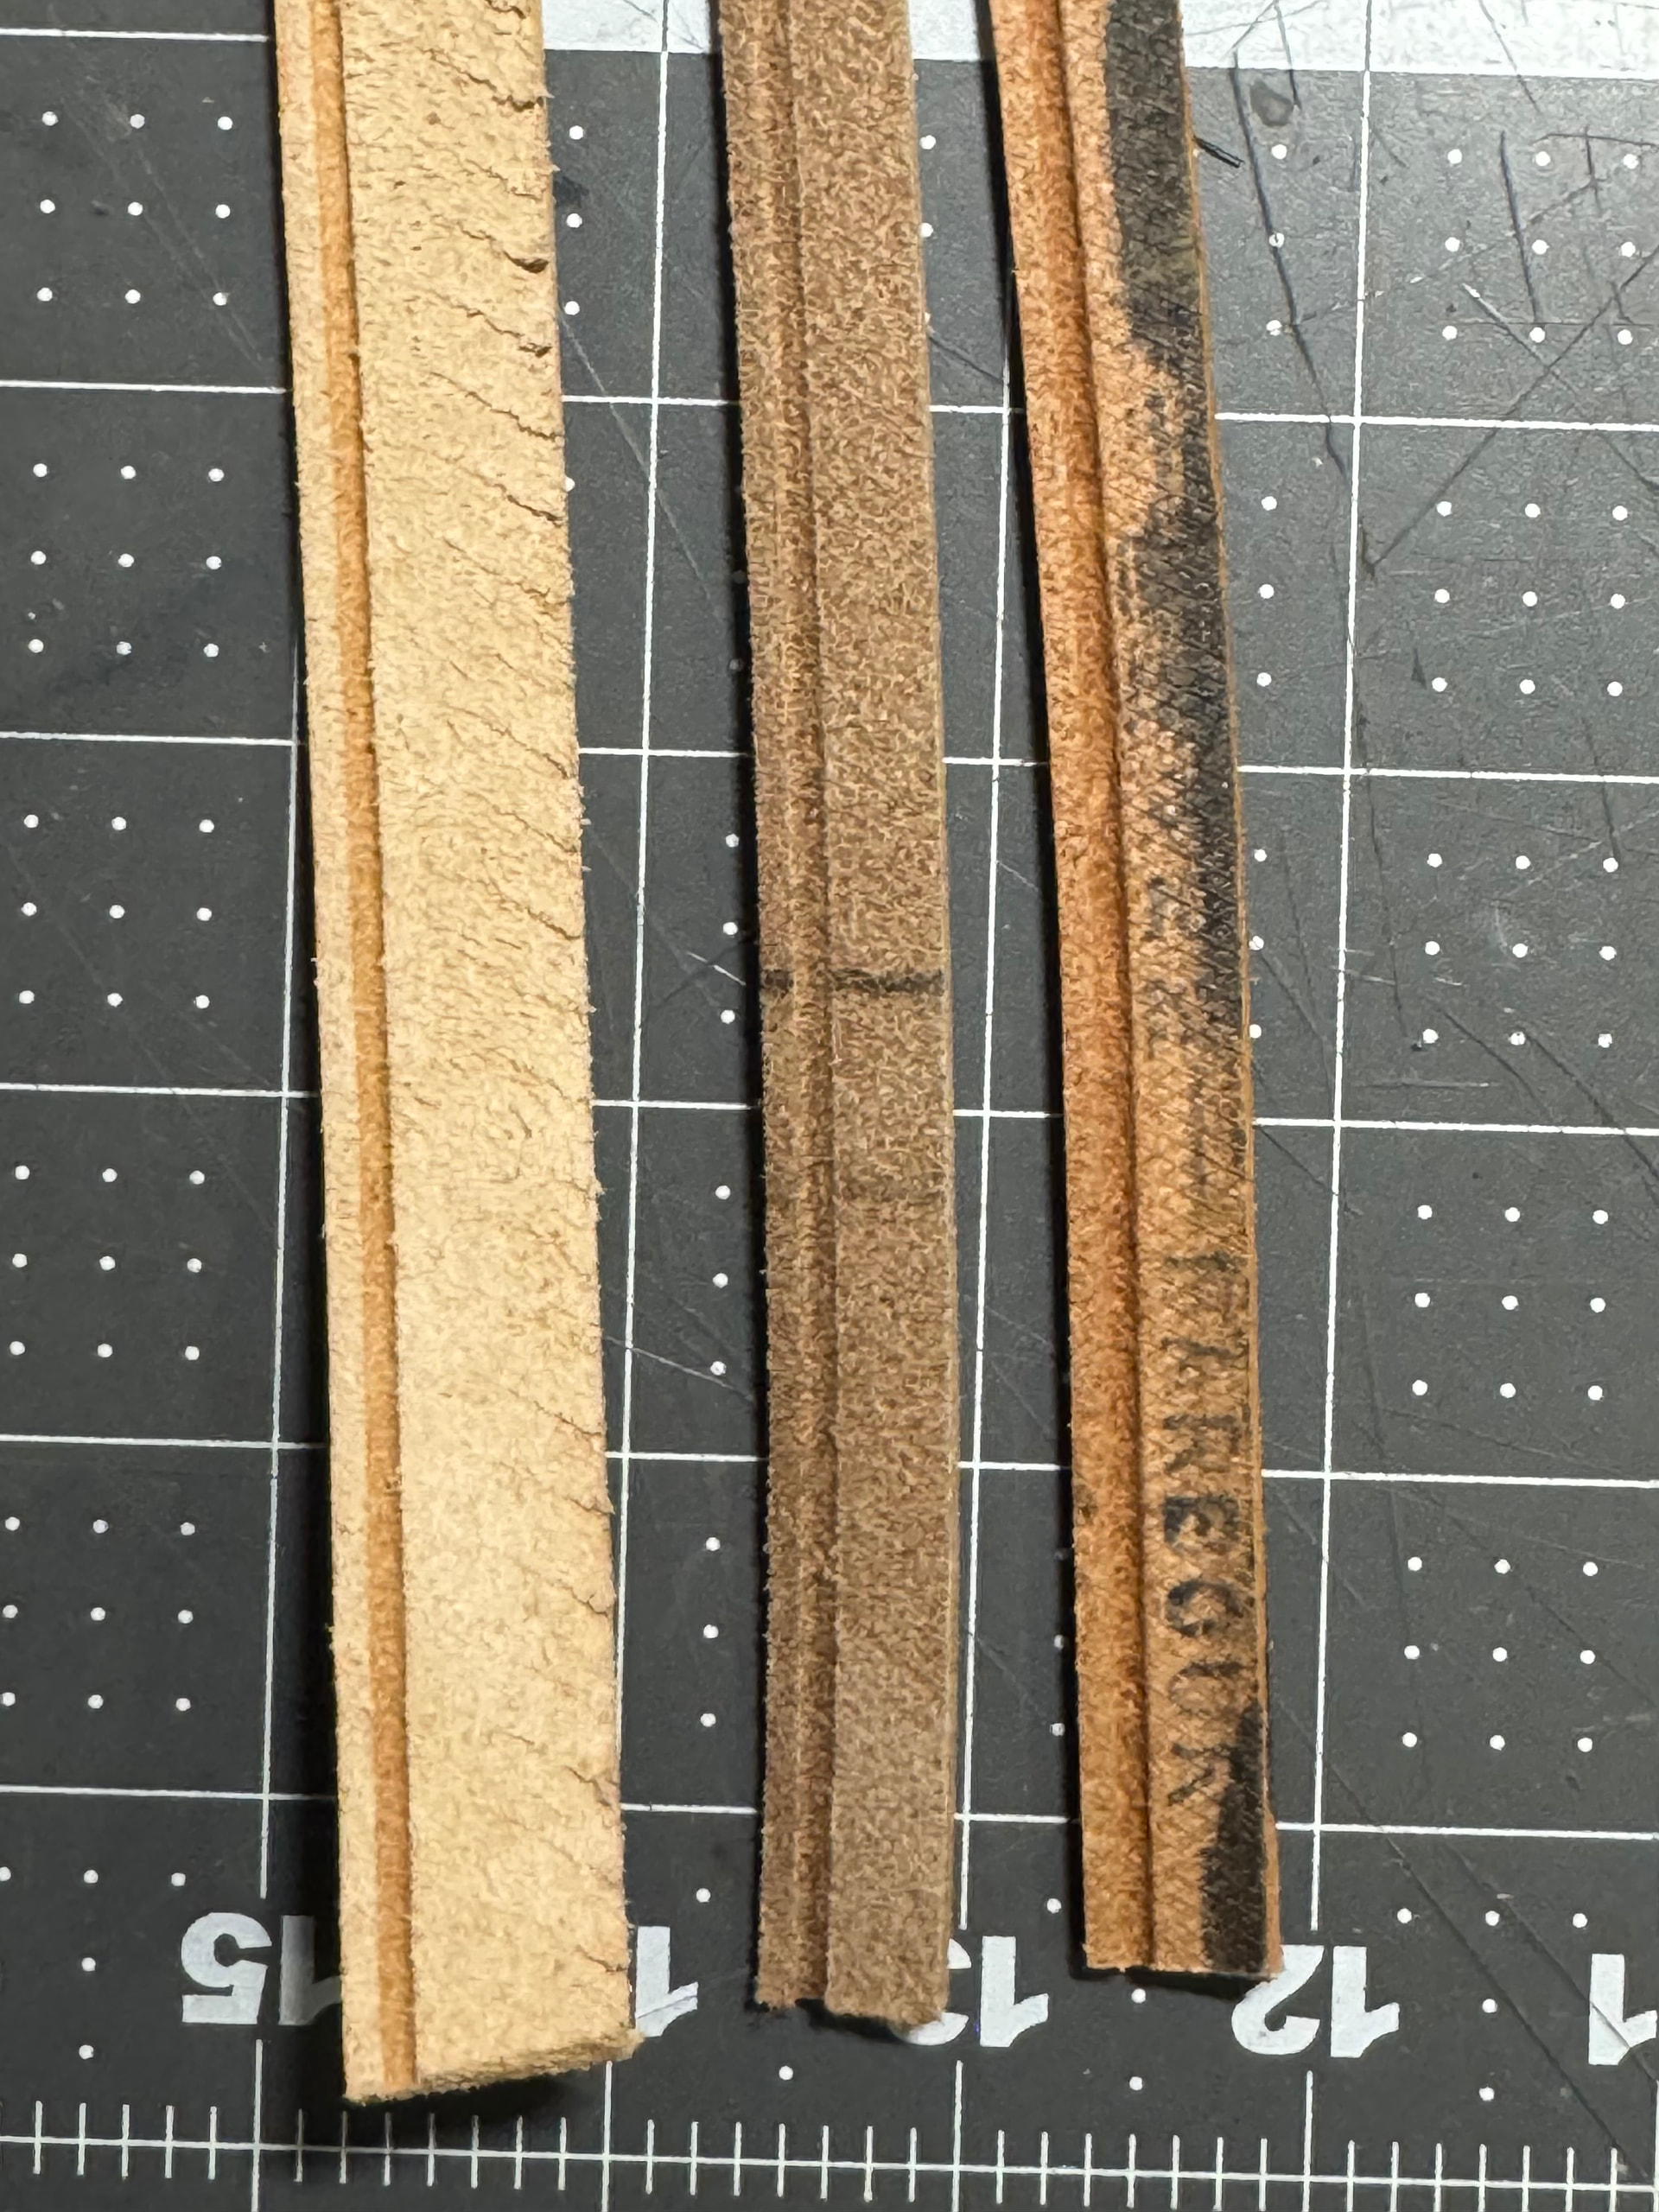
Beading comparison
From left to right: Panhandle, Mamoru
The are 3 way I know of to make the topline of a boot or shoe look nice: French binding/rolled top, beading, folded upper. The rolled top approach looks very nice but It requires a very thin piece of leather. I am not really sure what leather others use or if they just skive it all by hand but I couldn’t get a clean look for a shoe. I tried the folding approach too and didn’t have great results. My skiving is still really crappy and I couldn’t get the fold to stay with just Aquilium. I bought some beading from Panhandle and was disappointed at how thick it was. I was still able to use it with alright results. In Ken Hishinuma’s reddish brown series he used some really thin beading that looked great. I believe the beading he was using is the same one Mamoru sells. It is super thin and comes precut so it bends easily.
Final Thoughts
I am really glad I decided to take this adventure into importing. Shoe making tools and materials are so hard to find in the States, but with importing I’ve been able to find most of the things I need. I wish I had found out about Mamoru and other Japanese shoemaking stores earlier. I would have saved a lot of money buying before the end of de minimis. I was really impressed with the quality of everything they offered at such an affordable price. Now that I know how the process works, I will definitely purchase again.