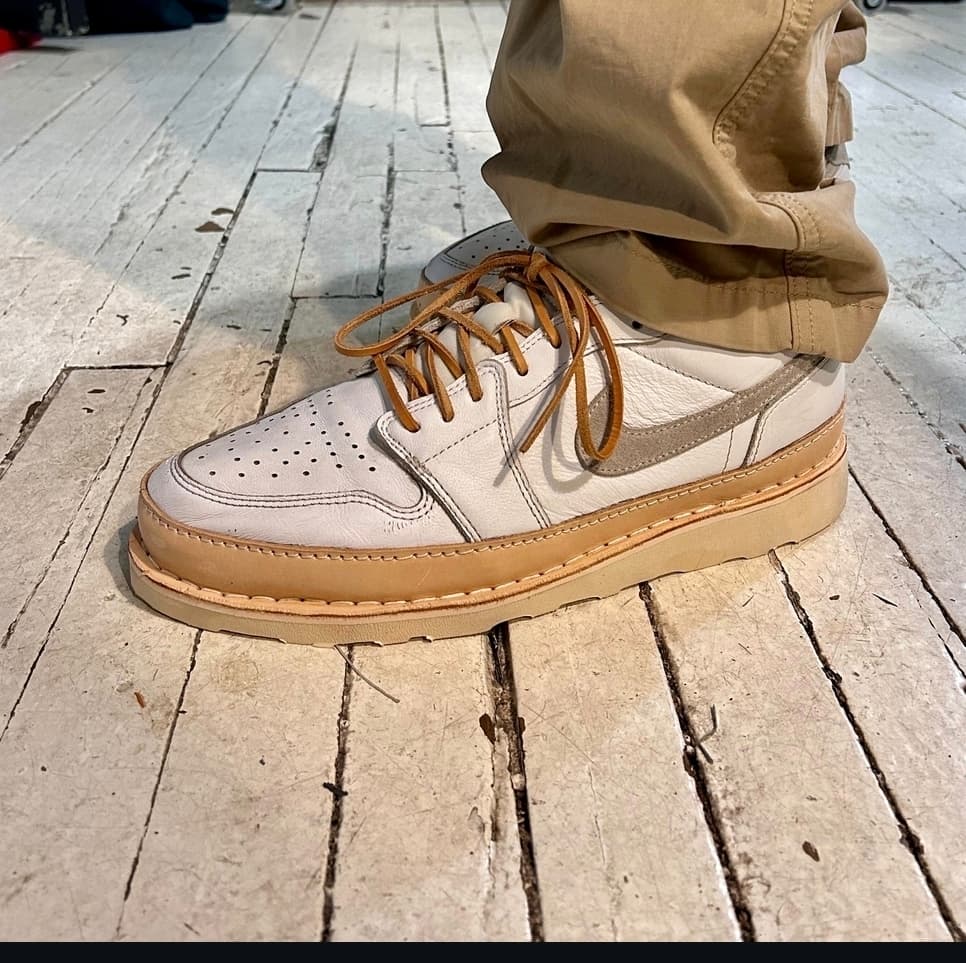
I shouldn’t forget to say that I do really like the look of your sneakers, @Mllcb42. I know it’s a classic style, and that “minimal” is (or was?) all the rage in recent times. But I think you’re producing an a very desirable product.
1 Like
Much appreciated. It’s unfortunate the stitching takes so much time. Would make it hard to be a viable product at scale.
One of the things I want to try on the sneaker front is making a pseduo-“cup sole” out of leather. I am yet to find a readily available cup sole in a wide sizing. There are a few companies doing a normal welted style sole on this style sneaker, but I haven’t seen anything that looks more “normal”.
I have considered making something that looks vaguely like a norvegese stitched insole, but upside down and rather that stitching through the upper, stitch through a foxing strip. That would leave you with a leather cup sole base that you could then attach to the upper like a standard cup sole.
If this were viable at scale, I’d expect someone to be mass producing it!
One of the reasons I haven’t tried sneakers is that my own feet are rather narrow. I’m usually sized something like US men’s 13B, as in bravo.
Looking back at my notes, there was one promising direction: Cement to a flat sheet of solid outsole rubber, then use rubber foxing tape all the way around the featherline. In other words, built a “cup” like an old-school vulcanized shoe. Apparently there are plenty of modern mass manufacturers doing exactly this with cold cement now.
Yah, that’s definitely an option, but it feels like a cop out not actually vulcanizing. For the level of effort required here, doing it out of leather seems more desireable too
There has been at least one “premium” sneaker online recently with leather strips in place of rubber or plastic foxing. I can’t remember offhand which brand name it had. I do remember that I thought they looked very strange.
I have seen a few brands that do a leather foxing strip like this:
I agree with them looking strange. The sorta-stitchdown flare out is a largecpart of what kills the look for me, and with it all sitting on top of a sole instead of built in. That’s where I think attaching to the side of the outsole instead of the upper flat would make the aesthetics work a lot better.
What do you think about Goods & Services’ all veg tan Vans?
I have very wide feet, so I’m used to rubber foxing breaking at the ball of my foot on both sides.
Interesting.
At least based on the glamor shots at the end of the video, those appeal to my eyes a lot more than the others I had vaguely in mind.
It probably helps that they really tracked the established Authentics pattern closely.
Man, i was going back and forth trying to remember their name when looking for the photo I posted abobe.
I really dislike the sole treatment on most of their stuff, but this one is definitely more in the direction of what I had in mind aesthetically. I don’t love the construction method of the sole, but there are definitely many ways to skin that cat.
Do you think if I went down to 3mm spacing that 0.35mm would make more sense?
I think you would need to just to make it happen. .45mm on 4mm spacing is a really tight squeeze. I can try to do a test piece tomorrow with it on 3mm spacing to see if it’ll even work.
1 Like
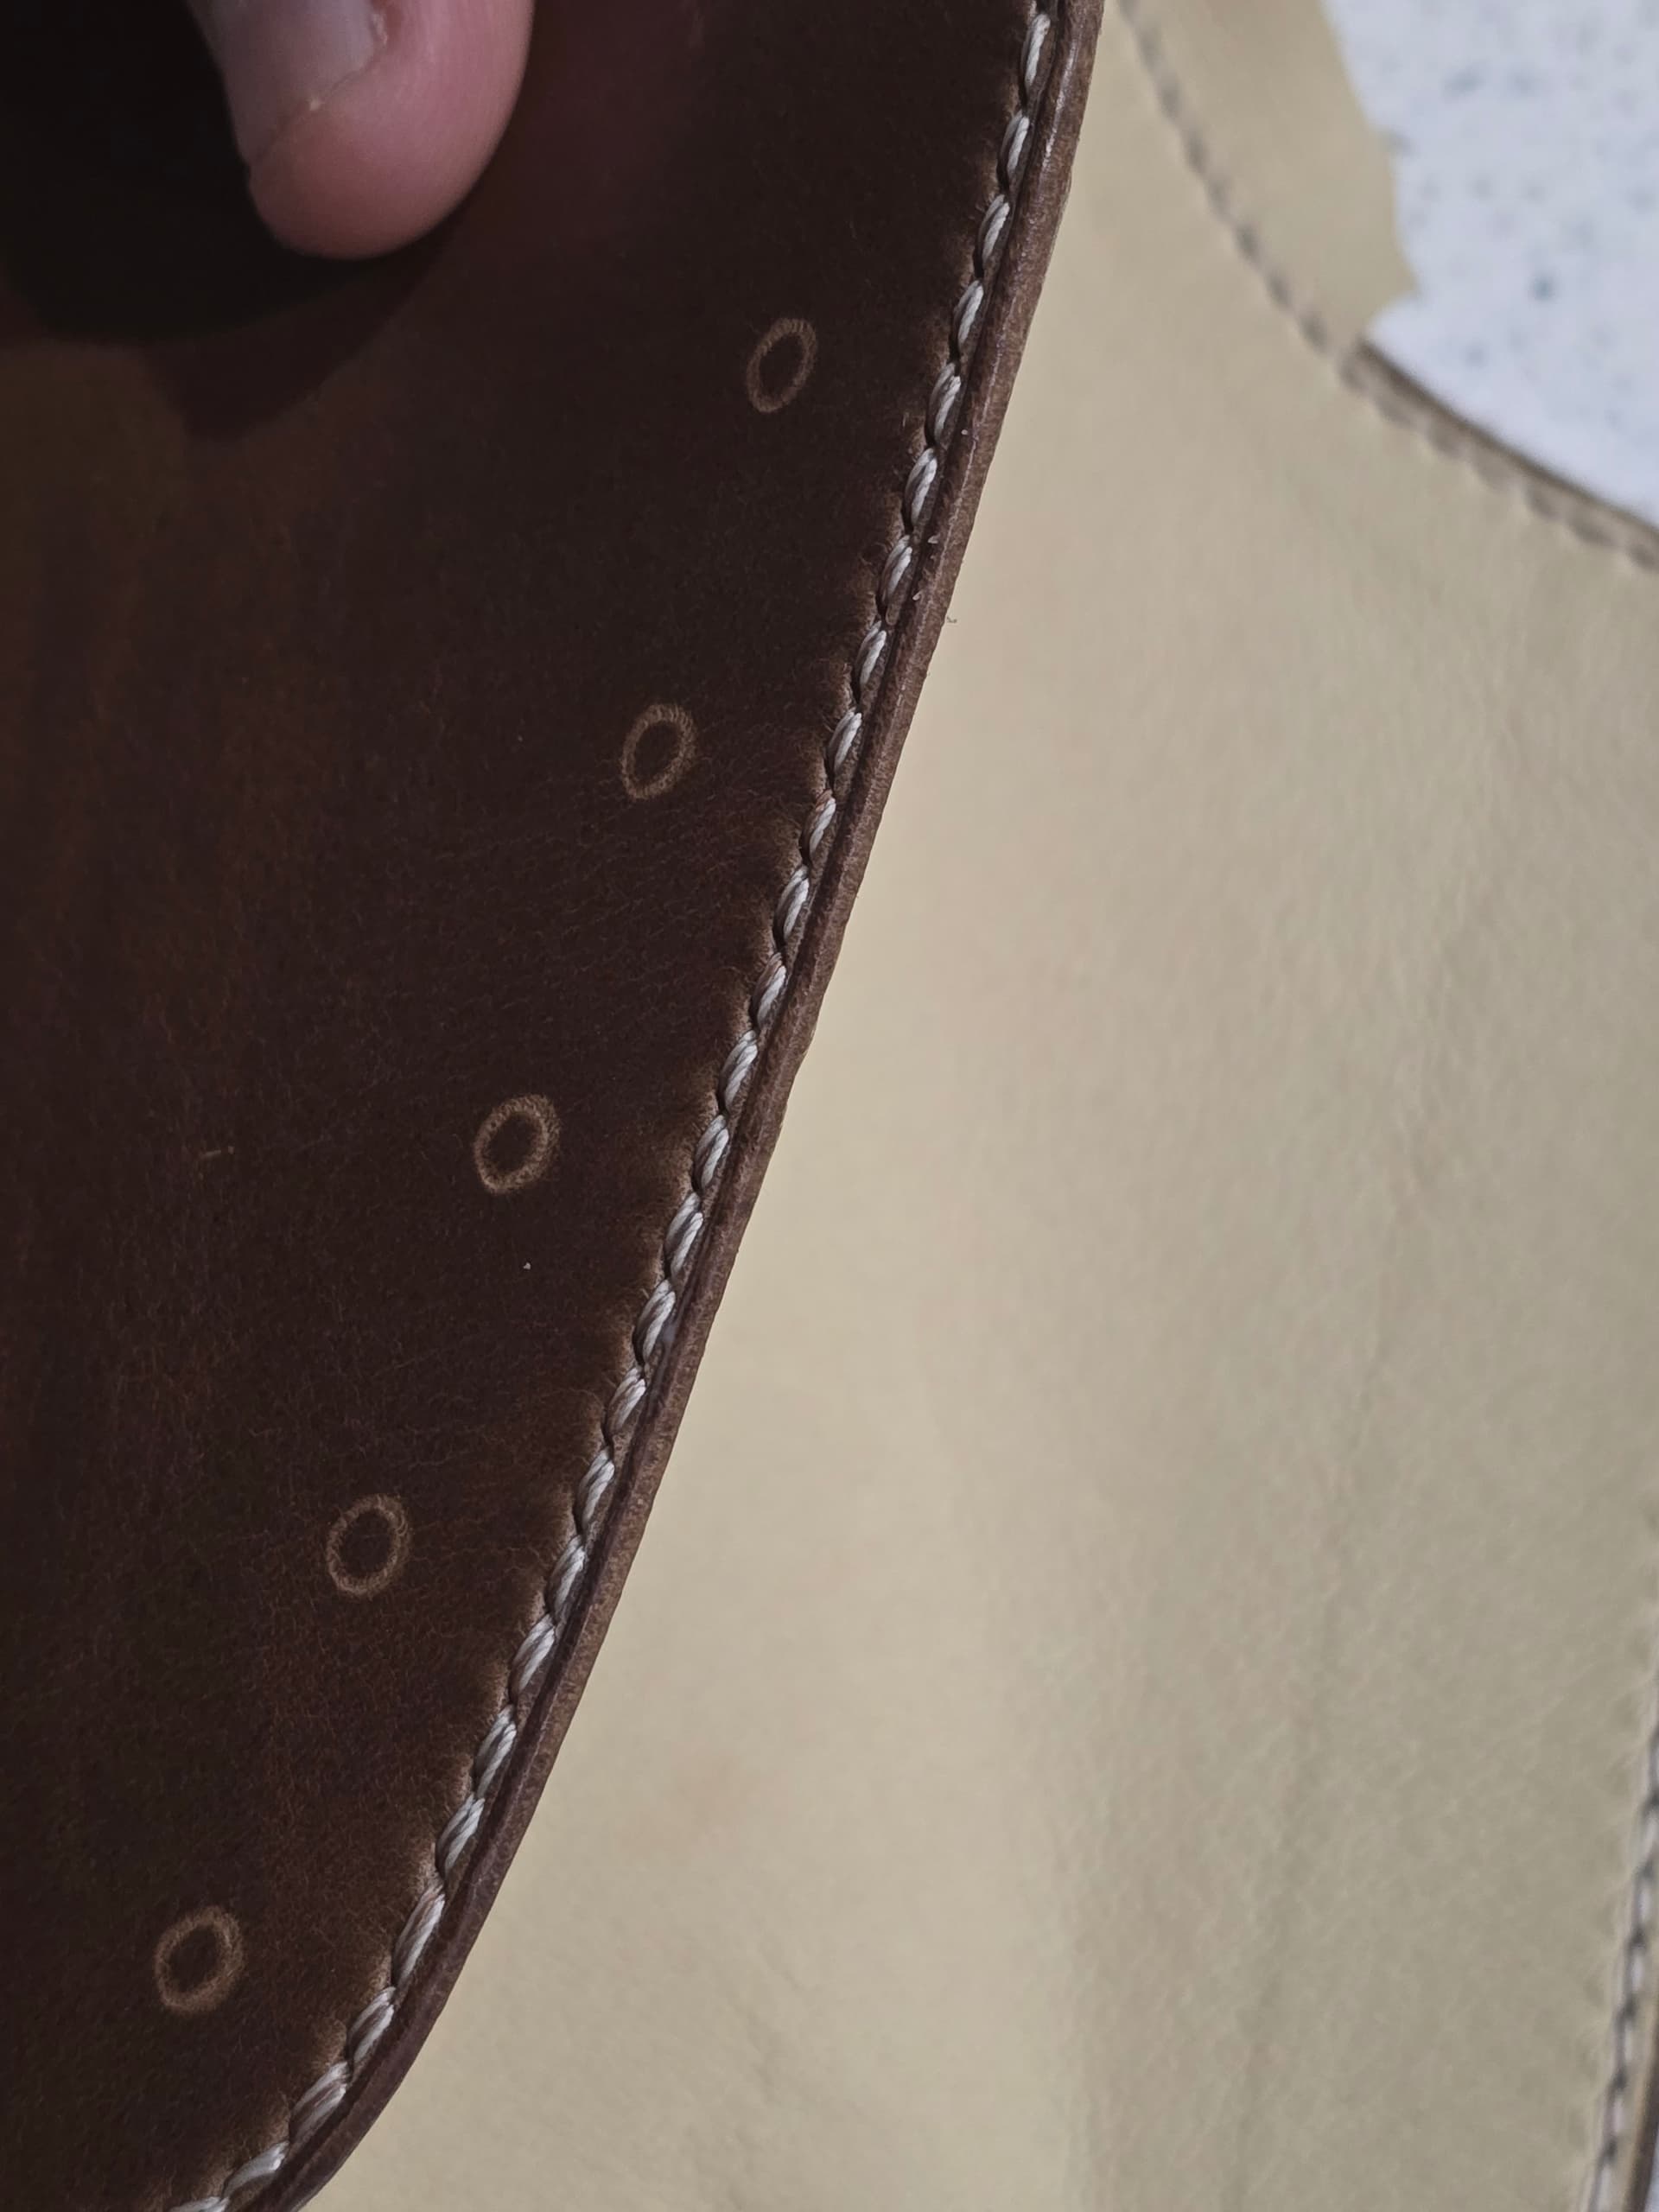
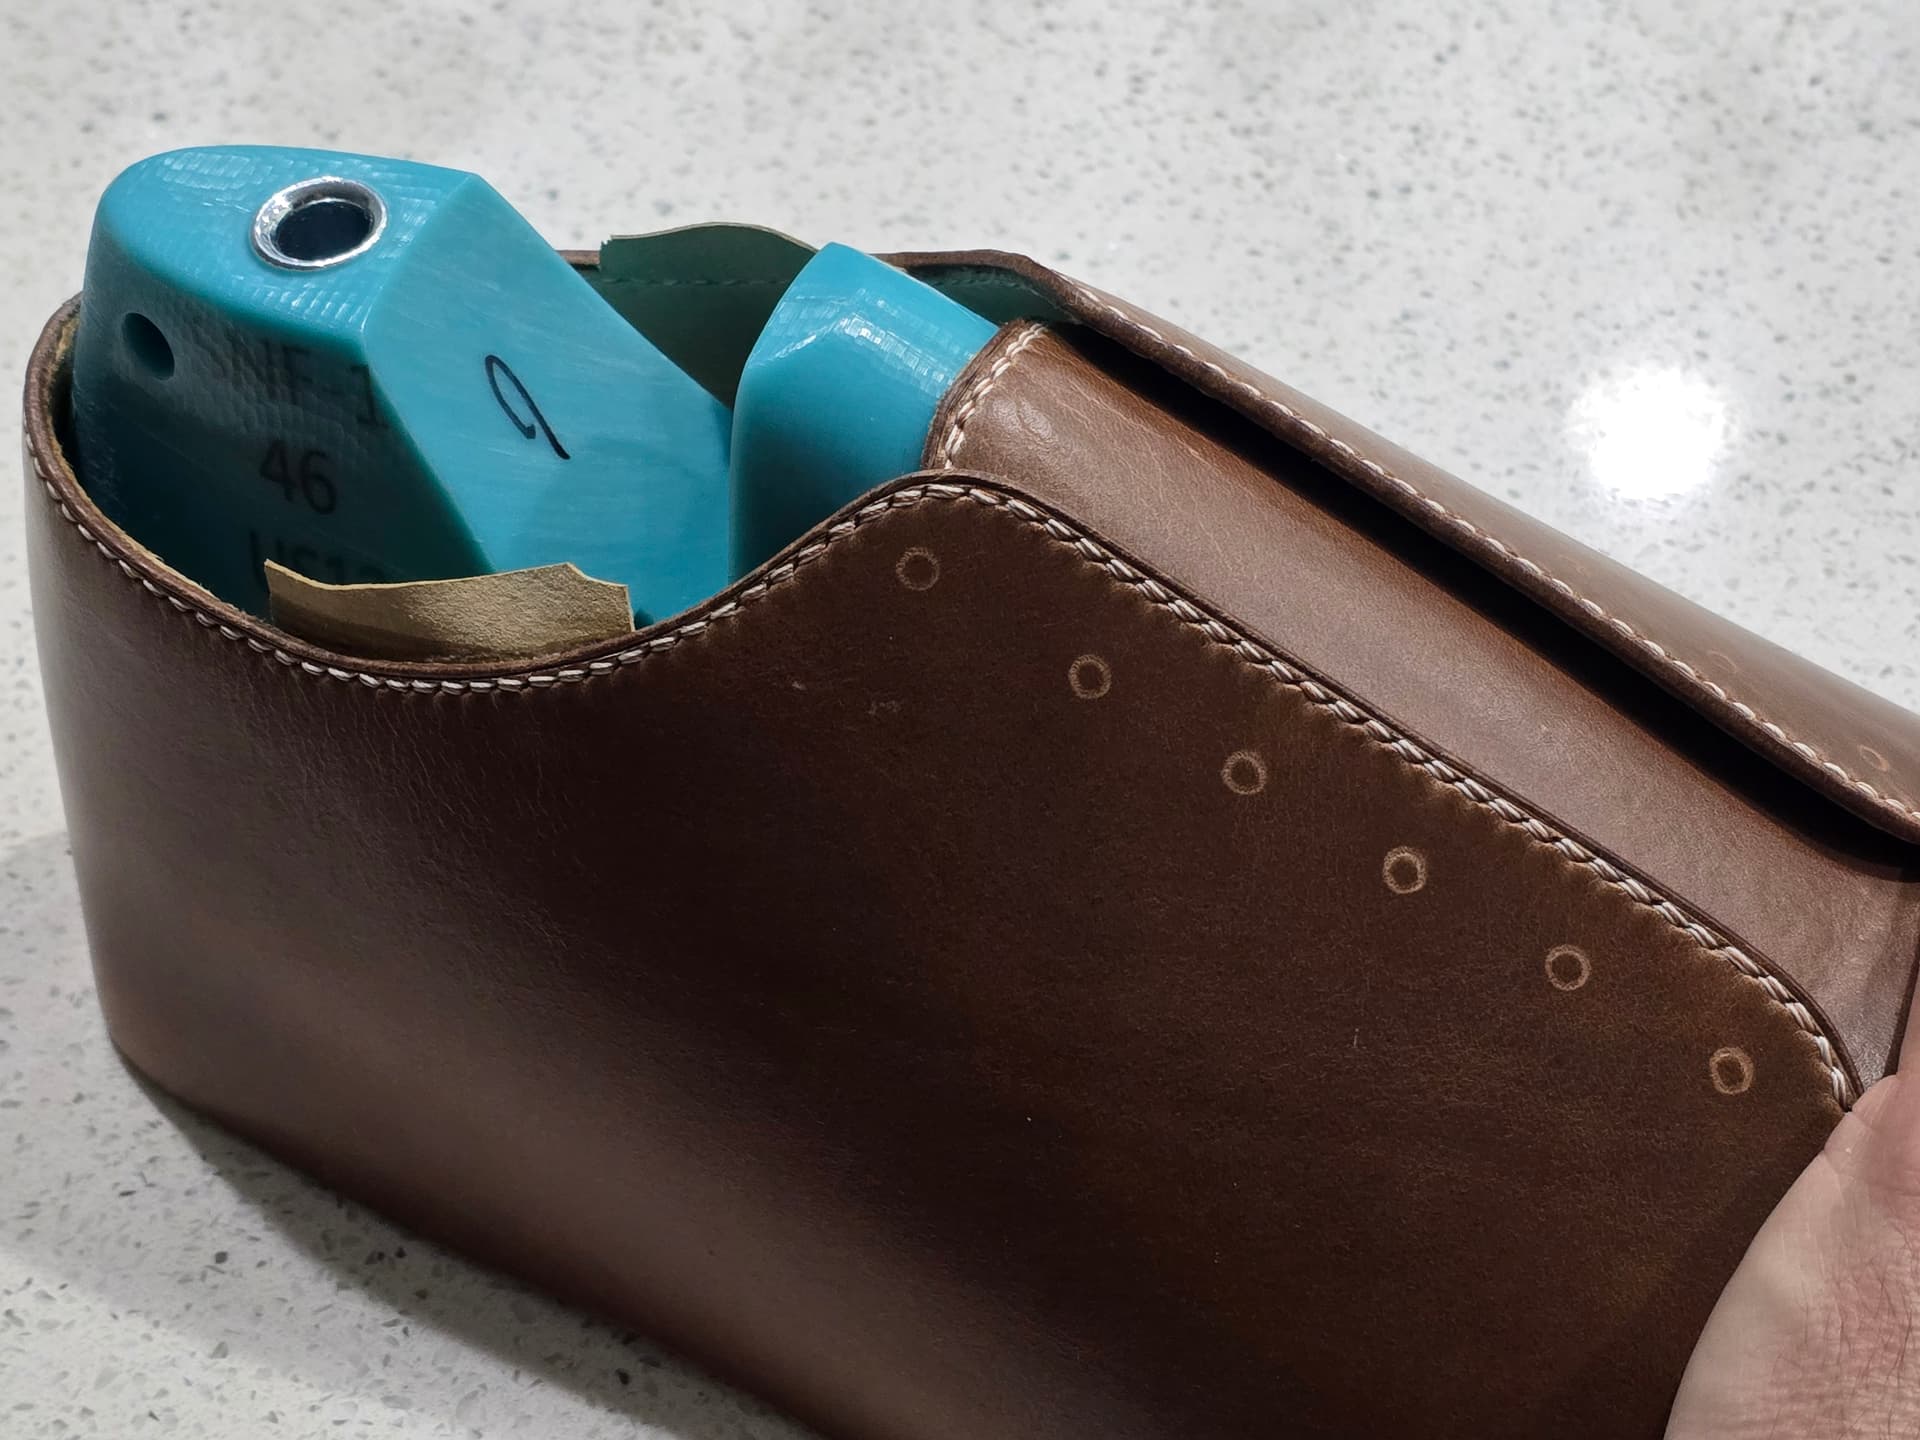
Your edges are incredible. I recently tried Tokonole for the first time after almost five years of bootmaking. It turned out okay, I need to practice more.
The double line of stitches in the same holes is such a flex. I love seeing the “small goods treatment” on a pair of shoes.
2 Likes
It’s just a time thing really. Sand, burnish, sand, burnish, etc. Increase the grits bit by bit. When I really want a good gloss on an edge, I will start around 320 grit and go up to around 7000.
2 Likes
Got home a little late to be hammering chisels, so trimmed up the lining in the right shoe and did another sand and burnish rep.
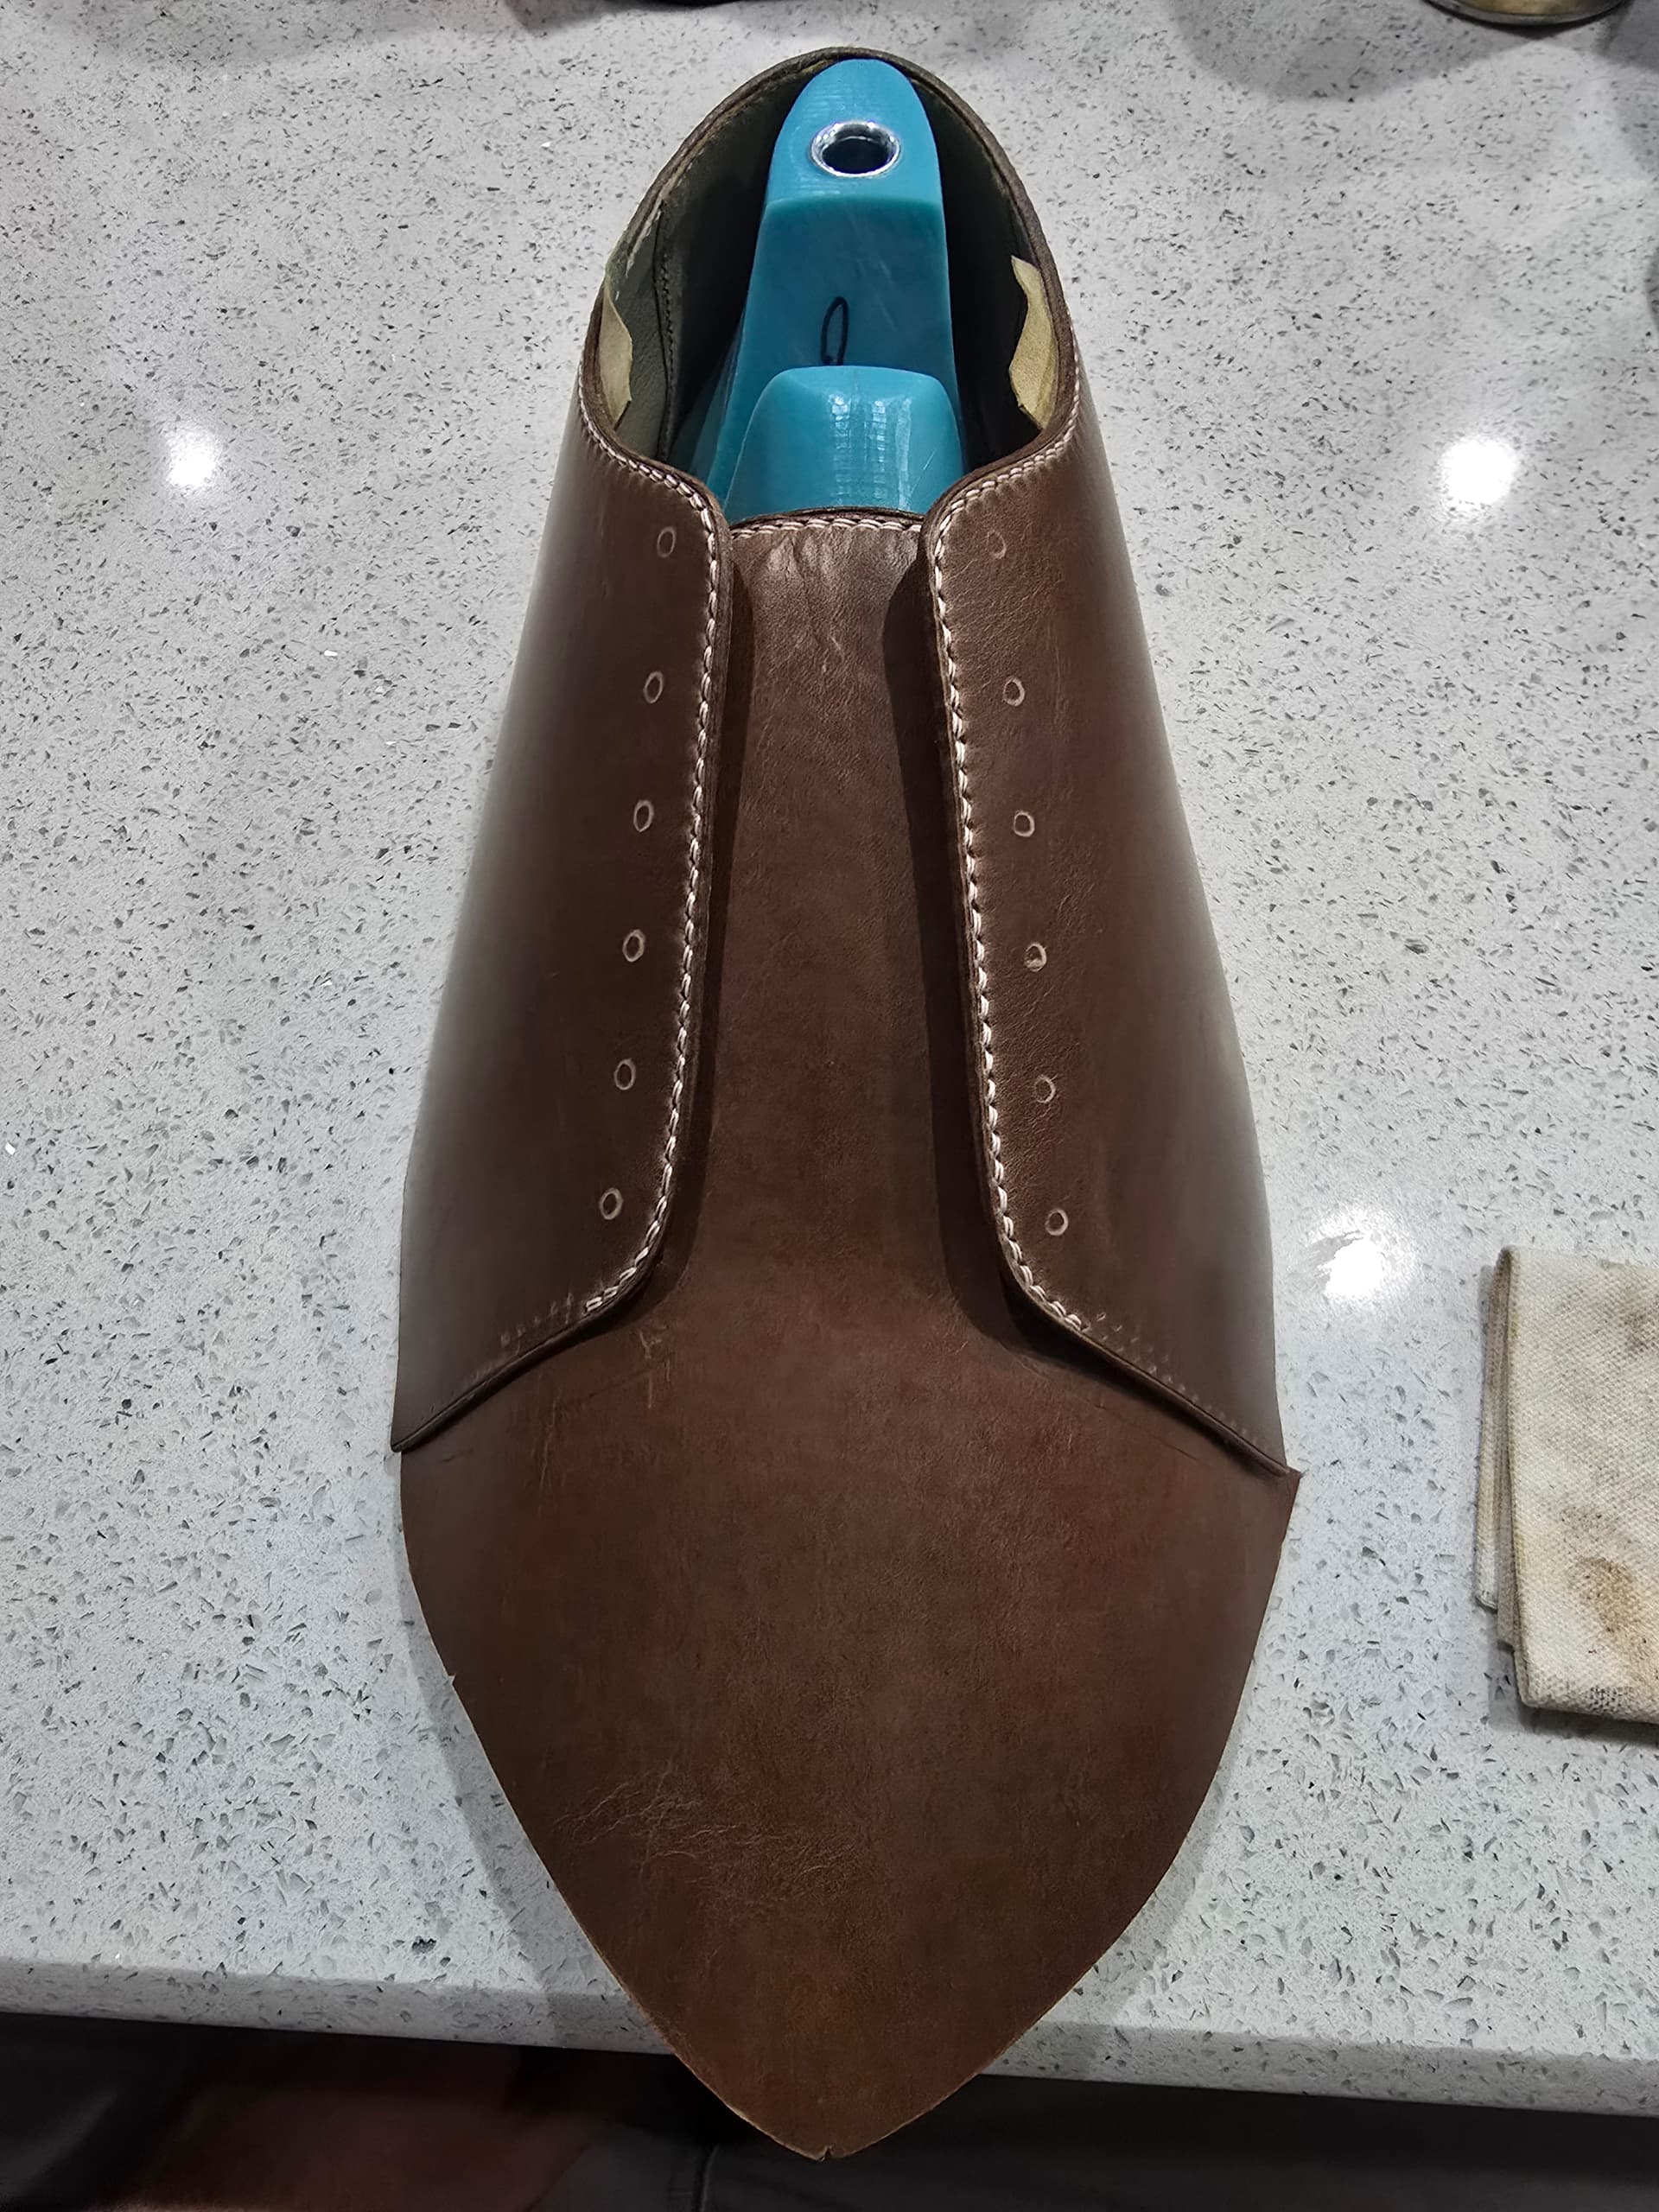
This is at 1000 grit
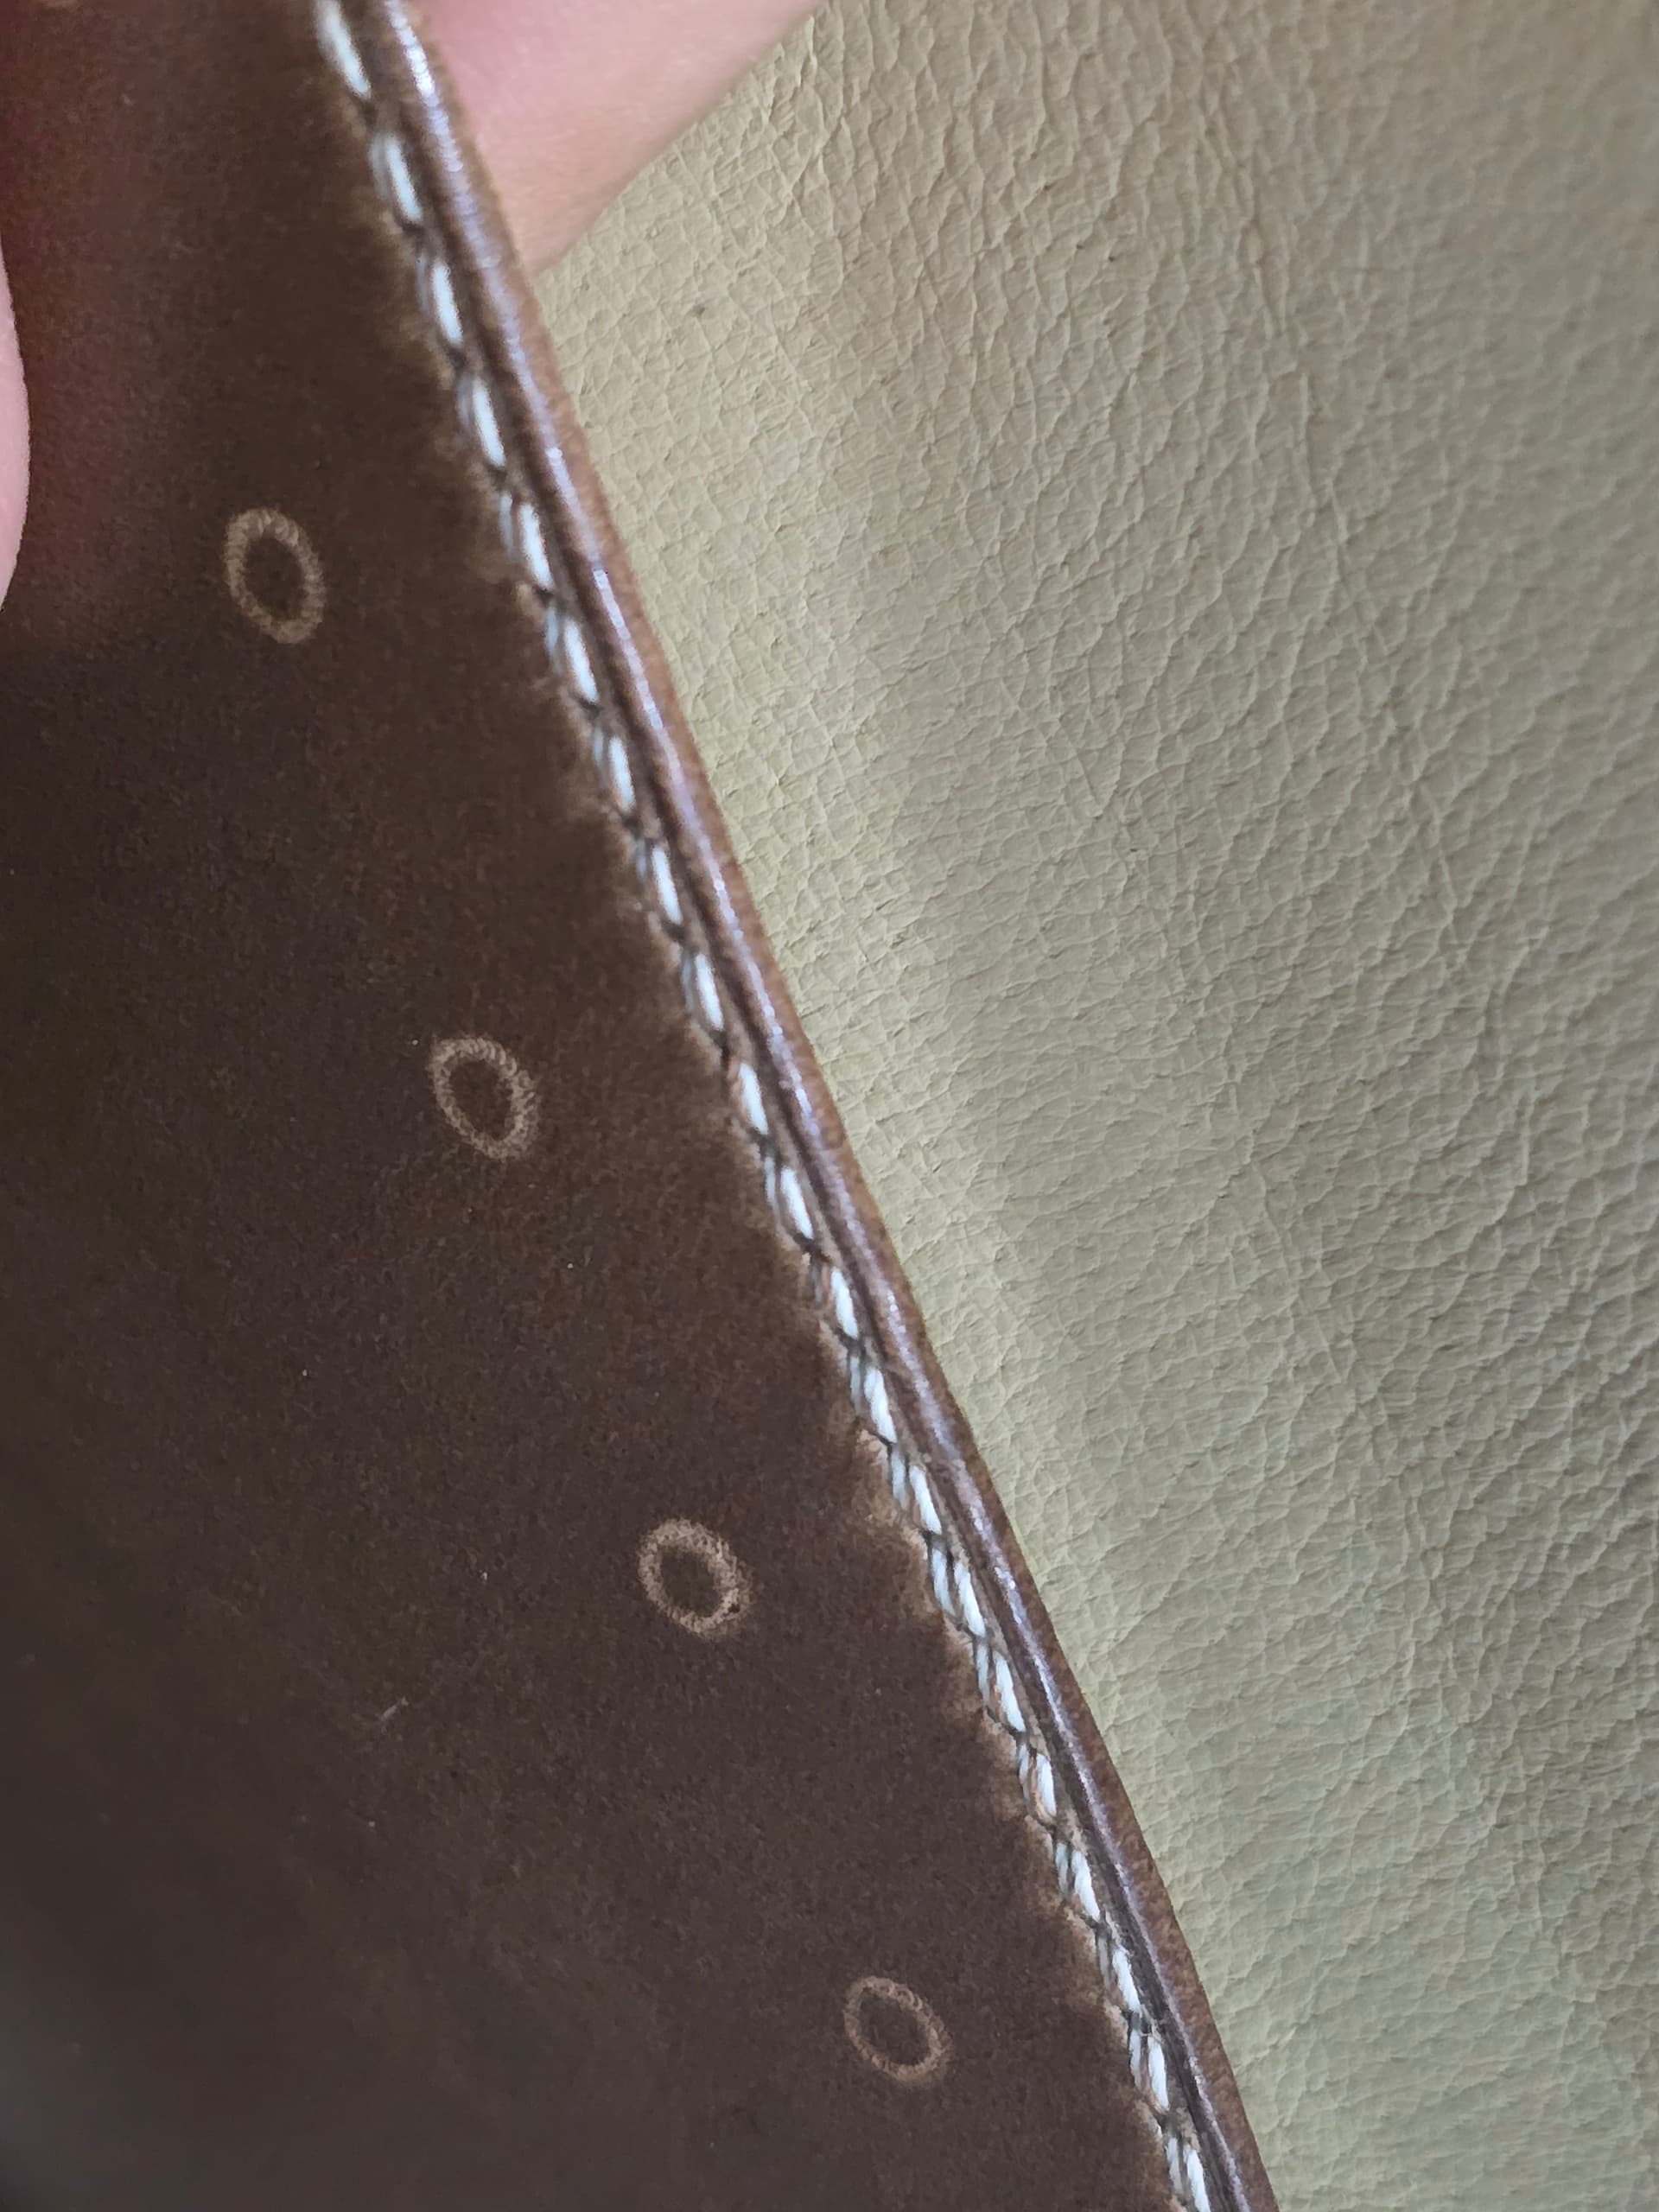
1 Like
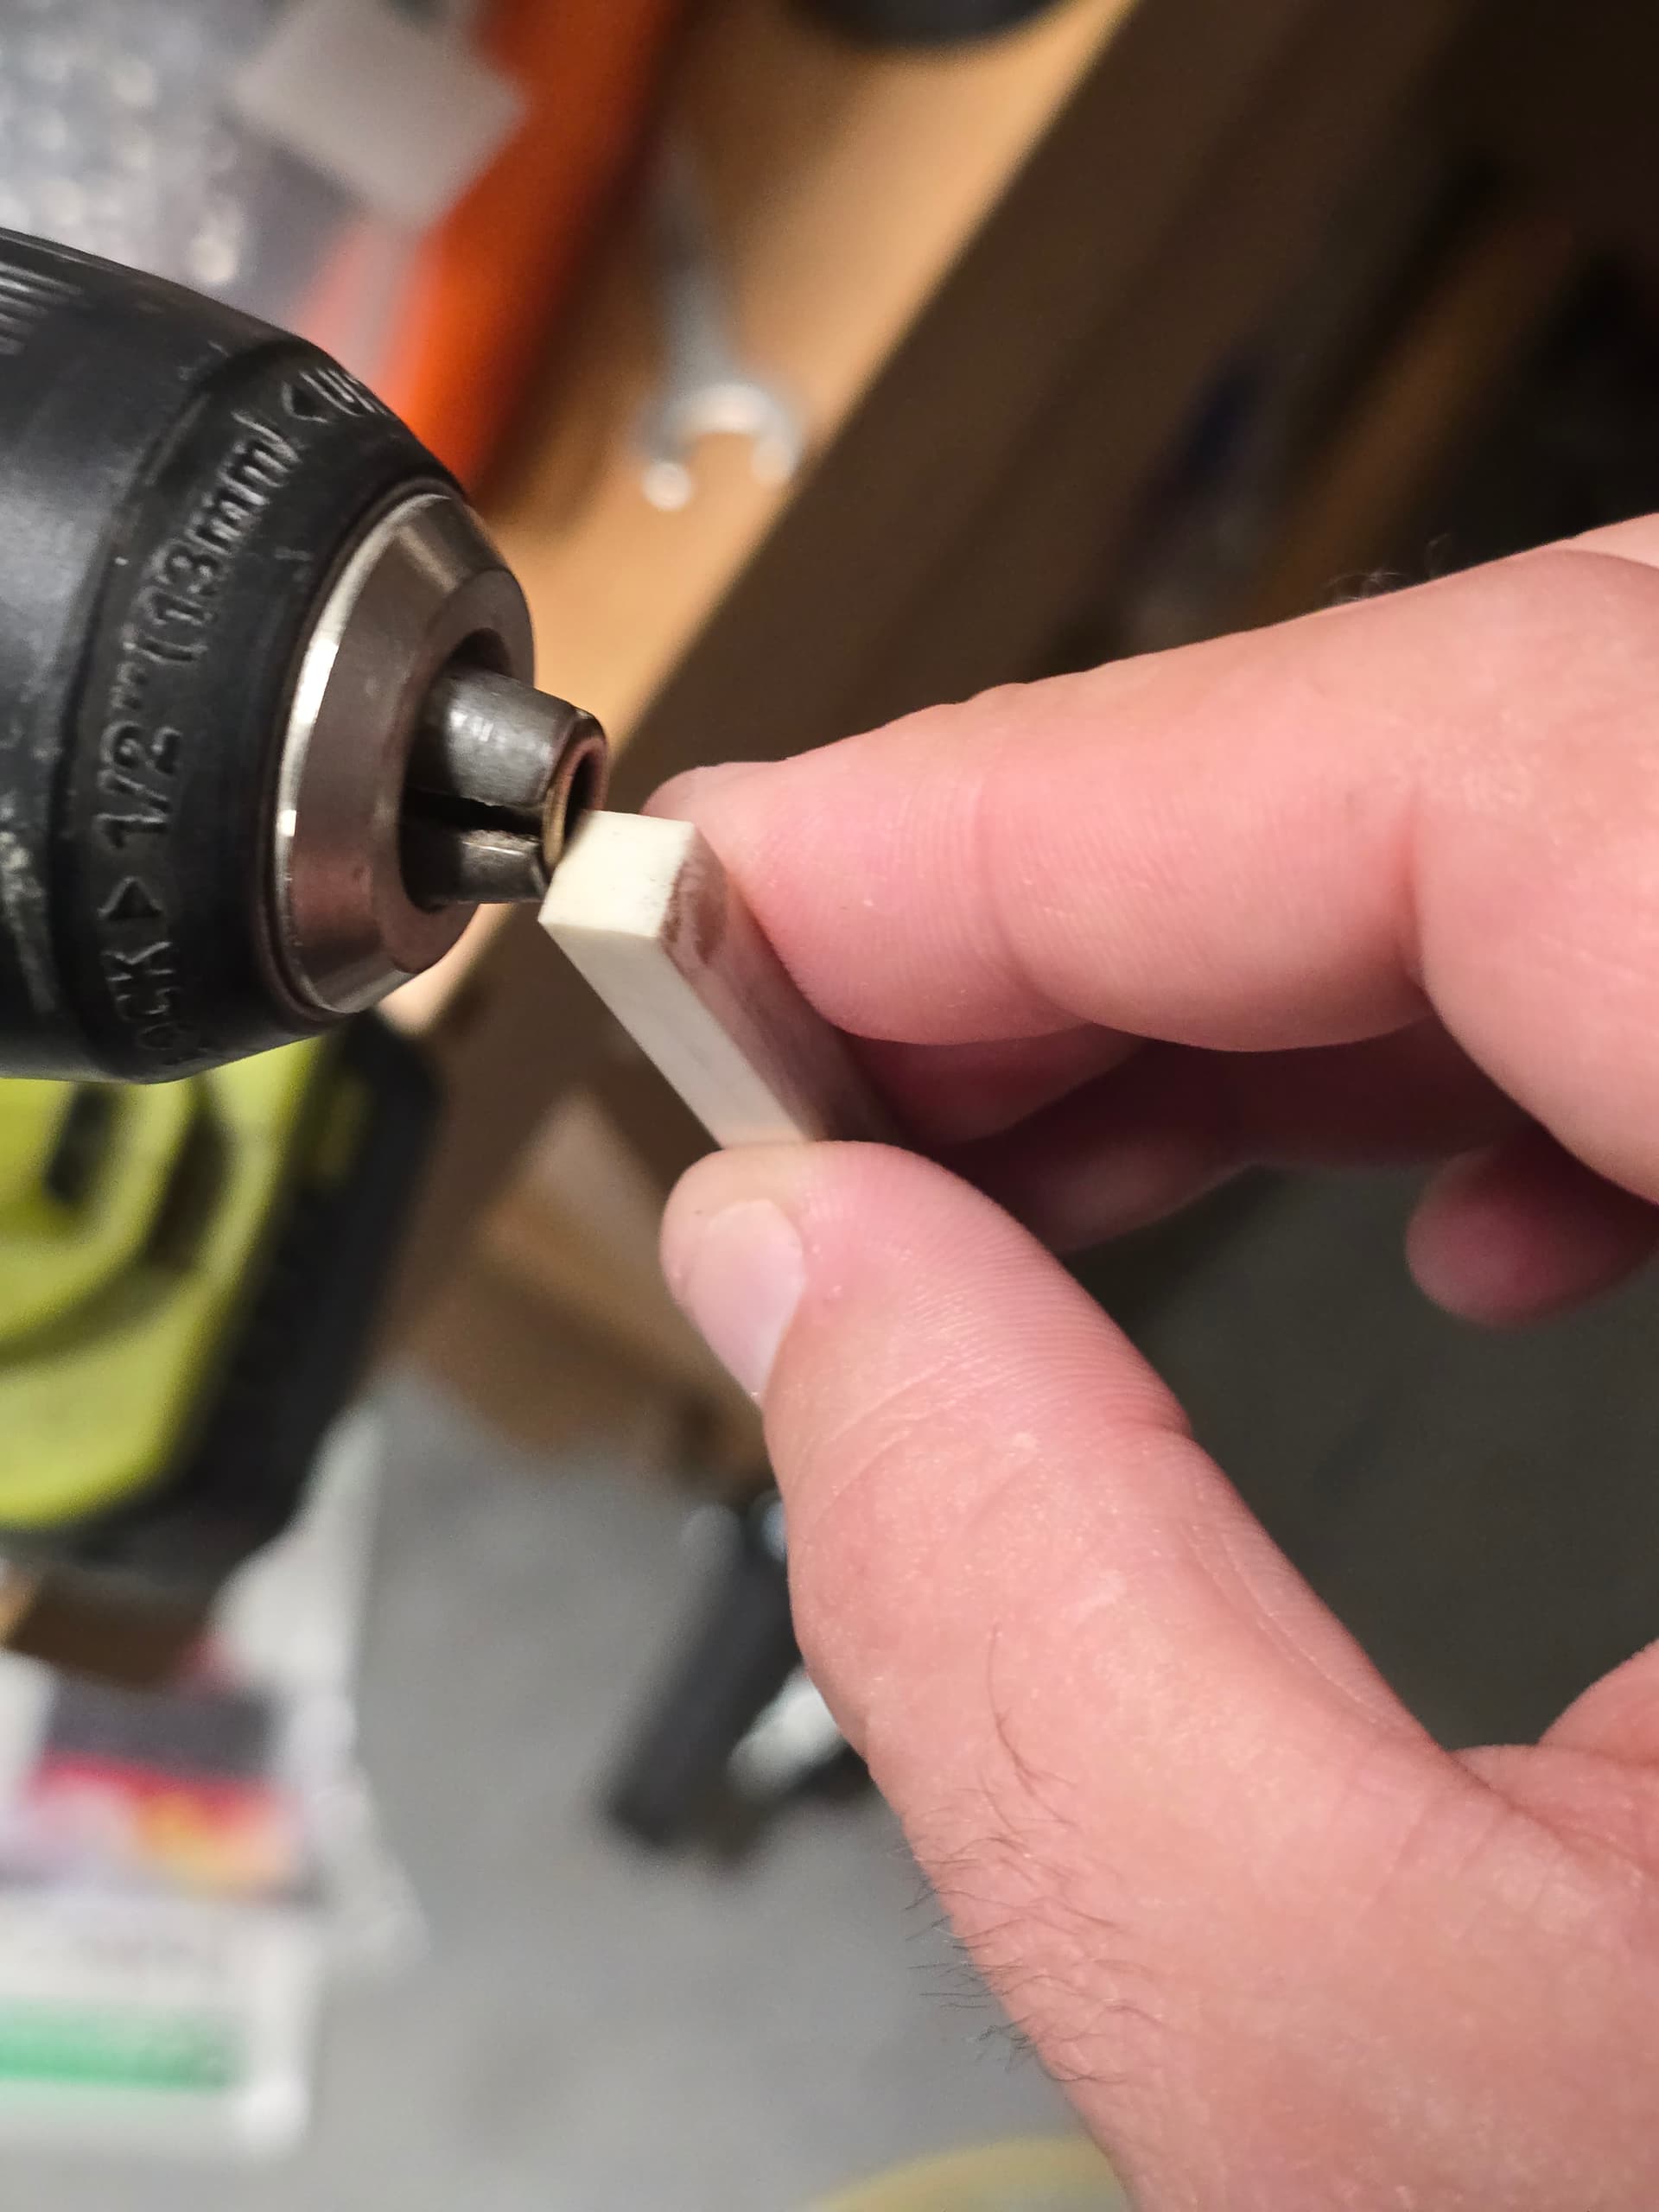
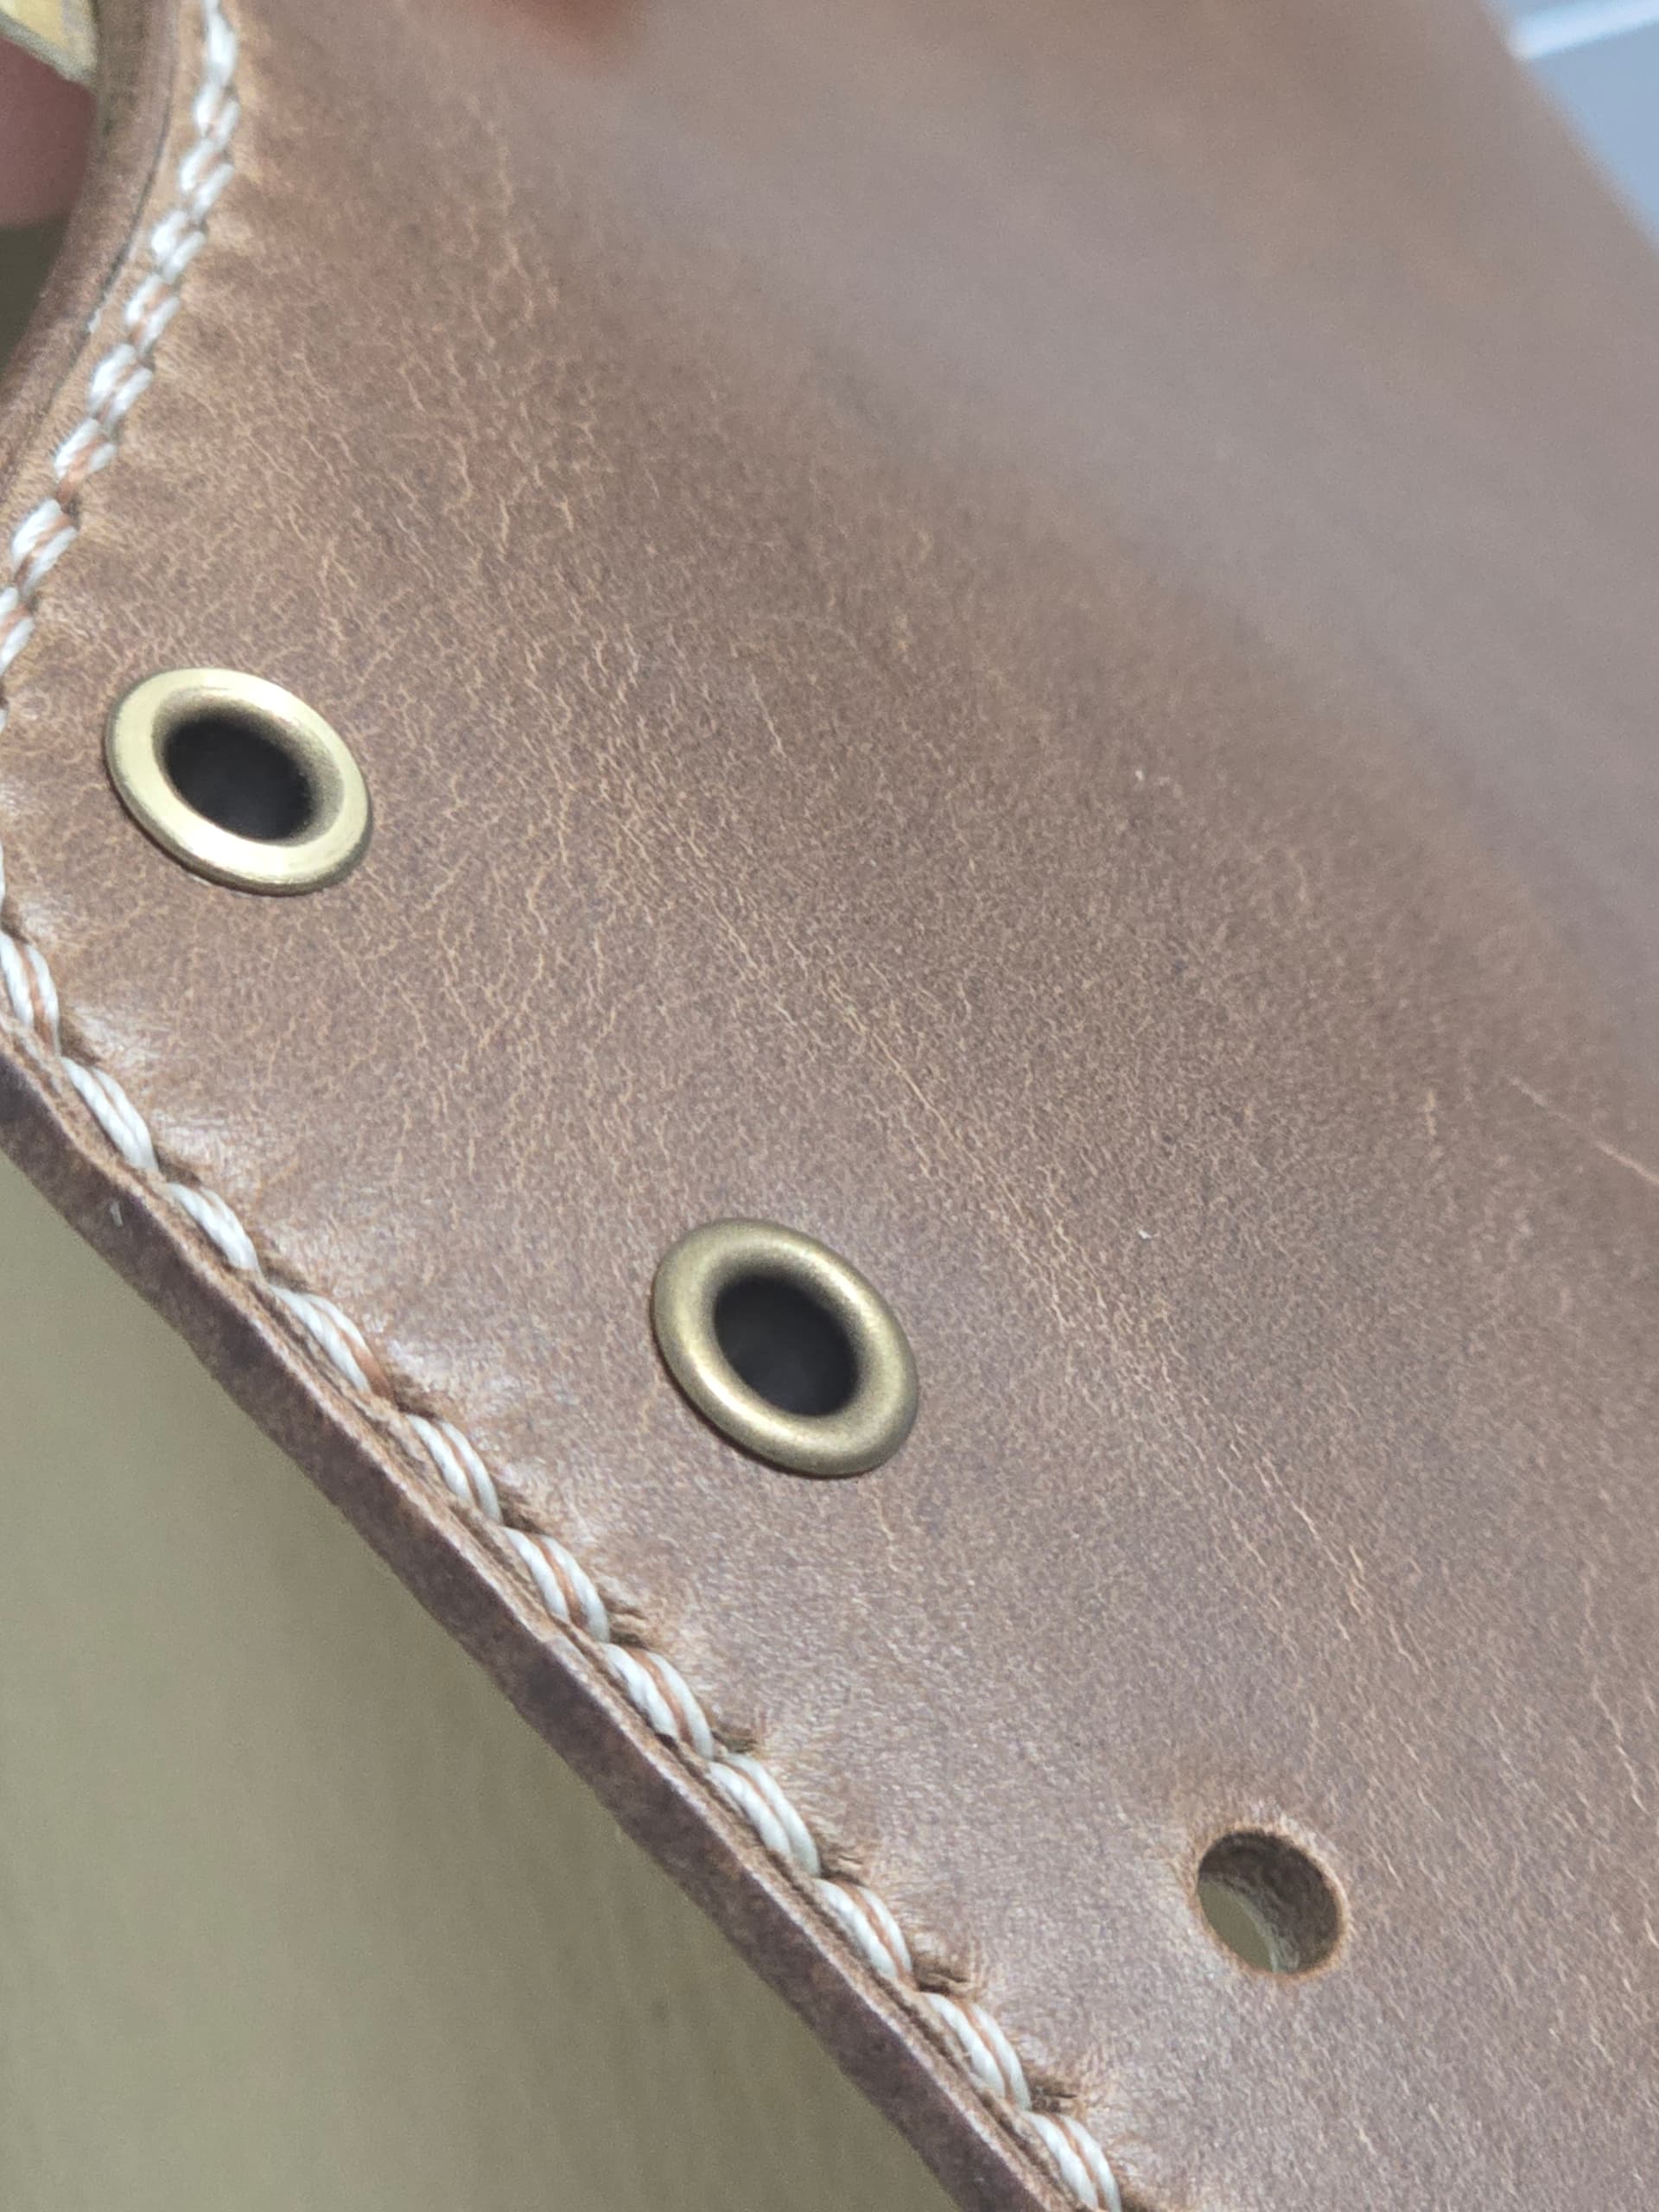
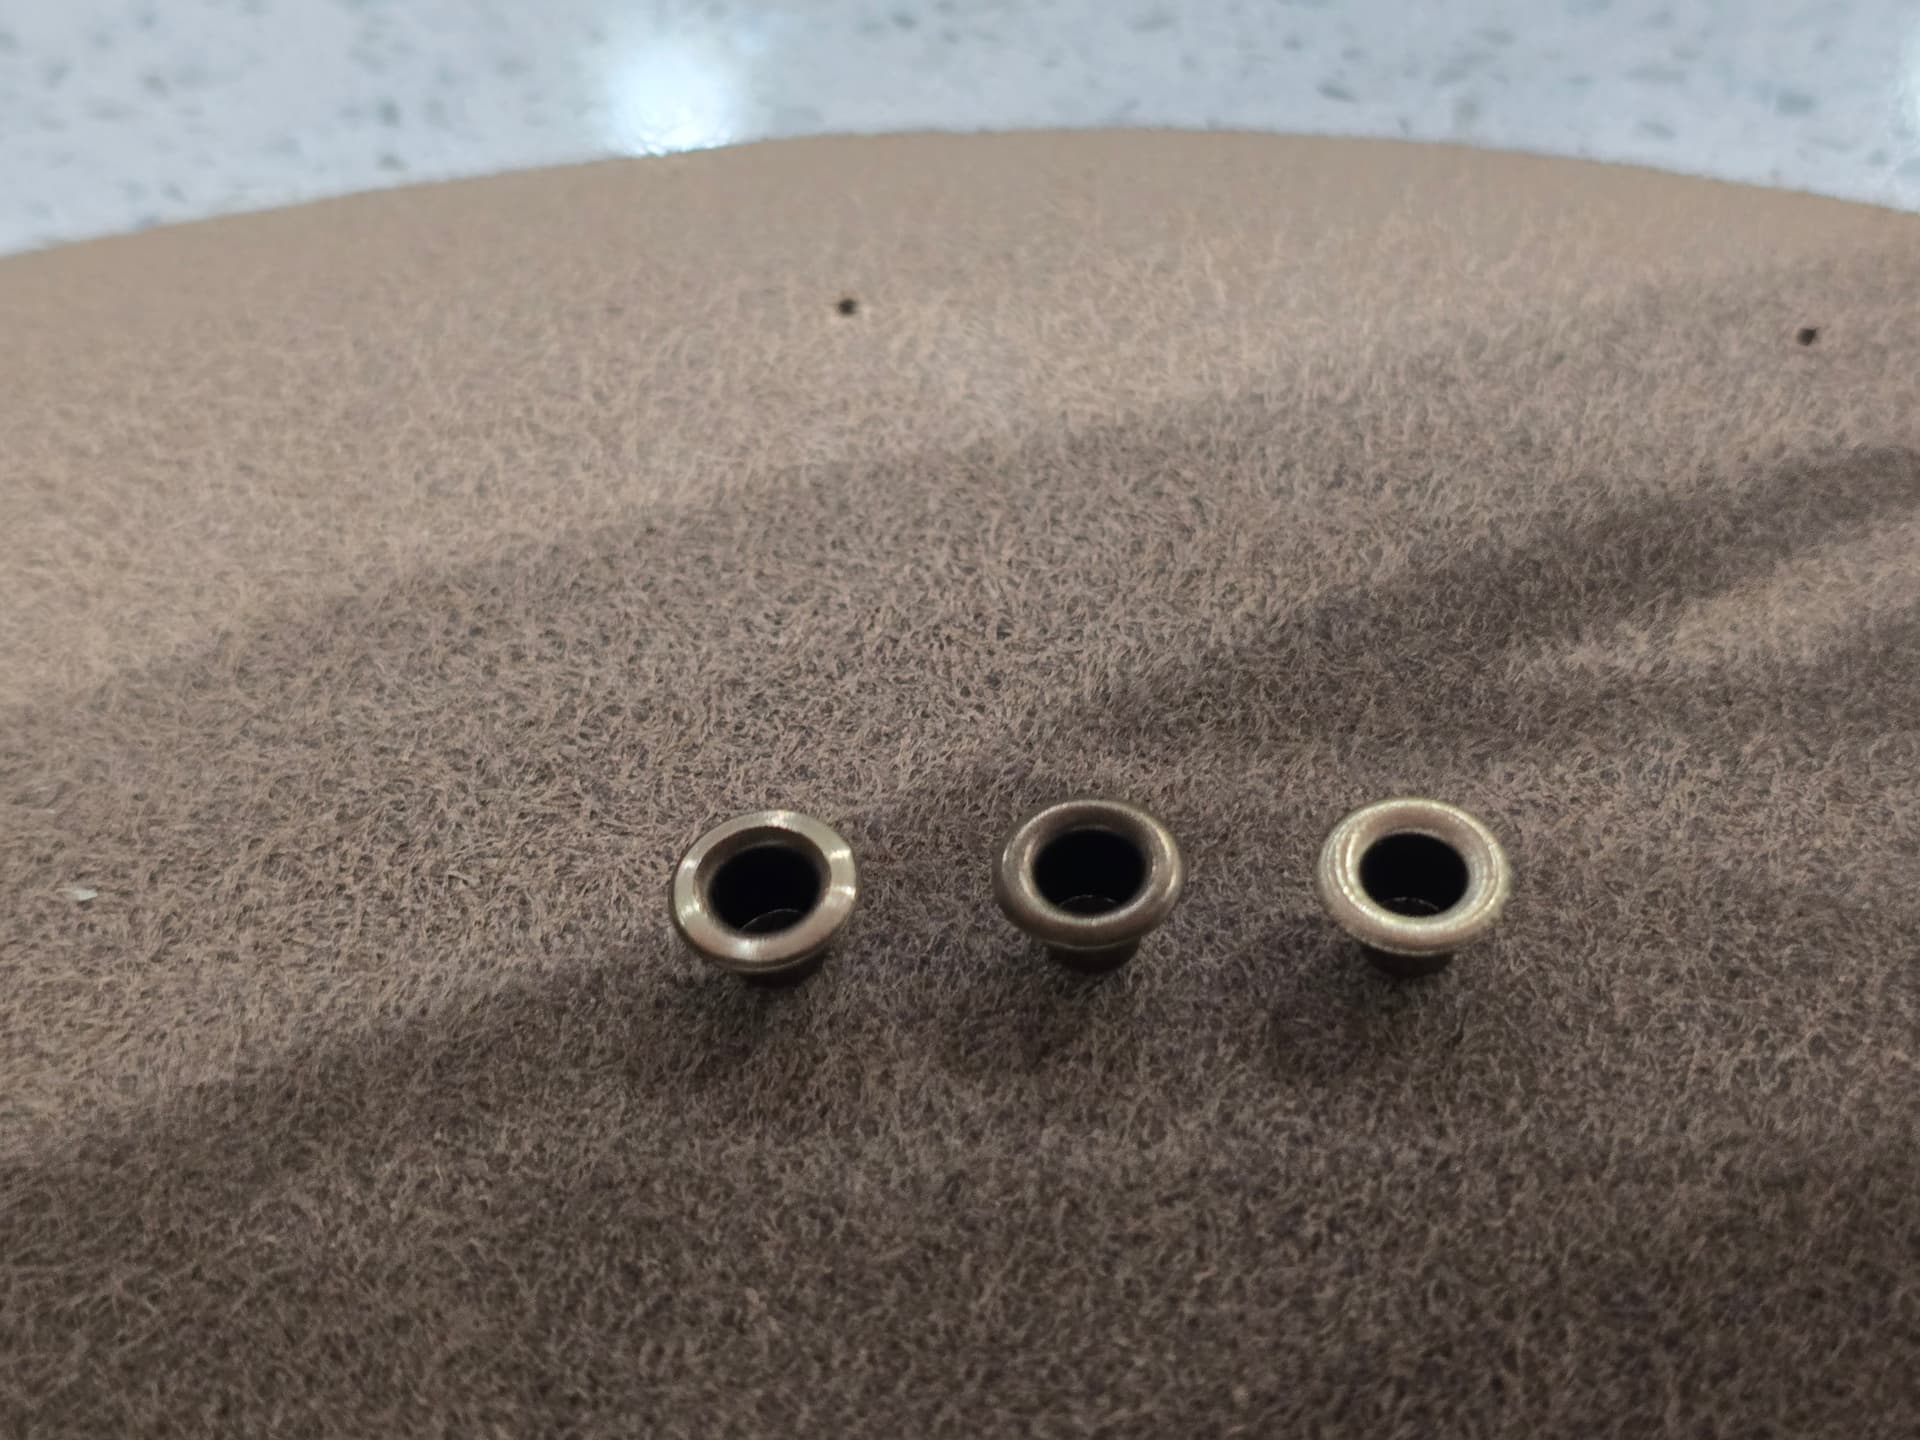
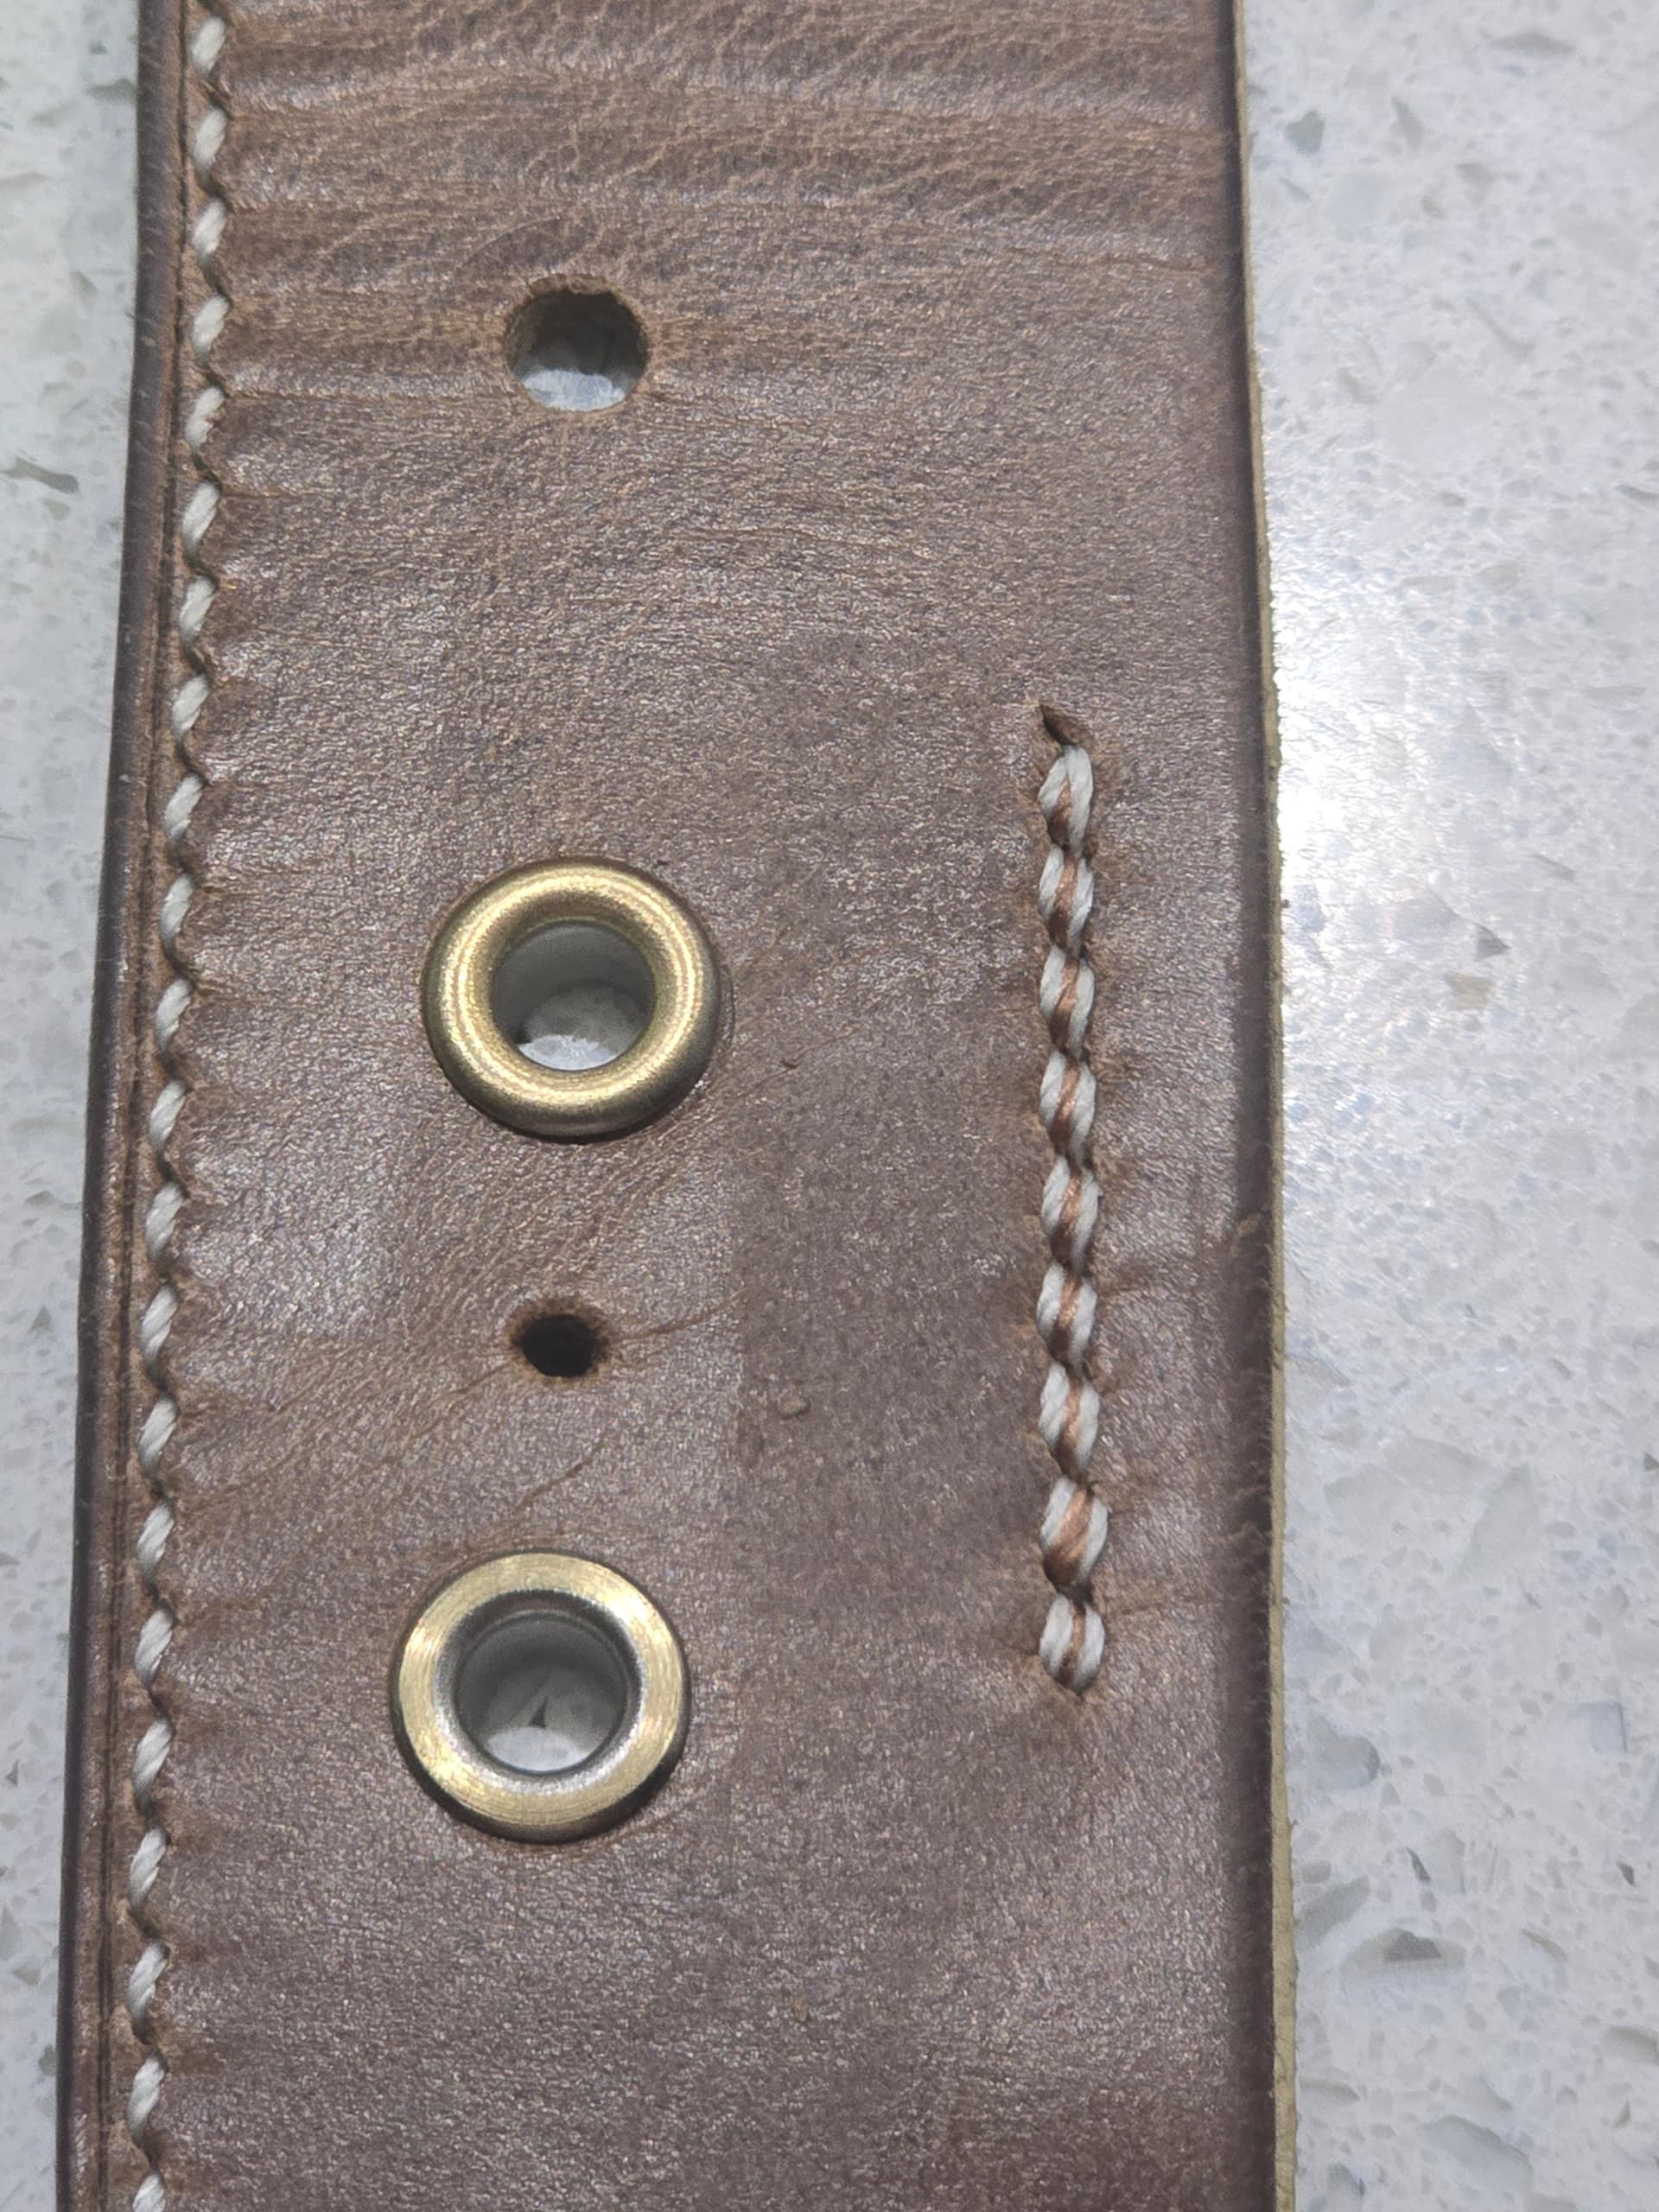
In today’s installment of unnecessary details, I started to visit what I am going to do for eyelets. Or more accurately, getting them to pop a little bit more.
I am playing with two finishing methods here to bring up the polish a bit on these “antique bronze” finish eyelets; a normal revolved brushing/machine finish and a starburst finish. The starburst is a more complicated method that I use on watch dials and such. Sadly, it really doesn’t show up well here. Gives a bit of a holographic appearance as light catches the surface, but it’s totally lost unless the lighting is just right.
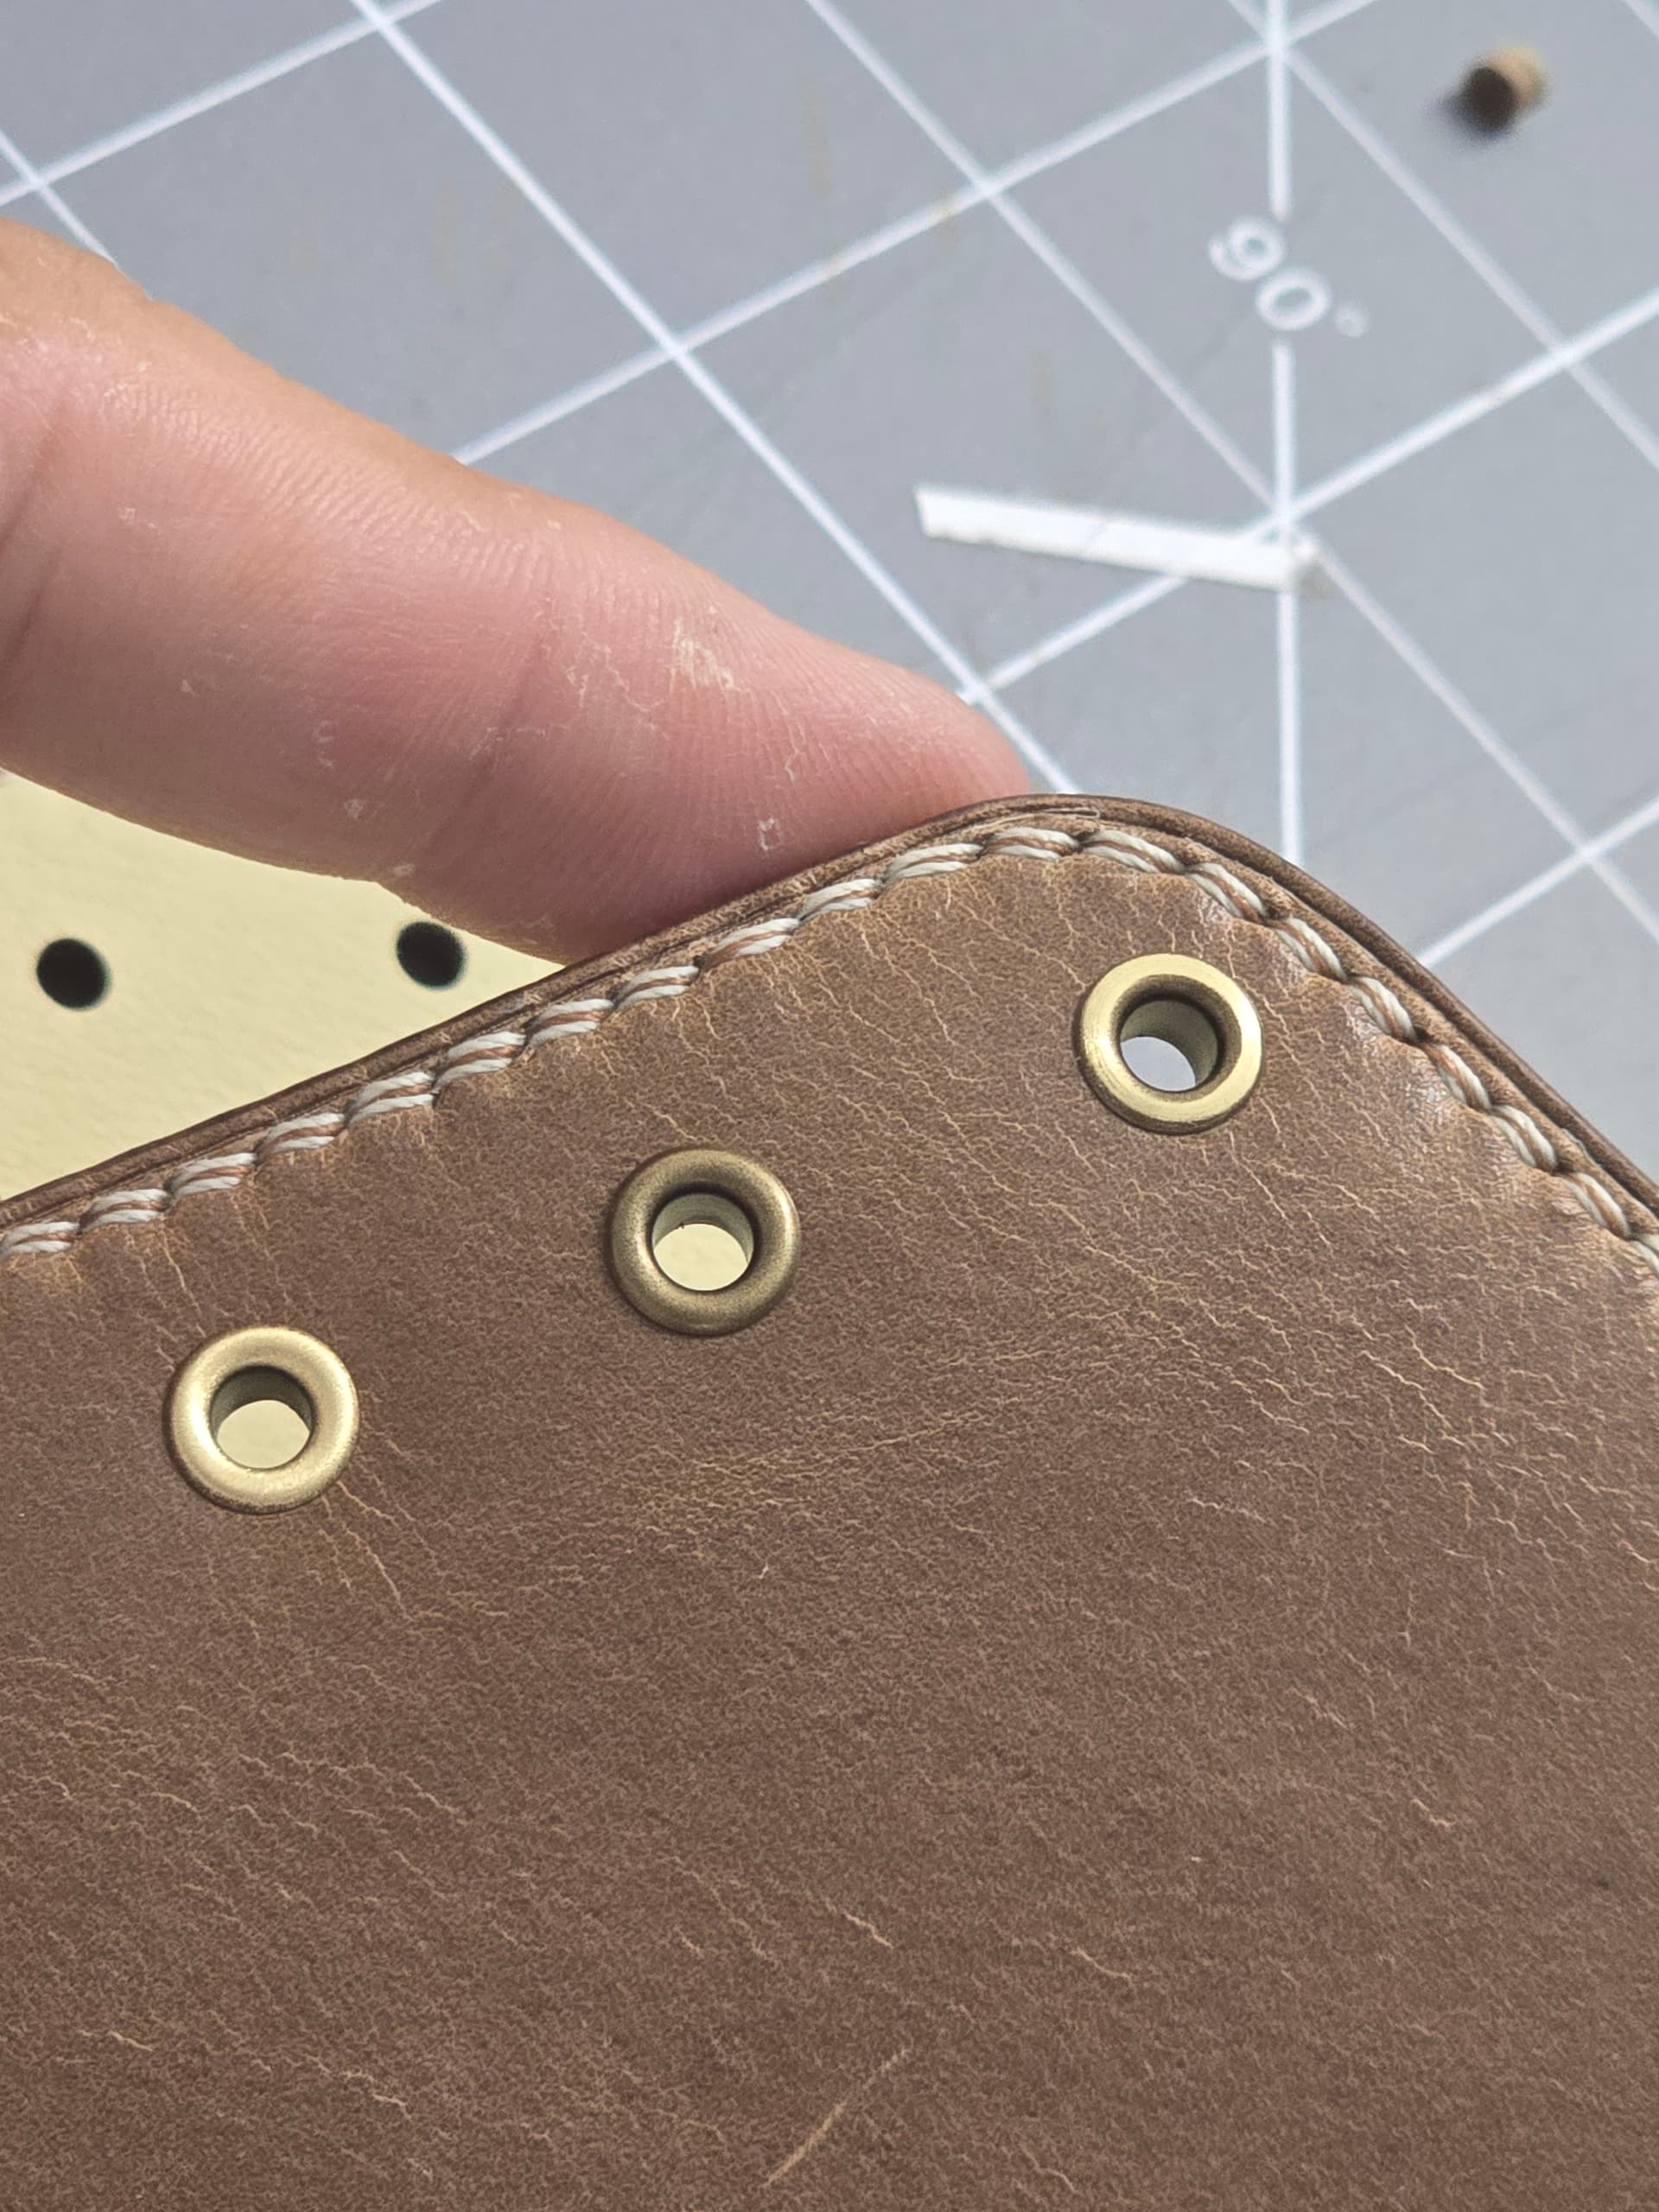
1 Like
This reminds me of some of Bob Henderson’s experiments with brass eyelets. He did some with a finish where he chucked them up in a dril and polished the top of the flange, creating an effect where the plating fades out to the raw brass.
https://www.instagram.com/p/DHyjlggpSfG/
If you’re really going for a jewelry look, the best surface finish I’ve seen on stock eyelets were definitely Hasi Hato branded ones from Japan. I got some through Rocky Mountain, who also import the matching hand setter tools. But @justletmechange just added another online distributor who will ship to the USA: Recommended Distributors List
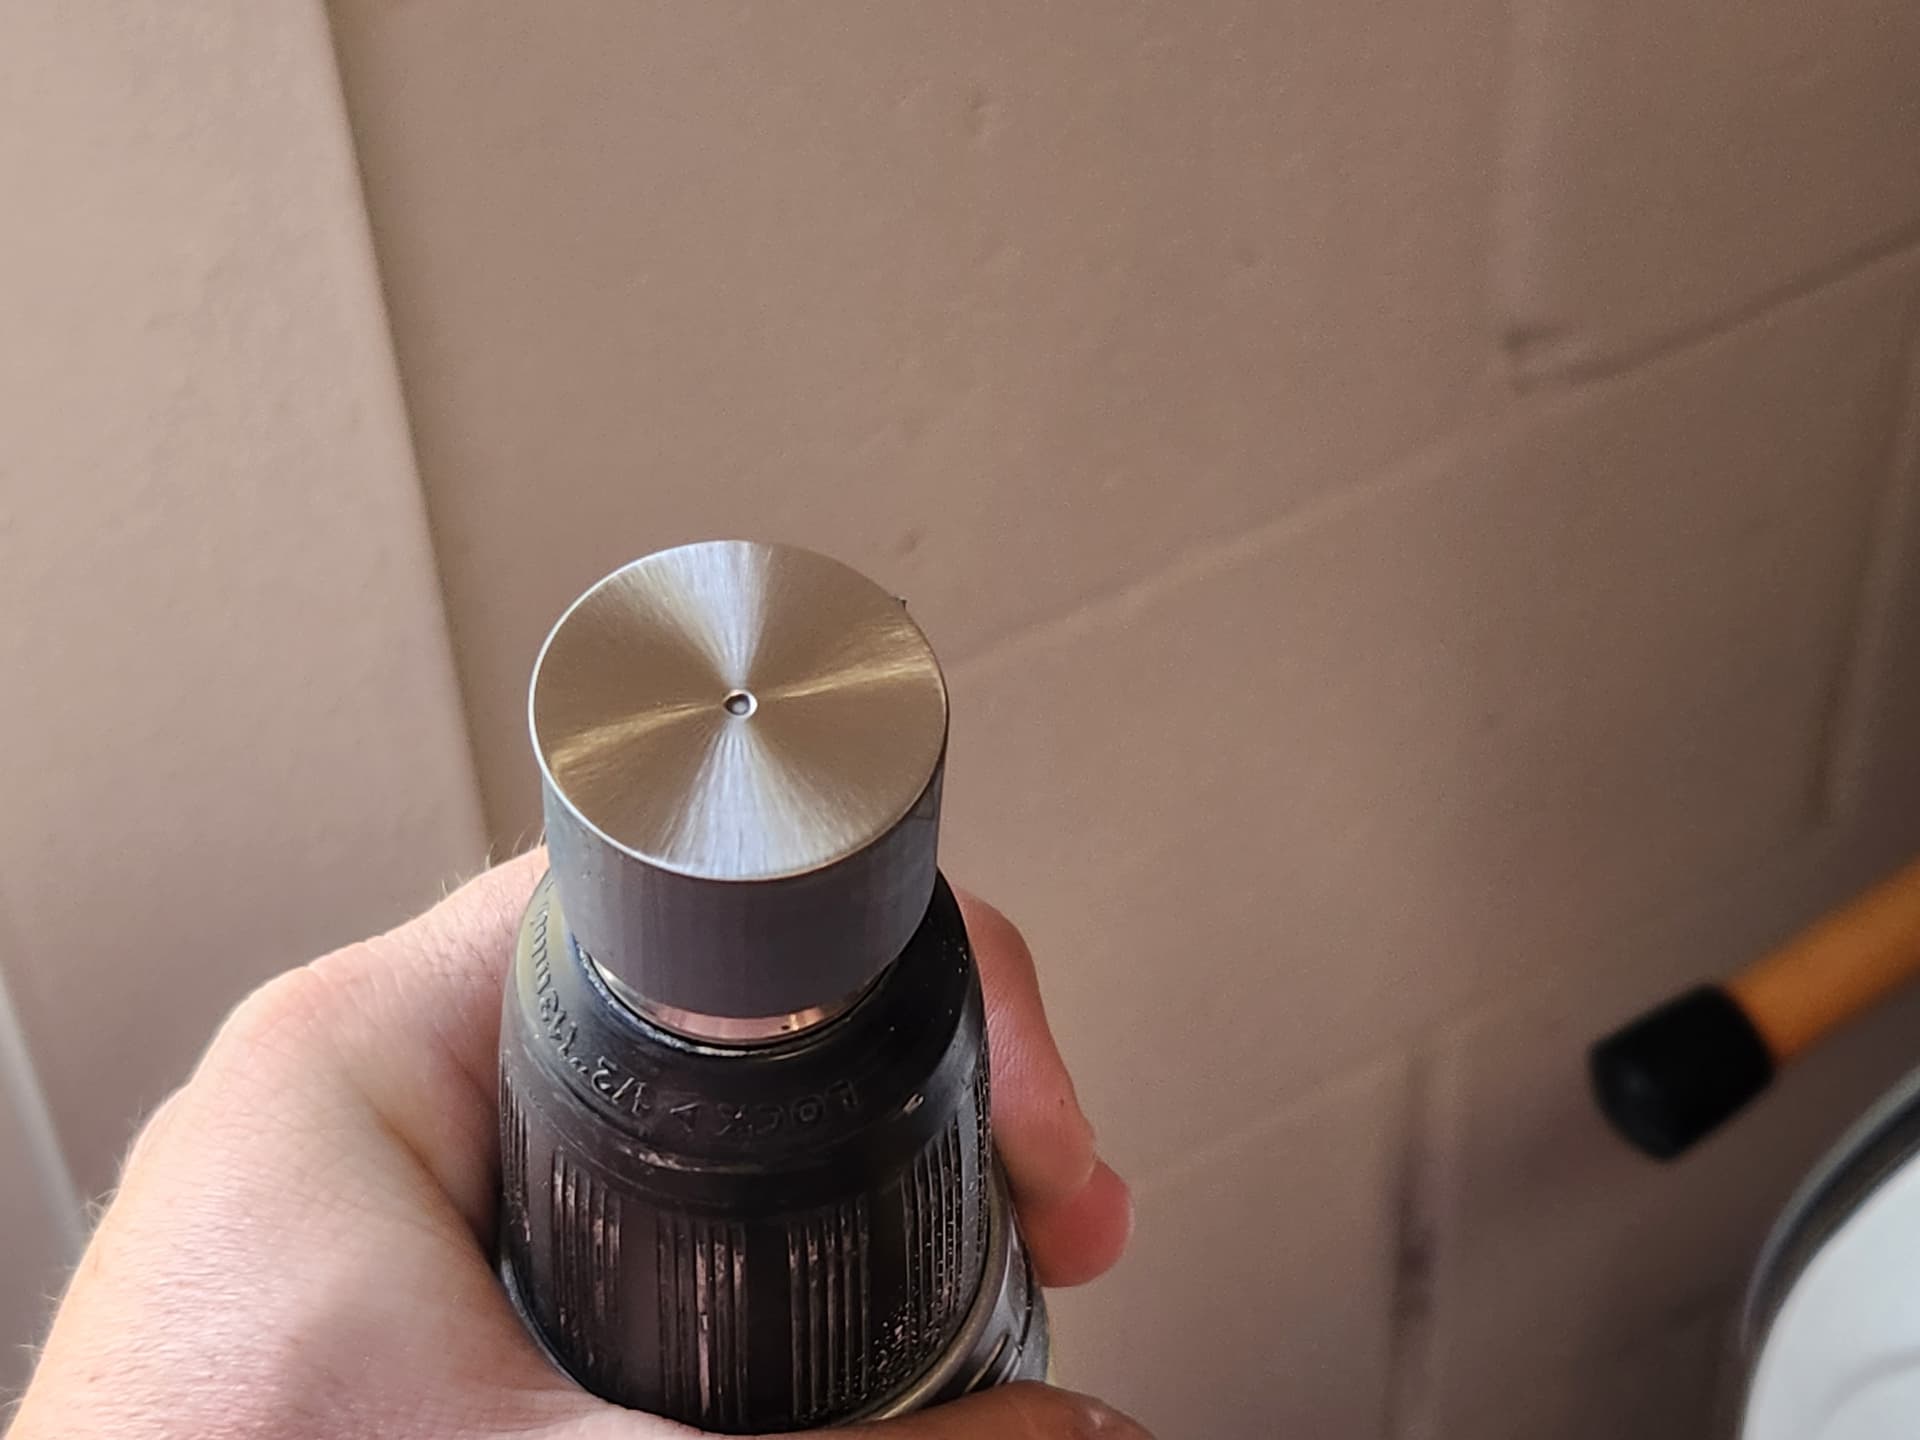
This is exactly how I did the turned ones. The starburst are done similarly, but instead of a flat surface (sand paper, file, etc), a bristle brush is spun in the dremel at a right angle.
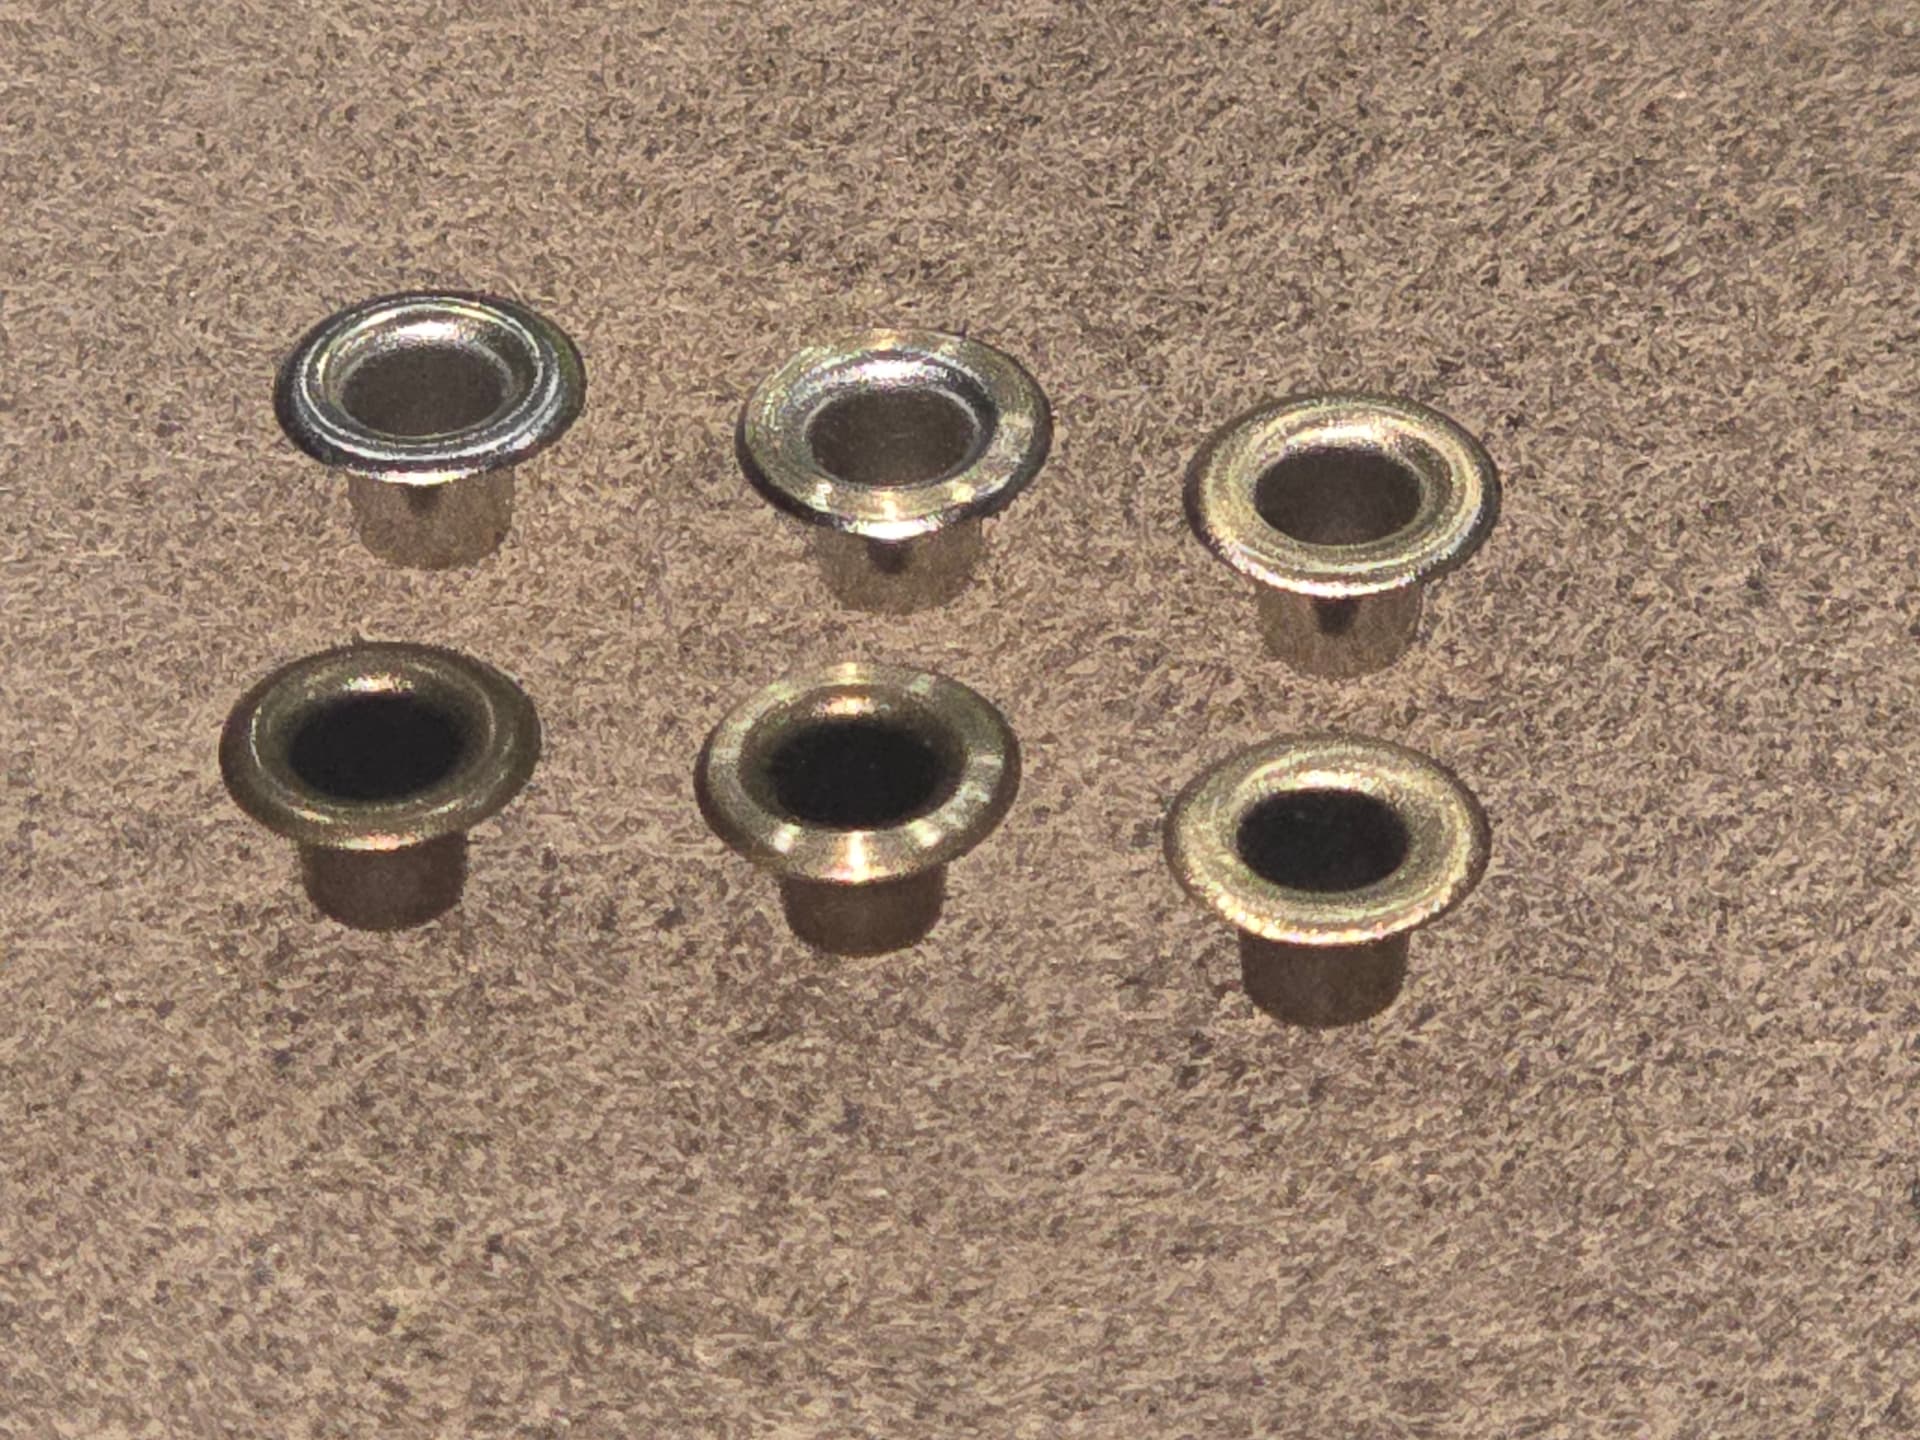
Just for reference, the finish the starburst gives on a larger scale.
I have been tempted to give the “flat” eyelets that buckleguy sells a try:
Here is 3mm spacing with .45mm thread
It’s doable, but getting the 3rd row started is very difficult. The back stitch at the end is even more of a pain.
1 Like
Thanks so much!
I’m definitely thinking I’ll try stepping down to thinner thread.
1 Like