Even handwelters who cut their channels as single, continuous pieces to lay back in place use some fill. The feather’s not deep enough to sink the whole stack of lining, puff, upper, and welt pulled over.
There are all kinds of nuances, but I’d strongly advise beginners to avoid getting lost in them. Focus on making something functional. Then refine.
I soaked the insole for about an hour and wrapped in self adhering athletic wrap. it was bone dry within 24 hours.
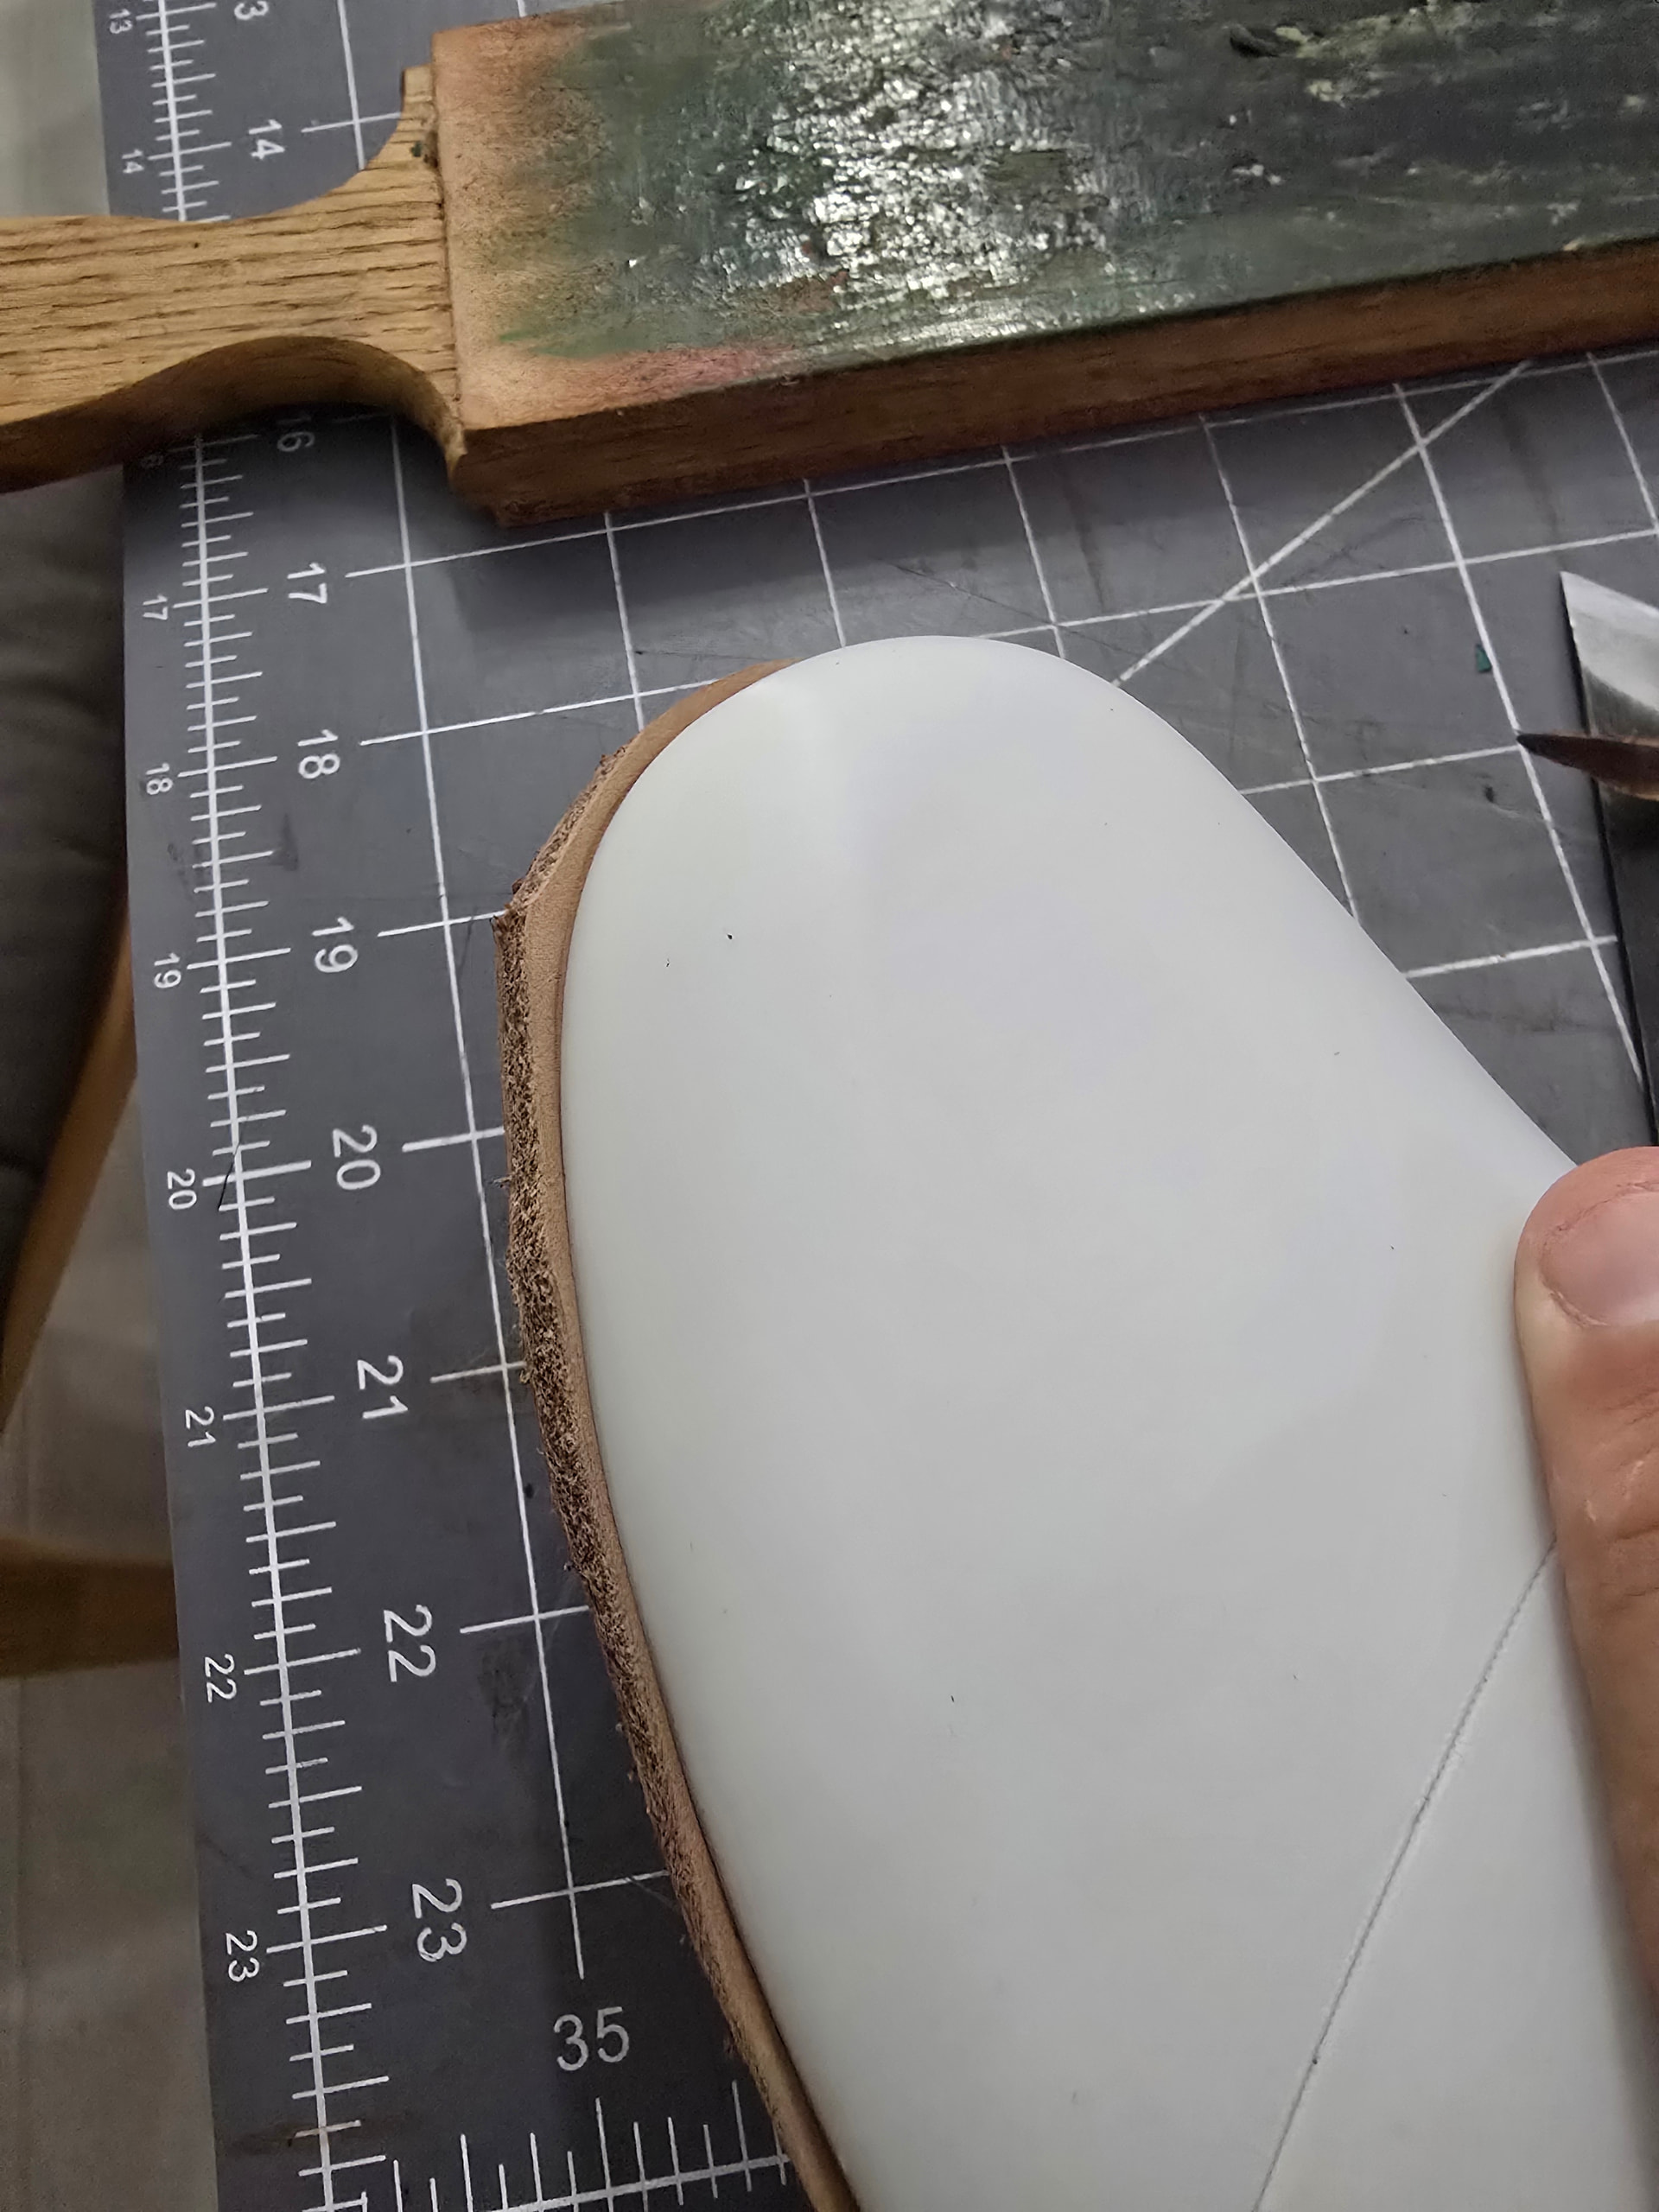
the hard part was trimming the insole flush with the last. They make it look so easy in the videos. like peeling a potato in one long slice. I found it much more difficult in practice, especially around the tight curves of the toes and heel, and the inside curve of the arch.
I have been under that impression before, only to carve then come back a week later and found my insole shrunk to be too small
1 Like
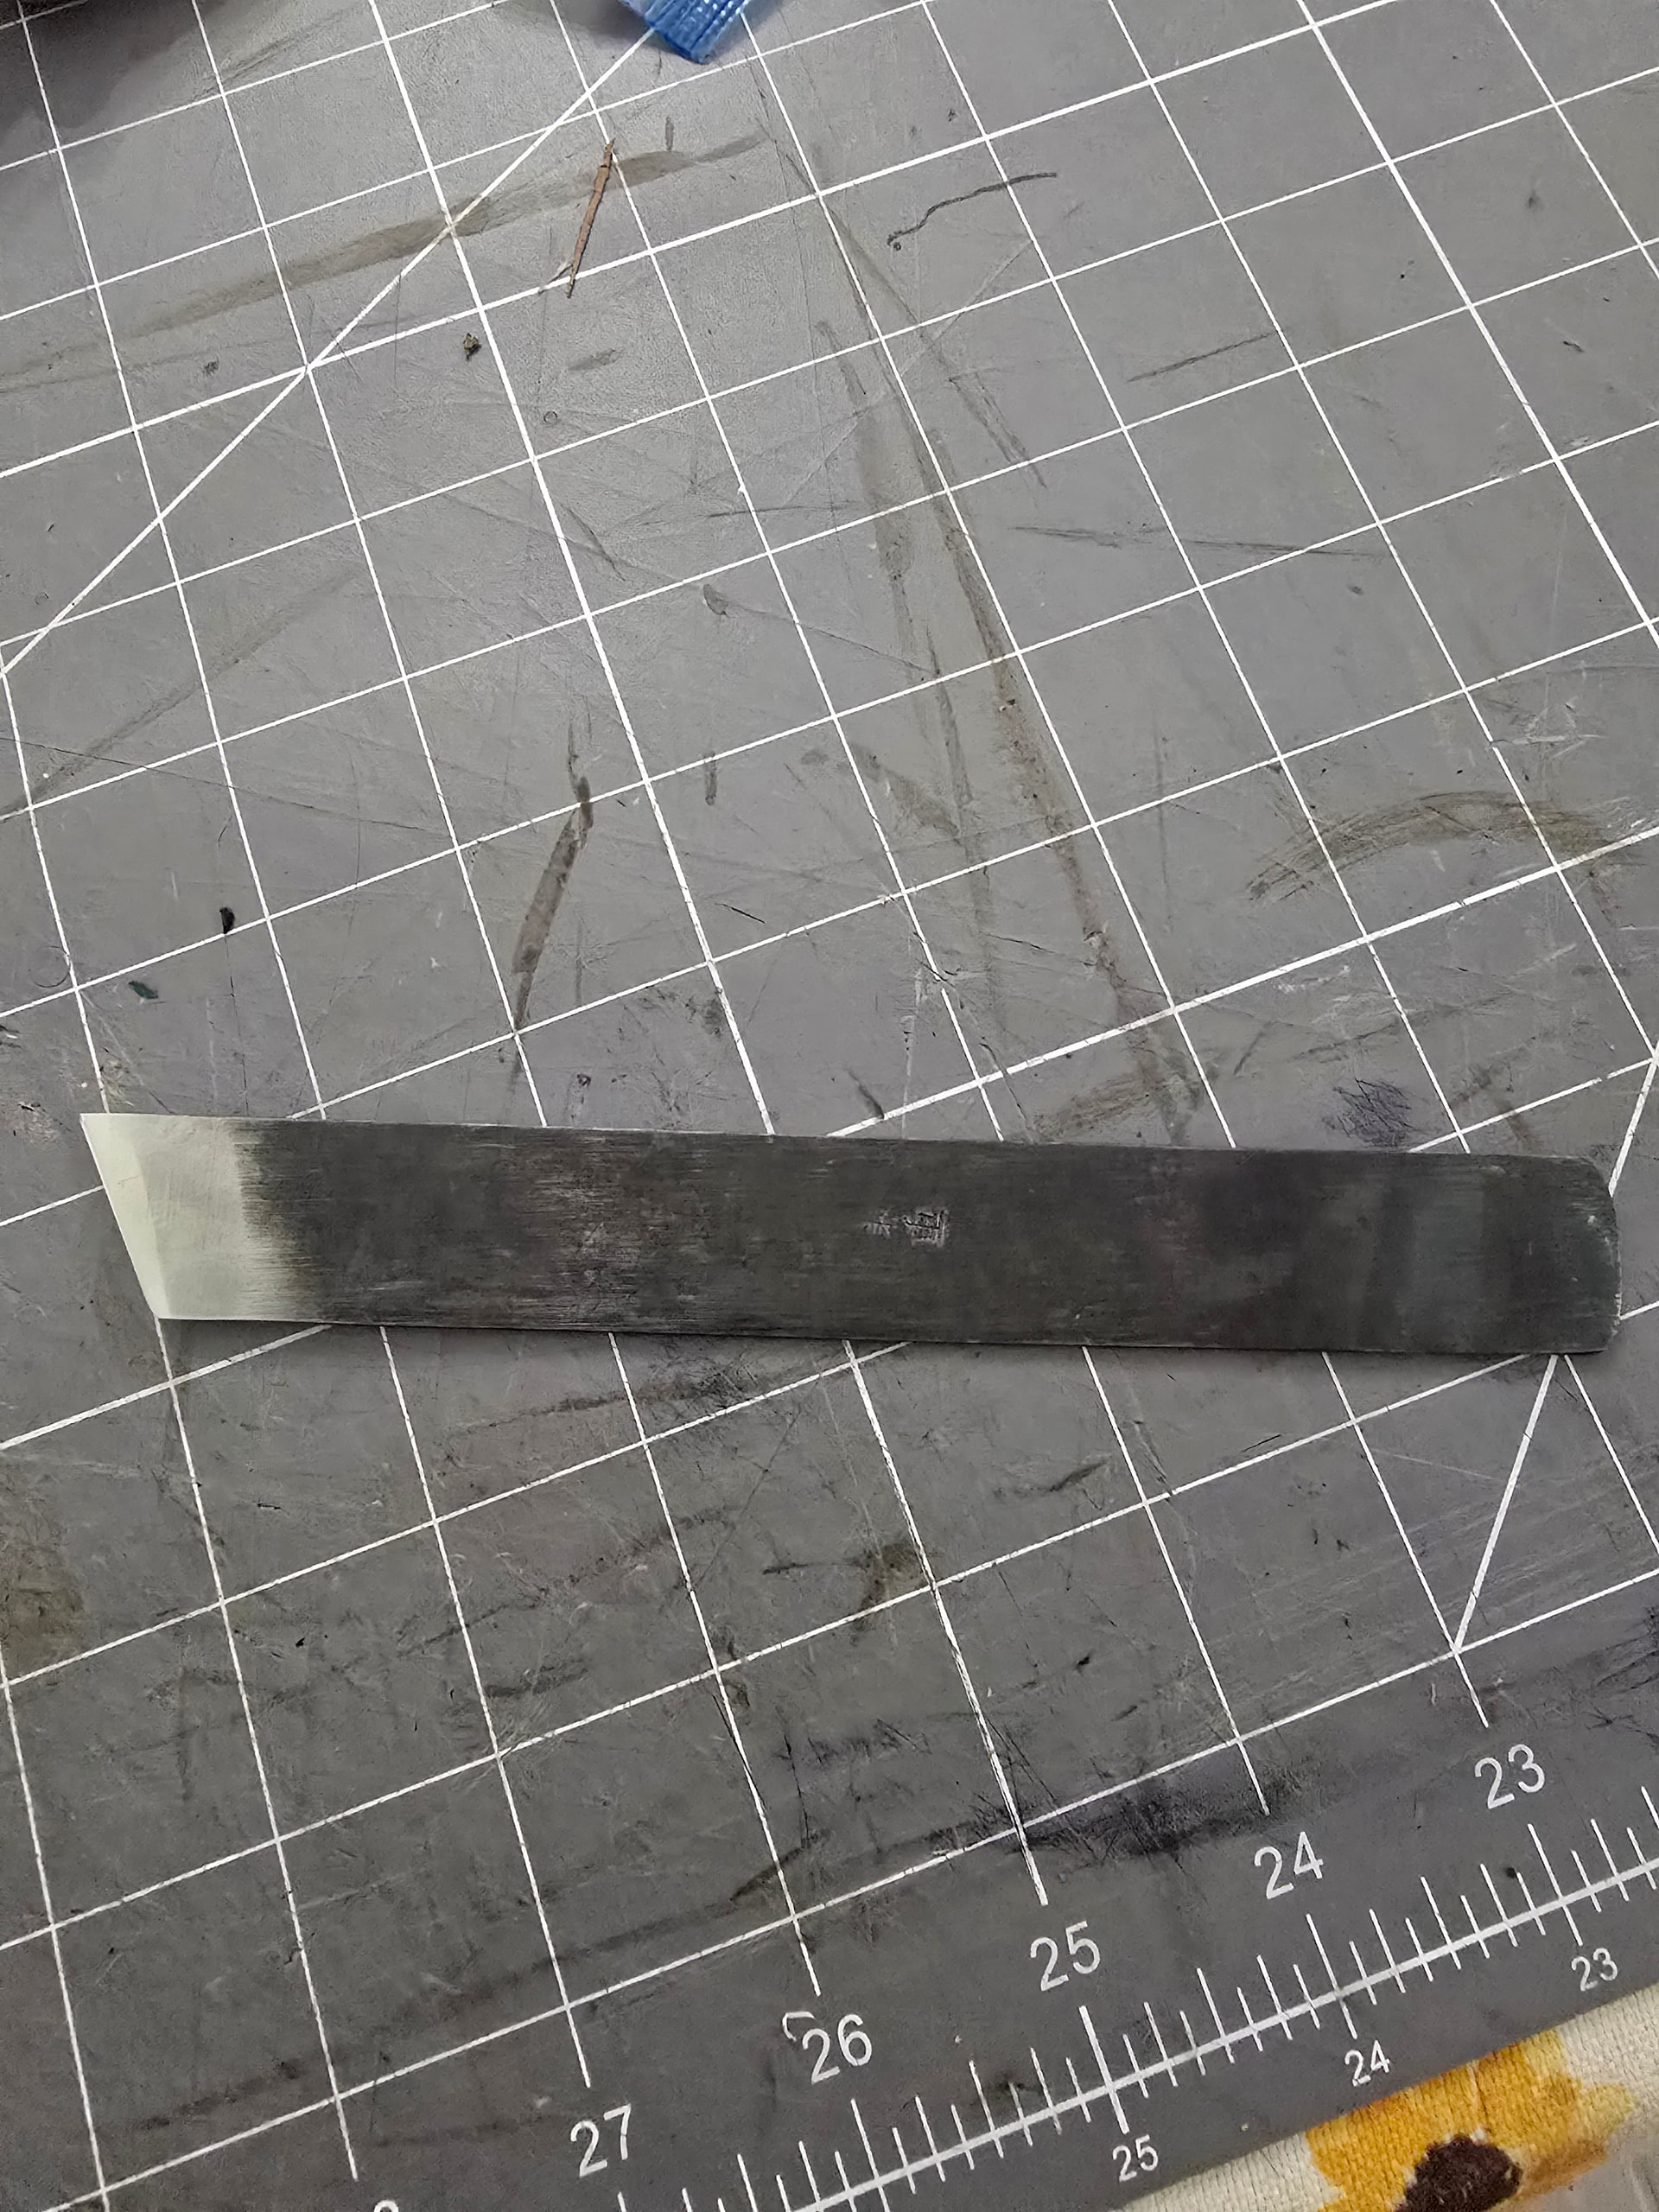
What’s your knife, and how sharp is it?
I have had the best luck trimming insoles using the 1” skiving knife Lisa Sorrel sells
I mostly used a japanese skiving knife. I thought it was pretty damn sharp. It skived the uppers just fine. I also used a utility knife with a fresh blade.
I think I’m just a bit too timid and wary of removing too much. I wasn’t sure just how much to take off.
I guess I’ll let it dry a few more days see how it looks. hopefully it won’t shrink.
At that point, would I just need to start over with a new set of insoles?
Depends, not least on whether you’re more of a make-it-work kind of maker or whether you’re more like @Mllcb42  Share pictures and we’ll help you think it through.
Expect to kill some leather here and there. But don’t go into anything planning to…
I have found the panhandle insoles (and outsoles) are a bit harder to cut, so that doesn’t help.
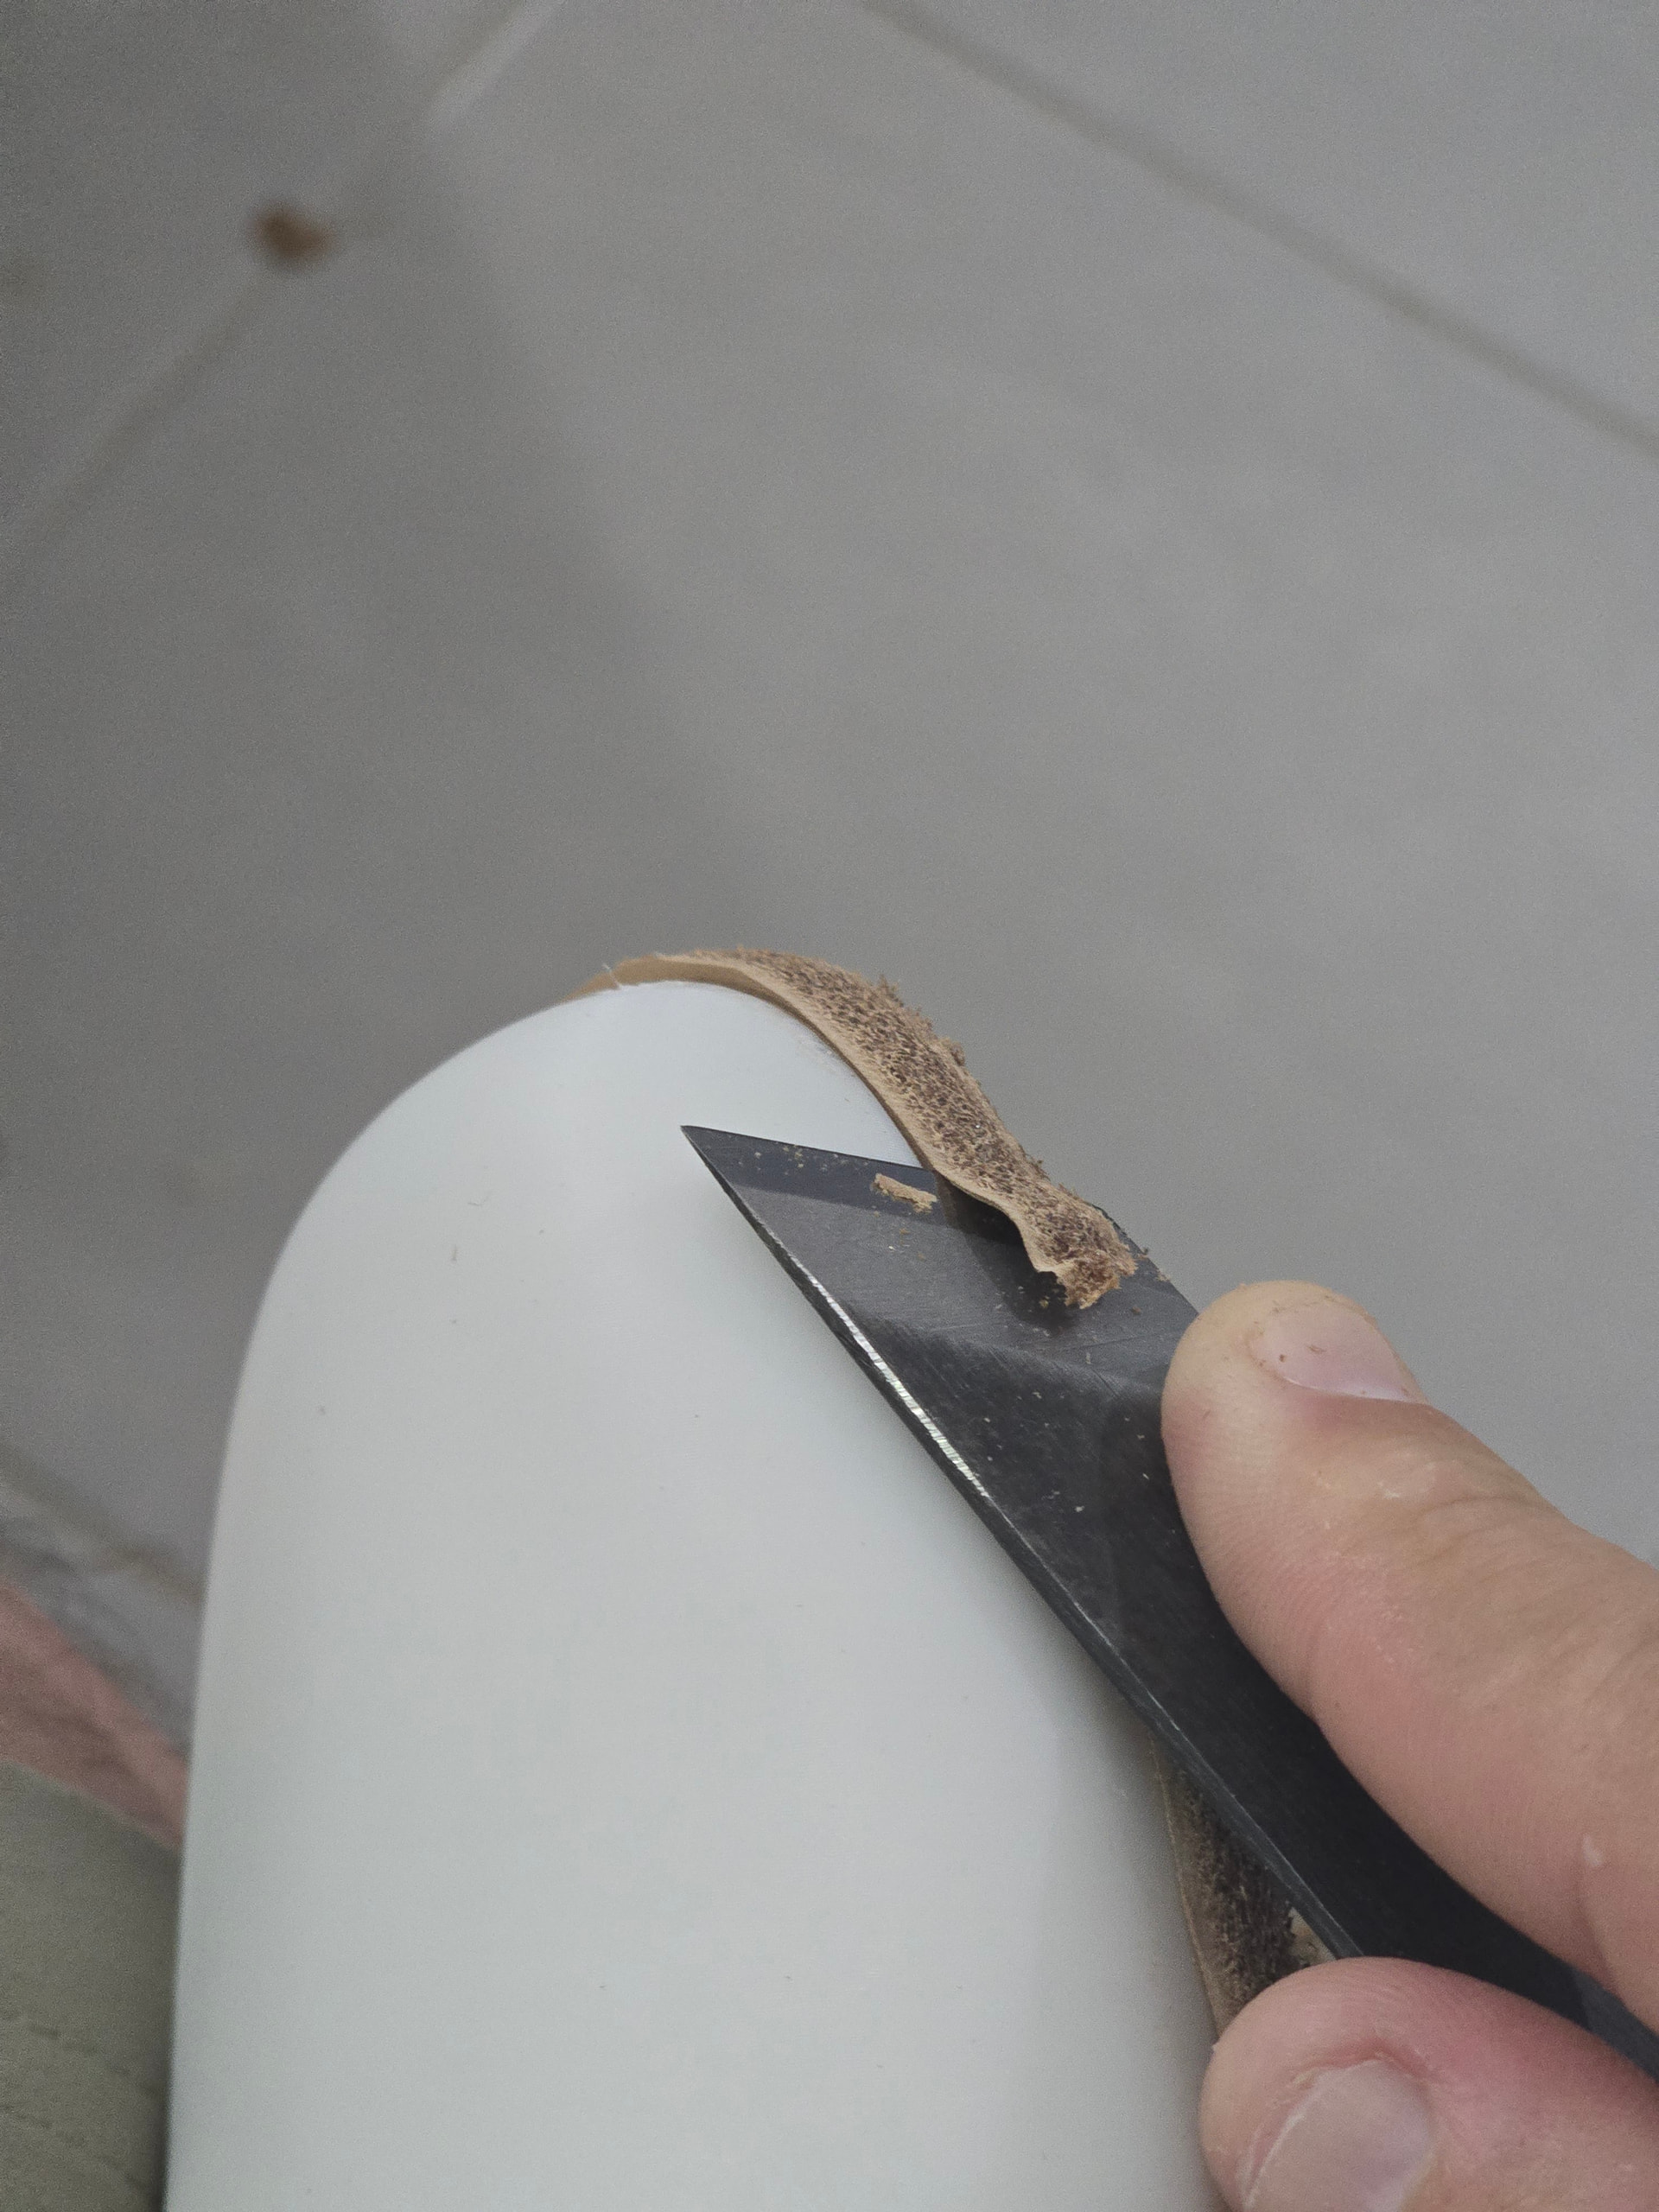
You also dont need to trim it all at once. Work your way up to the surface. Do a rough trim and slowly refine.
I will get close and then take little bits off at s time to dial in the shape
1 Like
If the last curves under a bit, should I follow that line and undercut the last?
because that’s what I did.
I try to run tangent to the last surface at the featherline, so if the last is wrapping under, I will continue that line under. I will take a photo in a moment to show what I mean when I have more of this one cut
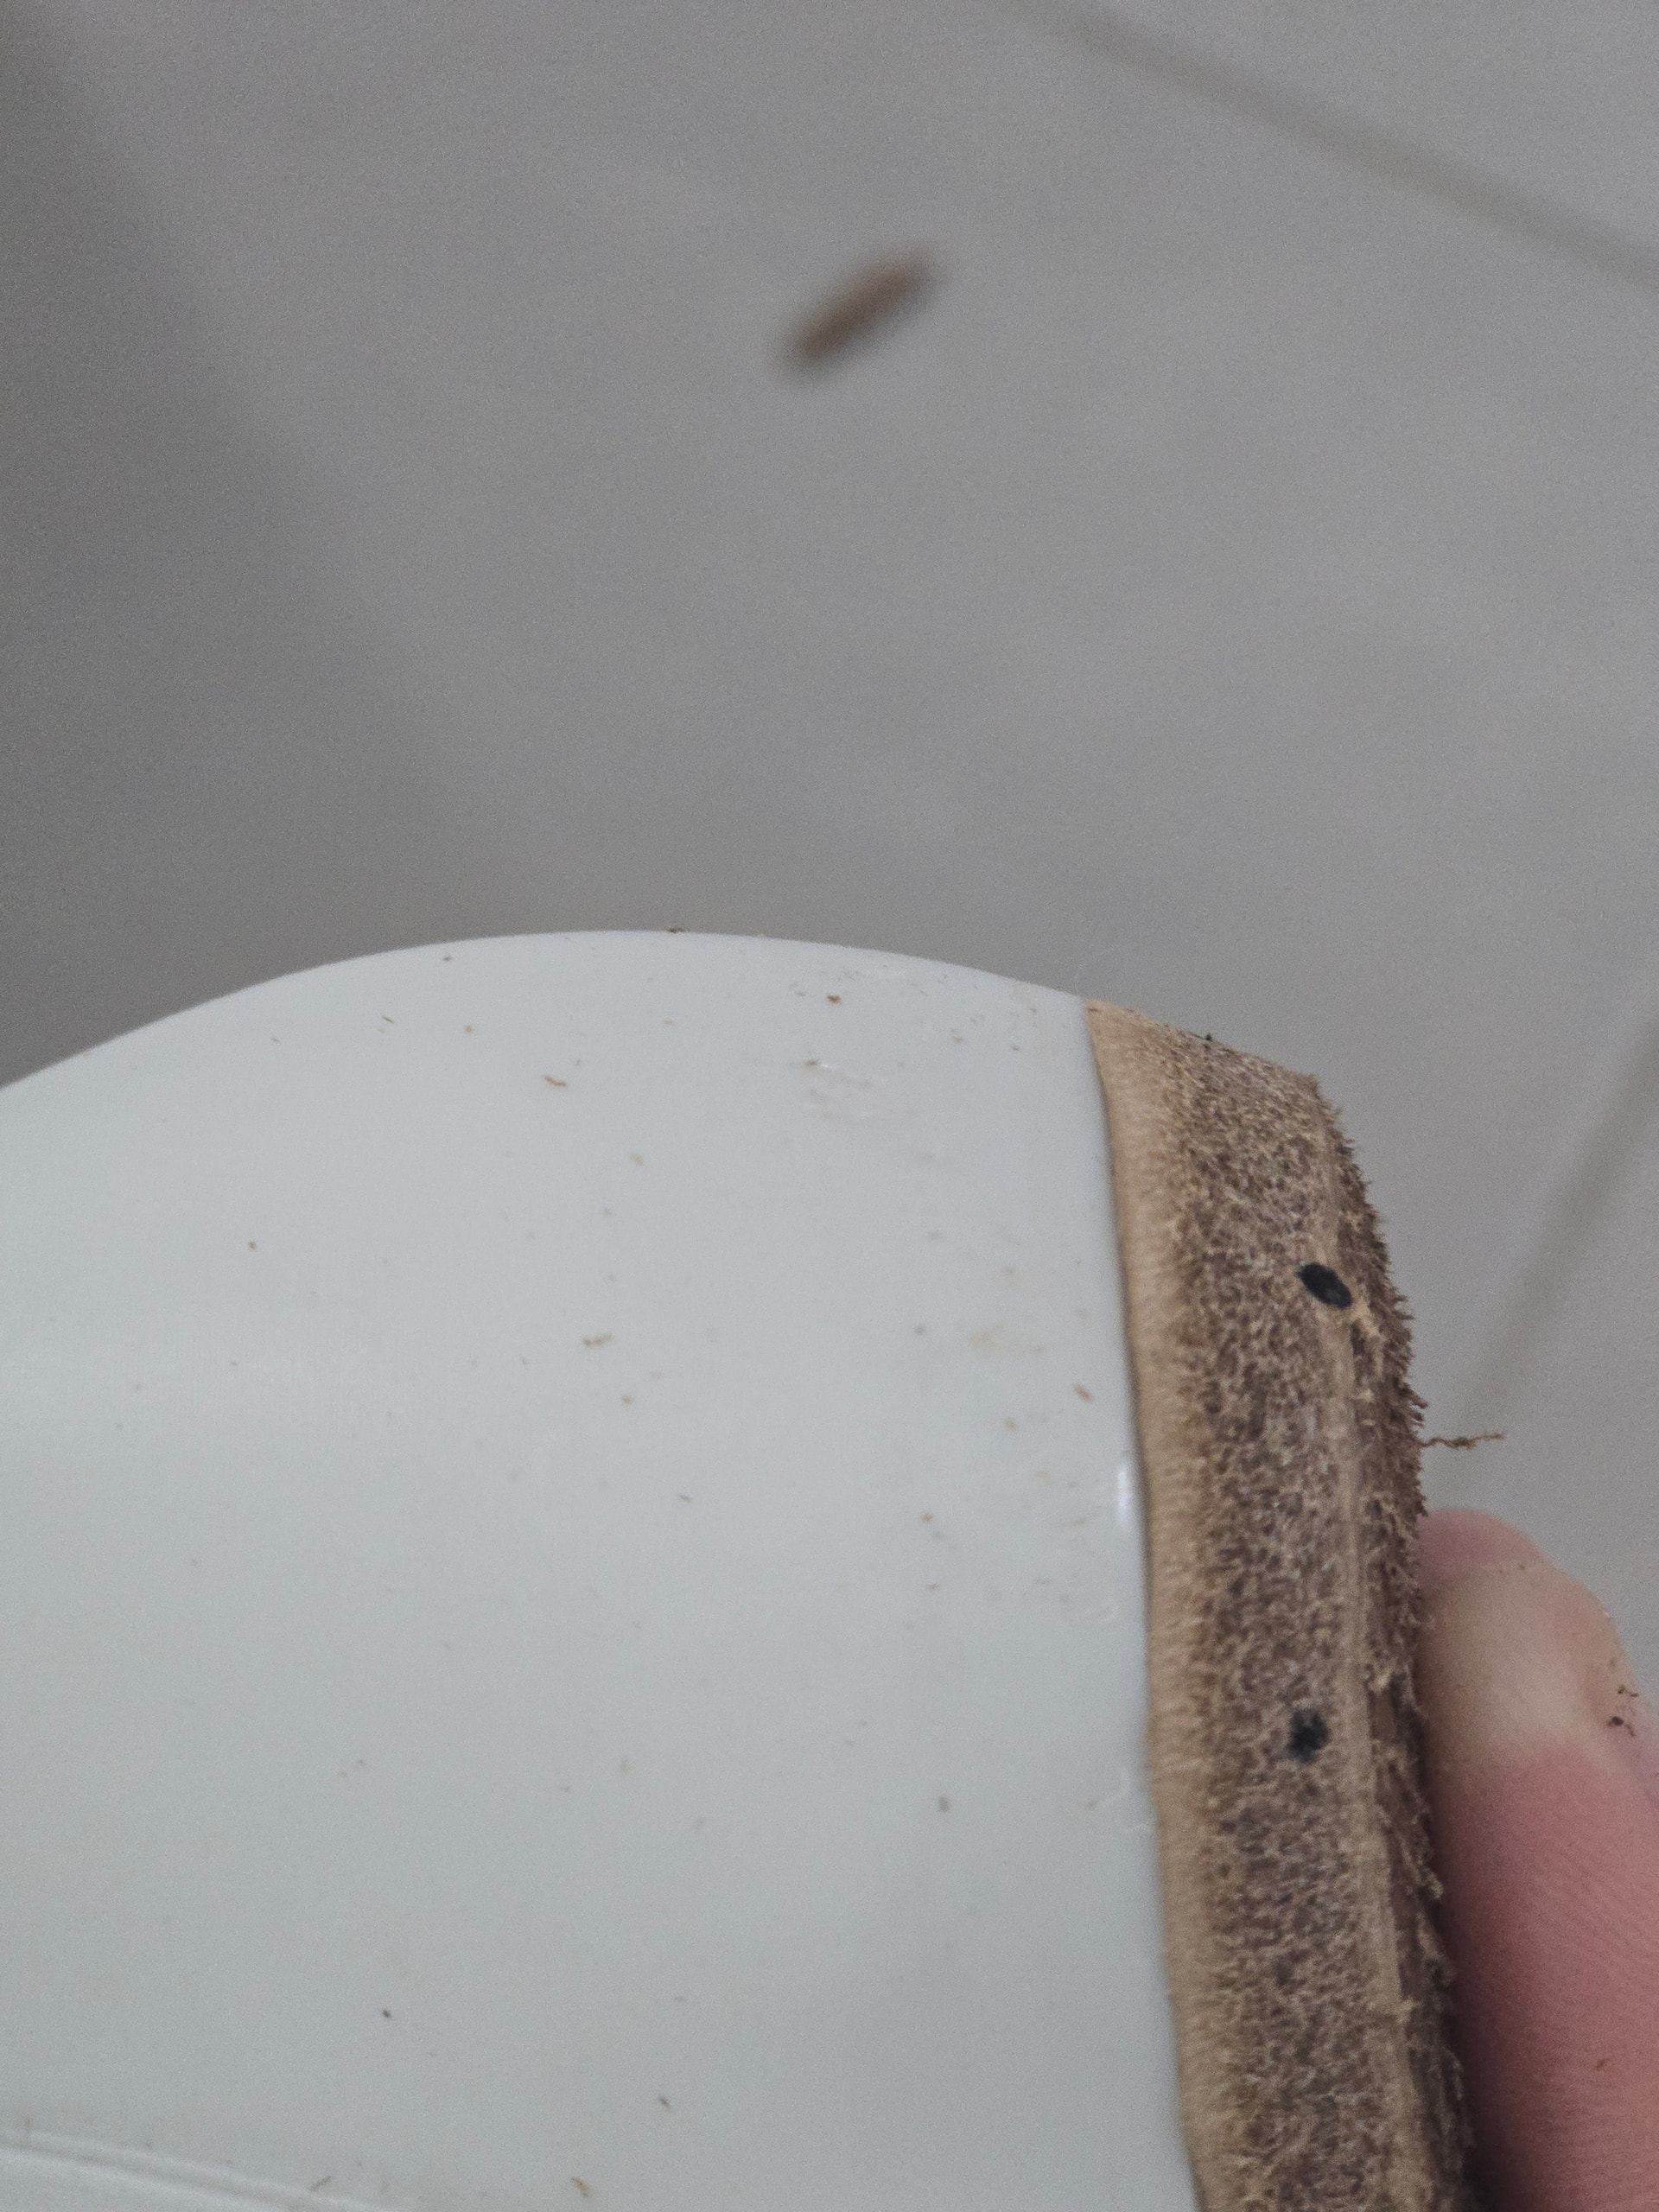
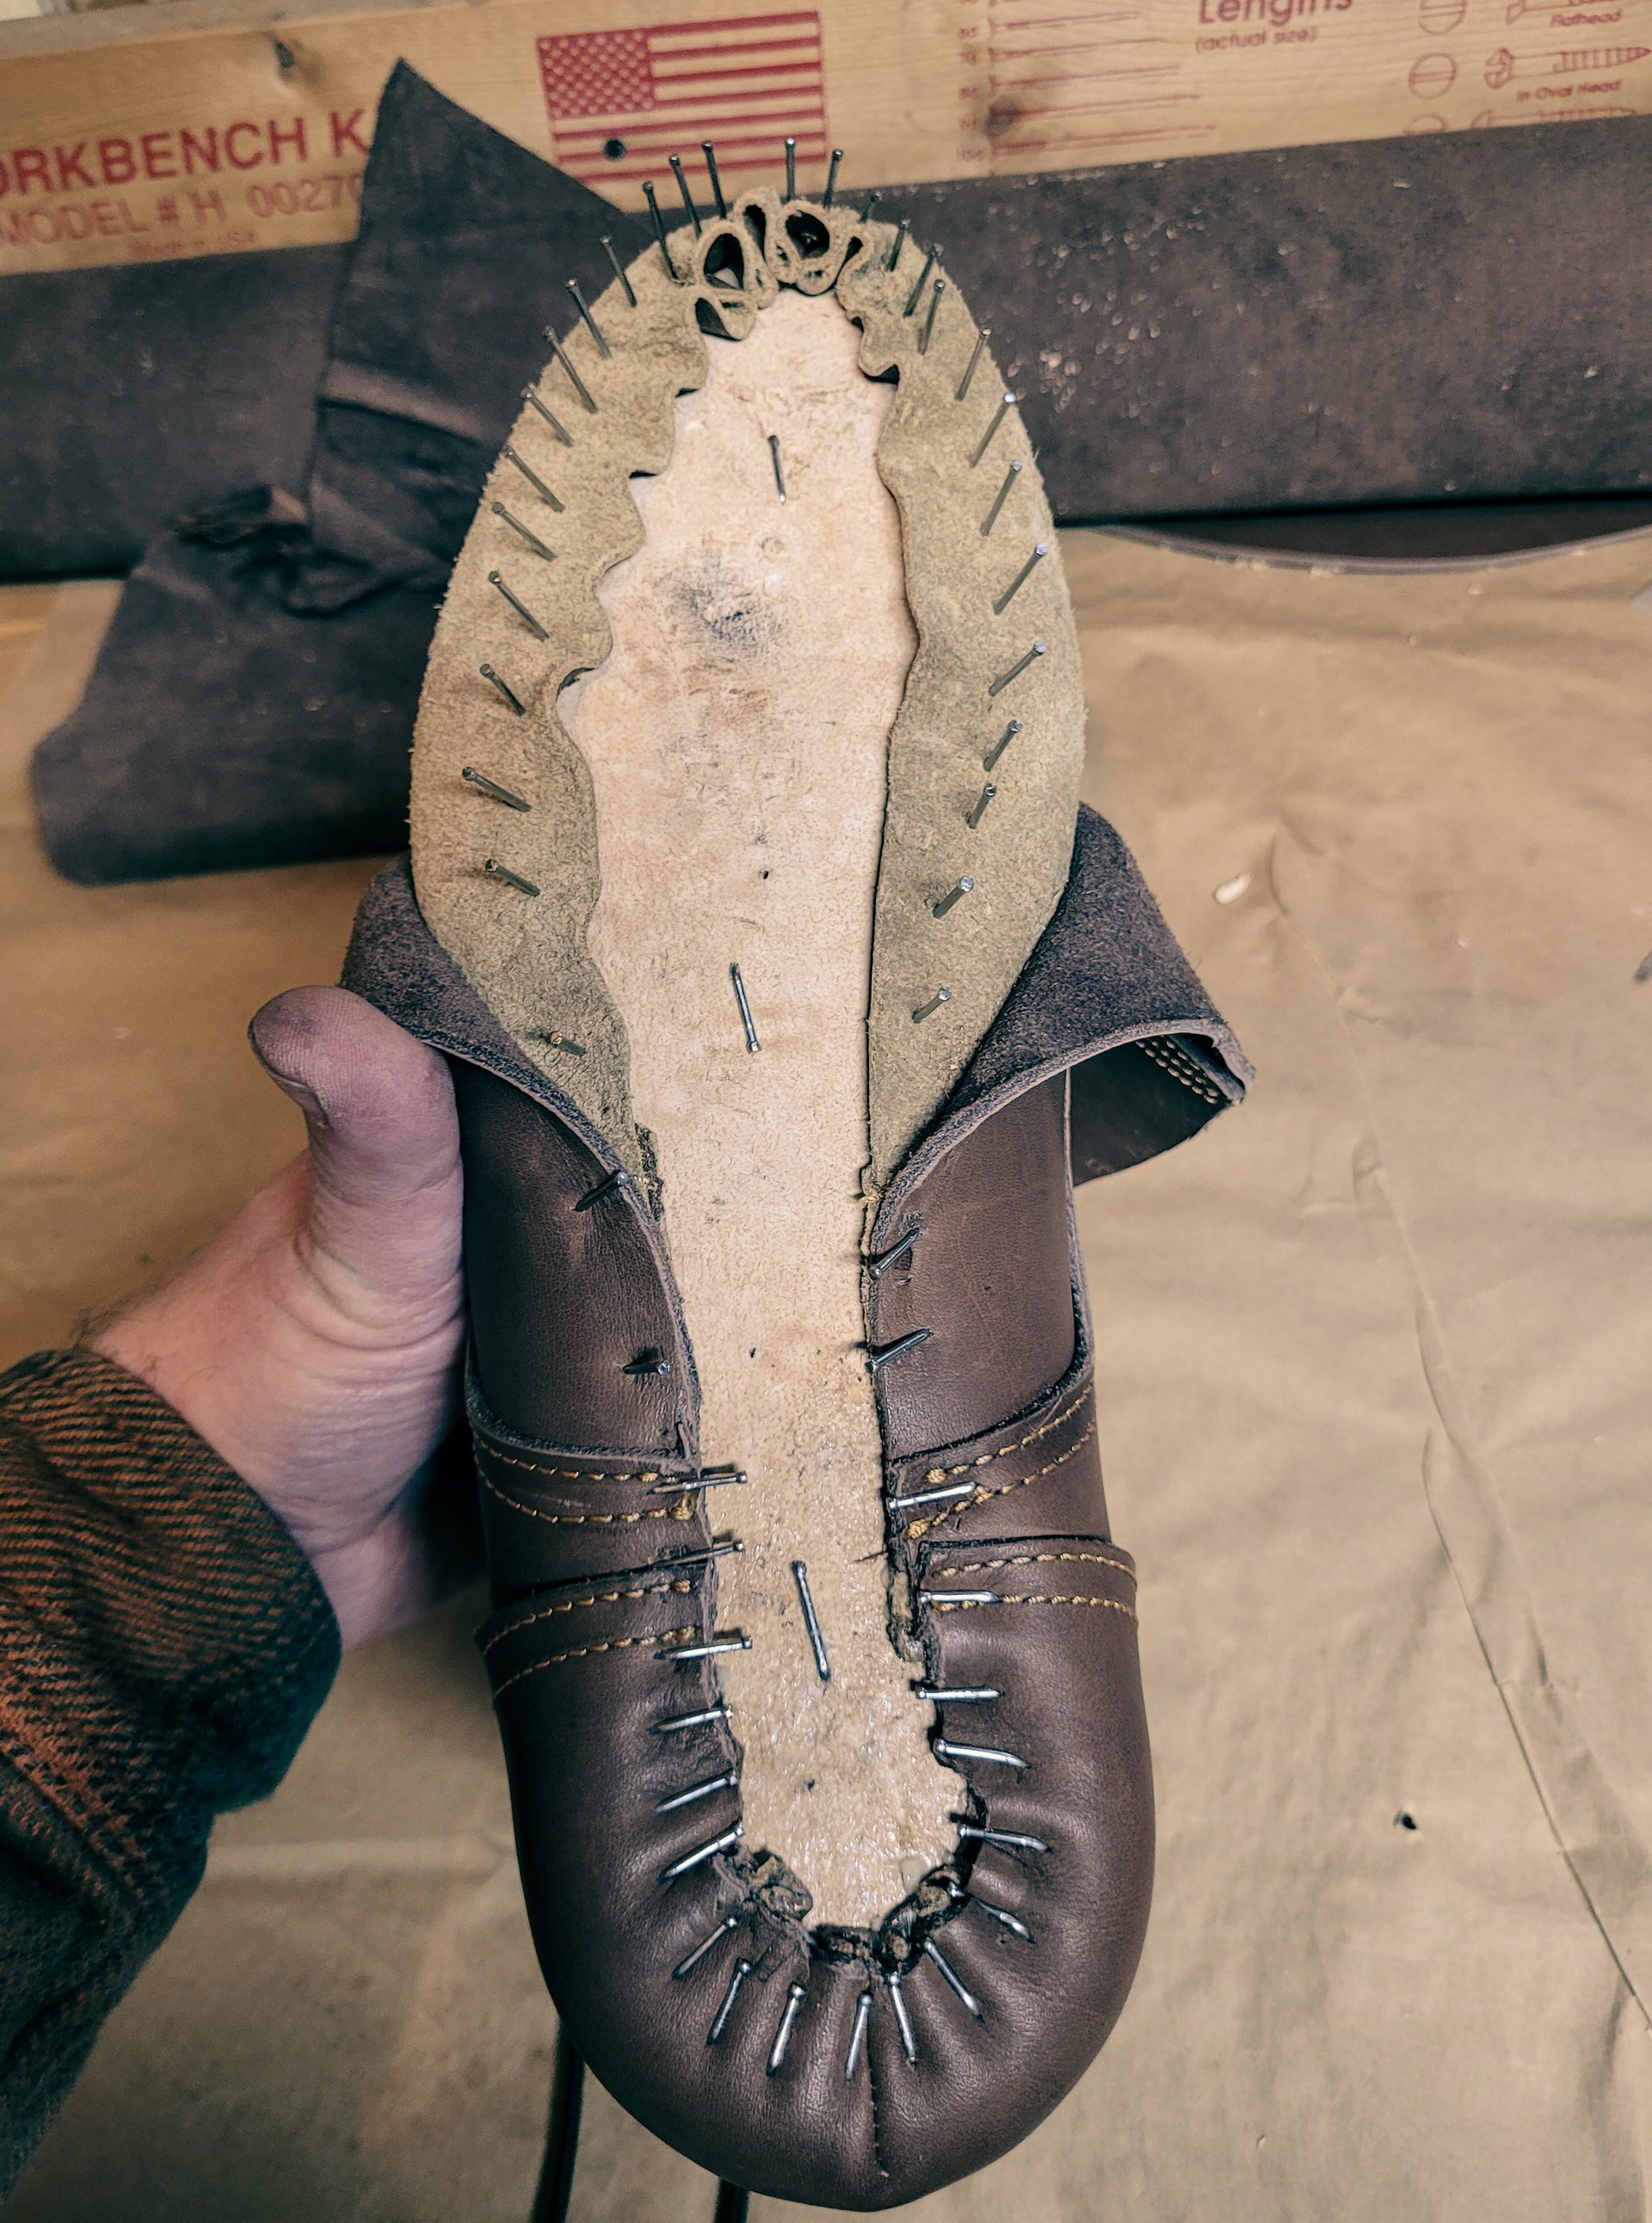
update: The insole didn’t shrink noticeably, so it must have been dry enough. the insole edge seems to have been angled correctly, because I can’t see any visible transition between the last and the insole.
I’ve lasted the heel, and I’m ready to glue the lining to the insole.
Should I move the lining nails closer to the edge?
Also, I wanted to see if my curved awl was sharp enough, so I tried to punch through a piece of scrap insole leather, and it snapped right at the handle, like a dry twig. I didn’t even apply that much pressure. Not sure if it was a defective awl, or the wrong kind, or not sharp enough, or just bad technique.
So I’m going to need a new / better awl, and some advice on how to make stitchdown holes without destroying my tools.
it was this awl: Ivan Stainless Steel Stitching Awls – Leatherado Leather Supply
which claims to have a sharpened diamond shaped point. It certainly felt sharp.
1 Like
Awls will need more sharpening, plus technique is important (you want to wiggle it so the sharp edge is cutting) and it helps to dip it in wax every few pokes.
I keep my strop nearby and some wax and will strop/wax every couple holes.
Taking a paint brush with a little soapy water on it and brushing the leather can help too.
As for your nails, I dont think they need moved. Use a bone folder to lift the lining up from the feather edge, then paint under with glue. When it’s dry, push the leather back down, fold your nails over, and do some hammering.
Sorry to read about your awl, @proudfoot. We’ve all done it.
If you like those sickle-shaped, diamond-profiled awls—I see them referred to as “German”, but those names are always dubious—CS Osborne makes something kind of similar, their Number 40, which you could buy in packs.
I’m not here to say the awl breaking was your fault! But I’d keep in mind that awls with that shape will need to be very sharp and also essentially pushed through the leather. You wouldn’t want to do much wriggling side to side, a better technique for awls with flat “duckbill” cutting edges at ninety degrees to their shafts. Nor would you want to rock or lever up and down, the technique for square awls with blades parallel with their shafts.
I haven’t been doing this long enough to have any preference for a particular type of awl, so I’m willing to try any type.
A straight awl with a duckbill or chisel tip might be the best choice for me, since there’s no bending or sideways pressure. I wonder if I could simply sharpen a small flat head screwdriver?
Basically a single prong stitching chisel.
Also, Is it common to moisten the midsole before stitching?
Most traditional makers use a curved awl to sew their inseams from inside the holdfast outward.
A few makers use straight awls to sew from the outside in, but usually into gemming or holdfasts carved and turned up to make tall lips, rather than traditional English holdfasts carved down into the insole. Brian the Bootmaker has some videos on YouTube showing this technique.
I’ve personally had good results with inseaming awls from Tom Carbone, via @customboots, and Dick Anderson, who you really need to get on the phone.
I started off trying to use Osborne No. 31s. Some production shops use those, like Frank’s in Spokane. But I never got them figured out.
I see no reason not to brush some water on, especially if you’re stitching by hand.
would an inseaming awl be ok for outseaming a stitchdown boot?
I resoled a pair of my boots using an inseaming awl and it worked fine. I don’t remember who I heard it from but I know there are a few makers that use the barnsley heel awl for their outsole stitching. Most important thing is that it is super sharp. You will also want to strop and wax very often.
I recently tried the following and was satisfied with the results:
- Prepared outsole: removing “hair” and thinning waist
- Spread glue on outsole and allow to dry
- Leave outsole with dried glue in water overnight
- Remove in morning and cover in newspaper
- Once ready to sew (budget like 3+ hours per shoe) dry the flesh side of the outsole (keep the grain side mellow)
- Apply glue to shoe and outsole
- Allow to dry then reactivate both sides with a heat gun.
- Adhere both sides and hammer, if your hammer has a small head then use another piece of thick leather inbetween
- Use welt beater or a stick to make sure welt and outsole are perpendicular to upper.
I have seen the Japanese shoemakers do something like this on youtube but I should emphasize that I am just a beginner and I’m not sure if this list is entirely correct. I have been wearing the pair I made using this approach for 2 weeks and so far the adhesion is great.
Another caveat is that I did this for leather sole shoes (1 midsole/outsole). I am not sure if something like this is suitable for stitching a midsole + rubber.