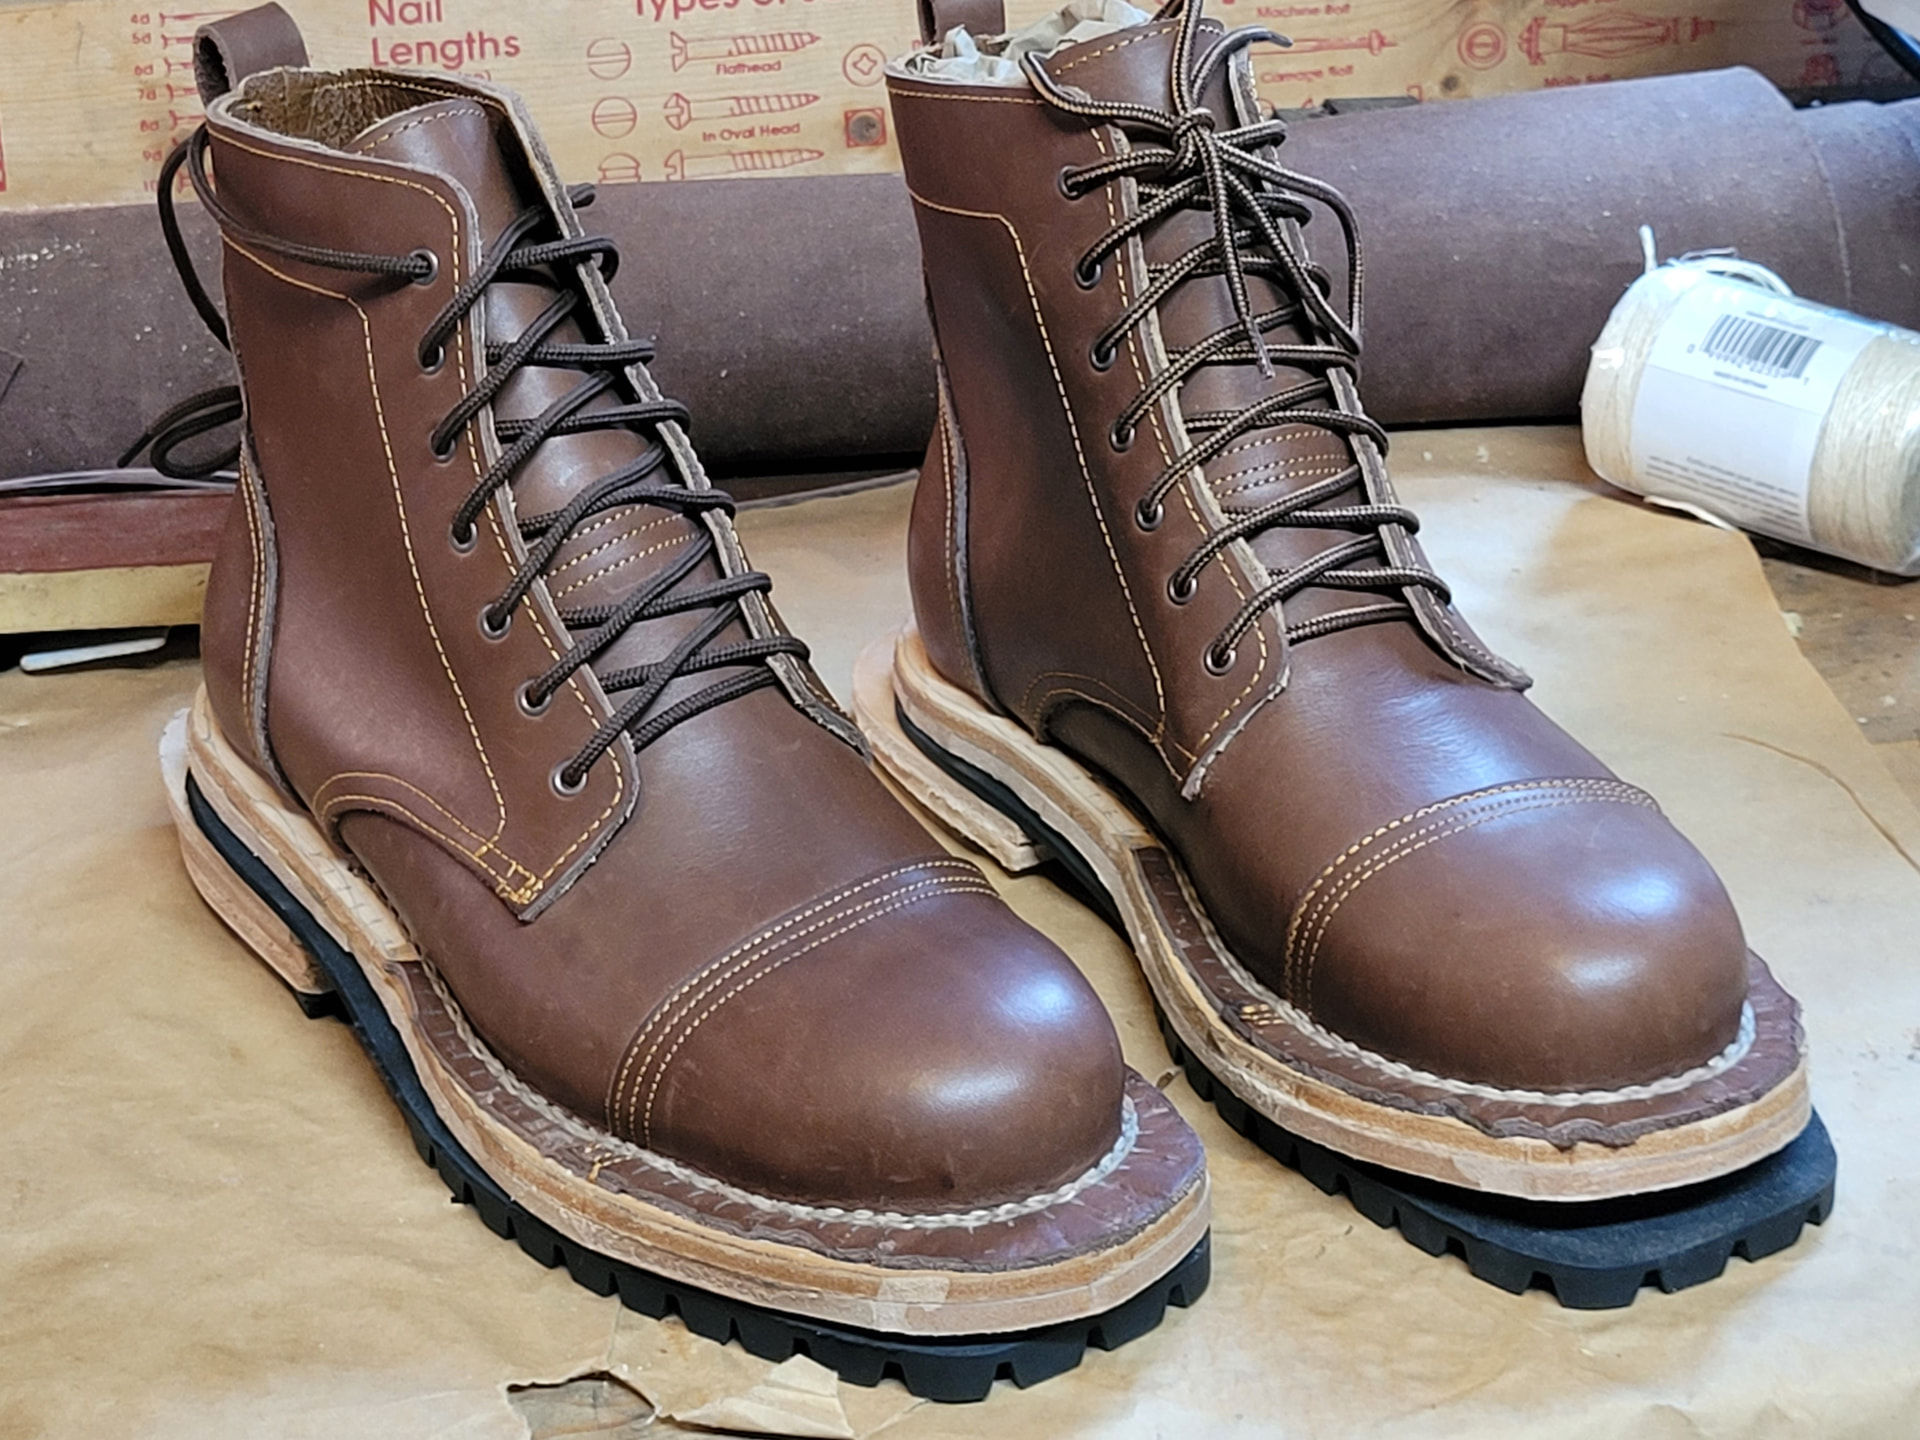
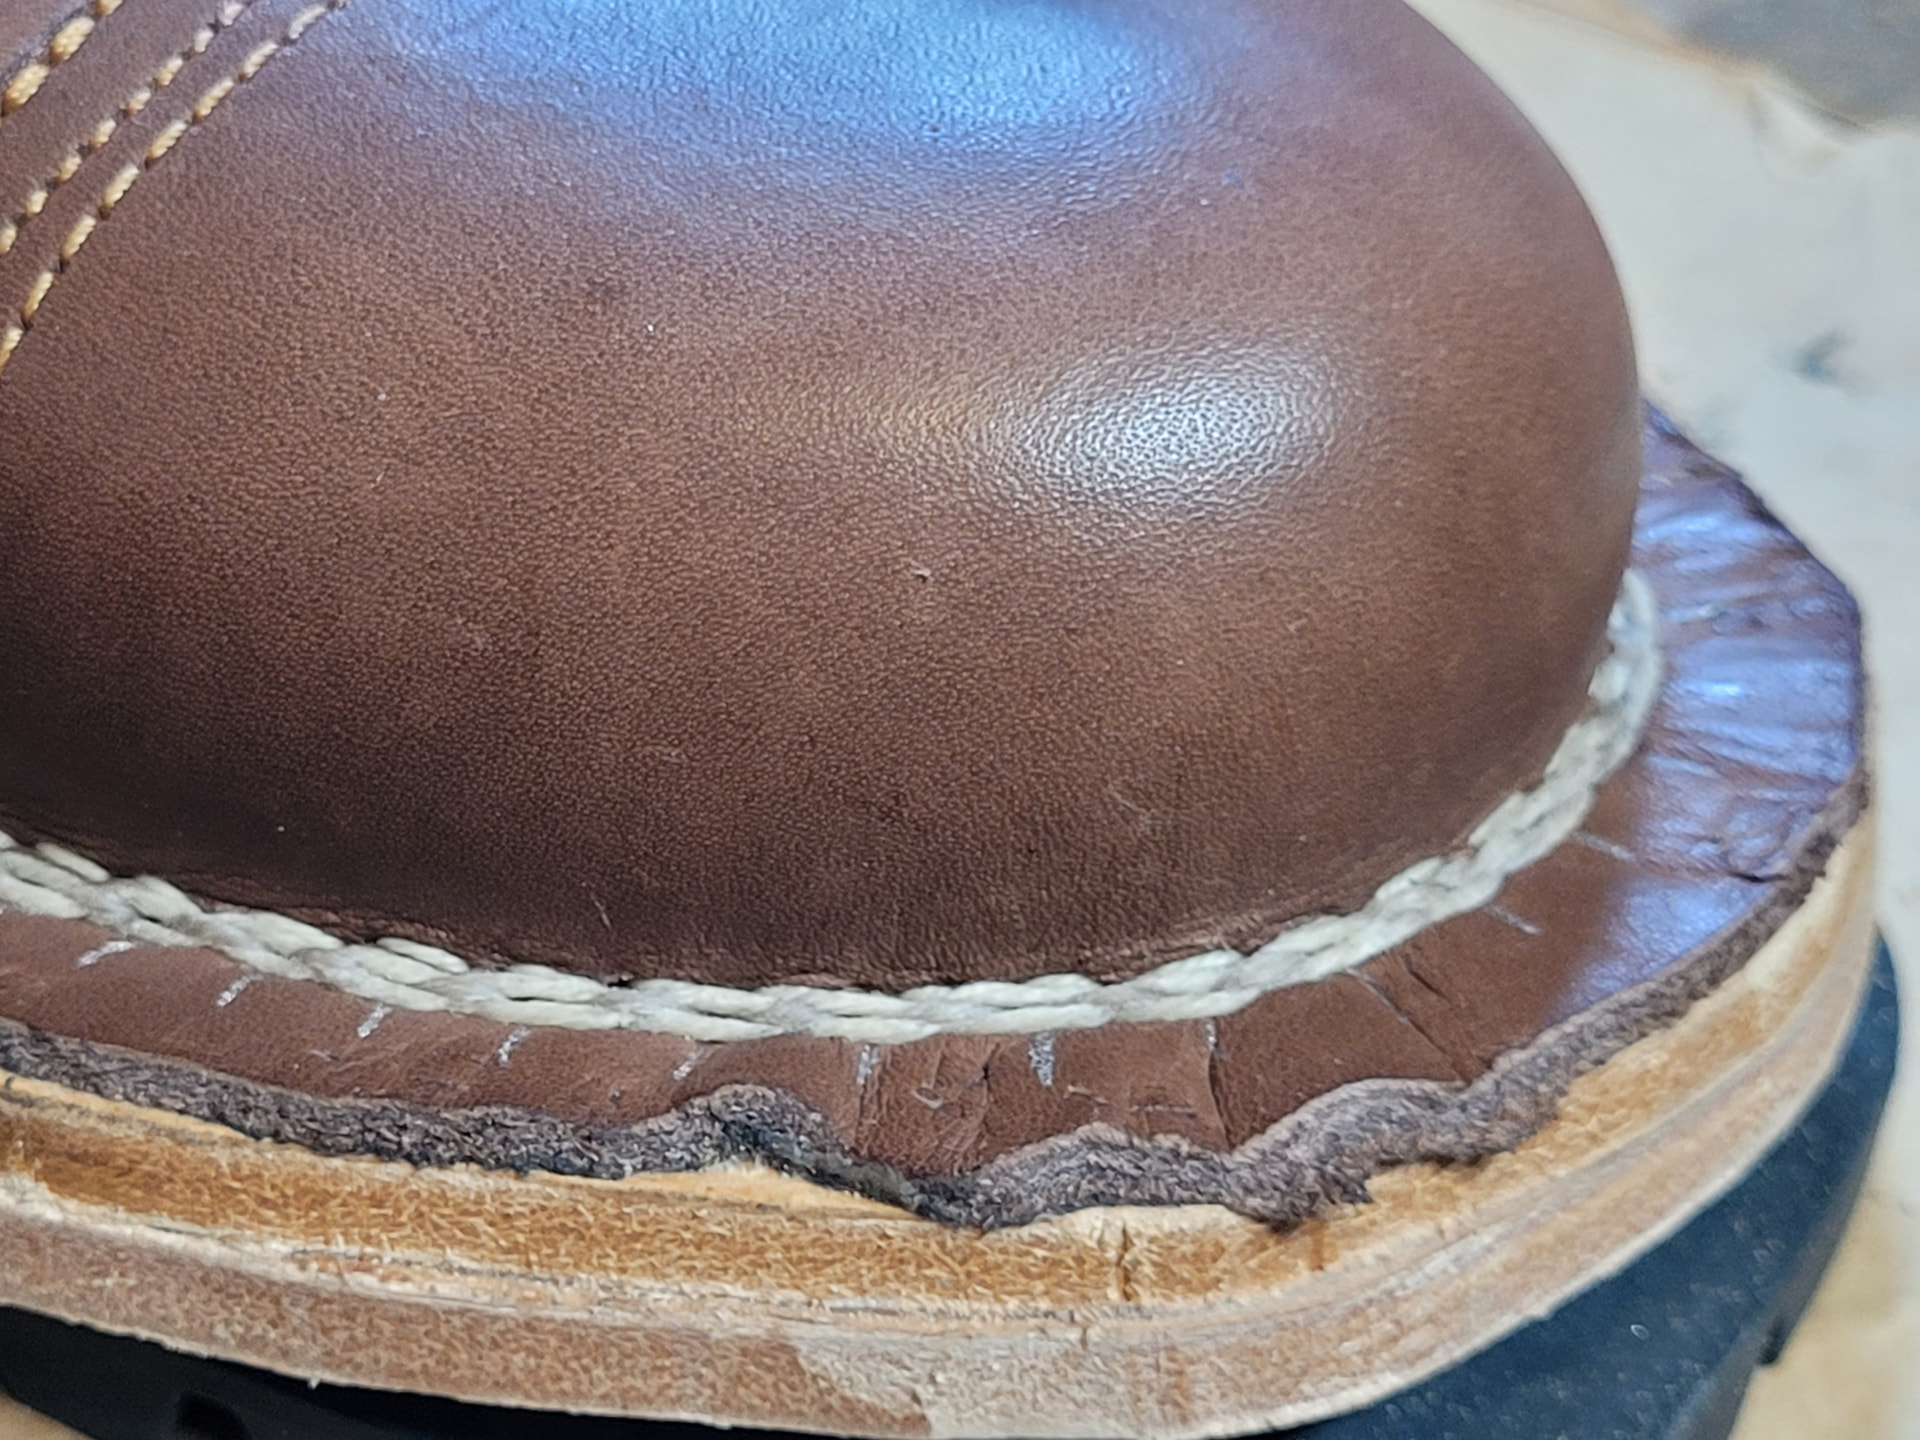
I’ve used Maine Thread ‘natural’ quite a bit. Its paraffin coating can definitely pick up grit color as it’s worked, and my eye tends to see it stand out more over that shade.
I suspect you’ll find you can clean it substantially, if not completely, when you’re done stitching.
I’ll give it a gentle scrub with saddle soap when the boots are completely done.
1 Like
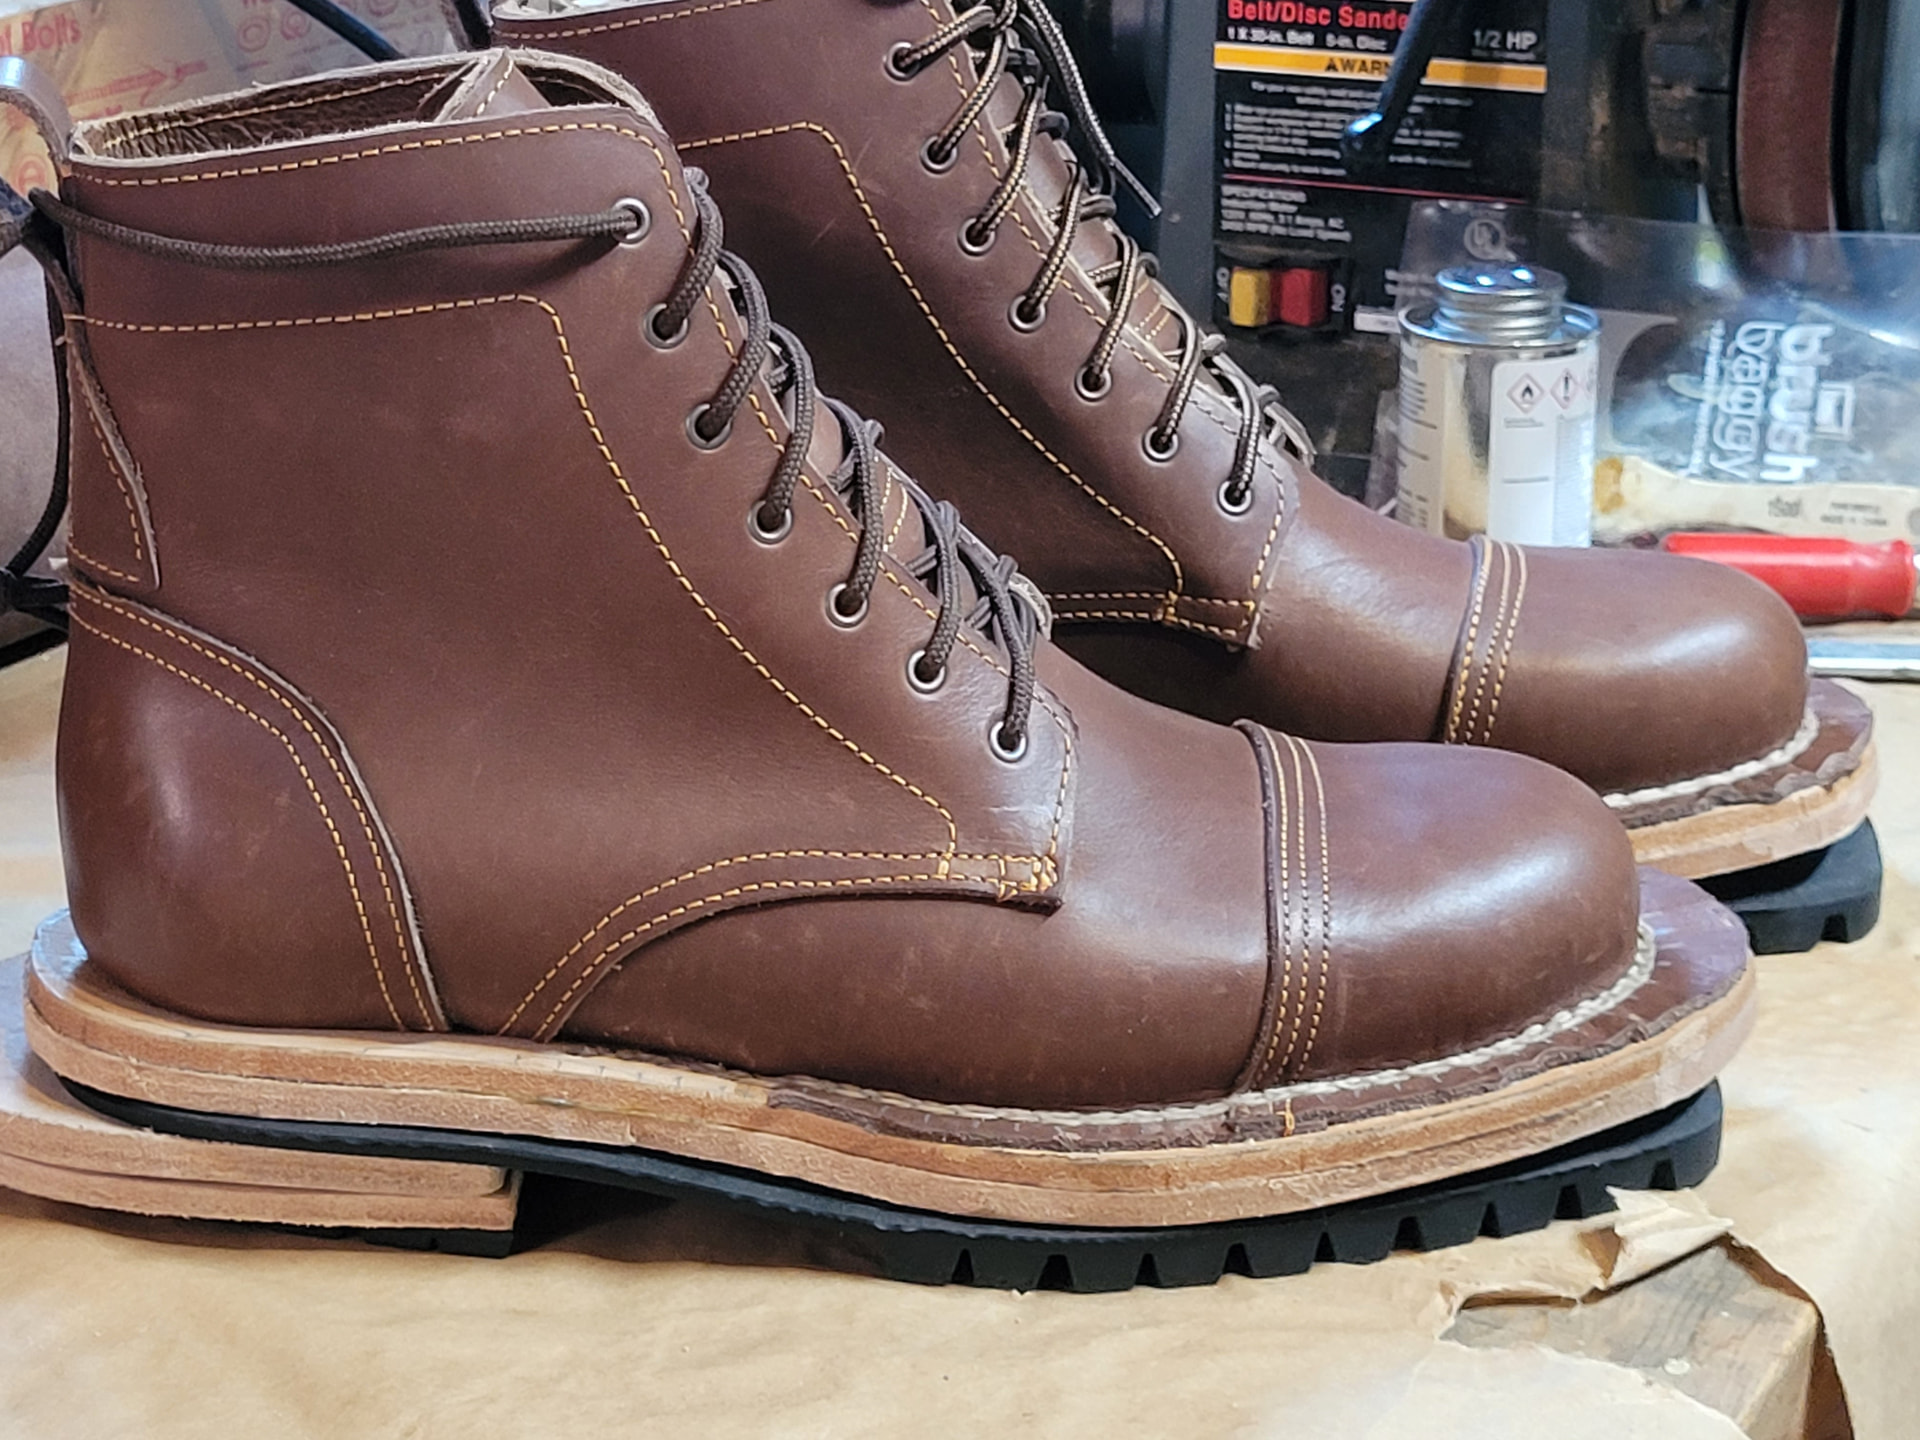
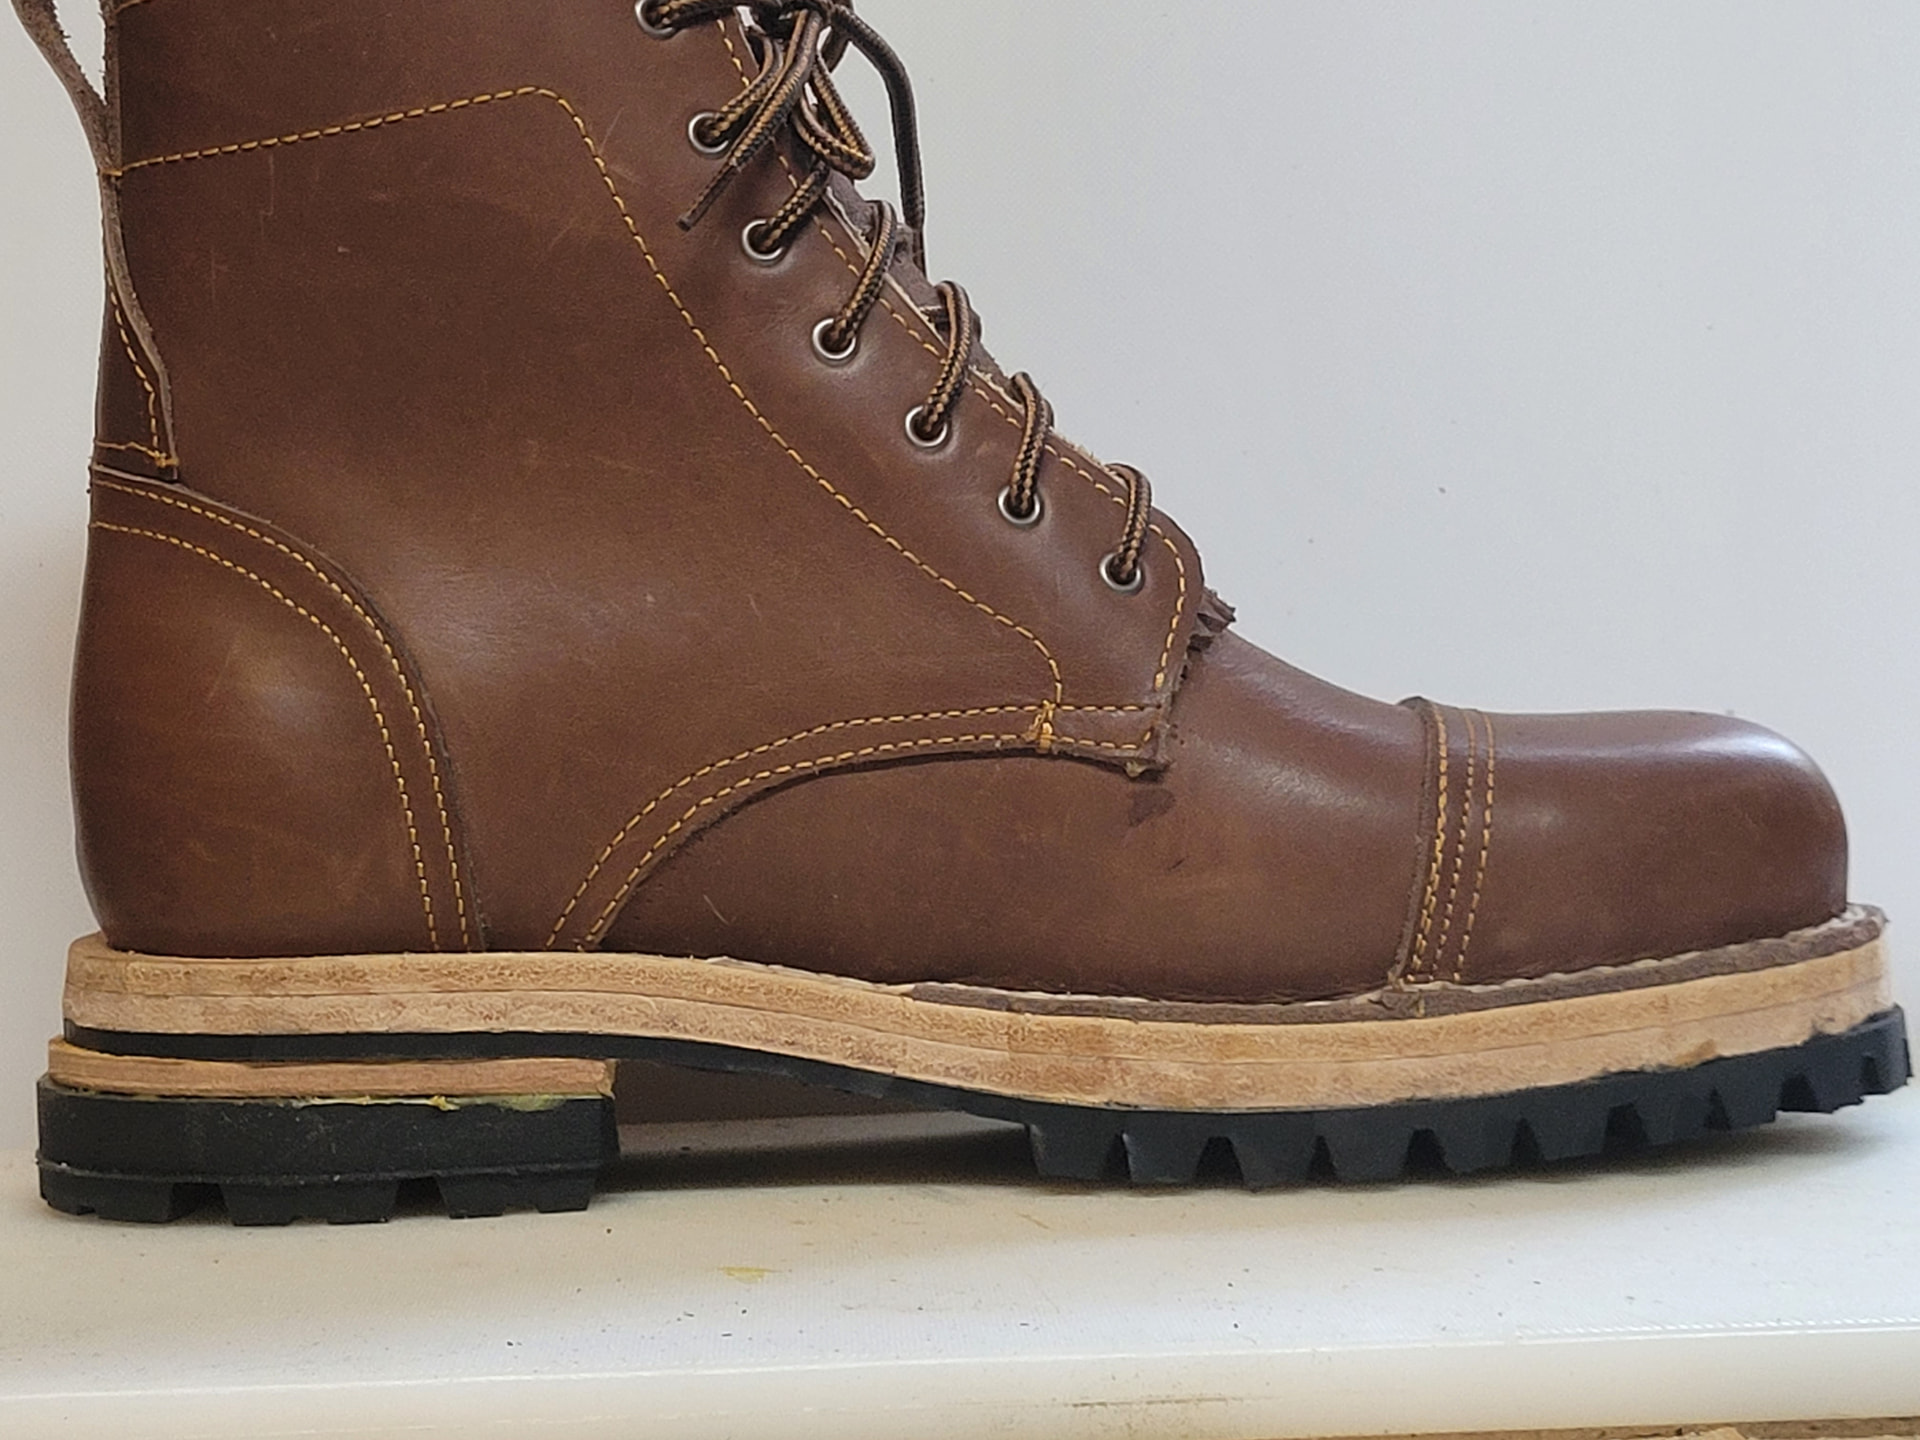
Outsole stitching complete.
Next step: glue on the vibram soles. Build the heel stack. And sand the soles.
1 Like
Lookin’ good! Share some close-up shots if you can.
I really like the look of this chain stitch.
1 Like
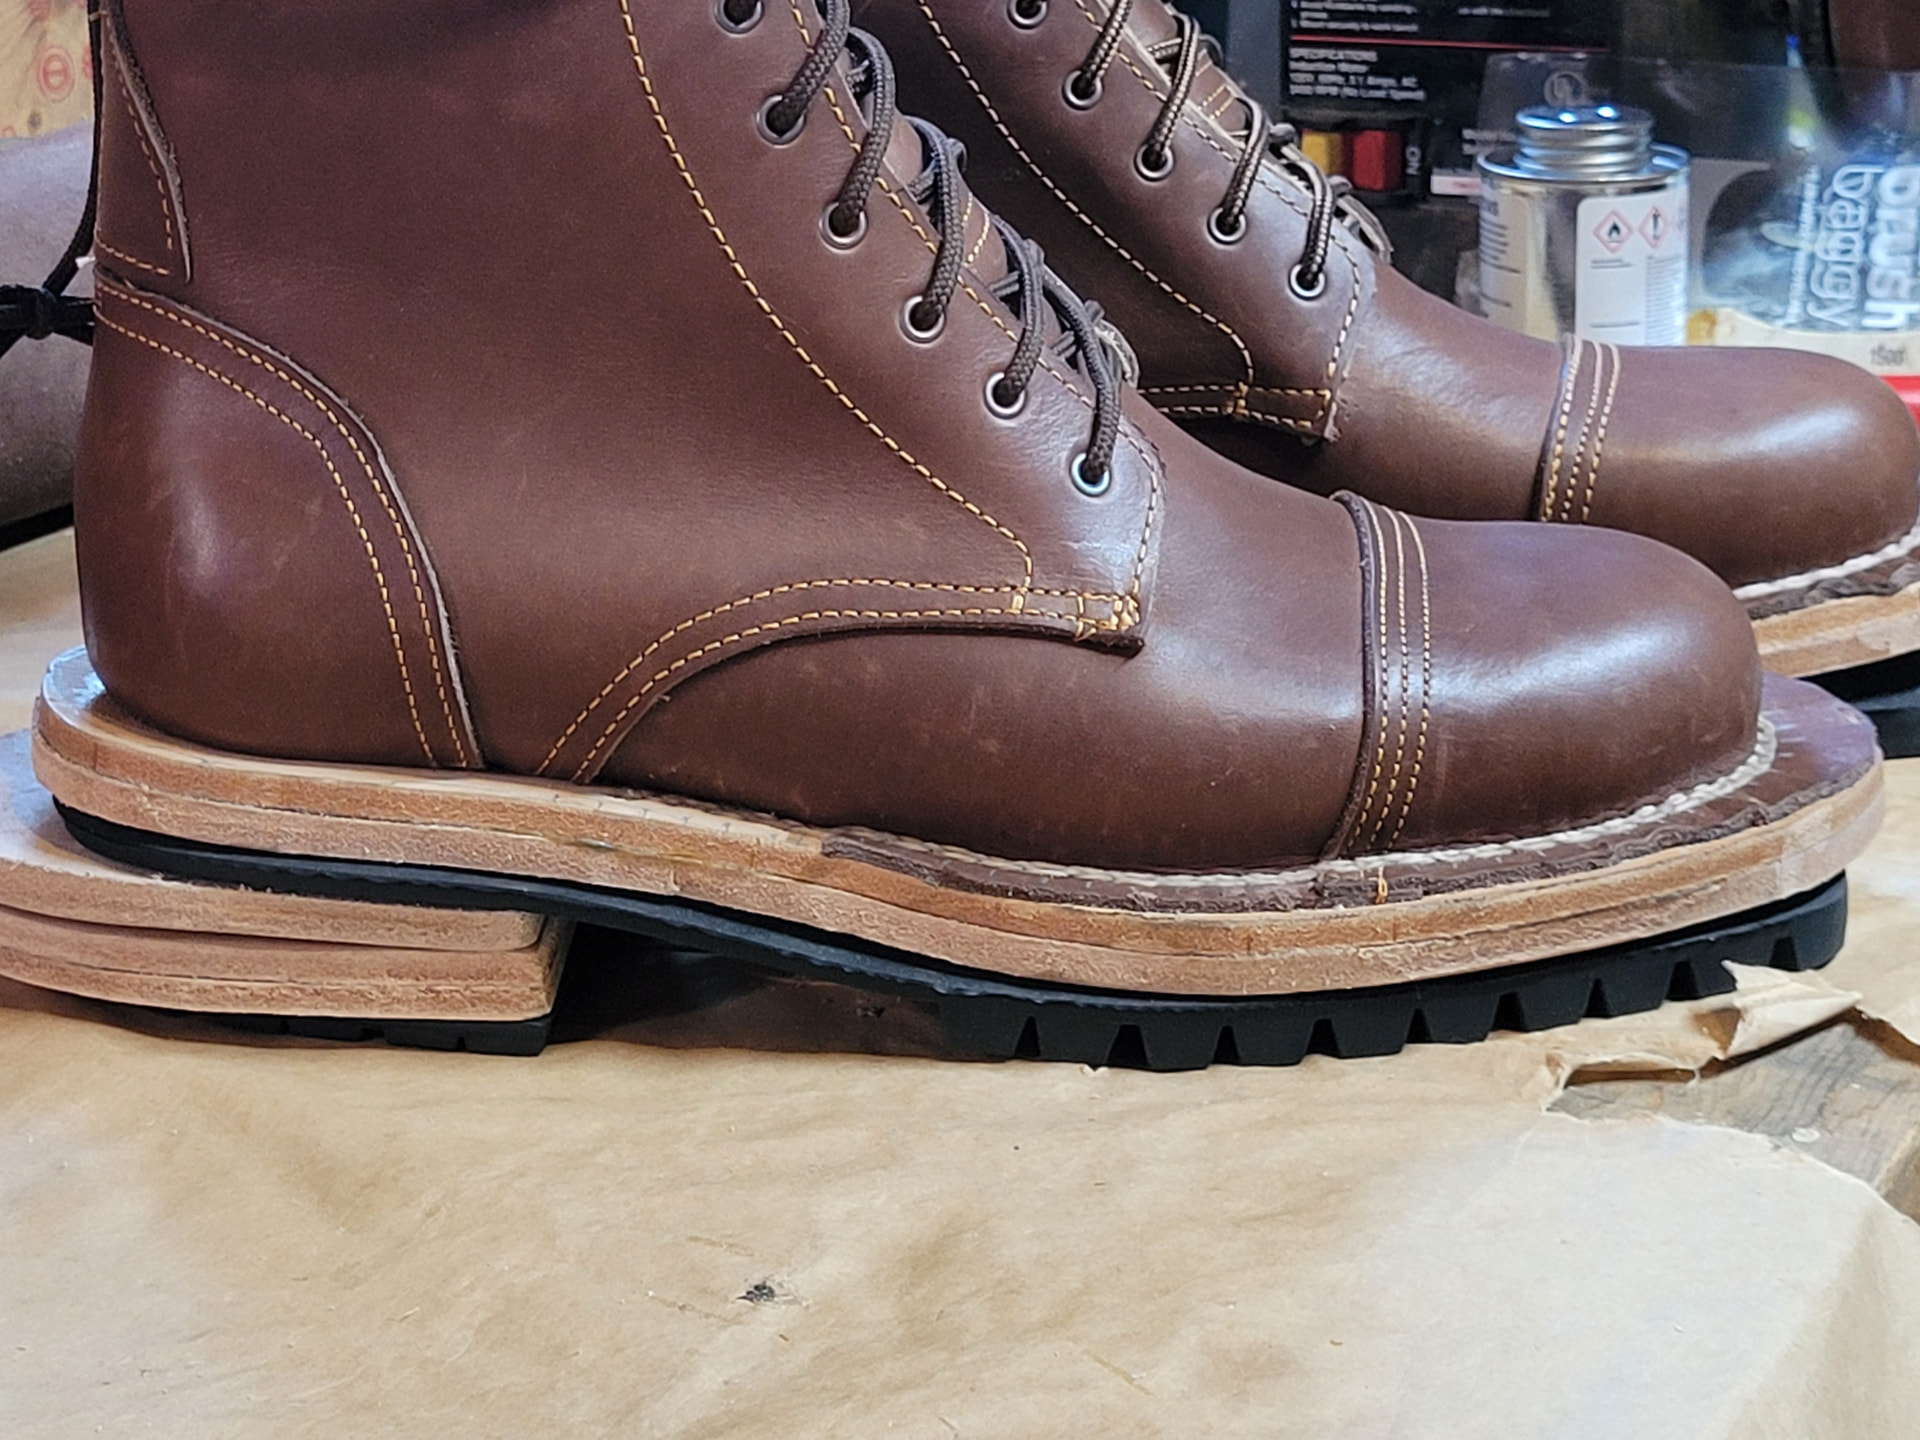
Im still debating how many layers the heel stack should be.
I do, too. Nice commercial for Maine Thread .045 Natural!
Looks like you were able to clean it up a bit?
However many it takes to put the contact point under the ball line
This could be tricky to see without the outsole glued to the midsole.
I’m not there with you, but I’m thinking that midsole’s going to make those boots really stiff. If you’re up to reconsider, now would be the time.
I’m a bit worried about that too.
Looking at the Valevro videos, it’s clear he used thinner midsole layers, around 5mm each, and he used what looks like regular veg-tan, while I used panhandle sole blanks, which are very dense.
And he used a thinner half sole and heel, instead of the chunky vibram 100 full sole I have.
So between those changes, I’ve ended up with a very stiff, thick sole indeed. I’ll be a few inches taller in these.
Not sure what to do about it except rip off the second midsole (while weeping at the days spent chainstitching them), or buy a thinner rubber sole.
Or just live with it and make the next boot better. I pretty much expected this would end up being a “practice pair”
No need to decide before gluing it though
Maybe with a non-permanent adhesive.
Somehow I either didn’t register or completely forgot you’d gone this way.
Understanding it now, there’s no wonder you were snapping awls and going slow. You were almost stitching wood. Amazing what you’ve done. I hope your arm’s okay.
I’m not telling you to rip off that second midsole. That’s completely up to you. But I wouldn’t expect a thinner rubber sole to offset much of the stiffness of that big leather lamination.
If you do decide to peel off, I’d expect you can keep the upper and insole attached and aligned, so you can reuse existing stitch holes. That could make restitching much faster the second time.
I am not following. The heel lift is being attached to the rubber outsole, so you could glue on the outsole and then decide whatever you wanted to do with the heel lift before attaching it.
after my awl broke I ground and sharpened the tip down to a chisel edge and used it with a hammer like a stitching chisel. It worked pretty well, honestly,
Although the holes on the underside of the outsole aren’t lined up perfectly, so it wouldn’t look very good with a rubber half sole that leaves the leather outsole exposed.
At this point, I’m just going to continue. If they’re a bit stiff, I’ll just live with it and hope they break in. And if they don’t, there’s always the next pair.
They don’t have a shank, so hopefully that will help a bit.
But the next pair will use much thinner leather for the insole/midsole, or just have a single midsole layer.
I also plan on approaching my local cobbler shop about learning to use their Landis stitcher.
1 Like
well, it’s been a while since my last update.
When I last posted I was attempting to use a vibram 100 full sole with a leather heel stack and a vibram 5722 toplift, which was probably a bad idea to begin with, since toplifts are apparently used mostly with half soles.
I tried building a heel stack and it didn’t go well. I couldn’t get the angle right. the last has a 2cm lift, but even with that much lift, the outsole heel isn’t level with the ground, so a heel stack will require some thinning at the front, to keep the heel surface flat on the ground when standing.
I tried skiving each layer to taper the thickness, but I messed that up and ended up removing too much leather and making the surface uneven. Then I tried compensating by gluing on a strip of veg tan and sanding it level, and by the time I was done it was a lost cause.
I ended up peeling off the whole heel stack and now I’m starting the heels from scratch.
My options are:
- build a new stack and use a thin toplift (which is what I tried before)
- use a premade leather stack
- just skip the leather stack entirely and just put a thick leather heel like a vibram montagna, which would at least match the rest of the sole.
I can’t speak for everyone else, but I did a ton of do-overs on my first pairs. It was never what I hoped for, but in retrospect, it almost always meant double the practice on a step I needed to work on.
I have rebuilt the heels.
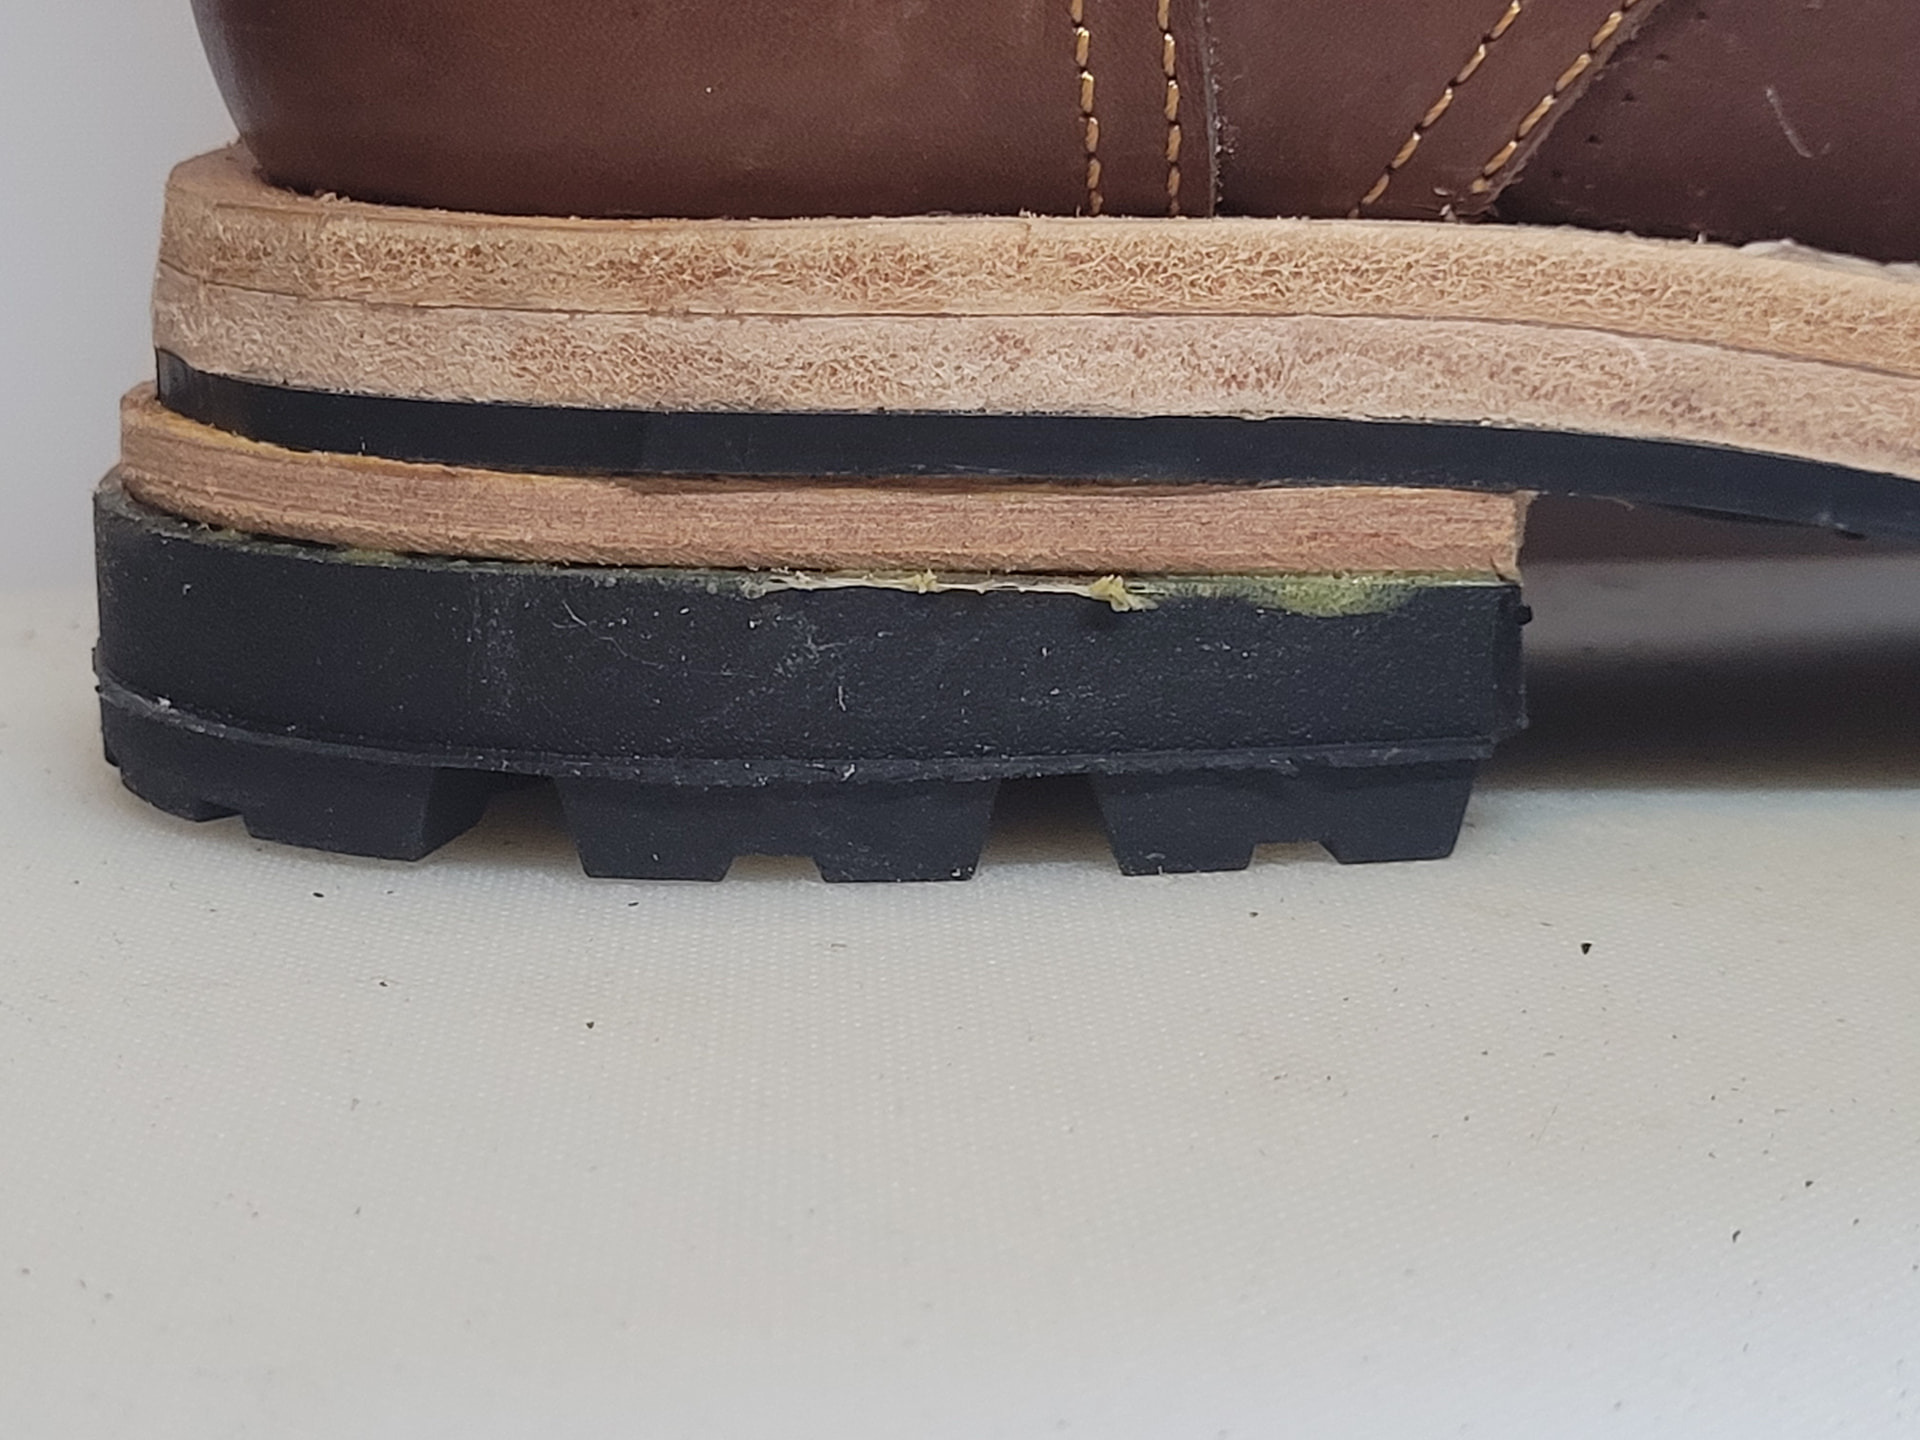
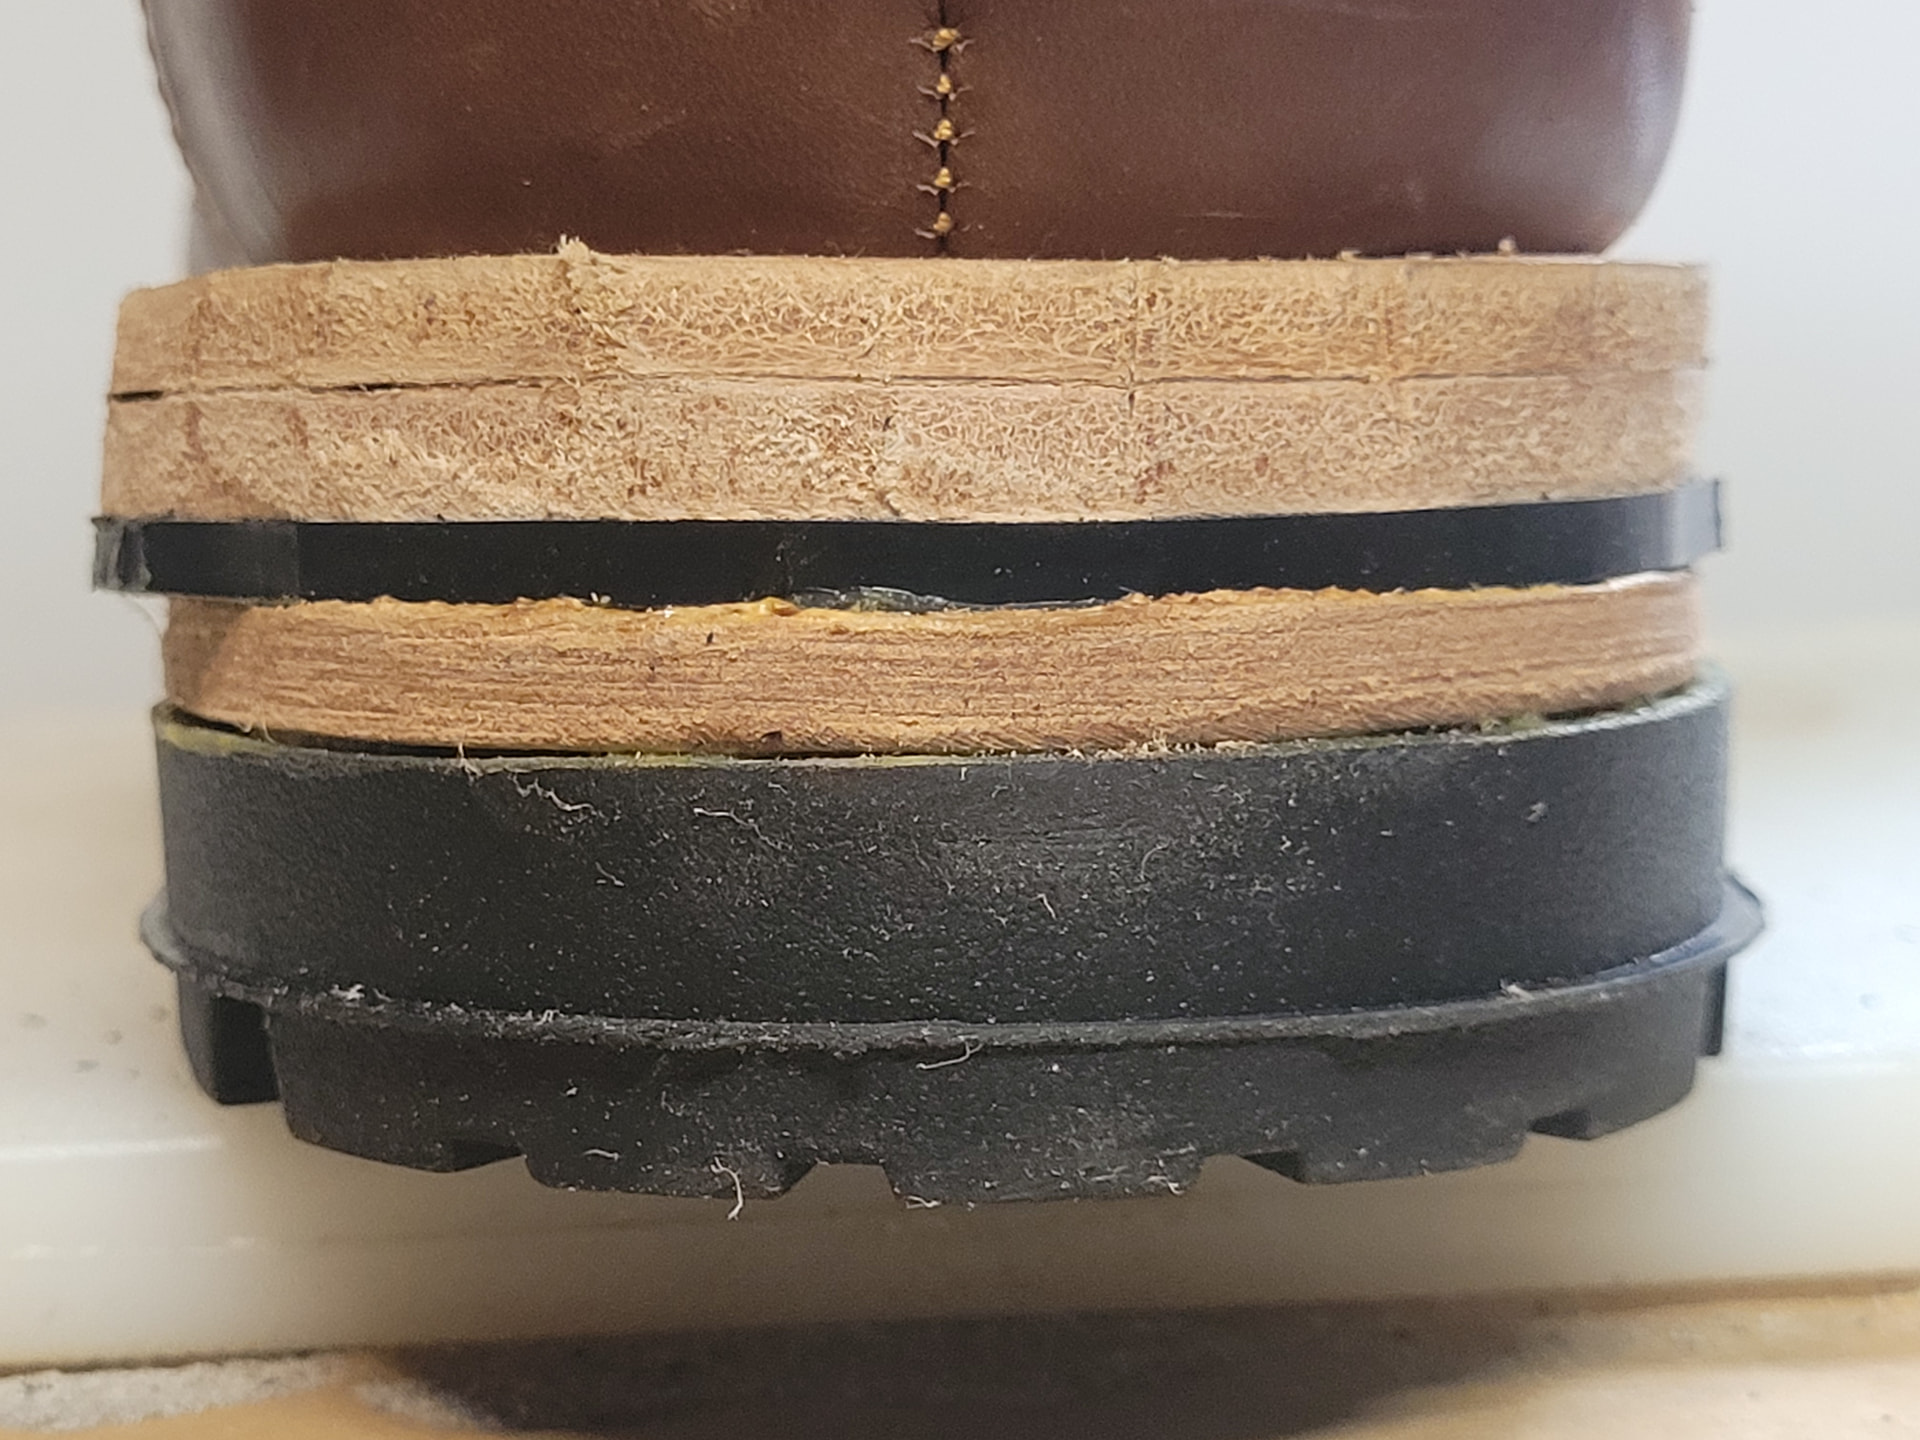
This time I decided to go with the vibram 100 heel, to match the sole. The thinner 5722 top lift heel looked a bit odd paired with the chunky lugs up front.
The extra thickness meant I only had room for a single leather lift, which seemed necessary to keep the contact point under the ball of the foot. So they’re glued and nailed. No wobbles. everything sits flat on the ground.
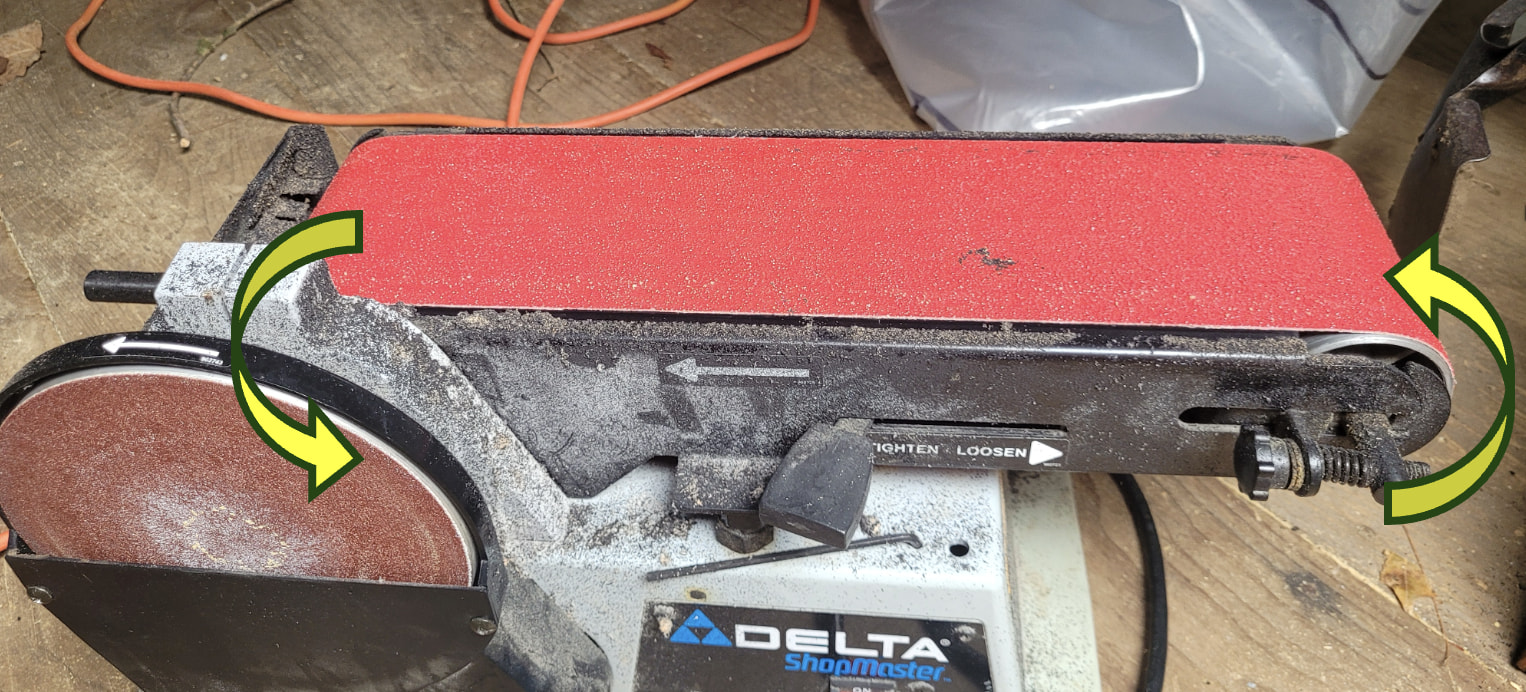
Now I need to figure out how I’ll sand and shape all those layers into a clean looking profile. My attempts with my Delta belt sander have been messy and terrifying. I’d hate to ruin them this close to the finish line. I may just bring them to my local shoe repair place and have them run it through the line finisher, but that seems like cheating.
hand sanding, filing, and using a microplane rasp seem to have no effect on the vibram compound. It’s so abrasion resistant that hand tools barely scratch it.
1 Like
I’d hate to ruin a hand this early in your making career!
I’m sure someone’s done it. But if it doesn’t seem safe to you, there’s no deduction in my book for finding some other way. Especially if you’re supporting a local cobbler. Great person to know, anyway!
I actually bought the heel and the leather lifts from the cobbler. He has boxes of them in his workshop and he was happy to sell it to me at the same price I’ve seen online. It’s a lot faster and cheaper than paying to have them shipped. Just a 10 minute drive from where I work, so I went on my lunch break. We had a nice chat and he said if I can’t figure out how to sand the edges myself he’d clean it up on the line-finisher for $25, which seems fair to me.
But I’ll have to figure out some way to do it myself in the future. I’ve got a bench grinder, so maybe I can get a sanding drum for it.
The problem with the Delta sander is that you need that round drum area at the end of the belt to reach the inside curves at the waist of the sole. the downward spinning end of the belt is covered by a metal dust collecting shield, so you have to use the other end, which spins upward, creating a lot of chattering and kickback, and blowing the dust straight up in my face. Not fun, even with a respirator and goggles.
1 Like