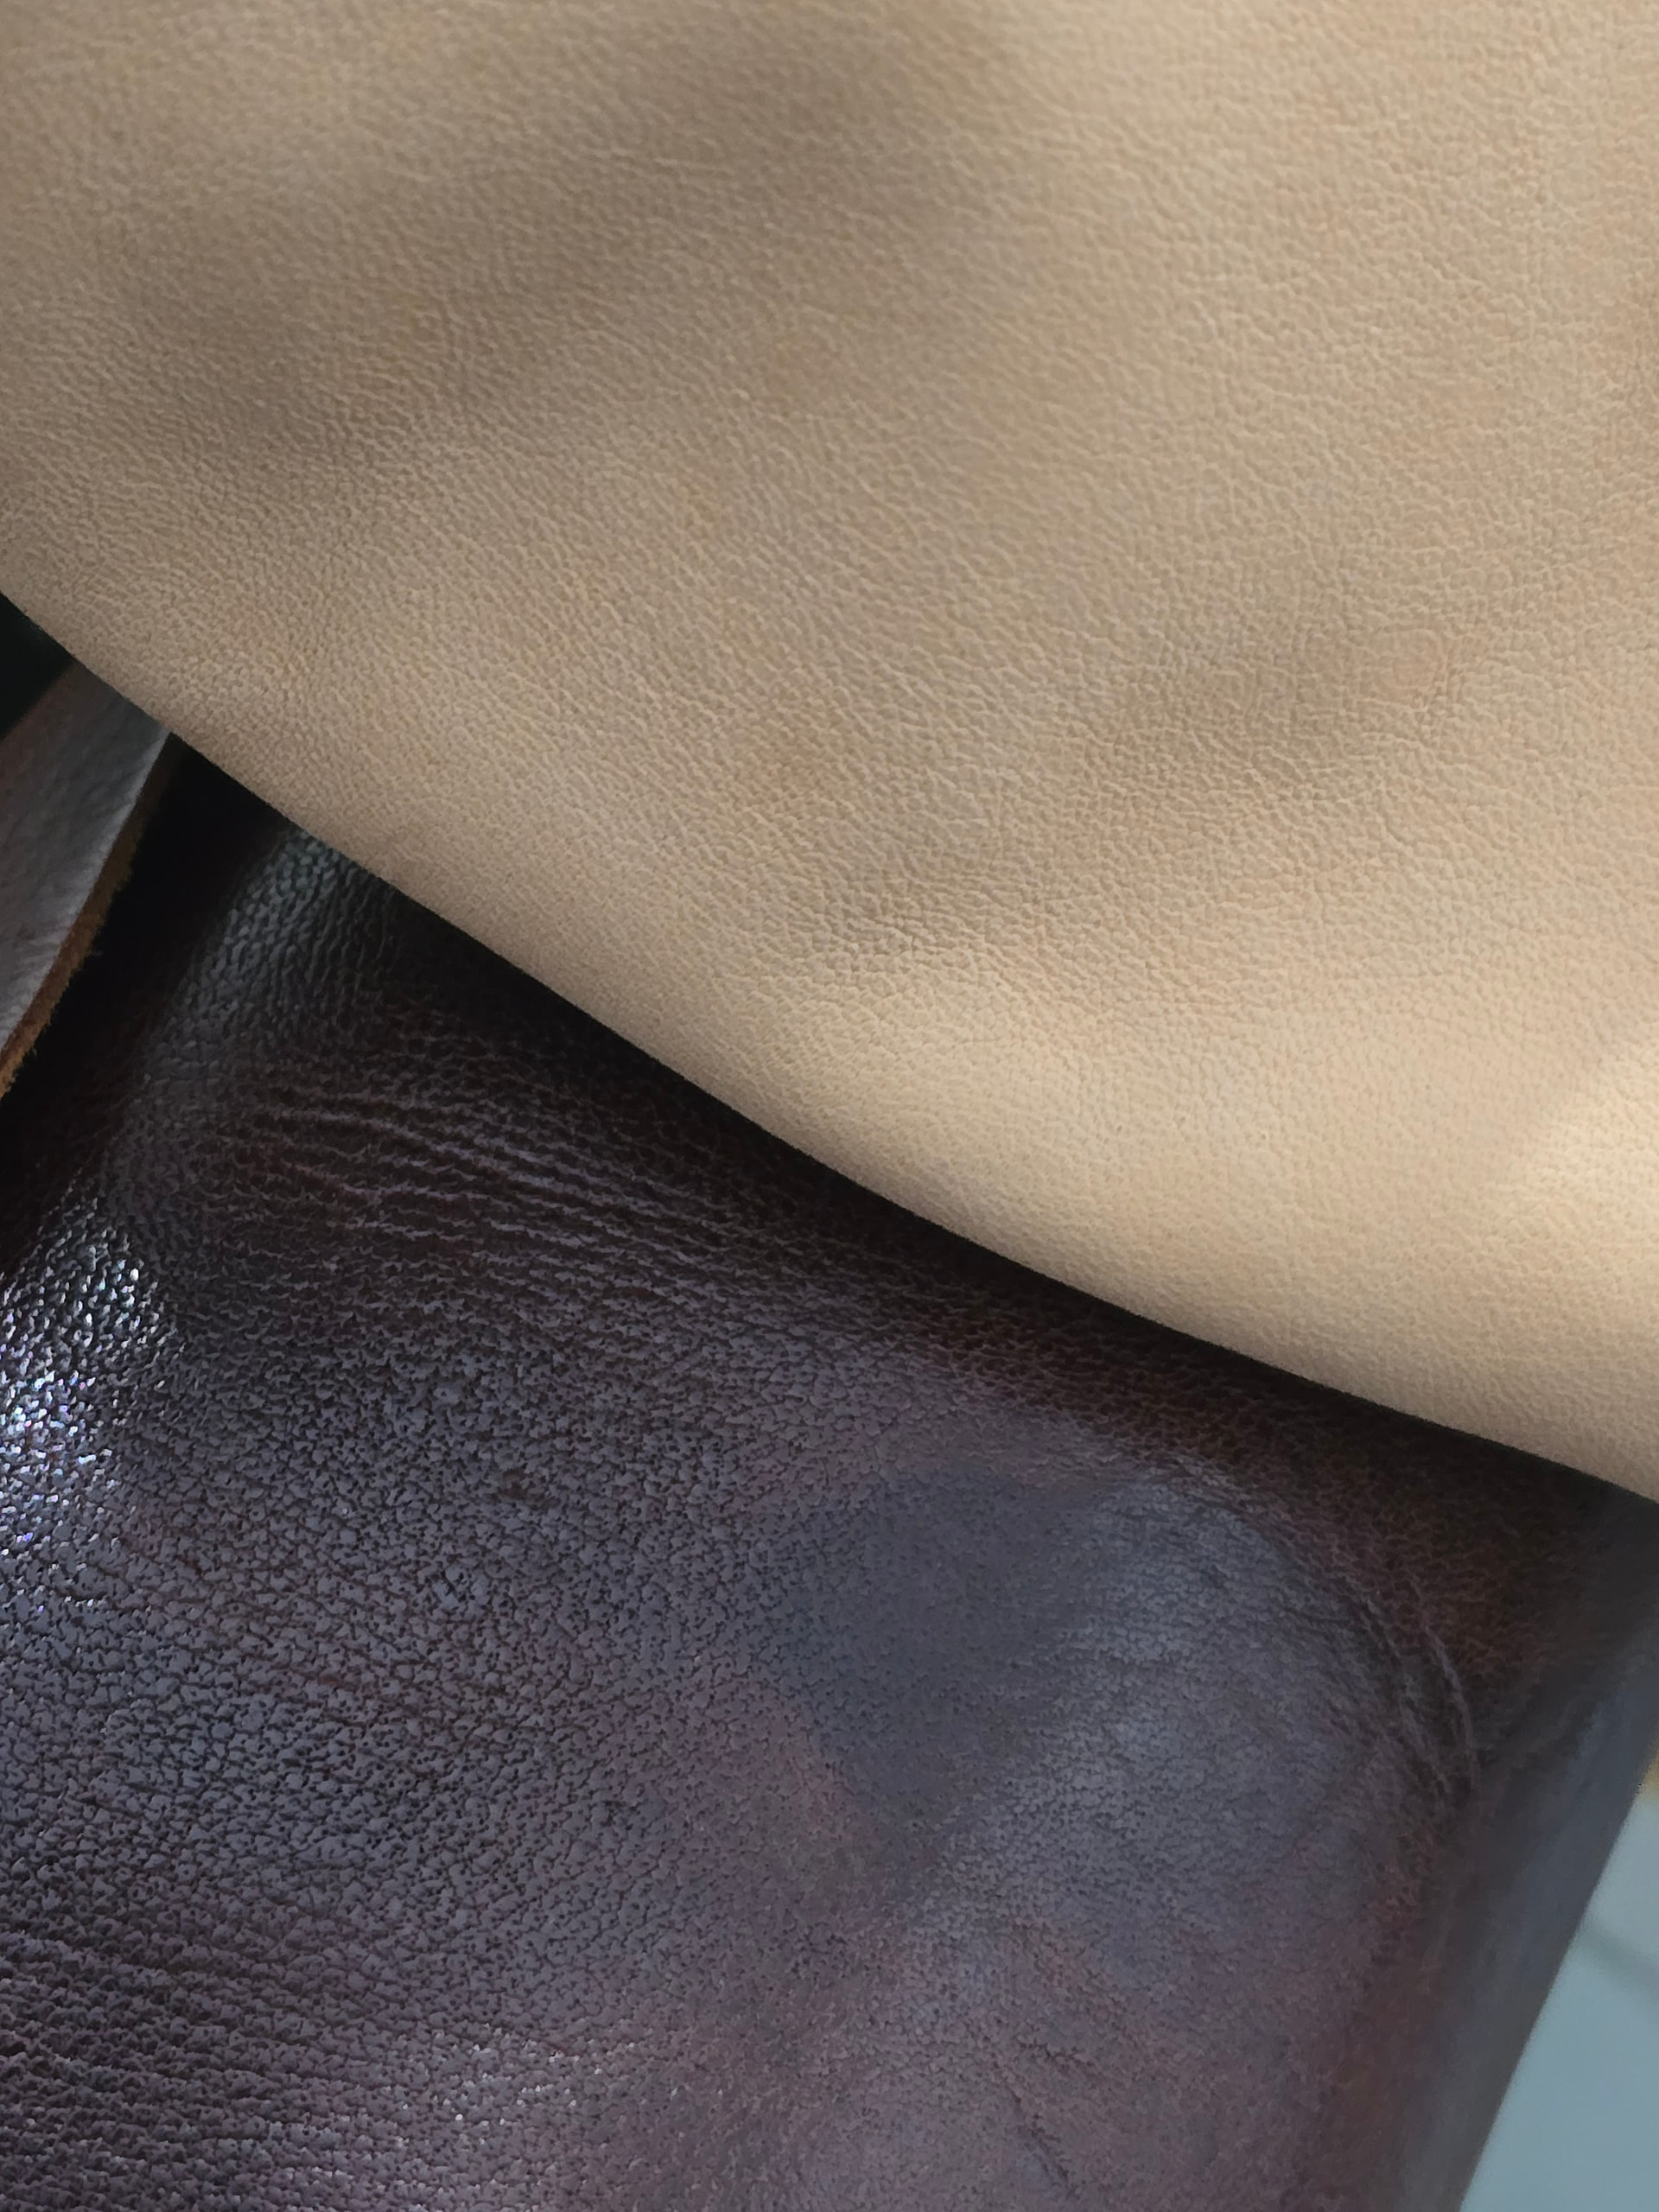
I’ll be doing some inlays of white magnolia flowers on the backstay in Bonaudo nappa lamb (and maybe some Conceria Walpier grid for the branches).
Started out today taking foot measurements so I can do a scratch build of some lasts. I would like to dive into some of the parametric last building methods to see how much I can leverage doing the digital design. I will 3d print the lasts and make patterns from there. Already know I am going to need different patterns for each boot as she has a pretty significant difference in girth measurements going up her calves.
Them’d be tall boots! Can you get nice quarters that tall from horsefronts? Or do you plan to pattern in a few pieces?
If you’re doing lasts from scratch, I’d encourage you to do separate right and left. But especially with uppers 14 inches tall, I expect it would be far easier to do shorter, ankle-height lasts, cut the patterns to girths, and tree the shafts once made.
Yah, shouldn’t be an issue with getting quarters. It’s a big hide I got (and a really great leather. Big fan of what Horween is doing with aspen).
I will absolutely be doing separate left and right lasts and was planning on ankle height. May try to do a 4-piece last that has the top/ankle area pull out, a removable comb/instep, and then have the heel pull out. Last thing I want to be doing is trying to fight getting a last out from 14” down the shaft and it fighting me.
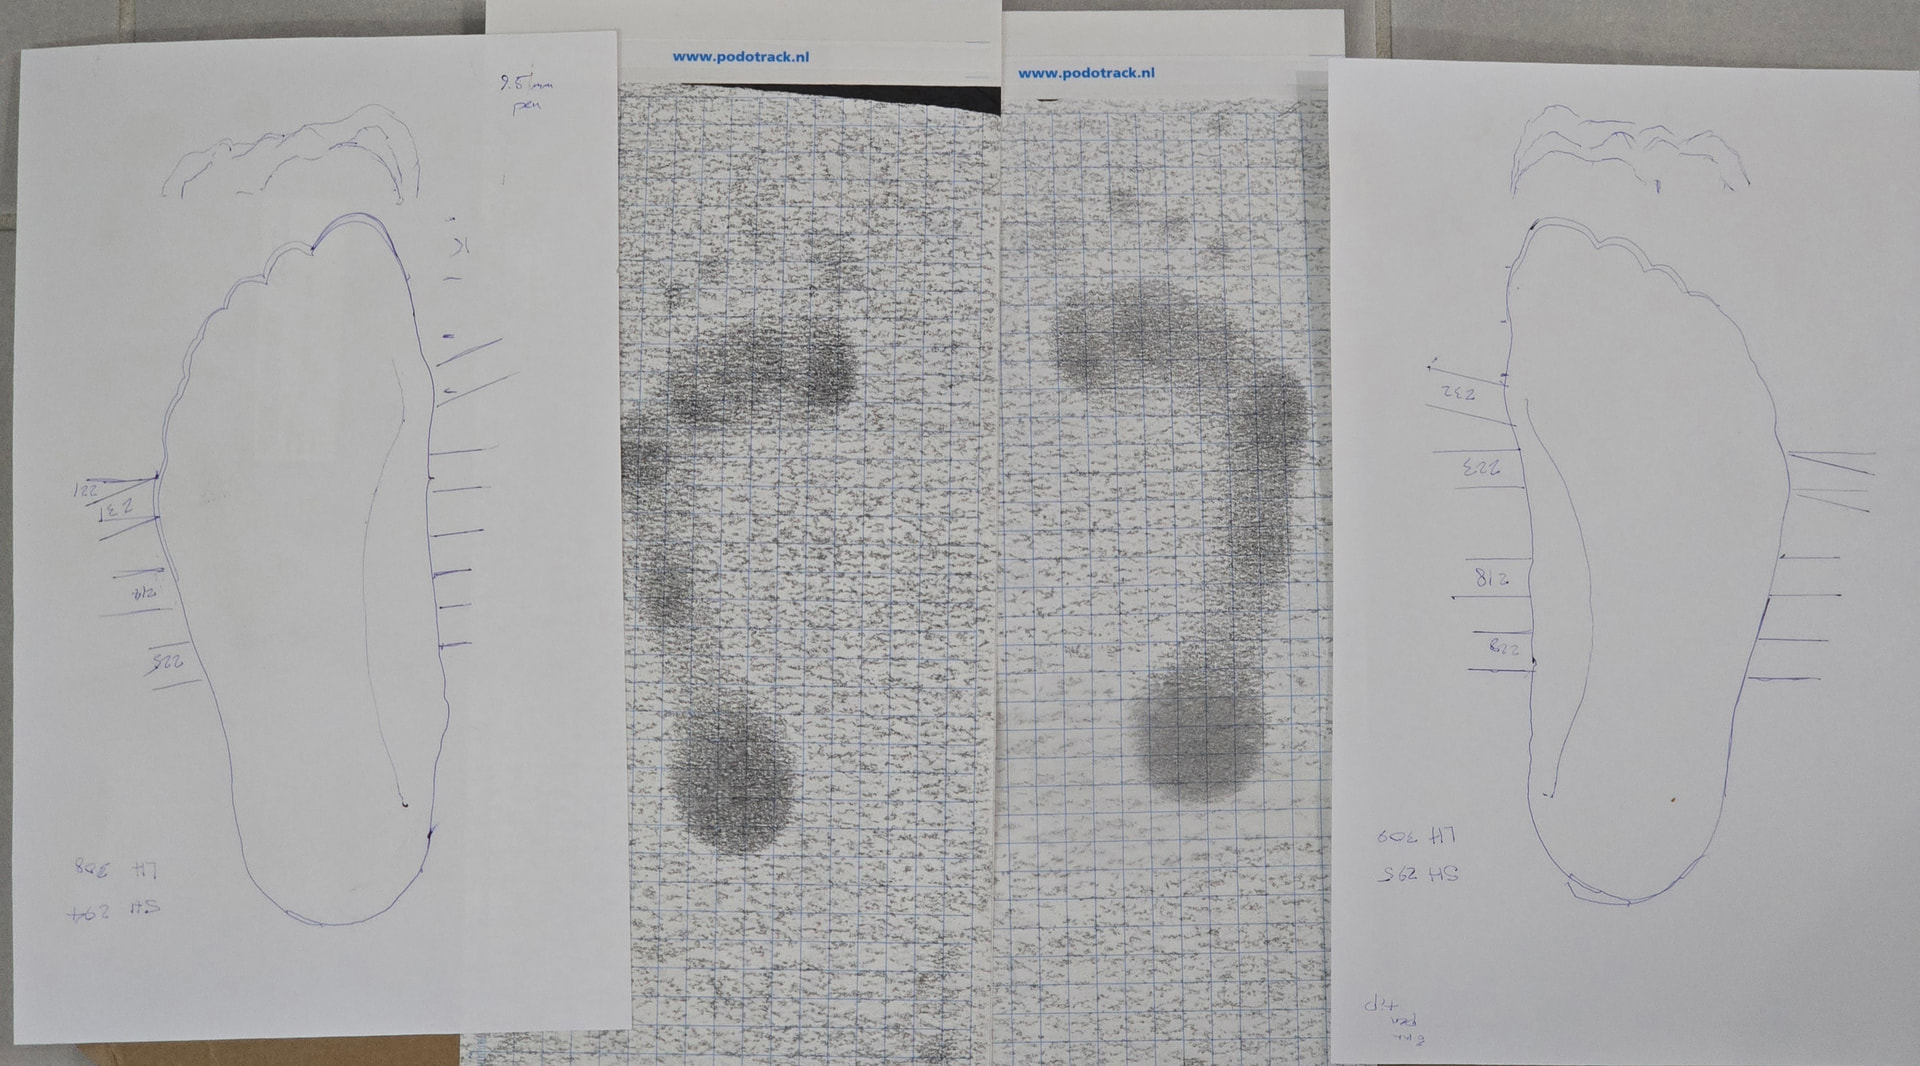
I wasn’t super happy with my tracings previously, especially trying to reference the foot impressions. Found my pen wandered all over, was having to offset the pen diameter but with some taper it was inconsistent, etc.
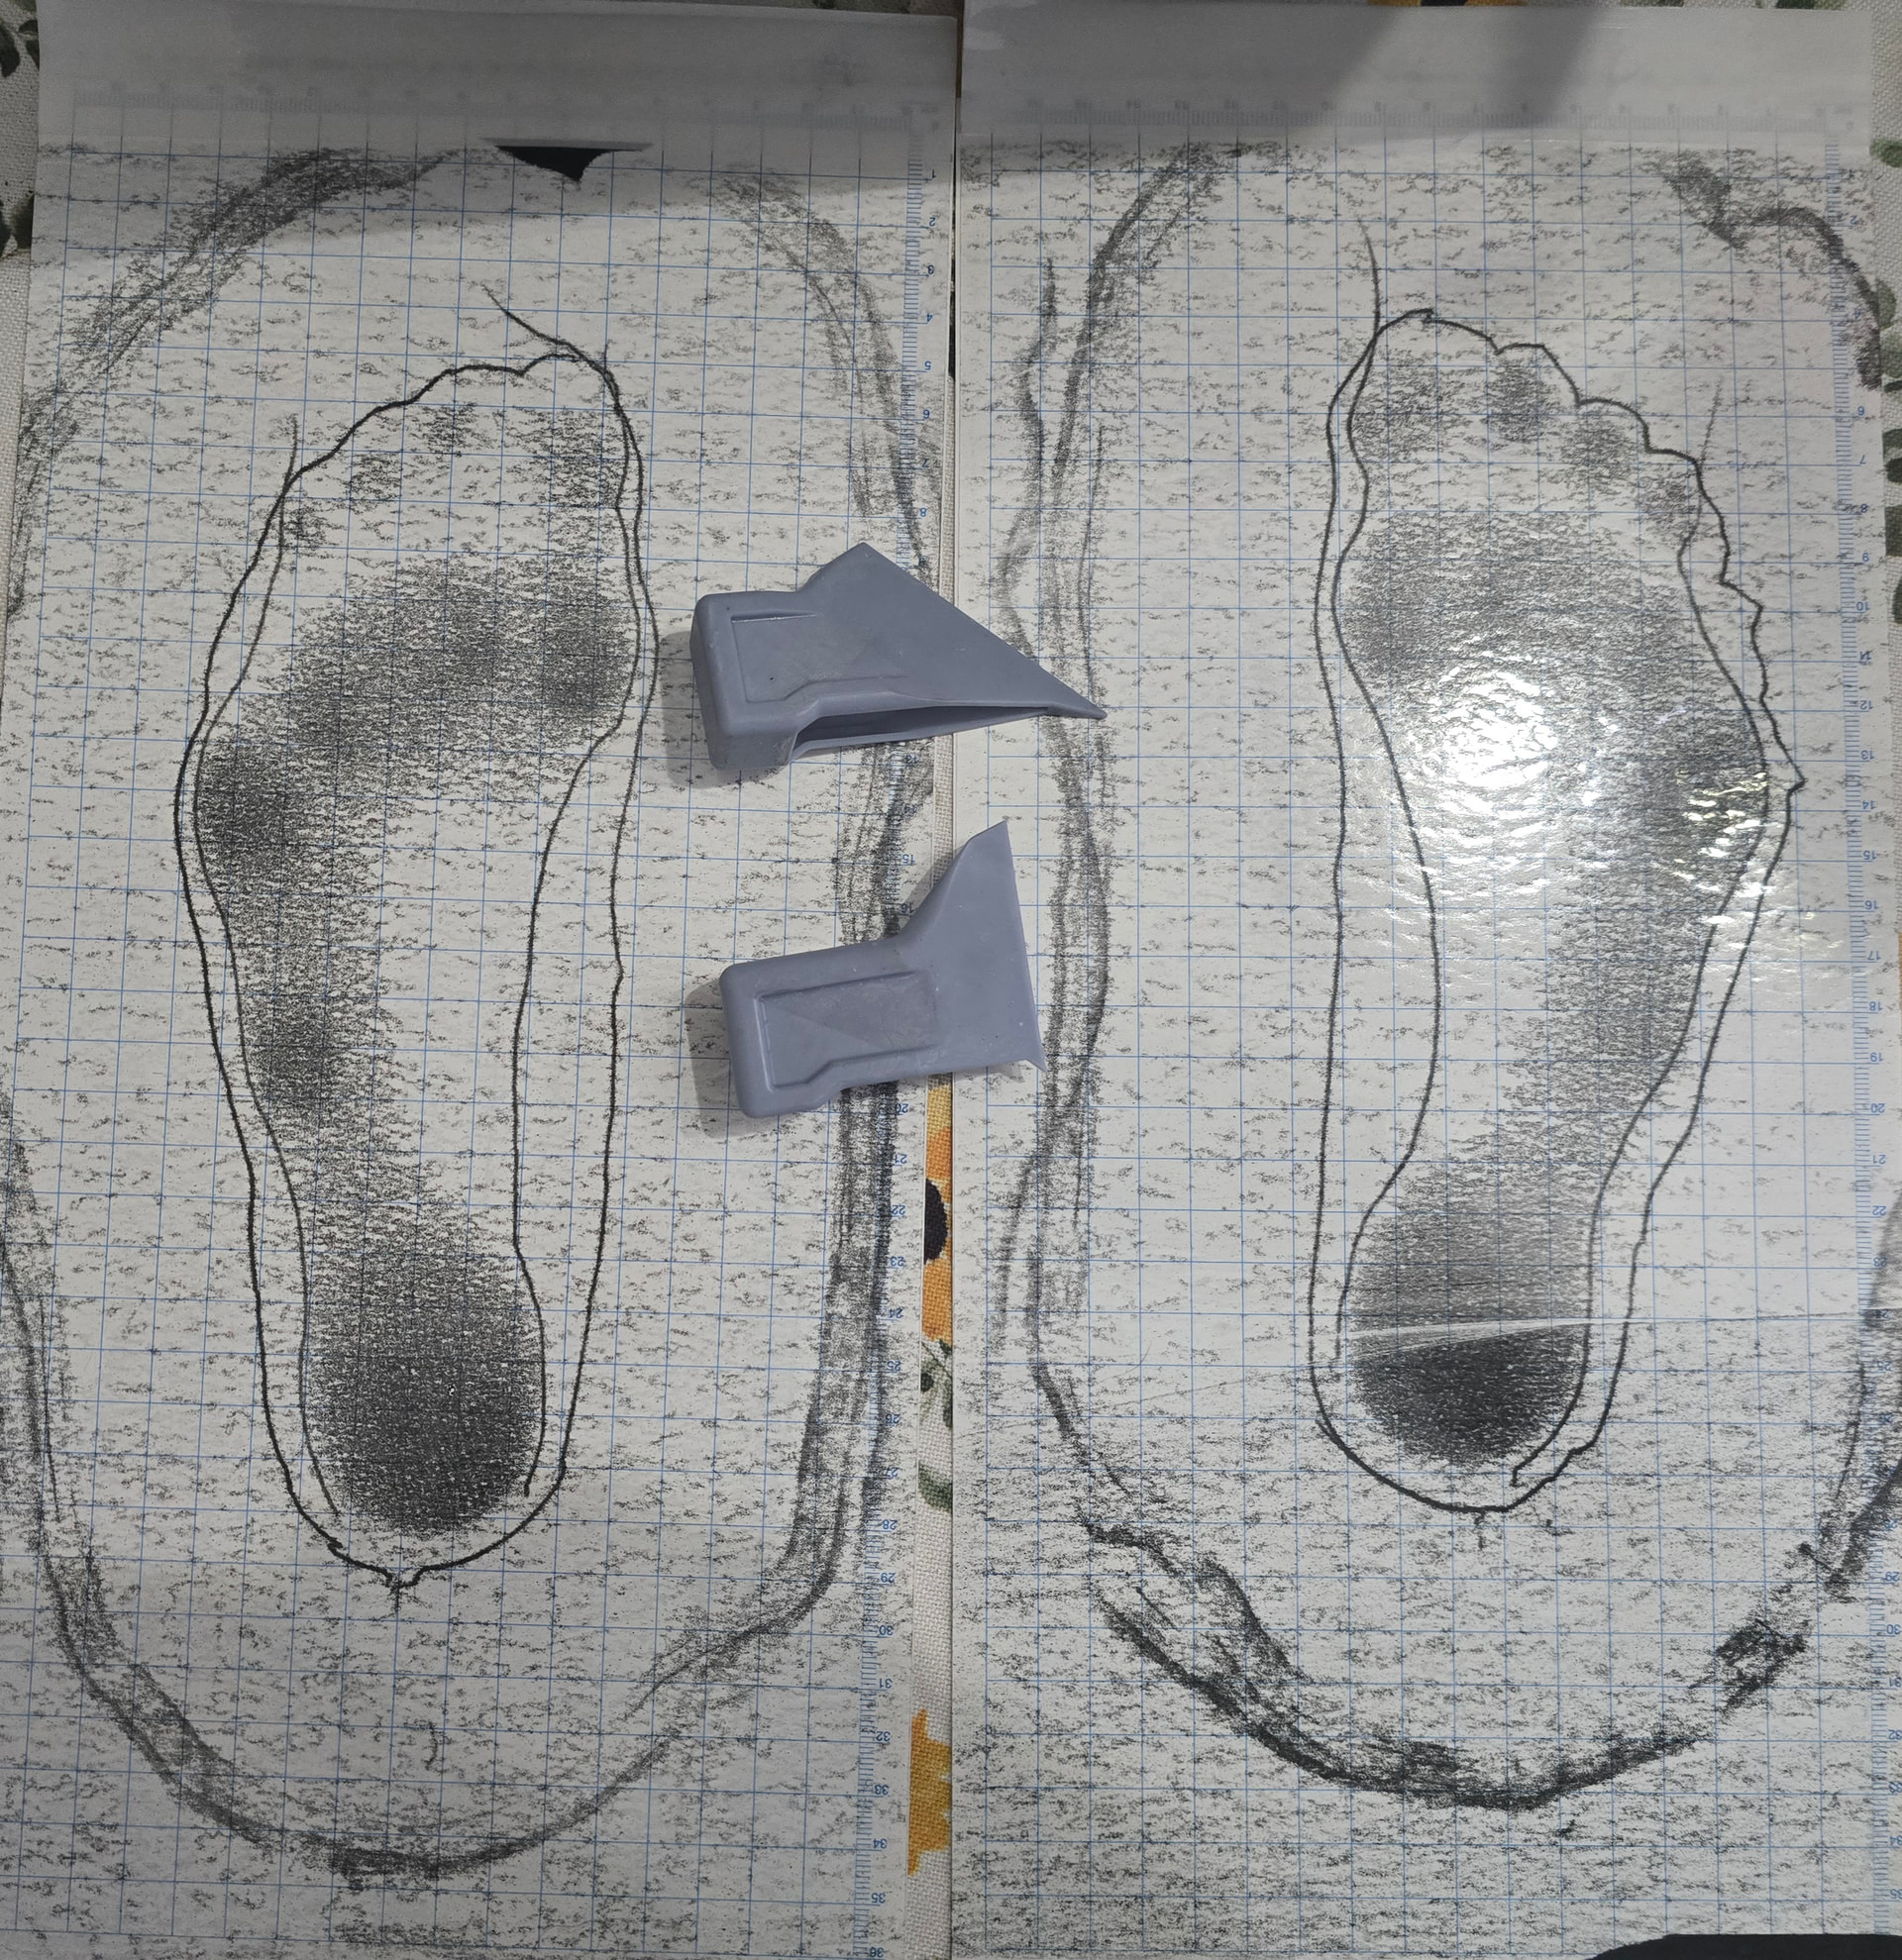
I whipped up a design for these little 3d printed tracing tools with a .5mm tracing ball and the datum surface coincident to the ball center. Re-did the tracings with my wife on the impression paper so no need to try to align different pieces.
Way way happier with how they came out.
Also found that with better quality tracings, my wife’s feet aren’t actually that different. Biggest difference is placement of the lateral ball joints being about 5mm further back on one foot. All the other measurements on the foot are the same +/- 2mm until the leg girths.
Here are the STLs for anyone that wants them. I print them on a resin printer, so the thin walls aren’t an issue, but can pad them back out if anyone needs it.
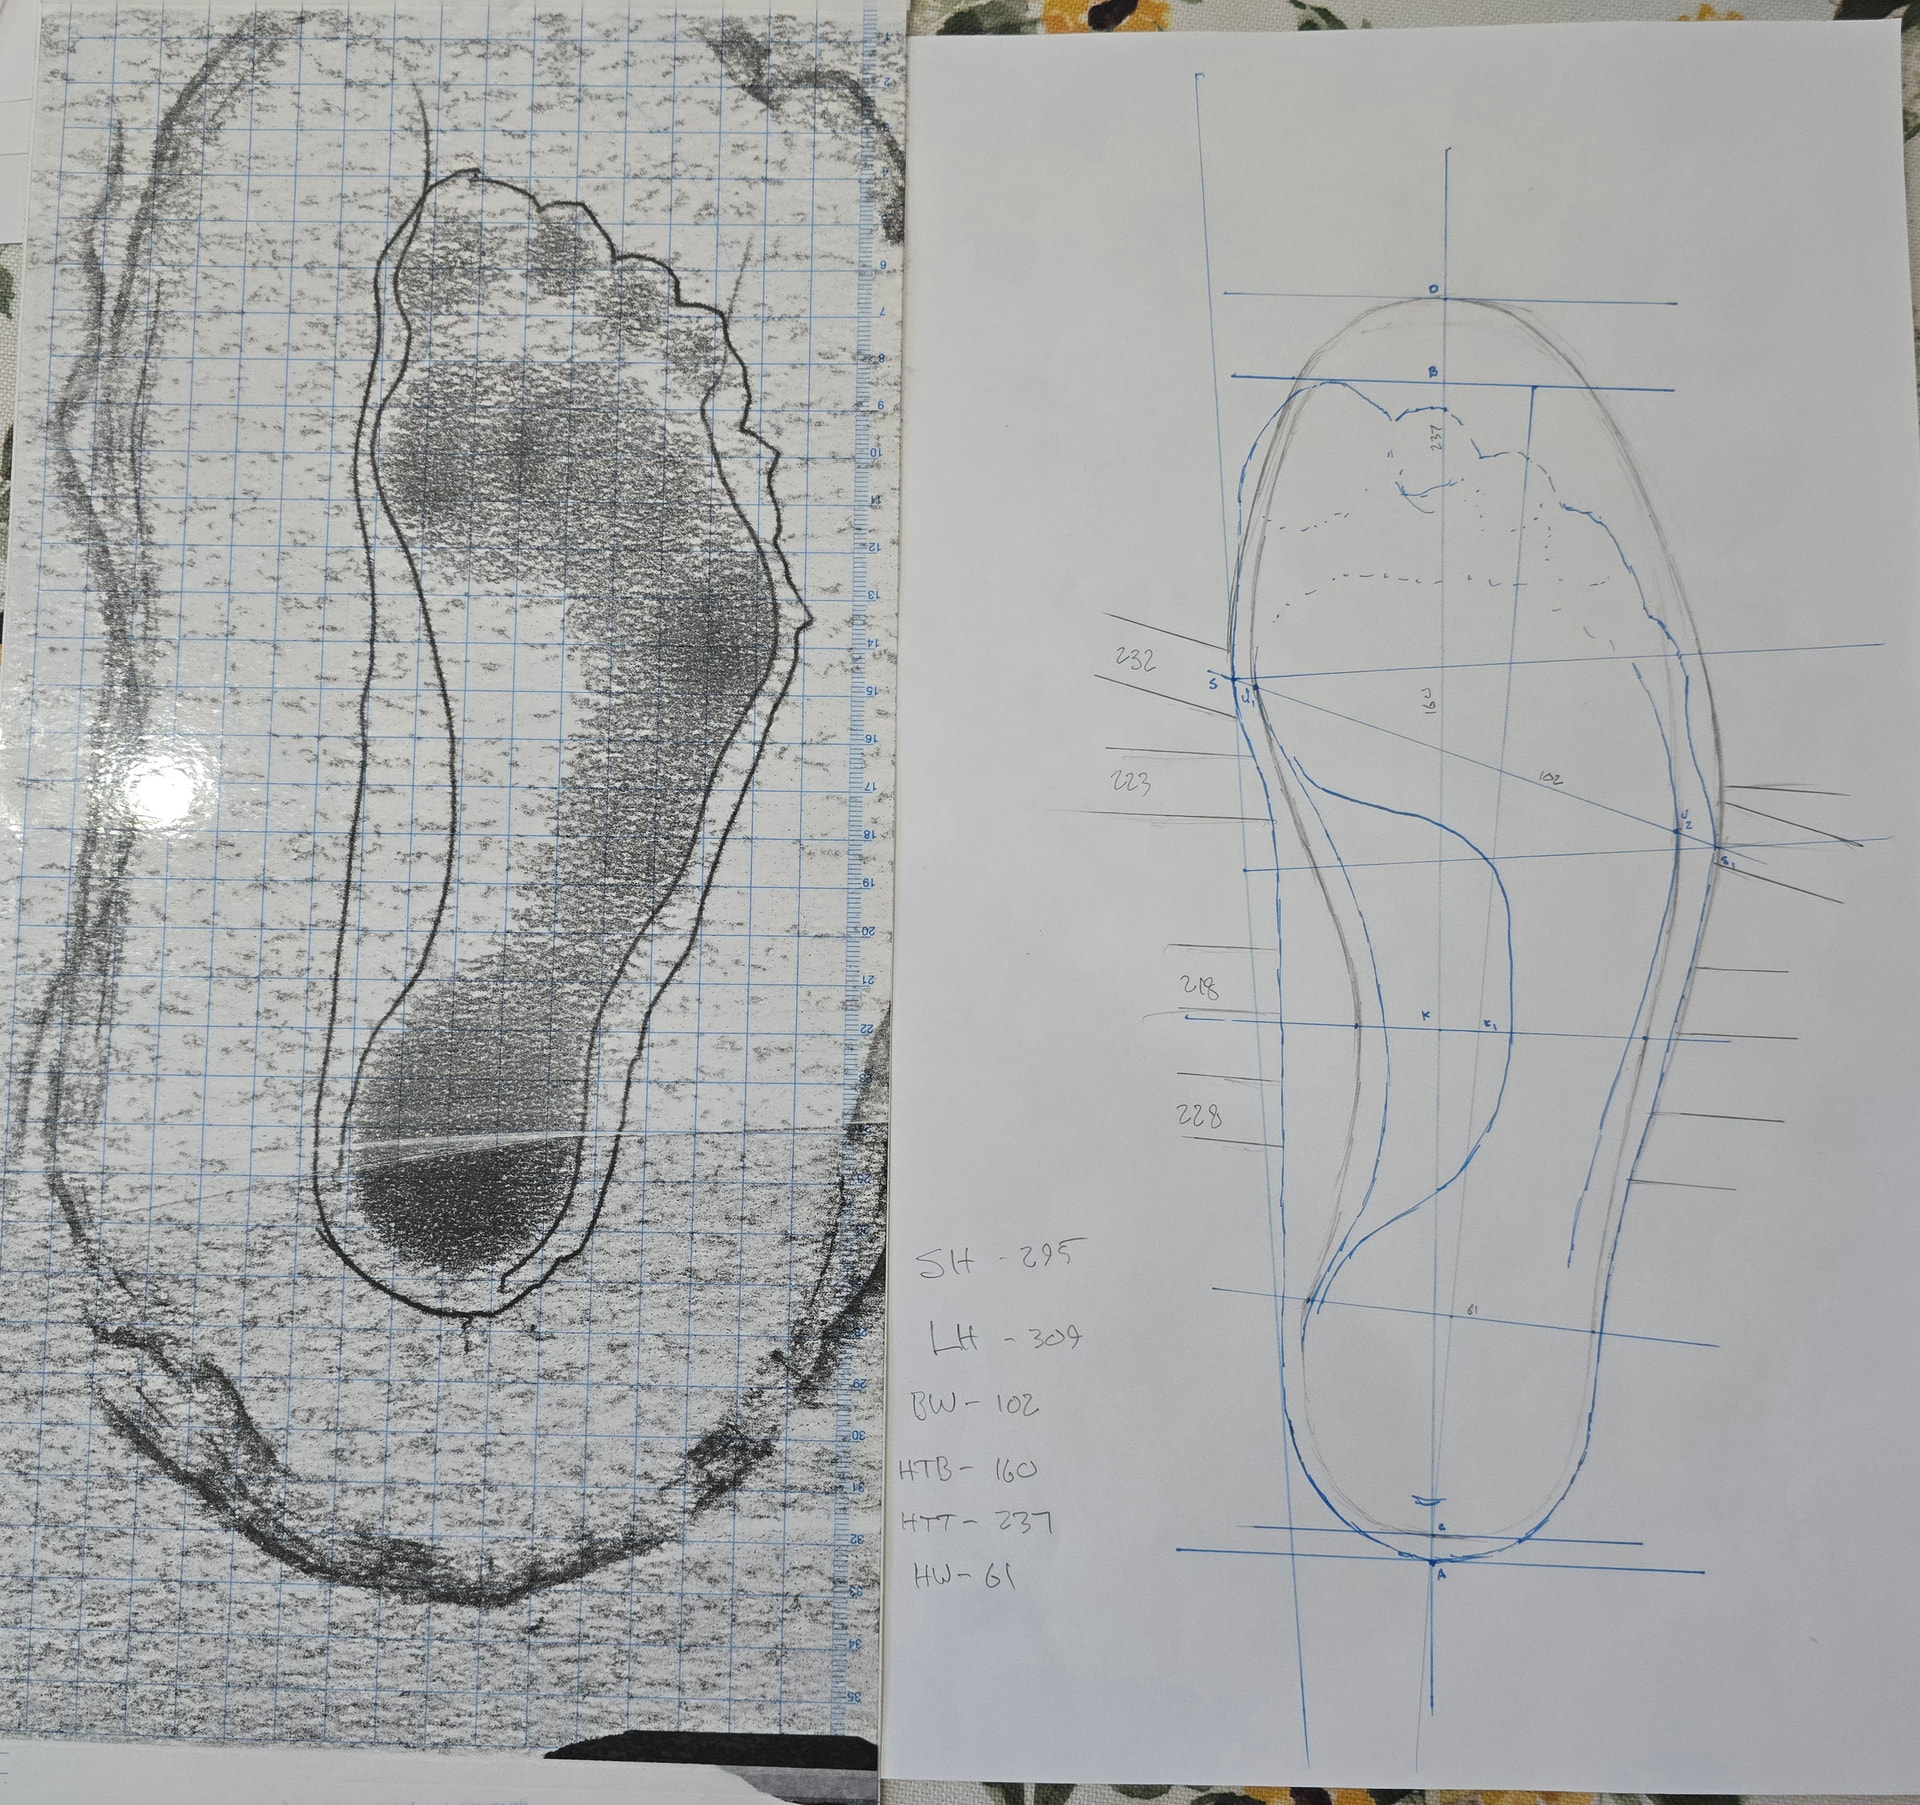
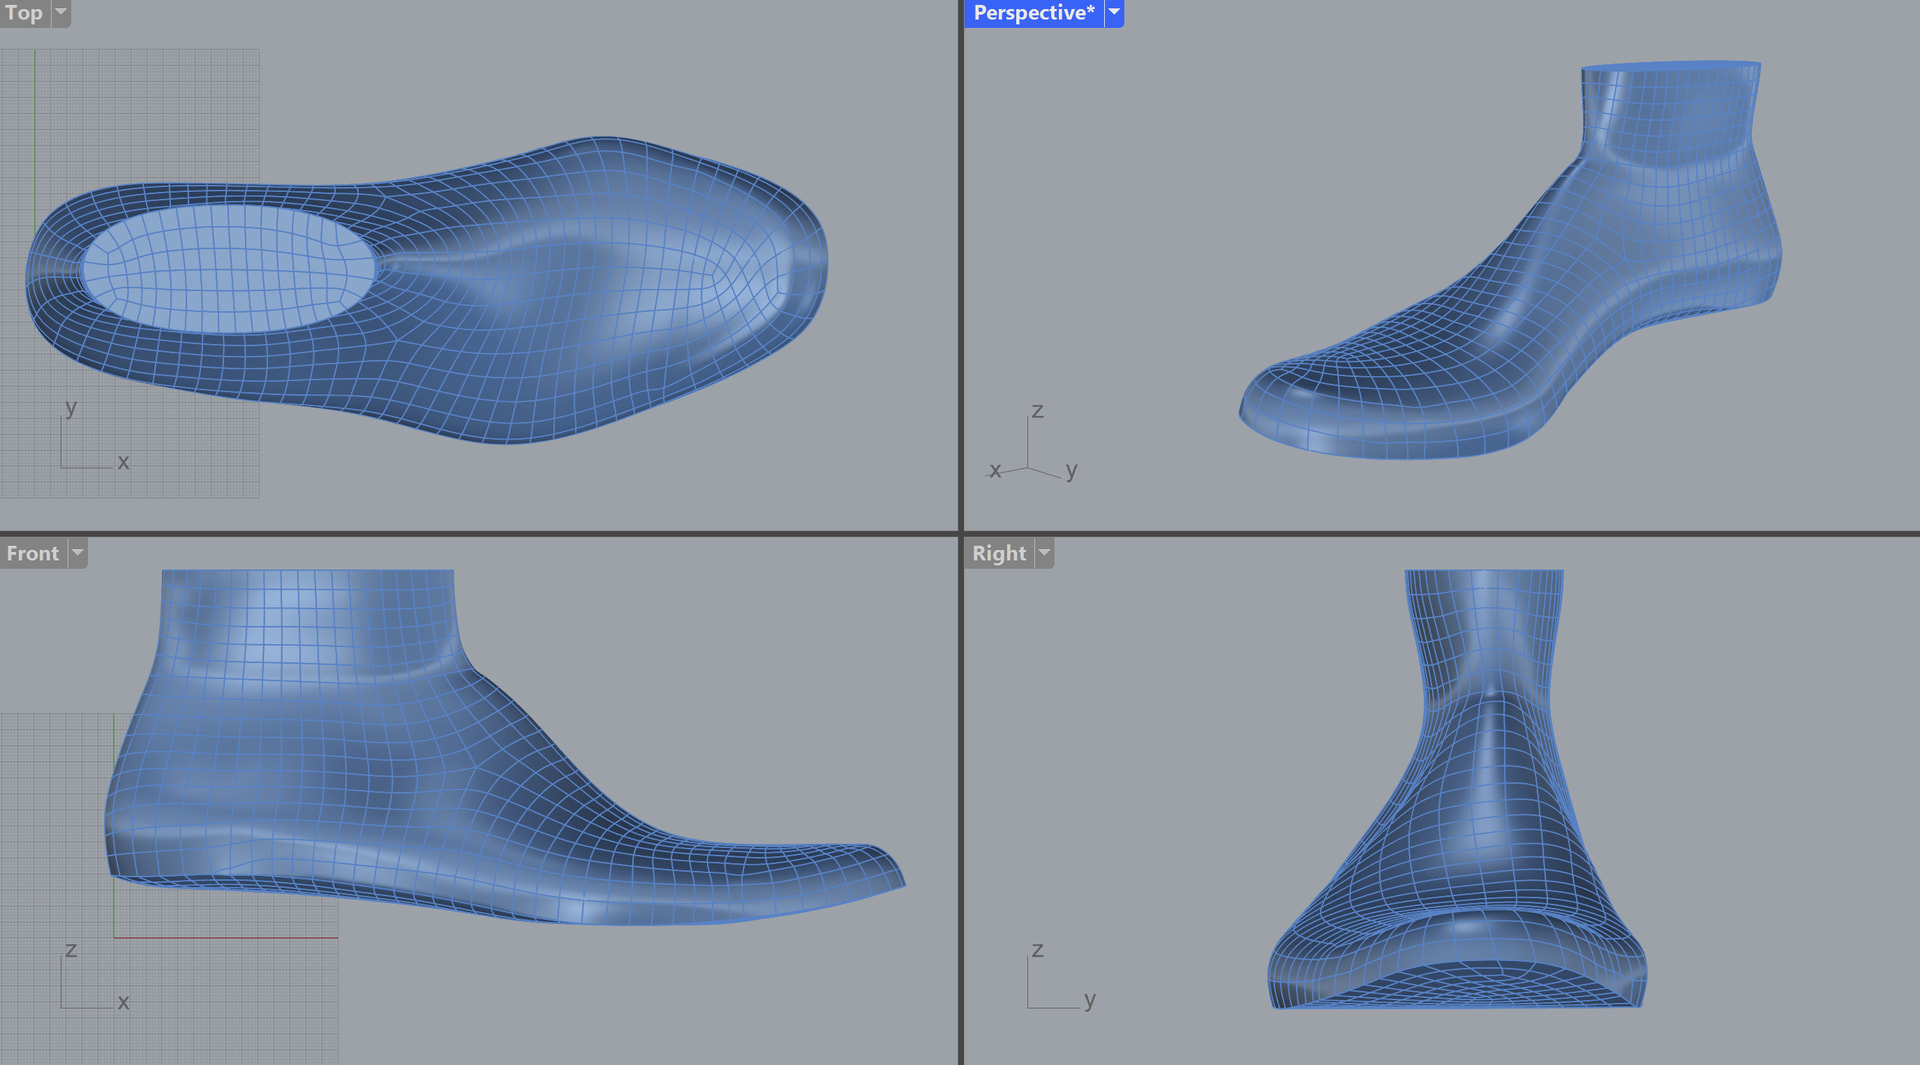
I have been playing with the 3dshoemaker rhino plug in. Basically generating my own templates with that and then applying it to my wife’s measurements. Takes a lot of massaging to get it to behave, but looks to have potential.
The other pairs of boots I’ve posted on here are built on a last from him (well, ordered from Podohub, but it’s the same guy). Been quite happy with them with the exception of he is really orthodic oriented, so his lasts have a fairly flat bottom surface and a sharp feather edge all around. I added some arch support through a built up sock liner on them, but would prefer something with some better shaping.
The software he sells is a really cool concept with how parametrized it does everything. You can essentially load in scans of your foot and apply templates for body shape, toe shape, foot bottom shape, etc, and it will dynamically generate a model based on that. It still requires a decent amount of work to get viable templates and understanding how the measurements need to be adjusted to get the output you want, but it has a lot of potential with enough upfront work. My goal is to get a few basic shapes that I’m happy with and then be able to adapt that to others’ foot measurements relatively smoothly rather than having to start from scratch every time or just scale models.
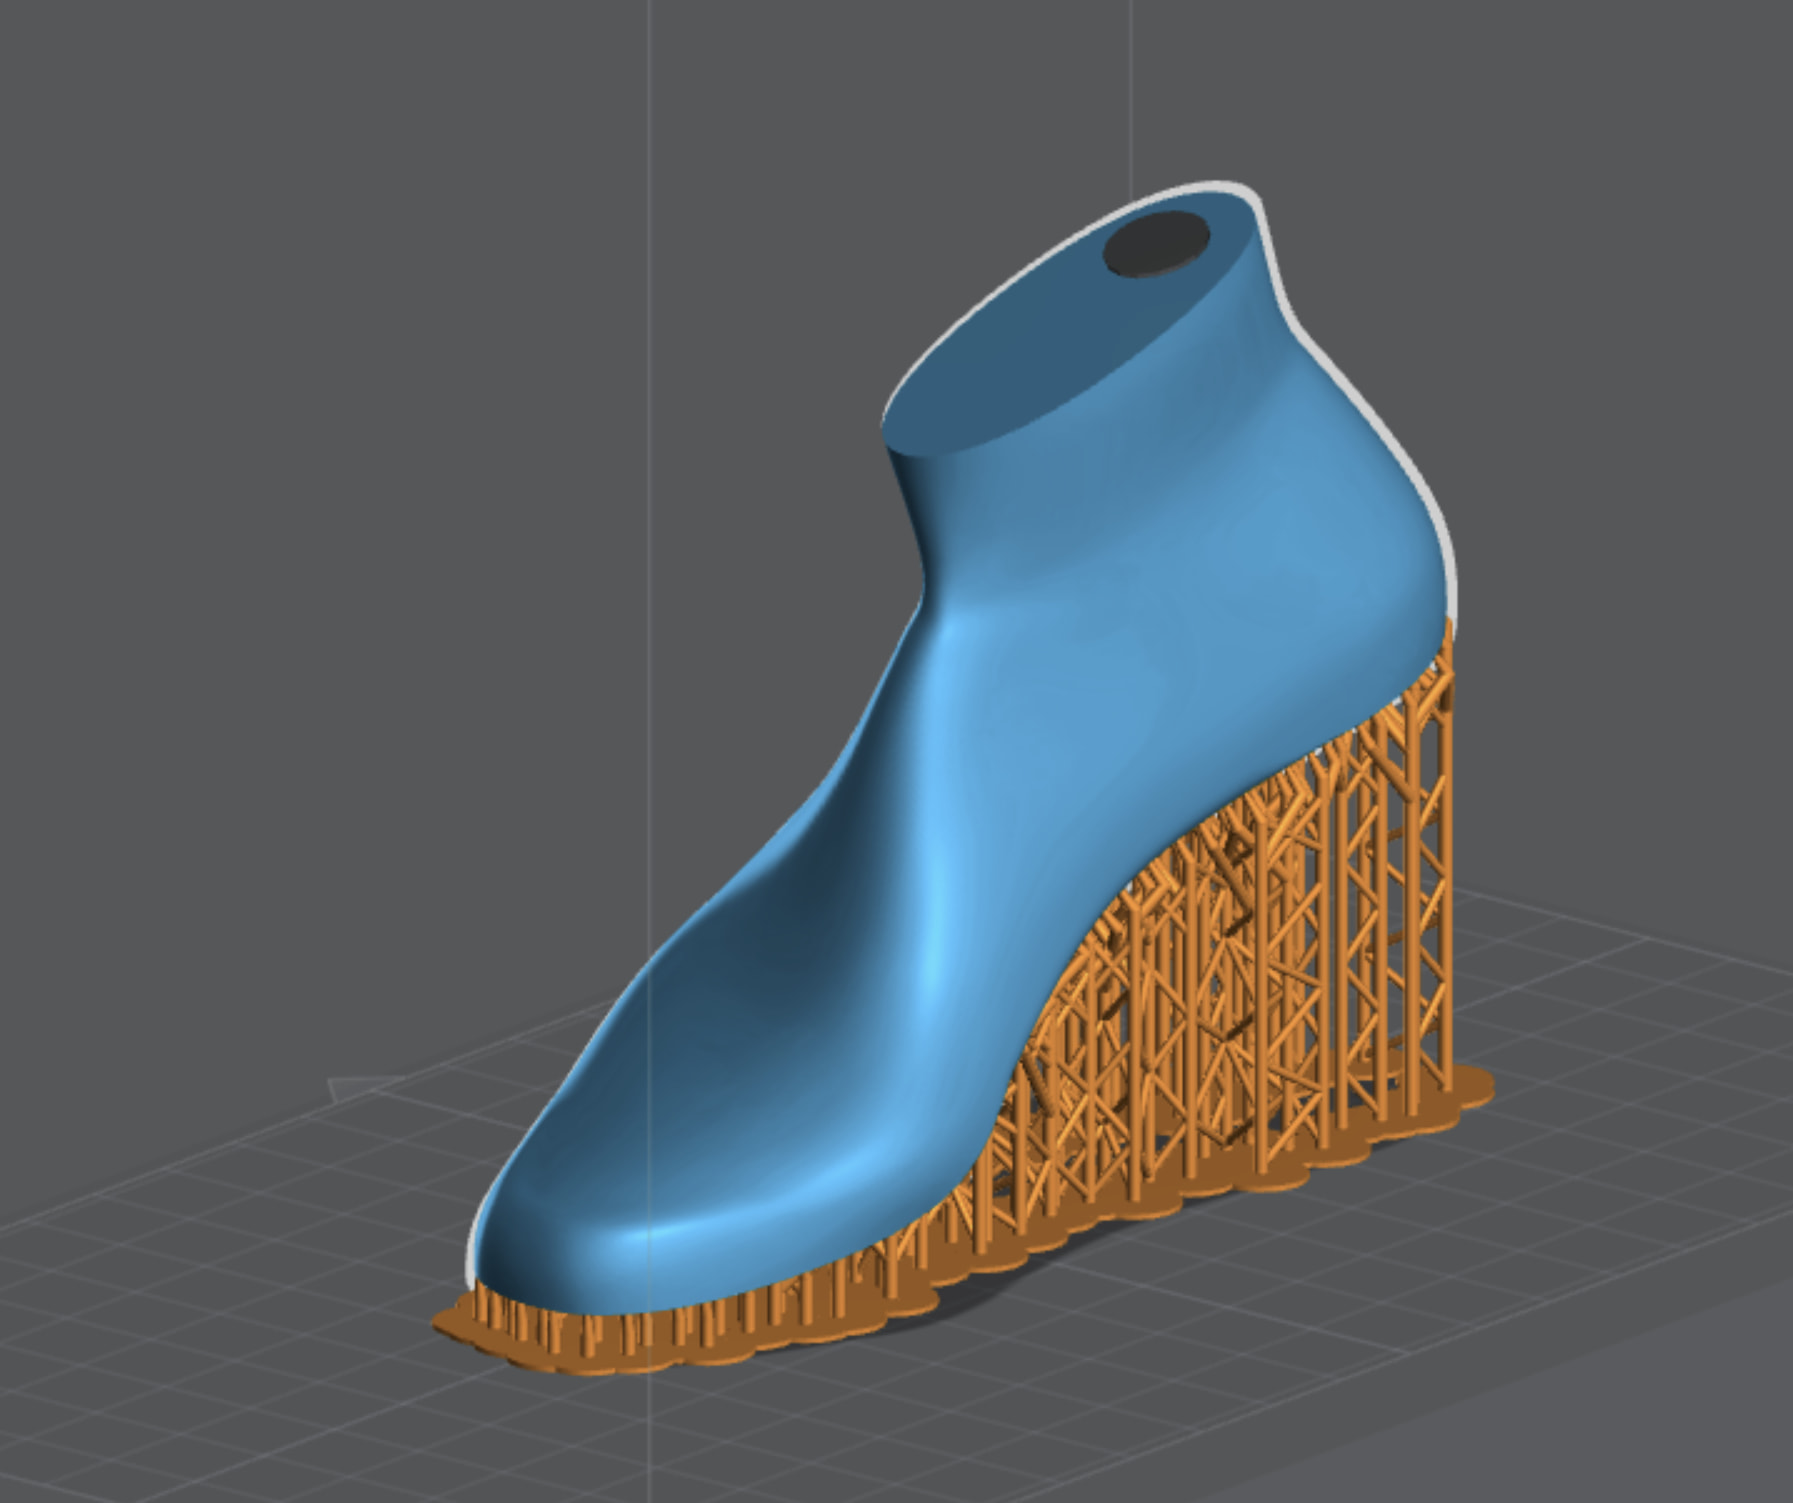
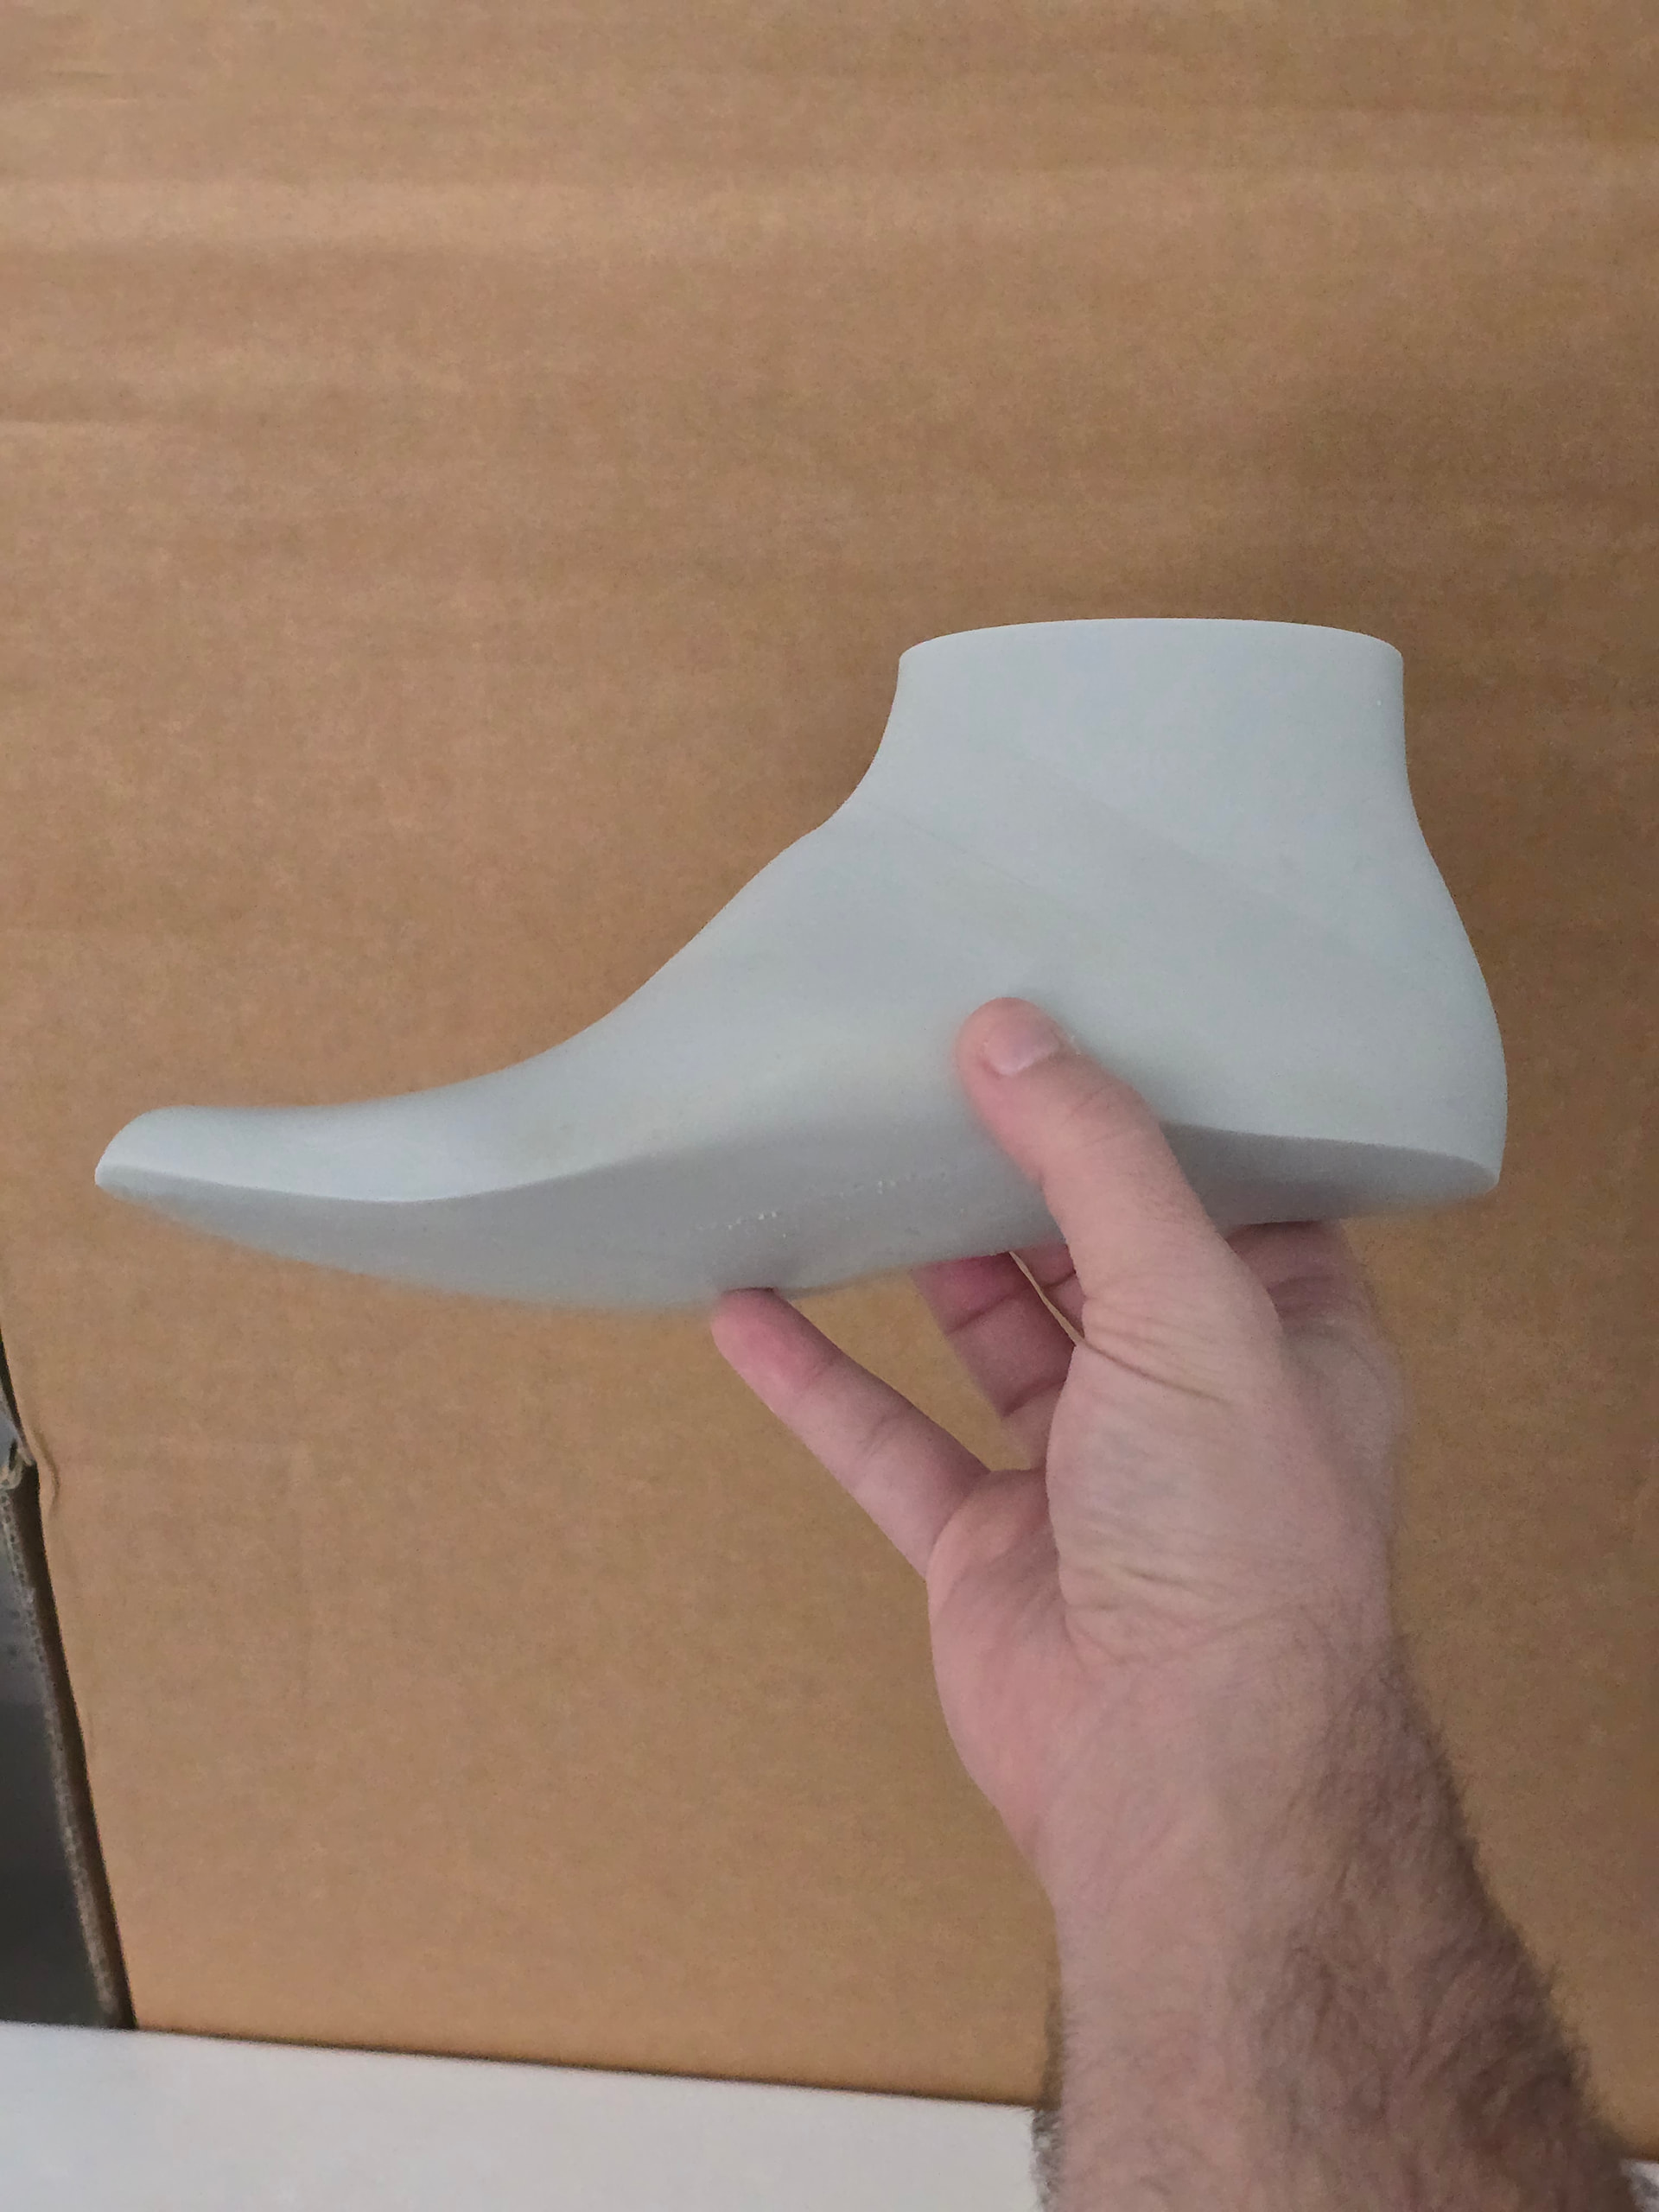
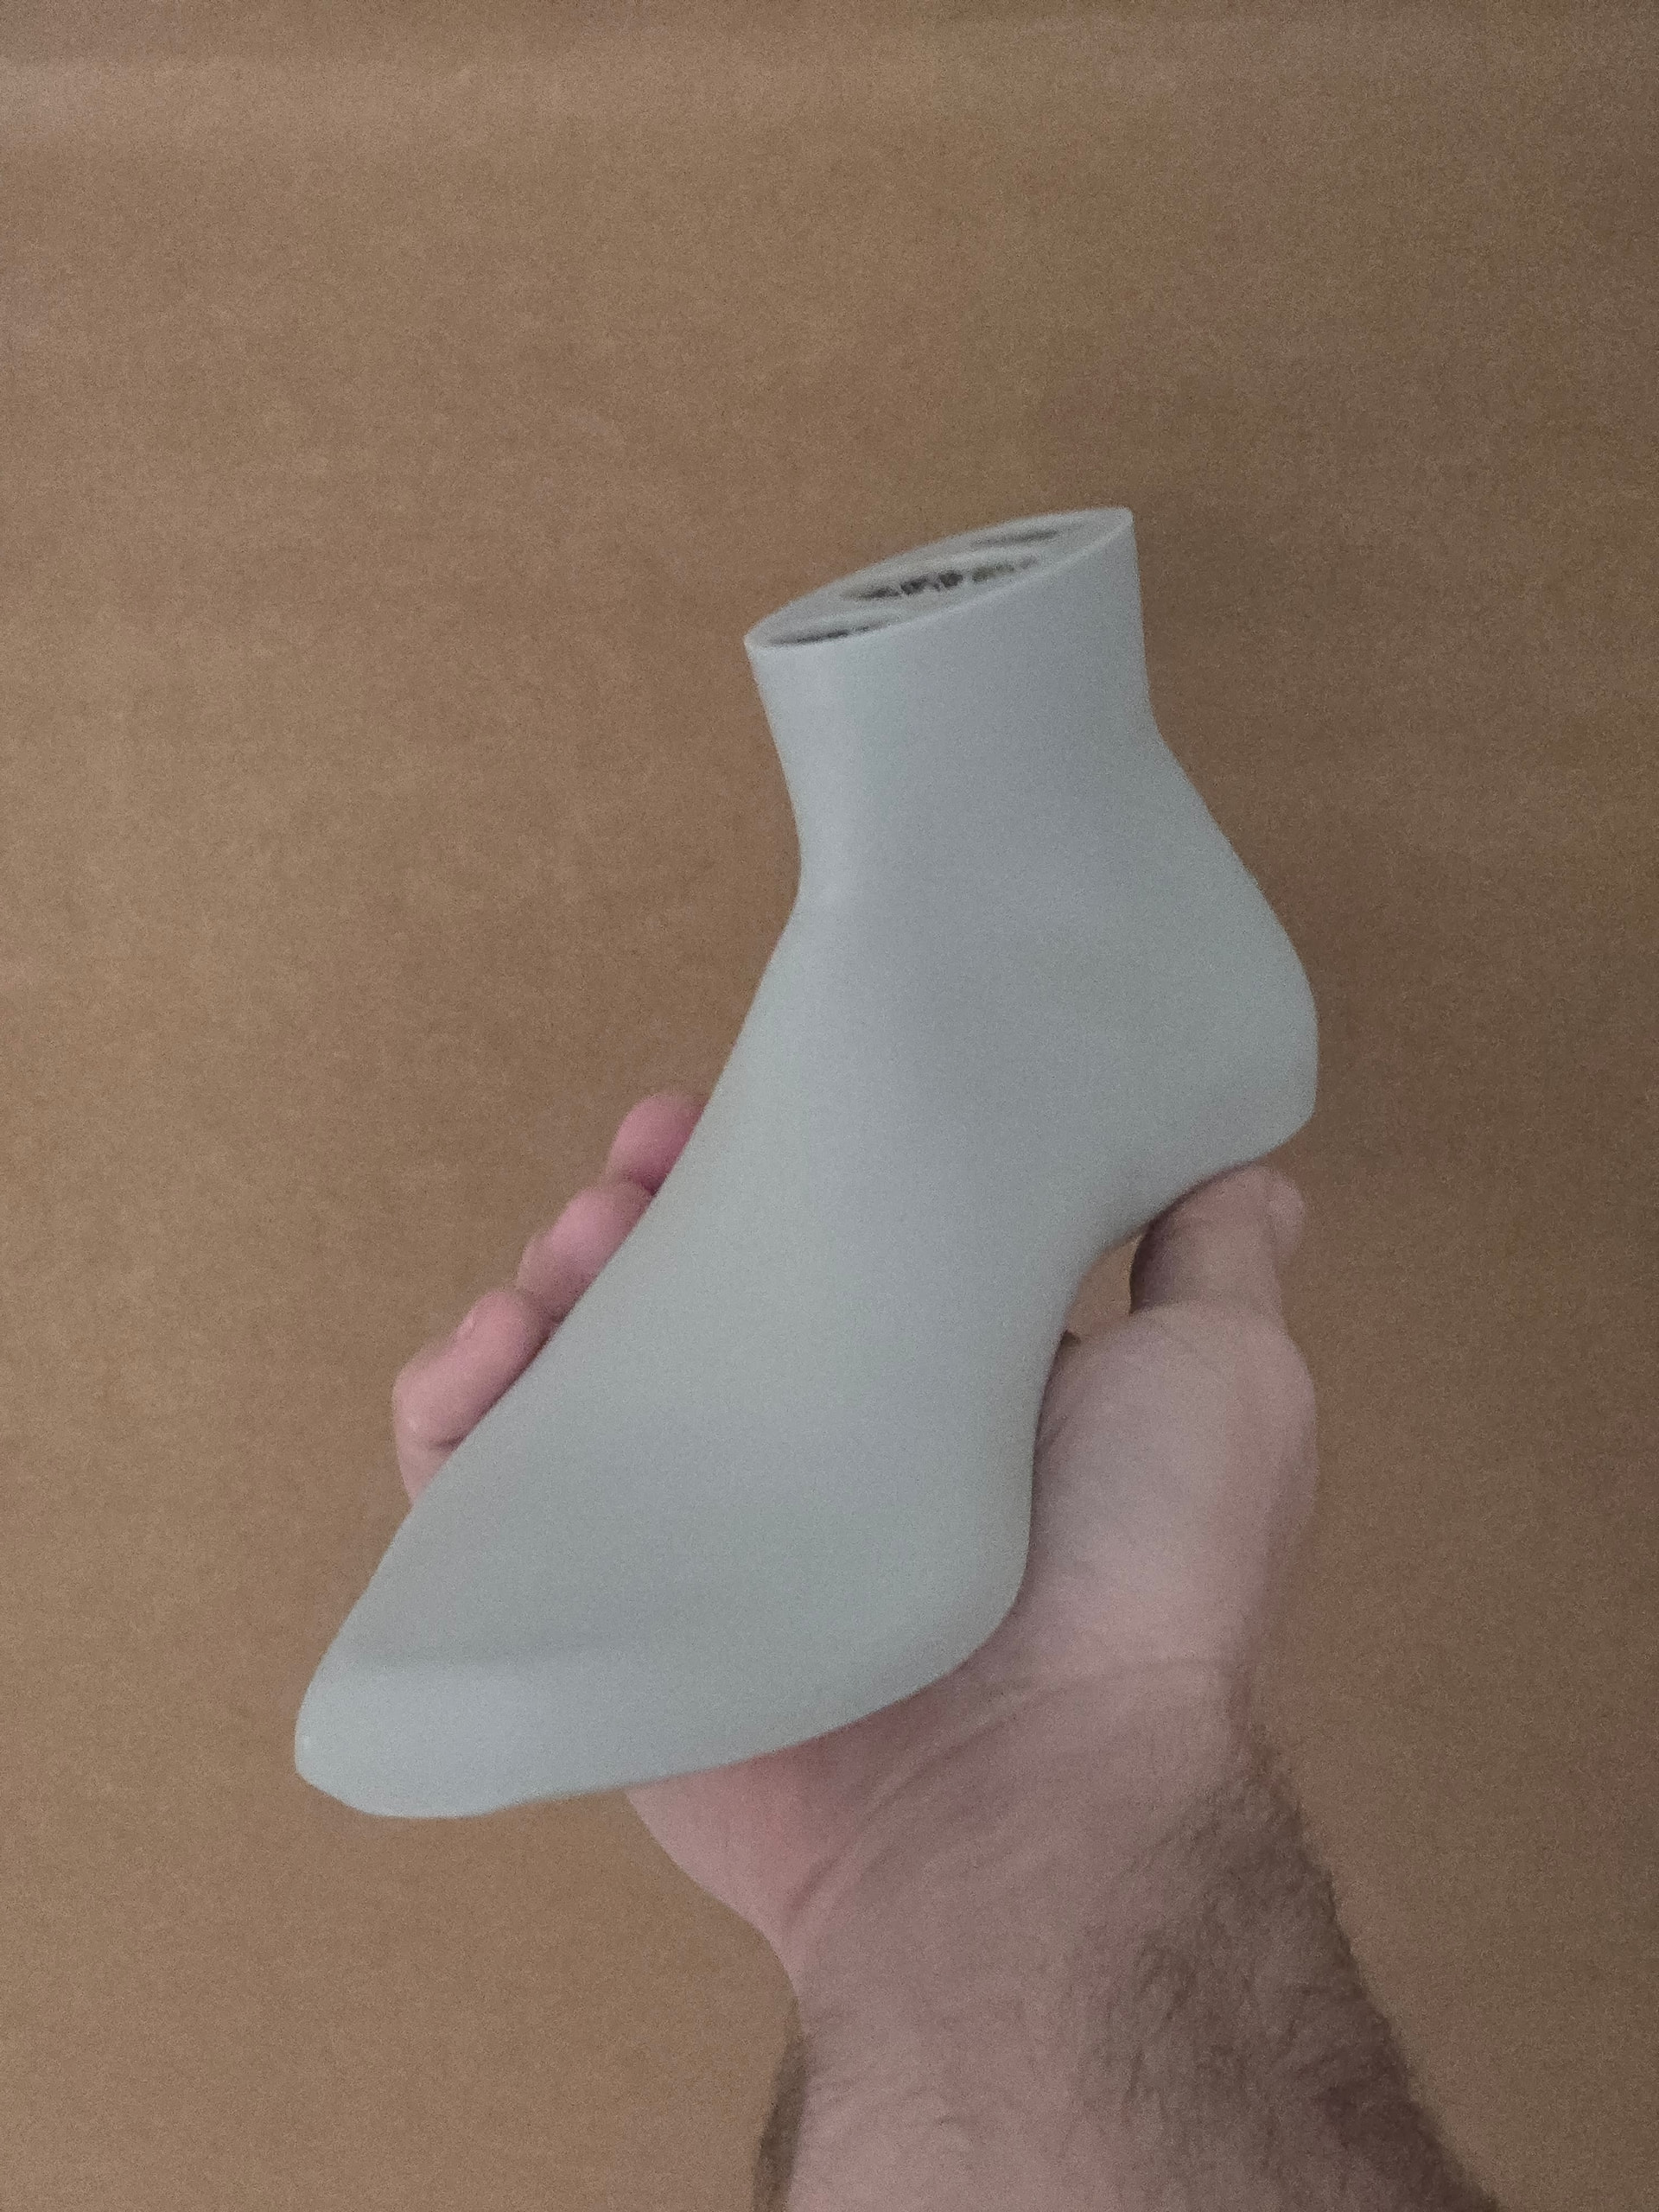
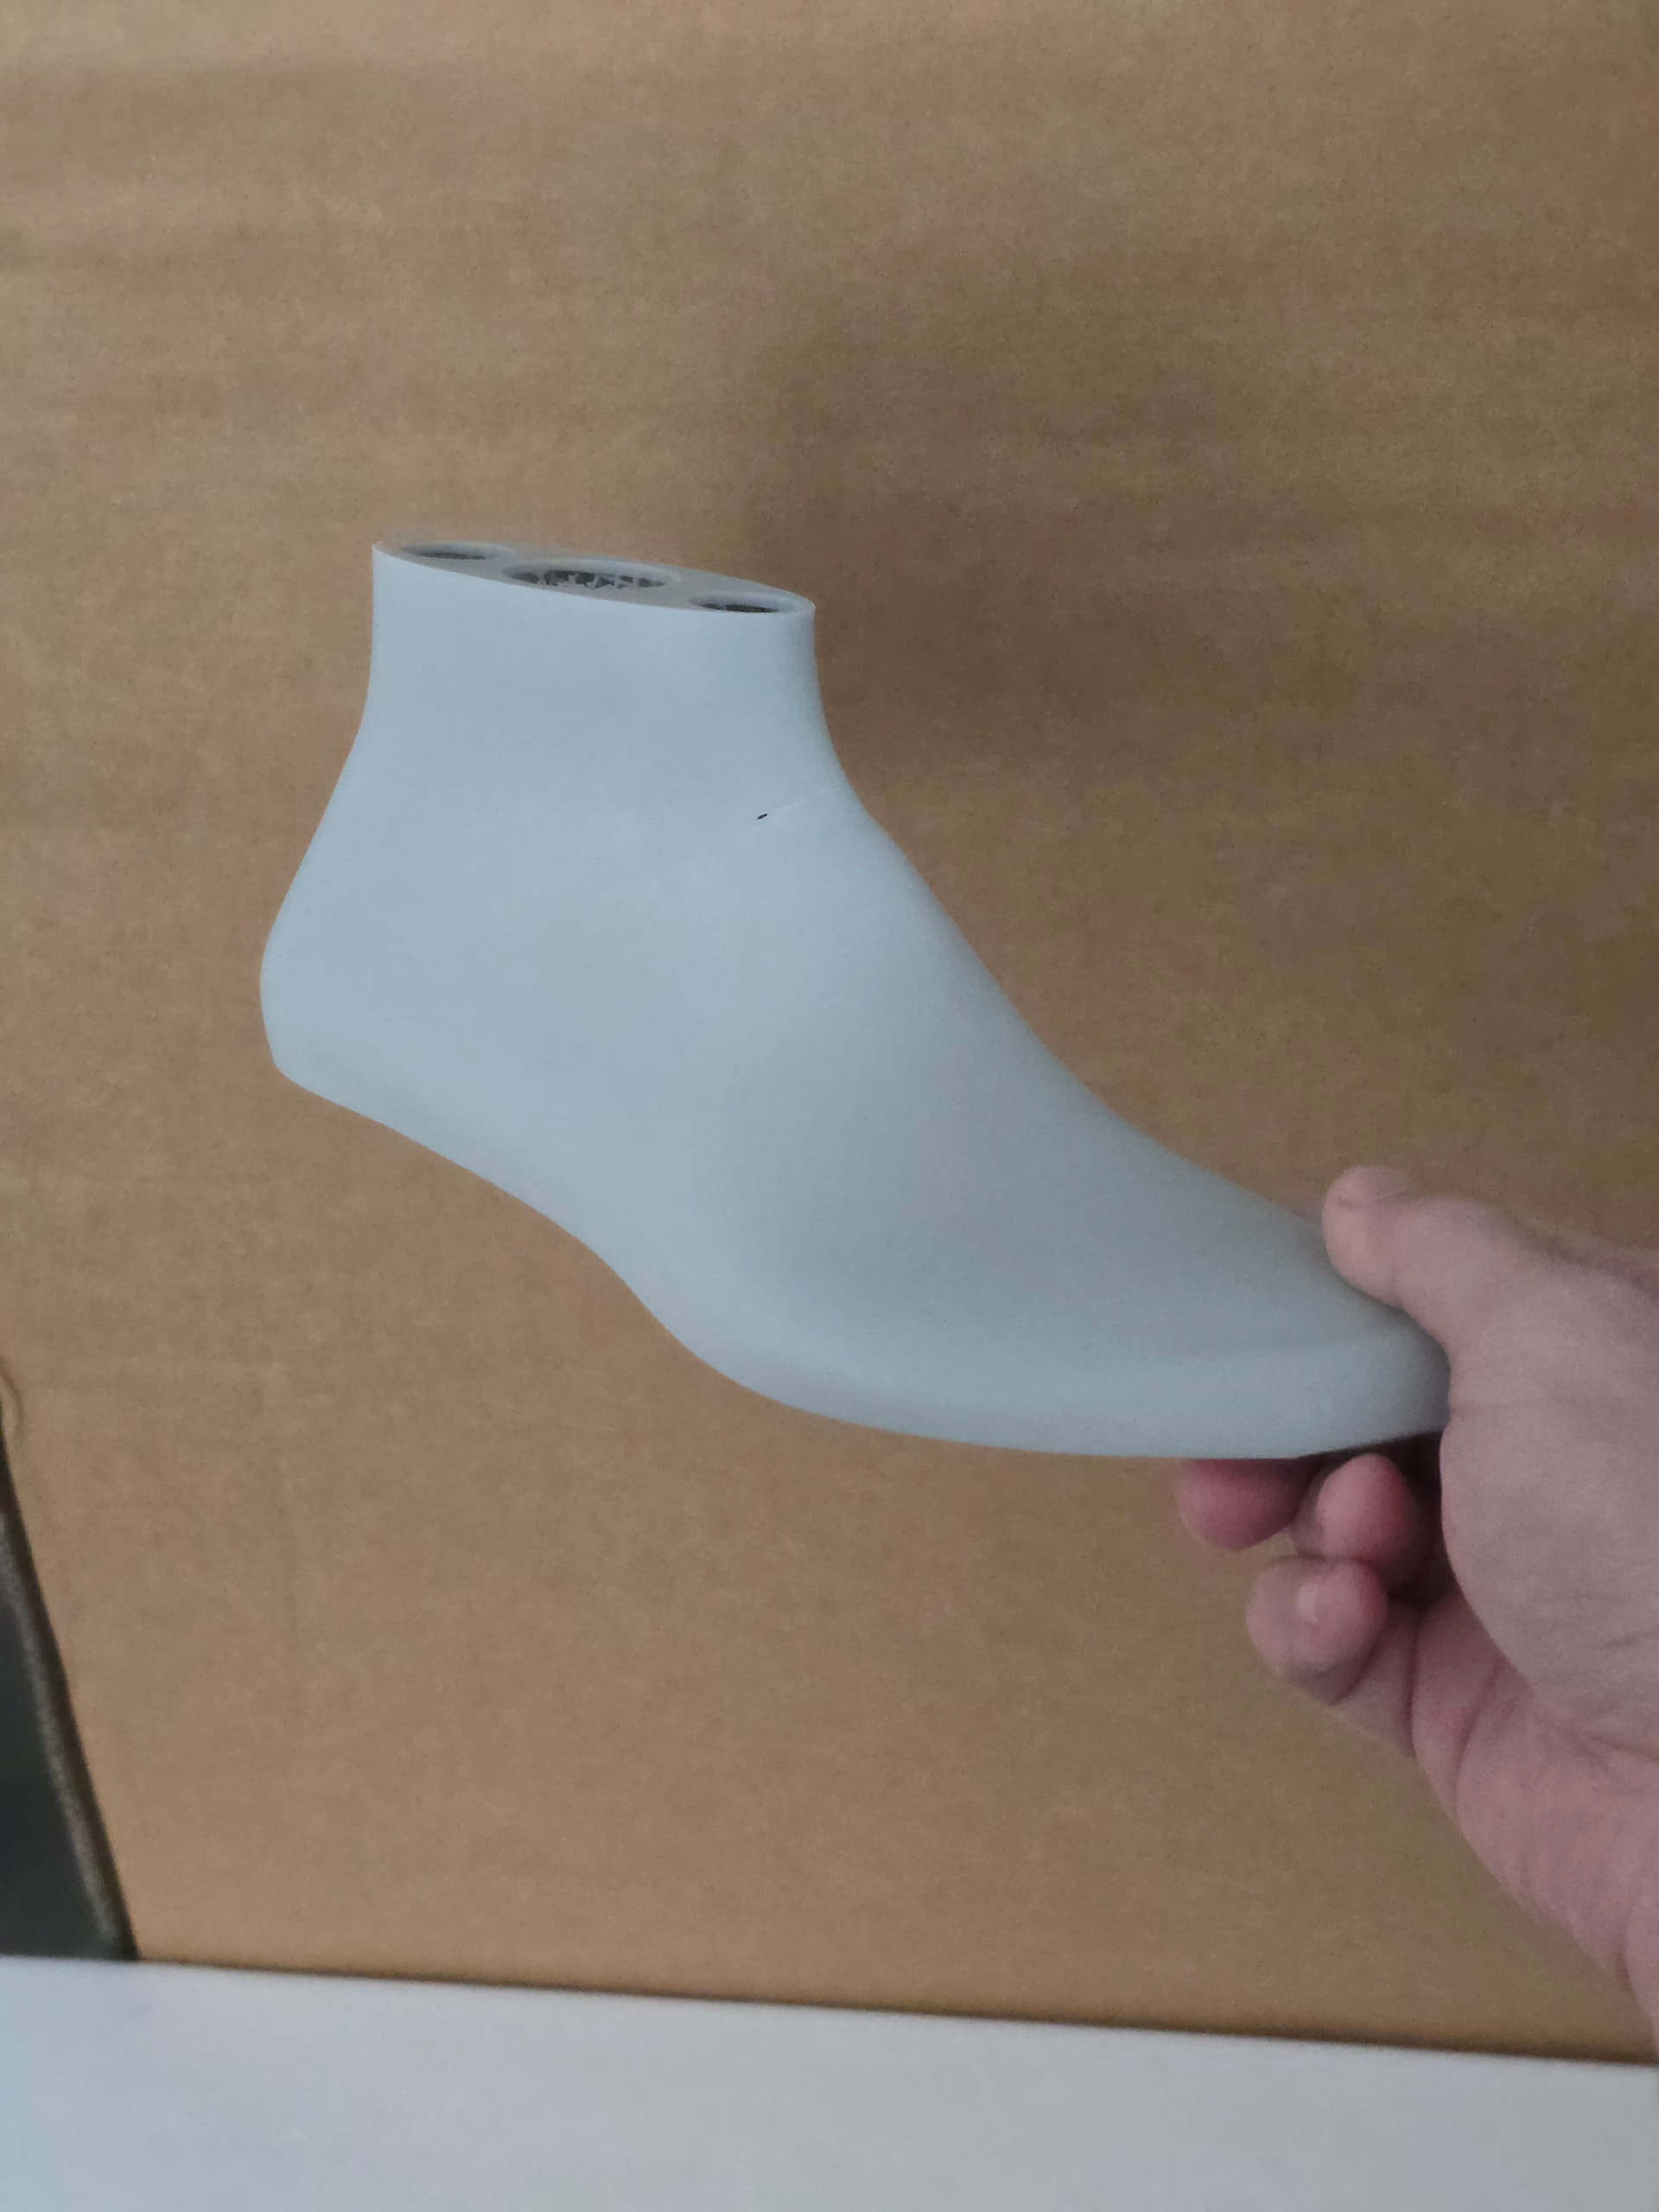
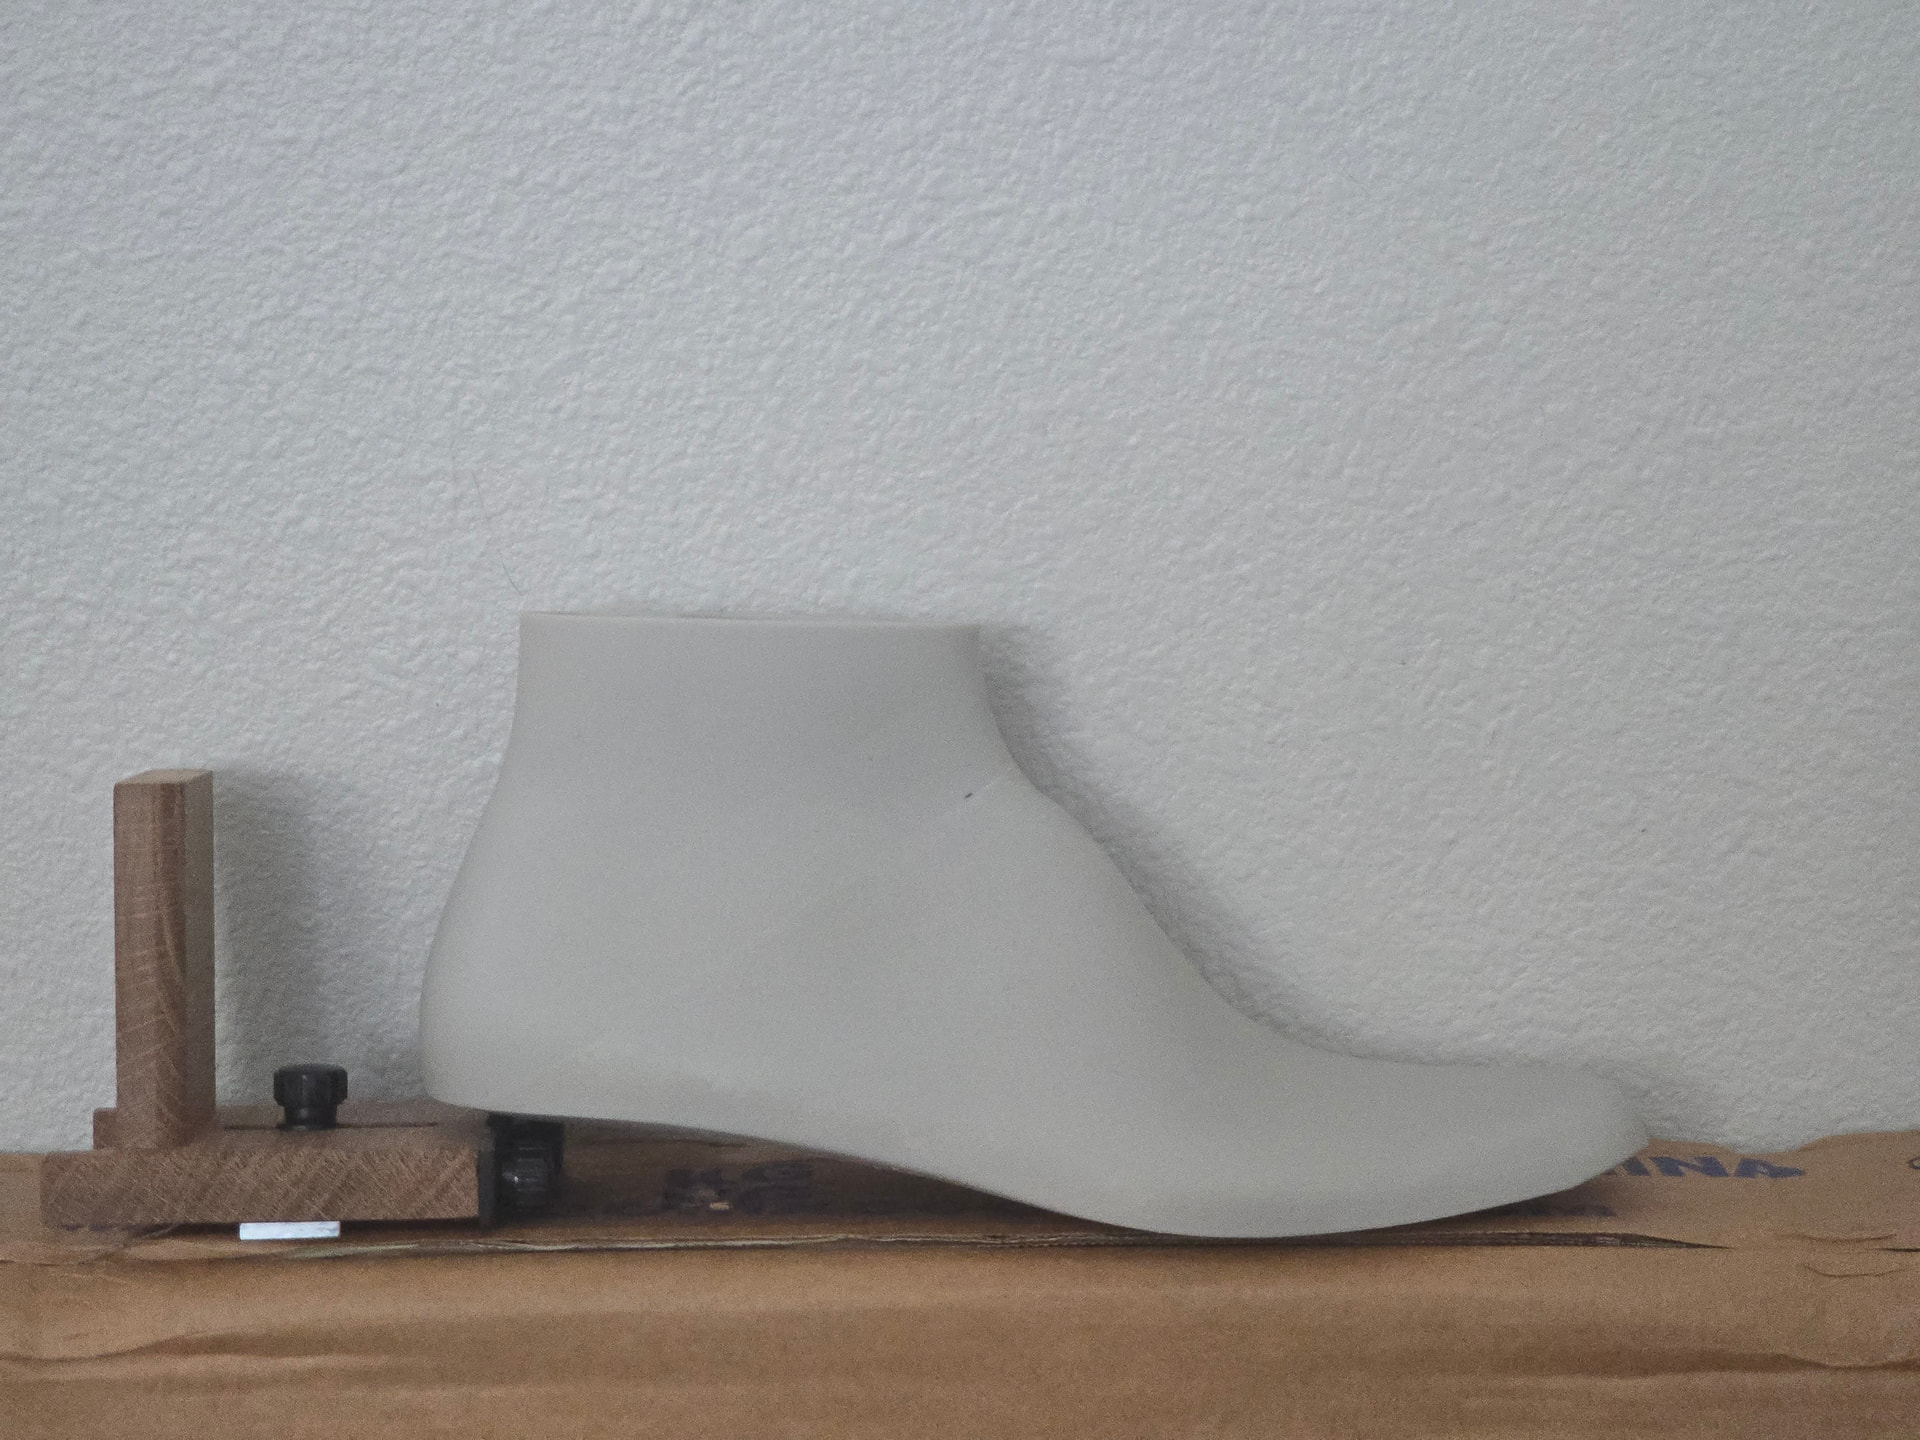
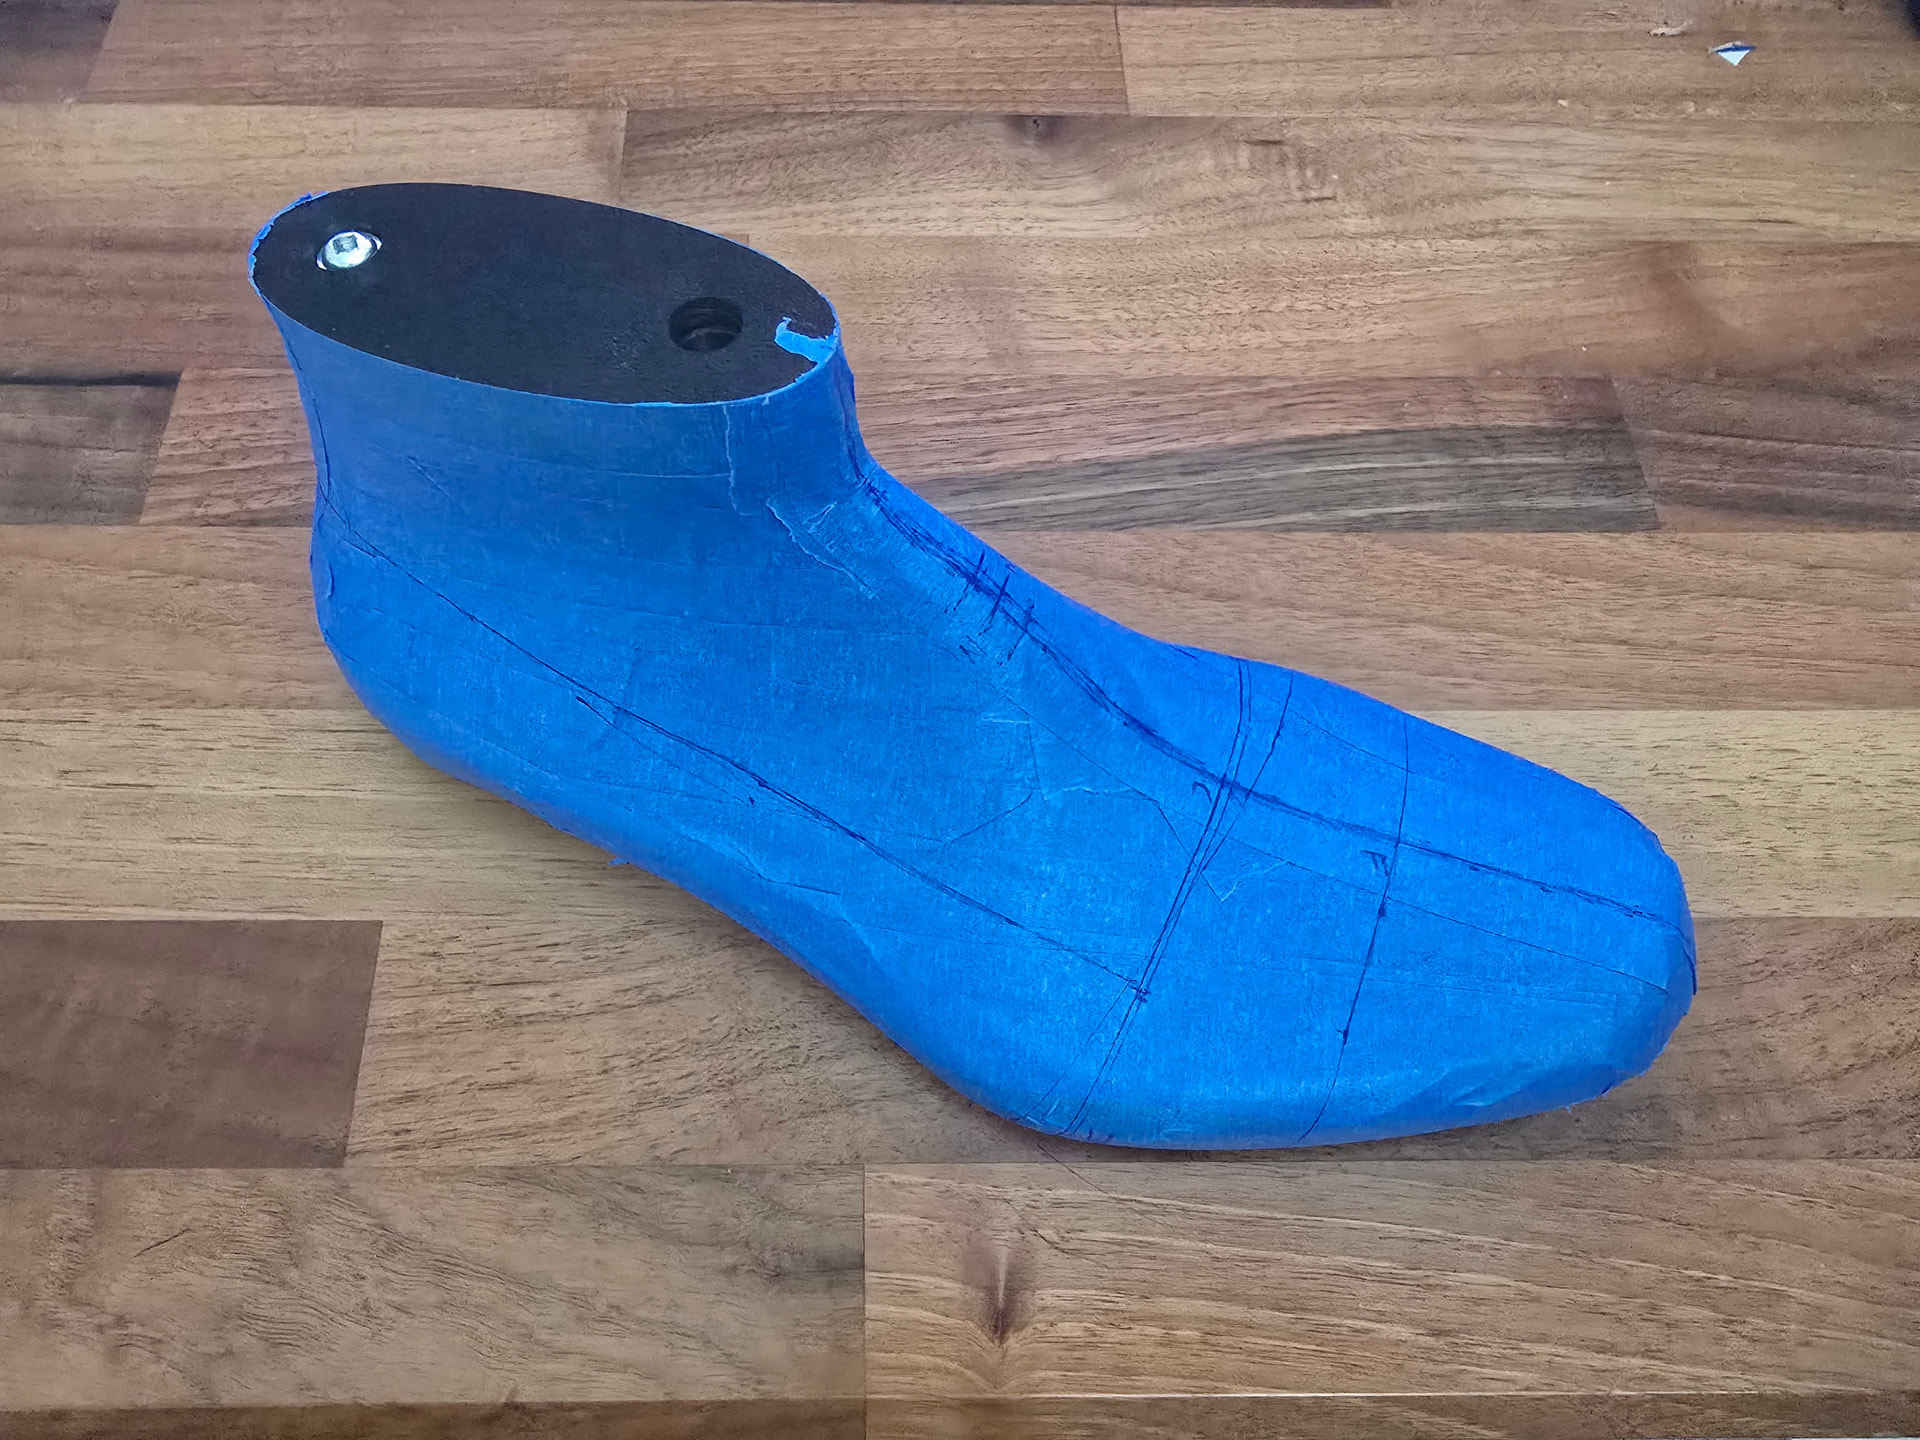
Validation print is looking pretty good. I primarily wanted to see how the girth measurements actually translated to real world. The answer is quite accurately when you know which reference points to use in the software.
Definitely needed some tweaking in the toebox area to give more height and the back line had the apex point too low (my fault for adjusting the wrong value down).
I am very happy with how the foot bottom worked out and the blending of the arch support through the waist. I probably need to pull the softening of the feather line further forward and rearward, but that’s easy.
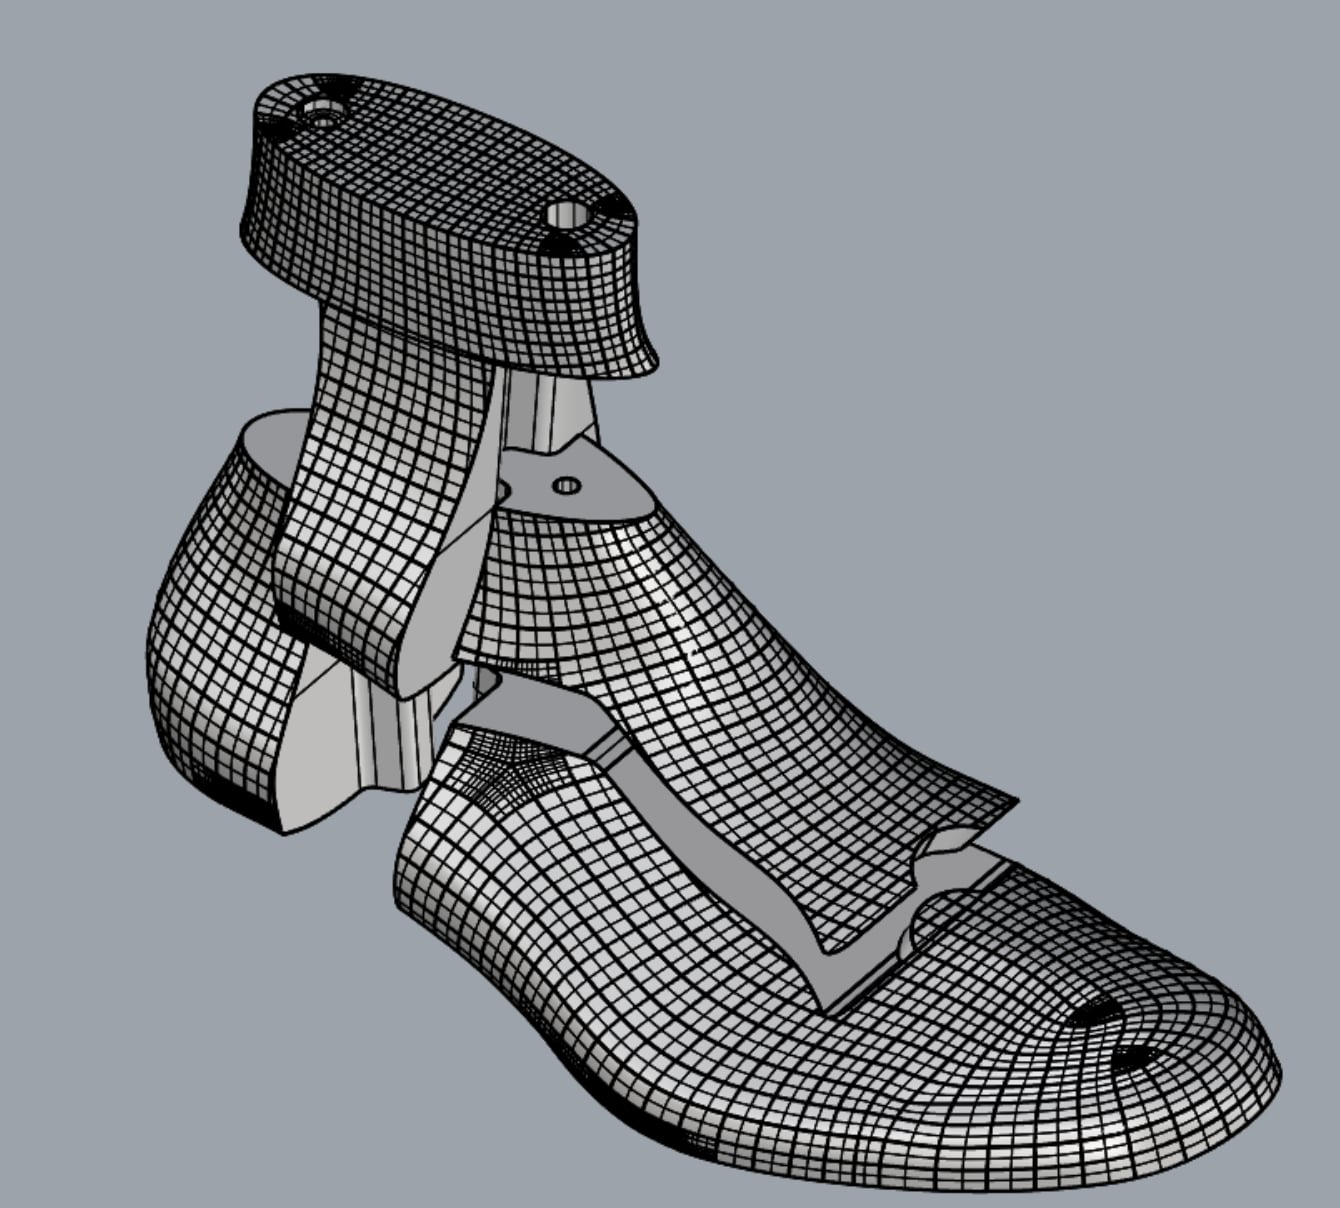
Bunch of updates later and it’s on to disassembly. I opted for a set up that should allow me to easily pull from the arch back should I opt to “blake” stitch the heel area rather than peg, nail, or welt and then easily replace. Basically a modification of a 3 piece shoe tree design but with a removable comb.
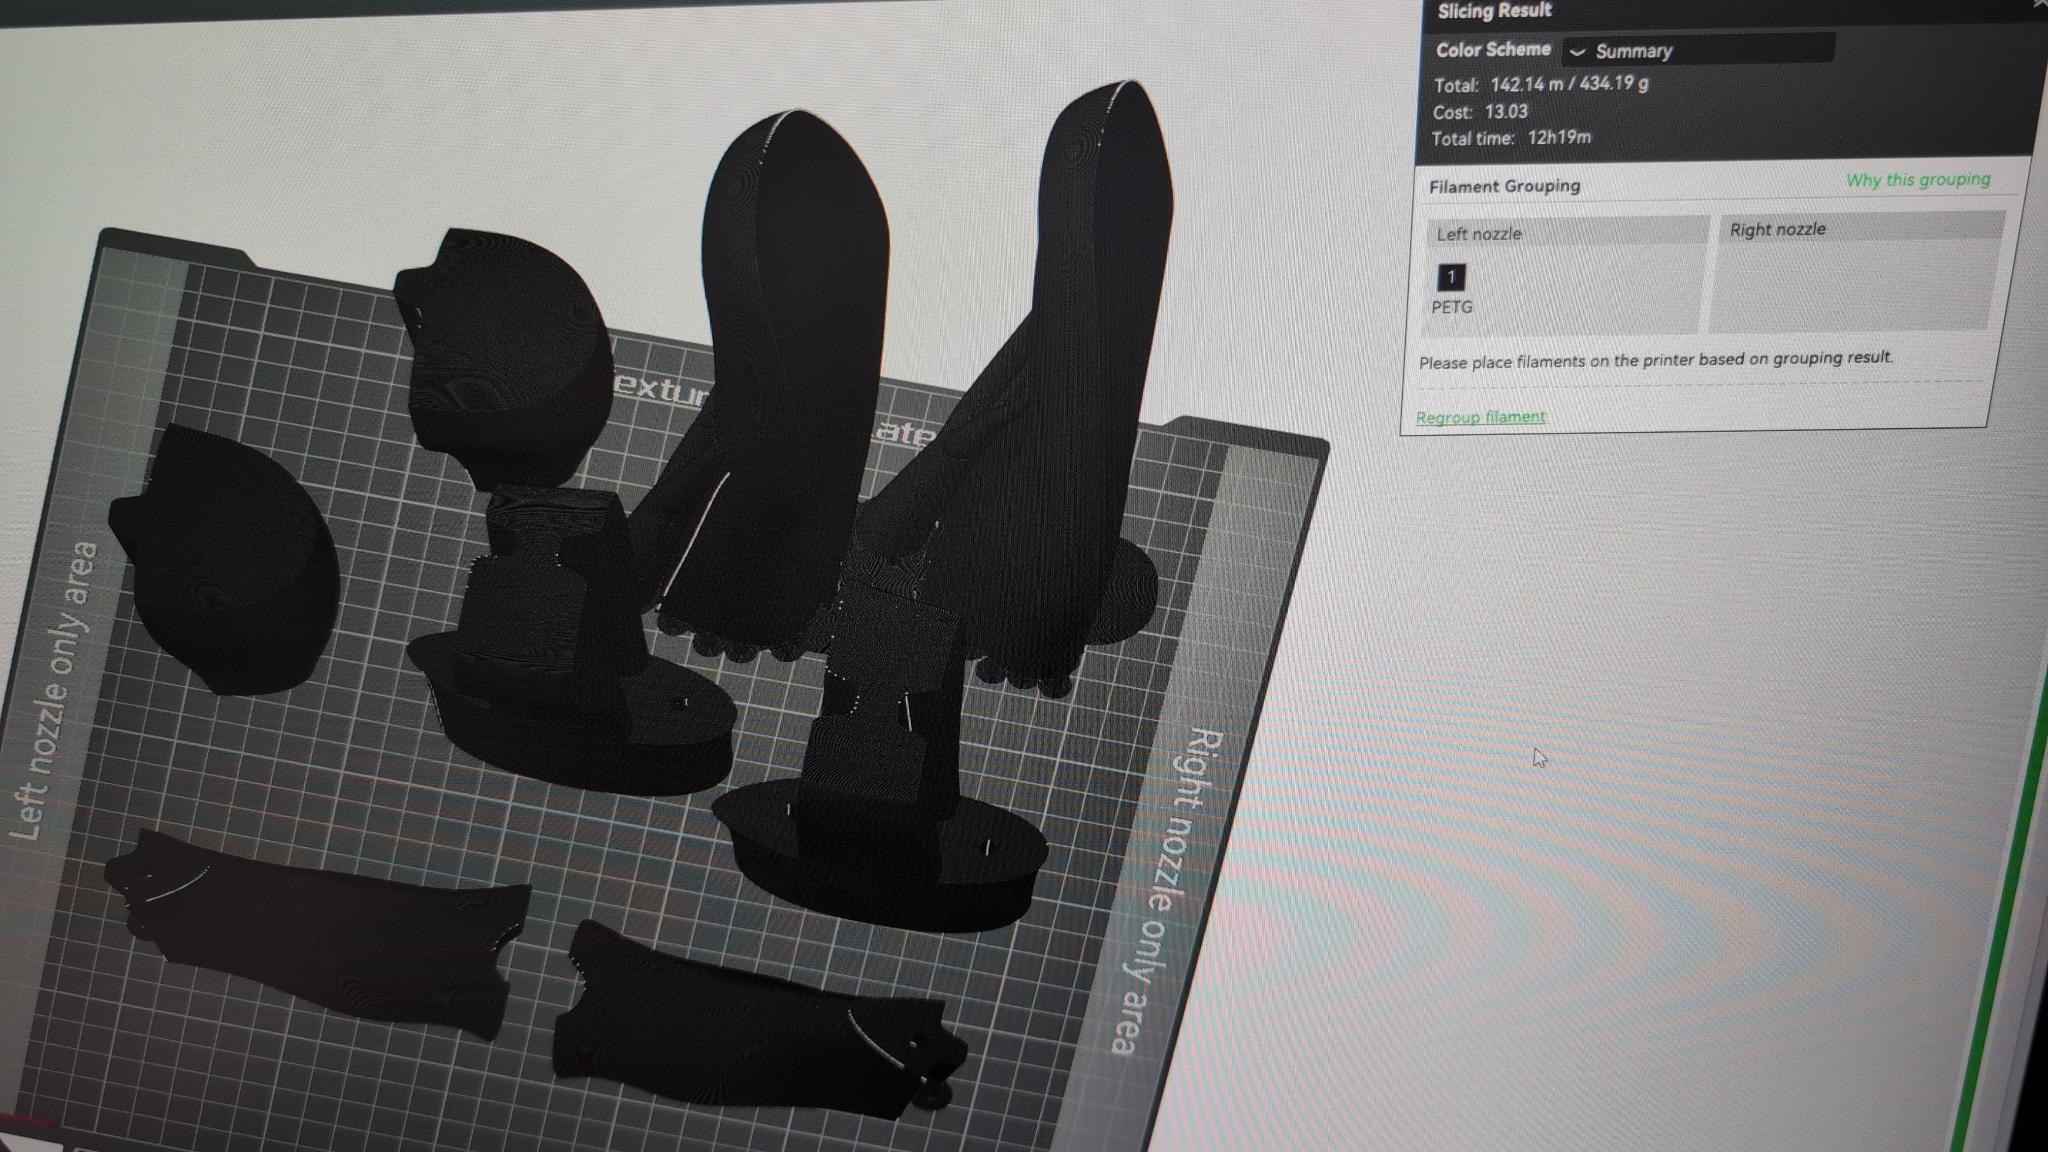
Parts are off to be fdm printed now. About 24 hours of print time go complete and nearly a whole spool of filament.
Are the “cheeks” of the part including the top plane intended to flex inward to remove? I would worry about getting that out of the heel pocket, especially if you’re doing substantial heel counters.
Might also consider some kind of side hole or other way to fish that part out through a tall boot top.
Hard to tell from that angle, but both sides of the center piece are tapered, so as soon as it moves up at all, it should be able to pivot or move forward a bit as needed to help removal. Not planning on a hugely stuff counter in these either.
Probably wouldn’t hurt to add a hole for some paracord to that center piece. The other three pieces have holes in the alignment rib hidden by the center piece to pull from.
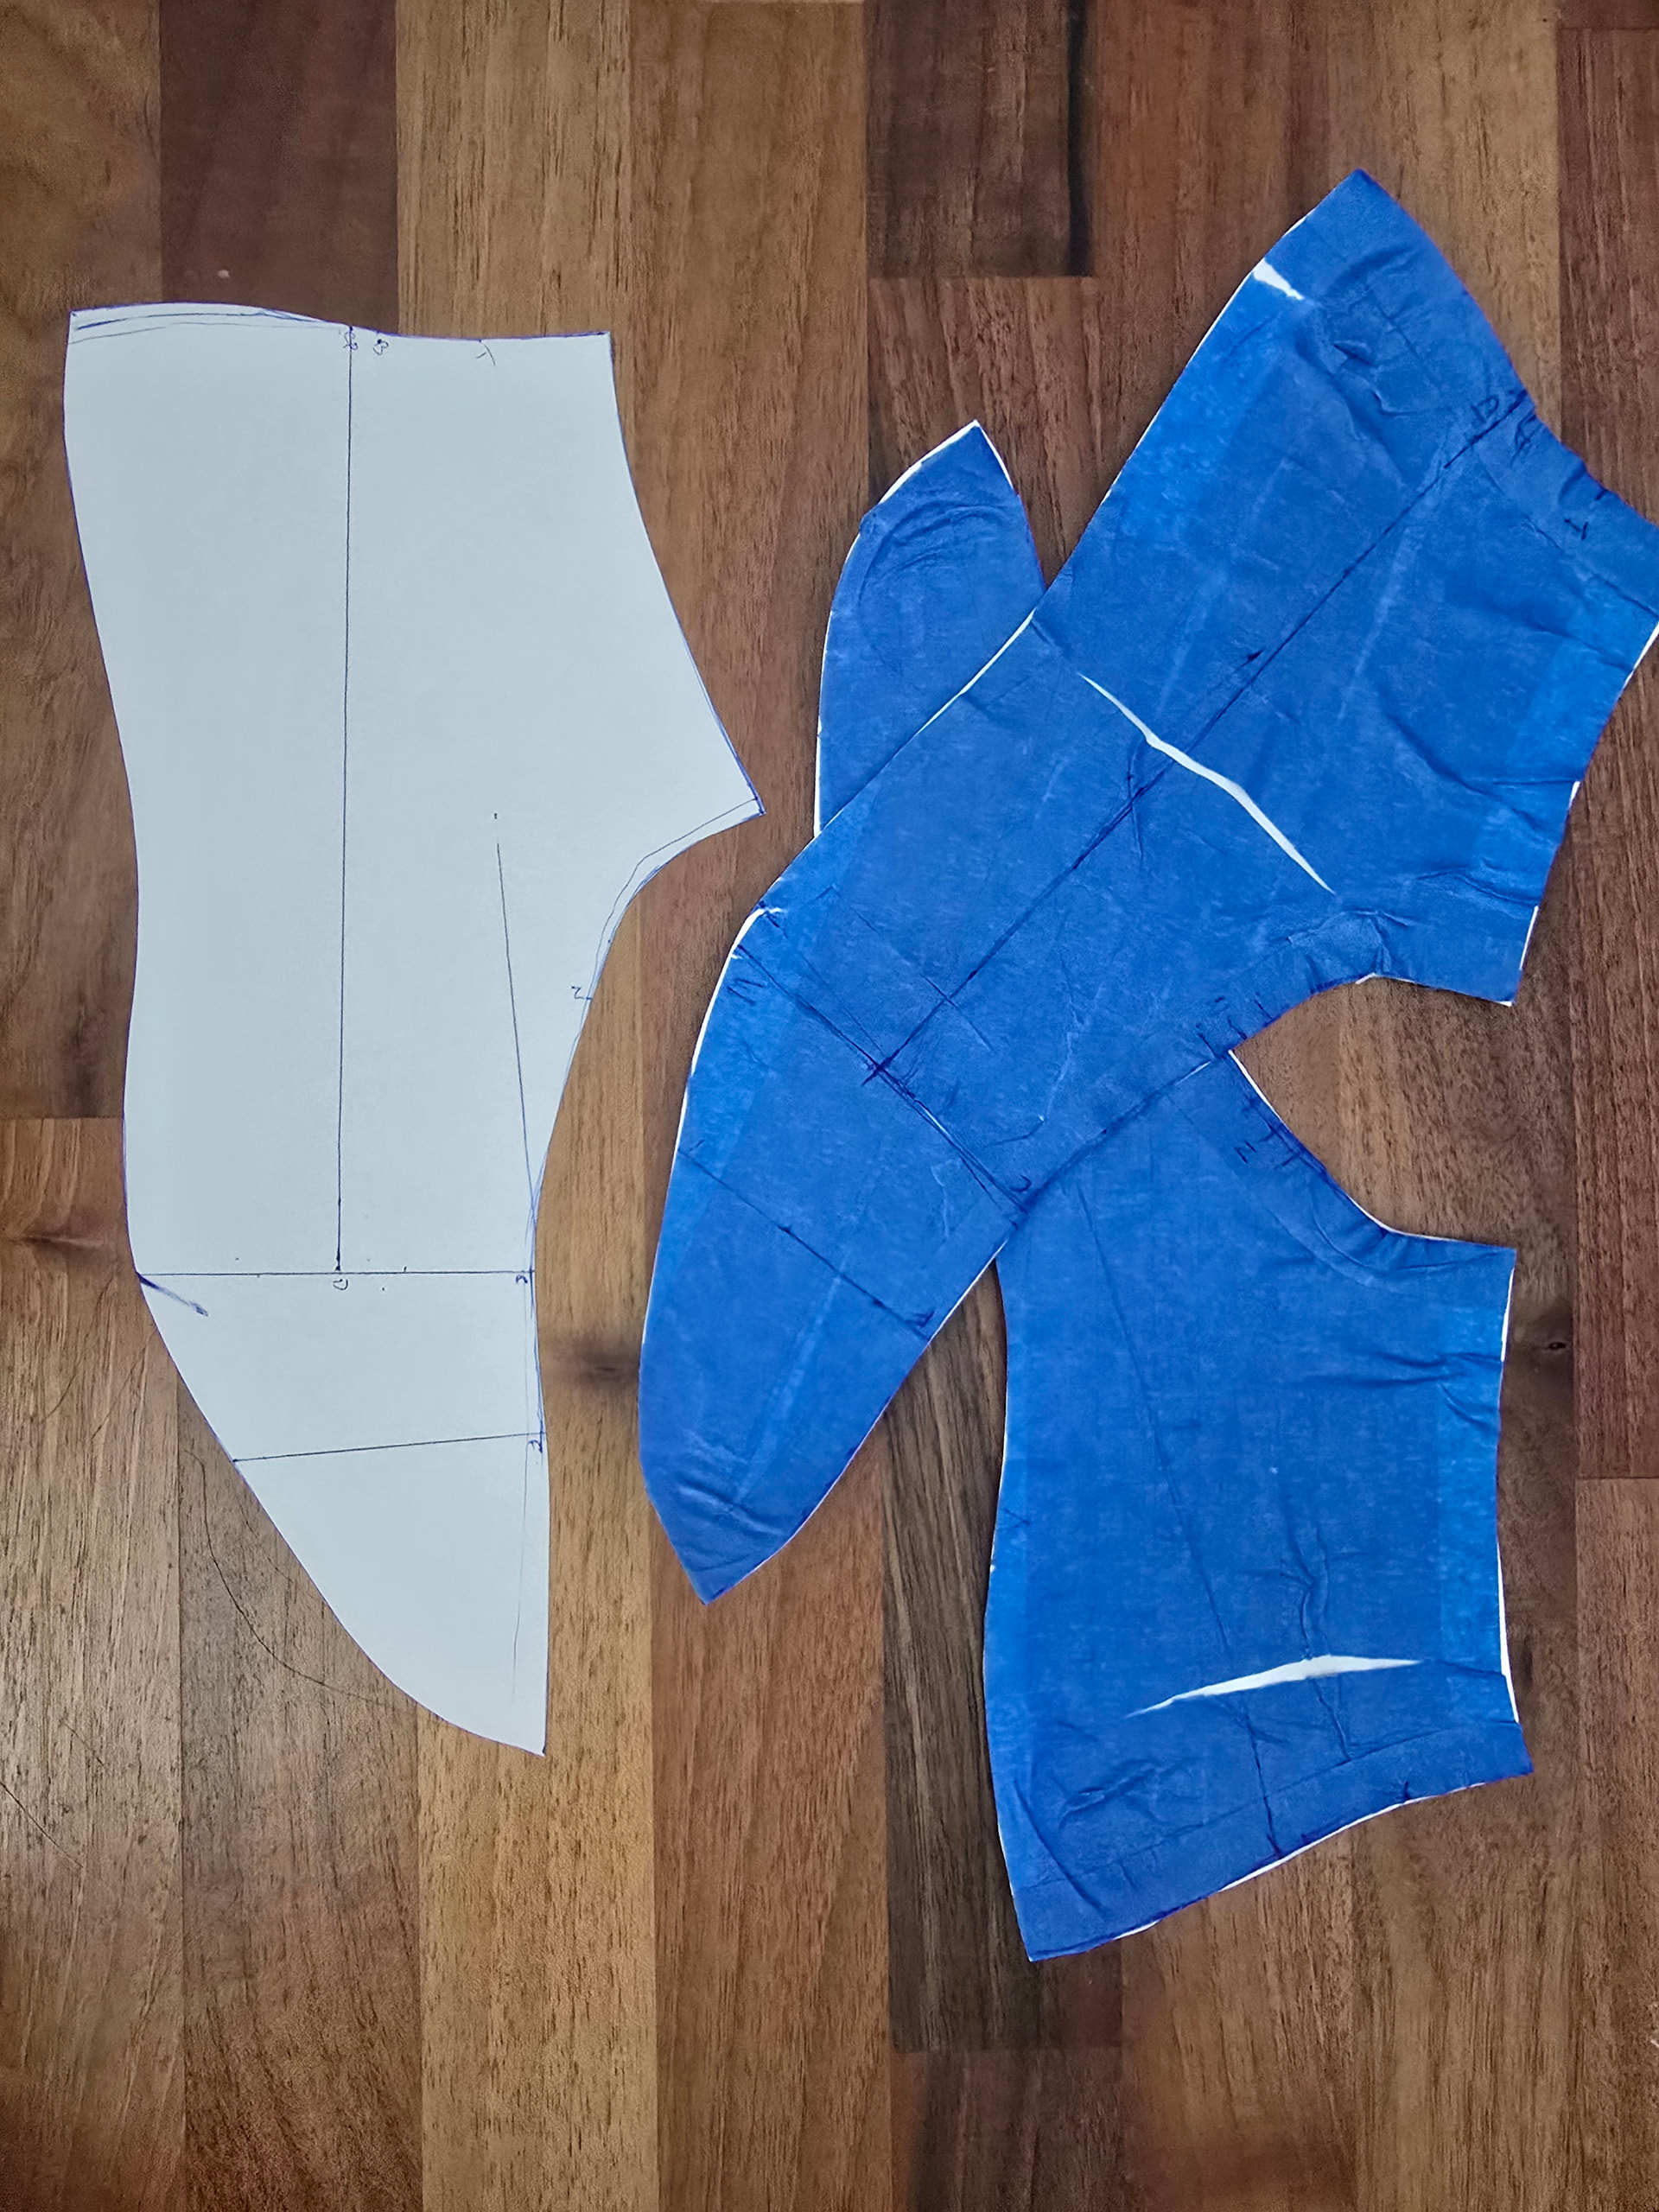
Made the mean forme for the last and then a quick fitter boot pattern so I can see what changes need to be made.
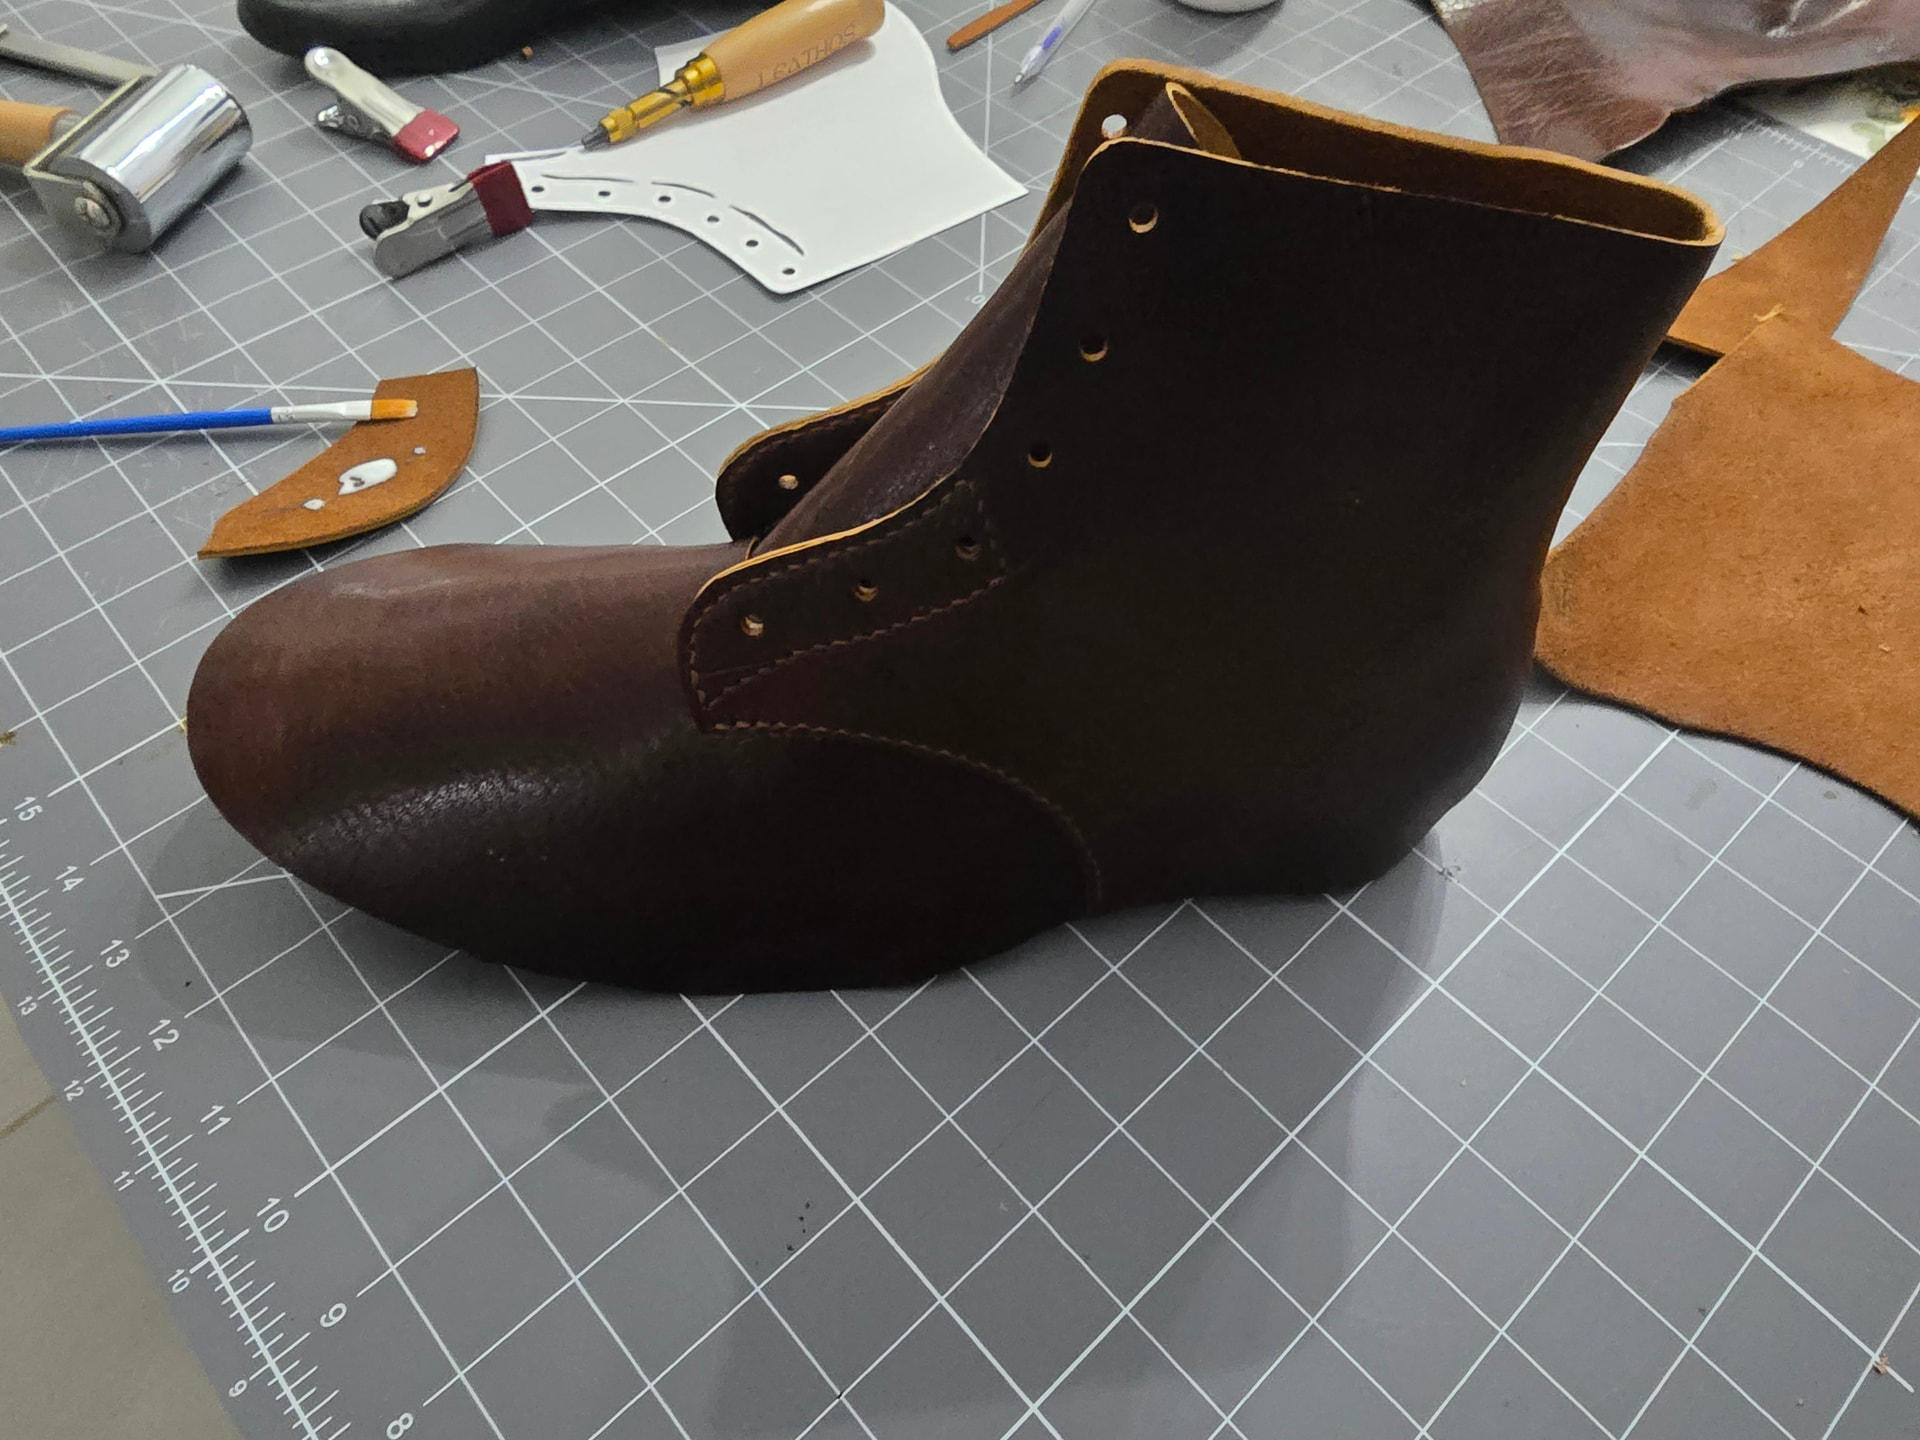
Did this one with a half bellows tongue. Reminded me why I don’t like bellows tongues. Makes upper assembly a lot more difficult and seems to add so much bulk to the boot when laced up. May ditch it and go with a standard tongue.