The Spokane companies all do bellows tongues. They reliably use much thinner leather than for their uppers, also of a much softer hand.
I’ve done some successful bellows tongues with the same leather as the upper, but I had to split it as I could through a roller splitter, in sections, then sand down the part in the middle I couldn’t reach. It’s a real pain.
I recently found some decent bellow-tongue leather in a bargain bin at my local leather house. Different material really seems the way to go.
Yah, I don’t really know why I even bothered, other than feeling like I should do it because it’s the thing to do on boots… but meh. For these boots, it’s a totally unnecessary complication.
It’s good patterning practice. Practice I could use. Getting gusset tongues just right every time is still beyond me. I find myself giving height allowance and planning to trim.
For fitting, whole uppers are definitely ambitious. I’ve got some custom last work coming up, and my plan is definitely glass slippers to start.
Im doing them unlined and just one side for now. Other than the back line being a bit longer to stitch, there’s really not a huge difference. Helps for validating how much I need to give for spacing on the facings, etc, too
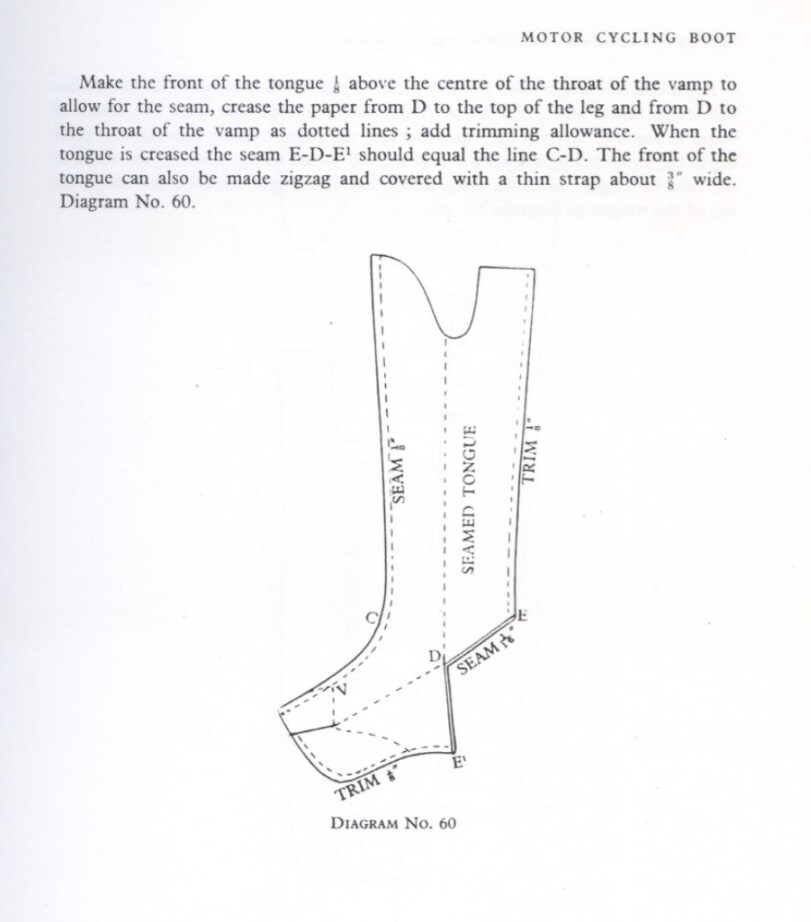
One of the things I have considered is doing a bellows tongue where the “bellows” section is actually stitched on in a different leather, so basically a normal thickness tongue with a thin bellows added
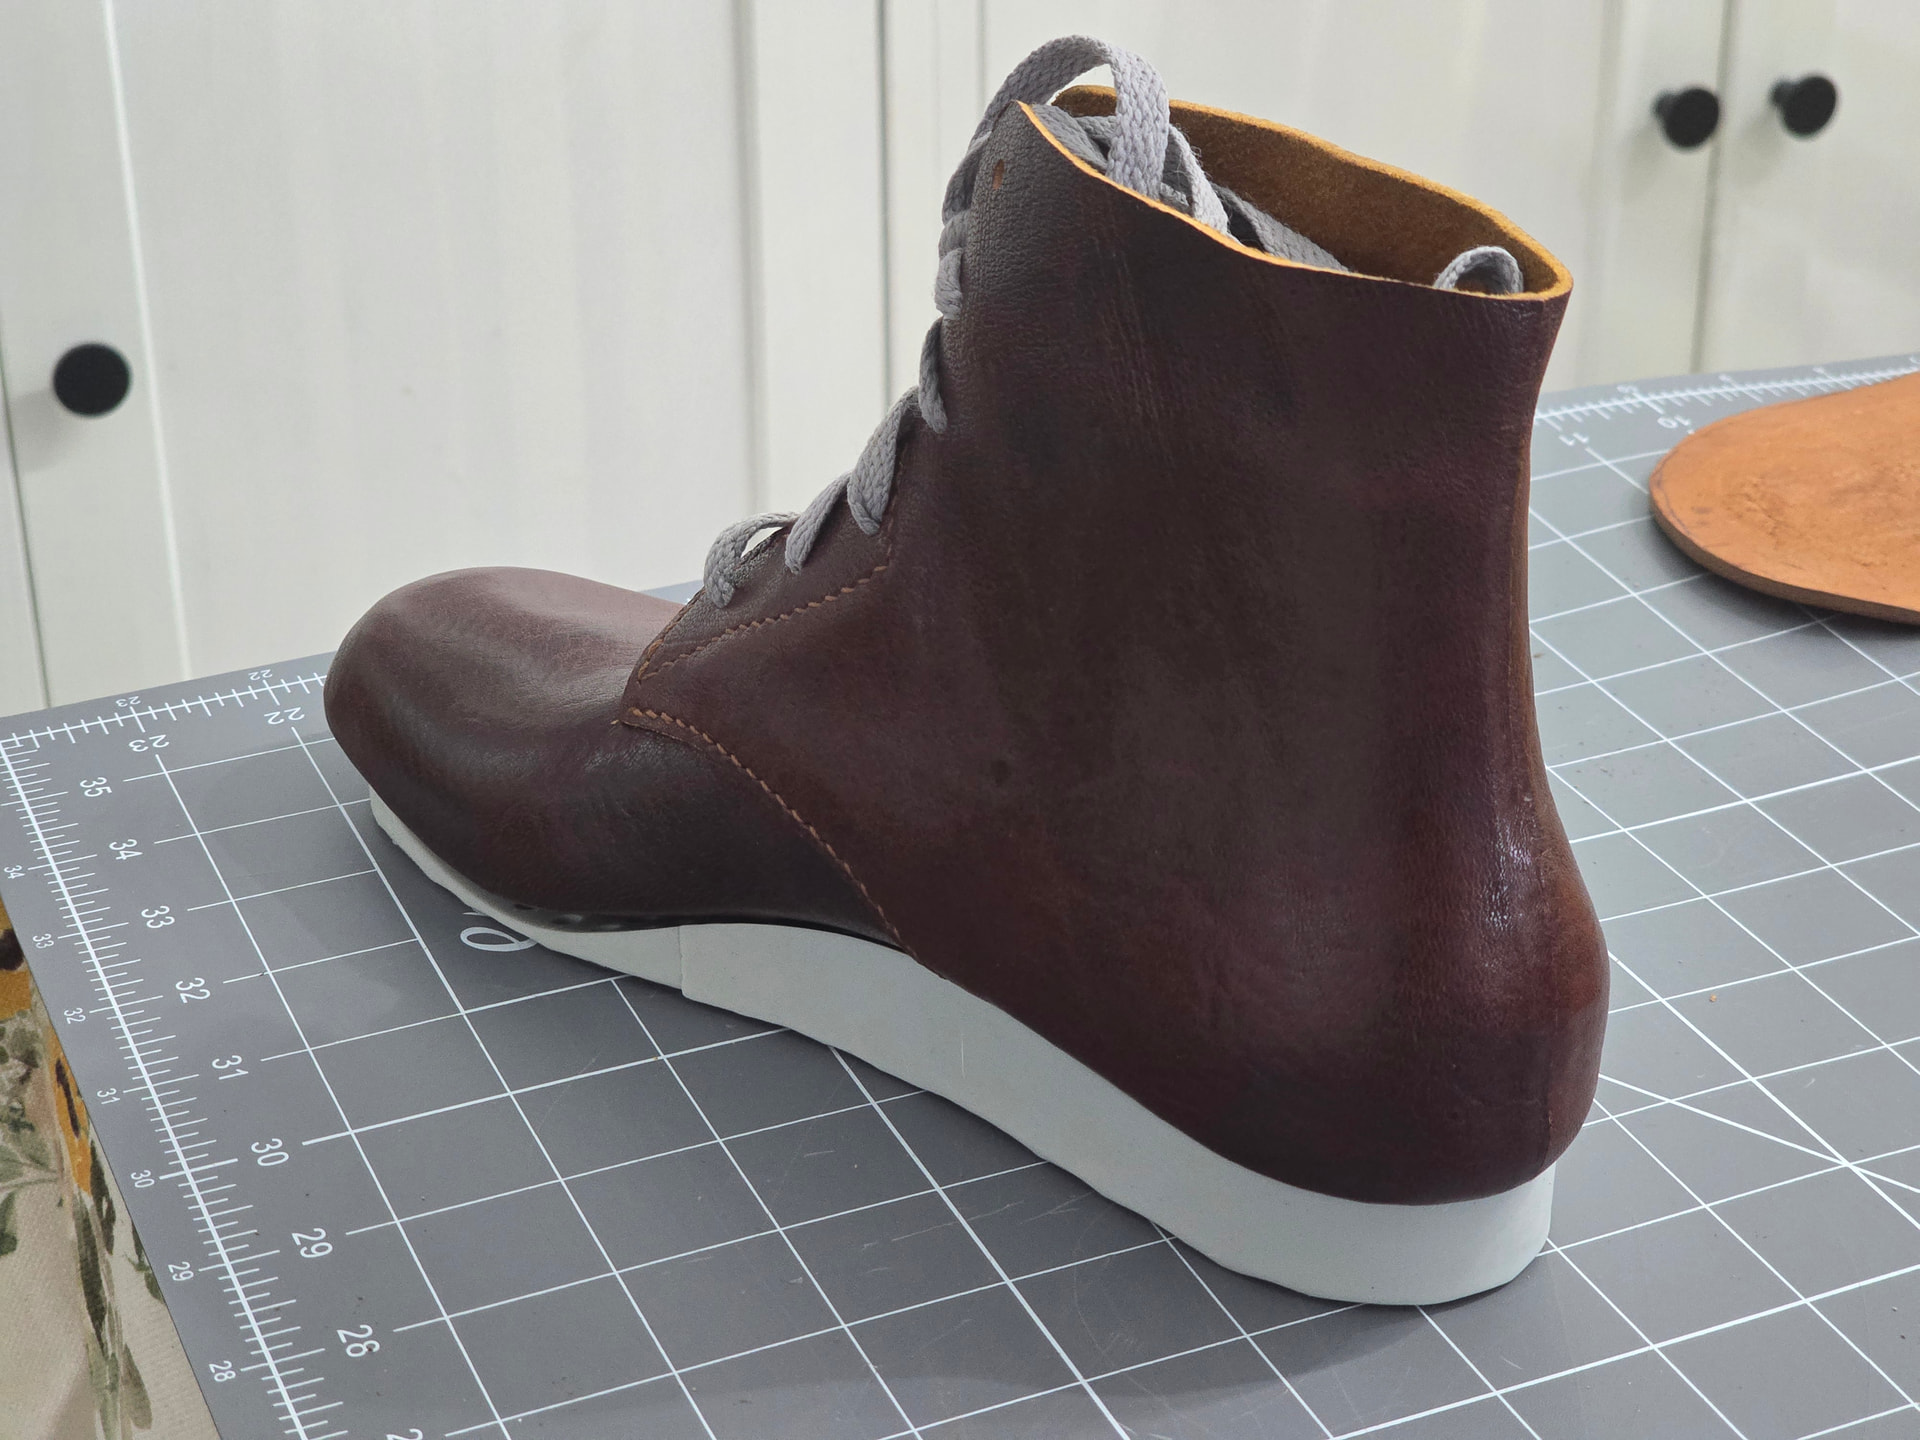
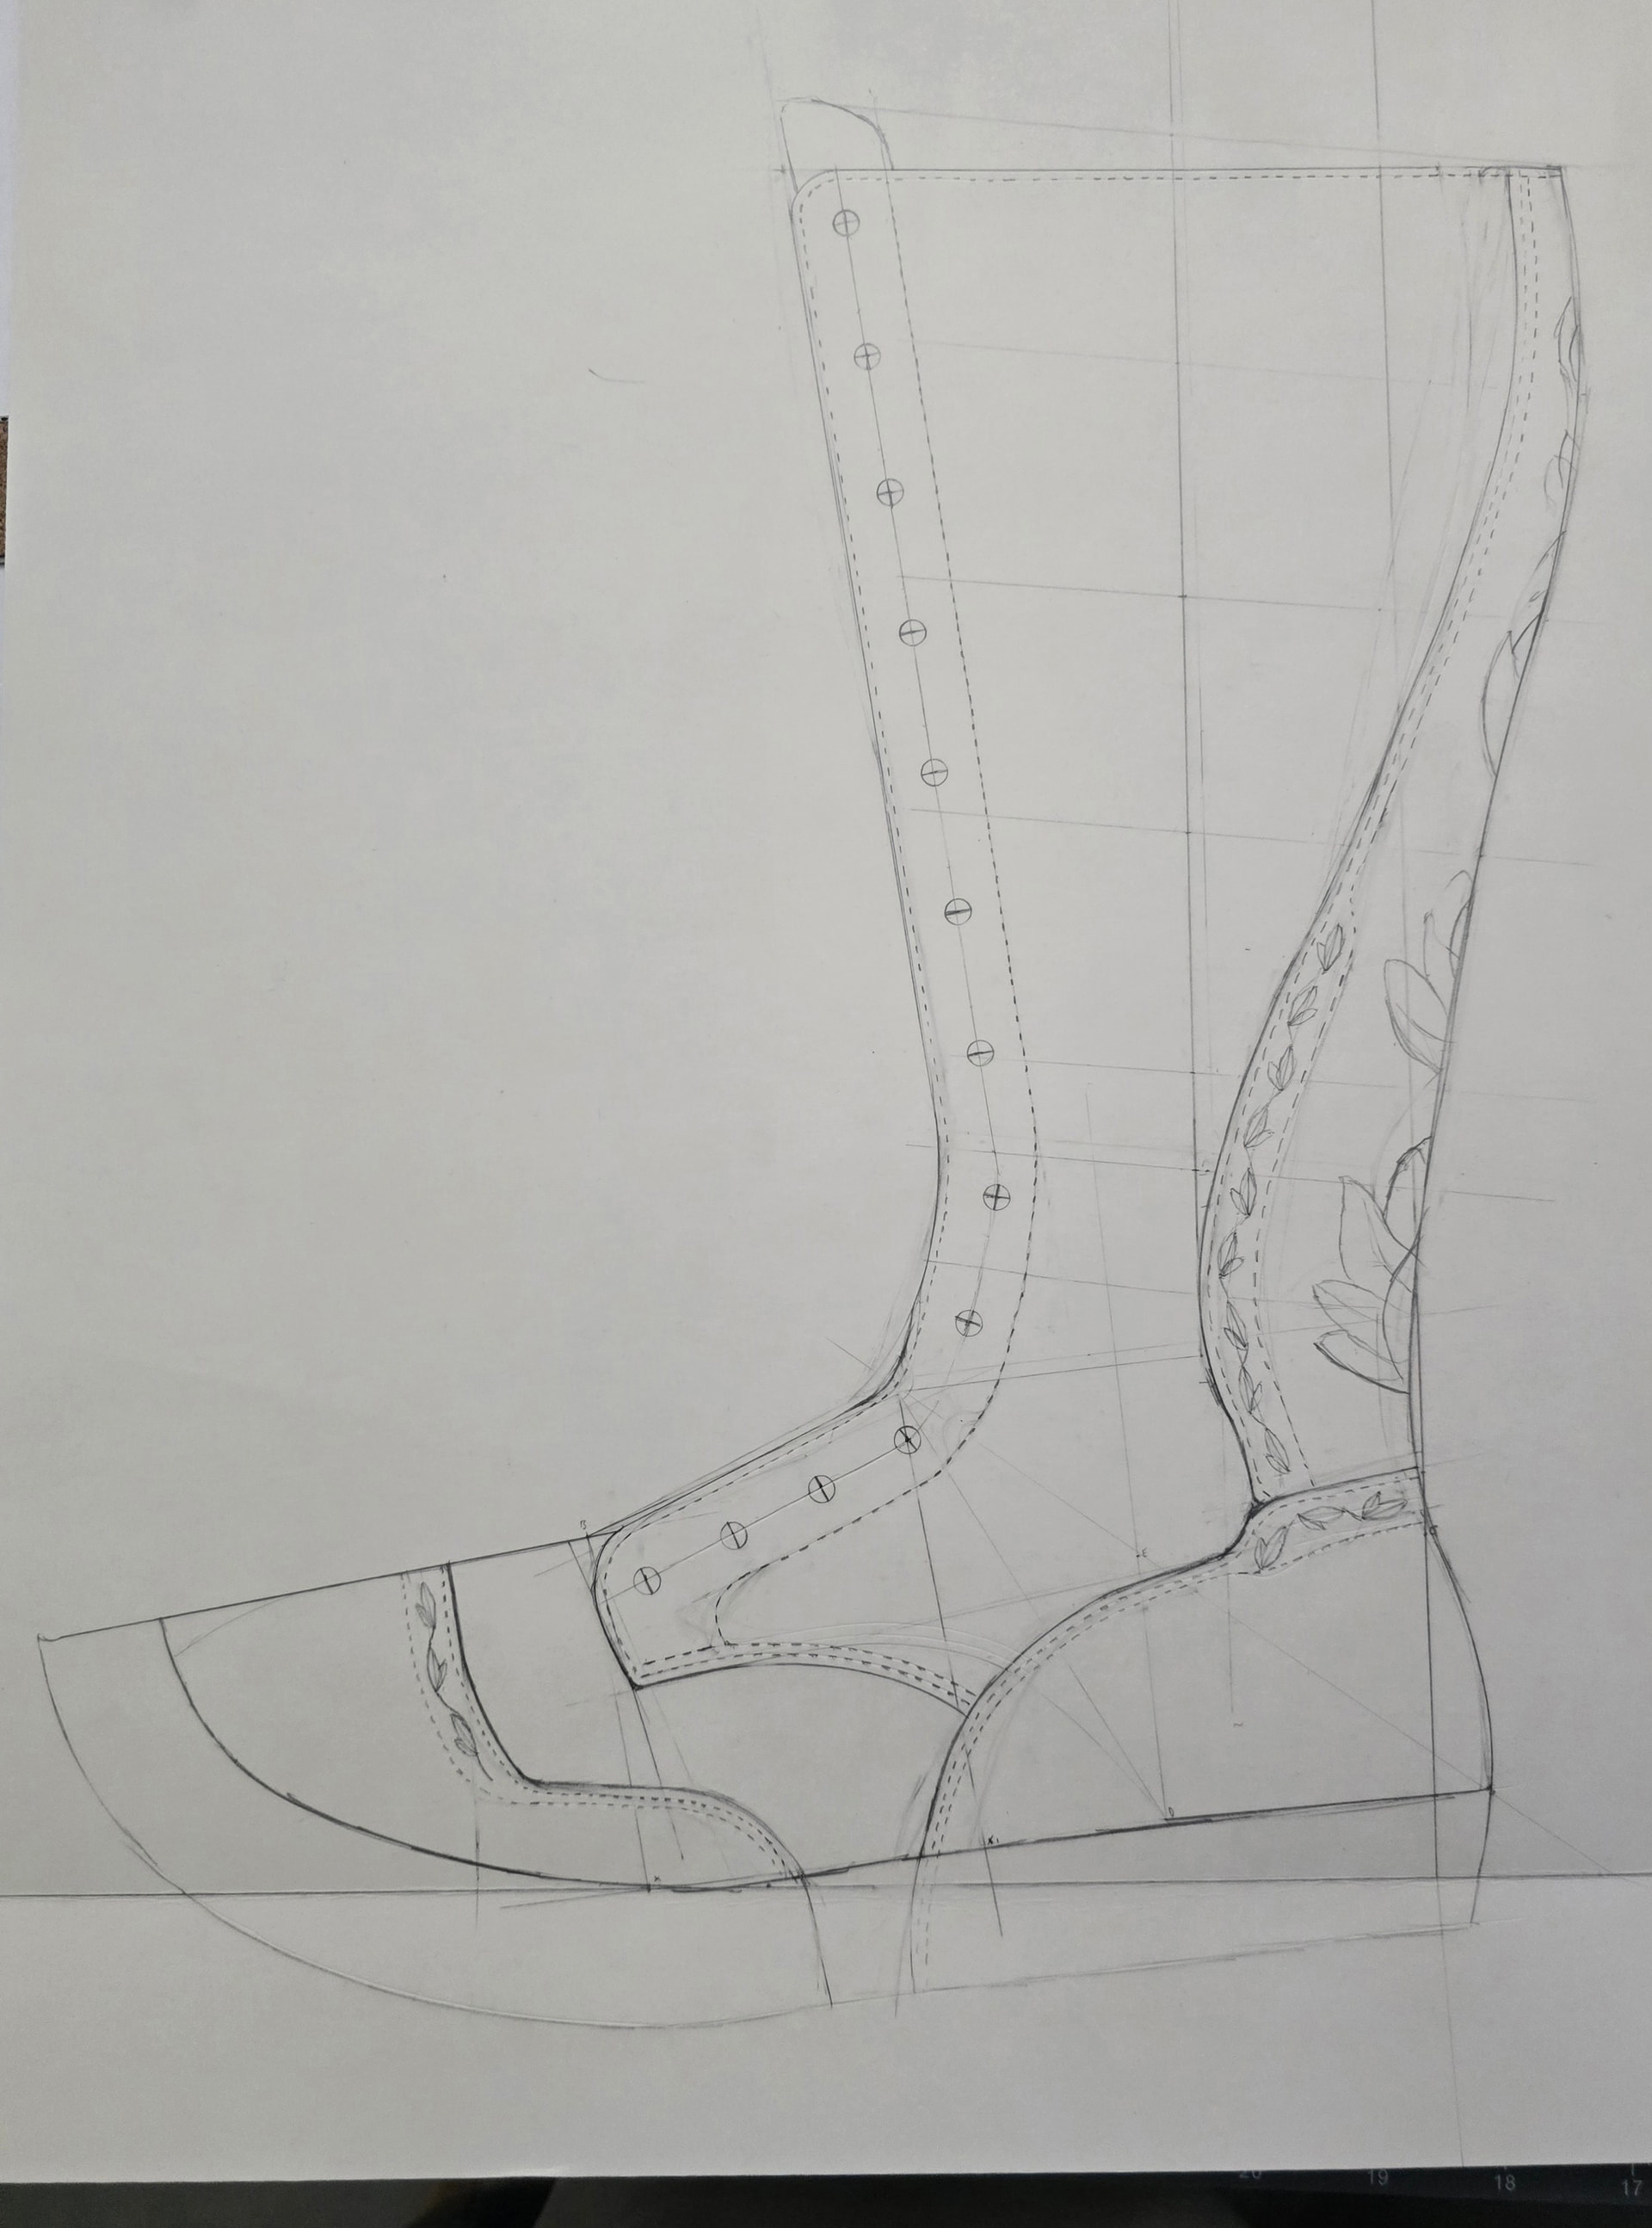
Fit test results are in… Fit is great, toe geometry isn’t quite there. Little too much twist to the boot with the toe tip geometry centered too far to the left. Should be a pretty simple adjustment in cad to get right. I’ll make a few other minor adjustments and update the cutting planes a little.
With such a wide backstay, I do wonder if it makes sense to have the quarters meet in the back or just do a seam allowance where the quarters meet the backstay since it’s all going to be lined anyway.
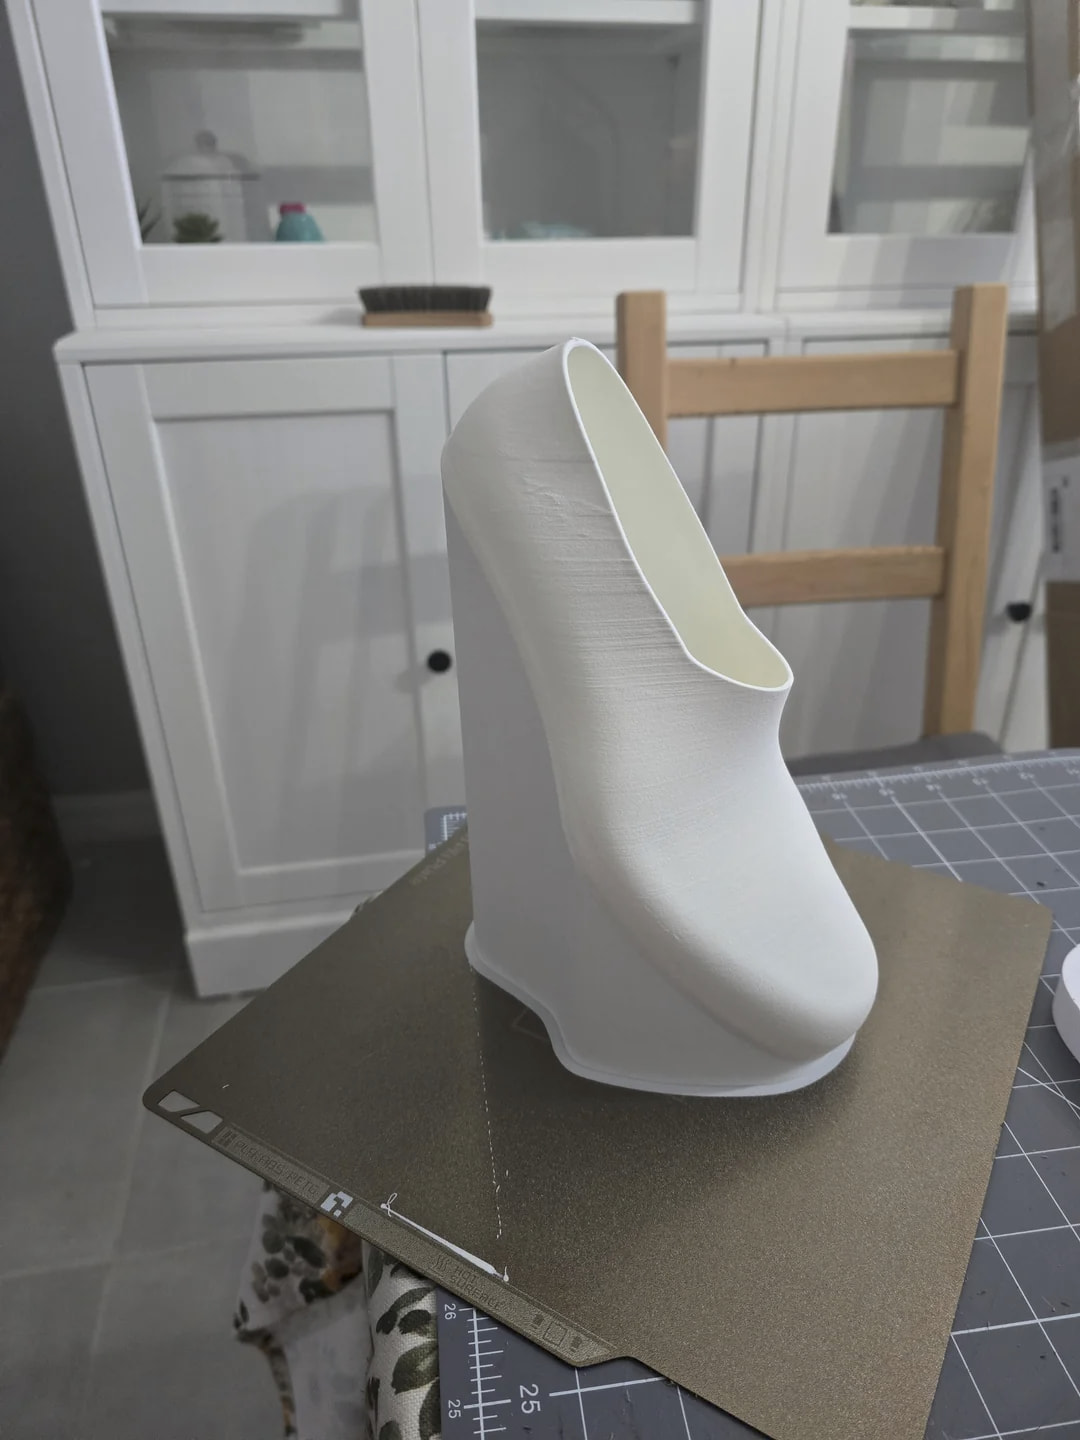
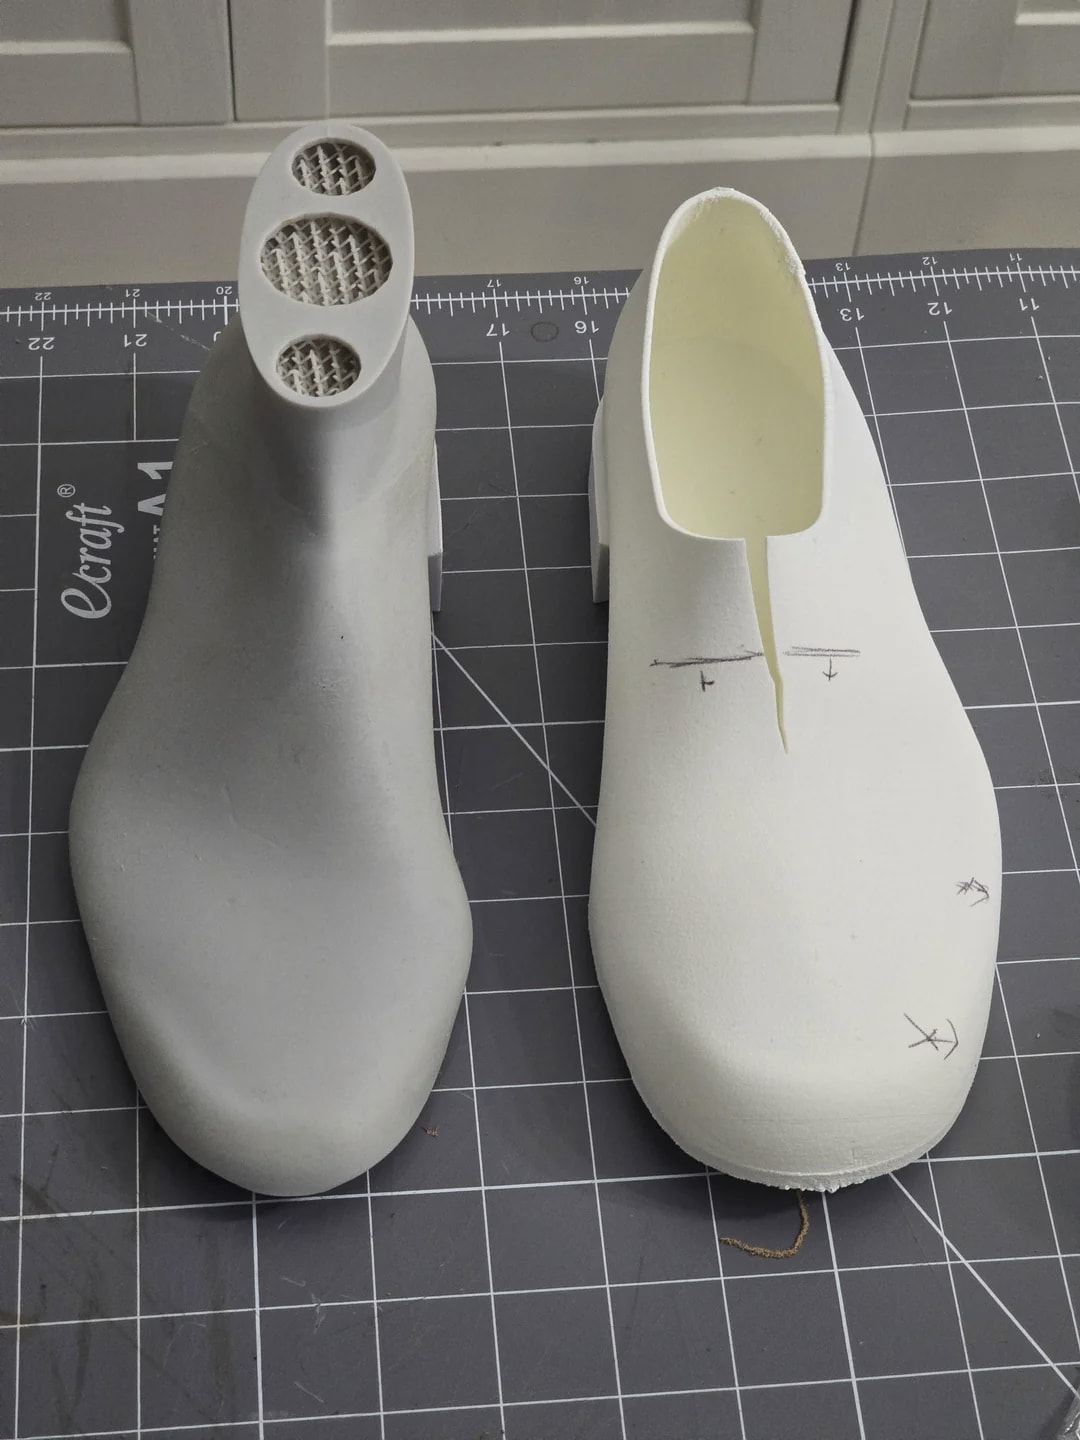
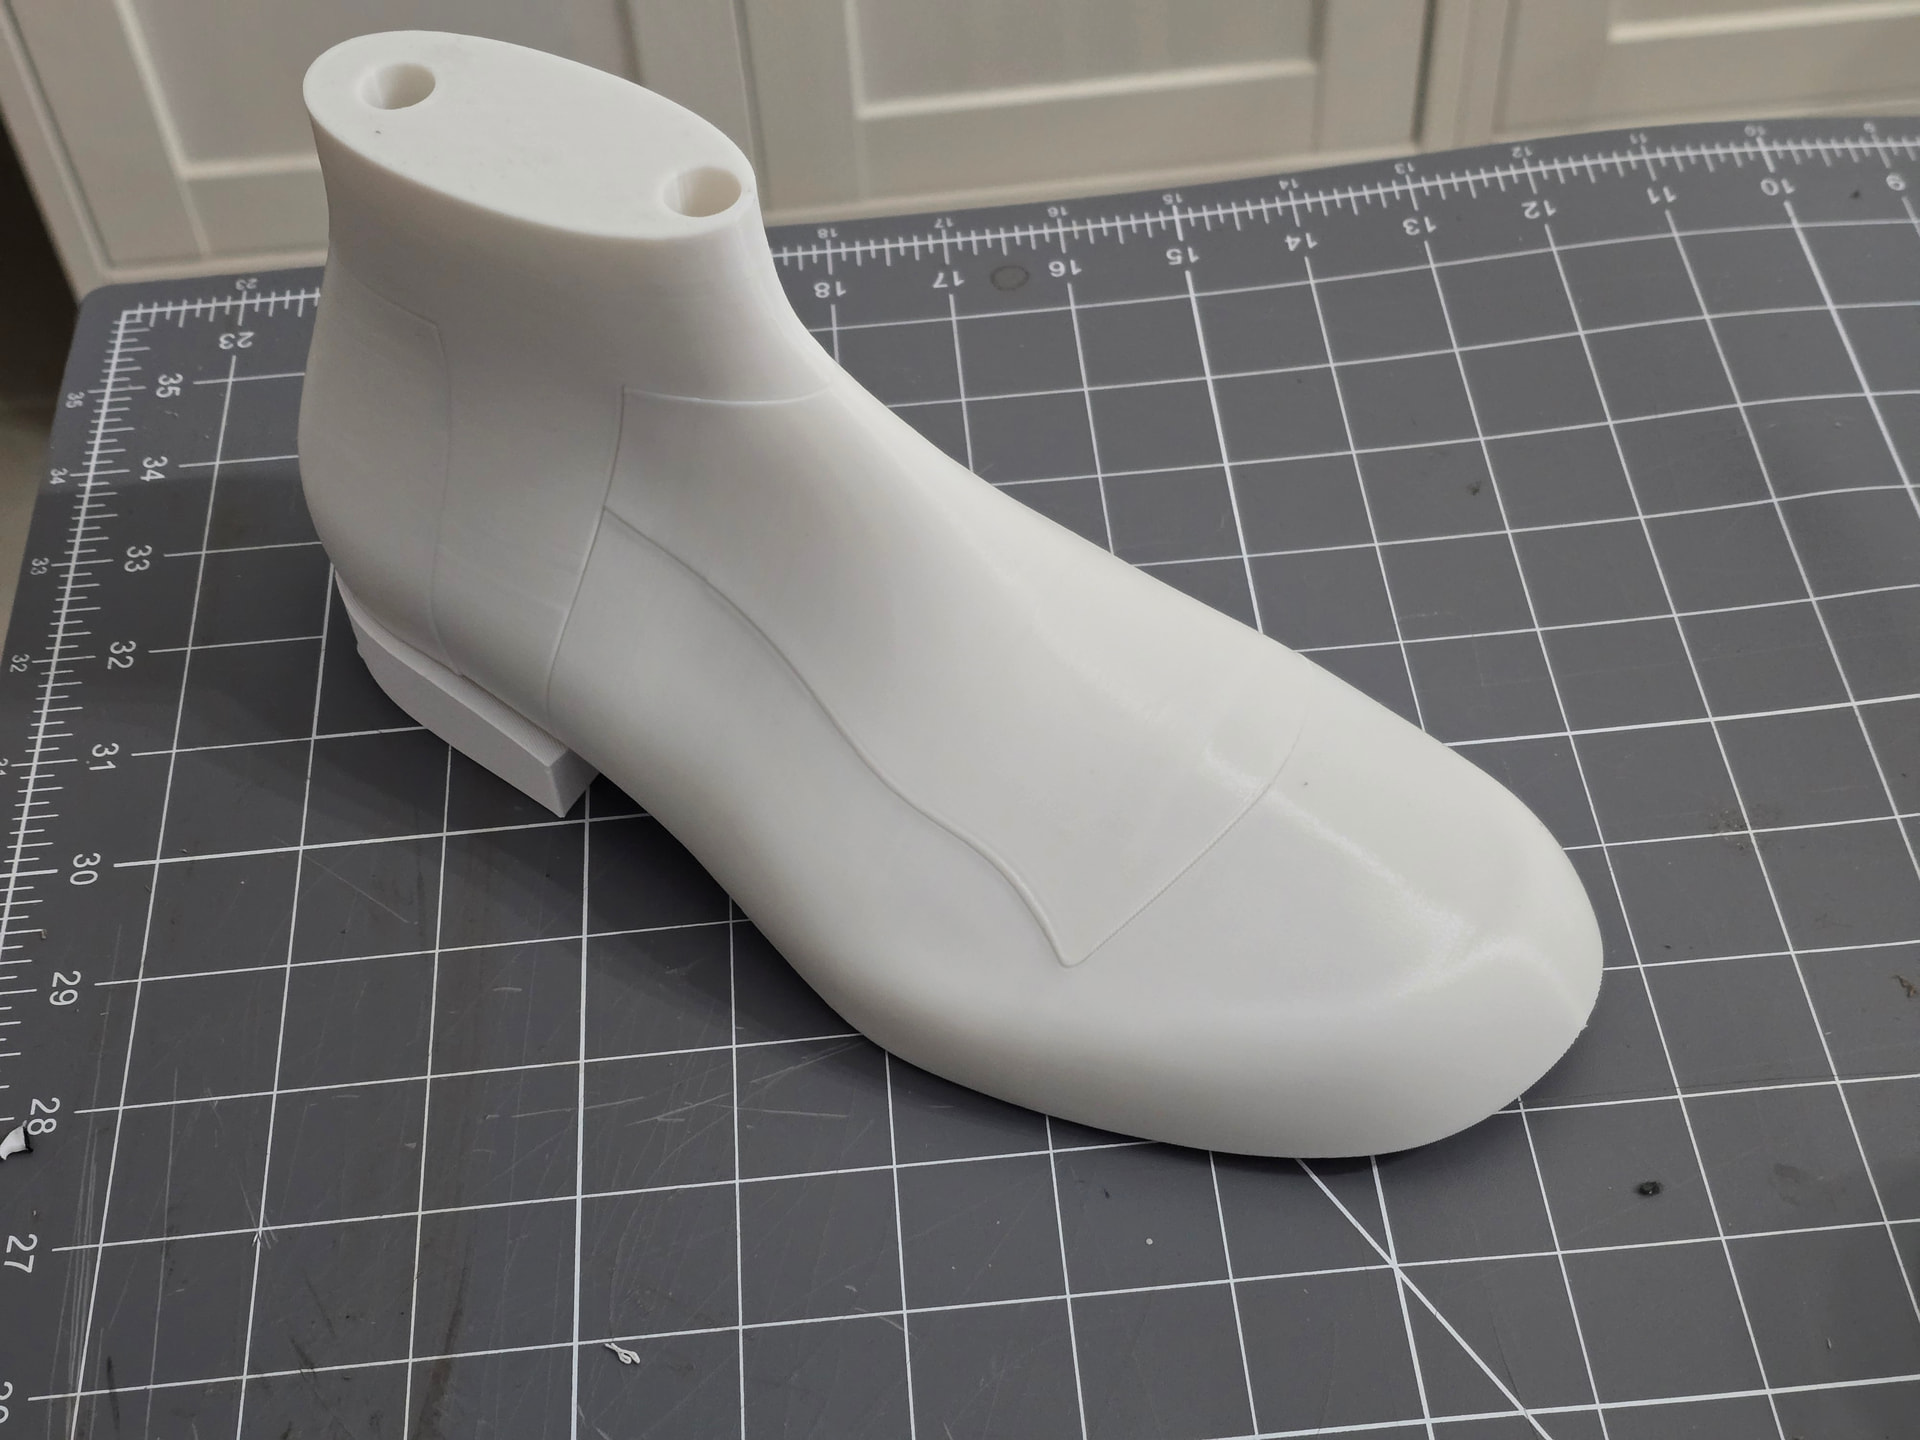
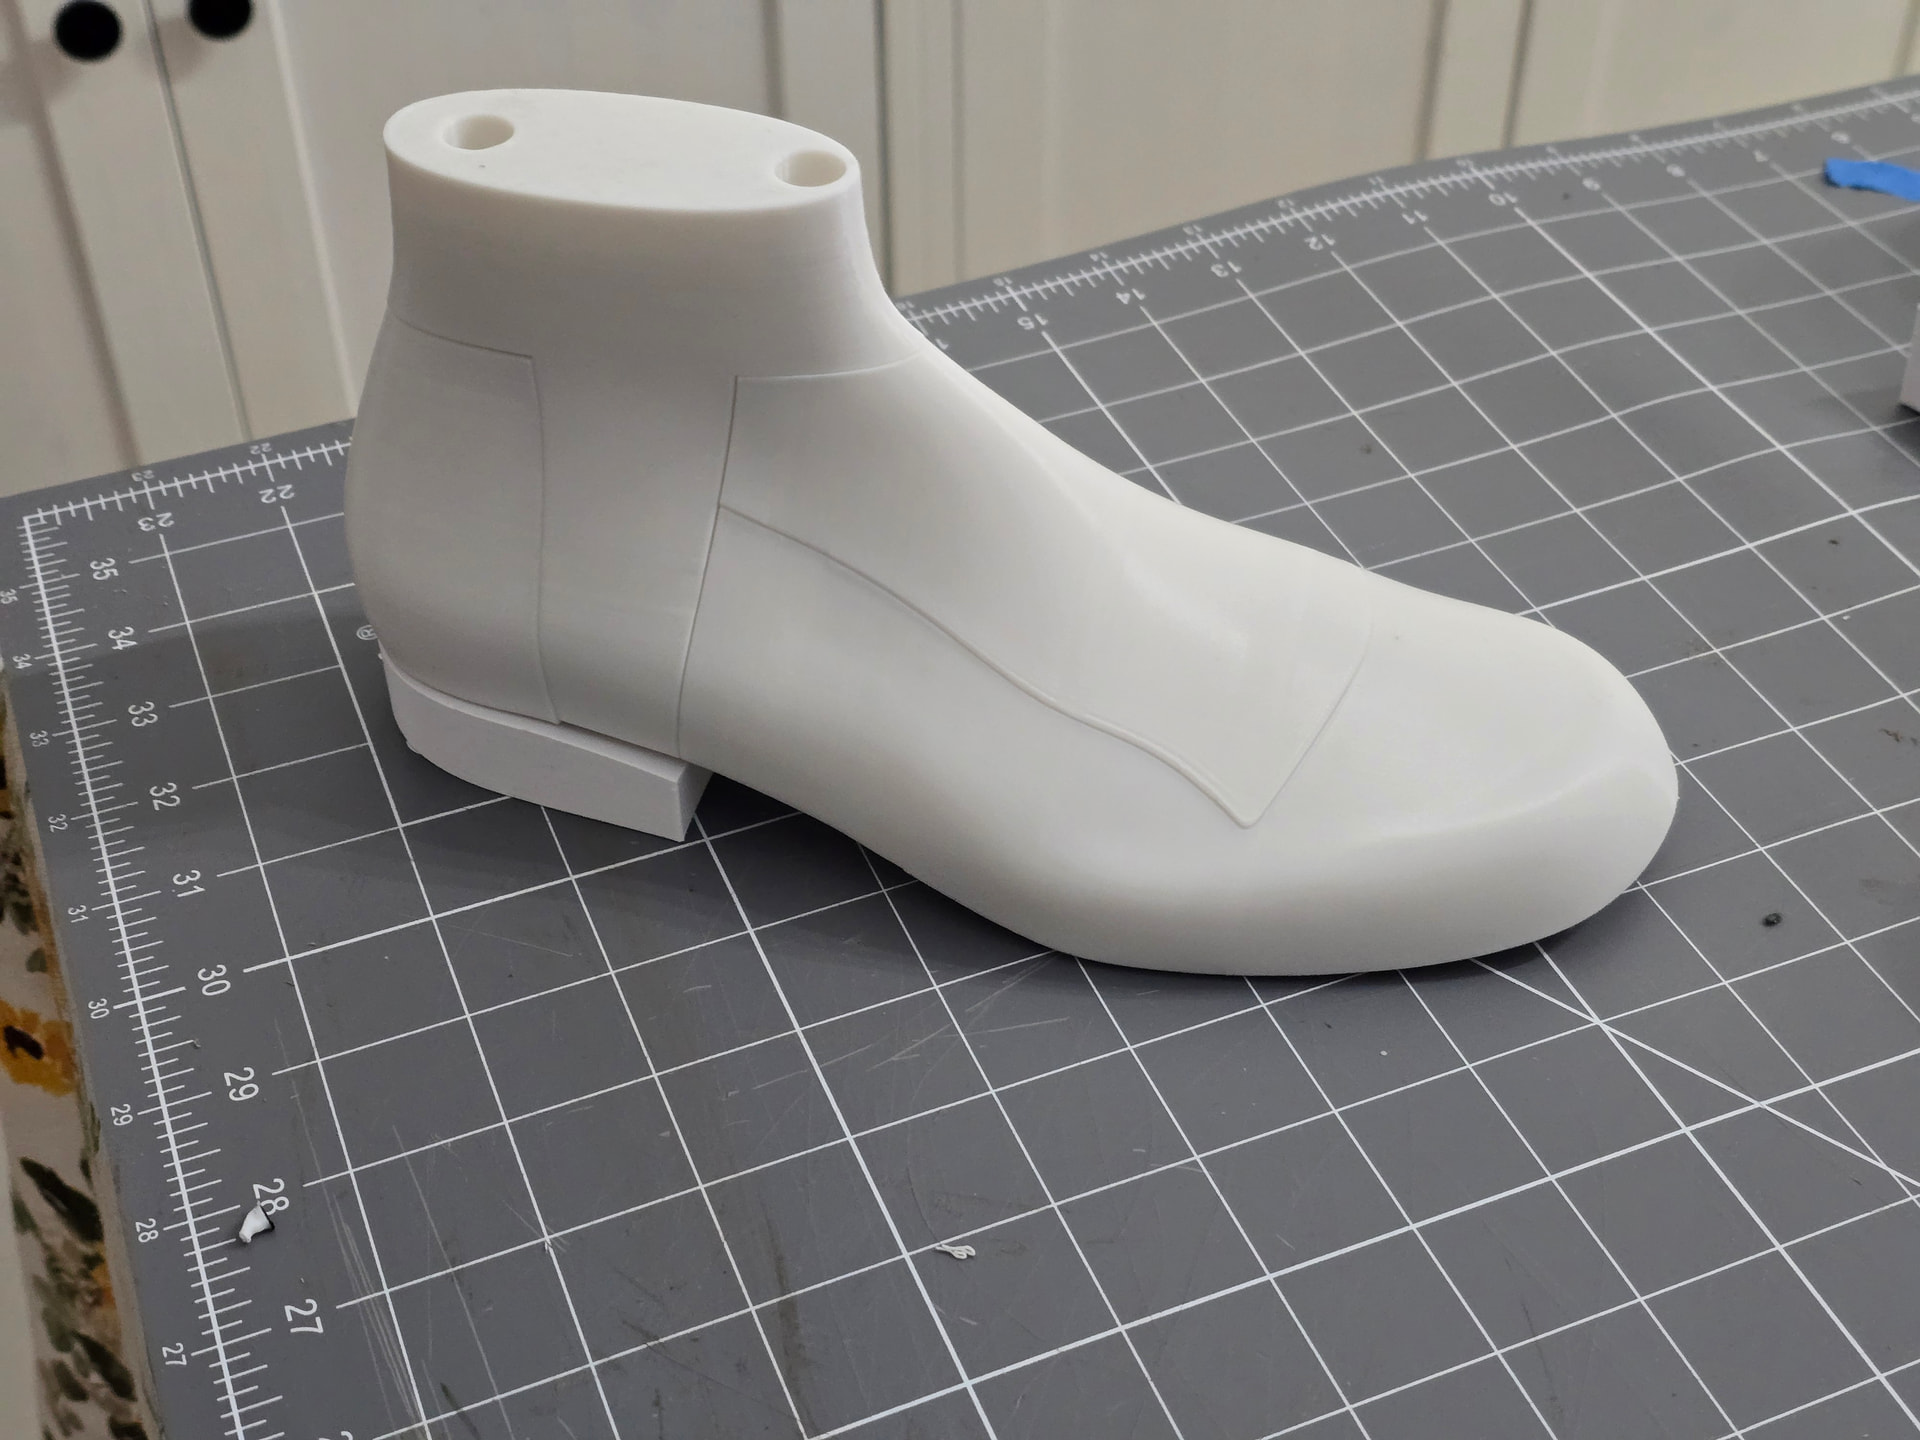
Been going through multiple iterations with the last design to get things fitting just right. Moved away from leather fitters to 3d printing fitters in foaming TPU. Lets me iterate really quickly. Can have her put on a fitter, note where things need to change, spend a few minutes on the computer updating the model, set something up to print, and go to bed. In the morning, I get to wake up to a shiny new fitter ready to go.
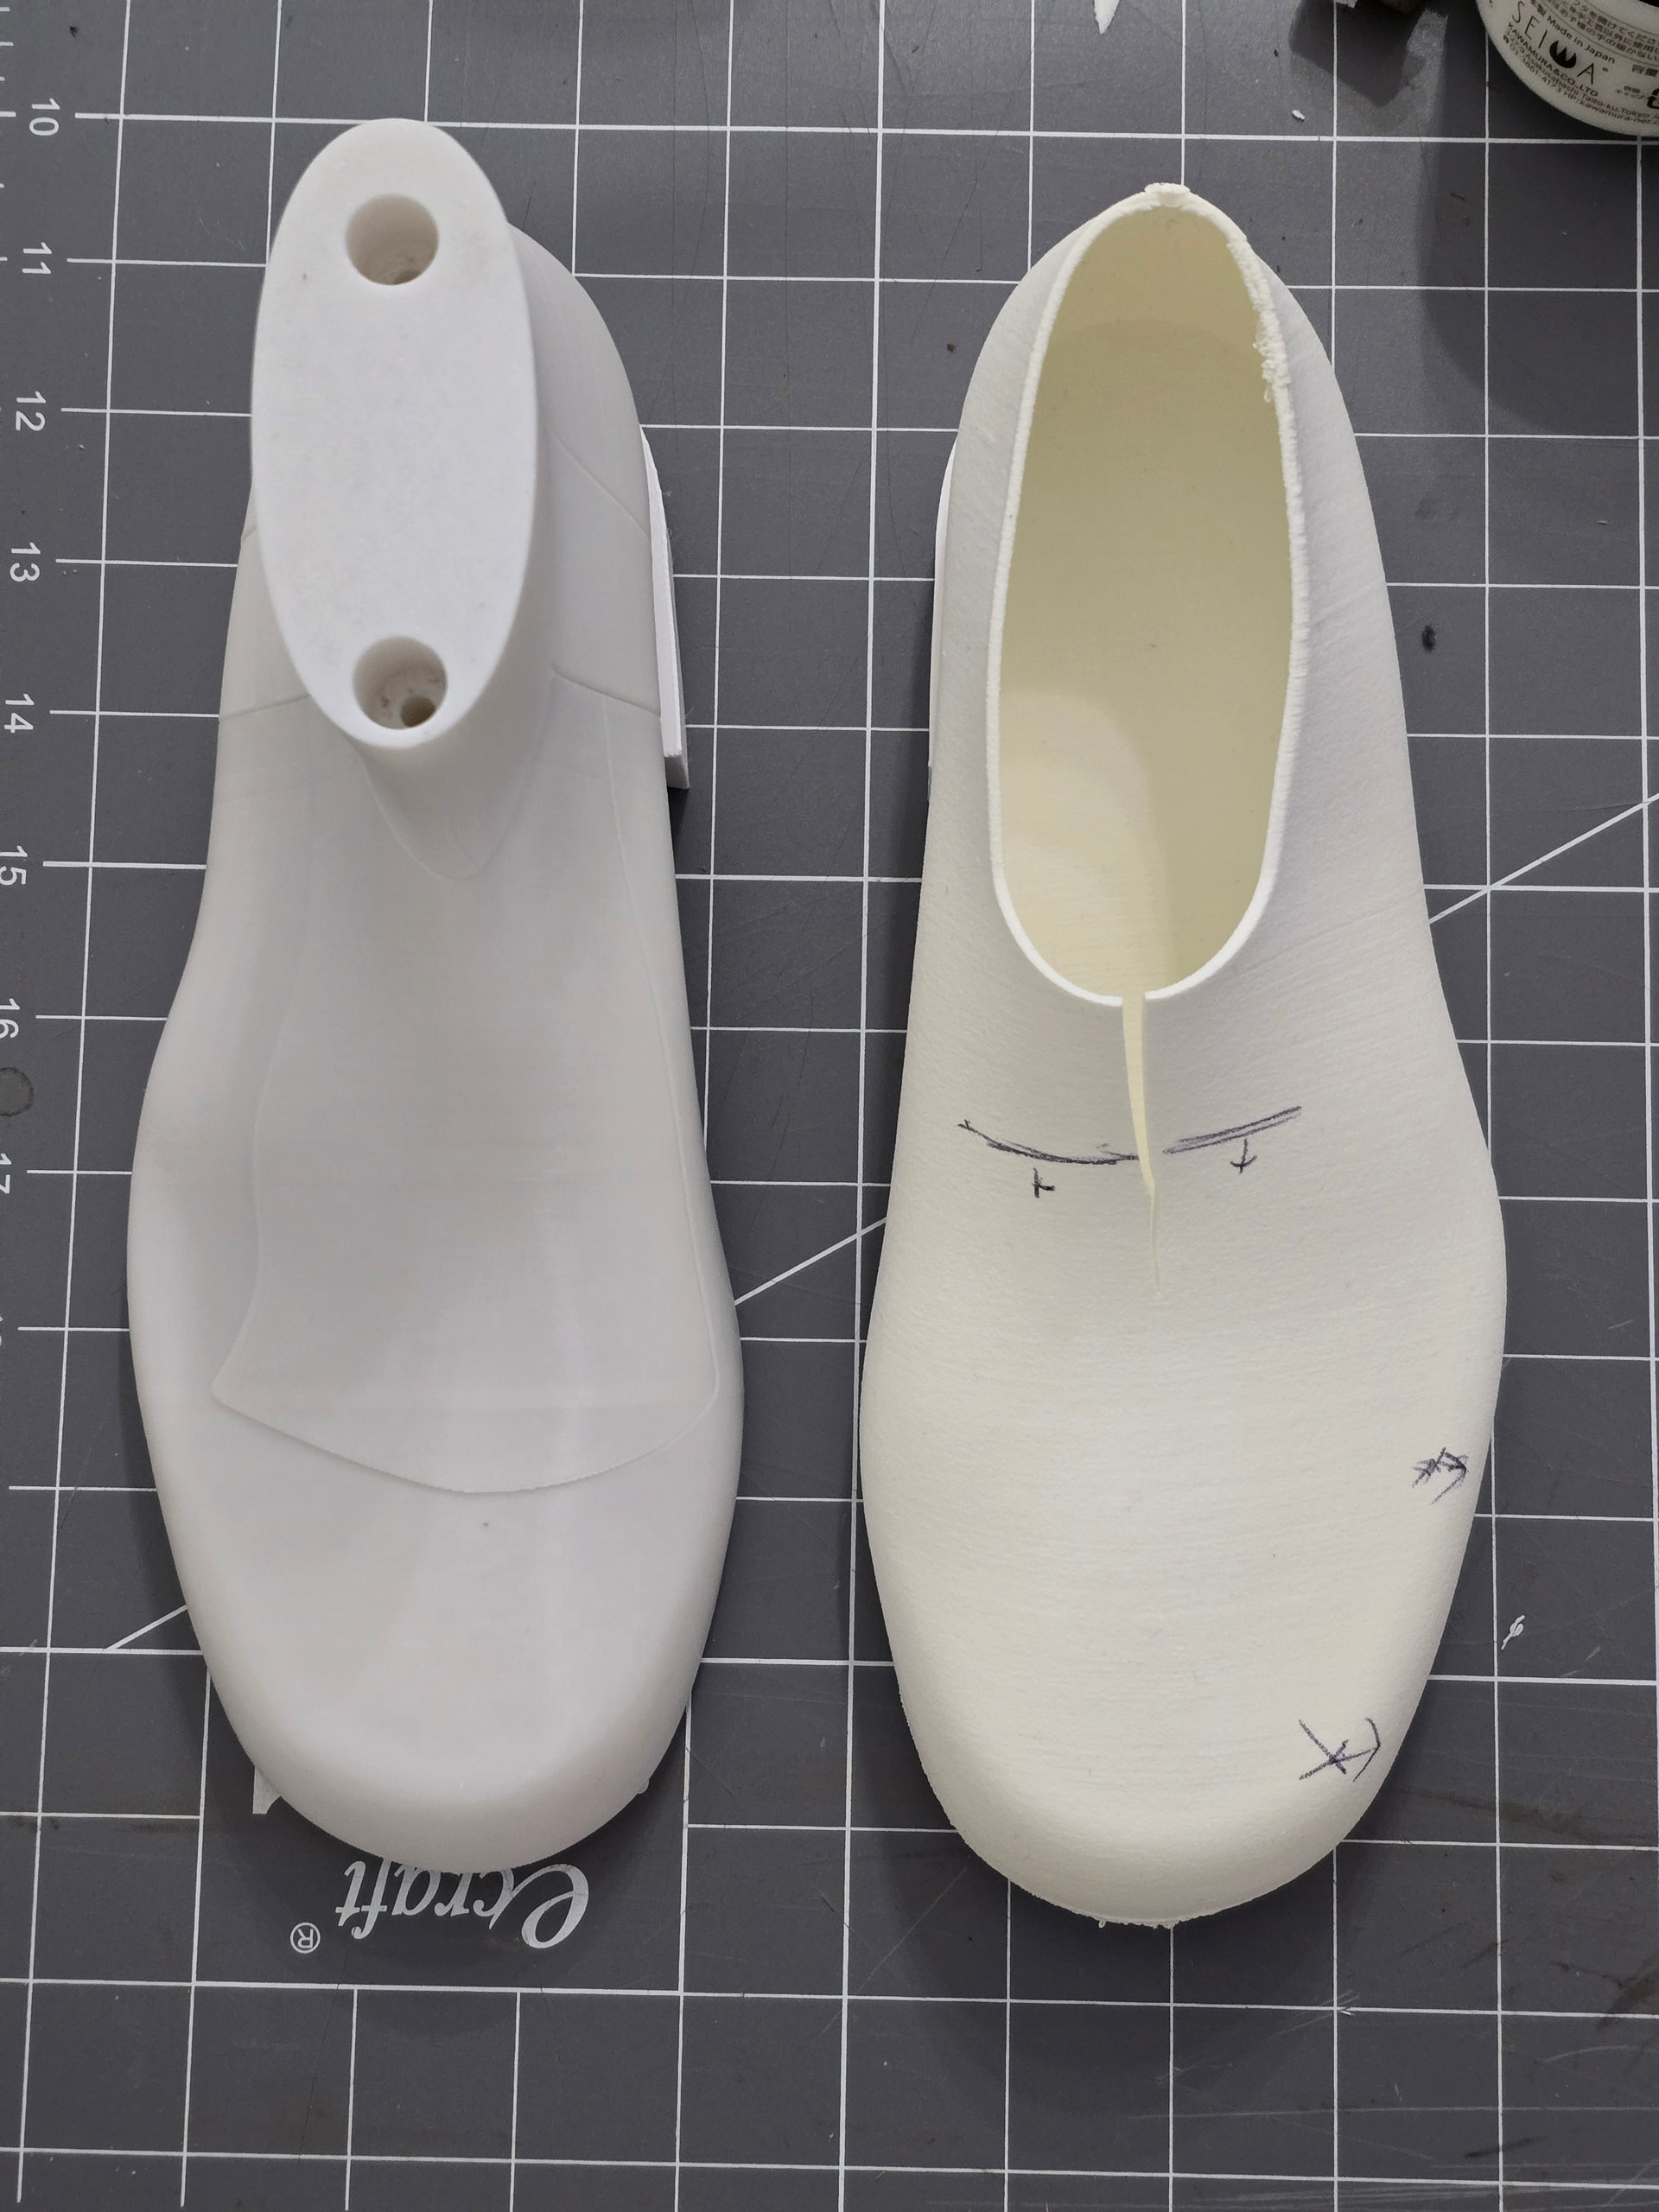
Can see the progression here from the first model to the most recent fitter and all the changes. Good bit more room in the toebox now. Fitter is printed with a realistic thickness insole, so much better for looking at what the real proportions will actually be after all the leather stacks up.
The foaming TPU is interesting in that I can adjust the durometer while printing, so all in one piece, I can make the counter area, insole, and an area for a shank denser to give different amounts of flexibility in different areas if I so desire.
To quantify some costs, I’m using Jayo high speed PETG for the actual lasts and Siraya Tech foaming TPU for the fitters.
The PETG costs about $12 a roll. The TPU around $40.
For these boots, which are roughly a women’s size 8, I use about 2/3rds of a roll of PETG for a pair of lasts and about 15% of a roll of TPU for a pair of fitters. So cost wise, about $8 to print a pair of lasts and about $6 to print a pair of fitters. Now, with the fitters, I’m usually just doing one foot for the iterations until I get things close.
Updated last based on the changes from the fitters. Haven’t actually screwed it together yet, so ignore some of the part lines and the heel mockup sitting a little too far forward.