Pair 5: Mulligan Derby Boots

This will be a do-over of Pair 4, abandoned as a casualty of glaring patterning errors.

I want to keep edges simple on this pair, but also want to compensate for failure-feelings about the last pair by improving on the fundamentals of the pattern. In particular, I’m planning on non-overlapping lining and upper quarter-vamp seams, inspired by the Seidich Uppermaking book.

1 Like

Foam and Paper Pattern Proof

I decided to do another mock-up with foam shelf liner. I’m using Con-Tact Grip “Premium Black Non-Adhesive Shelf Liner” again, this time in black for upper and white for lining.

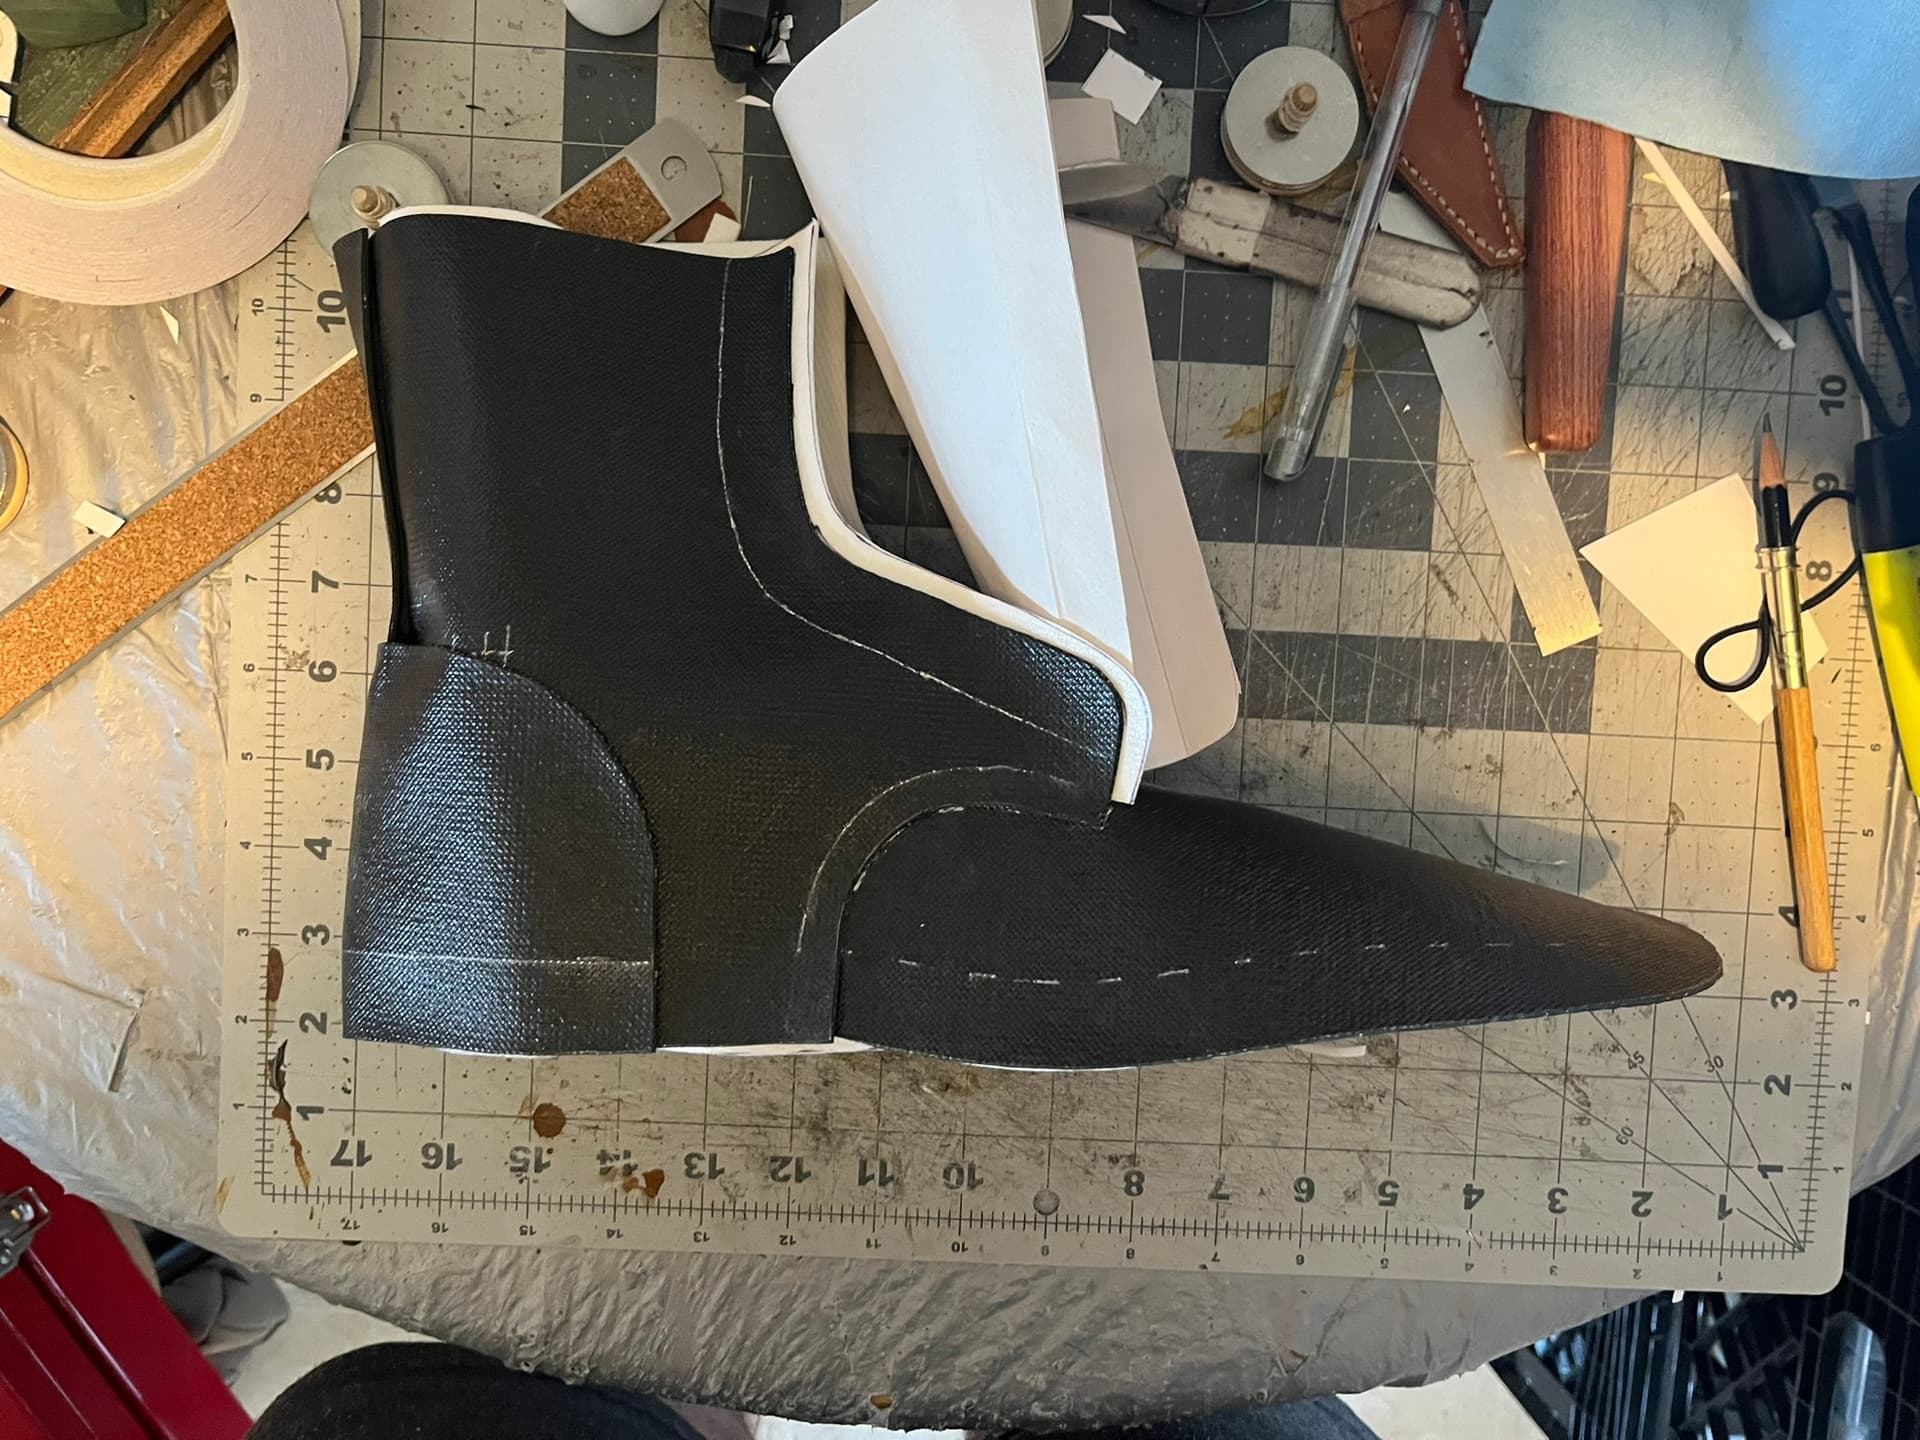
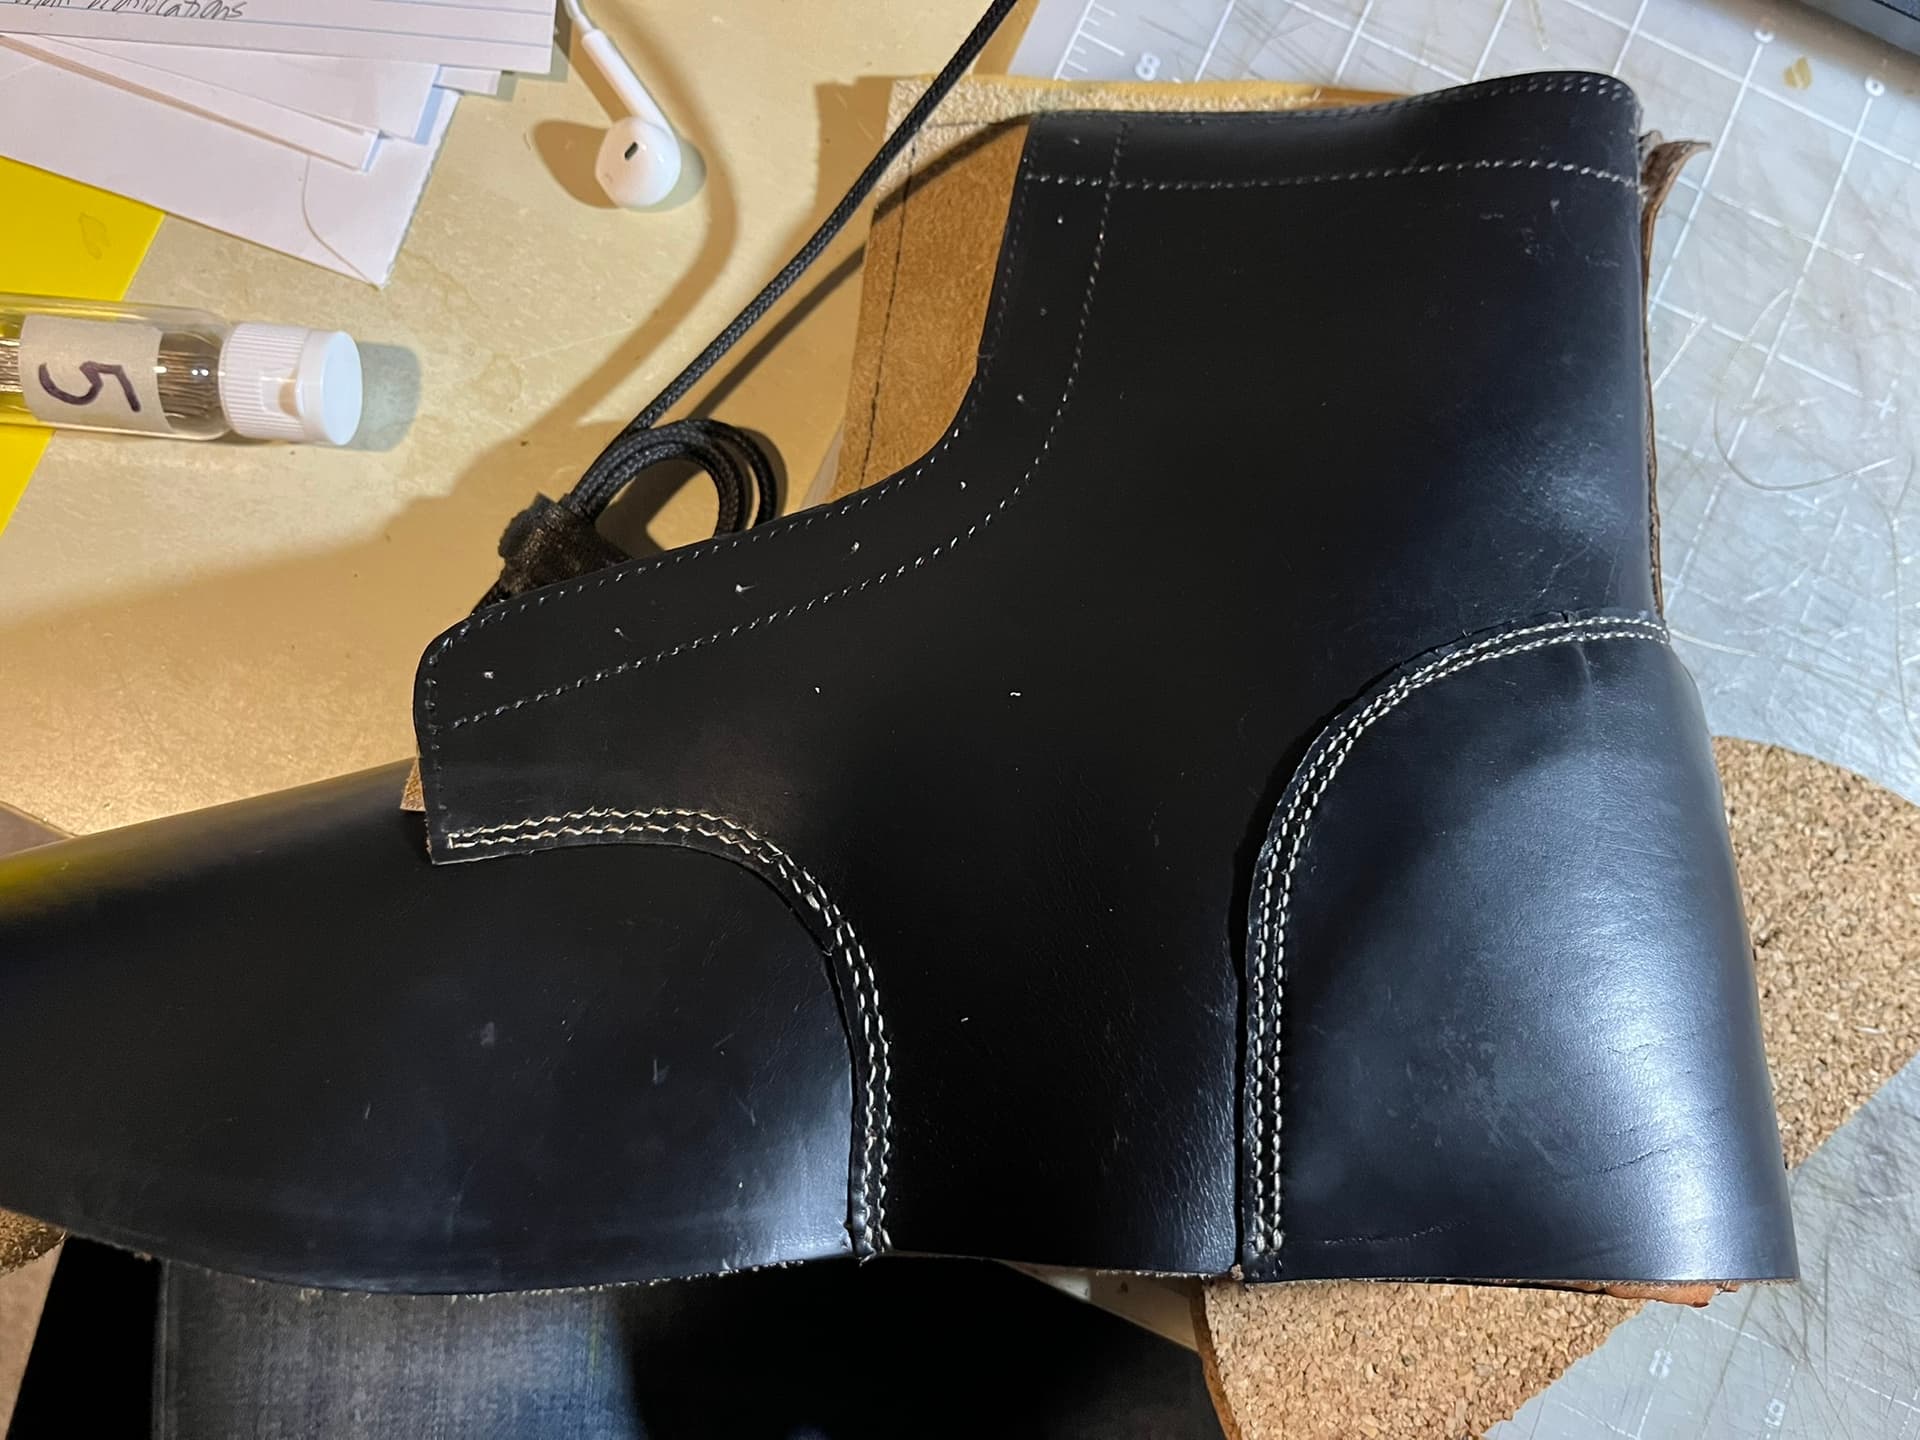
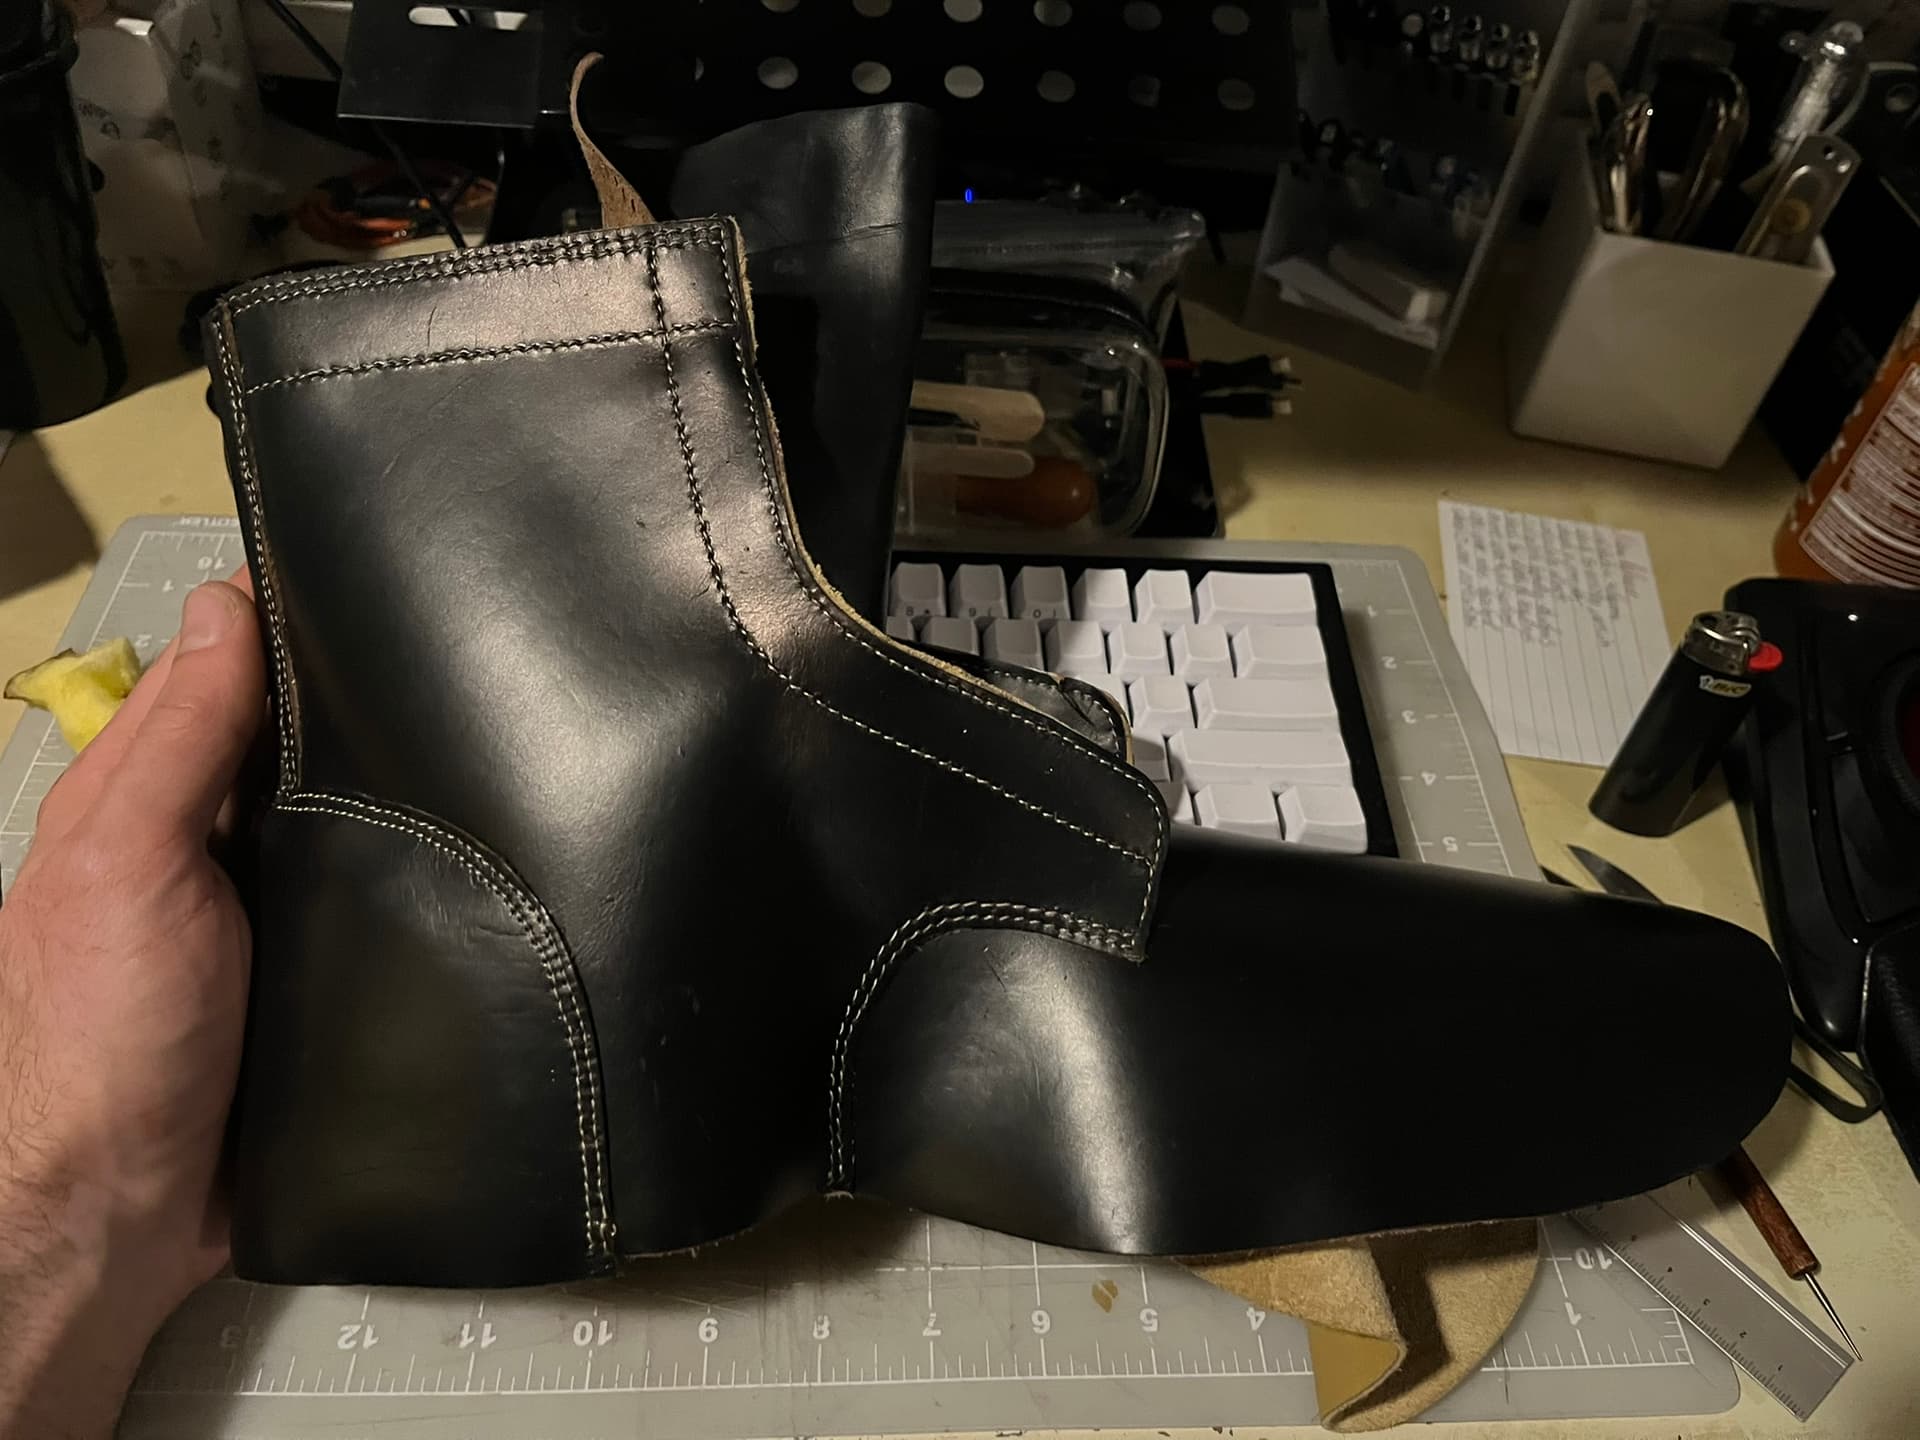
Here’s the fully assembled mock-up over the last, on its side. The lines at bottom mark lasting margin.

Oh, basting tape, how many ways are there to love you? I got a couple rolls of ¼- and ⅛-inch tape a while back, I believe as an add-of to a Springfield Leather order for some belt parts, and have really enjoyed using it since. It can be a little fiddly peeling the backing off, but from there, I’ve been really impressed with the adhesion on leather, foam, and even paper. It’s definitely more expensive than liquid glue, but well worth it for me.

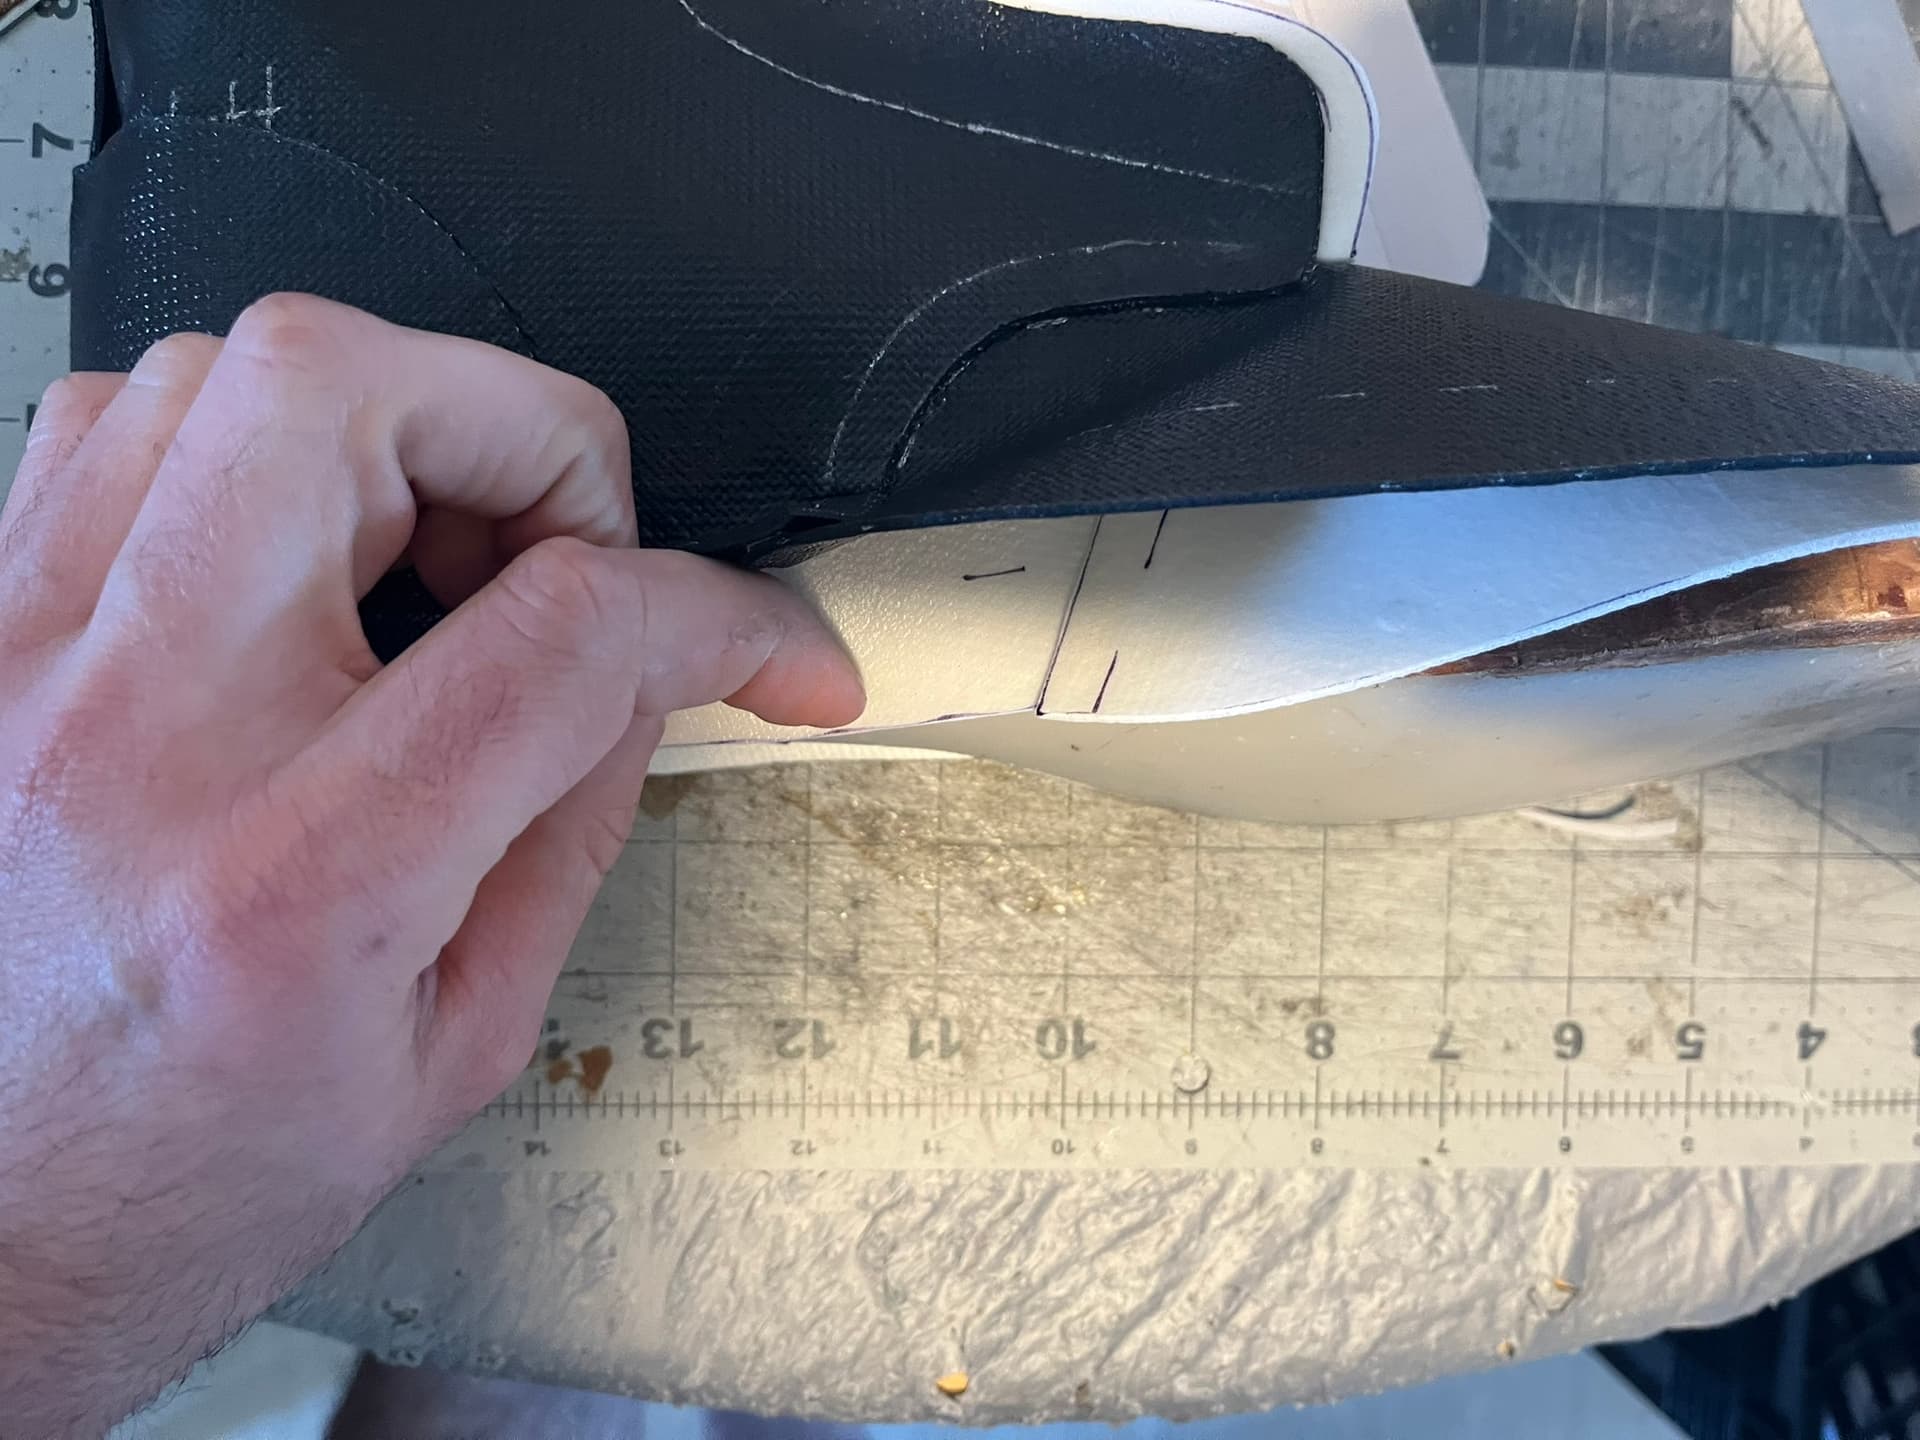
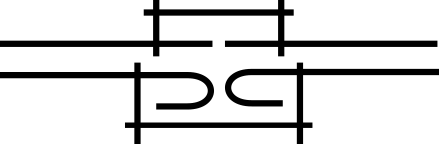
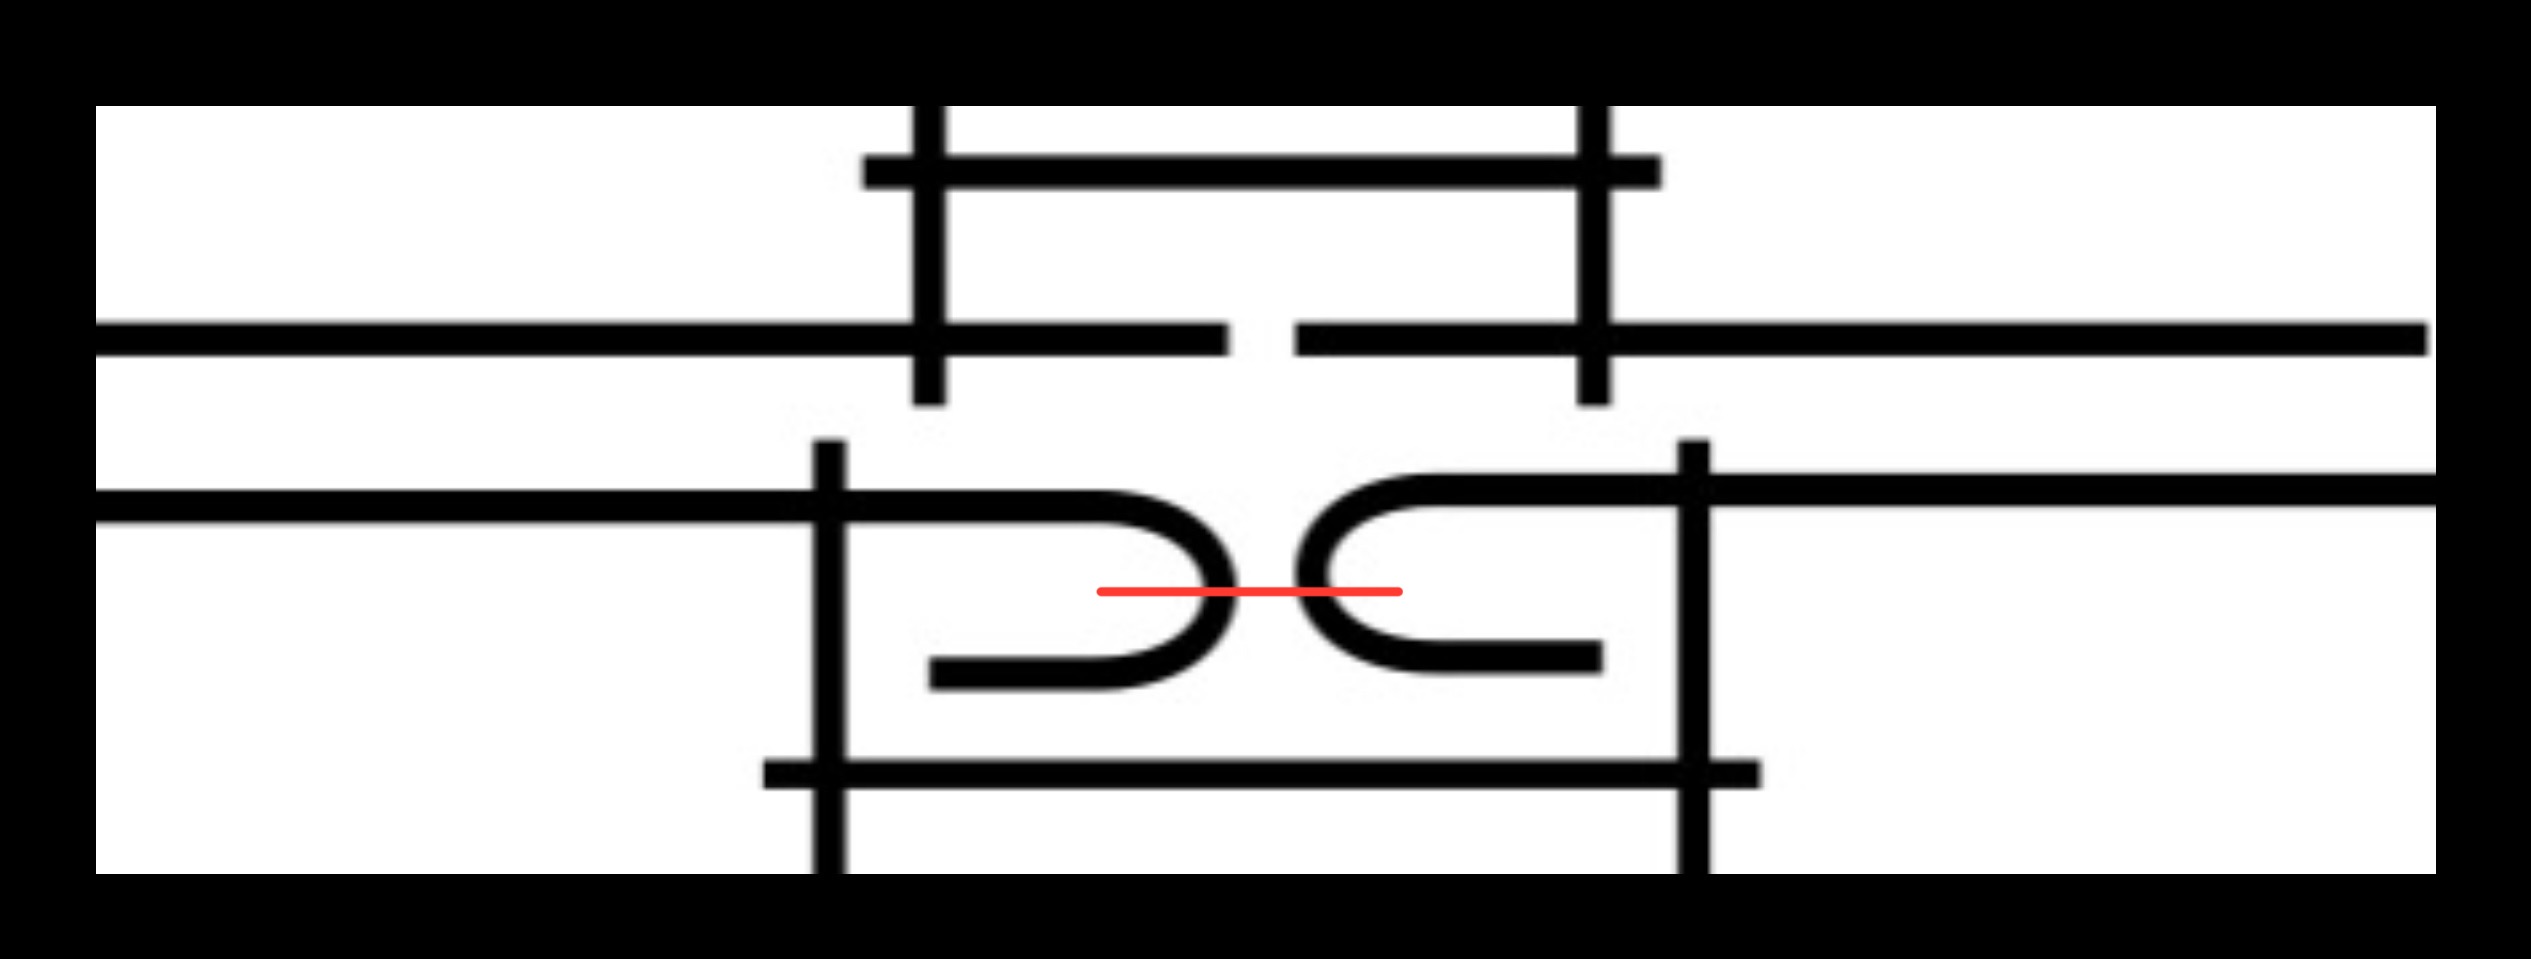
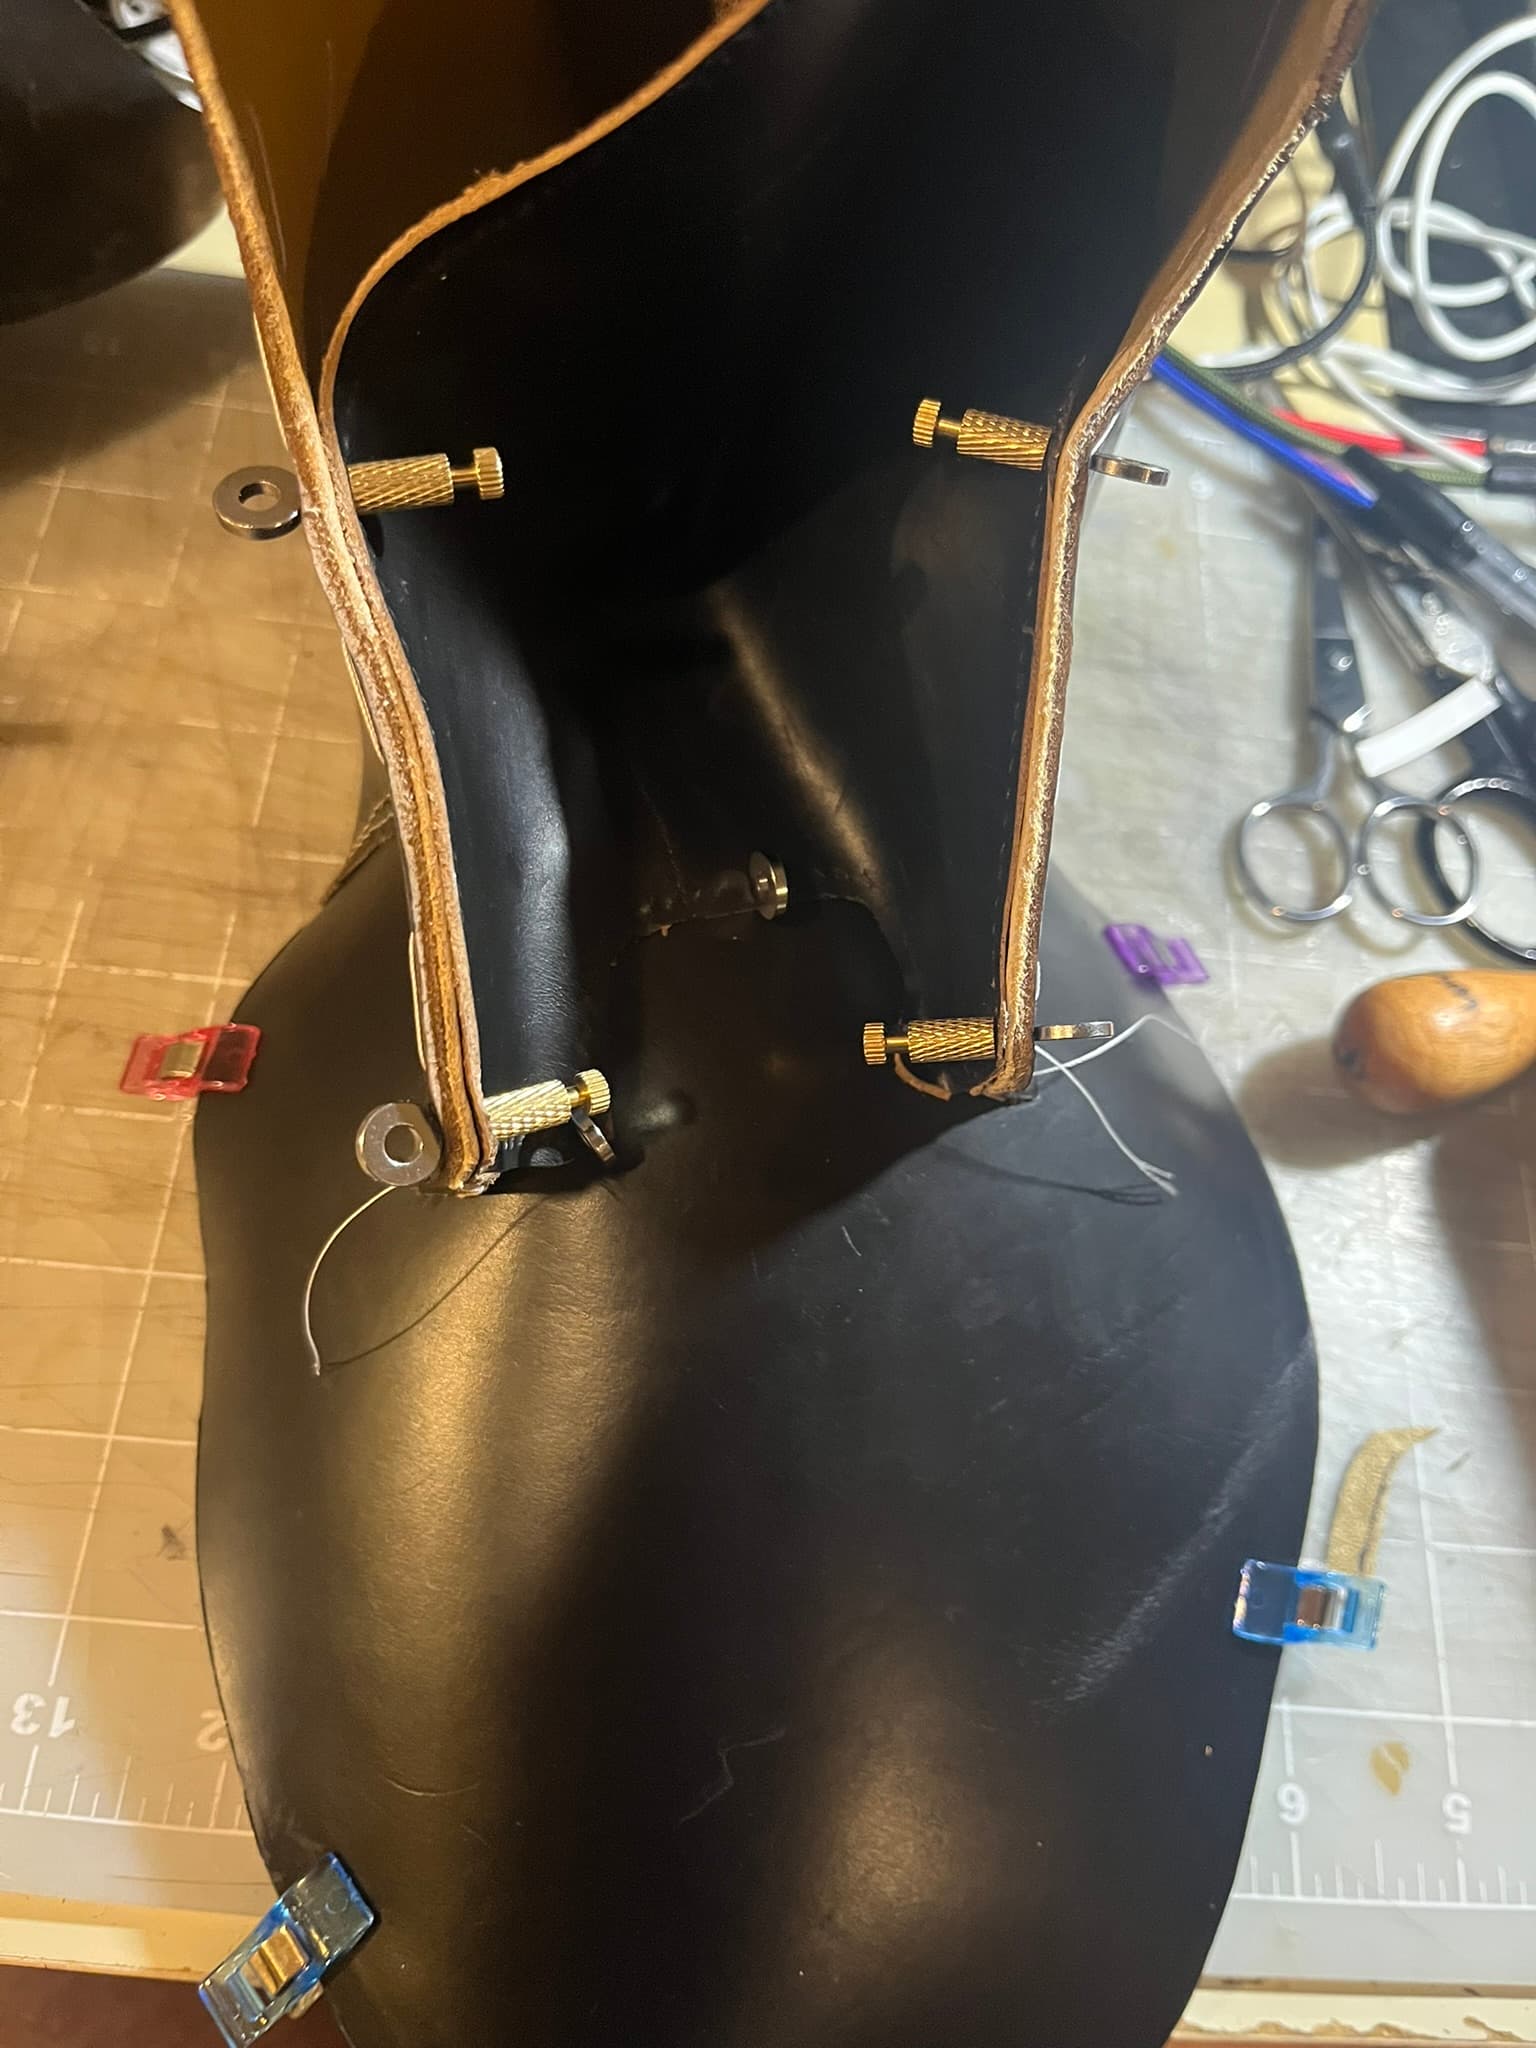
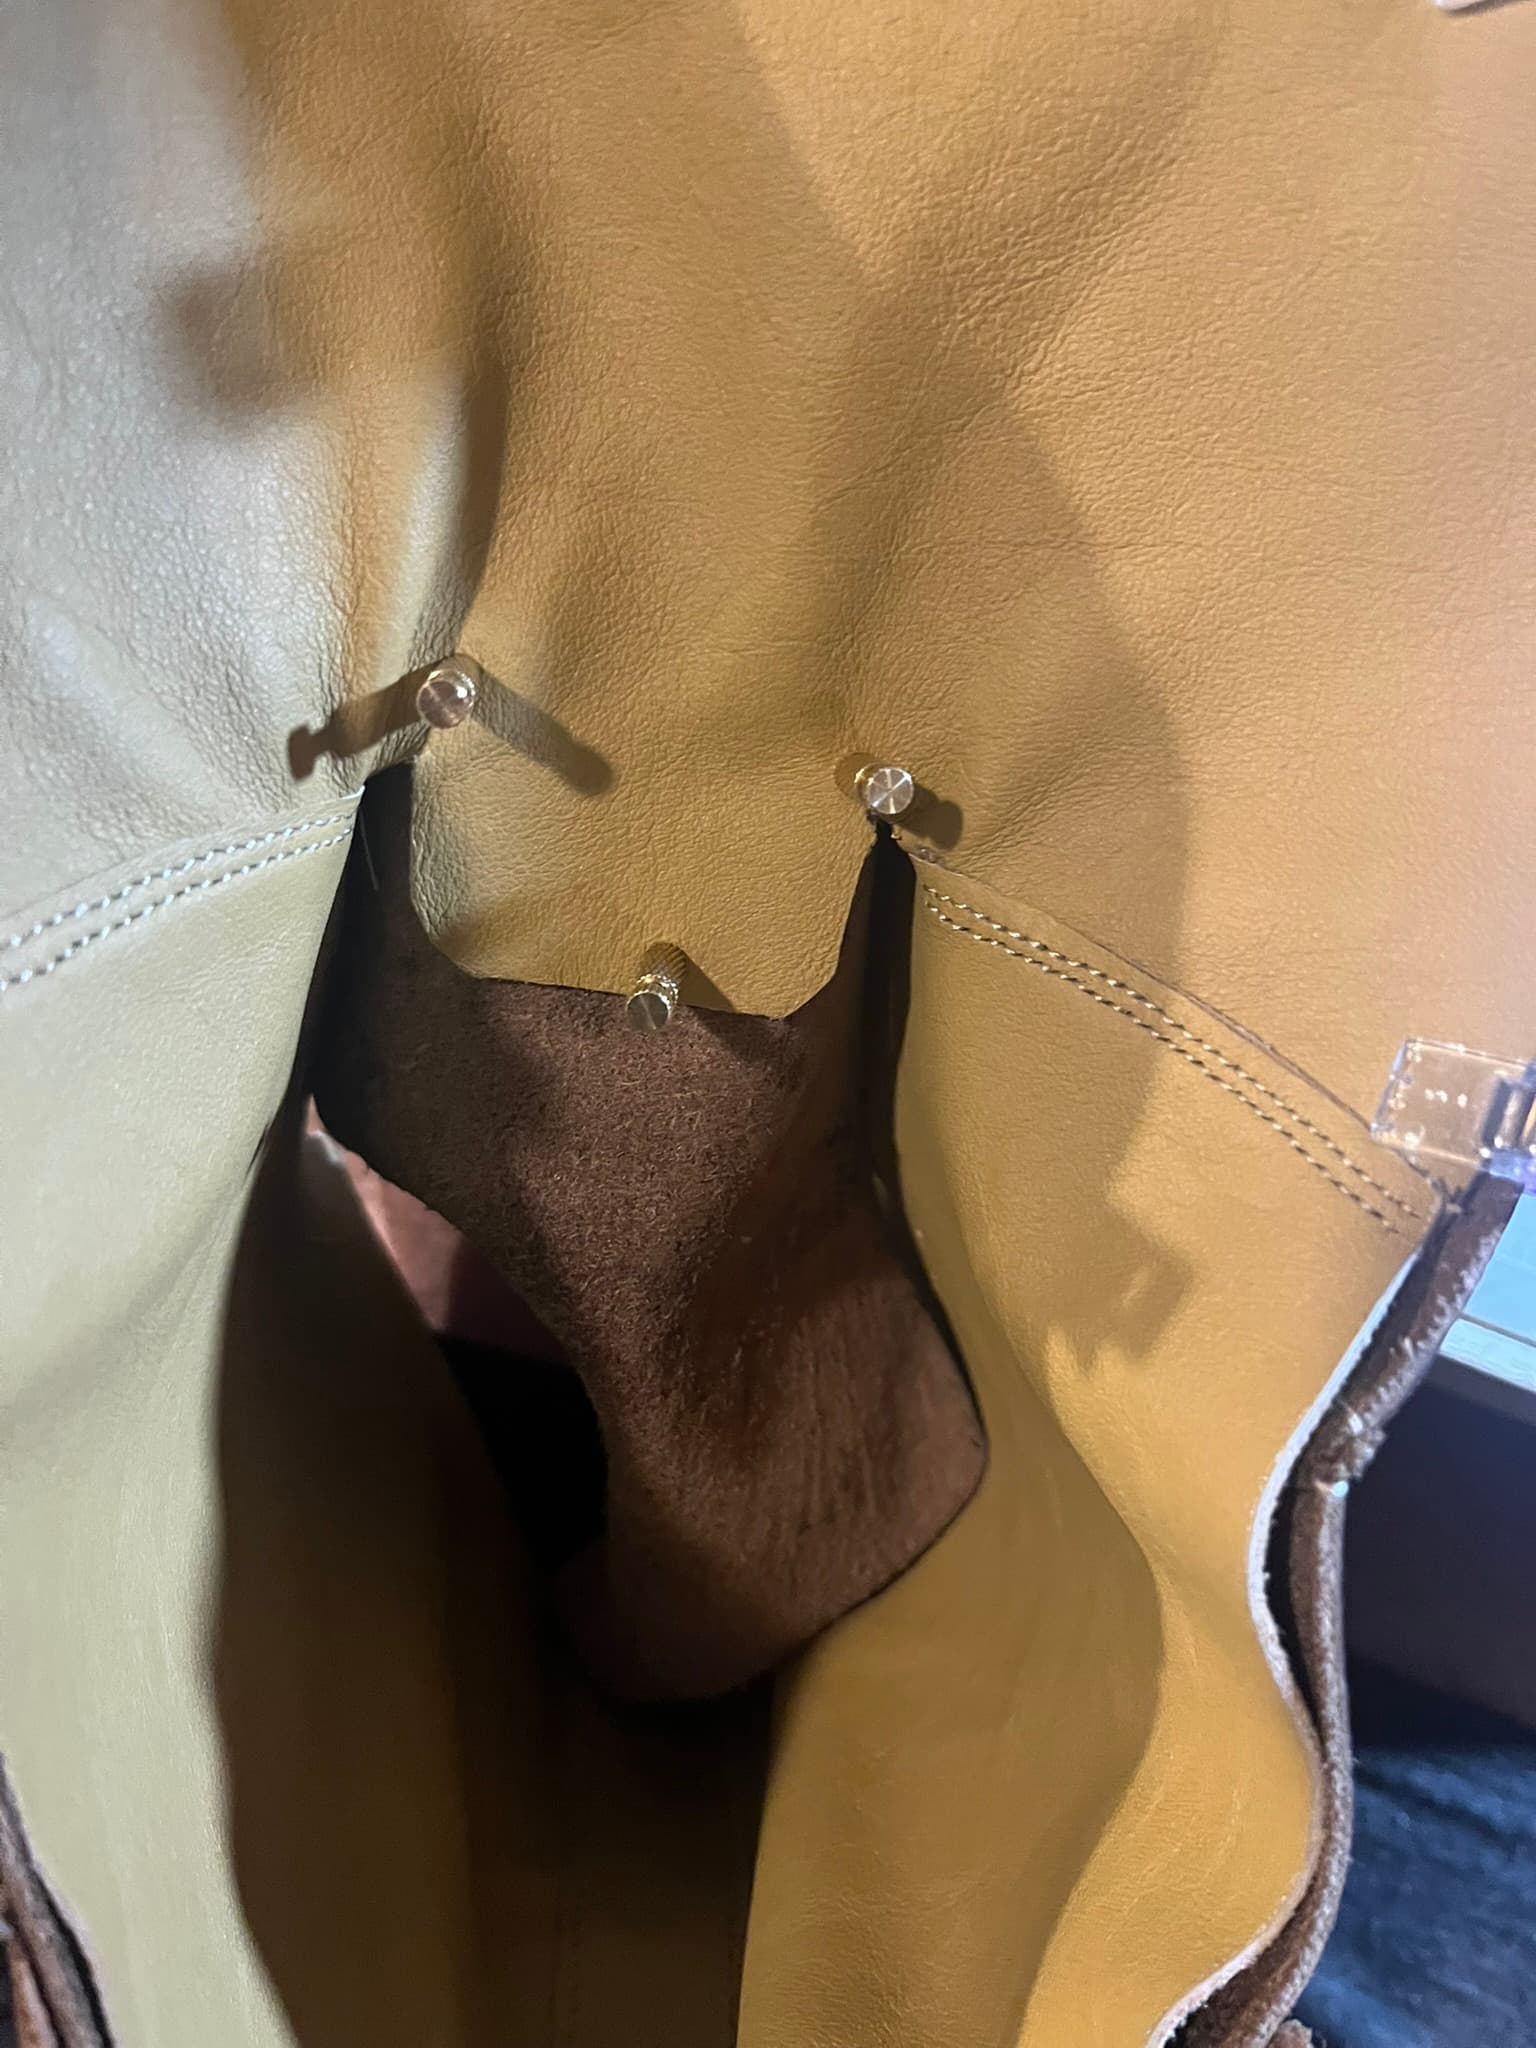
Here I’m lifting up the upper pieces to show part of the lining seam beneath. Per the Seidich’s descriptions, the two seams meet and only slightly underlap at a “fitting point” under the quarter tabs, just behind where the stay stitches will eventually run.

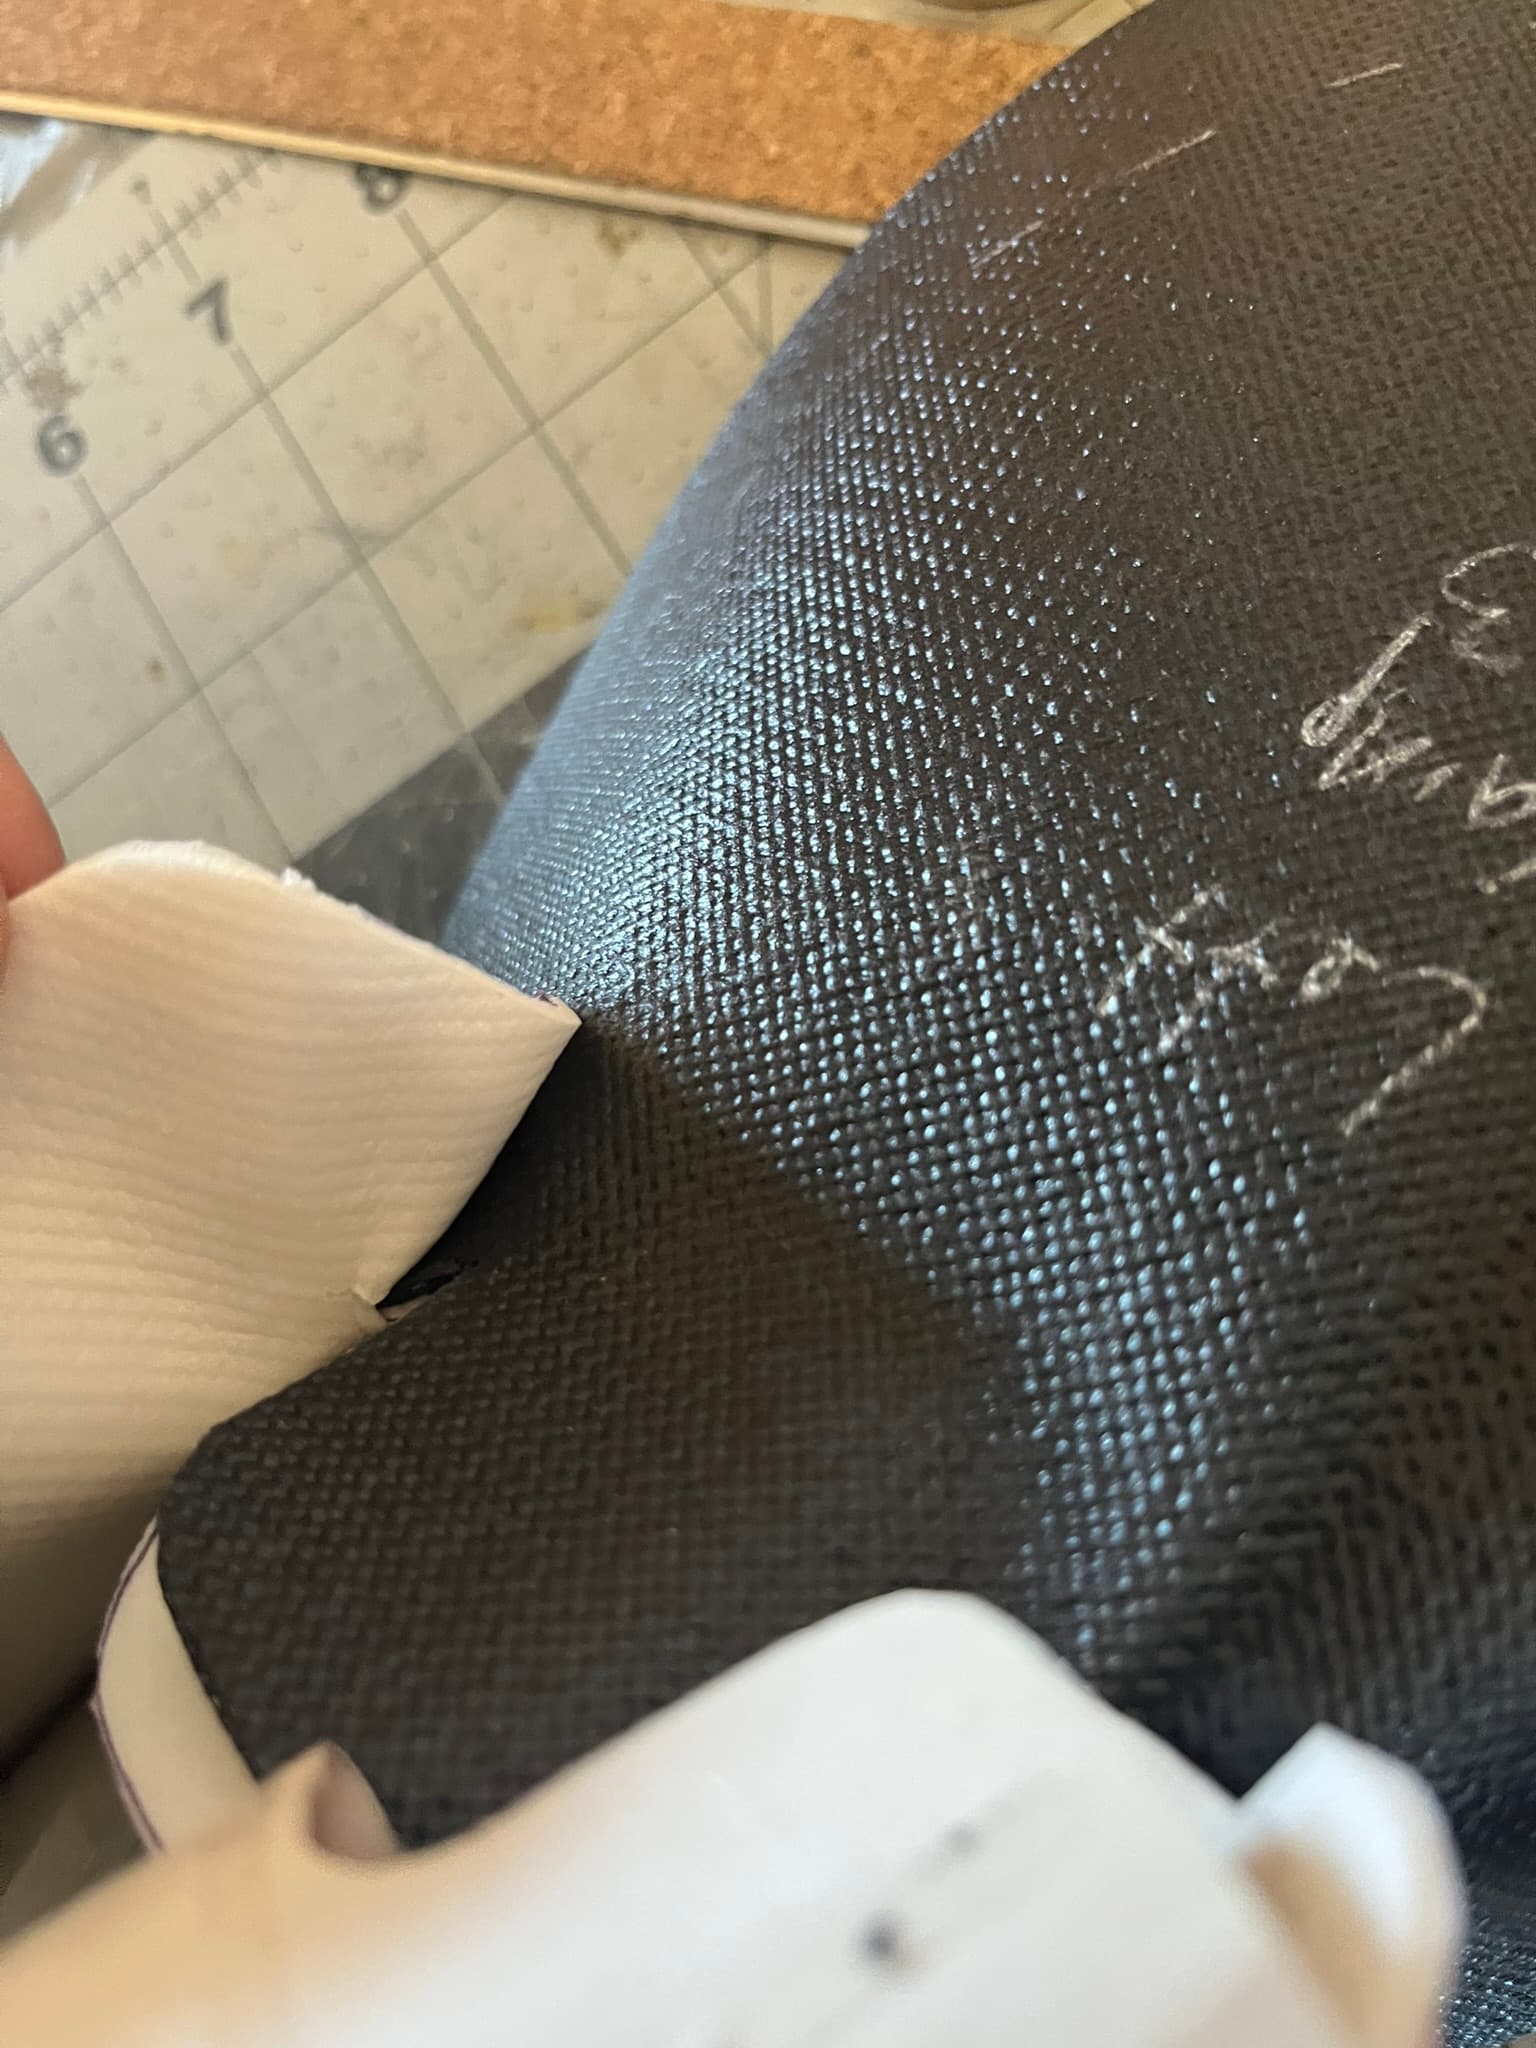
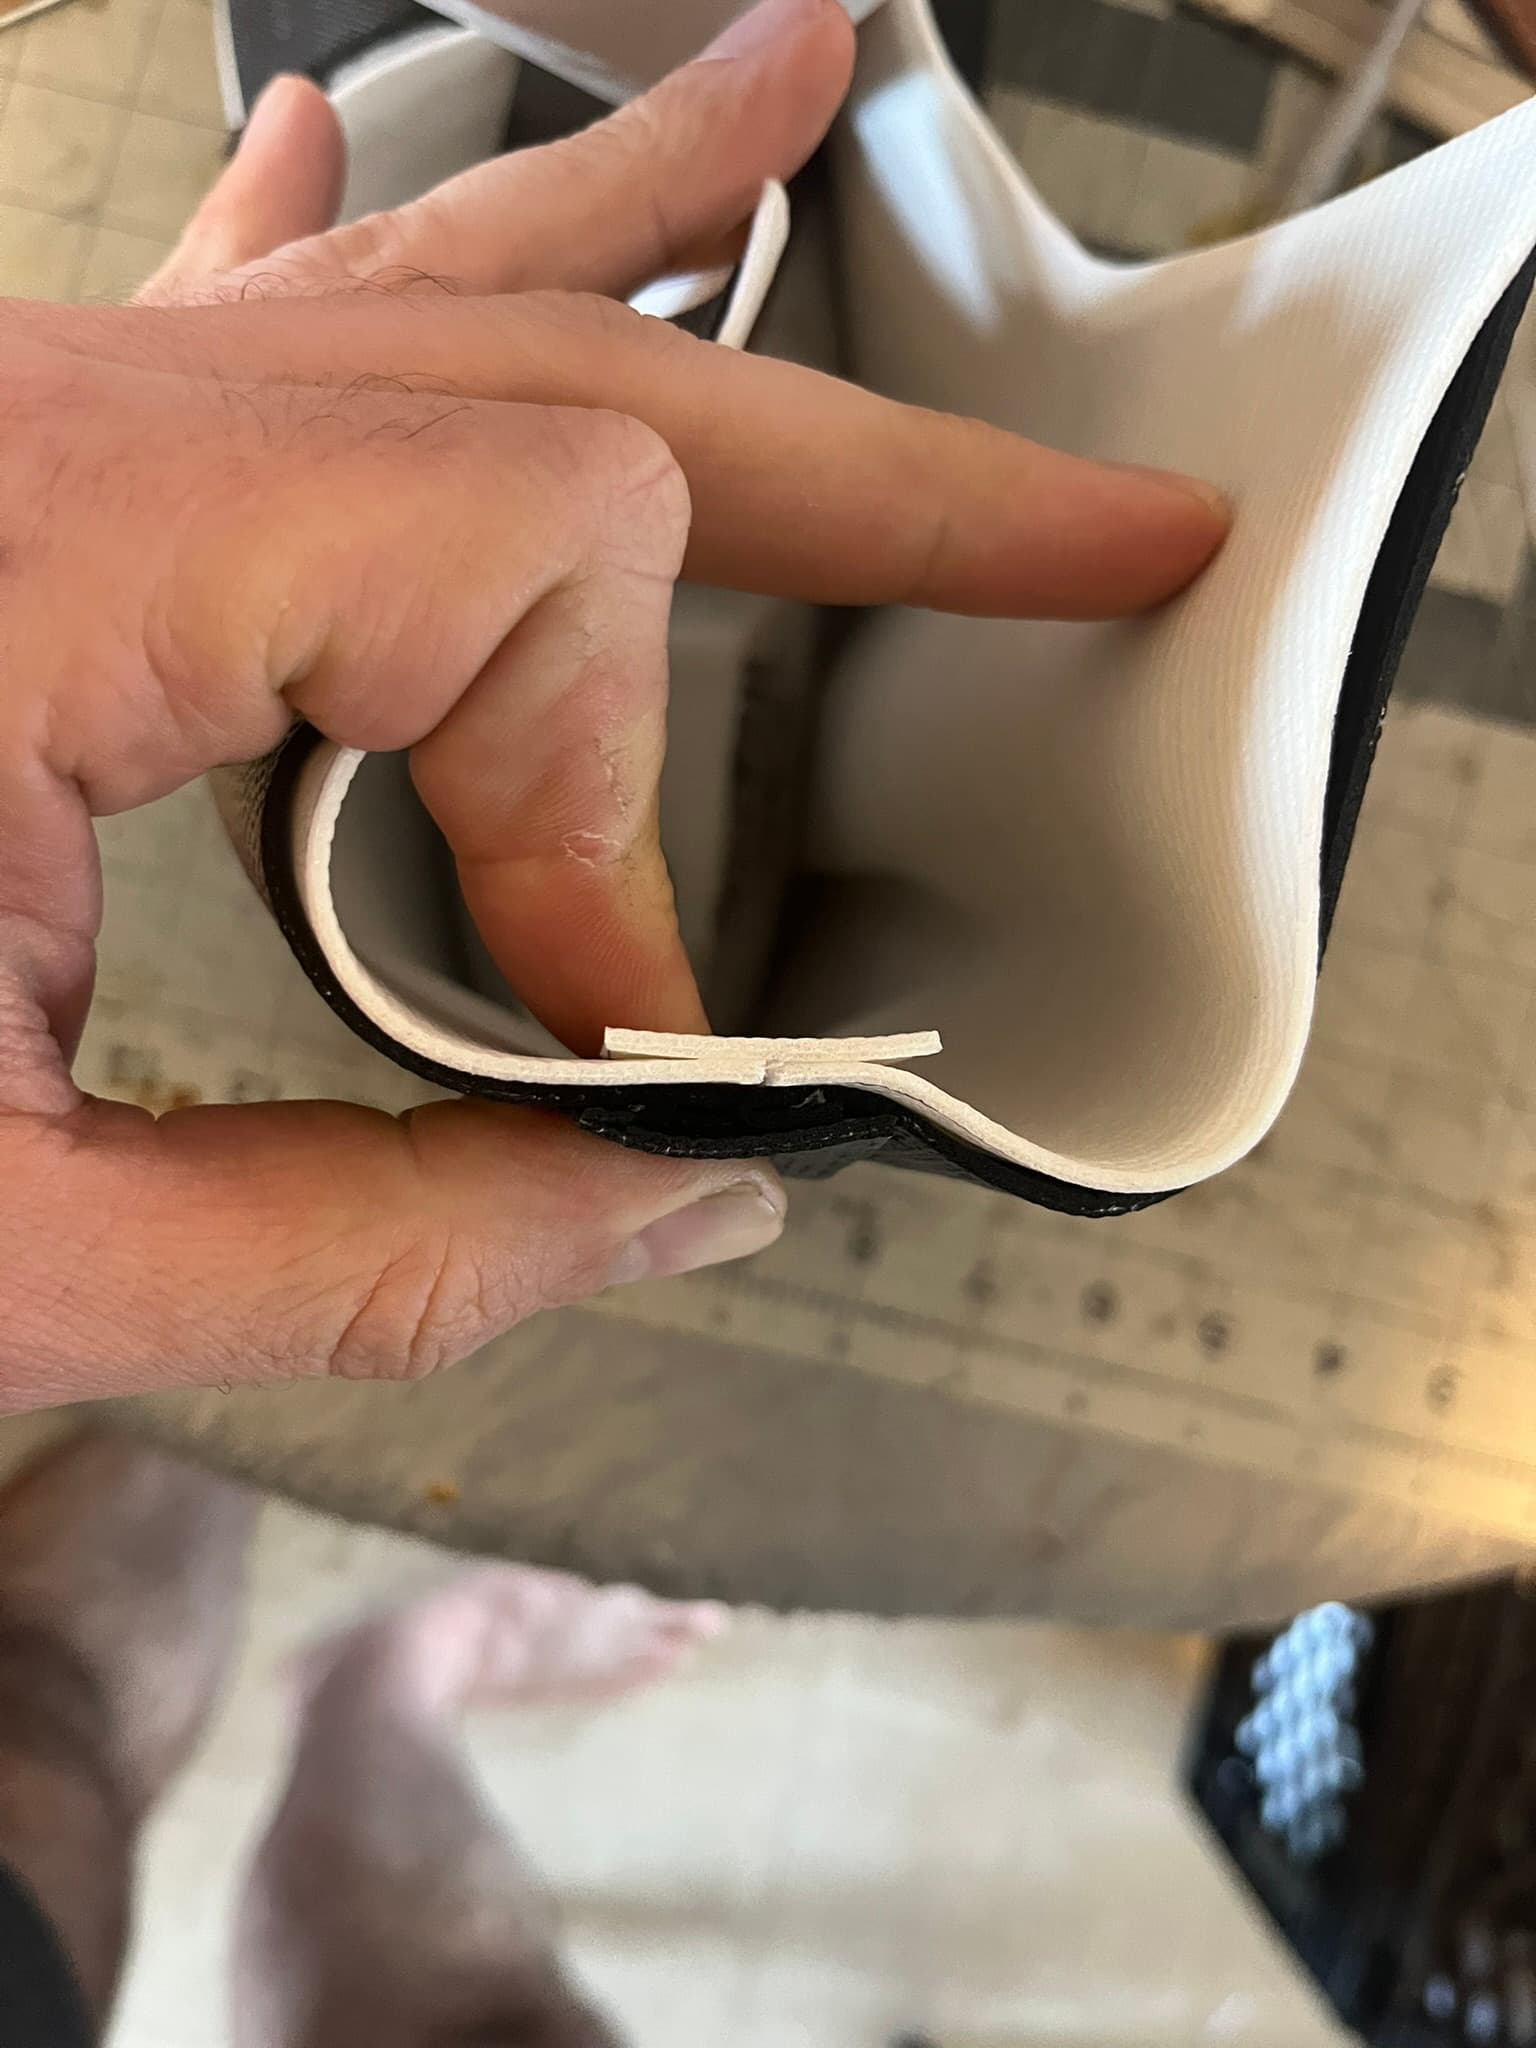
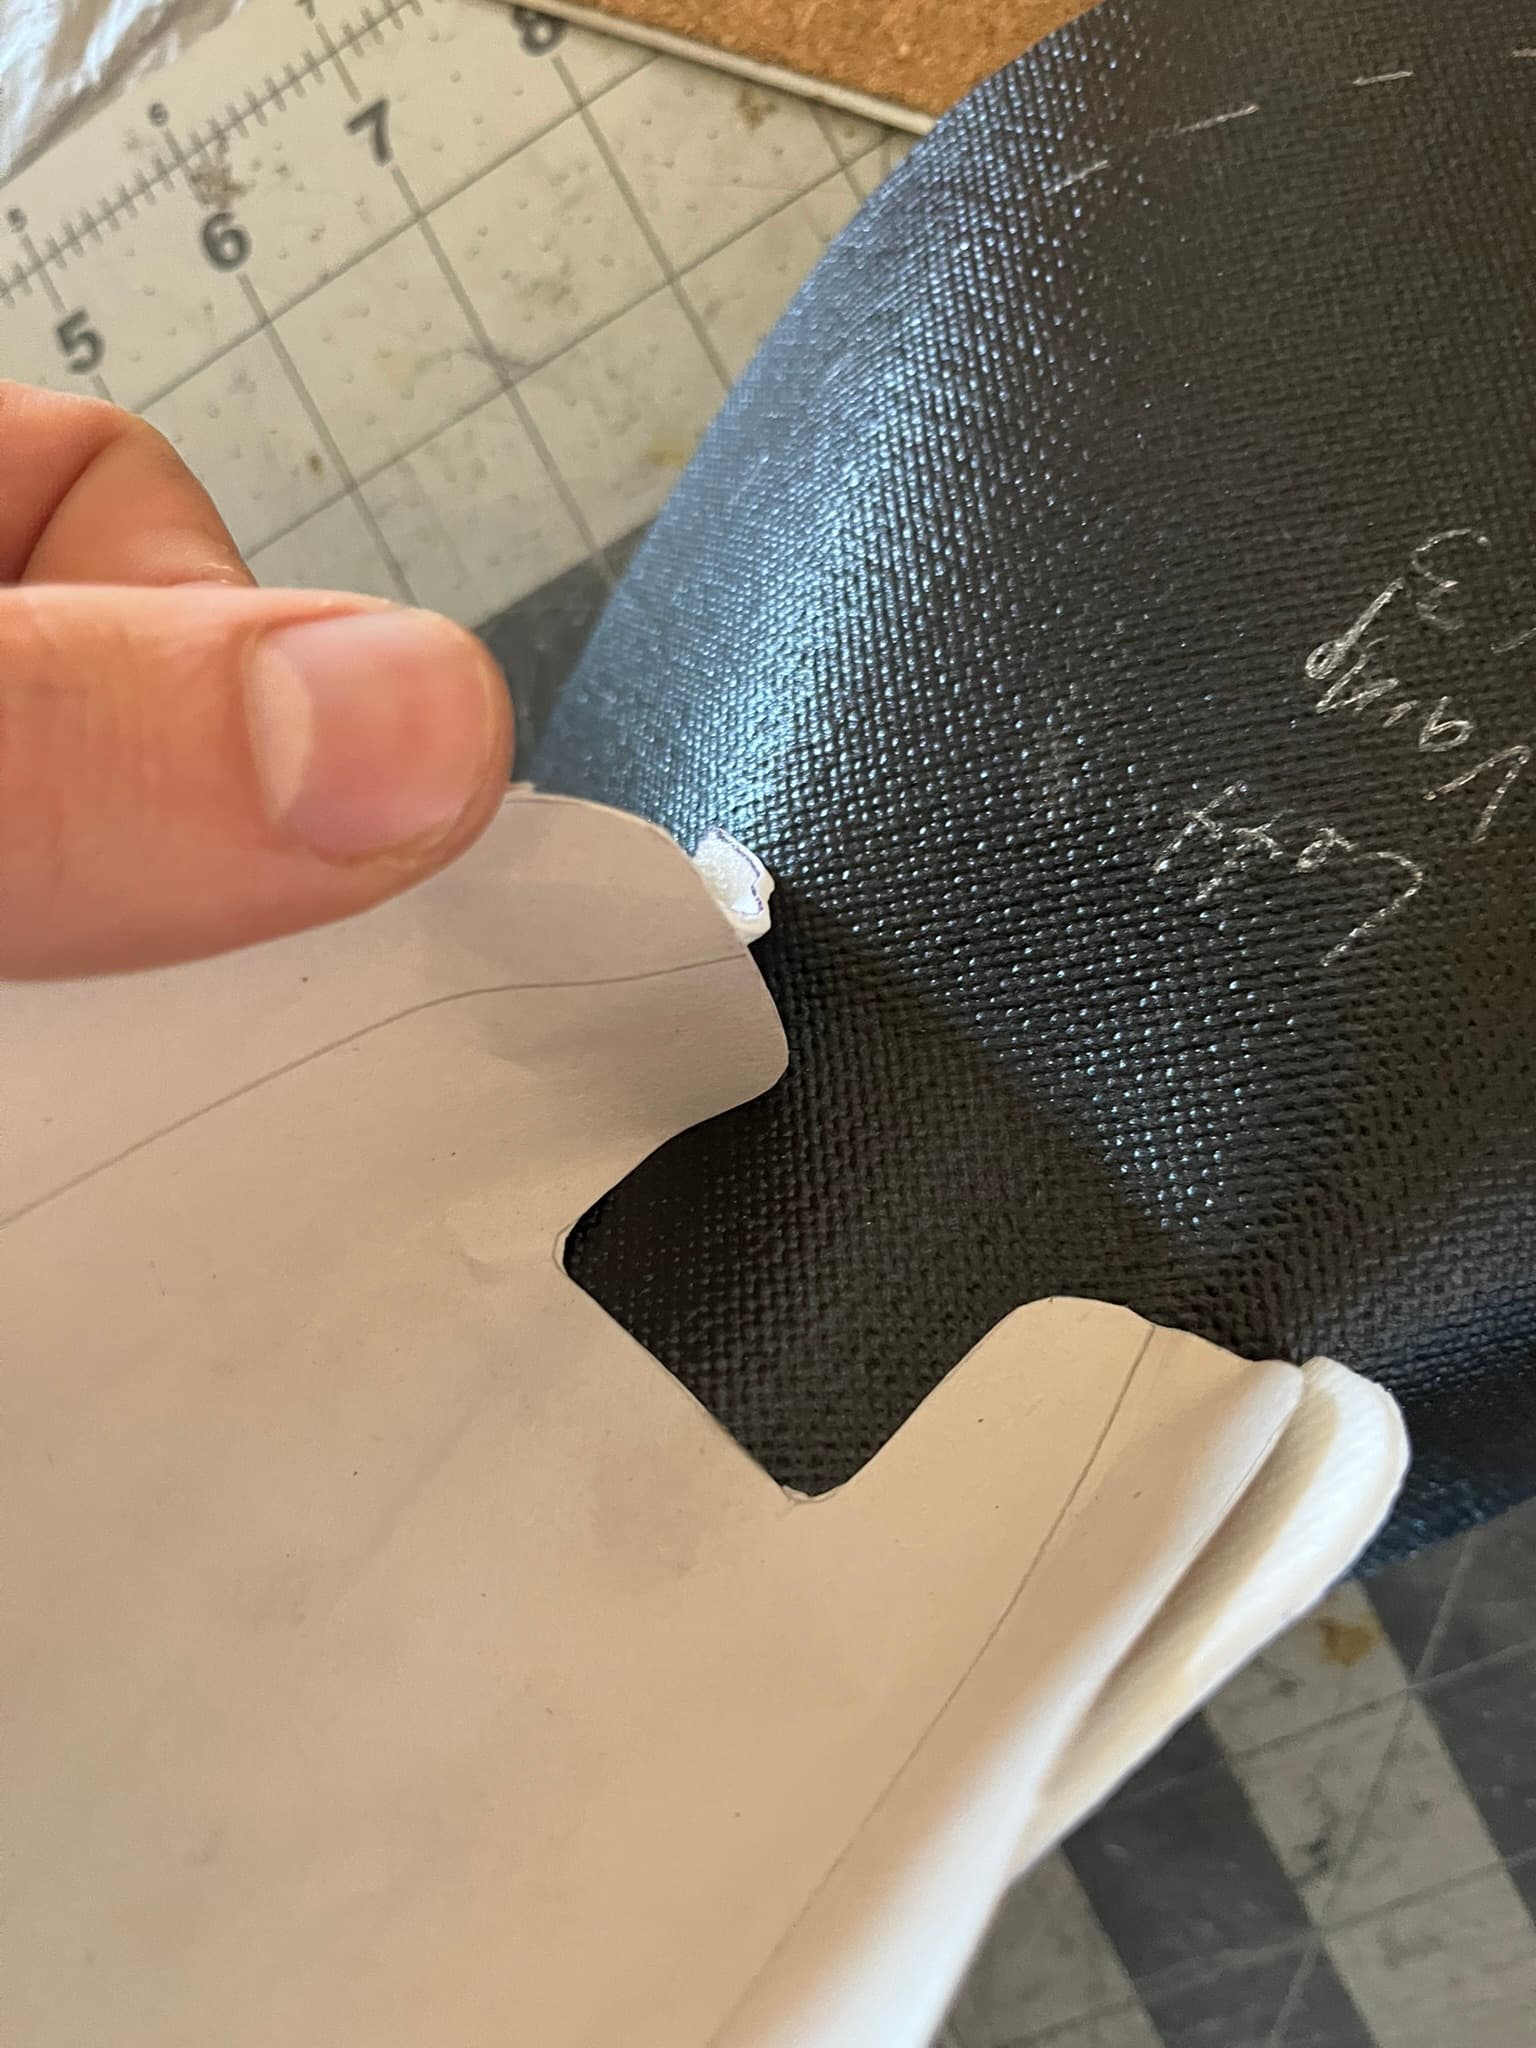
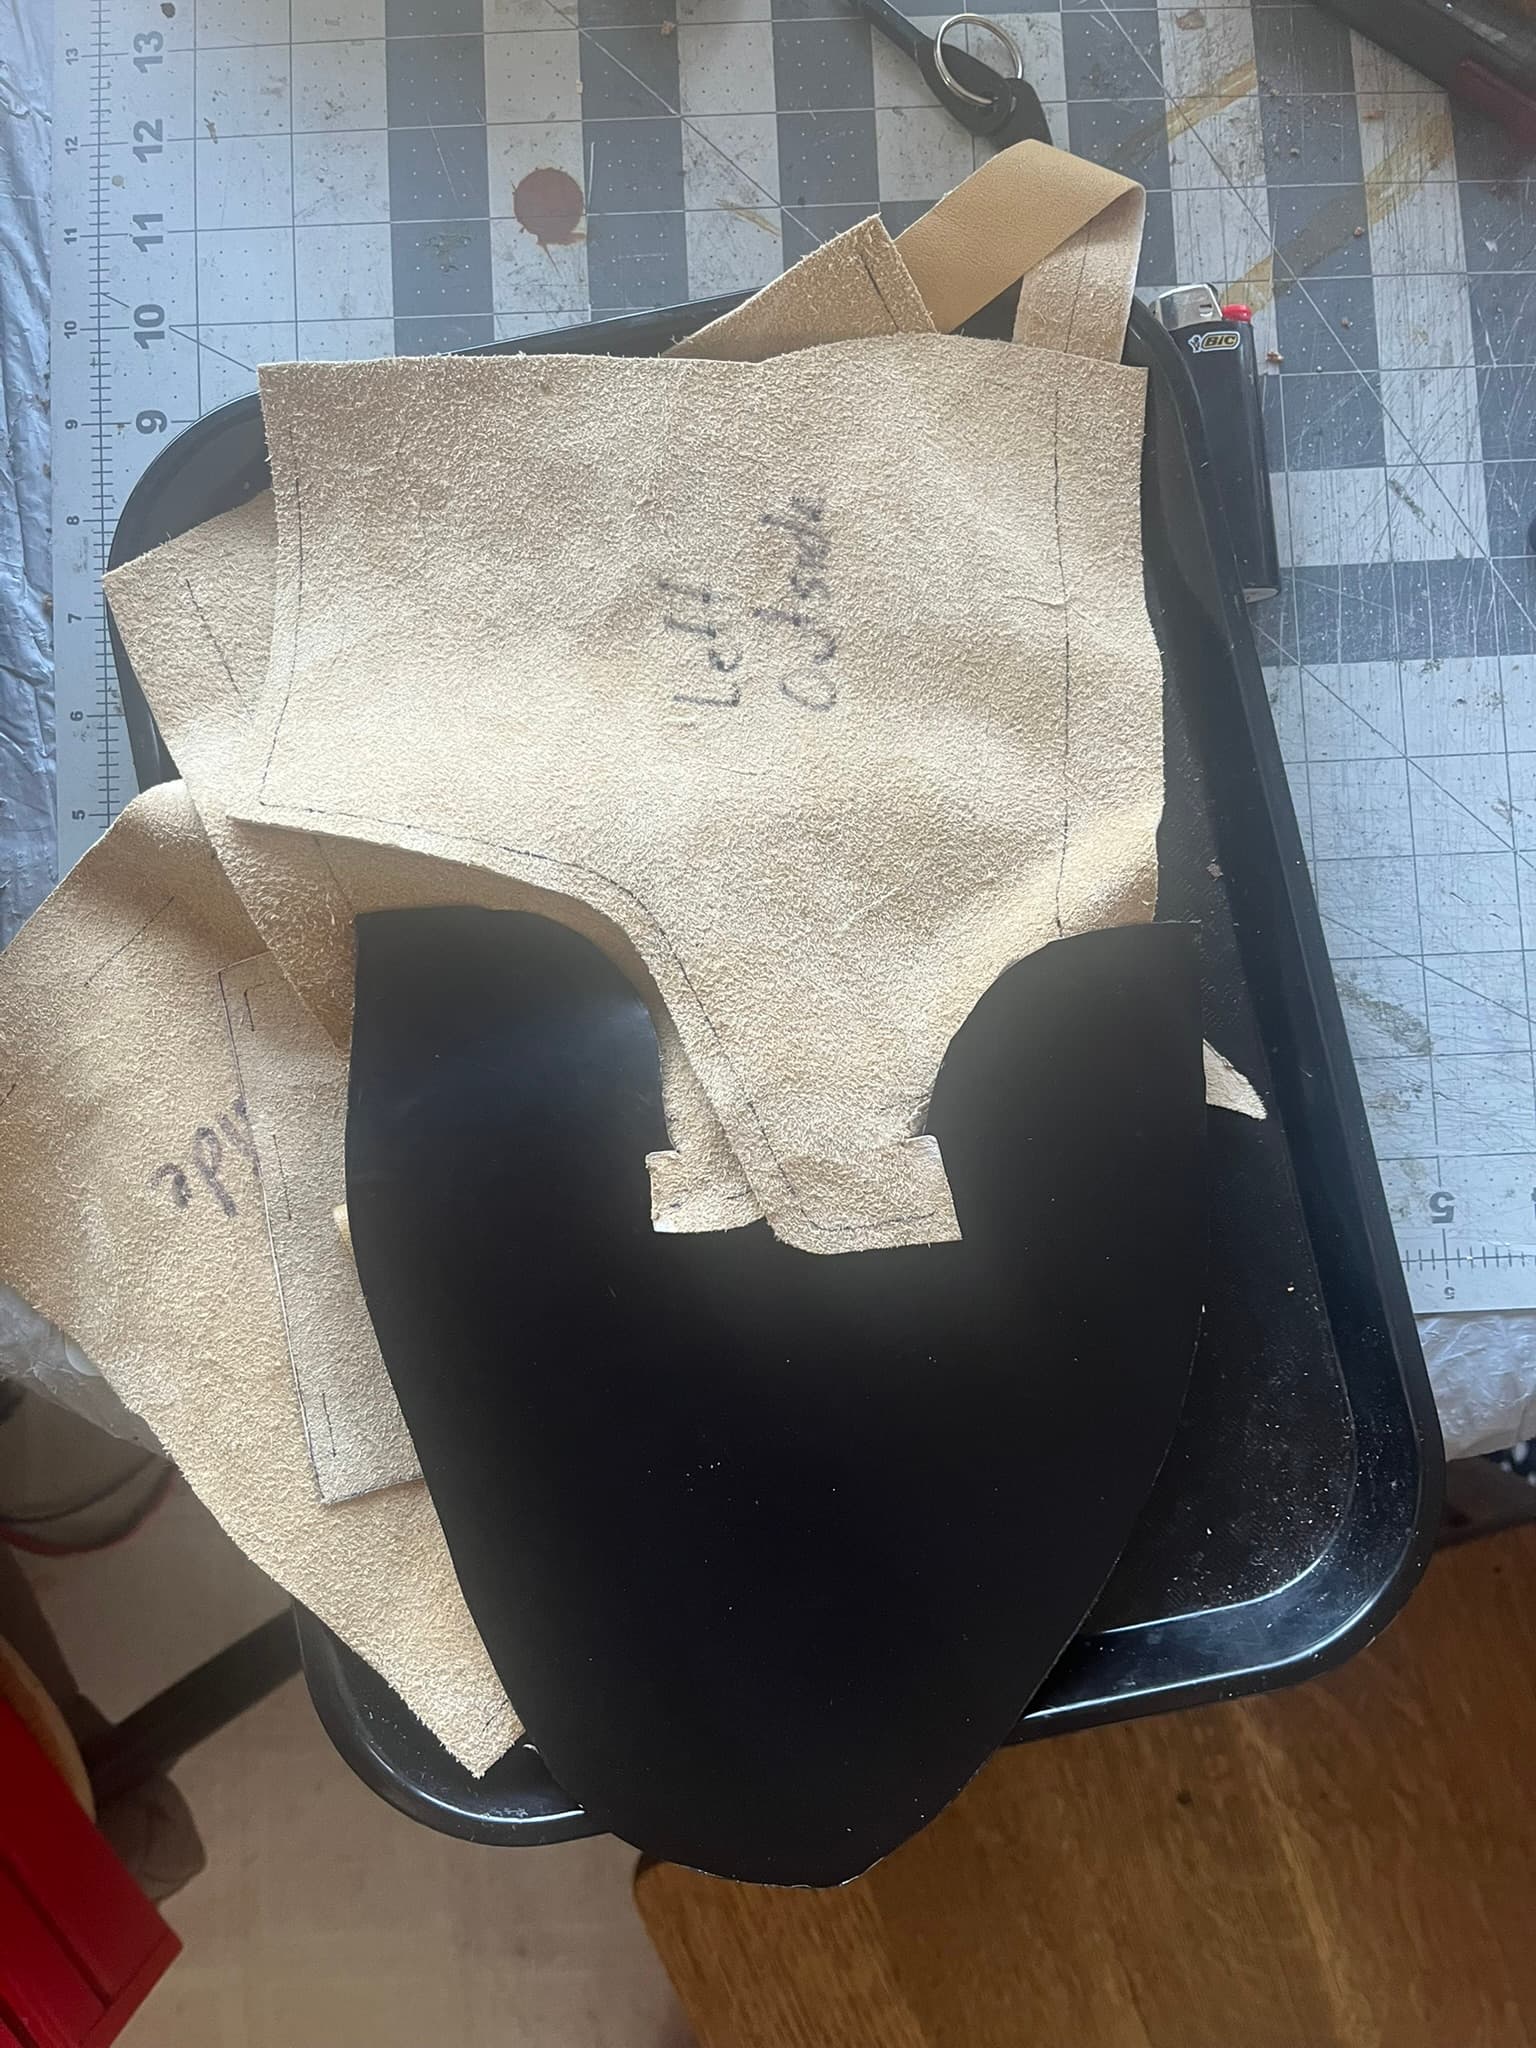
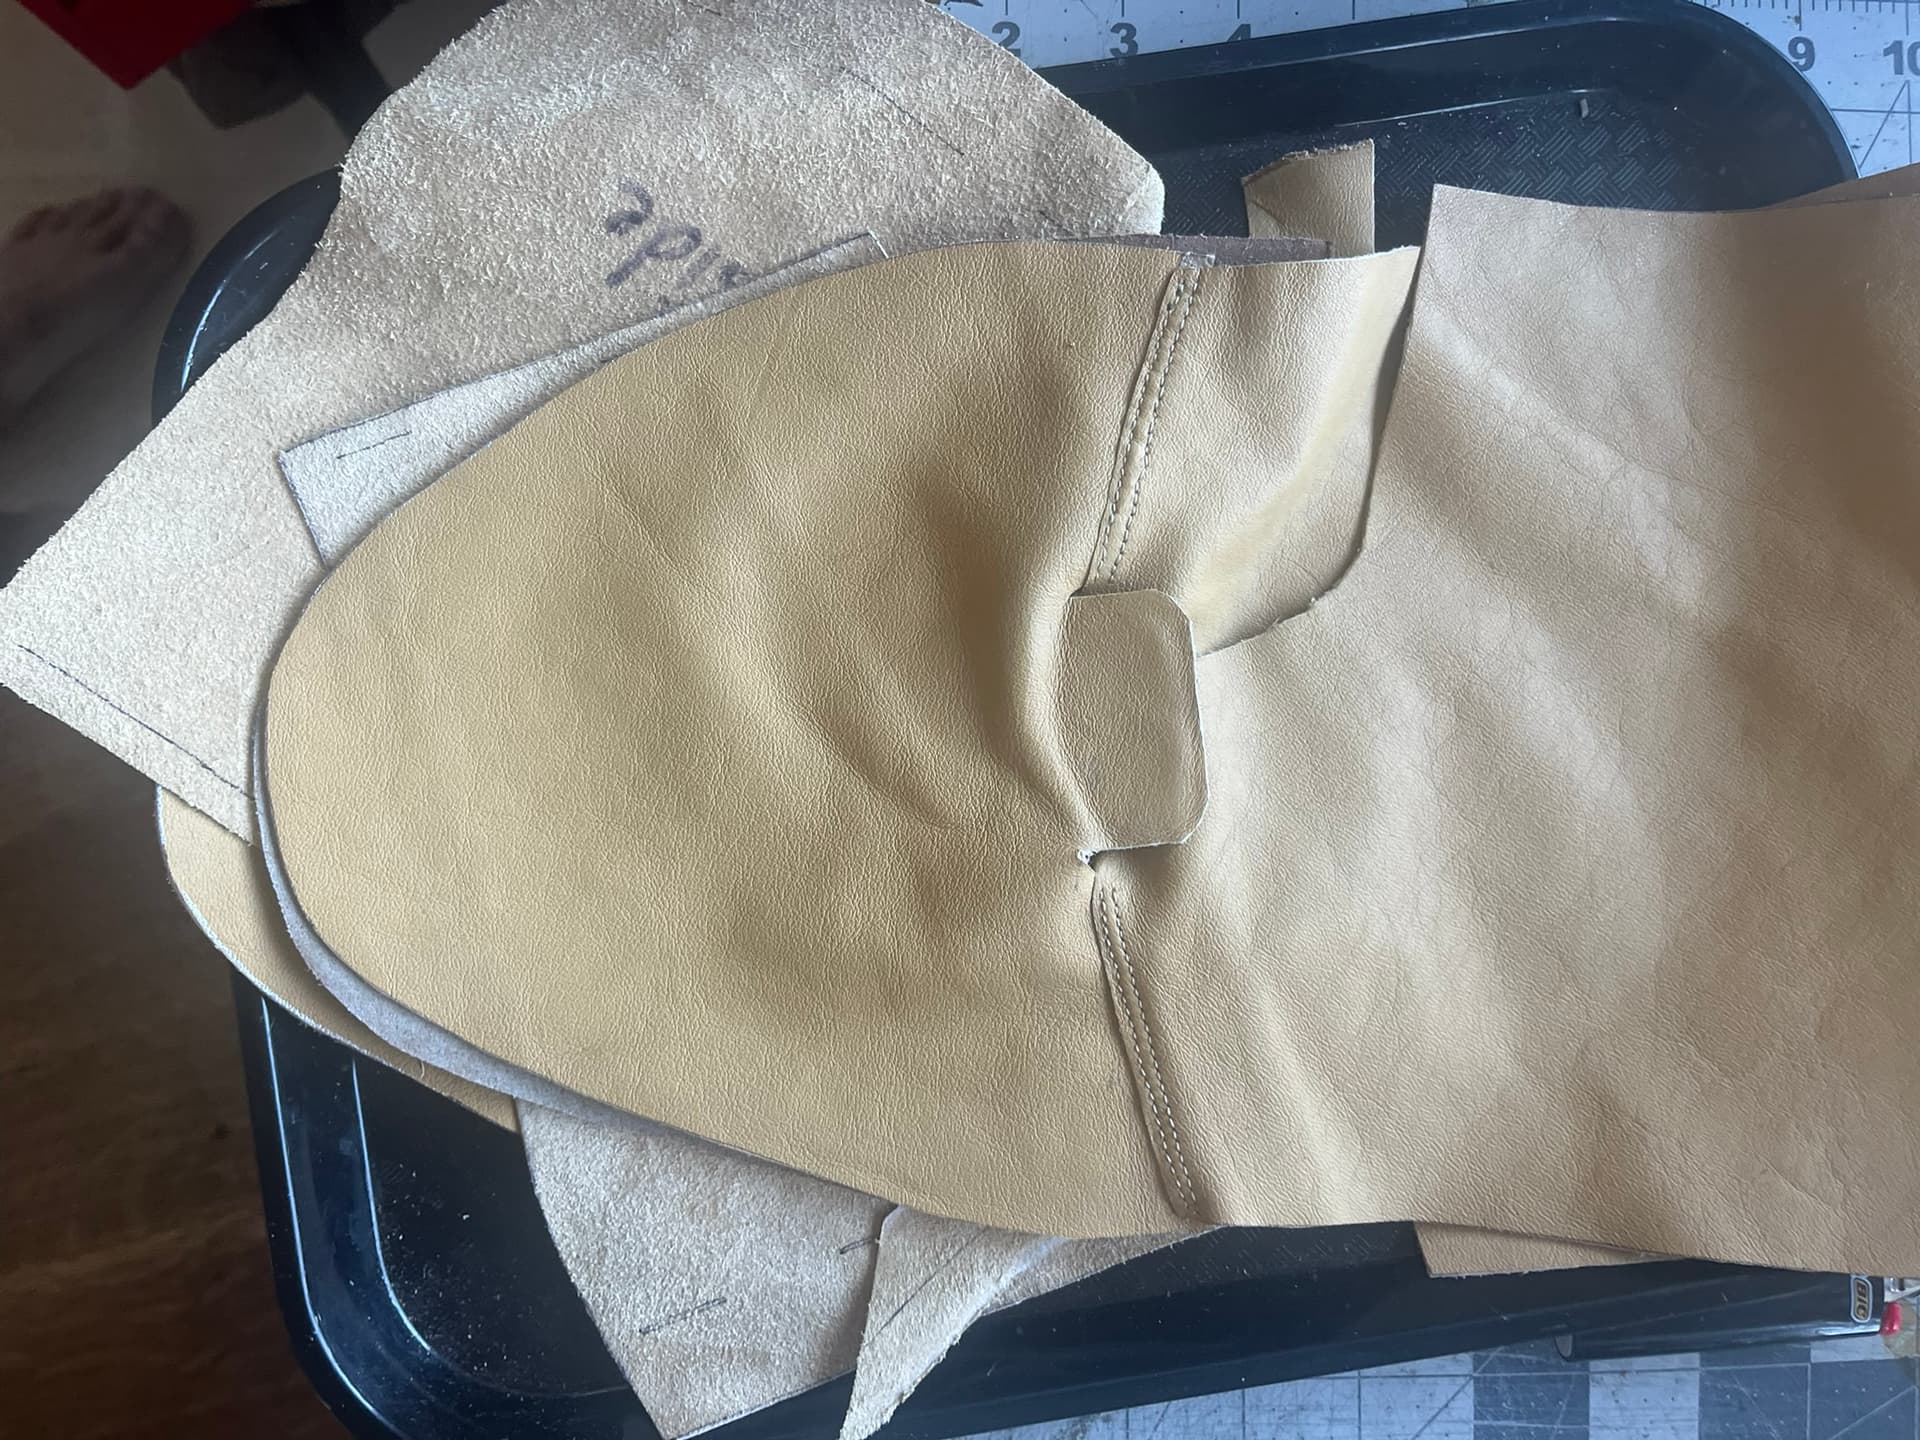
Here’s a closeup shot of the slitted tabs, which the Seidiches call “Derby noses” or “lining noses”, that pass up through slits the vamp lining, then through the curves on the sides of the tongue tab on the vamp, then under the quarter tabs to line them down to the stay stitches.

I originally patterned these “noses” to go all the way down to the bottoms of the quarter tabs, lining them completely with some trim margin. I’ve since revised my patterns to better track the Seidiches’ example, stopping the noses under the stay stitches. This did indeed allow me to baste the upper and lining together separately, then bring them together without “breaking” the upper quarter seams to slip the “noses” under.

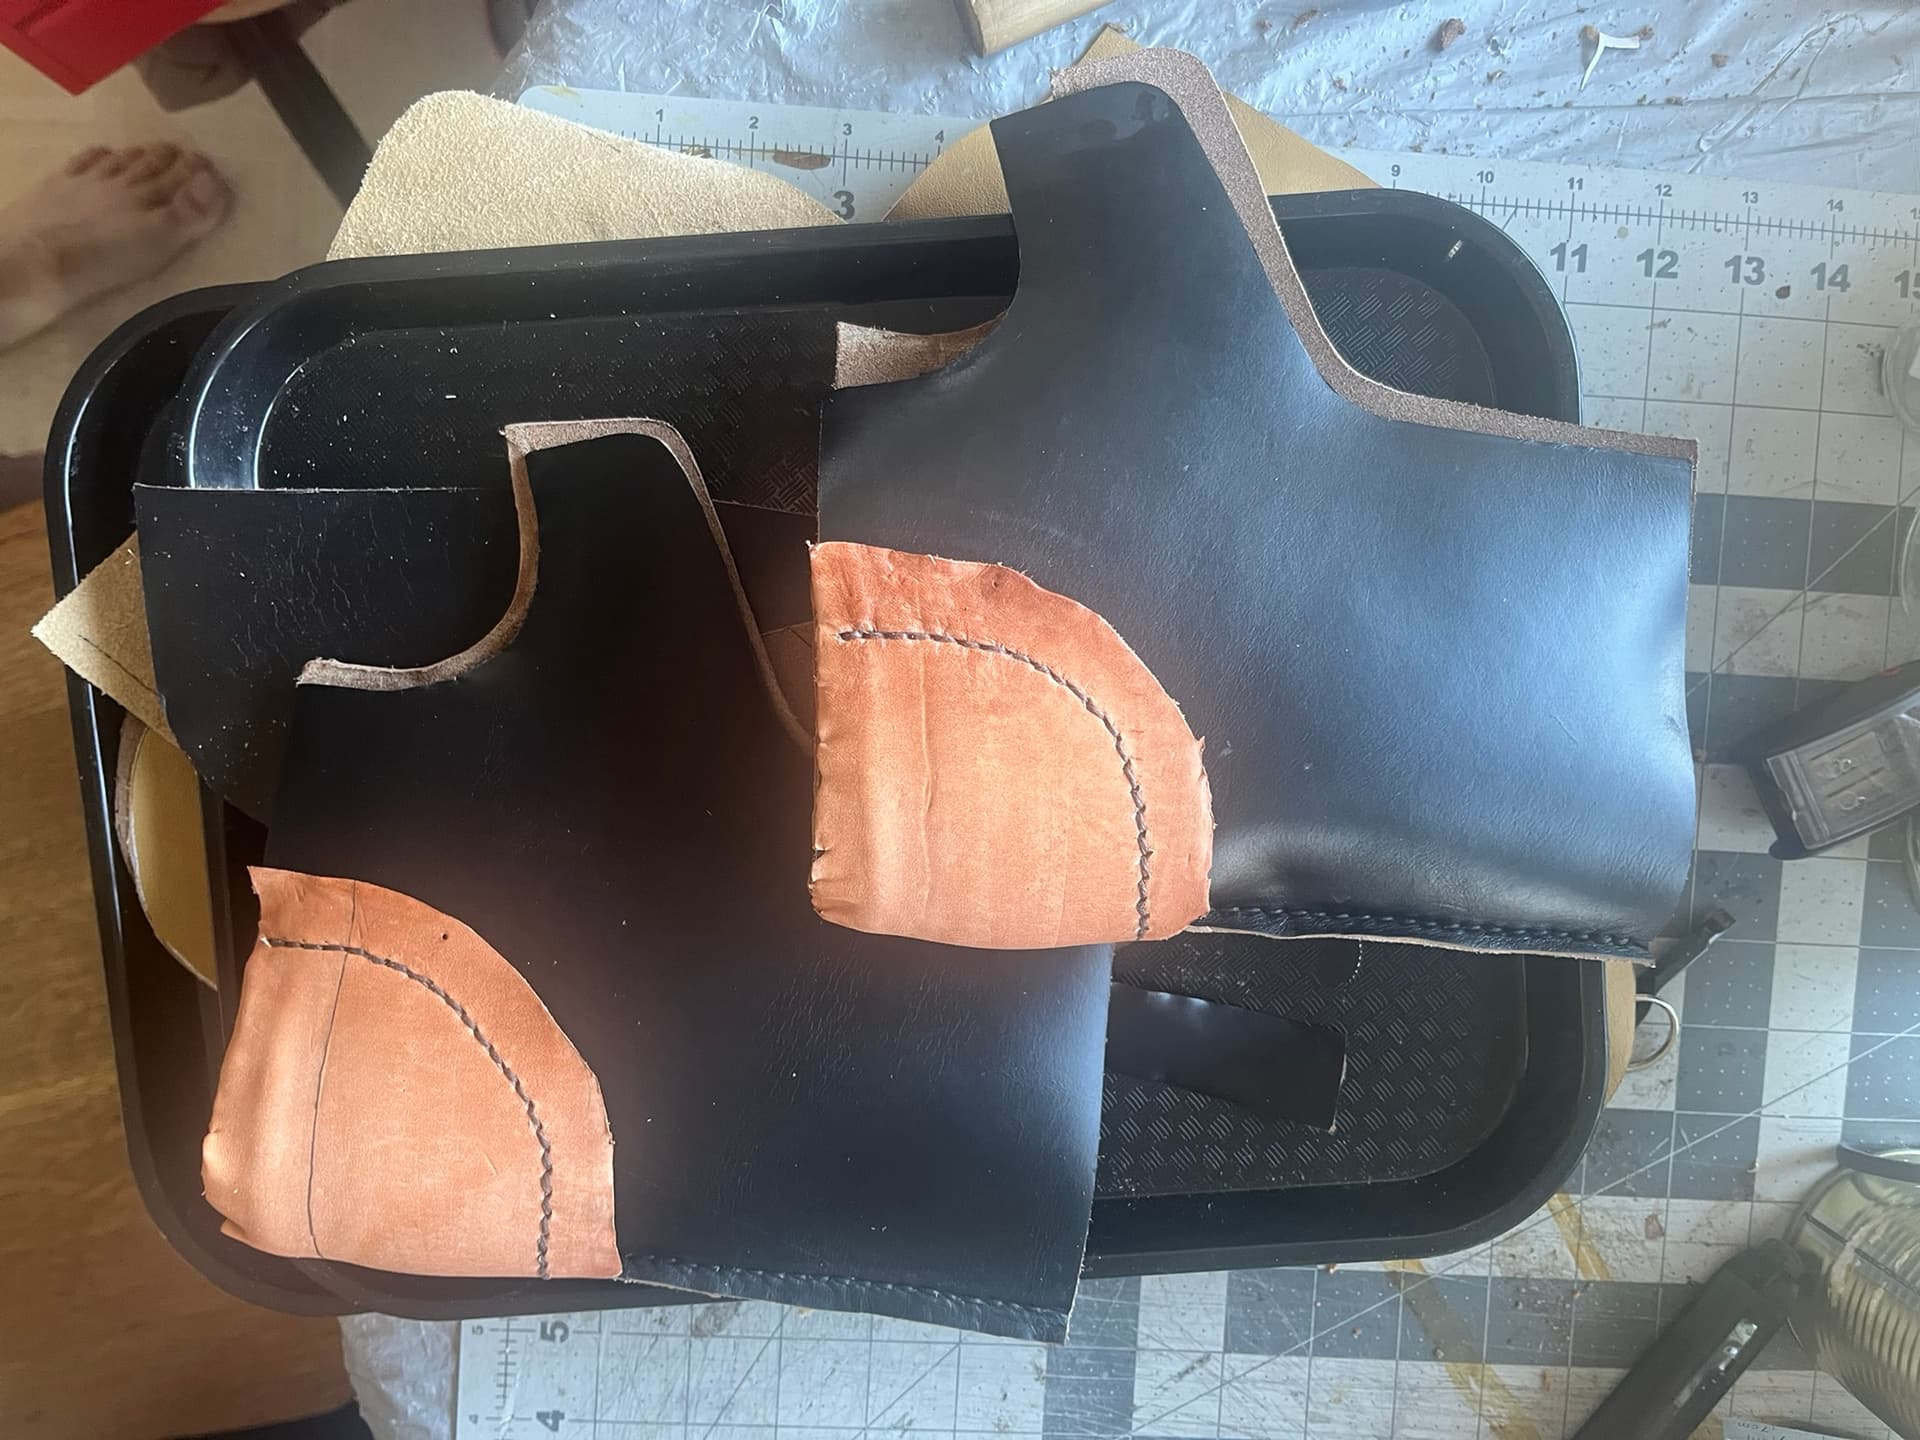
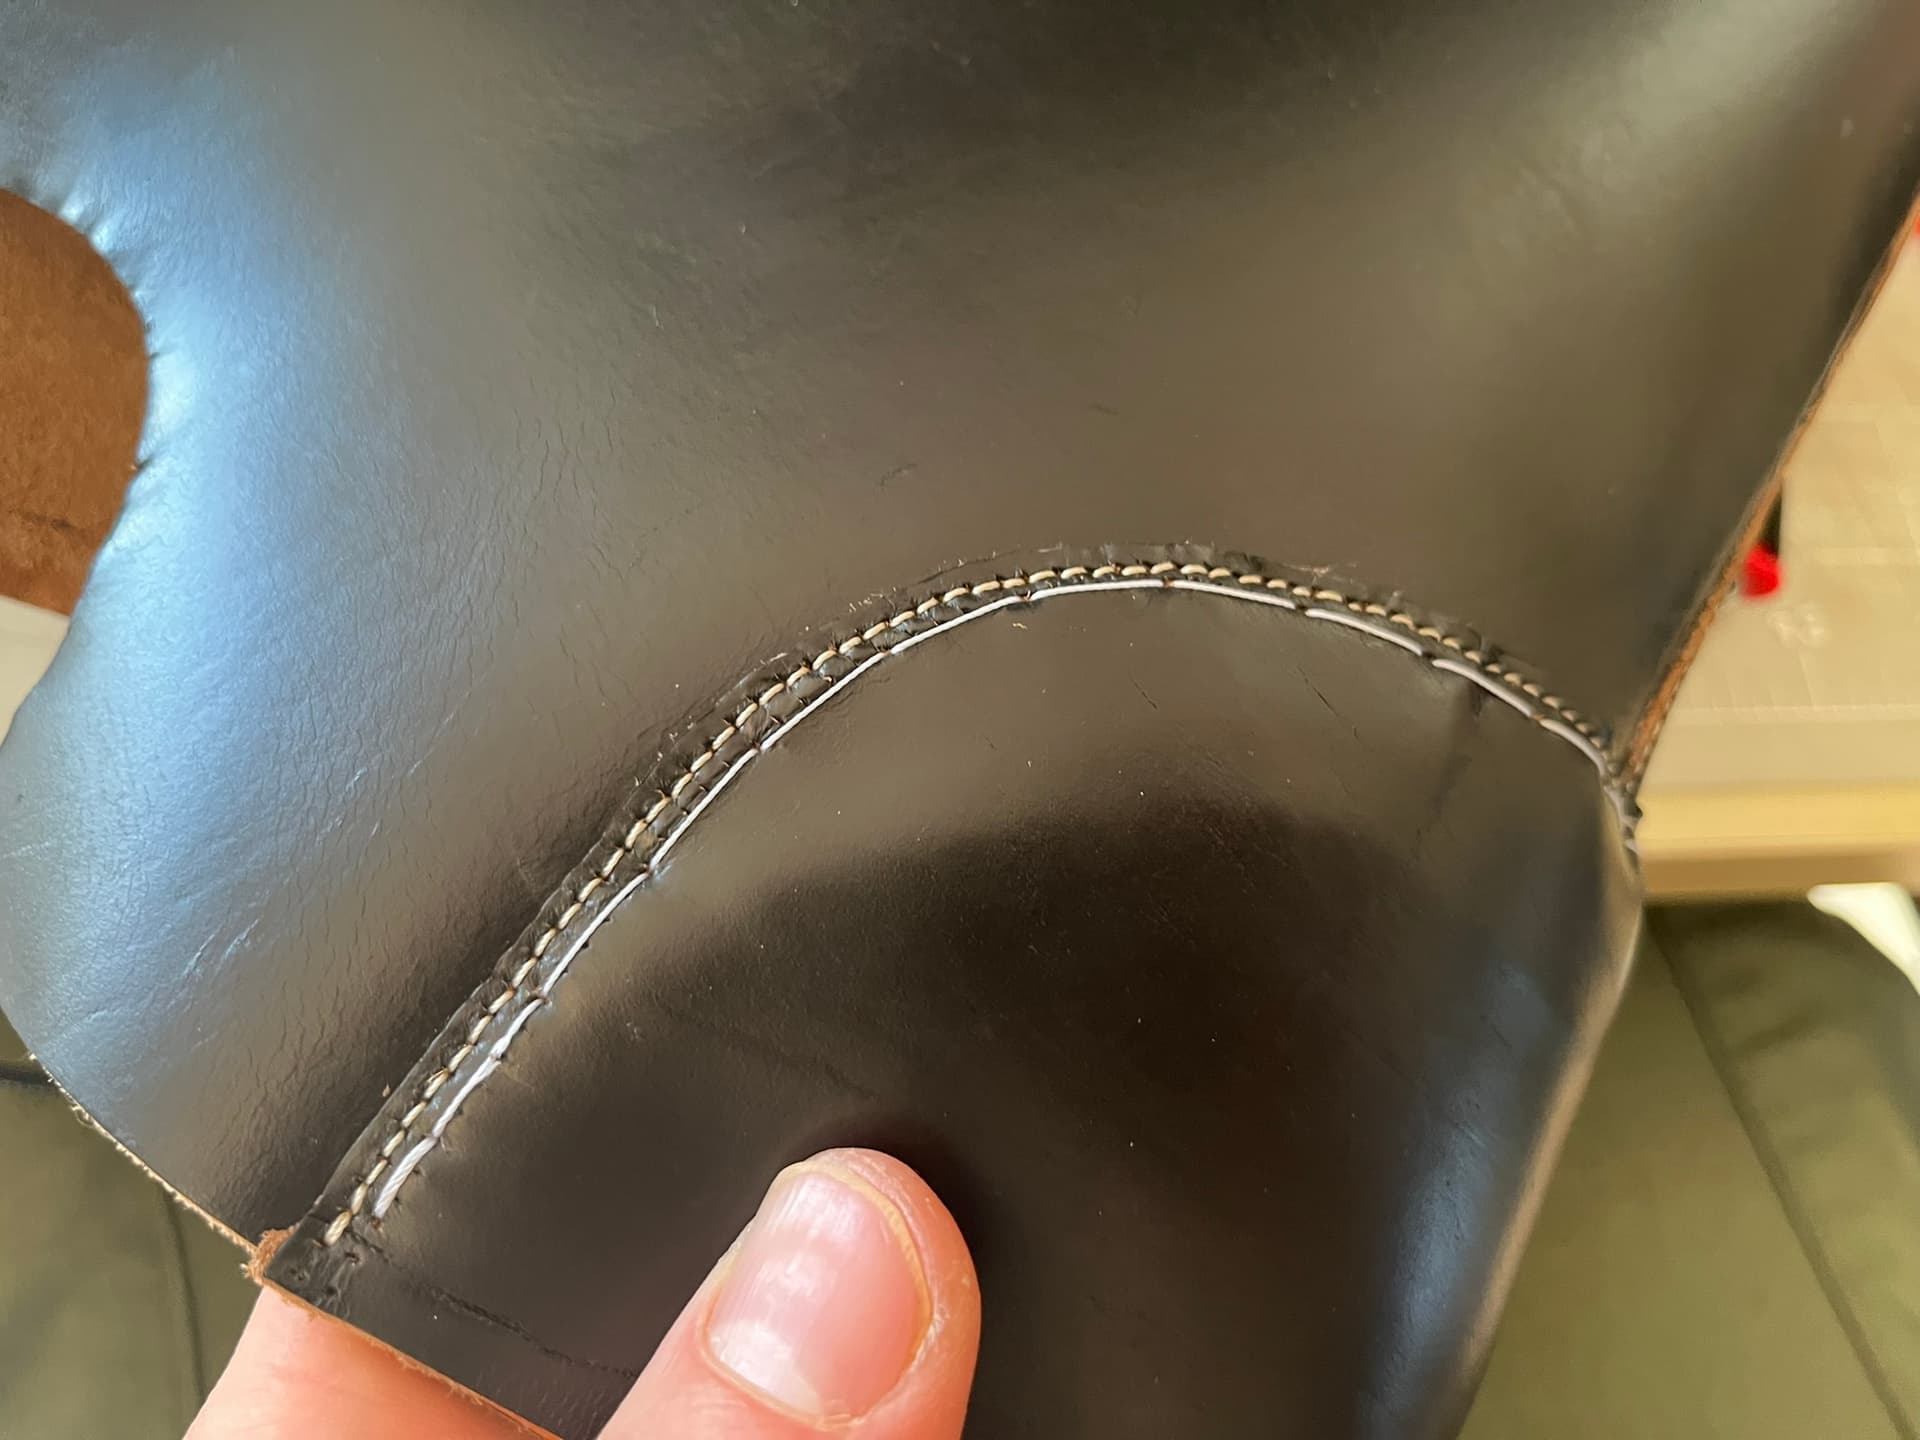
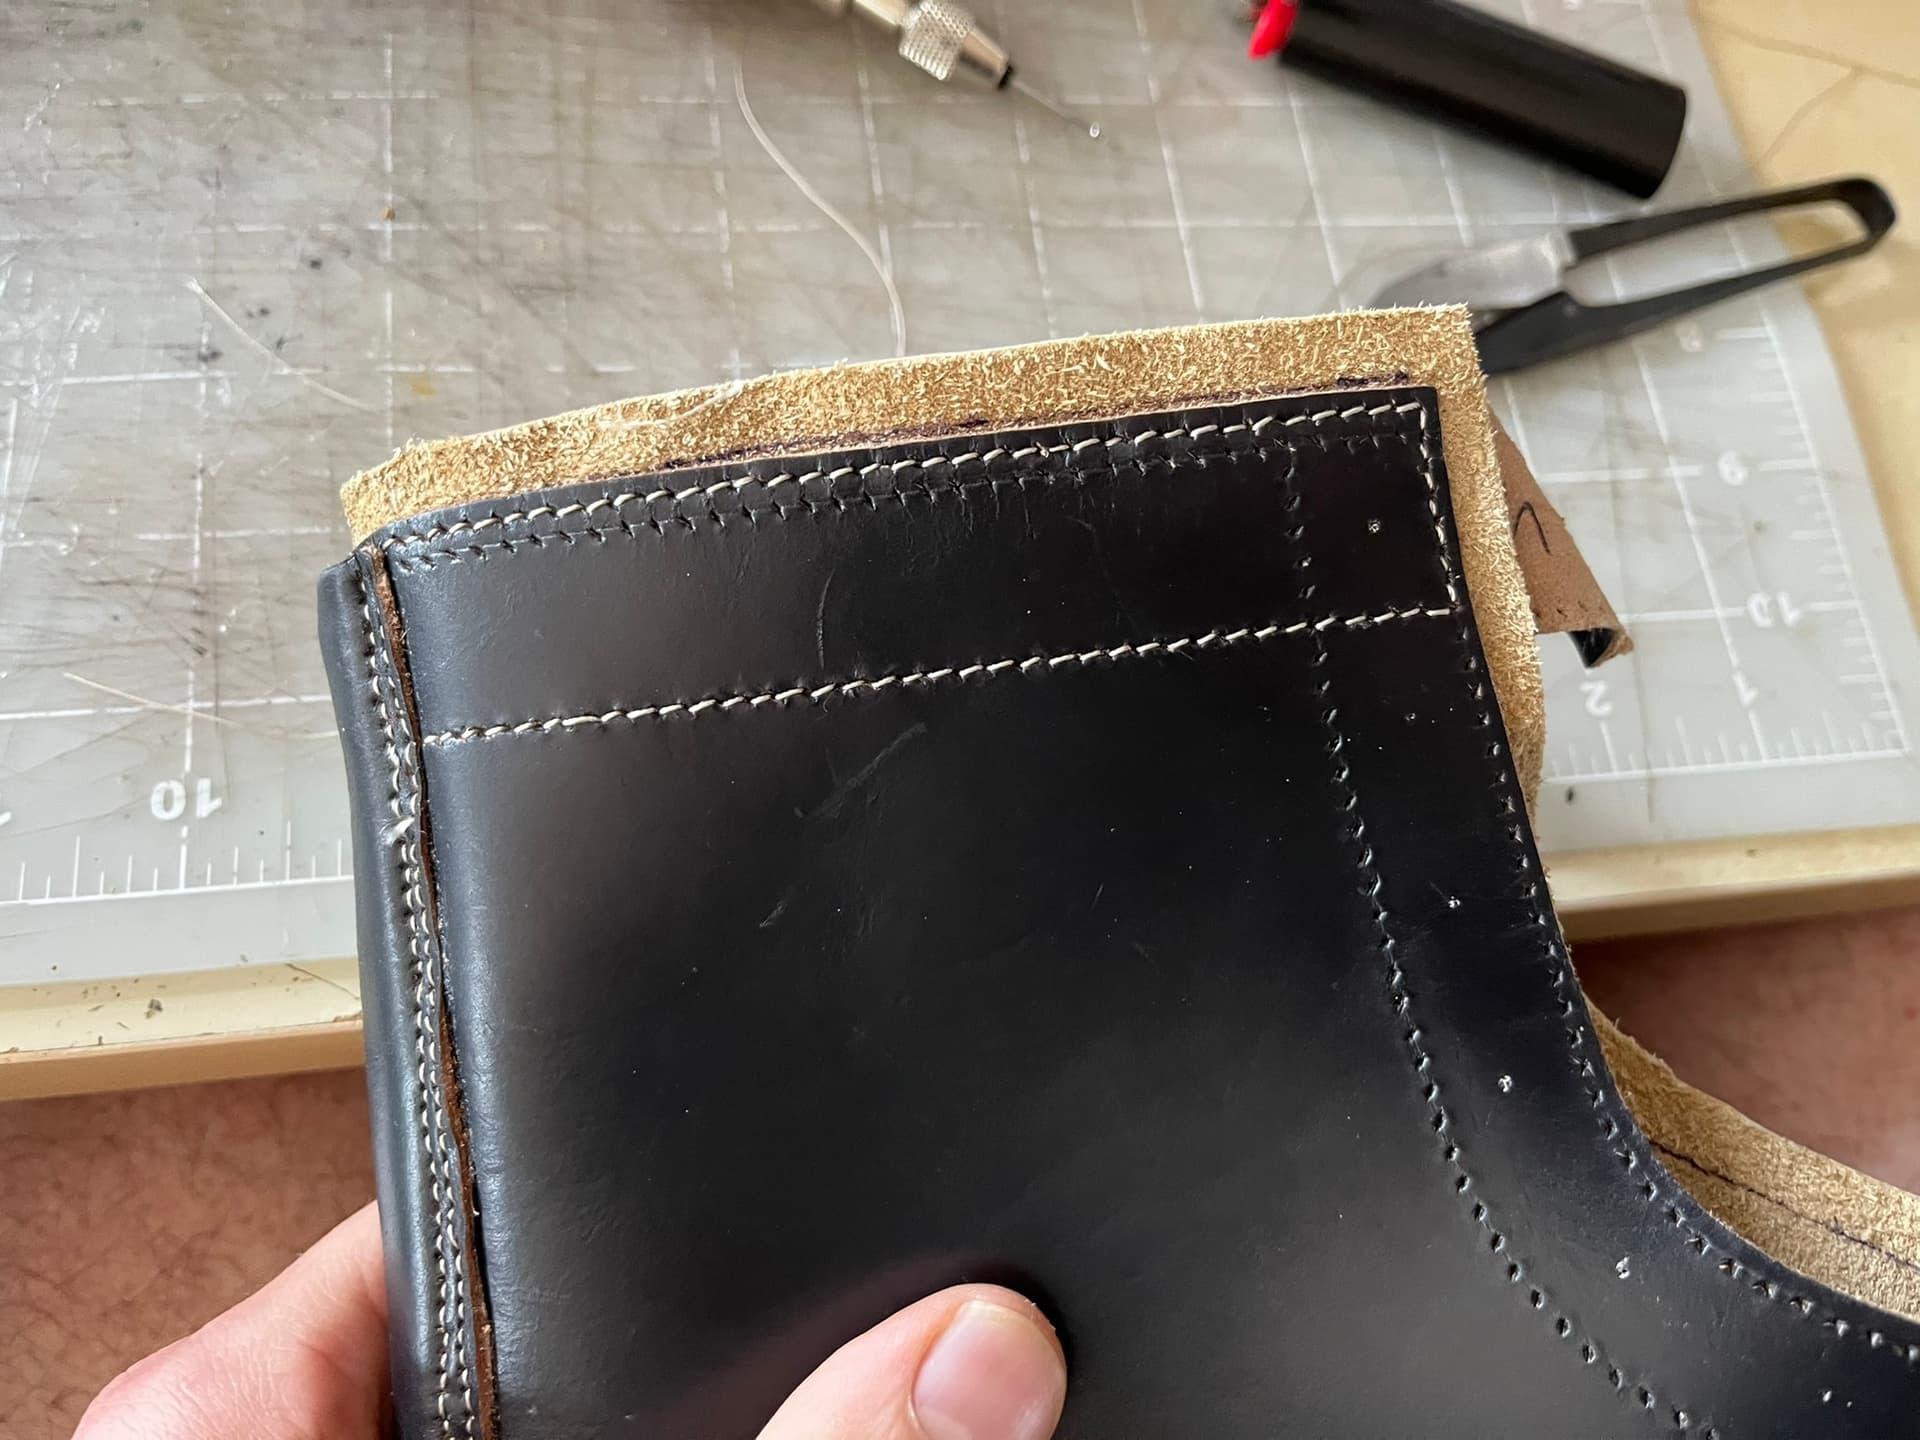
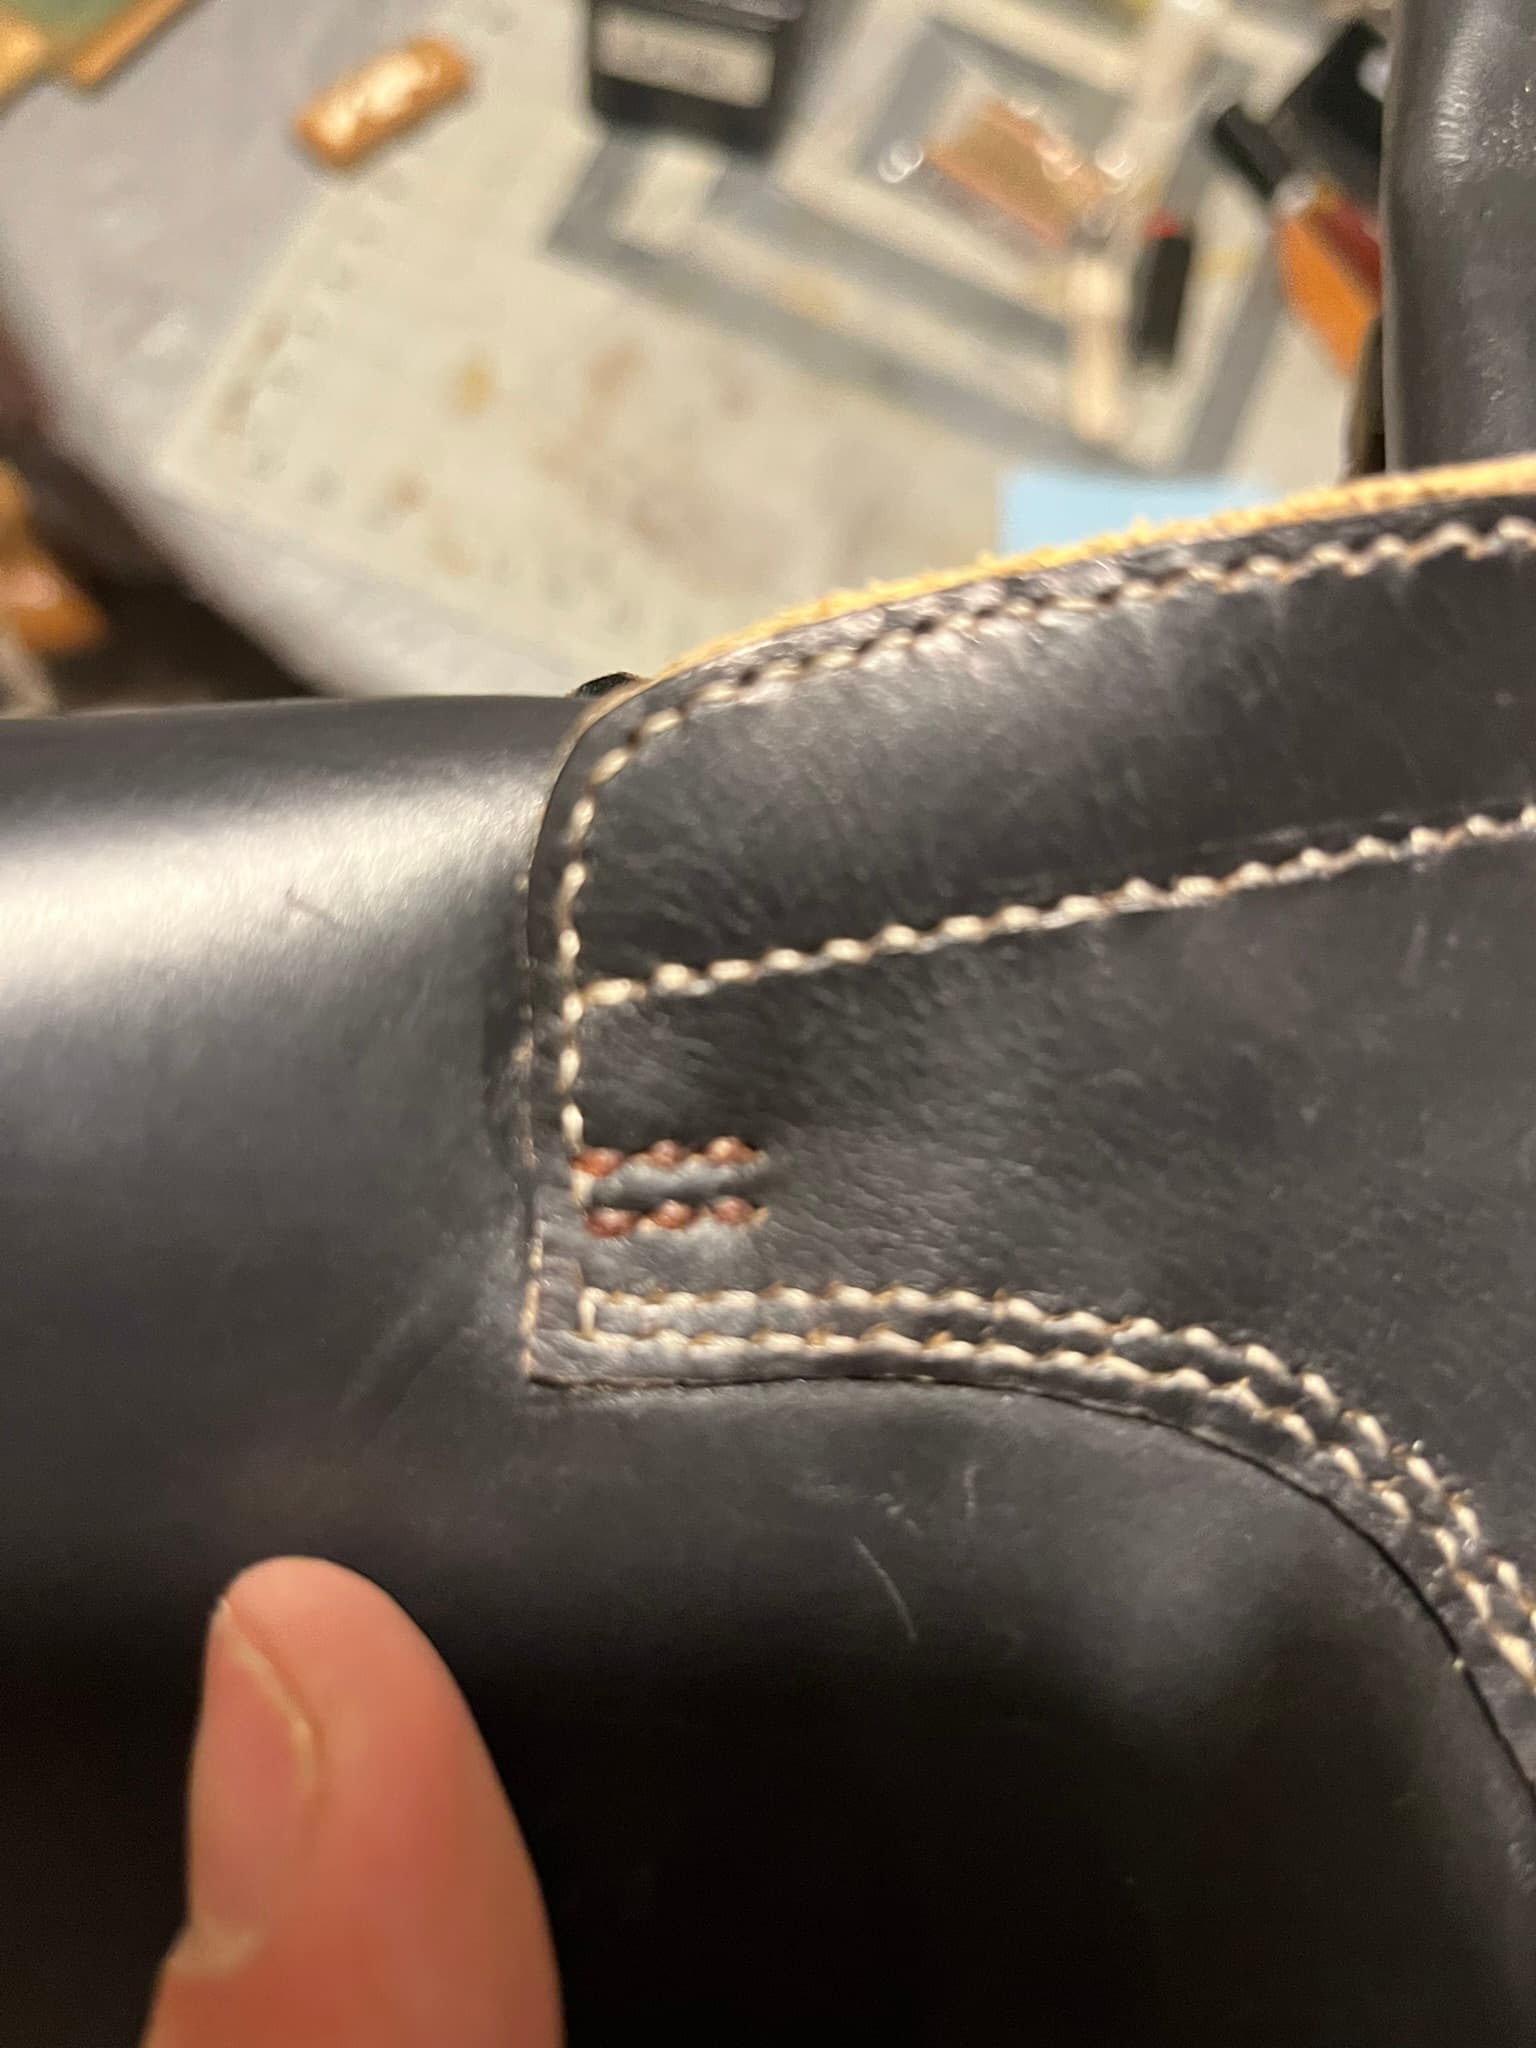
I also decided to try a backseam style inspired by one @thenewreligion shared elsewhere, courtesy of Mikhail Bliskavka of Arno.

Basically:

  • The back edges of the quarter linings are patterned without any allowance. Rather, they’re butted together.
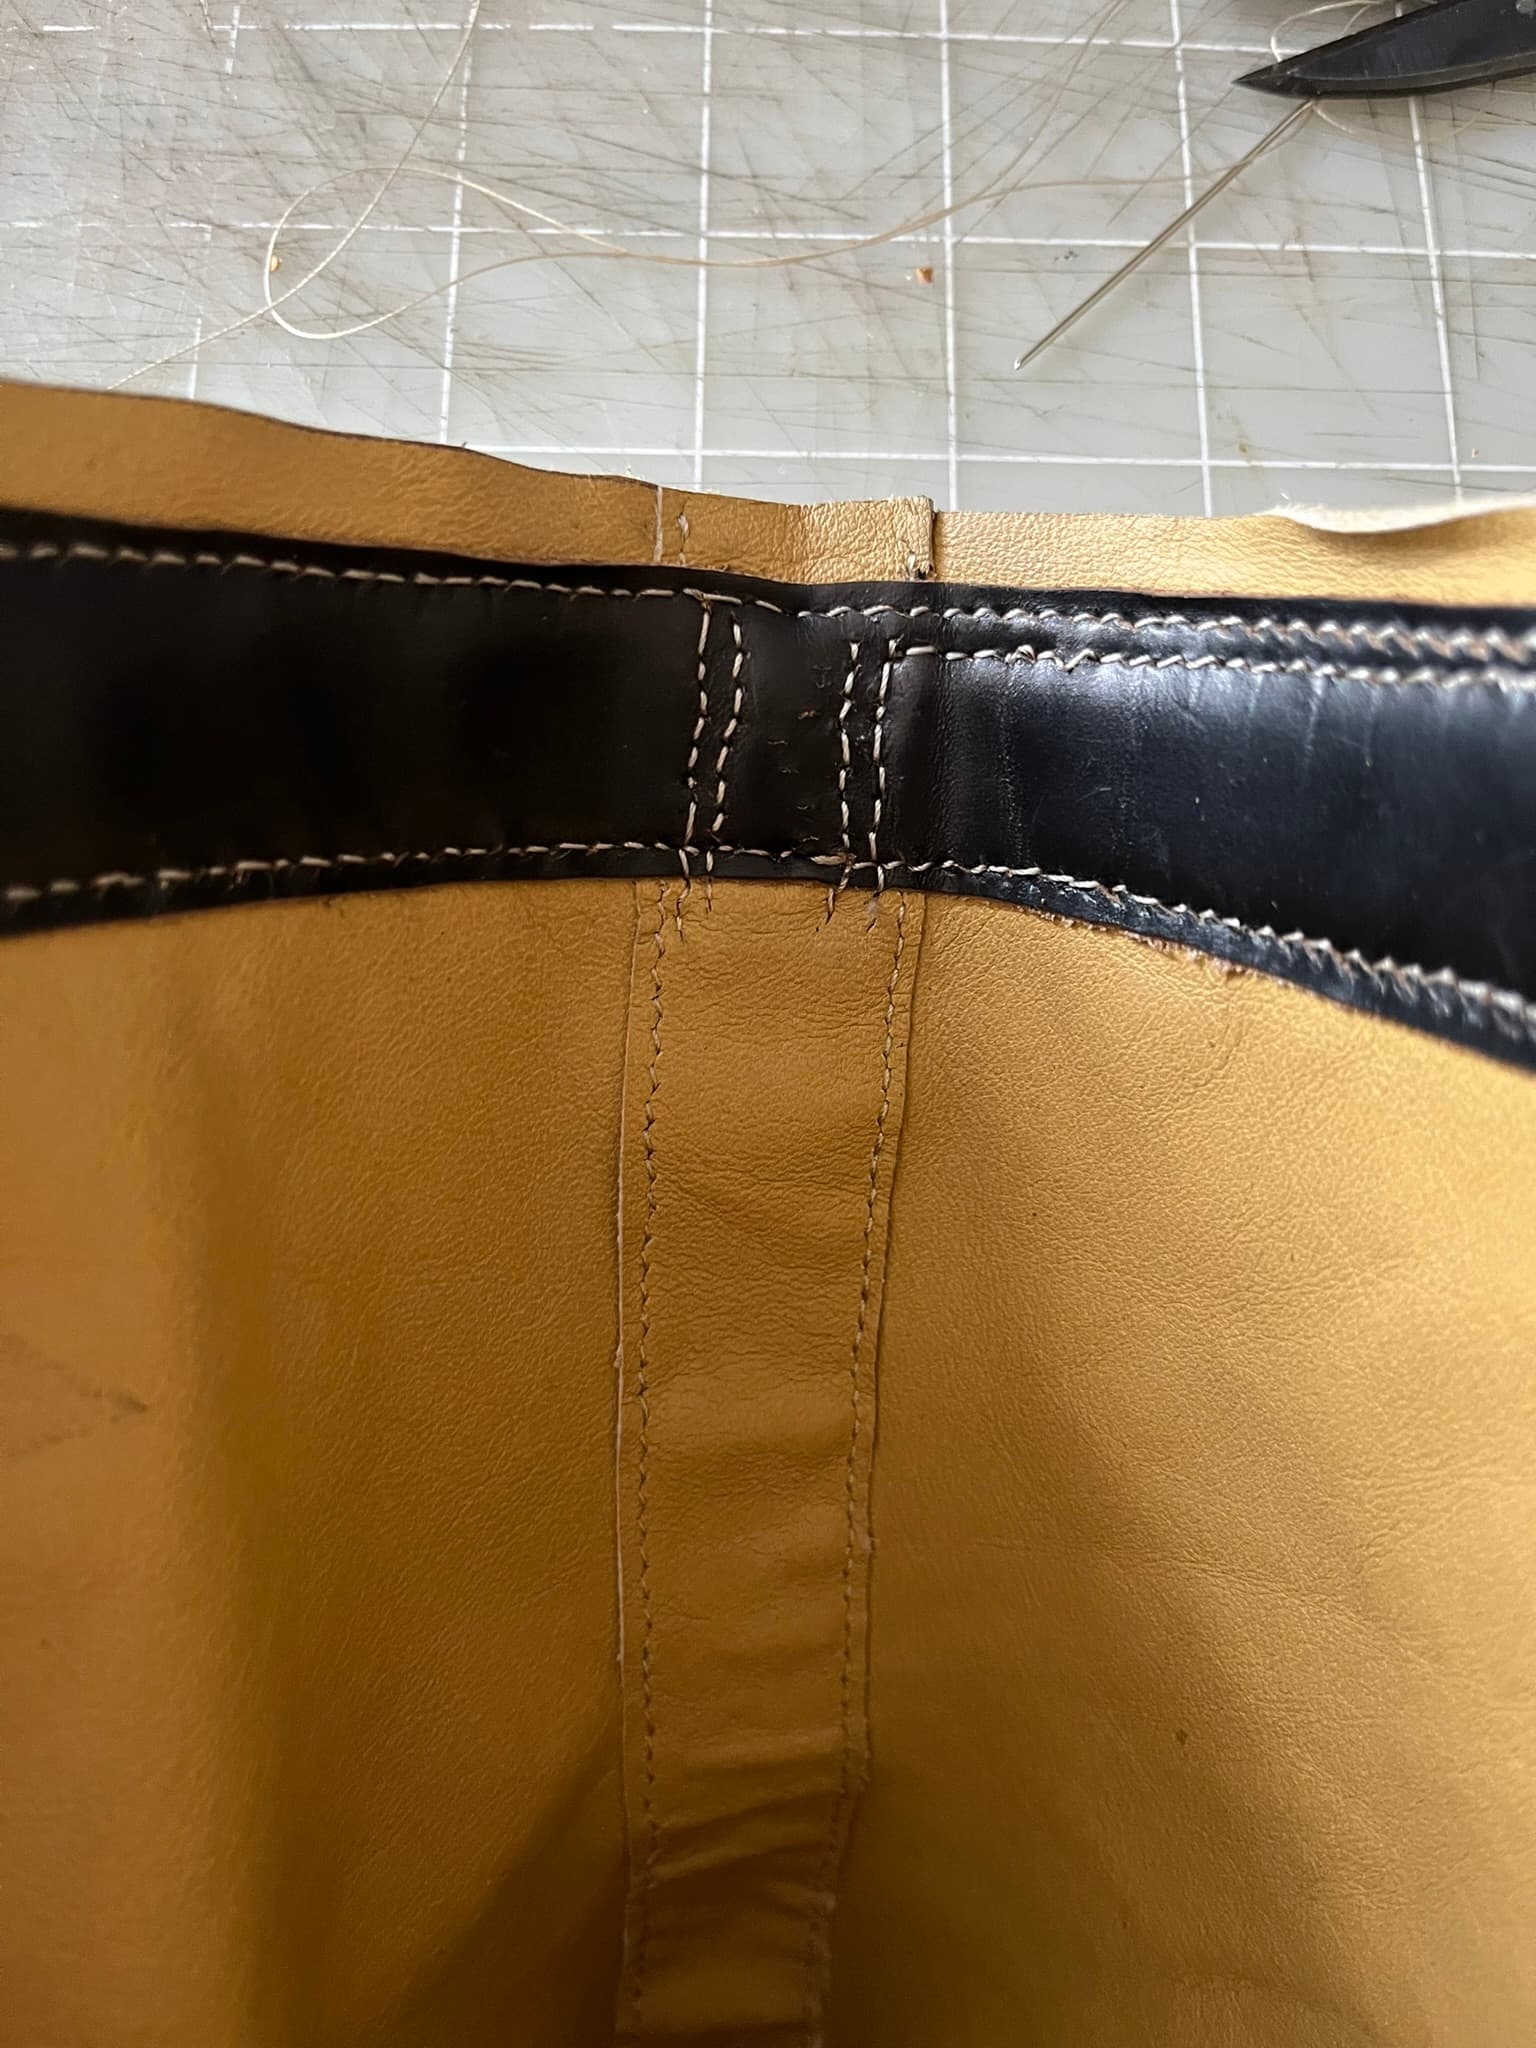
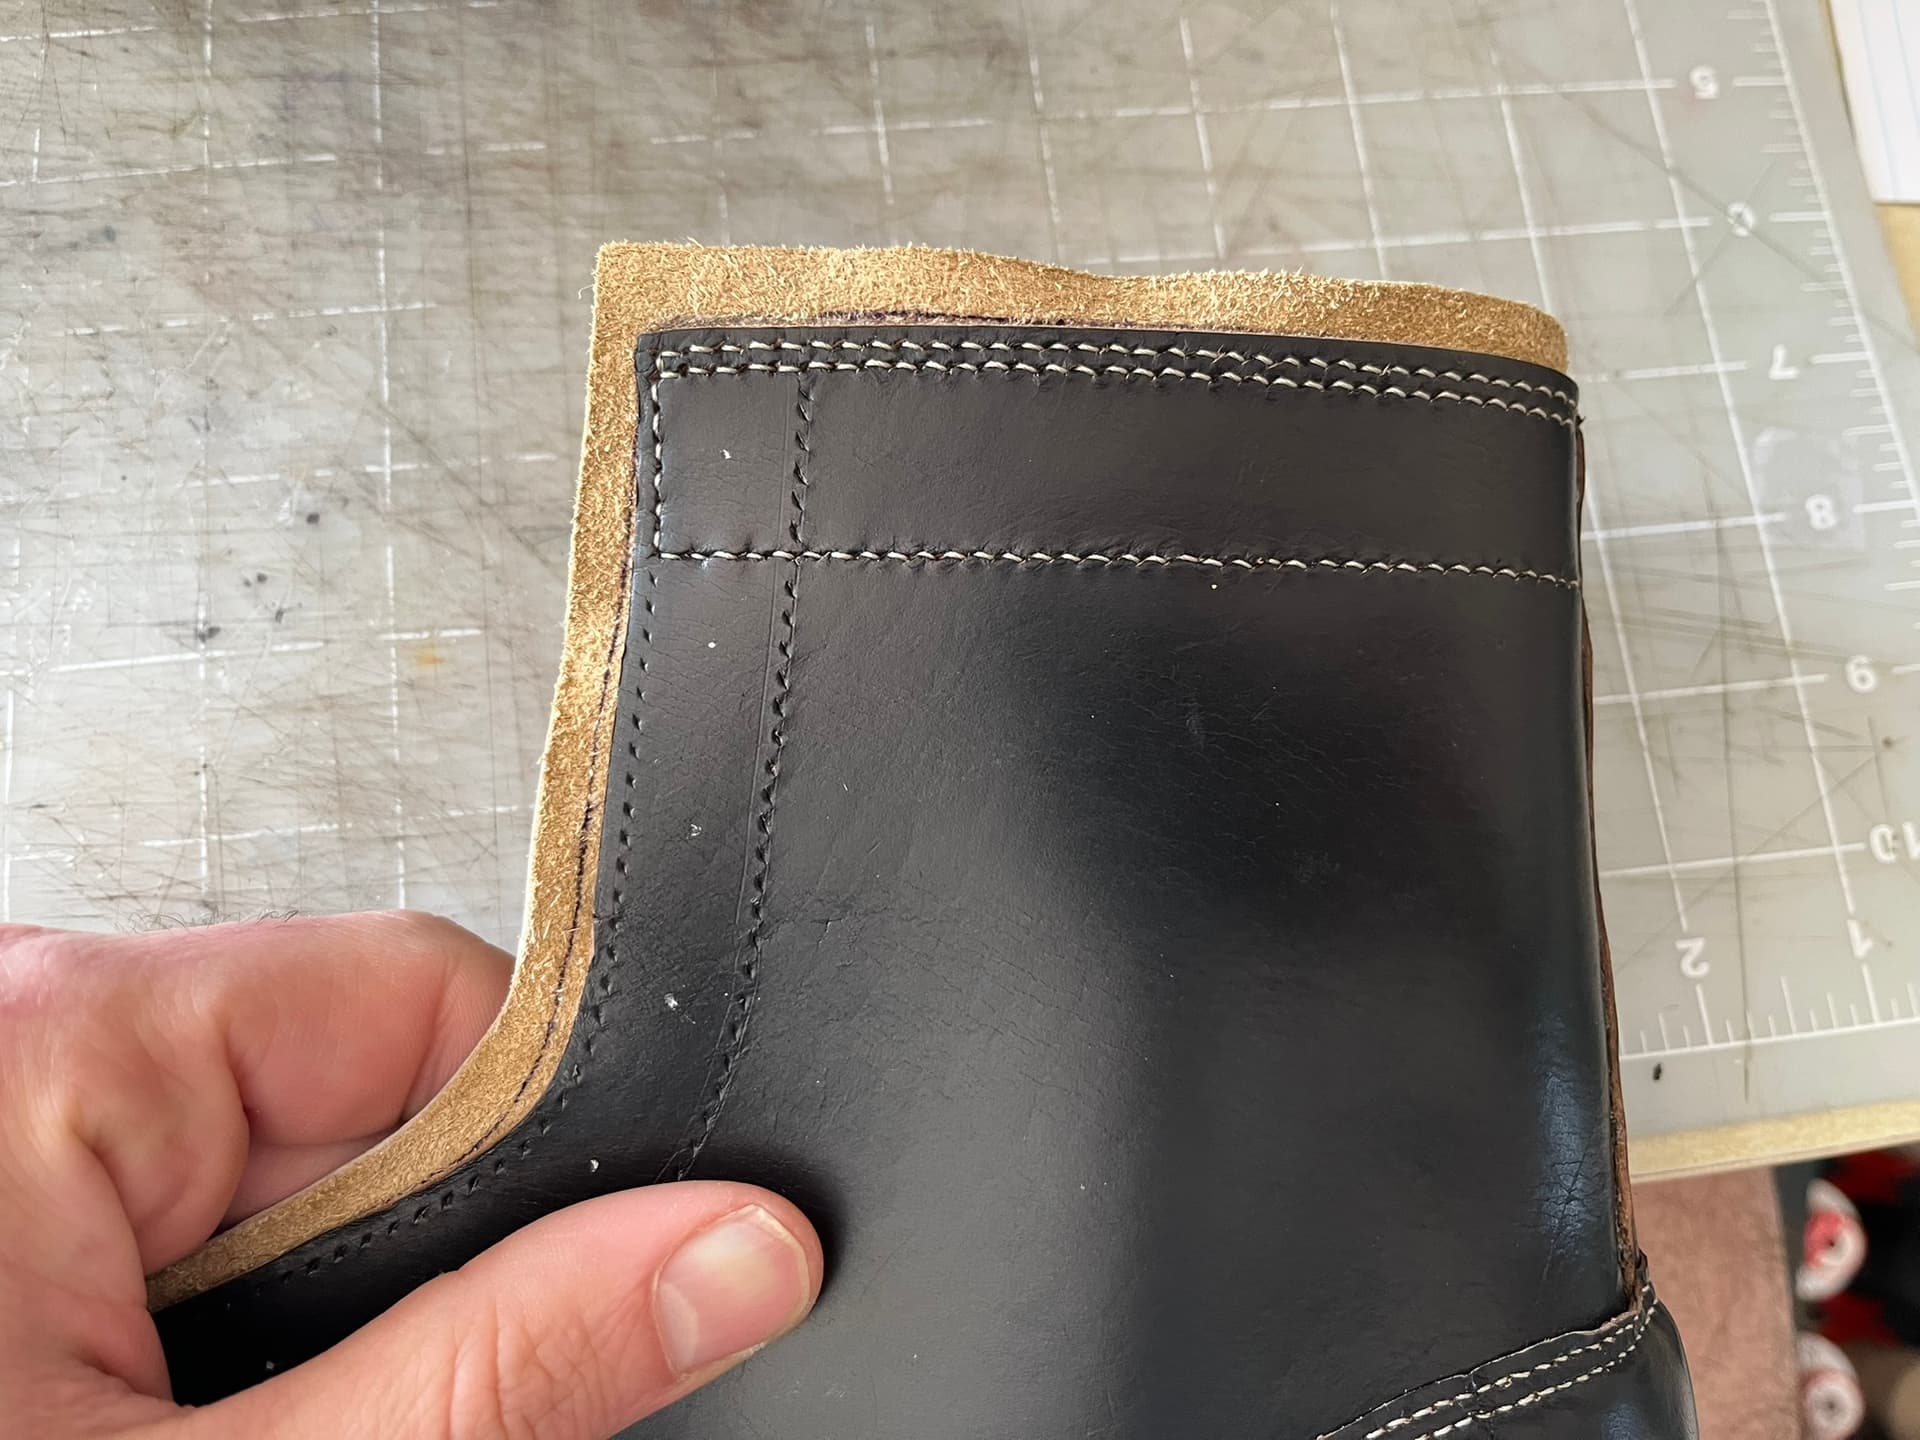
  • A roughly inch-wide heel slide gets laid and topstitched over the lining seam, facing the back of the foot and leg.
  • I added about 10mm of allowance to the backseam of the quarter panels themselves. The plan there is to sew together back-to-back, then turn the allowance back and beat it down.
  • A backstrap covers the outside of the backseam from the topline down to just a bit below the top of the heel counter cover.
  • Unlike @thenewreligion’s example and the Arno boots I’ve seen, my quarters continue all the way down to the featherline, underlaying the heel counter cover. I’m planning to sew the heel counter between the upper and heel counter cover.

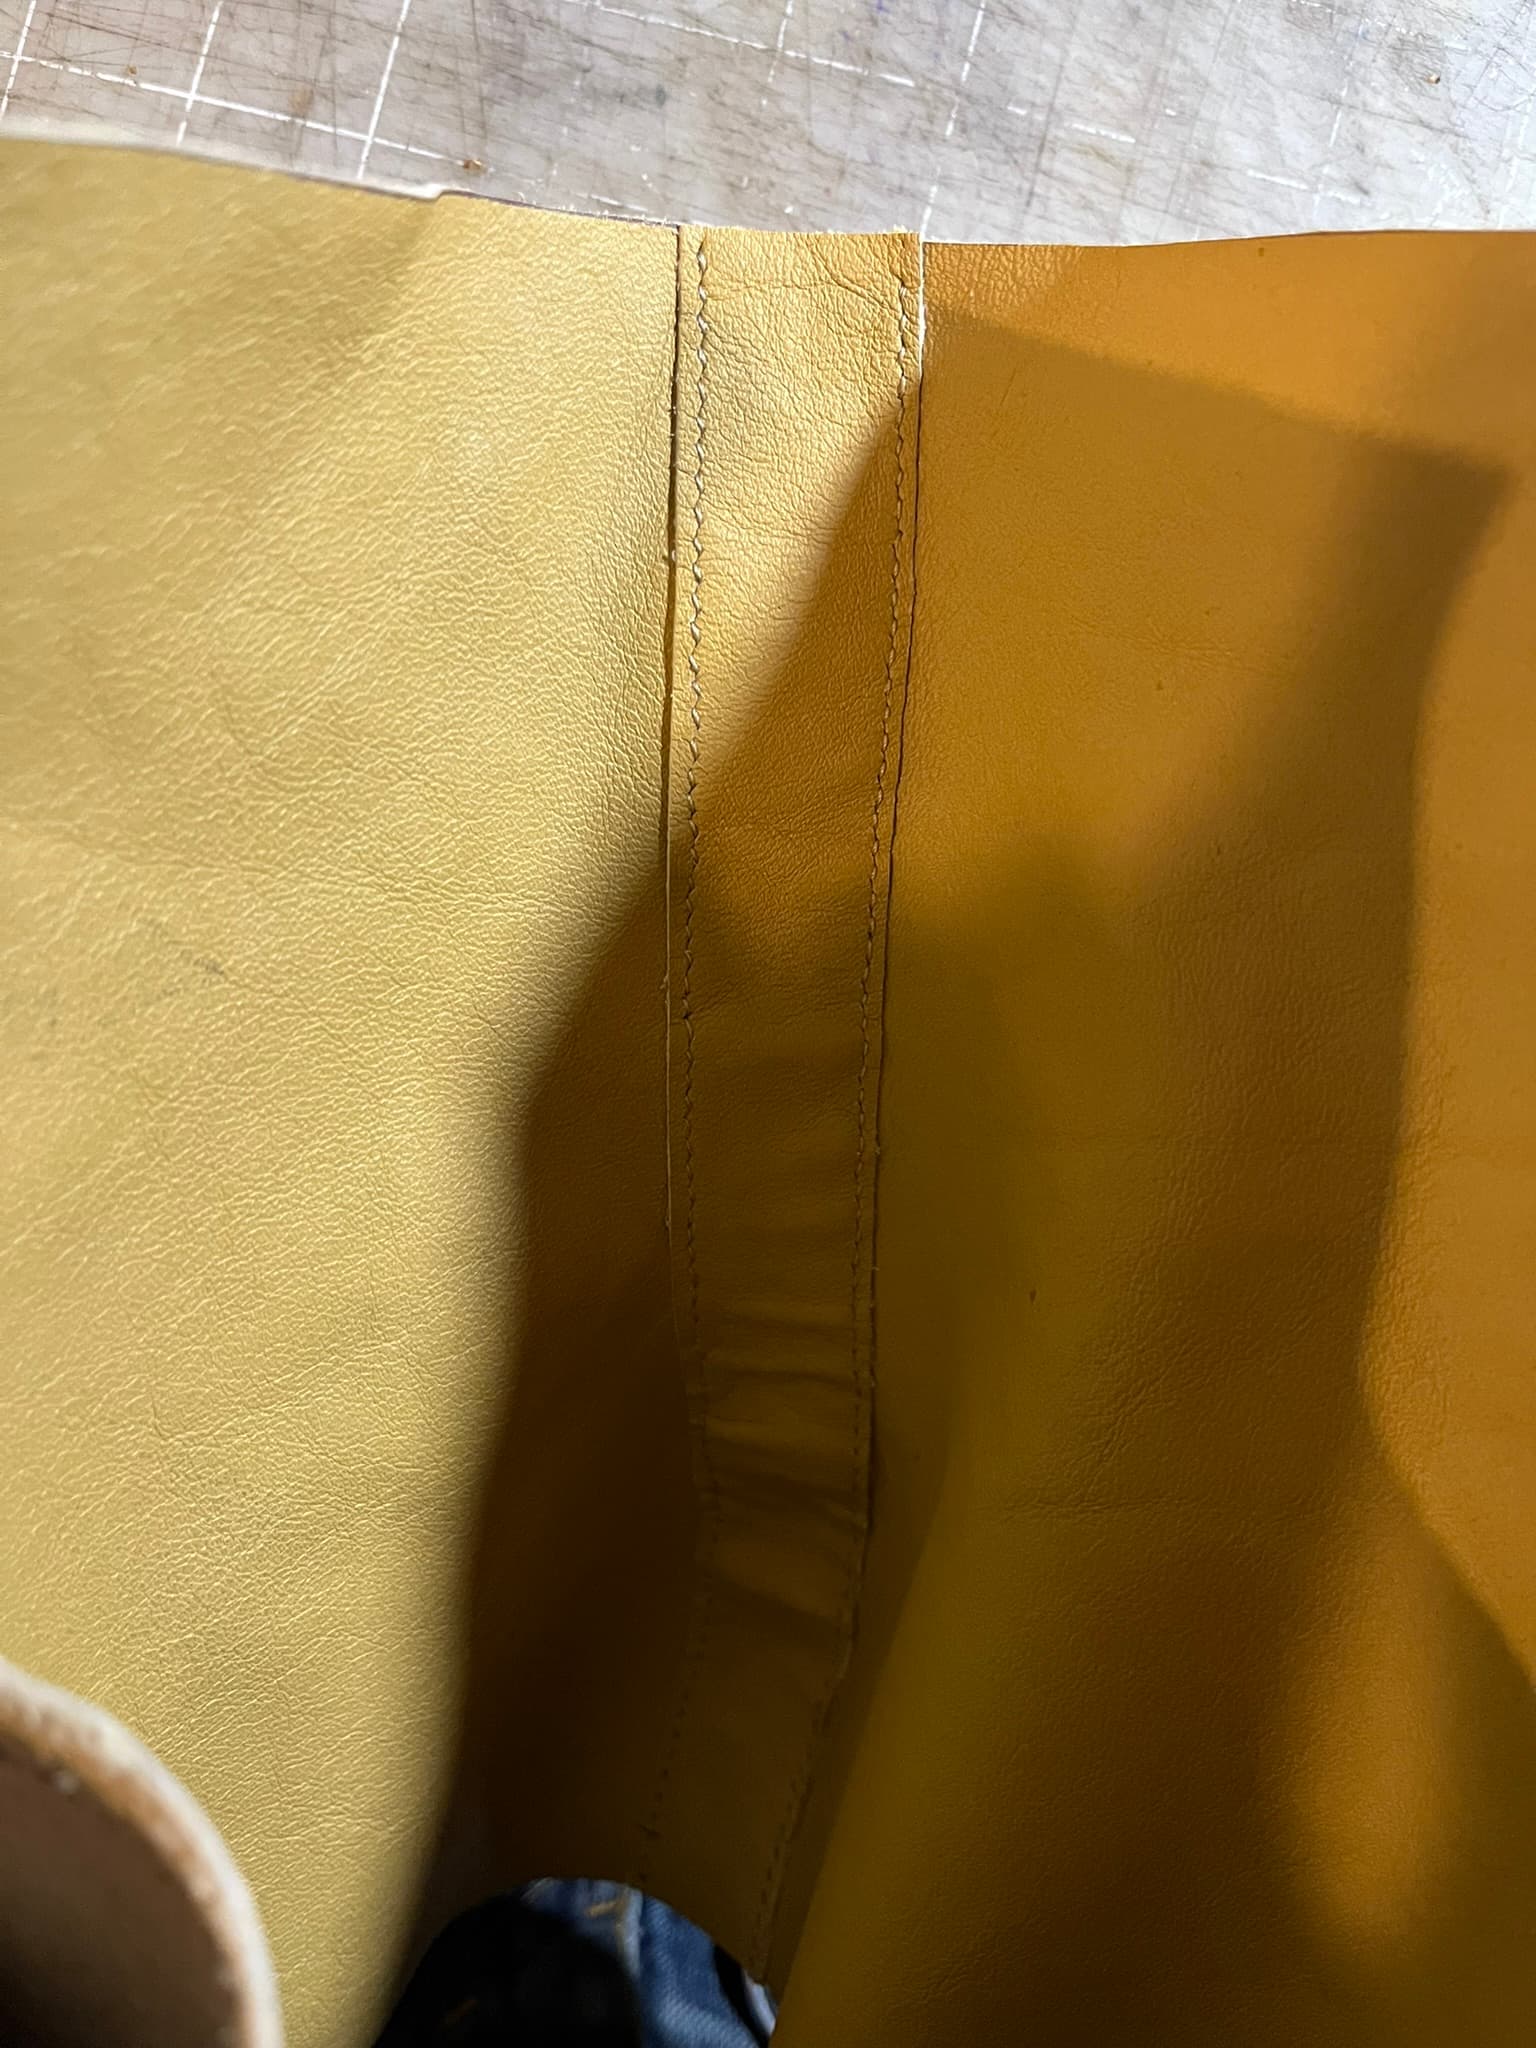
For mocking up, I lay the backs of the quarter panels flat, then used a flat-clinch office staplers to hold them together, along the line marked for the seam allowance. I then stuck thin strips of basting tape to the edges of the flaps and pressed them down. A whole lot easier than doing it in leather! No hammering required.

I did the mock-up gusset tongue out of paper, rather than foam. I think that was a mistake. All I could really do a for a fit test here is tape the bottom of the tongue around the tab and check that the “wings” to either side of it roughly matched the vamp and quarter tabs.

1 Like

Is there a stitch here?

1 Like

Oops! That’s right:


The long white stitches are just for basting. I found it helped to poke just a few holes in the inner line to baste in place, then prick and sew all the holes of the outer row, the remove the basting and replace with final stitches there.

I went with a roughly 1-inch or 25-mm heel slide. The quarter linings just butt right together.

The Wawak “HyperStick” basting tape I threw into an order to try really impressed here.

There was a patterning error here that I didn’t account for: the backstraps covering the backseams from featherline to topline cross the top bands, so I ended up picking the topmost stitches through the backstraps in order to stitch the topbands on without showing a horizontal line of stitches through the backstraps on the outsides. As a consequence, I’ve got lines of backstrap stitches showing through the lining on the insides.

I’ve since gone back and stitched the second line down from the topline. Straight lines up there, right by the throats, are easy enough to get to and sew, but I’m still not sure if I like the look of the double lines.

Stitching Thoughts and Supplies

Before I forget:

  • Vast majority of top stitching is Amann Serafil, Tex 90, Color 1222.
  • The heel slide to quarter lining seams are Amann Serafil, Tex 70, Color 1222.
  • I started out trying 10 SPI again, specifically on the backstraps and heel counter covers. But I decided to step down to 3 mm again. Toplines, facings, and quarter seams are spaced 3mm.
  • The 3mm seams I priced with OKA pricking irons again. Really appreciate having "regular’ and “reverse” slant tools to choose from.
  • I pierced the backstraps and chased prick marks through the linings with a Groz-Beckert S/NCR sewing machine needles, size 120, held in a mushroom-hafted jeweler’s pin vise.
  • Seams that only show on the face I backstitched. It really helps to leave each advancing stitch loose at first, pass the needle back through the previous hole, use the slack in the stitch to make sure the needle is positioned correctly on the back, and then cinch tight.
  • Seams showing on both sides are saddle stitched. Where I couldn’t get the work held nicely in a clamp, and had to work holds in hands, I found it was actually quicker to do one running stitch all in a row, use a laying tool to position those stitches for the slant I wanted, then do the second running stitch going back the other way.
  • Whether saddle stitching or backstitching, I did much better choosing somewhat bigger needles than the thread called for. That made it much easier to thread and rethread the needles, so I never hesitated to pull the thread out of a needle in order to pull stitches back through and correct one that hadn’t laid right.

So Long, Lining Leather

The lining leather here is “Resistance Tan” from Maverick. I’ve still got a nice freezer bag of scraps, including some bigger ones suitable for small goods. But frankly, I’m glad to be done with the hide. Maybe I’ve just looked at it too long now, but there is something off about the color, to my eye. I like the idea of tan linings, even on black boots. But not this tan.

Serafil tex 90 1222 into 3 mm center-to-center slanted holes through black Chromexcel.

These little setting pins do a nice job of holding. The two length sizes they came in make good sense. But I find it pretty annoying to remove the end pins by pulling the little nobs up. Maybe folks with smaller hands like them better.

I’ll probably go back to just basting.

Tongue tab of the vamp fully under the gusset tongue.

Showing the double topline stitching I mentioned.

I guess I chose to do this as a kind of compensation for letting myself do plain, cut edges on these uppers, rather than binding or piping or folding. In any event, I’m sure it won’t hurt, structurally speaking.

I decided to do a tiny color-contrast with the stay stitches, using some old burgundy braided poly I got in a multipack from a Tandy, many years ago. I was thinking about doing some fancy stitching here, maybe an X pattern, but decided to keep it simple.

I’ve been thinking of doing rivets, too. But I’d like to try something subtler, like jeans rivets, rather than my usually hammered copper or brass-colored rivets.

Insole Carving


I believe these are Keystone insole blanks via @Customboots. Keystone recently confirmed for me that their insole blanks come from the sale sole bends as their outsole blanks, just cut from looser areas of the hides.

I tried this with a feather knife for the feather and a welt knife for the channel. I also ran over all the carvings with glass and a wood burnisher.

Dick Anderson #2 awl on these. Worked well. Definitely pays to get and keep a little moisture in the holdfasts.

The trick with them isn’t to pull the knob up but to try to push the base down into the leather while holding the knob still.

1 Like