With a little delay on shipping the last for my first pair for sale, I’ve decided to go ahead and do a practice pair of so-hot-right-now “service boots” on the built-up GC 200 lasts that I have. So not too different from my first pair, but a bit more refined, and on a much sleeker last.
General Plan
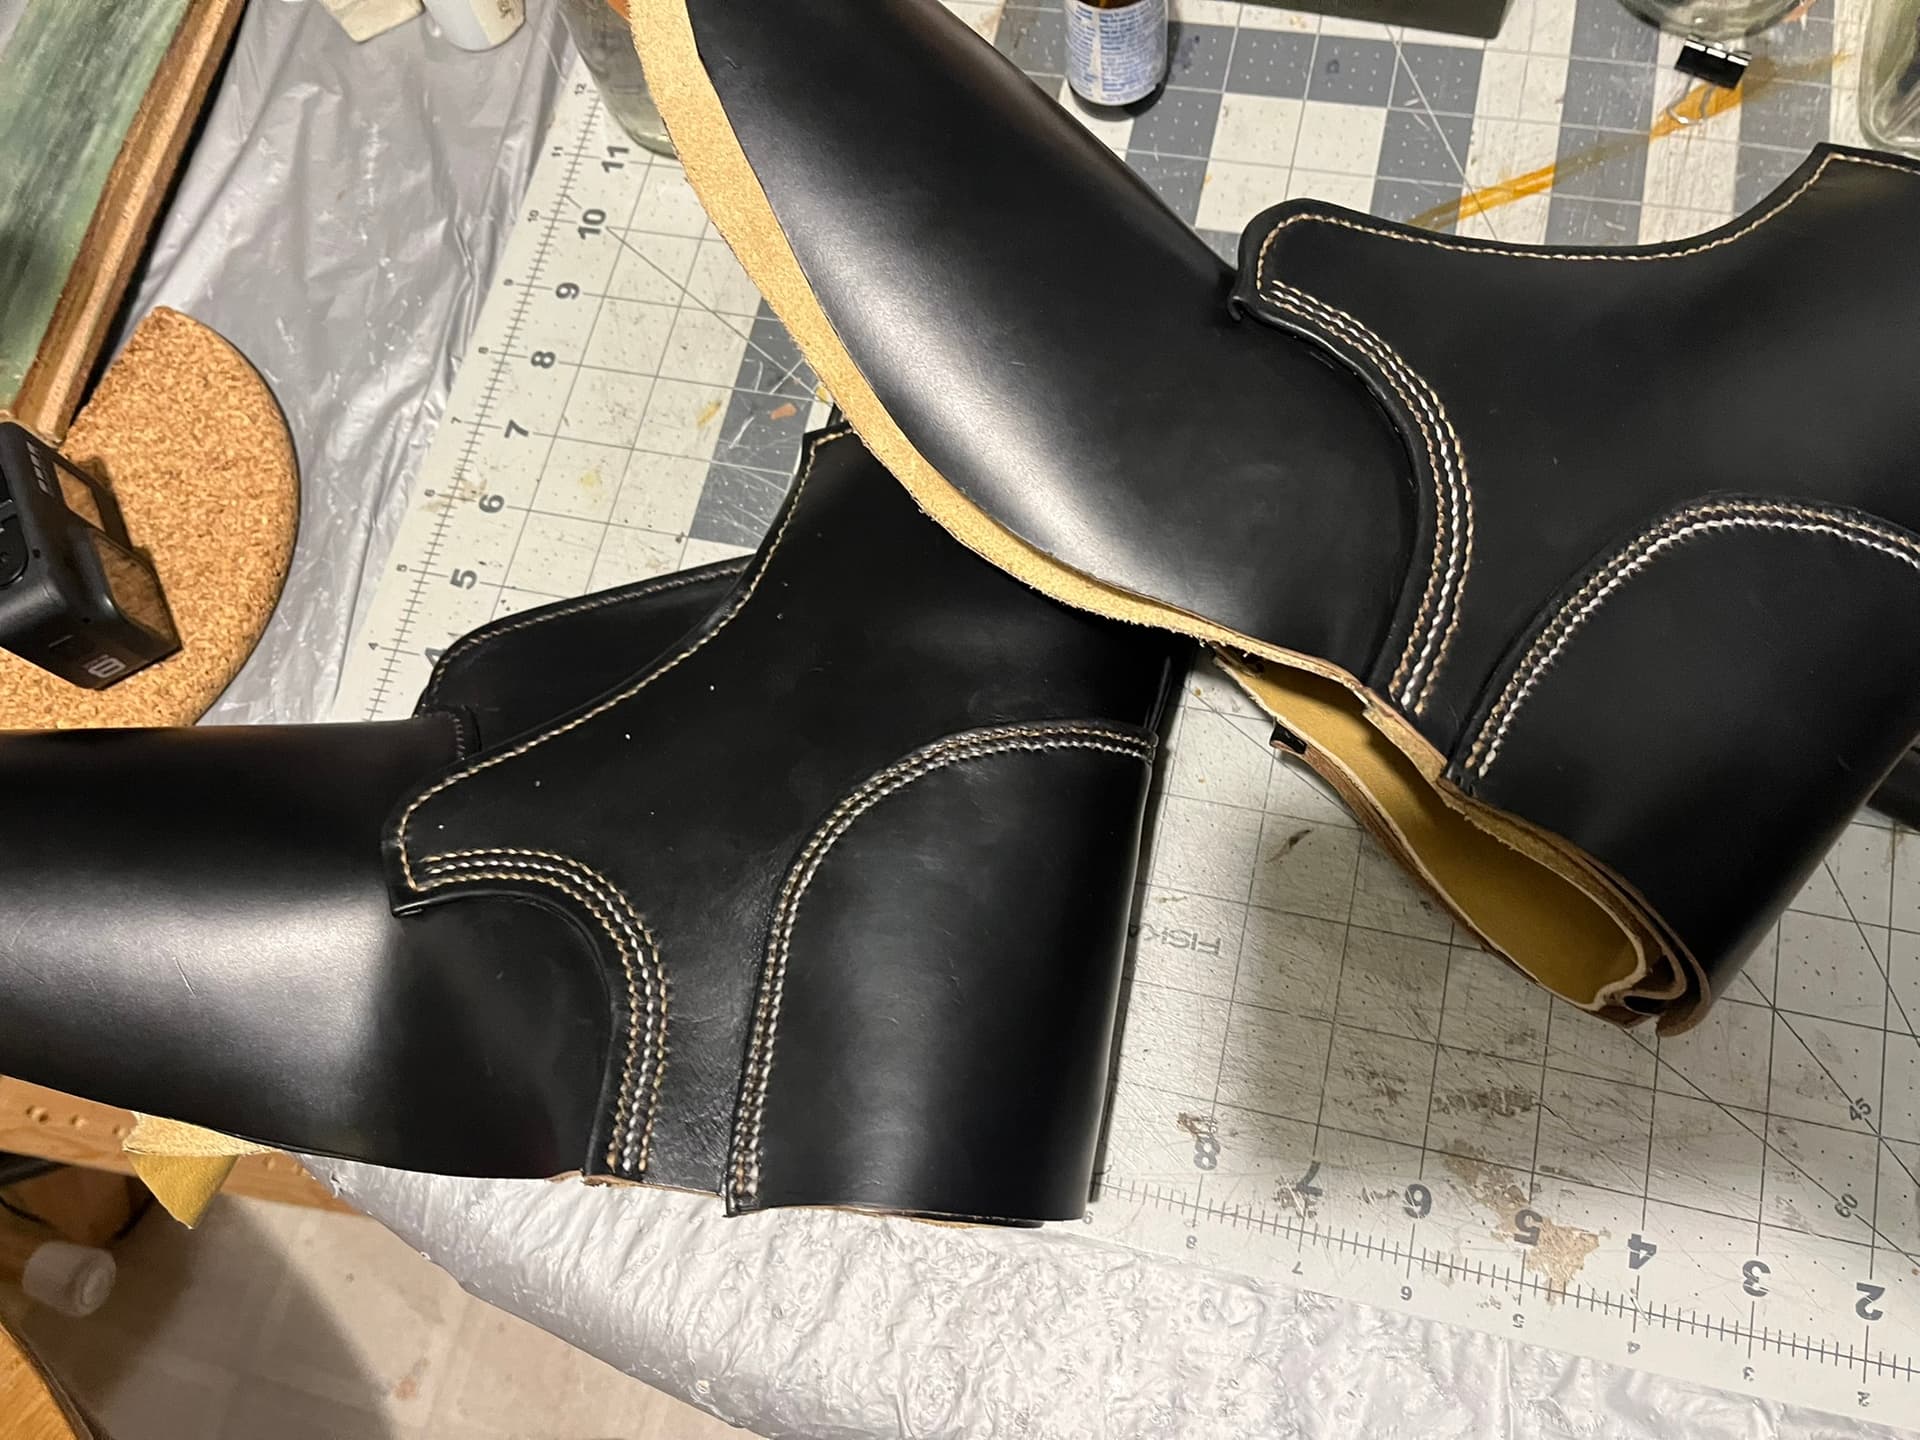
- Black Chromexcel
- Derby
- No Cap
- Relatively wide facing gap / throat opening.
- Fold the edges, for a little refinement.
- Gunmetal AA eyelets
- Shorter than pair 3. Maybe seven eyelets to a facing.
- Design on the lasts this time, rather than on mean forms.
- External Heel Counter and Cover
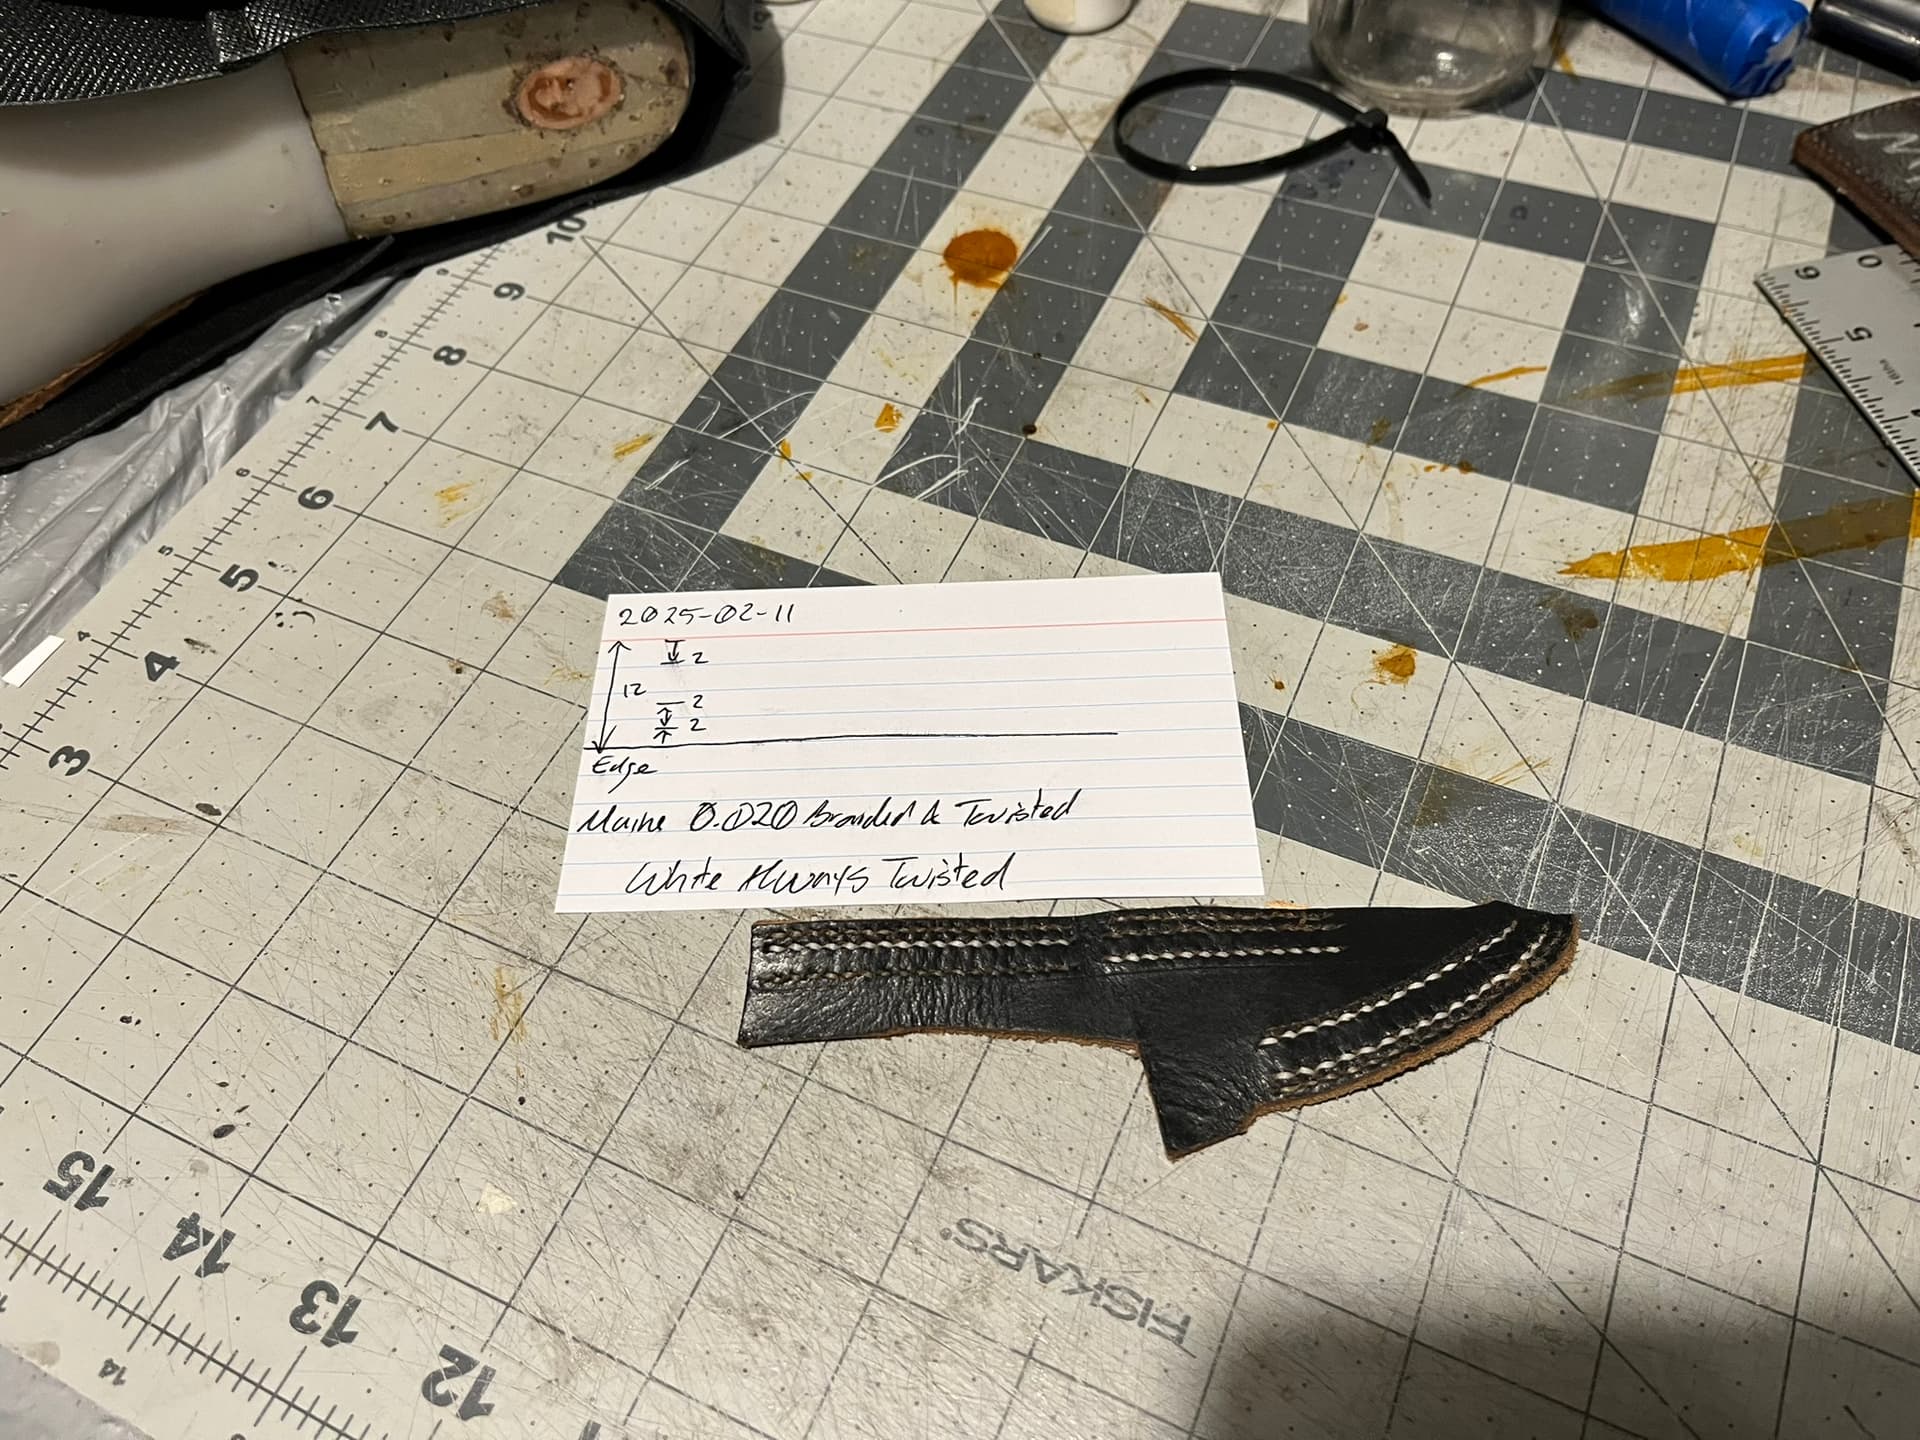
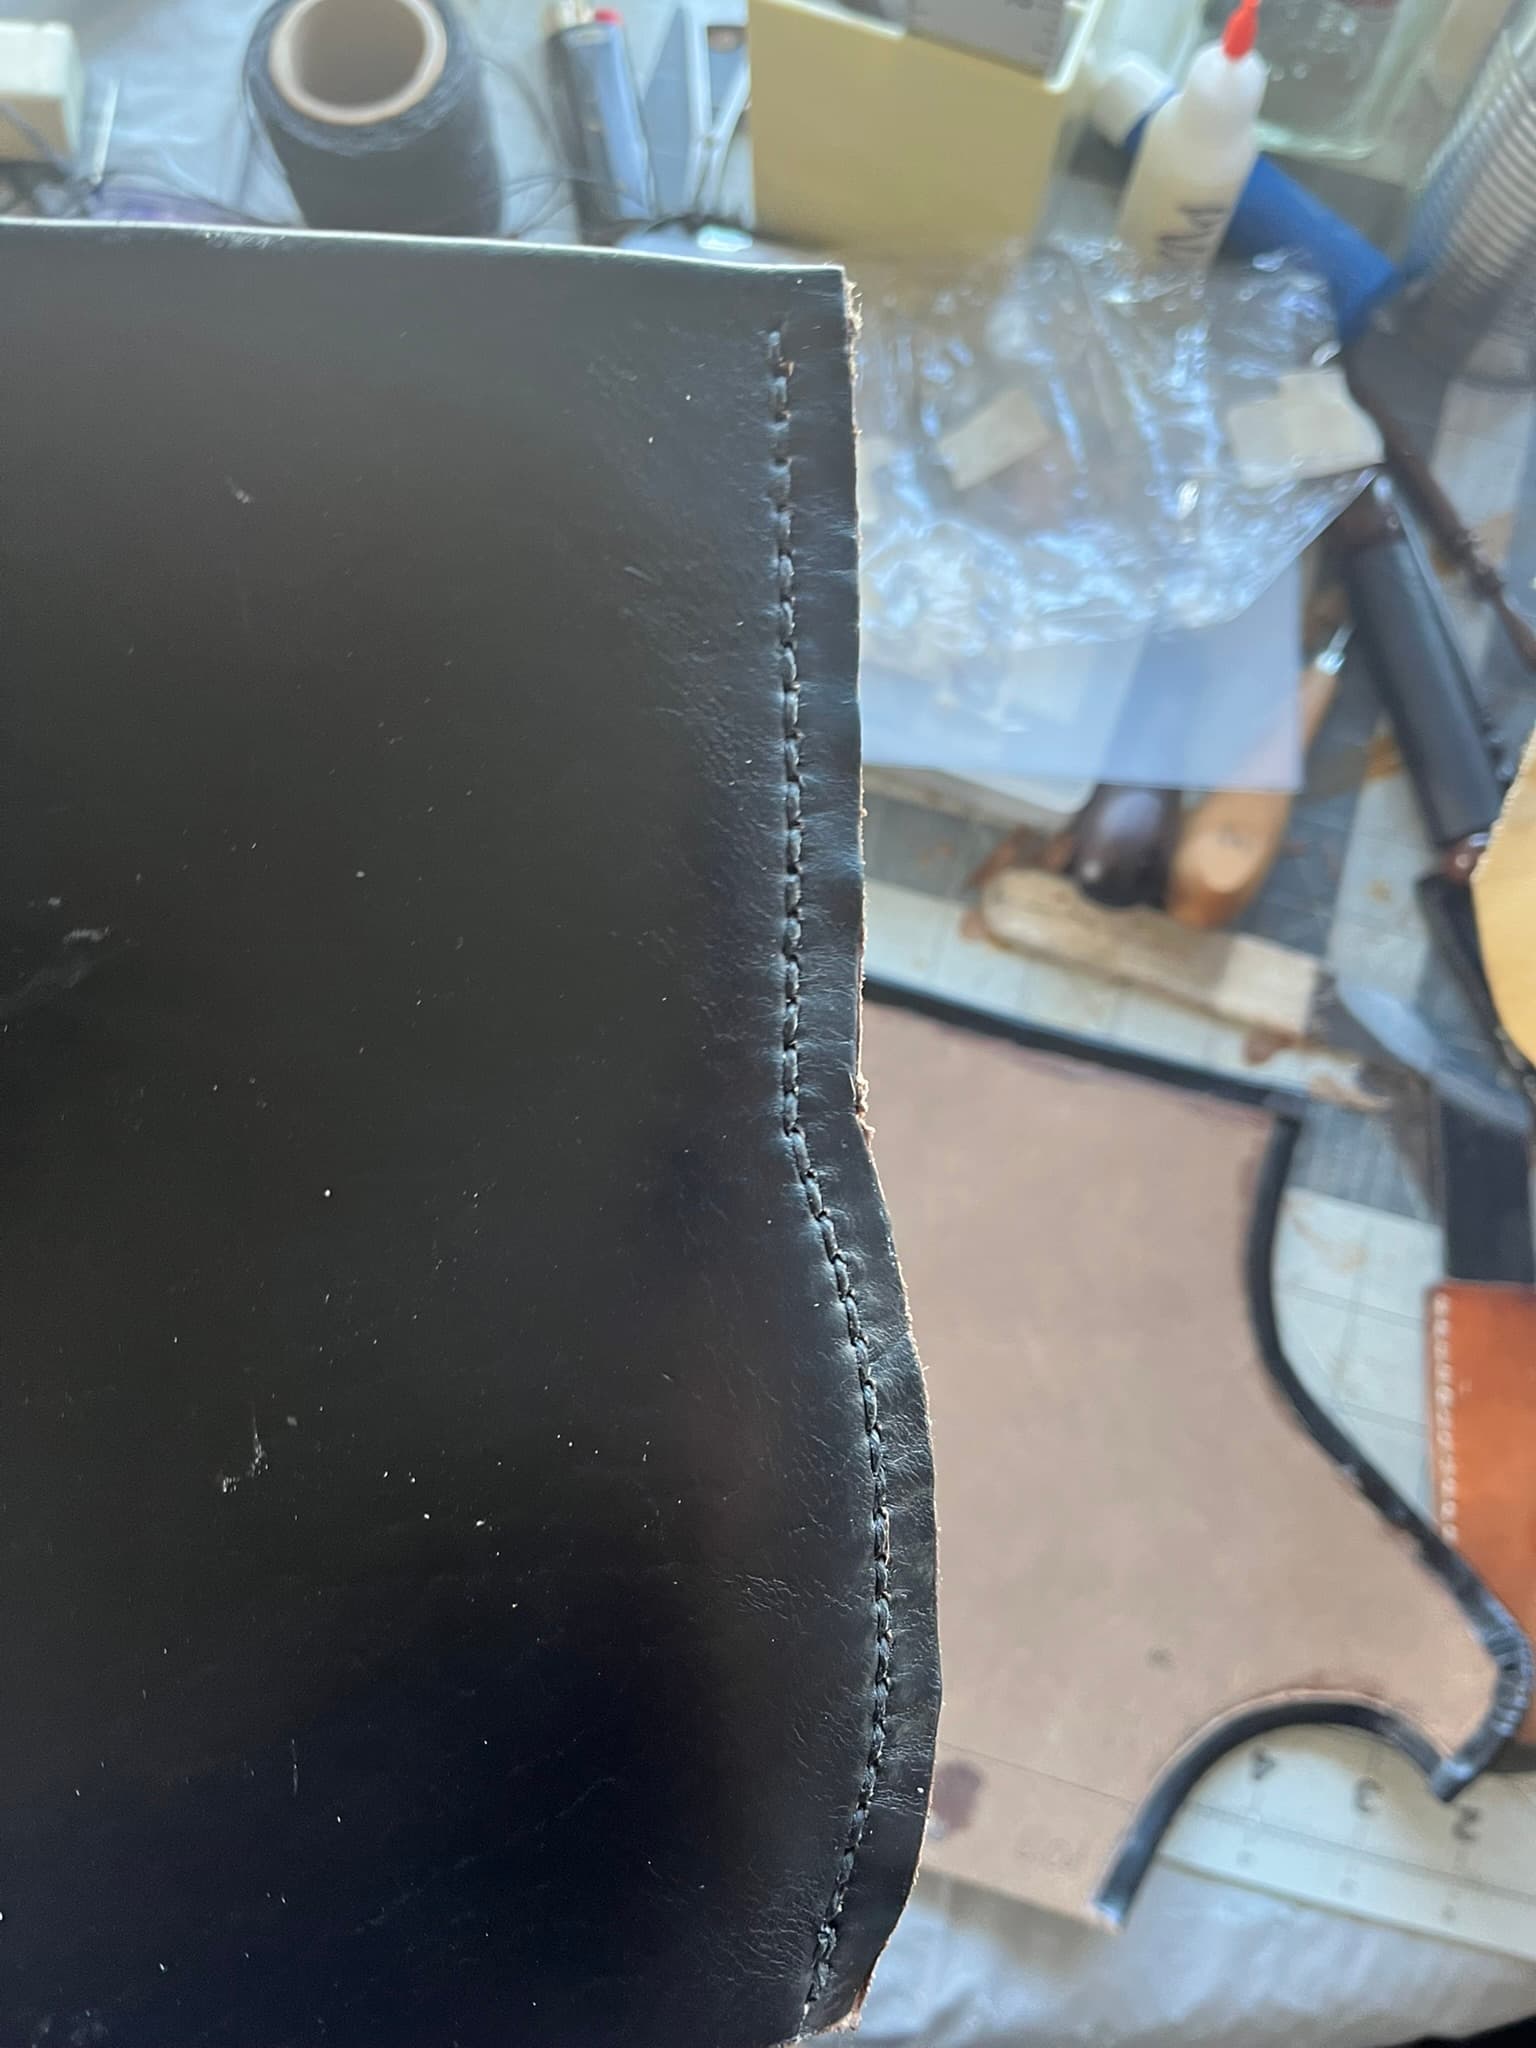
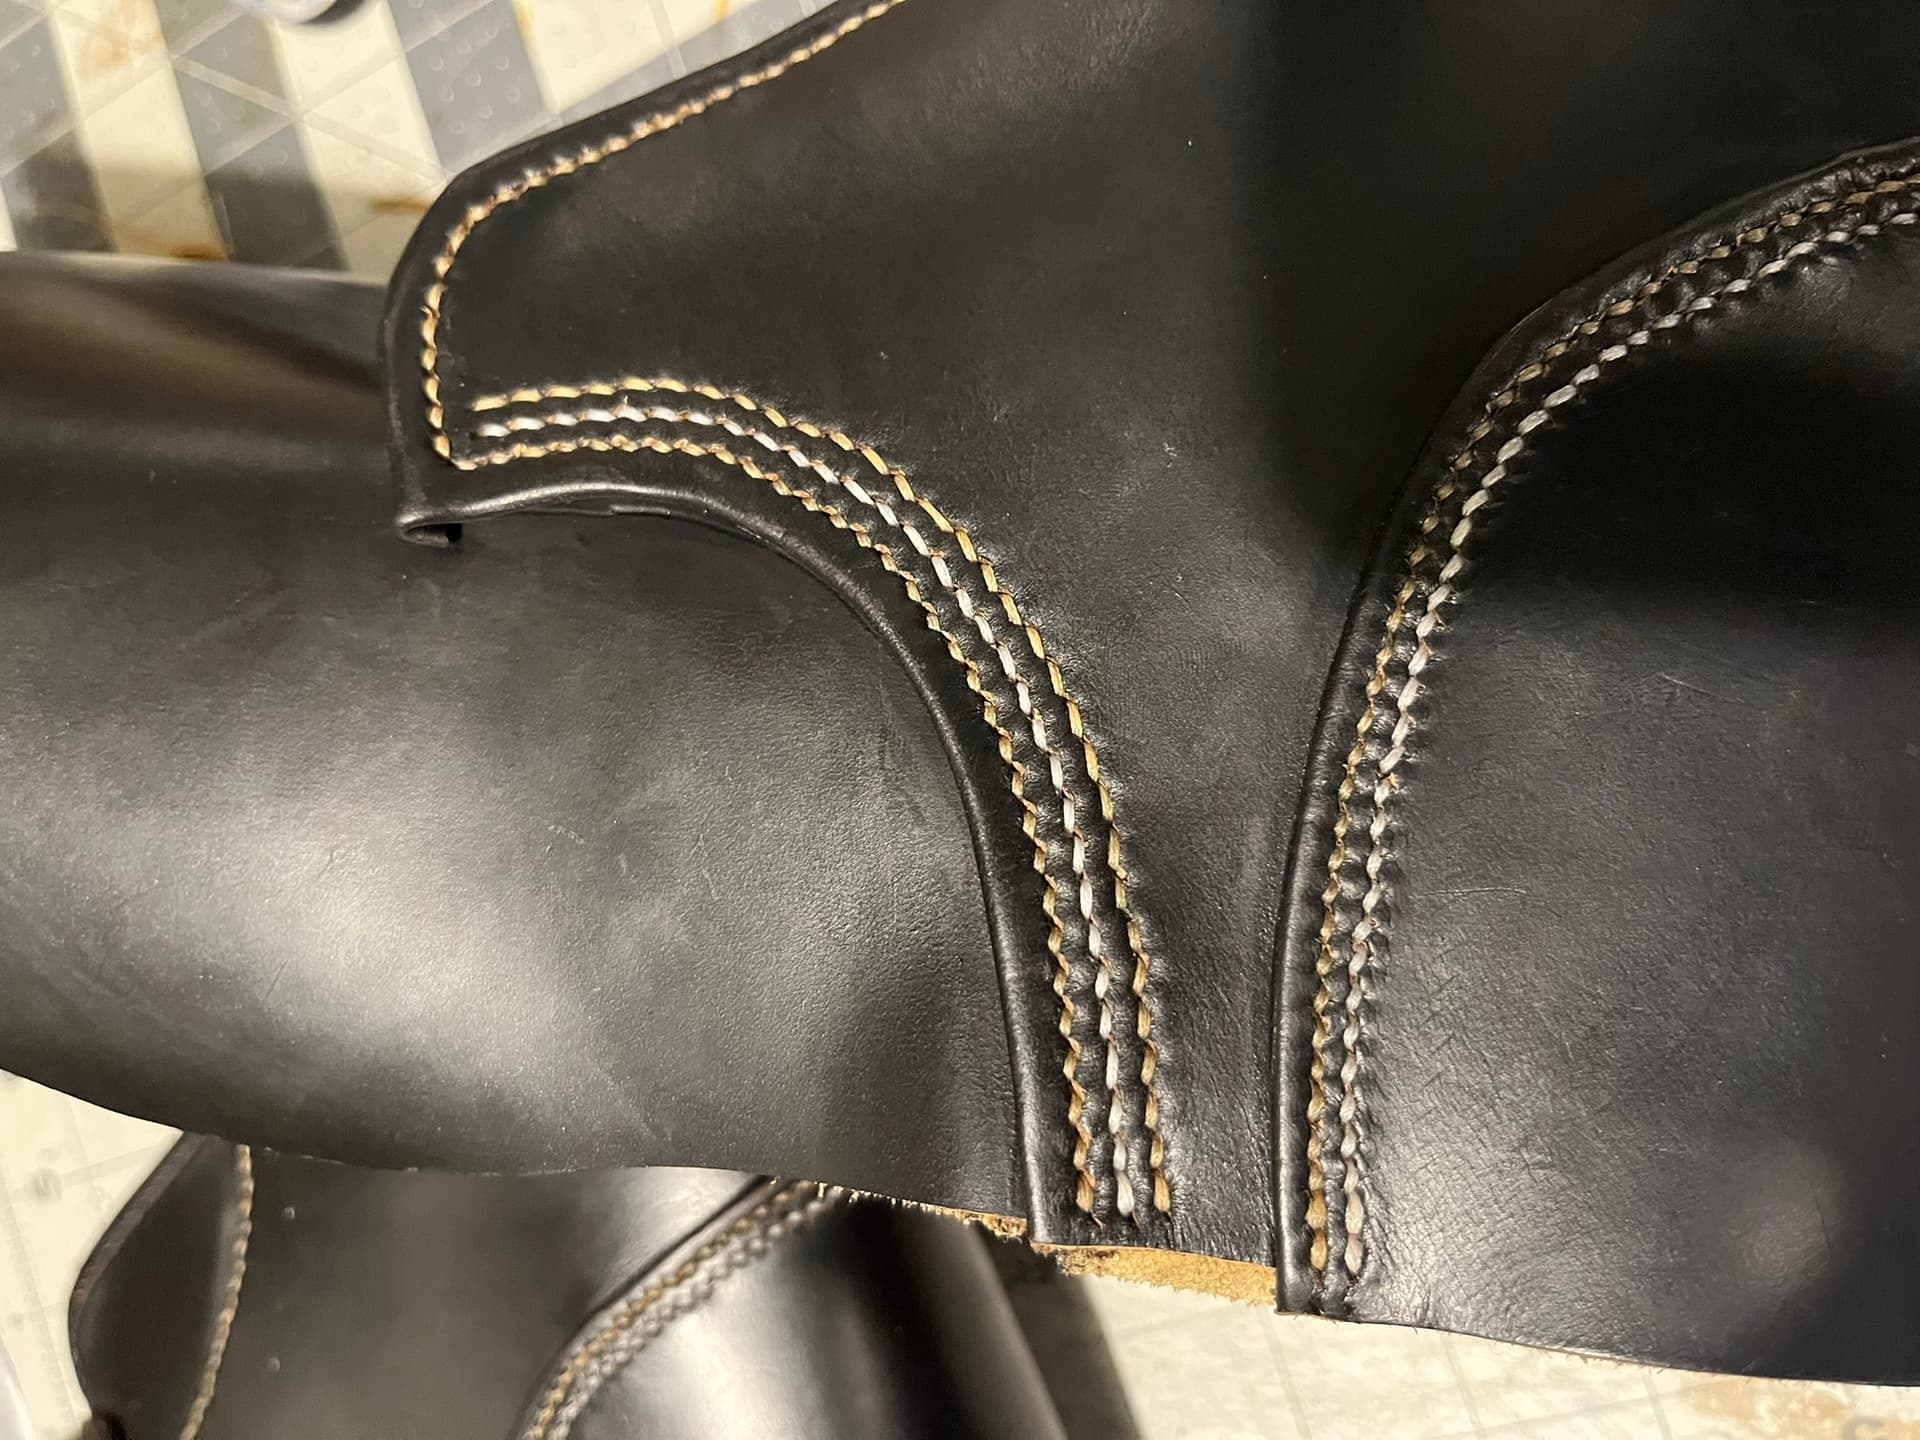
- Do some fancy tan contrast stitching on the quarter and other seams.
- Don’t go crazy with the stitch density on the uppers this time. 3 mm standard. Stick to the 0.020" braided thread.
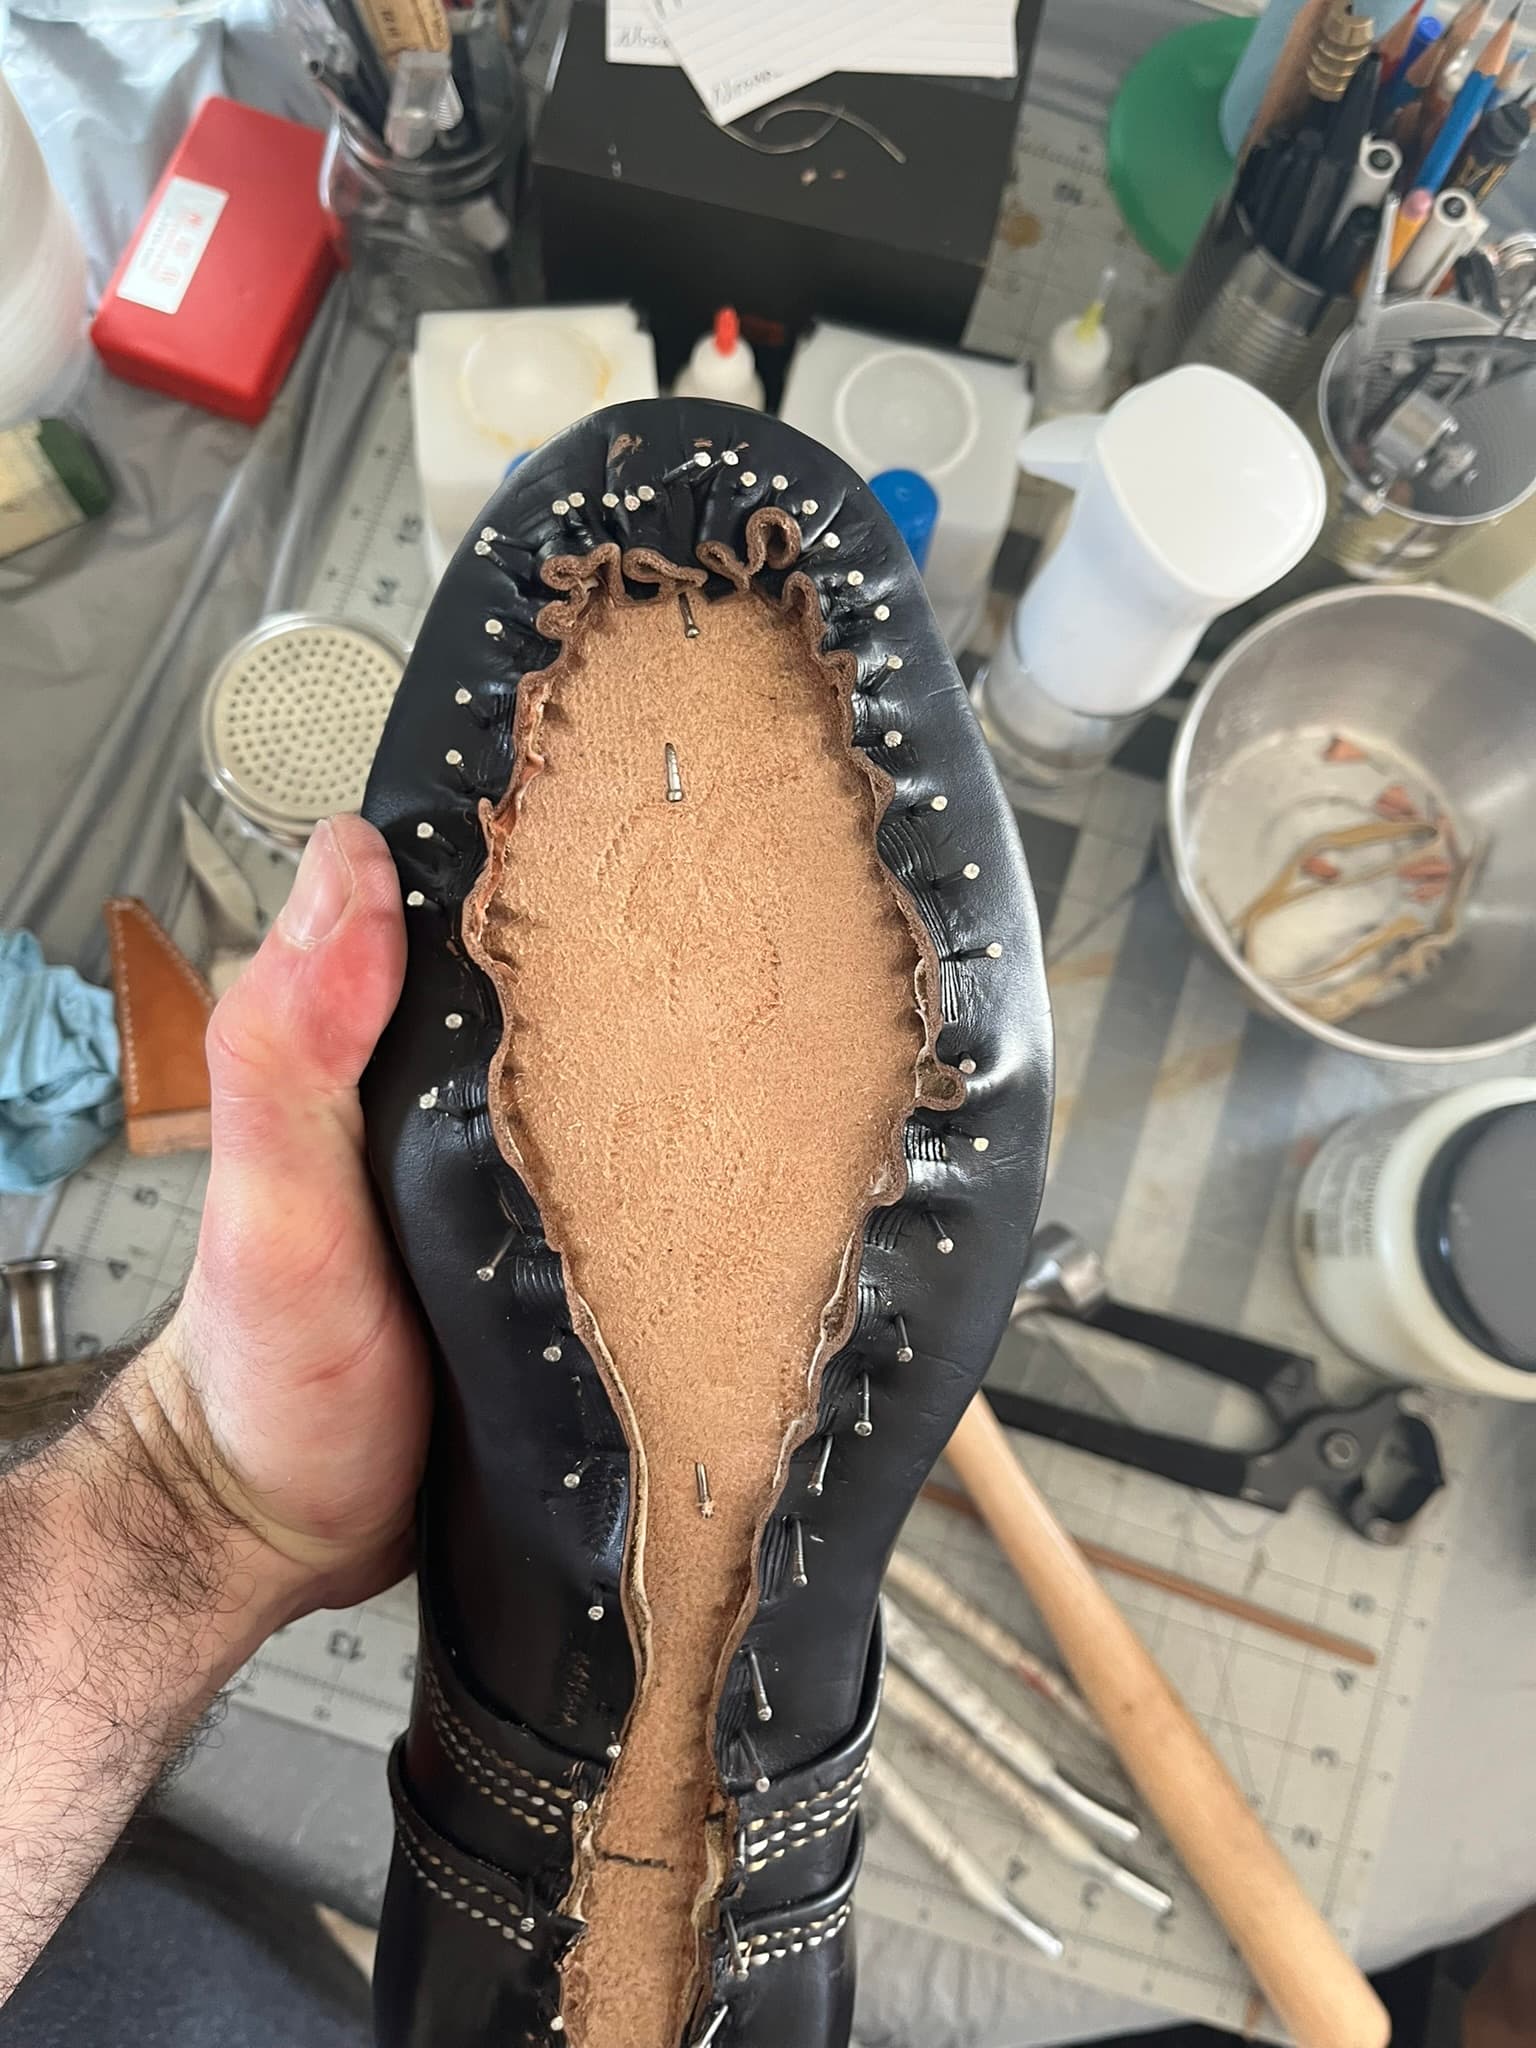
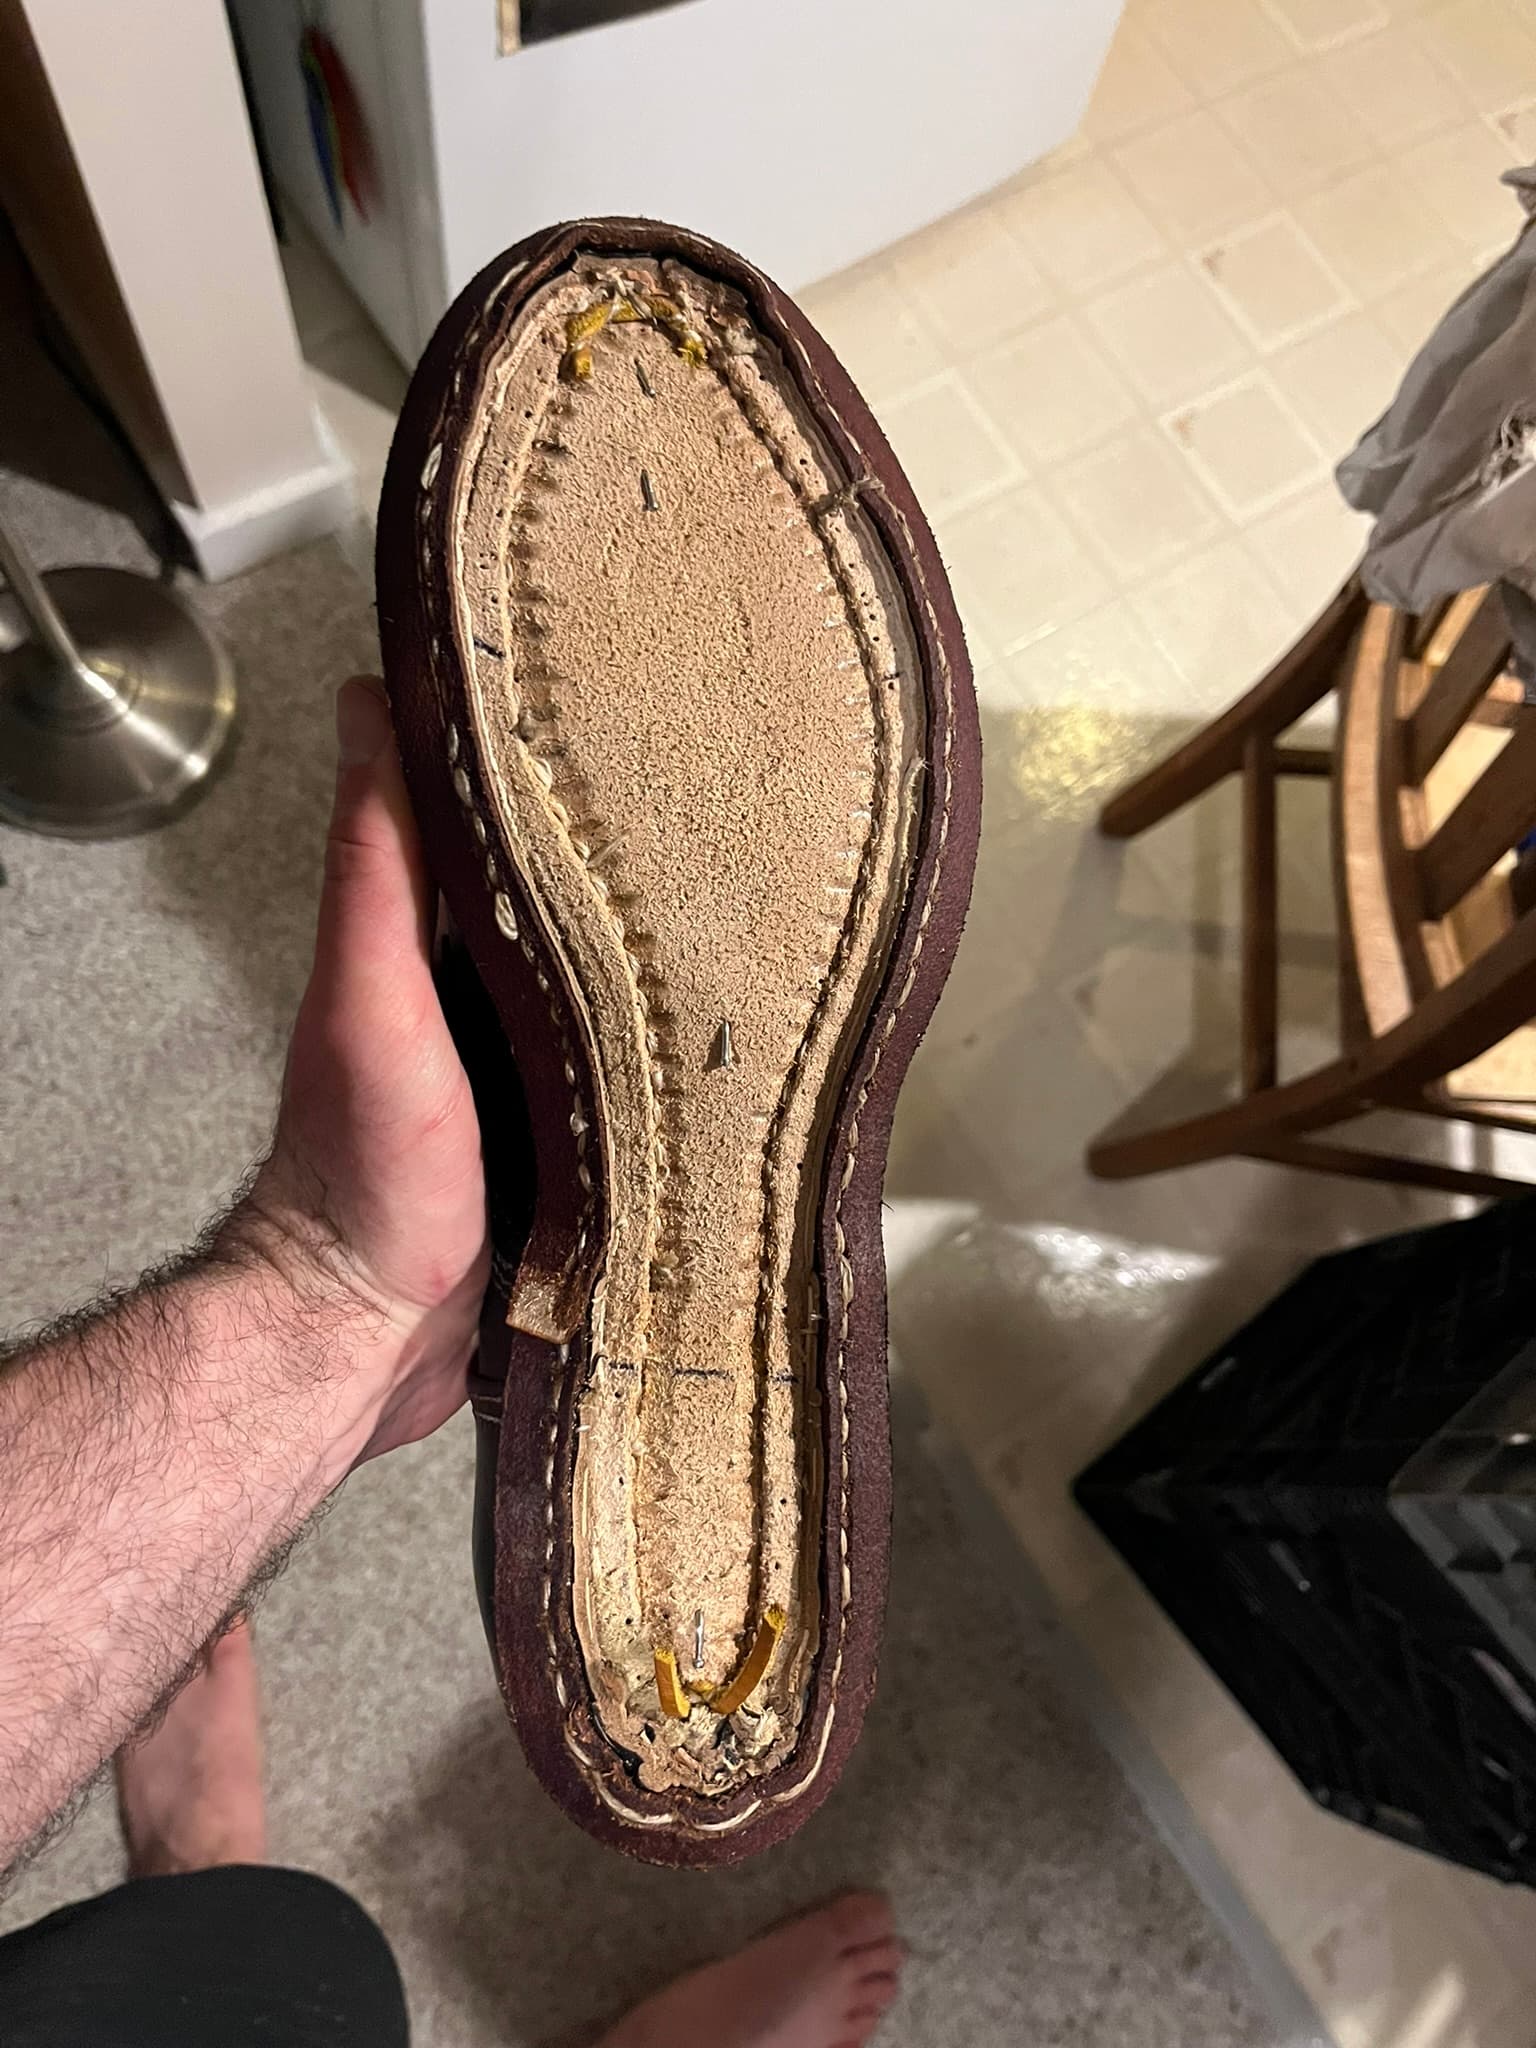
- Handwelted Breast to Breast
- Brown Vibram Cork V-Bar
- Stacked Leather Heel and Some Brown Rubber Top Lift
- White Outseam
- Try my new fudge wheel.
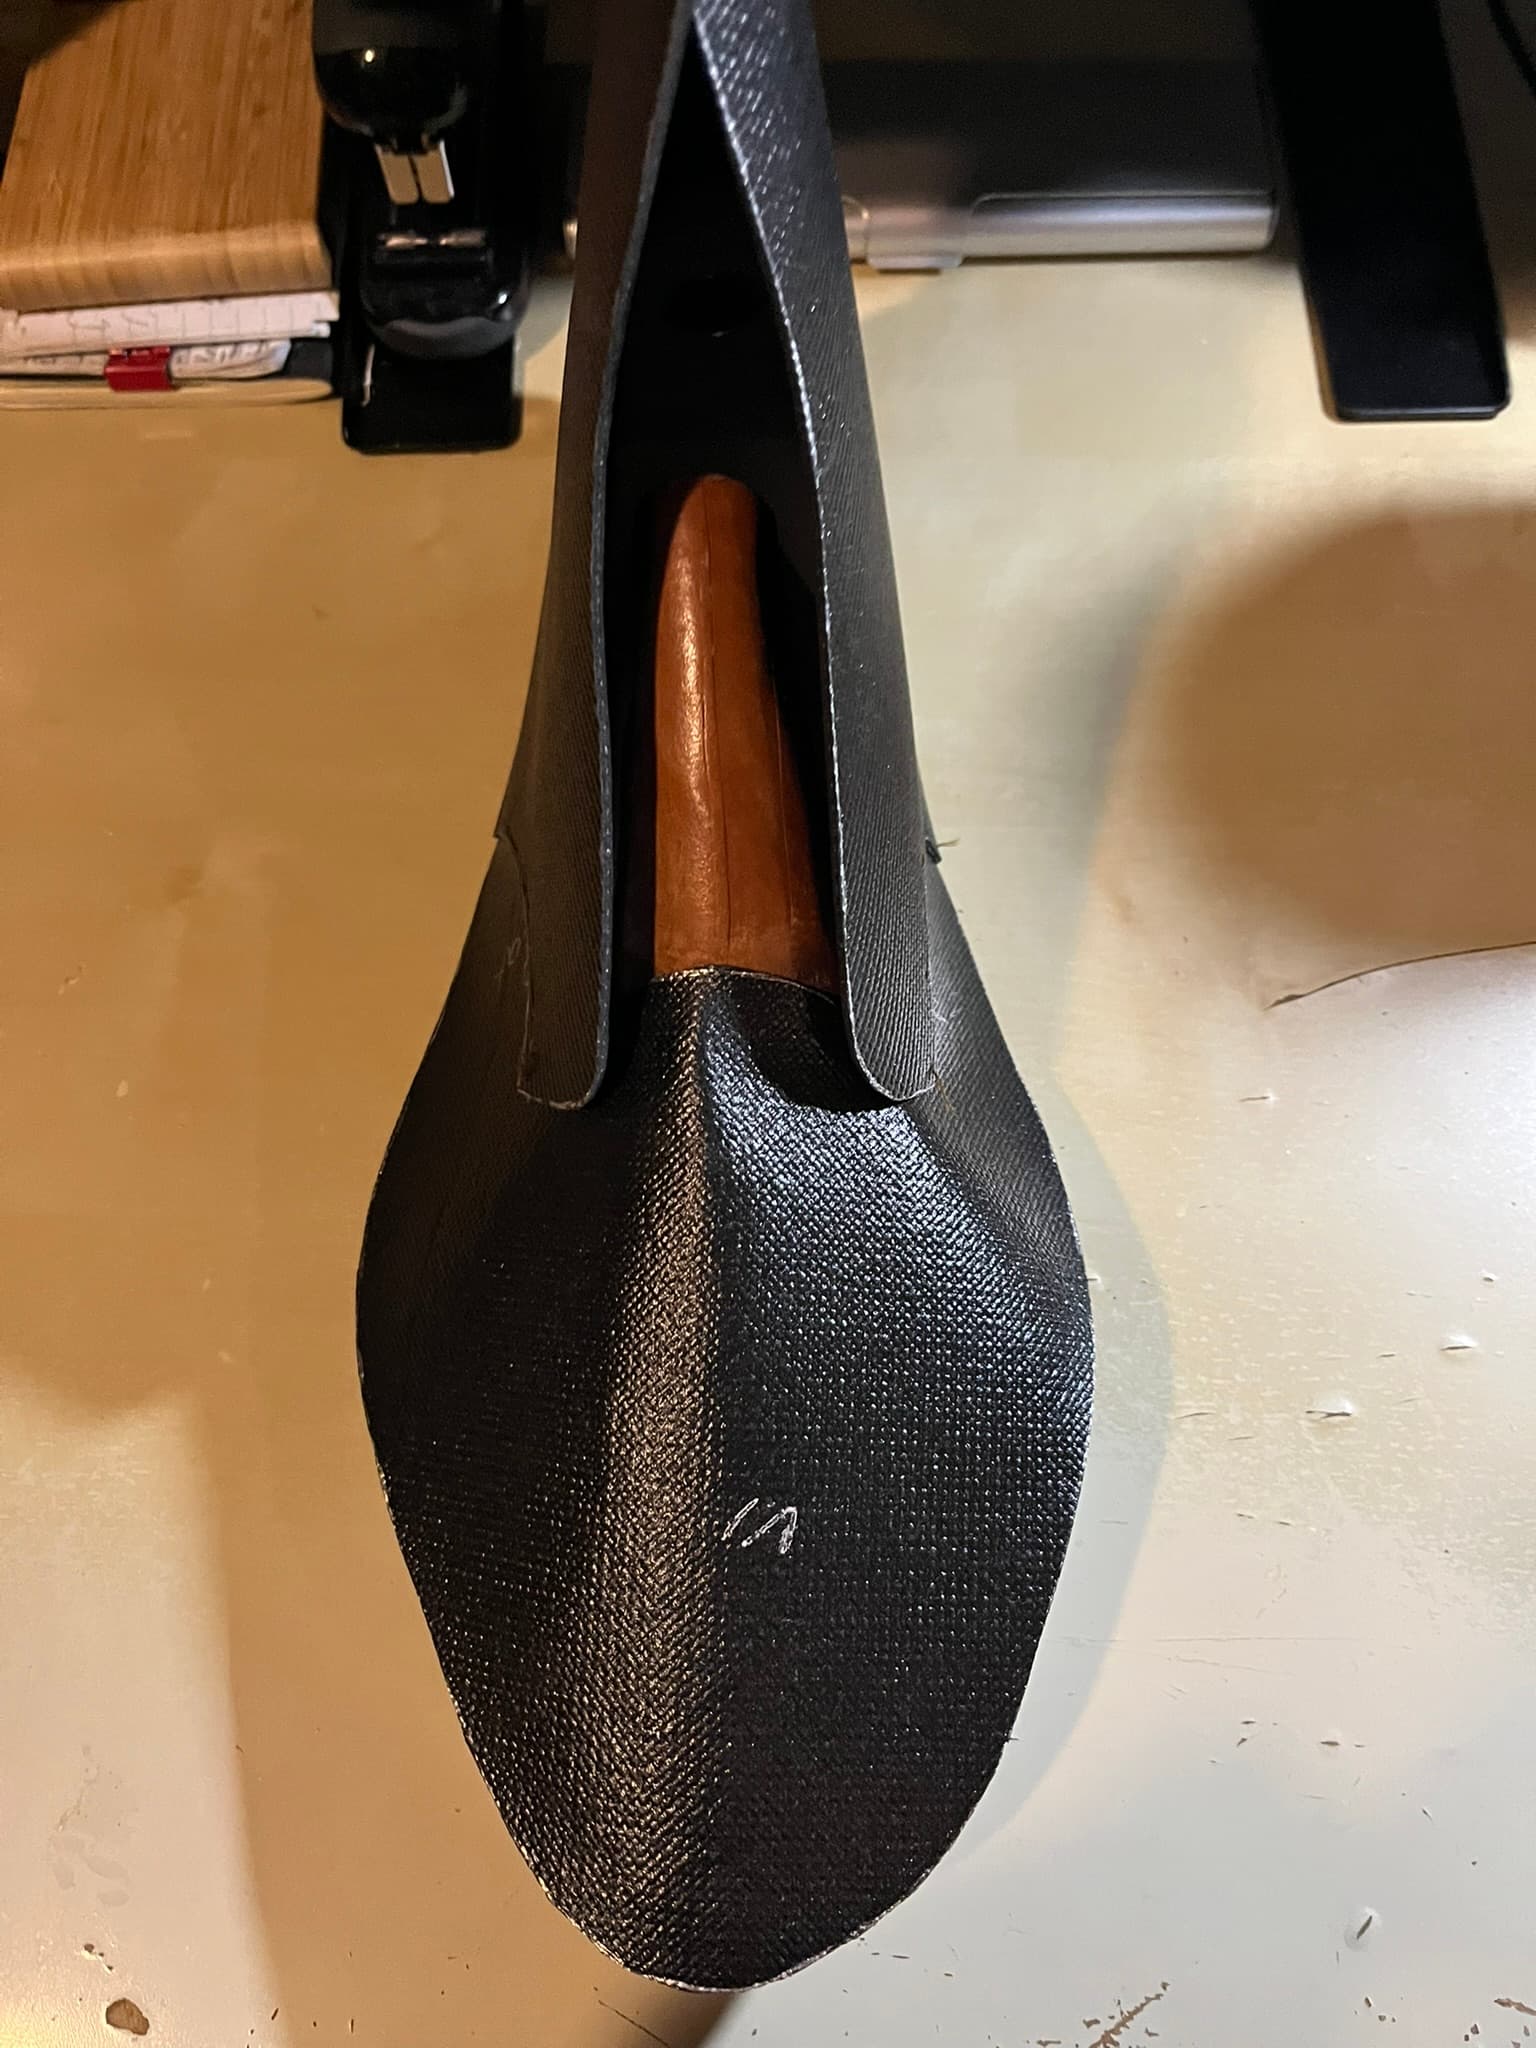
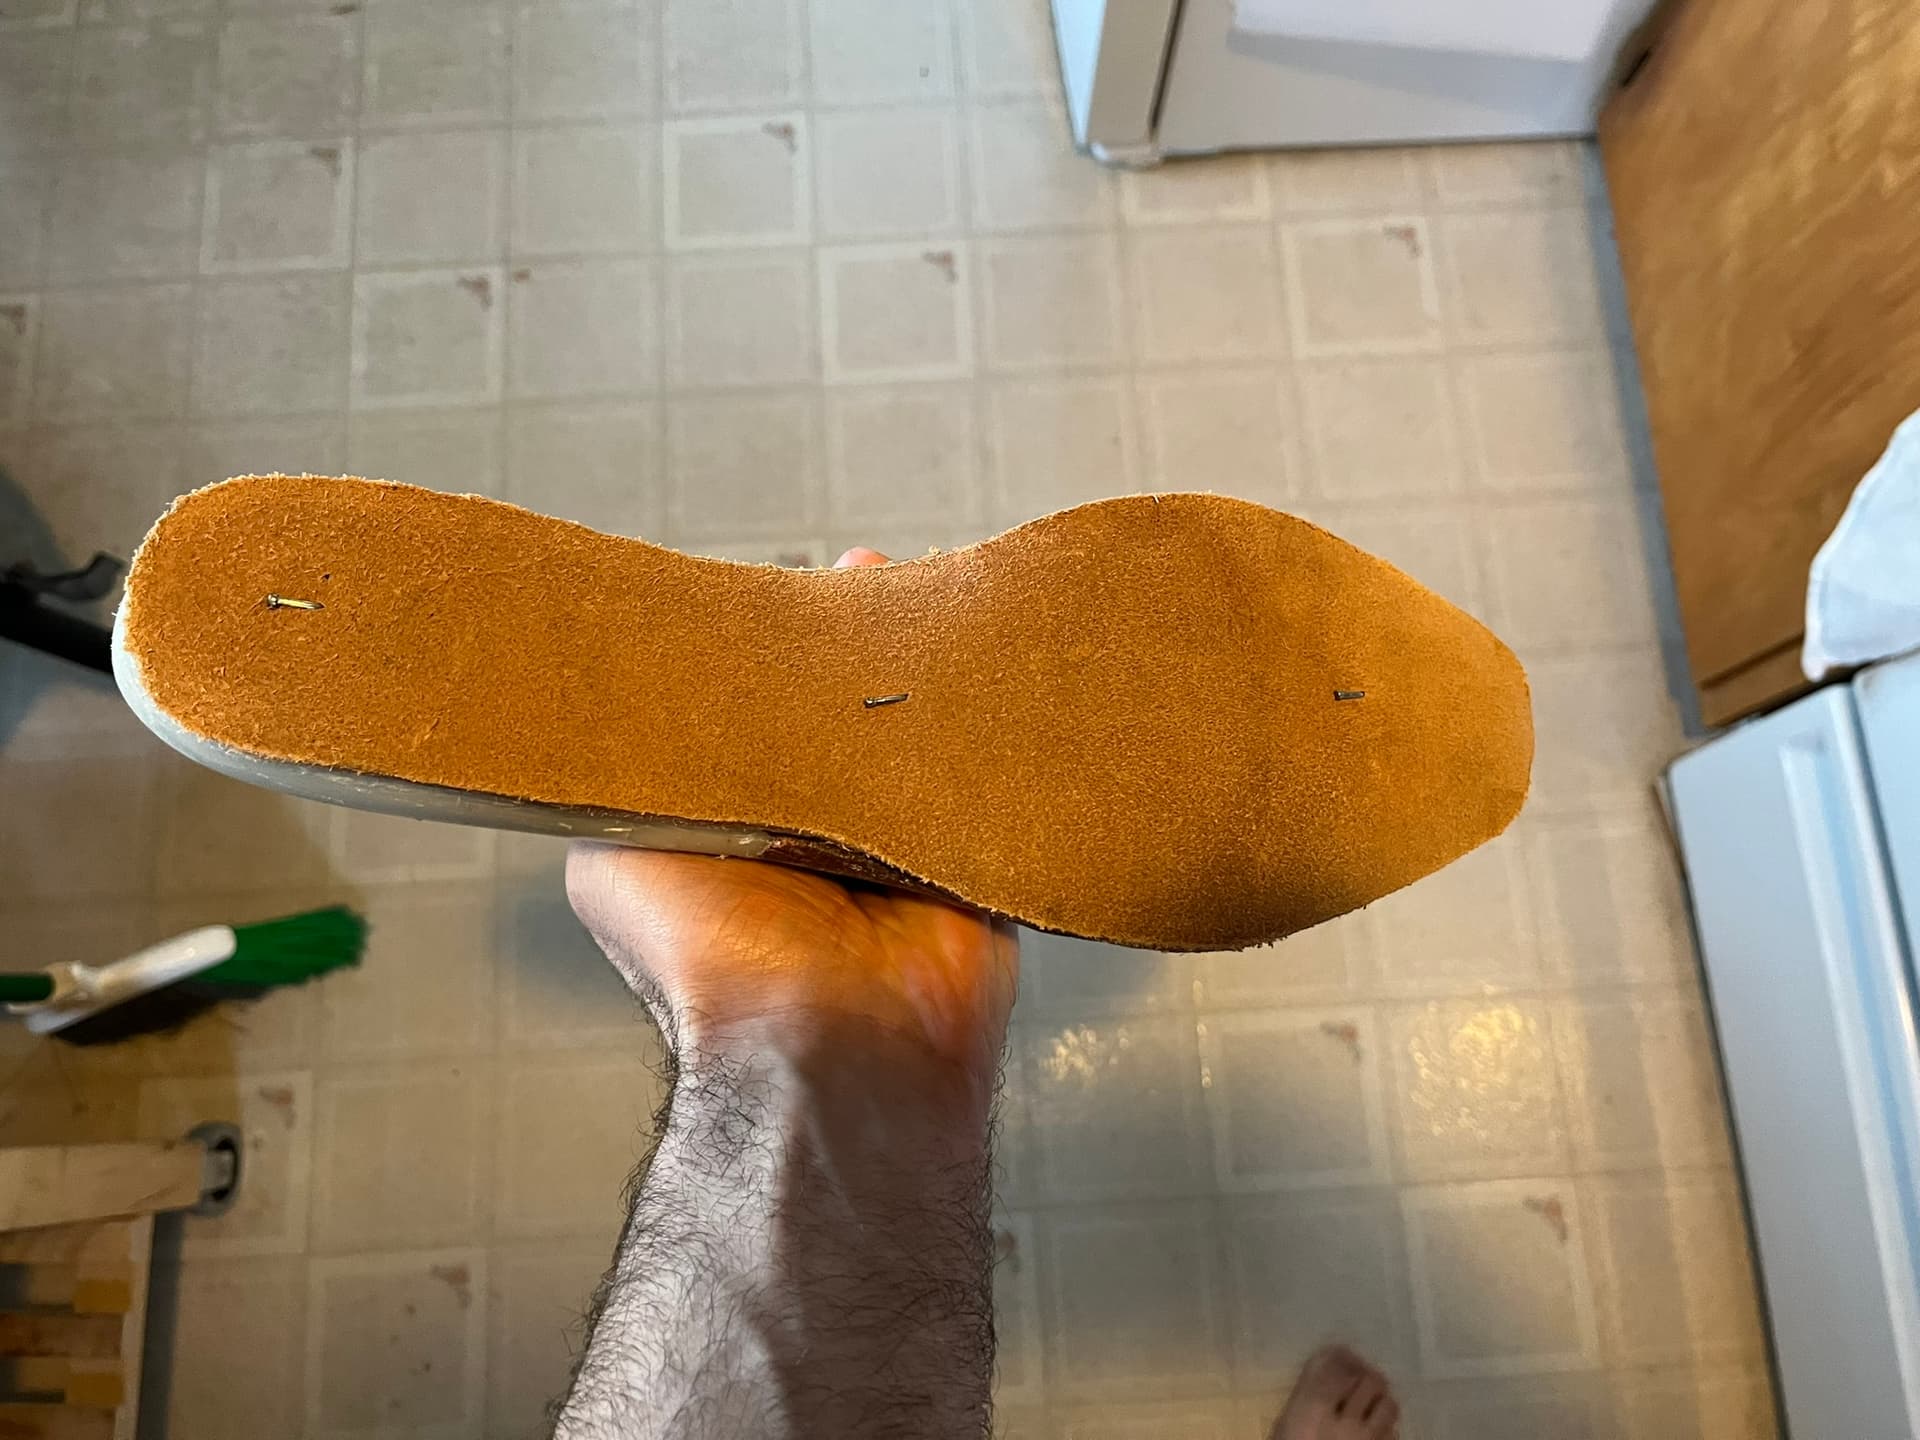
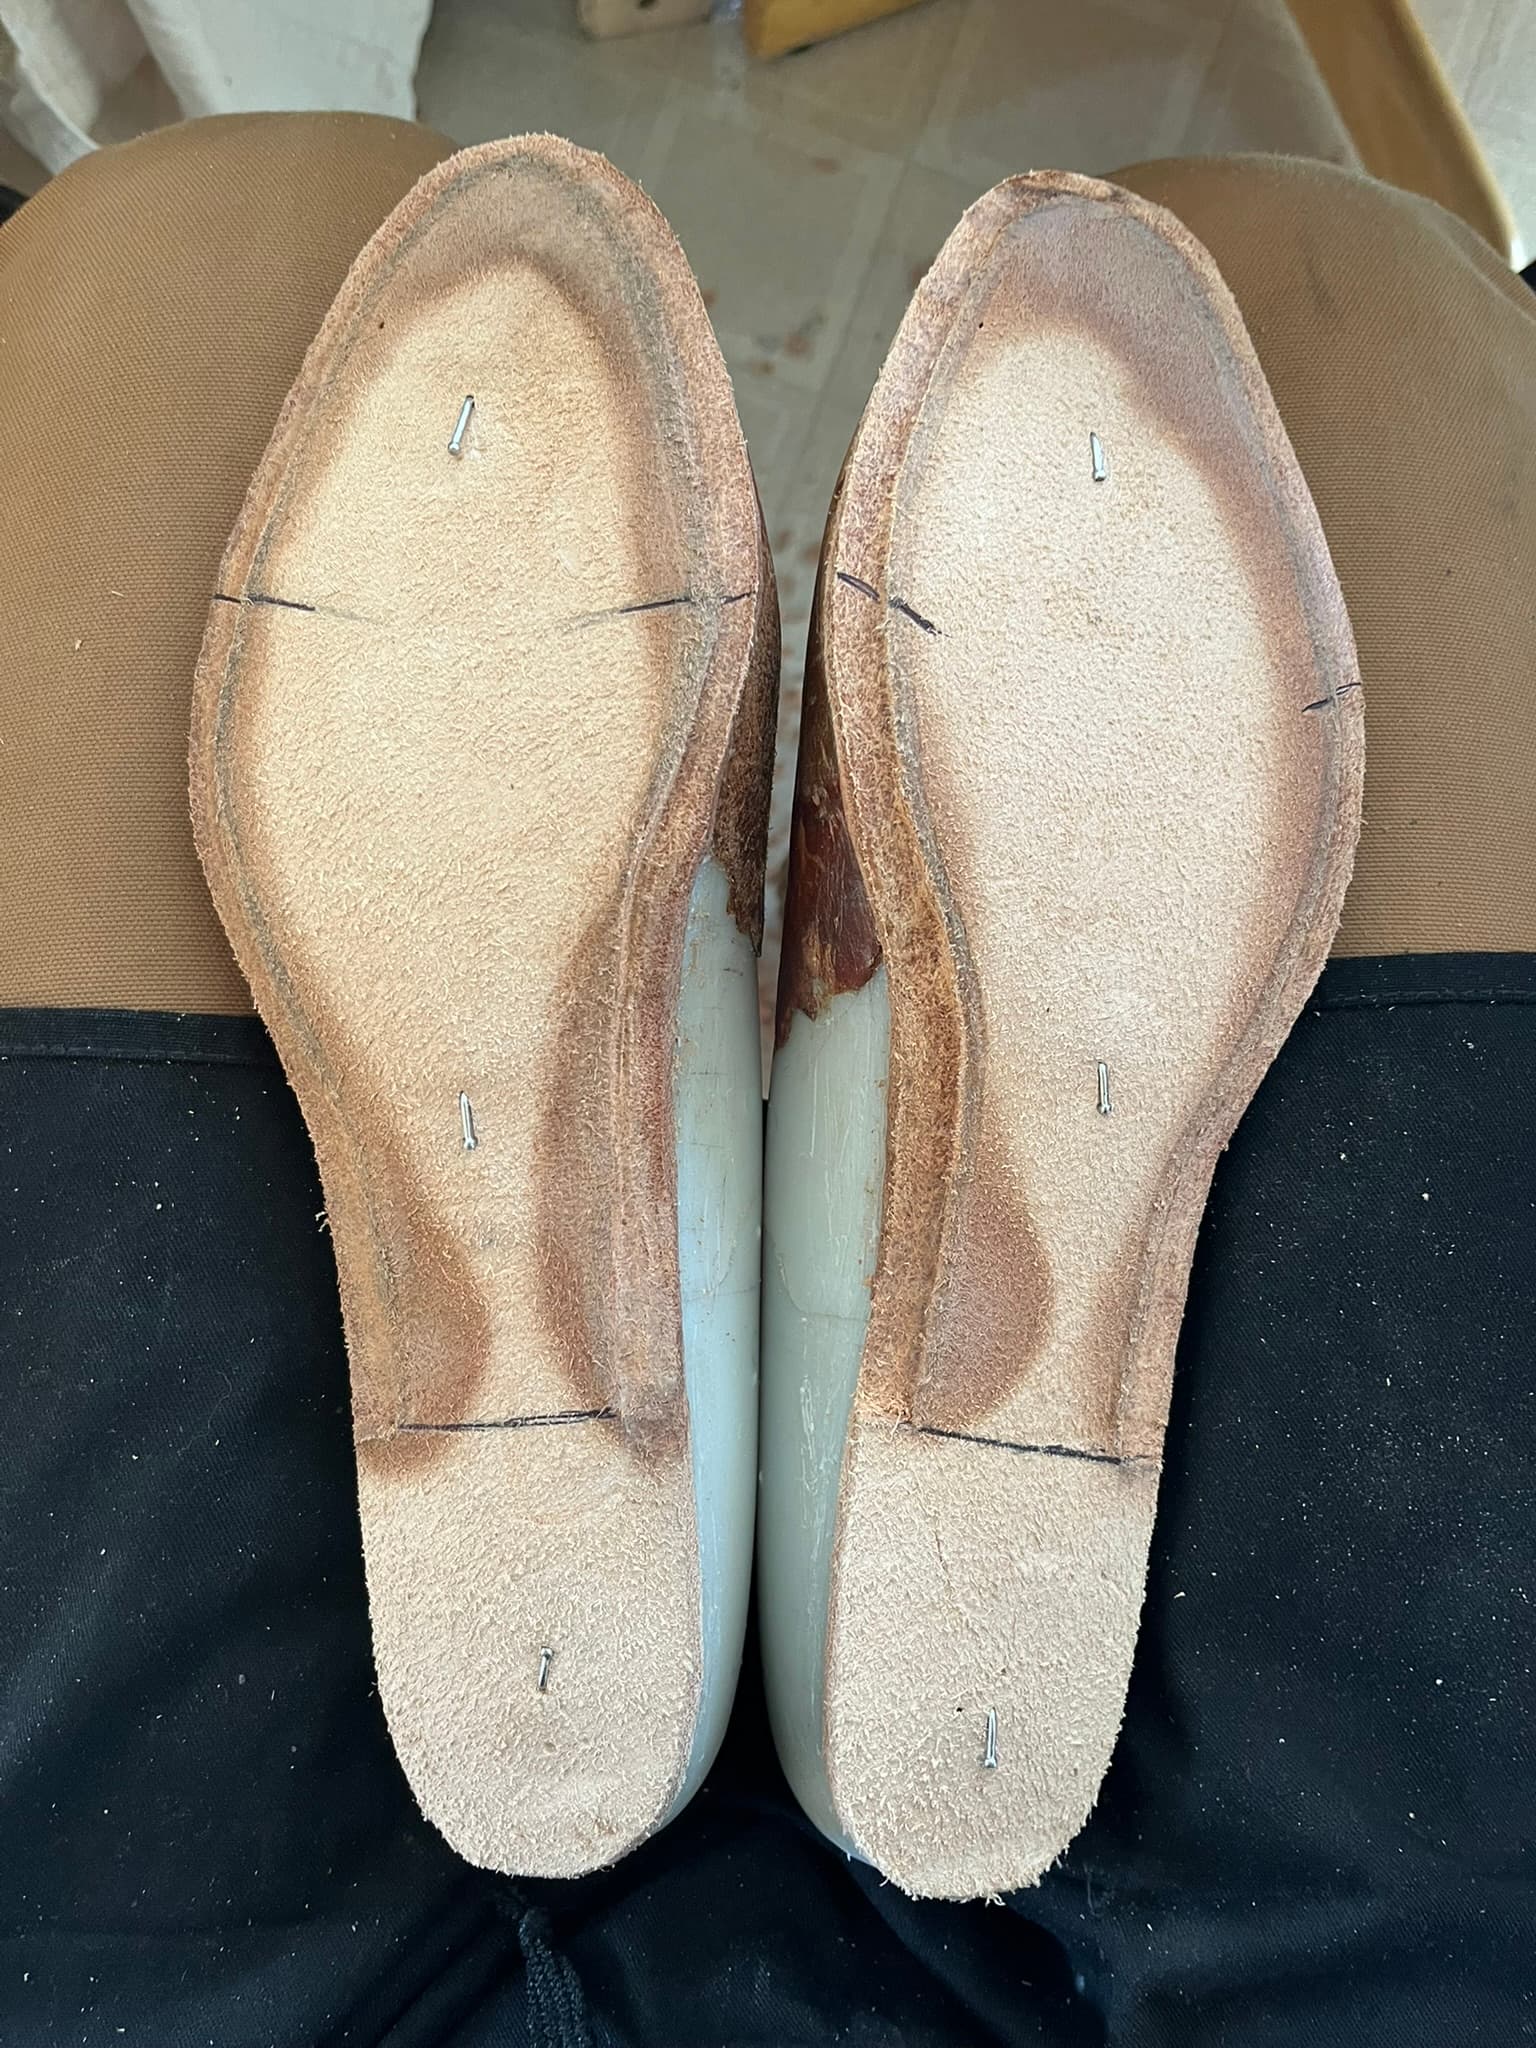
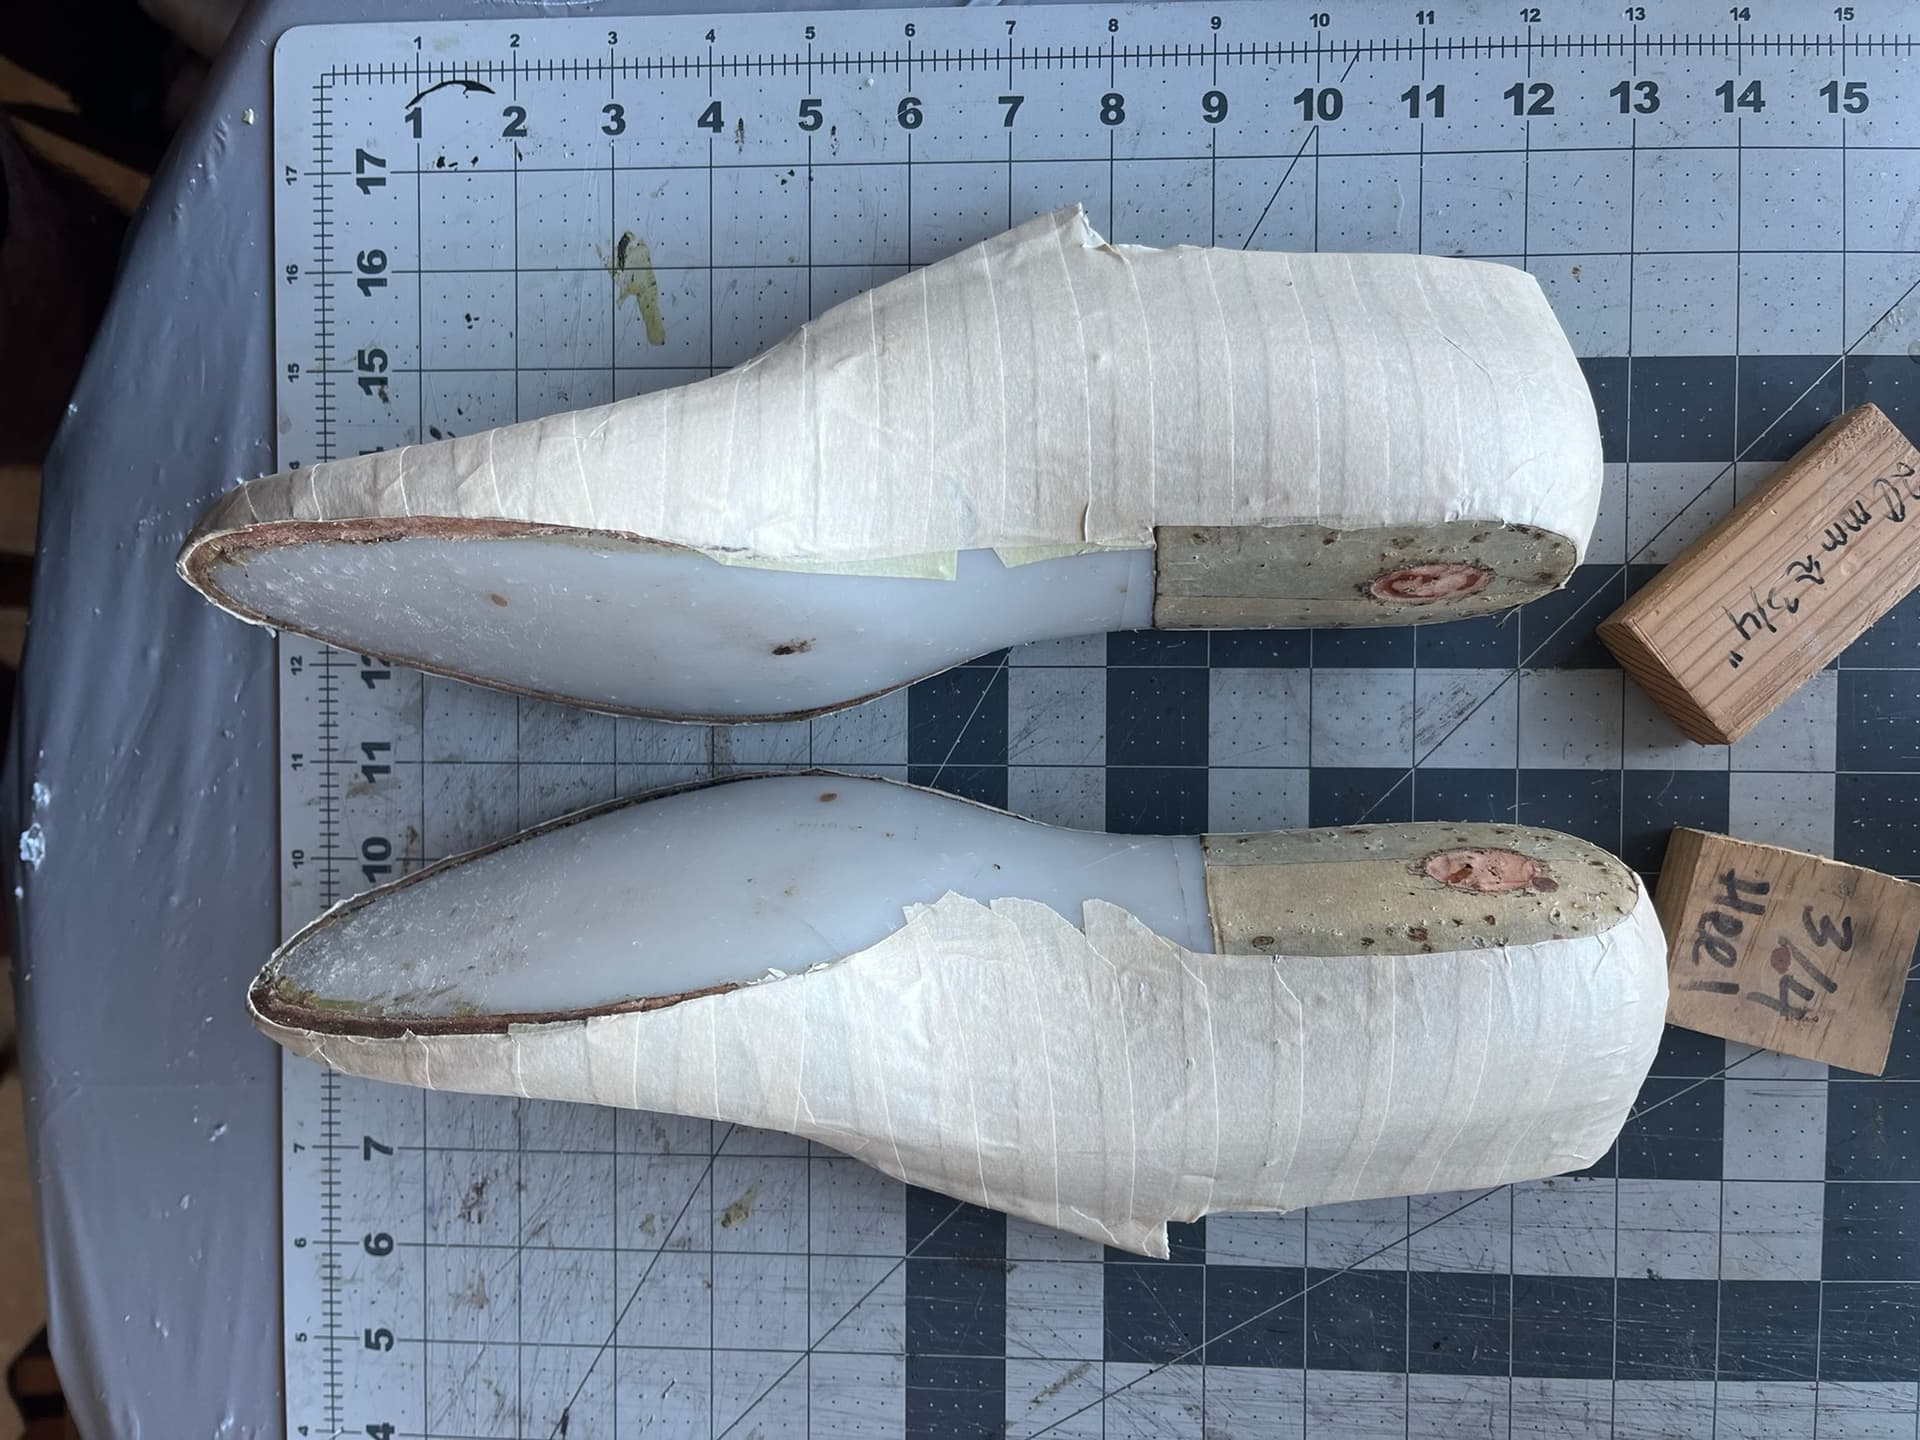
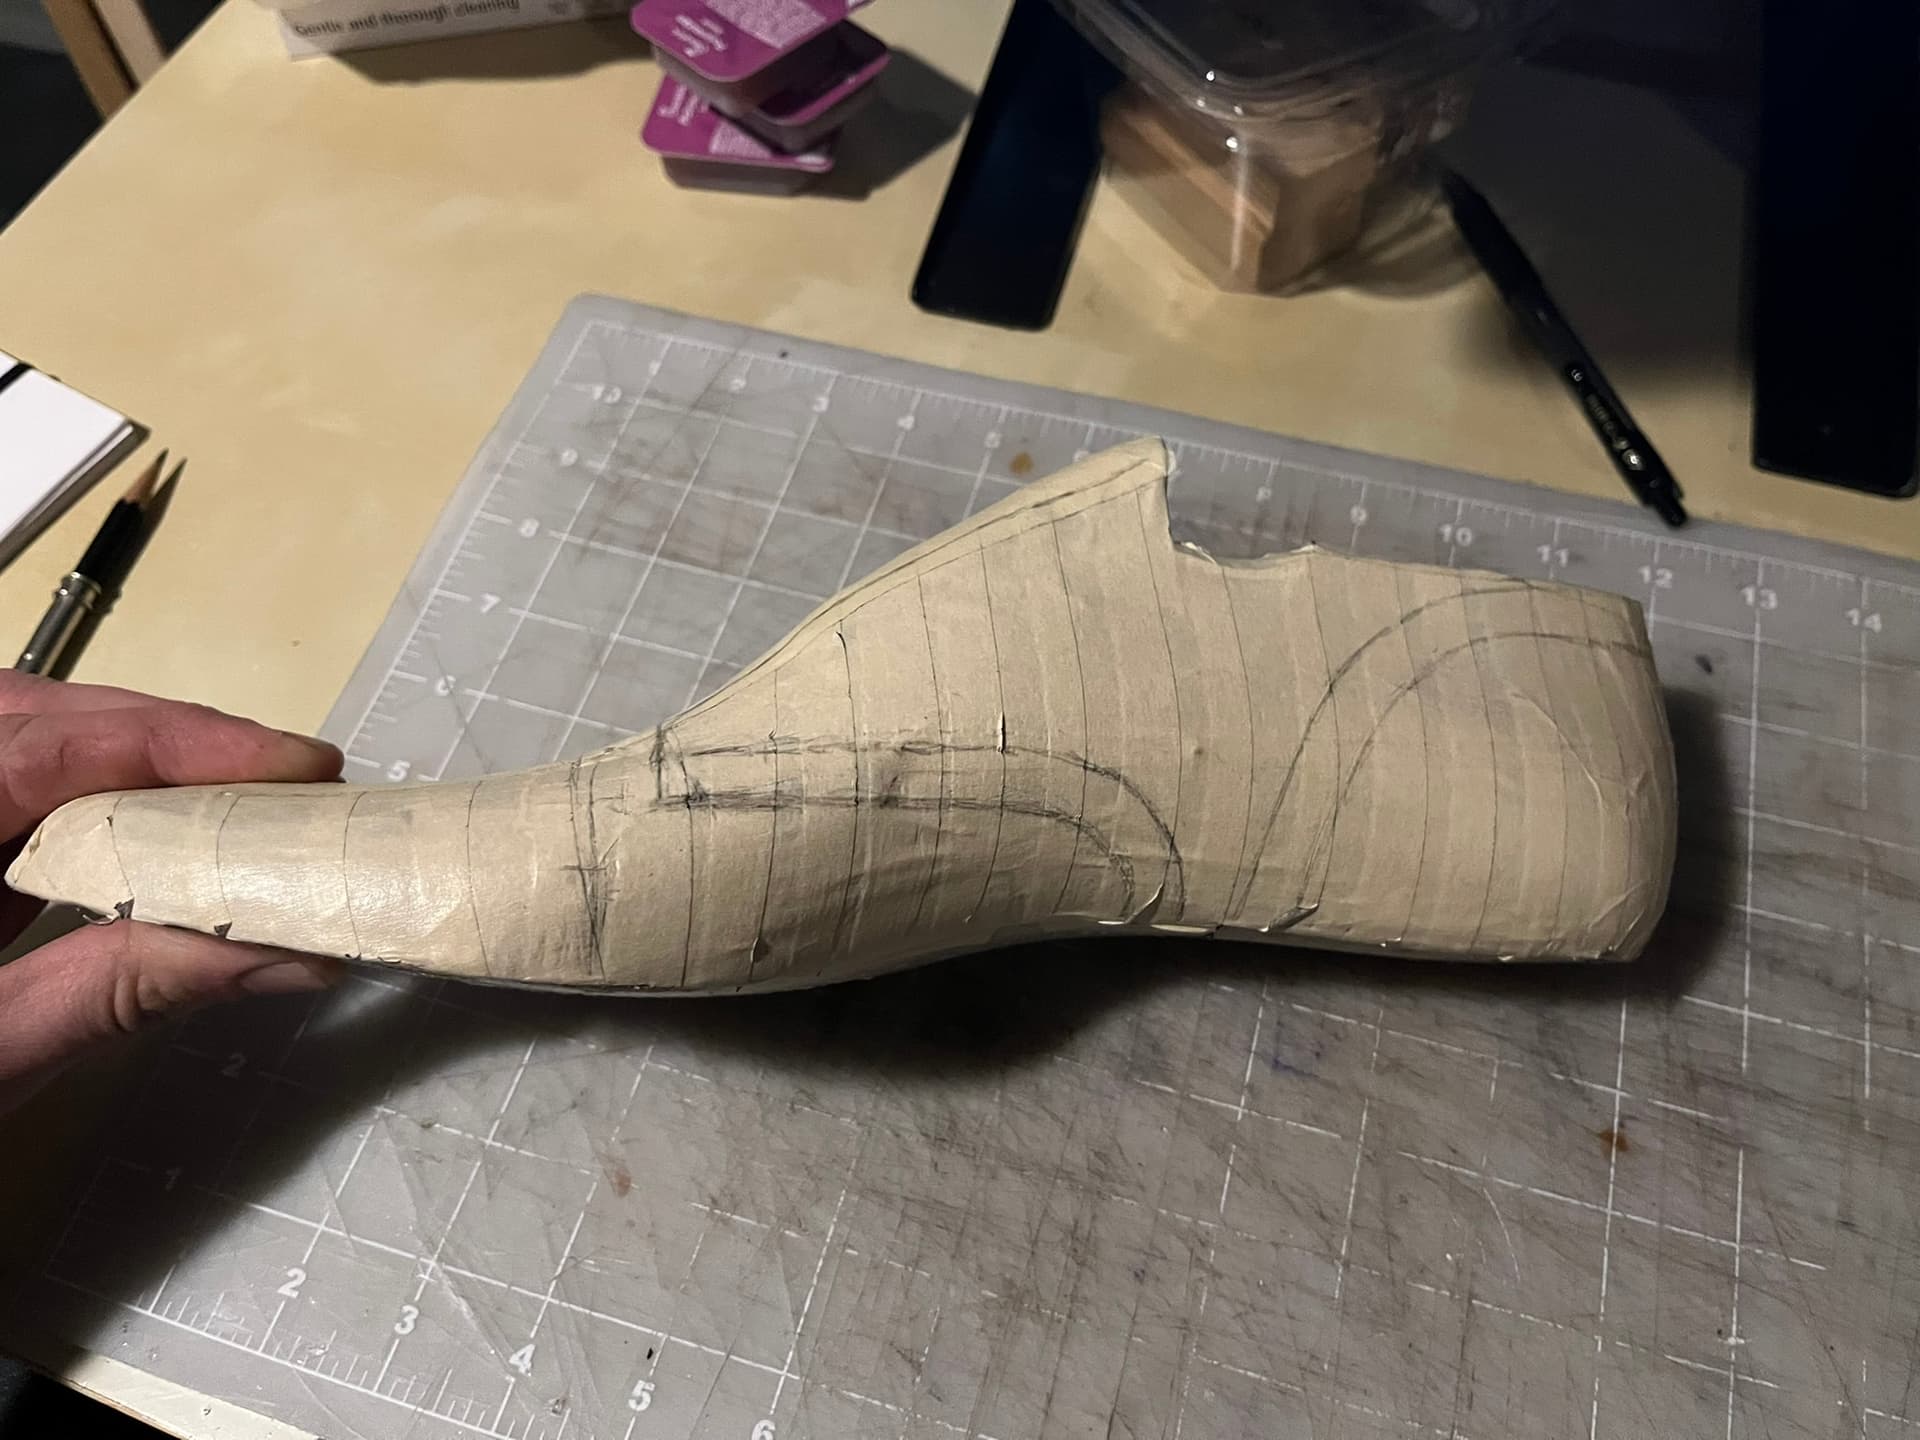
Last Taping
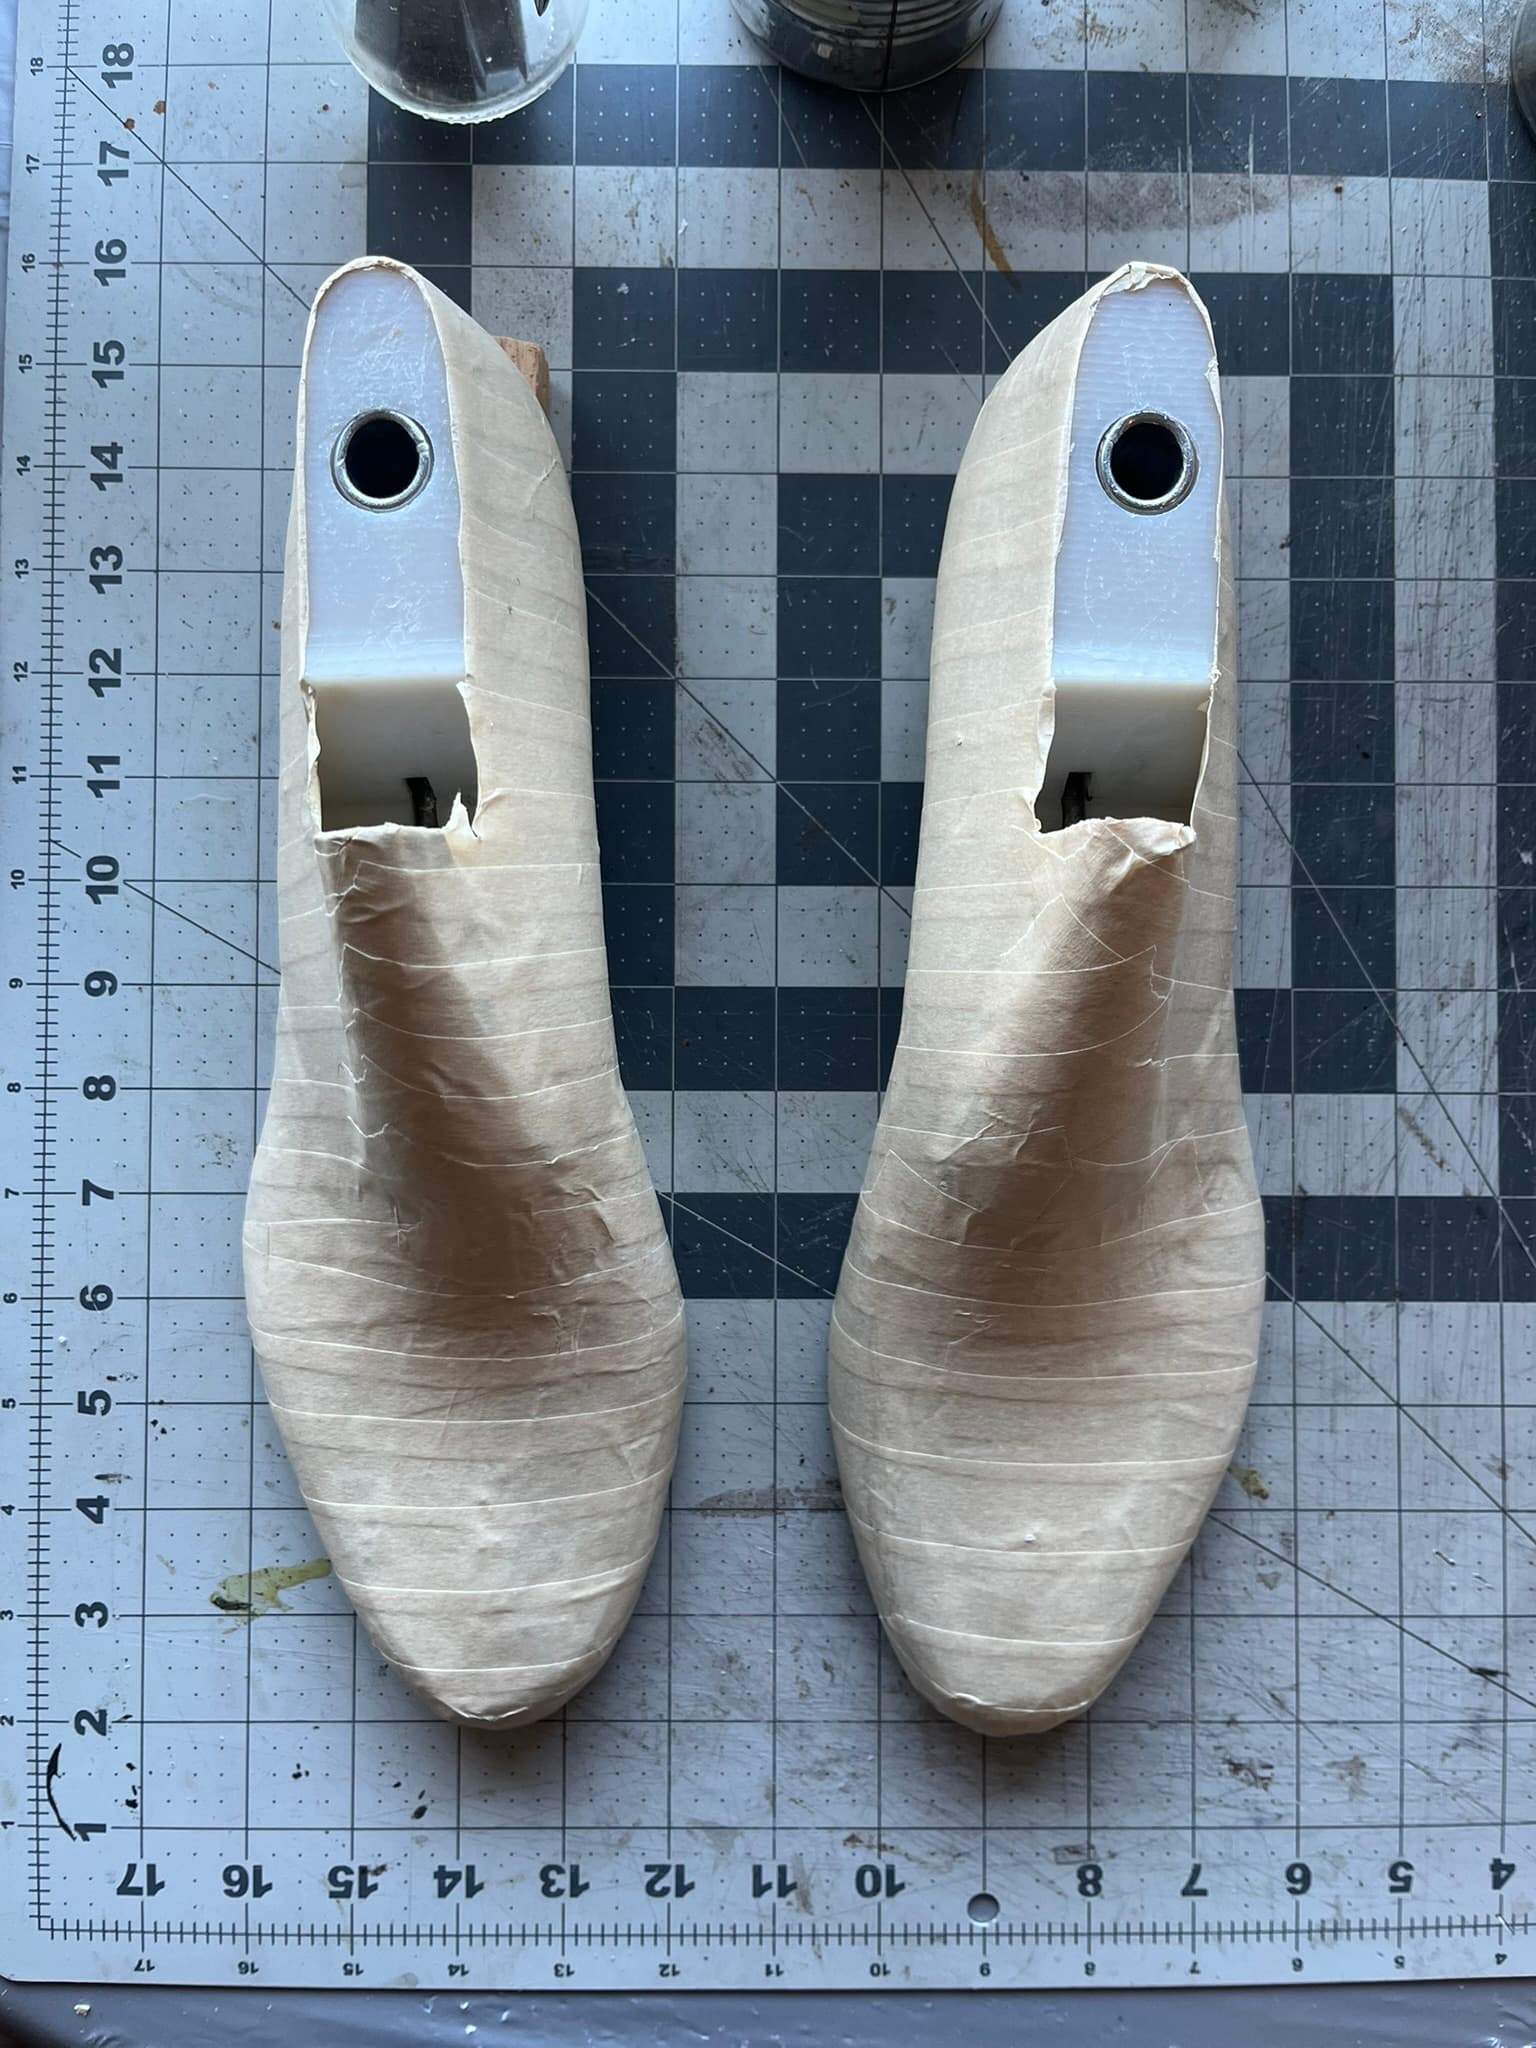
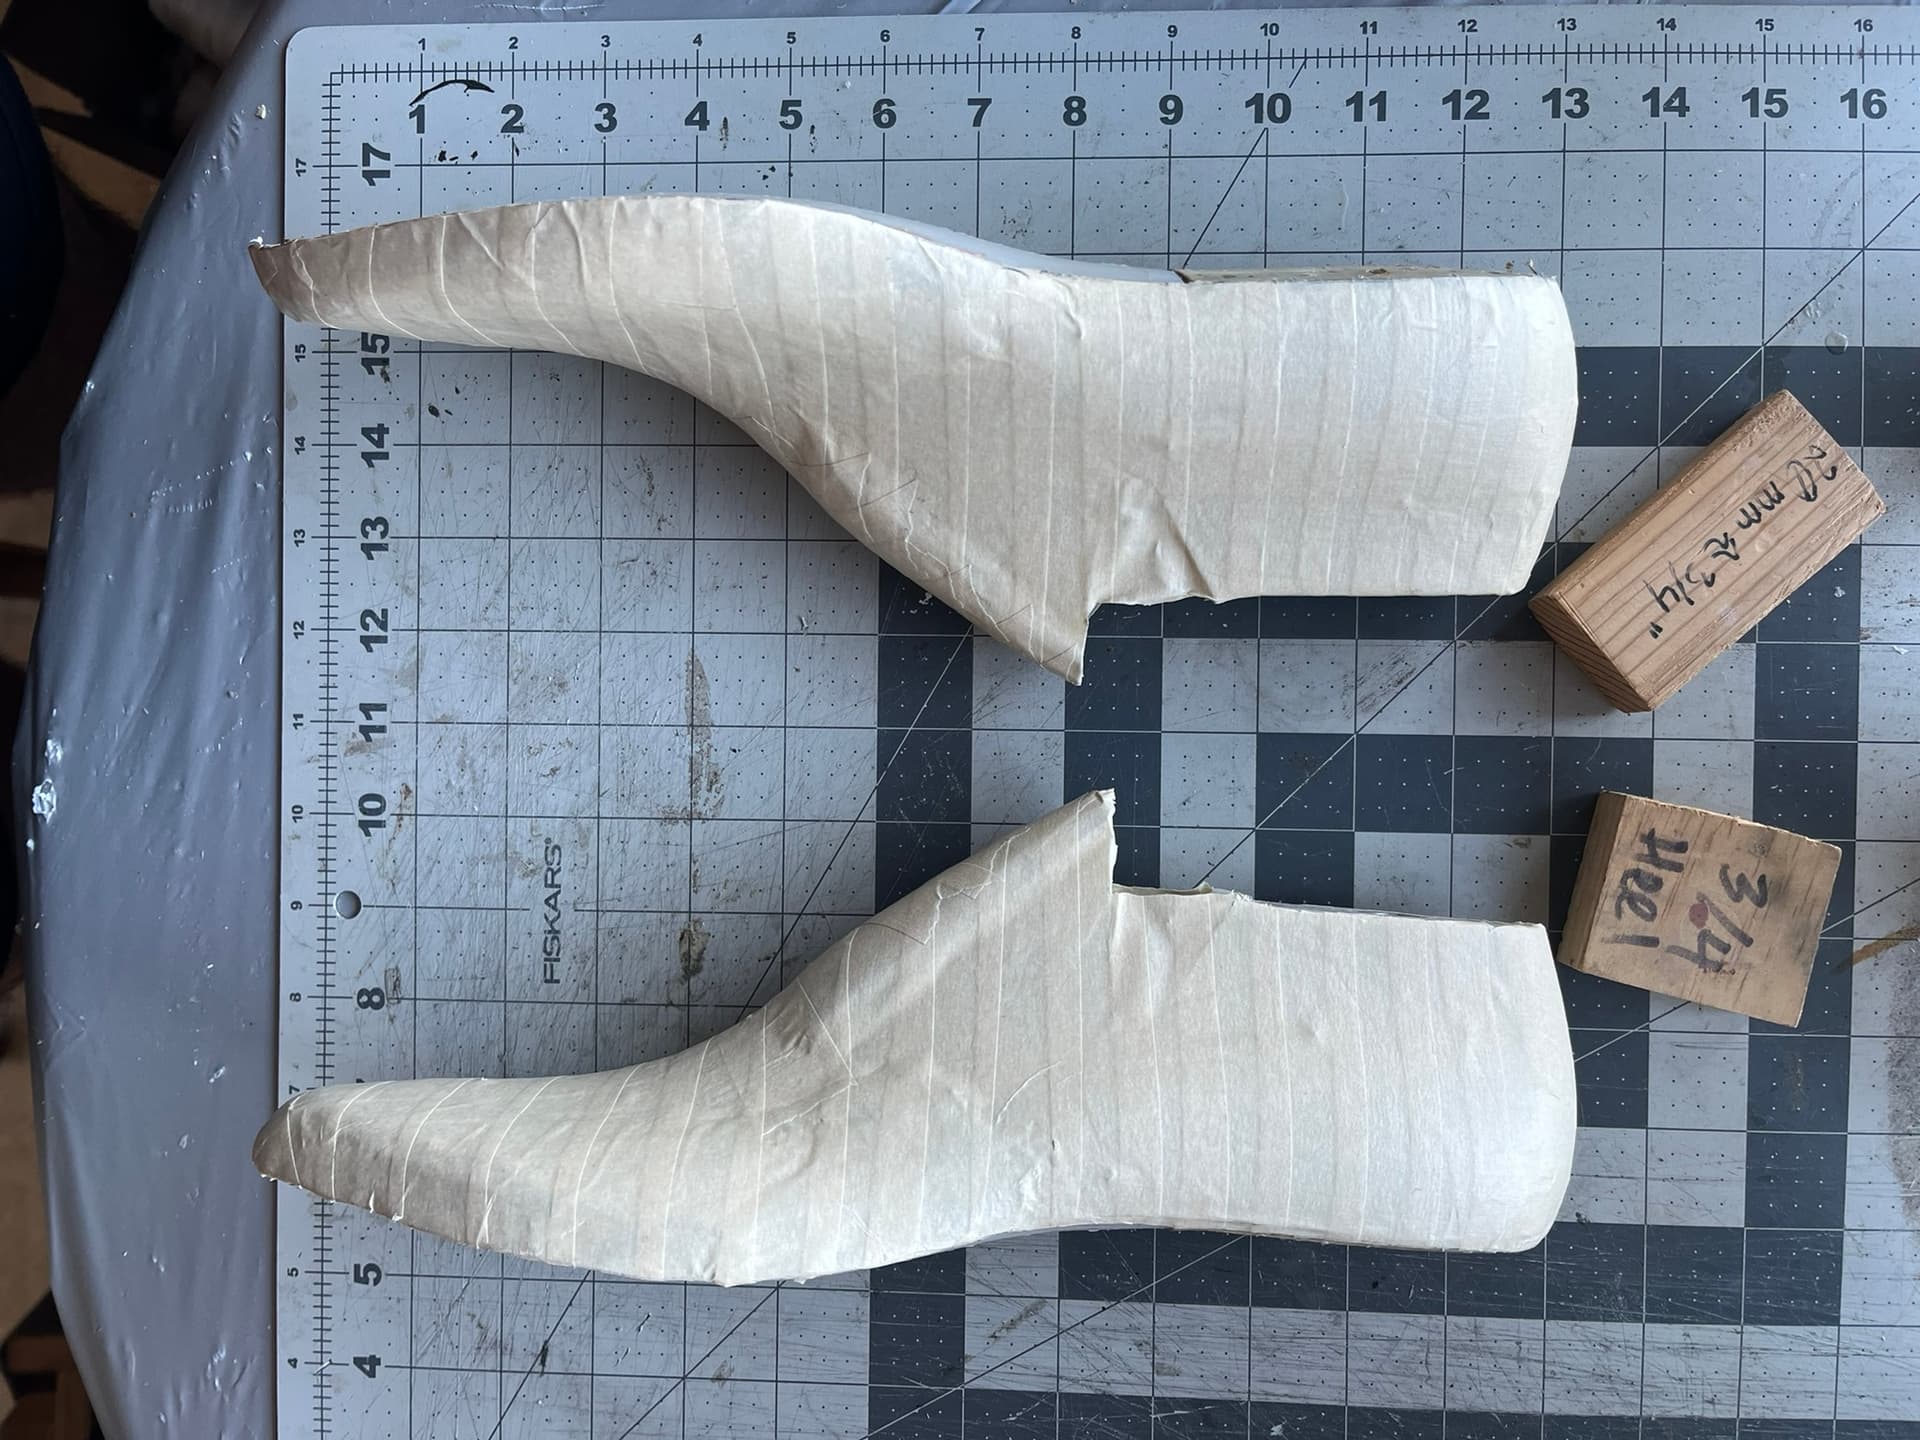
It was good to get the last taping practice again.
I tried laying strips of tape down the foreparts and backparts to mark main axis with the edge of the tape, rather than by drawing on the strip before sticking it on. I think I like this method better. It’s harder to see the line in photos, but there’s no awkward step of drawing on tape, then peeling it up and resticking it on the last.
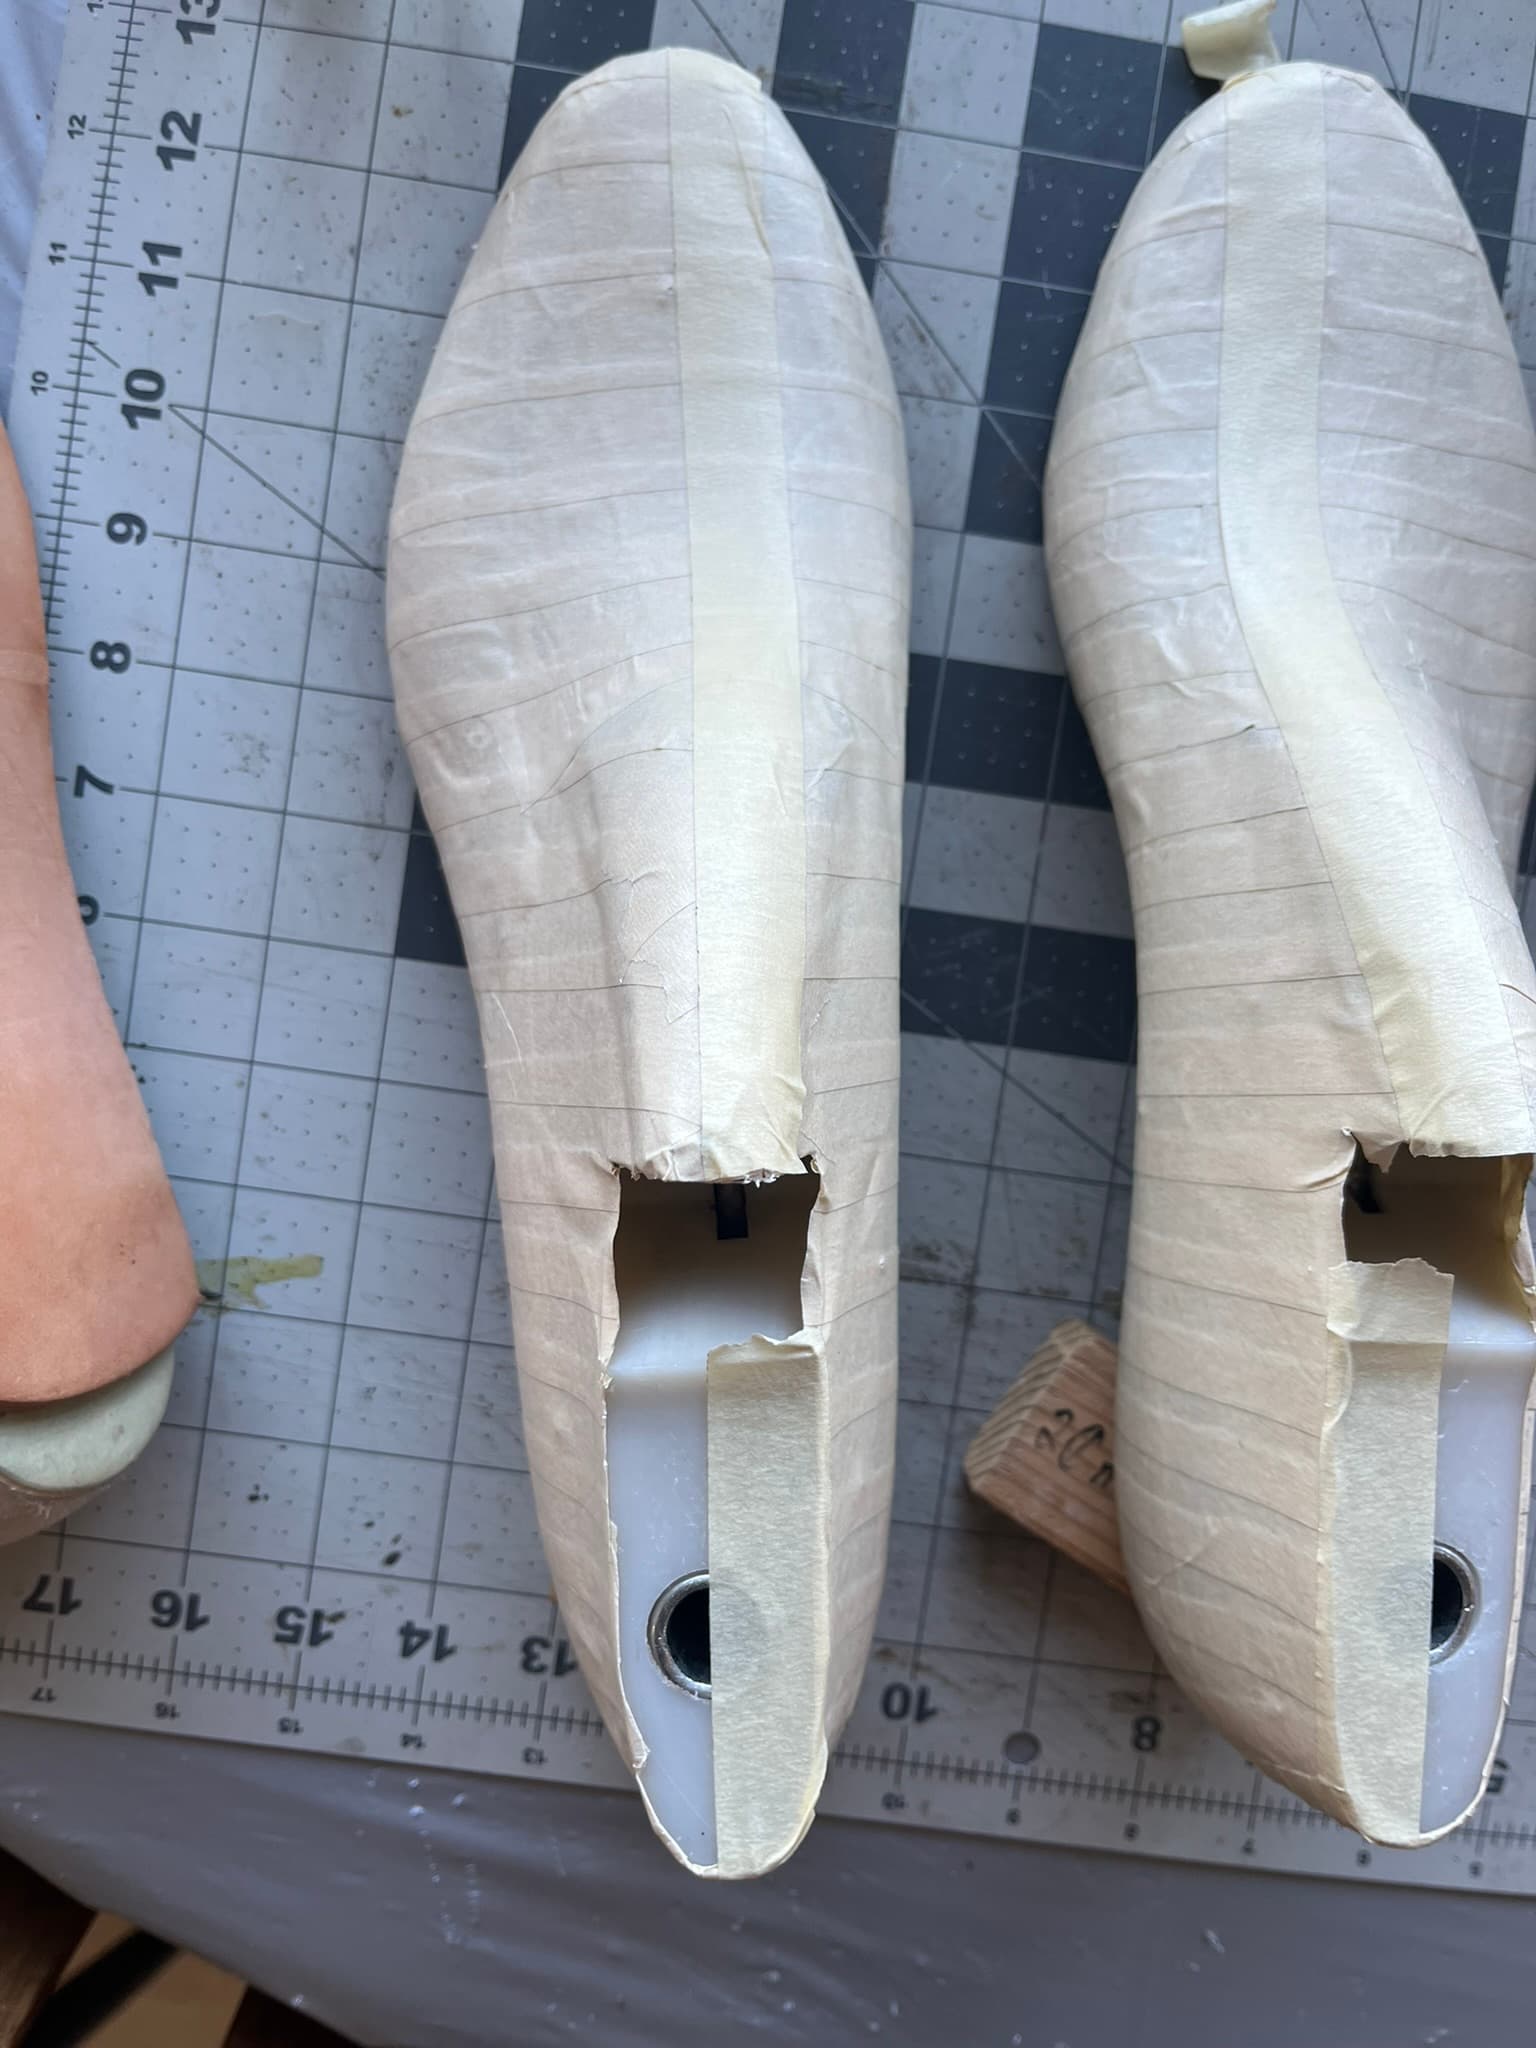
Since I’ve started seeing more when it comes to last shapes, I’m finding again and again that it really helps to put some kind of uniform covering over built-up lasts. The contrast between original and build-up material tends to attract my eye in its natural state. When it’s all covered up, I get a better intuitive sense of what the combined curves really are.
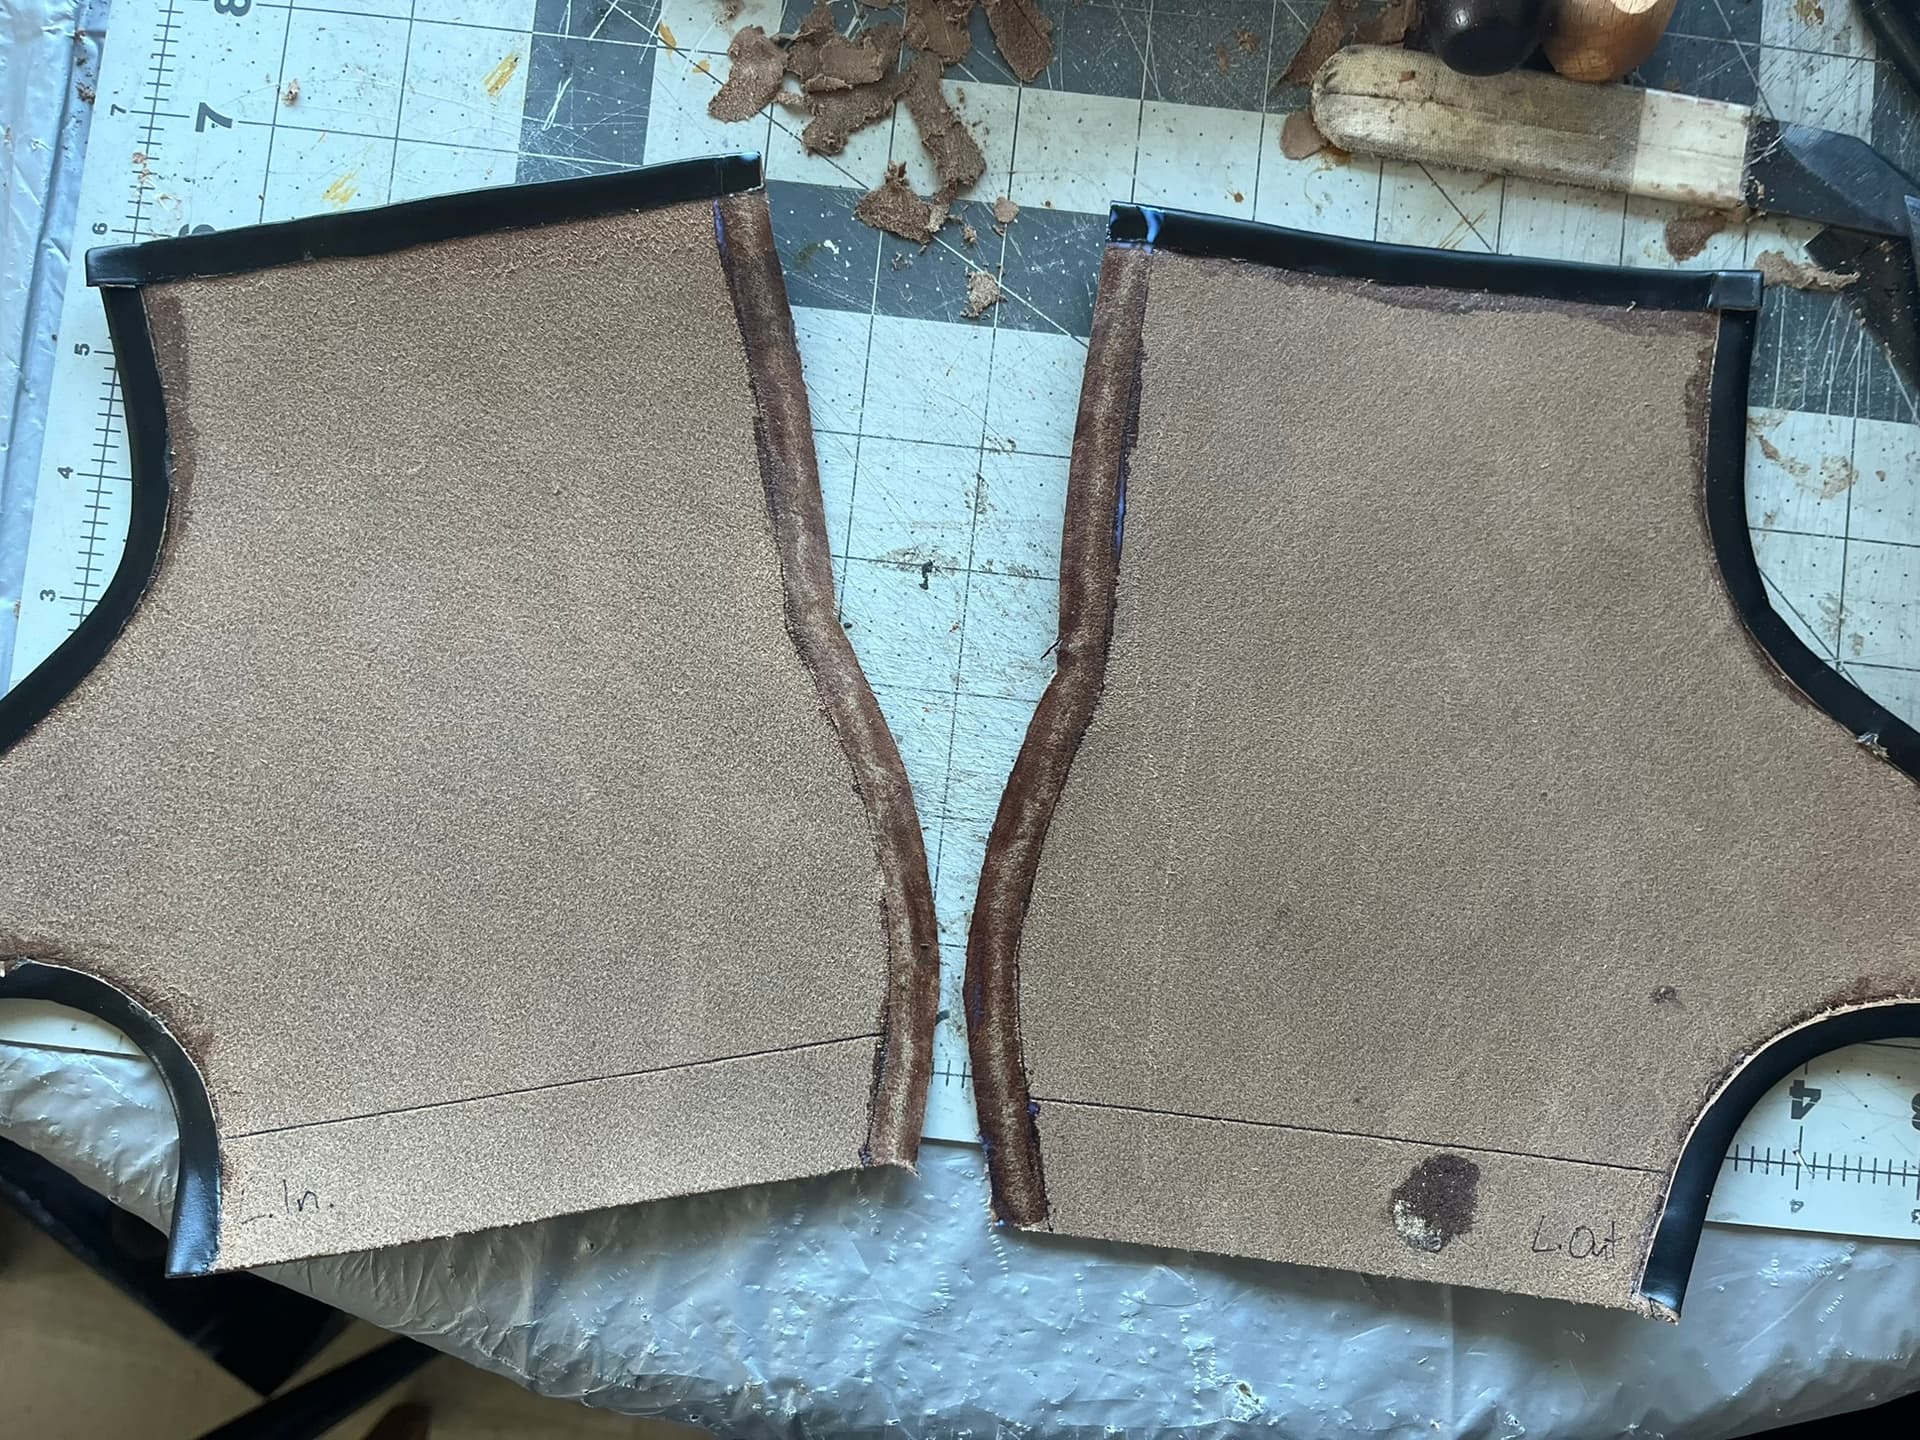
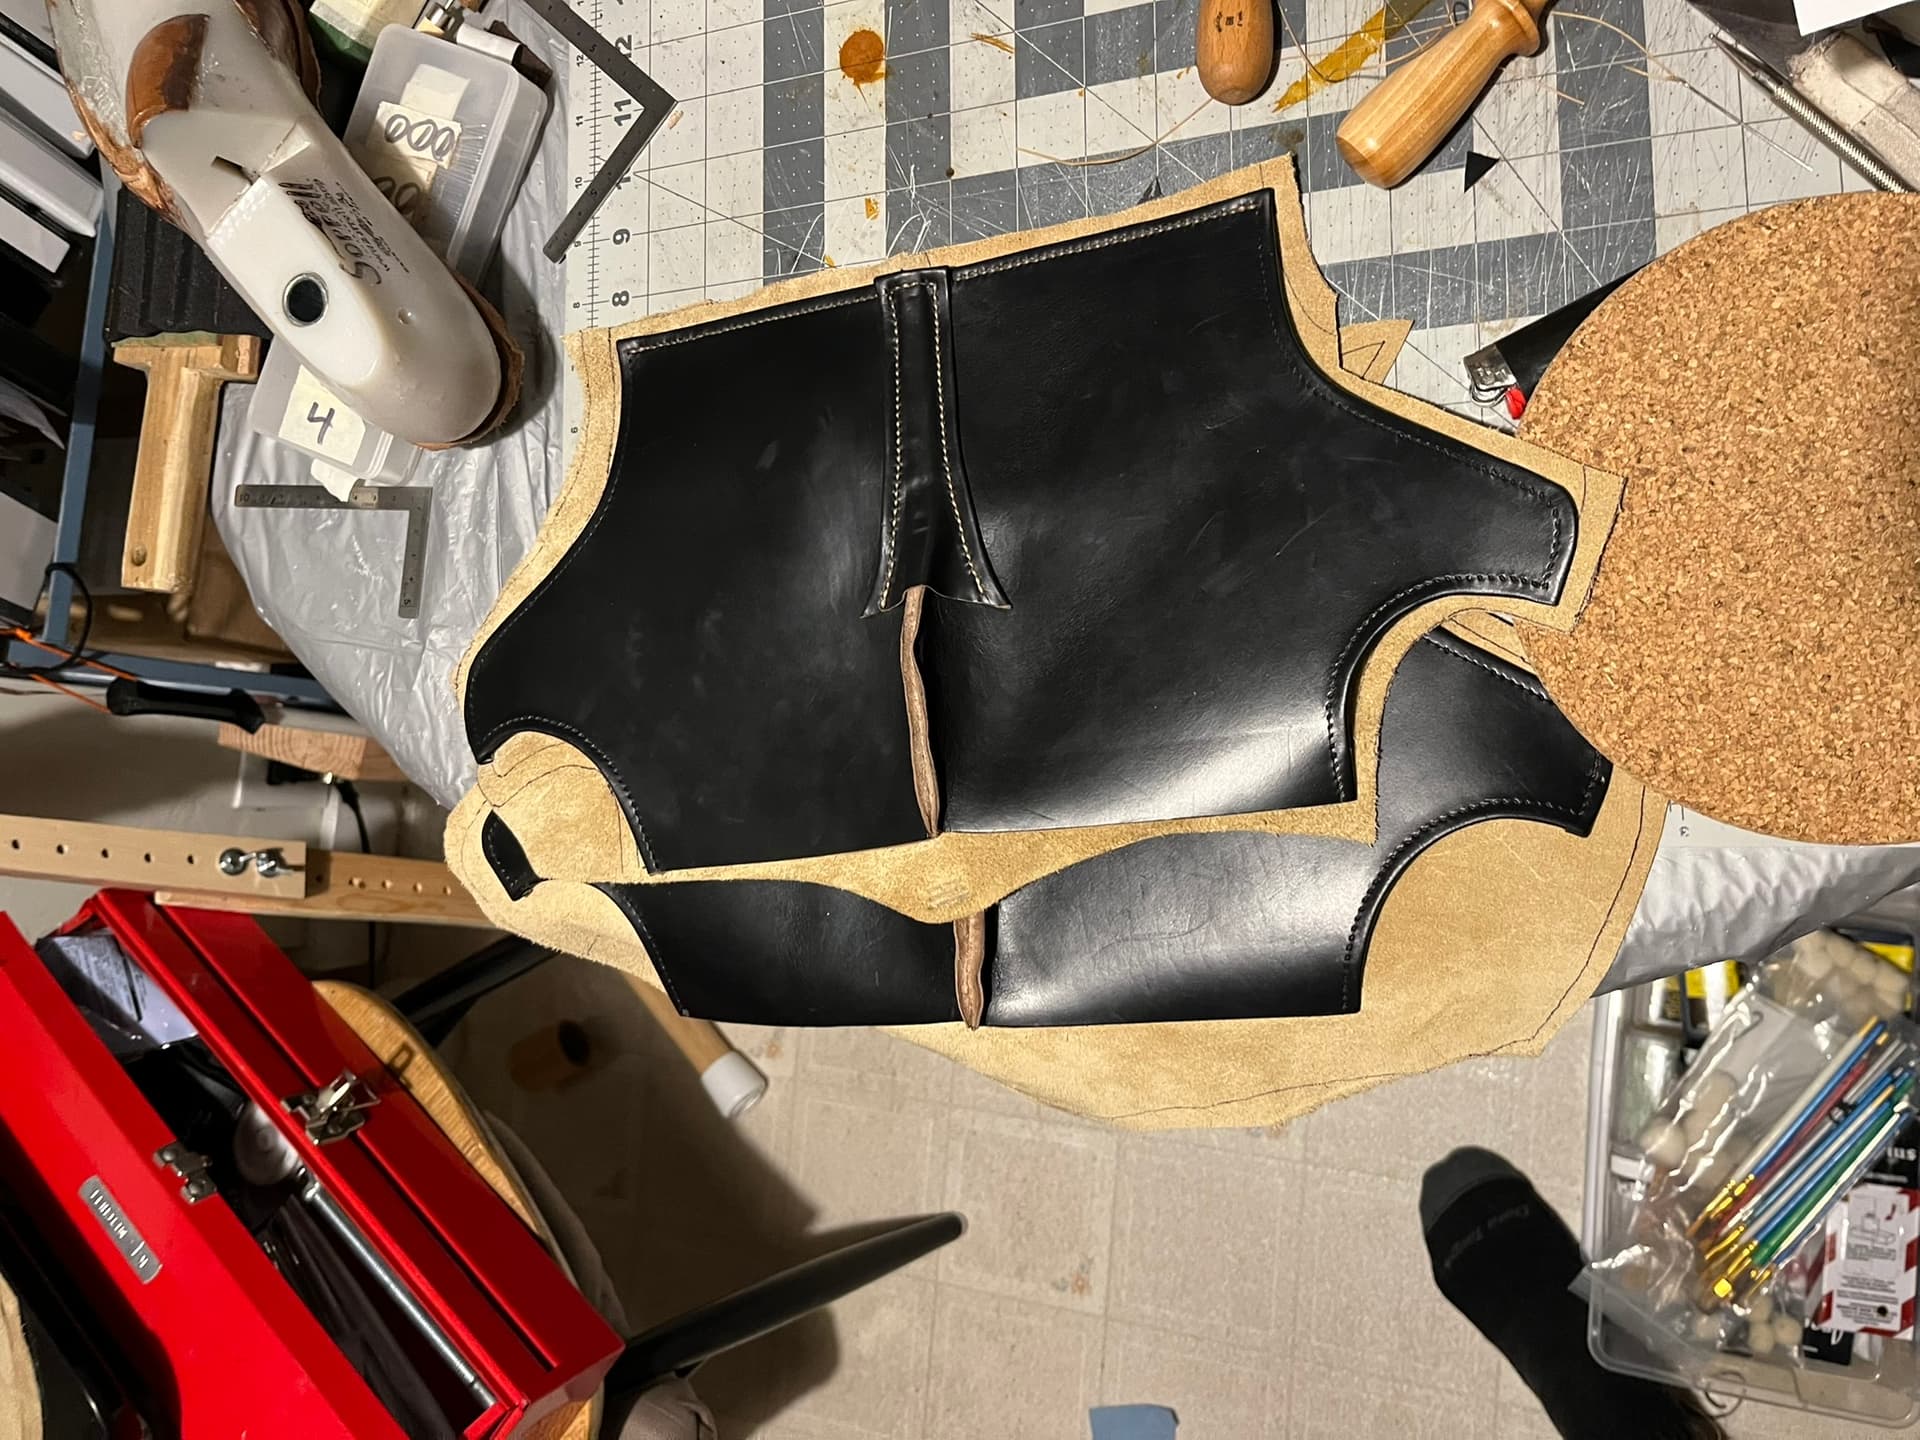
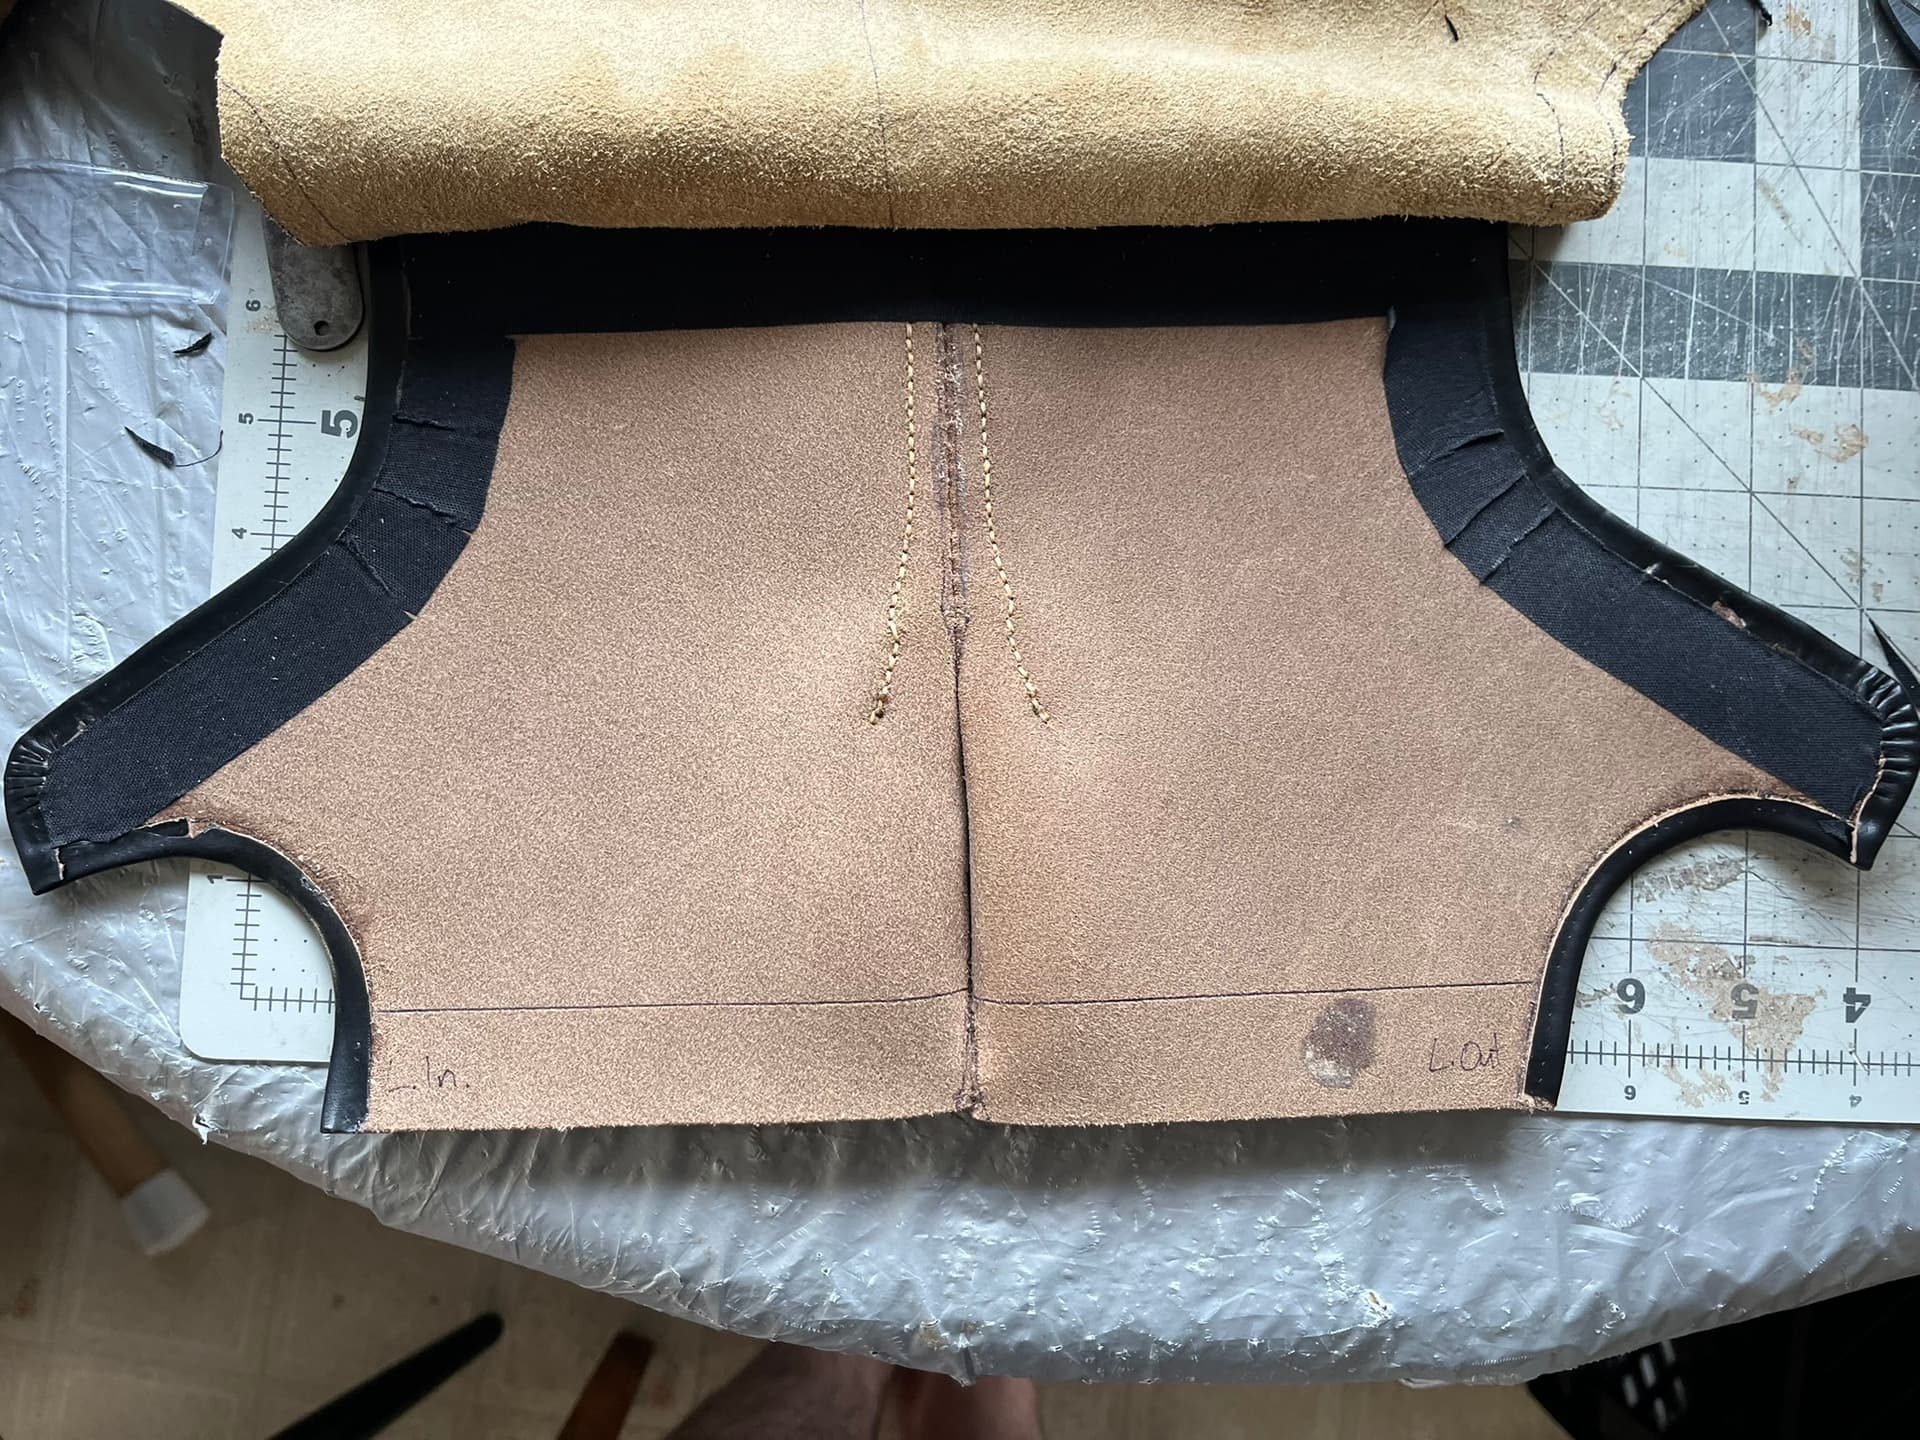
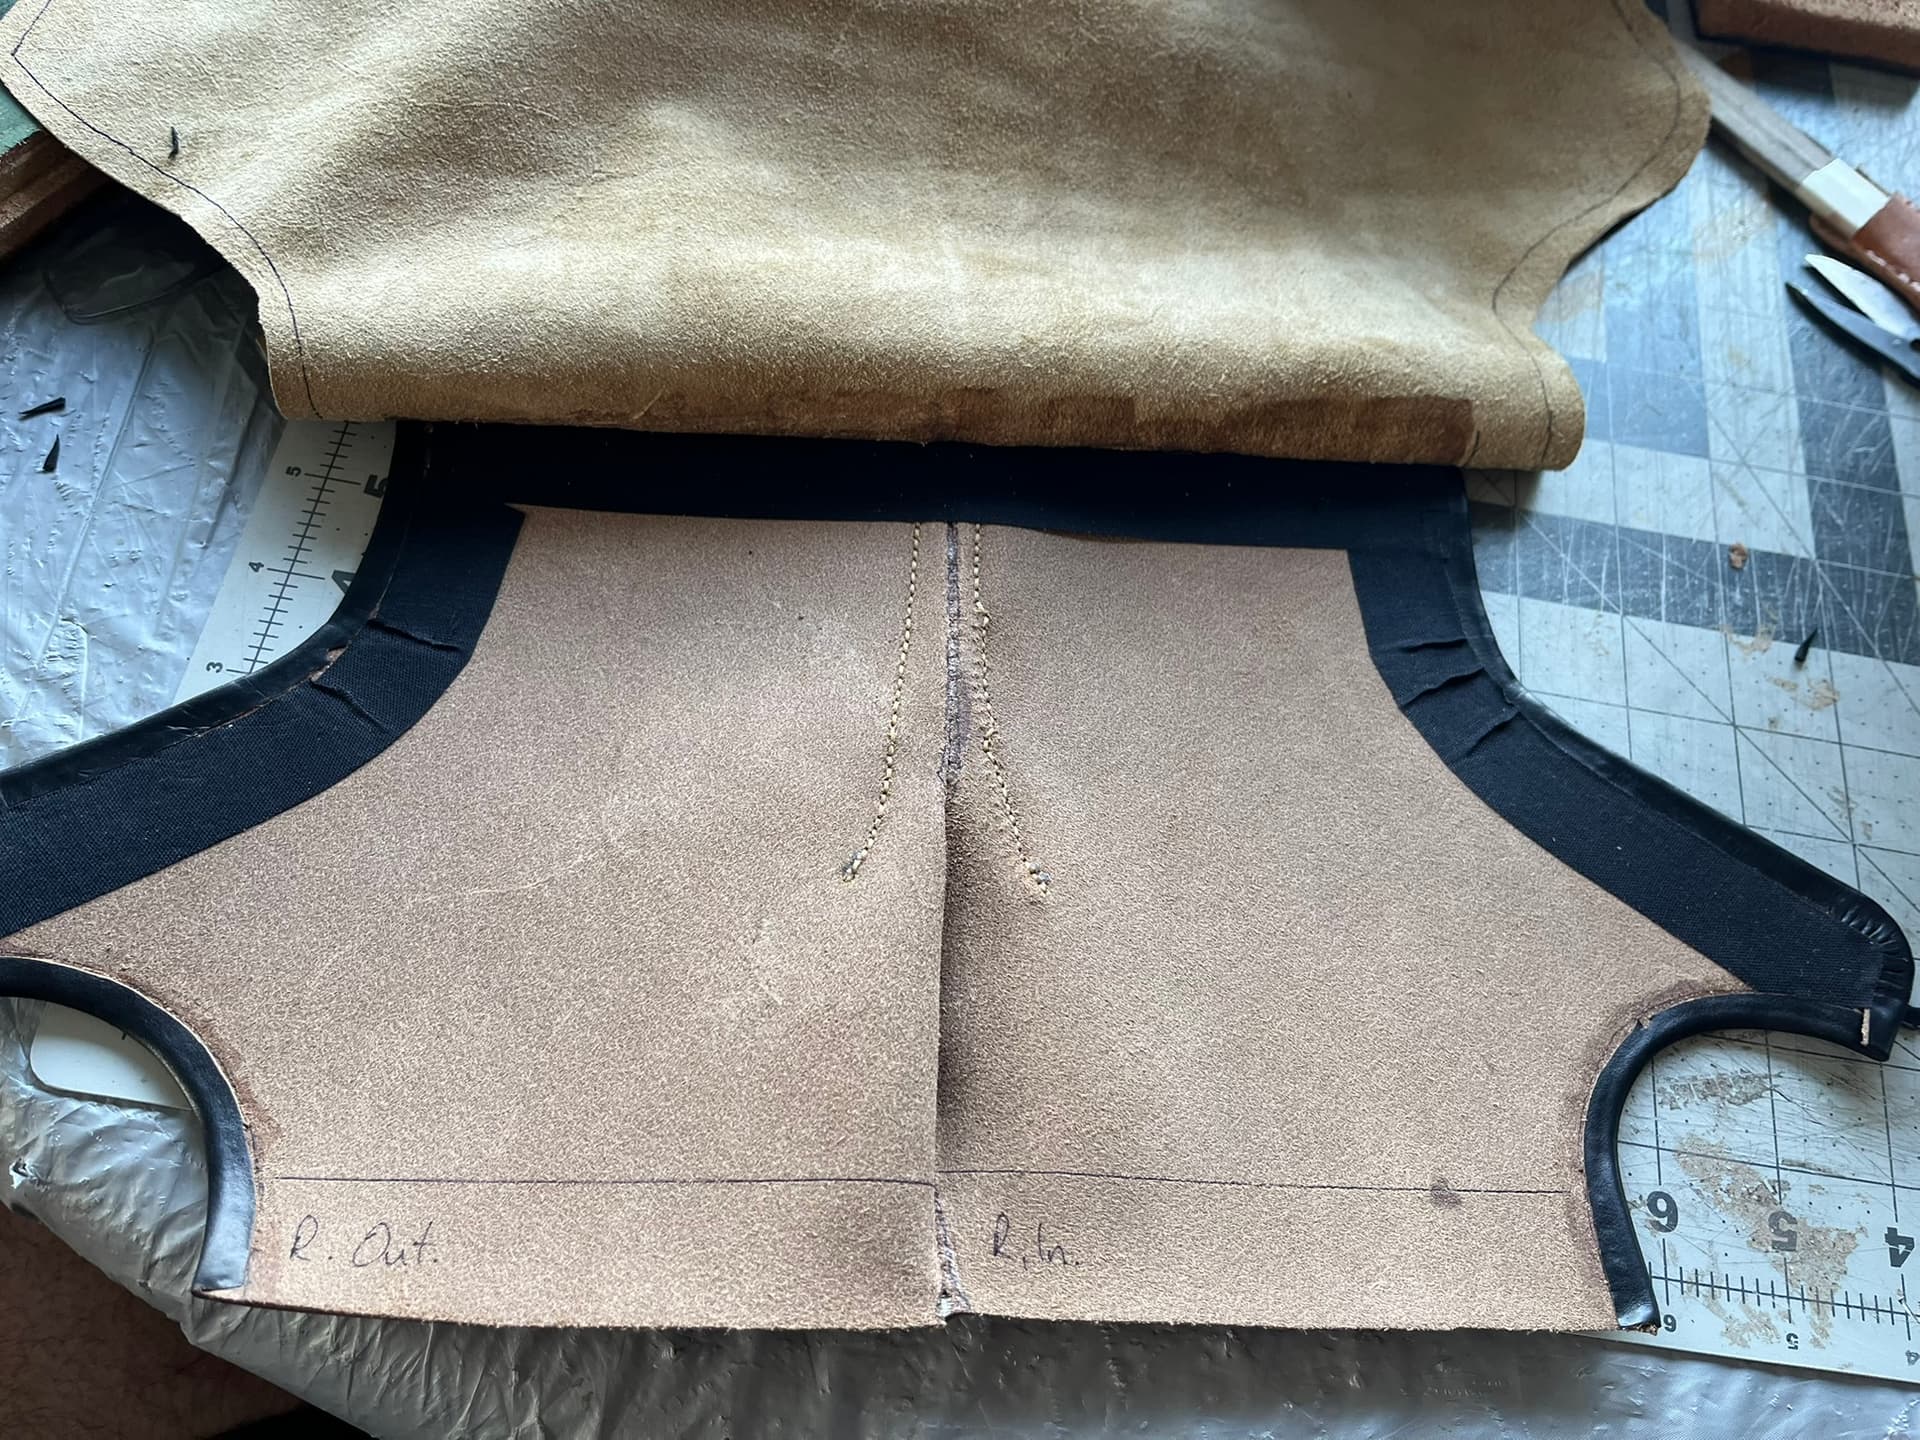
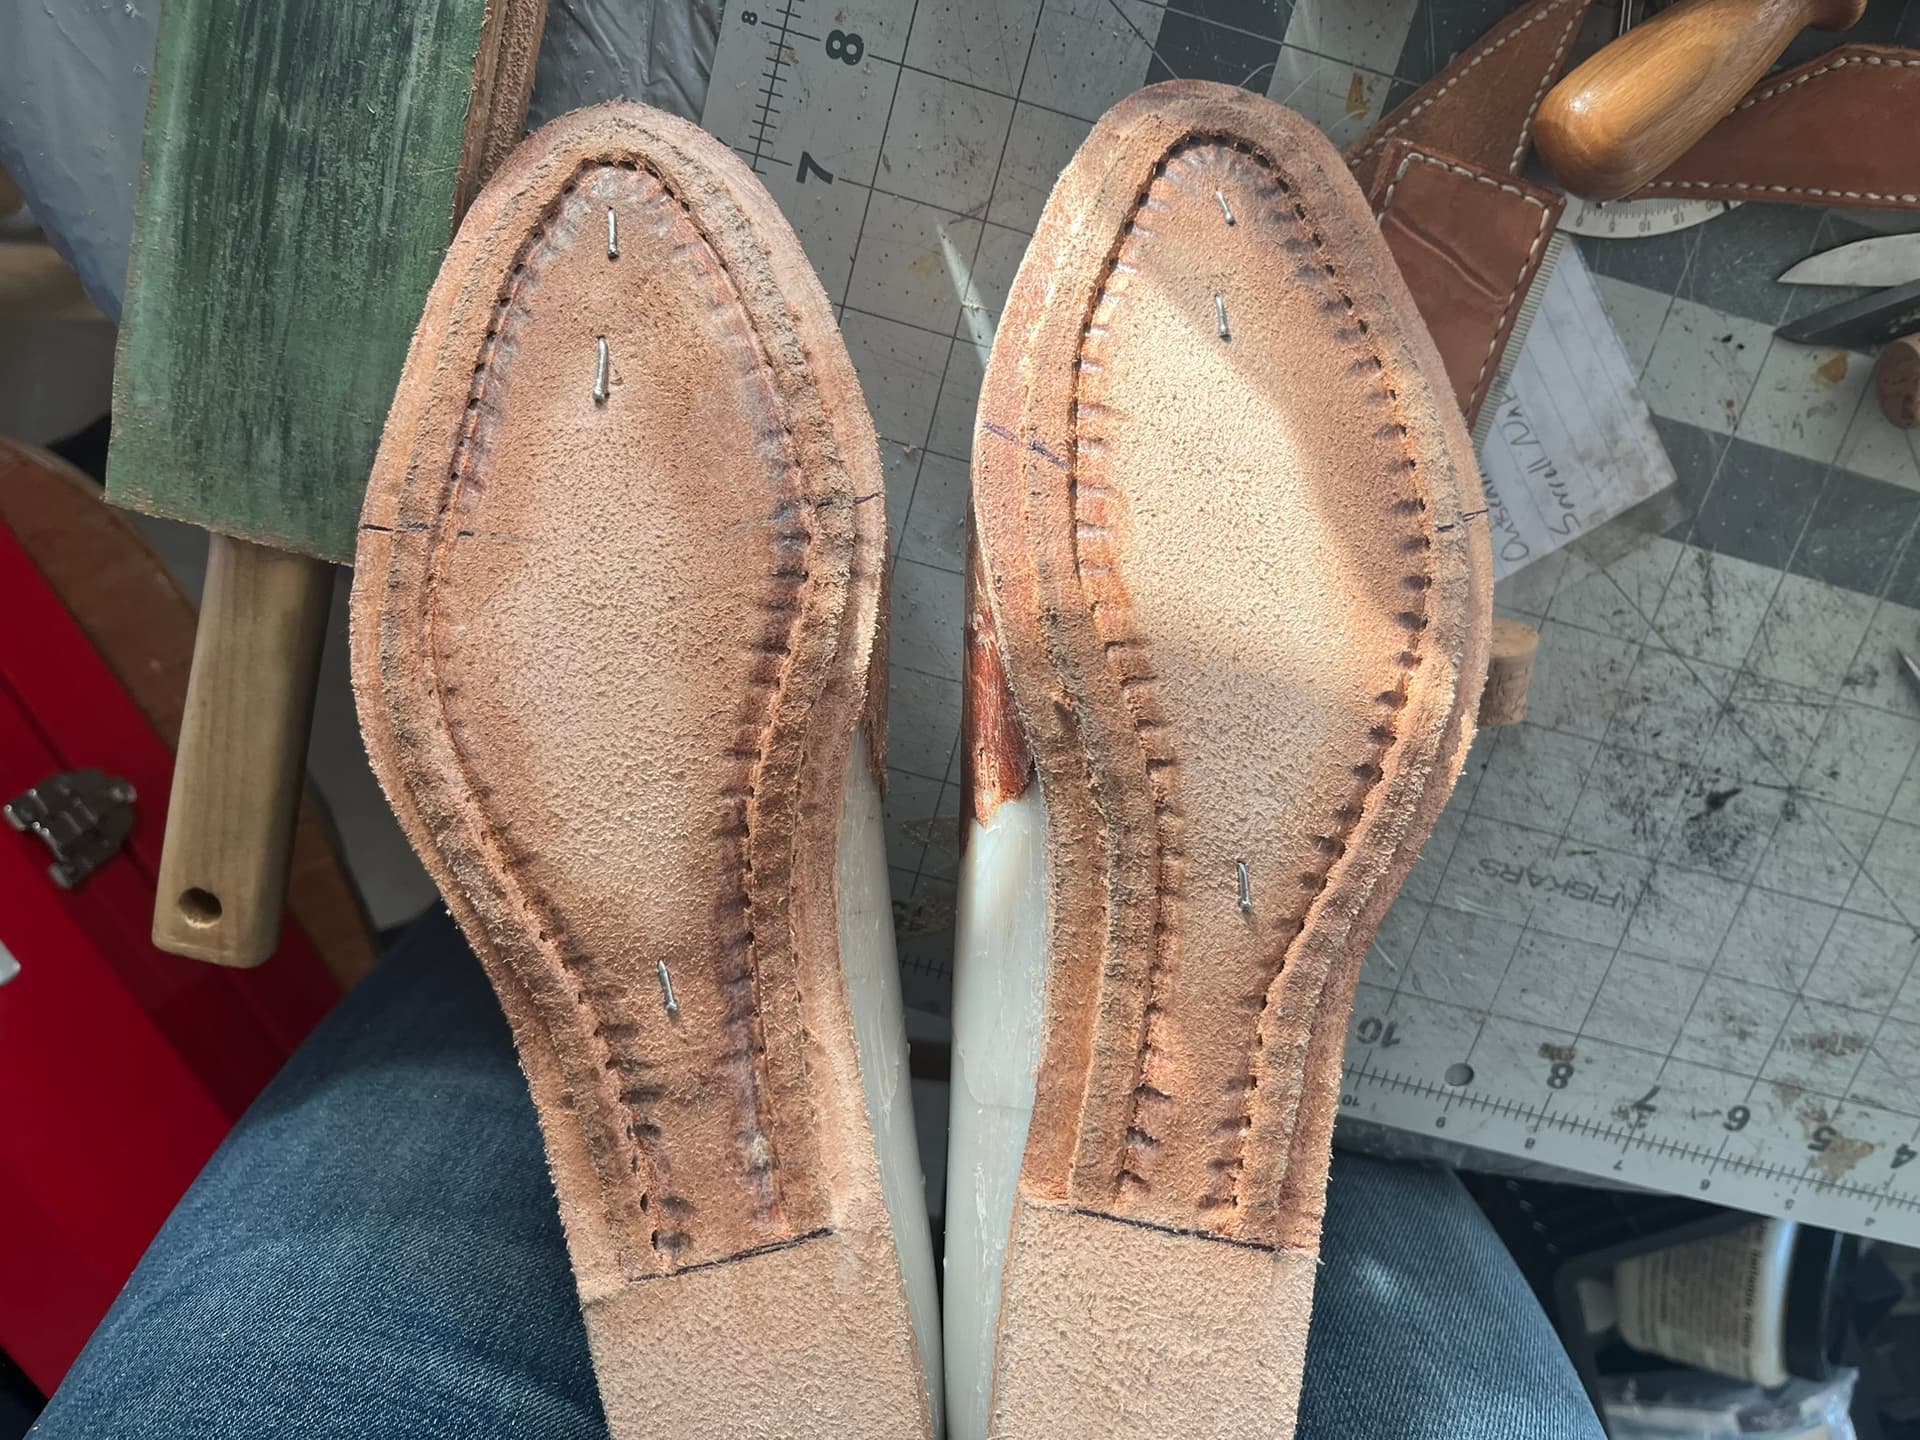
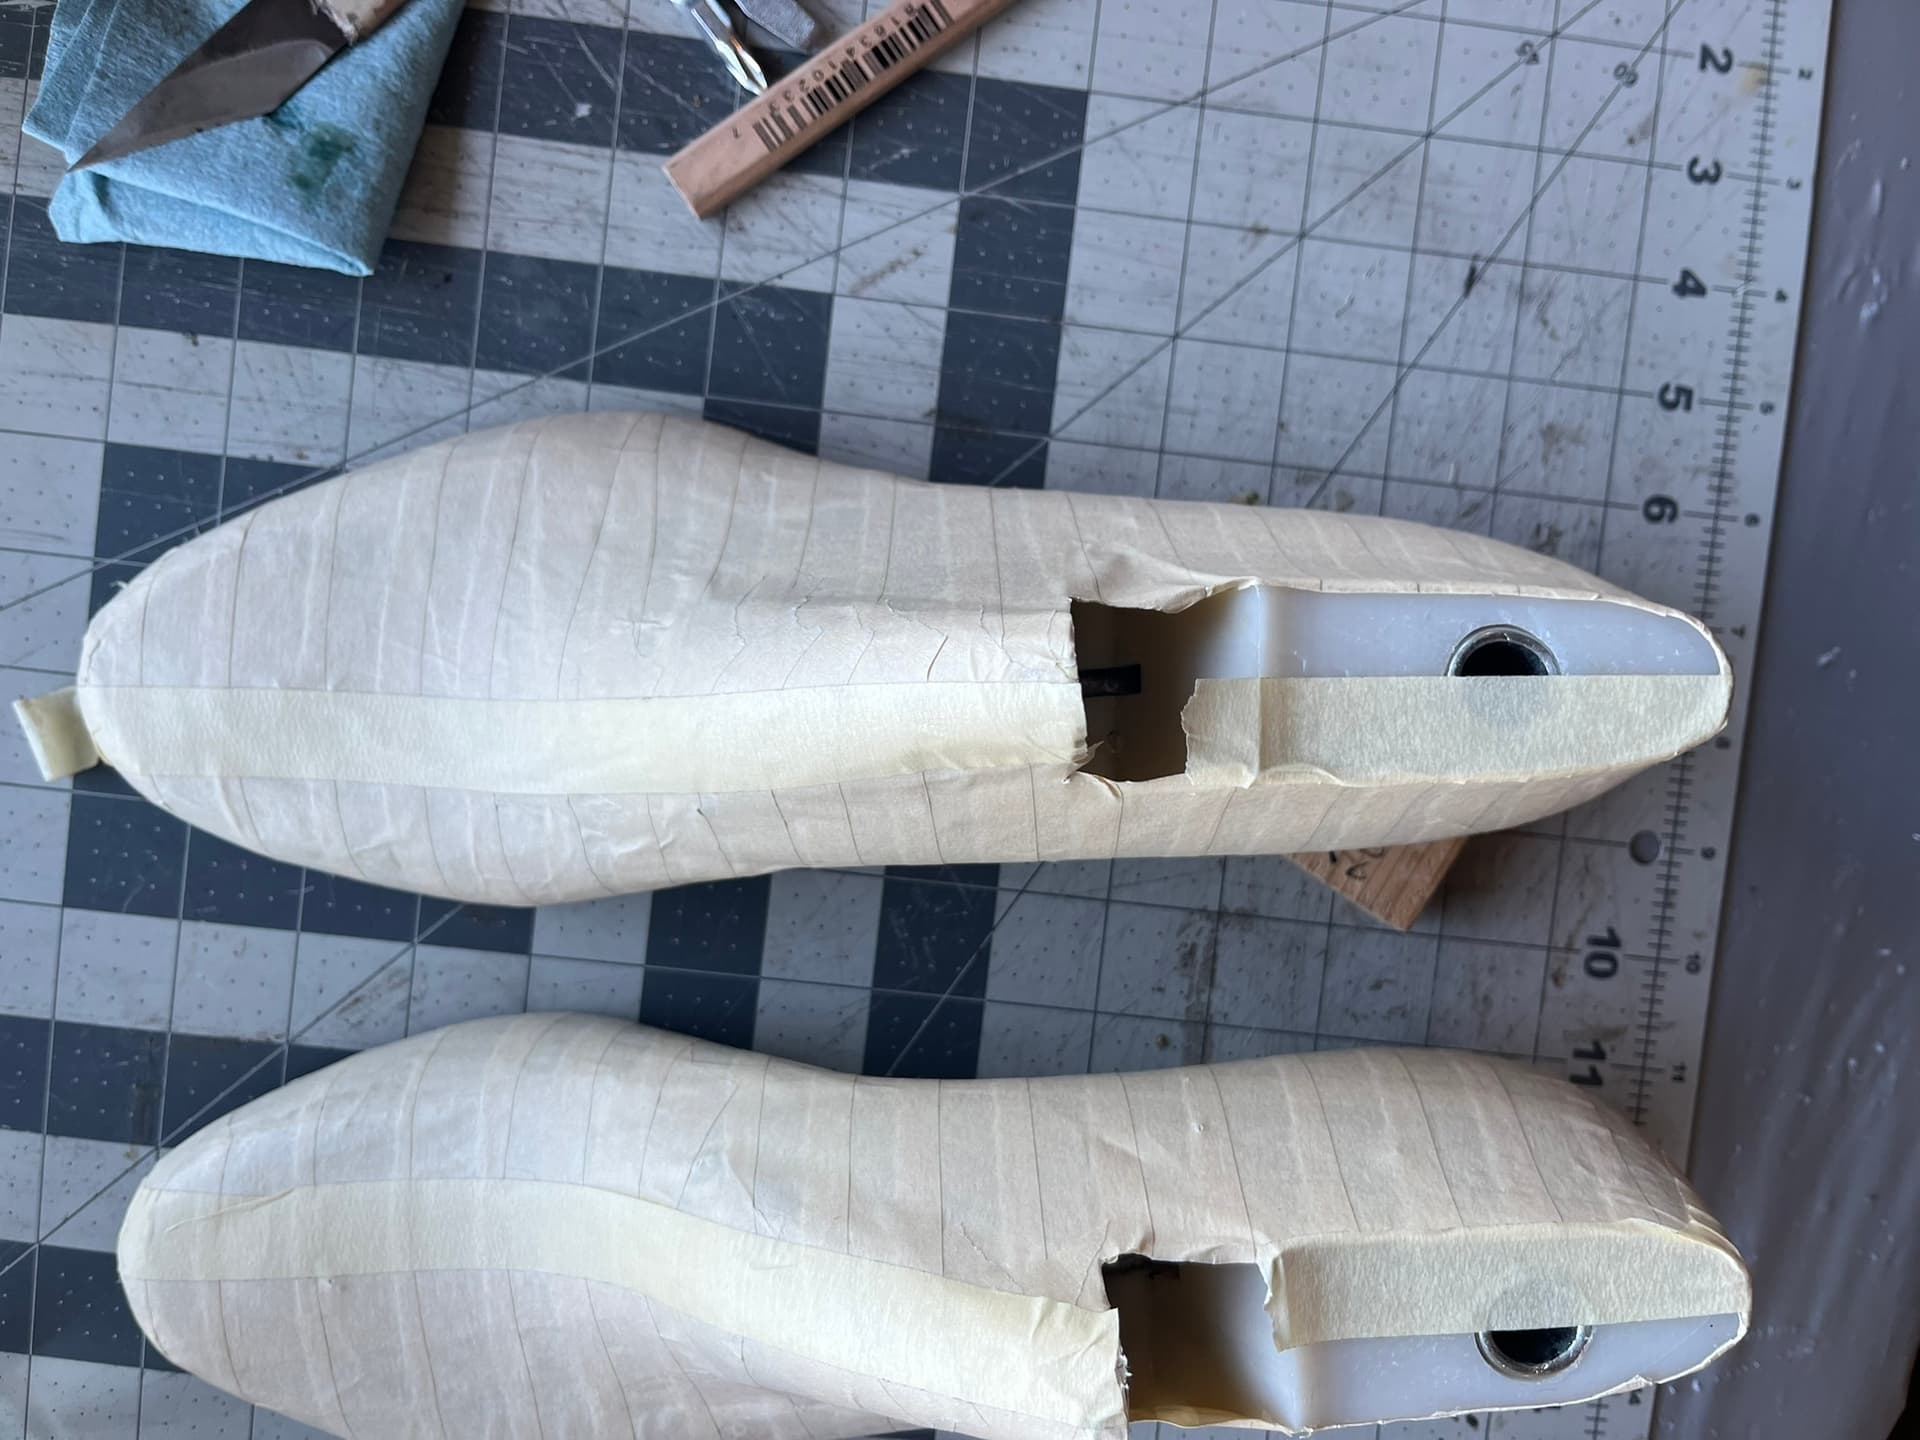
Patterning on the Last
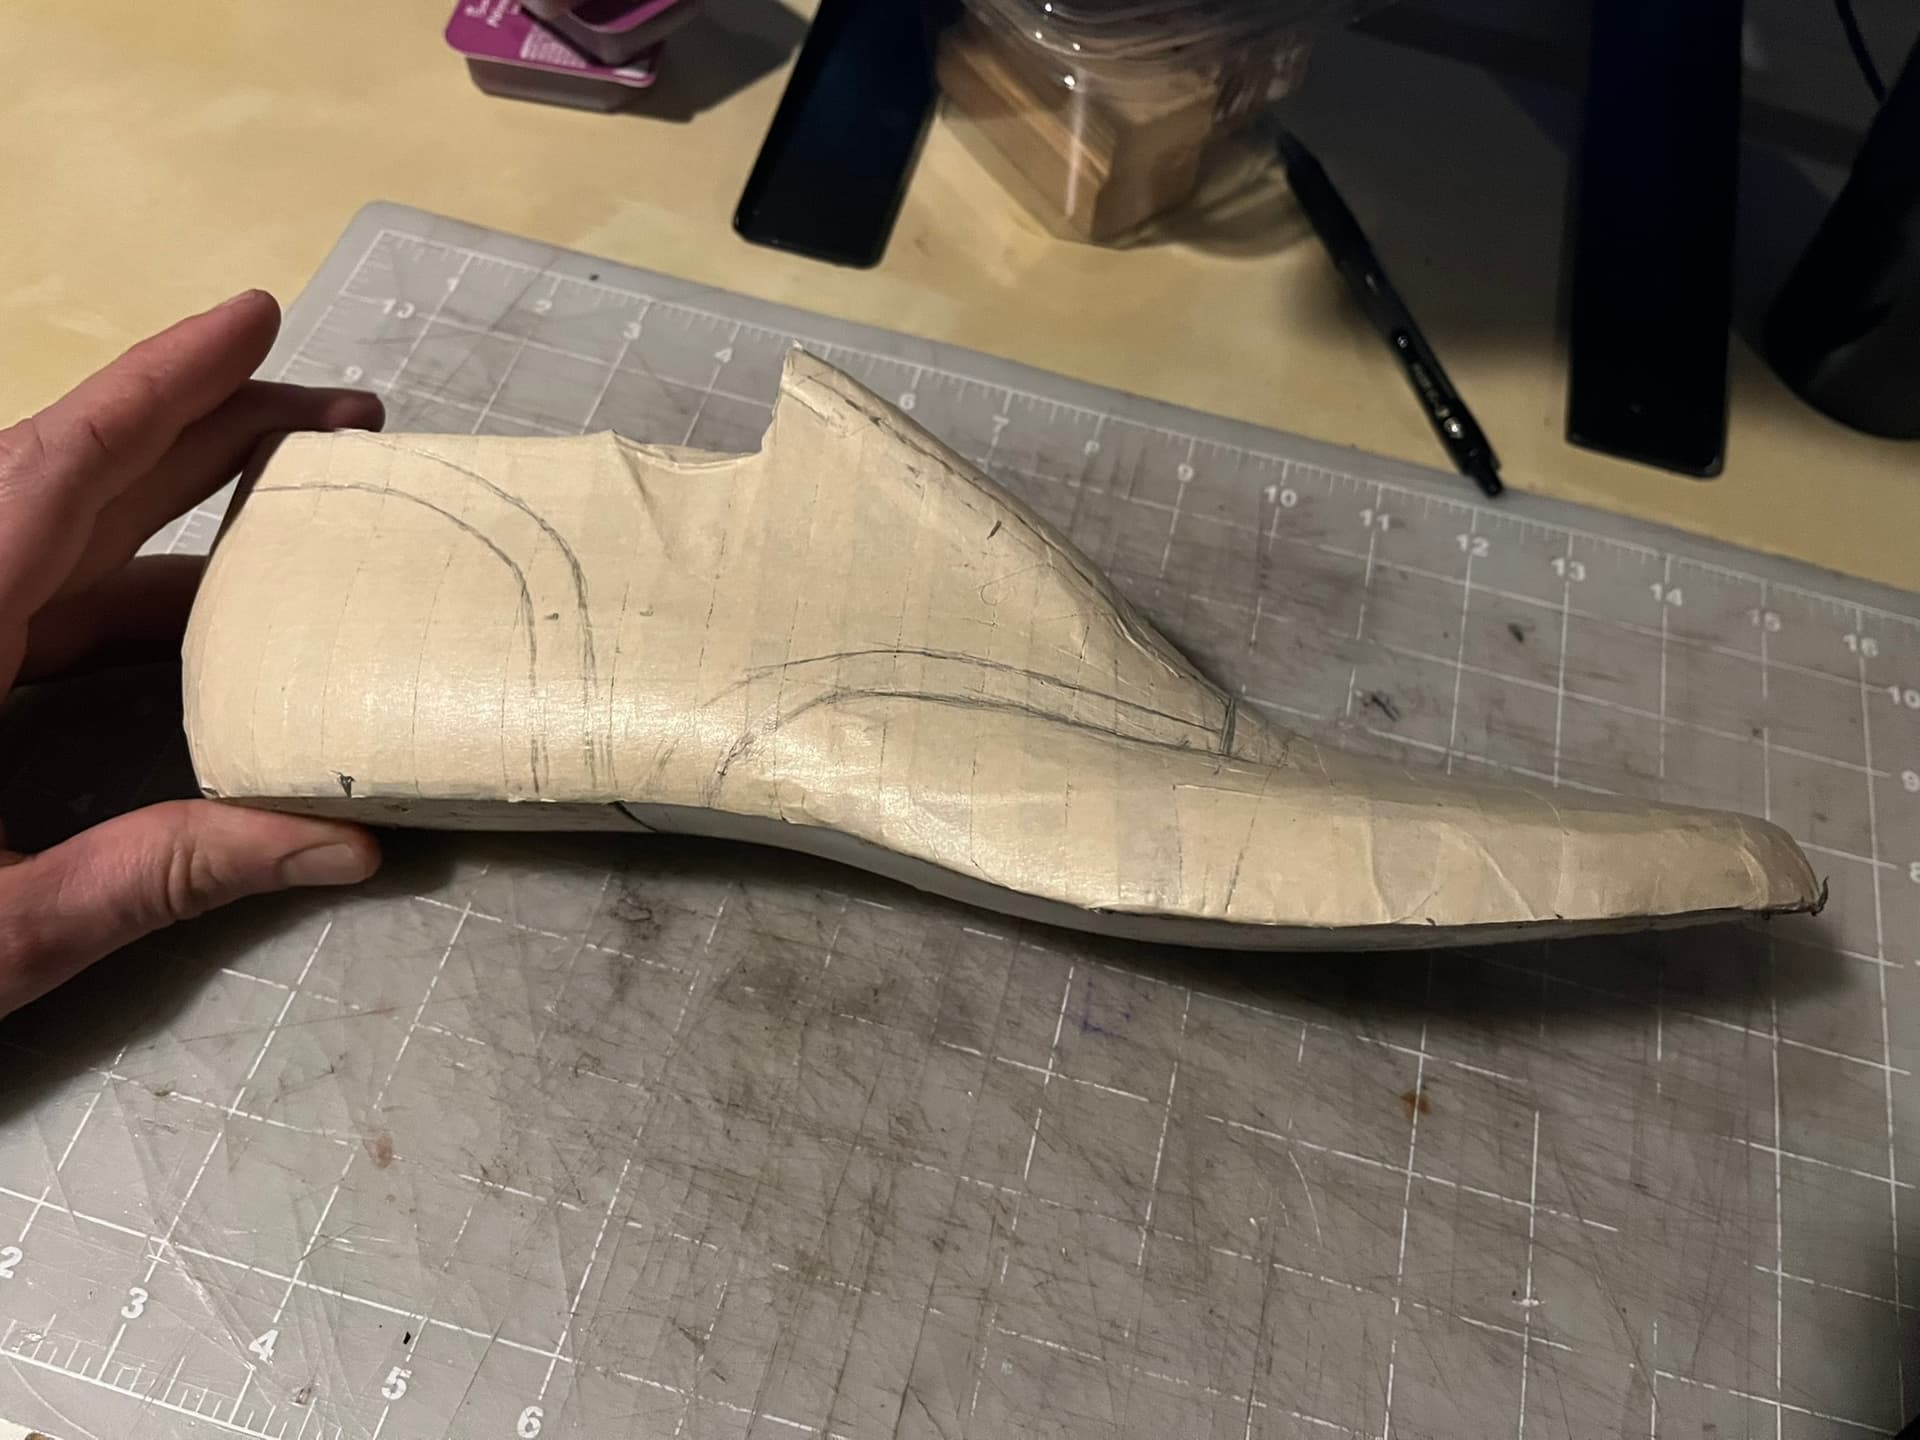
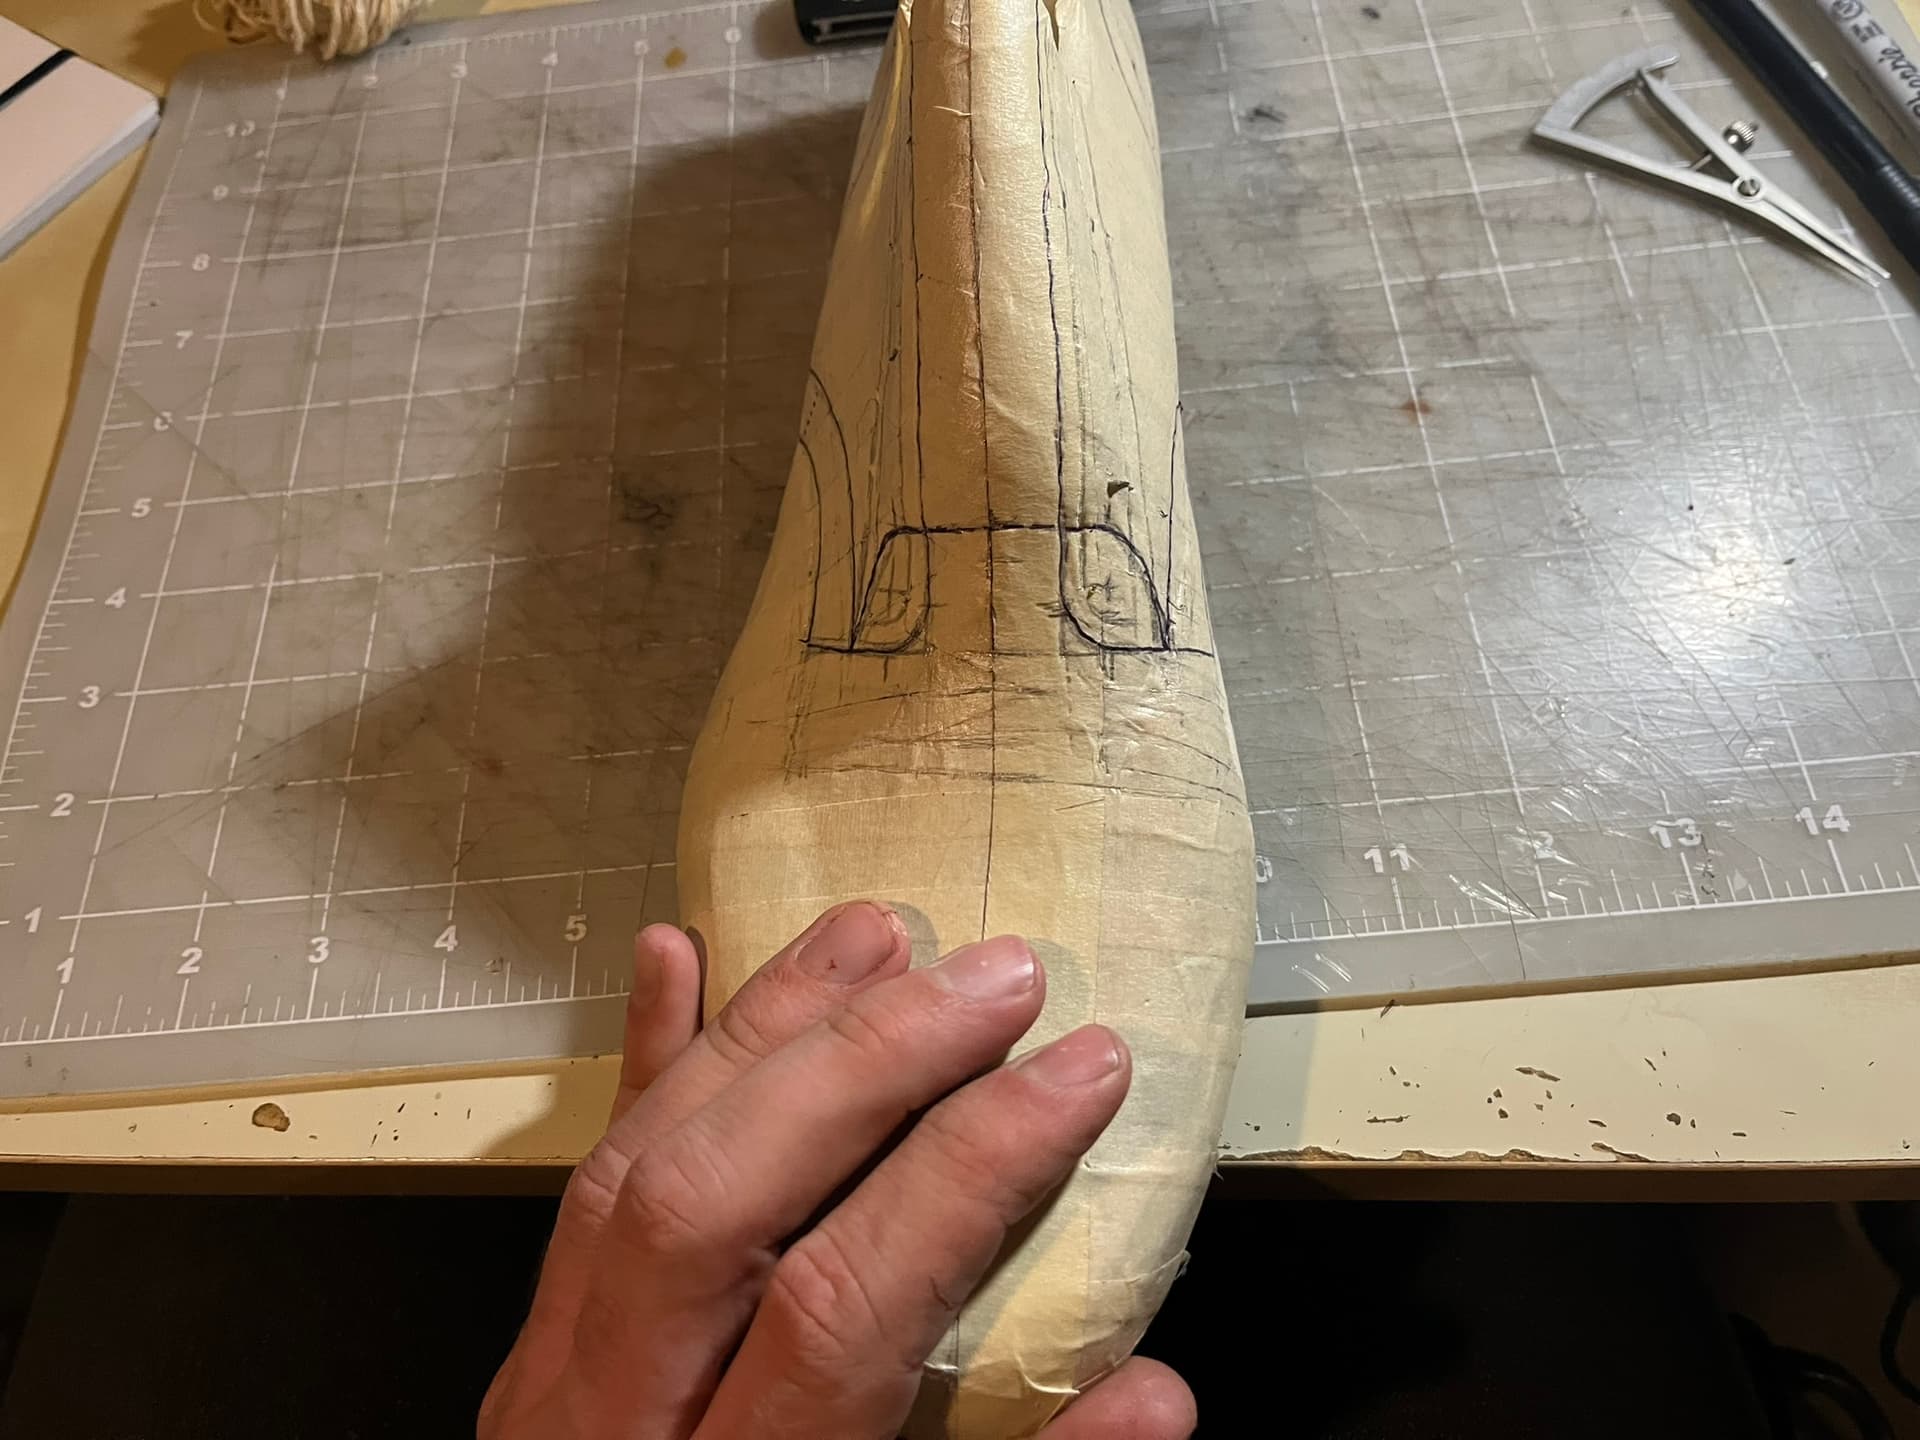
I decided to do my design on the lasts this time, and also to do asymmetric patterns inside-outside. I’ll flip the same pattern for the left shoe.
I’d love to say I’ve achieved some kind of patterning insight this round, but the real lesson is that it has paid off enormously to keep a scrapbook of shoes I see online. It’s great to be able to tag a few pairs of other people’s and companies’ work as inspirations for a specific project, then riffle through them. This round, that helped a lot in making decisions about the lengths of the quarters, as well as the height and forward projection of the heel counter covers. Of course, it’s also nice to have some wearable shoes laying around to reference.
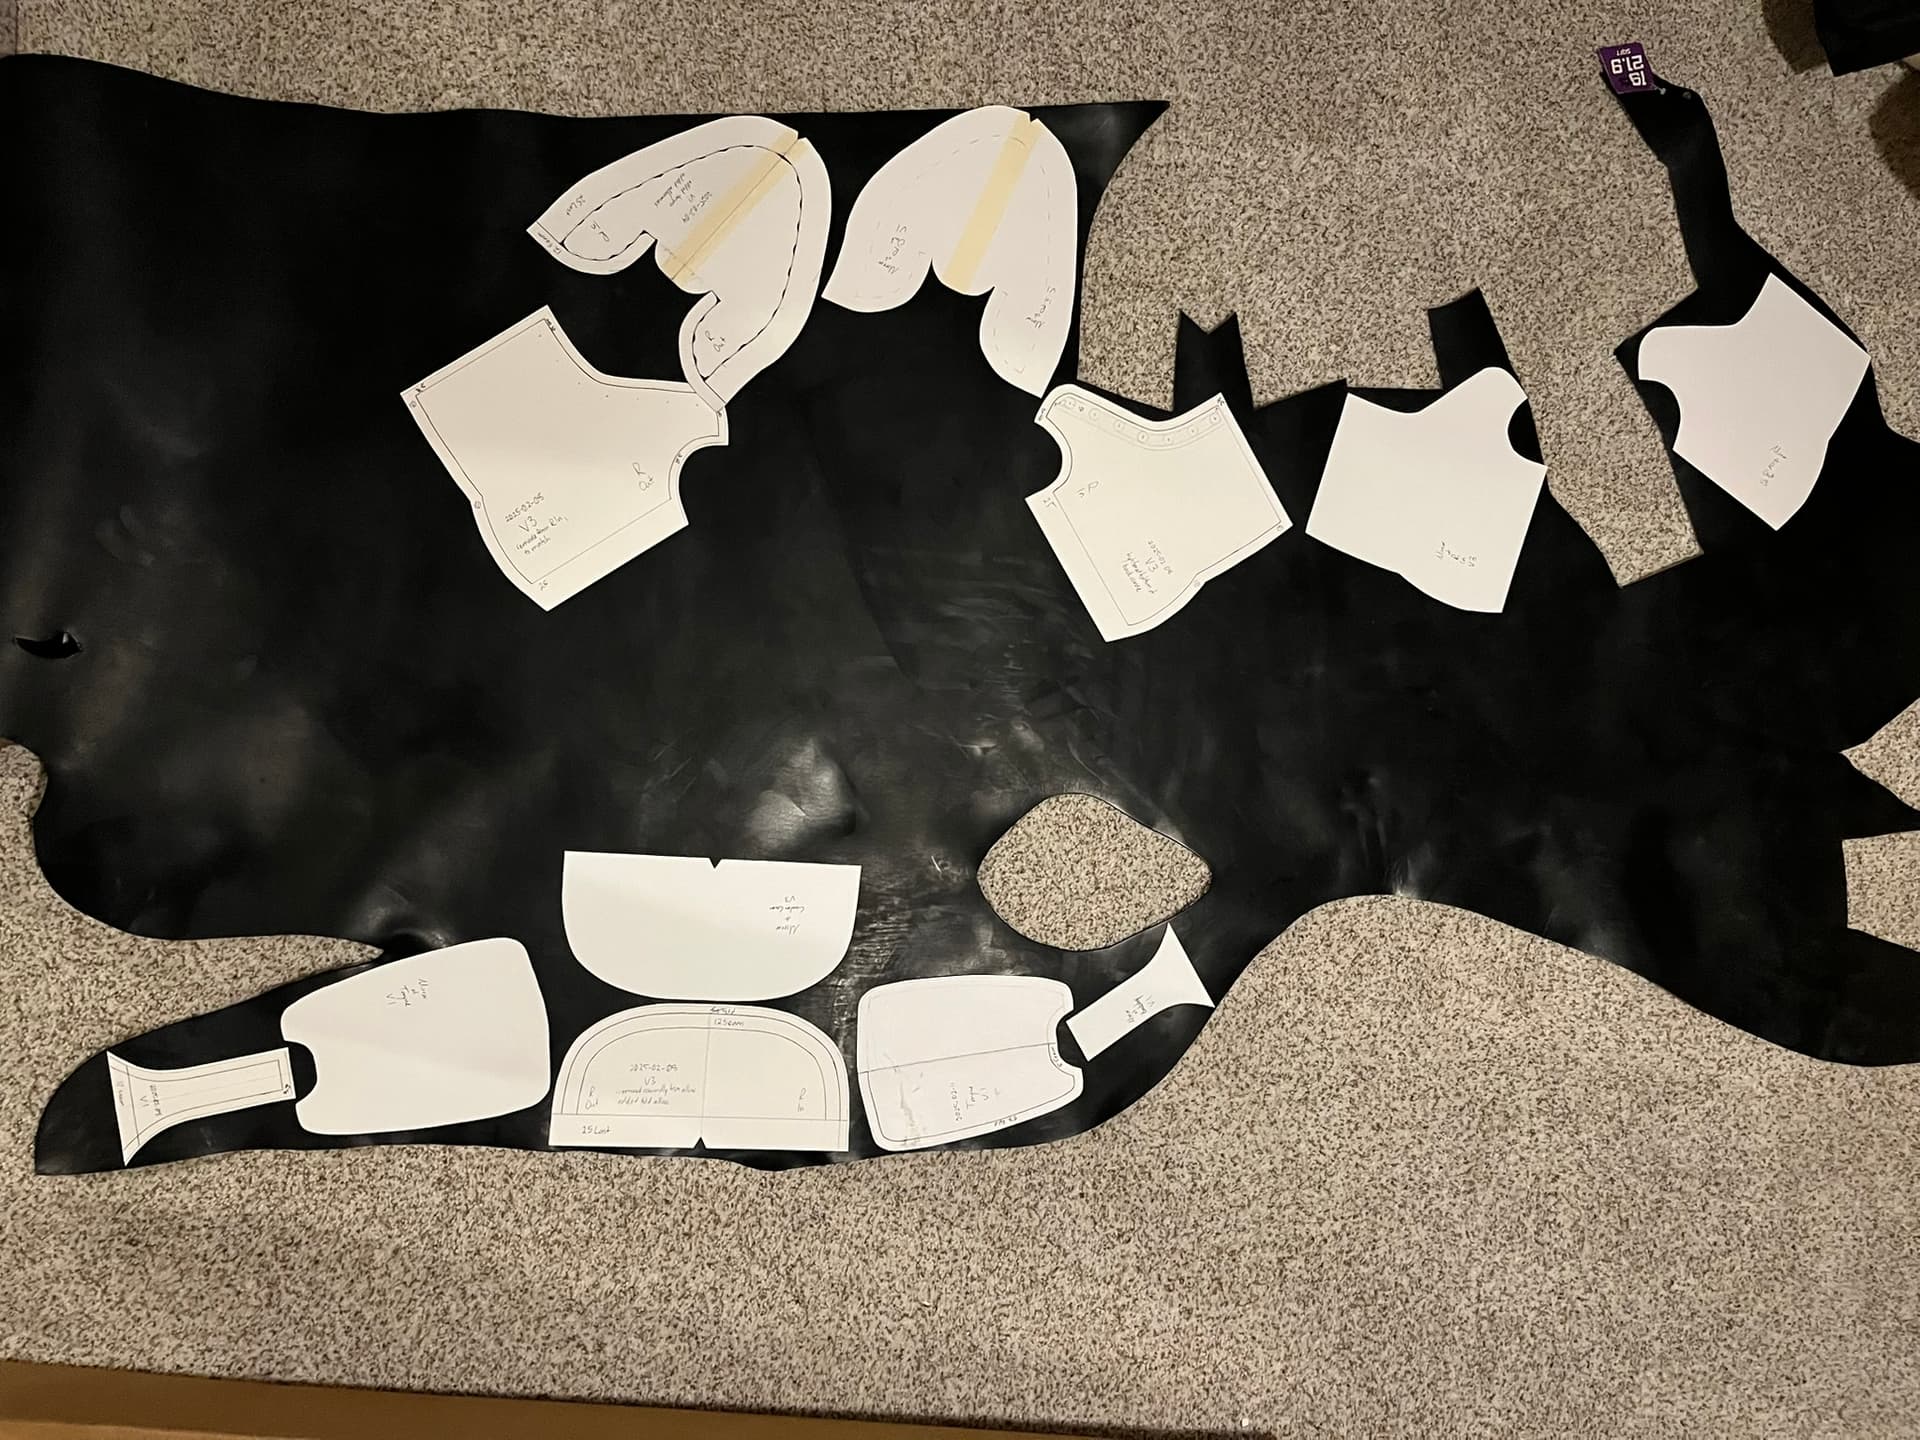
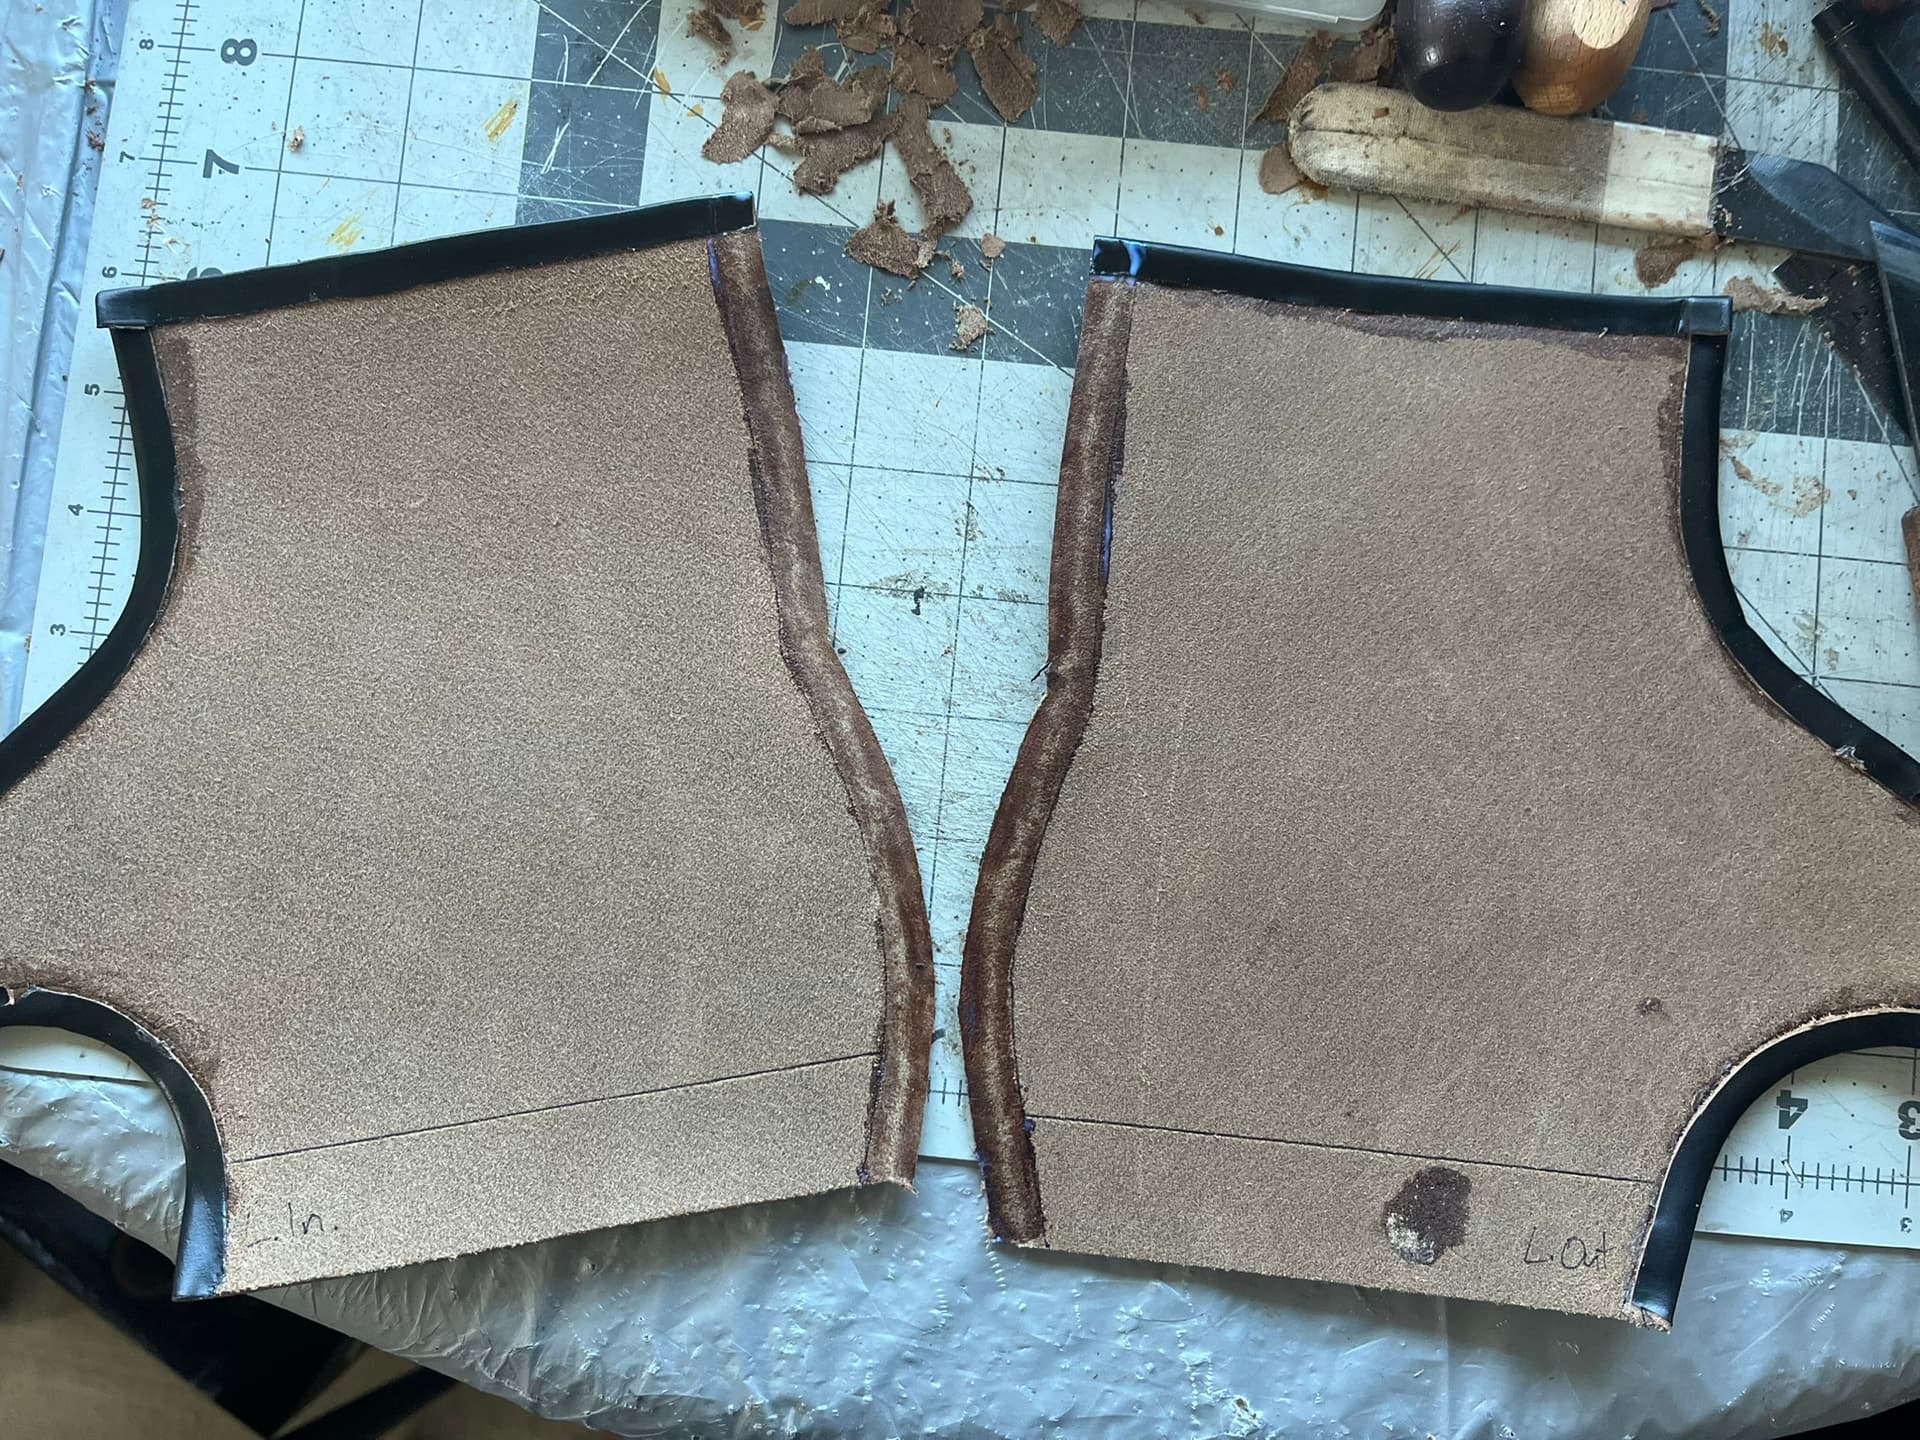
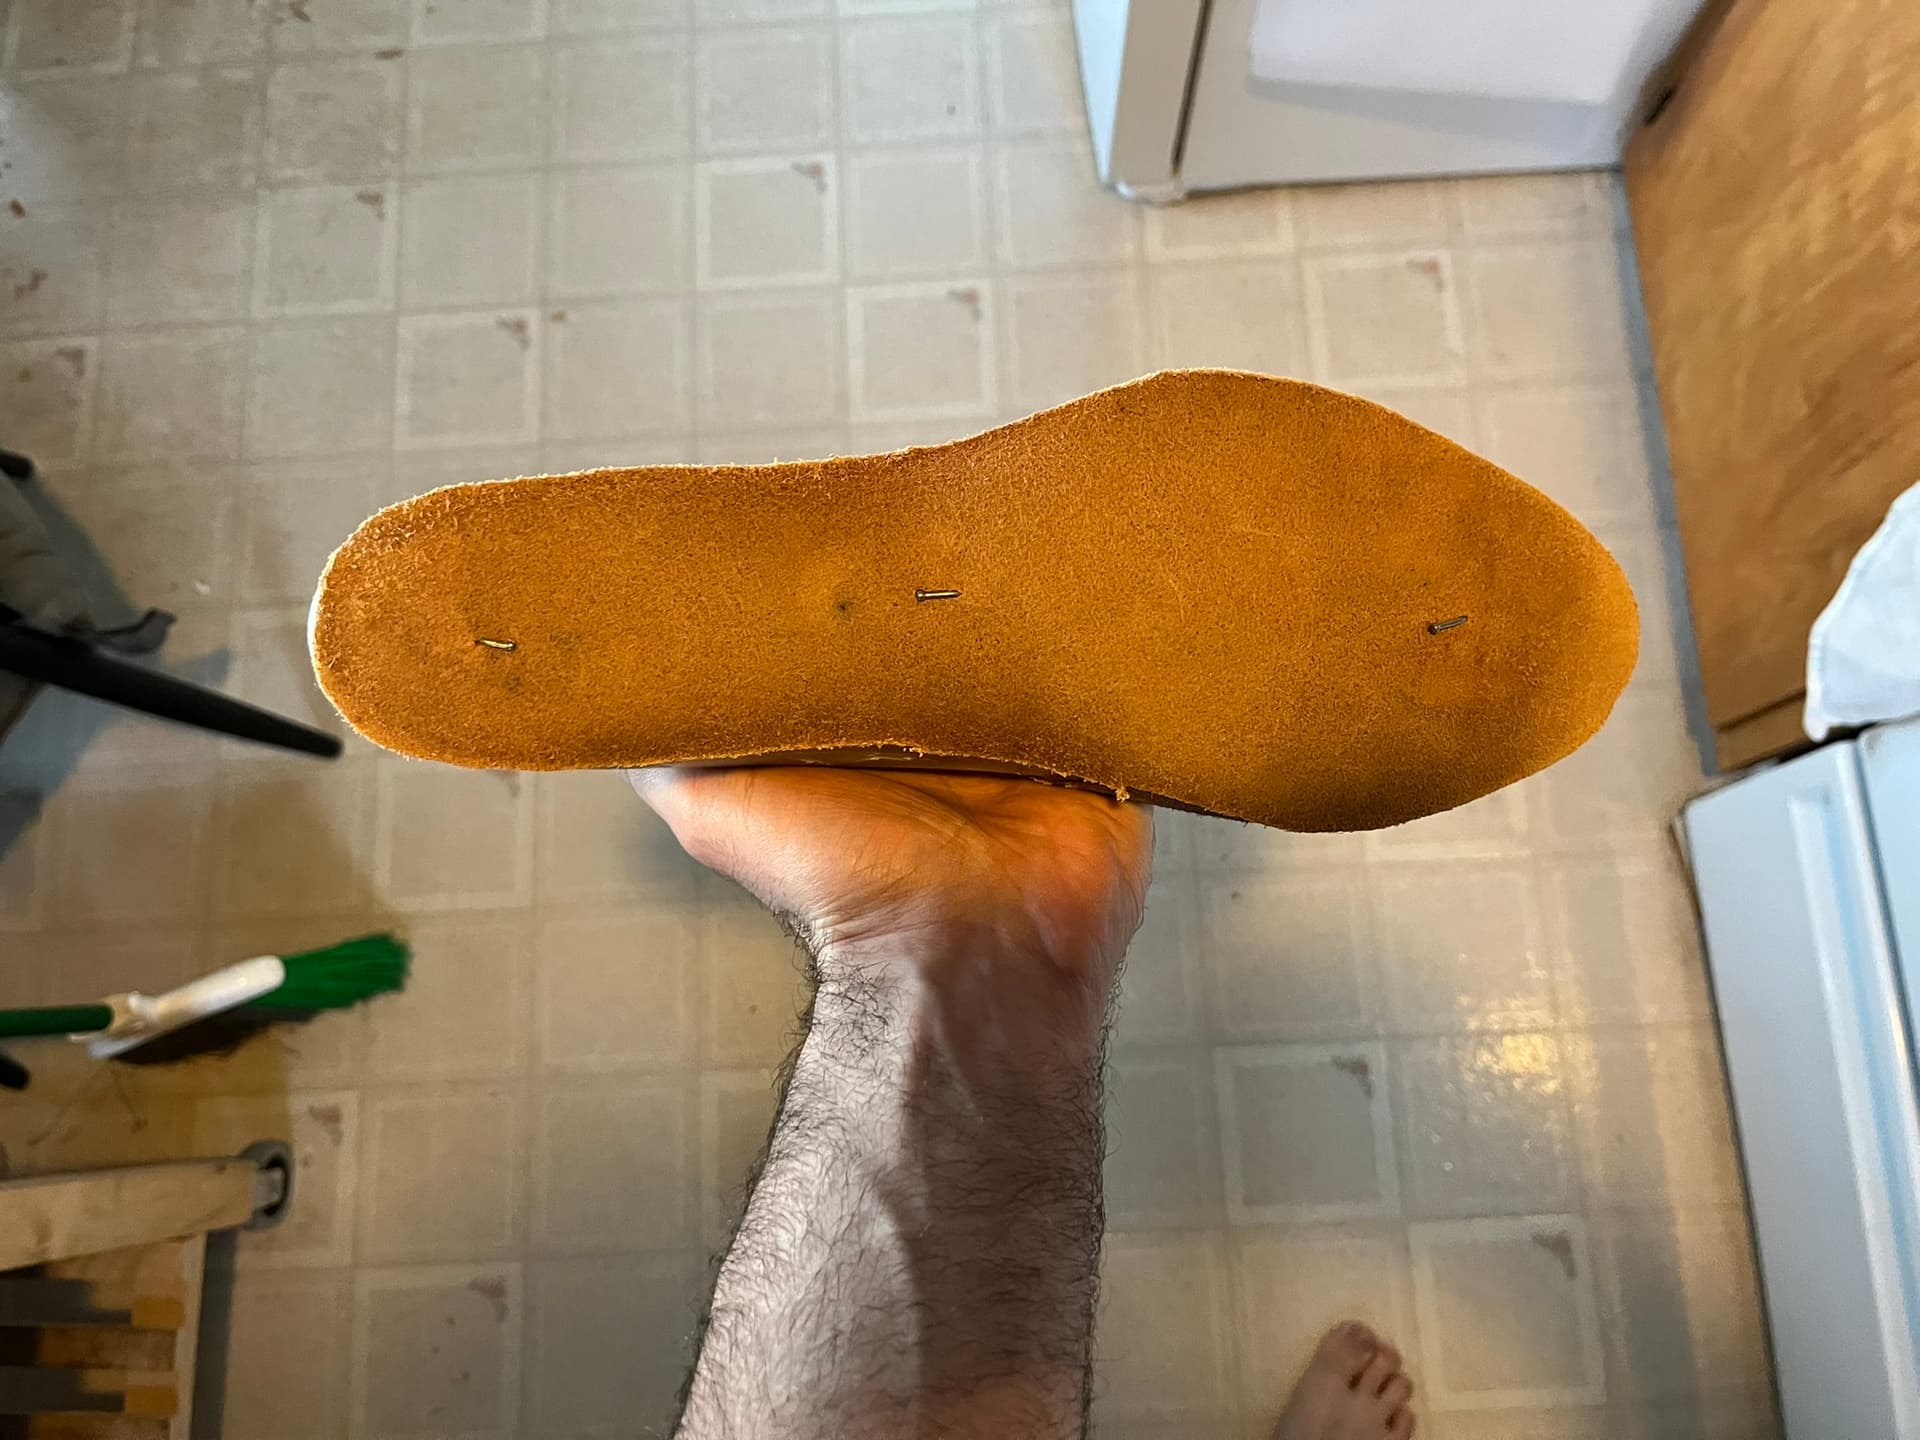
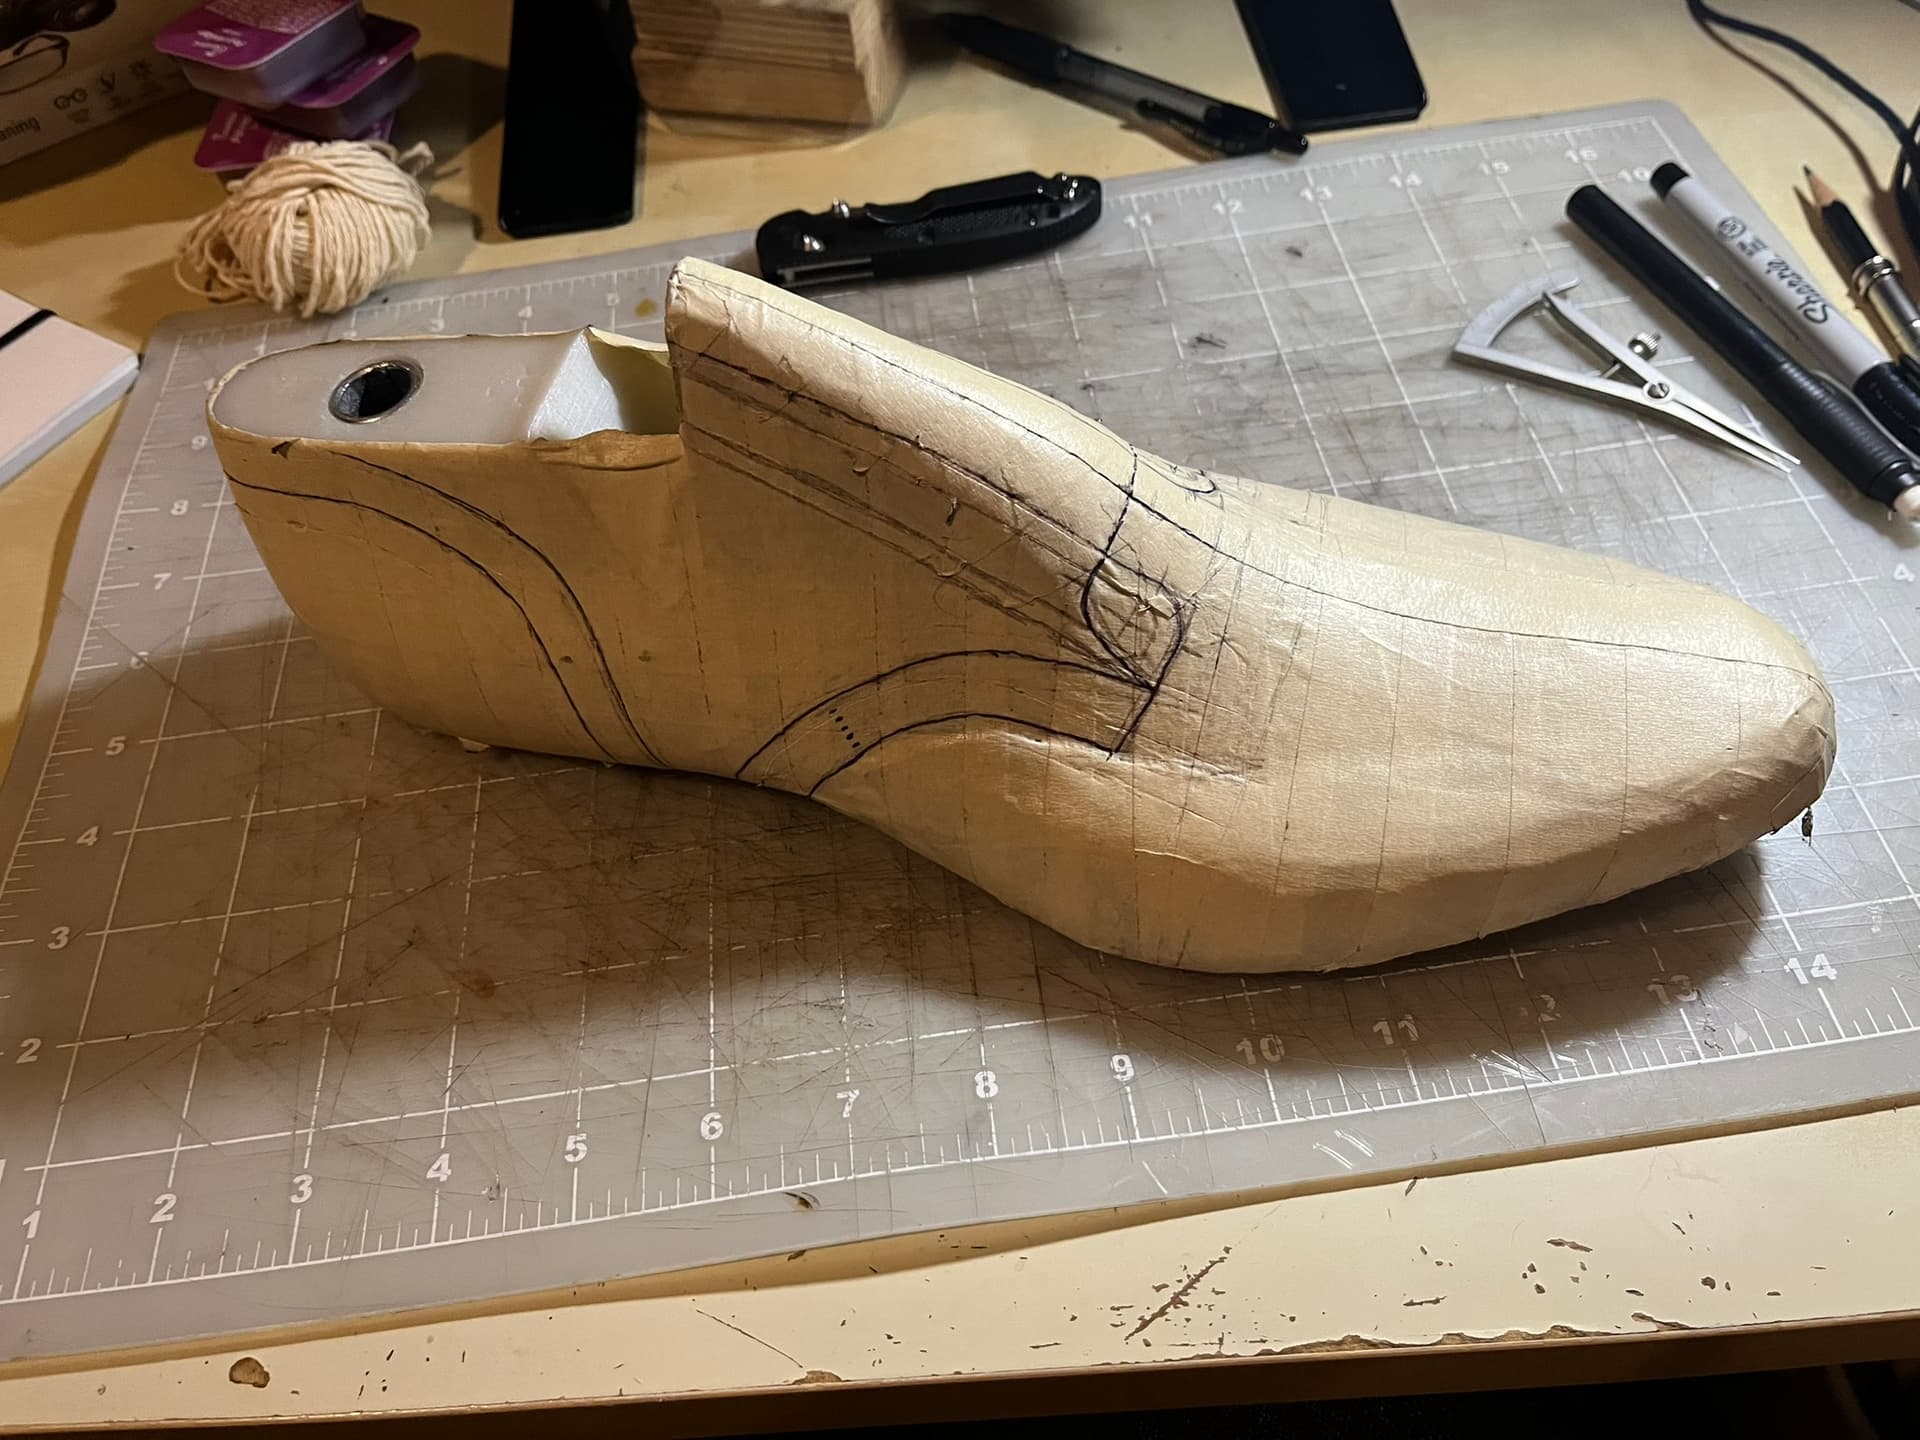
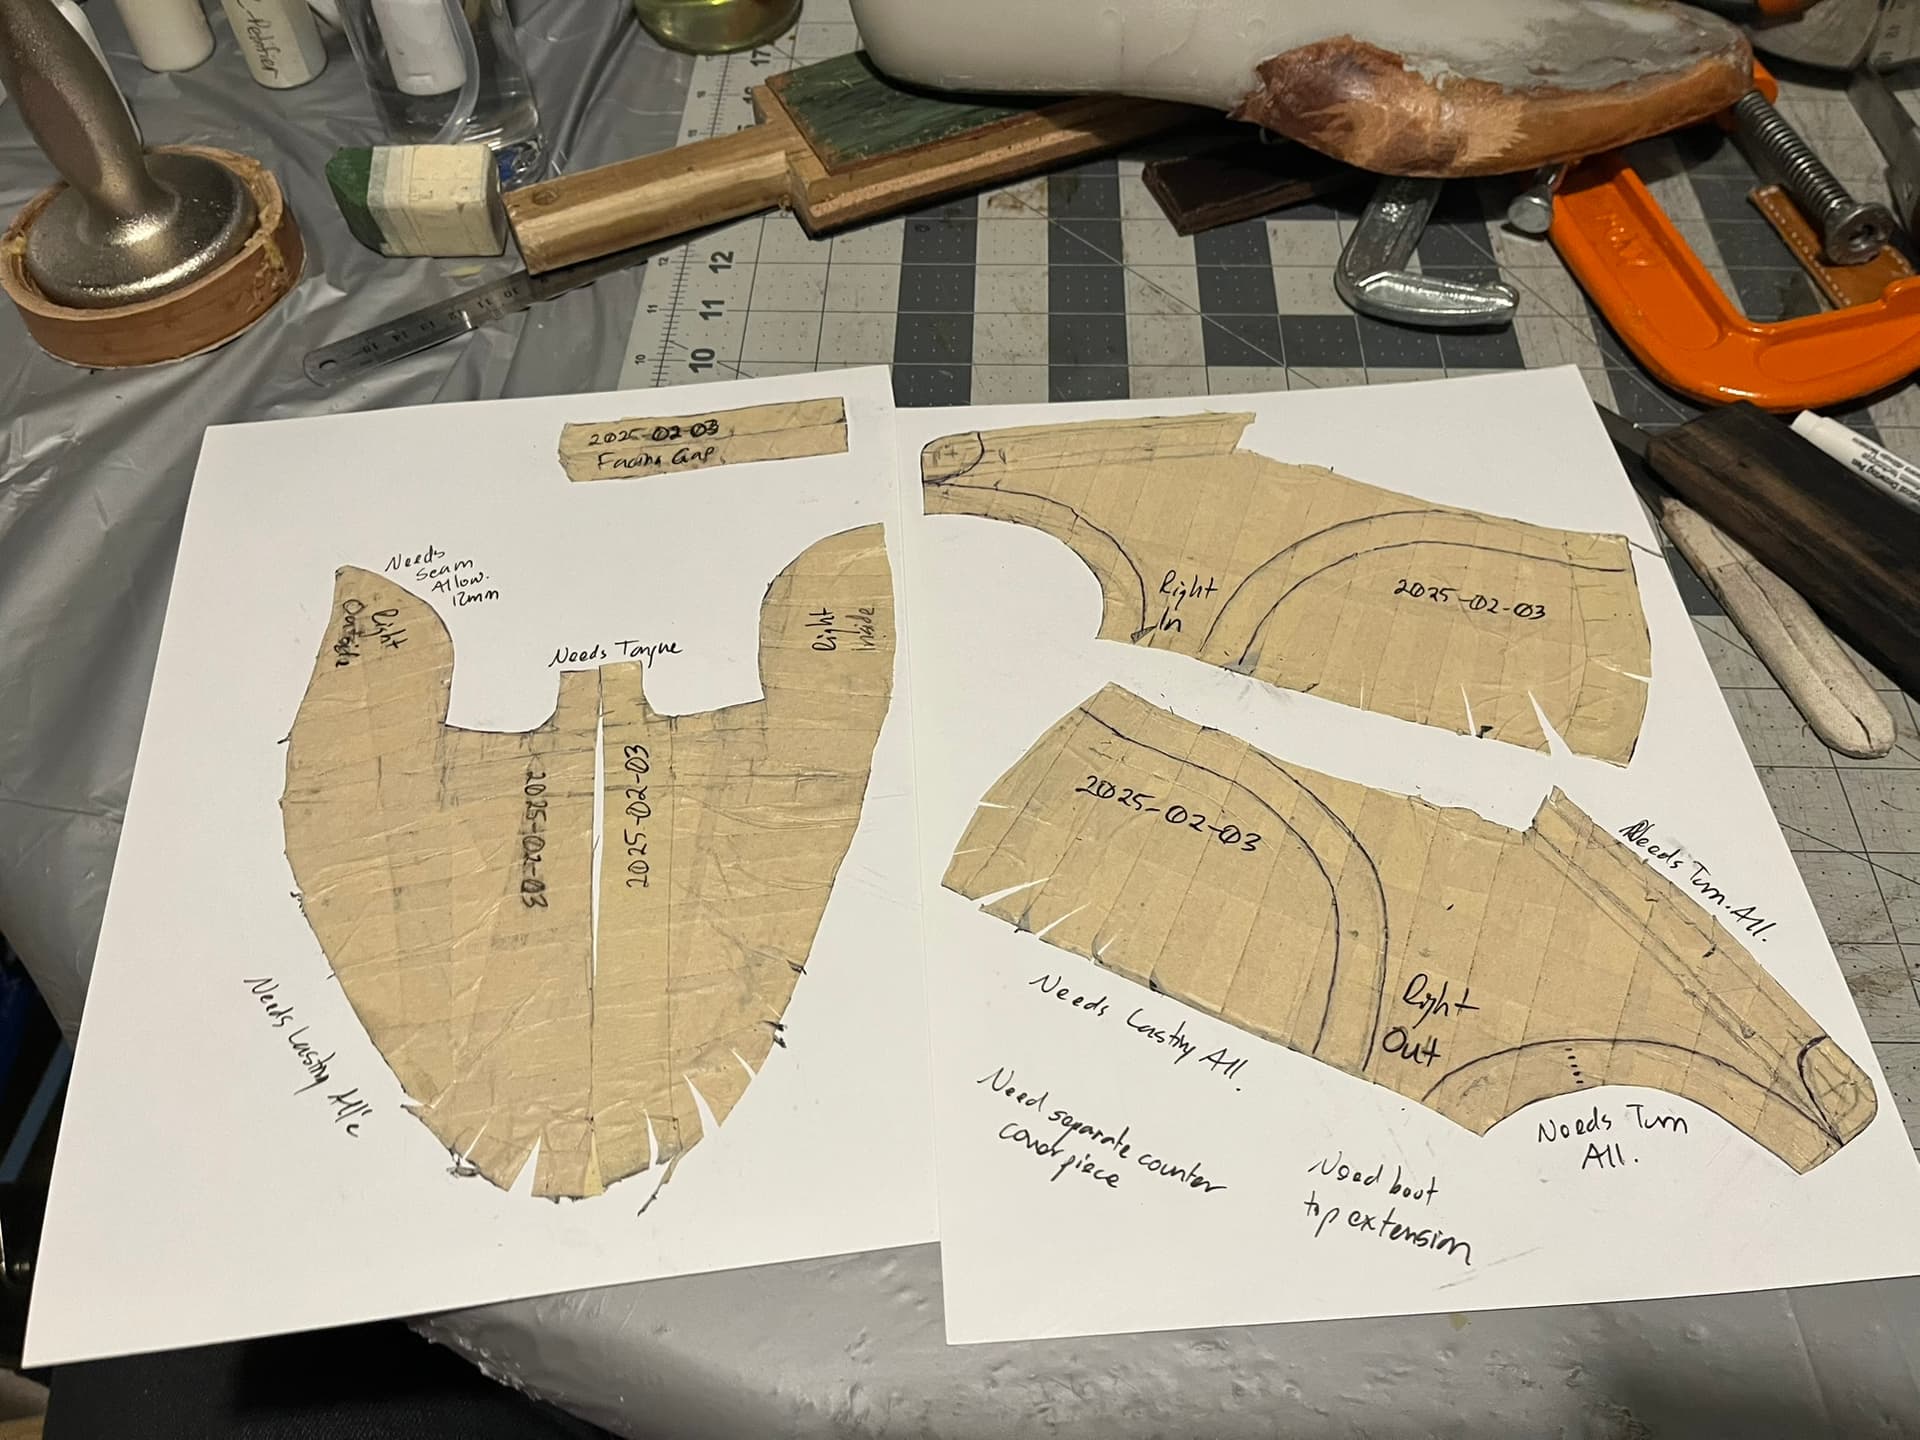
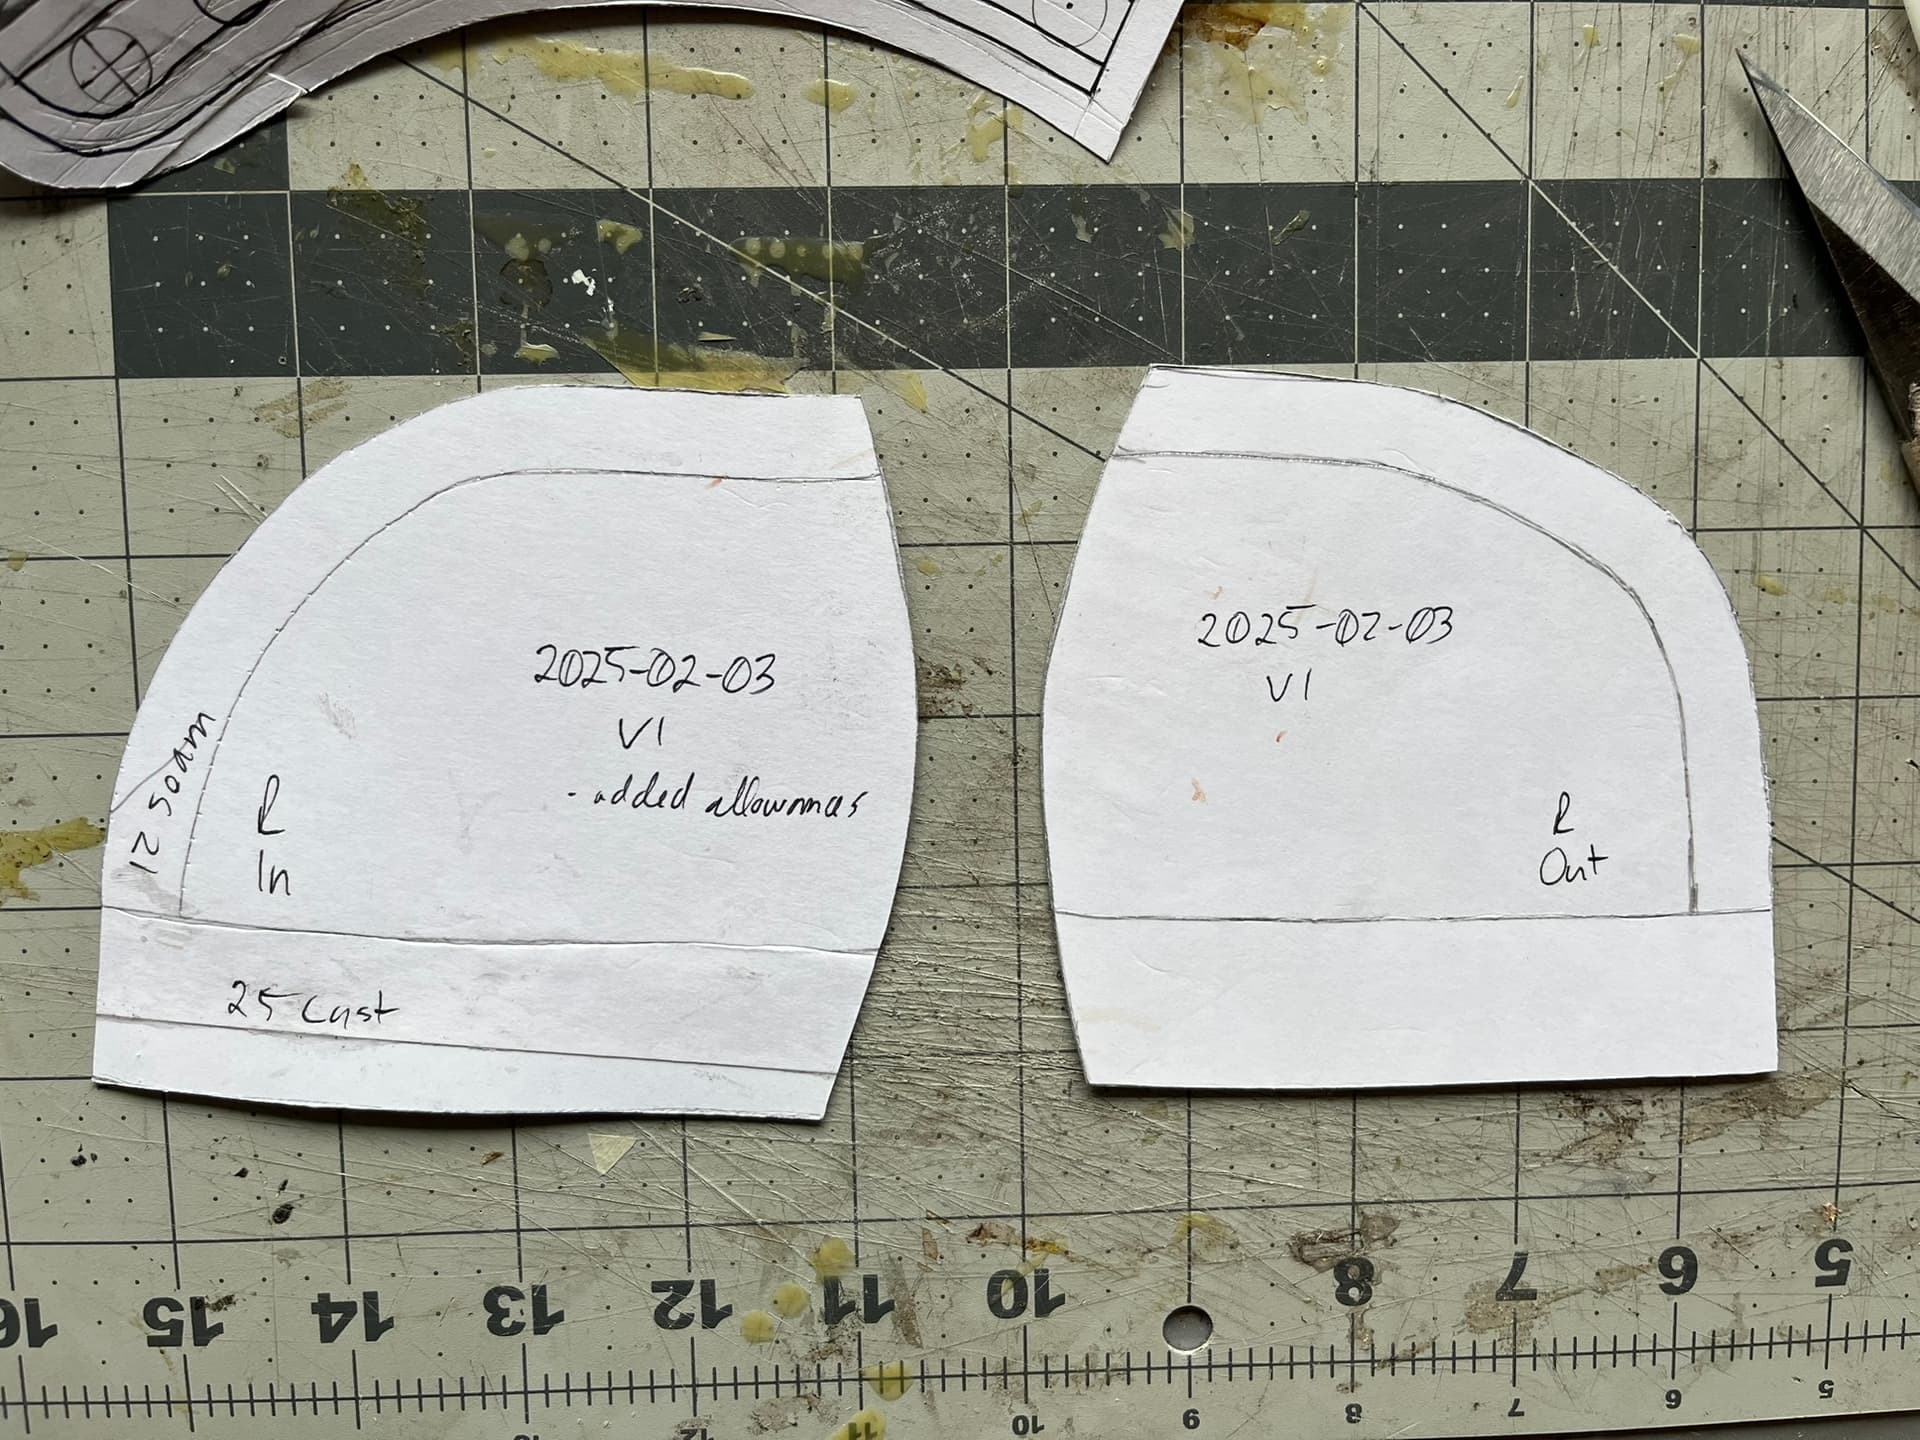
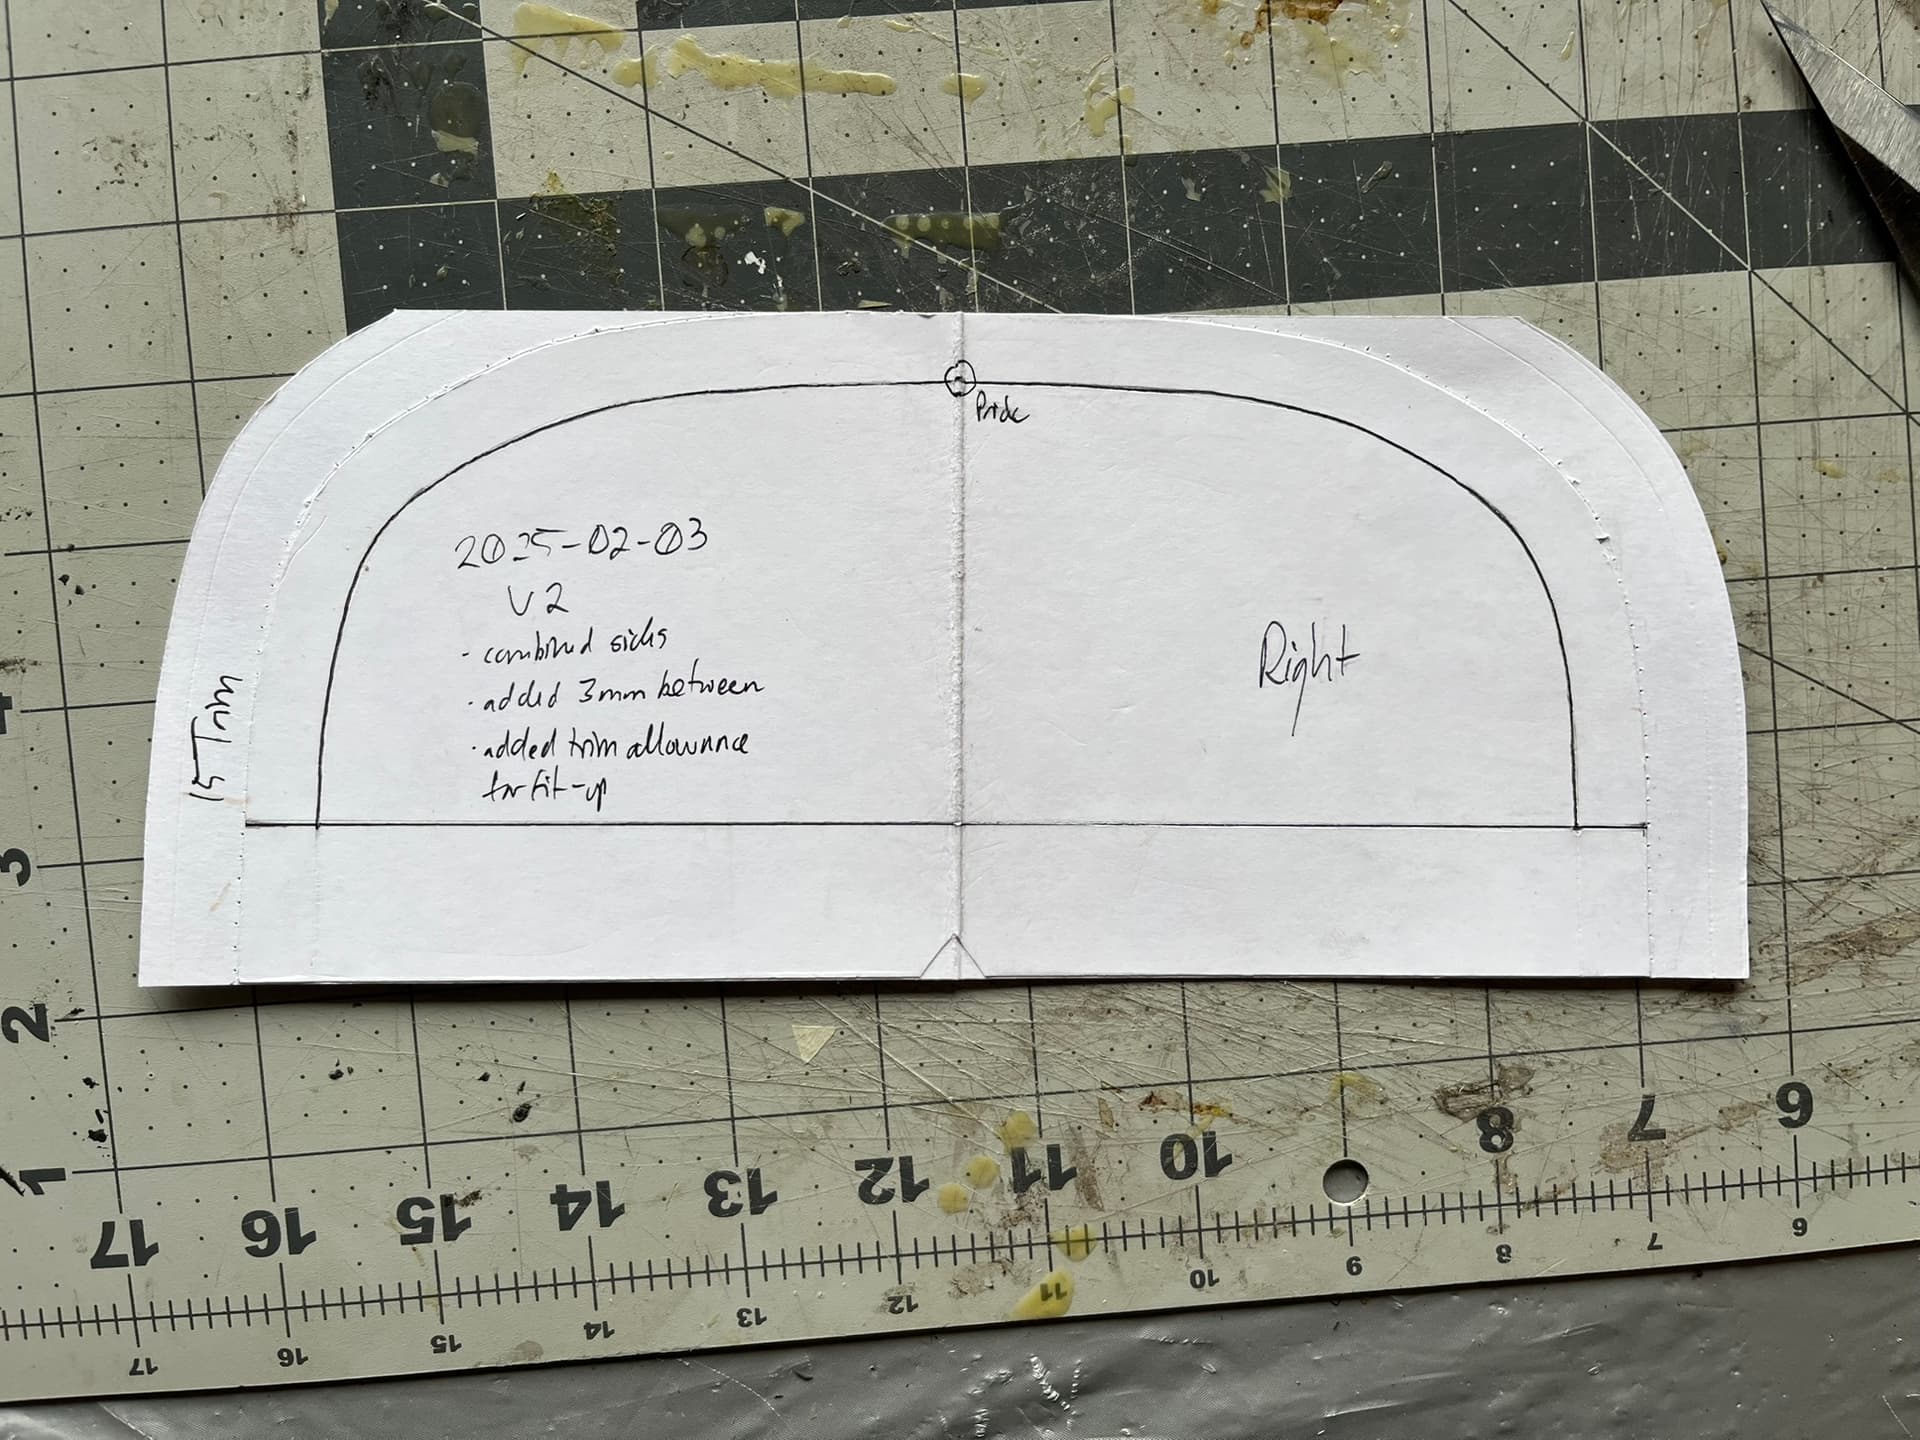
First Draft Pattern Pieces
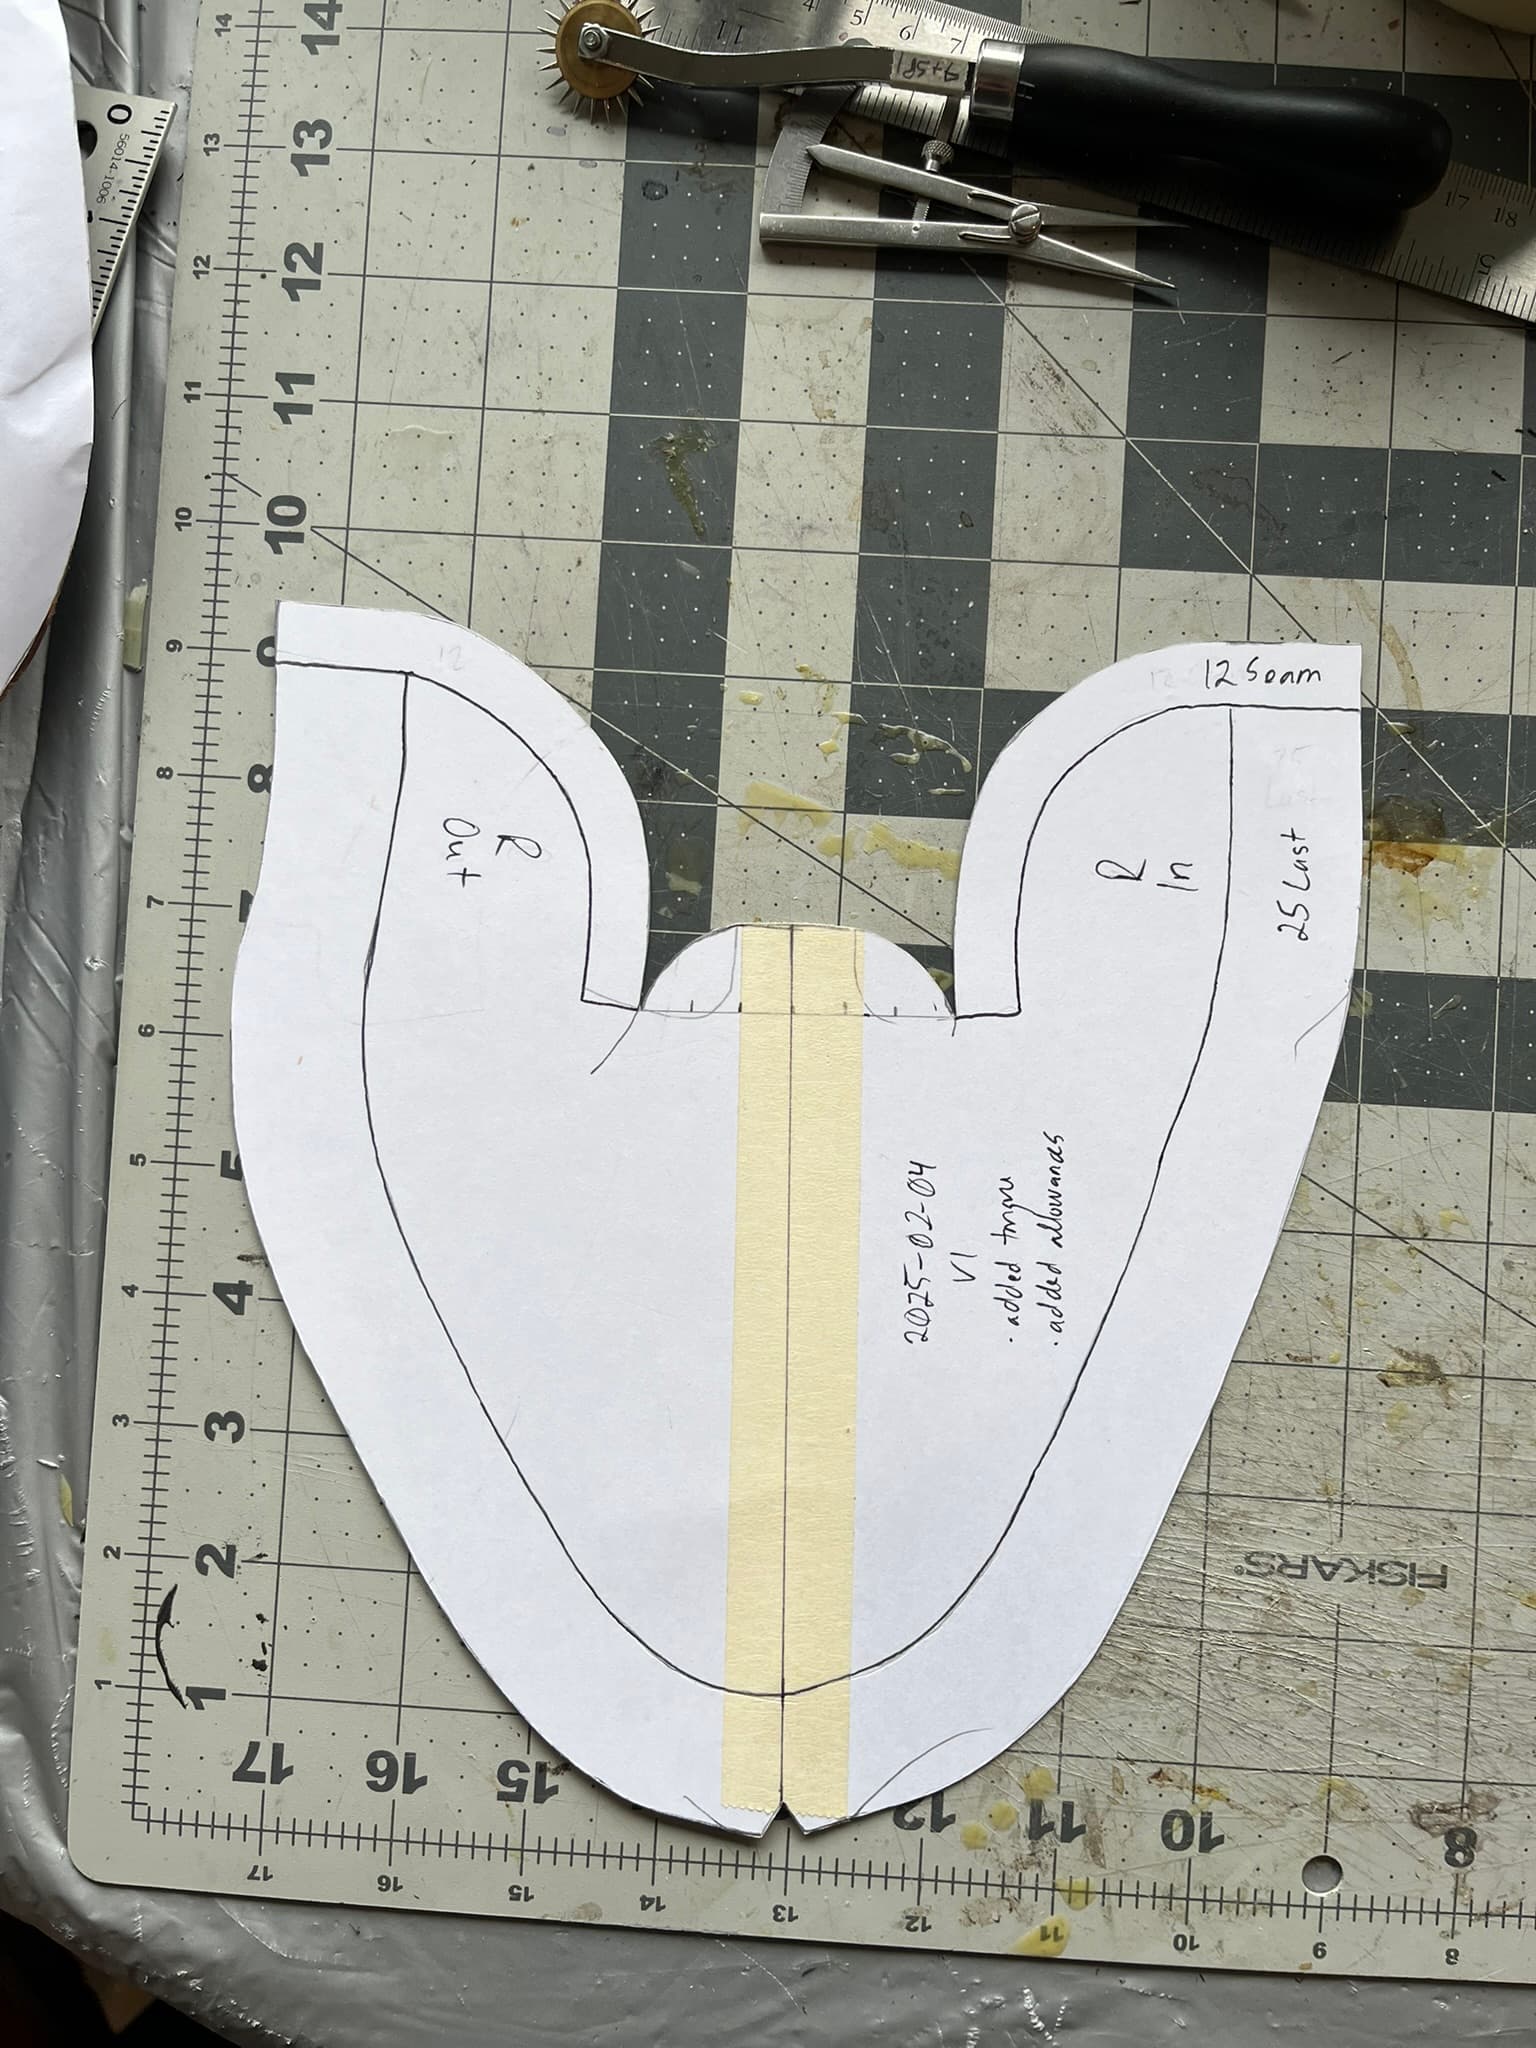
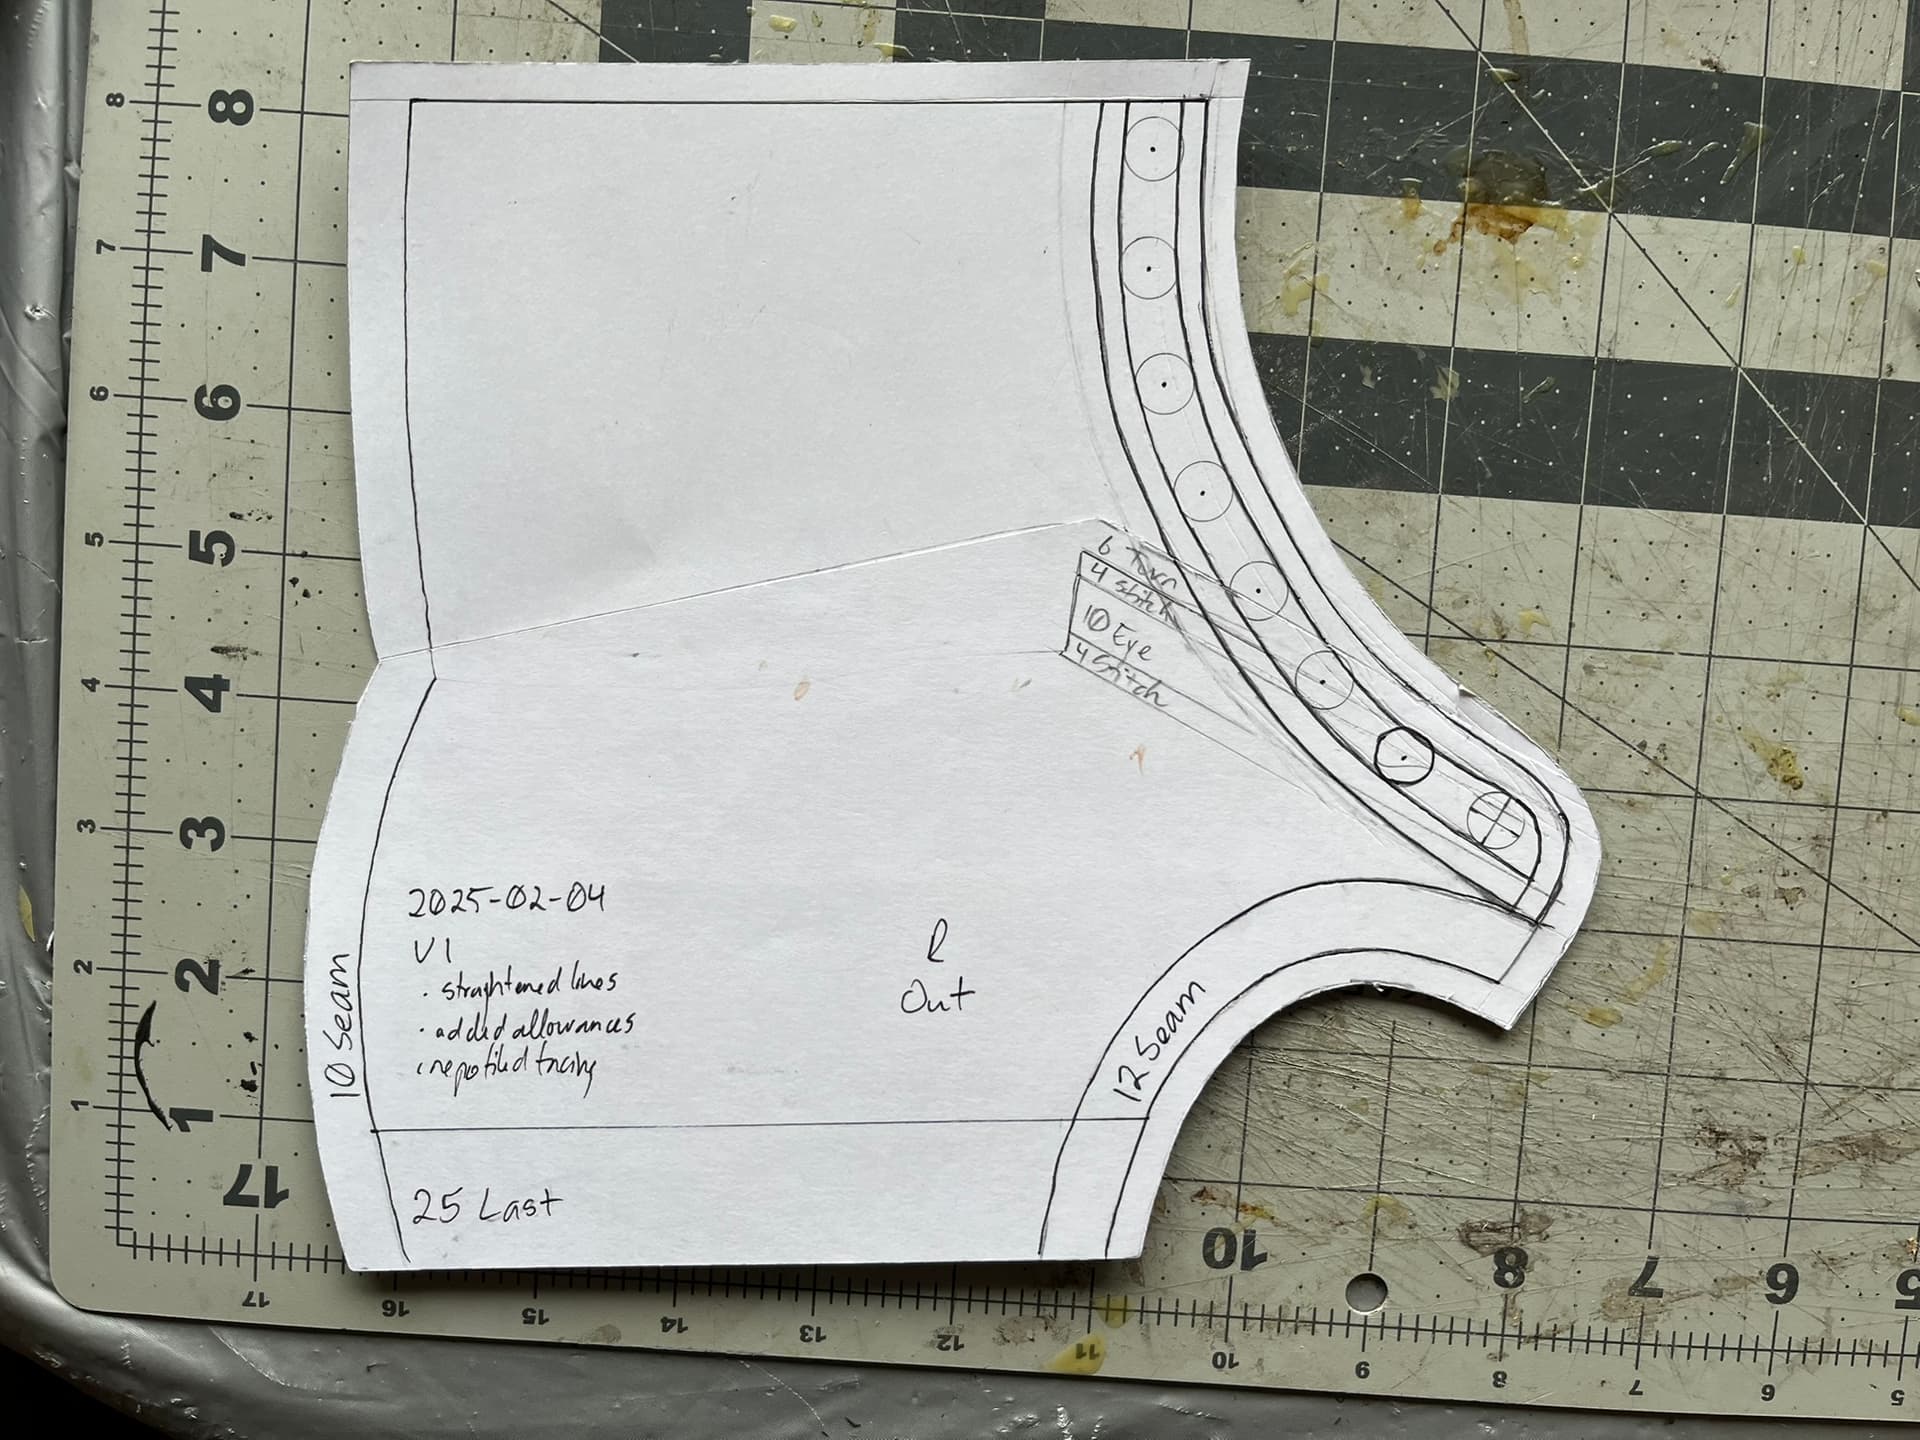
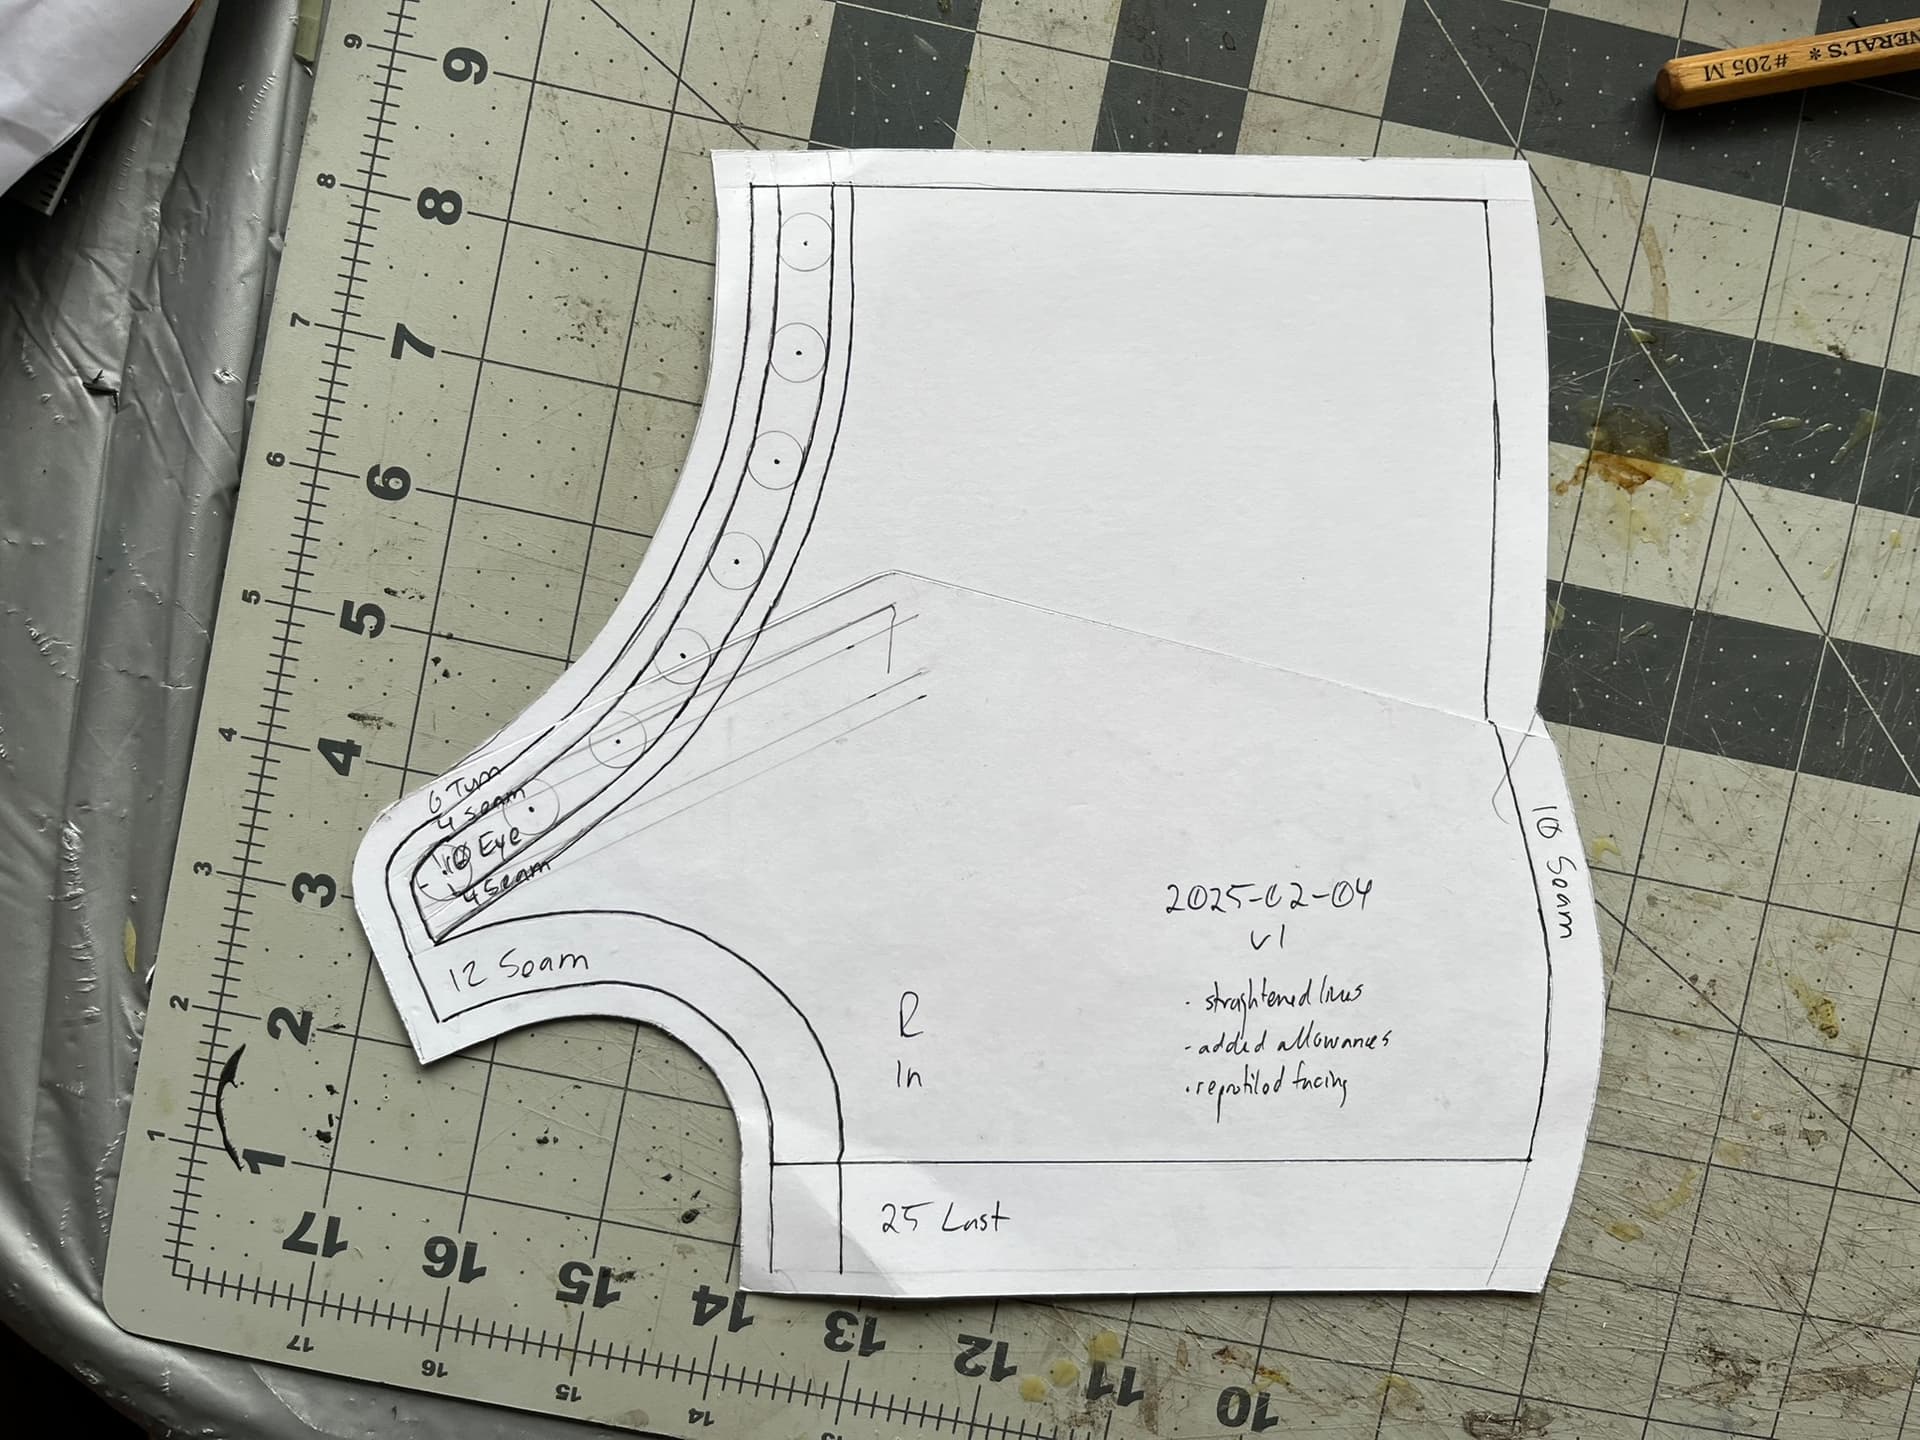
I’m getting better at thinking through adding the various allowances, and also a bit more confident that I can make smaller allowances for turns and other features.
I did chicken out a bit on the pattern piece for the combined heel counter cover. I added allowance for the external heel counter, but also just widened the pattern overall, essentially planning to lay it over during fit-up and trim to length. My goal is to have the leading edges of the heel counter cover seams hit the featherline right at the heel breast. We’ll see how that goes.
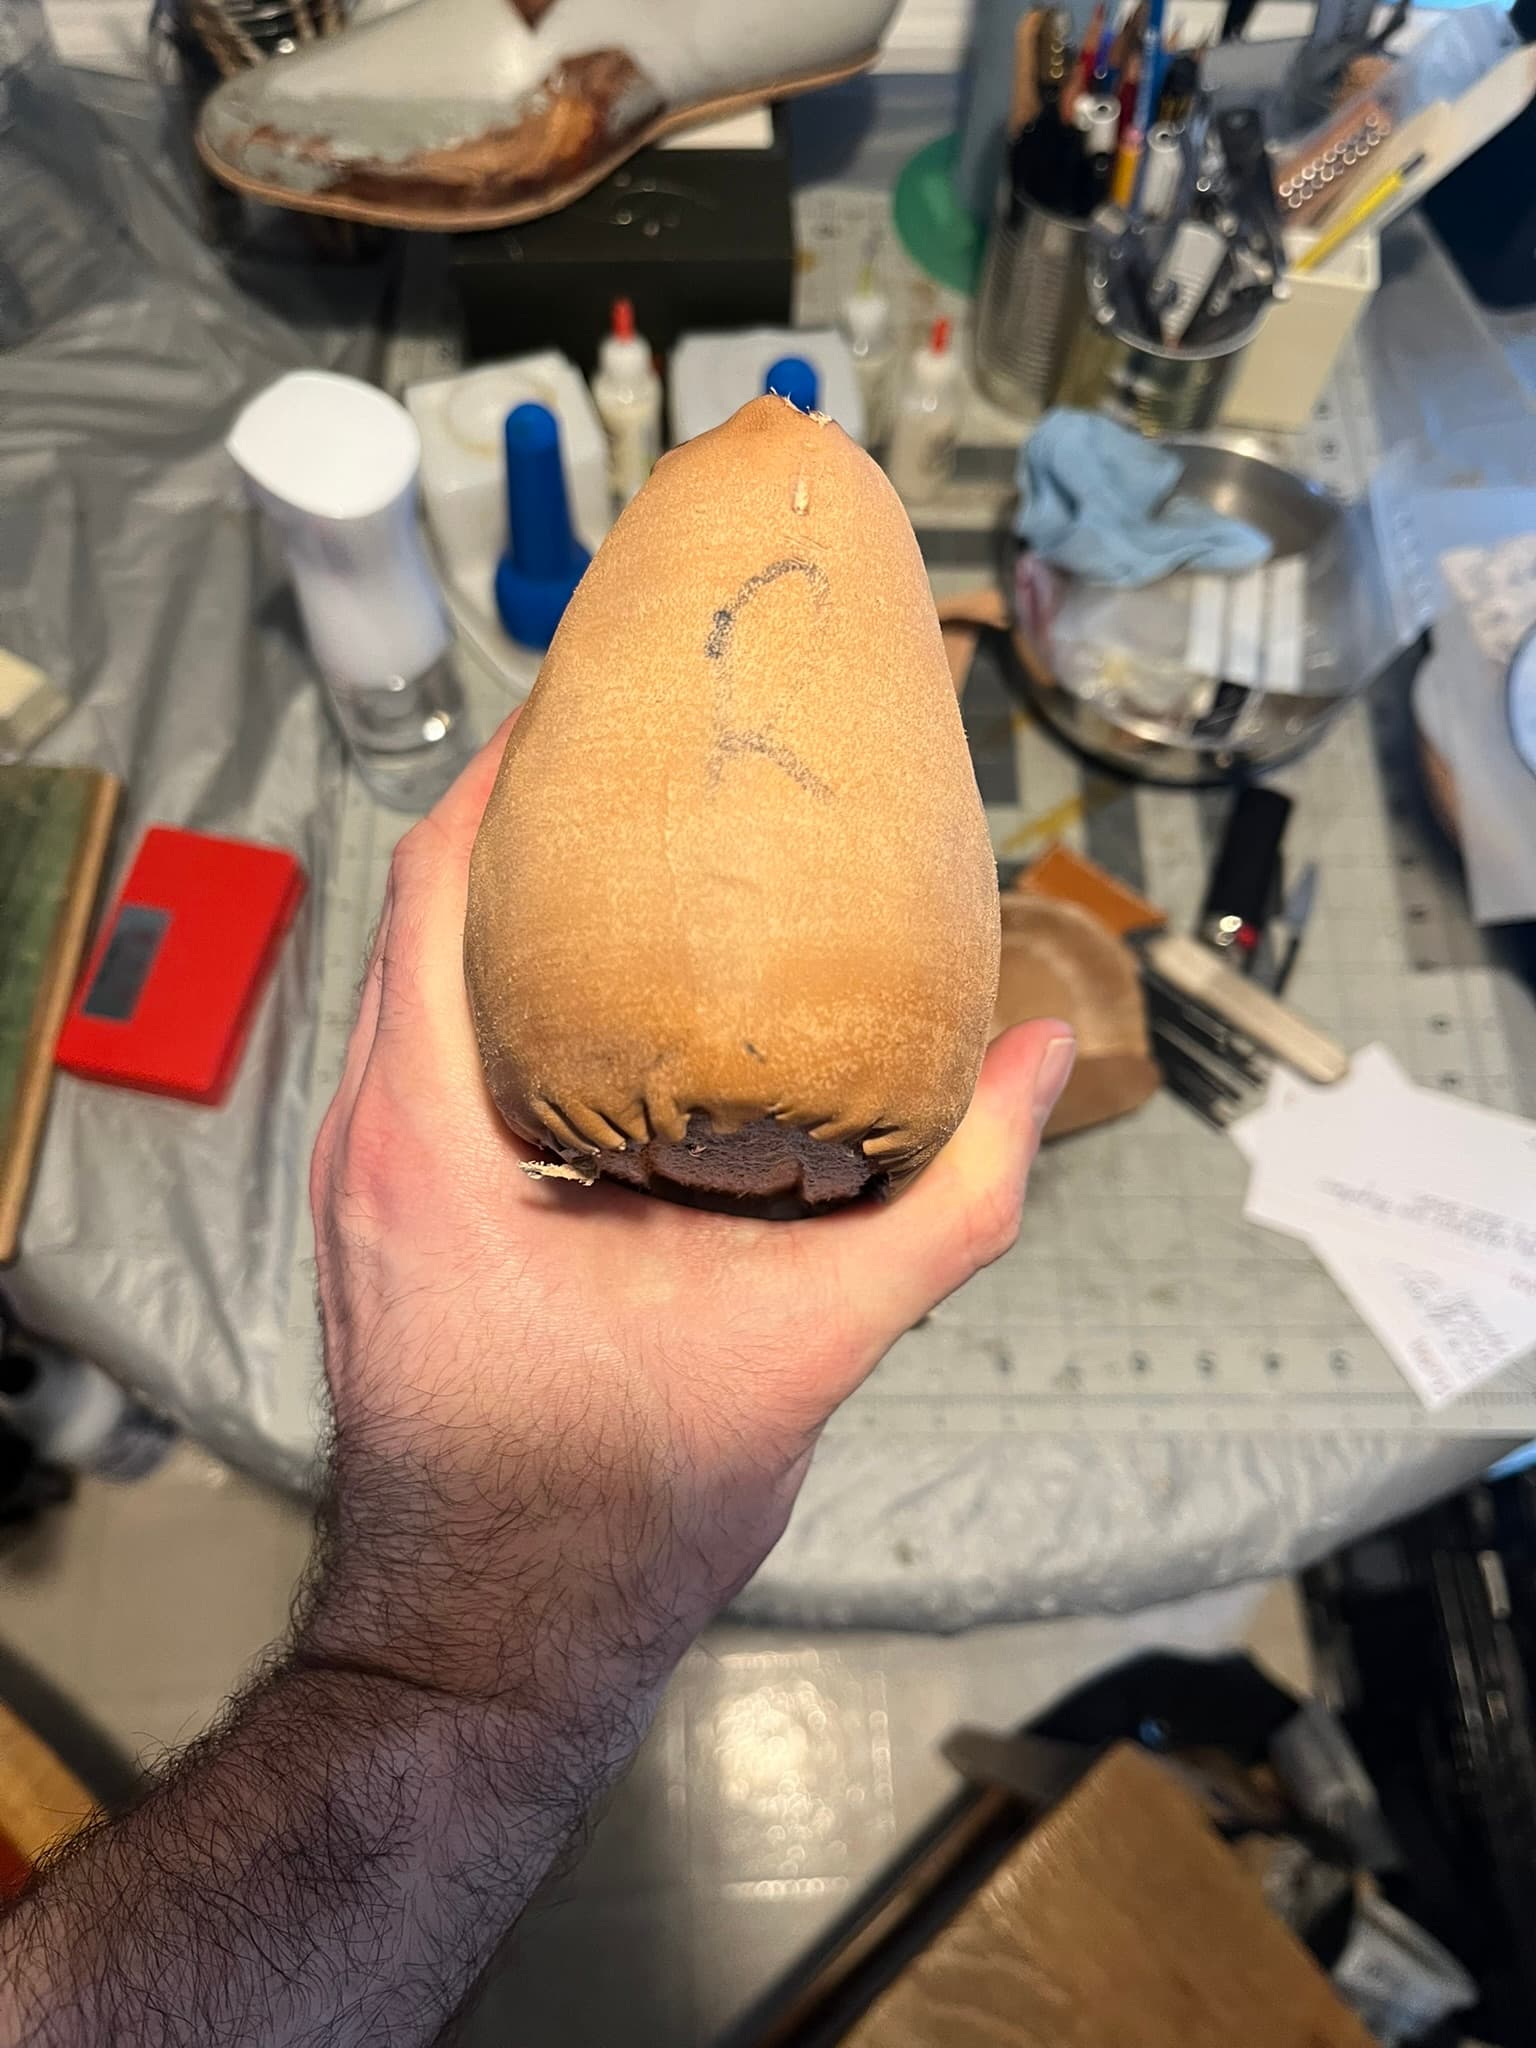
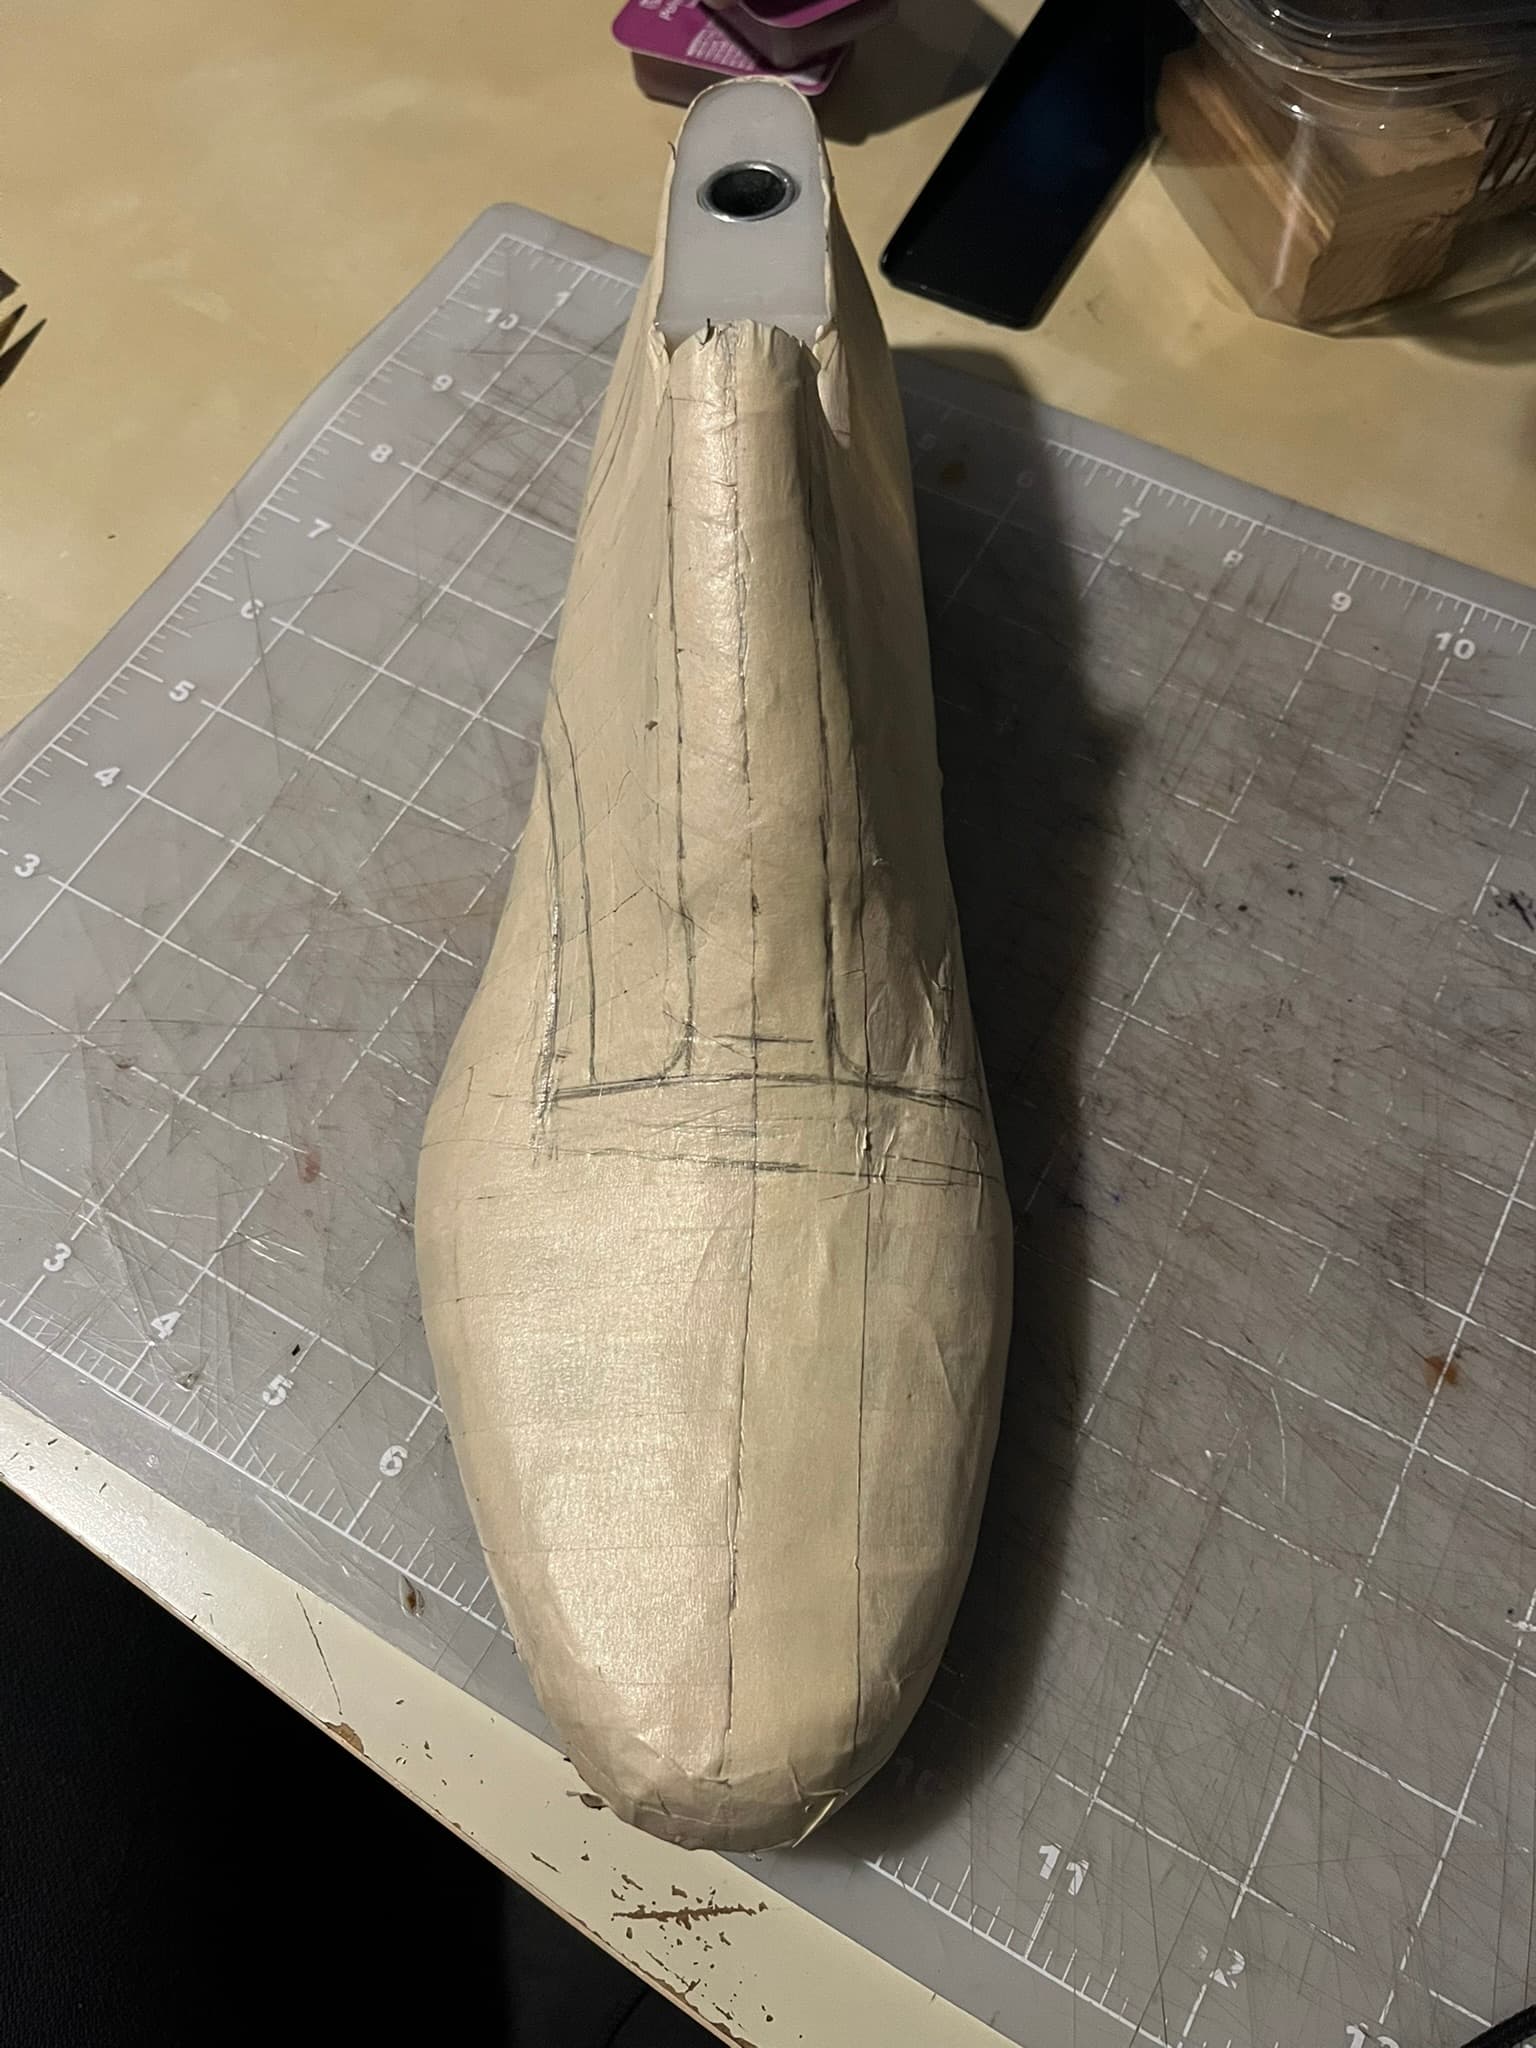
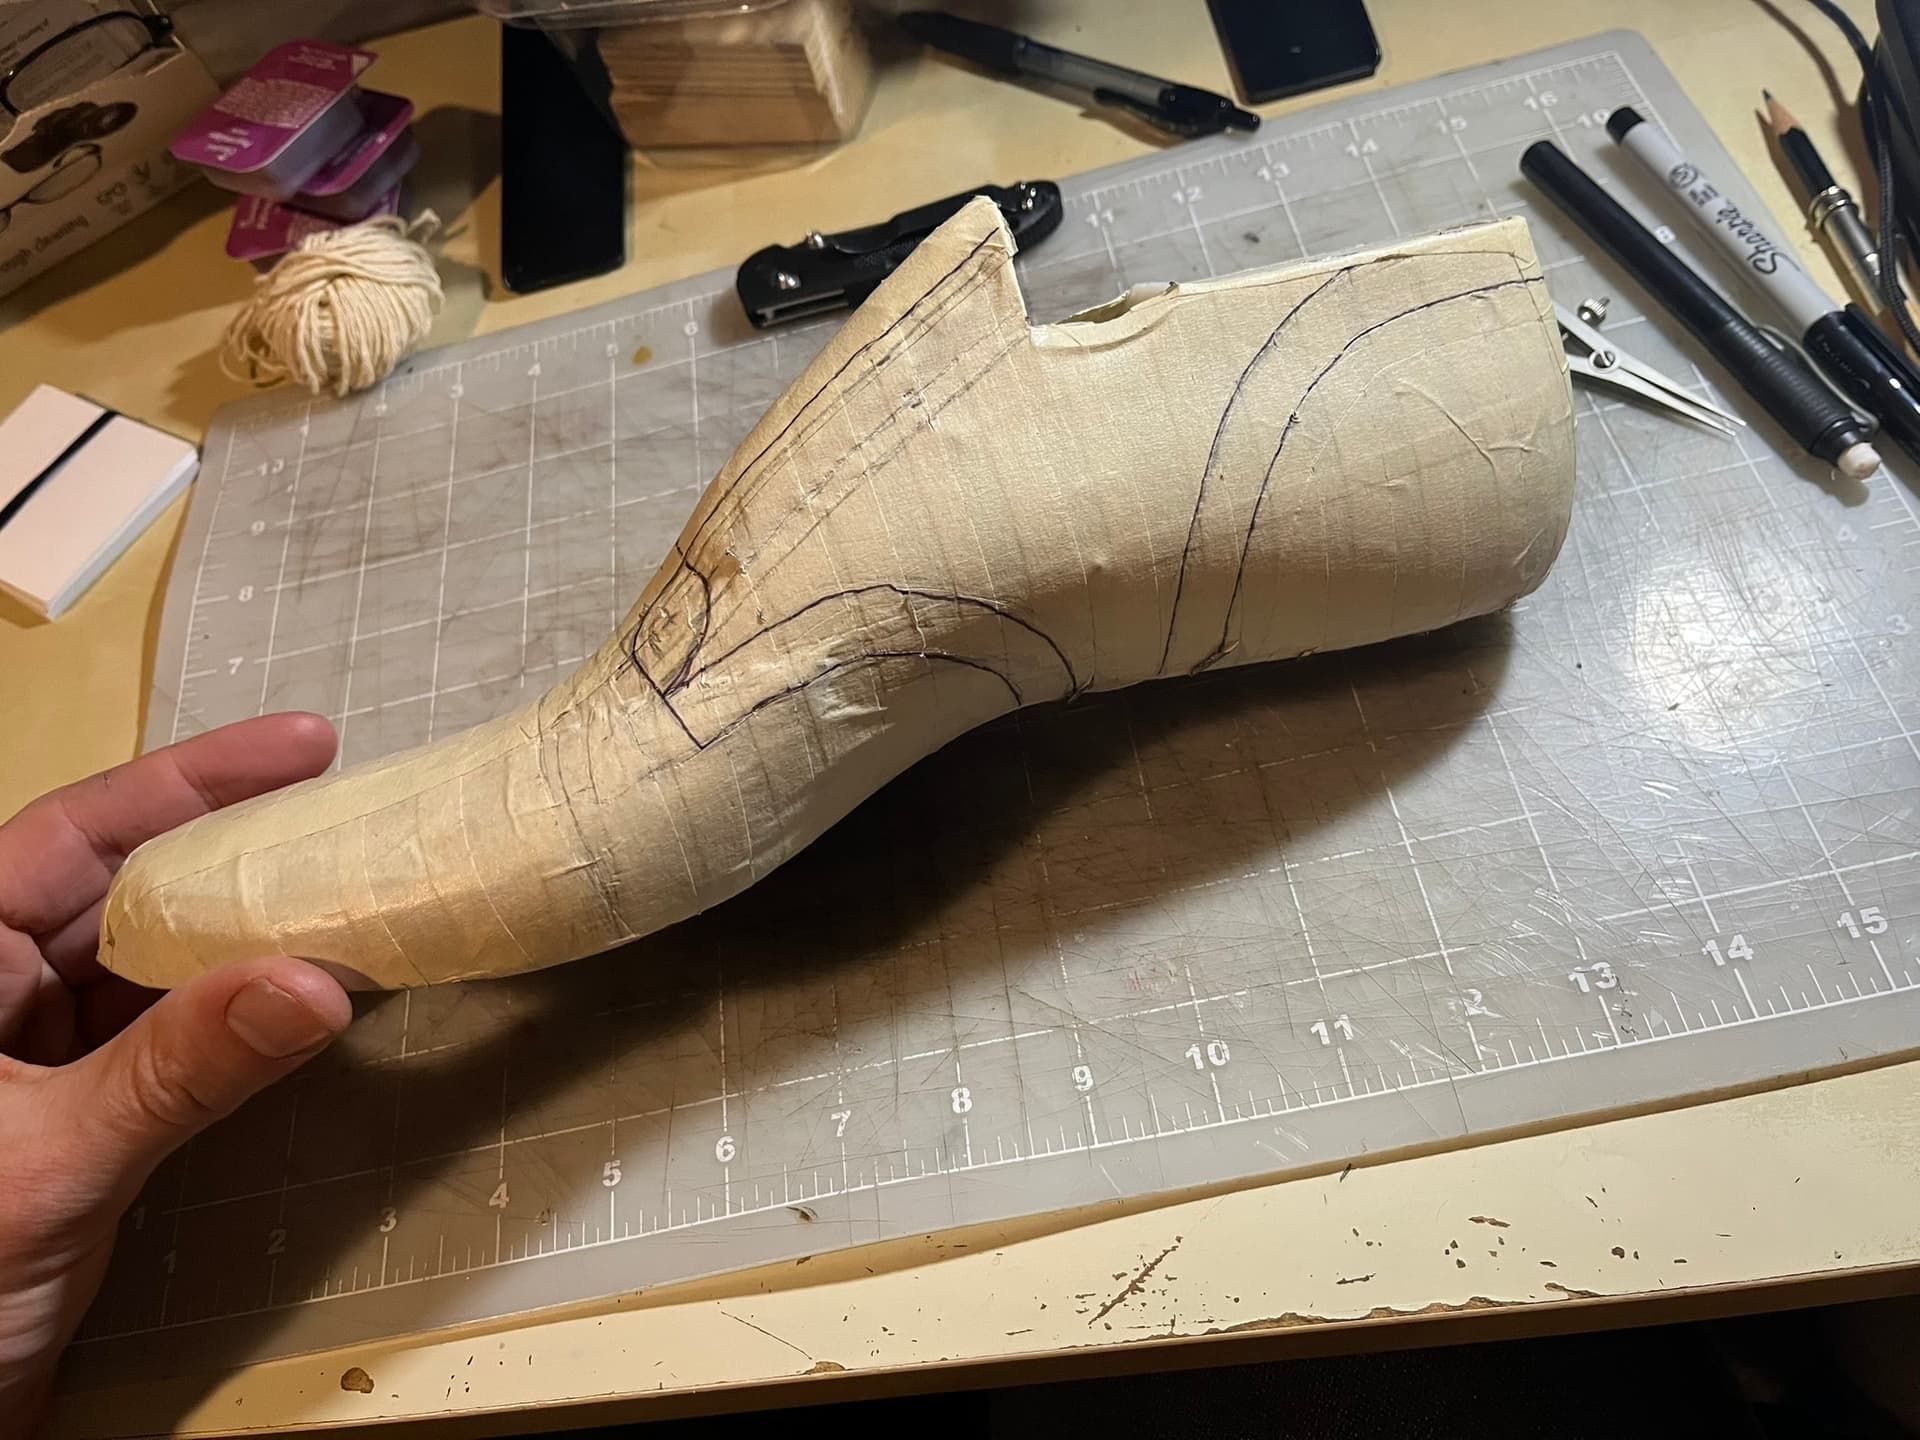
Paper Drape Test
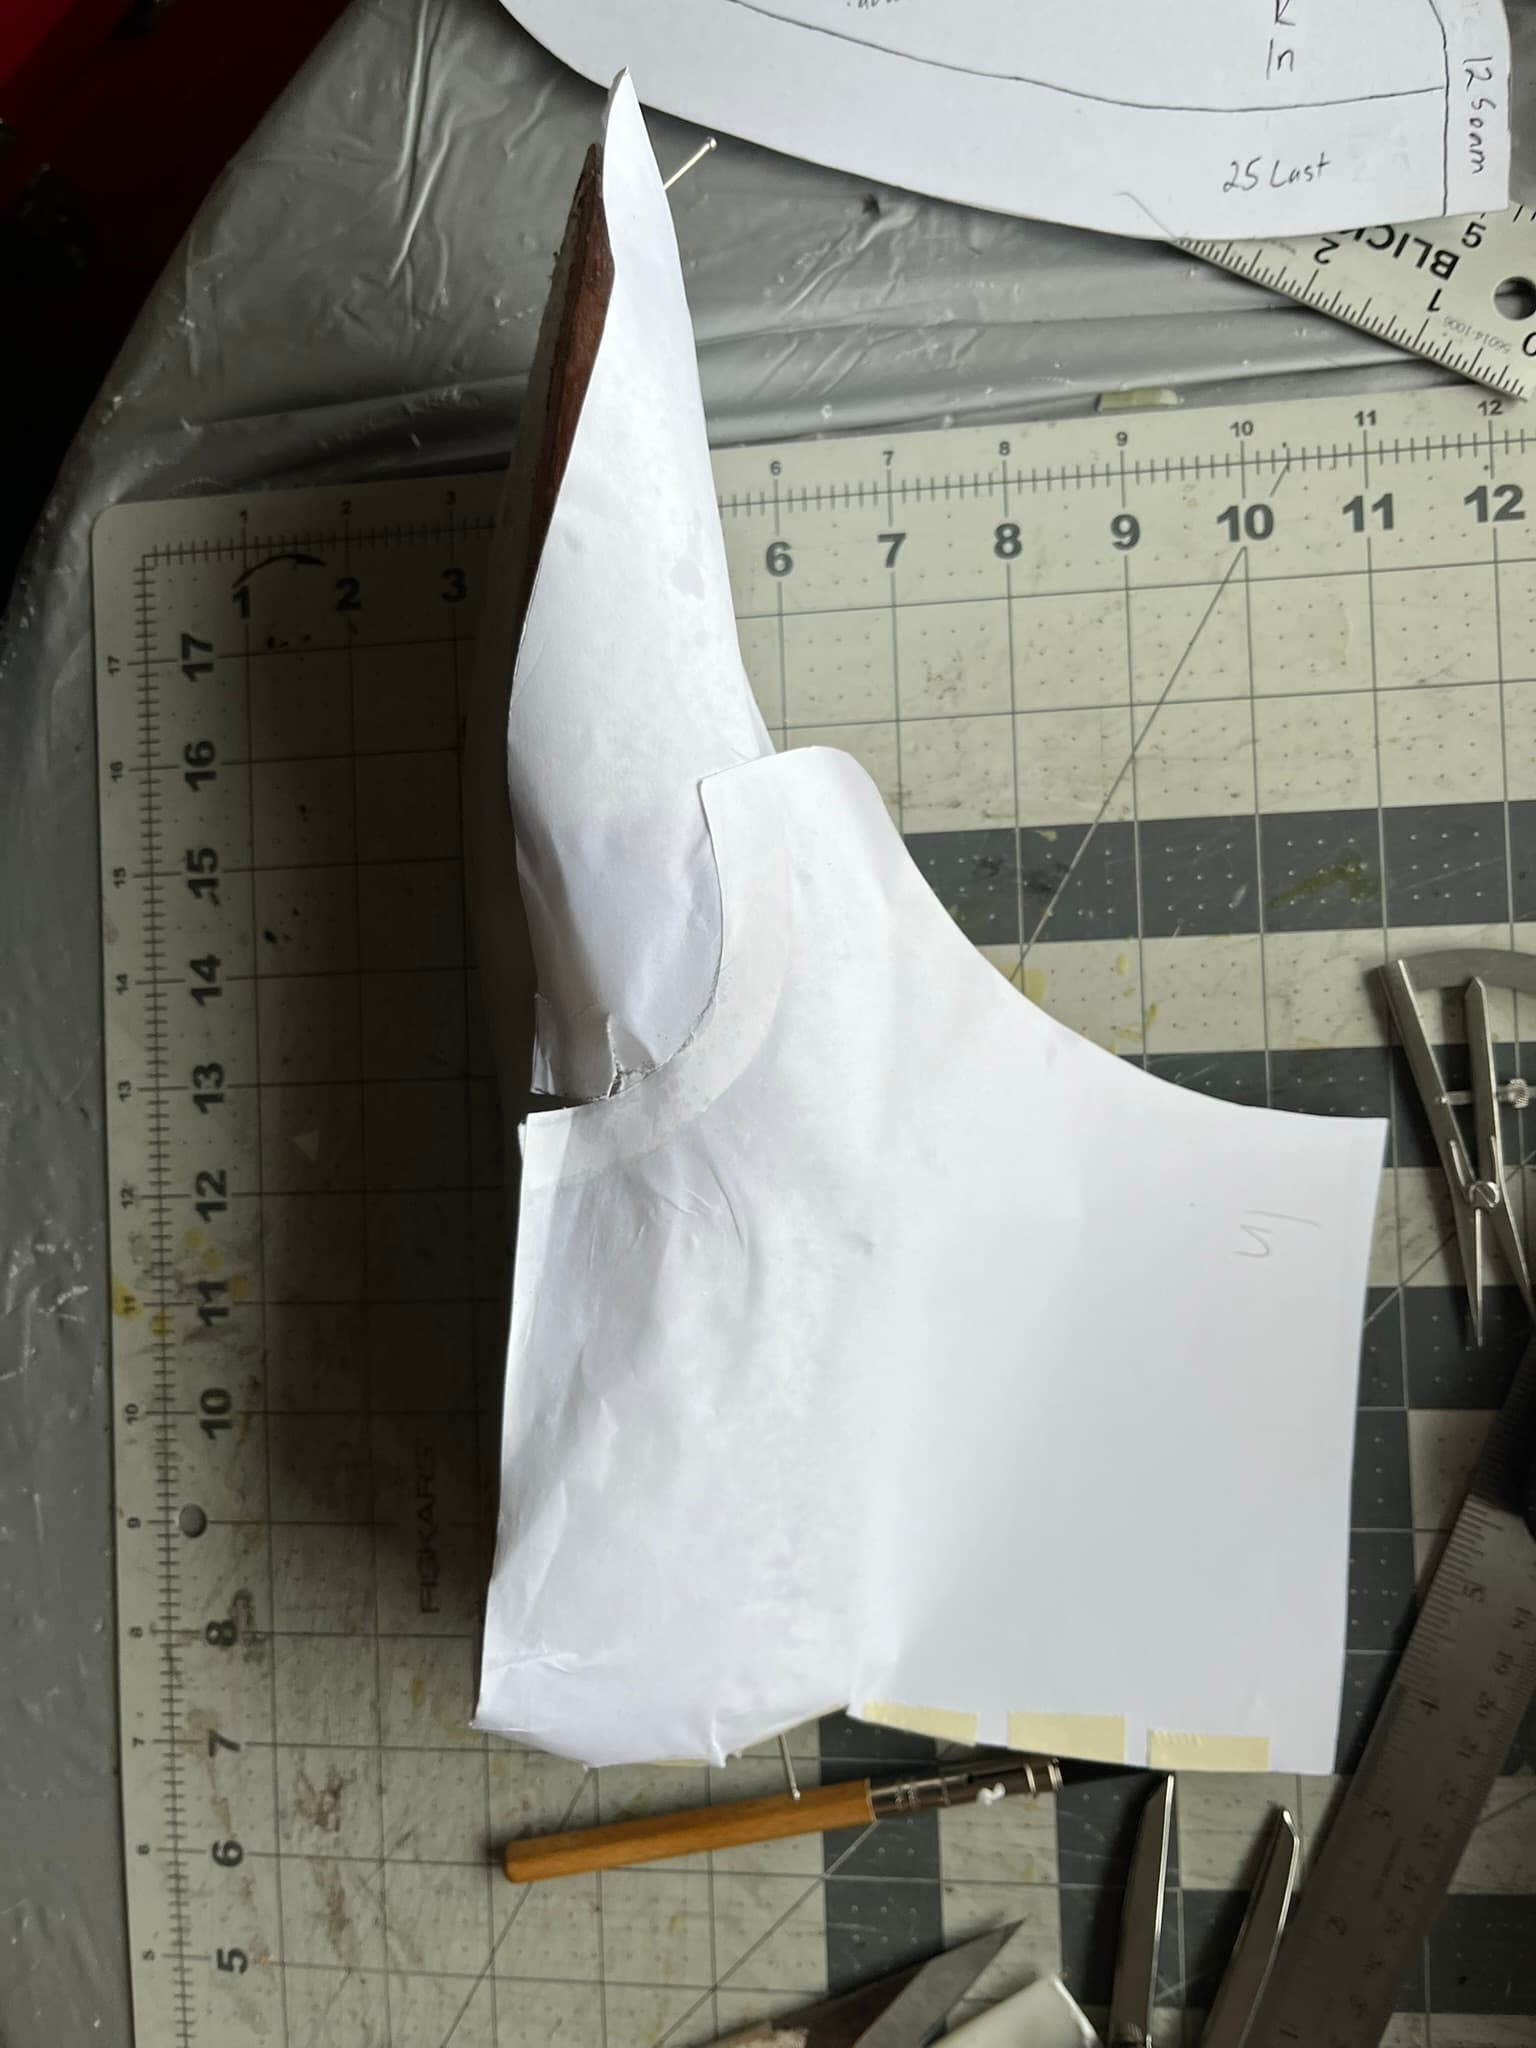
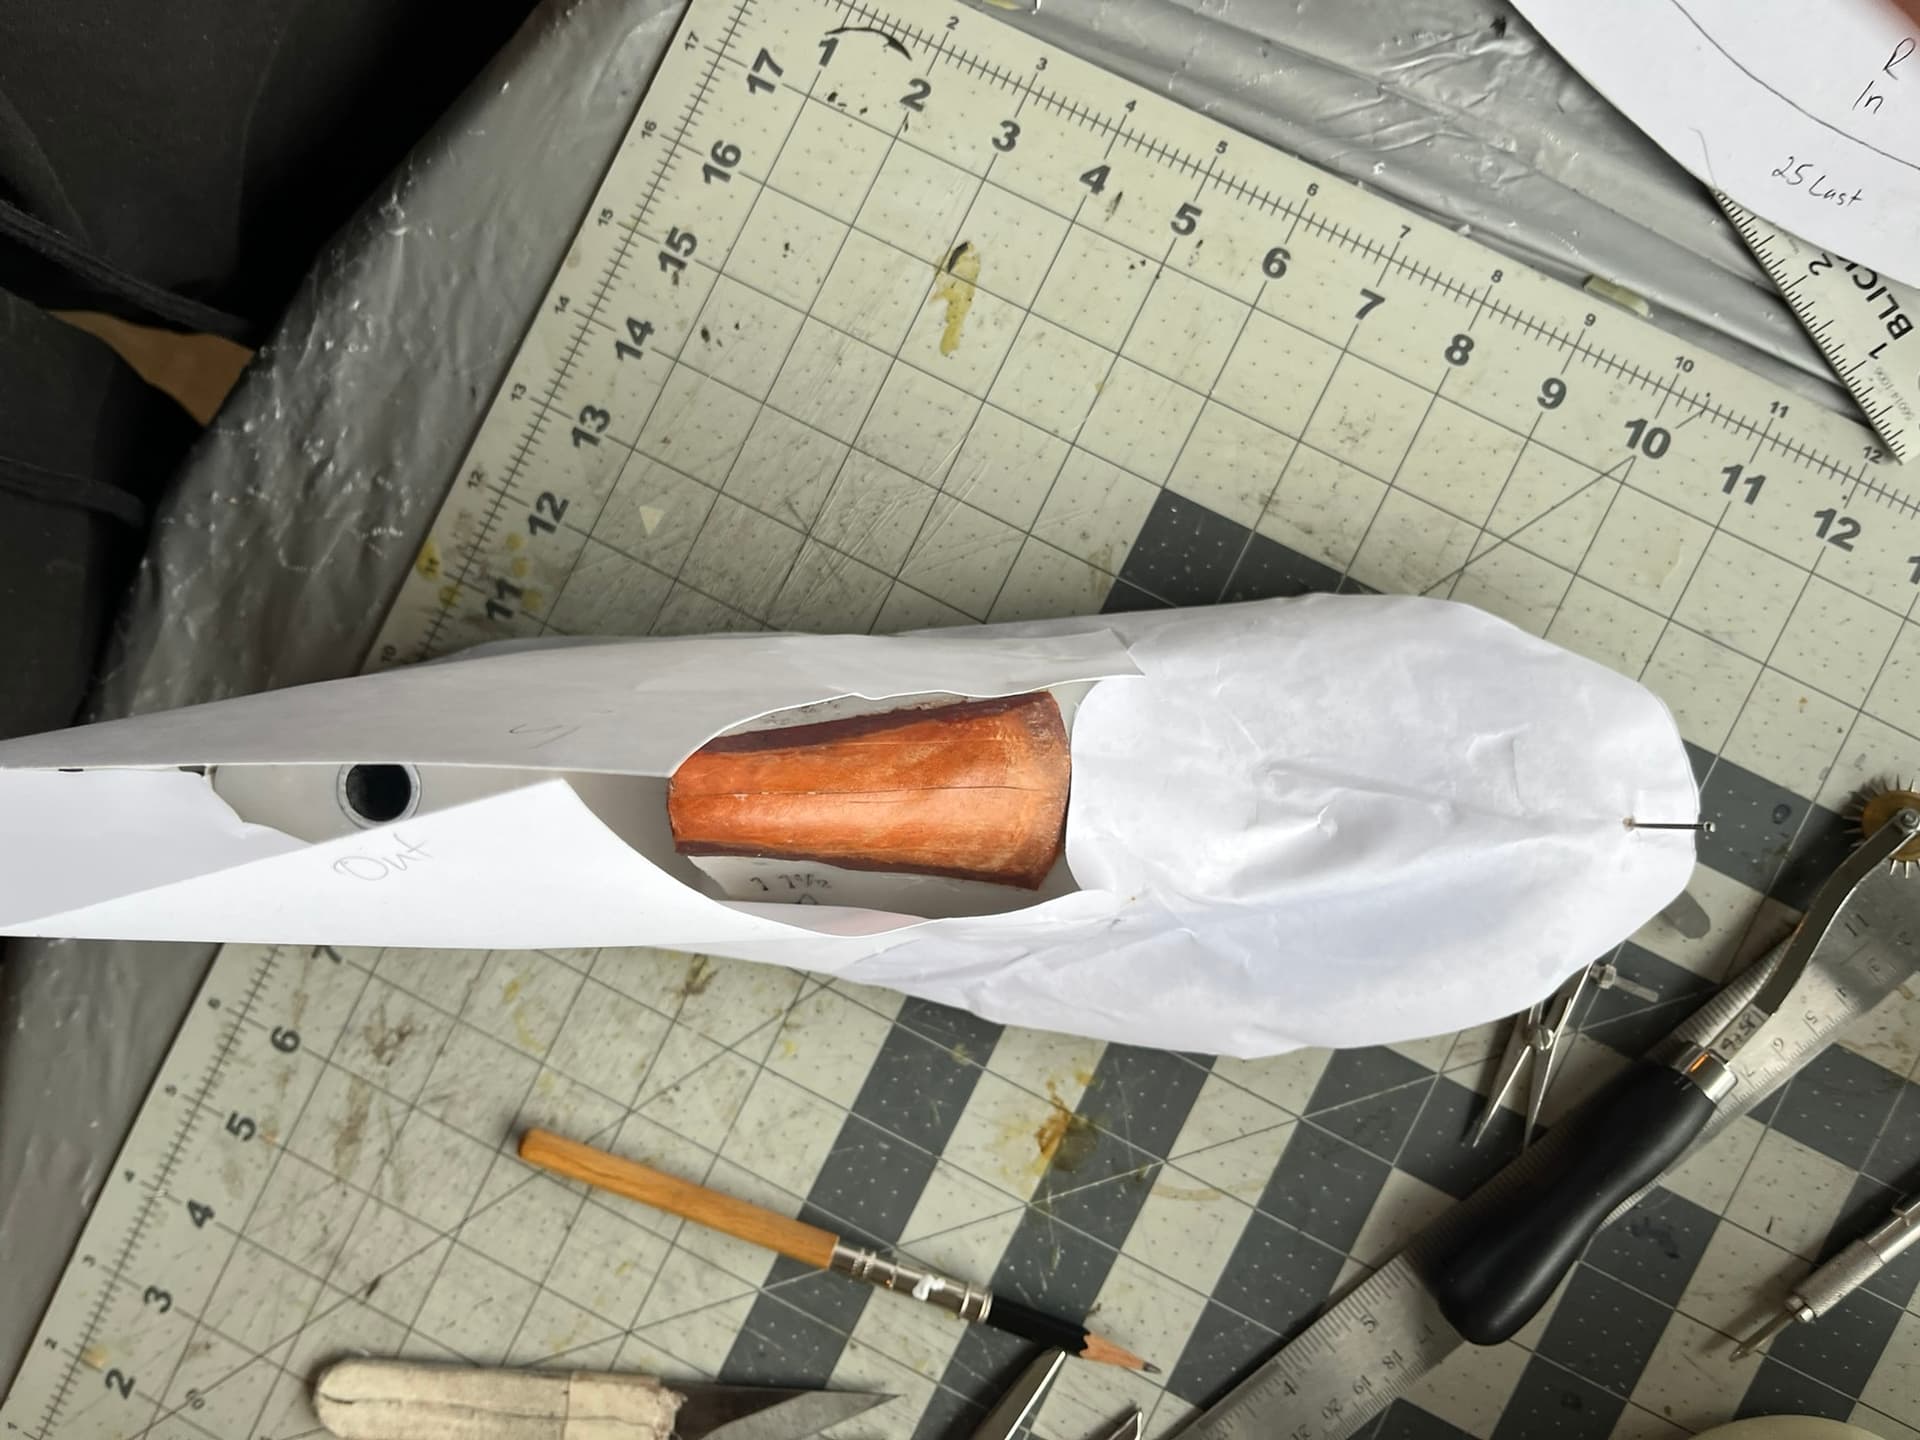
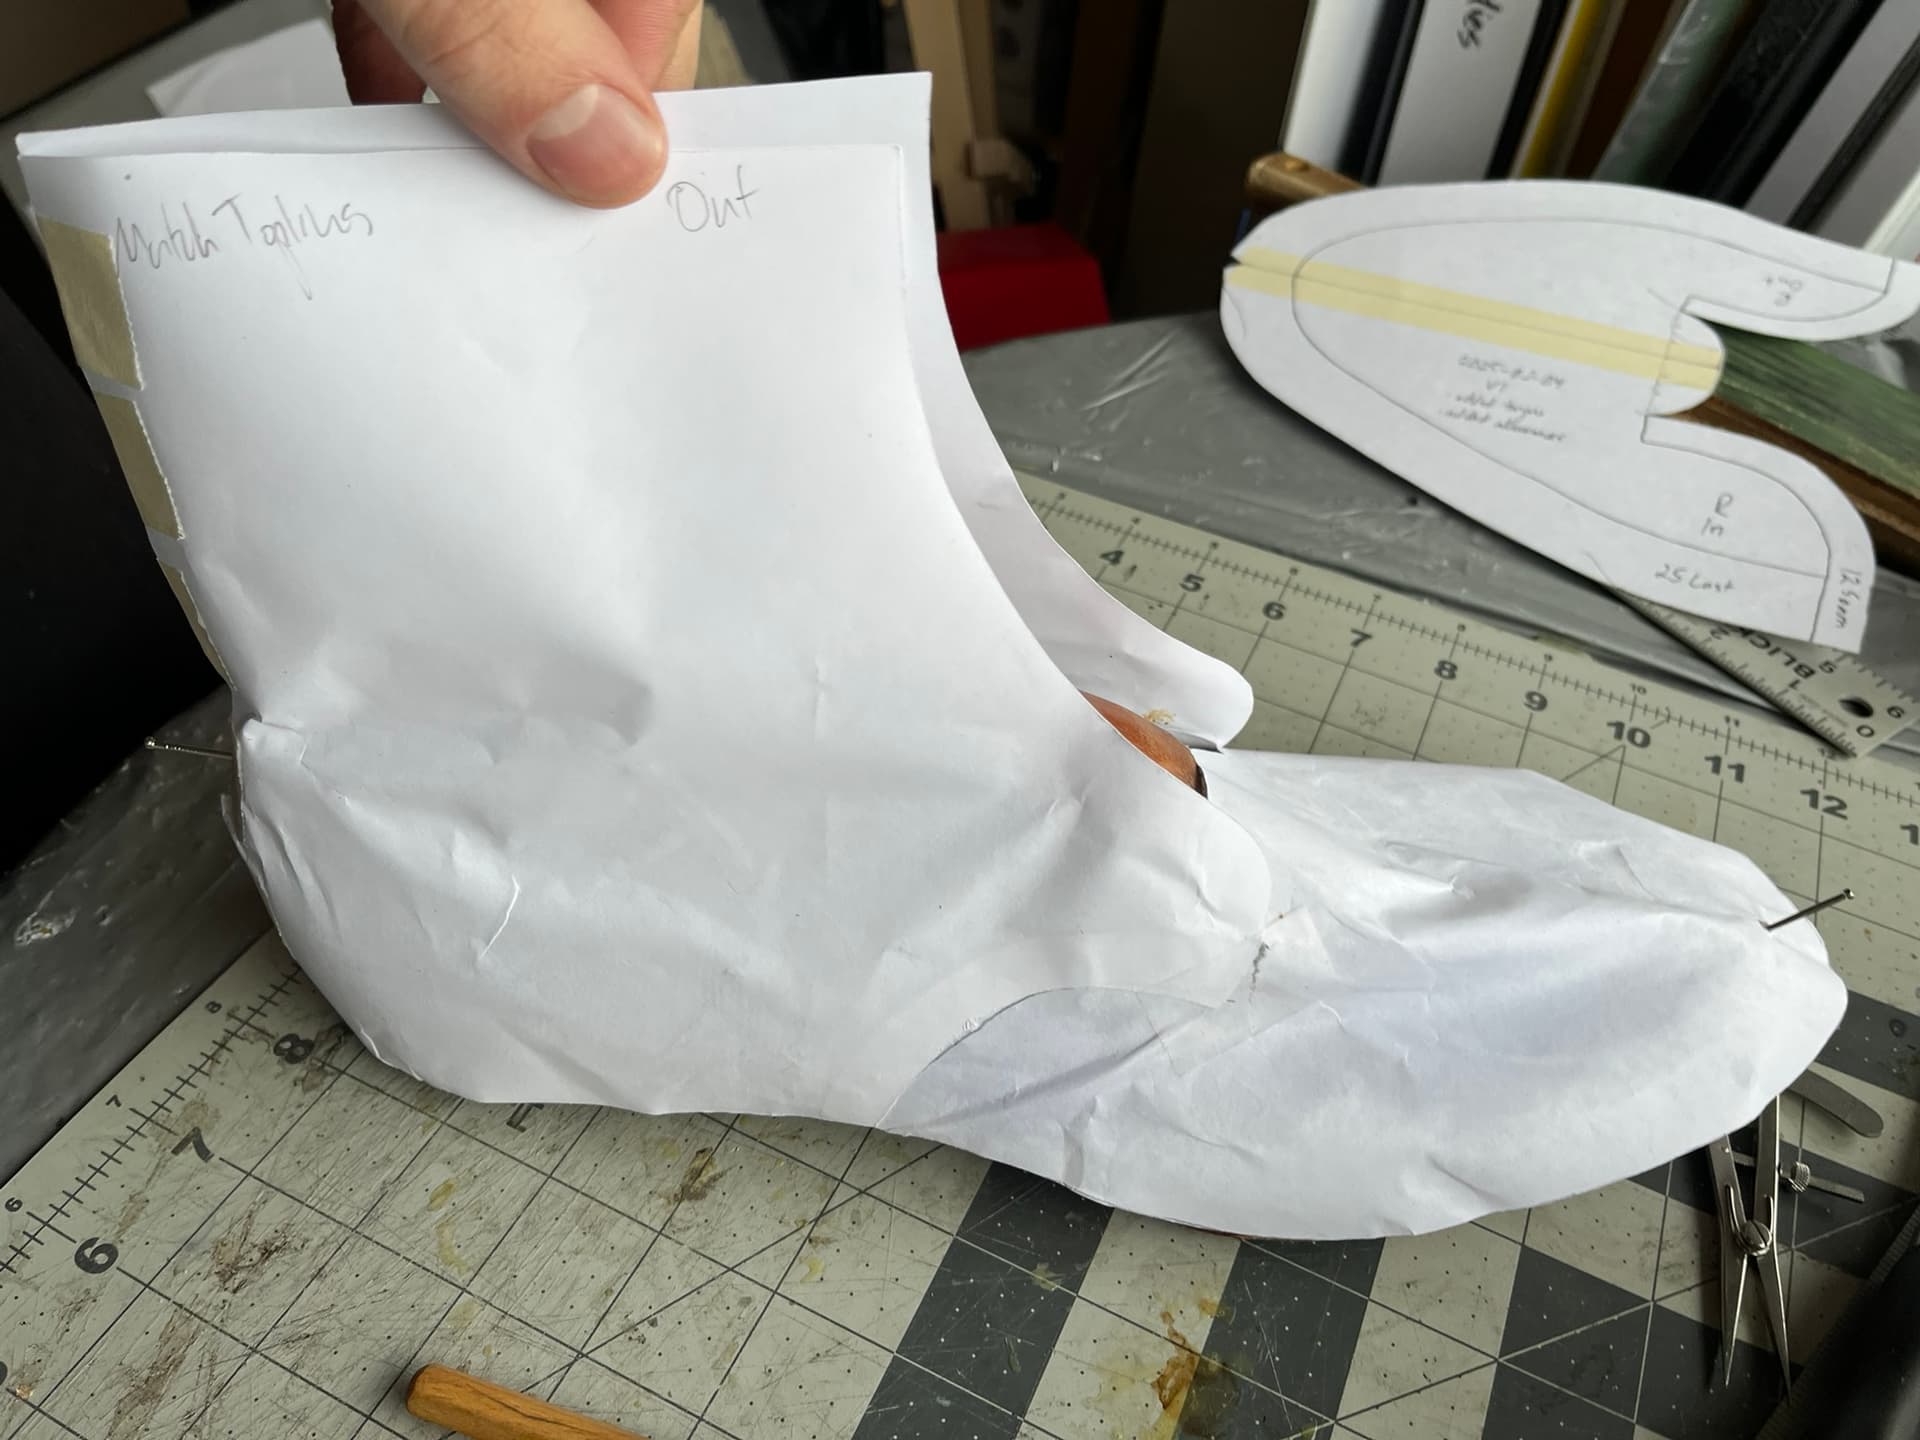
I had it on my list to try making a paper mockup to lay over the last, rather than pricier foam, this time.
@thenewreligion mentioned that I’d enjoy a nice section on “draping” in Jones’ patterning book. He was right, and I did, but I was surprised to see that offered as a method for sanity-testing last forms, rather than pattern pieces. My most direct inspiration for this was, I believe, a Terry Kim video. That’s where I first learned about fine continuous mist spray bottles, too.
Printer paper and PVA for basting certainly worked, and wetting with a micro-mister certainly helped it conform without soaking through in any spots. But overall, I don’t think I learned too much from this exercise, with the possible exception that it drove home how differently the quarter seams fit across the asymmetric inside and outside patterns. Even without any slashing or pleating those parts of the tape forms, they still curve quite a bit. The seam allowances don’t overlay nicely on the flat, only when curved.
I’ll probably do a quick test fit-up in old bedsheet fabric, too. I’ve still got myself confused about the quarter curve shapes. Apparently my years of getting by in shoes whose quarters pulled right together over my scrawny feet has left me a little wary. And I have a bad history of patterning tongues as an afterthought, which needs to change.