I’ve been working on a 2×4-based lasting jack after the design posted on shoeschool.com:
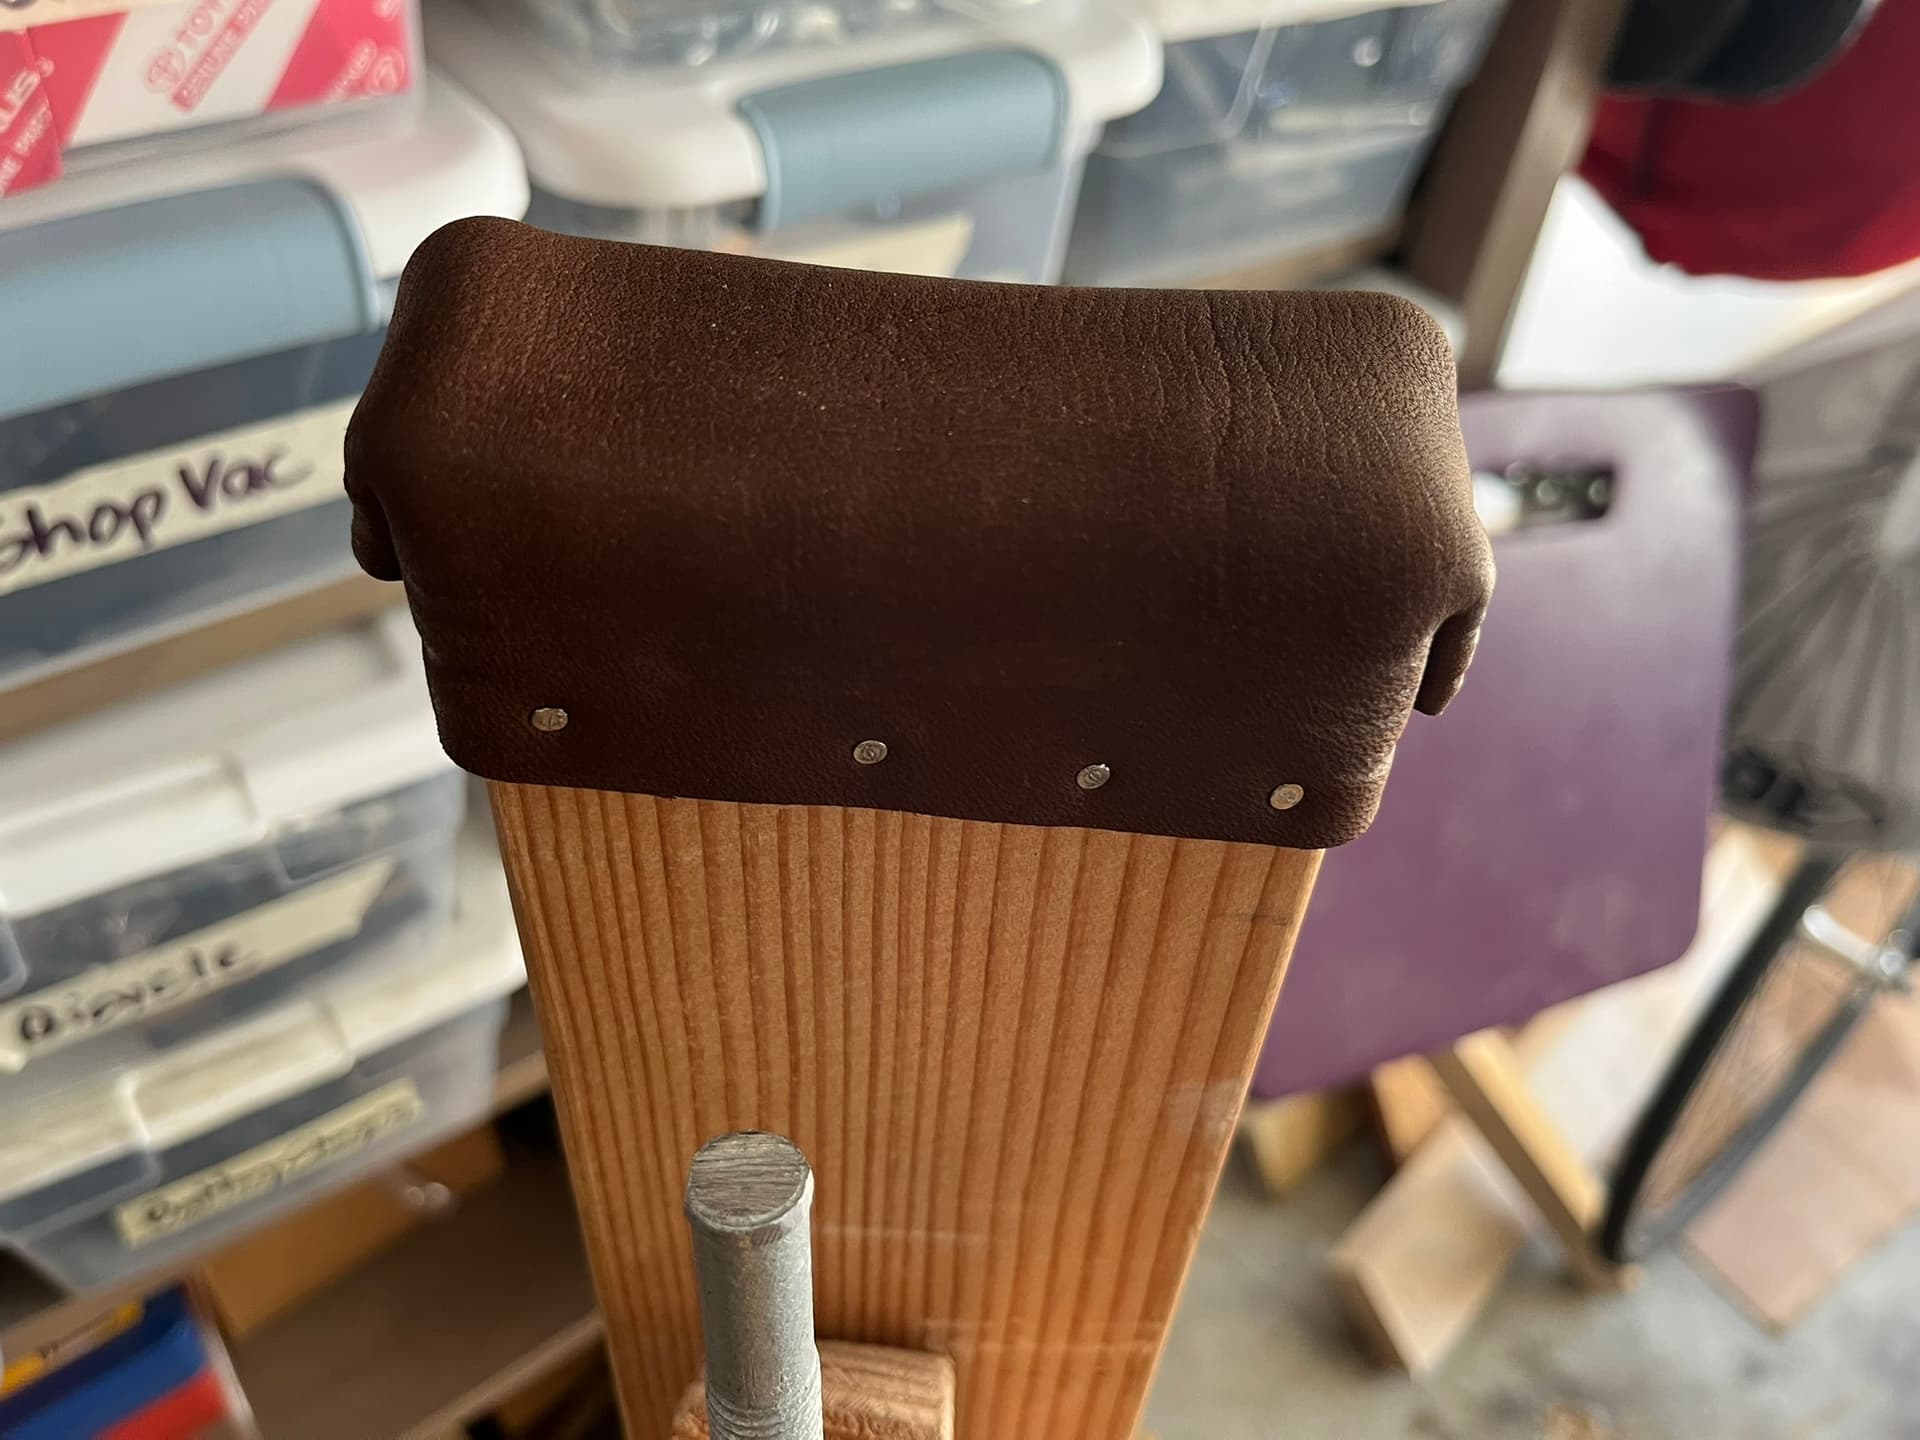
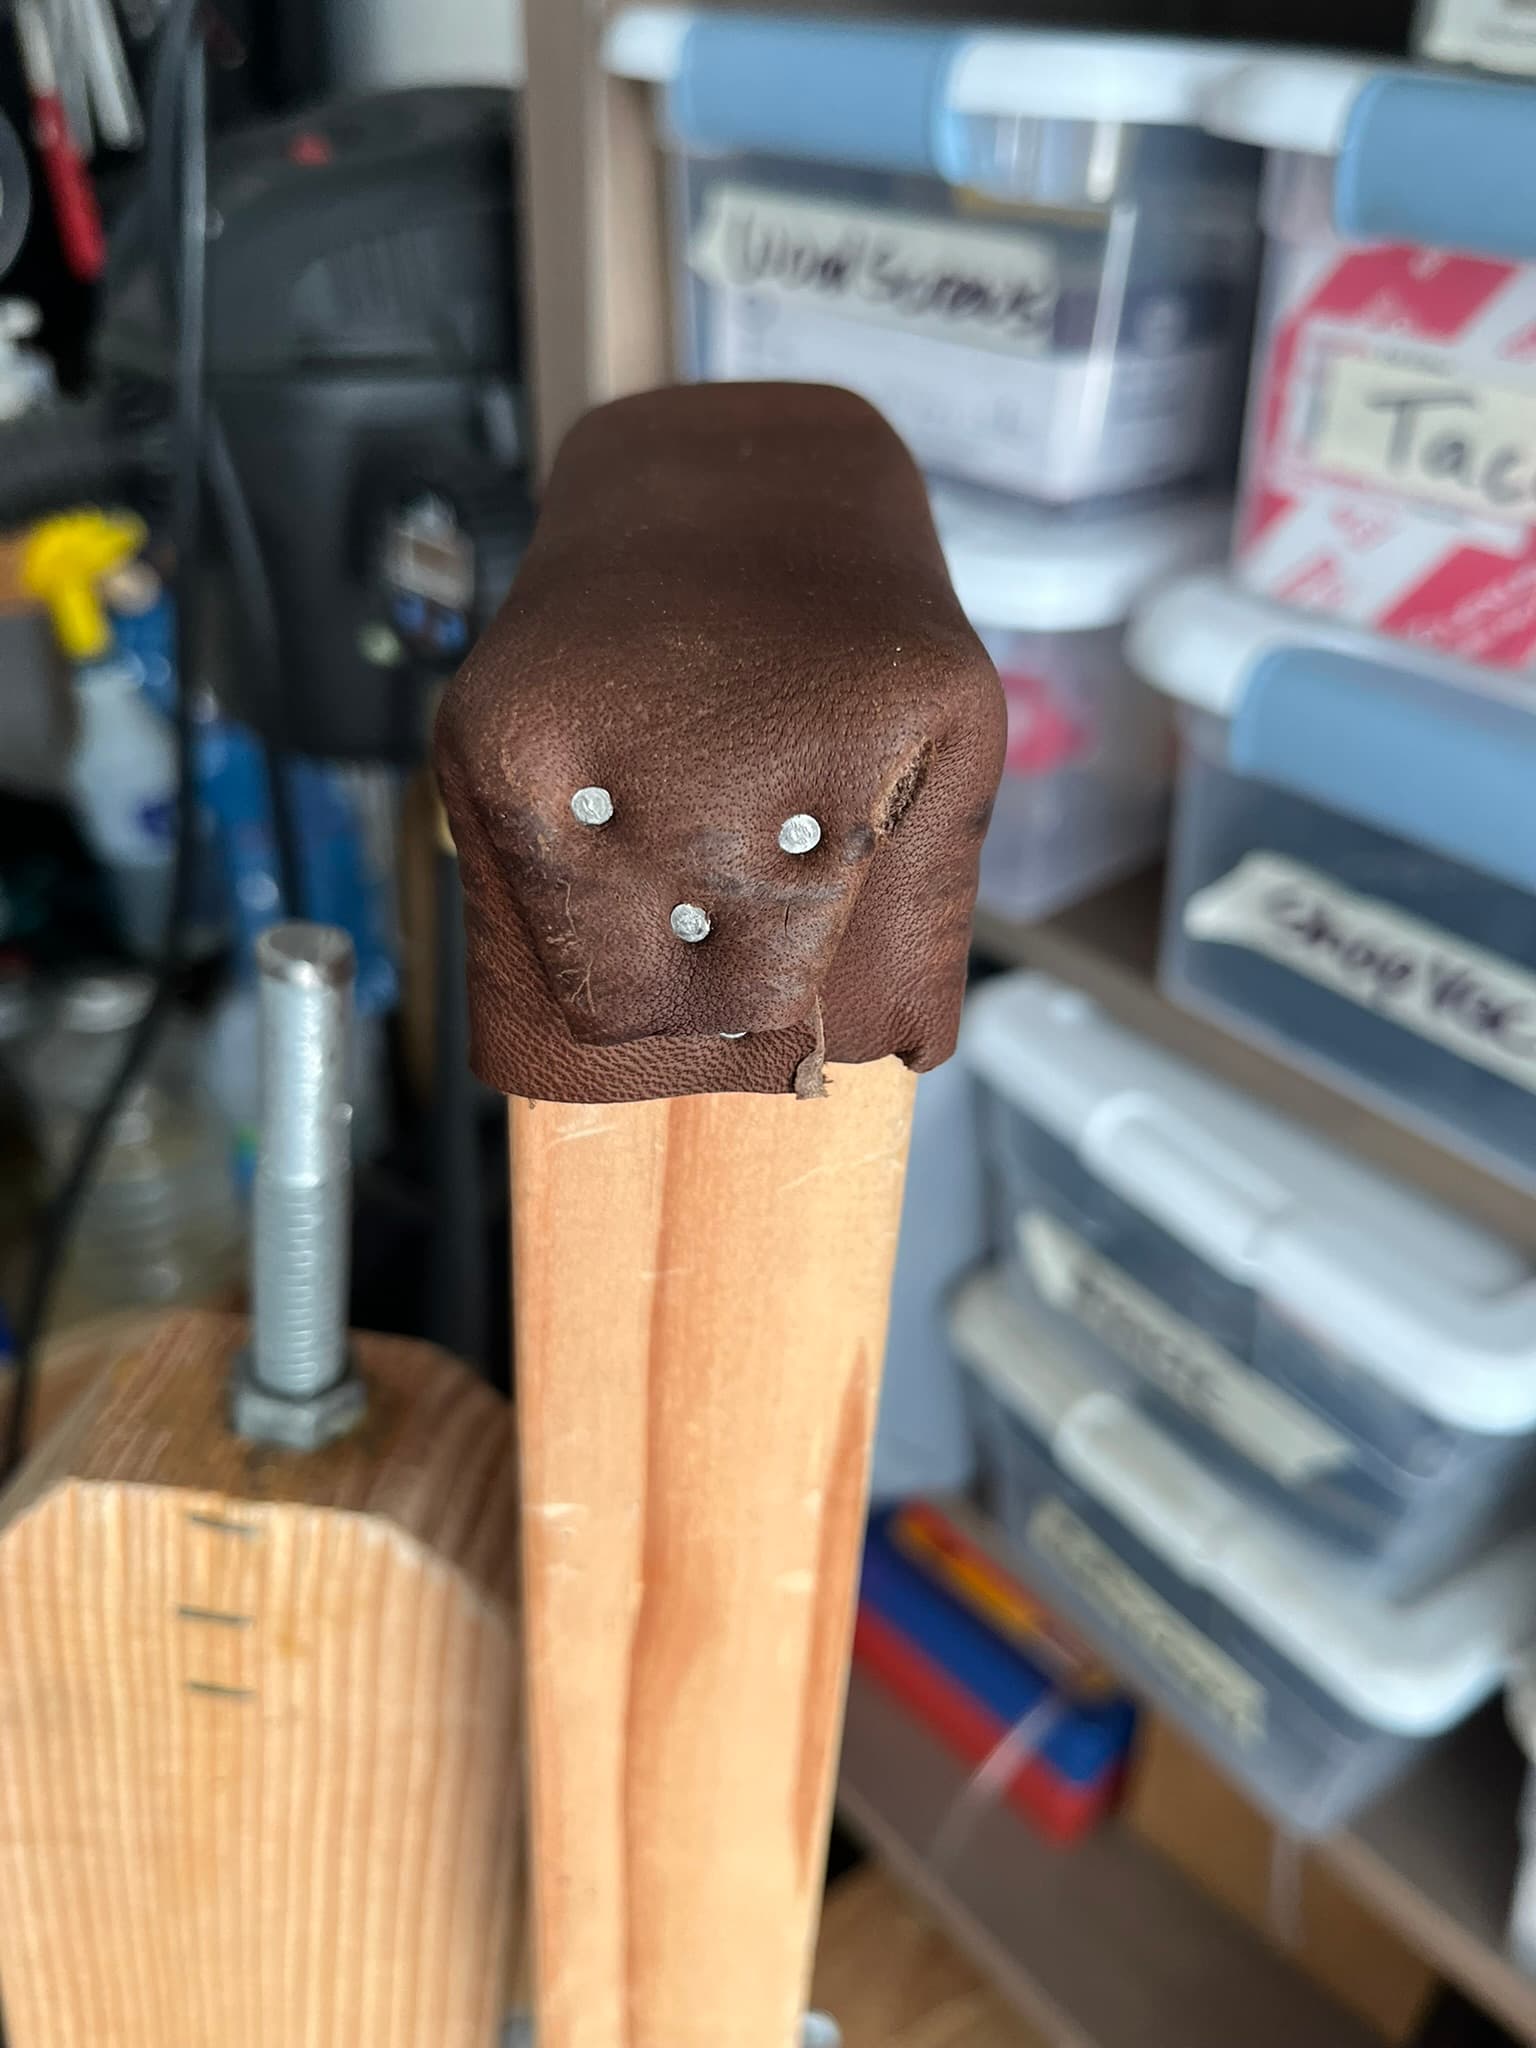
Here’s my work so far, minus this padding for the toe cradle:
Overall, the Shoe School plans were very helpful. I definitely recommend reading through a few times and making notes.
If there were two things I could change about the Shoe School plans, they would be:
-
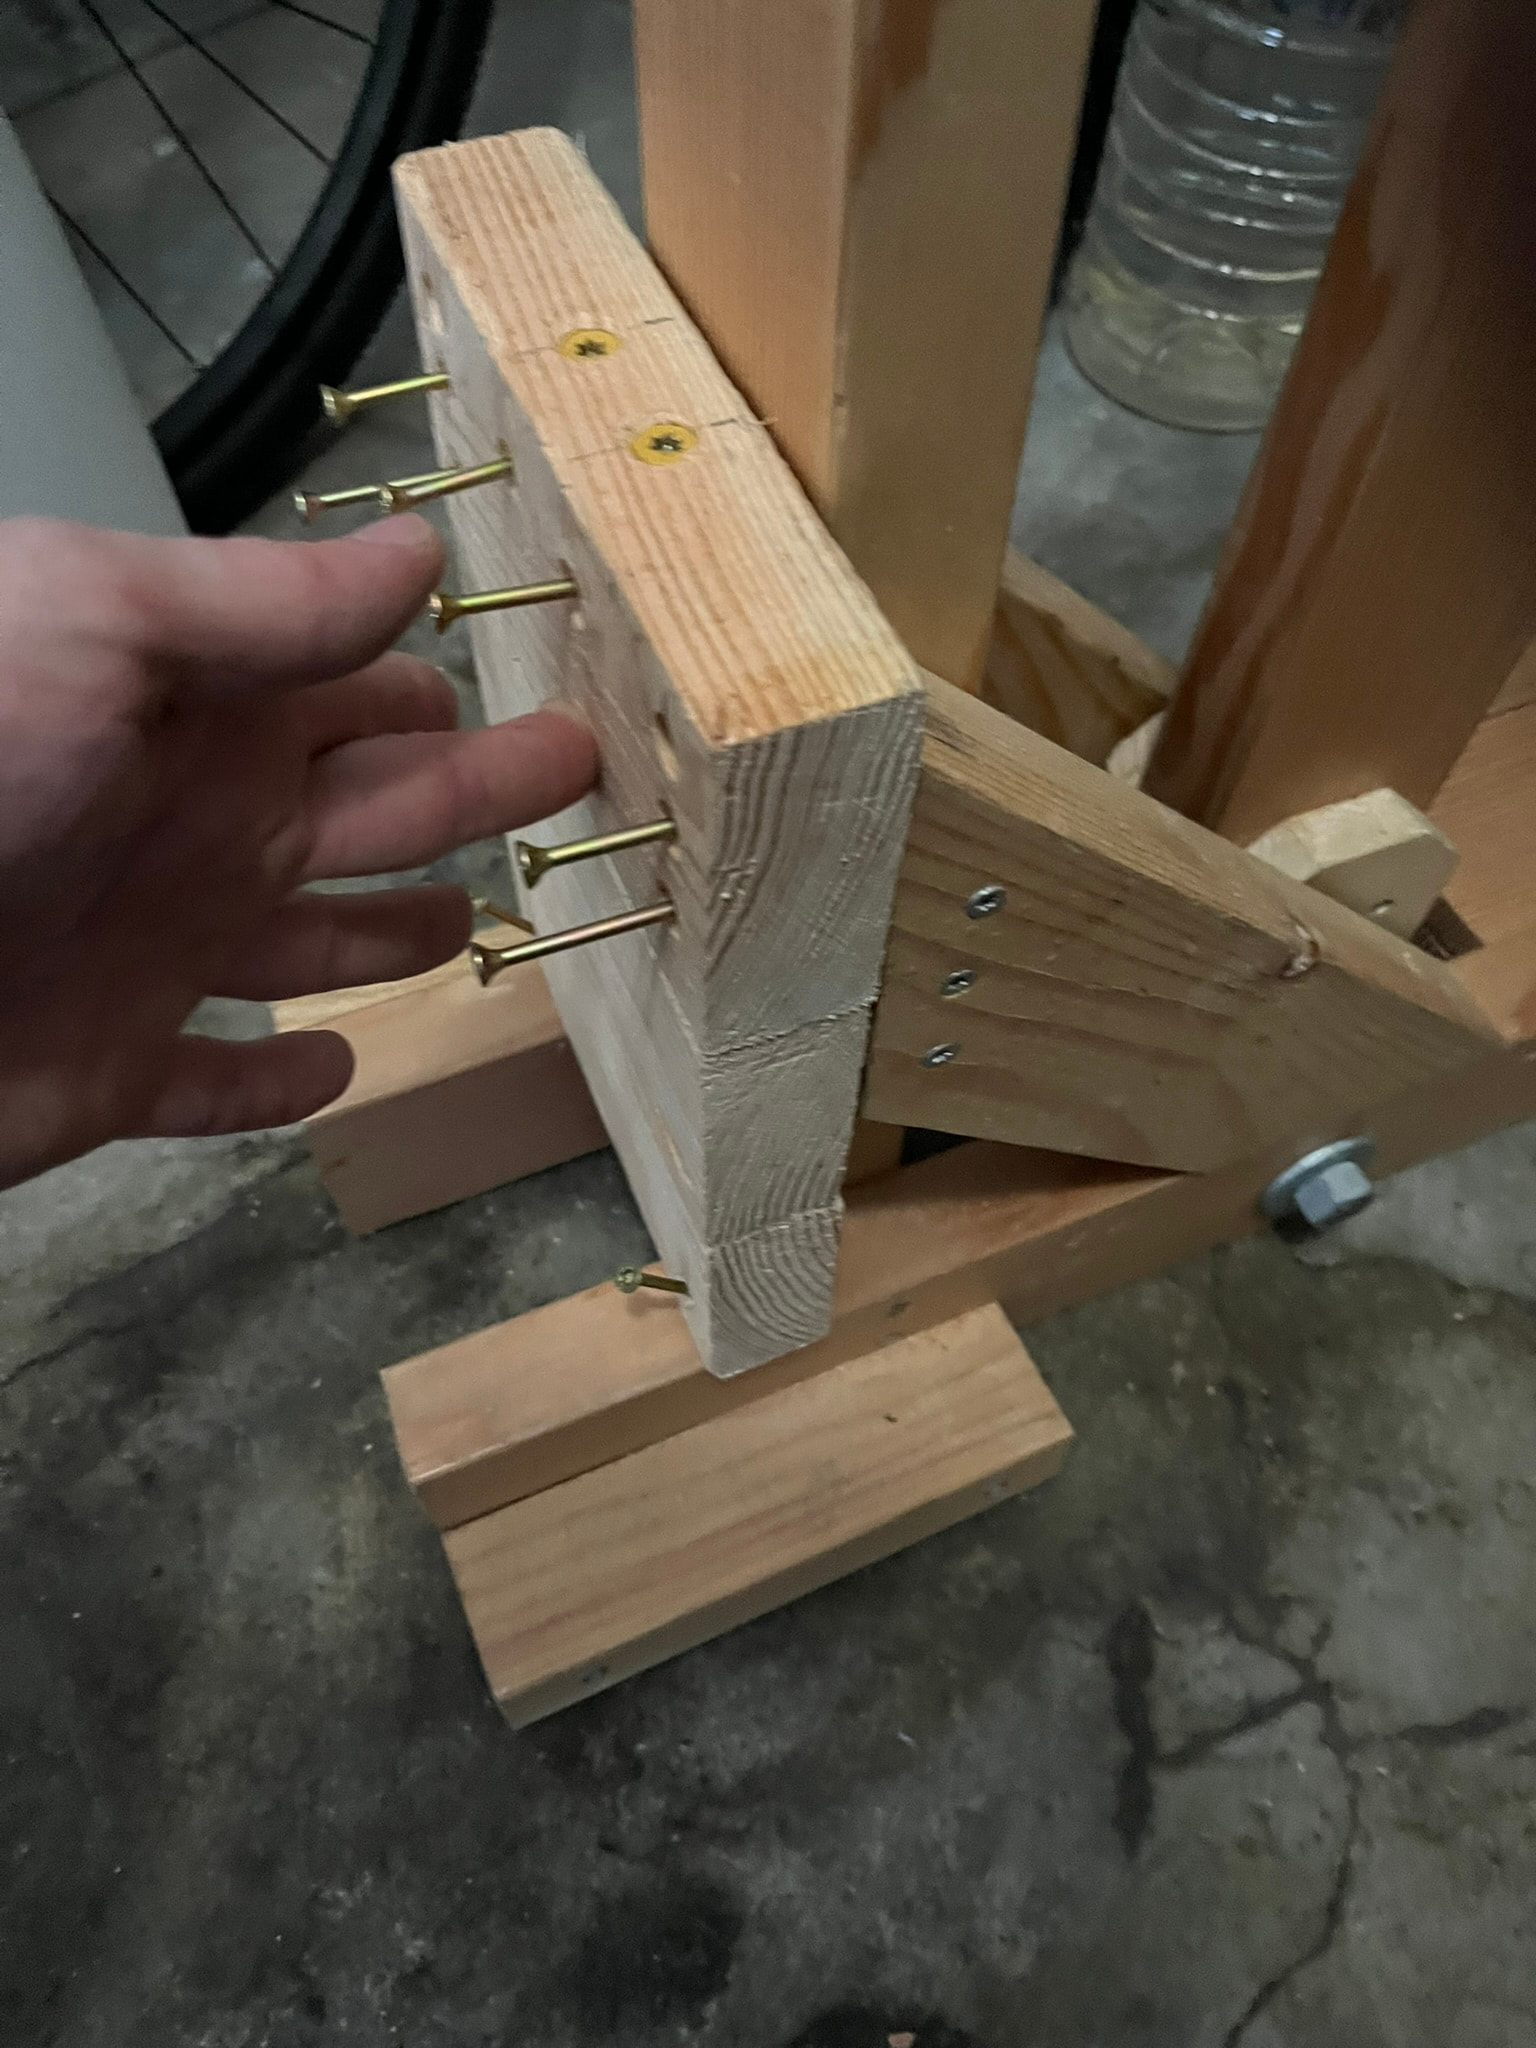
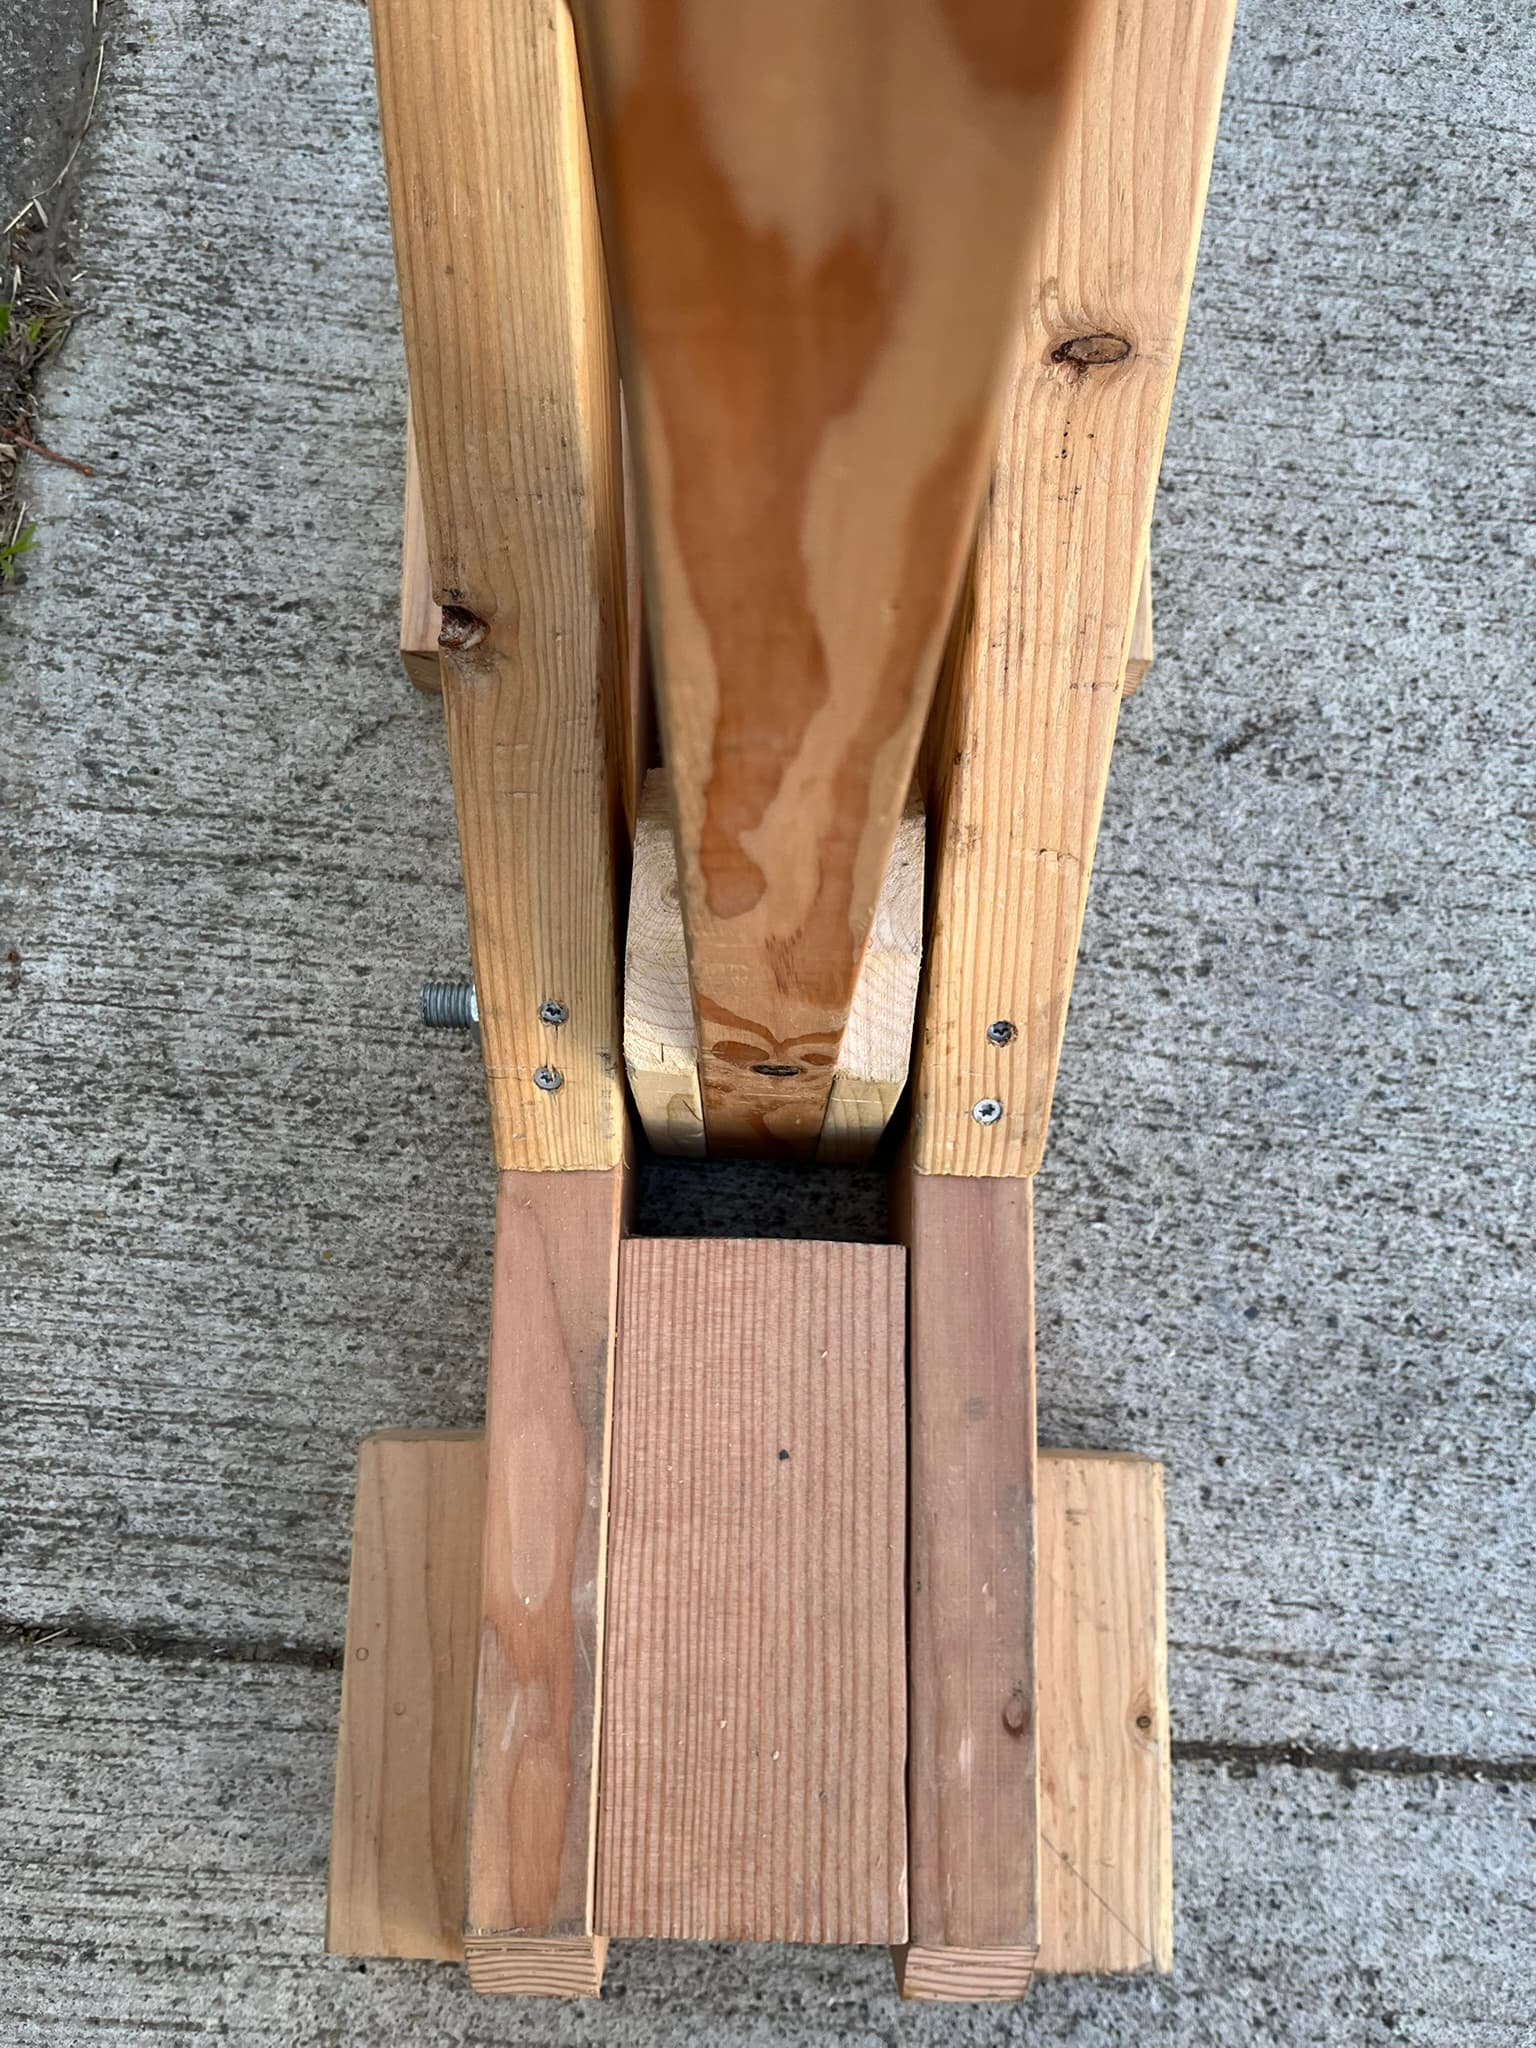
Clear up the terminology. I’ll use “post” for the board the last pin sits in, the “spacers” for the 1-inch-thick short boards used to widen the post at the bottom, “cradle” for the long board with the curve and the padding on top to hold foreparts, “feet” for the boards along the base, touching the ground, and “braces” for the short boards cut at 45-degree angles that brace the cradle to the feet.
-
I would make it explicit that hole through the post is bored so the bottom of post and its spacers float above the ground. The holes through the feet are bored 1½″ from bottom. The holes through the post and spacers are bored 1″ from bottom.
I didn’t accidentally make a post that couldn’t rotate. But i easily could have. It took extracting the photo of the spacer template from the PDF and using the measure tool in an image editor to confirm what was intended.
Some other notes, for any others who attempt it:
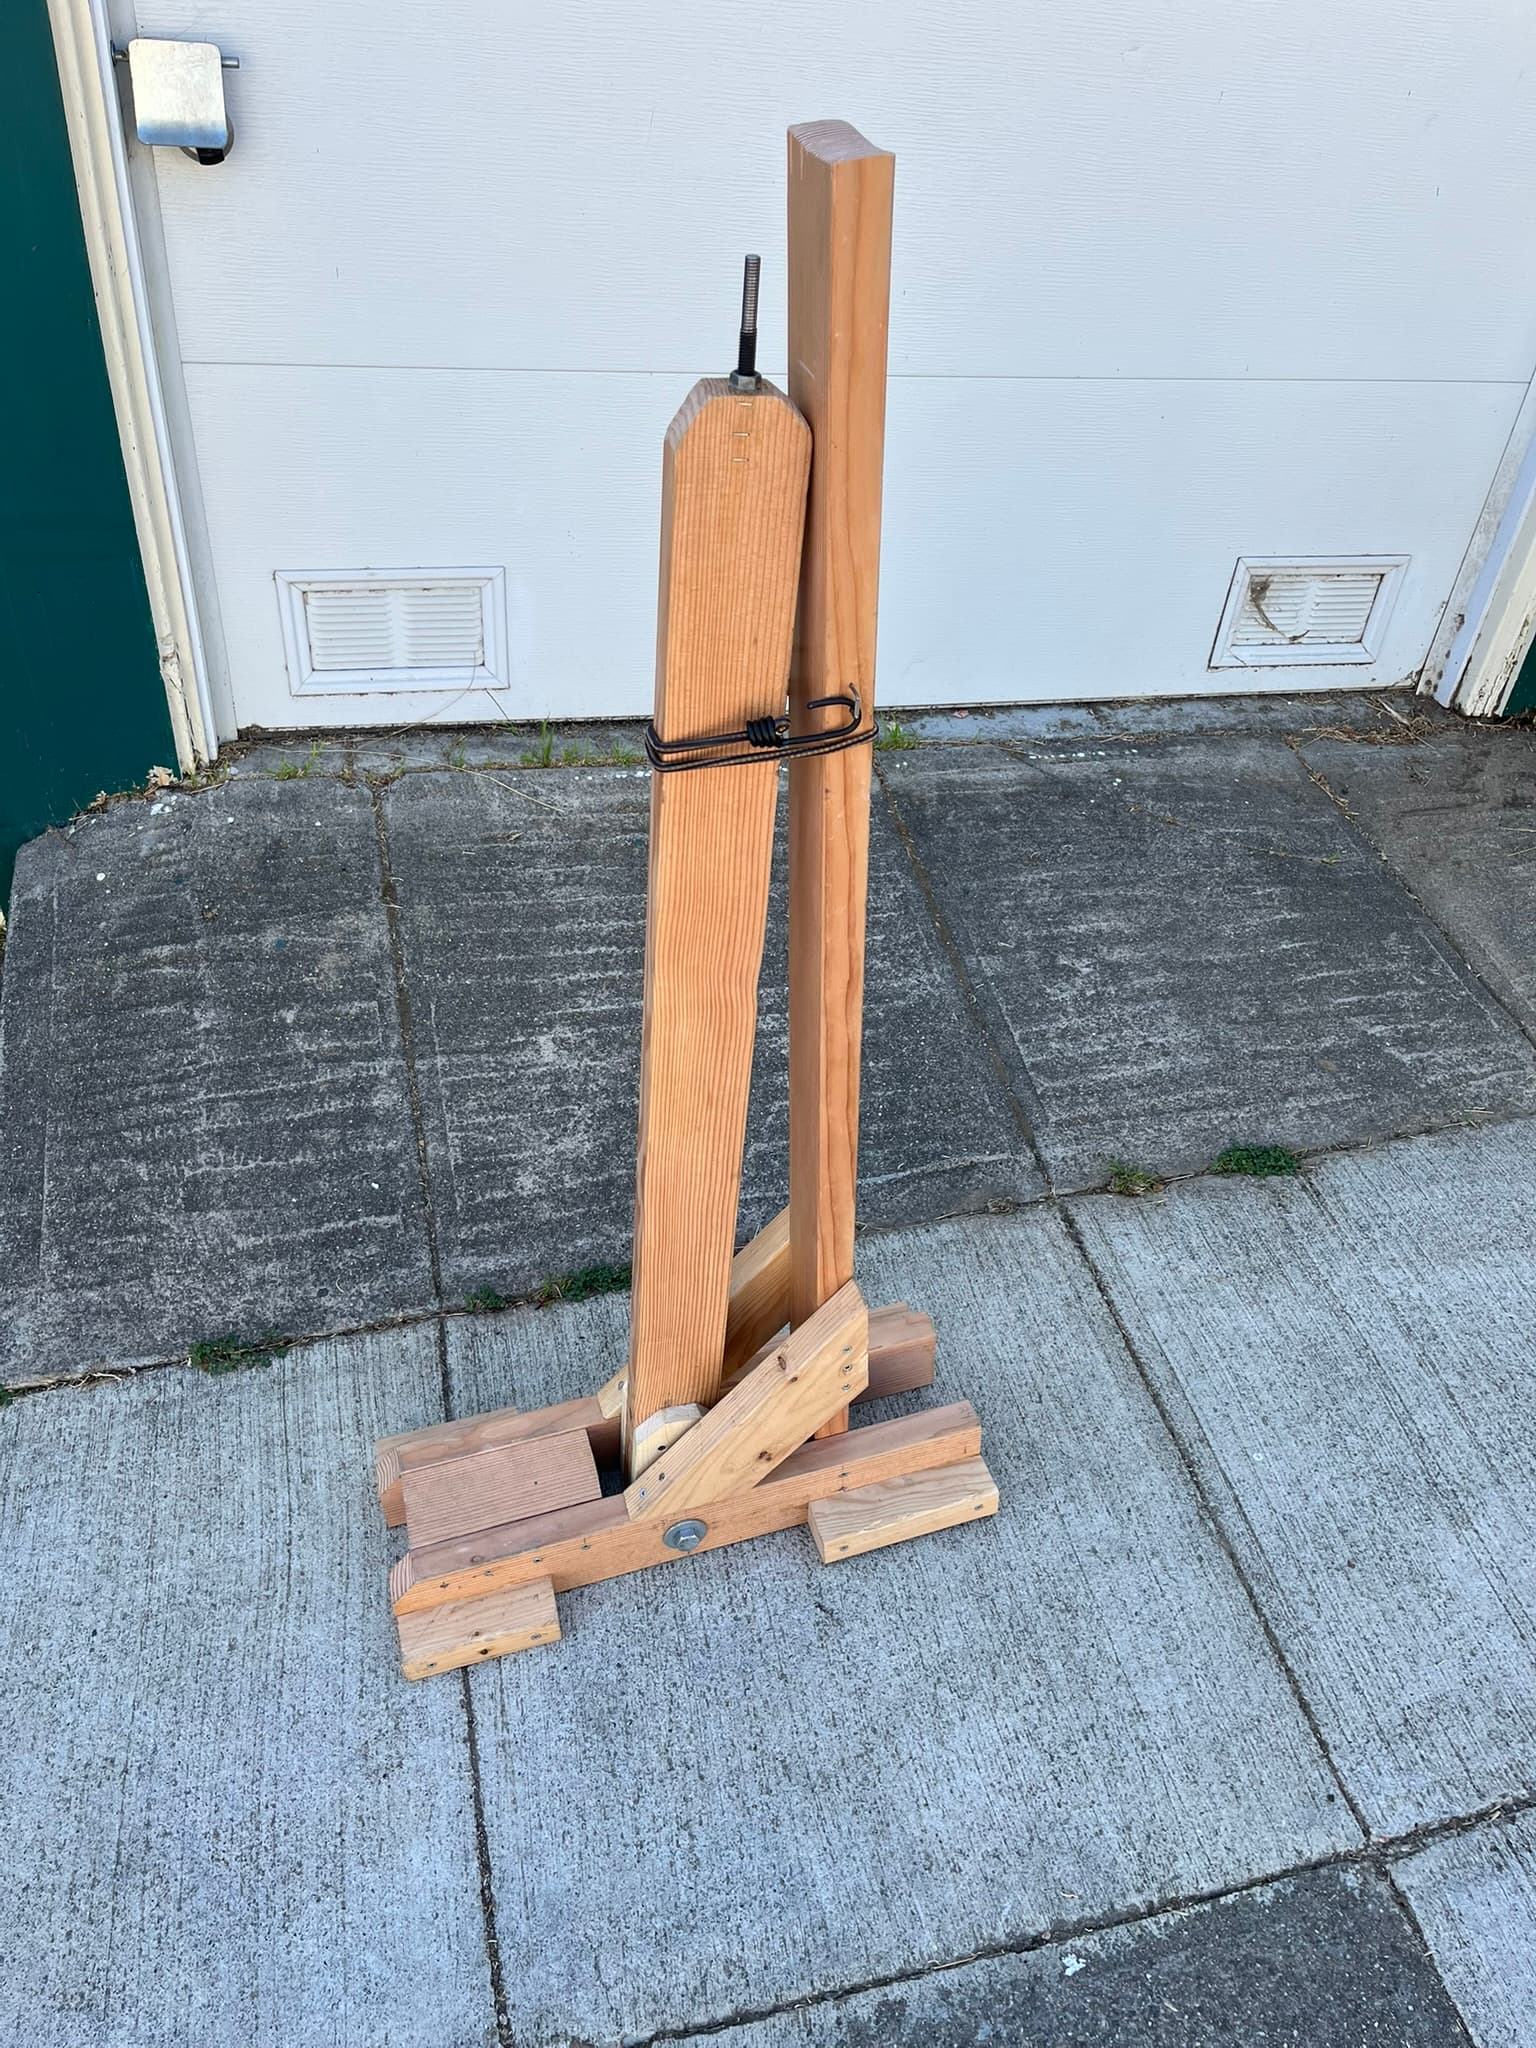
I’m 6’2" tall on bare feet, so I decided to make the cradle and post cuts slightly longer. I’m not sure I’ve found the ideal height yet, but the best so far is a cradle board about 49½″ tall and a post board about 44″ tall. This brings the crown of a last up to right under where my hands rest with elbows at about 90 degrees. I also cut the legs slightly longer, at 24″. I kept the braces at 13½″ long and the footrest at 7½″.
The first time through, I missed that the spacer pieces for either side of the post need to be 1″ thick, not 1½″, like the 2×4s. 2×4s are roughly 1½″ thick and 3½″ wide, so 1½+1+1″ it is.
Clear, vertical grain Douglas Fir is definitely a different product from regular framing-grade. It’s also more expensive. I was fortunate that my neighborhood lumber yard started stocking some again. I ended up with two boards and a bit left over from each. Planning my cuts, I put the post on one board and the cradle on the other, then went from there.
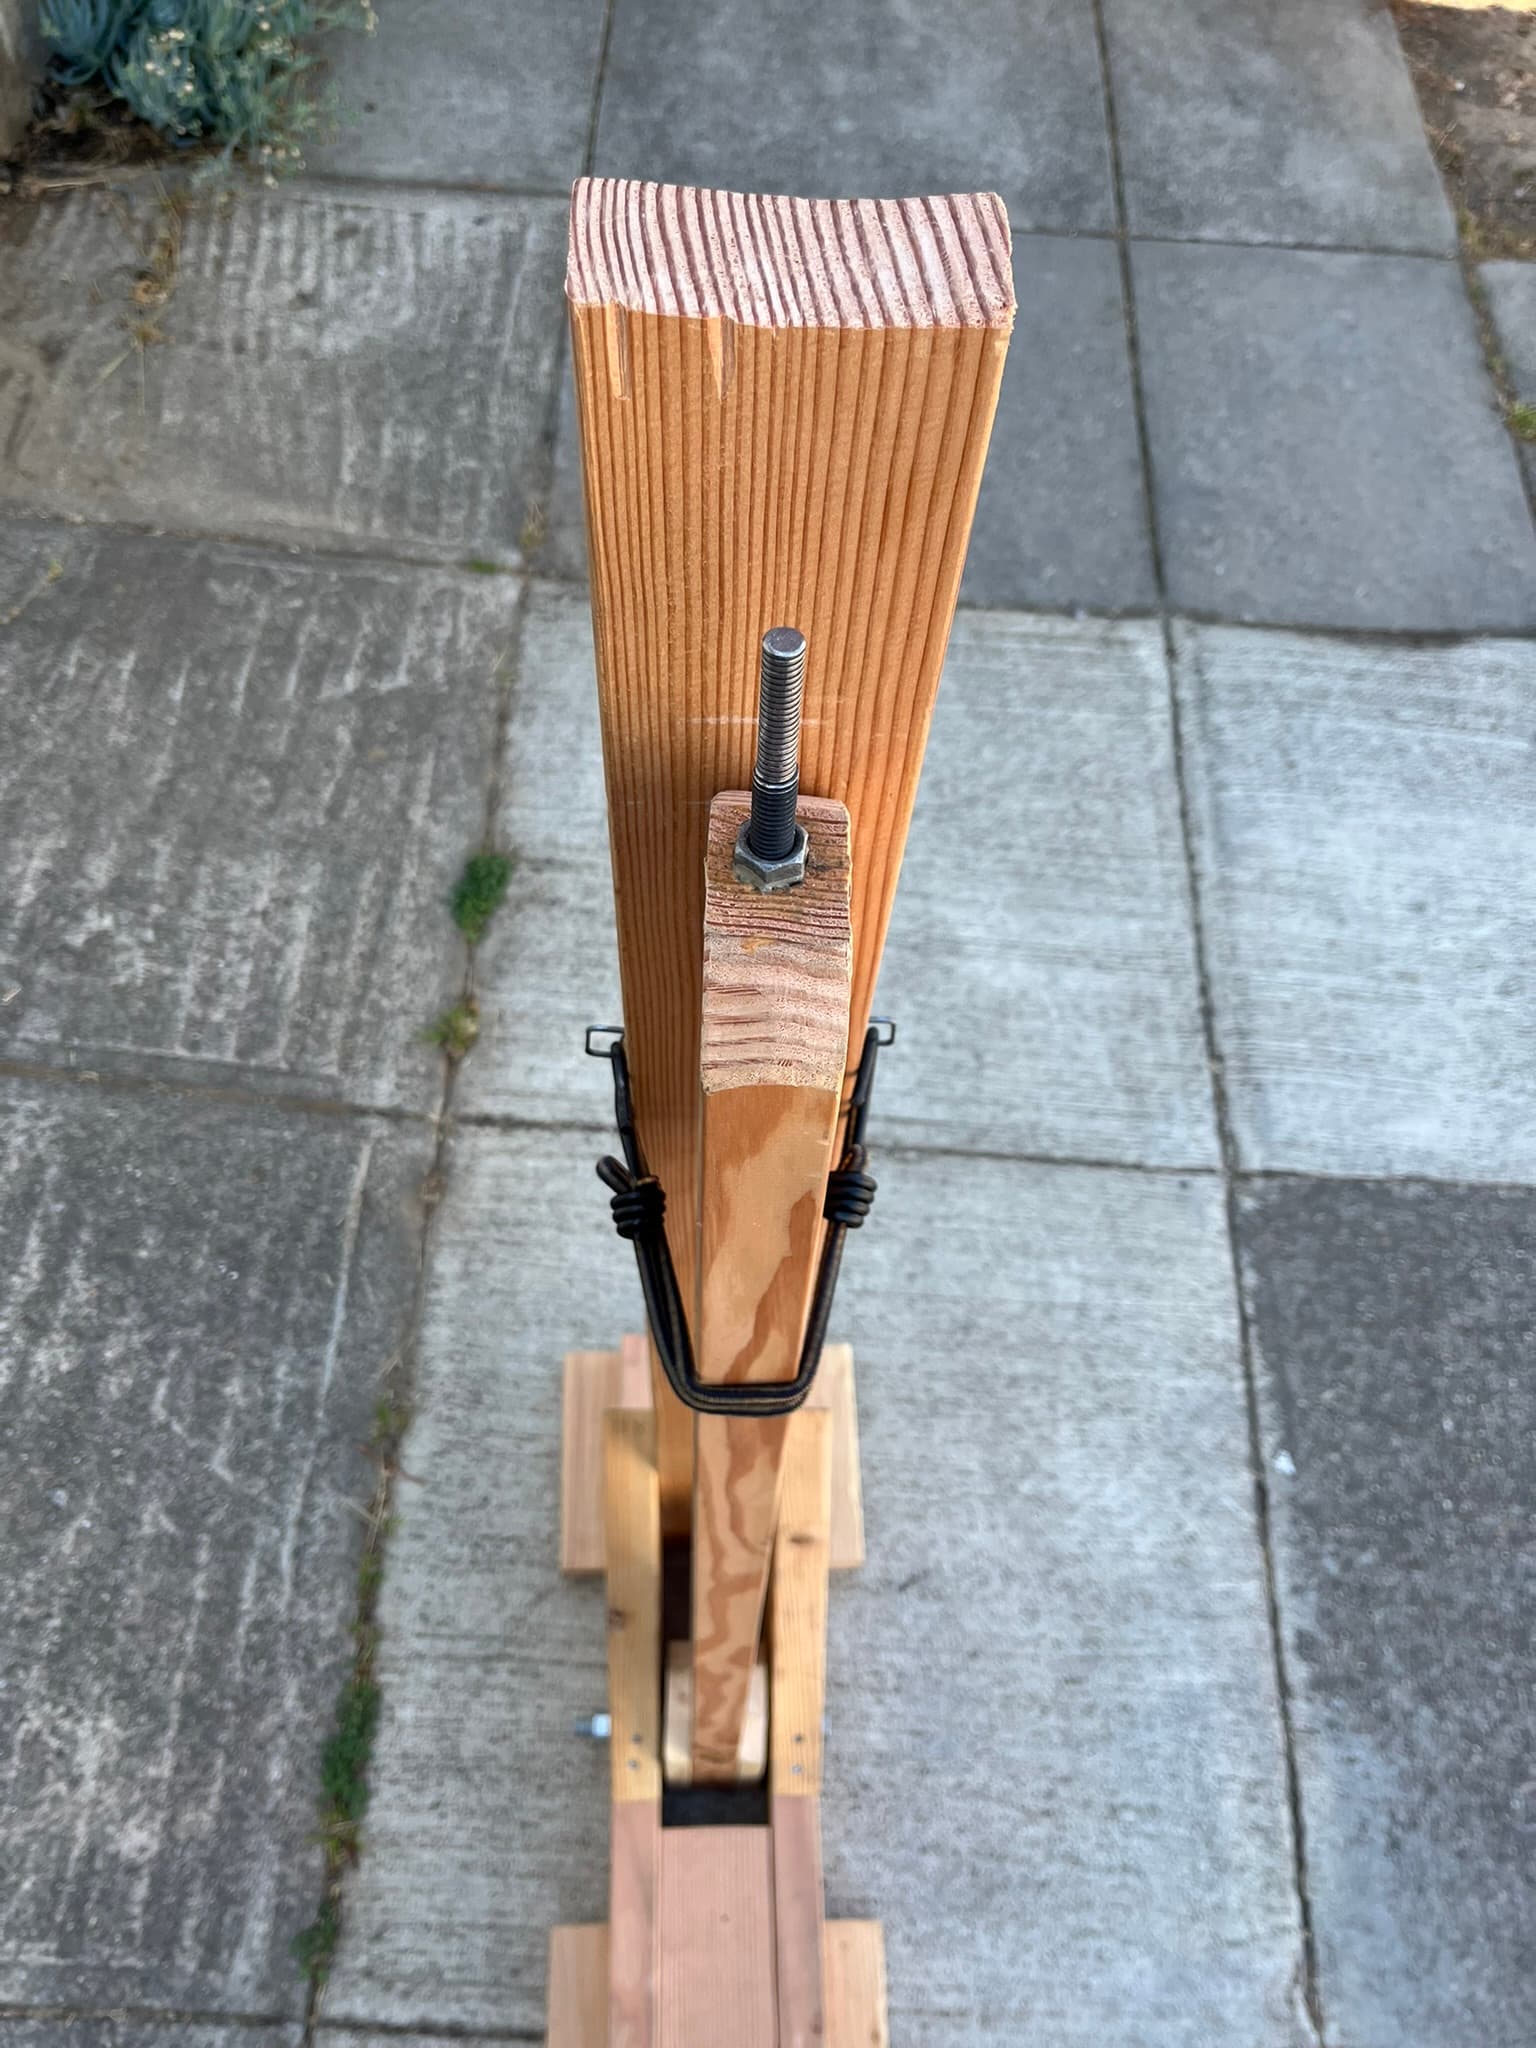
I was able to make straight enough holes for the cross-bolt and lasting pin using a spade bit in a drill driver, freehand. I’d definitely recommend using a drill press or drilling jig if you can. If you can’t, marking the holes from both sides, then drilling halfway from each, definitely helps keep straight and avoid tearout.
The hole for the last pin was especially dodgy freehand. To make a hole deep enough to thread the pin in down low enough, I ended up drilling right down the chuck of my drill. A longer spade bit would be better.
I ended up adding washers around the post, to take up space between the legs: two on one side and one on the other. This actually helped me center things up a bit, since my hole for the pin at the top of the post canted the pin to one side a bit.
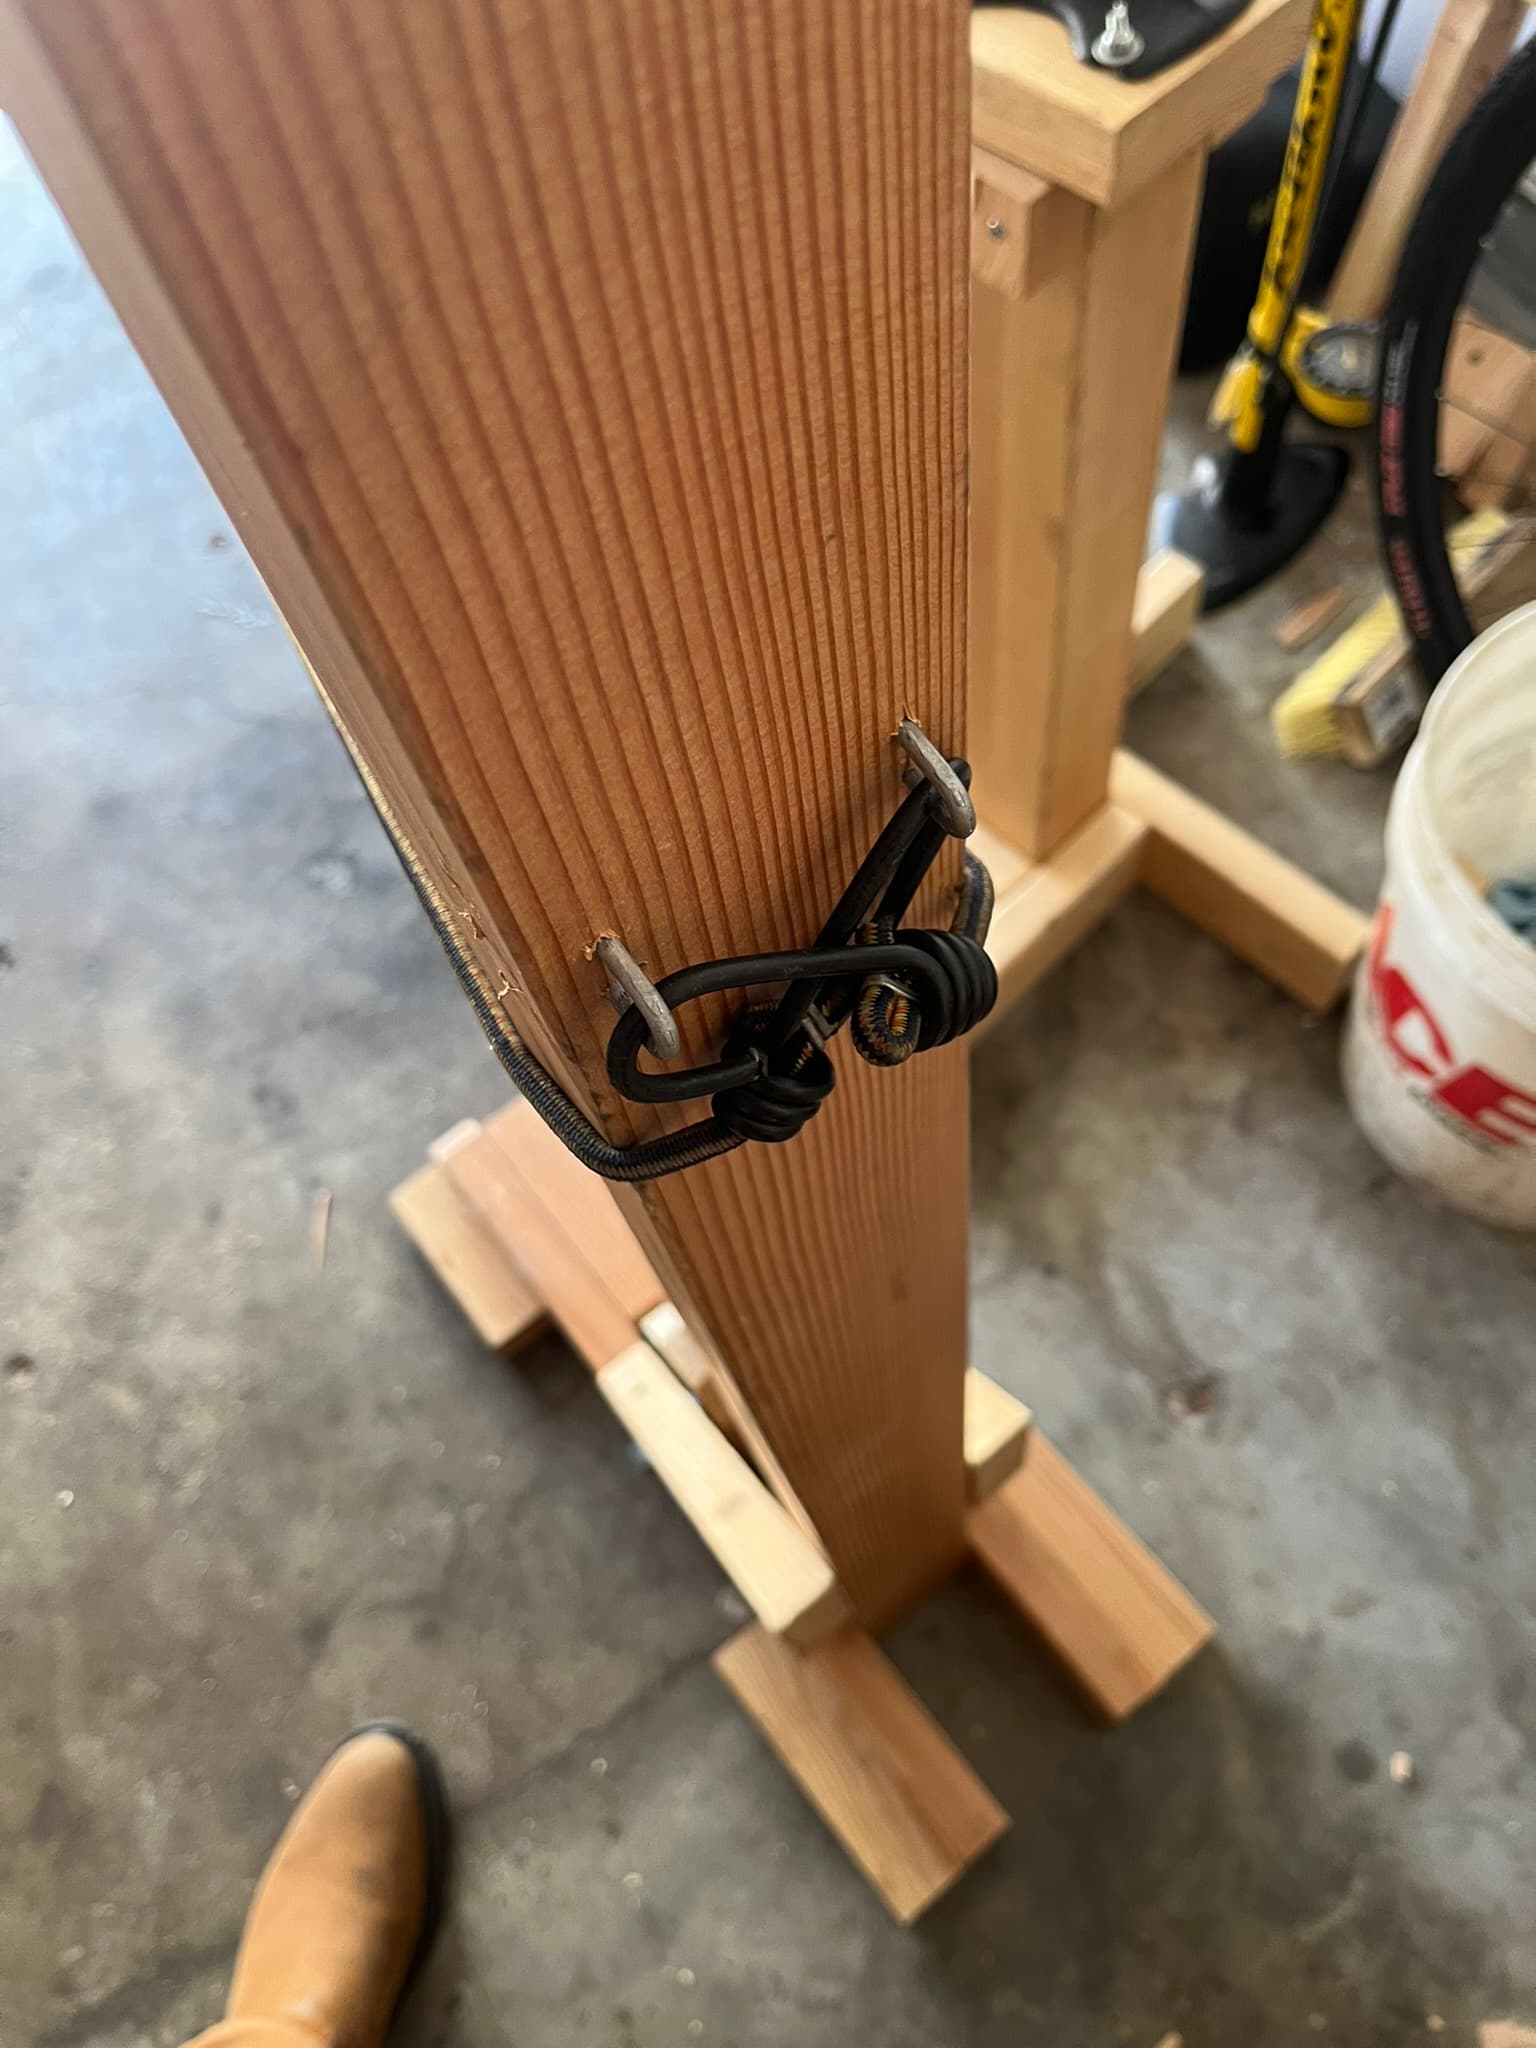
At the same time, I’m not sure that wobble in the post is such a bad thing. With a last on the pin and the toe on the cradle, under elastic tension, everything’s more solid.
The original plans mention holes down through the legs to mount to the floor or a board. I ended up just adding some runners along the sides to help stabilize. I may make these even longer, with some l-brackets, in the future.
It definitely occurred to me that I could use 4×4 for the post, the cradle, or even both. But so far, I don’t think that’s necessary. With a last locked in, the 2×4s feel plenty sturdy.
I ended up using an 8½″ stud anchor for the pin. I prided off the collar, leaving a smooth surface at the end. I cut half of it off with a hacksaw.