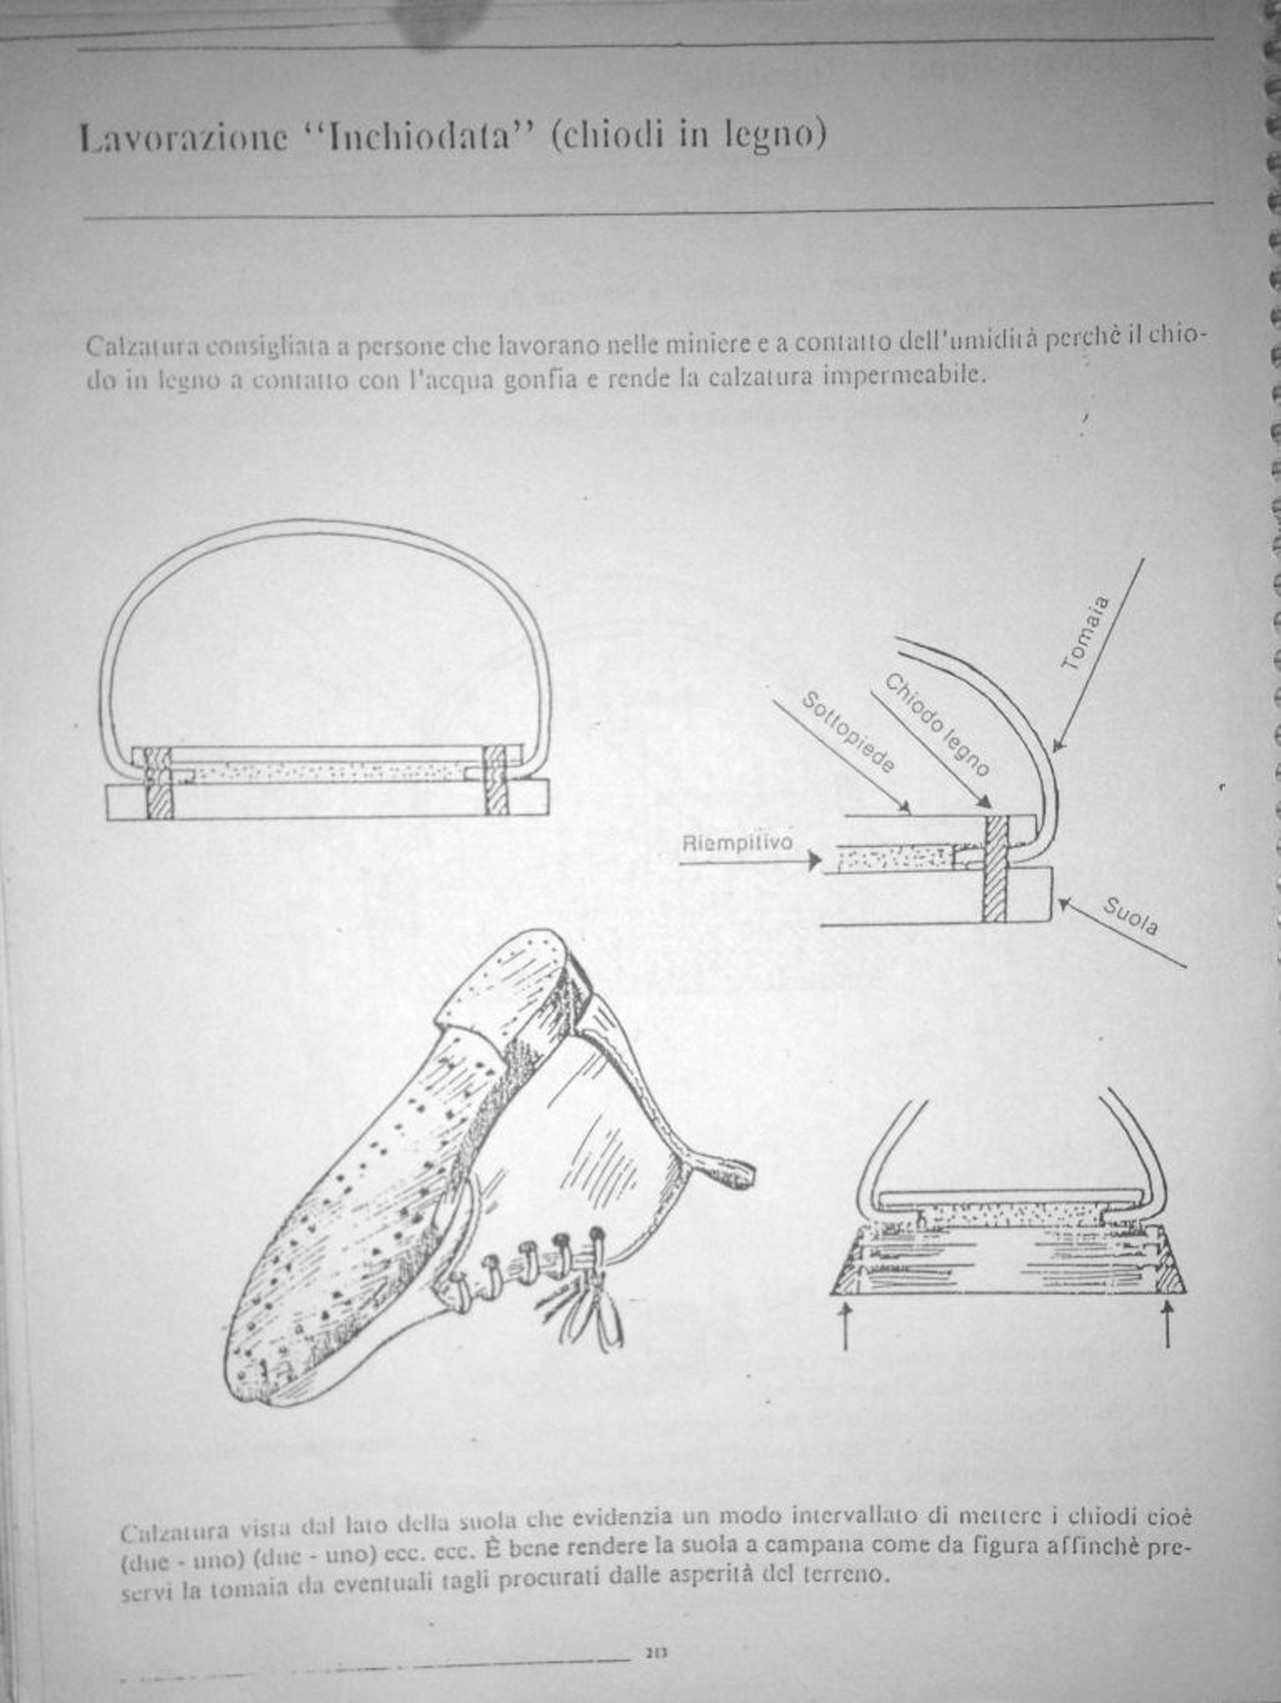
Oh another interesting tidbit. The lunati book says the all-wood-peg construction was recommended for miners due to being in wet conditions all the time. They also had bell shaped soles to protect the uppers, I’m guessing from all the rock kicking
1 Like
Are you piercing holes for the seat from the inside out or the outside in?
Either way, judging from the photo: nice job!
Hadn’t heard of Lunati’s book. Made a to-do to add it to my notes.
It was the book published by/for the ars sartoria school in Italy in 1985 when it was both a technical institute and publishing house. Written by an instructor there. It’s out there on scribd somewhere. I see furuse school reference that book a good bit on their Instagram and it’s the source of some of the figures used at the Bemer school (and I’m sure the modern incarnation of Arsutoria). It’s a wonderfully illustrated and very practical step by step manual on patterning a comprehensive list of styles
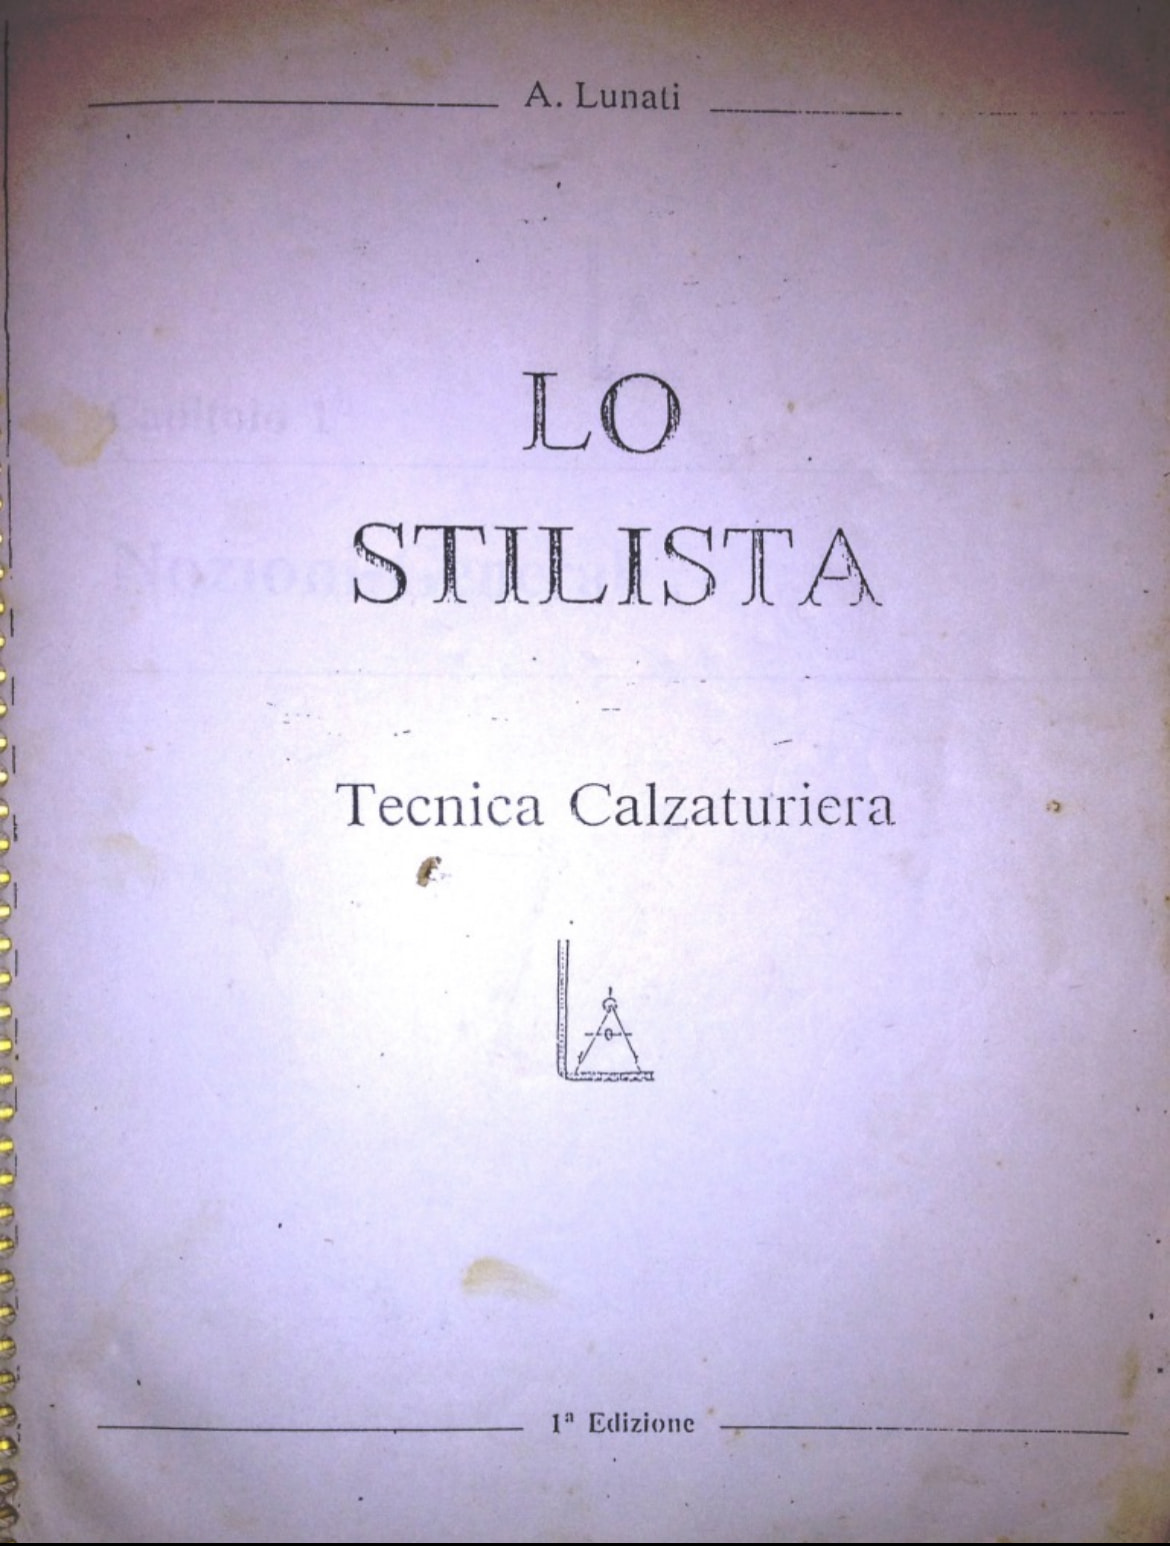
Great book but unfortunately published in house so no isbn or library copies I could find. Just looks like someone scanned their ring bound copy
1 Like
A translation of the preface:
Preface
With this new manual on drafting footwear patterns for men’s, women’s, and children’s shoes, you will all be able to work as designers/patternmakers in your factory or artisan workshop.
Drawing on my long experience, I have developed a new method—practical and precise, not tied to the old traditional systems—designed to meet modern needs and to approach the subject in a more dynamic way.
To build a pattern that is both correct and up to date, three things of primary importance must be considered:
-
IDEA = creation
-
STYLE = giving line and harmony to the design
-
TECHNIQUE = having a sound patternmaking method so that the leather uppers create no problems in lasting and allow the work to flow smoothly through all the later operations
Starting from the basic principles, I have illustrated the different stages of development through numerous drawings, each accompanied by the explanations needed to make them easy to interpret.
All the classic models, together with a wide range of their variations, have been analyzed by me in every detail, without neglecting fashion, the most suitable technique, and the modern finishing of the upper.
For the first time, this manual explains not only the pattern in general, but also the lining for every upper, from the simplest to the most complex.
My intention has been to provide a guide that is useful both to those taking their first steps in pattern drafting and to those who are already experienced designers, because even the latter should still find some useful detail for their work.
For clarity of presentation and ease of consultation, I have divided the material into different chapters, and then into as many individual models (titles/sections) as seemed to me to represent the principal prototypes to which the subject could be reduced.
I wish you every success.
Cav. Adriano Lunari
Instructor, International Technical Institute ARS SUTORIA, Milan
1 Like
Sorry outside in for dual purpose of not dealing with the upper lifting off the insole and having better control of placement of the visible side, at a set minimum 1/4” in from the feather, after a couple pairs where I could see the heel stitching after soling. Being more aggressive about shaving and flattening each layer beyond the feather - lining, upper, counter, counter cover - has helped me too in creating a more defined shelf for the rand and covering the stitching
I just got some samples in of Virgilio “vachetta heavyweight” that is 9-10 oz. Seems like it could potentially make some good midsole leather too
1 Like
So the one topic he alluded to, but didn’t explicitly say, was pegging awl depth. Do you want to set the pegging awl to not hit the last? Do you want it to bottom out partway into the insole?
Good to know! On the few tests I did on flat leather, the Carbone awl seemed to work just fine. So we will see how it actually goes on the real thing.
This tracks with what Lee talks about in the video. Since the wood expands with moisture the same way leather does, there’s no loss of friction to hold the layers together.
Oh cool. I perused some of the stuff at Tandy today. I may just grab a 9-10oz veg tan single or double shoulder when I need to. I haven’t decided if I’ll go that route or spend more money on slightly nicer leather.
They did have sole bend leather though, in the ~14oz range. Damned thick stuff. No clue how it compares to Bakers, but I would assume it’s not considered on the same level. Definitely outsole leather though.
1 Like
Personally, I go so the tip of the awl just barely is in contact with the last. Usually results in me just having the tiniest amount of the peg poking through the insole on some of the pegs and some being just under the surface.
2 Likes
Are you doing it by feel, or do you have some sort of rubber stopper on your awl?
1 Like
I will put a small piece of leather on the awl as a stop
1 Like
I hadn’t even thought of leather as a stopper for some dumb reason. That would do the job perfectly! Thank you for the tip. Pun intended after it was written. Haha
1 Like
This lines up with pretty much every maker I’ve heard from or read.
Just poking the last assures the peg penetrates all the way through the insole. More contact area means more hold. The points of the pegs won’t hold very well, since they’re narrower than the holes, but if you set through to the shoulder of the peg you get full bearing along the whole length.
This is also where peg floats come in. If you don’t pierce all the way through, you don’t need a funny rasp on a stick to rub off tips poking through.
Makers do occasionally warn that a bunch of pegs poking through can make delasting harder. Cowboy boot makers in particular seem to be particularly enthusiastic about their last hooks, and even various home-brew, leverage-based pulling fixtures.
The goal of pegs is to rivet together the outsole and insole, with the upper, liner, shank, shank cover etc sandwiched between. I learned from my cbb teacher to drive the pegging awl down to the last and stop, judging by the change in sound and feel. If you have a general idea of that depth you can add a rubber or leather washer to the pegging awl as a depth stop. where there is no plate drive just the tips of the pegs into the last so that the full thickness of the peg has breached the insole, and when you pull the last and break the pegs inside this provides the inside bradding. of course the tips will smash a bit in the plated area which provides the bradding there. Now I learned to stop driving them when you reach the last and leave a little forrest of pegs which you then sand flush for a nice visual result. But another school of thought is once they’re deep enough you intentionally hit them off kilter to break them then smash the protruding bit flat to provide the outside brad and complete the rivet geometry. There’s a little risk of getting the last stuck if you drive pegs too deep into wood or plastic, but not really a problem if you learn to stop your awl at the right depth.
when stacking heels with pegs your peg tips definitely end up floating in leather but oh well every bit helps. That just not the goal for shank and heel seat pegs. As long as you’re glueing lifts too, and should probably finish the top lift with real ribbed heel nails or long clinches
I’m not convinced pegs are actually more durable than brass clinch nails in wet or dry weather but what do I know. Many higher end factory and even shop boots use both, I say they’re revealing their real thoughts, pegs for show and nails for dough. ![]()
1 Like
Interesting, okay. I will have to practice pegging awl feel then, to get an idea of what it feels like when it hits the last. These lasts don’t have plates, so I’m punching straight into the plastic.
Do you have a preferred hammer/maul to use? I was just using my 2lb maul, as just prefer using nylon headed whacking instruments for tools. But, the pegging awl does not have a metal end that could mushroom out. I do also have a 12oz maul I could use for a little less brute force.
With these boots, removing the last and accessing the heel/shank area should be fine for getting a tool in there to rasp down the peg tips. I can easily see how that would be a bit awkward regardless though. Really wouldn’t even begin to know what kind of tool to use.
1 Like
There’s a definite tone change when the end of the awl lands in the last. It seems to take an awful lot of practice to actually get the pegs driven into where you want them without splintering then, which would be why my current project has 3 rows, rather than 2. I use my regular shoemaker hammer to smack the awl and pegs, cant imagine trying to drive them with my round maul.
Can’t miss the sound though, goes from a very hollow sounding strike, to a much deeper sound.
1 Like
Okay, I tried with my lighter weight maul and I was able to get at least a better feel for hitting the last than what I was feeling with my 2lb maul. That just drives it straight into the last with ease. Makes me feel big and strong. Hahaha
But when I practiced actually driving the pegs in a couple weeks ago, I did use my shoemaker’s hammer. It definitely does take practice to get right. Fairly even distribution of peg breaks when I didn’t want it to, peg hits last and then breaks over, or peg just barely gets to last and I snip/rasp off the standing end.
I also can’t decide if if gluing pegs before driving them in is a necessary thing or not. I think Lee Miller mentioned he doesn’t use glue and hasn’t had a failure without it. I know I have also seen plenty of makers who do glue their pegs.
1 Like
There is a popular hiking boot video in which they cook the wooden pegs. I don’t think I’ve seen this anywhere else. I think they are shrinking the pegs so they go in easier and once they expand they fill any gaps?. It’s time stamped below.

2 Likes
I find that I will be having that problem and then suddenly it all clicks together and they all start behaving. It’s like my mind has go recalibrate for the right angle or something.
1 Like
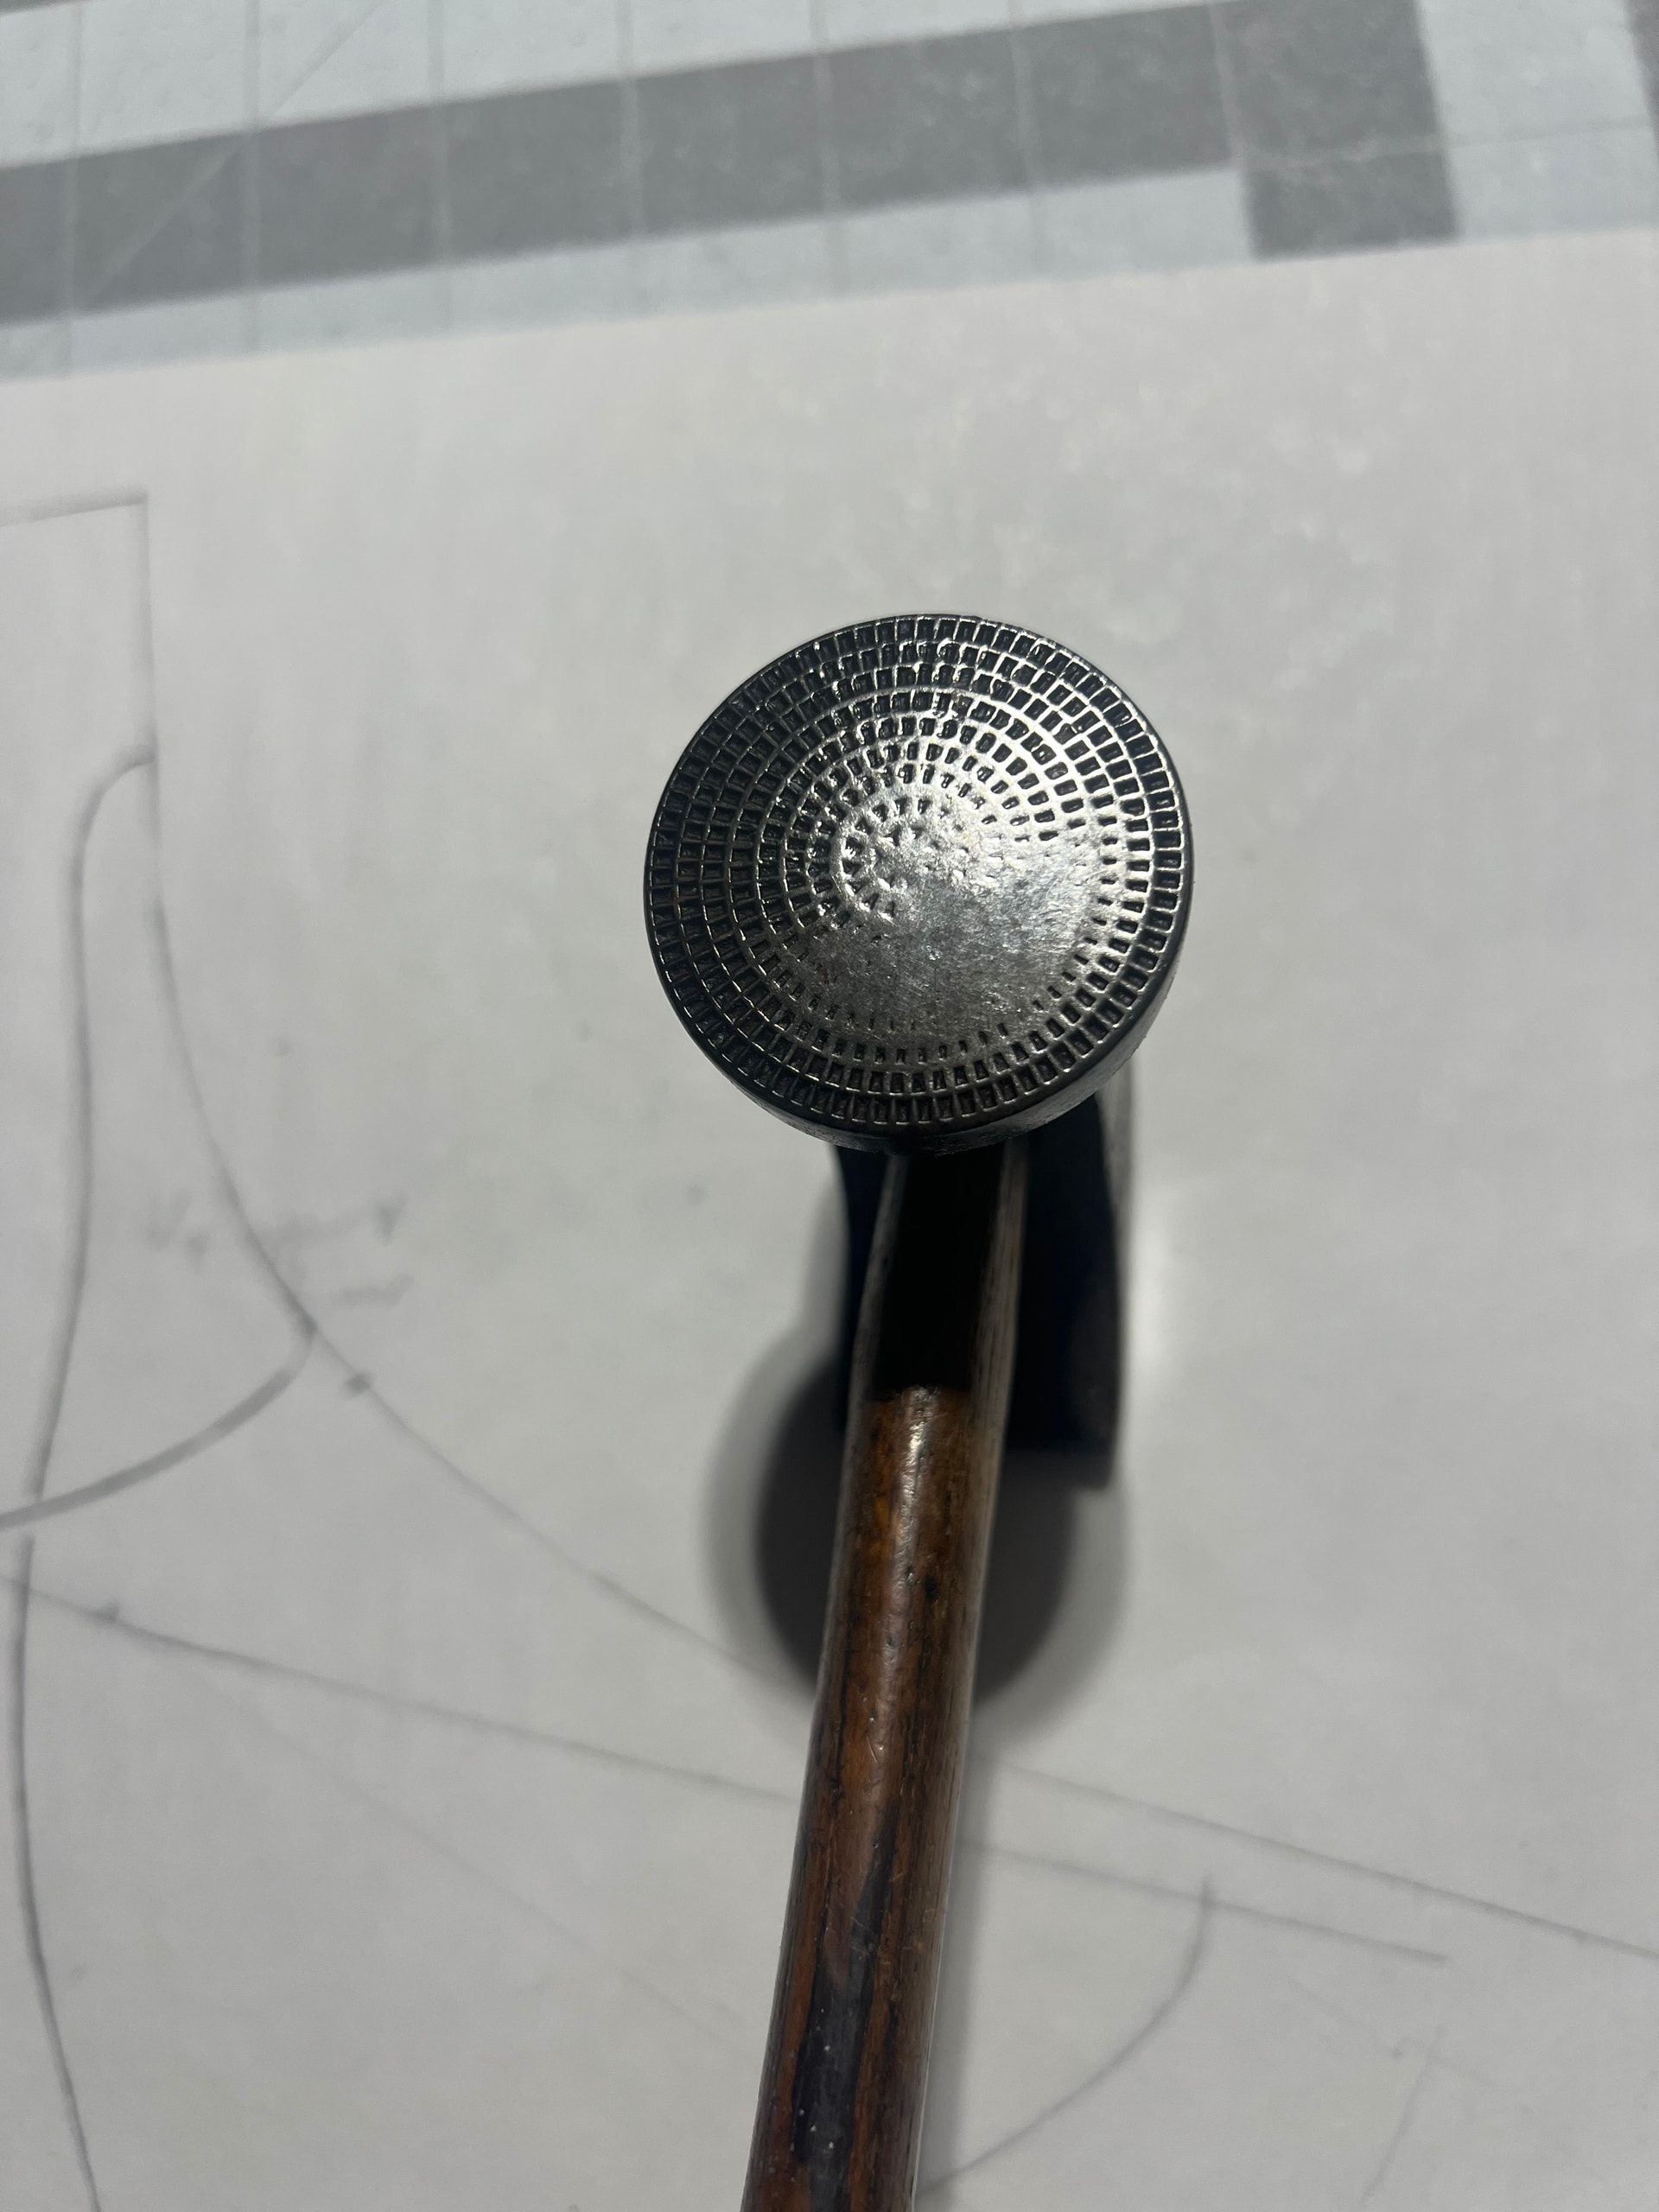
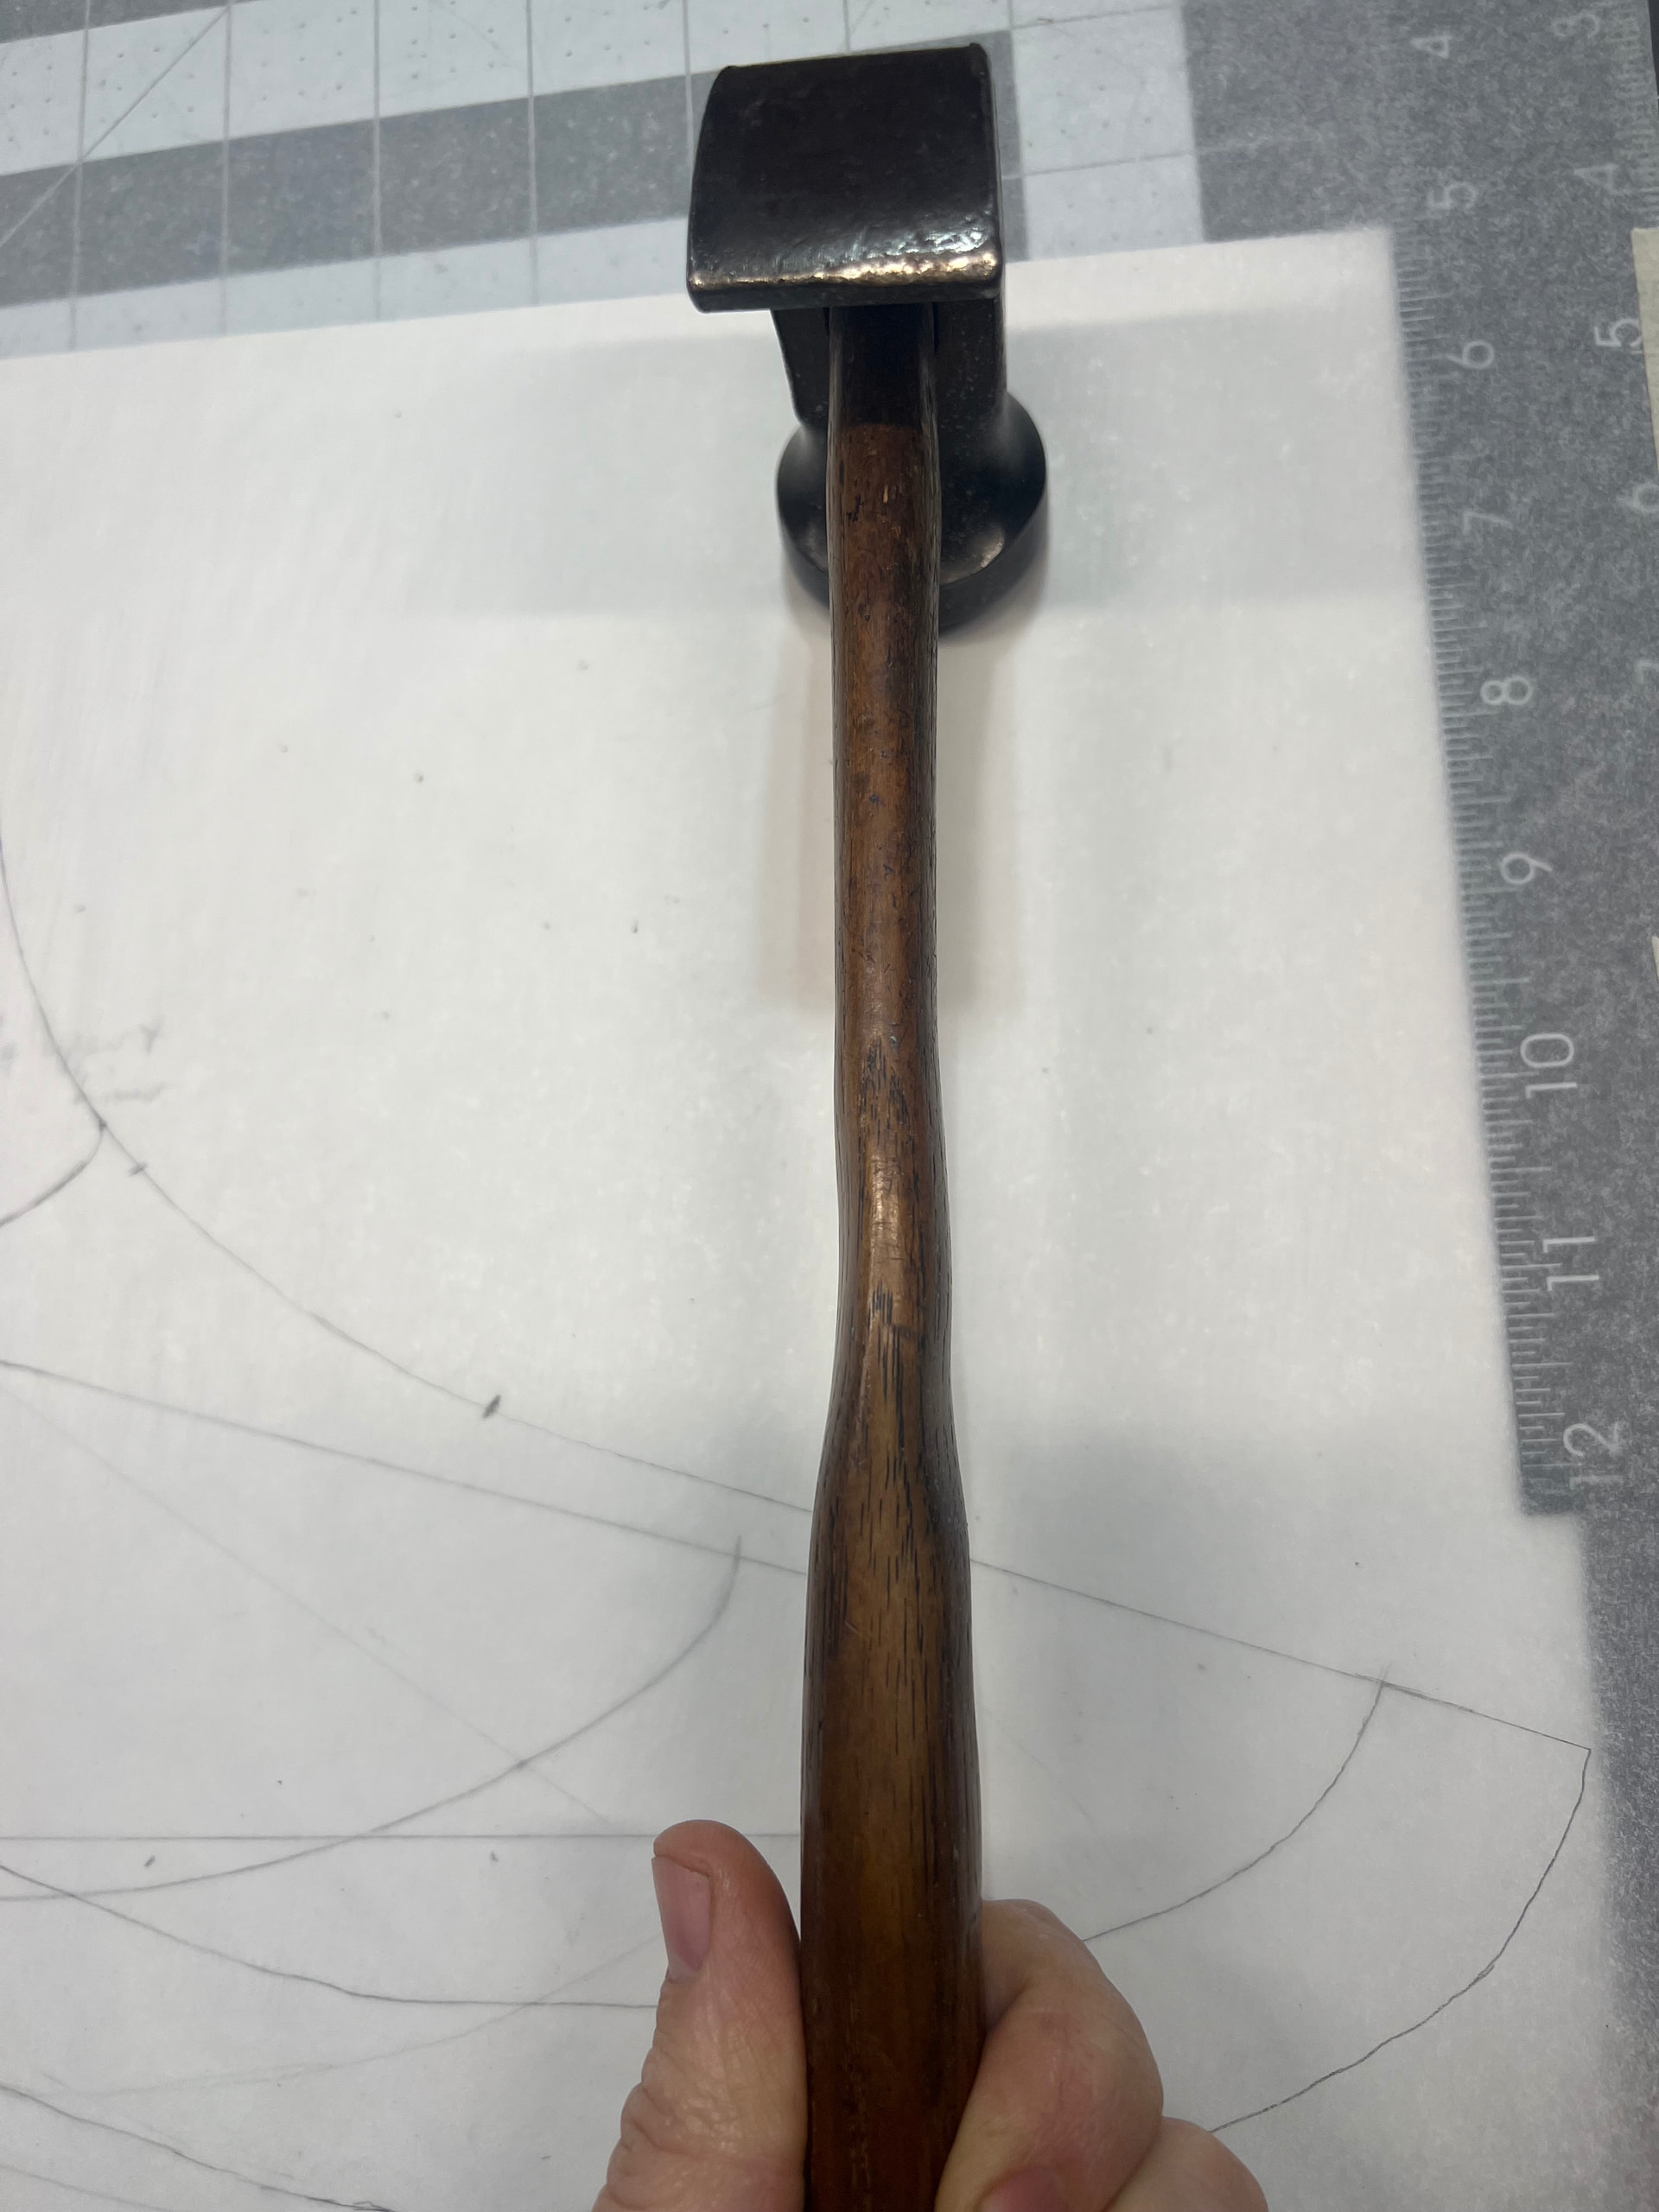
I use a #2 Crispin, if you have one of those pegging awl hafts with the leather rings they were designed to get hit by a metal hammer
the Crispin is nice cause it has a waffle face to prevent slipping off the peg and a downward angled face (like a couple other shoe hammers) designed so that the face of the hammer is parallel to the ground when your elbow is at a right angle and the work is at your waist height (sitting with the boot in your lap or standing at a standard lasting jack). If you try to hit with it like a regular carpentry hammer you’ll kind of hold your elbow in the air and the face will strike the peg at an angle. I also find hitting the peg with the part of the face closest to you helps with a square blow. I started doing that when I saw the old pegging hammer I got from Carl Chappel’s shop had the waffle worn off the bottom of the face. (I love that hammer so much. If even has grooves from palm and fingers worn into the handle. It’s really cheating cause when you take hold of it it feels like it’s guiding you a bit. Cheesy as that sounds. )
While learning the angles and feel just do lots of light taps rather than trying to do like Lisa and knock each home in 3 blows. Shes a pro ![]()

1 Like