7cm heel women's derby - Learning to welt & bottom

Agreed, and it’s often a solid learning lesson. Figuring out your way past something cements that solution in your head.

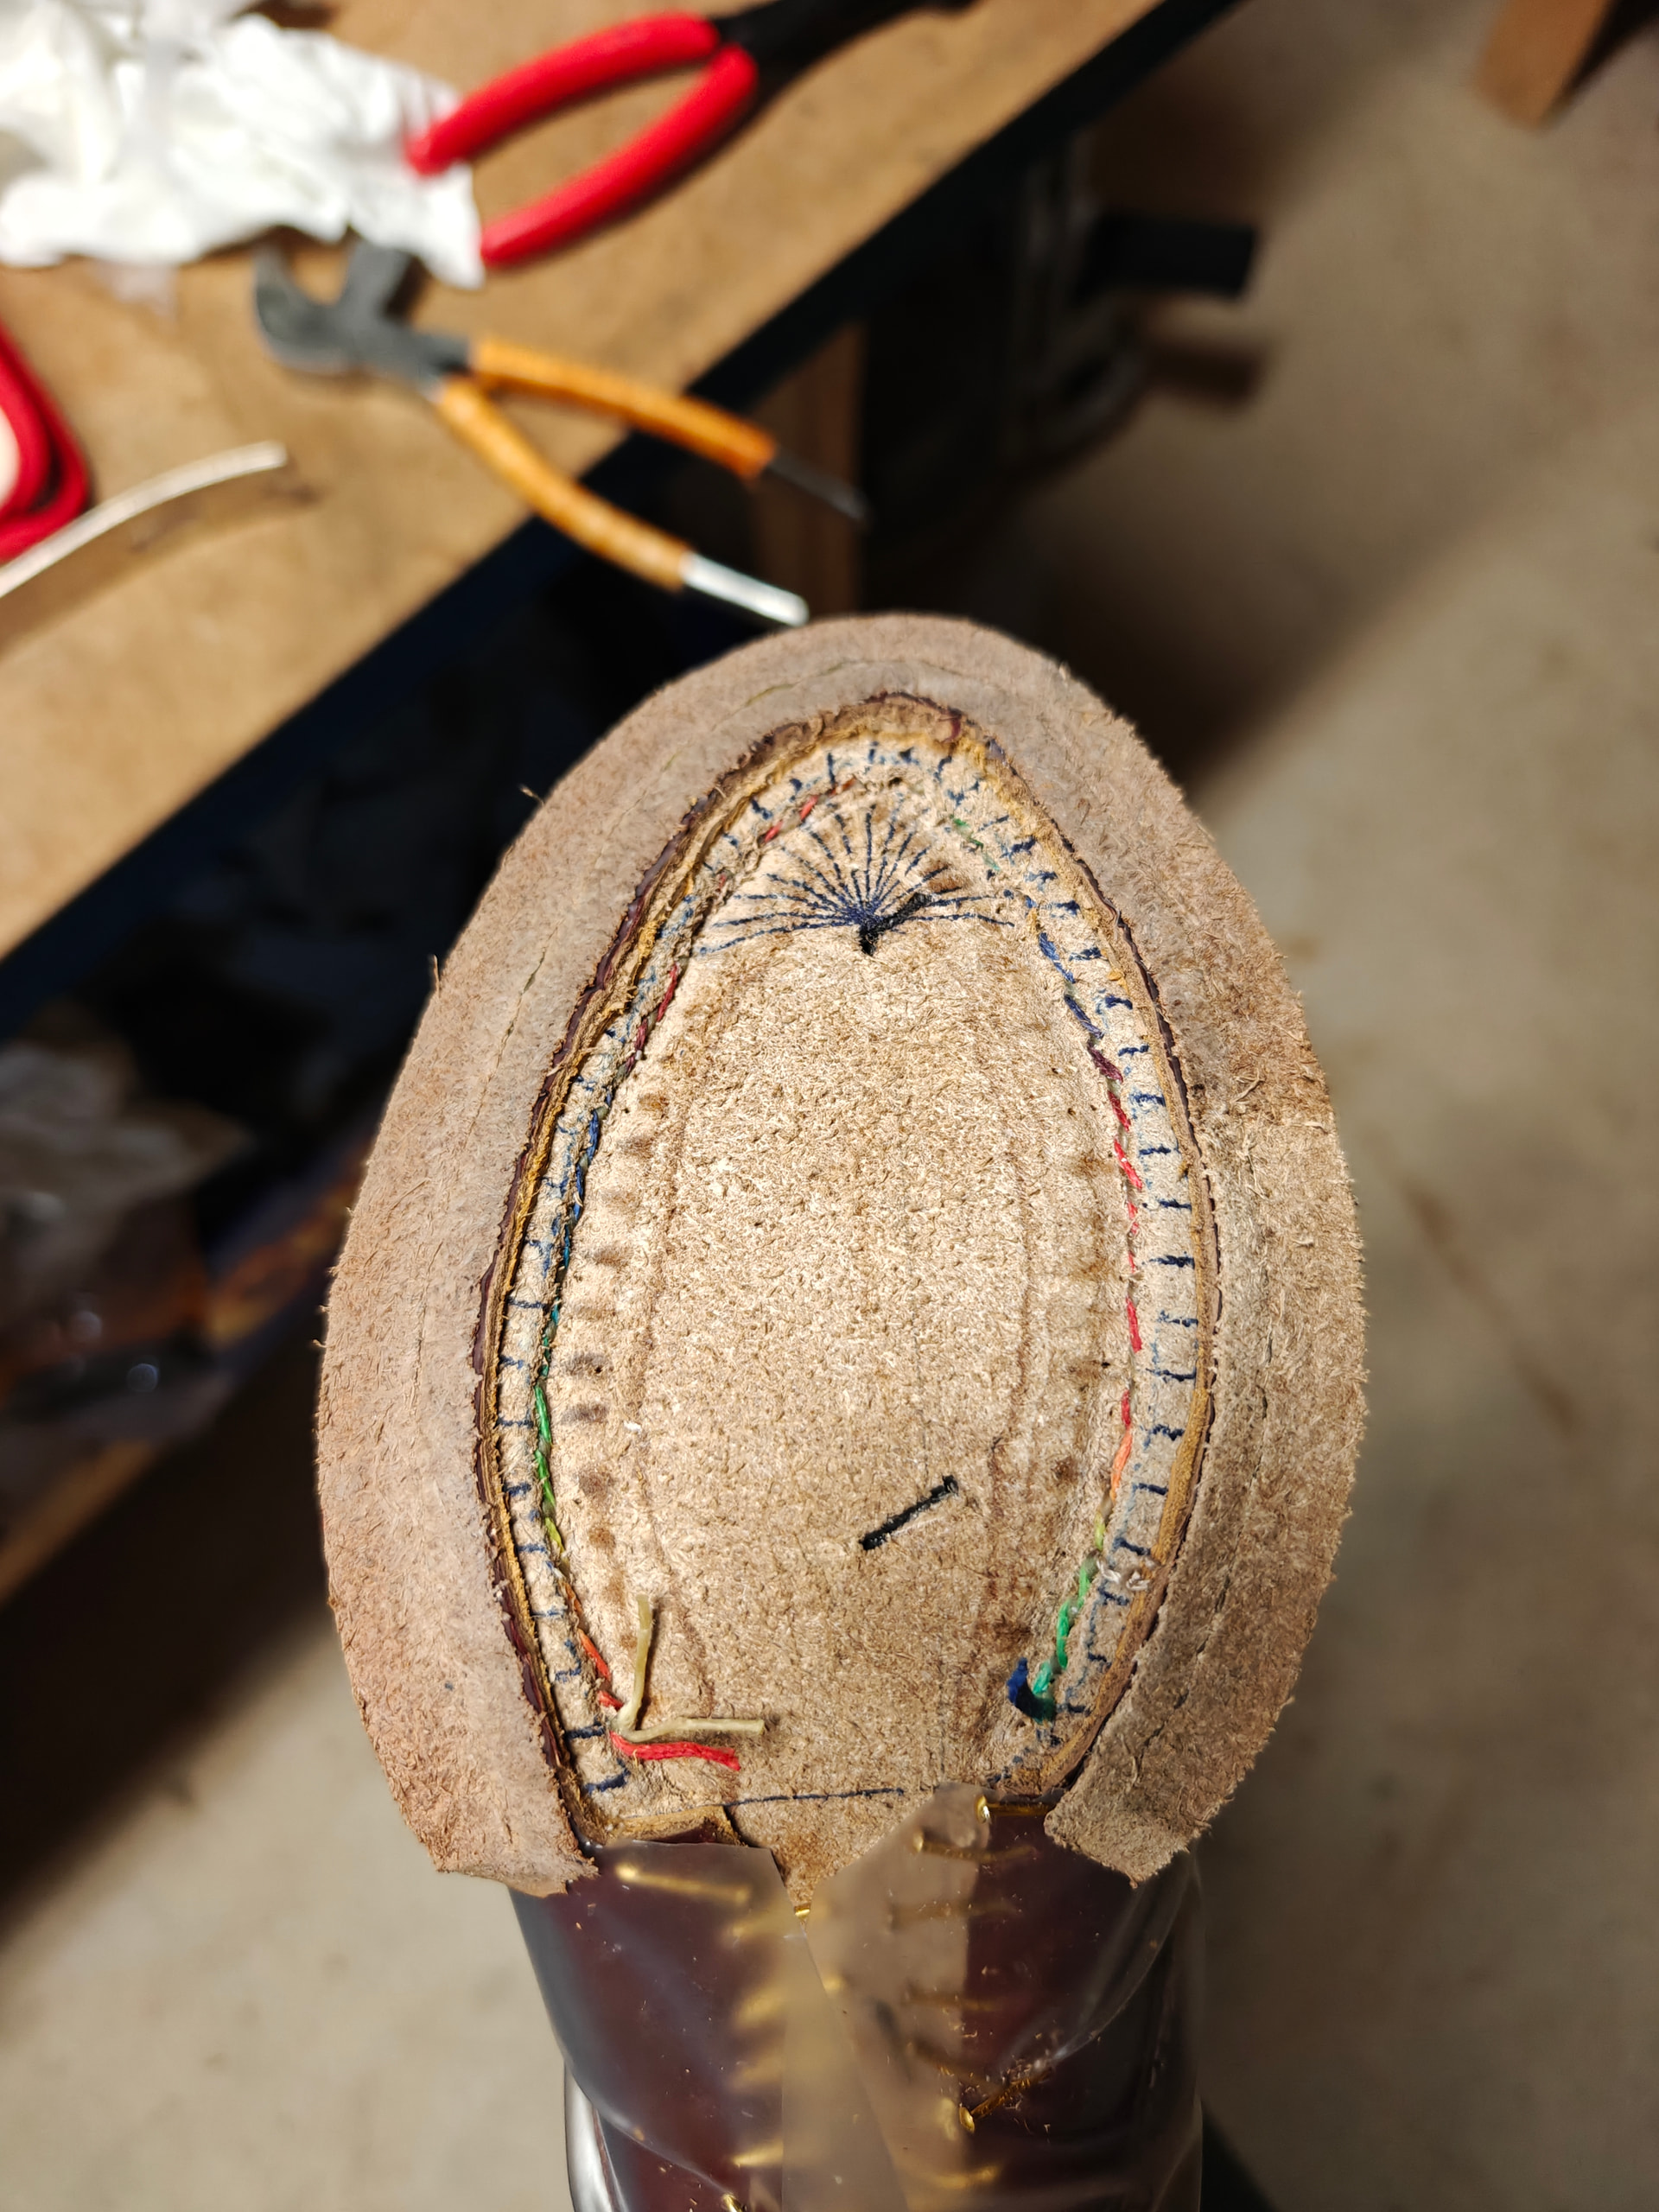
I did end up finishing the one welt just now. I used some ~1.2mm waxed rainbow braided thread from Tandy as a reinforcement piece all the way around. I swear it has a specific name, and I only ever see it in the toe and heel (if welted/blind sewn). It’ll never been seen, but the recipient likes rainbow and I thought it was a neat concept. Worked out nicely enough.

Does this look alright for a second ever welt? Anything I could work on?

If this is truly your second go, and it’s actually holding together, you’re doing pretty well!

I’ve seen and read of this being done form a variety of sources, but never got wind of an established name. In my wiki, I put it as “interlaced gimp”, borrowing “gimp” from tailoring. But that’s just me making up a name to have one.

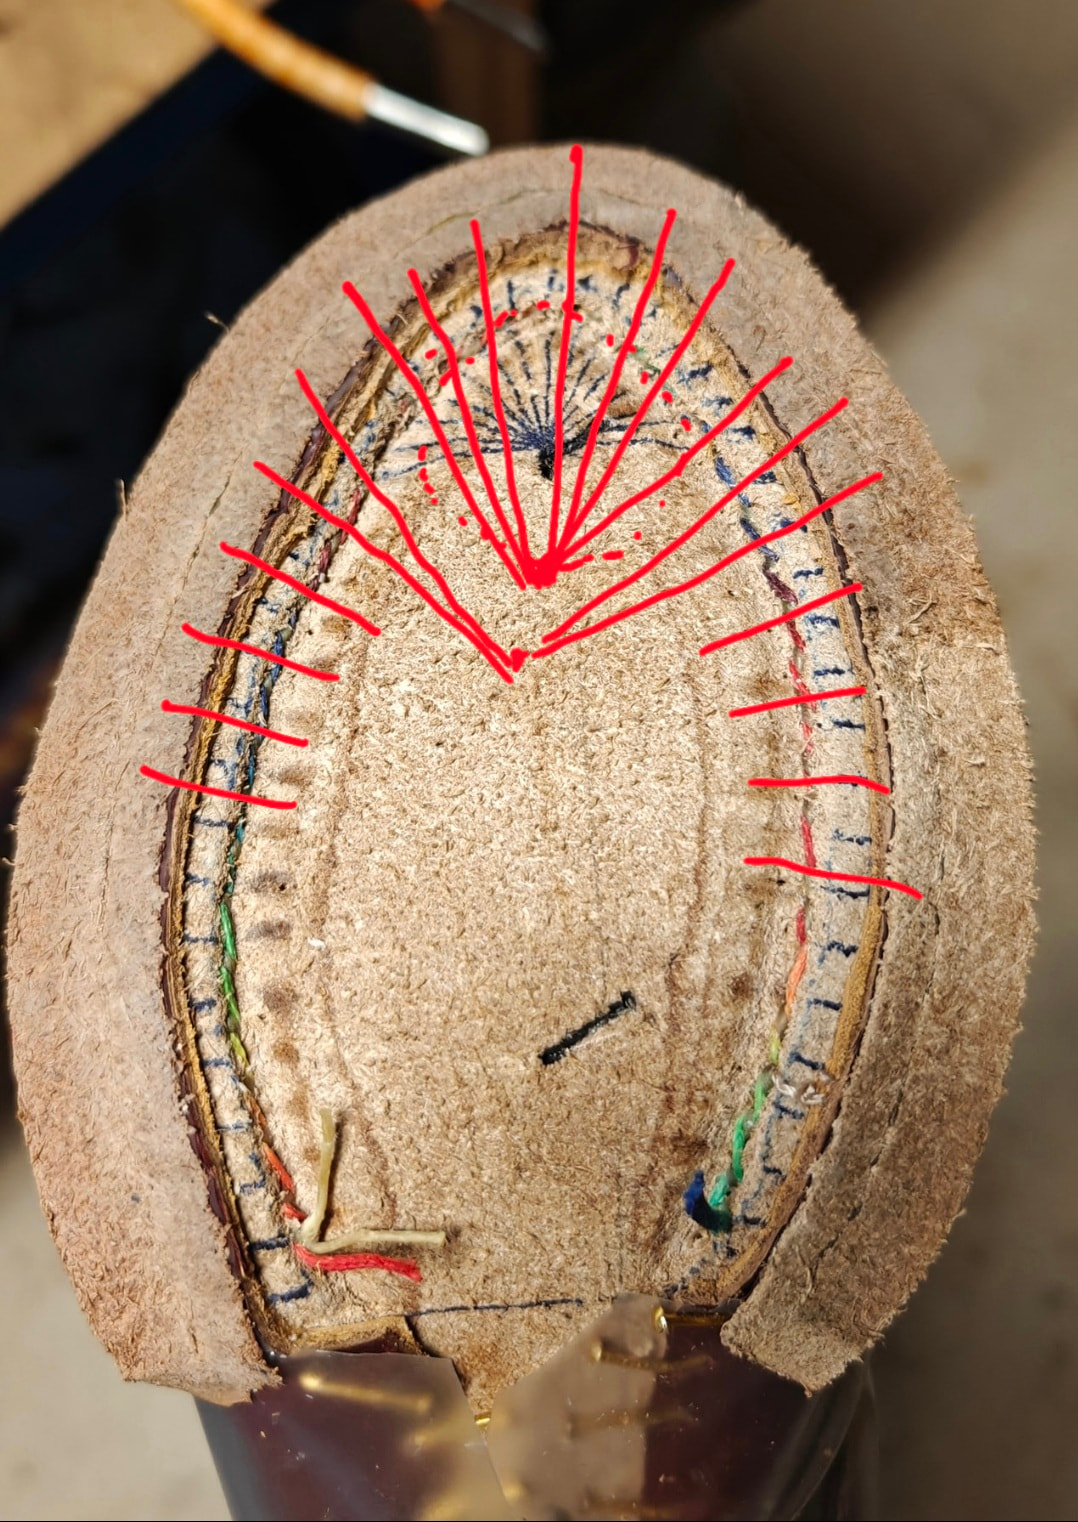
I would lower the focal point in the toe where all your lines converge. Give yourself a little more room to play with there.

If you picture a circle inscribed in the holdfast area of the toe, you’re basically using the center point of that circle right now as your focal point. Make it the 6:00 position instead.

1 Like

Thanks! Pretty sure it is my second welt. Maybe there’s some carryover skills from moccasin overlap stitching.

I think this is what I was thinking of. It’s odd that there’s no real defined name for it. Seems common enough.

I’ll have to look into this next welted pair I do. Other side is already done in this same fashion.

Wouldn’t that really just change the angle of the holes though, not so much the distance between then? Or is the angle change the benefit?

1 Like

You essentially increase the space between the hole openings on “inside” of the holdfast and get a little thicker material for the thread to go through. Helps make the toe welting stronger. Also gives you a little more space to work with.

I am sure what you have done will be fine, especially since you have the gimping in there, but something to help make life easier next time.

I would do something kinda like this:

When we are down in the weeds about details like that, it’s a good indicator you did a good job and there aren’t big issues to focus on.

Yeah, I can see how that would be beneficial. I definitely will give that a try next time. A little extra space in the toe welt area would be nice, but yeah I have not had any issues so far. Working on the second one now, no issues. So I am counting it as a win. Haha

I see a lot of makers covering up that inner part of the stitch, the one that sits inside the groove, with a leather strip. Is that really necessary? I’m not understanding what it needs protection from, when the entire area will be filled with cork or whatever other material you choose.

1 Like

It’s a win!

1 Like

I never interpreted laying the cutting from carving the channel over the inseam as protection, though I’m sure it could bring some of that benefit. I took it as a particularly clean way of filling the void.

Even with granulated cork paste, rather than sheet cork, it takes some work to force cork down into the little ditch, and it’s never perfect. With other kinds of filler, like felt or leather, you can’t push filler down into the ditch without creating a void above, since the filler’s more or less a fixed thickness.

I hadn’t even thought of just making sure there are no voids. I’m sure having air pockets like that could just lead to weird noises, instability, or structural issues down the line.

I’d assume they could, but I can’t say I’ve good evidence to back that up.

Even doing repairs down to rewelting, I never get a totally clear mental picture of what was going on beneath the footbed before I ripped it open.

When I’m able to, say, fix a squeak, I’m never entirely sure how I succeeded, because I always just refill the whole bottom. I don’t want to bet a whole sole and heel stack on guessing exactly where the problem was coming from, and I don’t want to risk creating some new problem elsewhere.

I would assume allowing room for materials to rub against one another instead of acting as one whole unit could be a significant cause of squeak. Or air pockets, like my natty veg tan Vivos have. But yeah, I would probably end up doing the same thing, just re-filling the entire bottom to try to account for any variables.

I have seen mention that White’s boots can squeak because the shanks are not glued in, just nailed. Can’t confirm or deny that though, but the concept of leather rubbing on leather causing noise seems plenty reasonable

1 Like

I think replacing the carving strip is just for style points :slight_smile:

I started doing lock stitches cause I’m a heretic and it’s much faster. I’ll believe they are less durable on any practical scale than saddle stitch when the randomized trial comes out :sweat_smile:

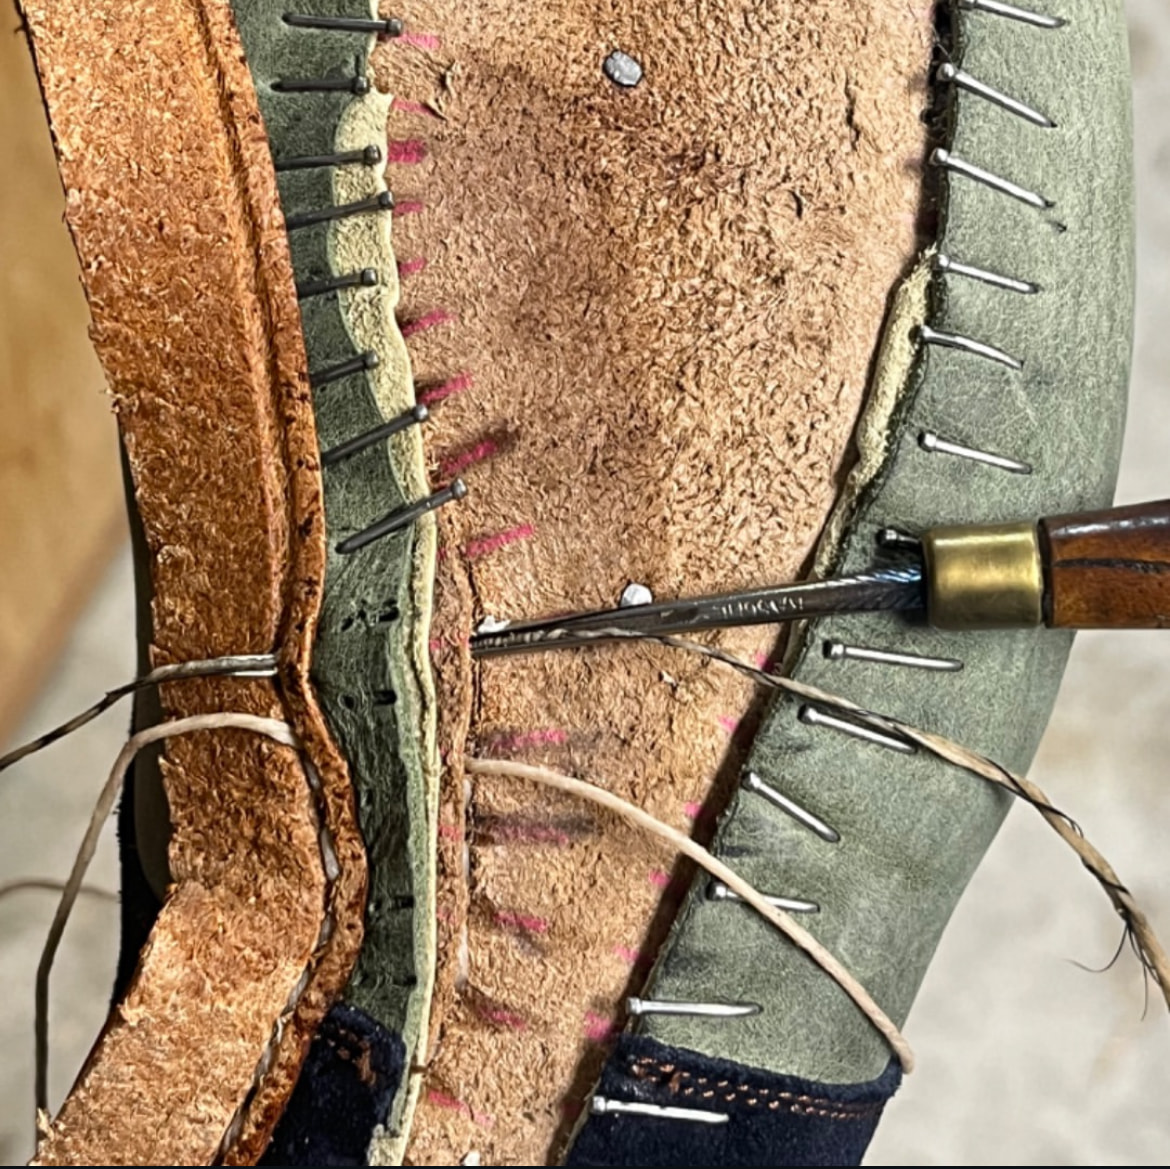
When I do saddle I cheat by using one of those channeled awls that lets you pass a bristle while the awl is in place

I was talking to one of the welters from Crown Northampton about that reinforcing cord, he said he just calls it a “toe stitch” and he just does it around the toe . But I doubt that’s an official name

Nice! I’m glad you’re in touch with them.

I frankly don’t know what “official” would mean here, but “toe stitch” is going into the wiki.

1 Like

Met him at the stitchdown boot camp they had a demo where they take you through doing some inseaming with a pro. Now that it’ll be combined with the trunk show this year you should really come!

1 Like

I have been thinking that the only significant variable between lock and saddle stitching is how they are each affected by abrasion. I figure as long as that’s not a concern, I can’t see how the durability would be significantly different. Maybe I am missing something?

I have never seen an awl like that though, do you happen to have a link or picture?

Maybe we should just create our own official name and be the source of truth for the rest of the world. Hahaha

This is how we end up with six names for everything.

2 Likes

2 Likes

Mea culpa: Grooved Awl Blade | shoemaking.wiki

Predates this forum topic.

I’ve got some, but I haven’t tried one yet.

Those grooved awl blades are pretty neat.

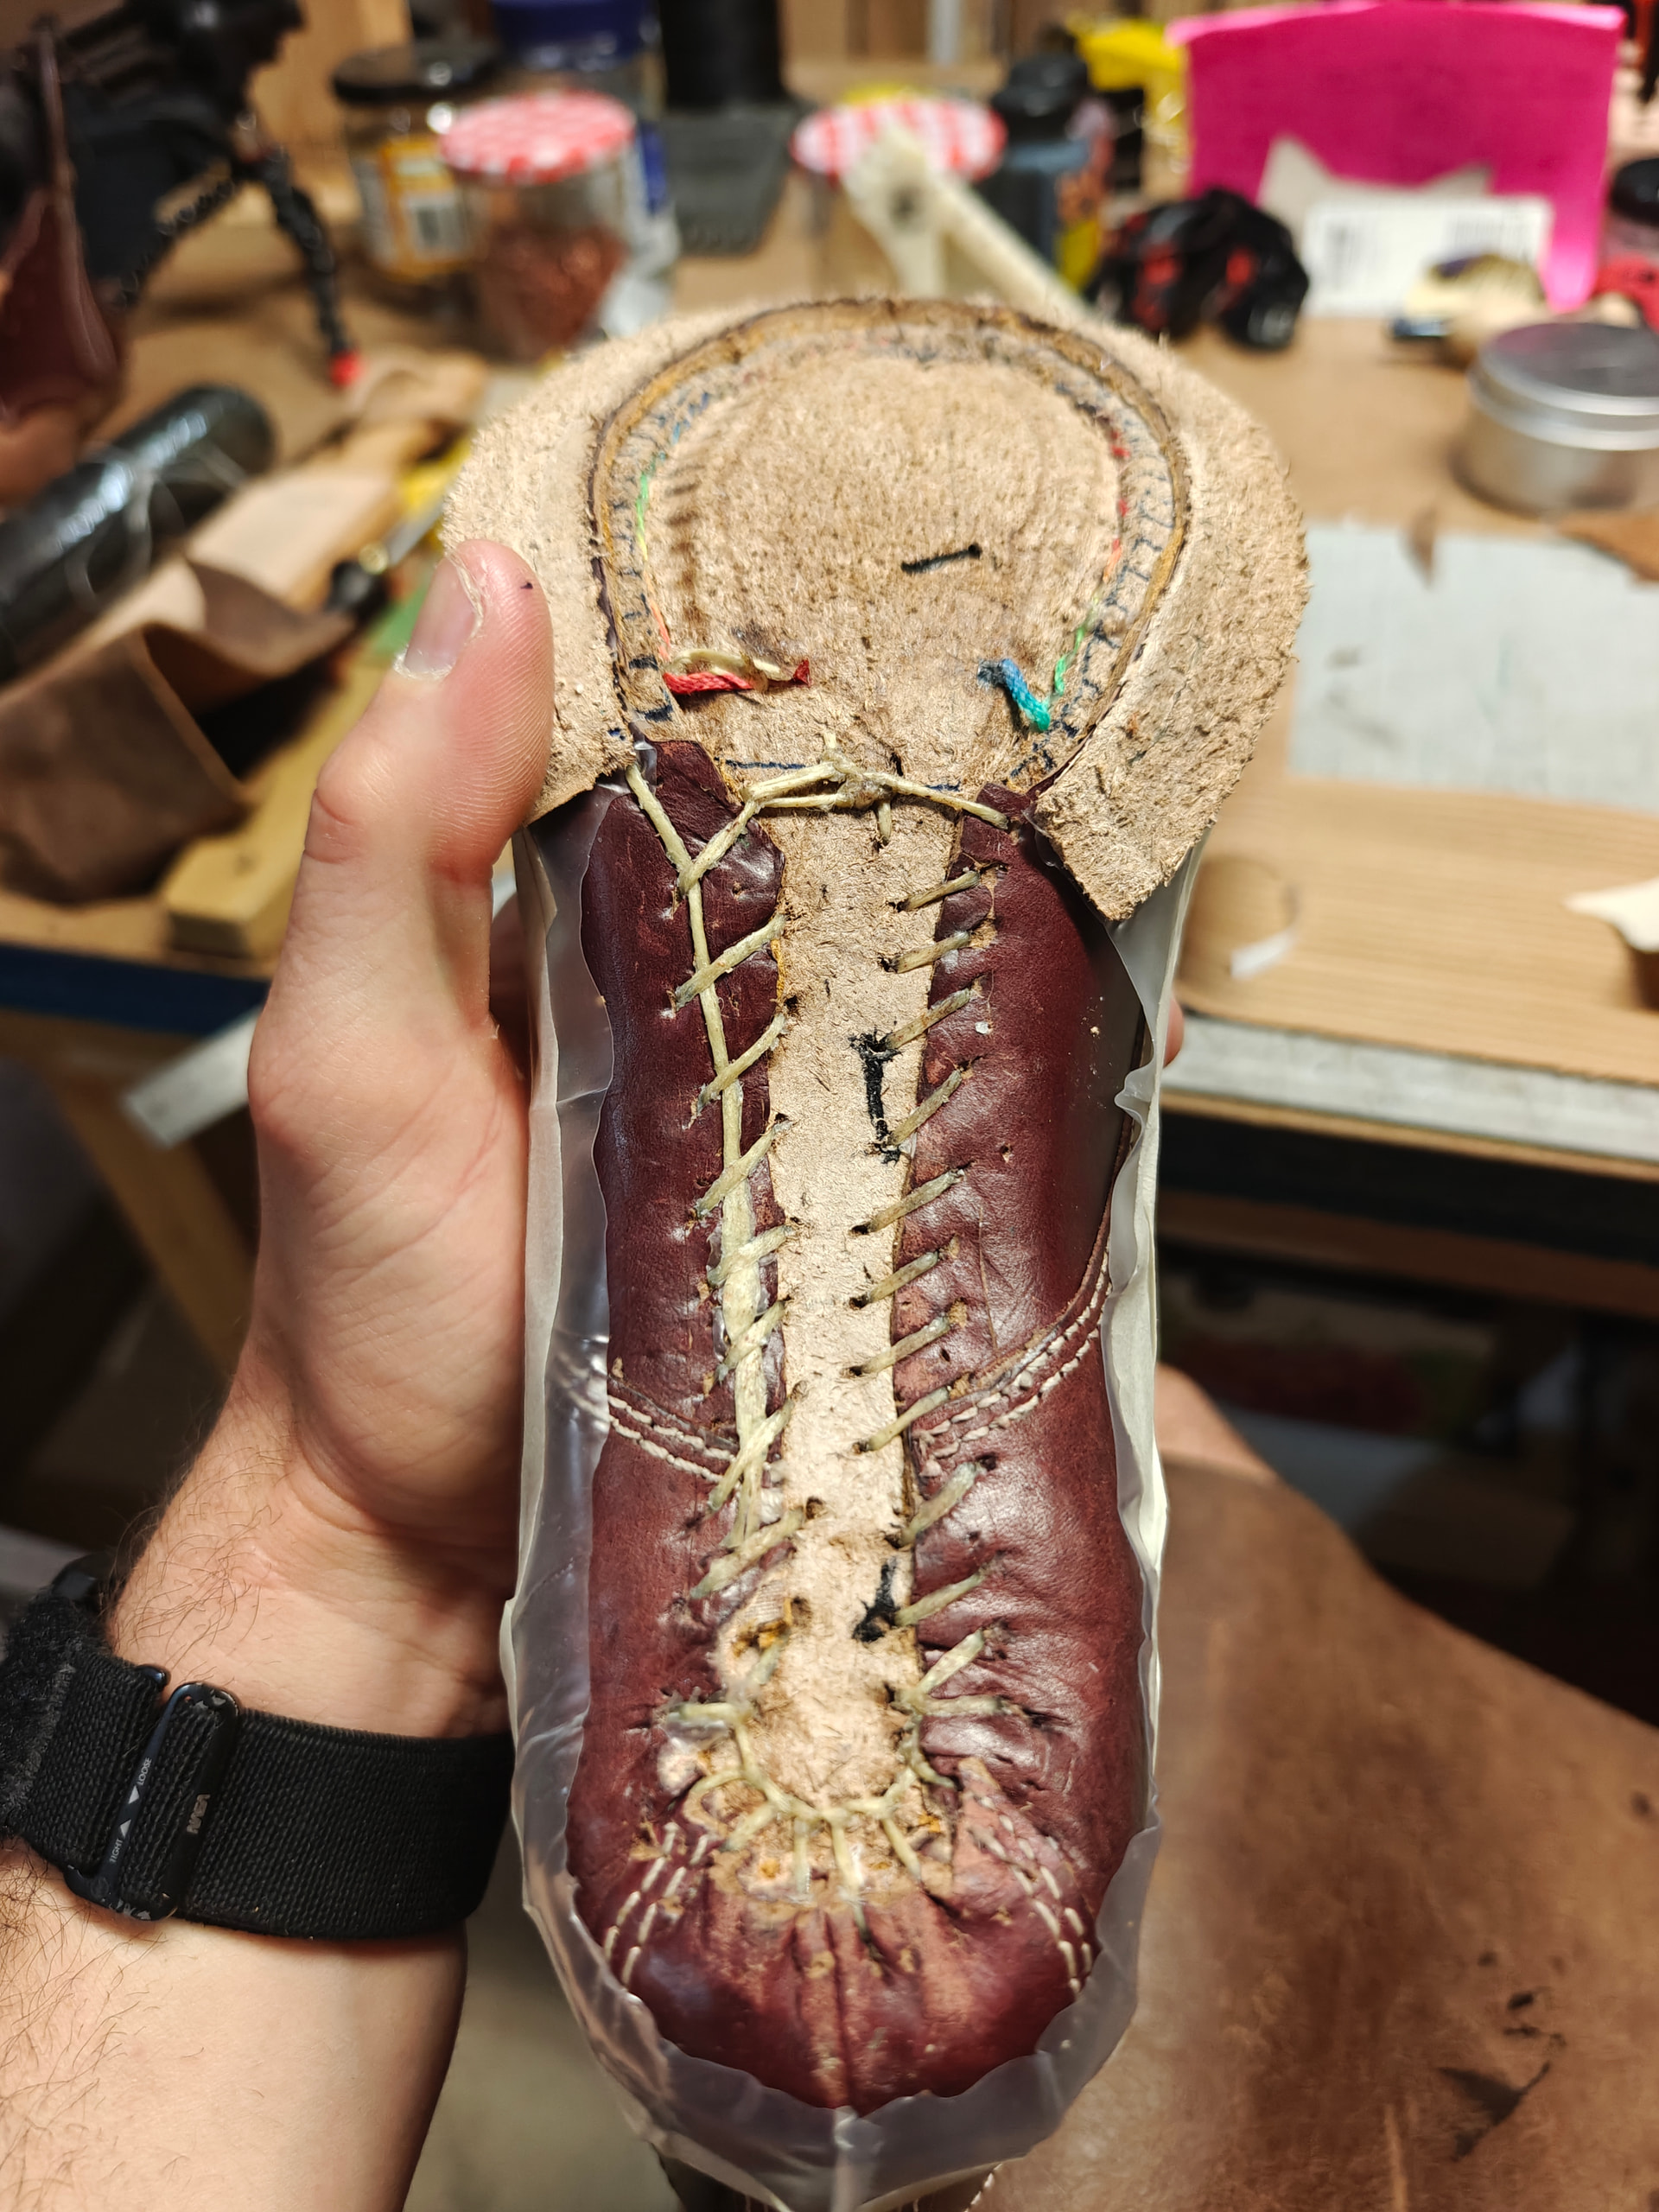
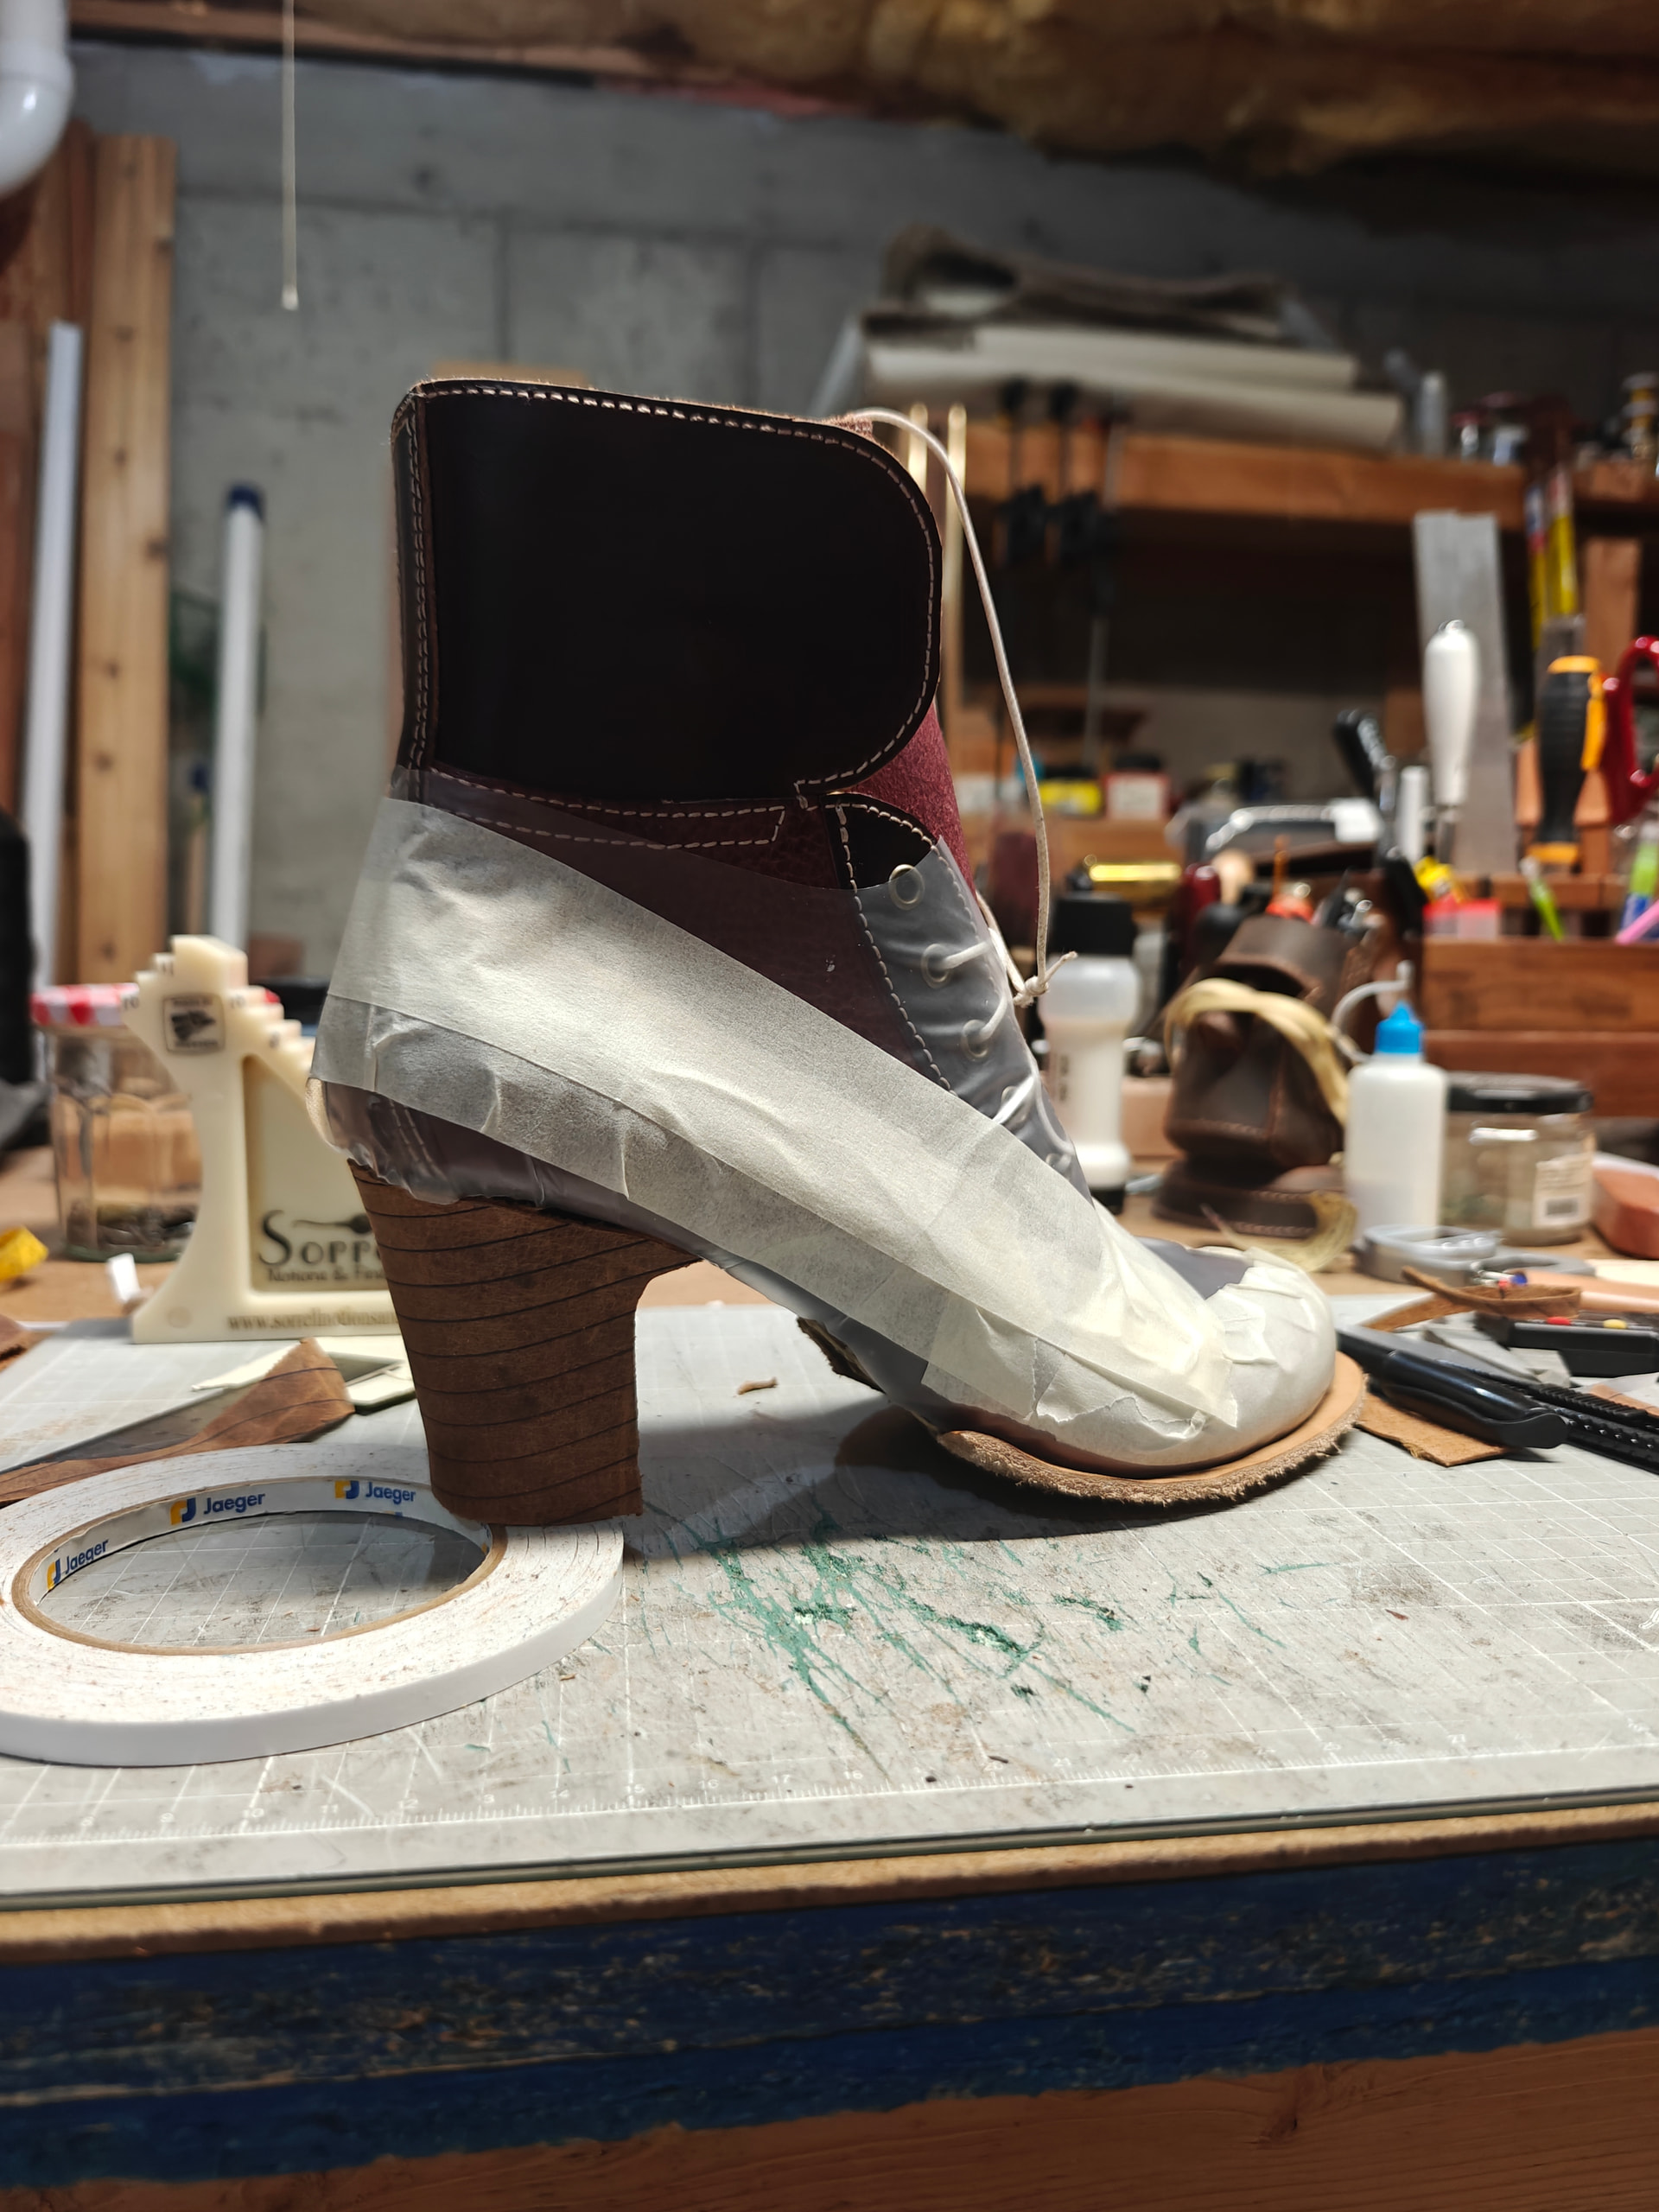
Update: First boot fully whip stitched. I’d say this went mostly well. The plastic boot cover got in the way too much, so I got rid of it in this area. It’s still on the forepart of the boot, and it posed no problem when welting.

I did break my first Carbone all about halfway through this boot though, right at the back of the heel. I think I tried leveraging the awl without driving forward at all, which I can sort of do with my moccasin awls on the toe stitches. This one however, did not care for such treatment. Luckily, I did have a second carbone awl.

Finished this boot and started on the second. Proceeded to break that awl on the 3rd hole. Quite annoying. I feel like I knew that I was doing something wrong when each broke. Like my movement was off. “Luckily” I had just barely ordered one of Lisa’s LS awls. I hadn’t seen these before though, maybe they’re new?

So that awl is on the way. If I like it well enough, I will order a couple more.

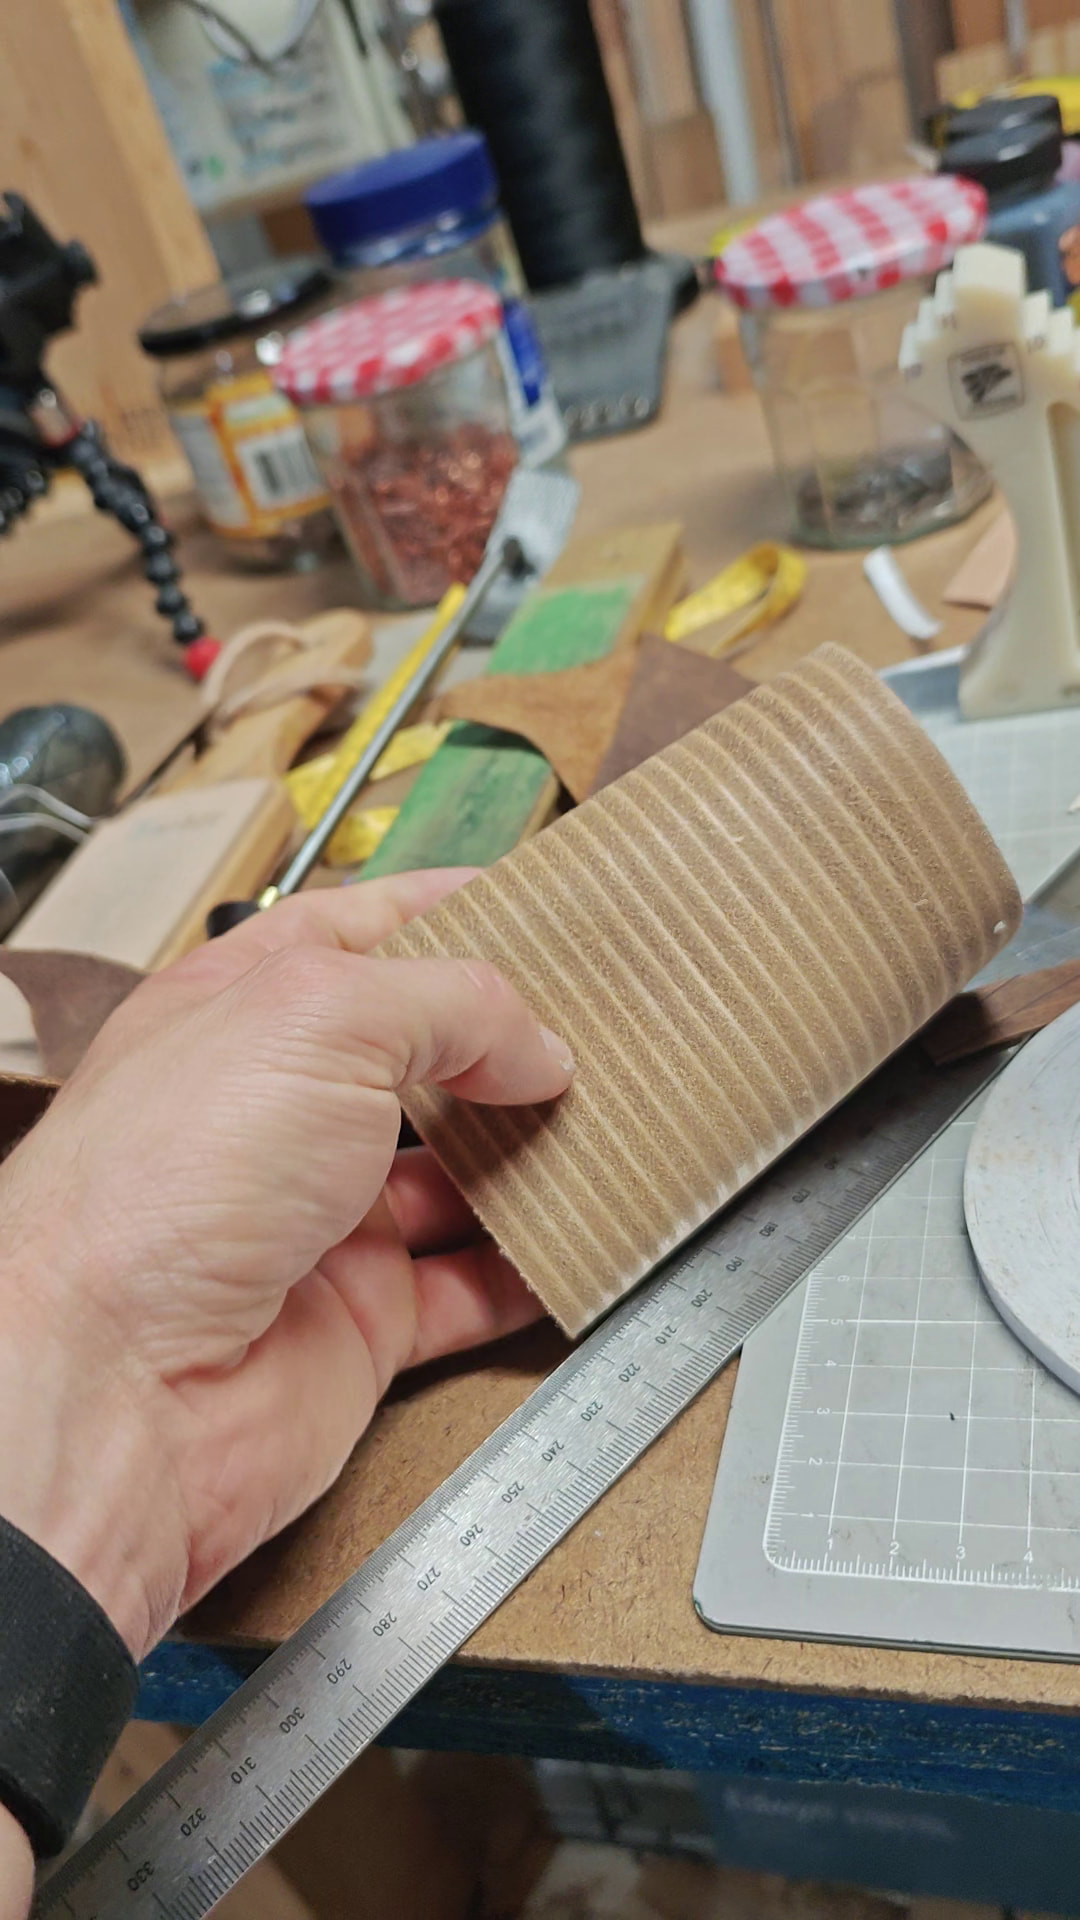
I do have other parts of this project to work on though, and that is getting the heel block leather on. I’m using shaved stacked leather, so the heels can still look the part. I taped off the heel, peeled and put the tape on cardboard for the pattern. Just like you’d do on a last.

Then for some testing, I grabbed a scrap piece of 2-3oz chrome tan, drew some ruler eyeballed parallel lines to mimic the concept, and set the pattern up as best I could. I am unsure if there is a way to get it to work exactly as I want.

Just barely came across these though. So they look to do exactly what I want. The leather panel I have is just straight parallel.

As I’m finishing this post, I will order some from MzzTrzz. Wish I had thought of this beforehand, but it’s not really surprising that there already exists a solution for this problem that has undoubtedly come up before myself. :laughing:

Looking good!