Continuing the discussion from Pre-Made Alternatives to German Wood Pegs:
Sounds like we could share some tips on making our own pegs, in addition to finding other sources of pre-made ones!
I’ve got some limited experience here, starting with my second pair of boots from scratch. Since then, I’ve done some more experimenting.
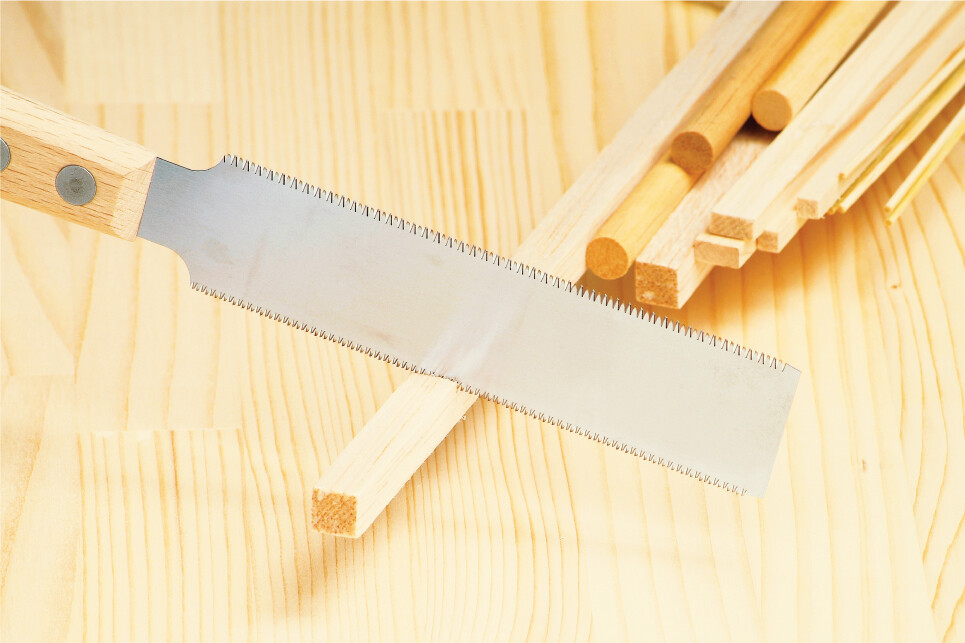
Current Razor Saw Setup
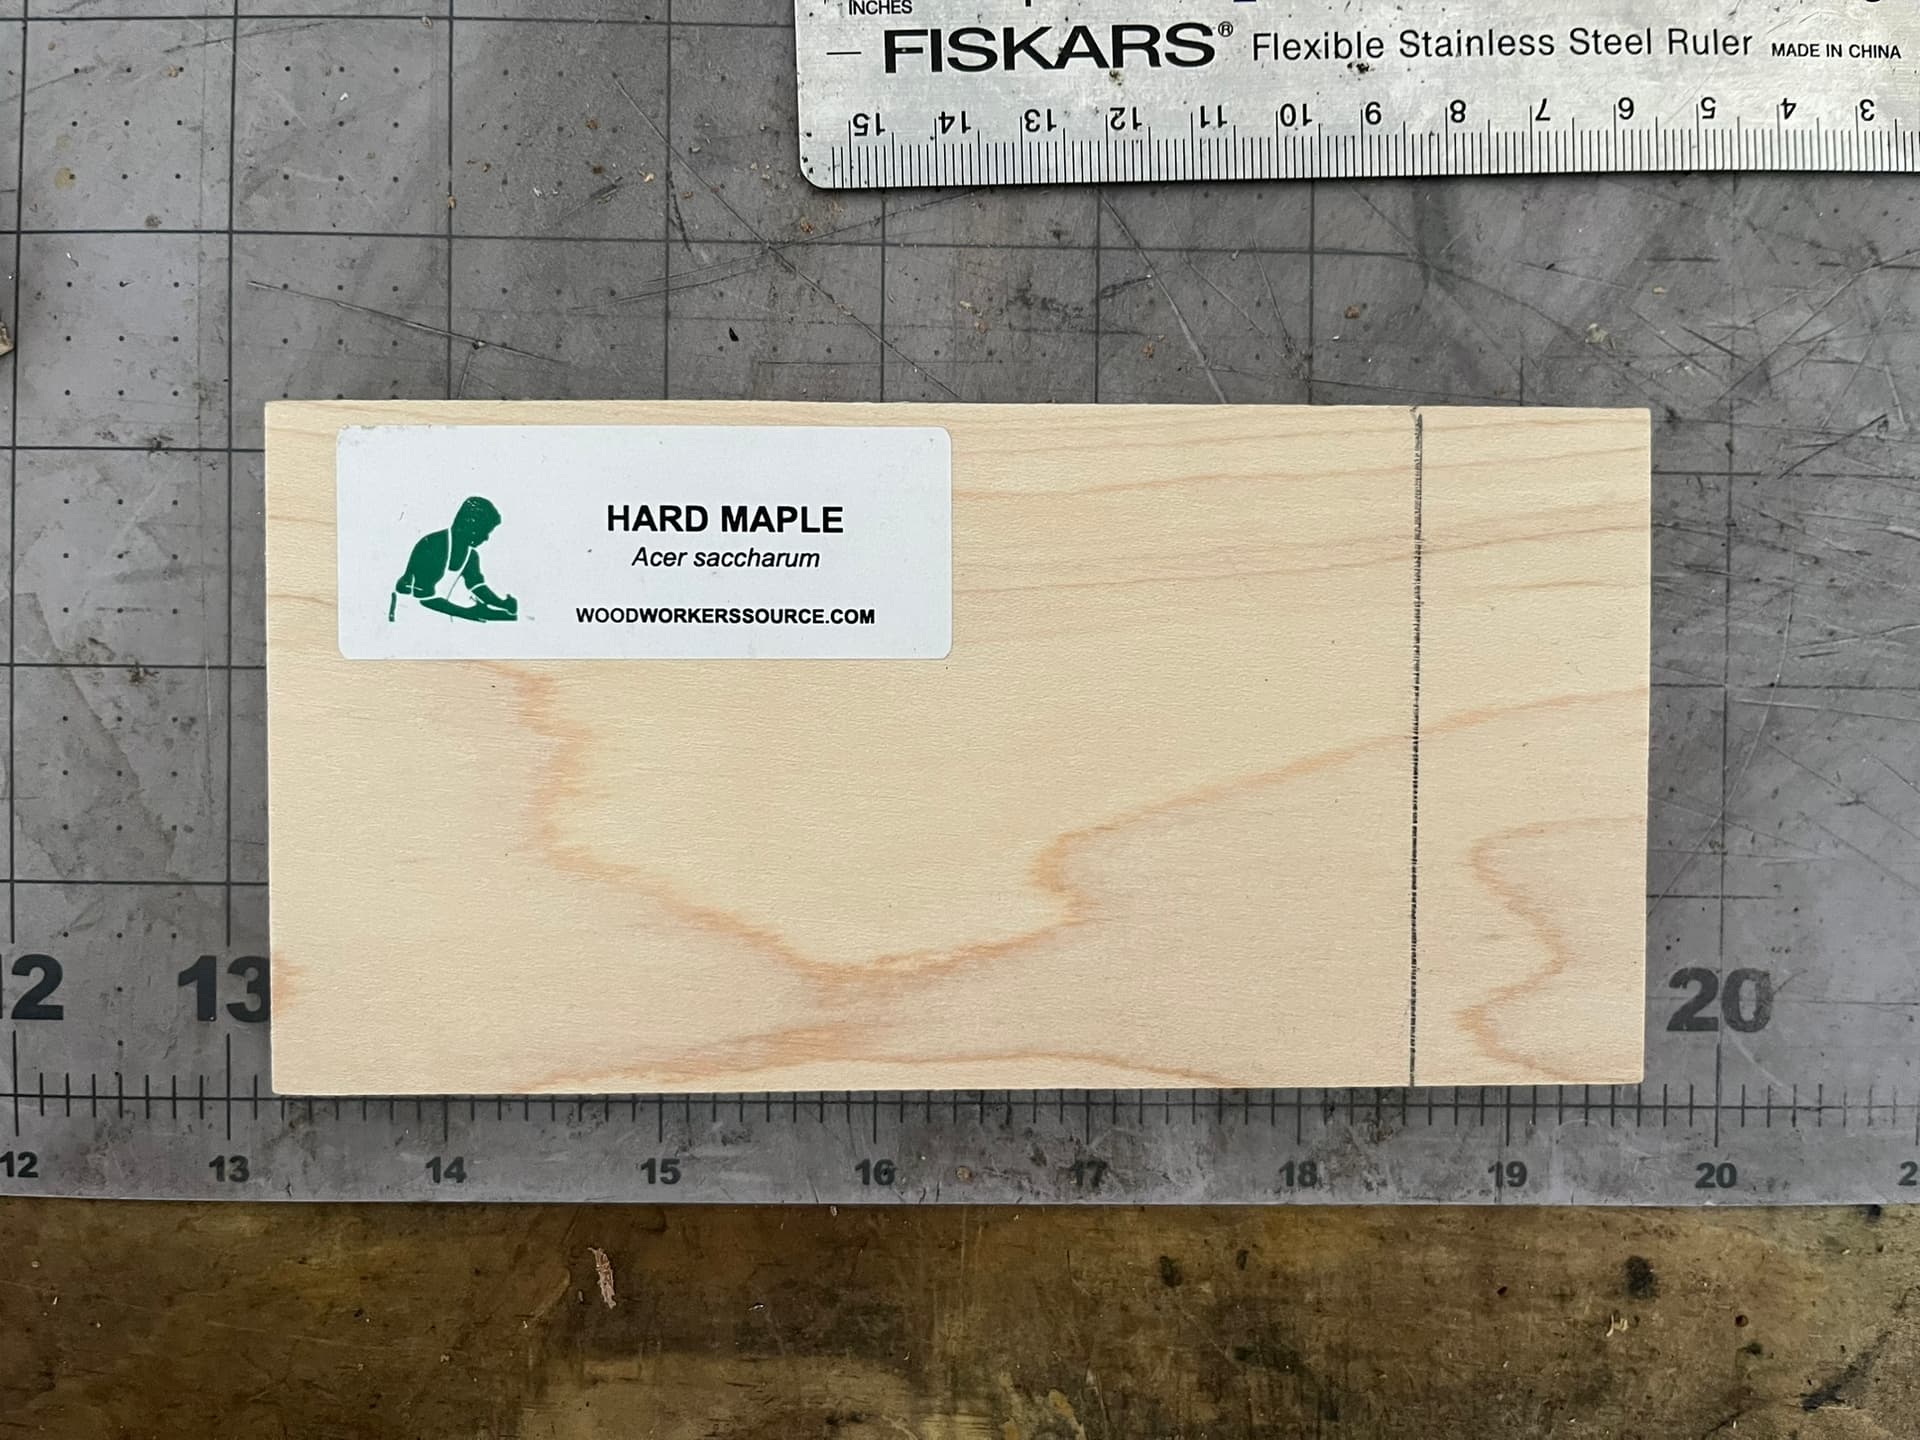
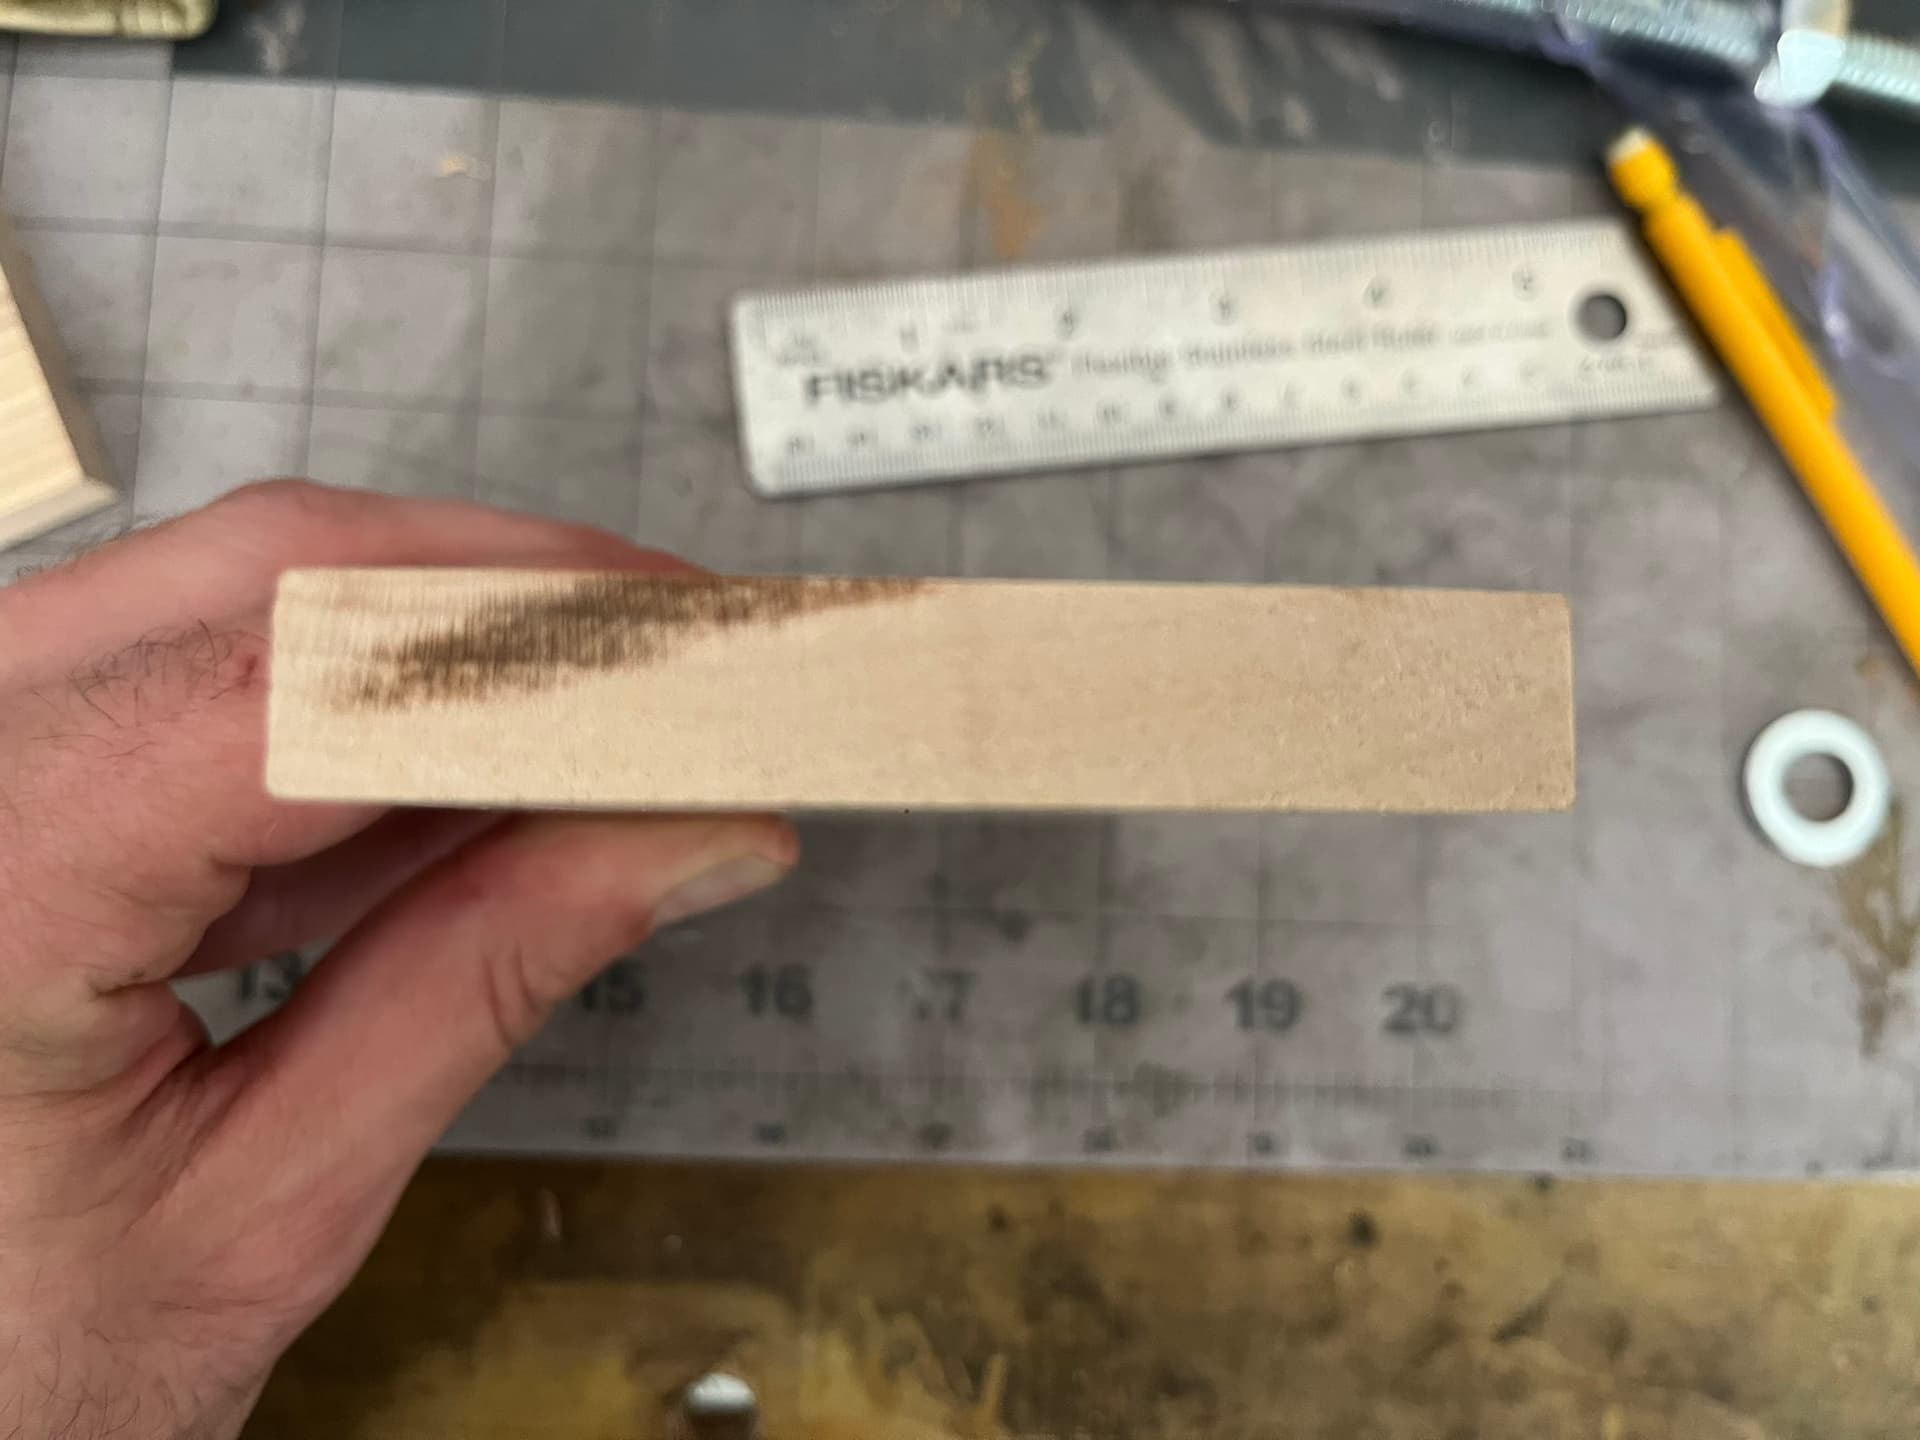
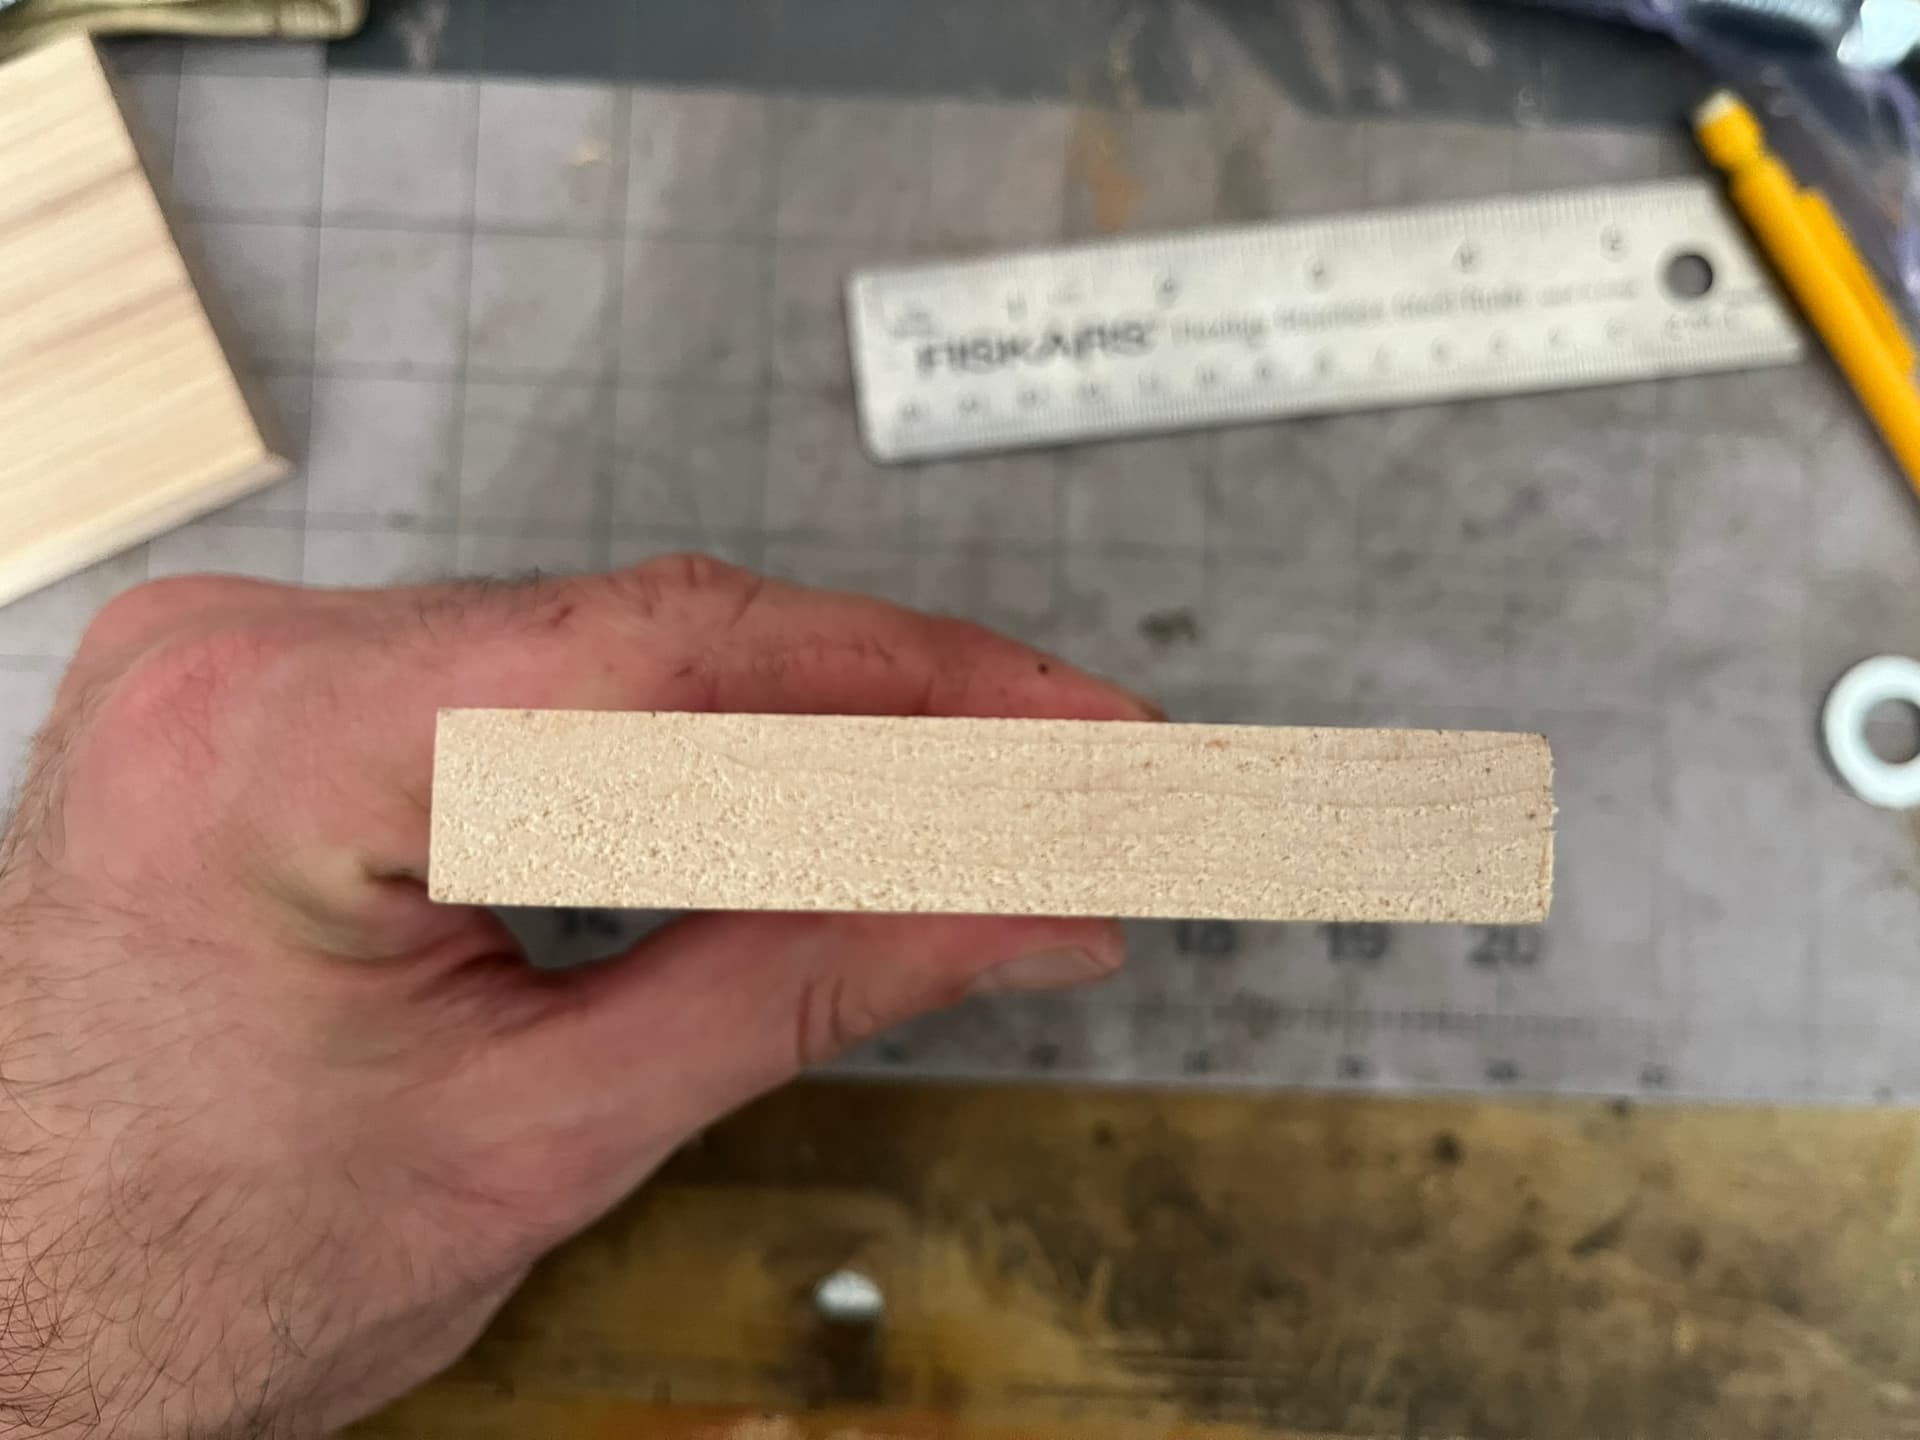
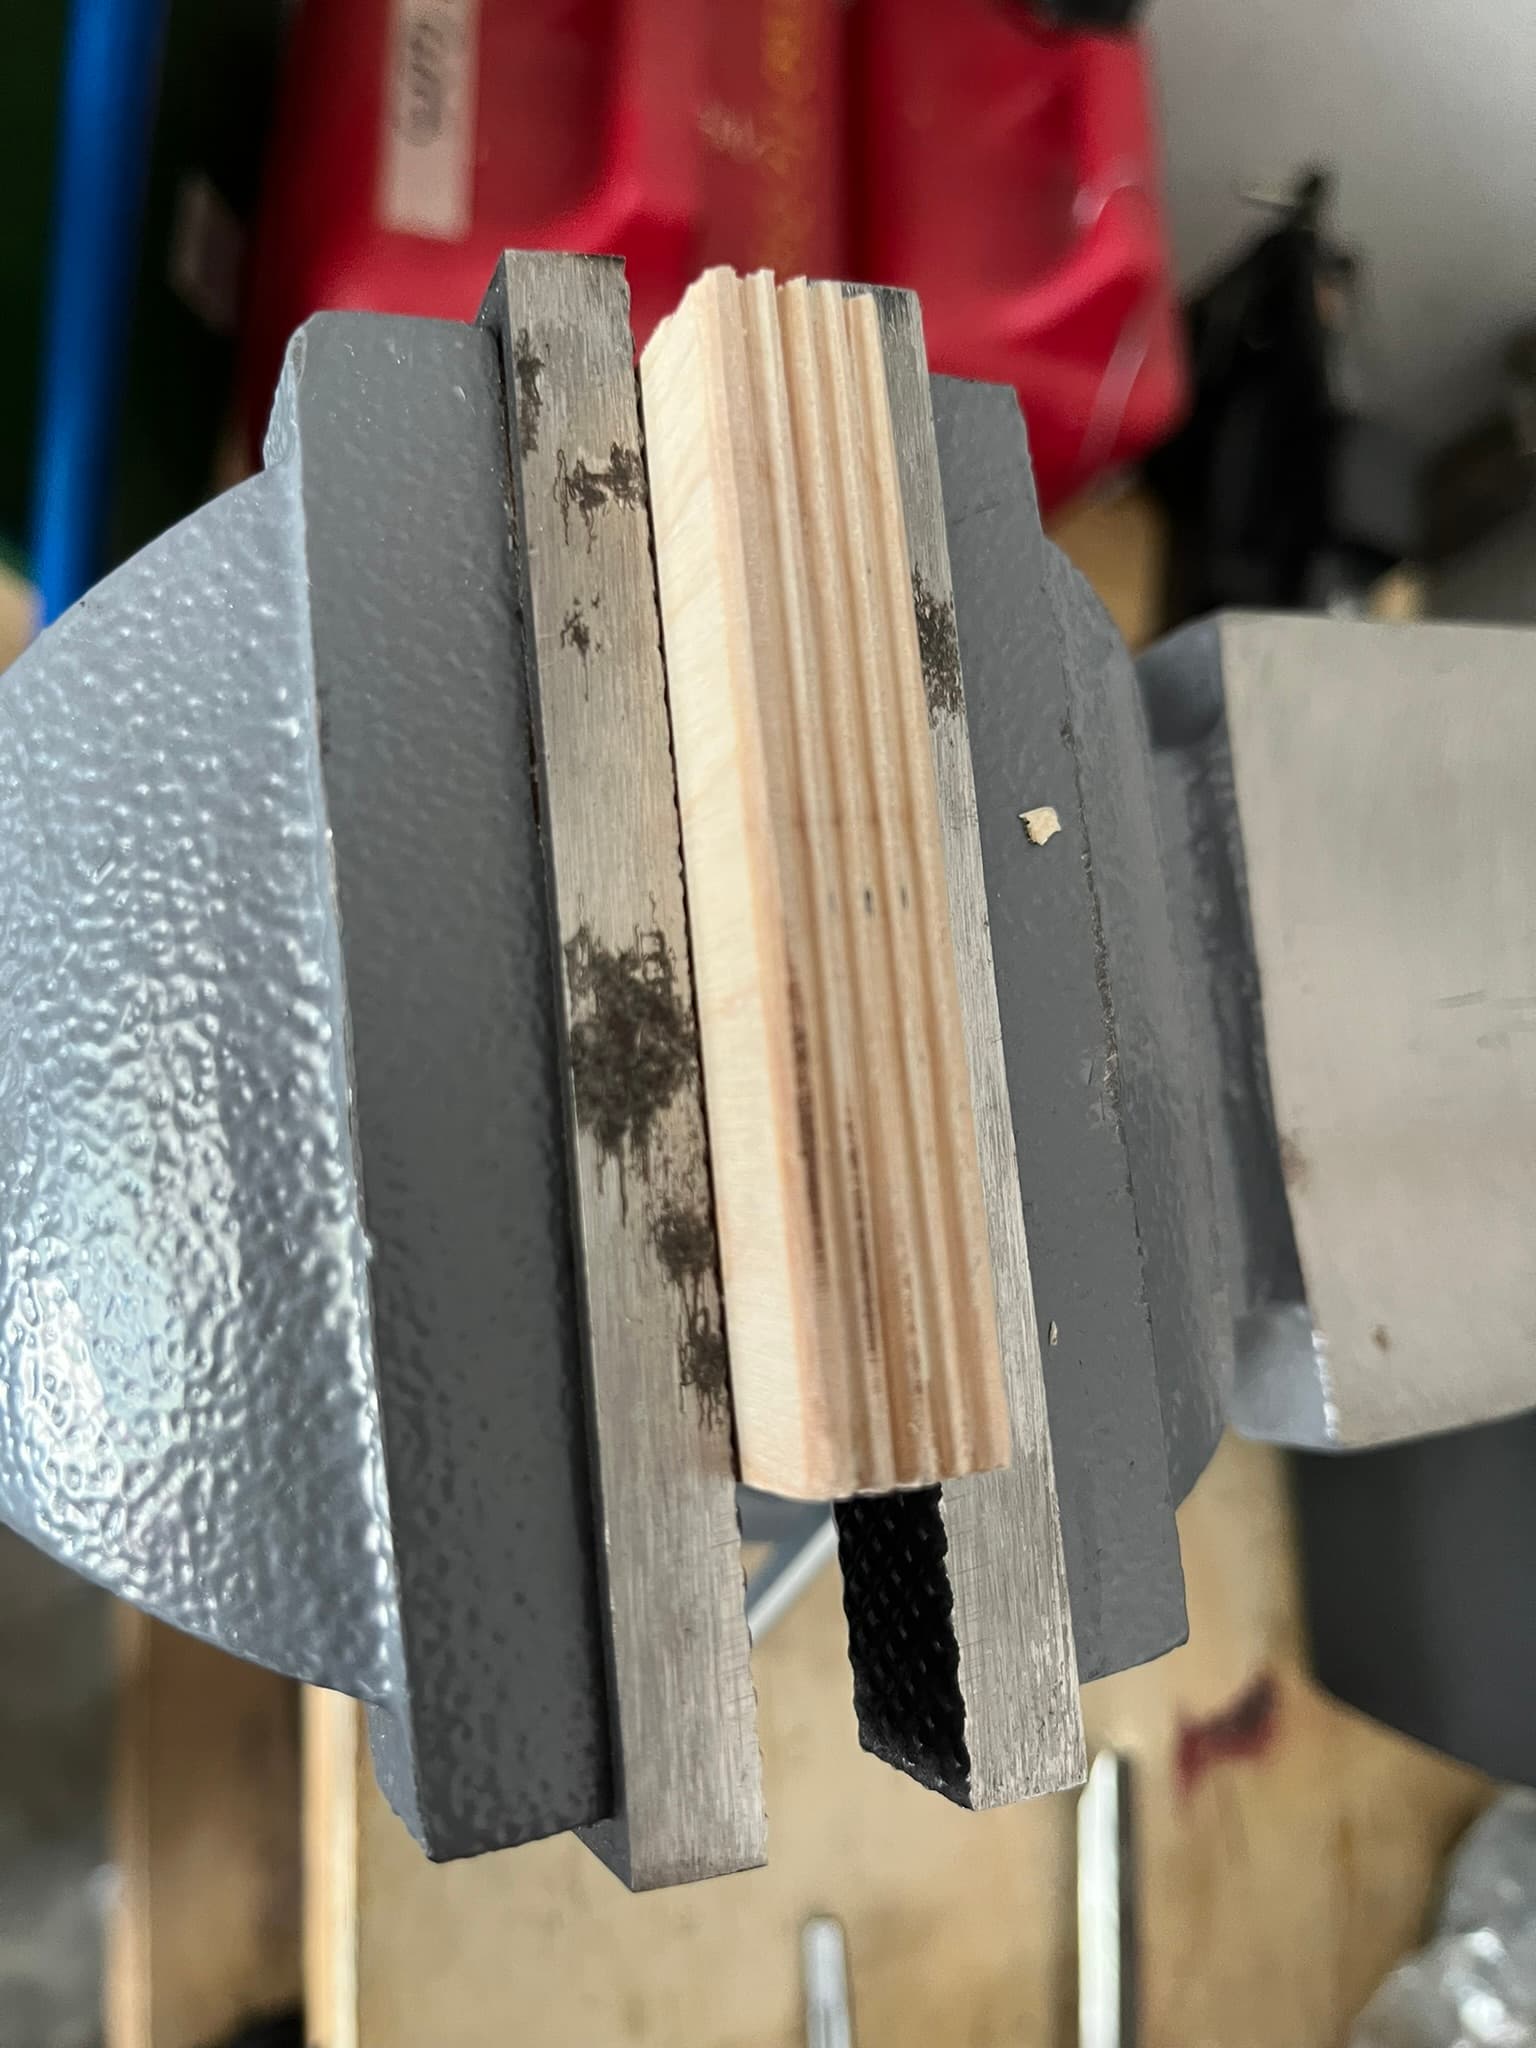
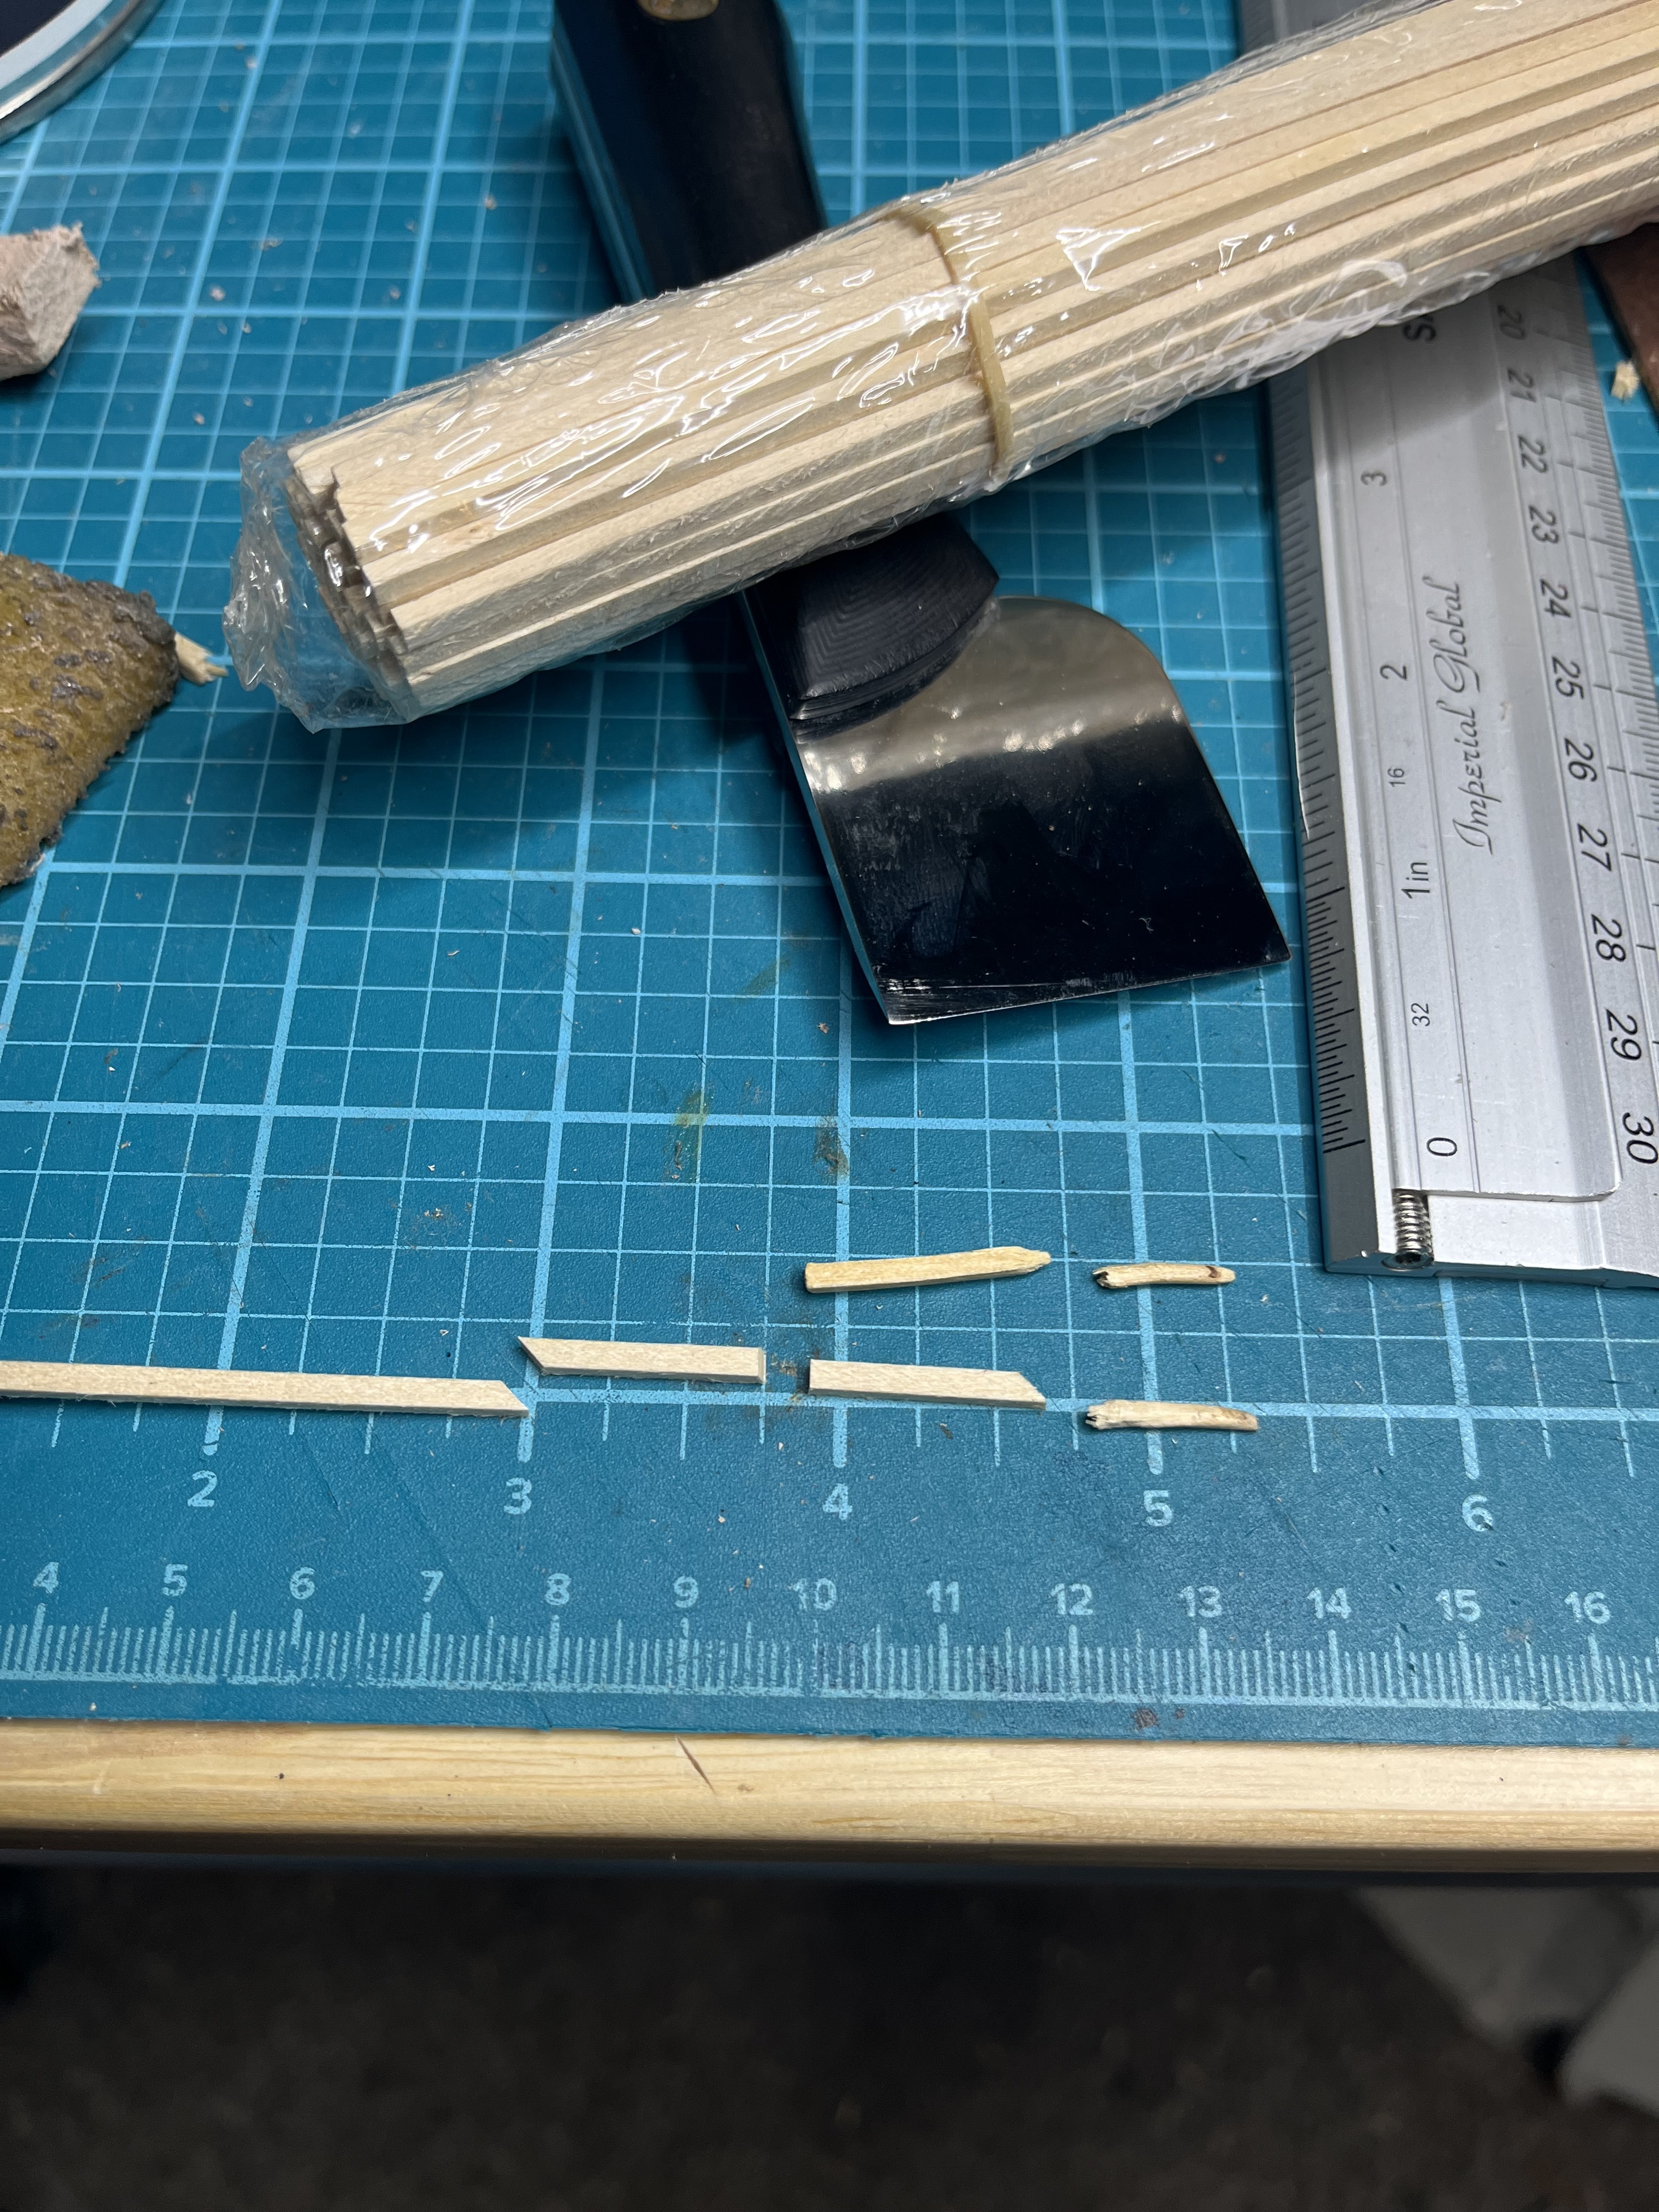
I’ve made my cleanest pegs so far with a mini aluminum mitre box, razor saws, and a Stanley-style utility blade for pointing. For the wood, I’ve bought small slats of hardwood marketed for people who collect samples of different wood species.
It’s a time-consuming, fiddly dust-producing process. But you can get some very nice pegs, from whatever what you can get your hands on.
My mitre box is an old X-Acto one, but I generally prefer Excel for these kinds tools these days.The handles feel sturdier, they tend to have four-jaw chucks instead of two-jaw, they’re made in the USA, and widely available where I live.
This kind of thing is available much cheaper on sites like Amazon than on Excel’s own site right now.
That said, for disposable mini razor saws, I actually prefer the Japanese pull-style:
This is a Razorsaw-brand “Flush Cutting Saw Double Edge”, Number 1151. I paid well less than $20 for mine online, some months back.
I also see these listed as “Gyokucho” products—they may have renamed themselves. The Japanese term for this kind of saw seems to be “kugihiki”, and there may be other makers. A number of woodworking tool sellers market them from trimming dowels.
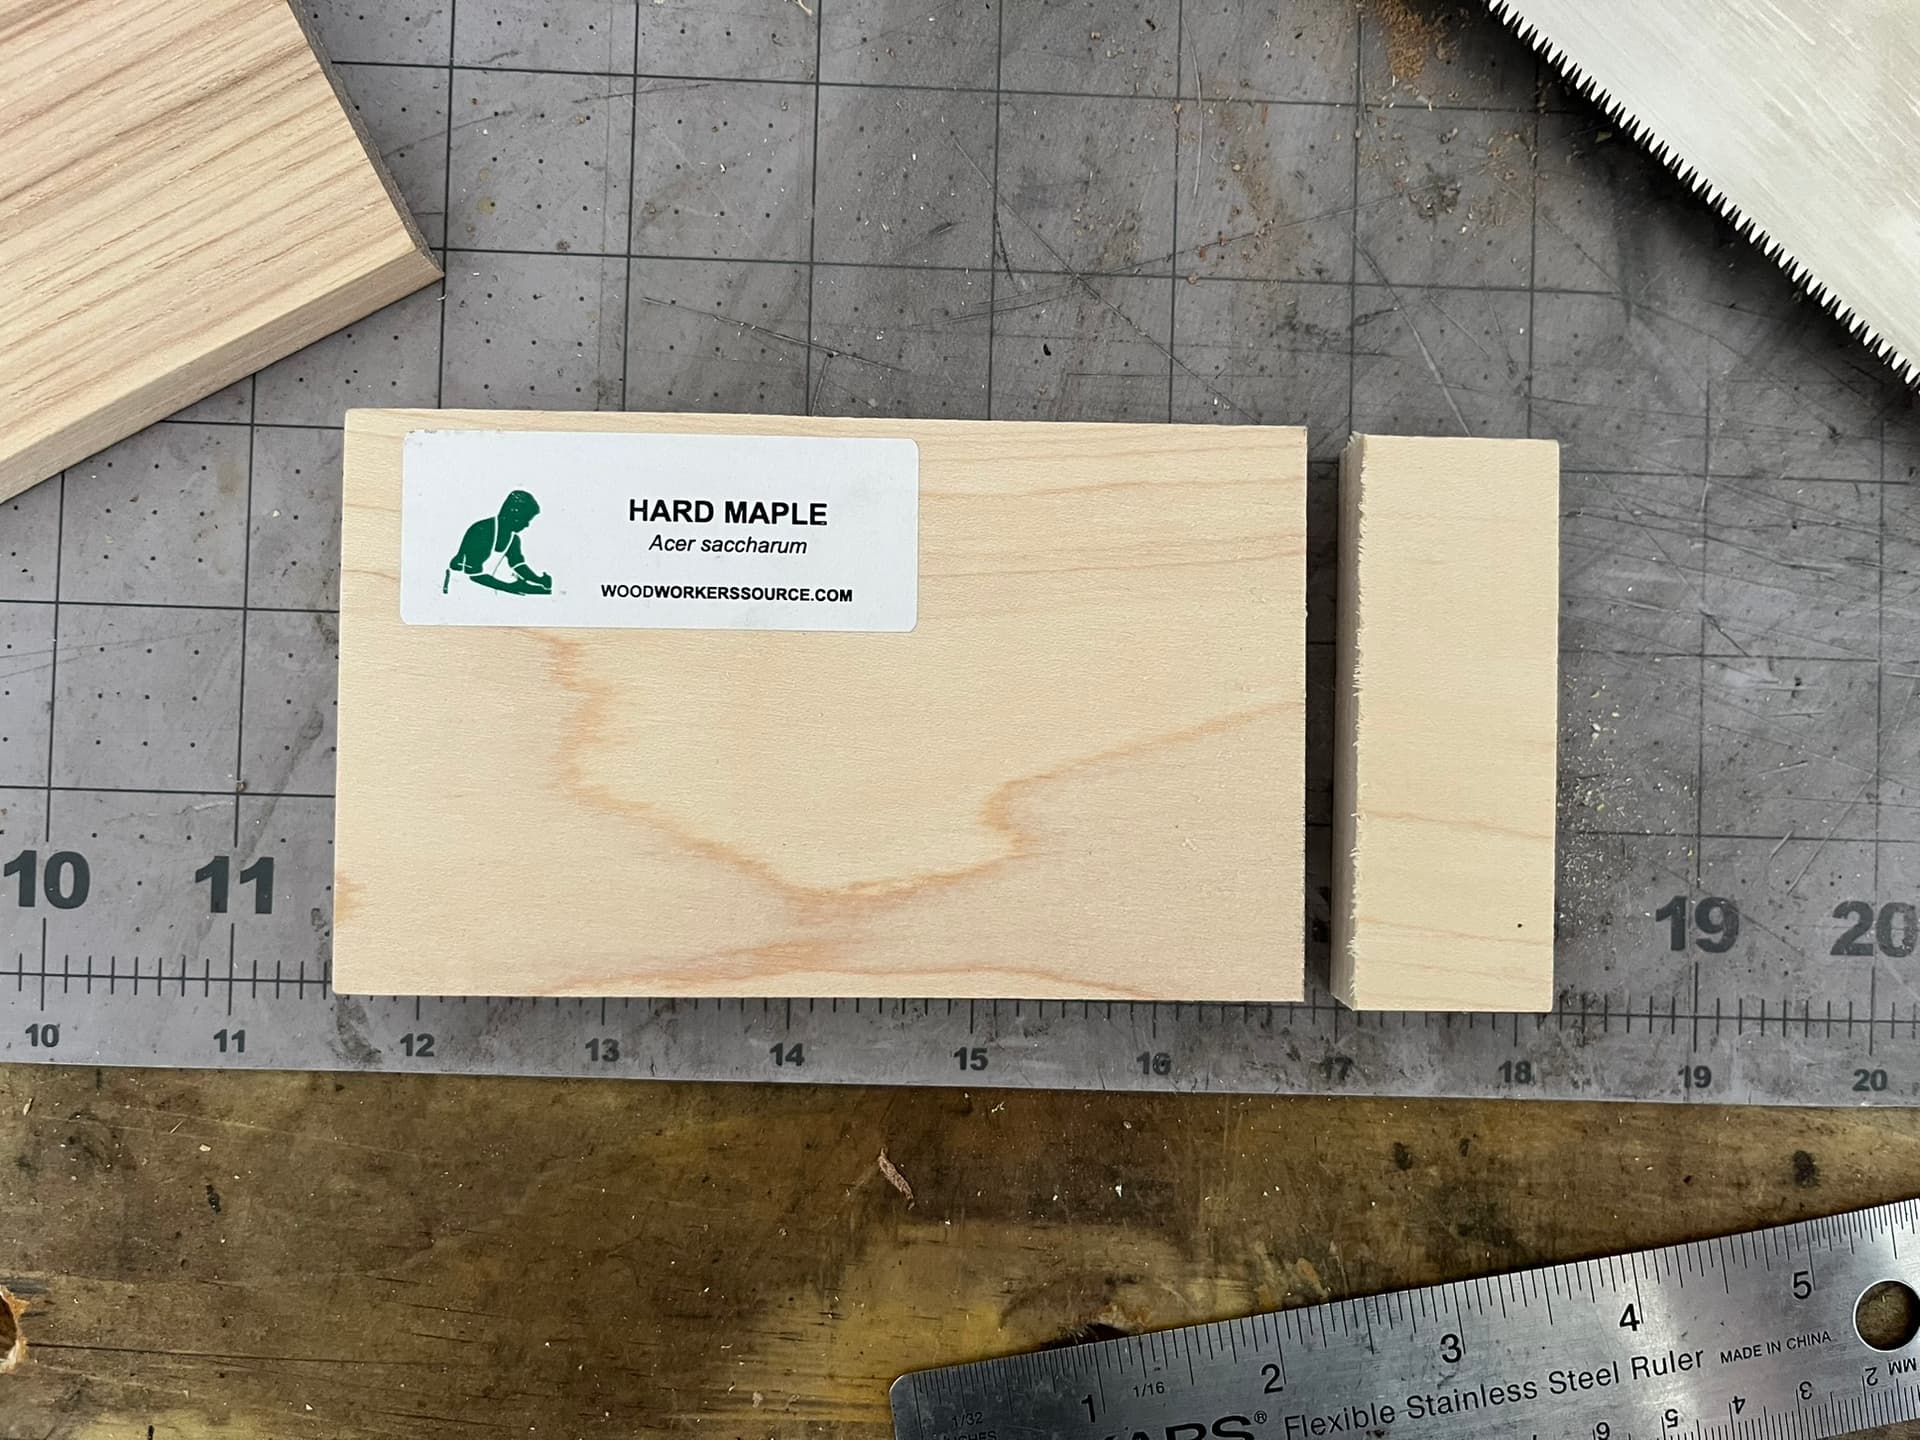
As for the wood, Woodworkers Source, a division of MacBeath Hardwood, sells species samples online. They’re sized specifically to mail cheaply via USPS, and currently come in under $10 each for all but the most exotic species.
https://www.woodworkerssource.com/search.html?Search=sample
I haven’t quite pinned down how best to build a fence in the mitre box, so I can repeatably set the wood in place to cut 2.5mm slats. I’ve just been doing it by eye, guess and check. The size is small enough that the kerf of of the saw matters, as well as placement within the 90° guide slot of the mitre box.
Method
With the saws, the general method is to:
-
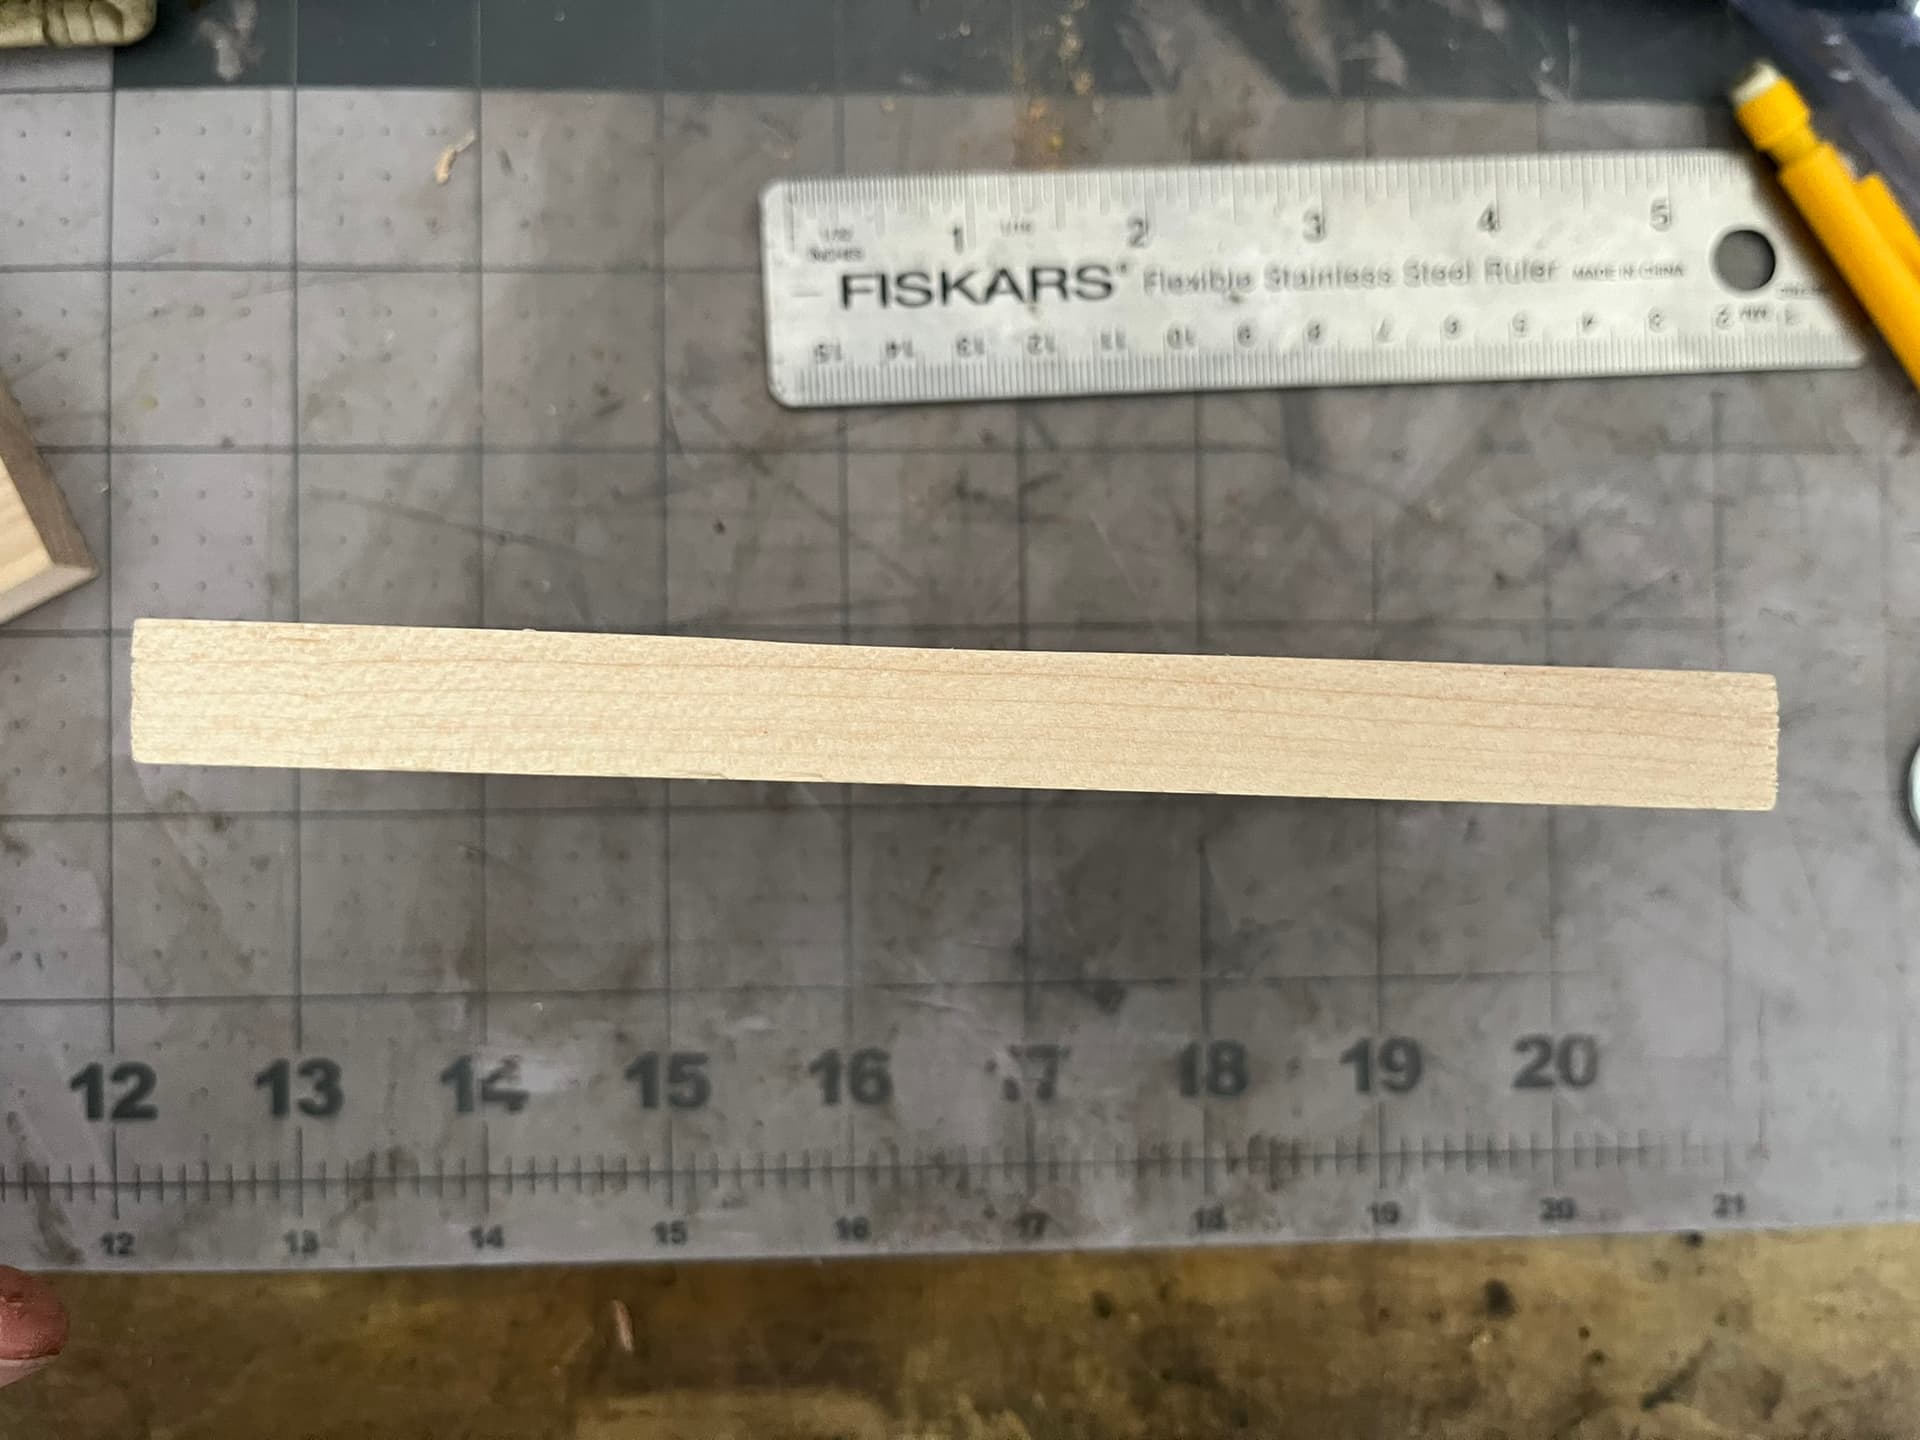
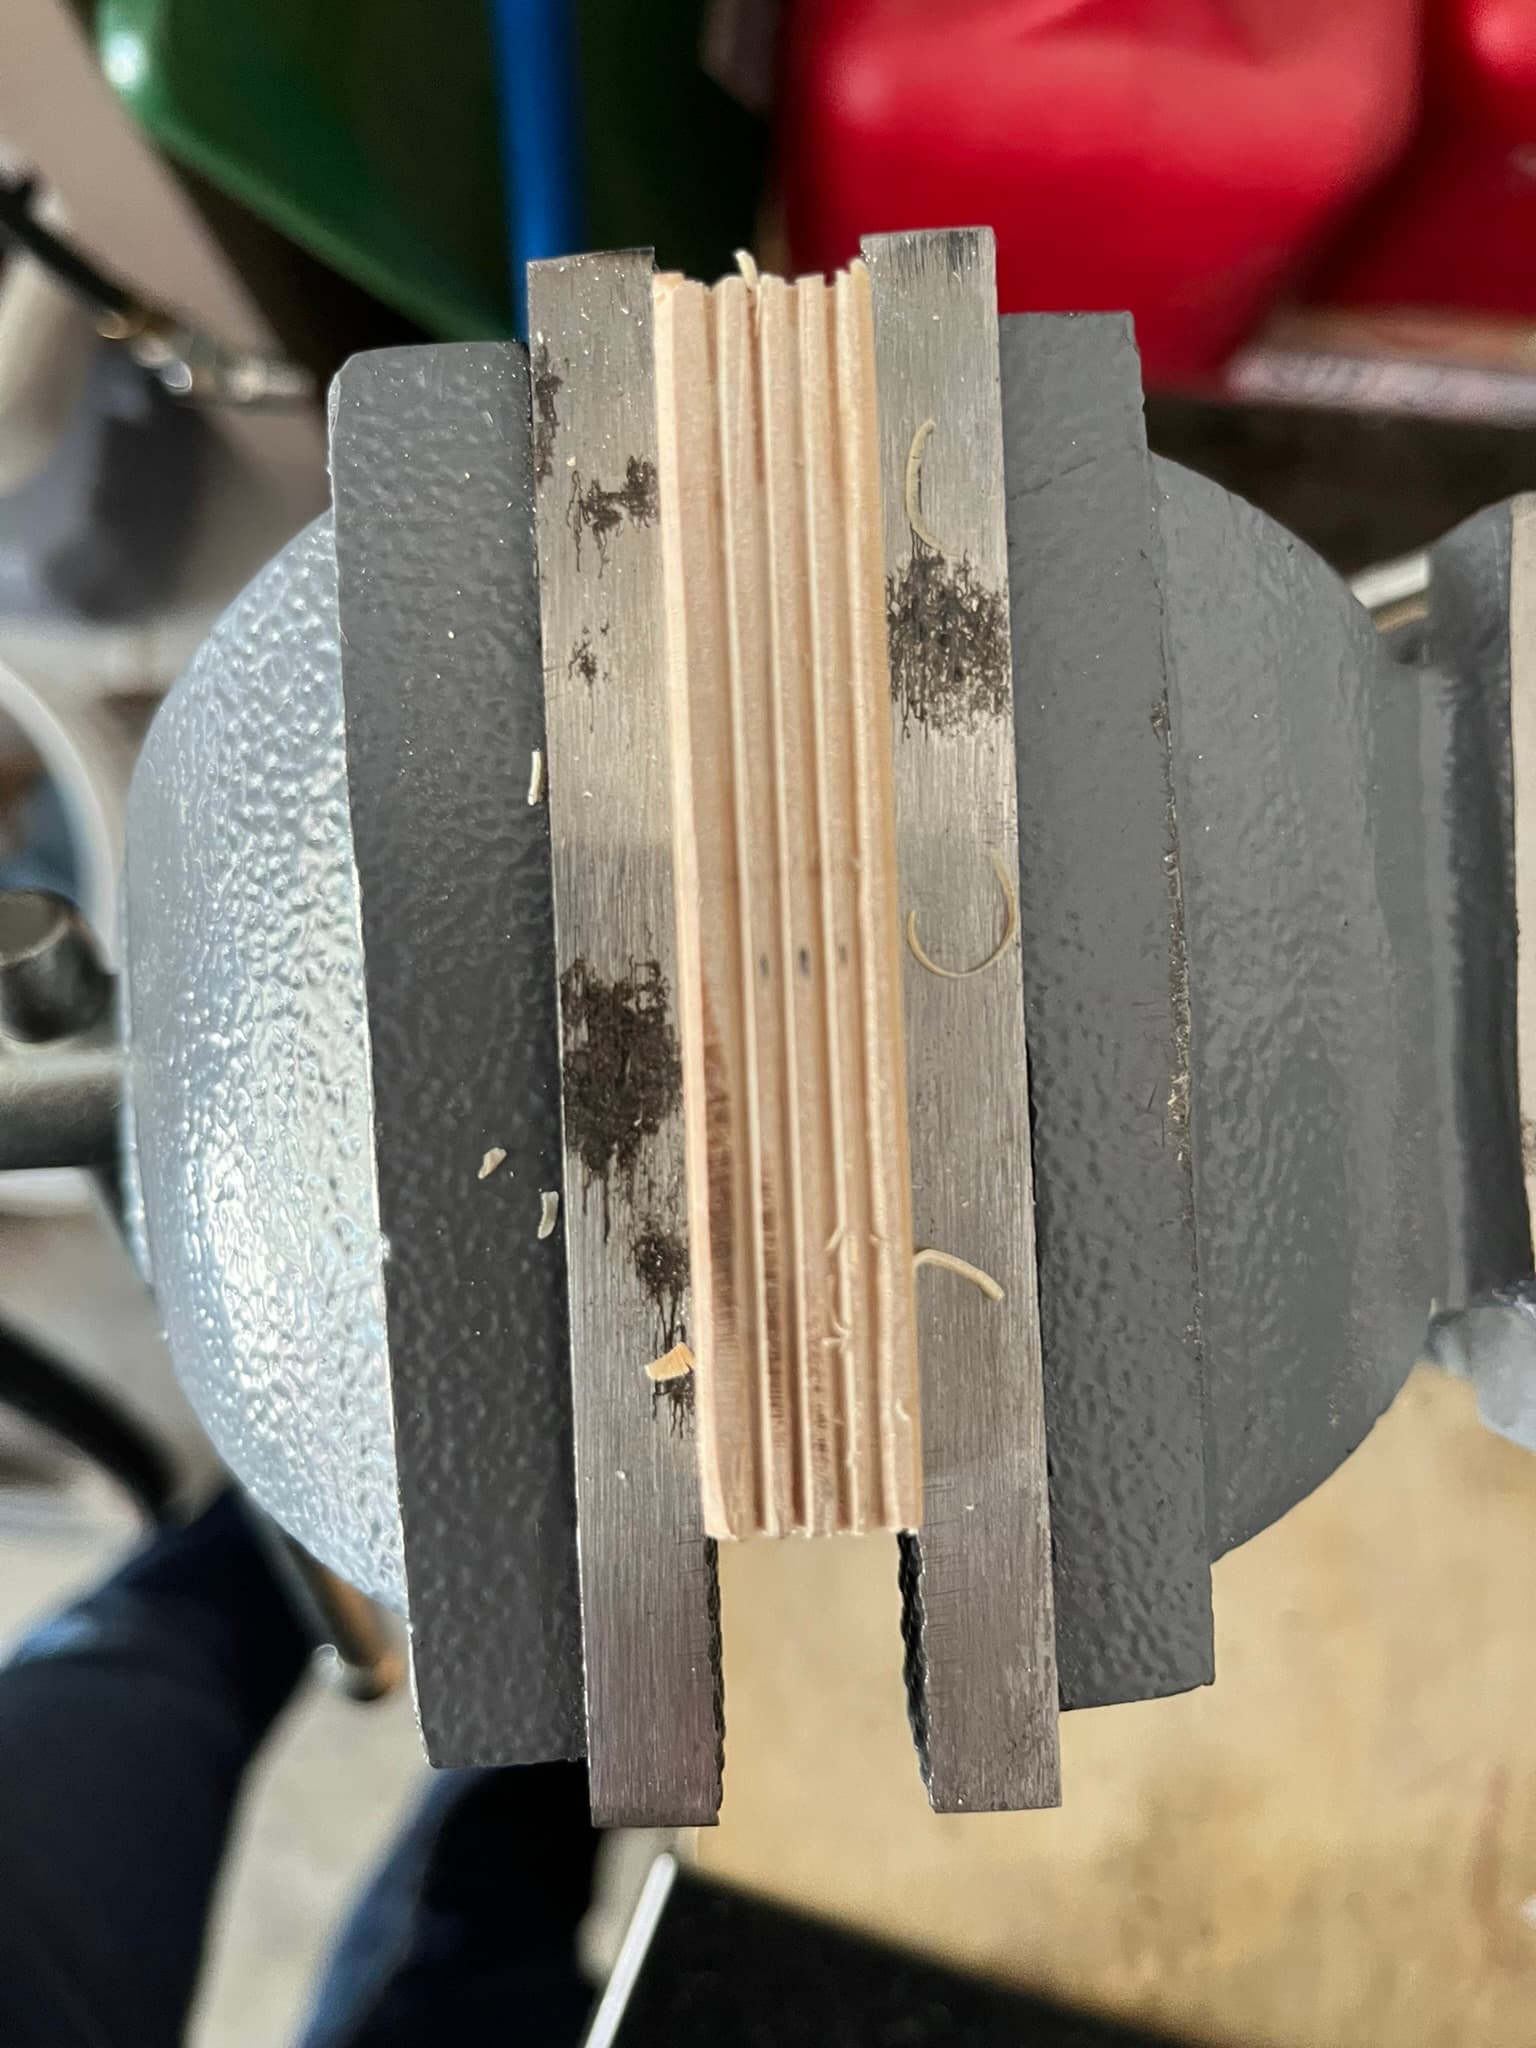
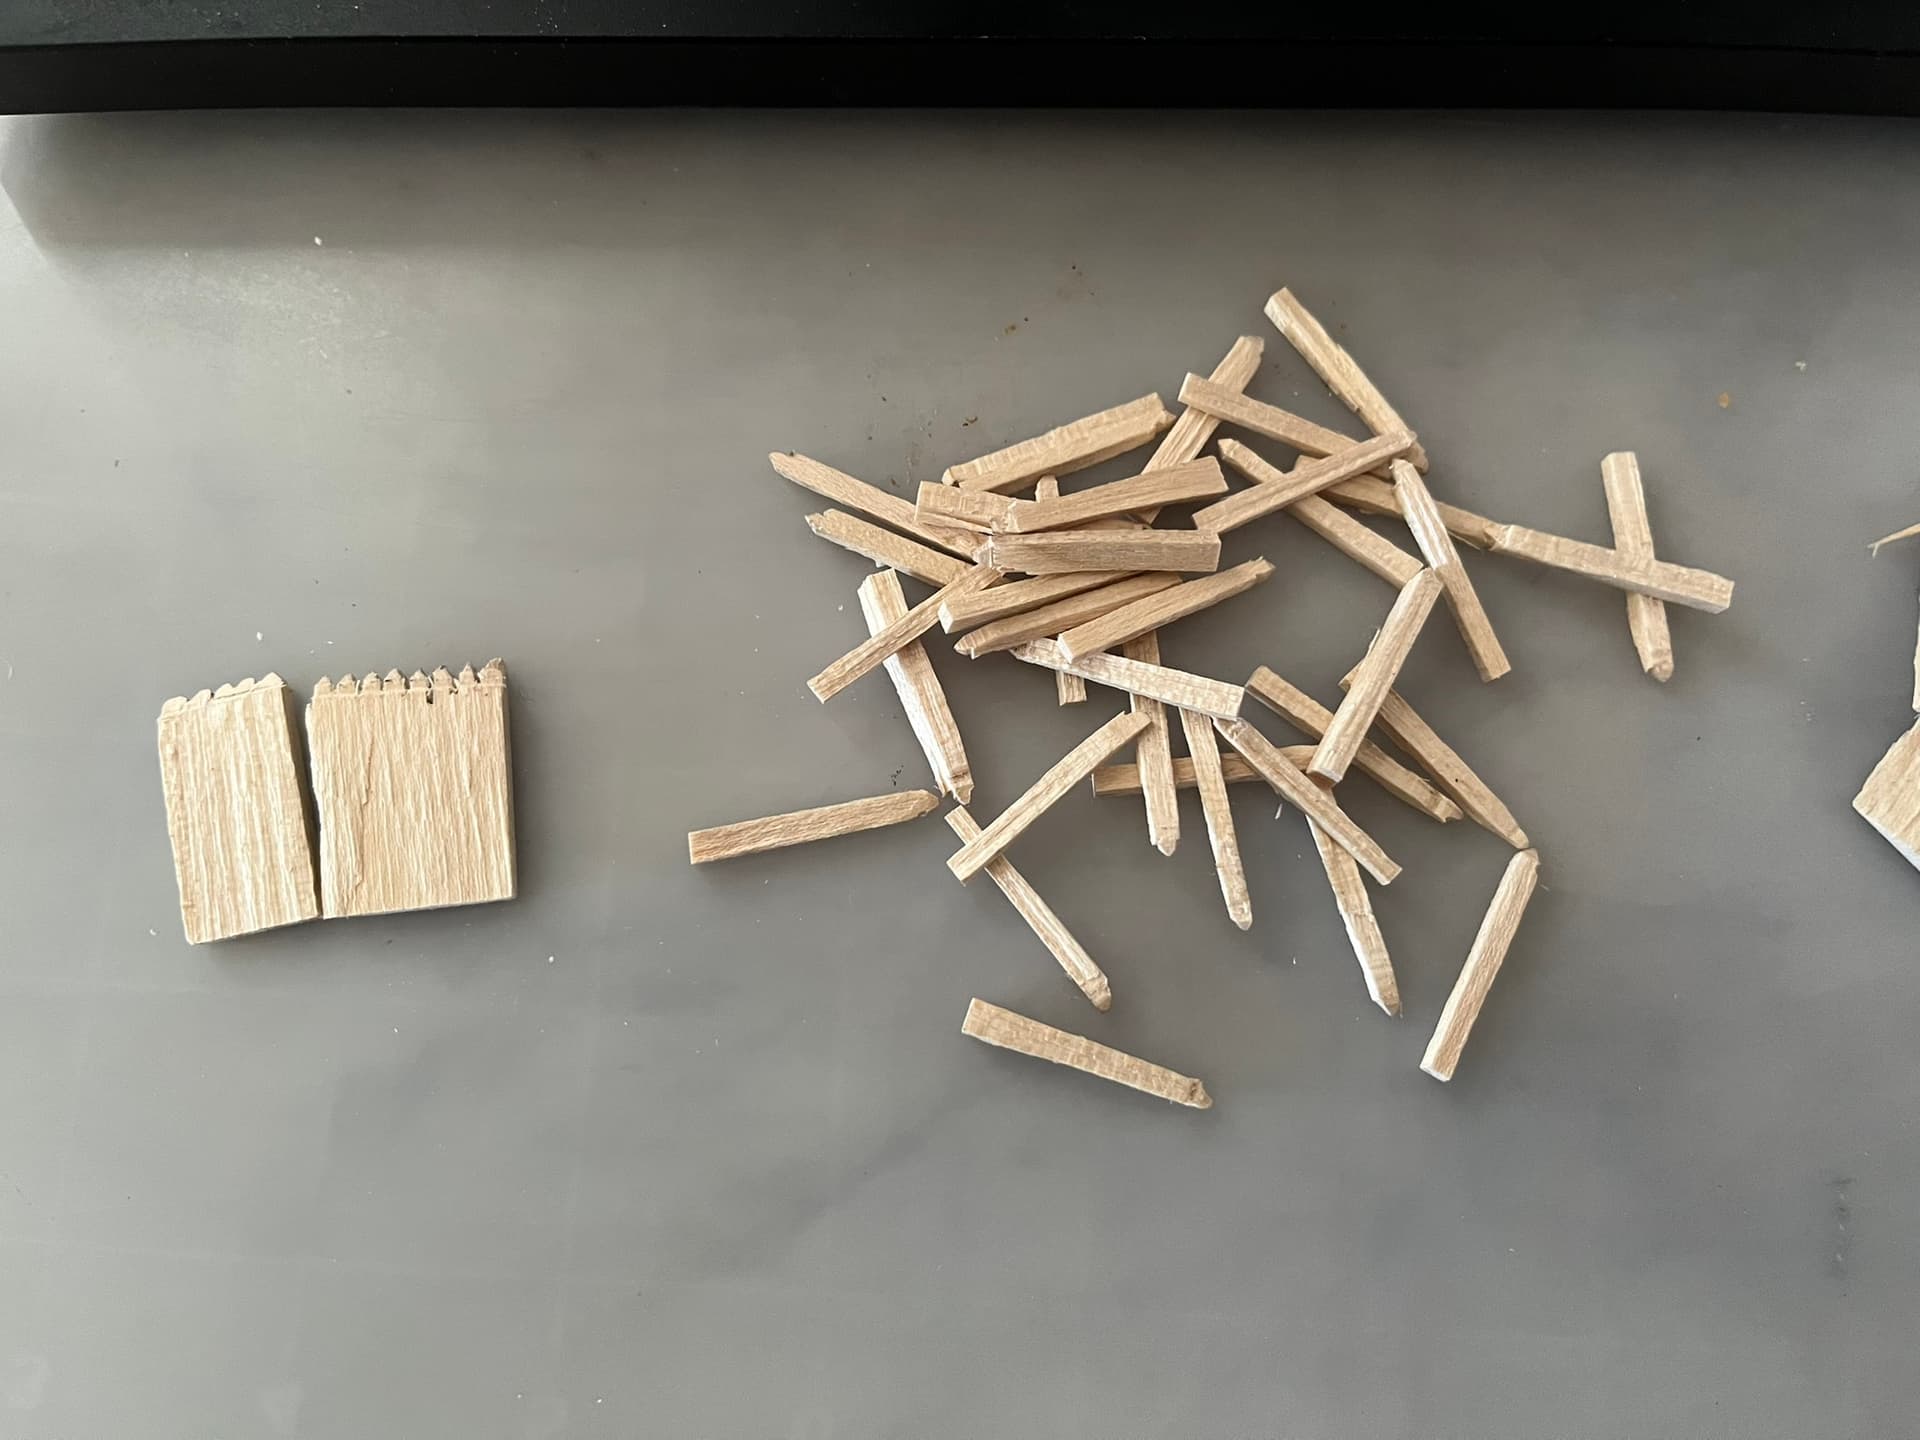
Rough cut blocks from the sample that fit in the mitre box and run somewhat longer than the finished pegs. I’ve generally gone about an inch long so far, with a plan to trim them to length with cobbler’s pincers when I’m pegging.
-
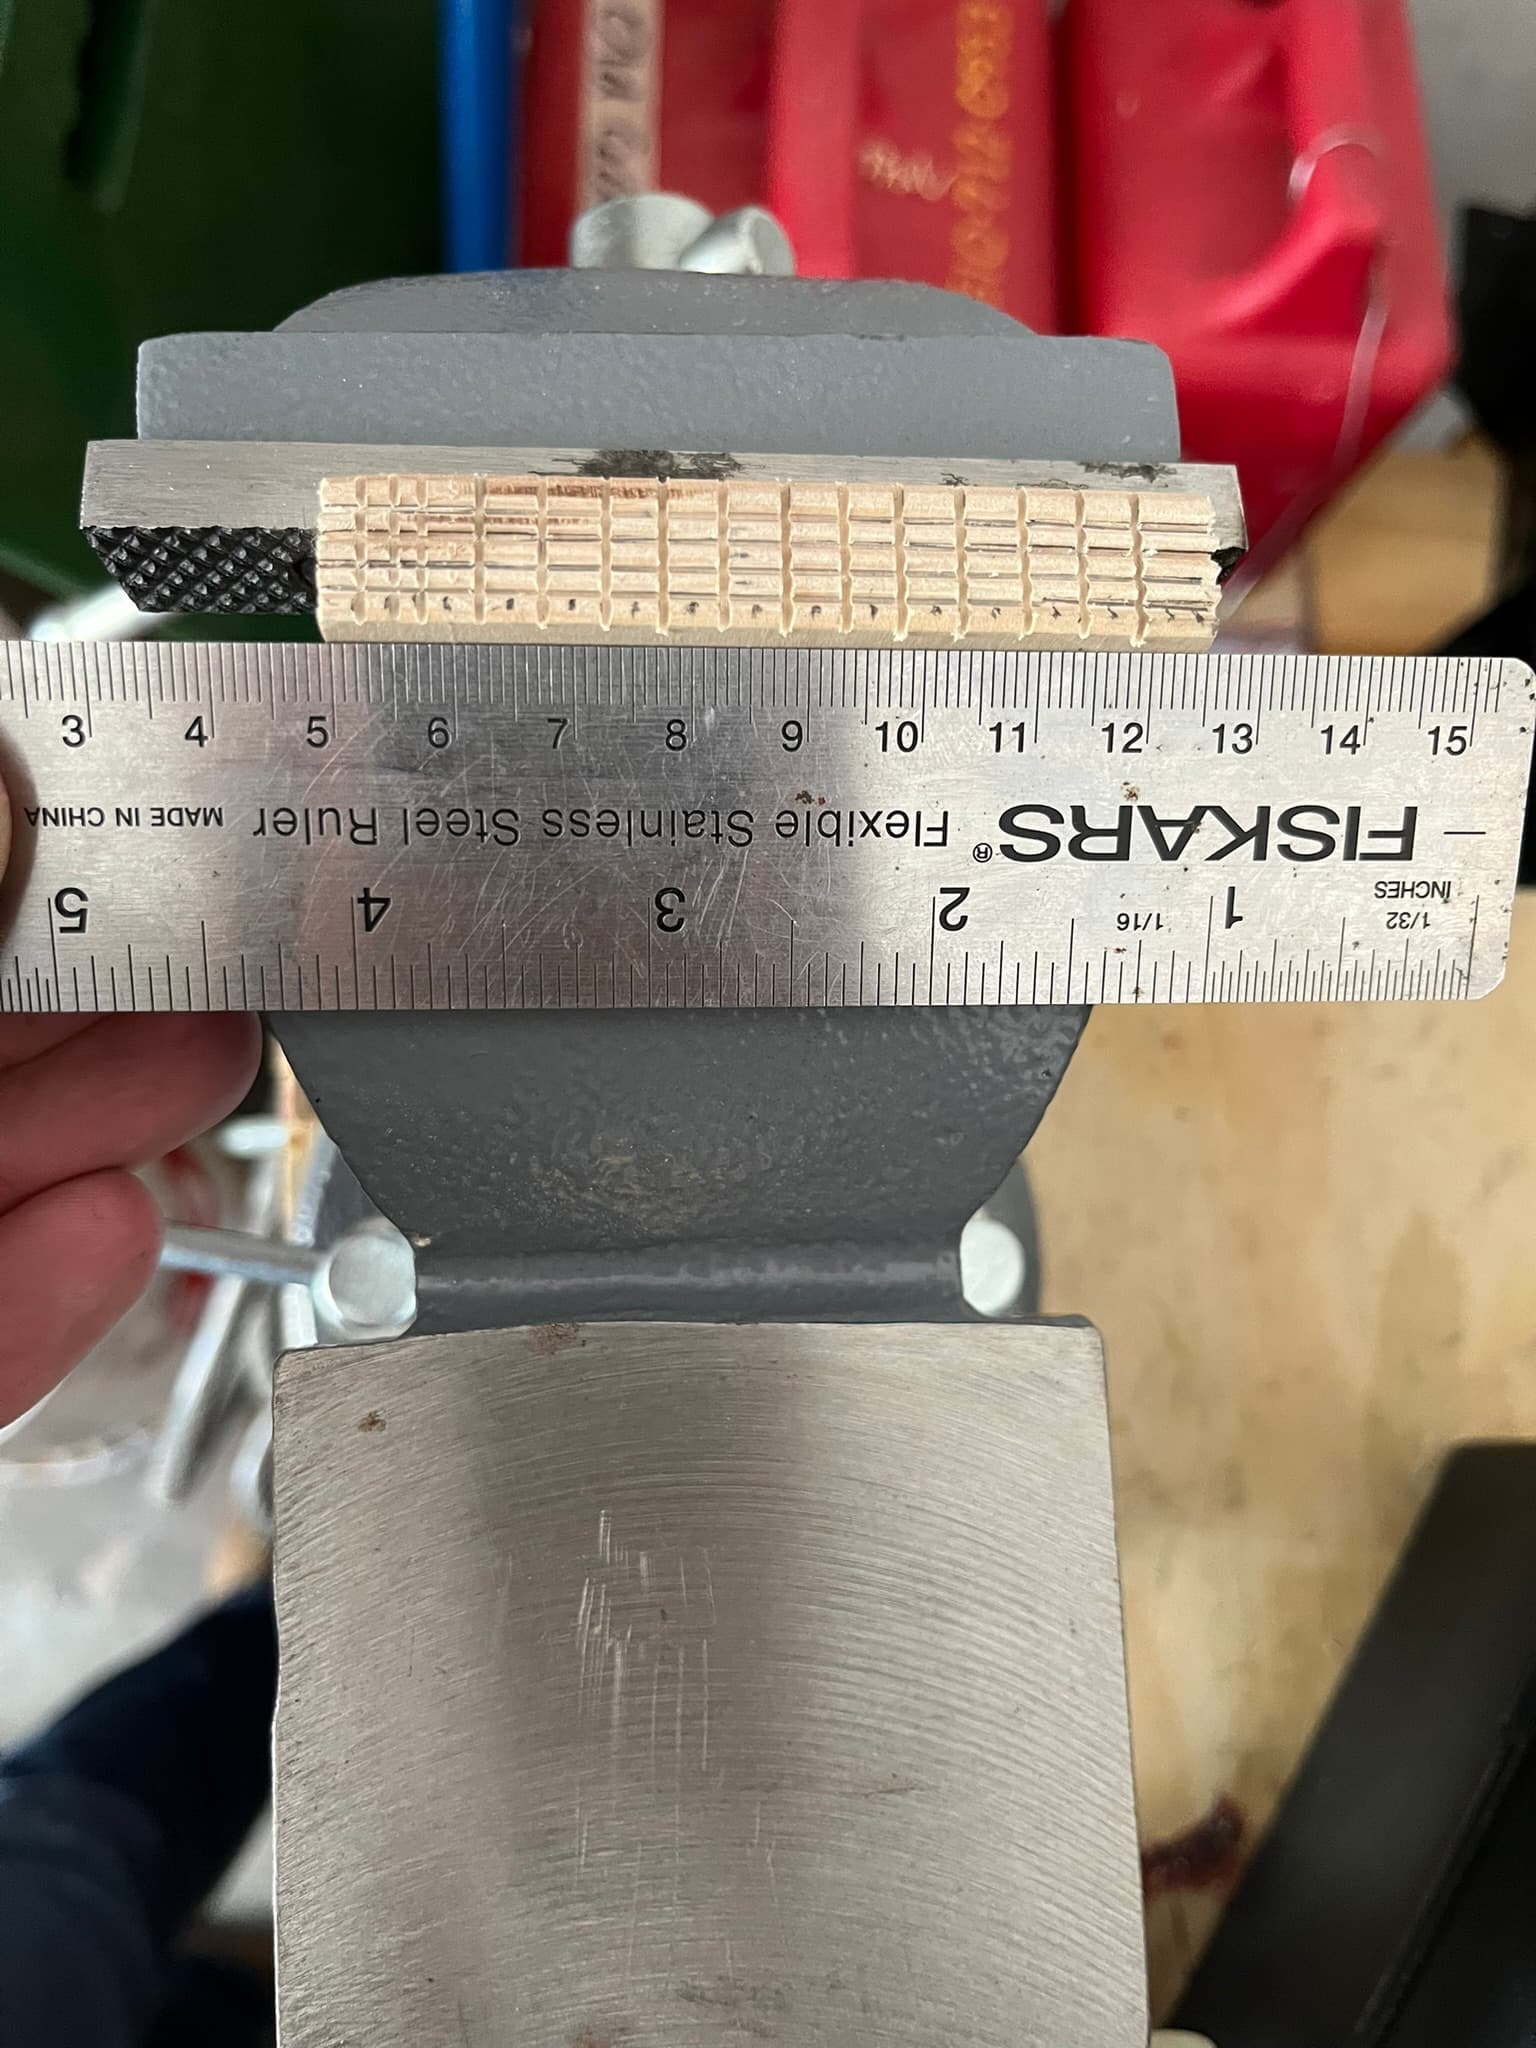
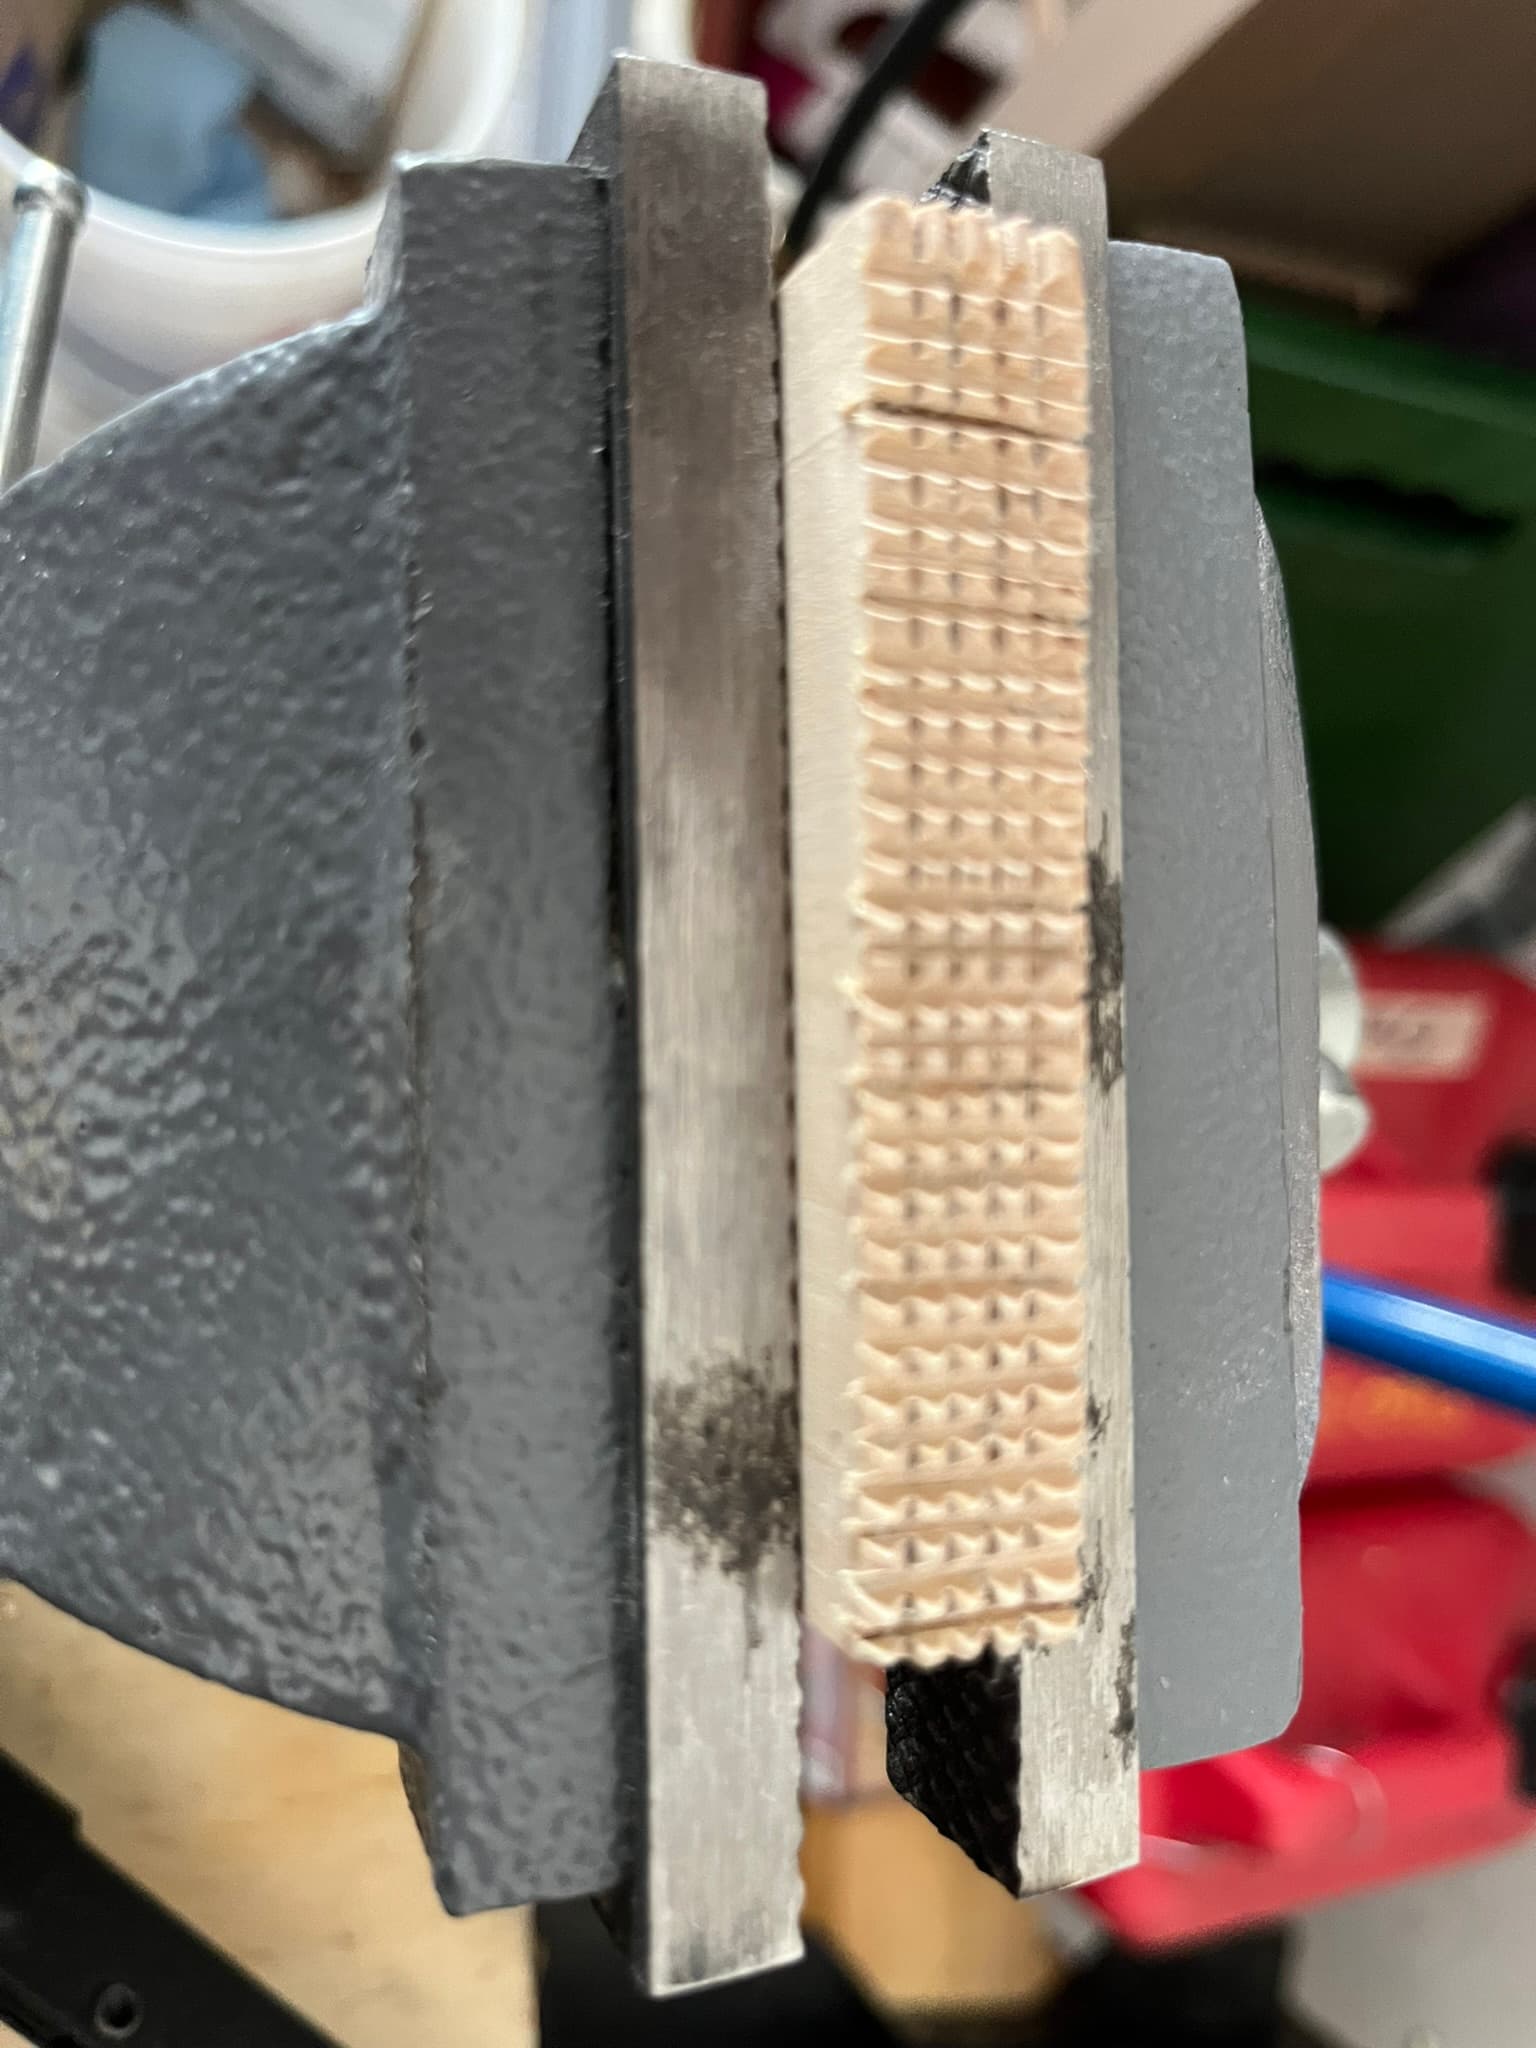
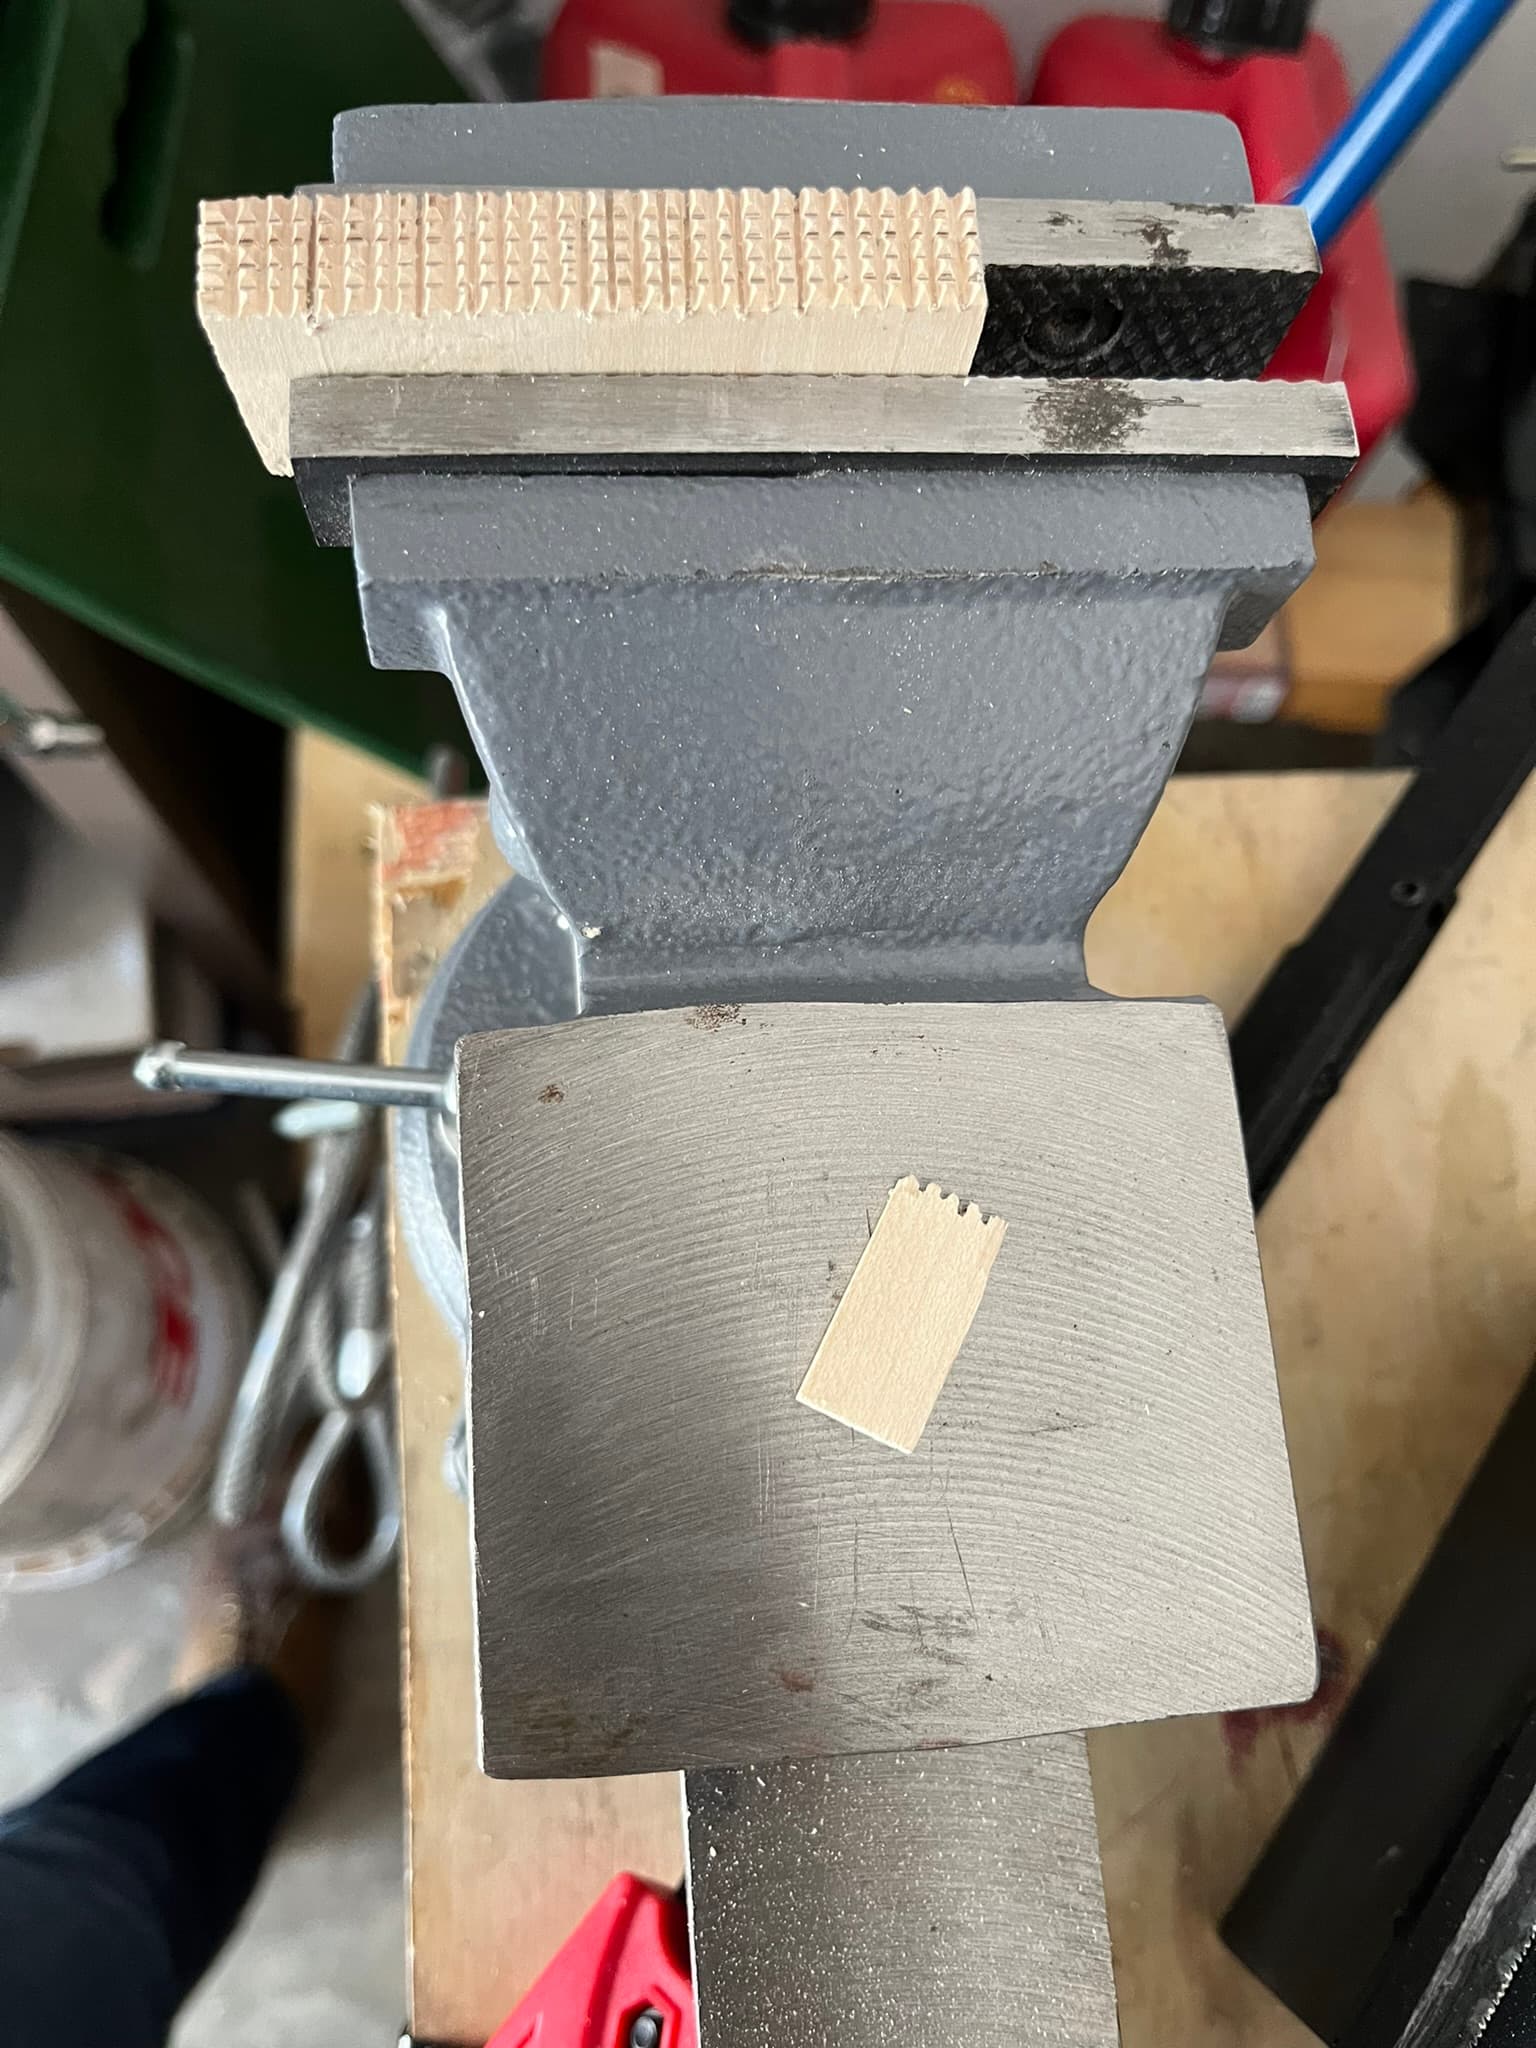
Saw thin slats off those blocks the width of your intended pegs. I’ve been shooting for between 2 and 3 millimeters.
-
Saw the slats into matchsticks. You can also do this step by splitting, though with more irregular results.
-
Point the pegs by whittling one end.
The thing to keep in mind throughout is grain direction. You want the long grain of the wood running parallel to the long axis of the finished pegs.
Alternative: Splitting
I’ve had some success making pegs of a target size by splitting off slats and individual pegs with a small chisel. However, the vast majority of these pegs are noticeably irregular, not nicely square. They also vary uncontrollably in width, with the grain along which they split.
In practice, splitting let me churn out more pegs faster, but at the cost of having to sort the end products as an extra step, rejecting lots as too thin or too thick. I also found myself doing far more whittling of individual pegs, to bring more “within spec”.
On the other hand, the irregular look could be its own valid style choice. For reproducing some historical footwear, it might be more correct, though I’ve gathered from a few sources that fully pegged outsoles—where the pegs are more visible—largely arose with the mass production of pegs, which therefore looked more uniform.
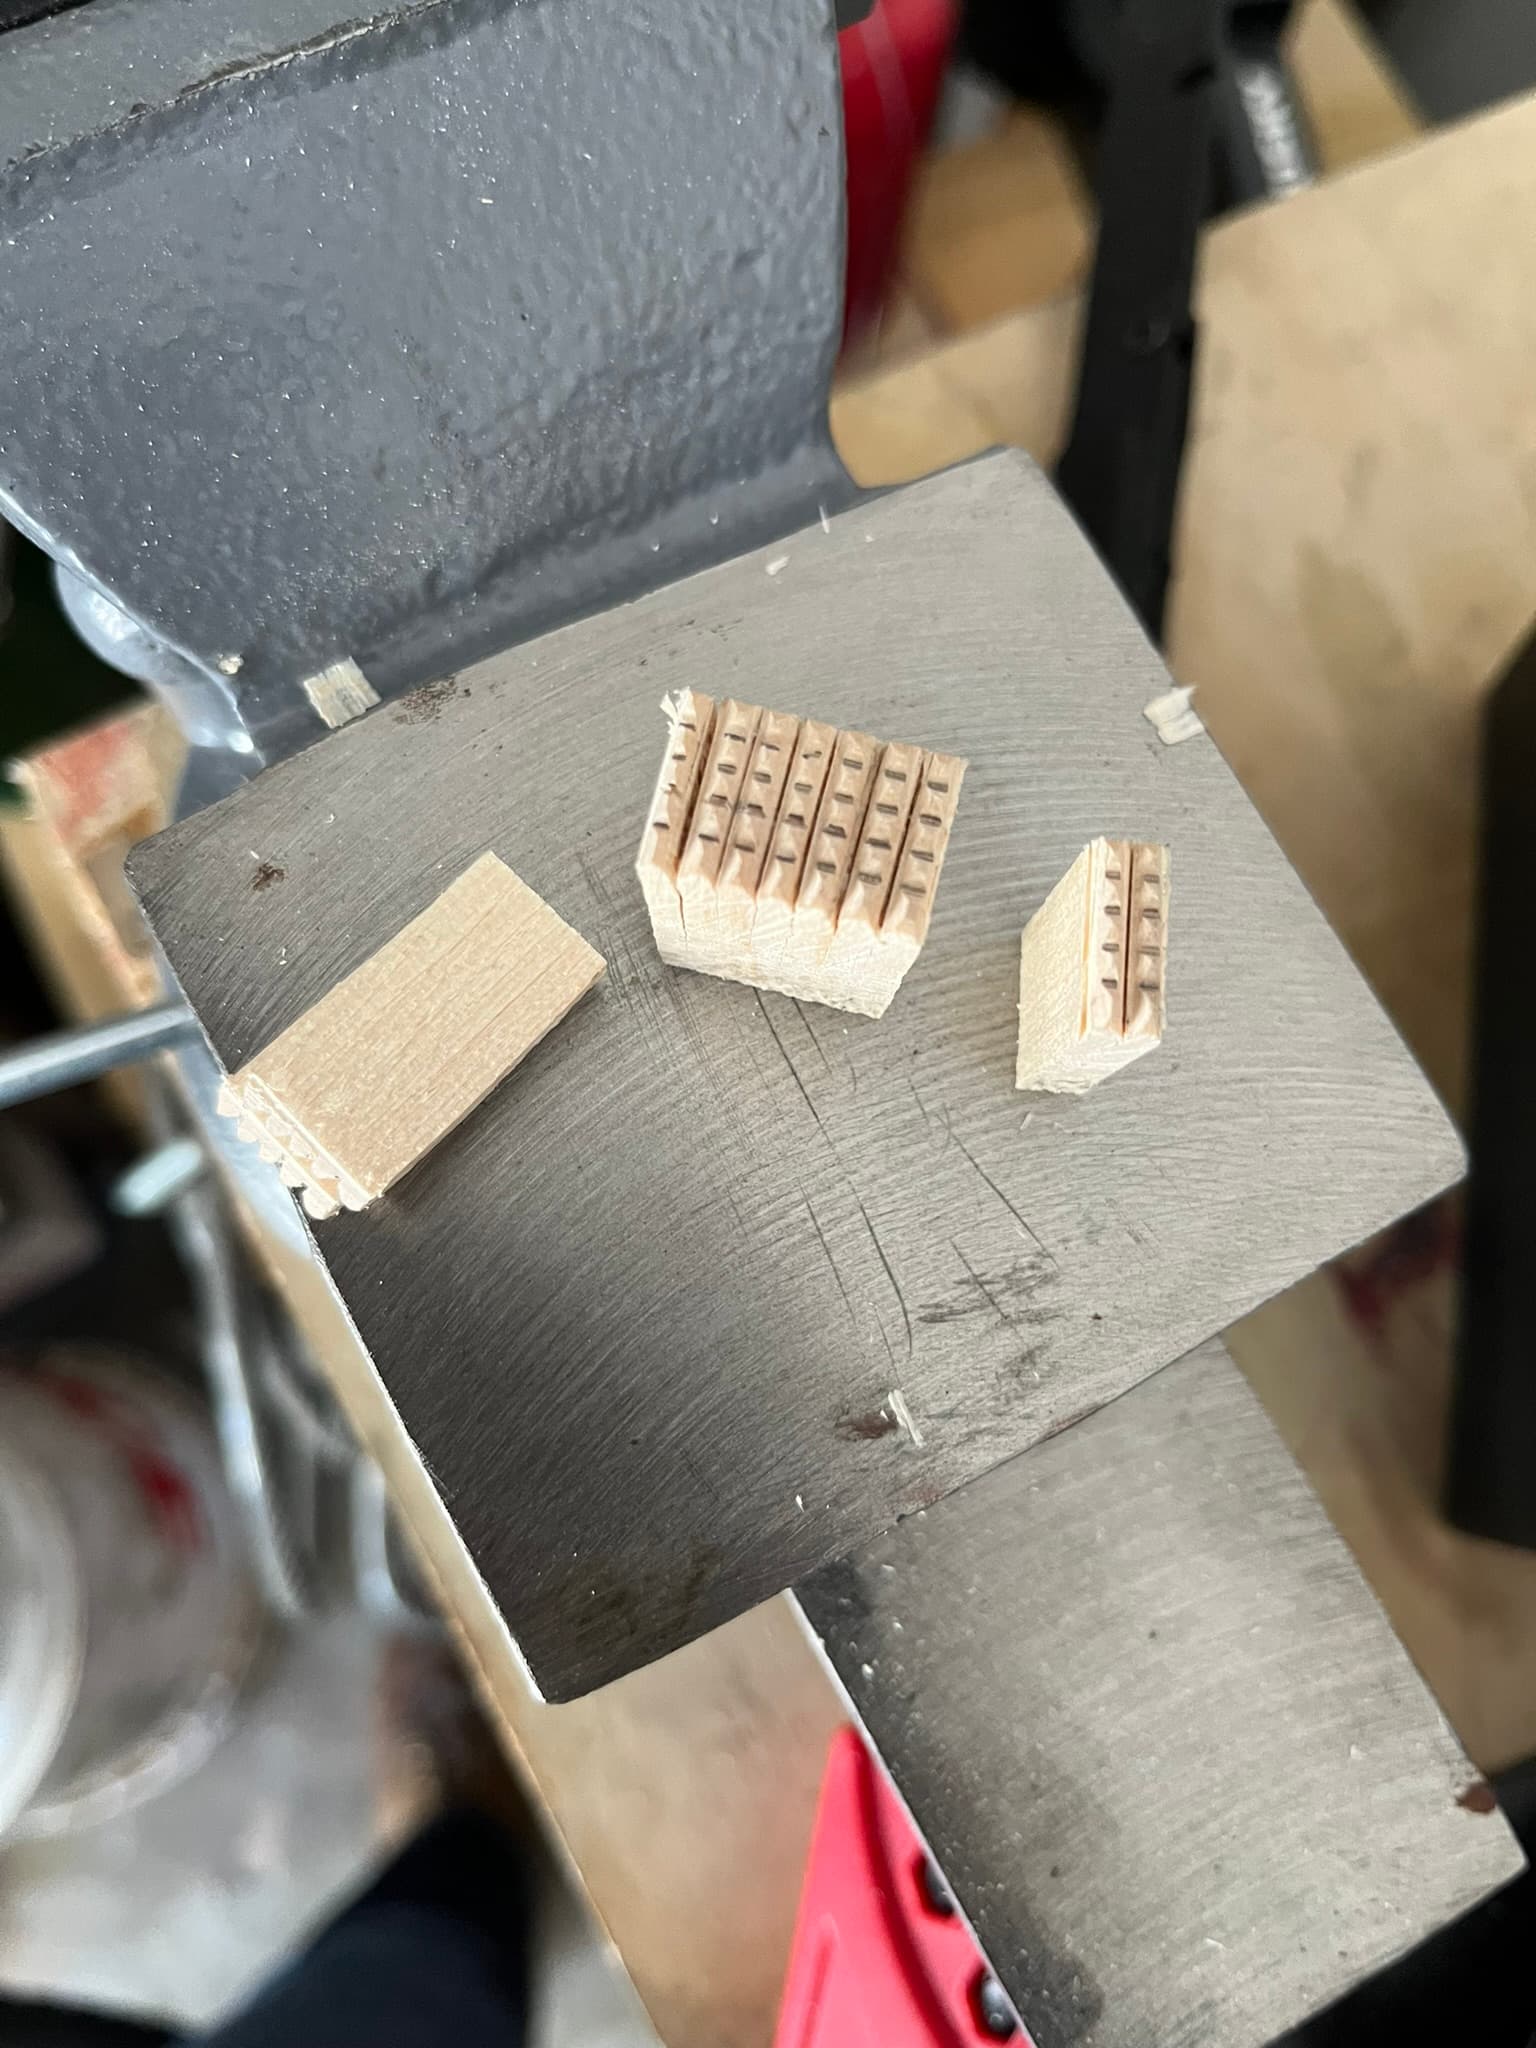
Alternative: Historic Factory Method
@Customboots gave me a reference that led to some reading on how factories in New England manufactured pegs. Their method was the opposite of the one I’ve tried so far: First they’d route a bunch of tips into the end grain of a block, by making two runs of parallel v-groove cuts at ninety degrees. Then they’d split into slats and individual pegs by driving splitters into the valleys between points.
I found an old tool collectors’ article about handplanes that were adapted to cut these v-grooves.
The Plane that Tried.pdf (2.6 MB)
However, the article reports these must have been very rare. They tried to reproduce one, needed a machinist, and also found it needed a lot of initial tuning.
It might be possible to imitate this with hand tools using a small triangular file. Mark a grid of lines on the end grain of a block, route out the points using the file, then split.
Alternative: Parallel Circular Saws
The Last Shoemaker has a short video showing how they make their own wood pegs:

It’s only shown very briefly, but they seem to be using a set of circular blades mounted between spacers on a lathe or bench grinder.