I haven’t played with enough hides of chromexcel to really say. All the panels I have used previously have been flawless, so definitely could be on to something there.
I already have my next three hides lined up… it’s a bad addiction.
Badalassi carlo nemesis for the boots I have going in the other thread, Ilcea museum hatch that I am thinking of doing either a dressy pair of chukkas with or something along the lines of a wholecut oxford, and just got in a cf stead repello calf that I have some ideas for a boot.
I have been searching high and low for a cf stead waxy kudu hide in, but the only good source I can find is Tannery Row and they aren’t getting any kudu coming from cf stead currently.
1 Like
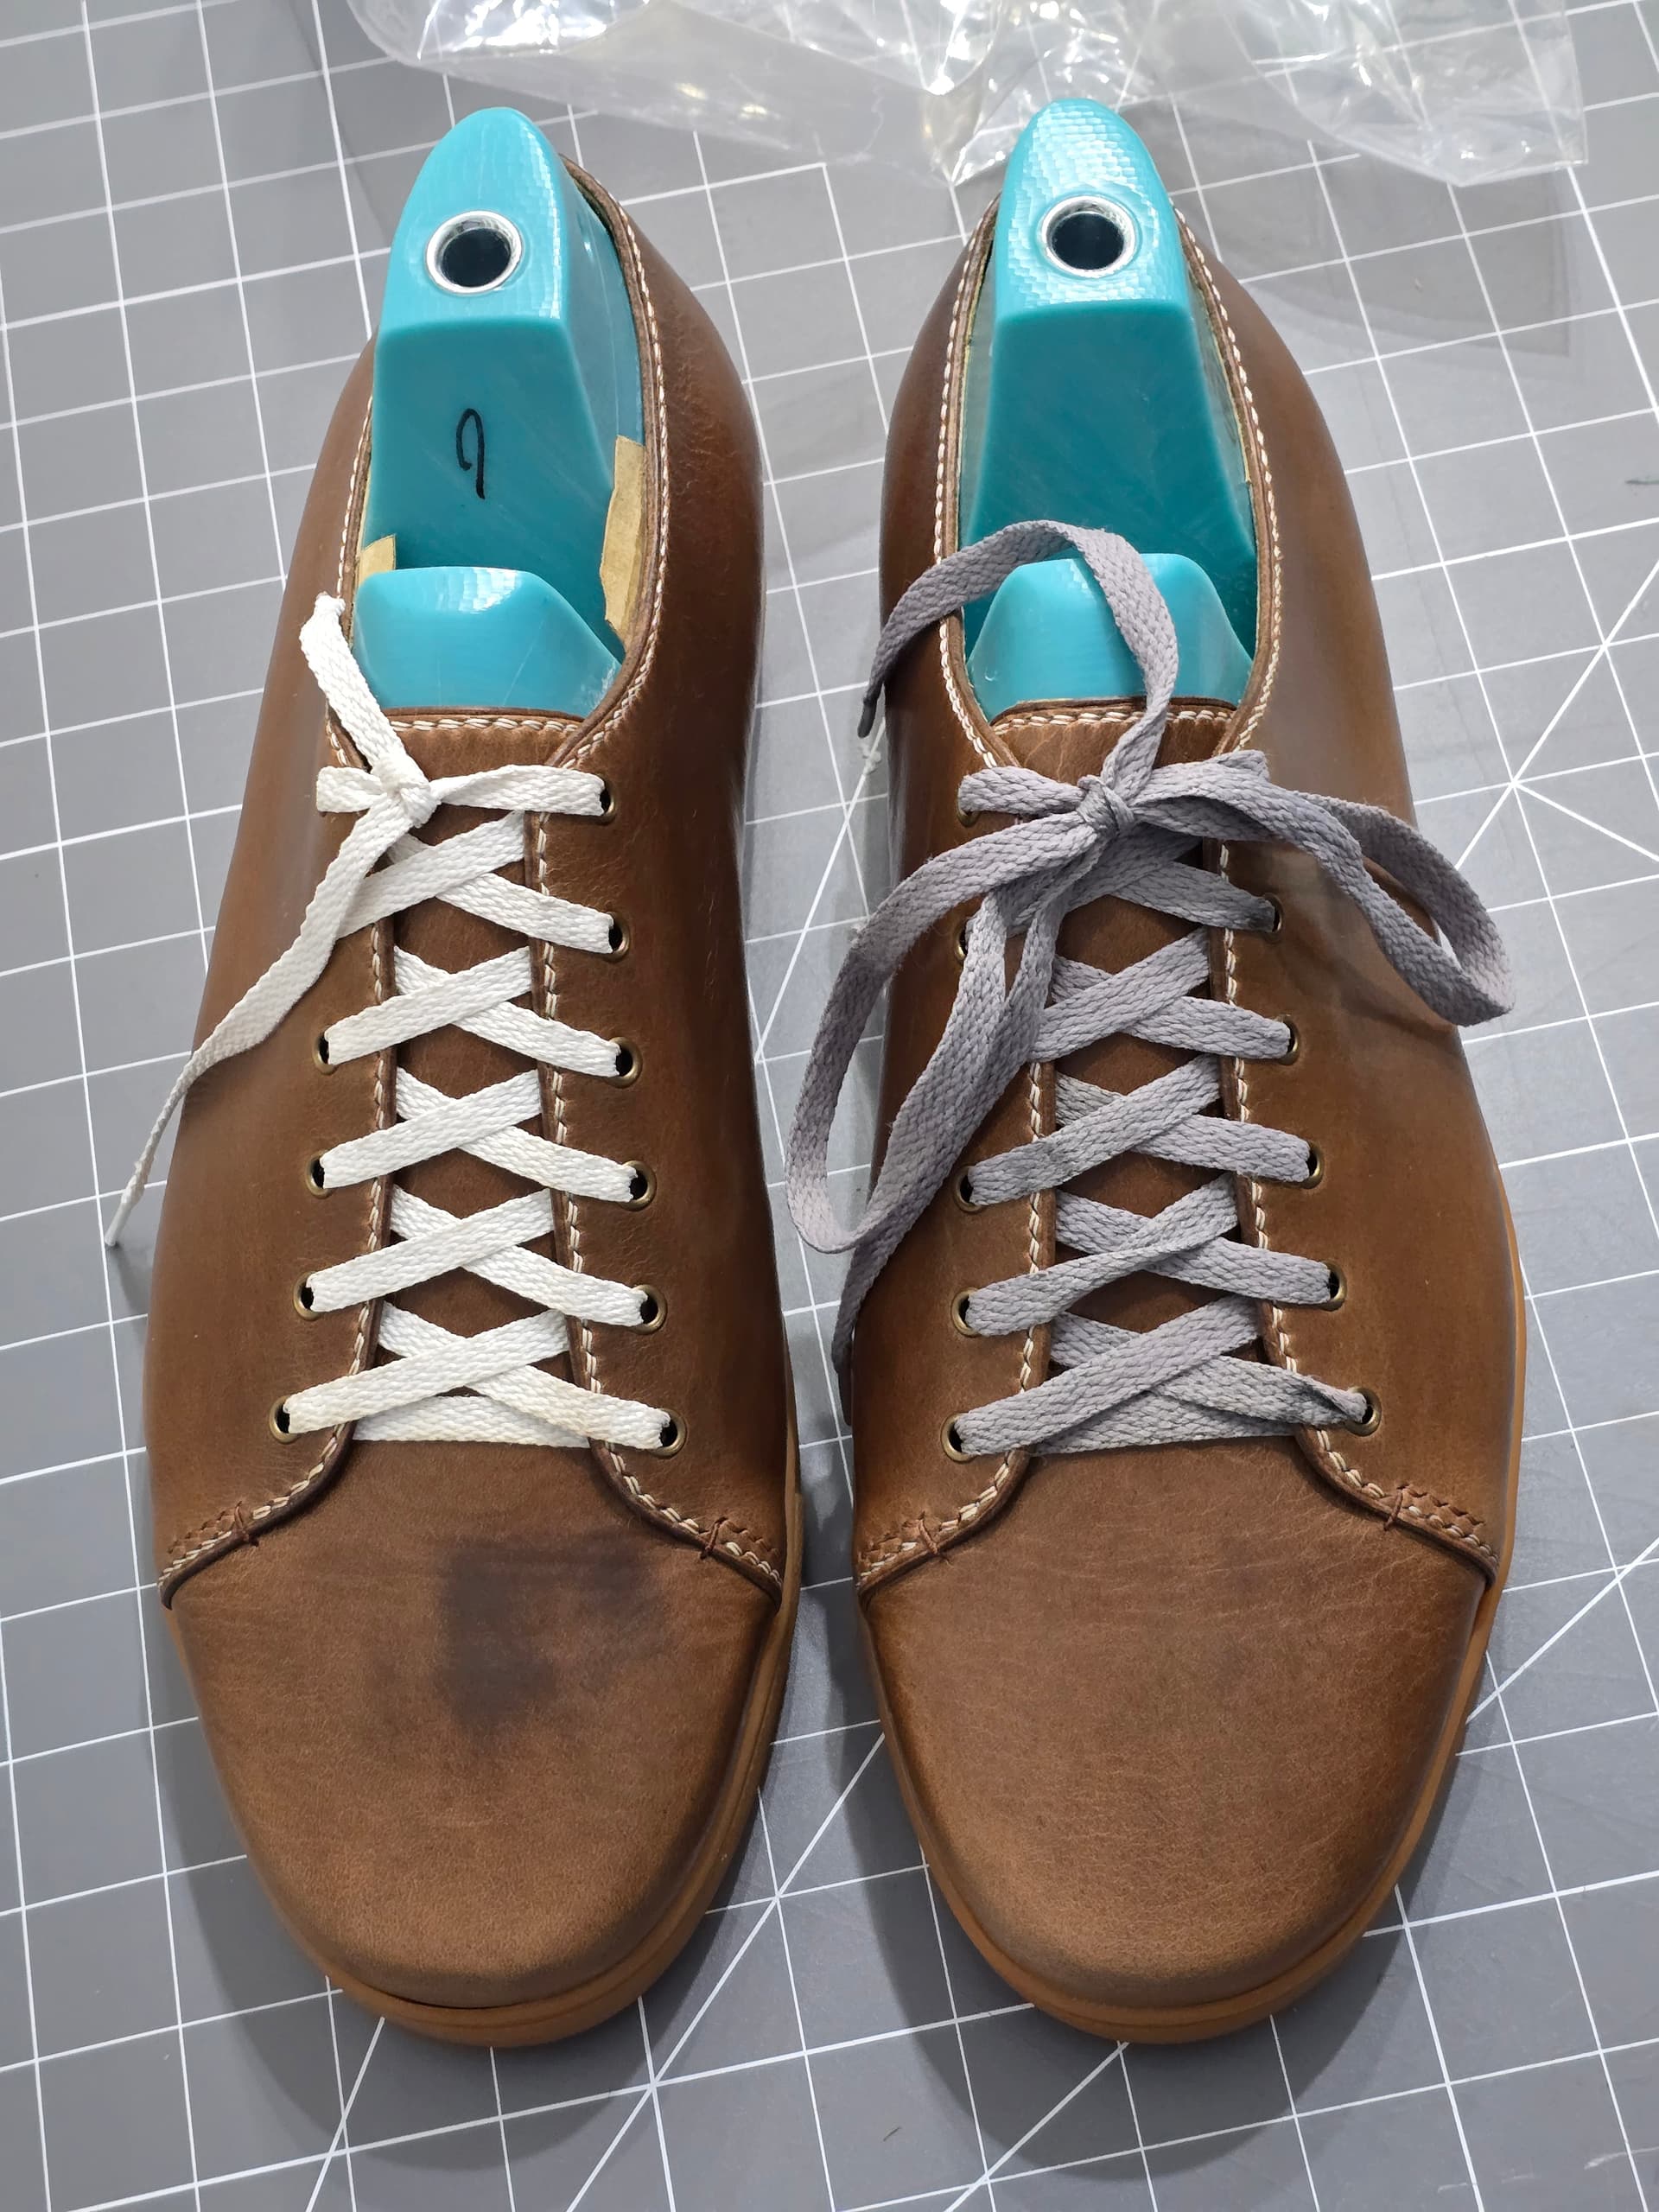
I have this very bizarre splotch that has appeared on the toe of the second shoe when i put some venetian shoe cream on to rub in and work out some of the creases. I am hoping that maybe it just absorbed unevenly and needs to dry.
Looking pretty good otherwise
1 Like
Looking great! I would definitely put the splotch out of mind and give it a night to air out.
Well, still there this morning. I might be able to convince myself it is slightly better. I am hoping that maybe being able to push the leather a bit from inside the toe to bring some oils to the surface could help a bit, so will see what it’s doing when I pull the lasts
1 Like
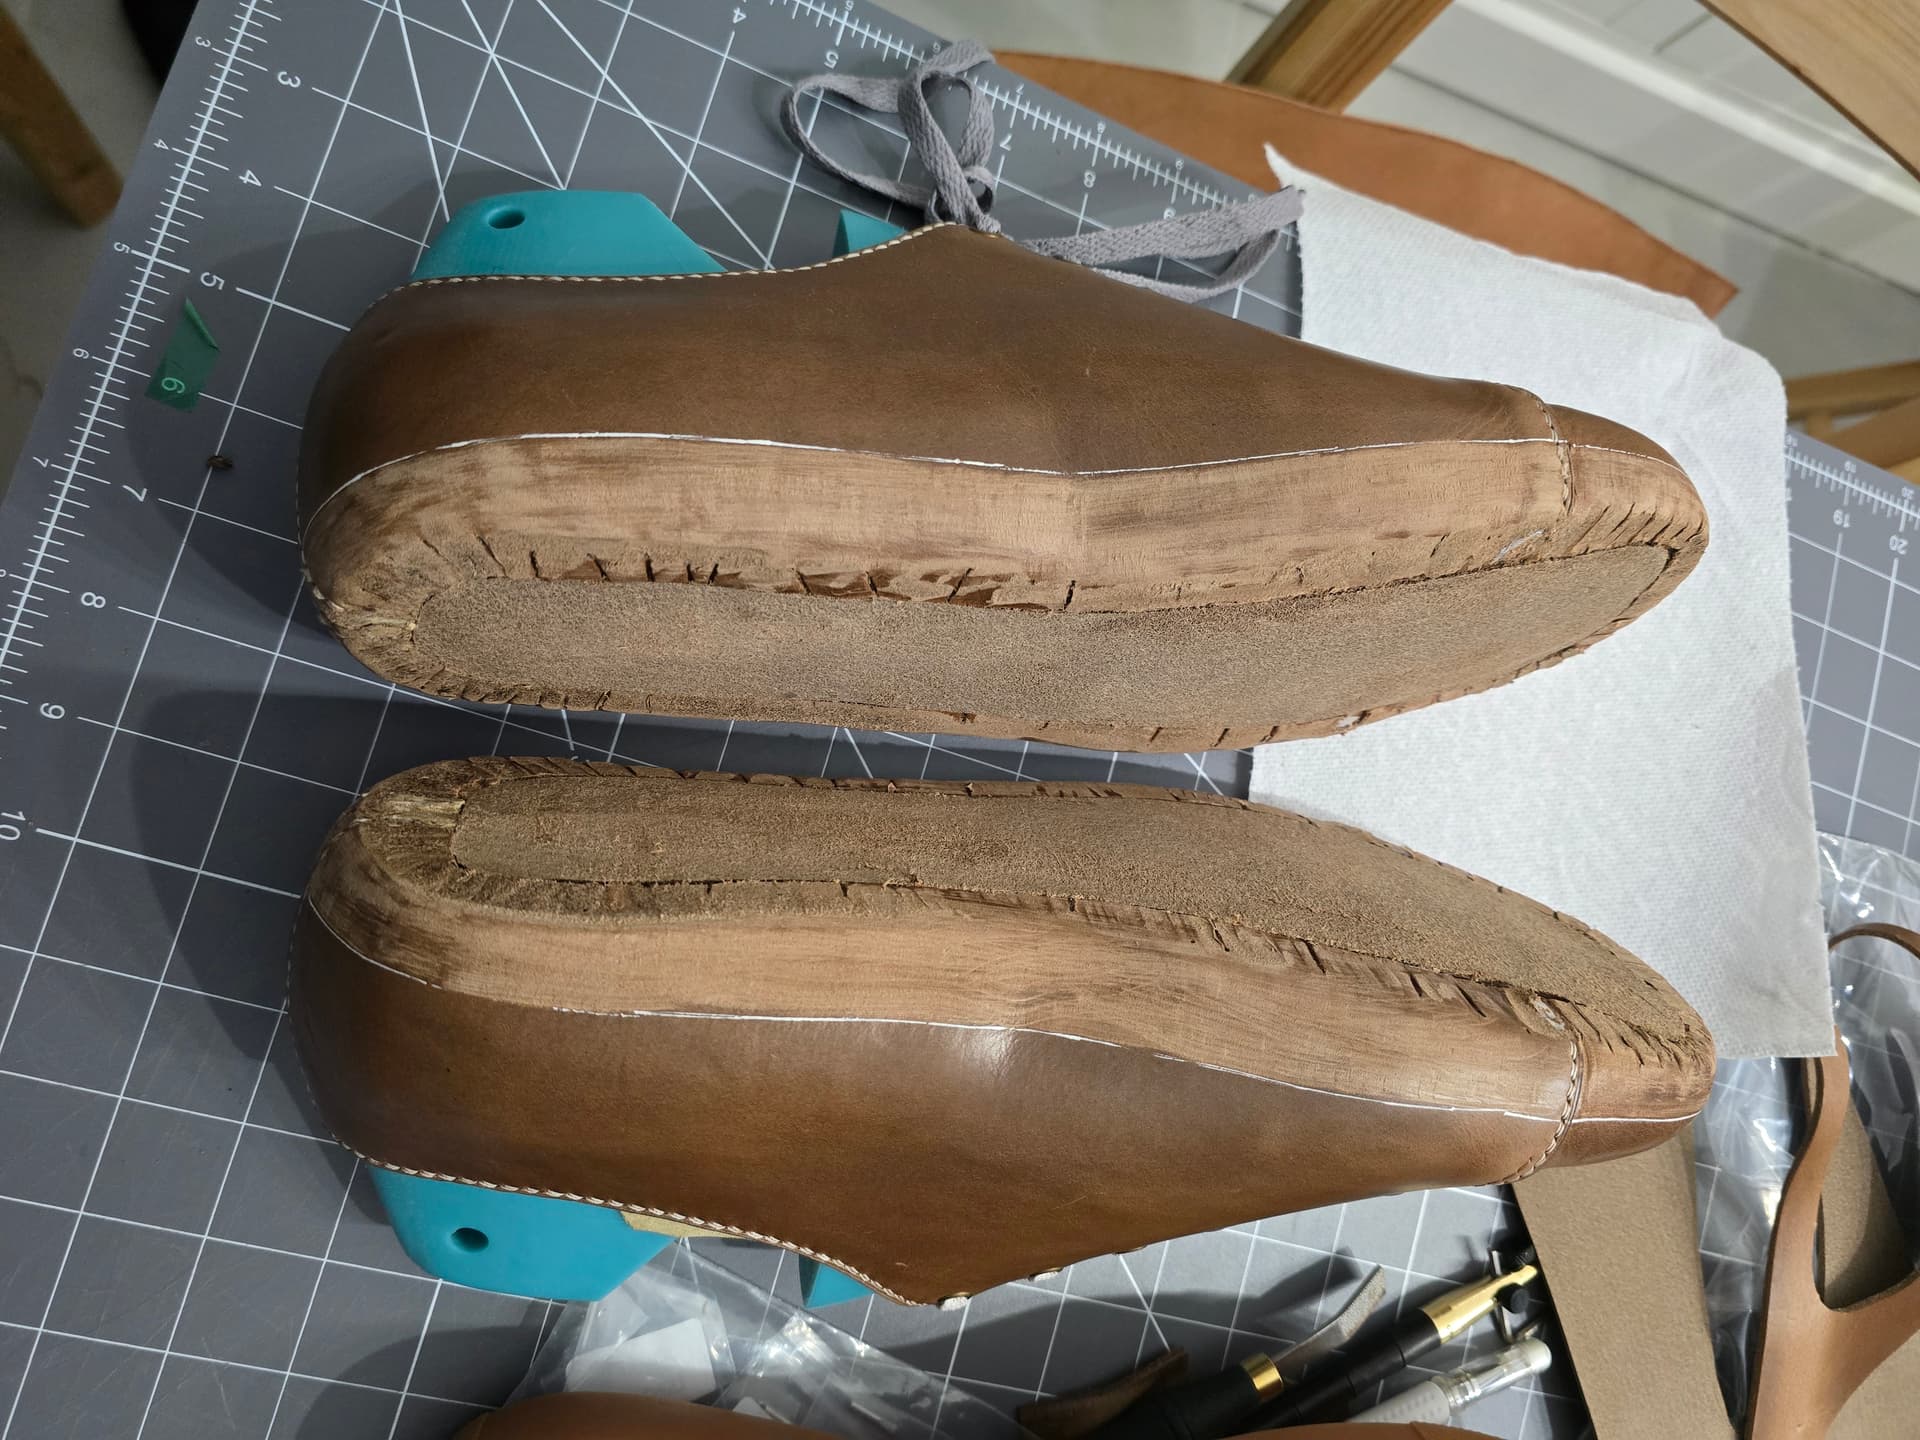
Started filling in the bottom. Went with leather instead of cork since the cup sole has a bunch of pockets that I could forsee encouraging breakdown of the cork in unsupported areas. Got it all leveled out, so next step is to attach the cup soles.
I’m contemplating if I want to do a norvegese style chain stitch with some thin thread for the cup sole stitching to add some subtle contrast (and practice my chain stitching since Im planning on actually doing a Norvegese construction on my boot project).
I’m all for fancy stitching! Will it fit in the channel along the topline of your cupsoles?
Norvegians are often loud and proud with aloft stitching. With a sneaker there’s no big flange of bottom protecting the stitching from side scrapes.
I think so, if I am using thin thread. I will cut a sample groove in a piece of leather to try it before committing on the shoes themselves.
Definitely won’t be the typical thicker chain stitch one is used to seeing. Think more subtle homage
1 Like
Cut a sample piece with a 1mm groove in it. The chain stitch fits, but it gets somewhat lost and distorted, so not sure it would be worth the effort.
Ready to bond on the cup soles. Probably will tomorrow.
1 Like
Lasts pulled. Was able to improve the blotch some with some massaging from below.
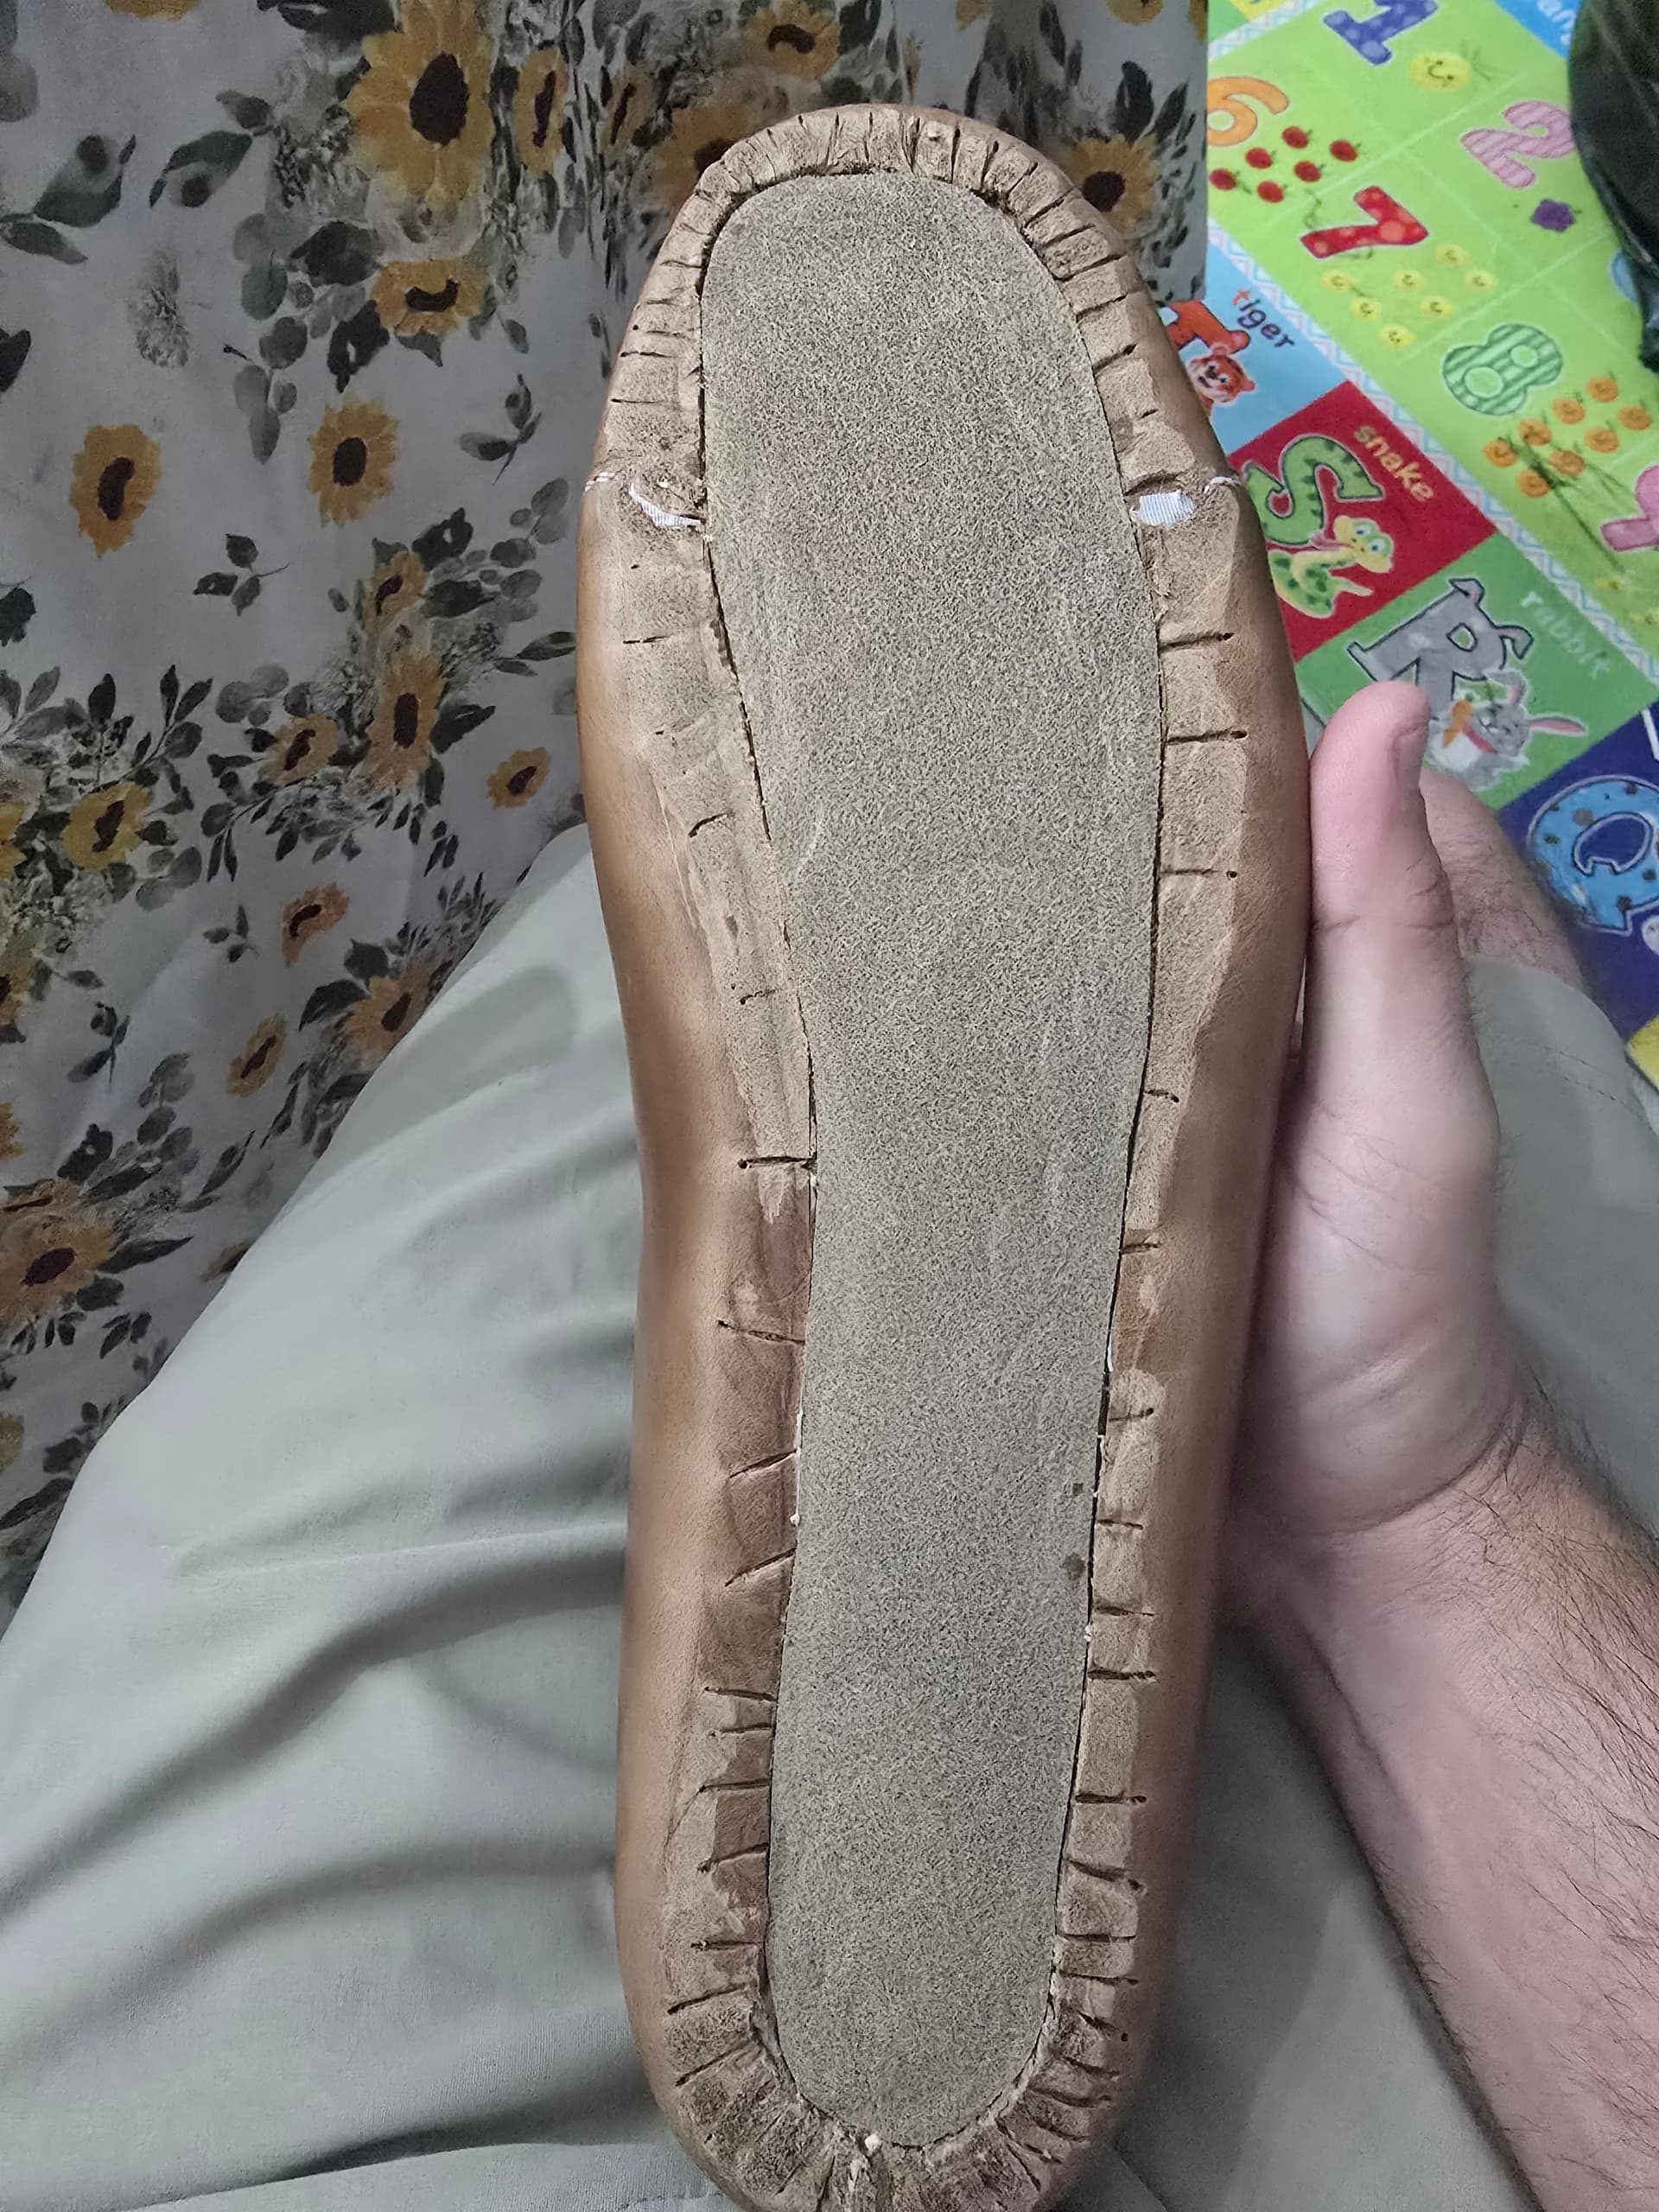
Now the tedious process of saddle stitch the cup sole on.
On a side note, I recall a thread on here discussing ways to do a psuedo-blake stitch by handle with a saddle stitch and aome discussion on how to make it work.
I have been doing some of the stitching of the soles here with bristles where I pass the bristle part way in from the outside, run the thread through it and pull it back out. Works quite well, albeit not super fast, but would work fine for attaching a midsole through the insole too.
1 Like
I have seen a few videos of people achieving the same end goal, but it usually involves either a jerk awl or sticking the needle through the leather, then into the thread and then using the thread to pull a needle back through. With how much I hate getting a needle stuck in my thread, the latter seems like a miserable solution. Passing the empty bristle through and then pulling it back is so easy. I do wish my bristles were longer though.
If i end up doing more stitching like this, that’s definitely something I will consider doing
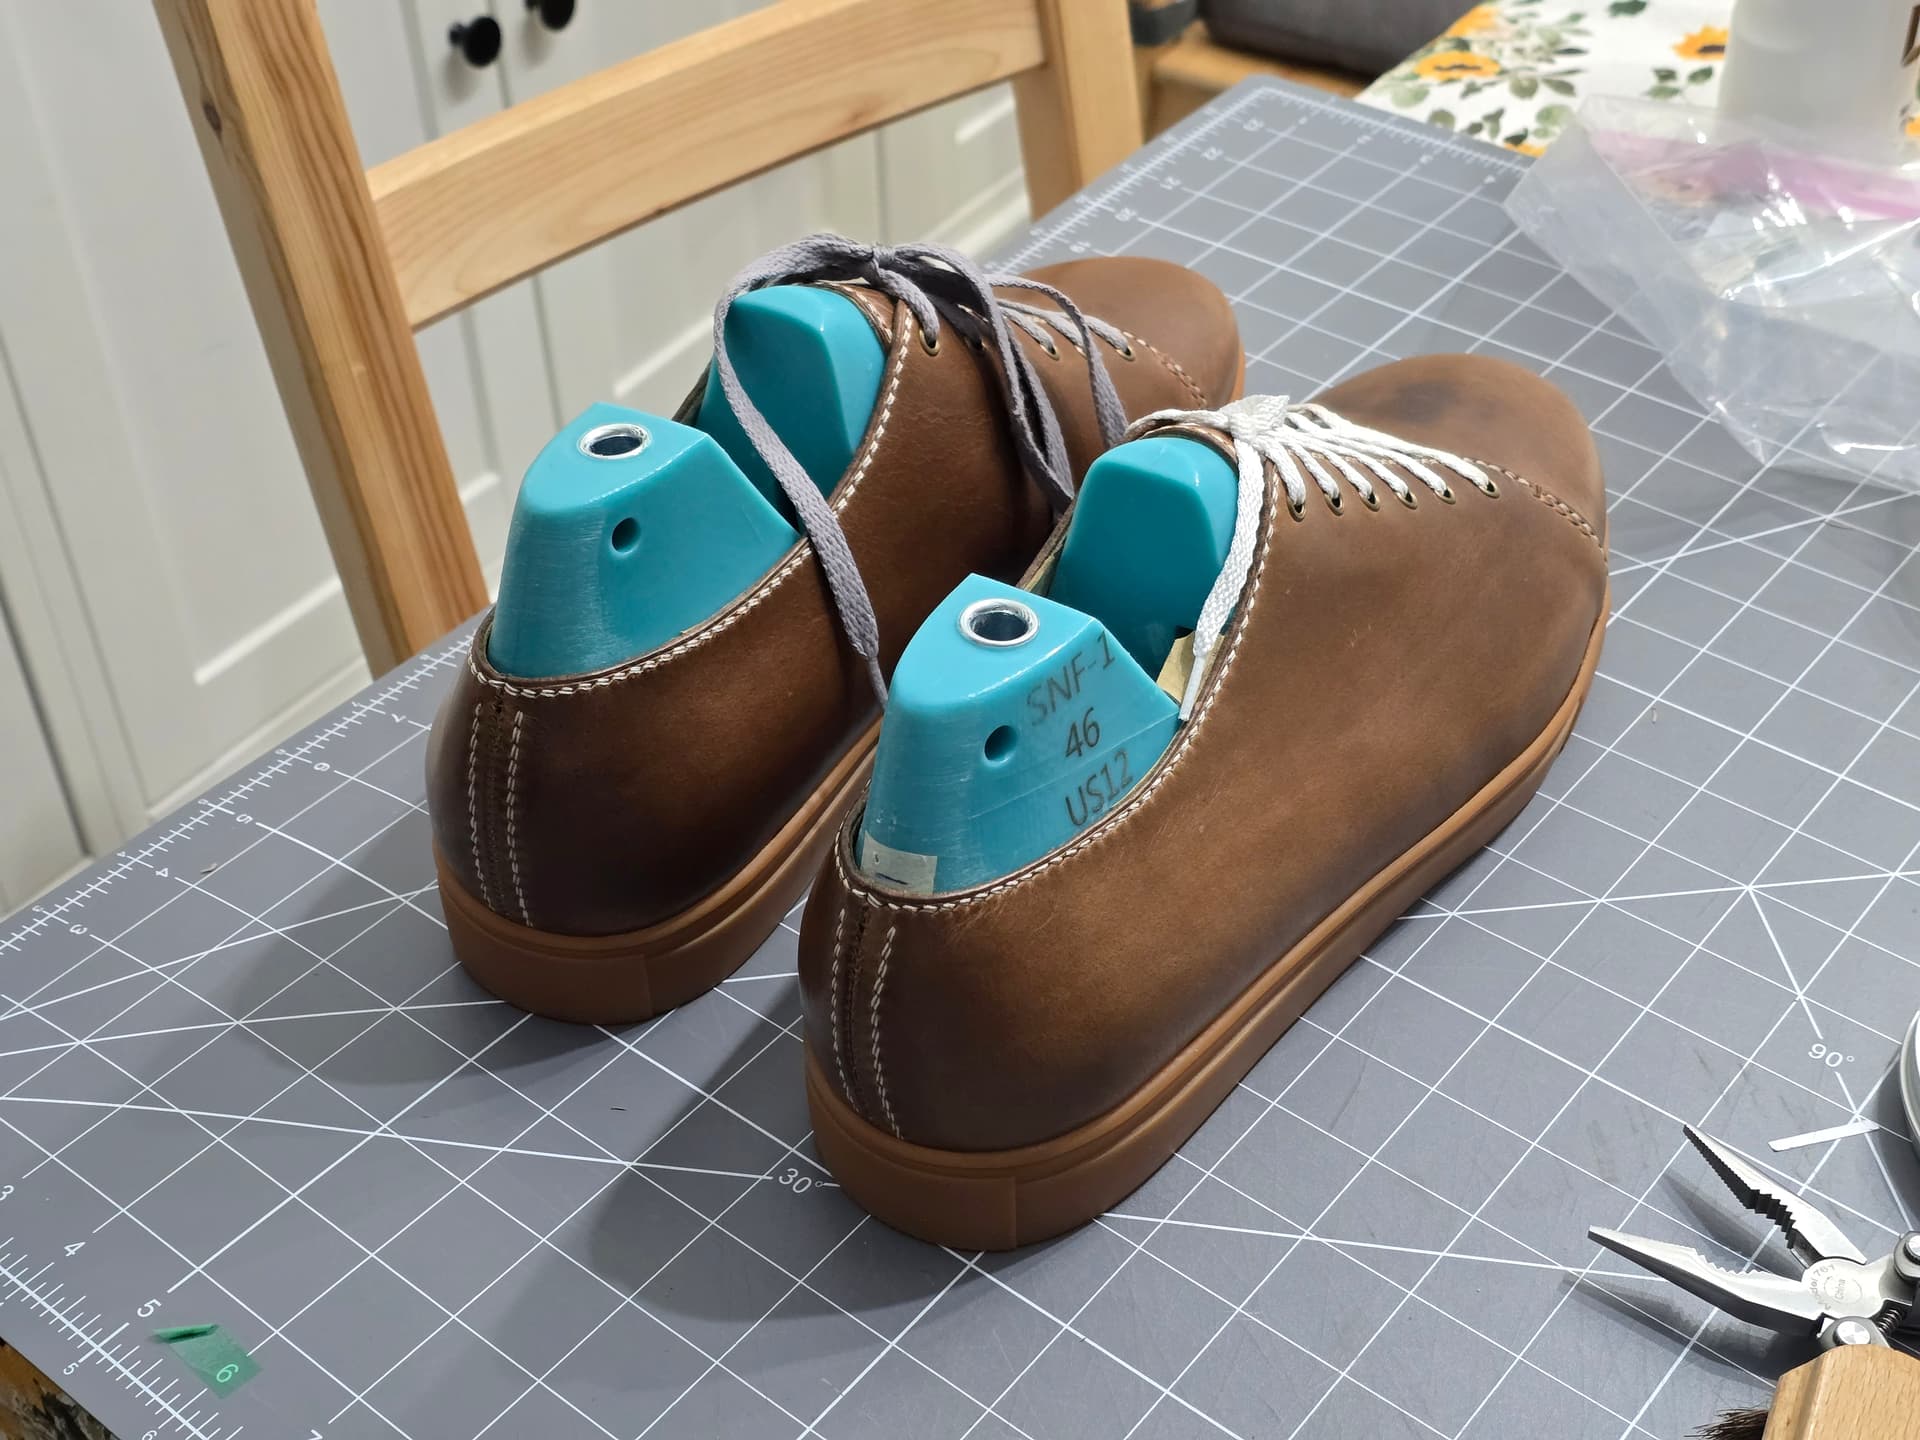
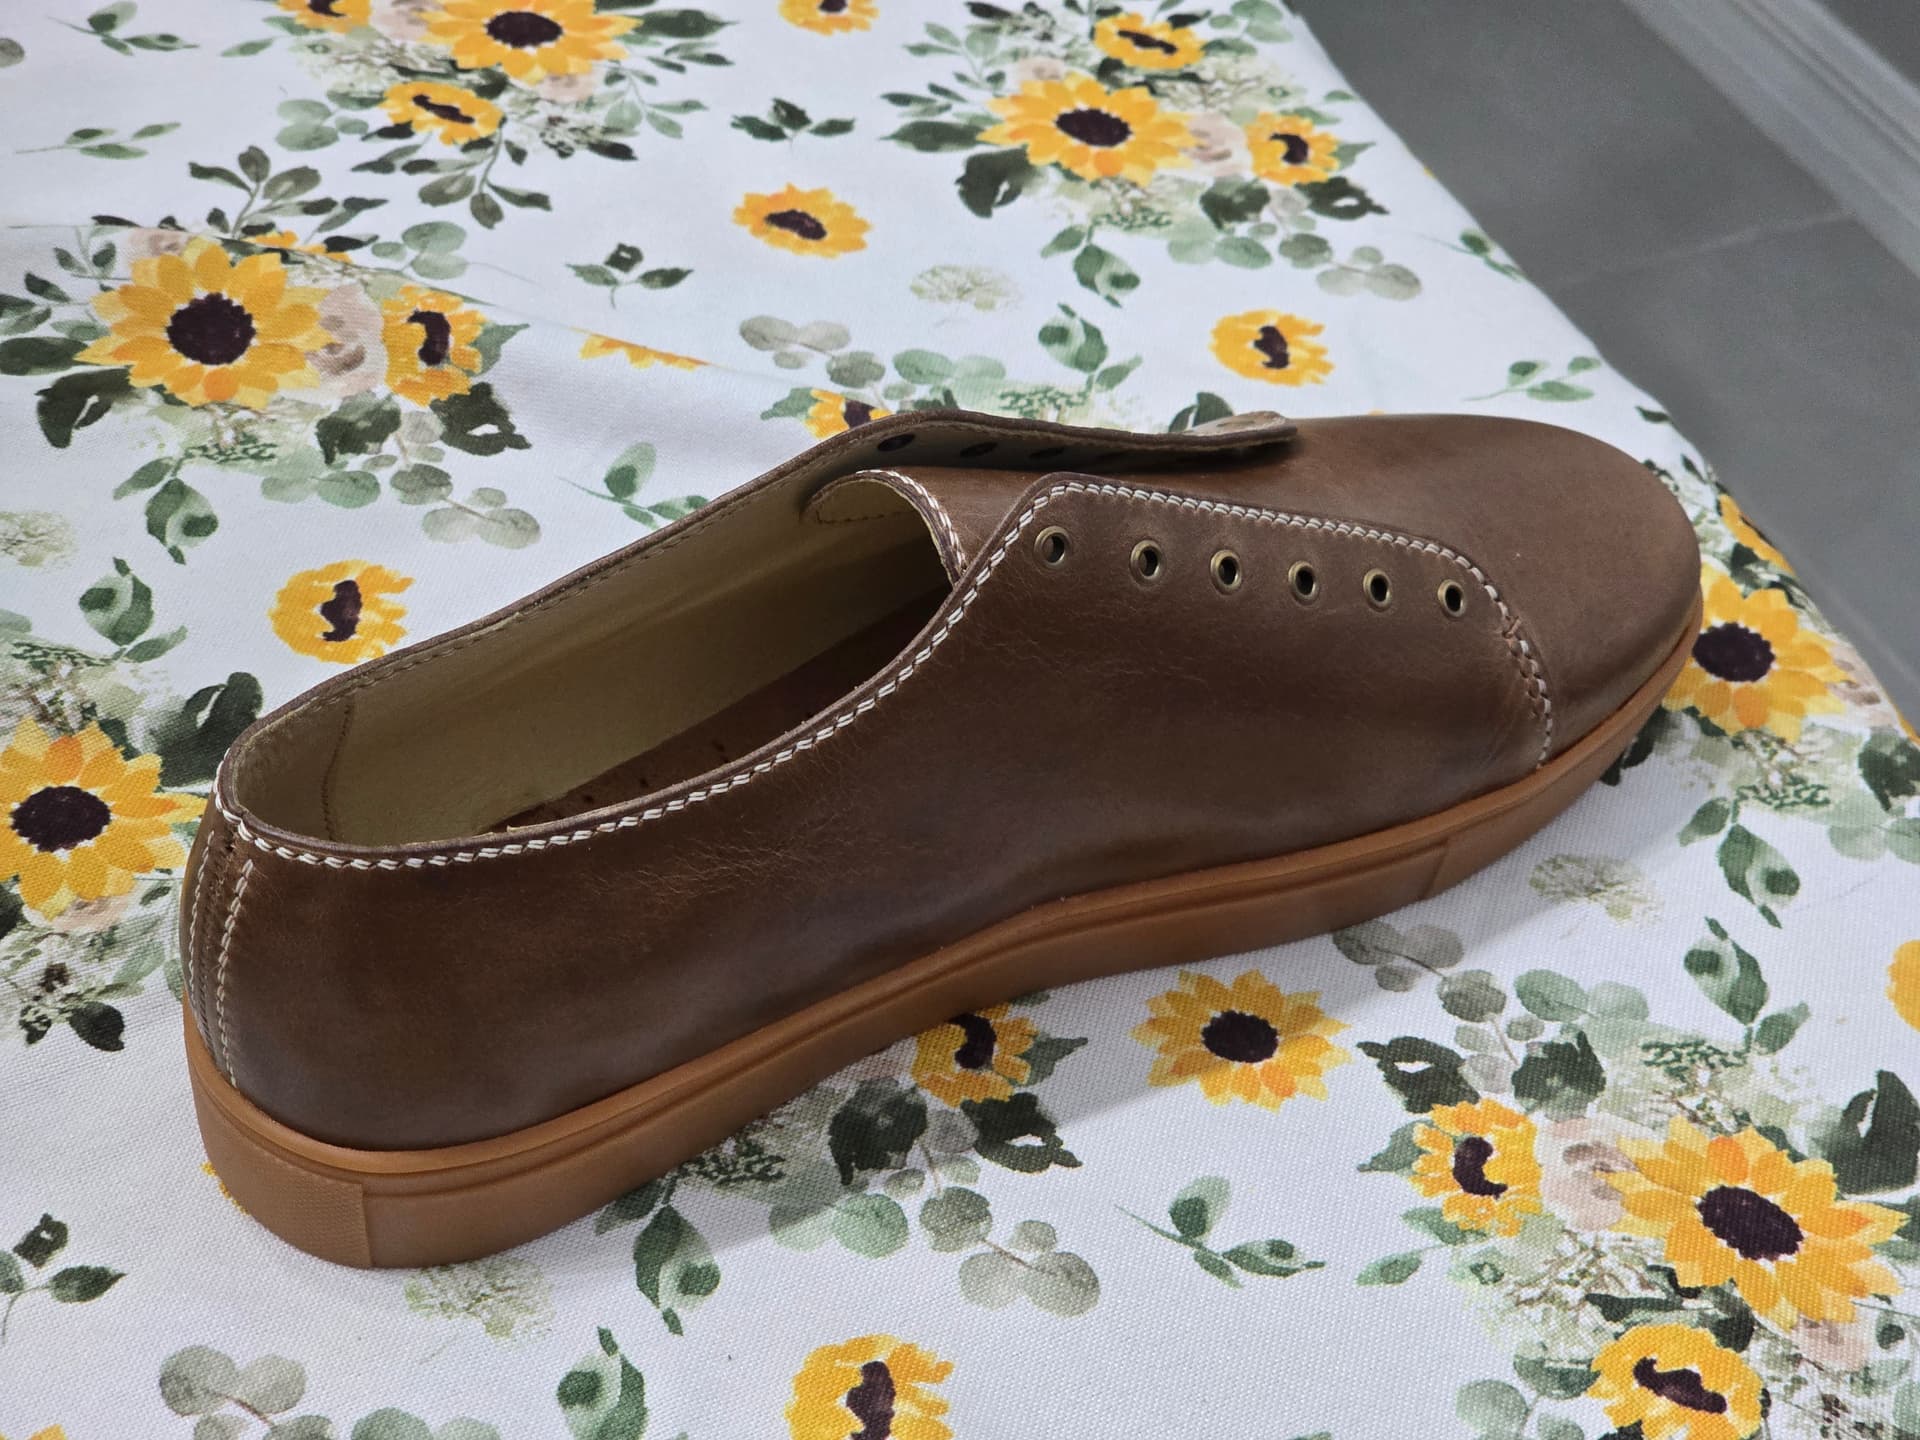
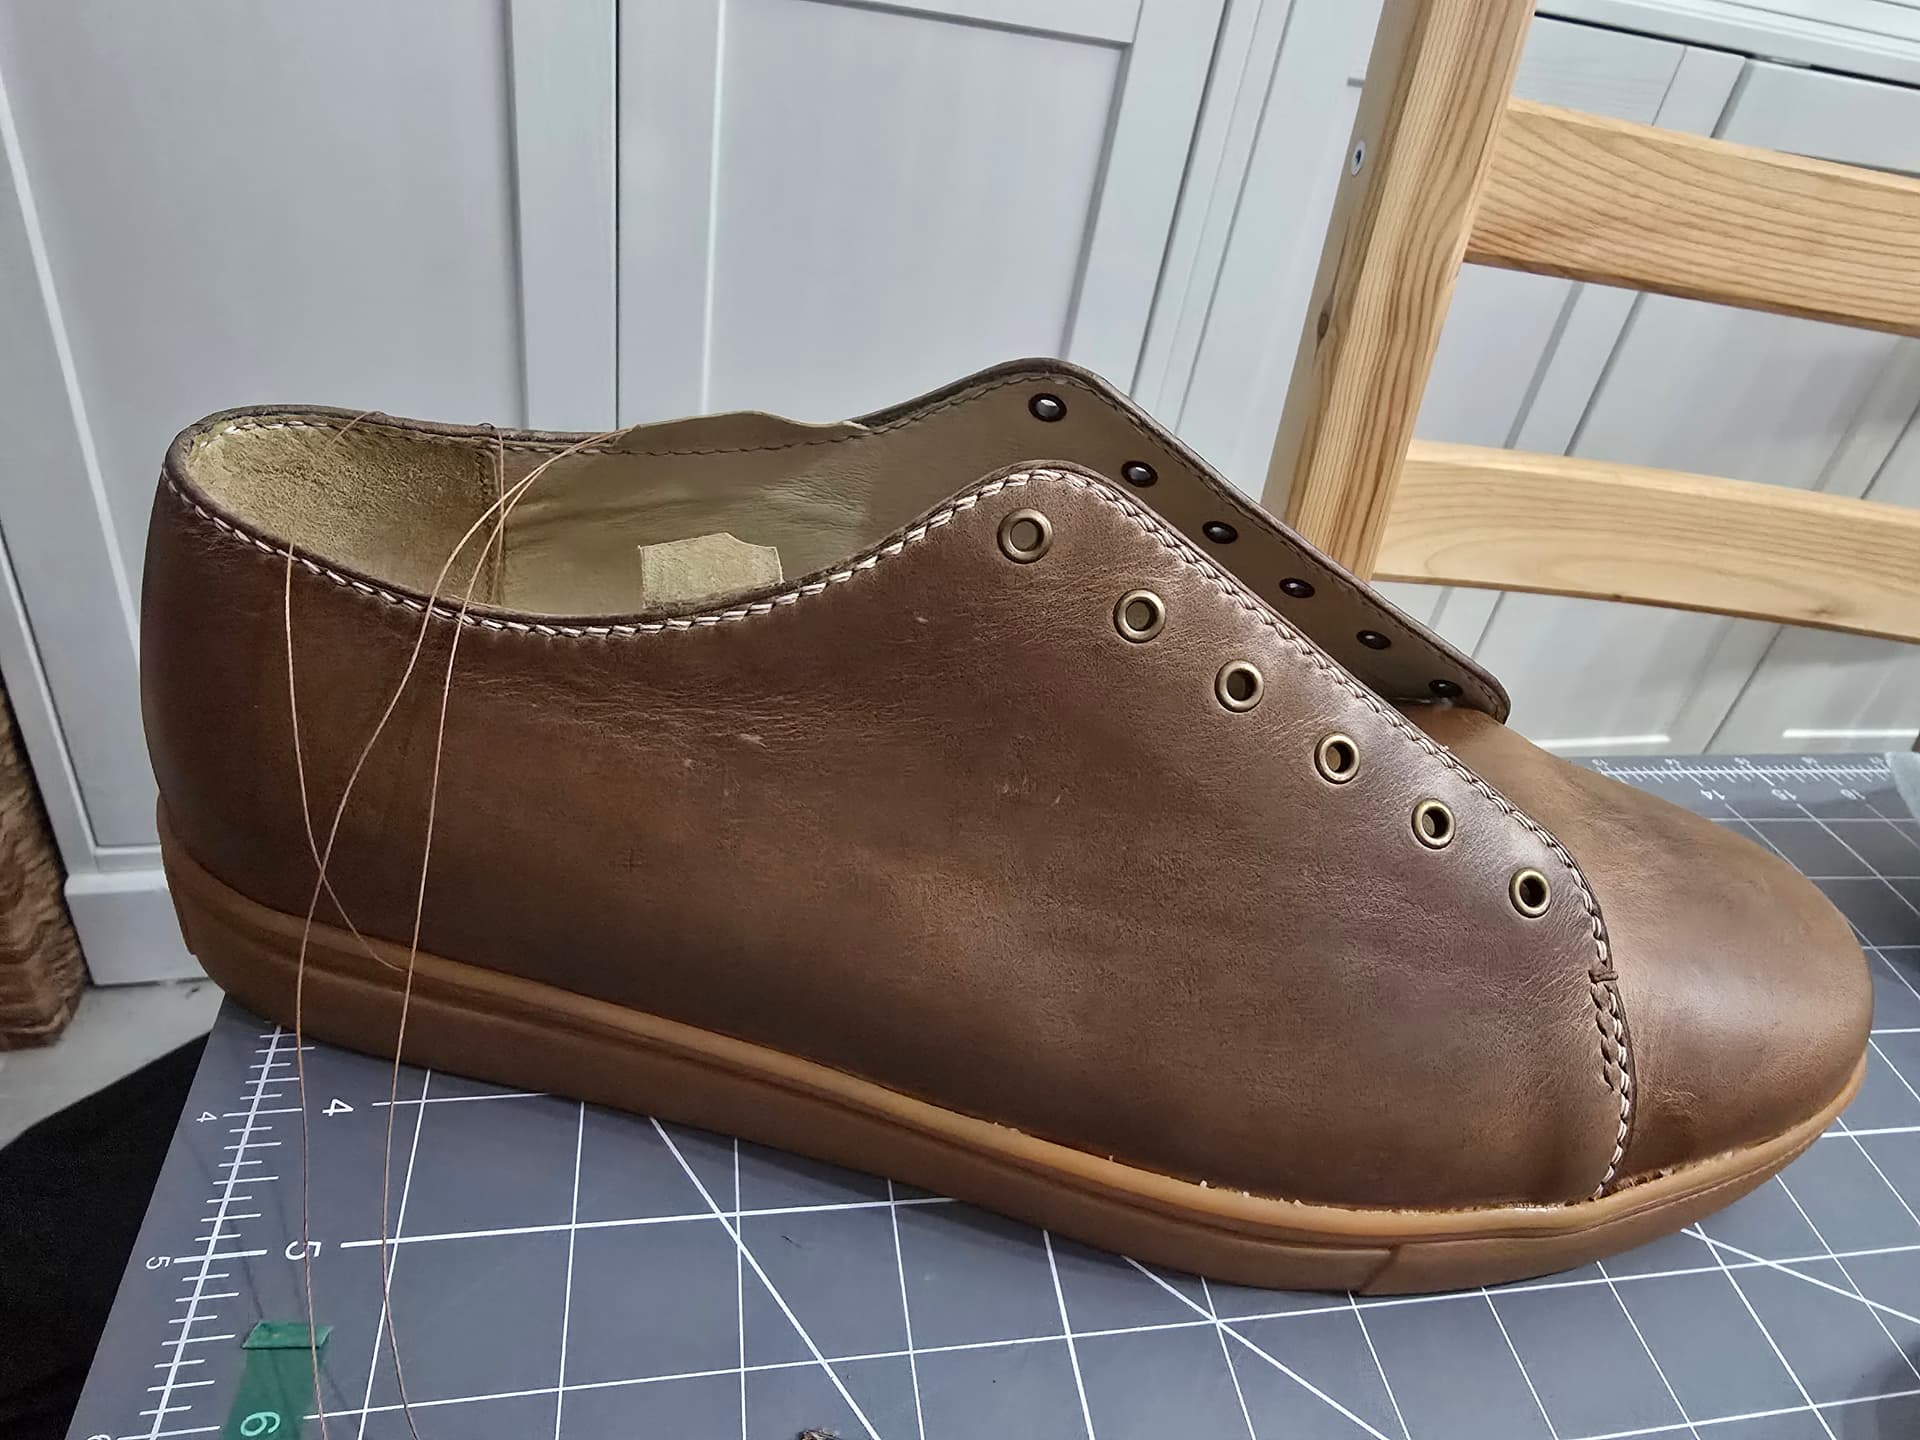
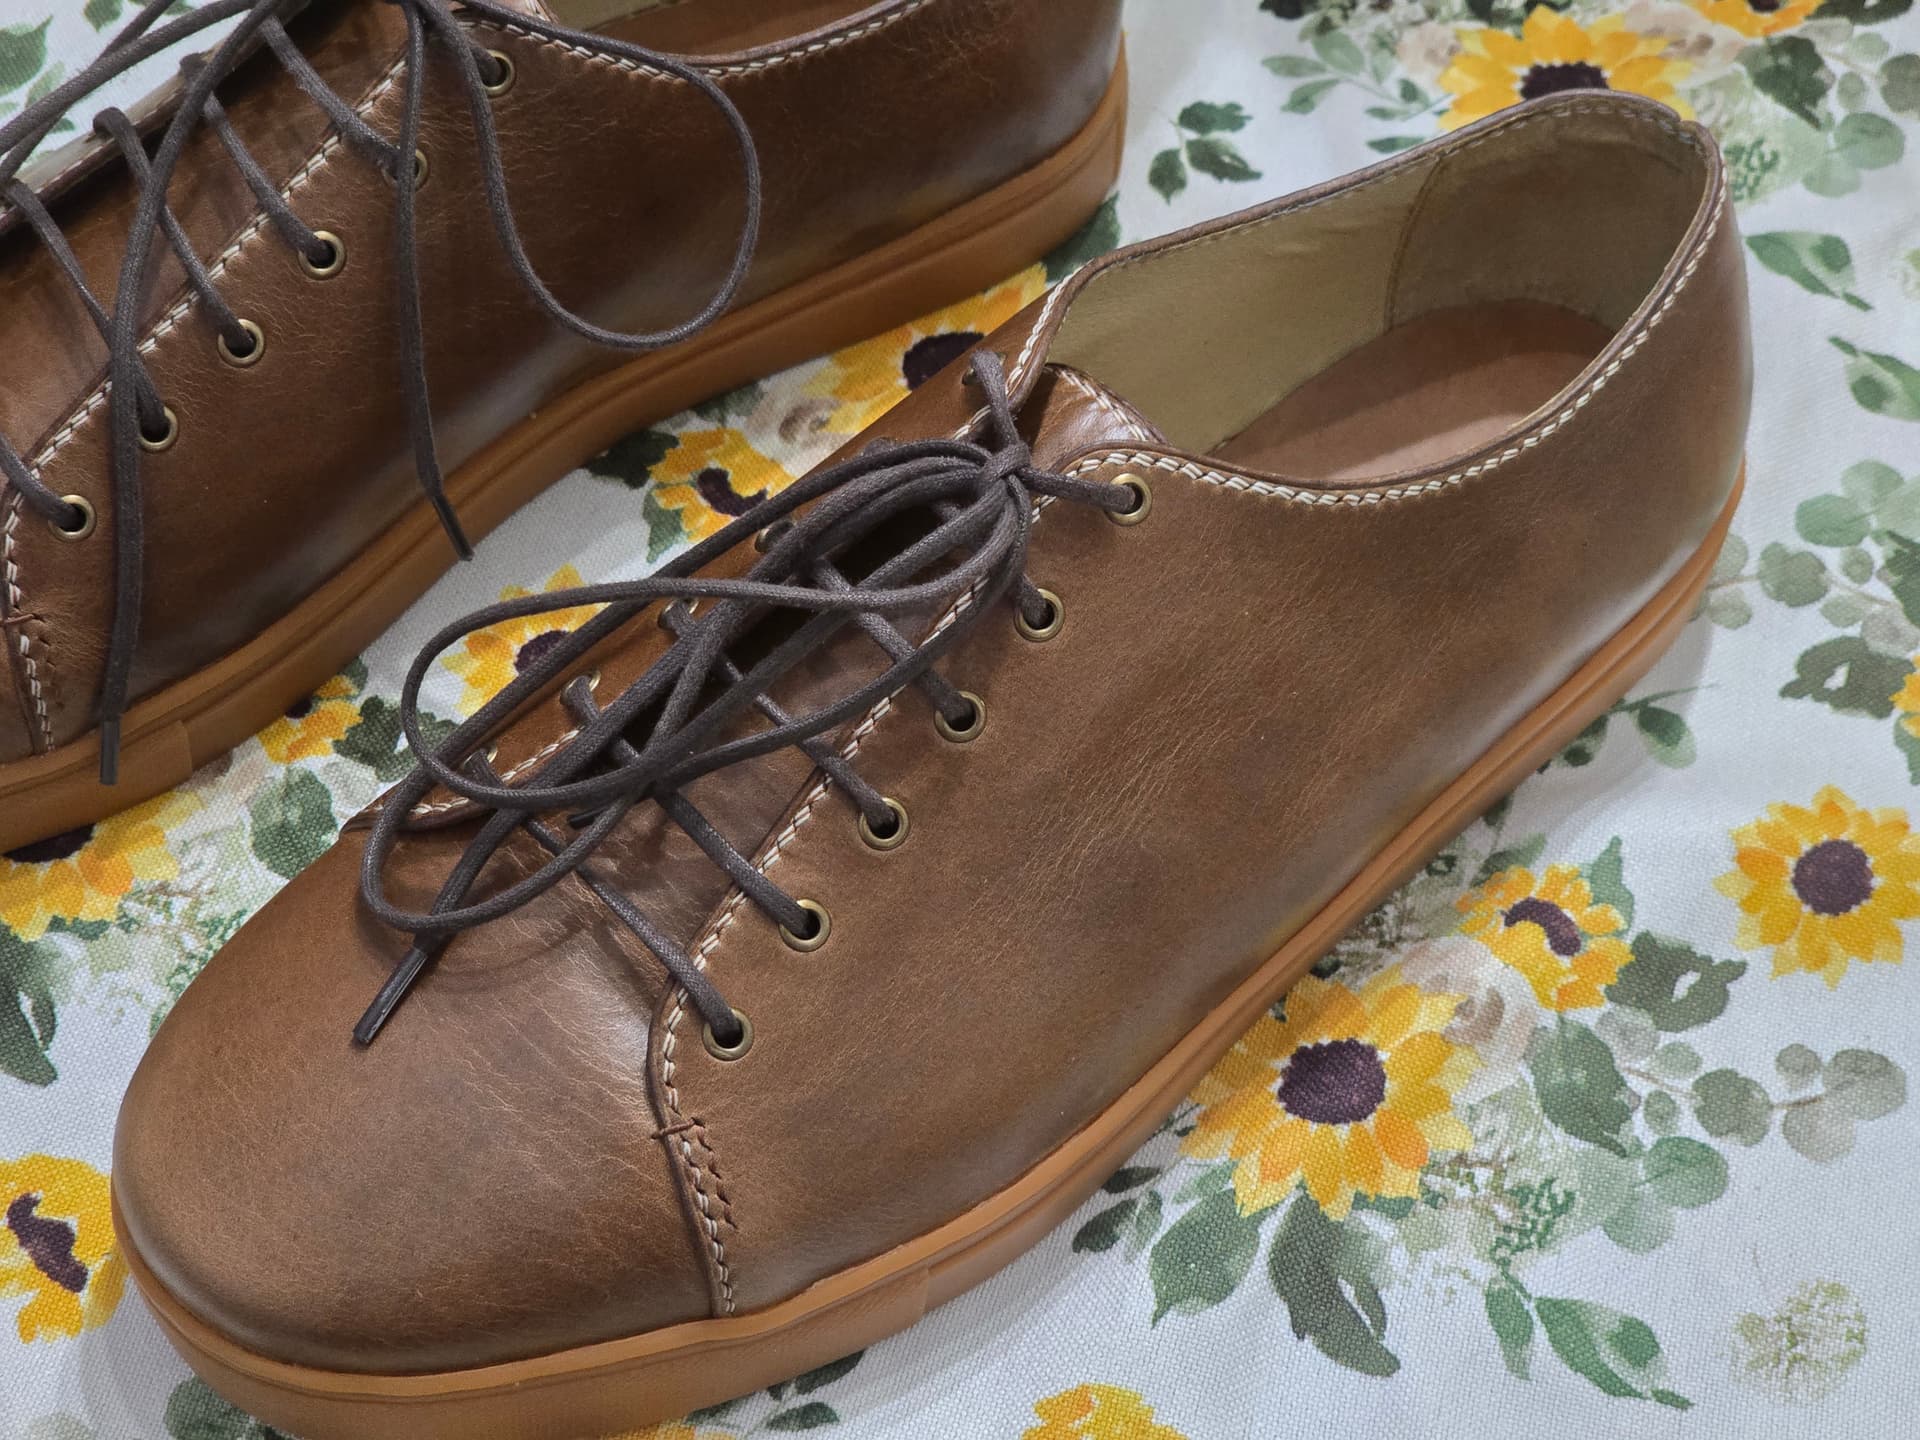
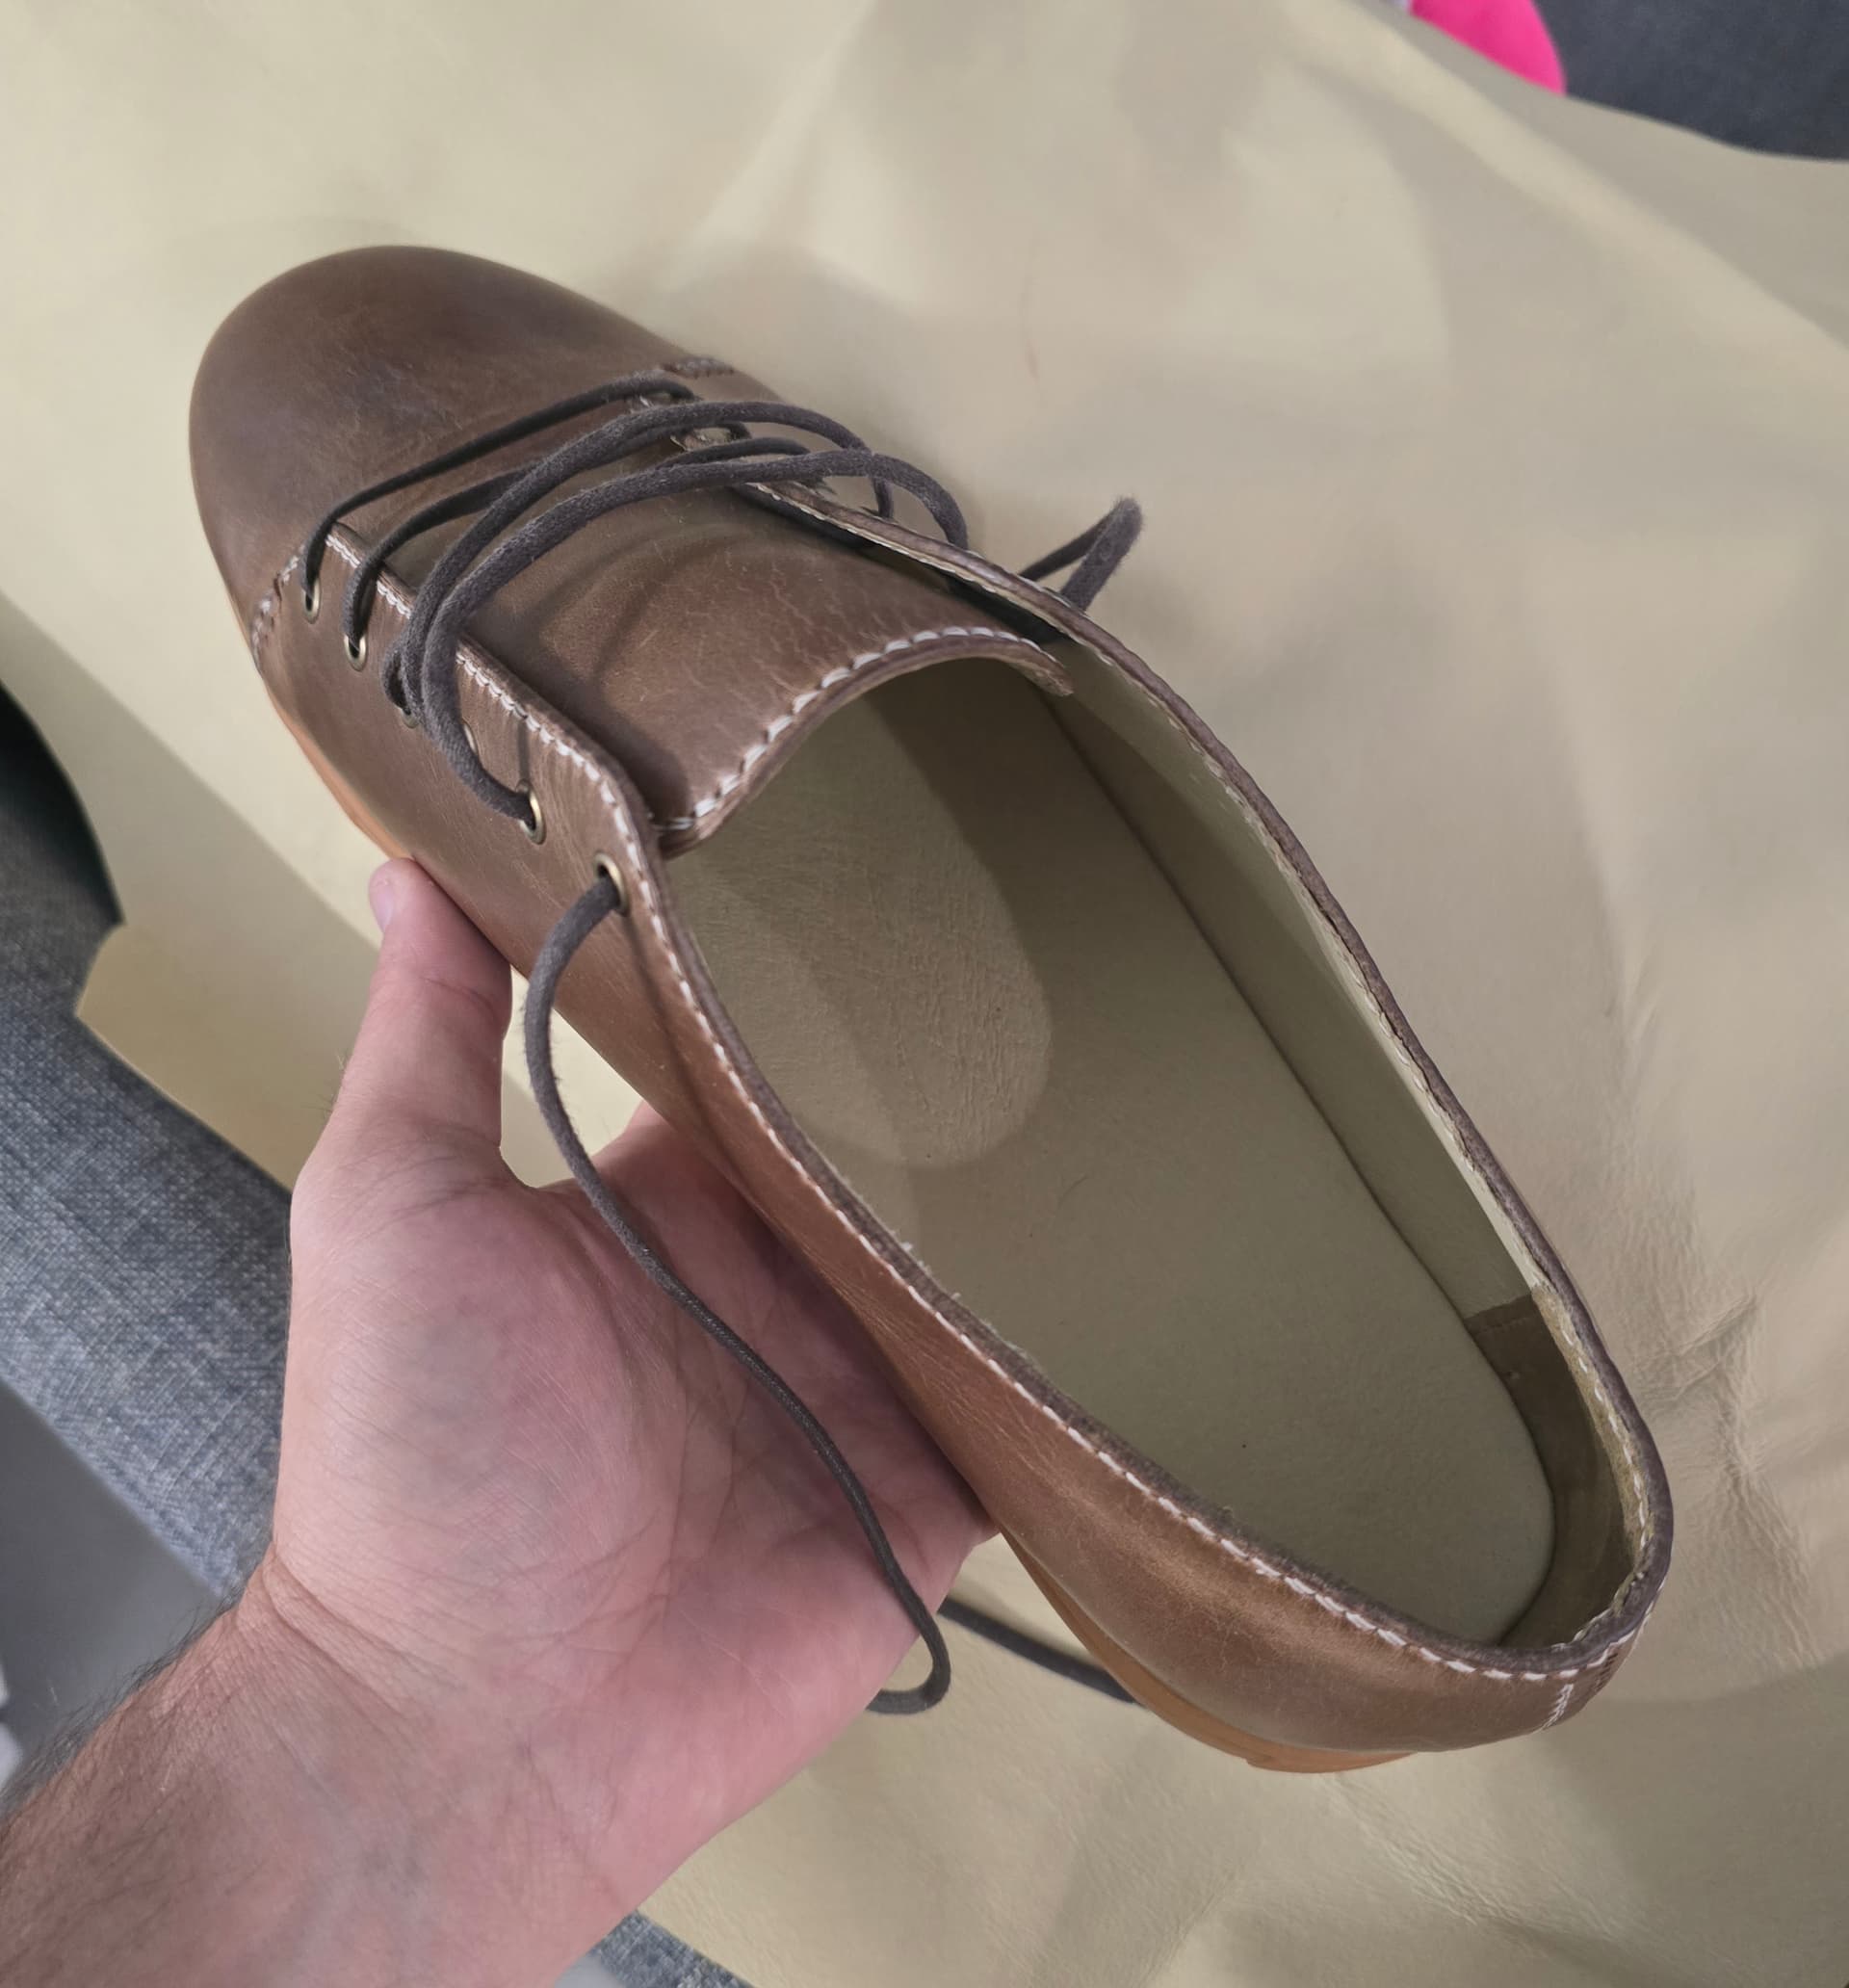
Pretty much done. Need to clean up a couple minor things and let the heel lining on the one dry (had to clean up some residue when I de-lasted).
Pretty happy with how they turned out. The leather itself is probably what I am least happy with. Just too many areas of loose grain/discoloration/creases. Forever more, I will give whatever leather I am using a good bend/crease test to make sure things stay tight and smooth before cutting patterns.
Other big lesson learned is I screwed up my lasting allowance on the vamps. If you notice in the patterns, the area around the toe is somewhat pointy. This made lasting just off the centerline very difficult as there was barely enough material coming past the feather line. Was able to make it work but it definitely would have screwed things up if I was attaching a welt rather than a cup sole.
Need to make a couple small leather goods for some gifts and then I will start making forward progress on the boots.
1 Like
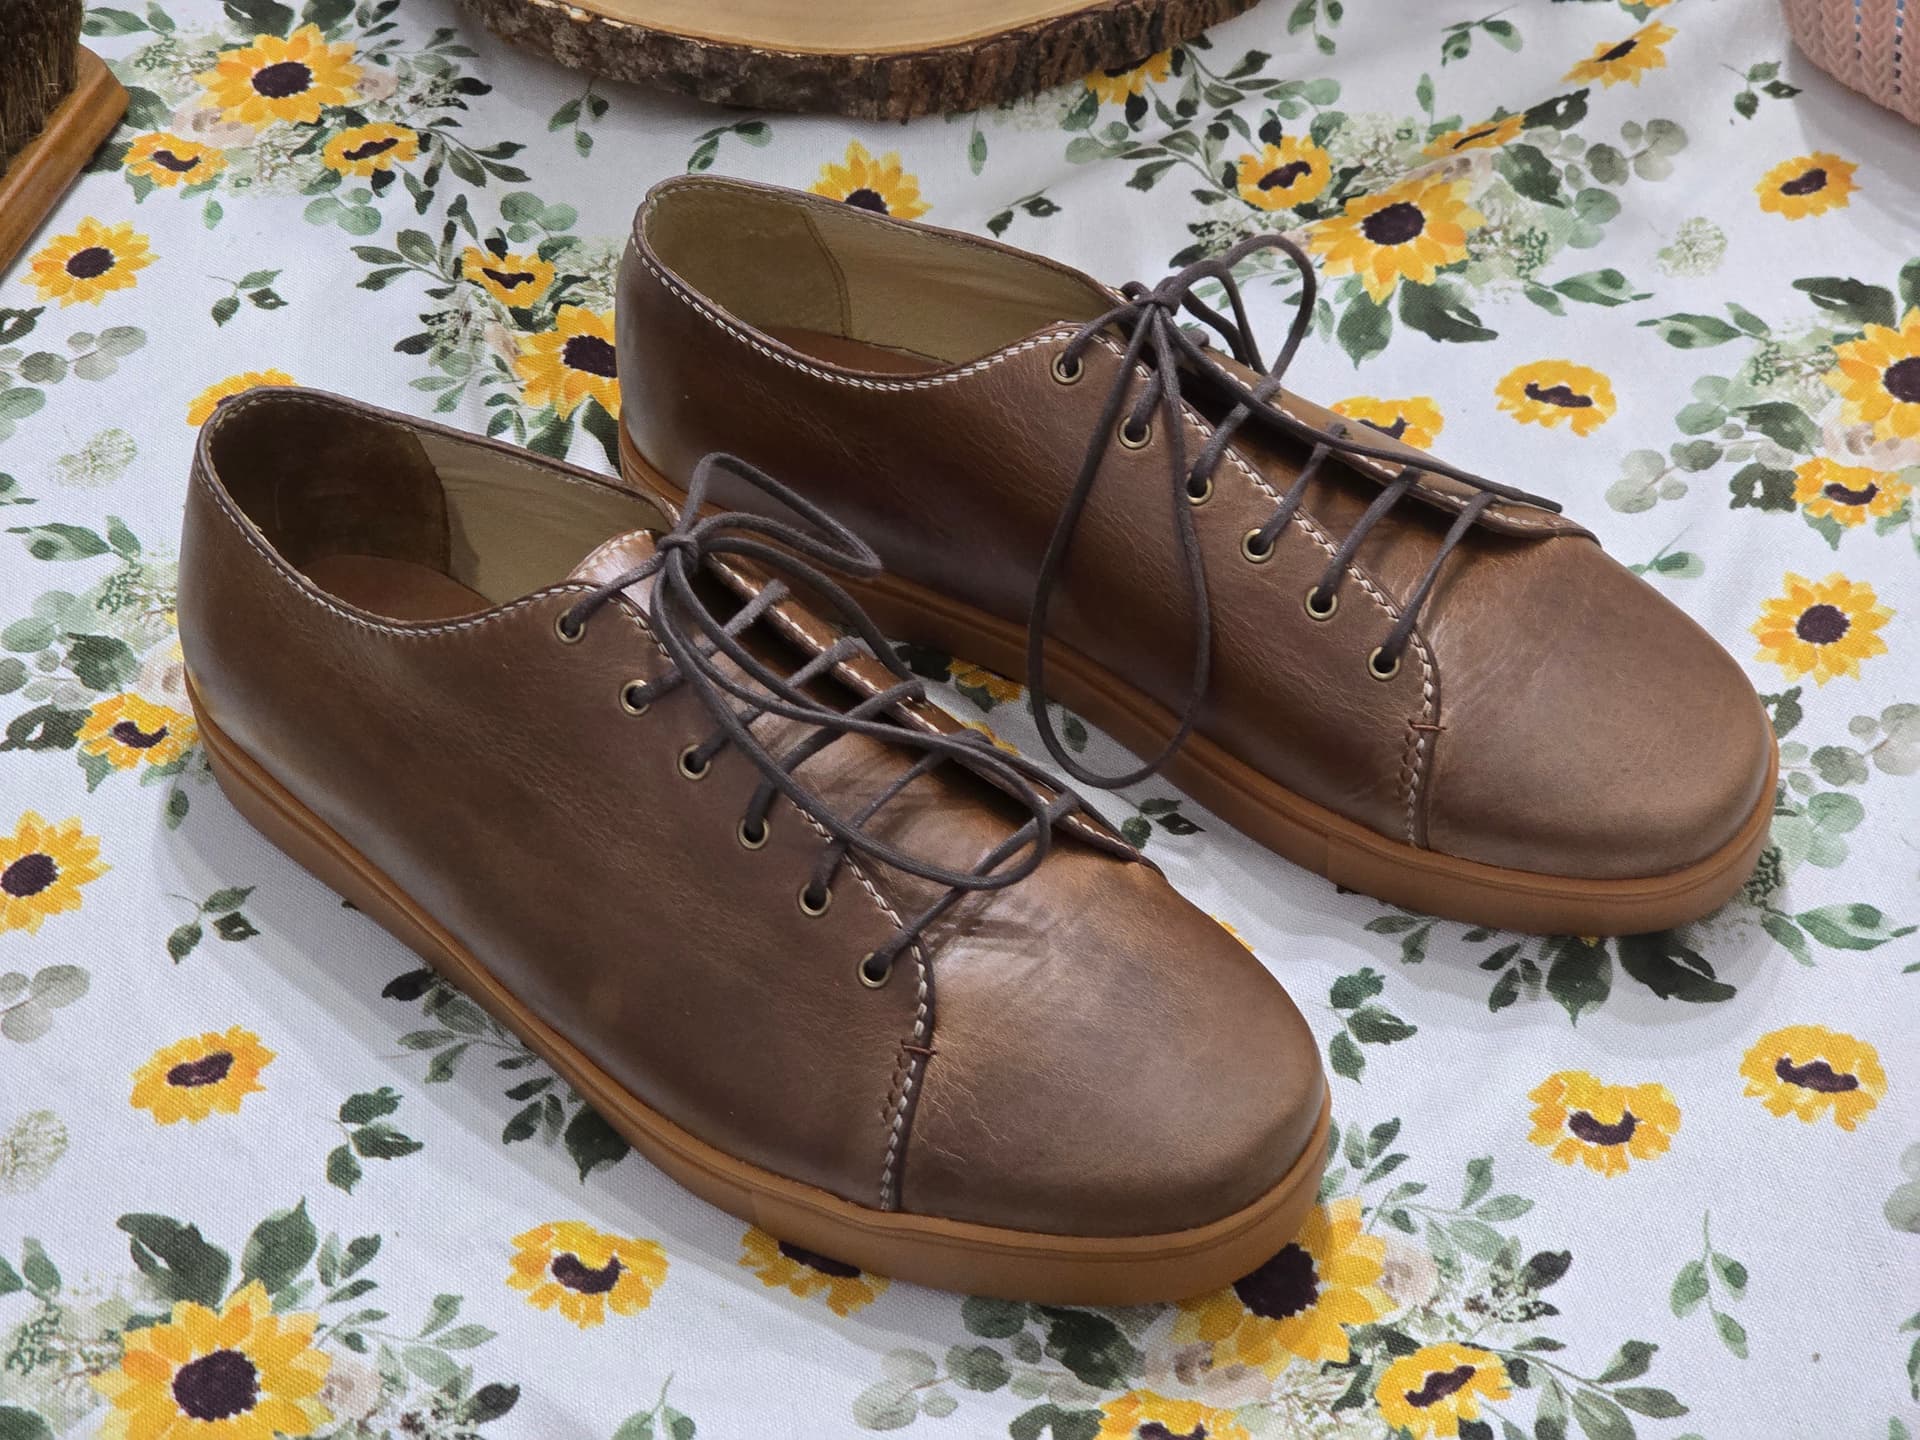
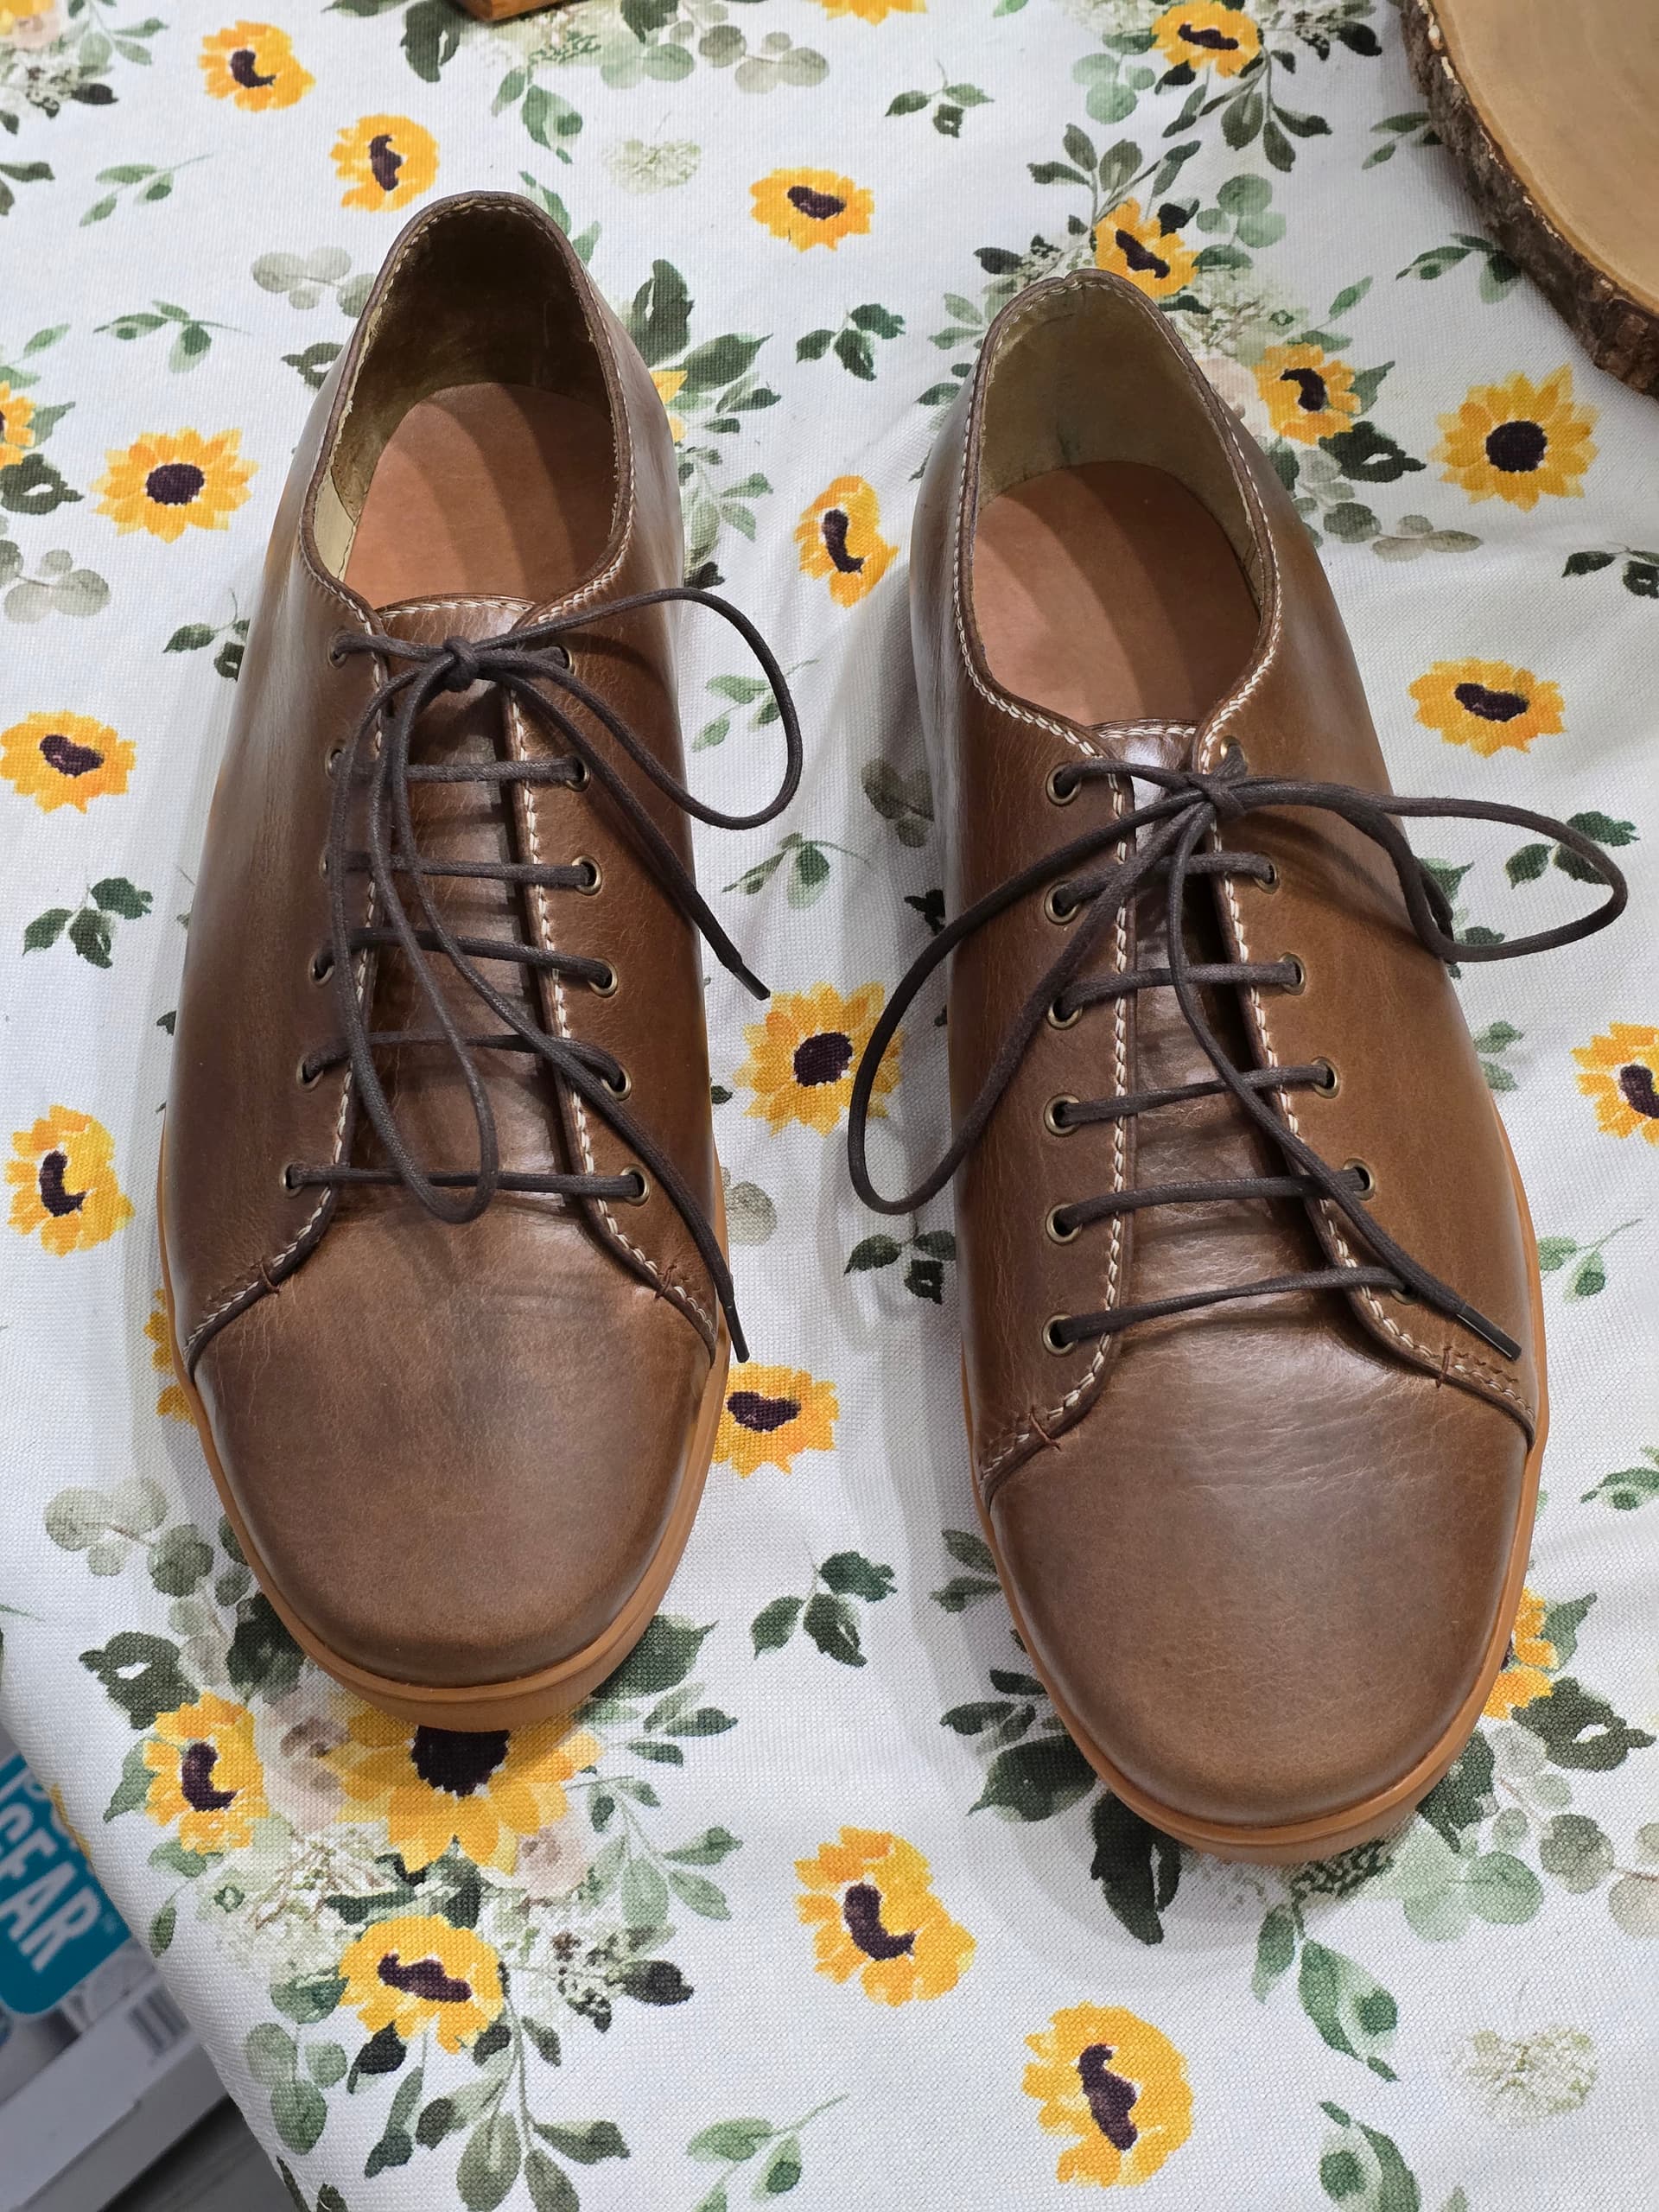
These look great! I like the spread of the throat at the tabs.
It does look a bit like loose grain in the photos, but it hardly ruins the shoes. Might consider treeing a while.
1 Like
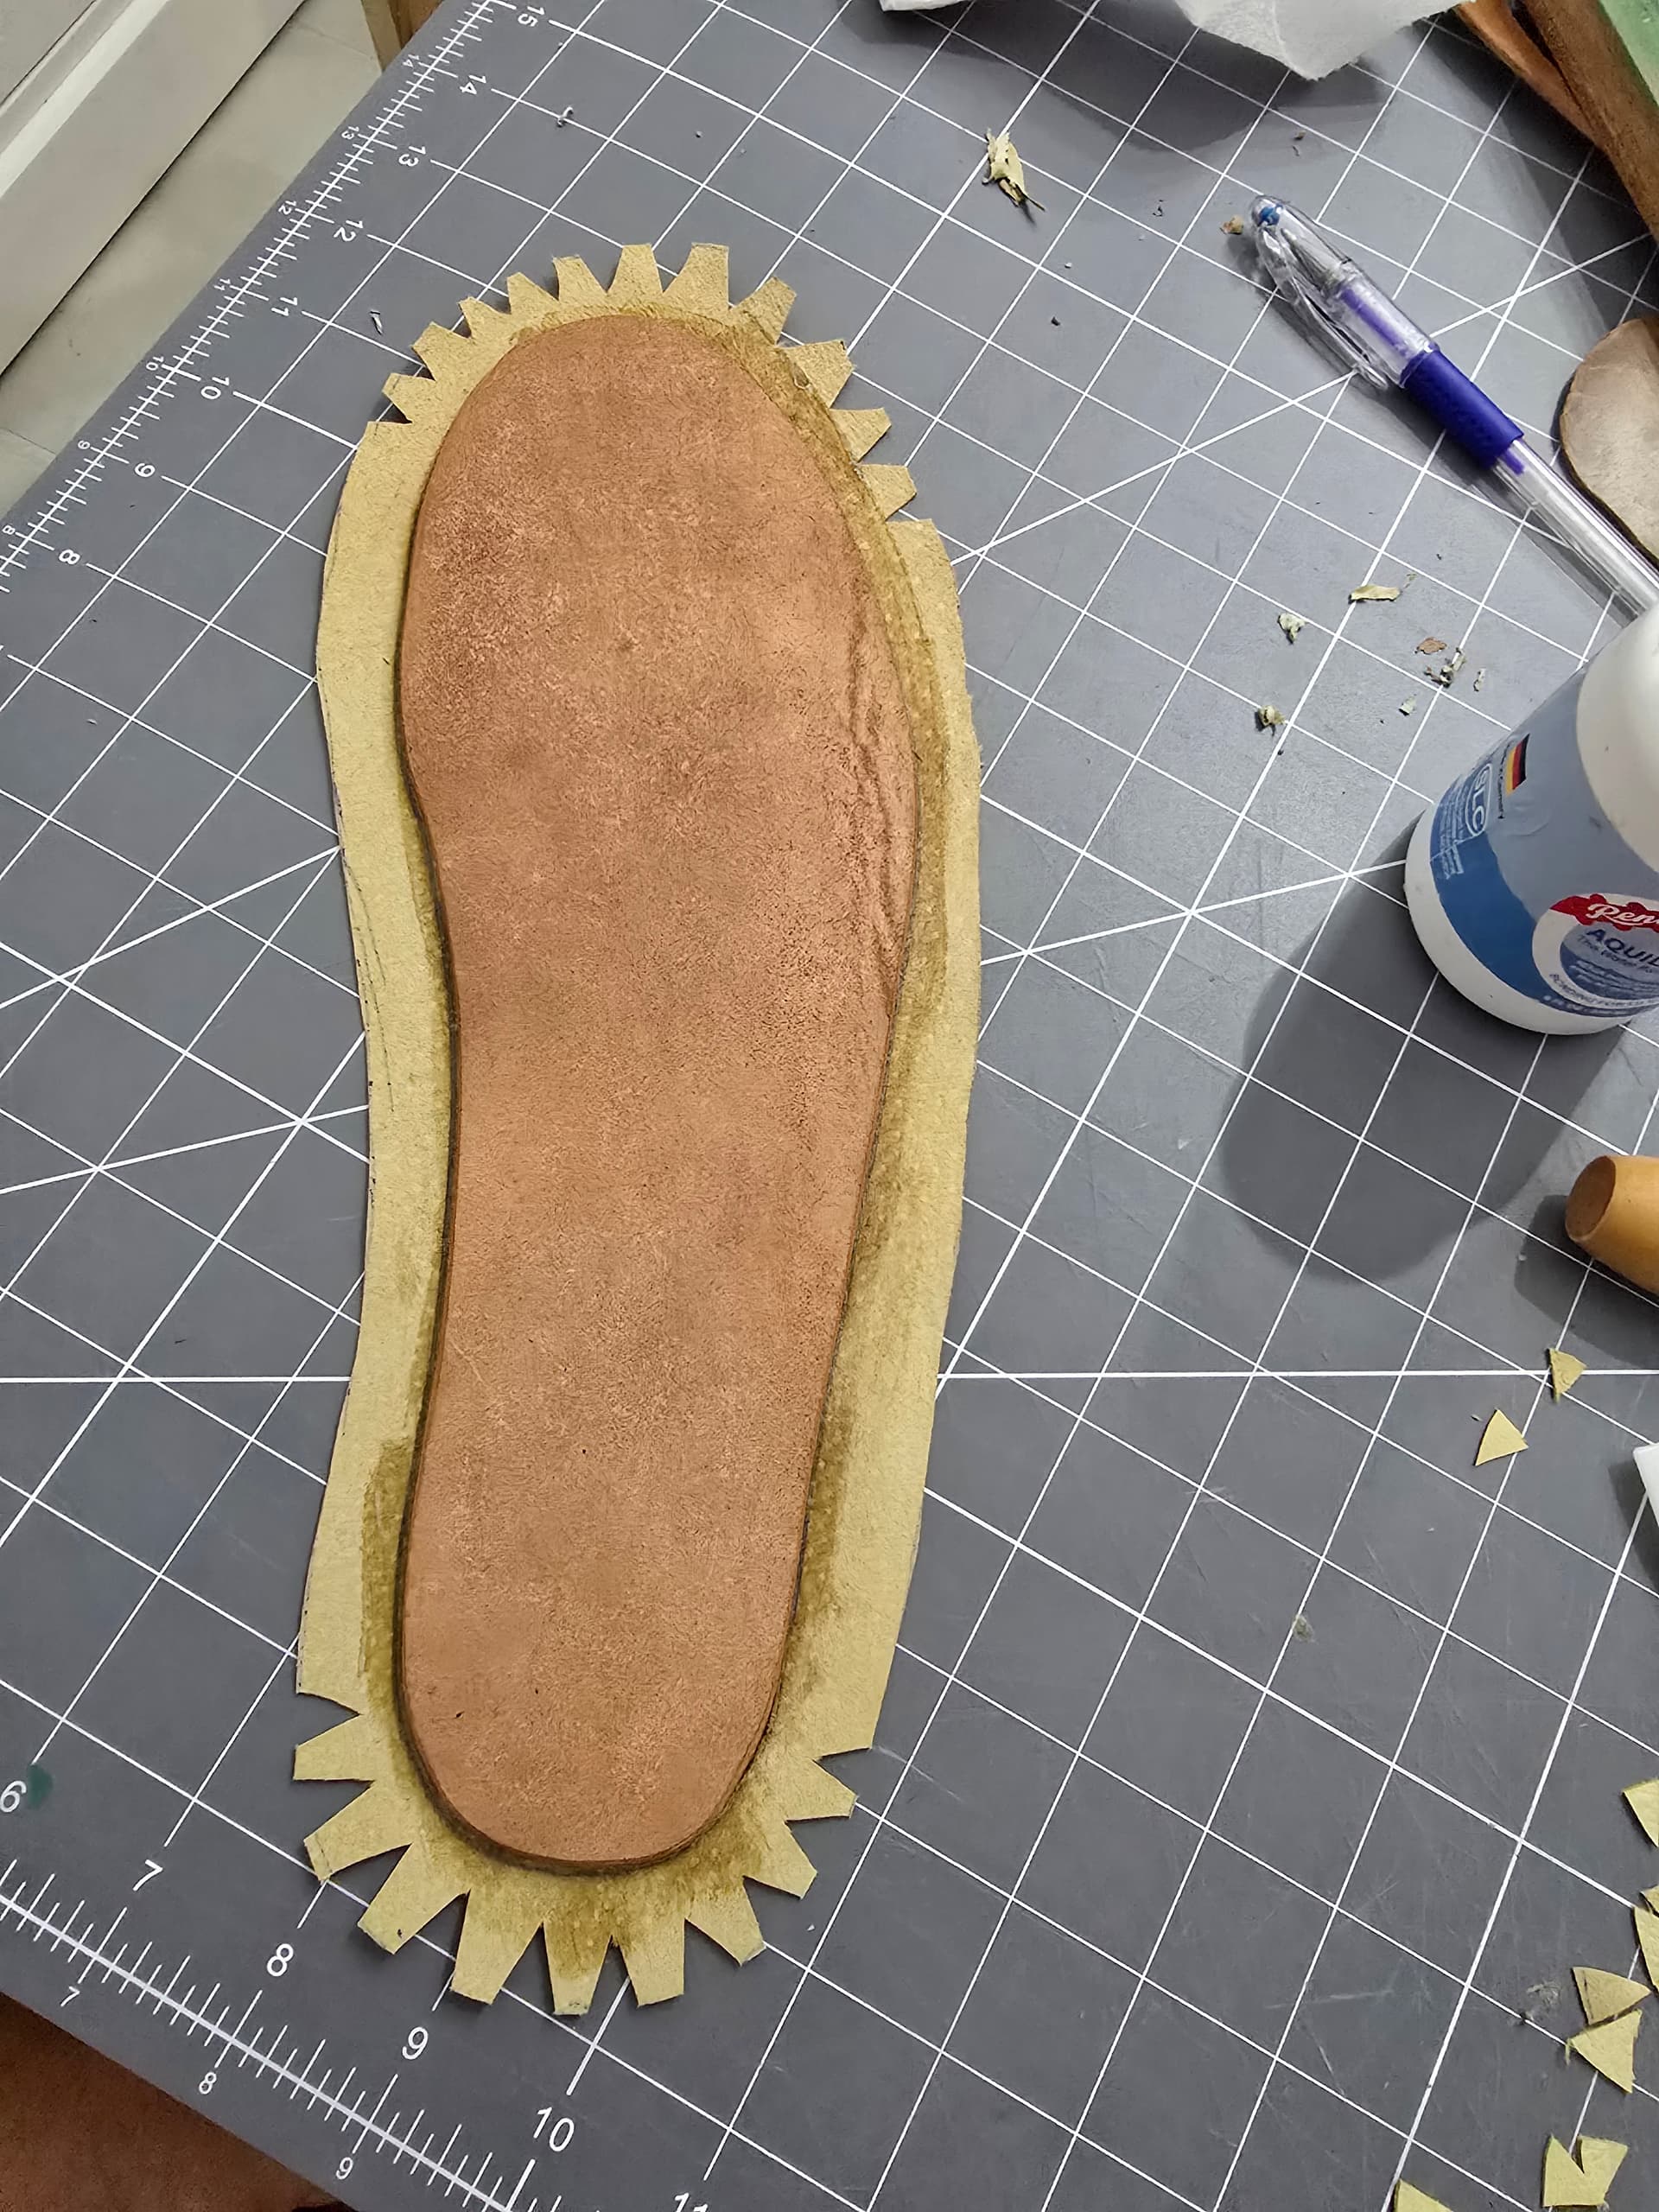
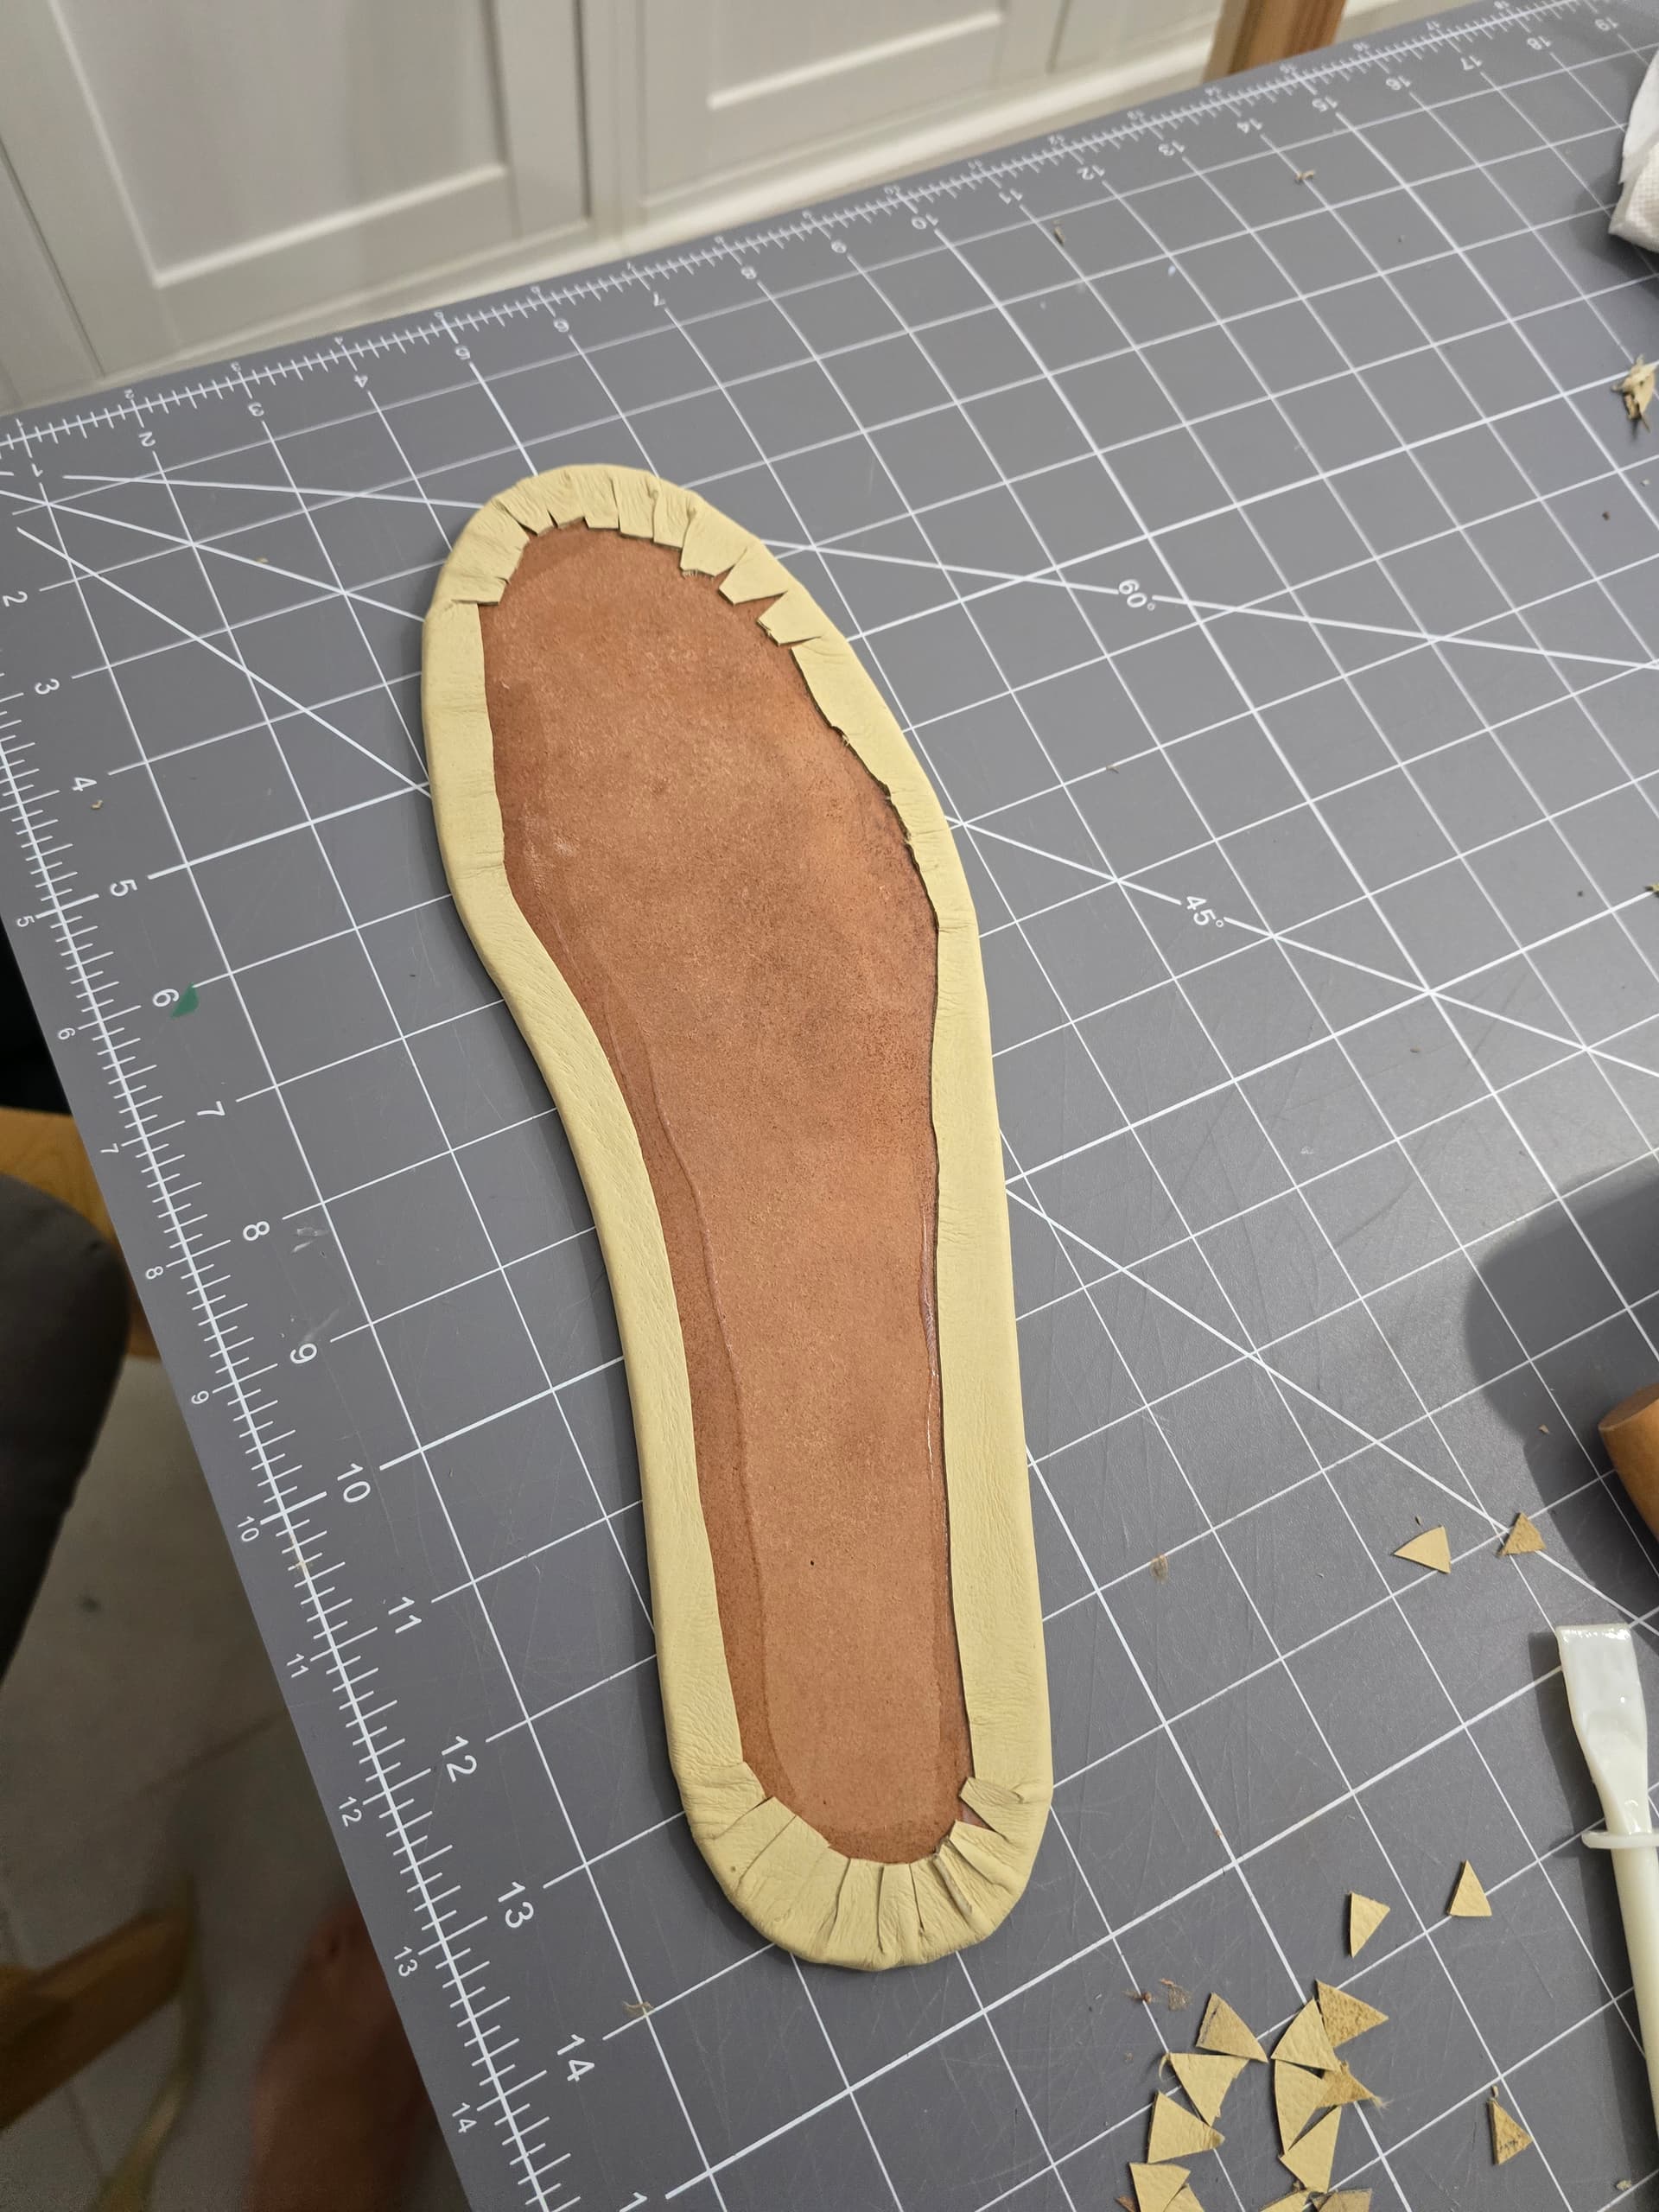
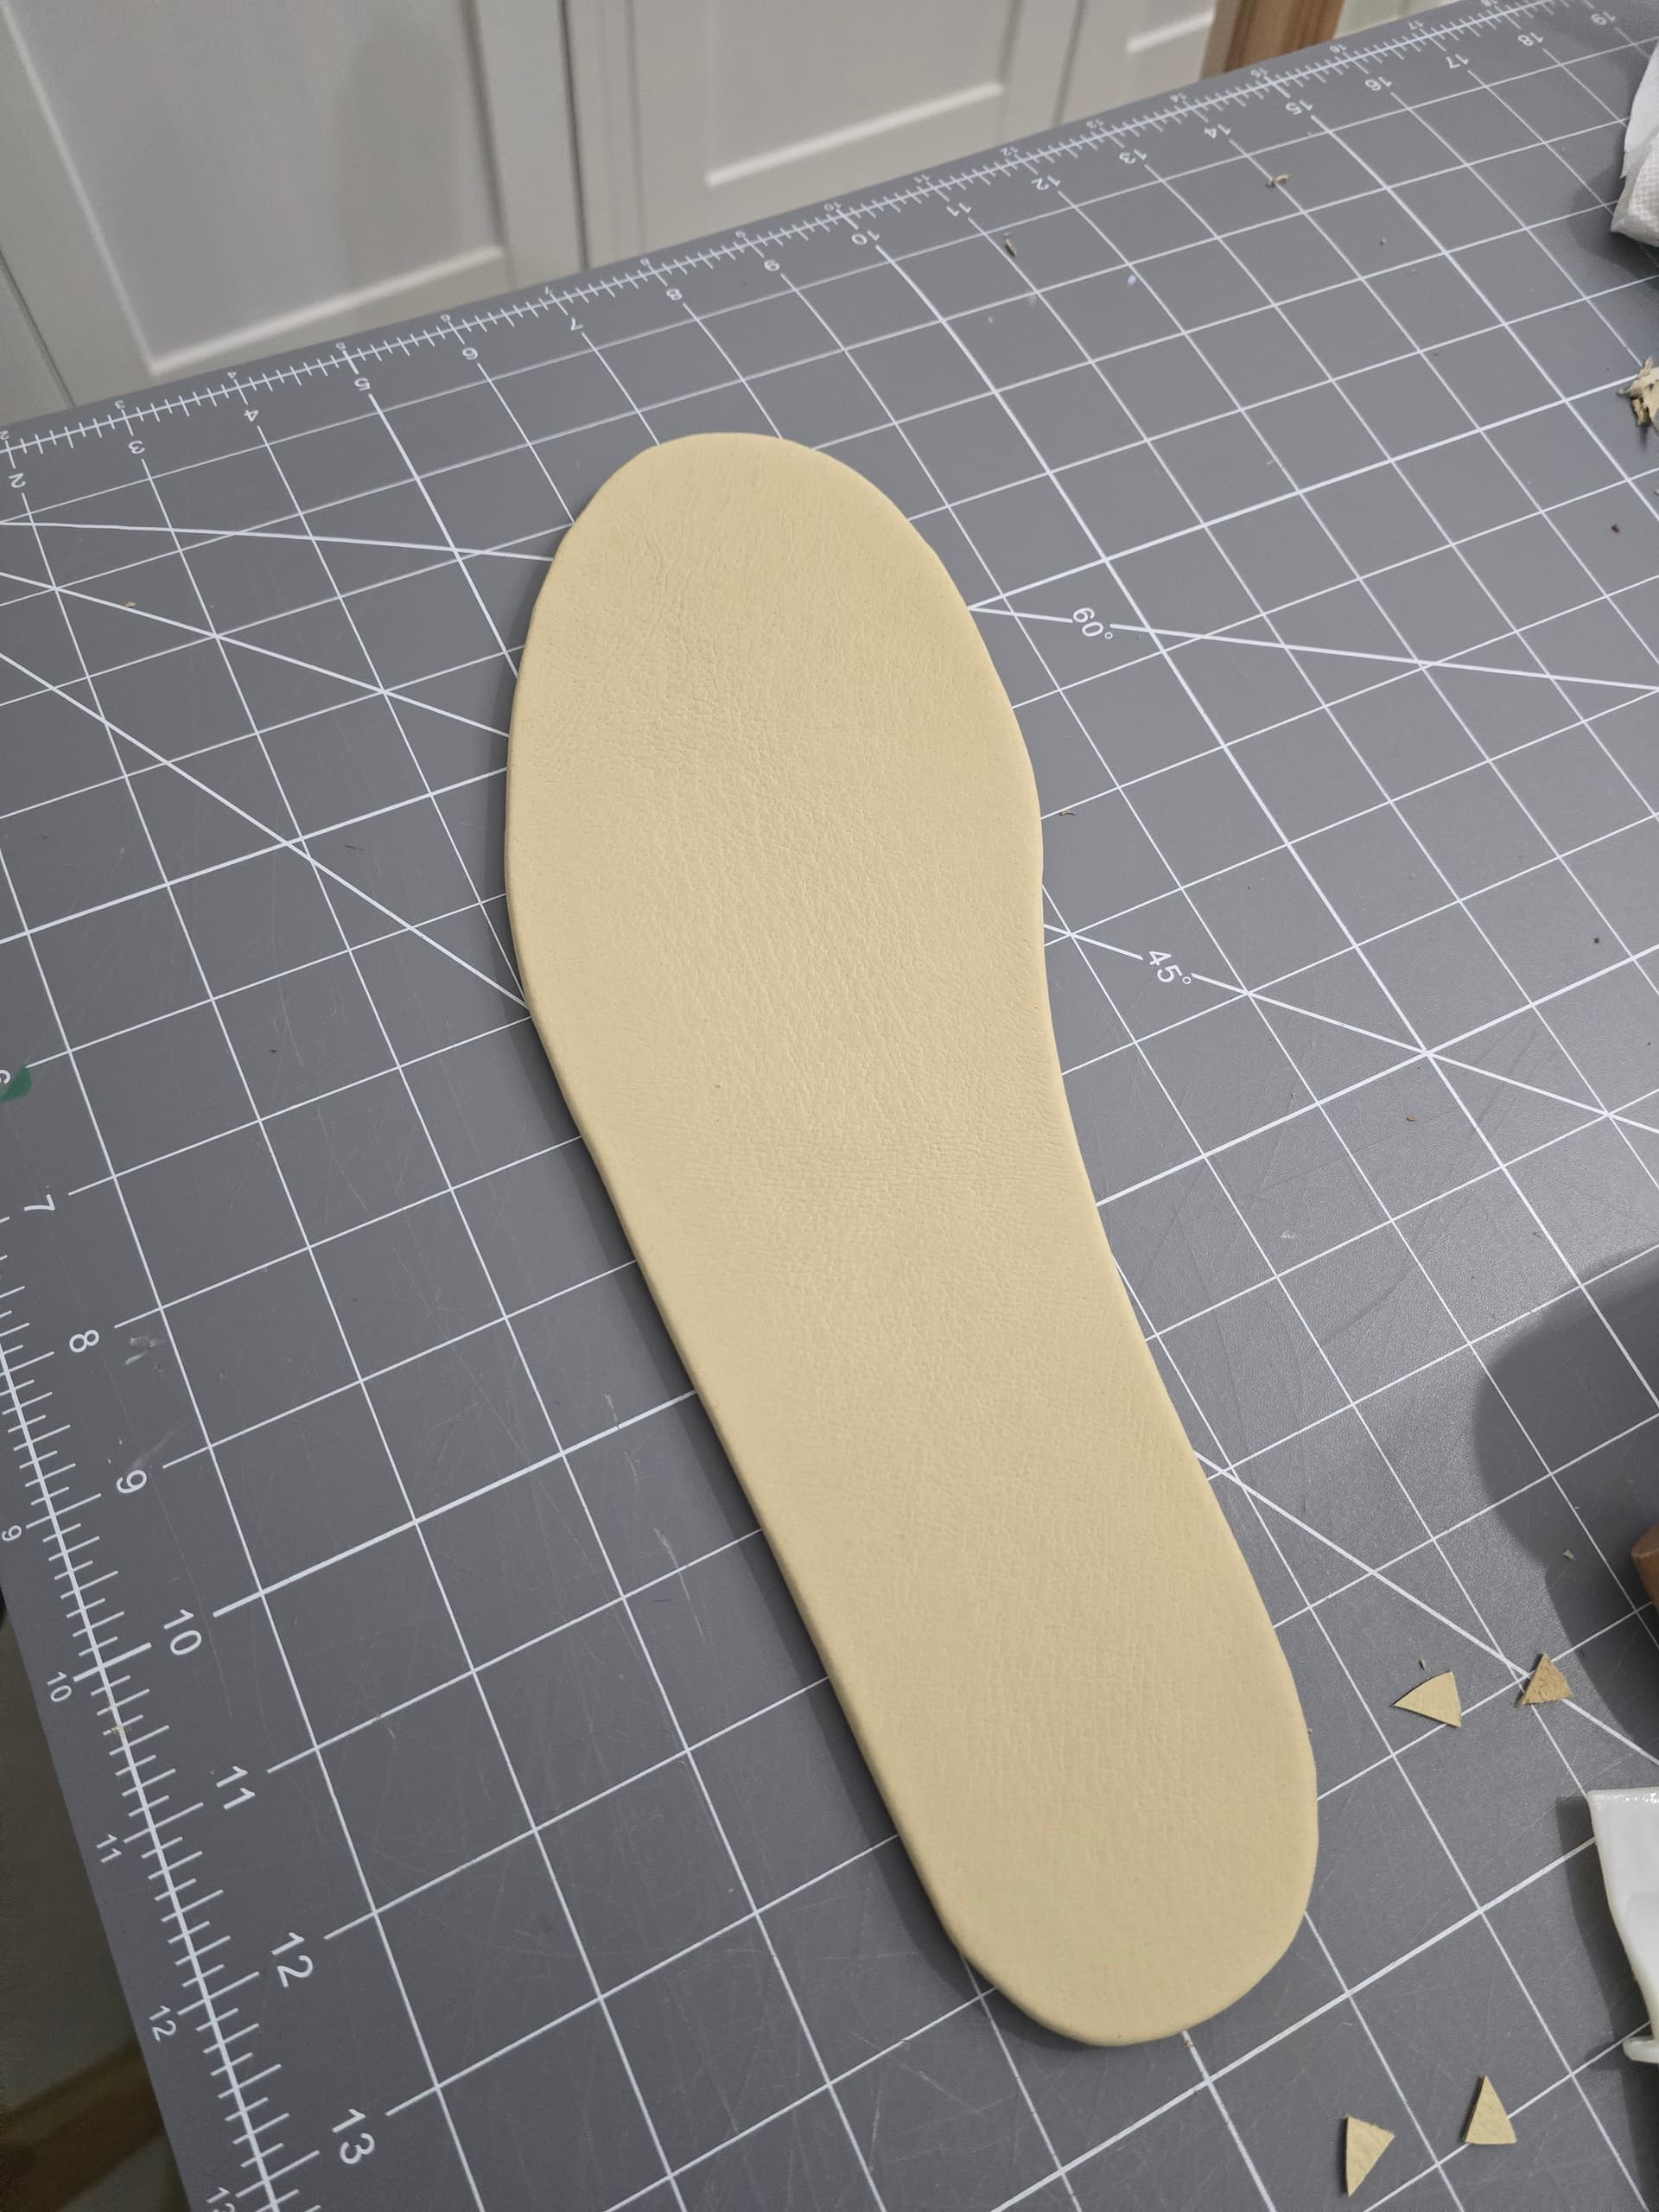
Wantes to add a little more padding to the insoles, so took the horsebutt ones I had, added a layer of the squishier chromexcel and wrapped with the lining leather. Feels great and should still mold to the foot.
1 Like
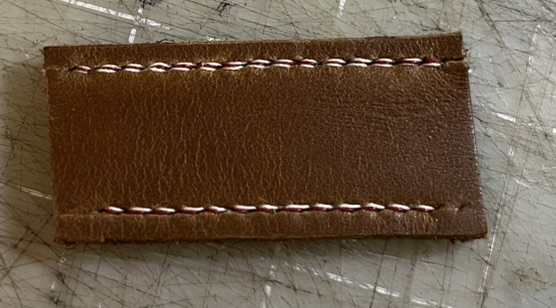
Finally got around to trying this!
The top line here is:
- Meisi M30 (0.35 mm) linen, white, dark red, and white
- OKA 3mm diamond pricking iron
- saddler’s awl
- CS Osborne 517-5 harness needles
- some kind of thick buffalo leather I bought years ago
I tried sewing all three threads at once this time, bottom white thread, then middle red thread, then top white thread into each hole before moving on to the next. It was much easier to get a consistent stack-up of threads within the holes that way. Still, definitely fiddly.
I also found it helpful to leave all the threads slack, without pulling tight, until all needles were through. I did sometime need to use a stiletto as a laying tool to make sure the red threads showed nicely between white.
I use a thick hair band around the jaws of my stitching pony to tension them closed. It was handy to poke each needle into the hairband for keeping while I worked the other threads. Poking the top white threads further away from me each time helped make it clear which needles with which thread should go through each hole last.
Finally, I’ve found it really helps to pierce holes deeply, all the way to the full thickness of the awl blade. The smallest awl blades I have, OKA number 1s, make slits too wide for a single strand of this M30, but too narrow for three strands of it.
I also did tried threading all three threads through thicker needles in order, then sewing all three at once. I could not get the threads to lay nicely one on top of the other that way.
I am impressed you kept things straight with three sets of needles going at the same time. I never even considered approaching it that way.
From a timing standpoint, did the multiple needle pair option feel any faster?
Thanks for questions!
Stitching multiple lines at one time didn’t feel like a huge jump from other composite stitches, like those for Norwegian. There was an extra level of difficulty using the very fine Meisi thread, since it proved too uniformly waxed and smooth to unwind and too thin to pierce with the harness needle for a “lock”. I would definitely recommend cutting off some additional extra thread, to make sure you always have a nice, long tail through the eye of each needle.
I can’t say that I’ve timed either one line at a time or three at a time. Since I’ve had so little practice, I don’t imagine doing that would tell me much at this stage, since I’m probably just getting faster overall.
What I can say is that I had no lingering questions about whether I got the stack-up of threads through the holes right. Sewing one line at a time, one on top of the other, I would manage to get the lines to lay right in the end, with some adjustment. But I was never fully confident I got them stacked right in every hole. I only got that confidence stitching all the lines through each hole with the threads still loose, then pulling them tight.